A Little Fabric Shopping

I made it to my favorite Phoenix fabric store the other day, SAS Fabrics on Indian School Road. It’s a fun place but you have to be willing to dig a bit.

2015/07/img_3445-0.jpg

2015/07/img_3444-0.jpg

2015/07/img_3447.jpg
Me. Wonderful and #1 Son were a big help!

2015/07/img_3446.jpg
And a quick look at my loot.

2015/07/img_3448.jpg
We are flying out this afternoon and will get home late tonight. It has been a wonderful trip. Have a great day!

Posted in Uncategorized | 7 Comments

Finish It Up Friday

Today I wanted to show you the quilts I made for my sweet little Lincoln. I made this first one long before he was born in anticipation that Liam would have a little brother or sister at some point. This one was made from shirts worn by his daddy, papa, and great grandpa.

IMG_0947
And here is the quilt I made last week to match the king sized quilt I made for his momma and daddy. 

       I used a very soft minky type of fabric on the back. I didn’t have any trouble at all long arming this but my Bernina does not like this fabric at all! I ended up finishing the binding on my vintage Singer 301.

Here is little tiny guy with big brother and Papa. 


Big brother thoroughly inspected the quilt and decided it should belong to him! 


 Guess I know what I will be working on as soon as I get home! Our time here is flying by all too fast. Loving spending time with my kids and babies. Thank you for all the lovely bcomments this week. Remember that my giveaway is open until next Tuesday. See last Tuesday’s post for details.

Linking up wit Crazy Mom Quilts, Richard and Tanya Quilts, Confessions of a Fabric Addict.

Posted in Baby Quilts, Finishes | 10 Comments

Throw Back Thursday

Here are a few more red white and blue quilts from the days before blogging. 


I love the conversation prints in the one above. They came from Keepsake Quilting  back in 1997. I remember because I ordered these just before moving to France. 


All of these small quilts were pieced from vintage fabrics.

Thank you all for the input regarding quilt books to order for the library. I will draw a name from the giveaway when I get back home.

Posted in Uncategorized | 8 Comments

WIP Wednesday

I’ve made a wee bit of progress on my EPP project. I finished the red ring and begun appliquéing it to its center.

2015/07/img_3322.jpg
I glued the ring to the center with a glue stick.

2015/07/img_3321.jpg

2015/07/img_3323.jpg
We enjoyed a day at the Grand Canyon.

2015/07/img_3009.jpg

2015/07/img_3021.jpg
And a day hiking in Sedona with Daughter #2.

2015/07/img_3256.jpg
Now we are back at my son’s to love on the littles.

2015/07/img_3317.jpg
Linking up with Freshly Pieced and Sew Fresh Quilts

Posted in Uncategorized | 9 Comments

When Quilting and the Day Job Mix

I work part time as a reference librarian at my local library. I am so blessed to have a job that I love! One of the best parts of my job is ordering new books. Since I order all the non-fiction titles, I get to order quilt books! Here are a handful of the books I have ordered in the last year. The newest titles were already checked out! 


When I get back from Arizona, it will be time to begin ordering books for the next year. So my question to you is, what quilting/sewing book would you like to find on the shelf of your local library?

I appreciate all of your suggestions. And just to thank those of you that are sticking through my not responding to comments while I am away, I have decided to bury a wee giveaway into this post. So when I get back home, I will draw a name from all those commenting on this post and that person will receive a mug rug made by me!

Thanks for your help!

Linking up with Free Motion by the River for Linky Tuesday.

Posted in Give Away, Uncategorized | 41 Comments

Design Wall Monday

Over the weekend, I showed you how I use my die cutter to help me keep my scraps in check and in a form that I will actually use. I began turning this pile of random strips: 

Into pieces like this: 

 And then used my die cutter to trim them to 3 x 6 inch finished rectangles like this: 

 Now I will share my plan for them. I have been looking at a lot of lattice type quilts on Pinterest lately and thought that would be a perfect use for these. I sketched out a quick block plan keeping in mind that I wanted to use my die cutter to cut all the pieces.  Here is my sketch. 

 The numbers refer to dies needed. This gives me an odd sized finished block but since all the blocks will be the same, it doesn’t matter to me. I am using a 6 inch quarter square triangle die because the rectangle has a finished size of 6 inches on the long side. Same with the 3 inch QST.

Because I want the edges of my block to be on grain, I have to pay attention to how I place my fabrics on the die. 


If I were using this die to cut actual QSTs, I would want the straight of grain to be parallel to the long side of the triangle. Since I am actually using  these as half square triangles, I want the straight of grain to be on the short sides. Here are all the pieces cut for four blocks. 

And two different arrangements of those four blocks on the design wall. 


 Sometimes we have to think outside the box when using die cutters. Often the dies we have can serve more than on purpose.
Linking up with Patchwork Times.

Posted in Accuquilt Studio Cutter, Scraps | 11 Comments

Slow Stitching Saturday and Sunday!

I never get as much done as I plan while traveling but I really enjoyed working on my hexies on the plane yesterday. Here is my “work table “.   

And my view.  

 And my progress! 


 I plan to sneak a bit more stitching in today while traveling to the Grand Canyon  with Daughter #2 and Mr. Wonderful. 

I can’t tell you how I loved meeting this little boy yesterday! 


And my other boy is hard to get a picture of because he never stops moving! 


Linking up with Kathy’s Quilts

Posted in Uncategorized | 13 Comments

Scrap Management for Oh Scrap!

Cyndy at Quilting is More Fun Than Housework asked me if I would do a guest post for her linky party, Oh Scrap! I was delighted to do so! She specifically asked how I use my die cutter as an aid to managing my scraps. So this is how I handle scrap management.

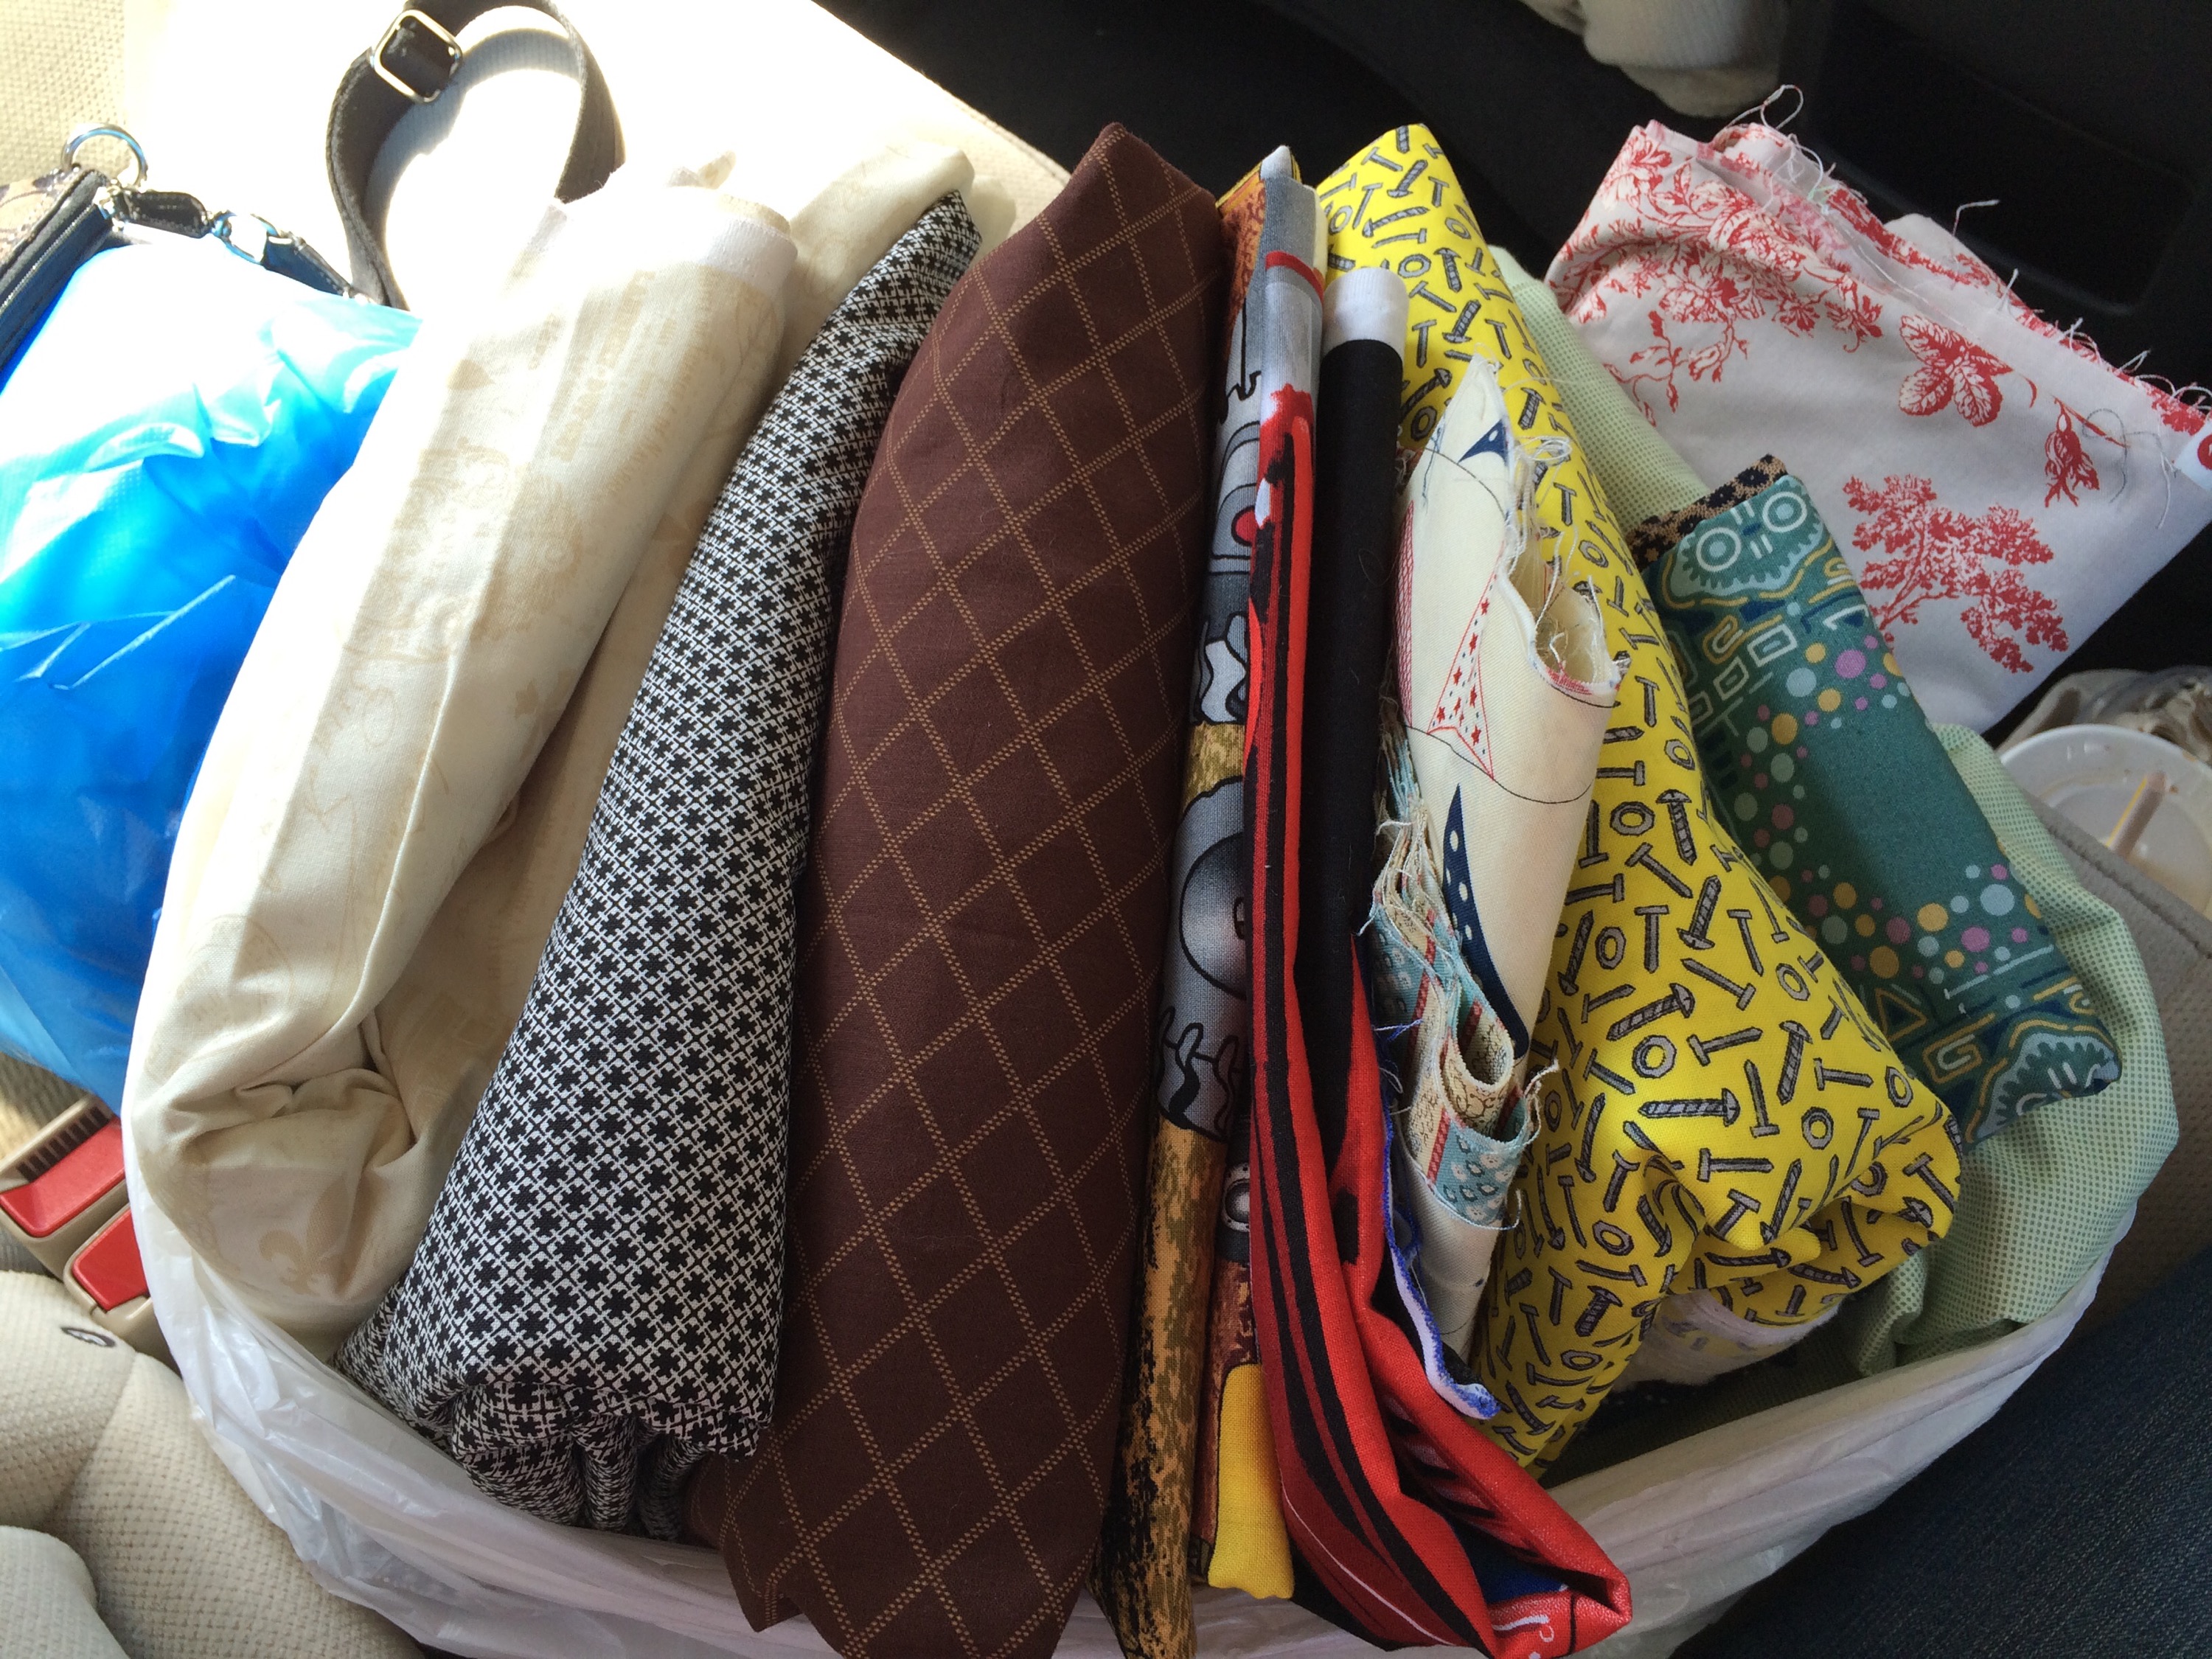
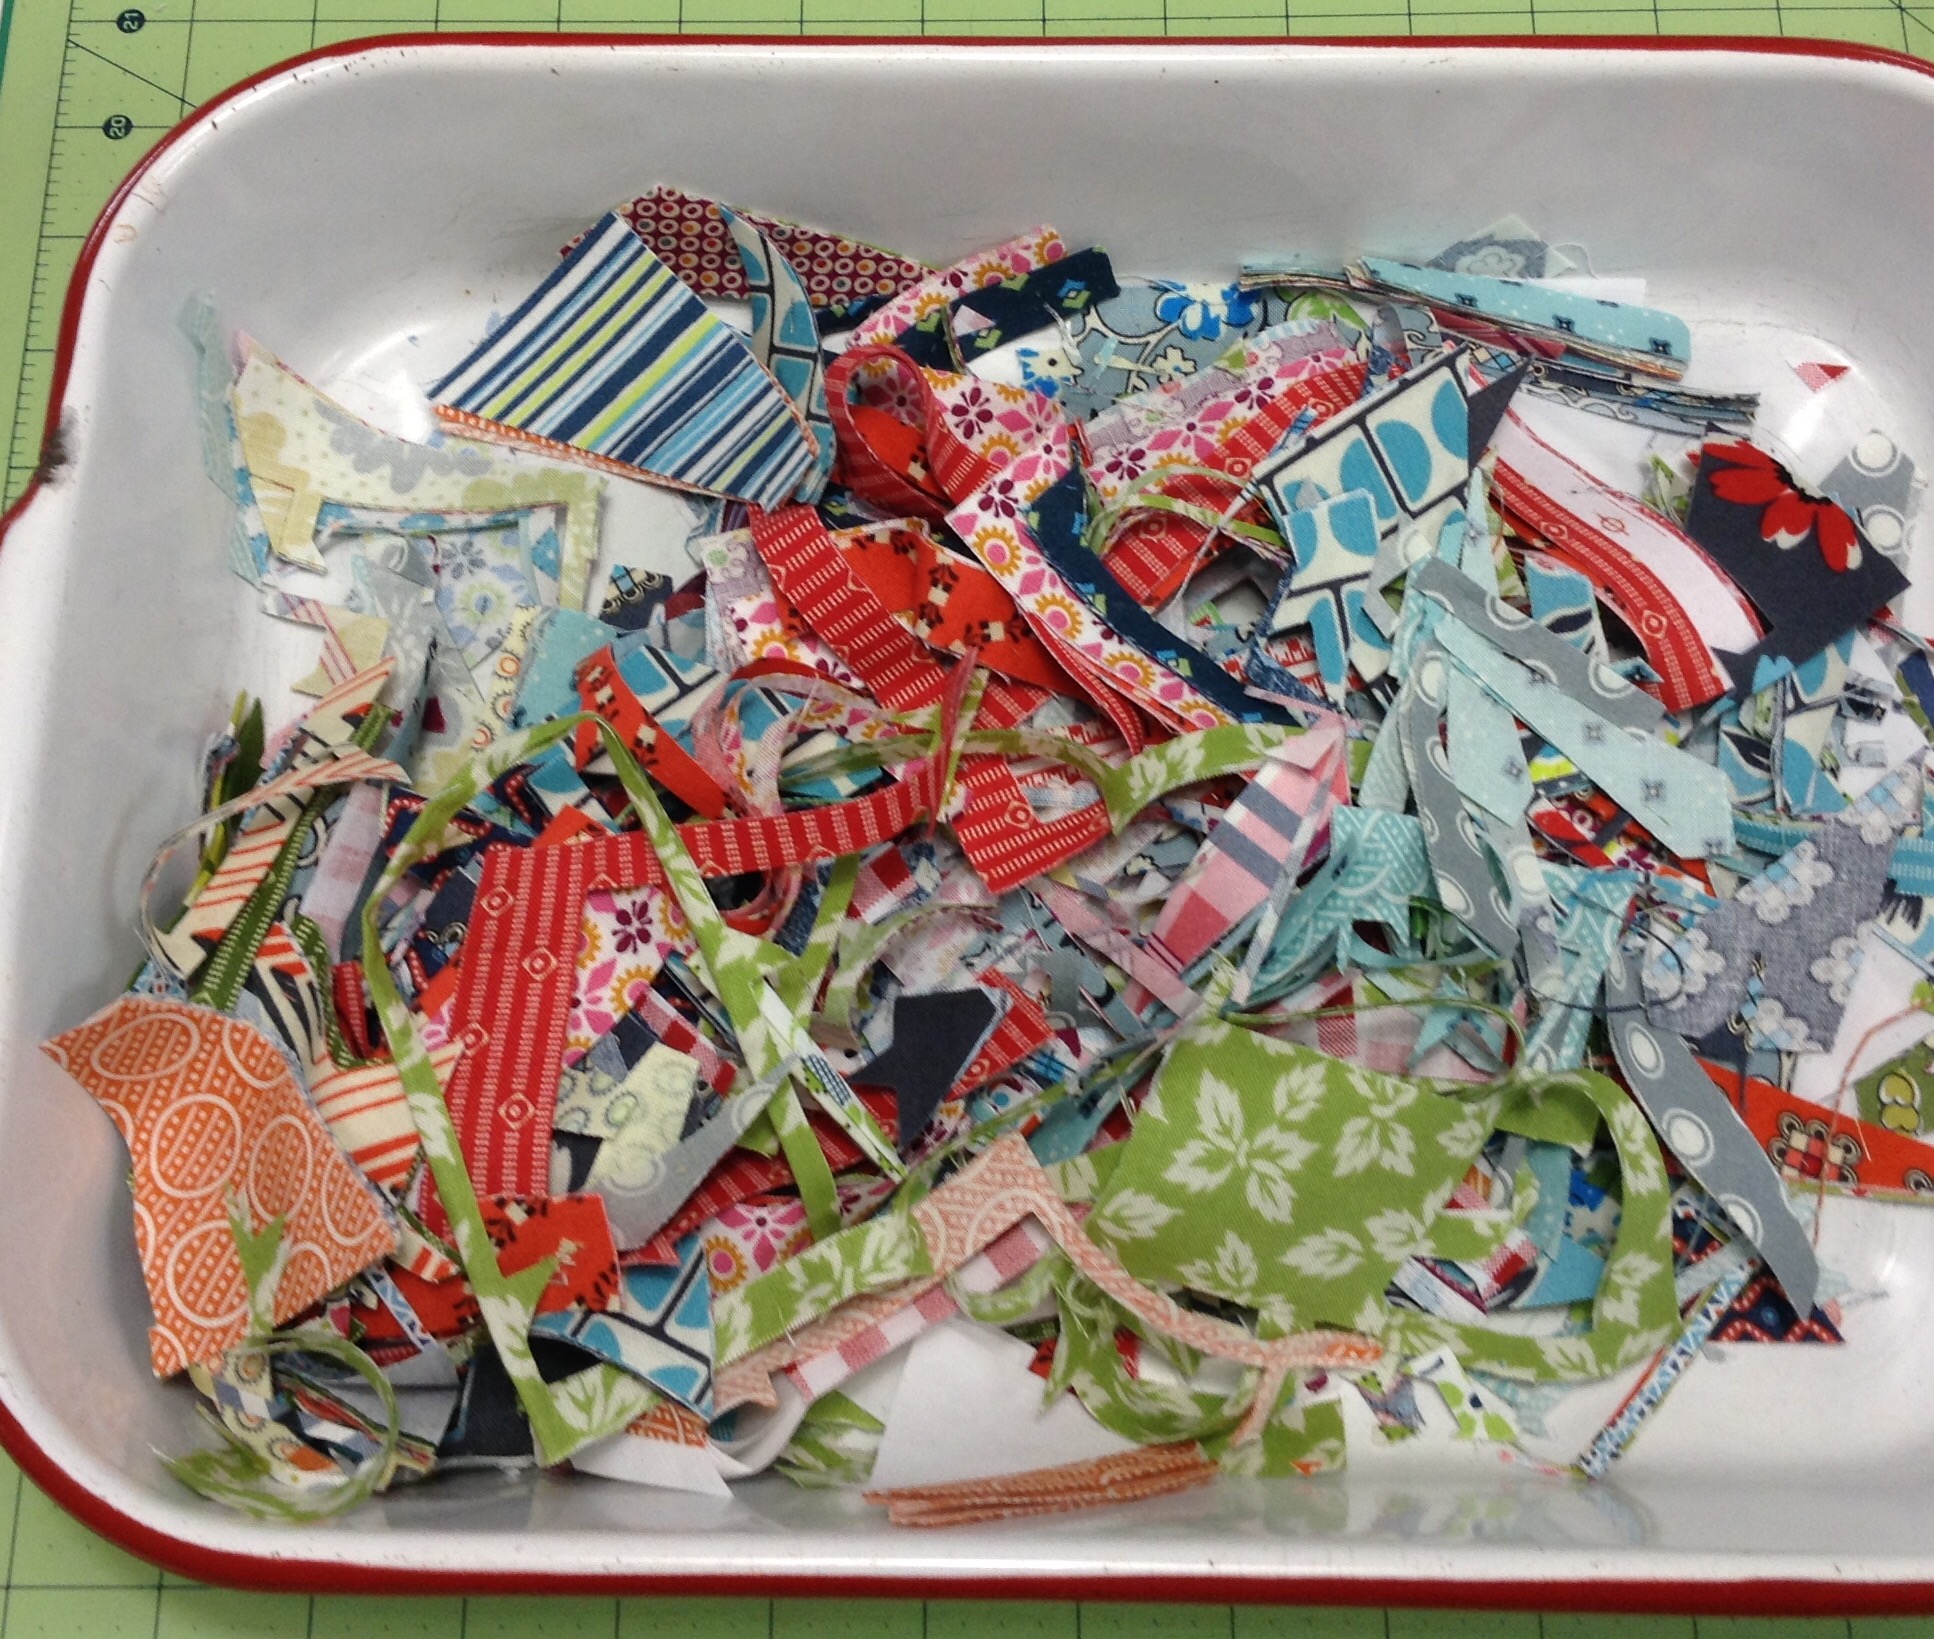
First, find a container for scraps you want to keep together. Add to this until it is ready to over flow. Really. I don’t want to get all this out to cut a handful of pieces. Most quilters are already at this point.

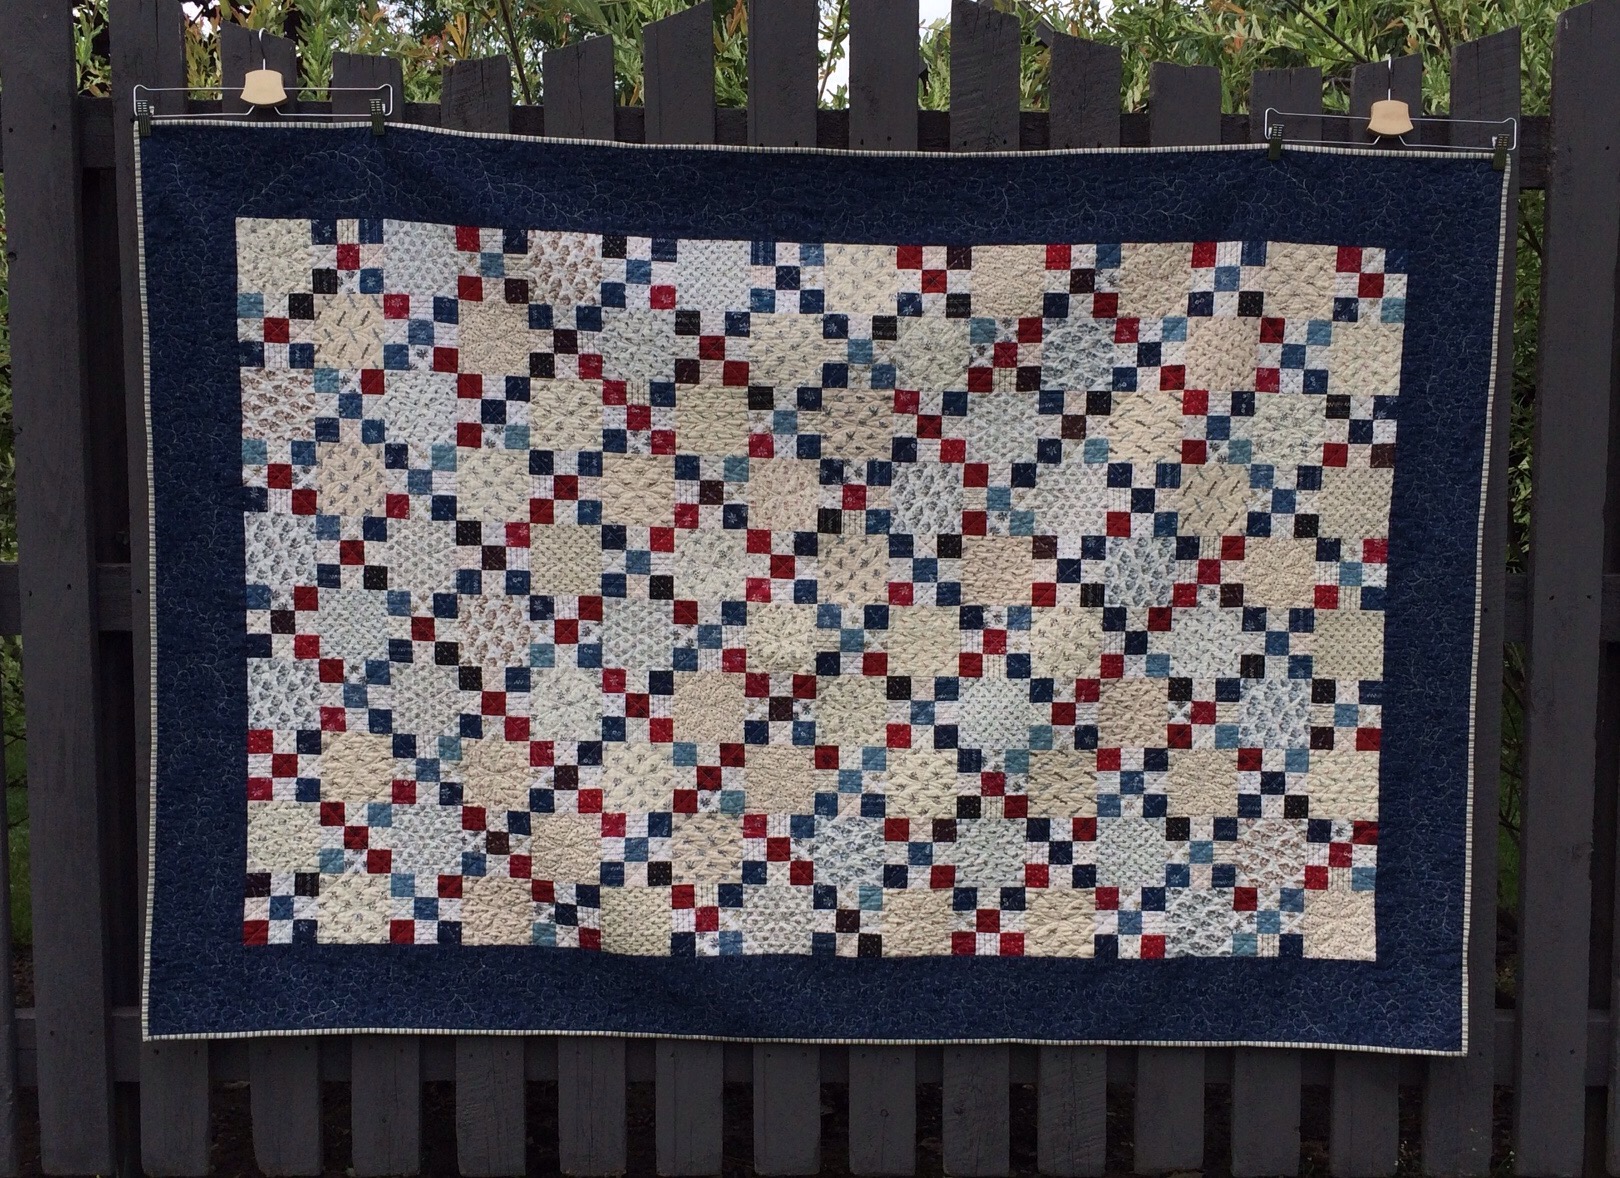
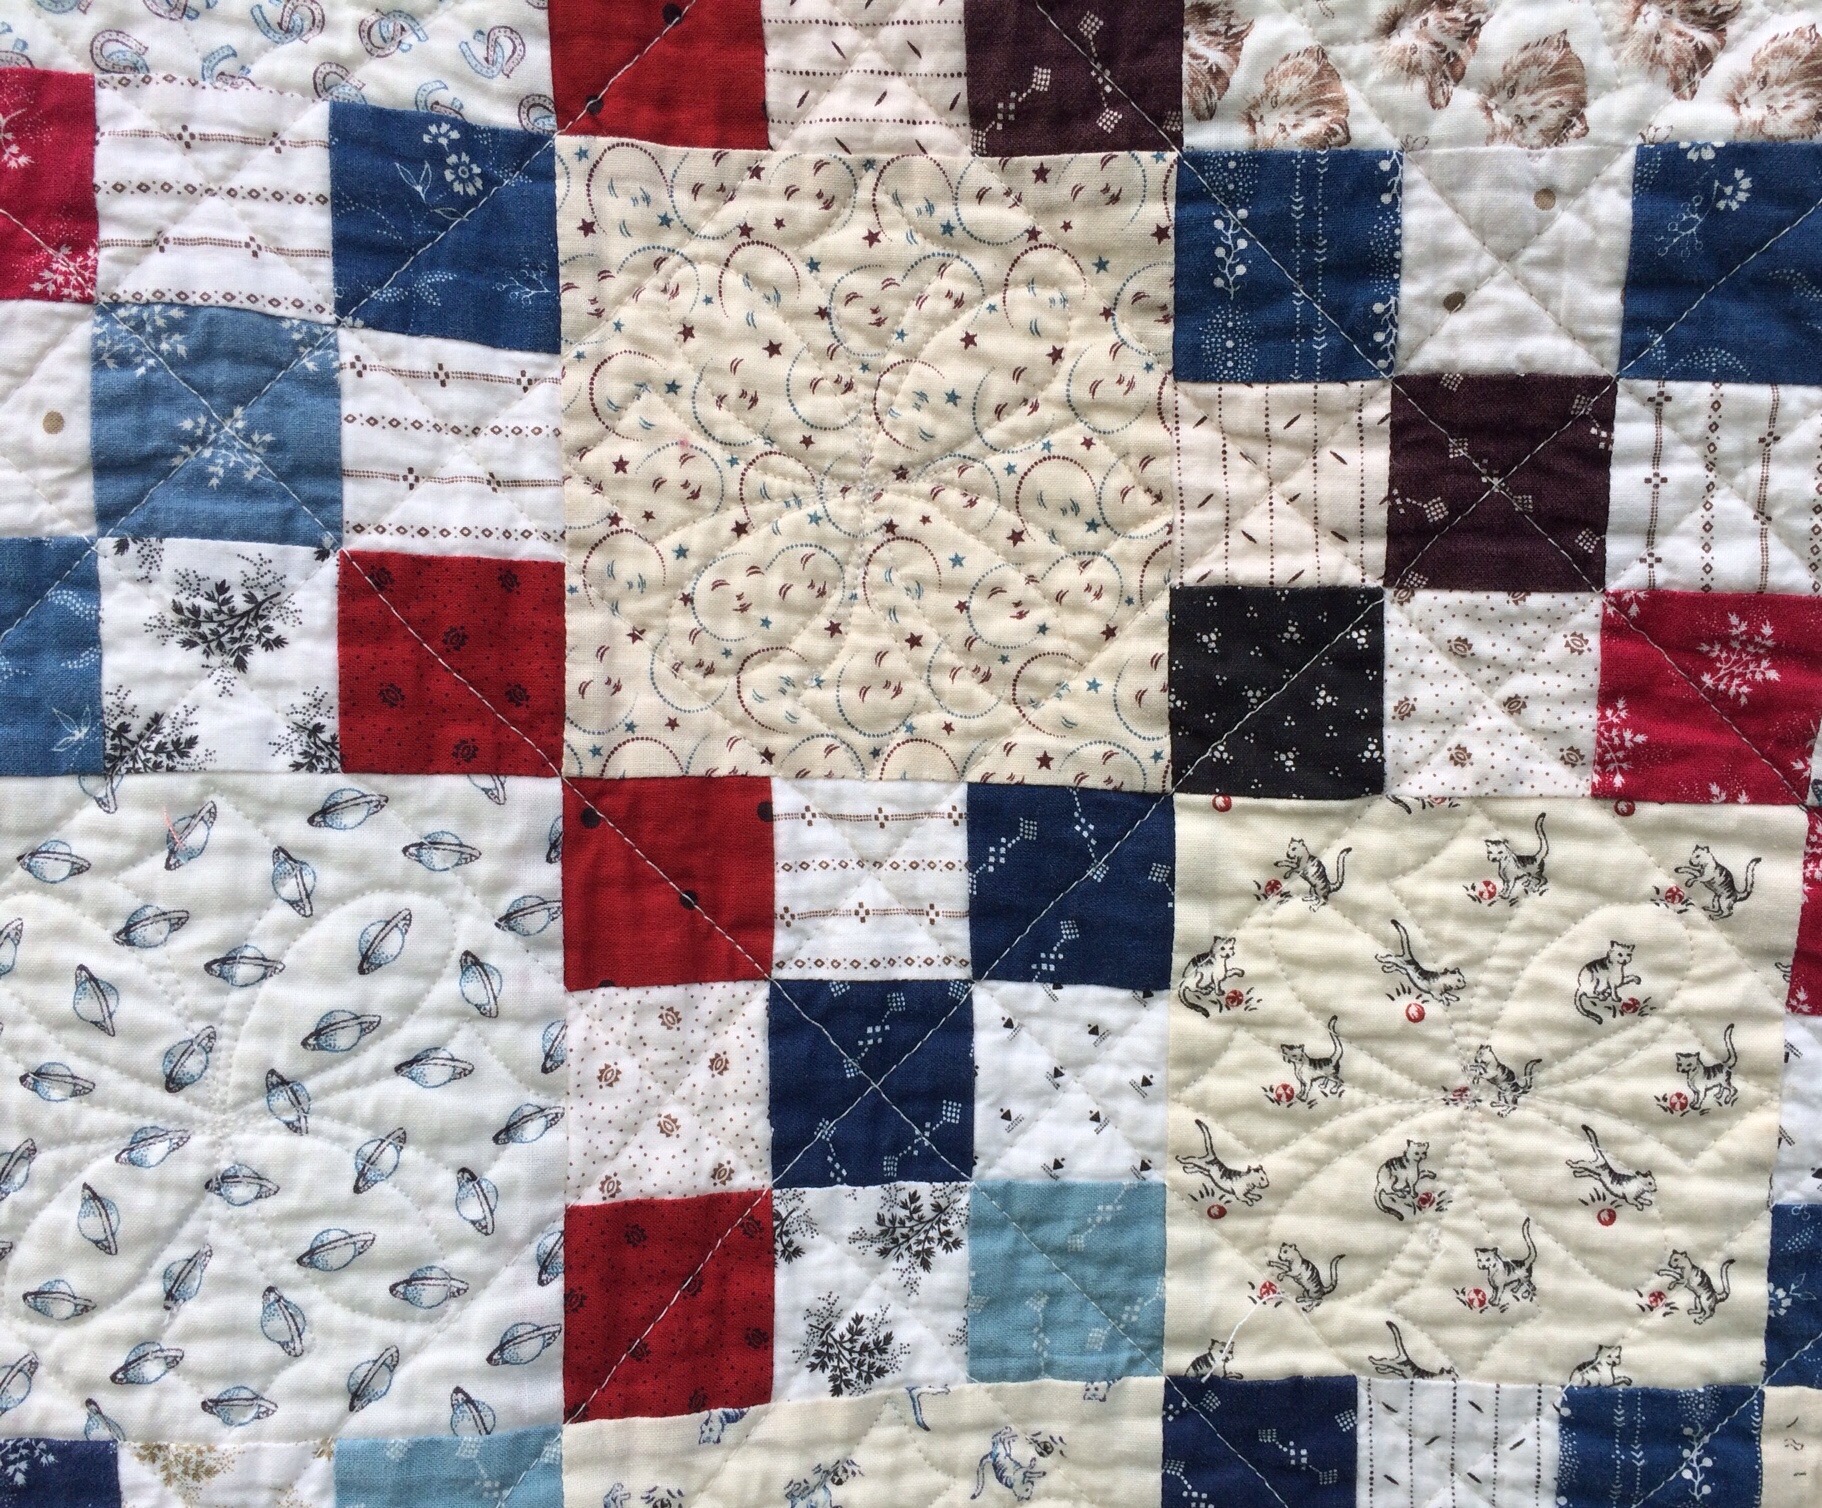
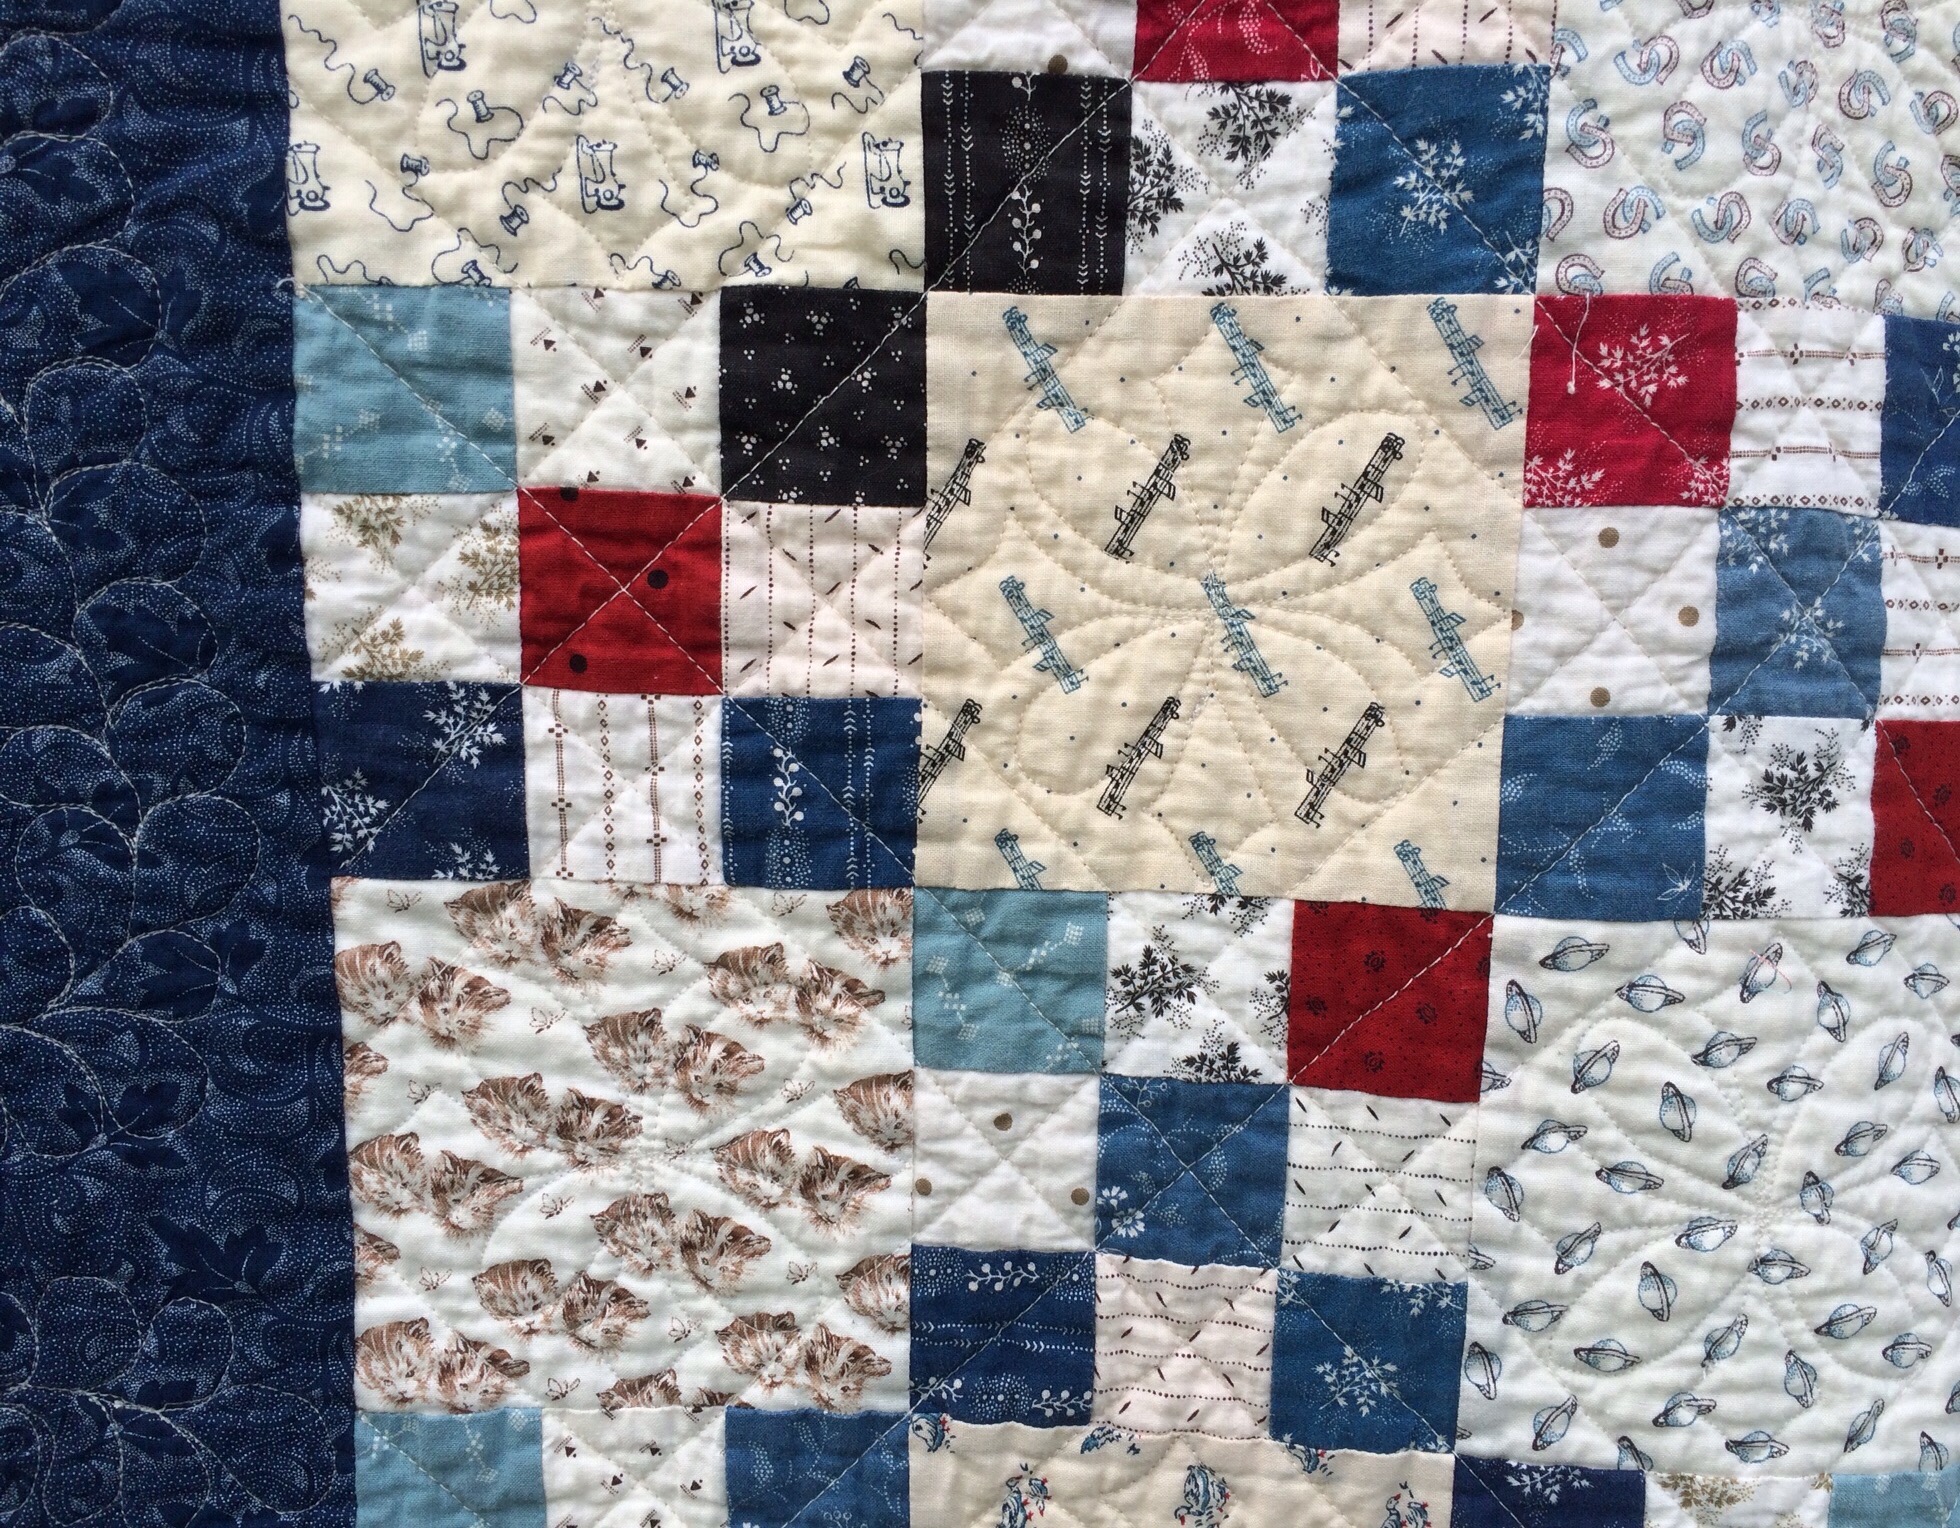
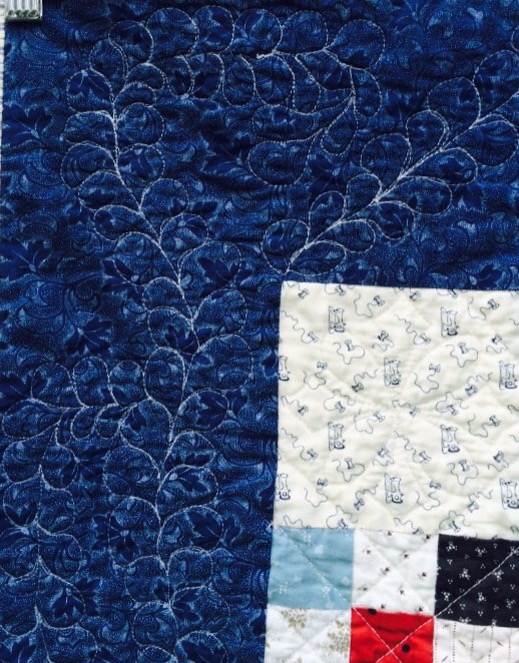
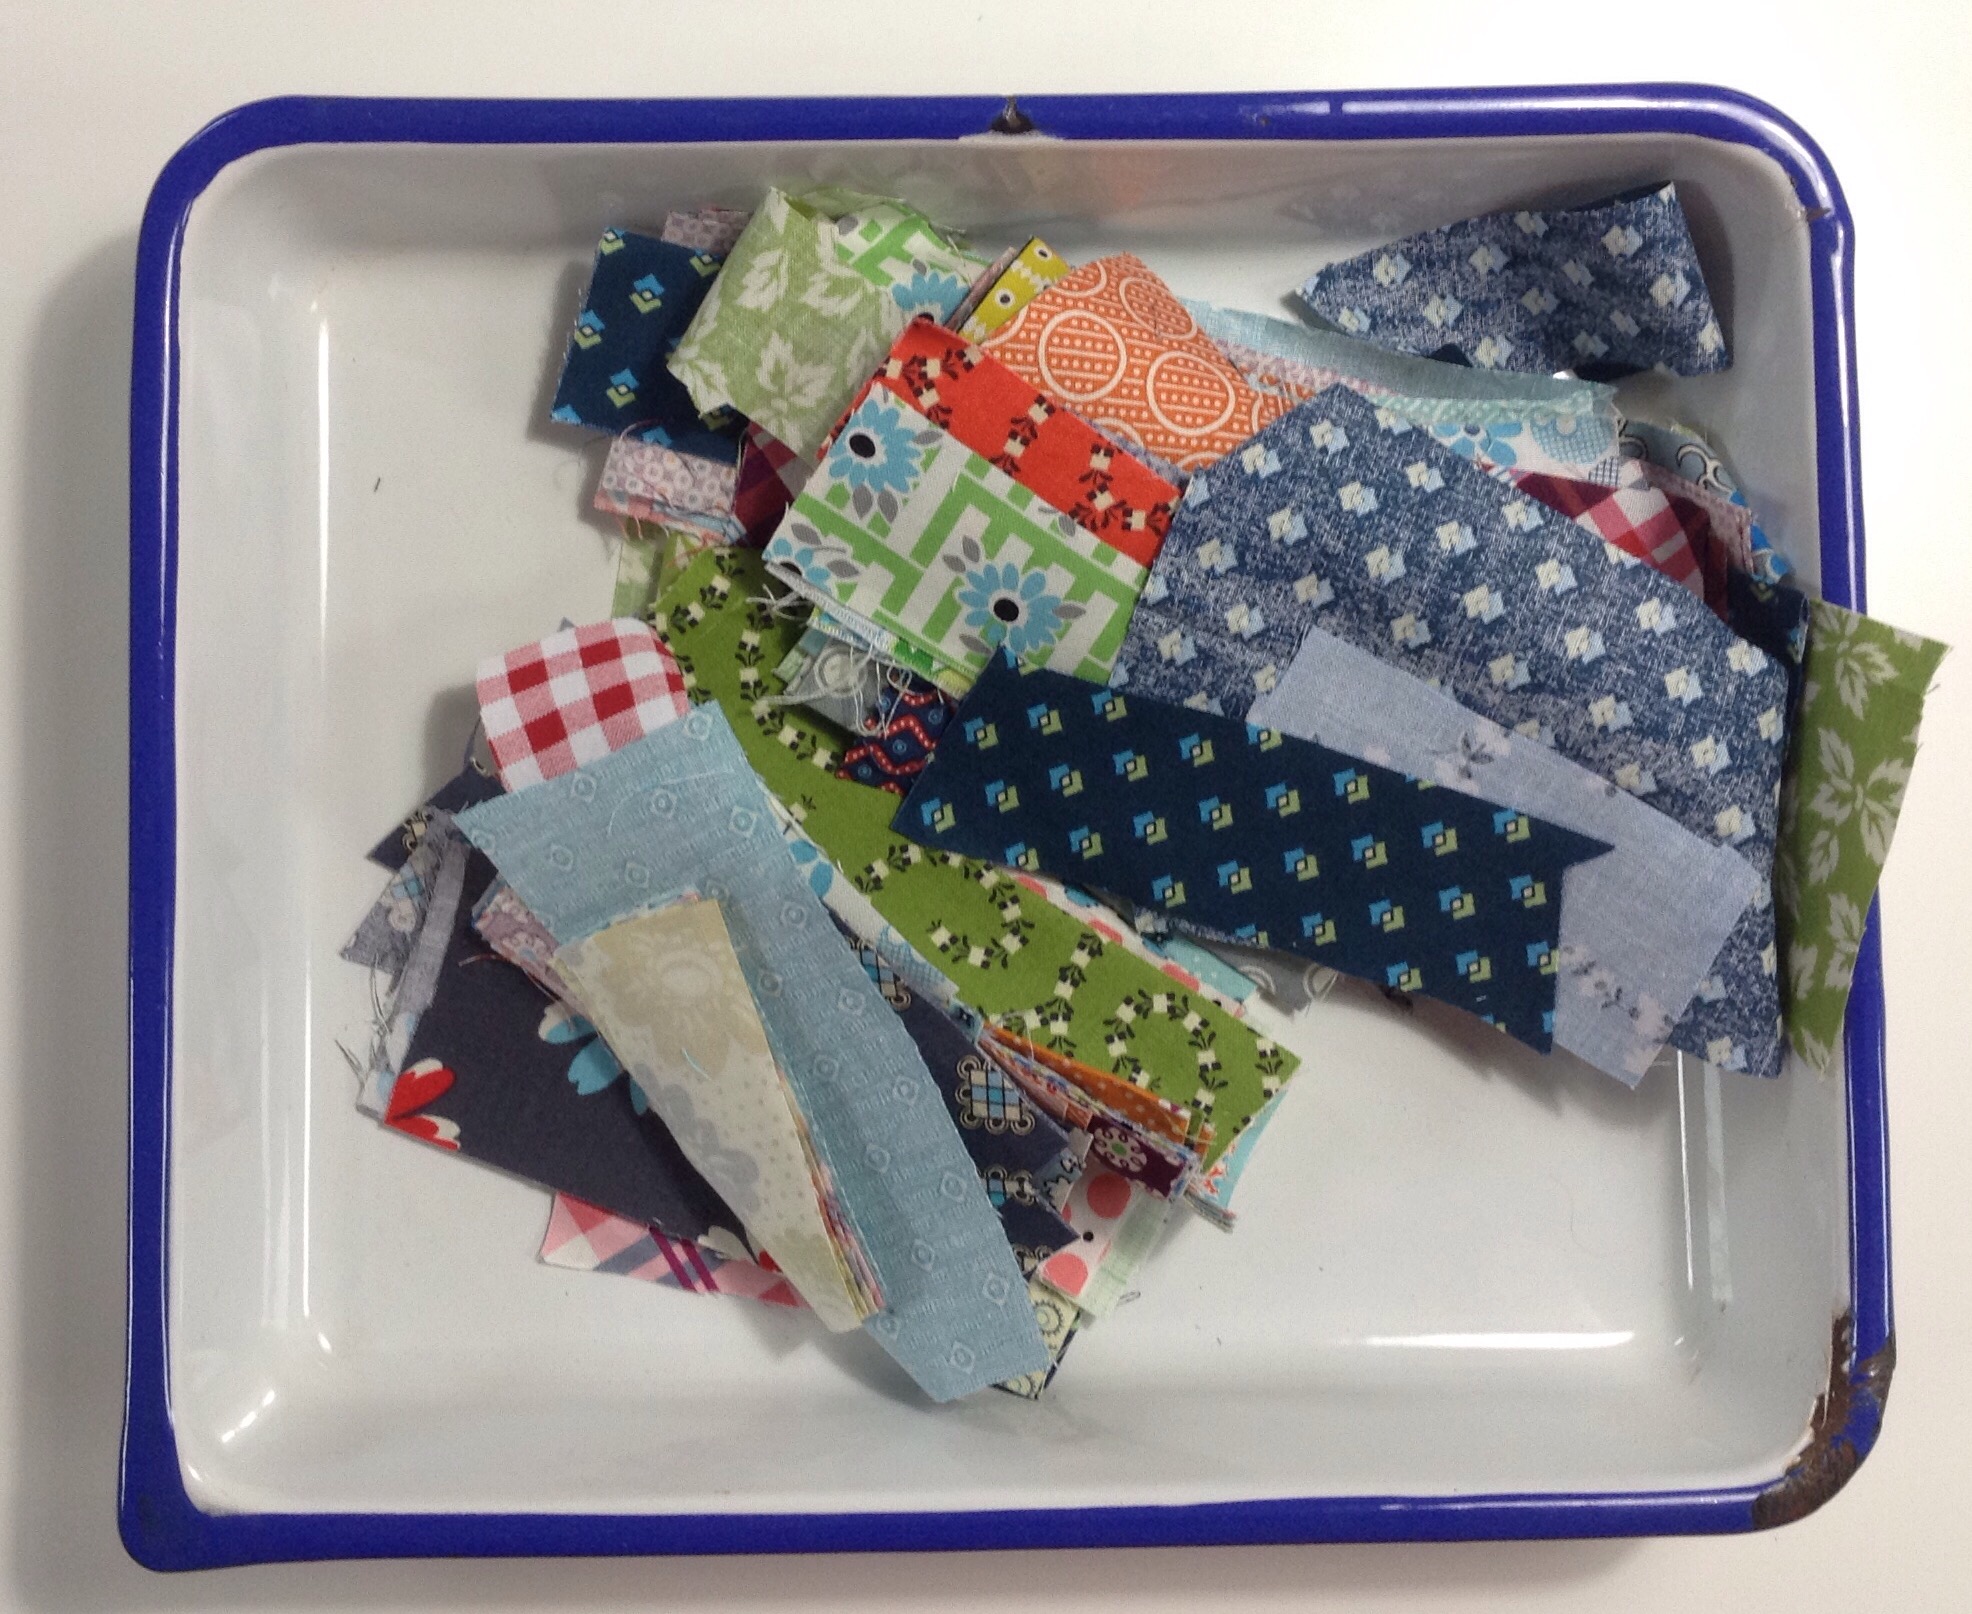
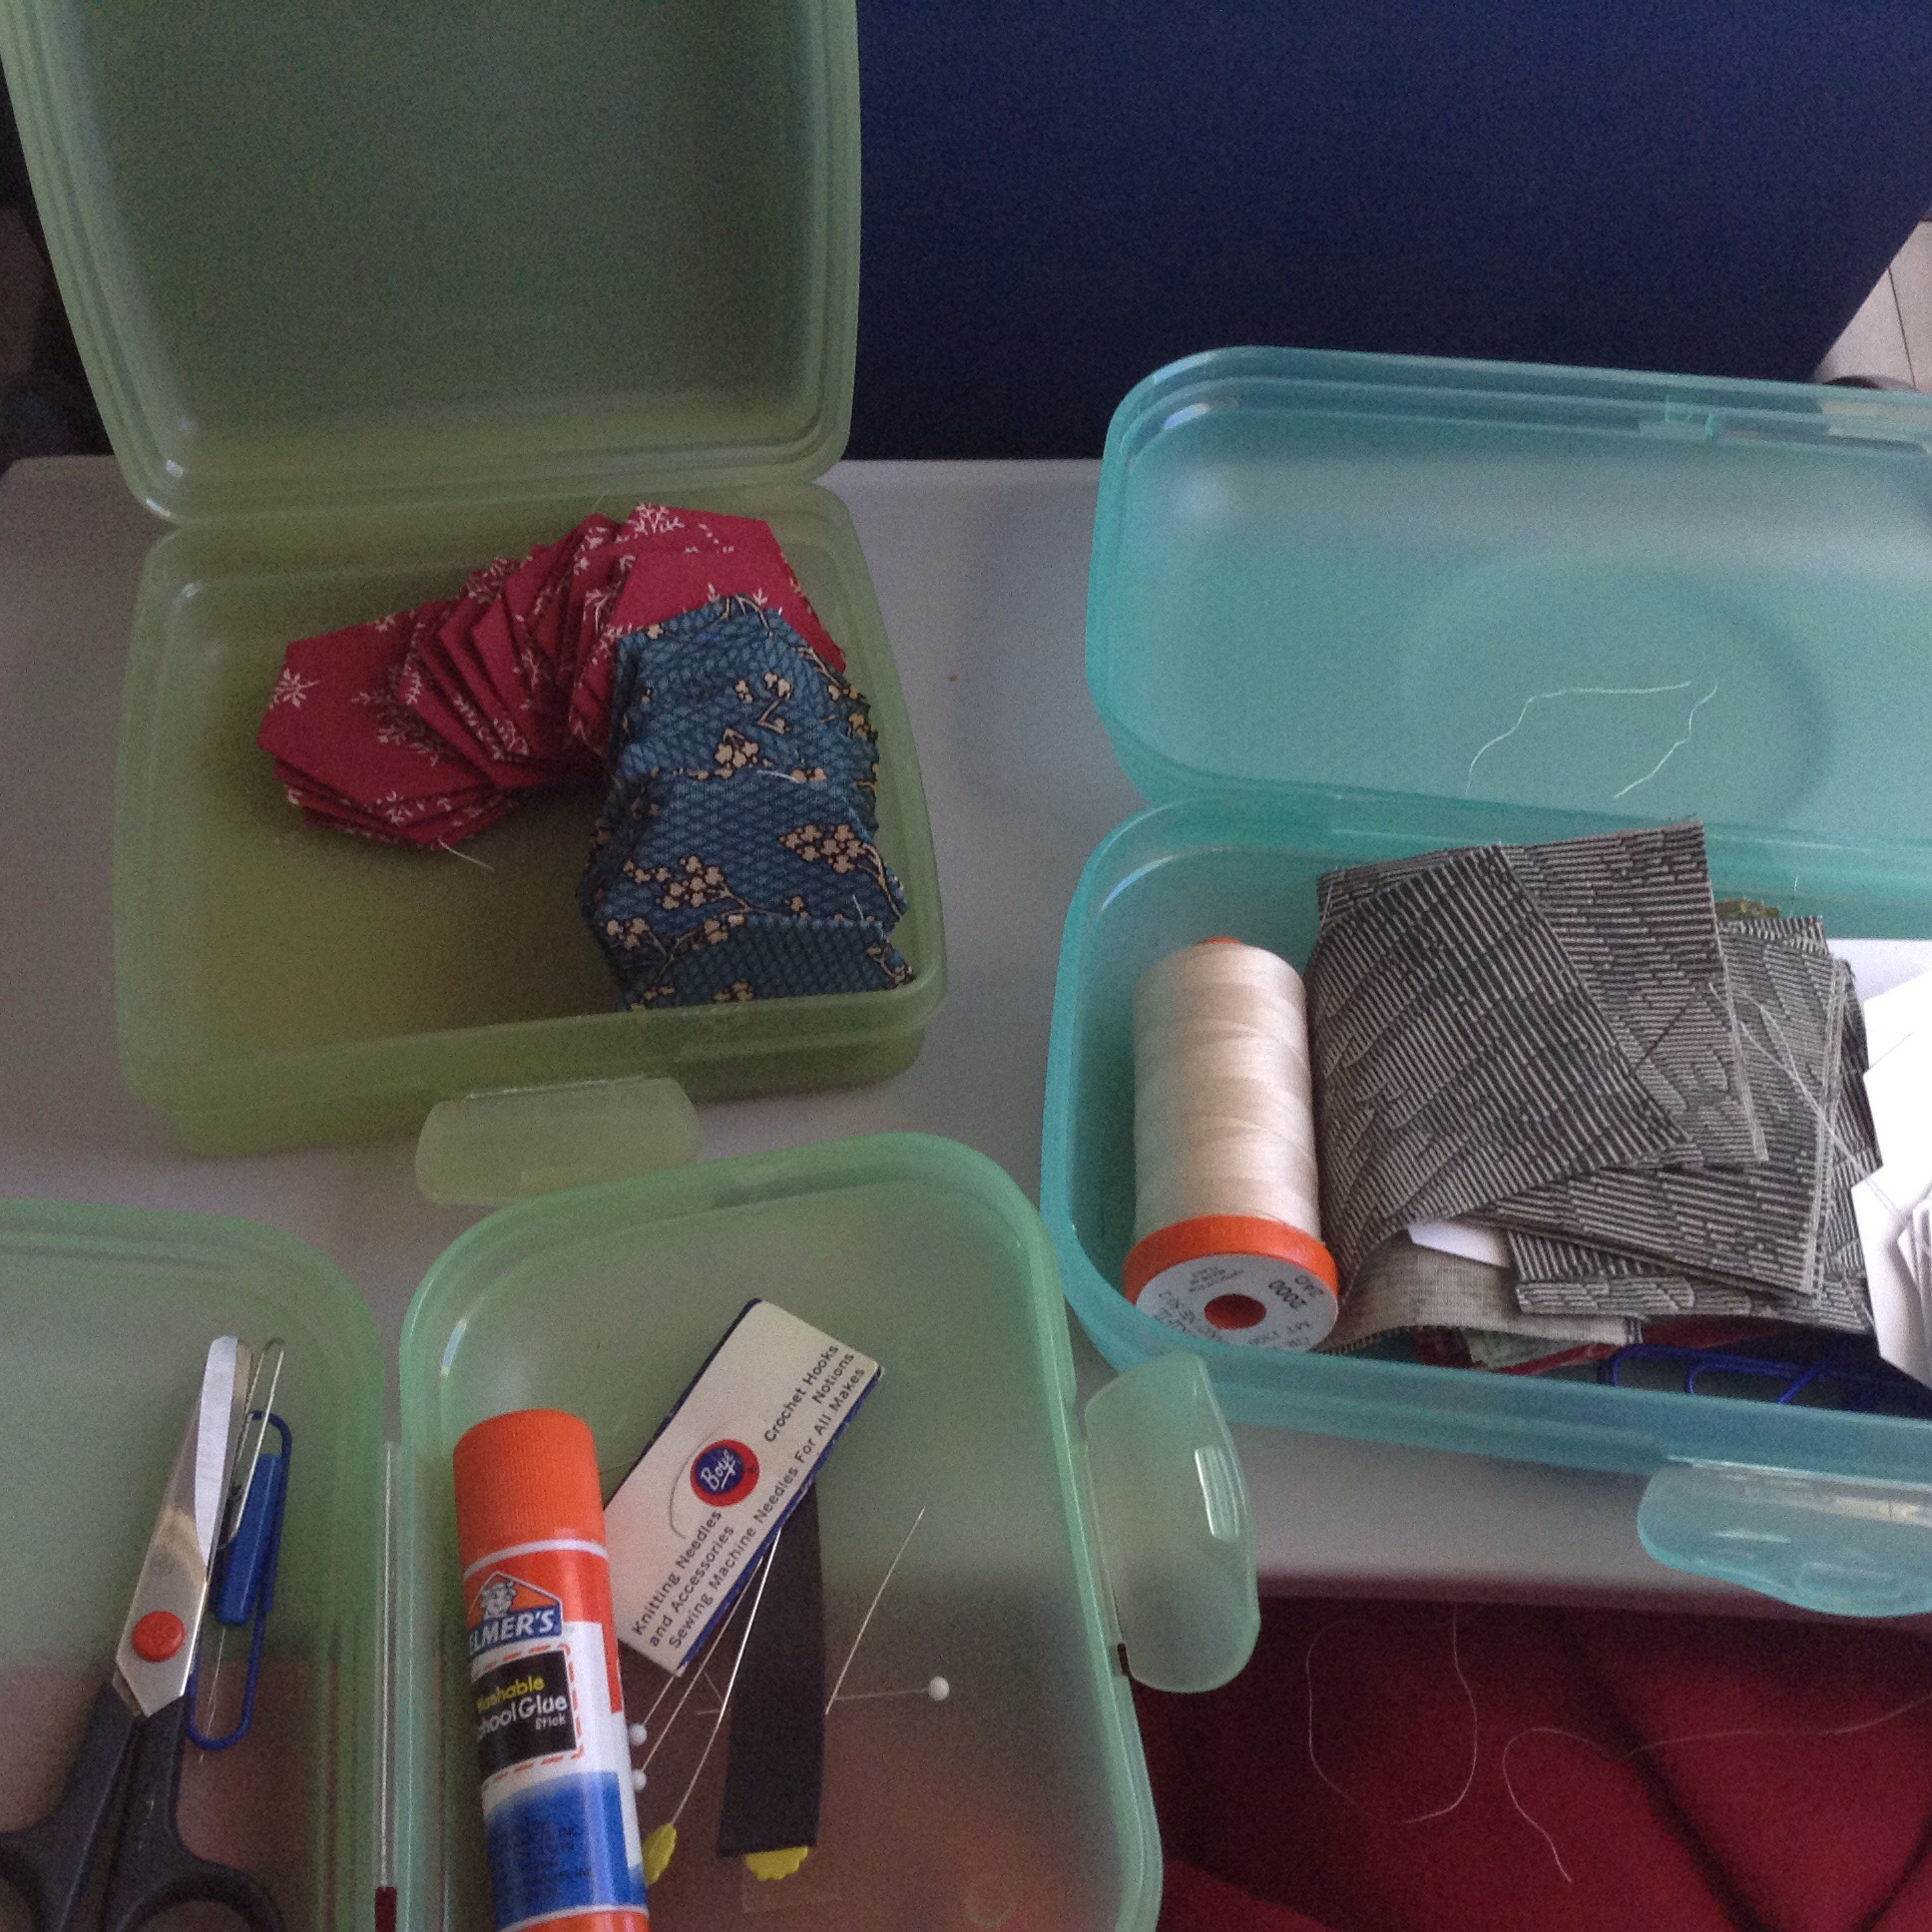
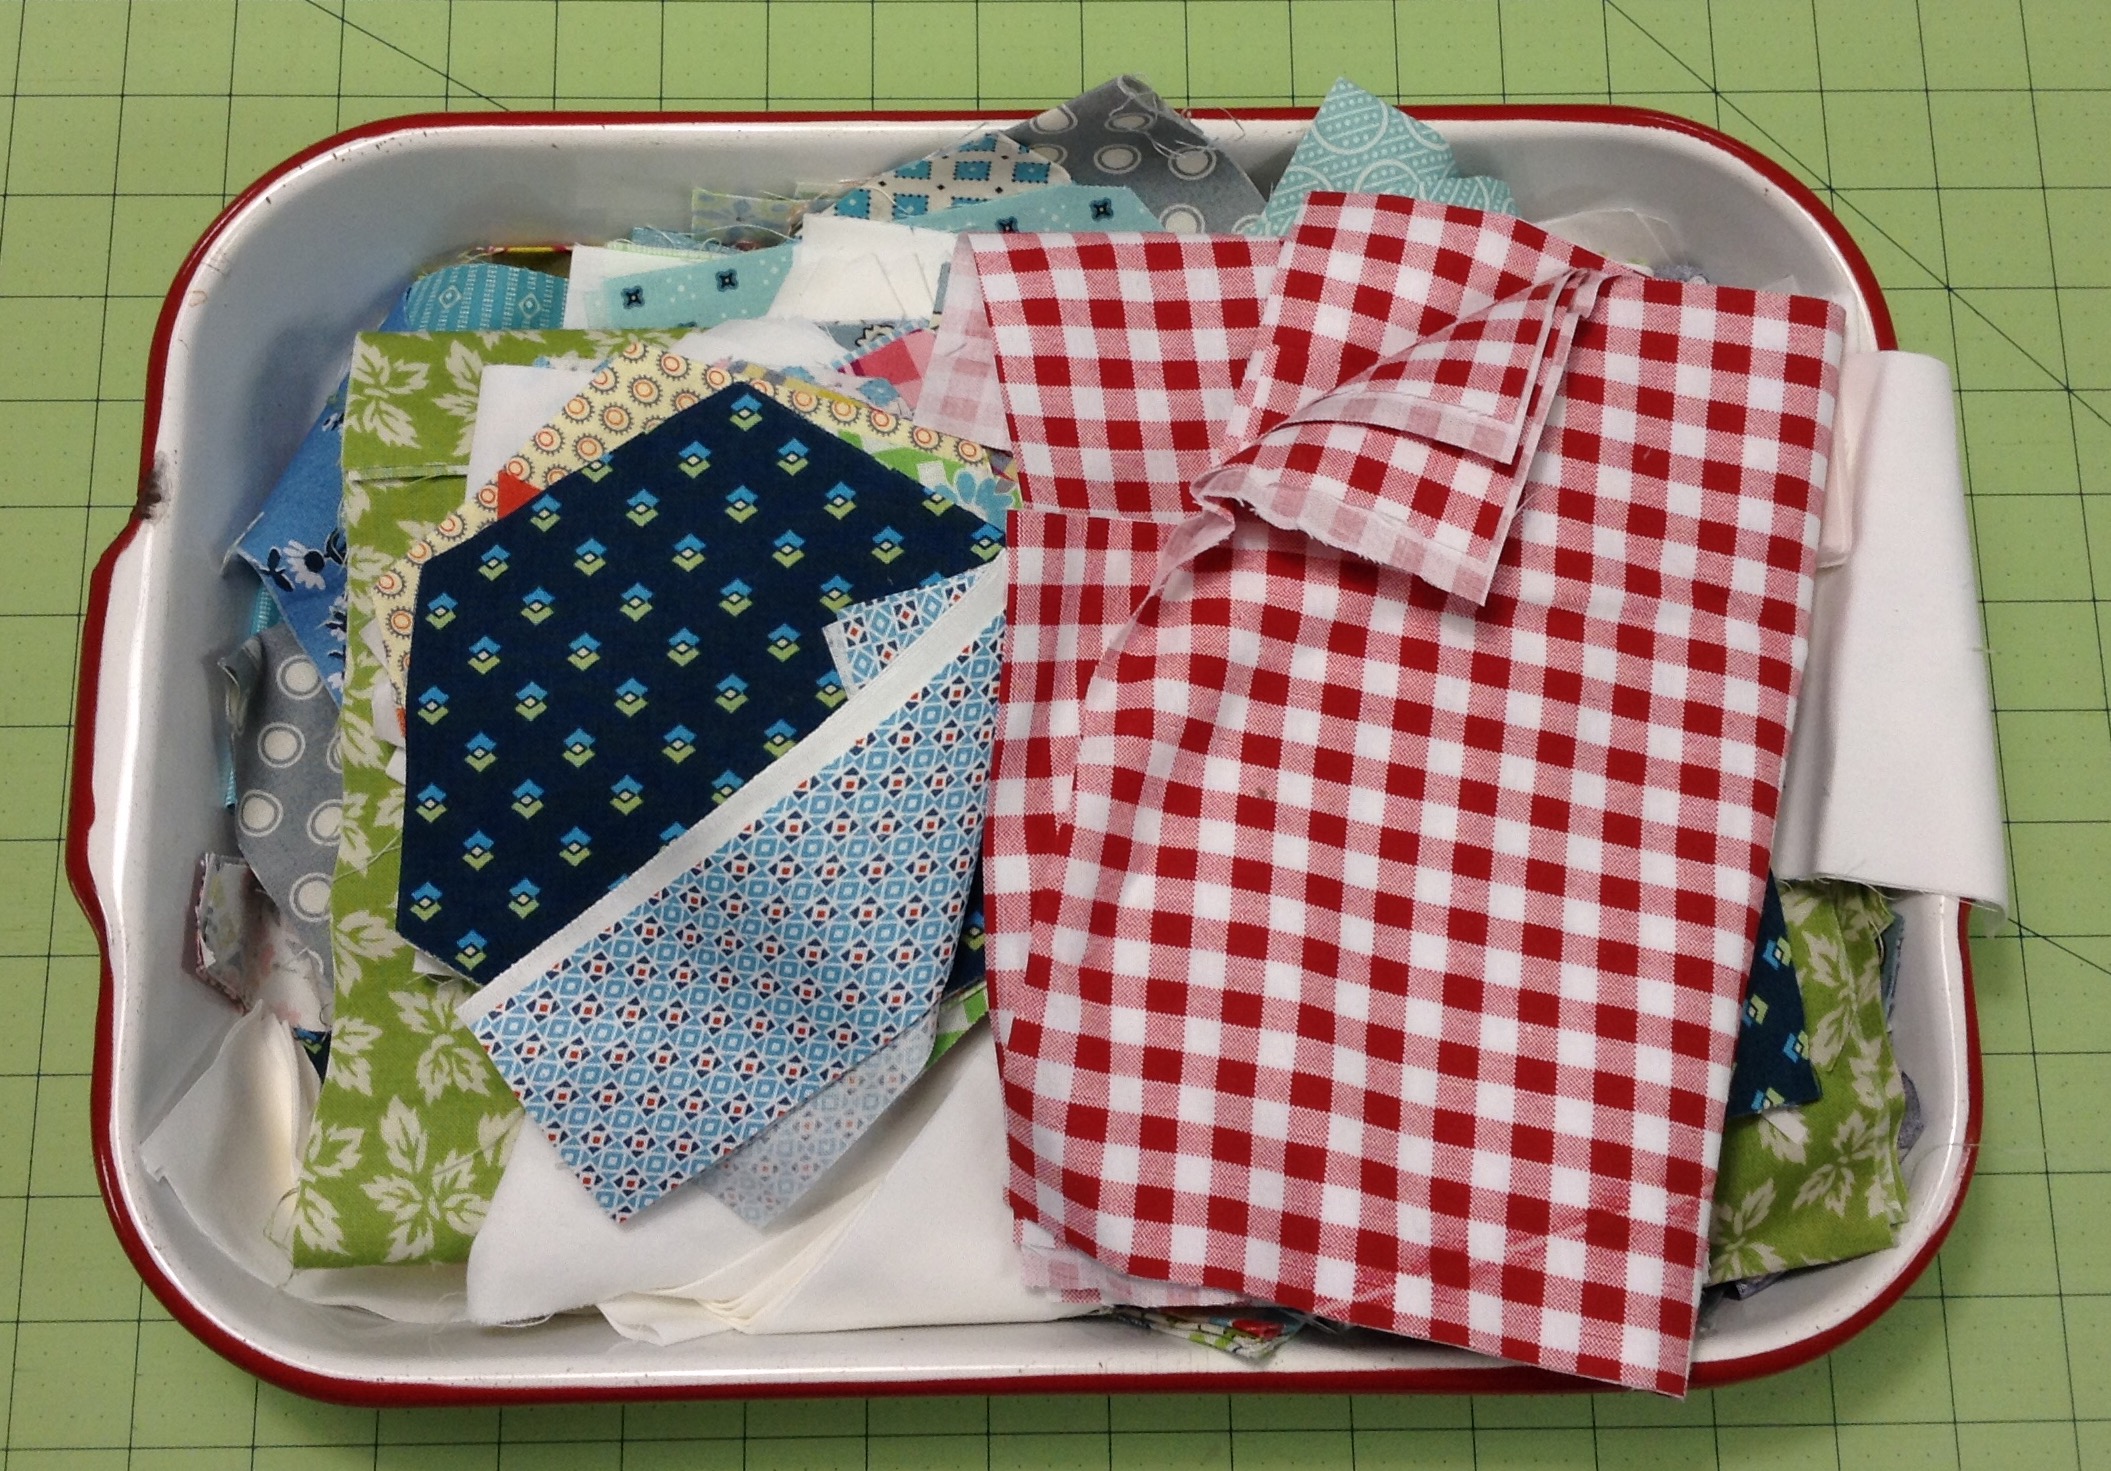
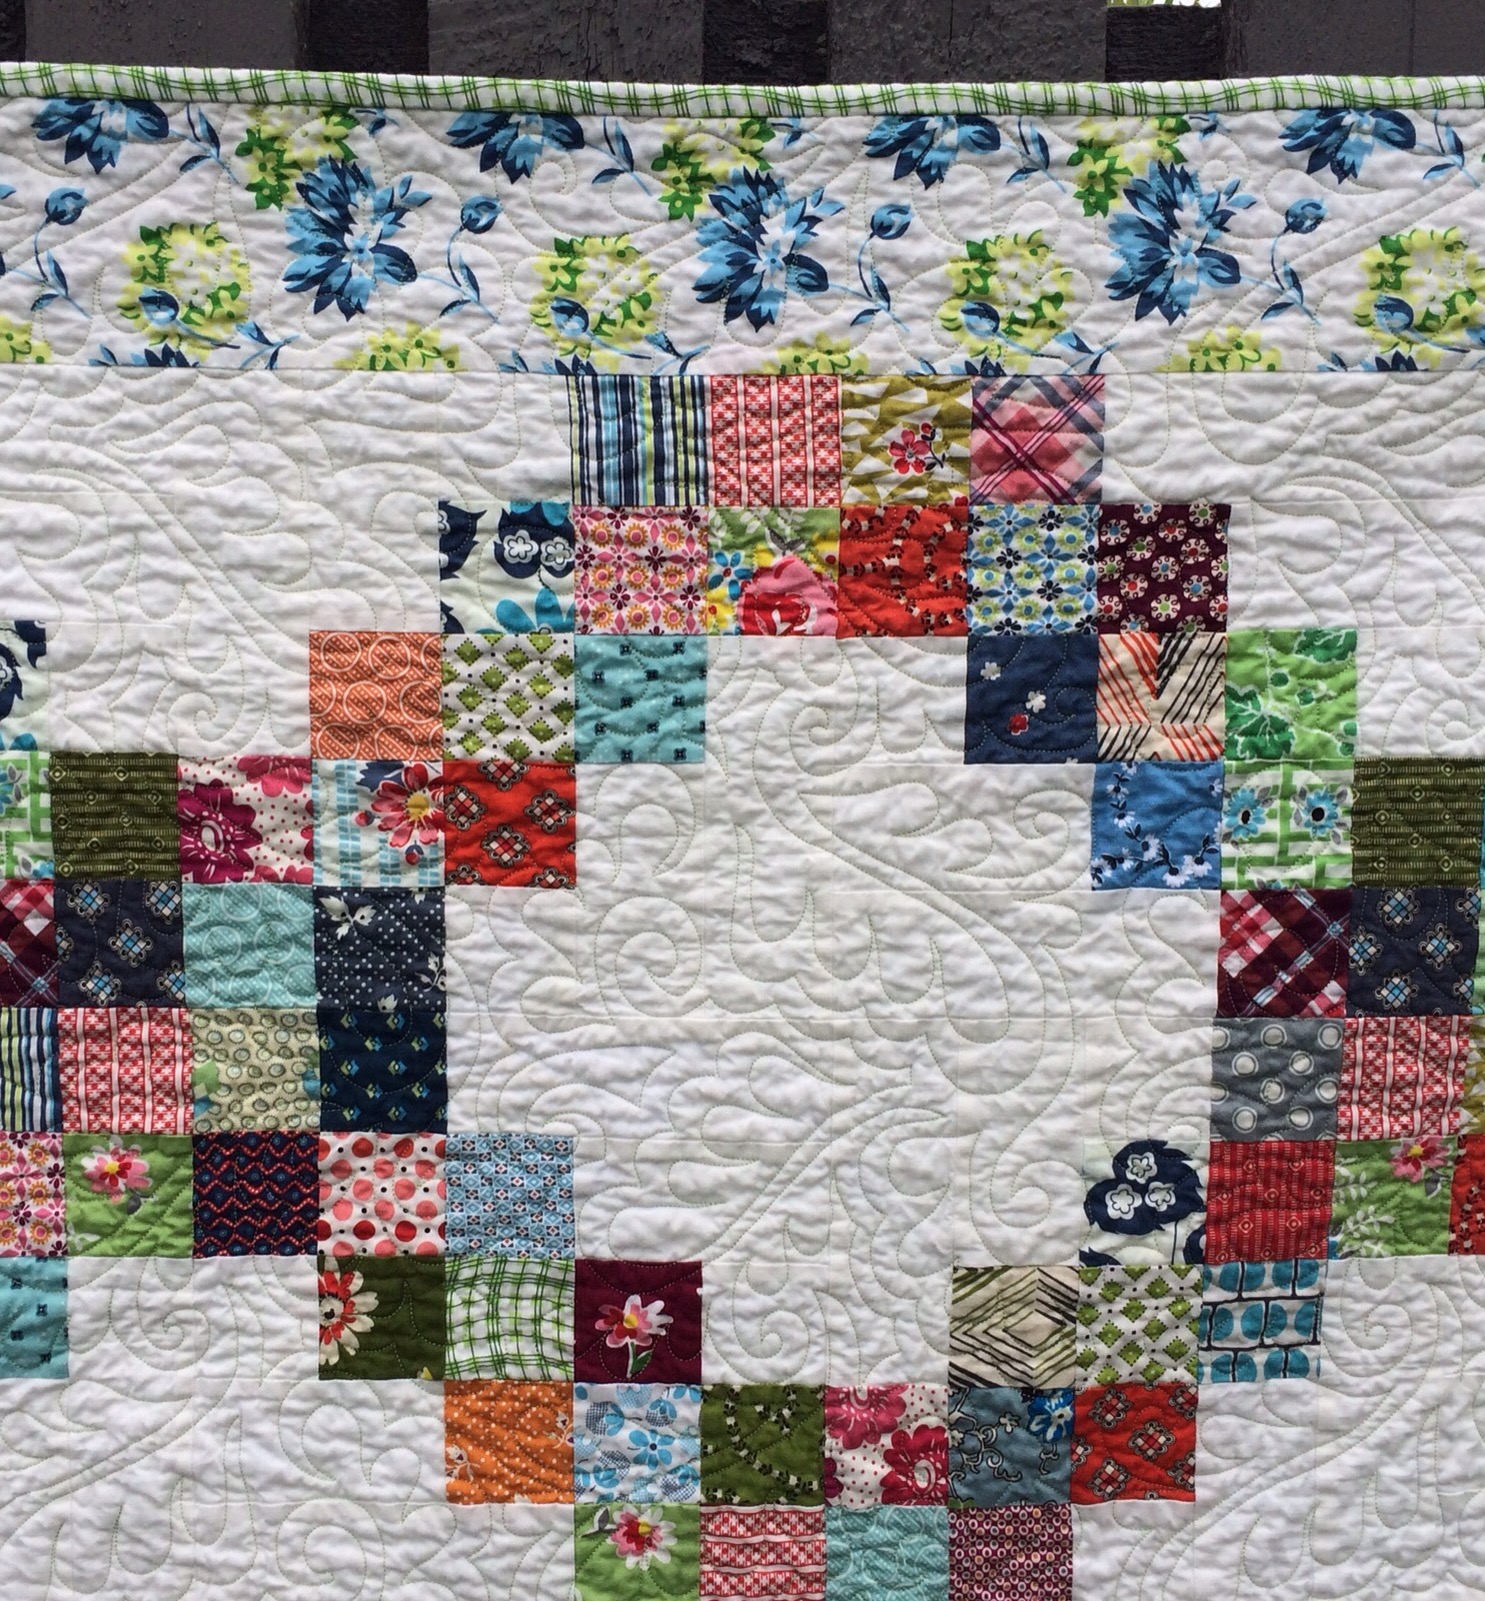
This pan is filled with mostly scraps from my collection of Denyse Schmidt fabrics. I love her designs and have found that all her lines work so well together. I have a lot more scraps than this, but these are scraps I want to use together. I have a large basket for Civil War Repro fabrics and another bin for solids.

FullSizeRender (3)

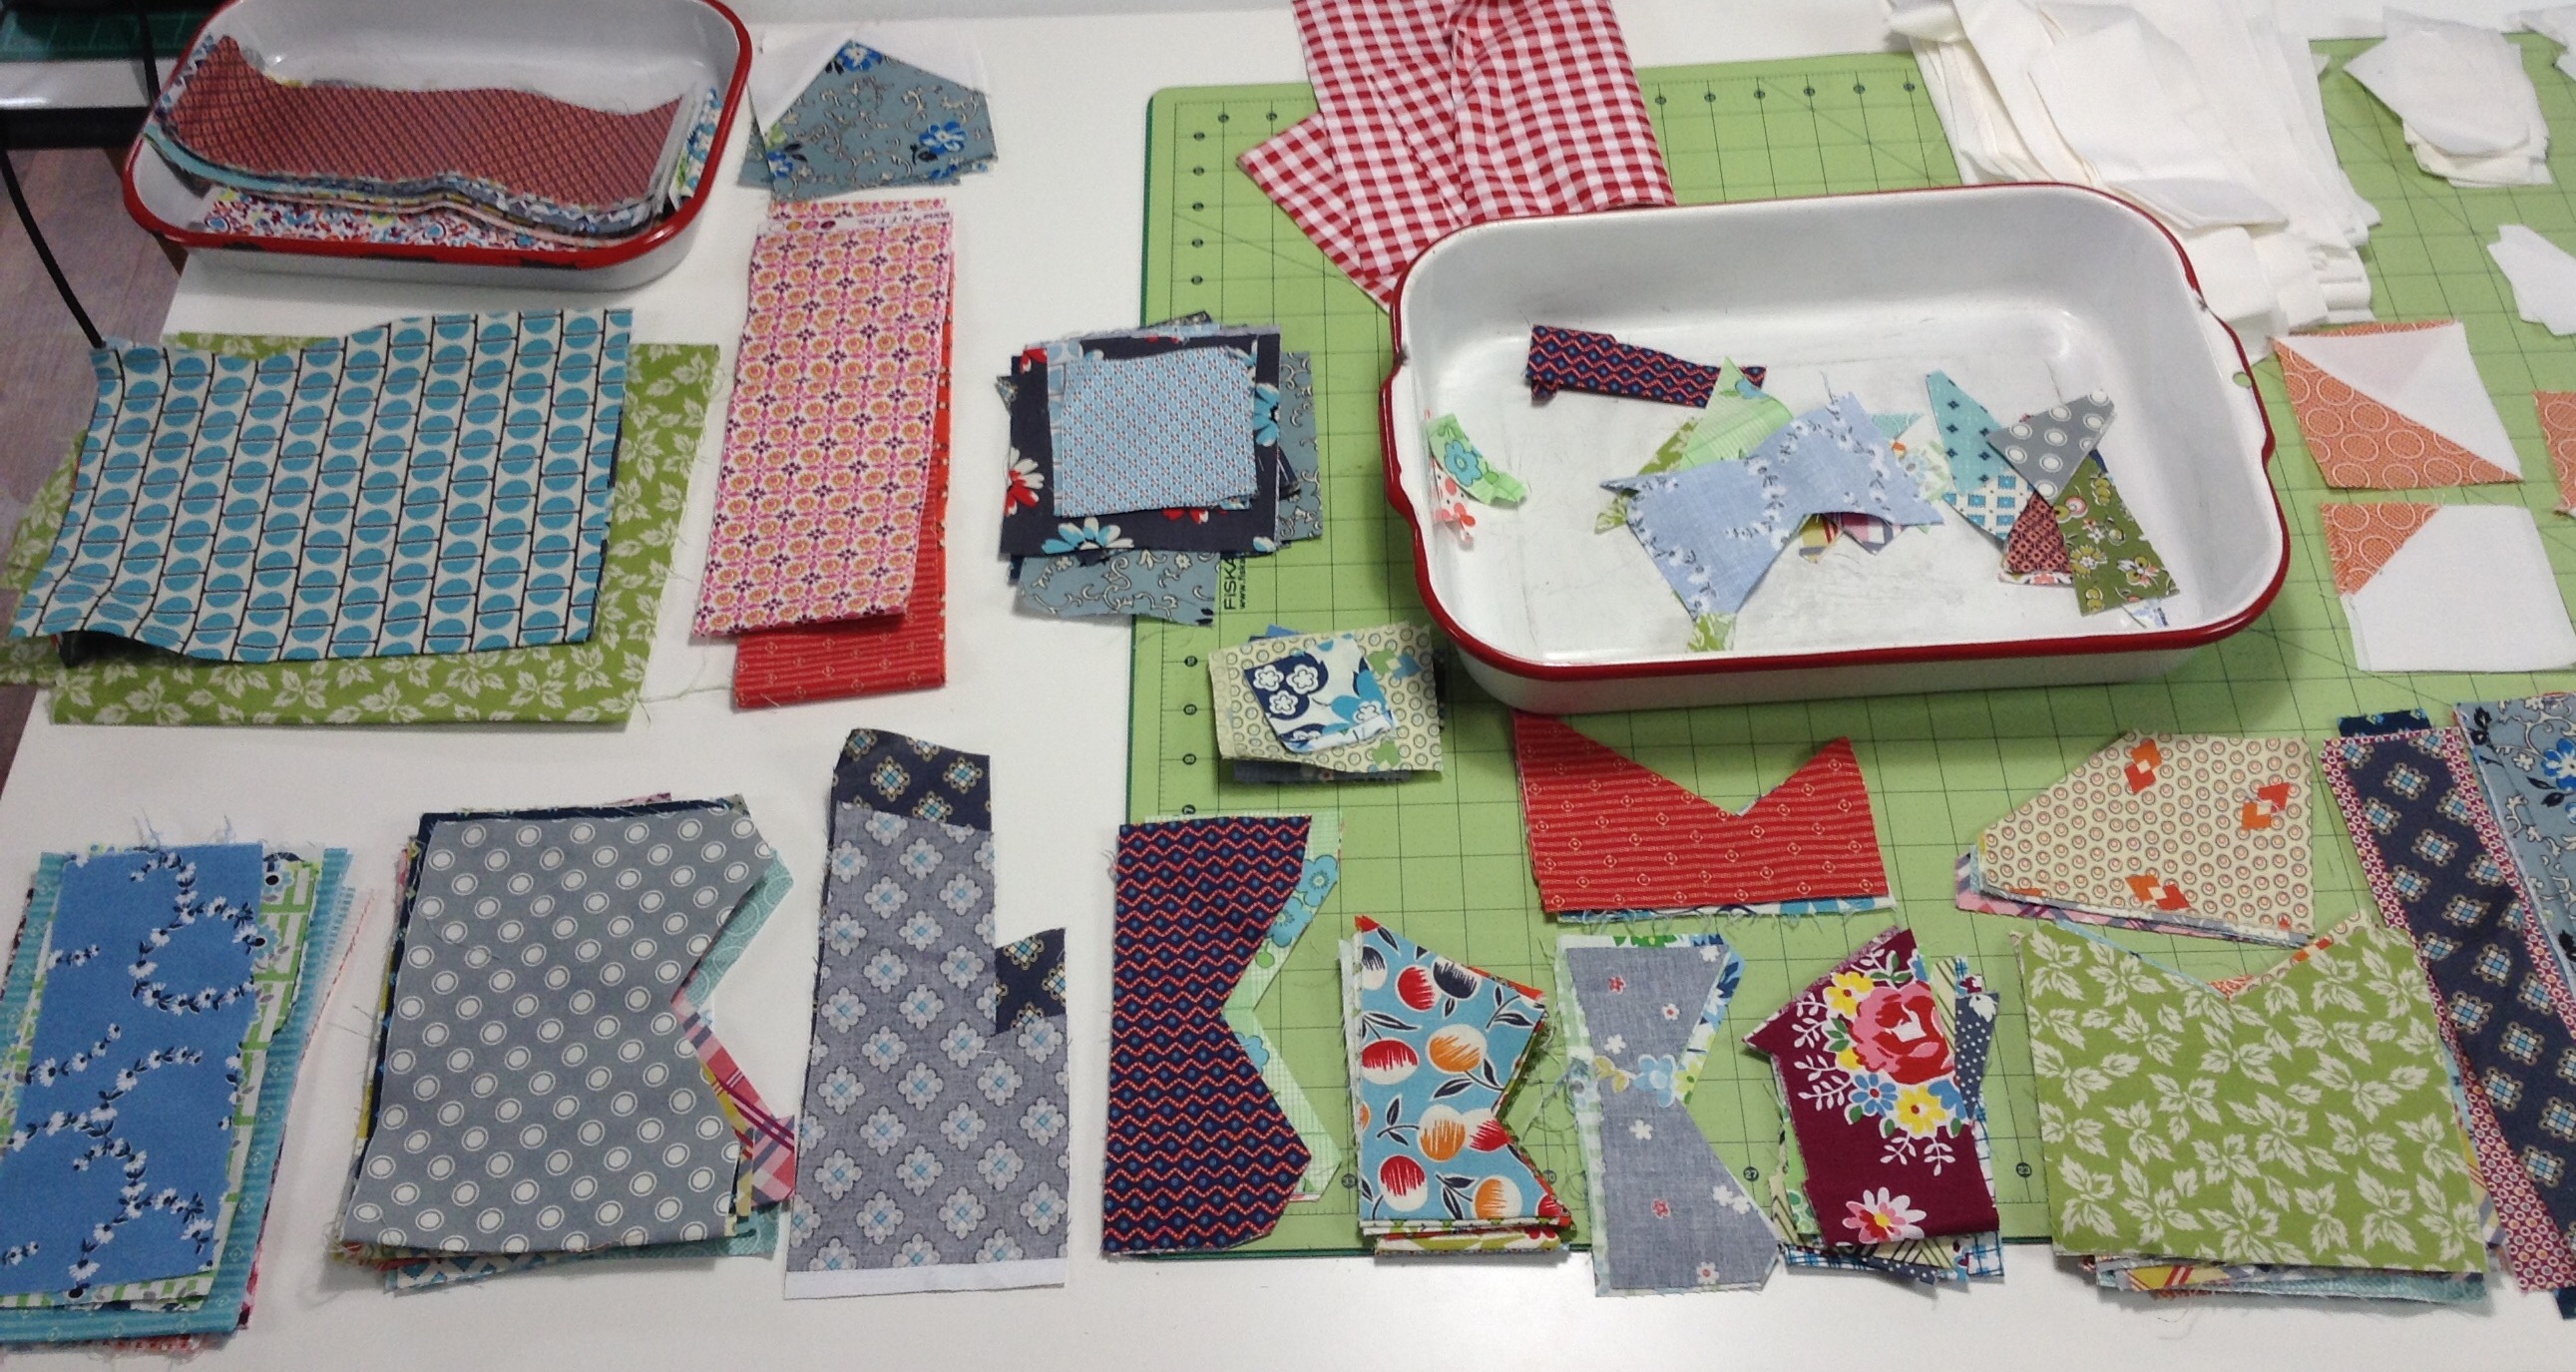
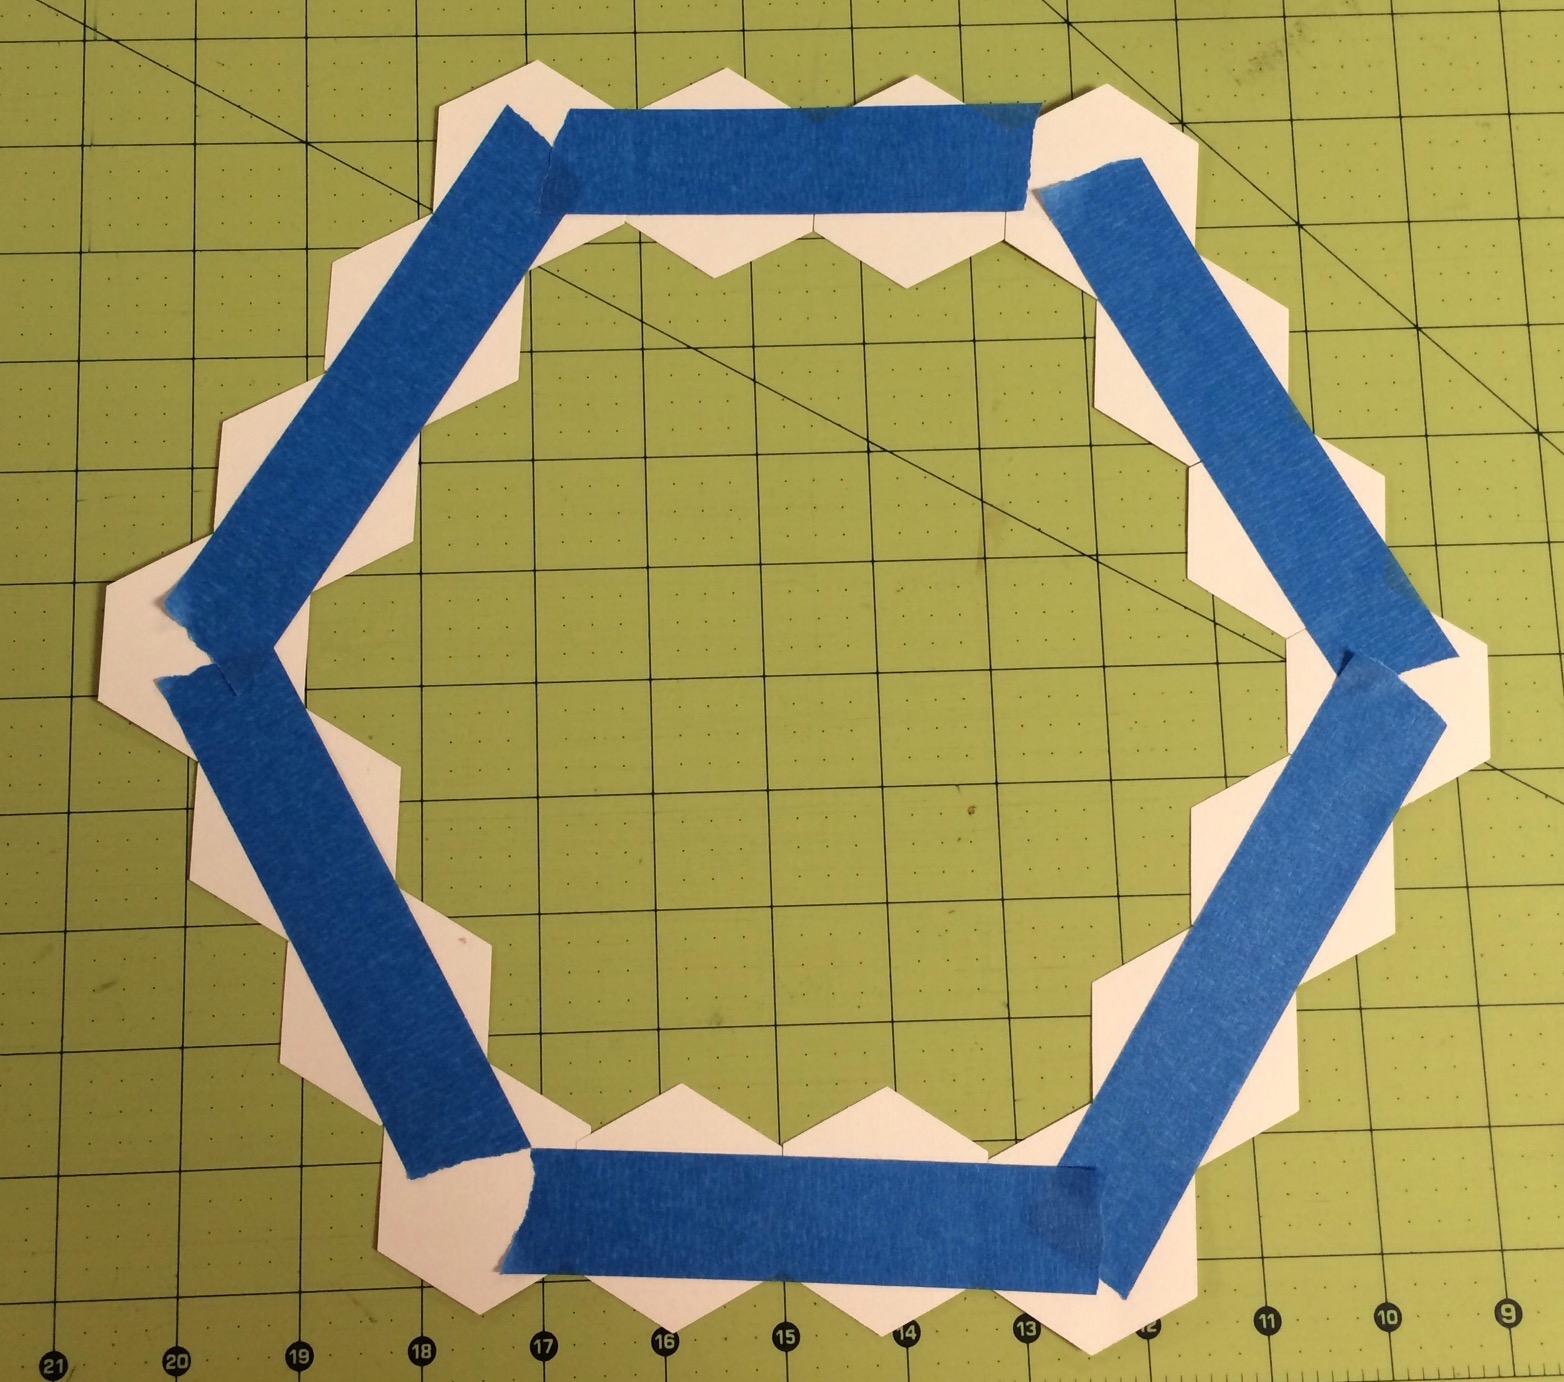
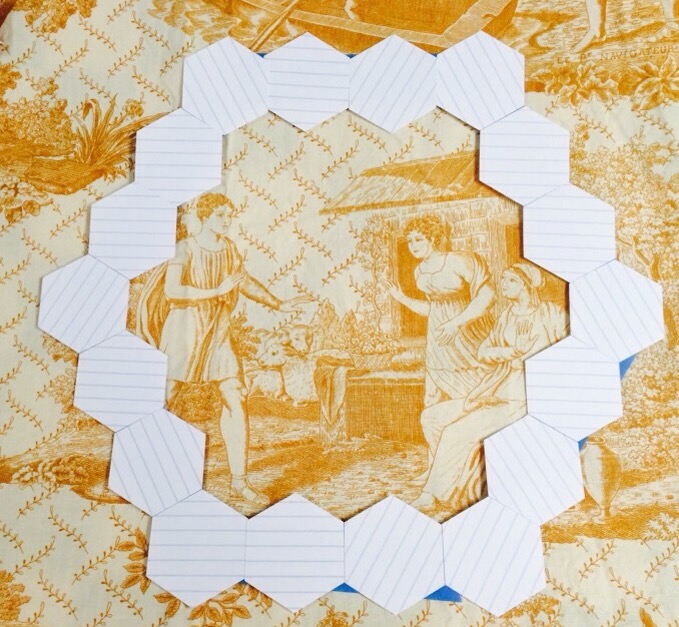
After my pan, basket, or bin is sufficiently full, I  start sorting into like sizes and shapes. If you have a die cutter, you will likely have lots of similar shapes left over. This is very handy!

FullSizeRender

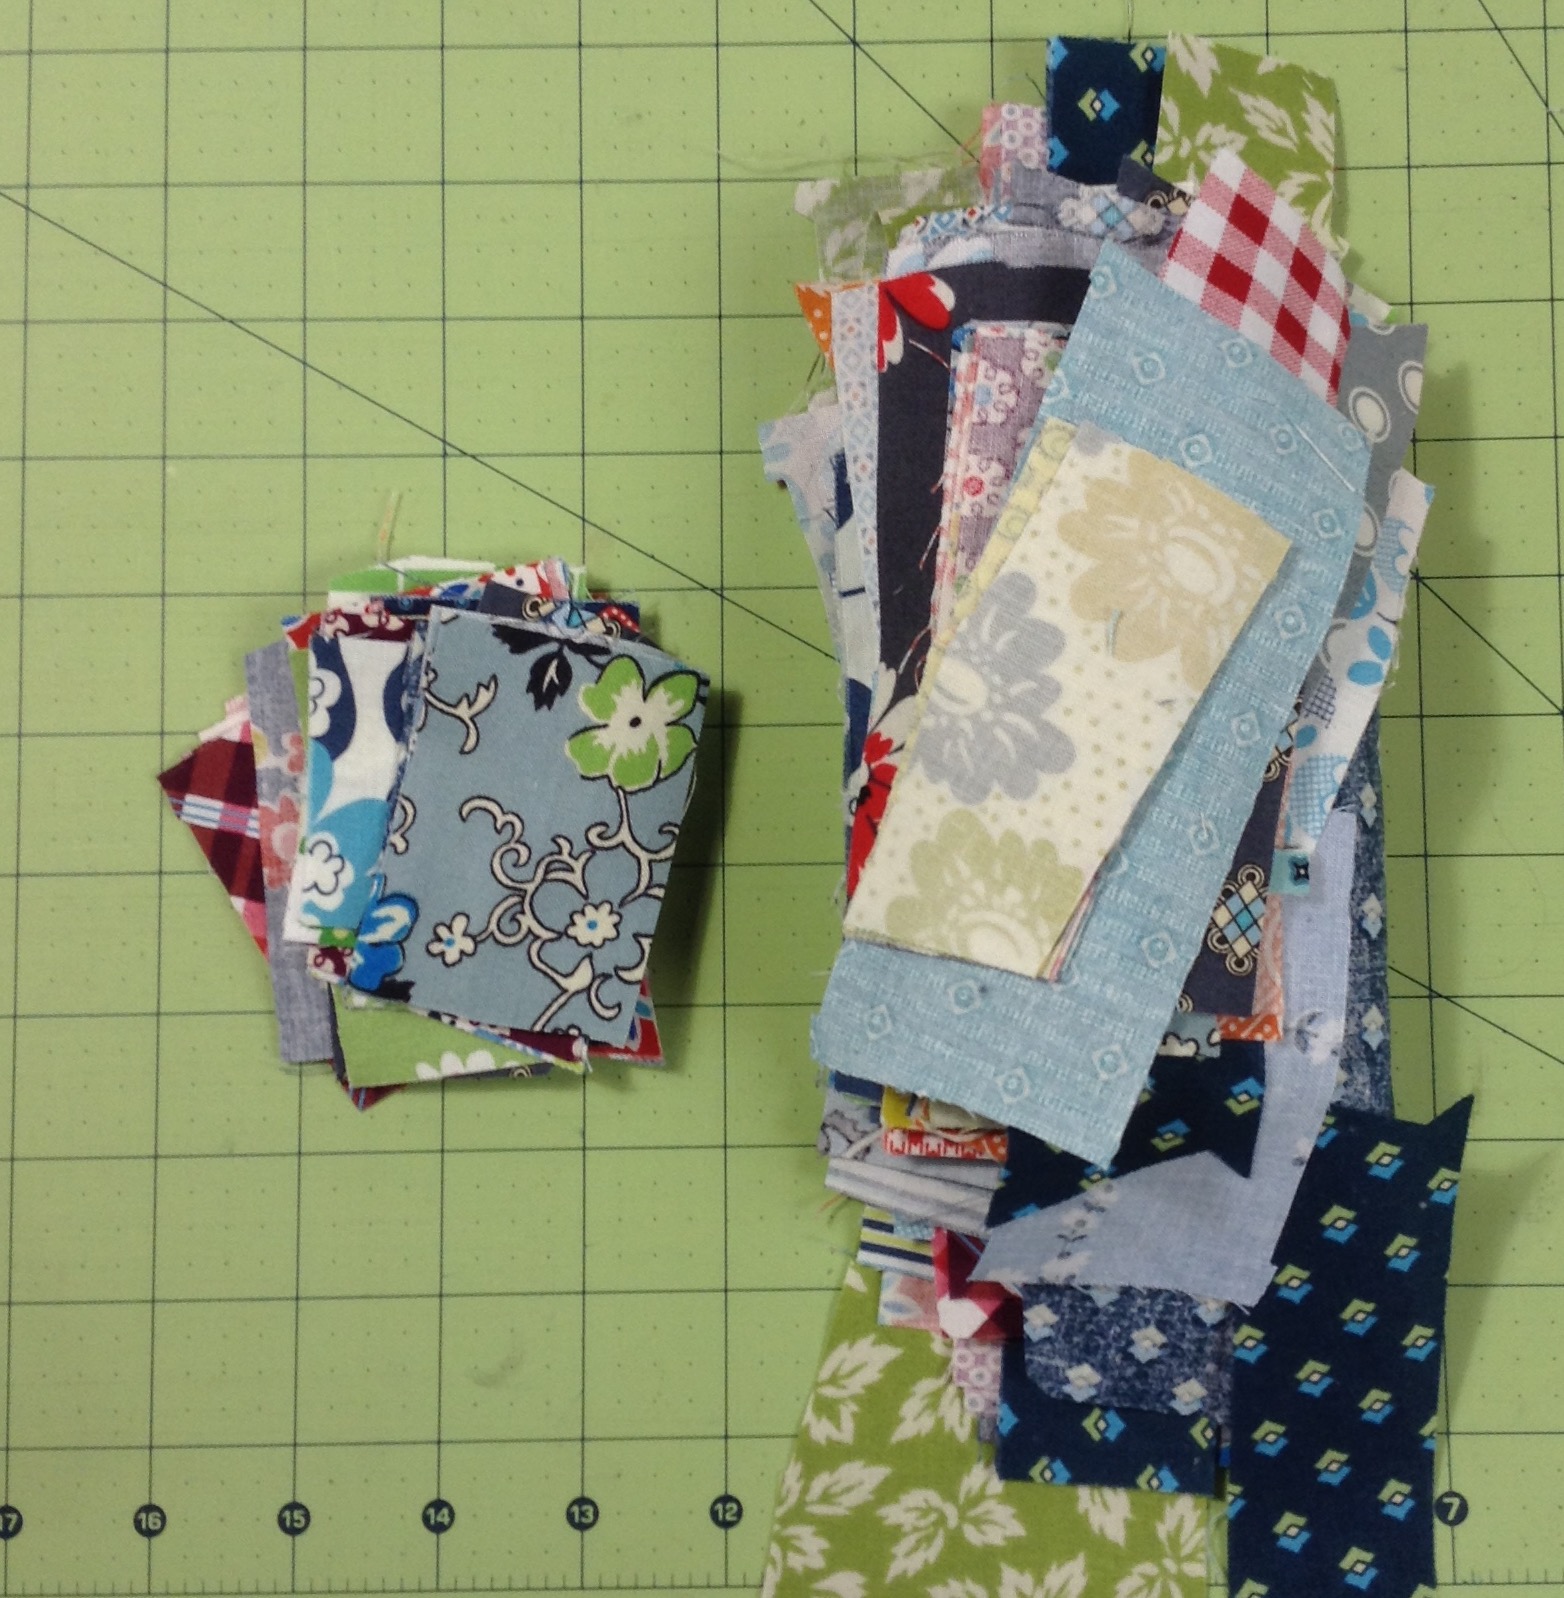
Toss bits that are tinier than you will actually use. Someone might uses bits this size, but I won’t. So out they go.

IMG_3346

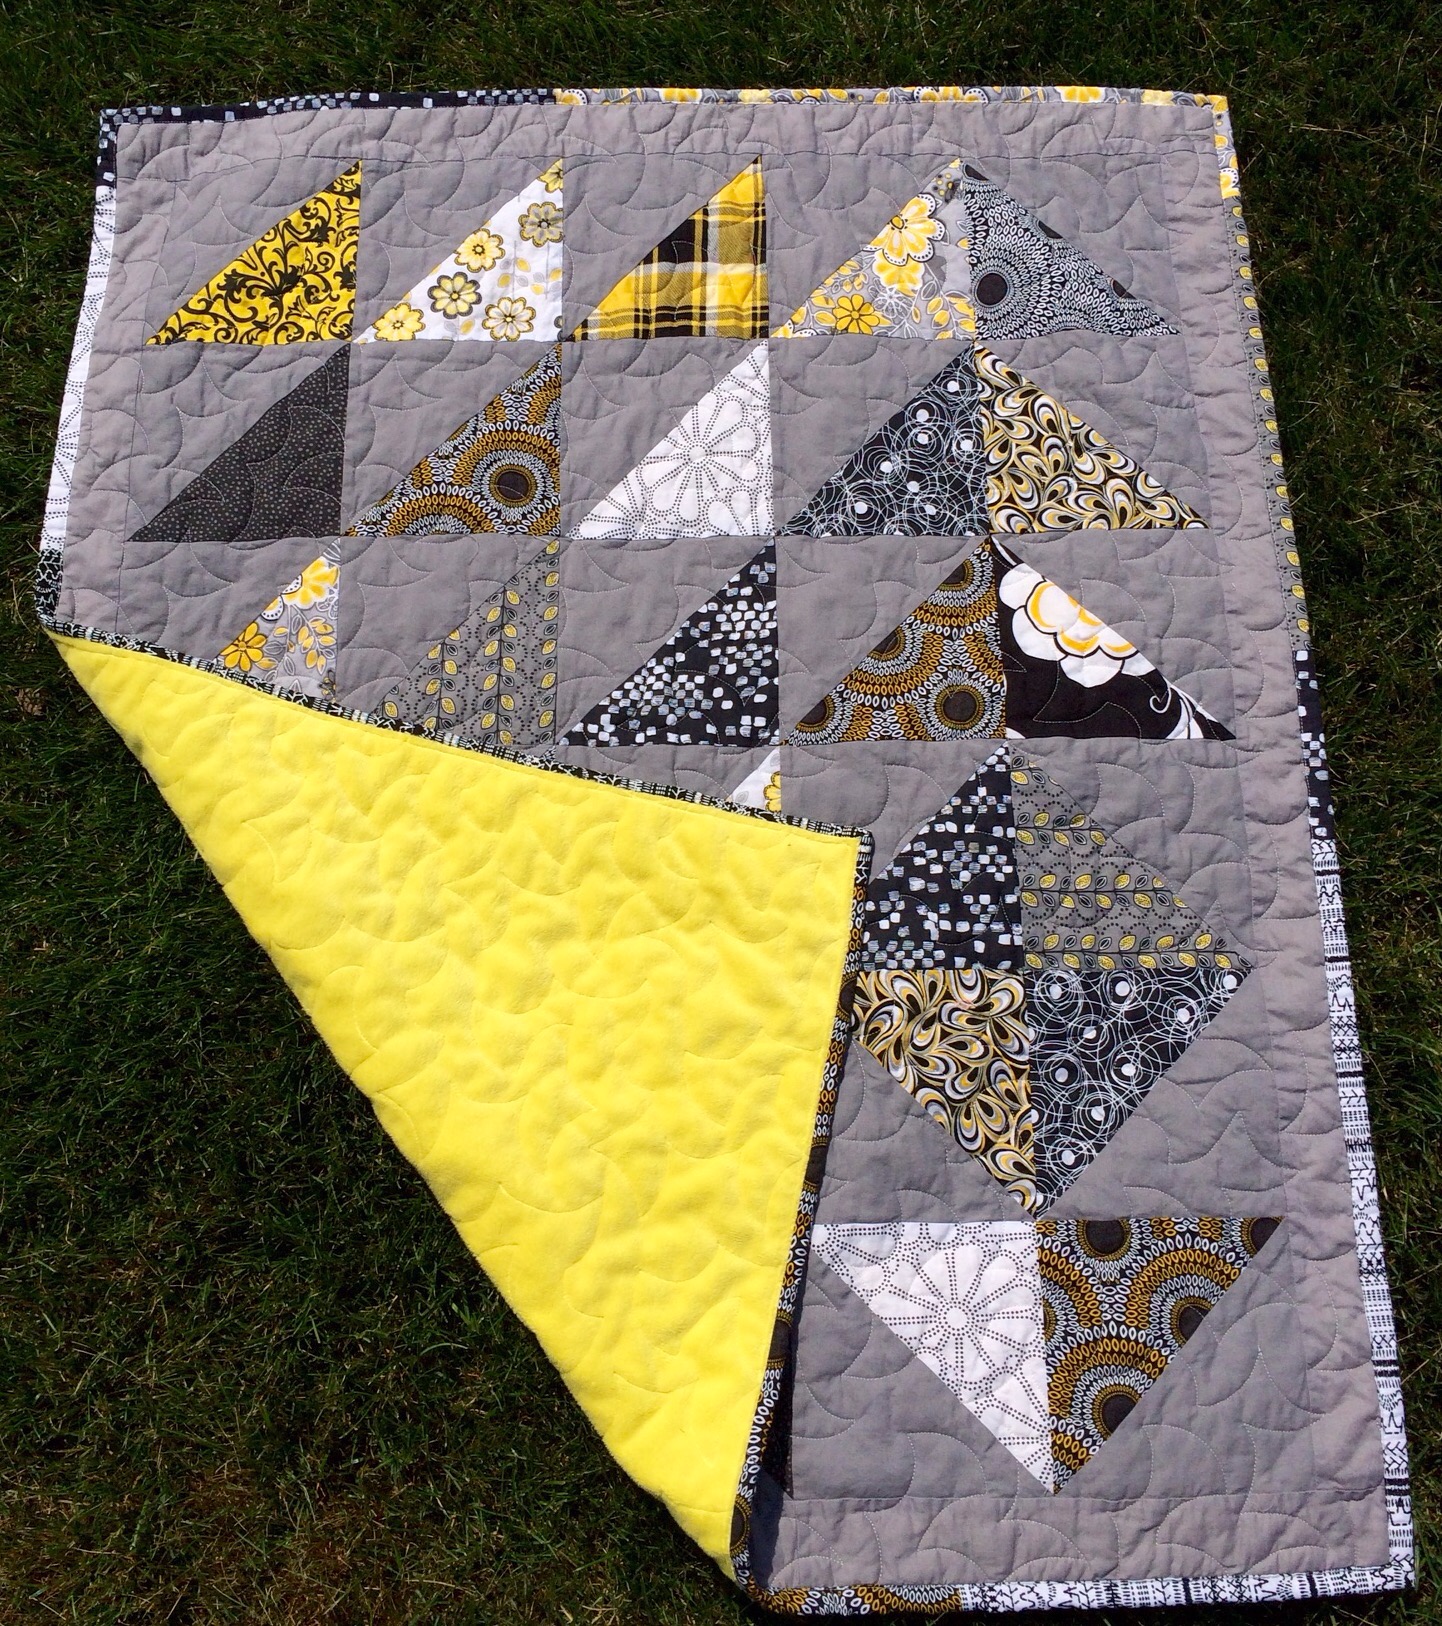
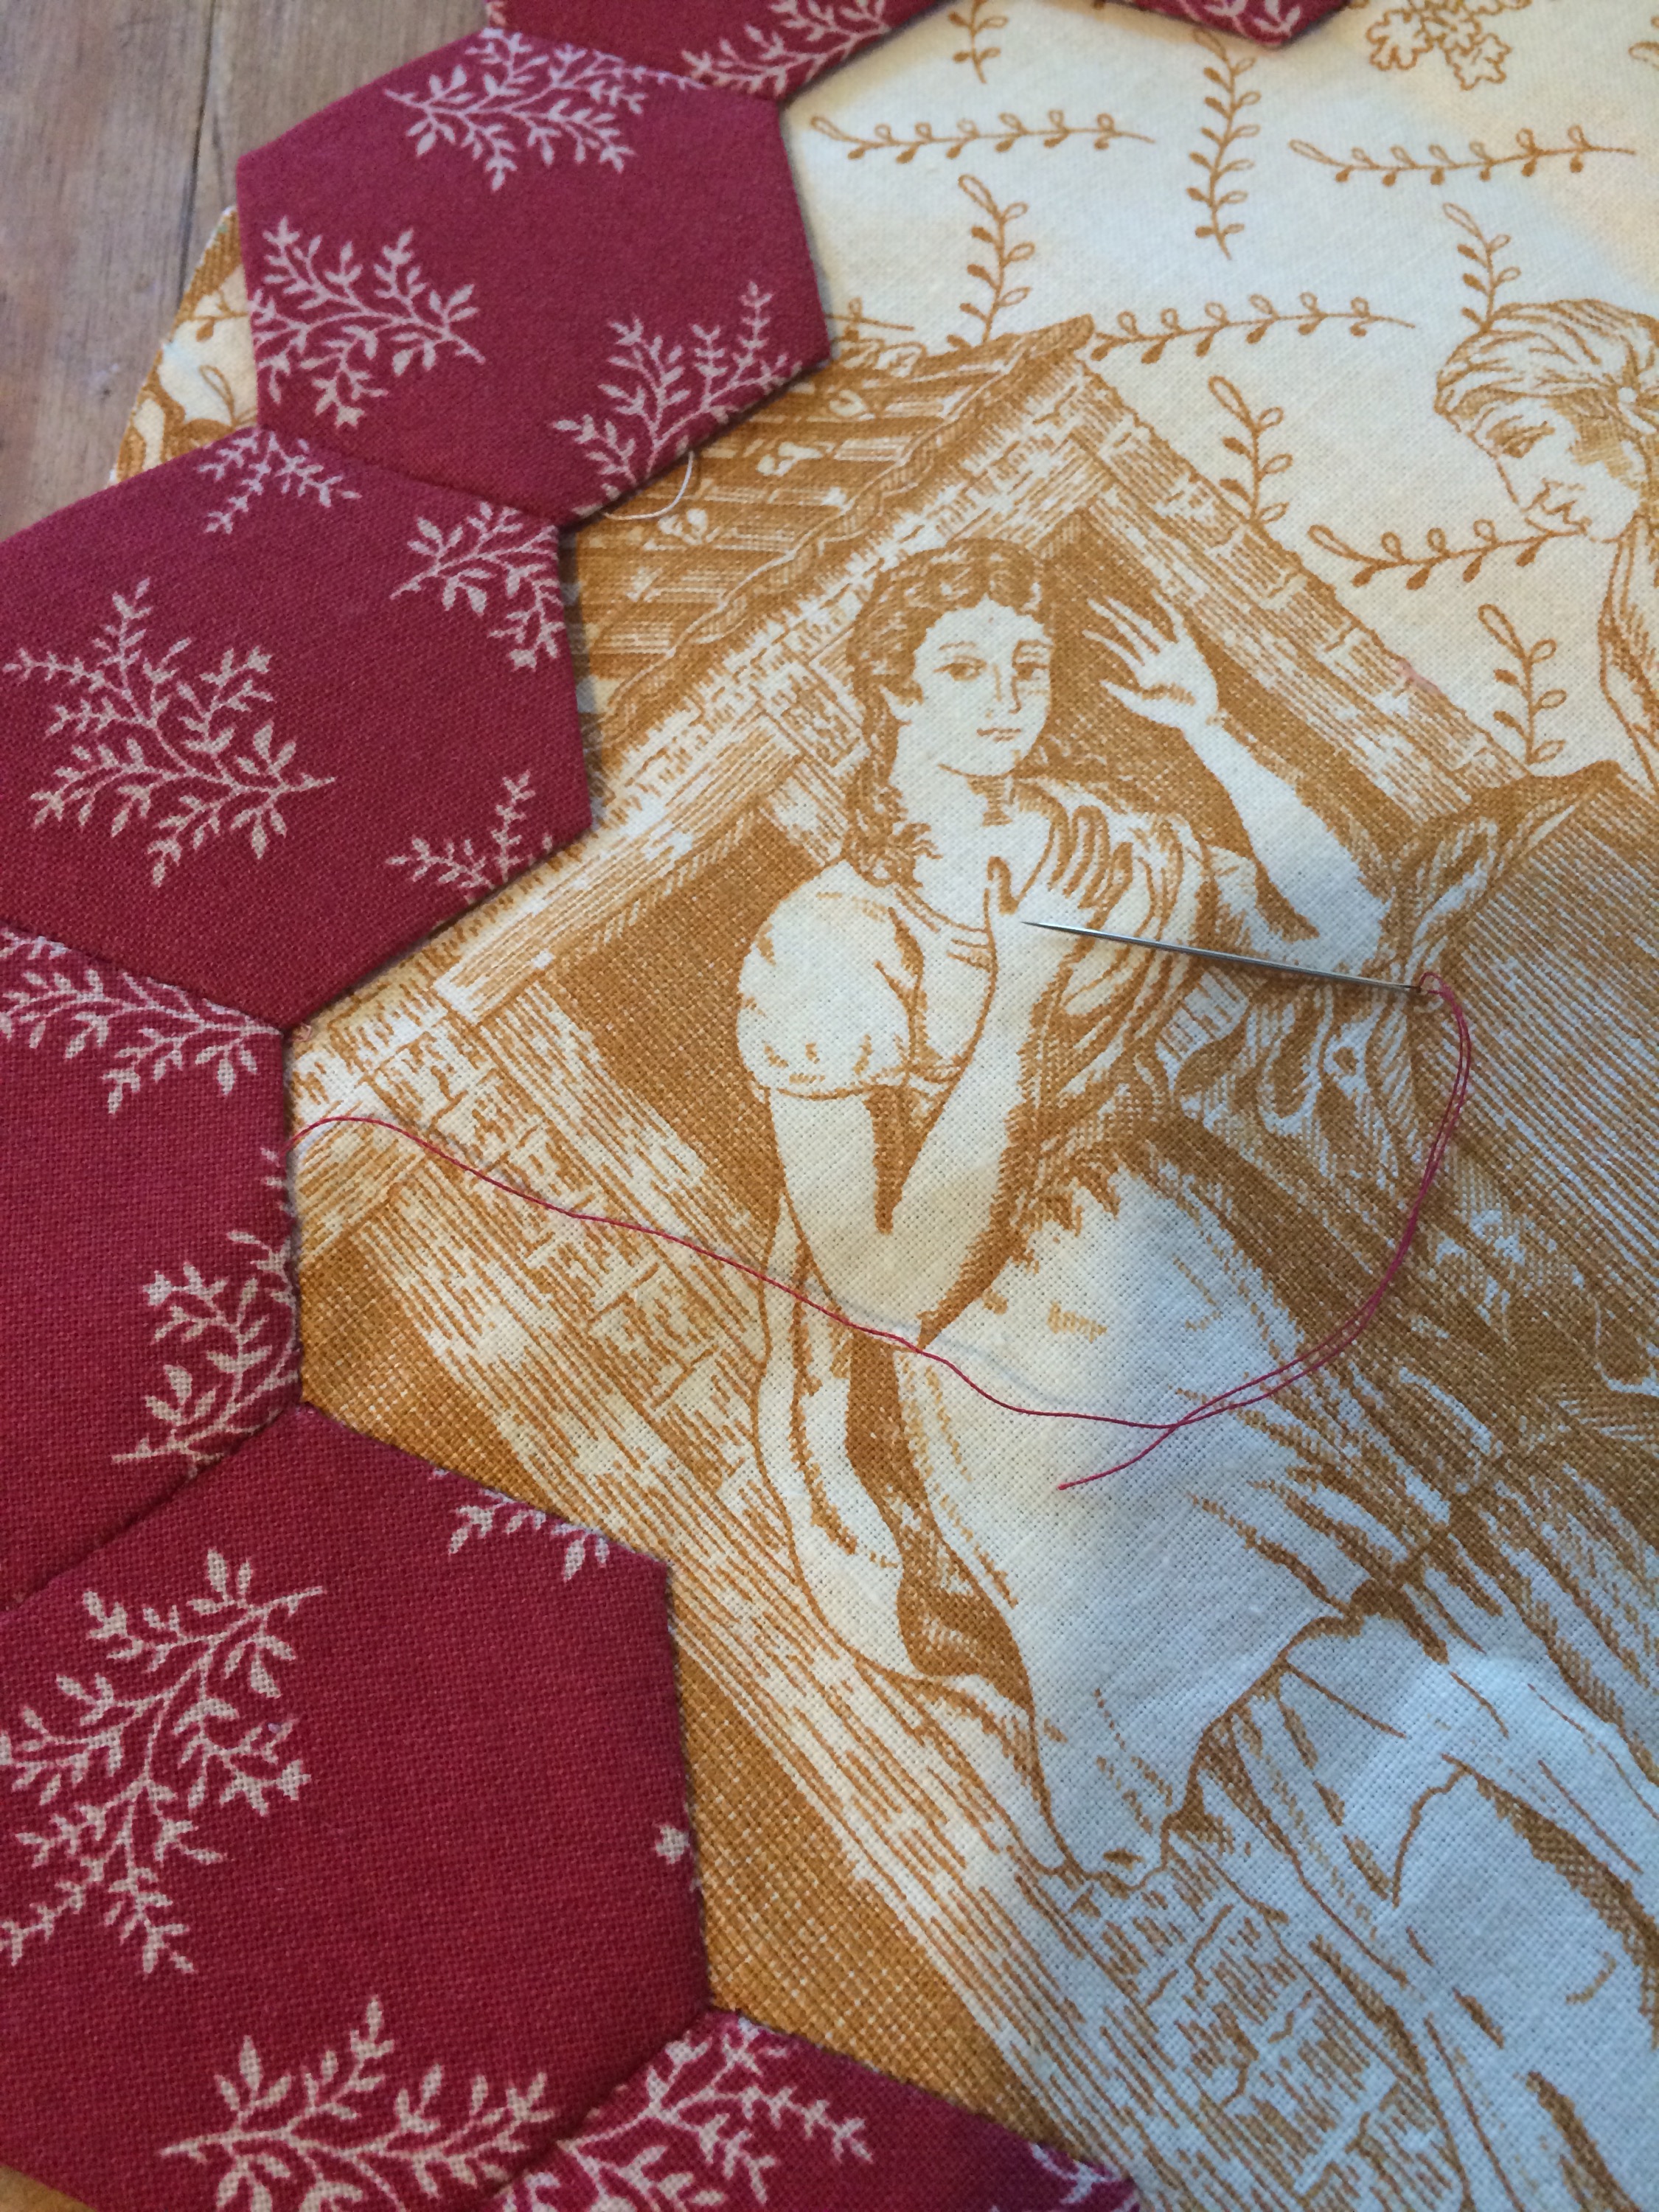
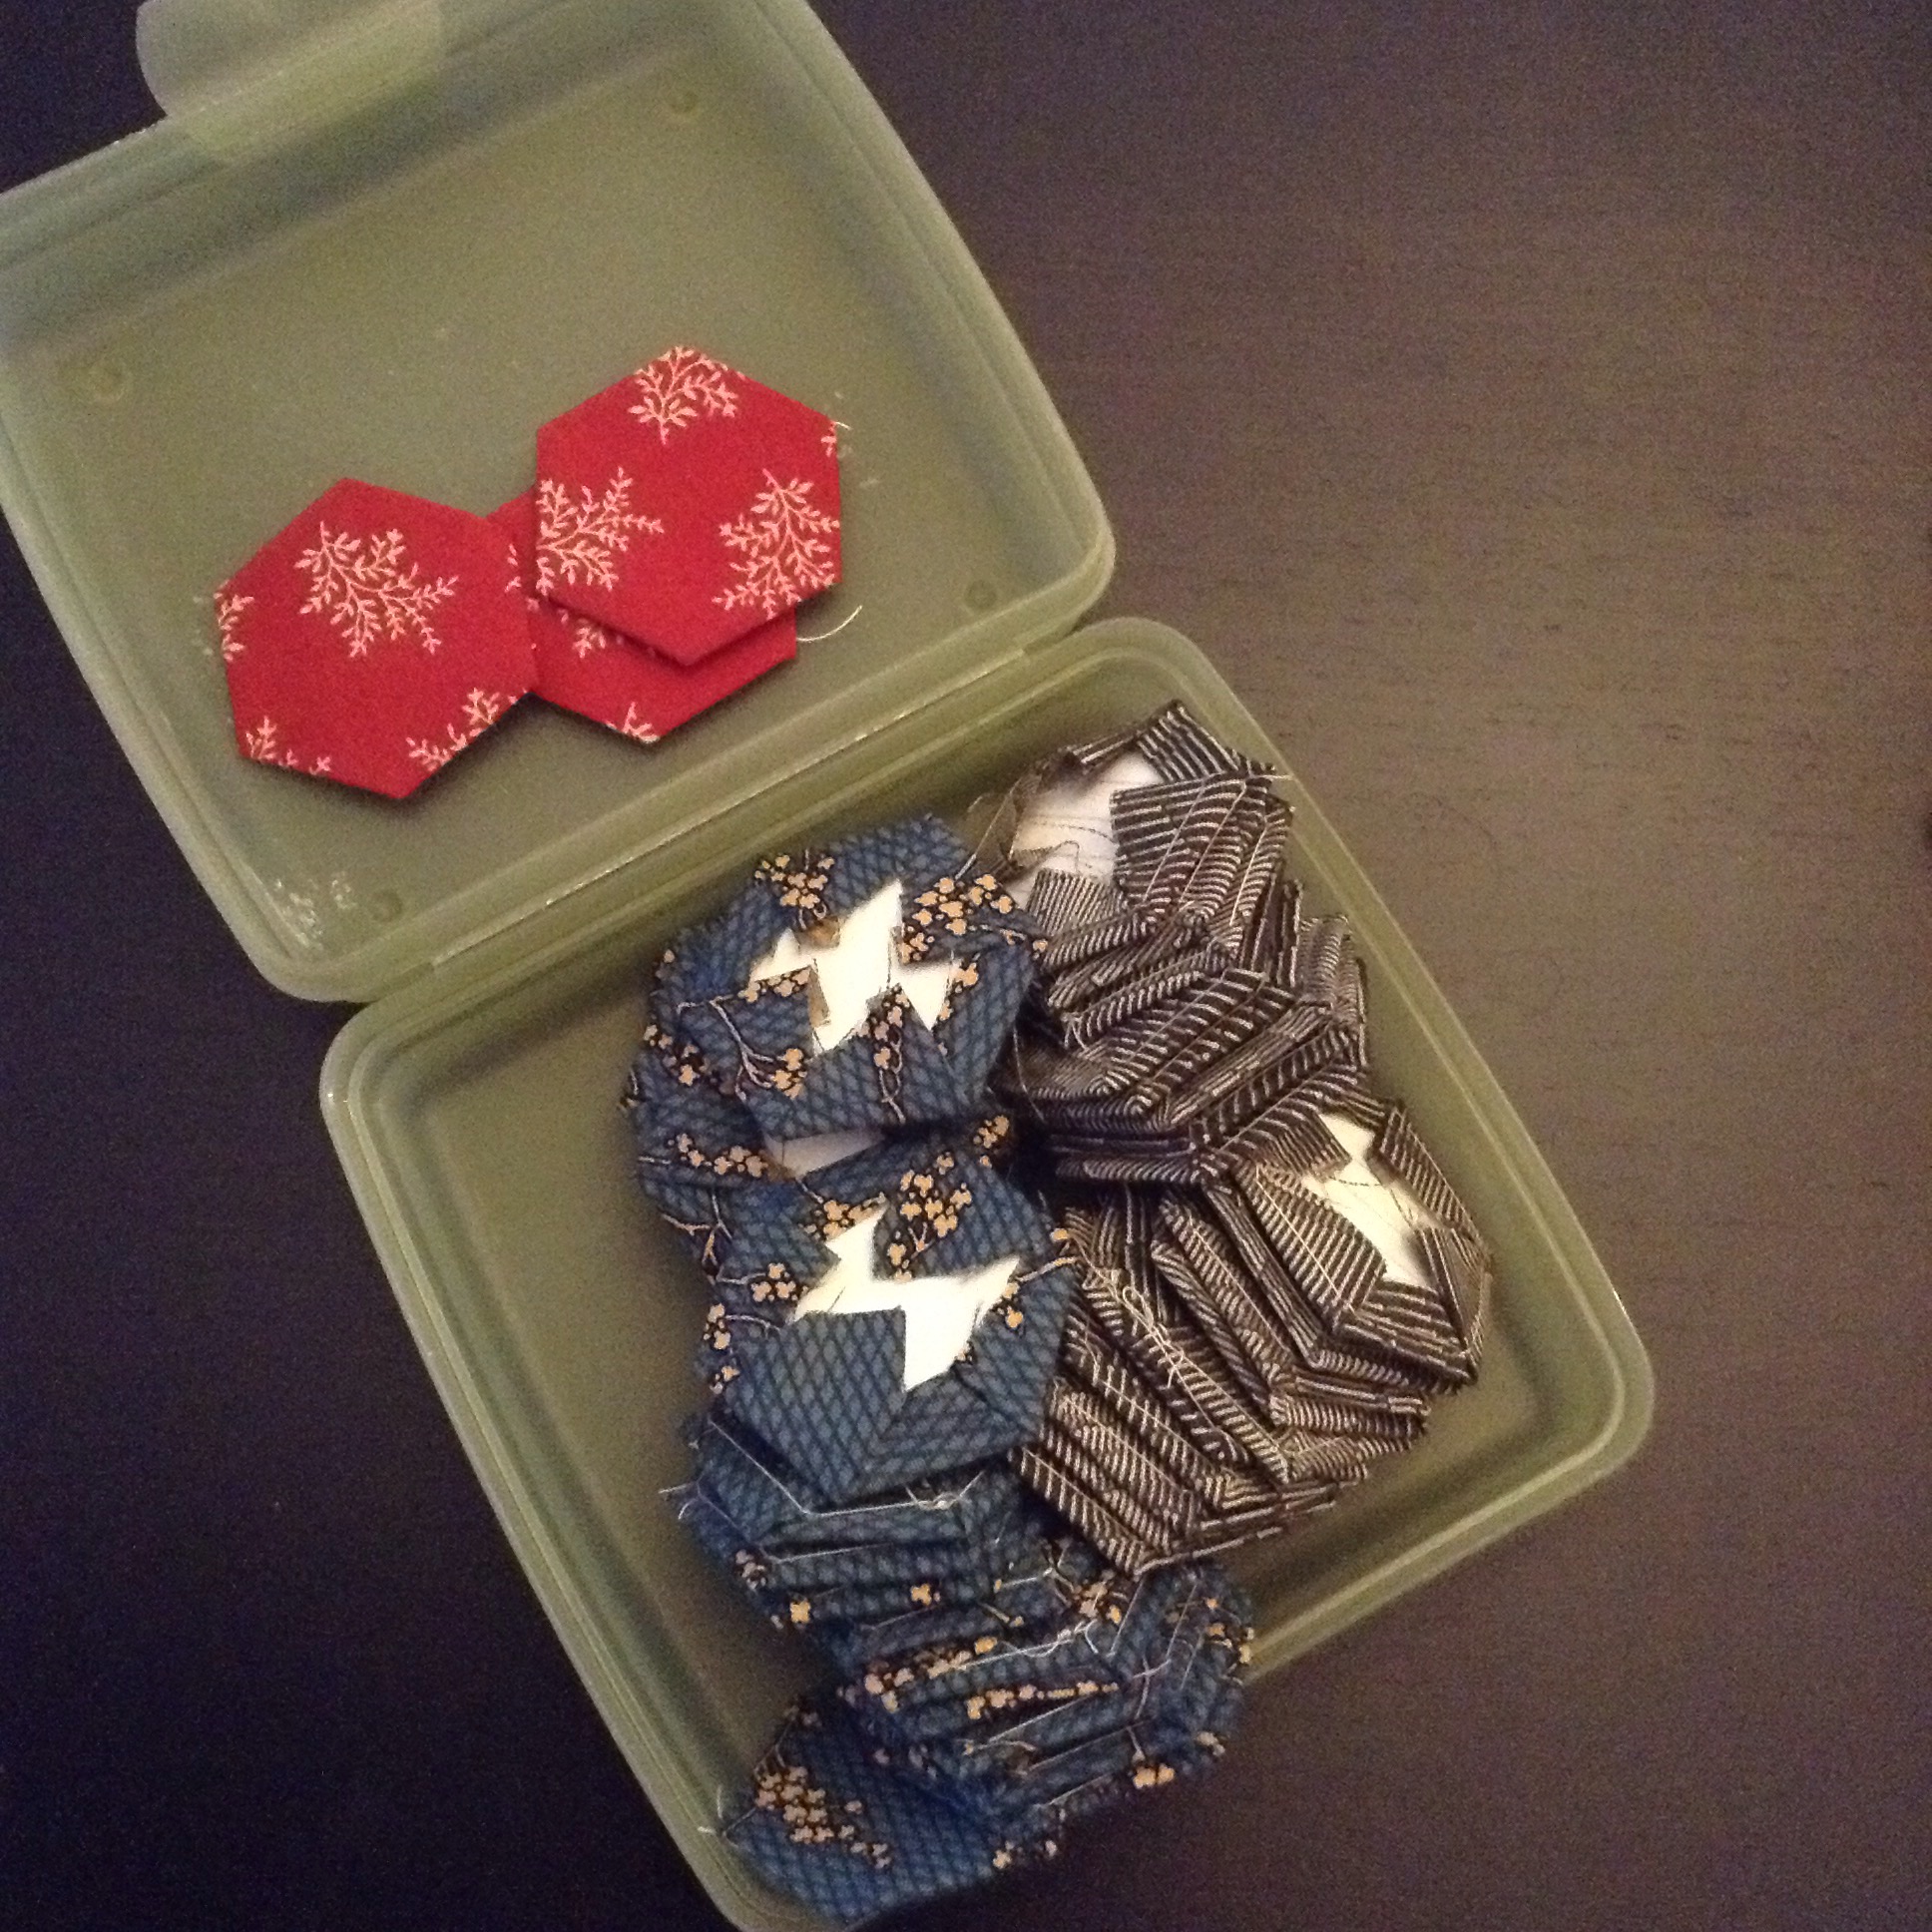
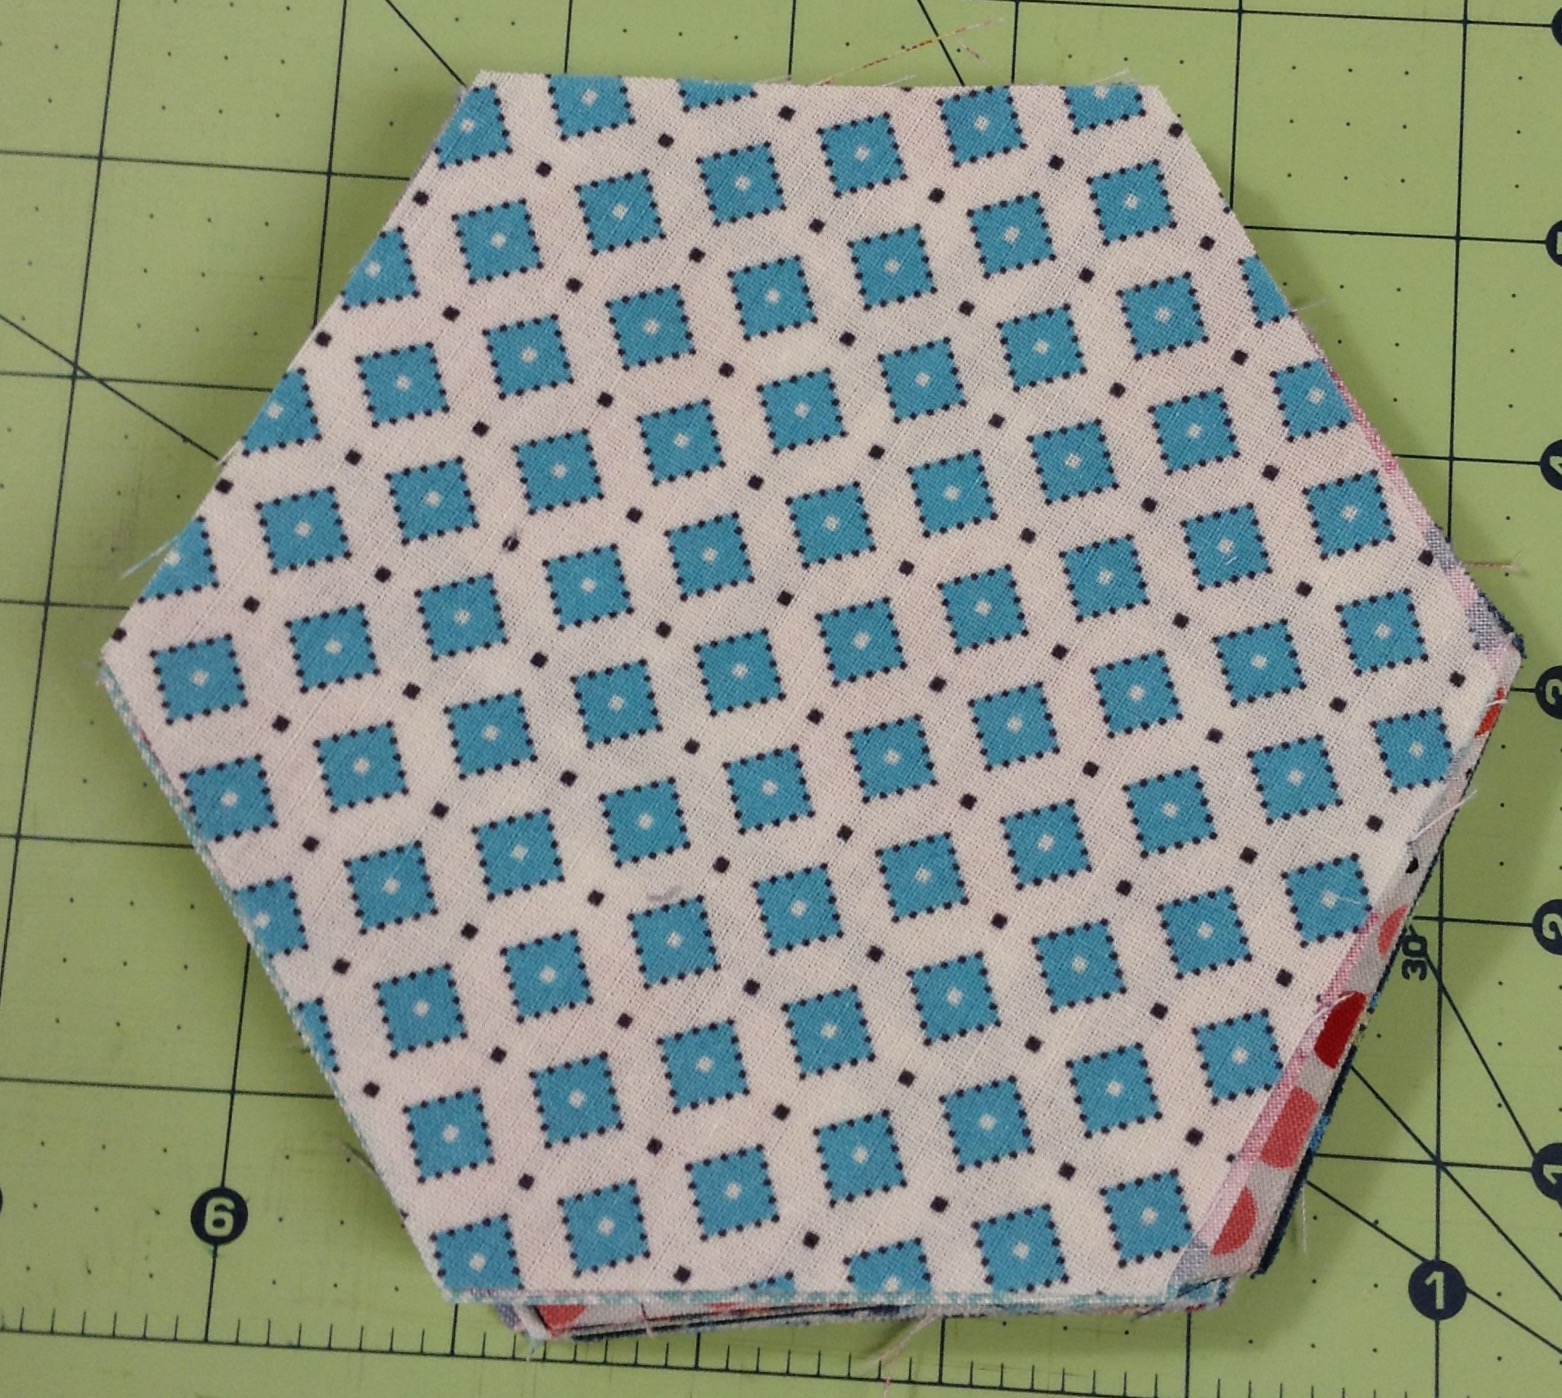
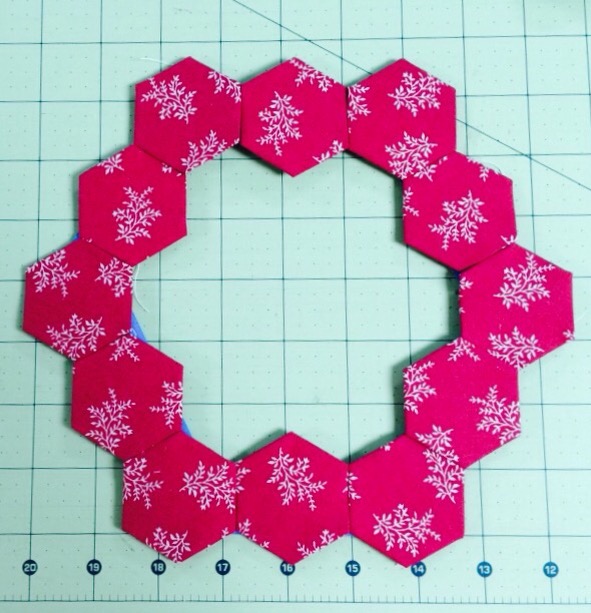
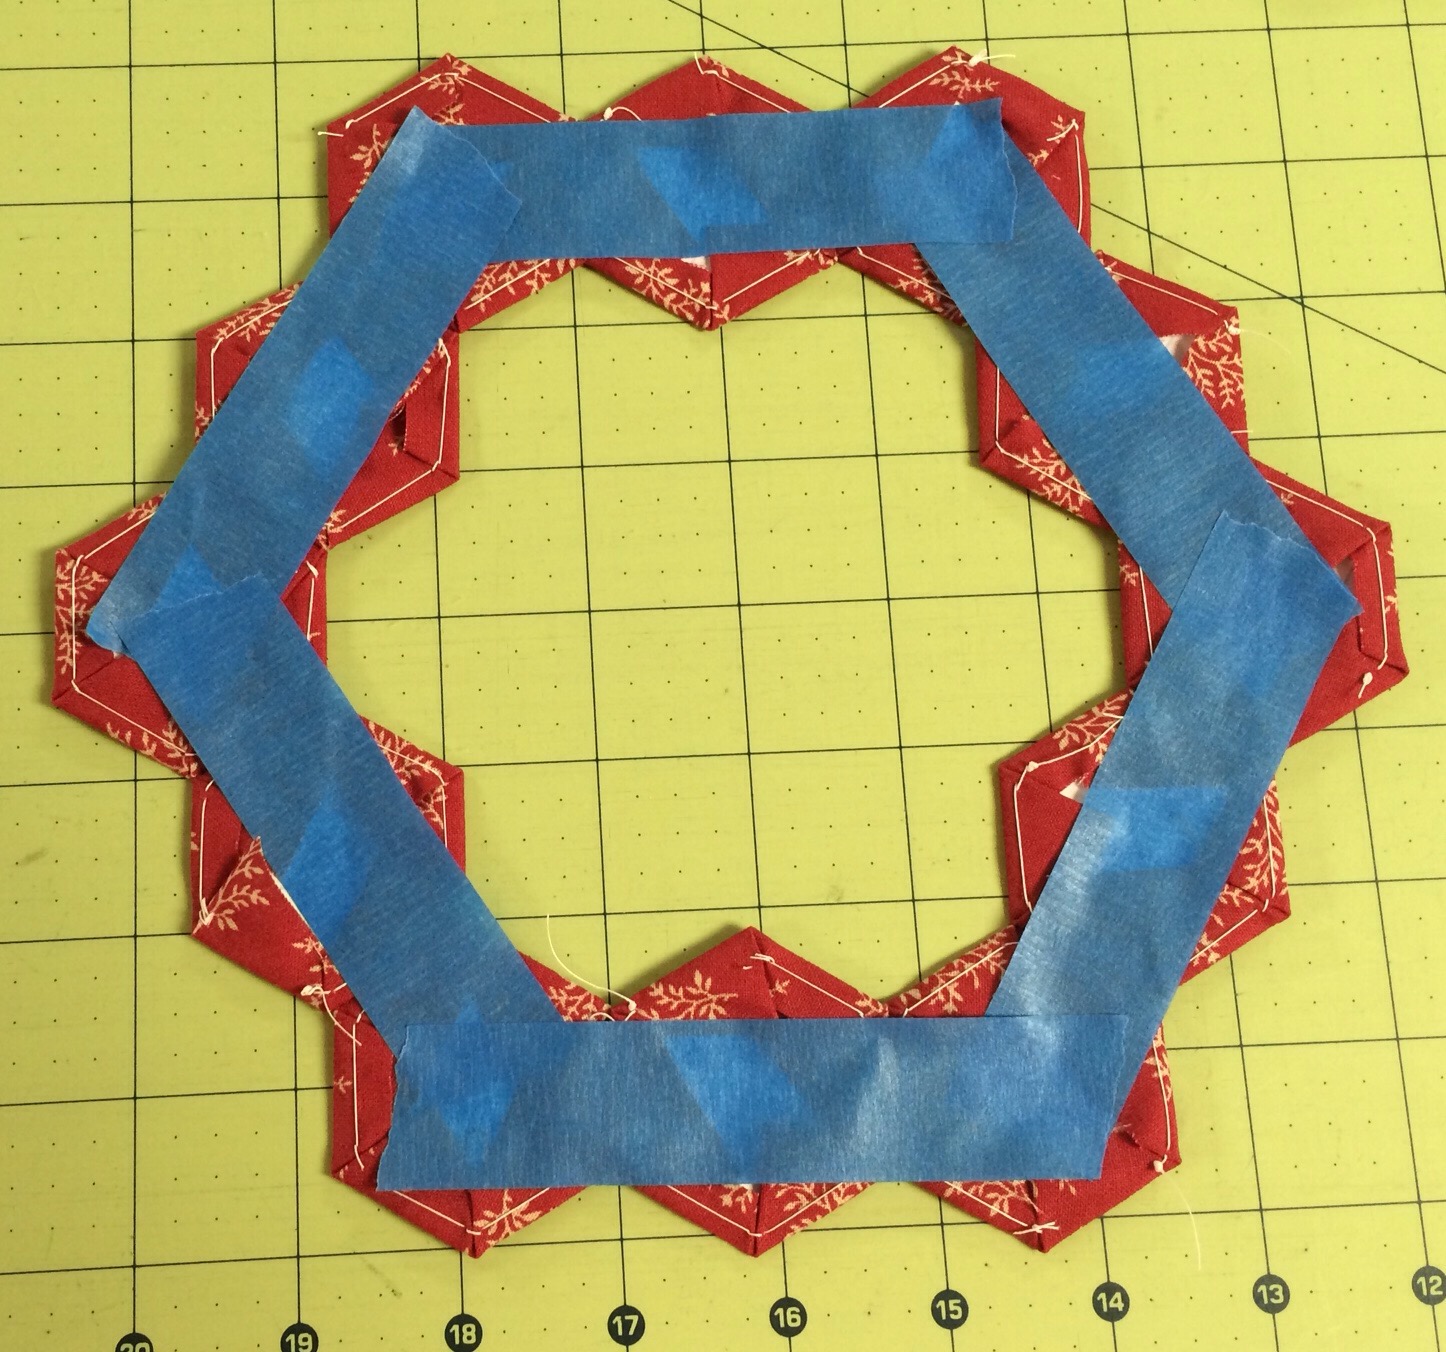
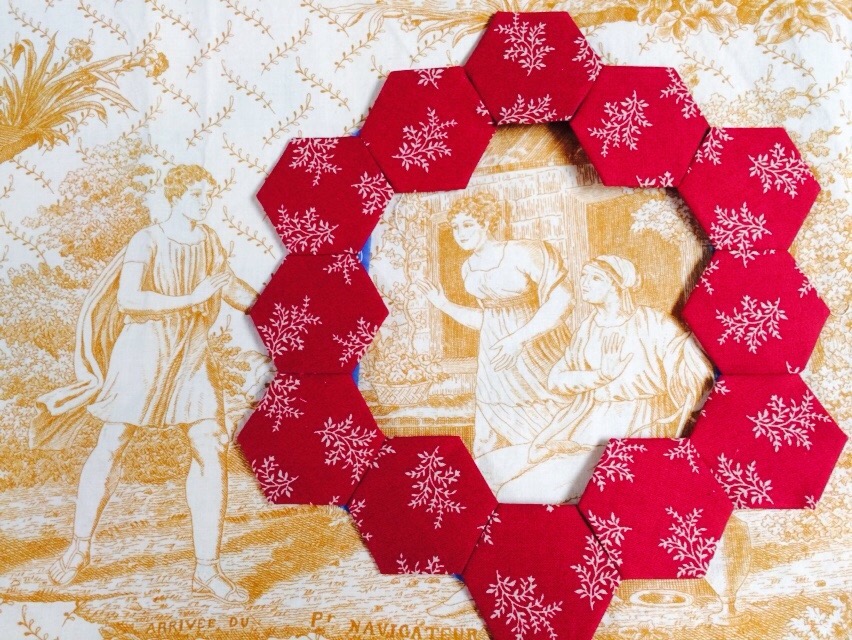
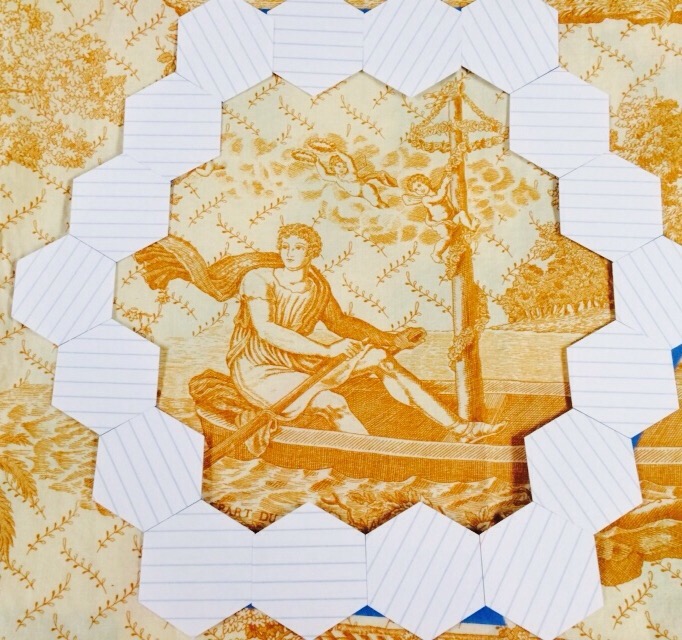
Next, decide what dies you have that you would like to use and will fit with the scraps that you have. For example, I had a pile of these hexies in this scrap bin. I could have cut them into something else, but I really want to make another hexie quilt at some point.

FullSizeRender (4)

So I got out the hexie die. I also decided that I would like to cut tumblers, 2 inch finished squares, and 2 inch finished HSTs.  So I pulled all of these out.

FullSizeRender (5) FullSizeRender (6) FullSizeRender (7)

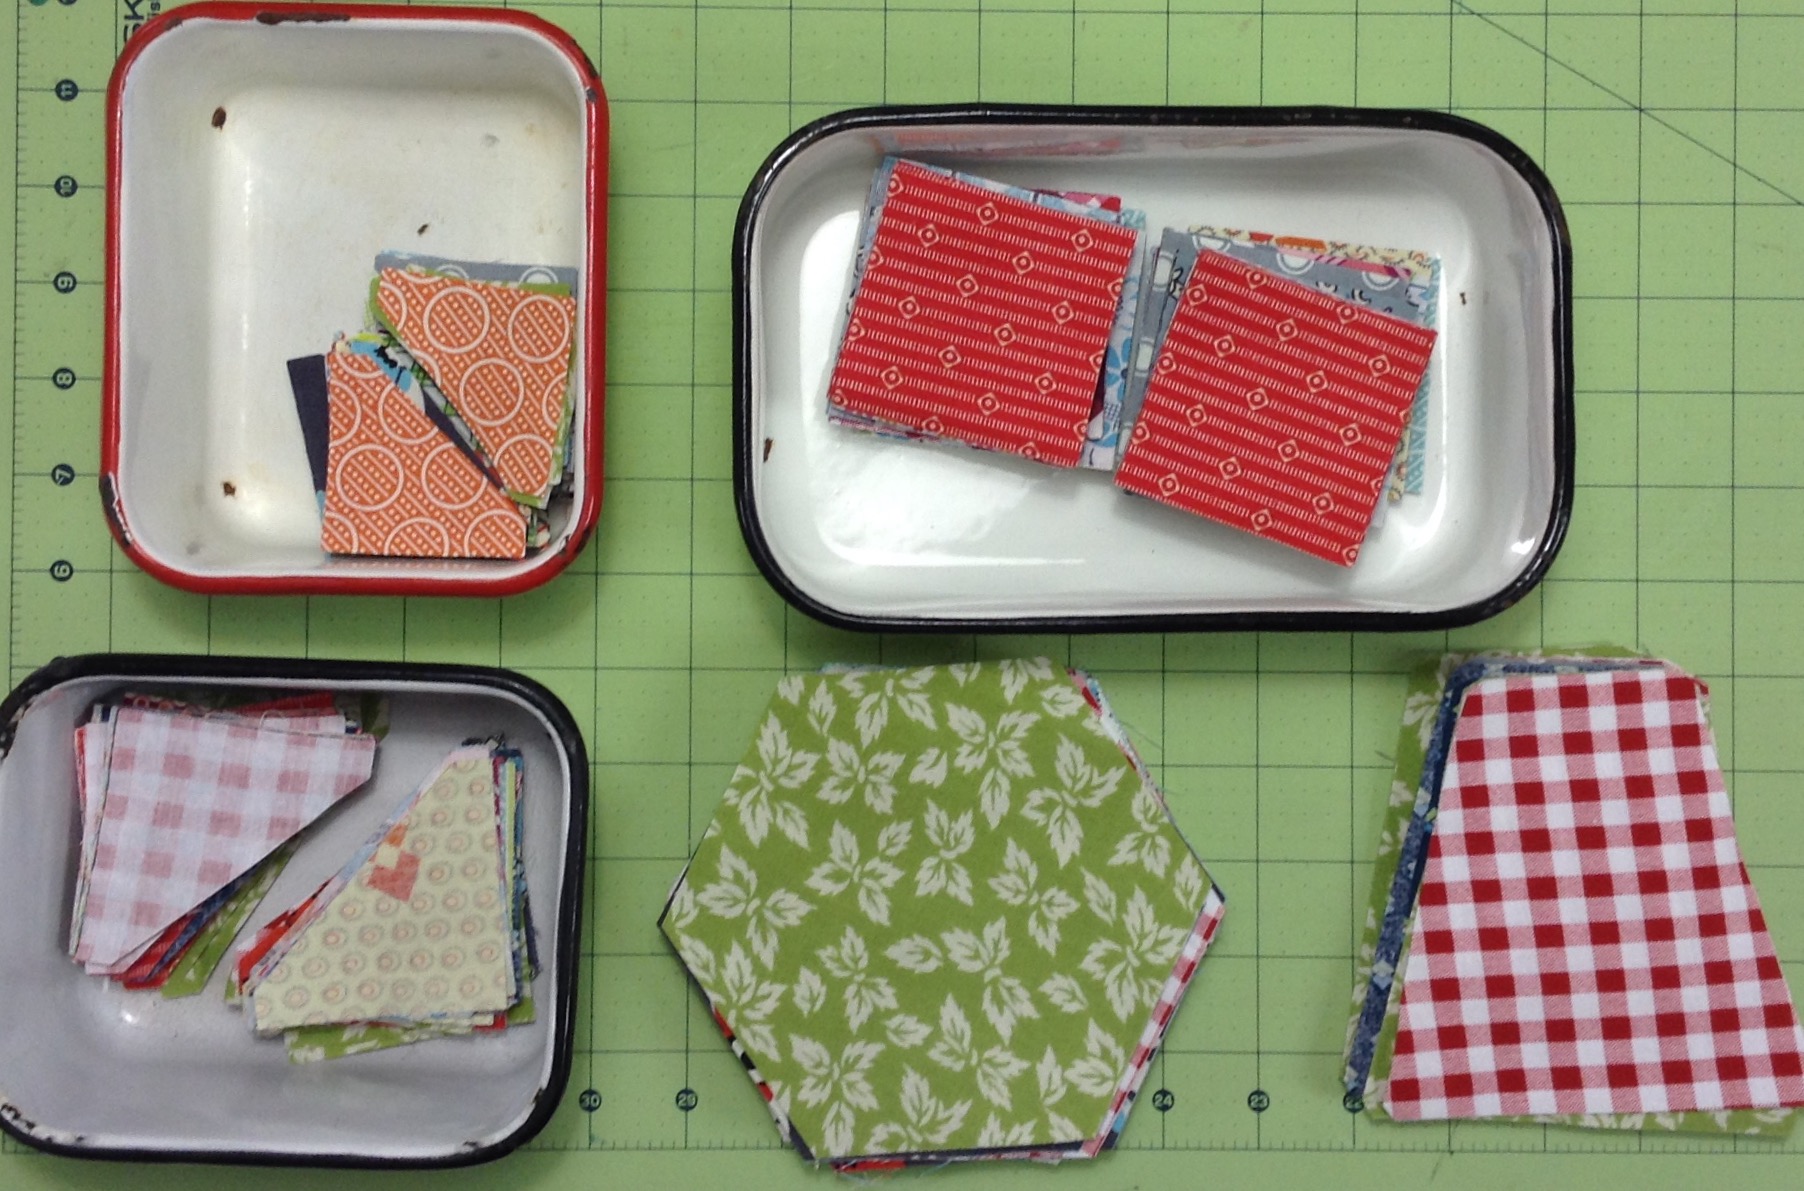
I started with the biggest scraps cutting as many hexies as I could. Then I started in on the tumblers because that was the next largest shape I planned to use. I layered my fabric scraps cutting up to 10 tumblers at a time (check with your die cutter manufacturer to know how many layers you can safely cut with your machine). When I could cut no more, I moved onto to squares and then the HSTs. I ended up with scraps that were still too big for me to throw away so I cut  1 1/2 inch finished HSTs as well.

FullSizeRender (8)

When I was all done, these were the scraps that I ended up tossing out.

FullSizeRender (9)

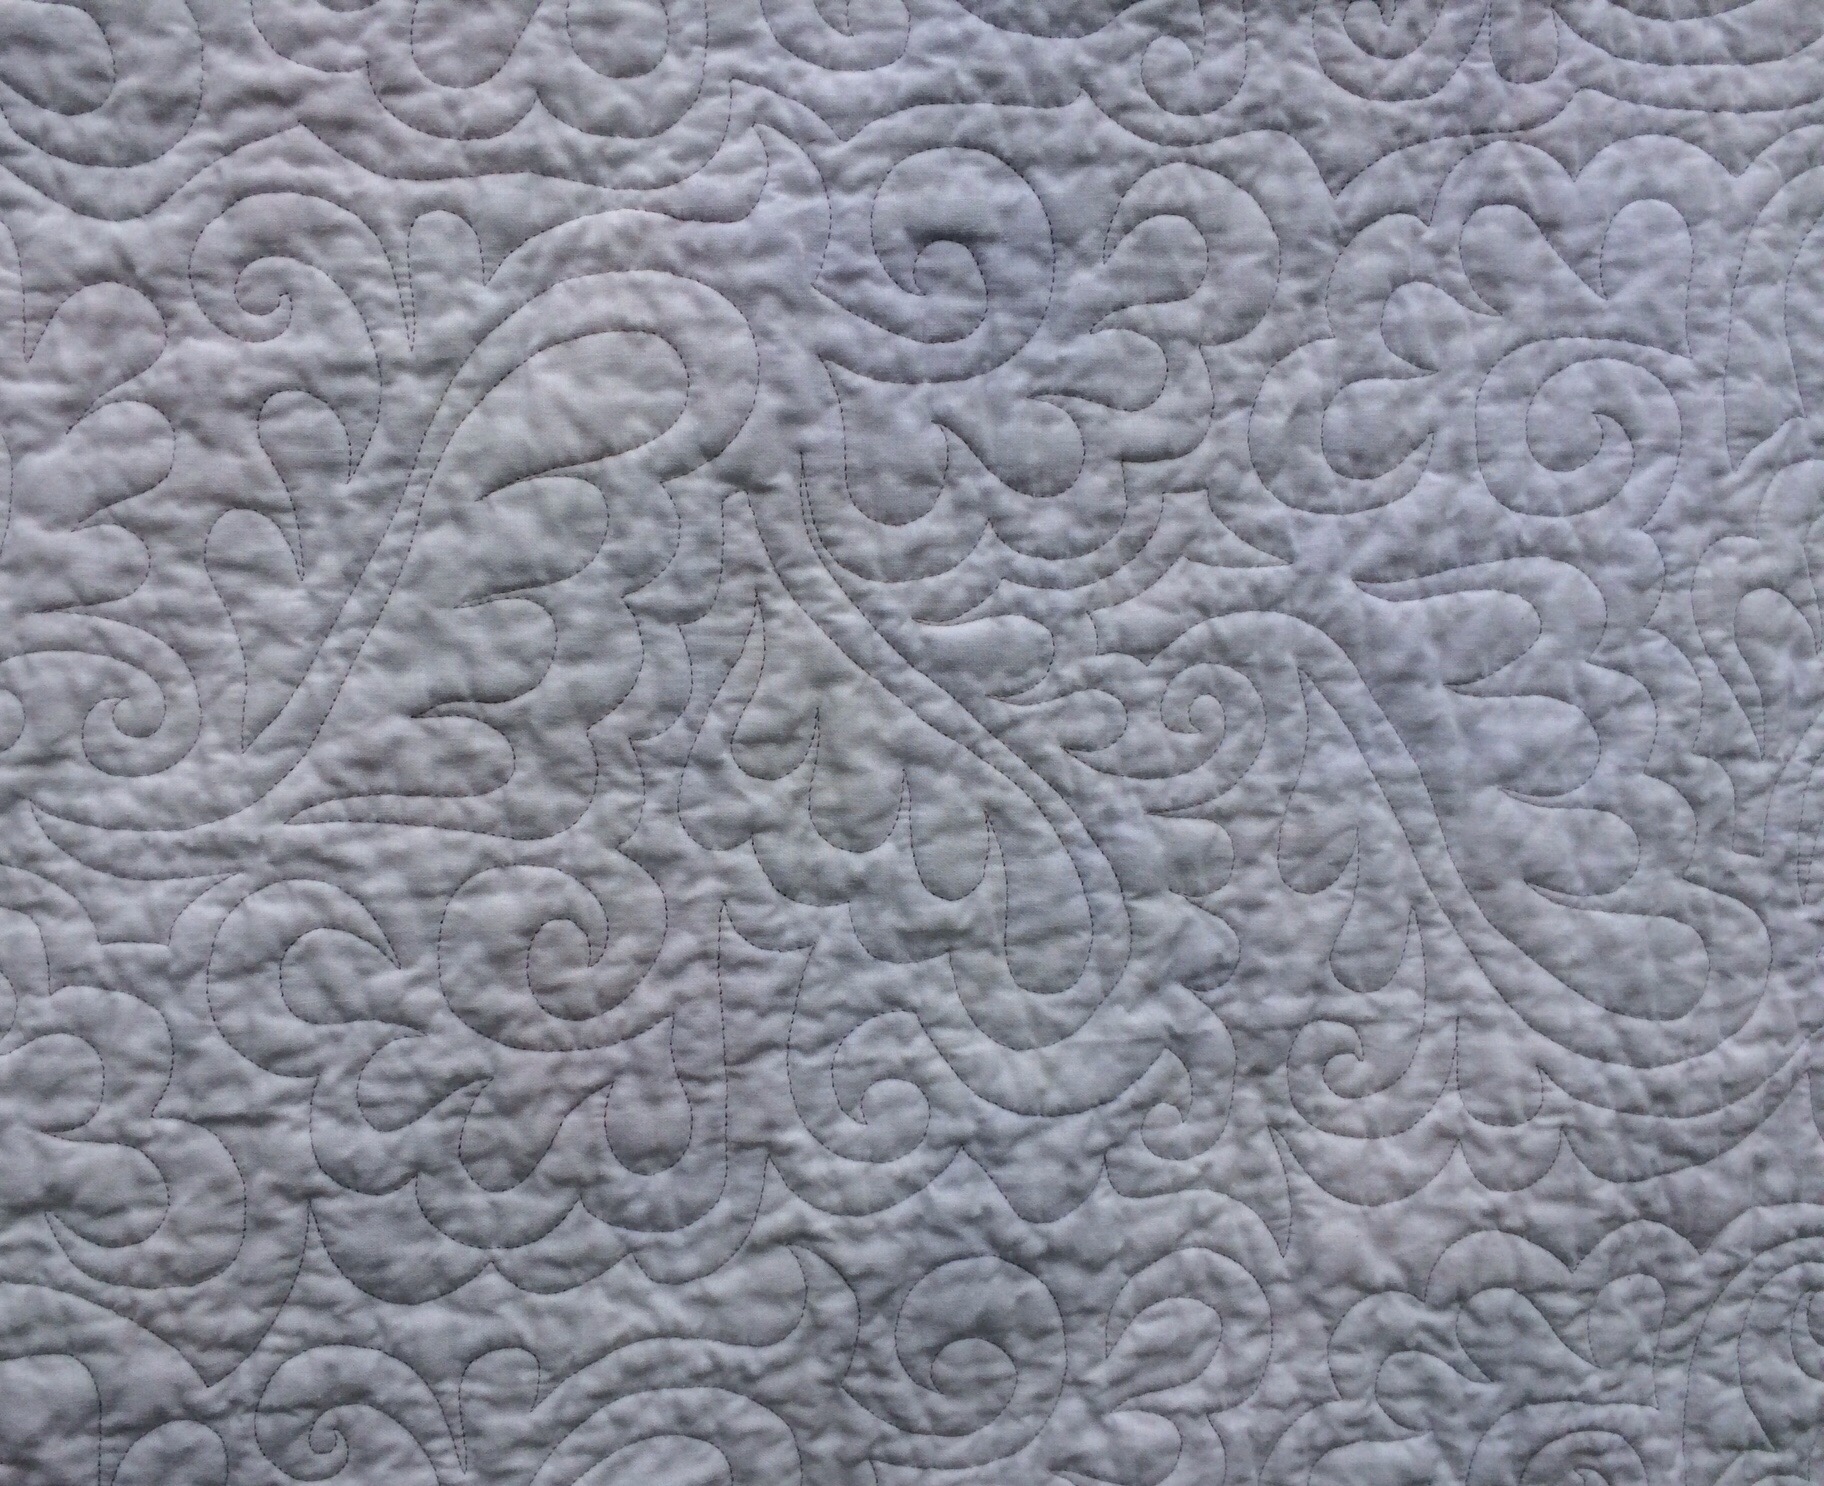
And here are my neat little piles of scraps all ready to go. Isn’t that ever so much better?

FullSizeRender (10)

I also had some small strips leftover that didn’t fit any of the dies I had pulled out. I could have placed them on one of my strip dies to cut uniform strips. But  I had another idea in mind.

FullSizeRender (11)

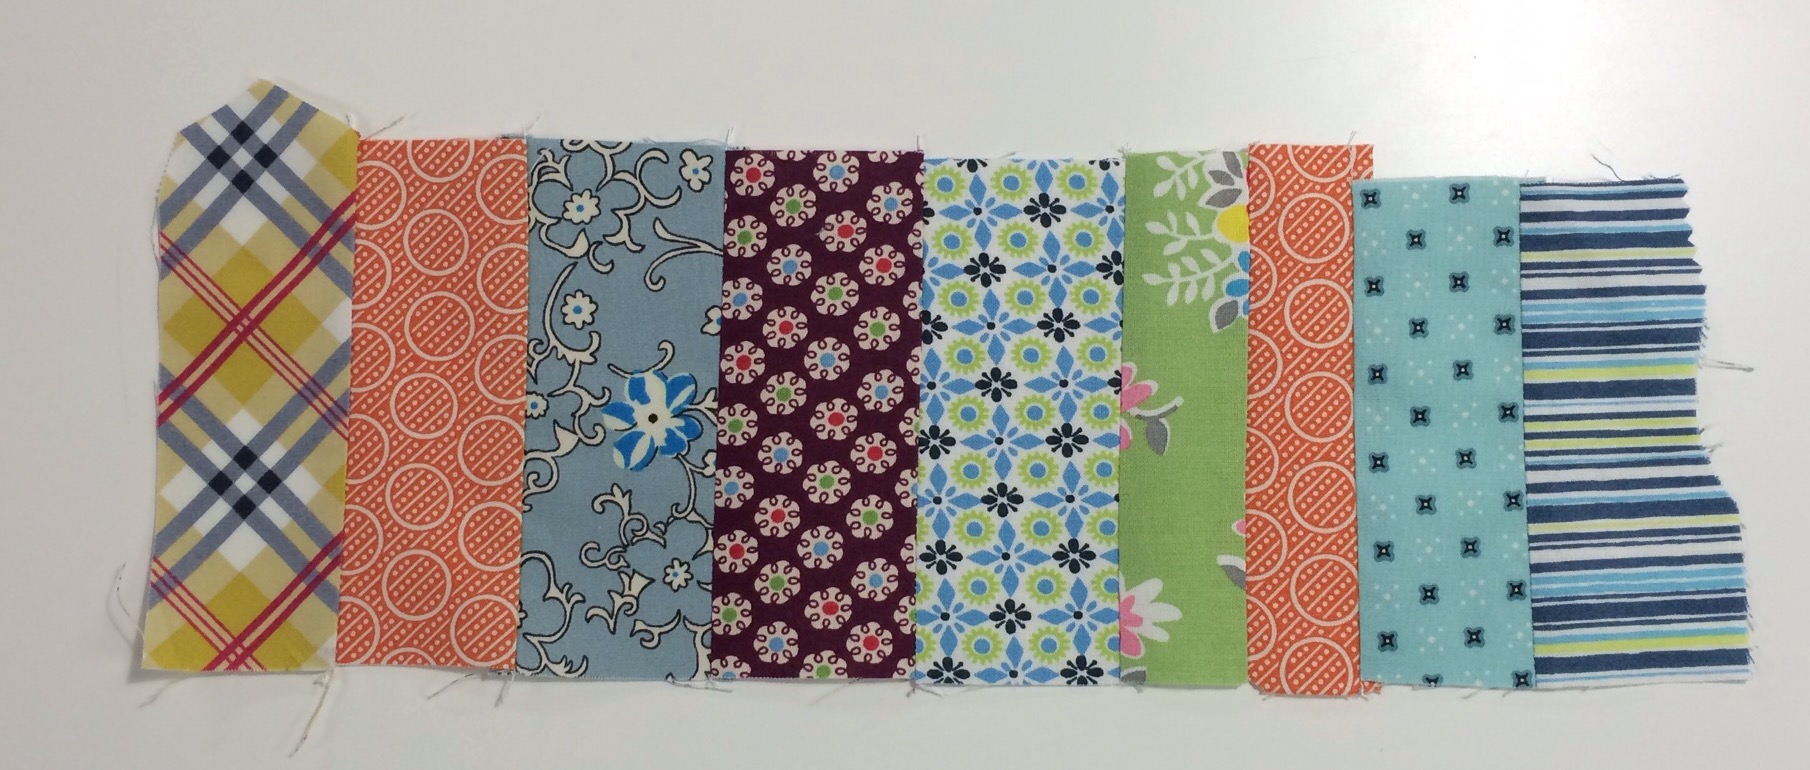
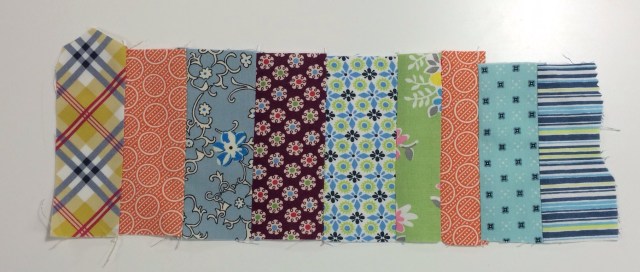
I started randomly sewing these strips together like this. 

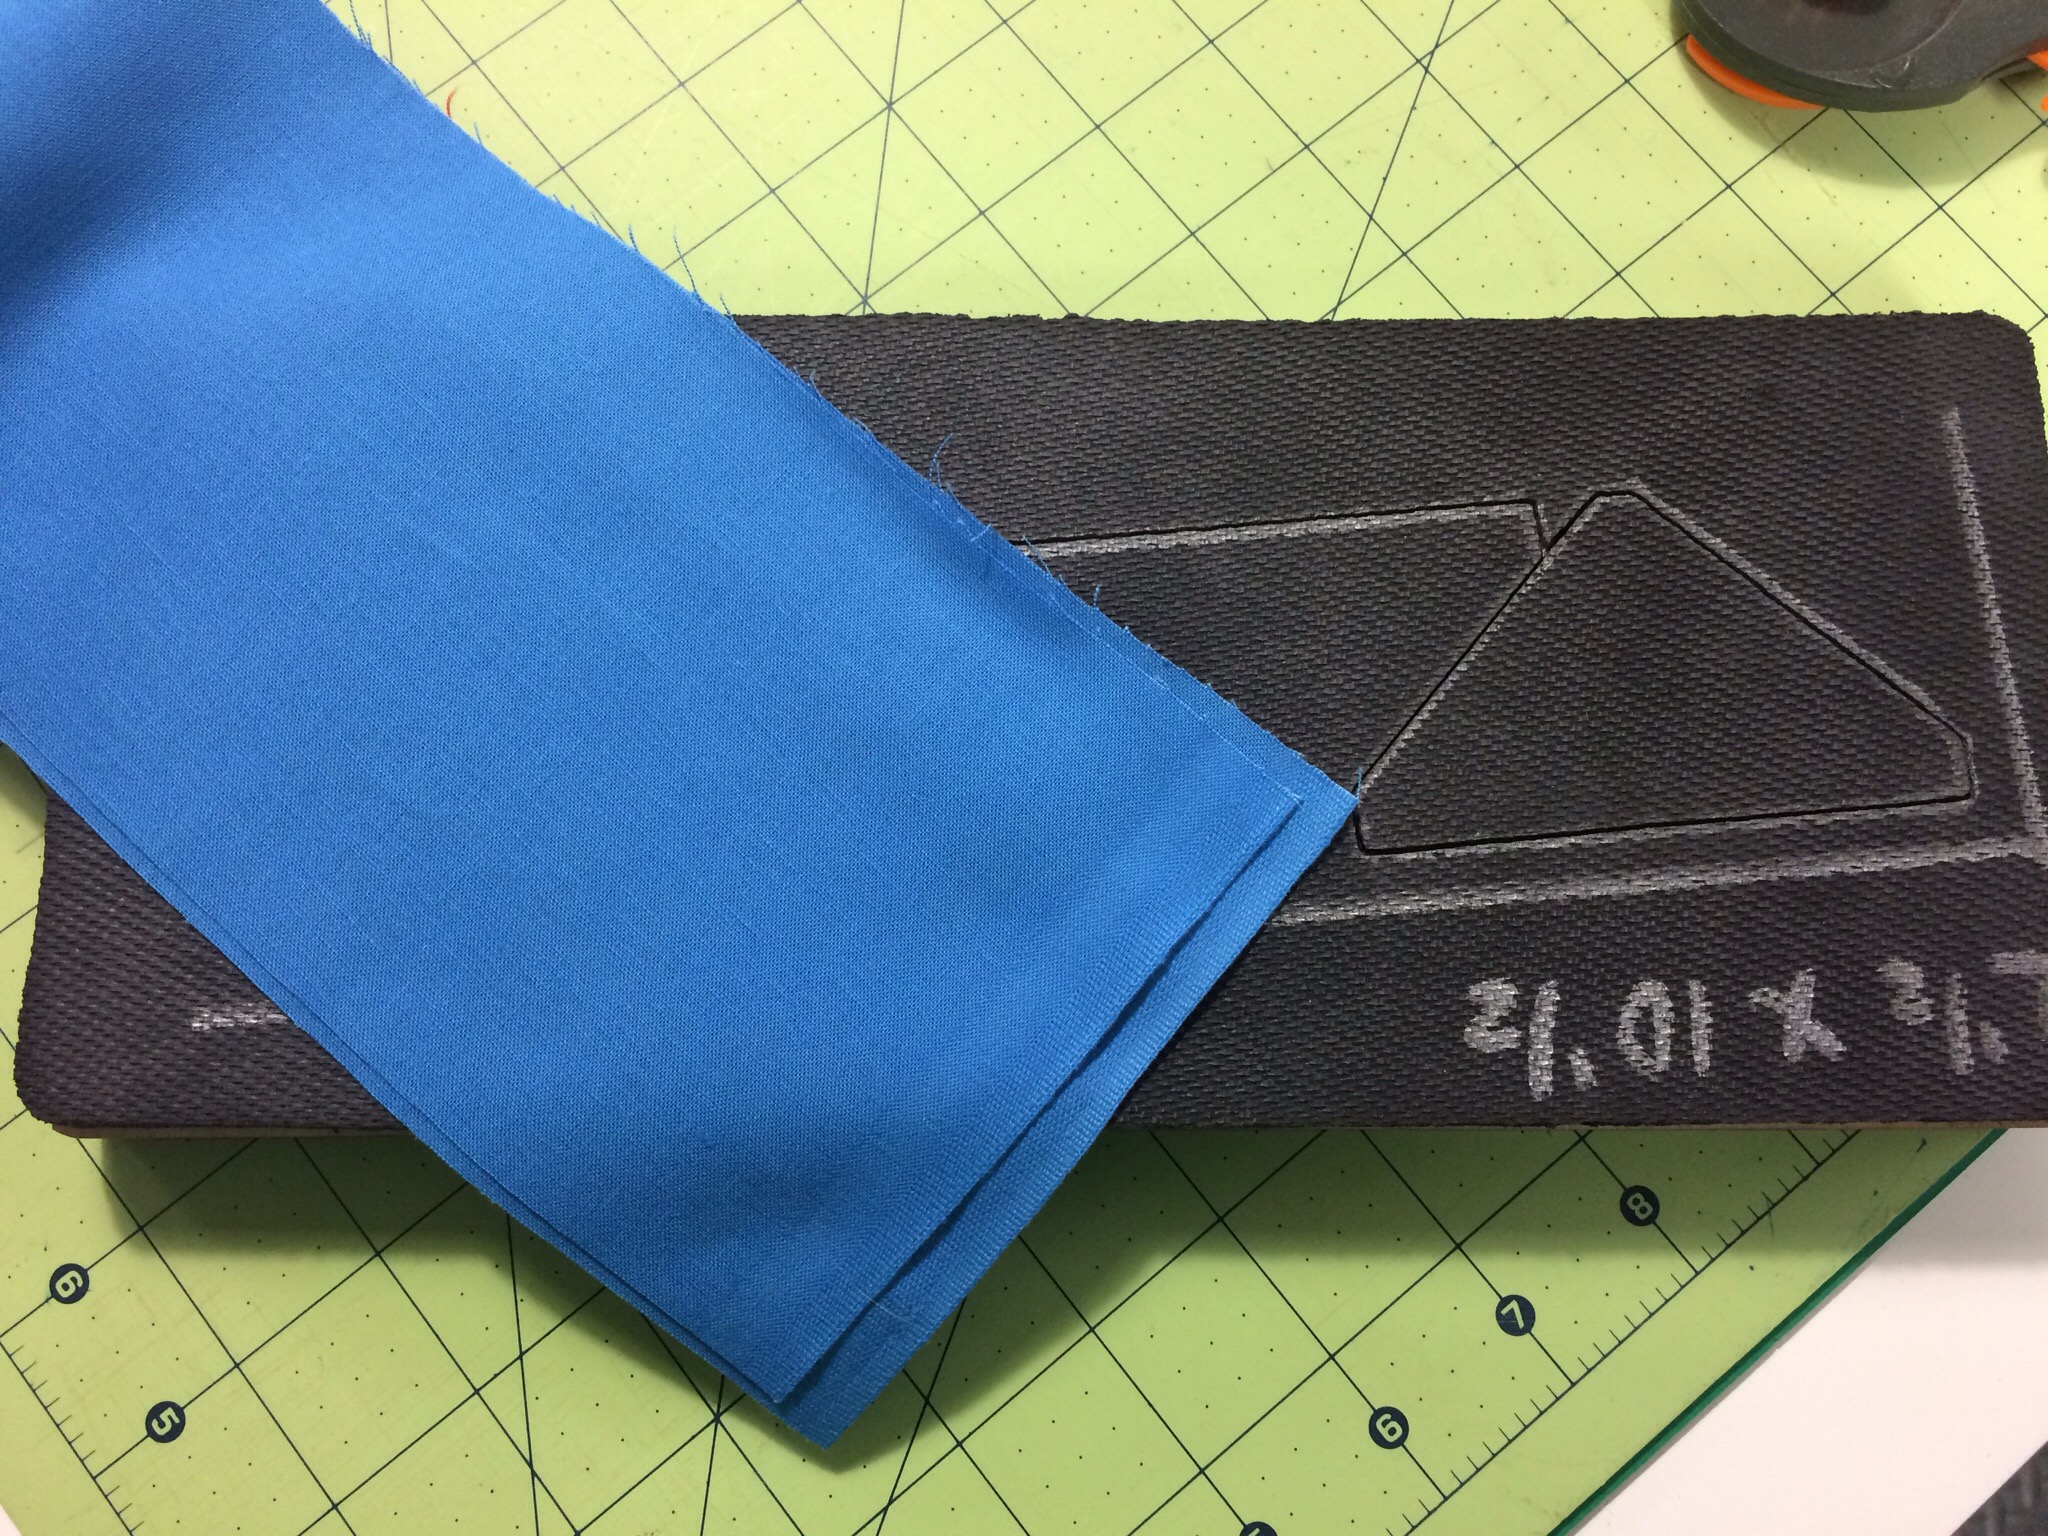
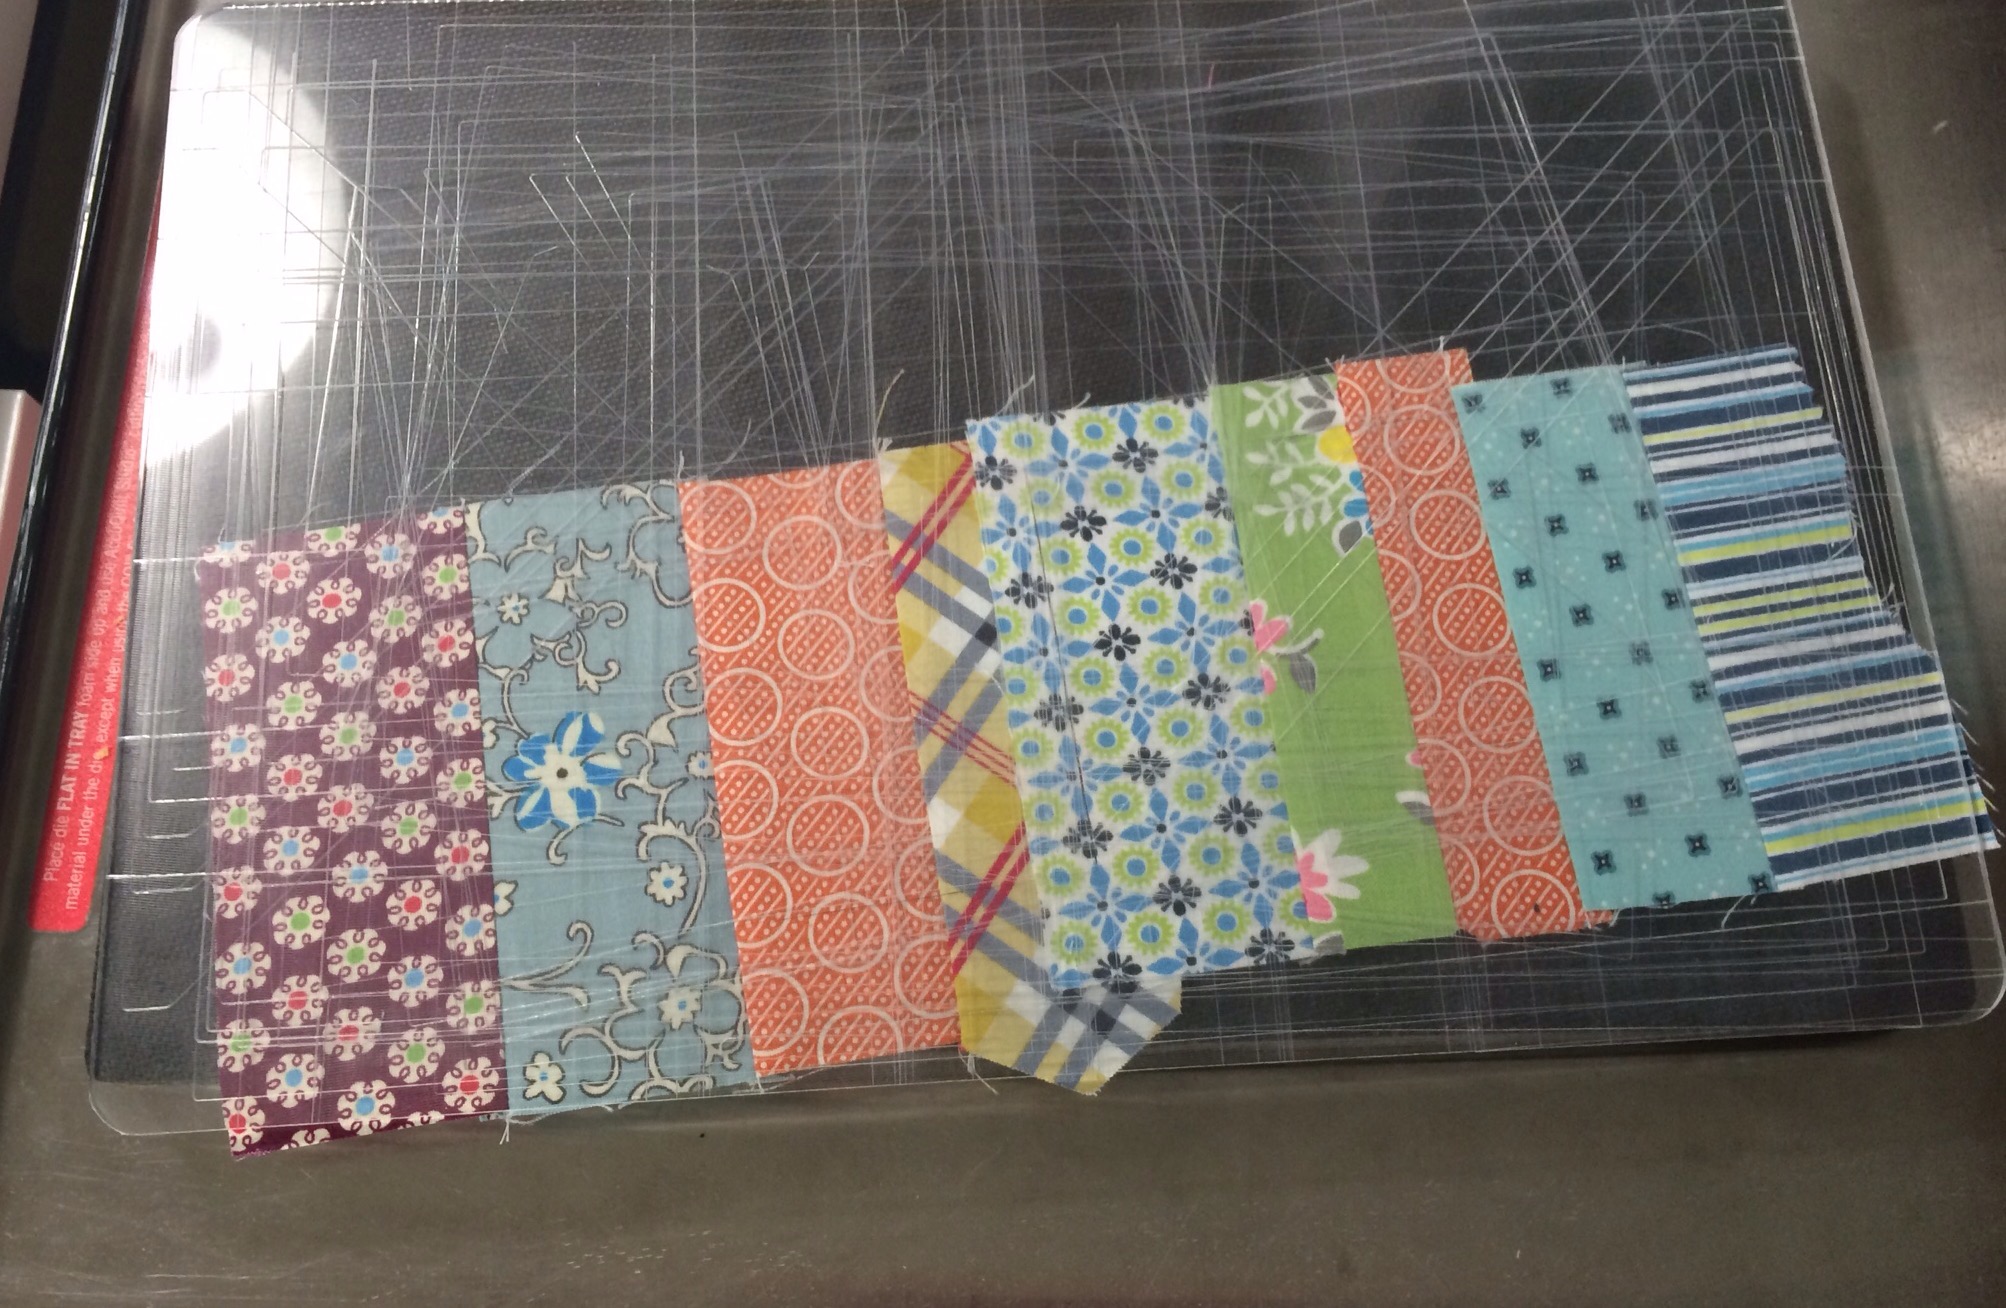
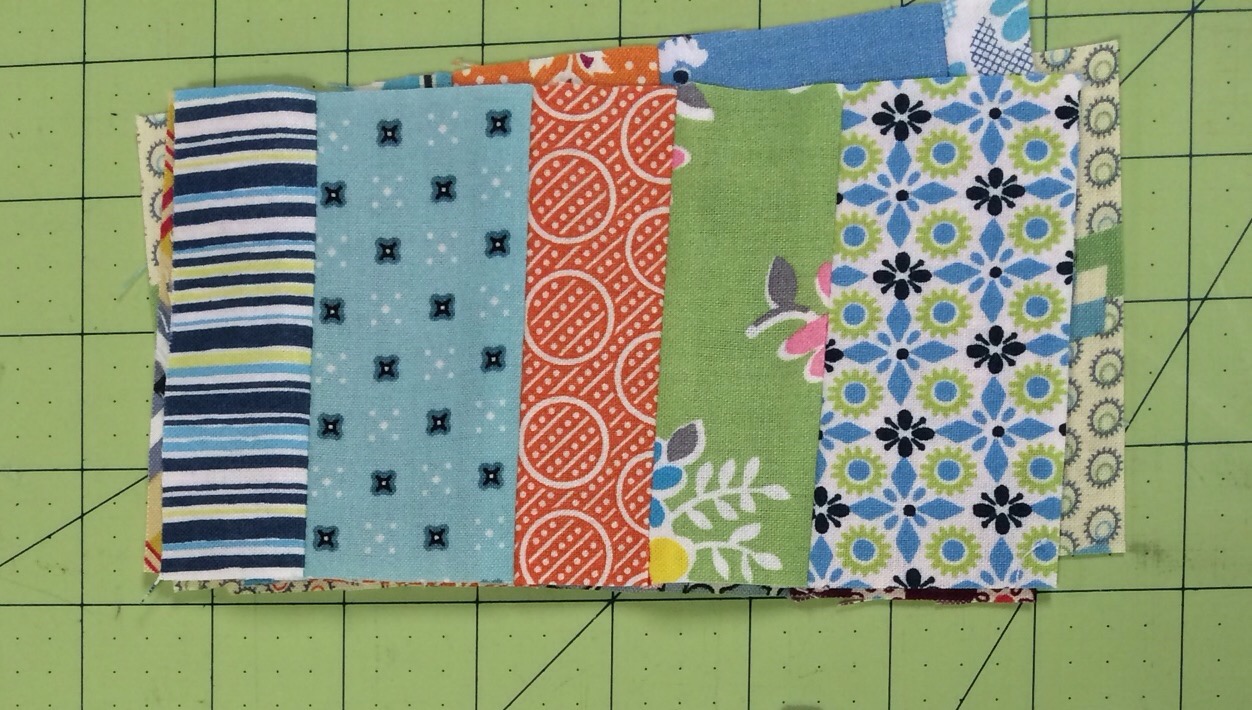
Then I pulled out another die, 3 x 6 inch finished this time.  I cut my random bits into uniform rectangles like this. 


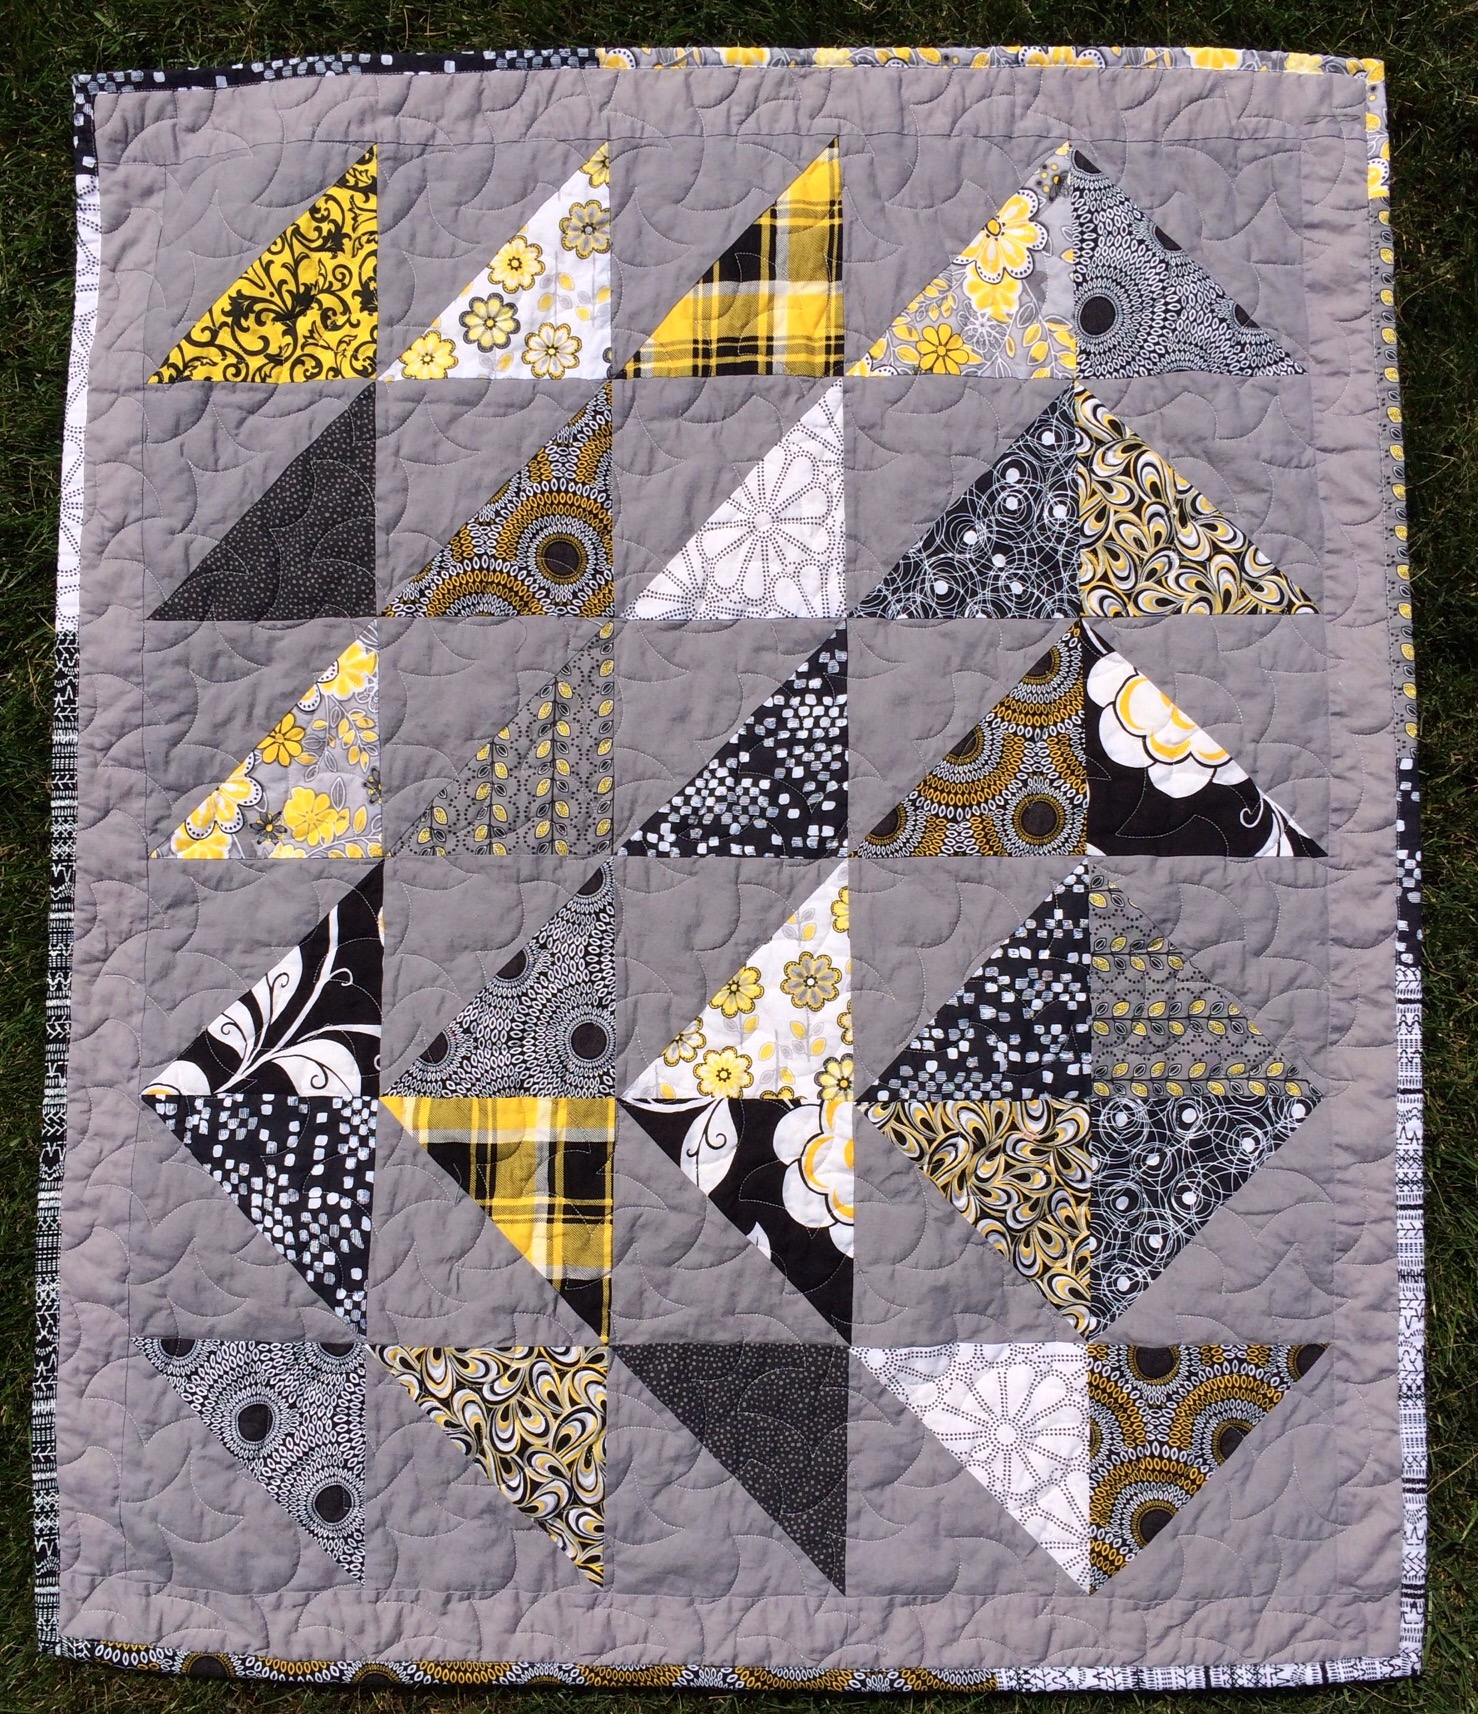
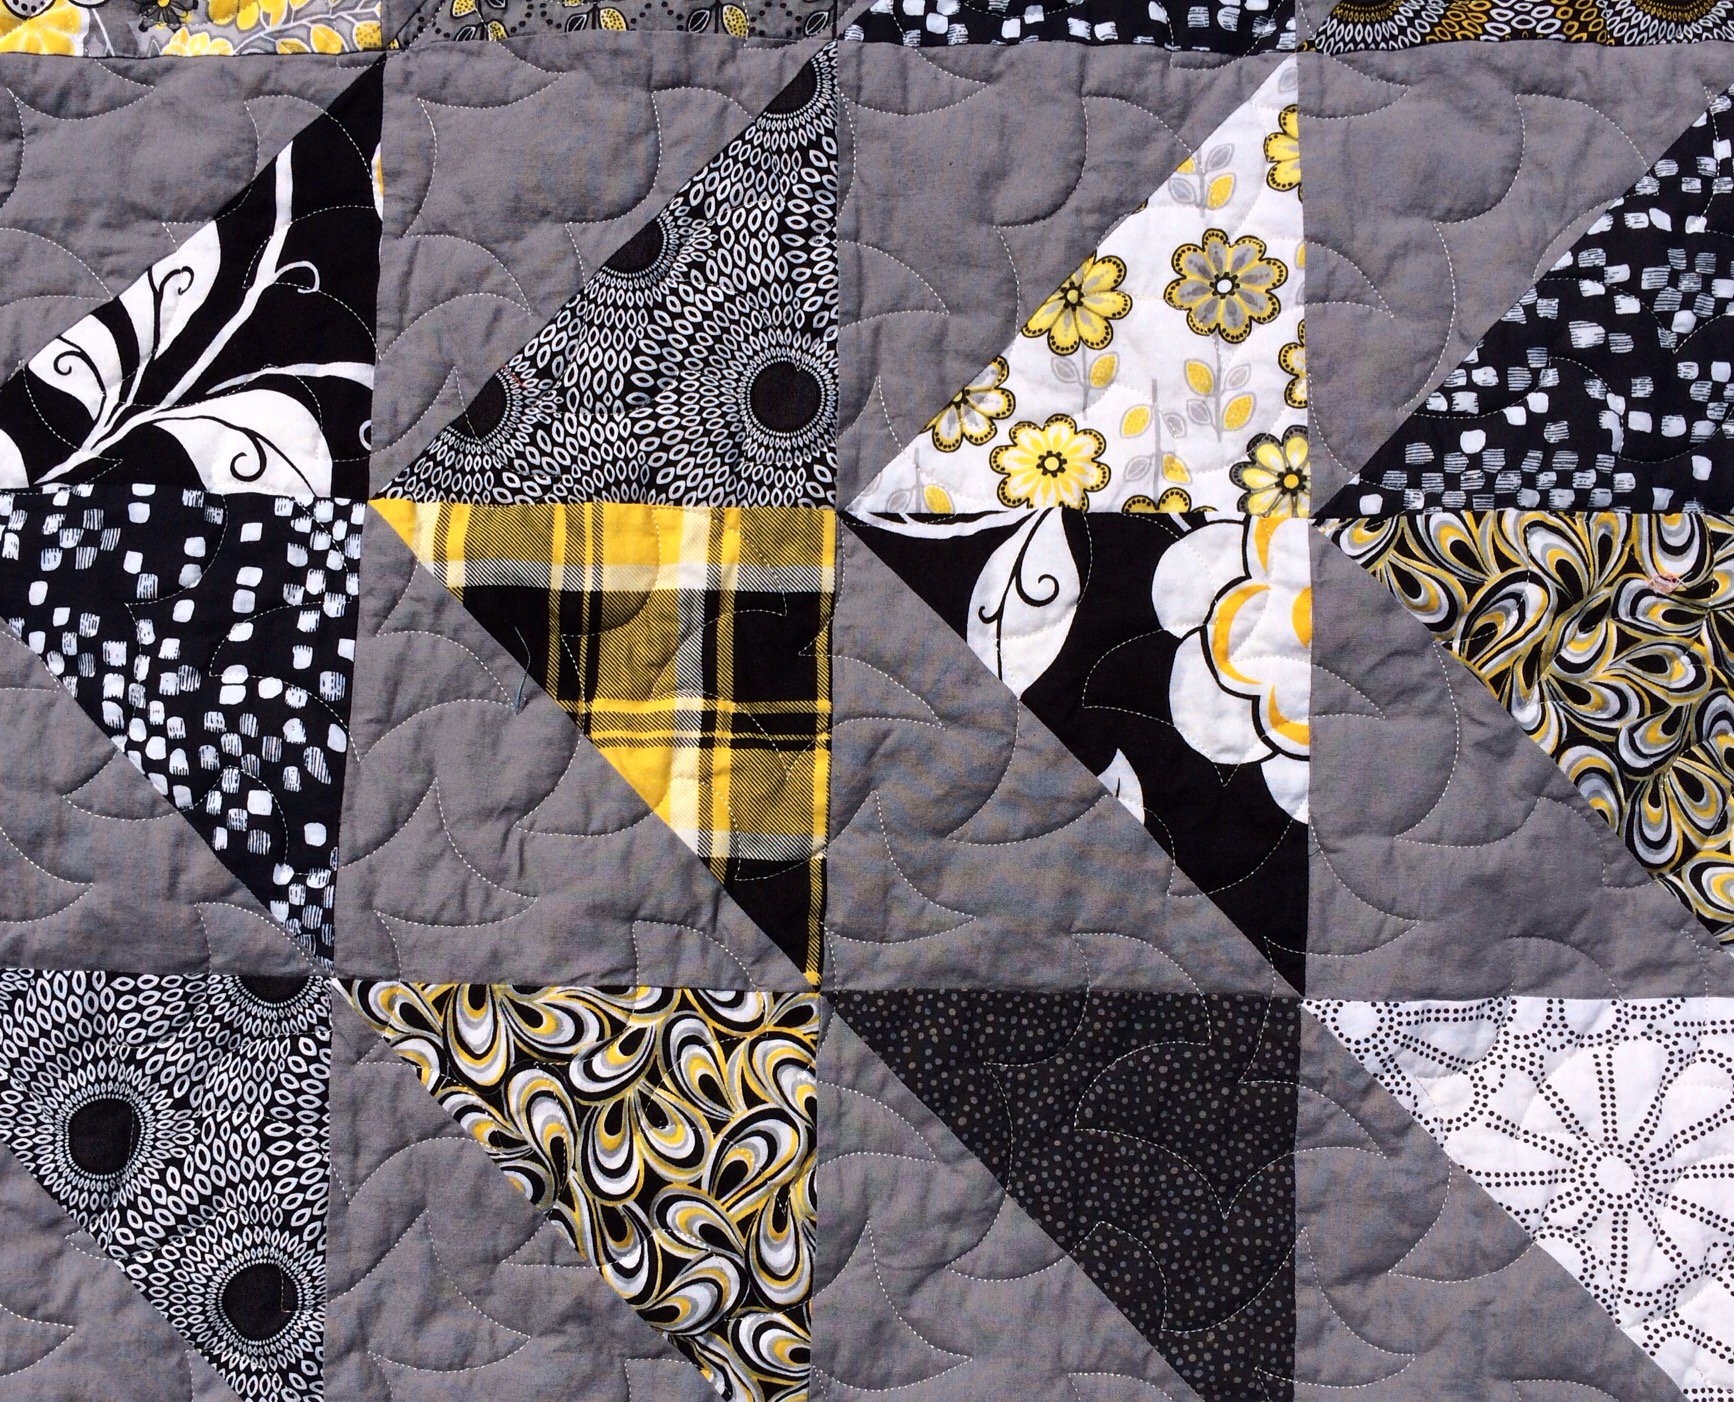
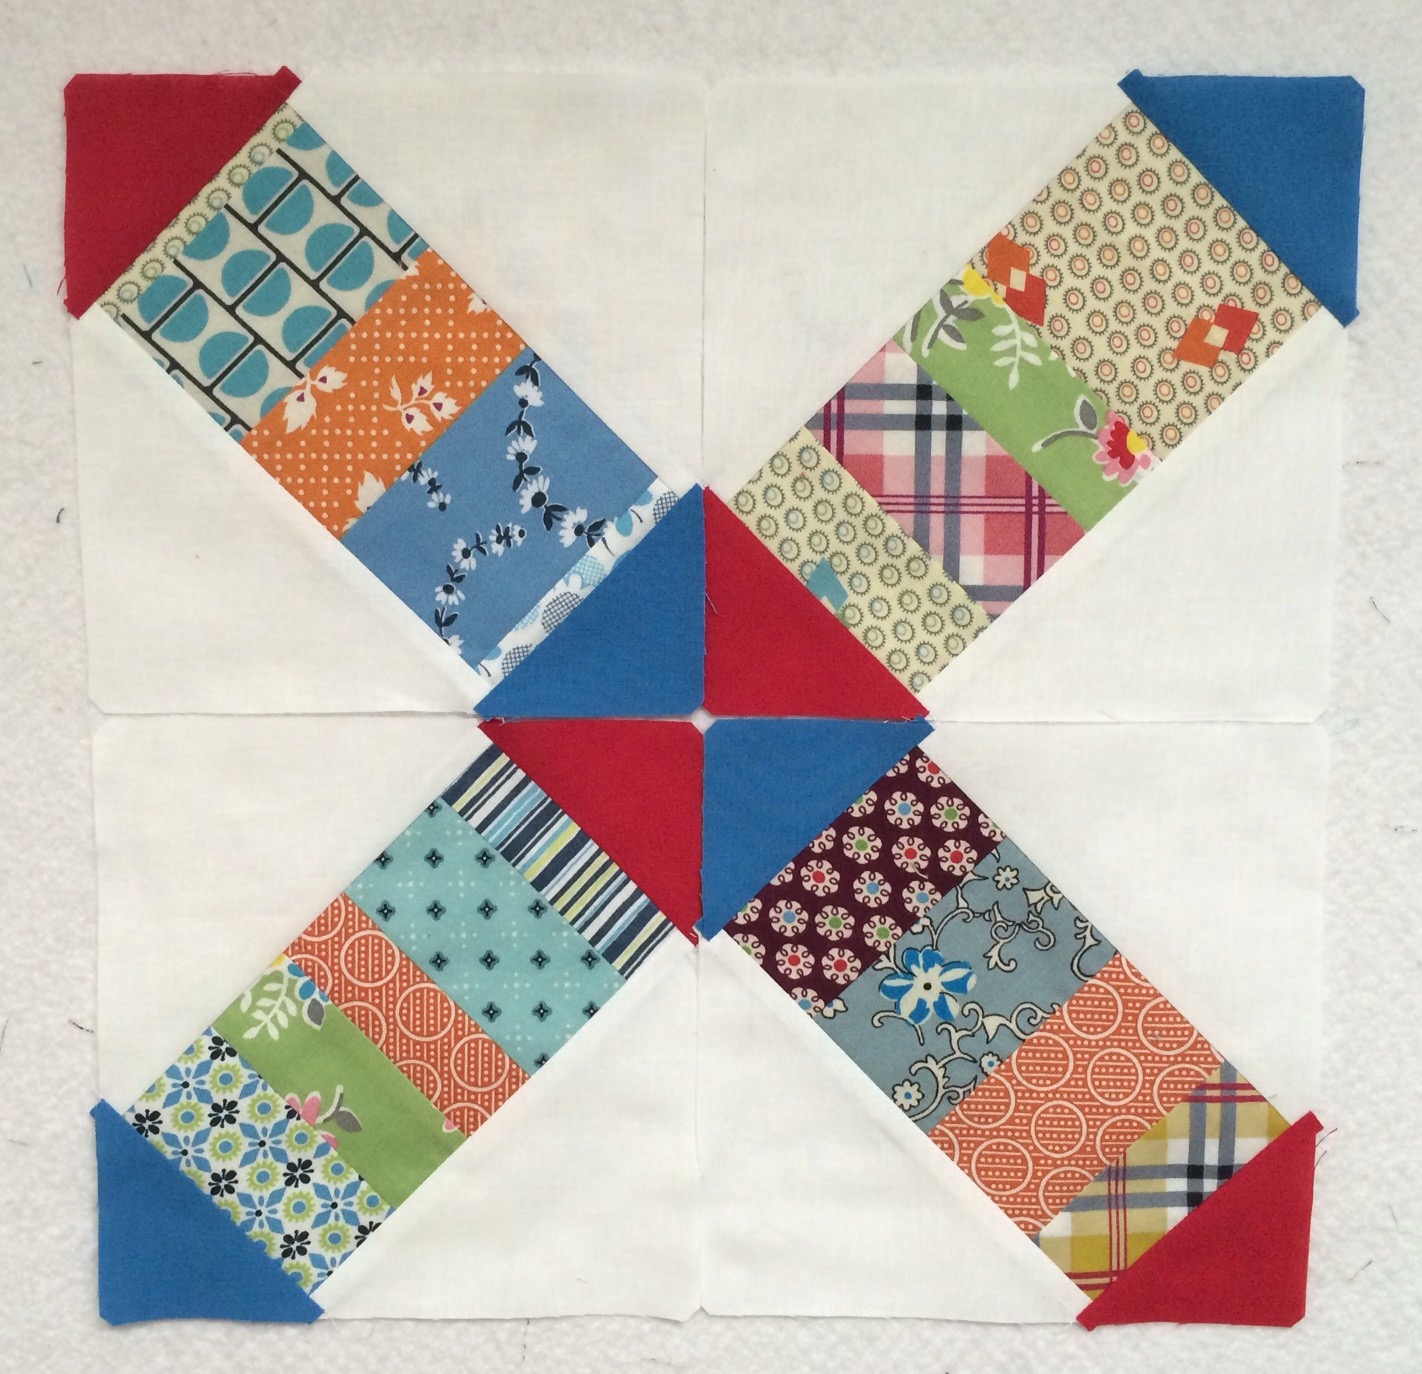
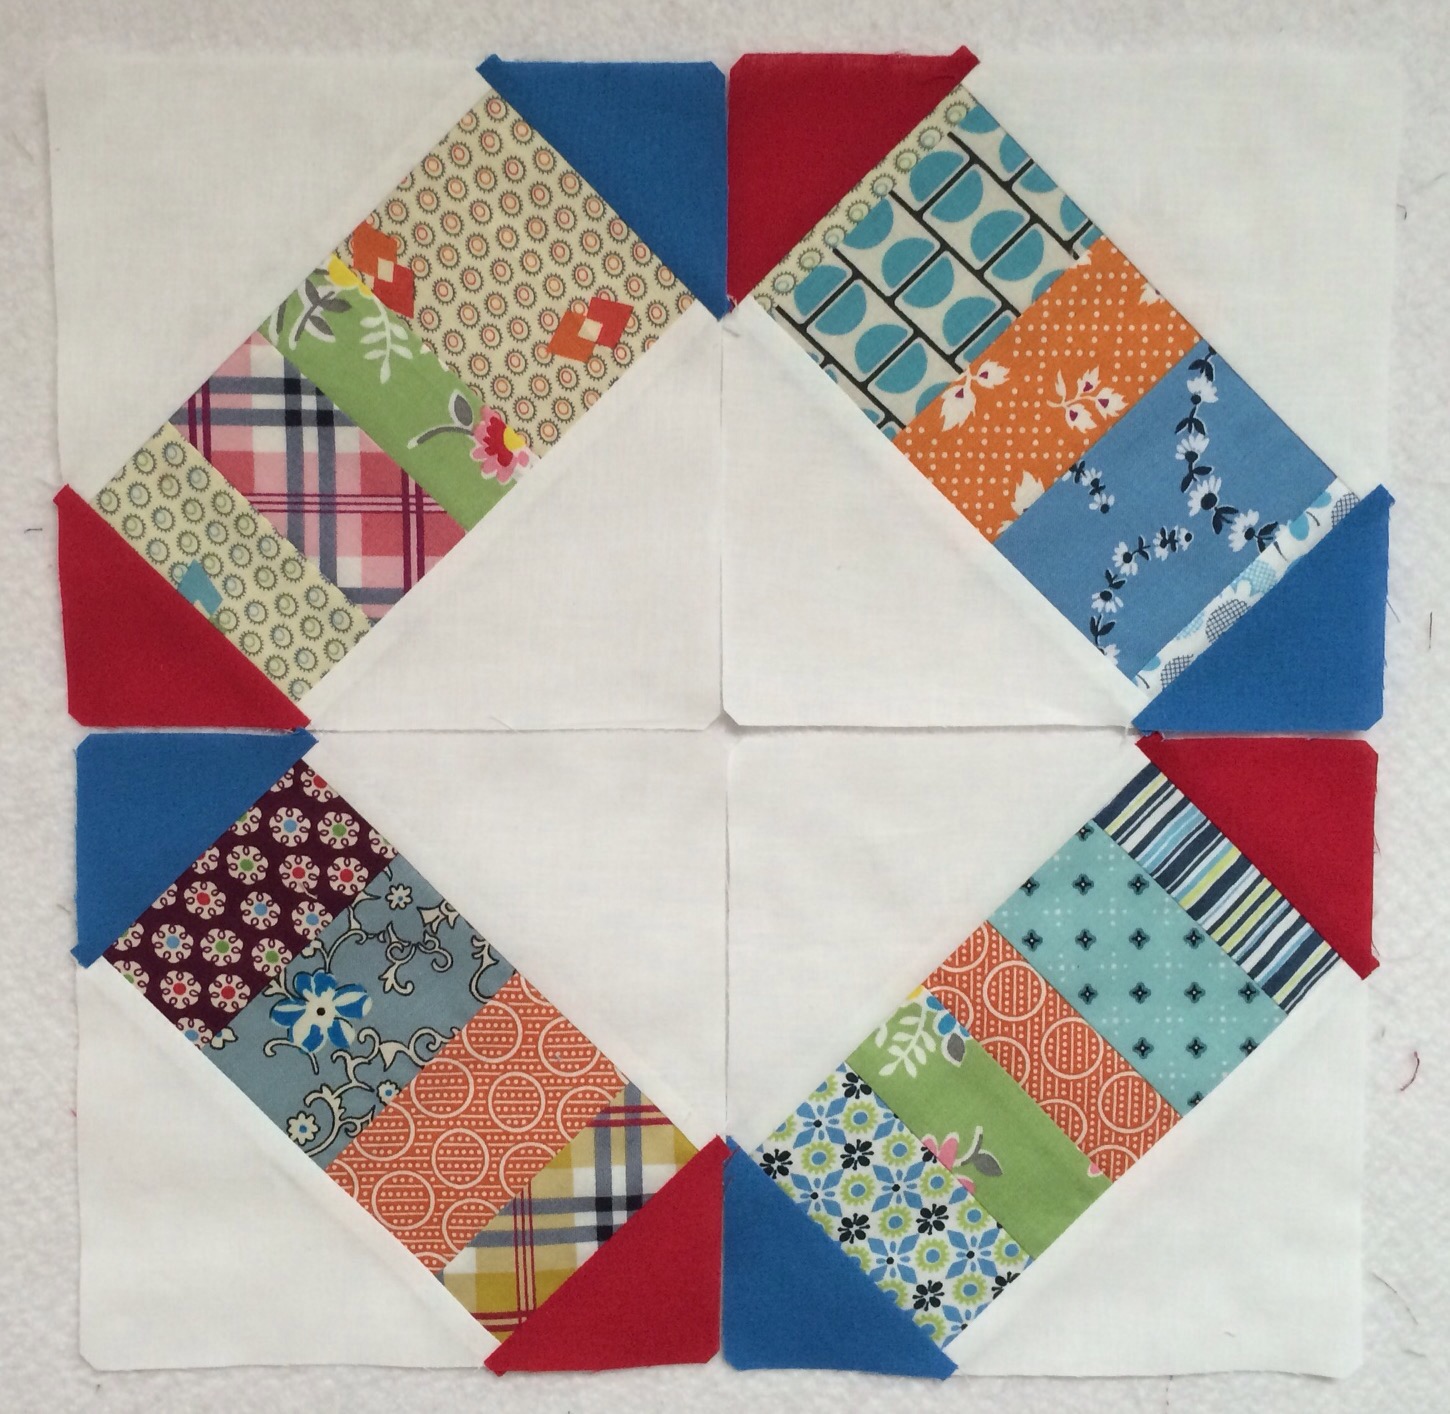
These pieces have so many design possibilities.  I will show you how I plan to use these in my next Design Wall Monday post.

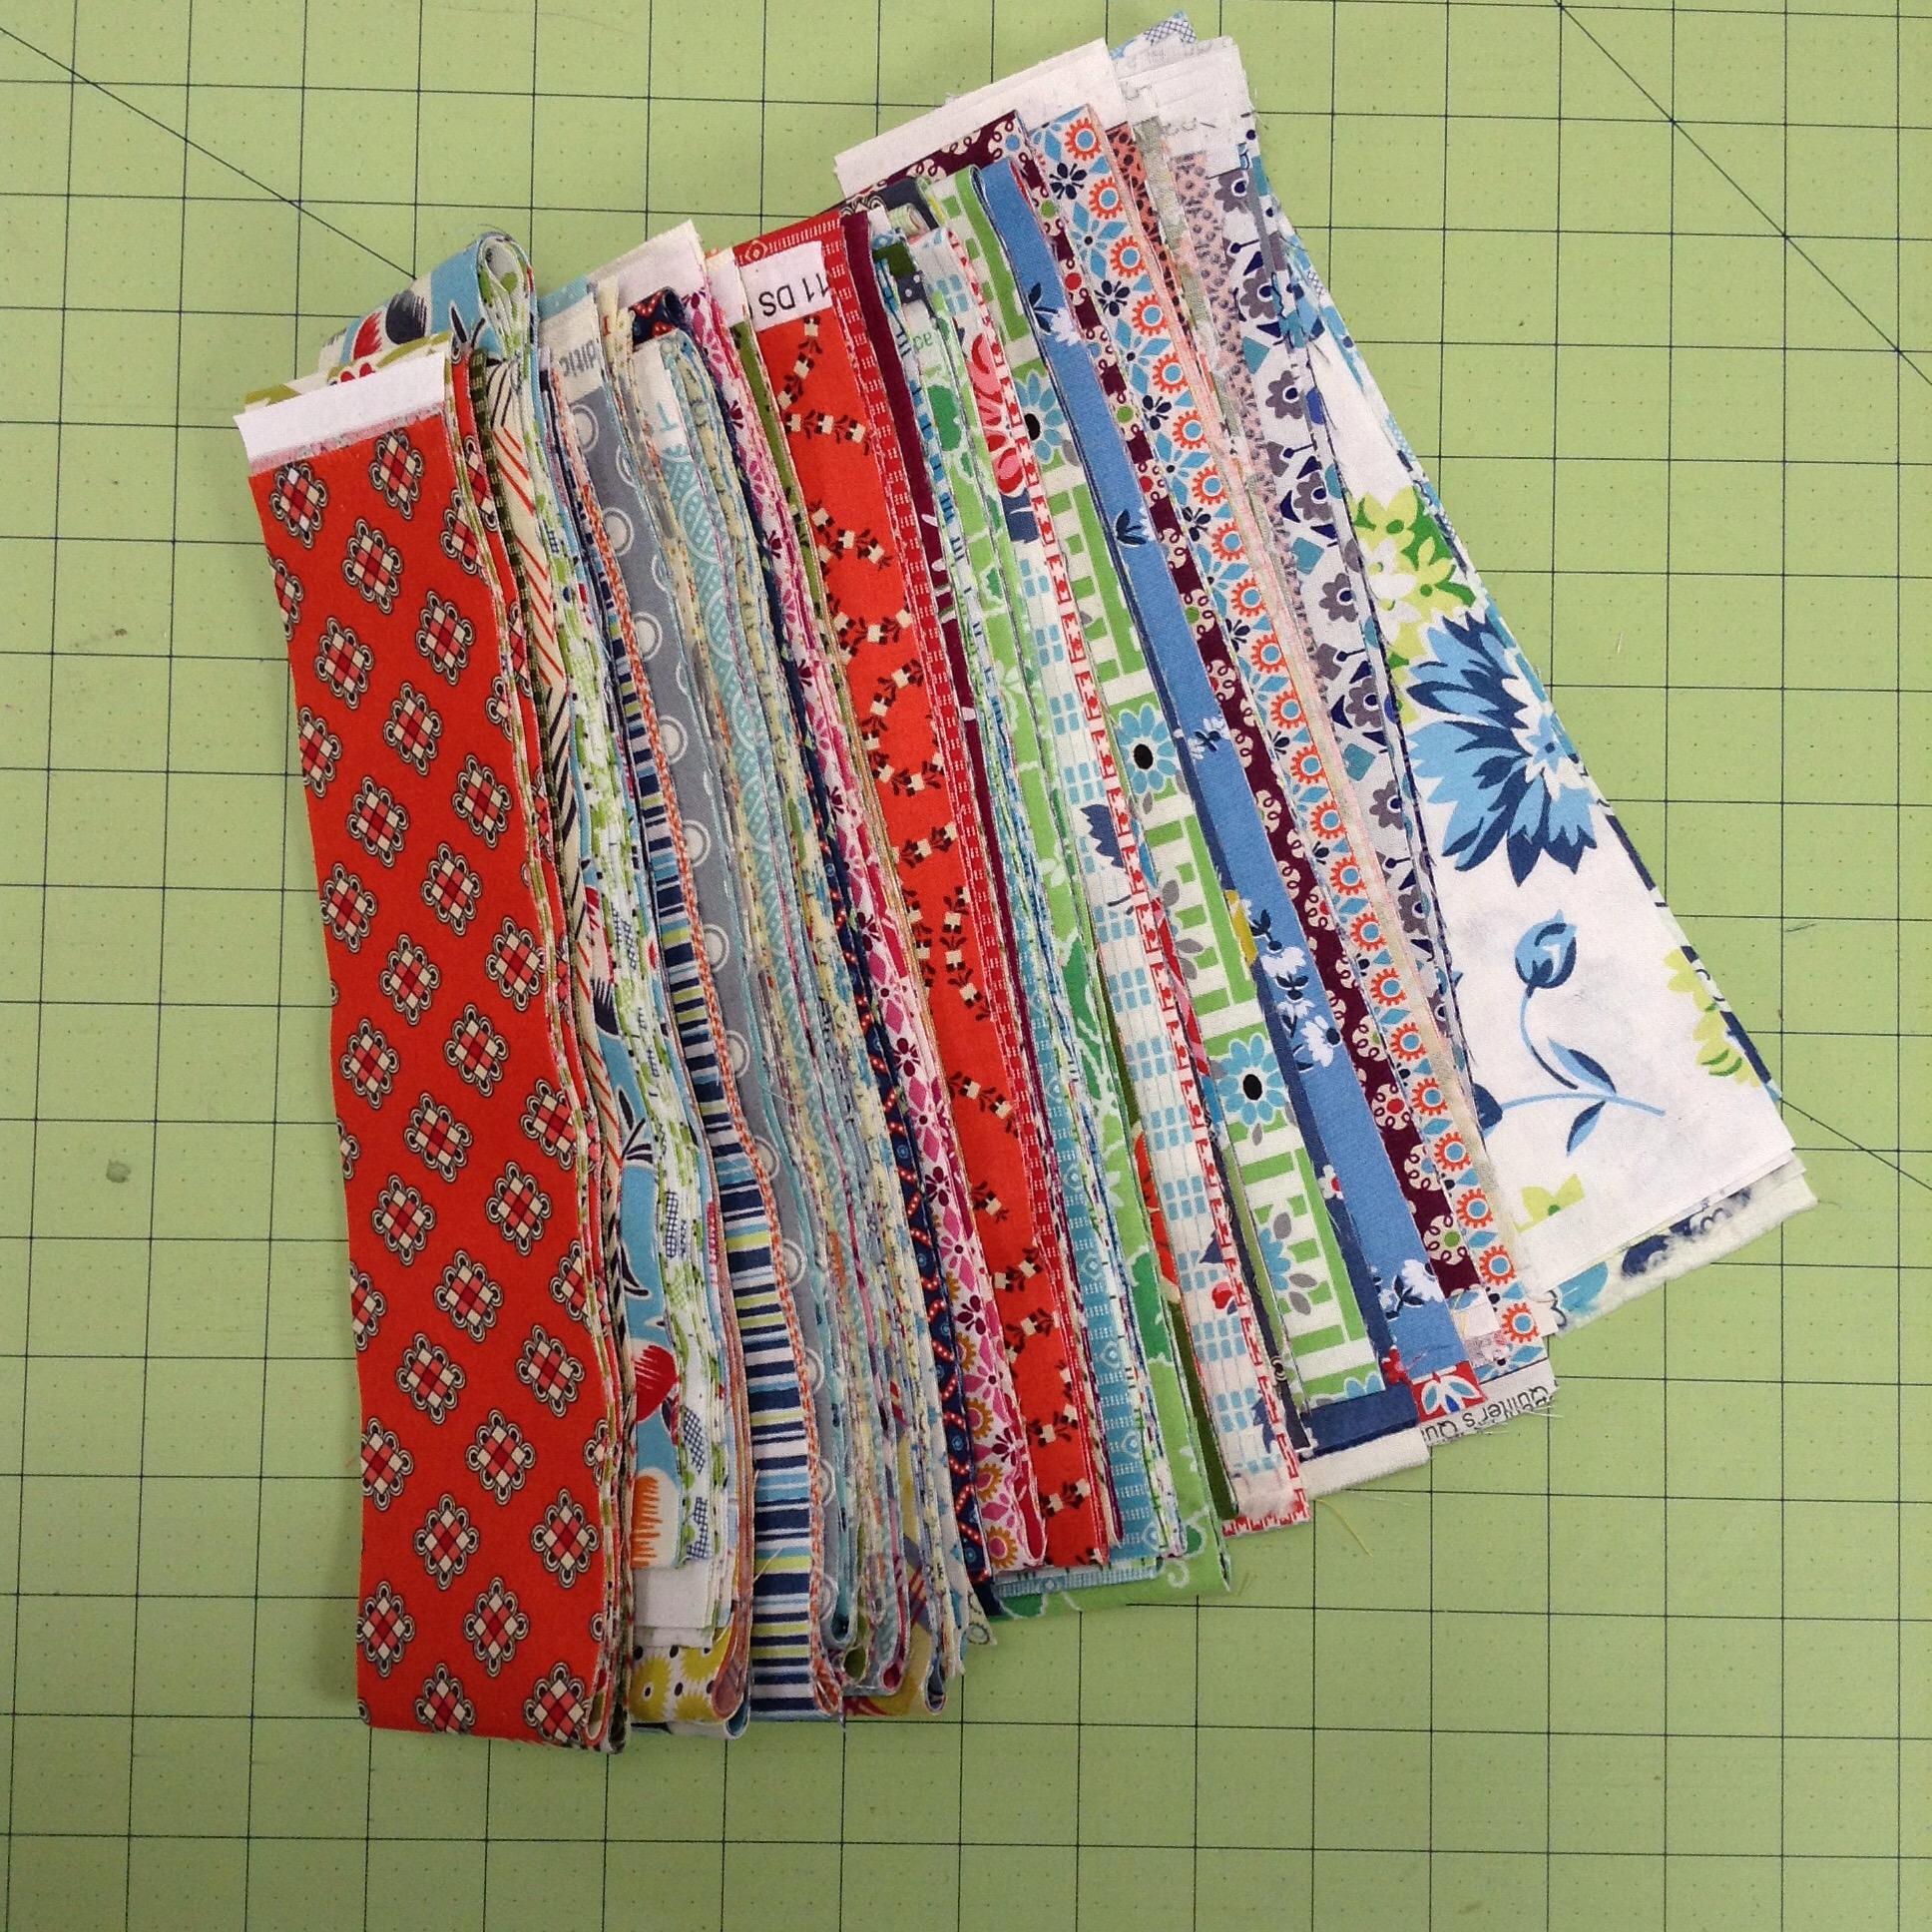
As I create more scraps, I will add to these piles. Or I could make a mini or bag with what I have cut so far.

The big tips here are to choose shapes that you know you will use. I can think of MANY patterns using these squares and HSTs that I would make.

Start with the biggest die you have chosen and work down to the smaller dies.

Don’t save something you won’t use anyway. There  is nothing virtuous about saving scraps that you won’t use!

I hope this helps! Now head on over to Cyndy’s and link up your scrappy project!

Linking up with Podunk Pretties for Podunk Pickin’s!

Posted in Accuquilt Studio Cutter, Scraps, Timesaver Tips, Tutorials | 10 Comments

Finish It Up Friday! 

The sister quilt is done! I really love how this one came together.  

It all started with these 2 1/2 inch strips cut from my collection of Denyse Schmidt prints.  
I wanted to choose a pattern that was reminiscent of an Irish Chain. I used Anne Dease’s book, Bits and Pieces and only changed the pattern slightly! Here are some pictures before washing: 


And some after washing: 


You might remember that I cut my backing too short and had to add a piece while it was on the frame. Here is a peek at the seam that I made. 

I can live with that! This quilt ended up 64 x 82 inches. It shrunk up quite a lot, about 4 inches in width and 6 inches in length. But I expected that since I didn’t prewash anything.

My sister received the quilt on Wednesday. I think she liked it. 😊


I’ll be leaving in the morning for Phoenix. I can’t wait! I have posts scheduled for nearly every day that  I am away, including a fun guest post for Quilting is More Fun Than Housework! I will likely check in with a few baby pictures as well :).

I will surely keep up with reading every comment. But I may be too busy with my kids and those two cute grandsons to respond much.

Linking up with Confessions of a Fabric Addict, Richard and Tanya Quilts, Crazy Mom Quilts, Quilt Matters, A Quilting Reader’s Garden, Sew Can She, She Can Quilt

Posted in Bed Quilts, Finishes | 24 Comments

More EPP Prep

On Tuesday I showed you the EPP project I was looking at from Quiltmania. I decided to see how it would work if I made smaller hexie frames like this. 

I didn’t want to sew these together and then find out I didn’t  like it so I taped them with painters tape. 

 Then I tried it out.


Nope. Not working. I didn’t have enough red hexies prepared so I just taped the templates together for m next try. 


And tried again.  


Yep, that’s better. The pattern called for 10 inch squares of the background to be cut and then these frames would be appliqued on top and the excess cut away. I trimmed mine a bit closer to the actual size needed. I don’t have any of this fabric to waste. I will never be able to get more since I bought it 16 years ago in France.  Check out the selvedge. 

Here are my background bits.  

 I only need 7 and I may use only 6 and use something else for the 7th. 

I really need to get packing! Linking up with My Quilt Infatuation.

Posted in Hand piecing | 8 Comments