Amy over at Amy’s Free Motion Quilting Adventures has just given her studio an update. She and her hubby have done a wonderful job! You have to see her awesome tables on wheels with metal storage shelves underneath. To celebrate, she has started a Quilt Studio Link Party, here, so that people can share their sewing spaces. I love looking at sewing rooms online so I decided to jump in and share mine again as well!
Note: These pictures were actually taken a couple months ago so the projects in various states are not current!
Longtime readers will remember that just over a year ago we had a flood in our basement. We had several weeks of heavy rains and our sump pump and backup sump pump both failed at the same time. We ended up totally renovating our basement. It was a lot of work but I ended up blessed with a lovely new room and my hubby got a new office. If you would like to see my old sewing room, click here. BTW, we haven’t had a drop of water in our basement since! Thank you Jesus!
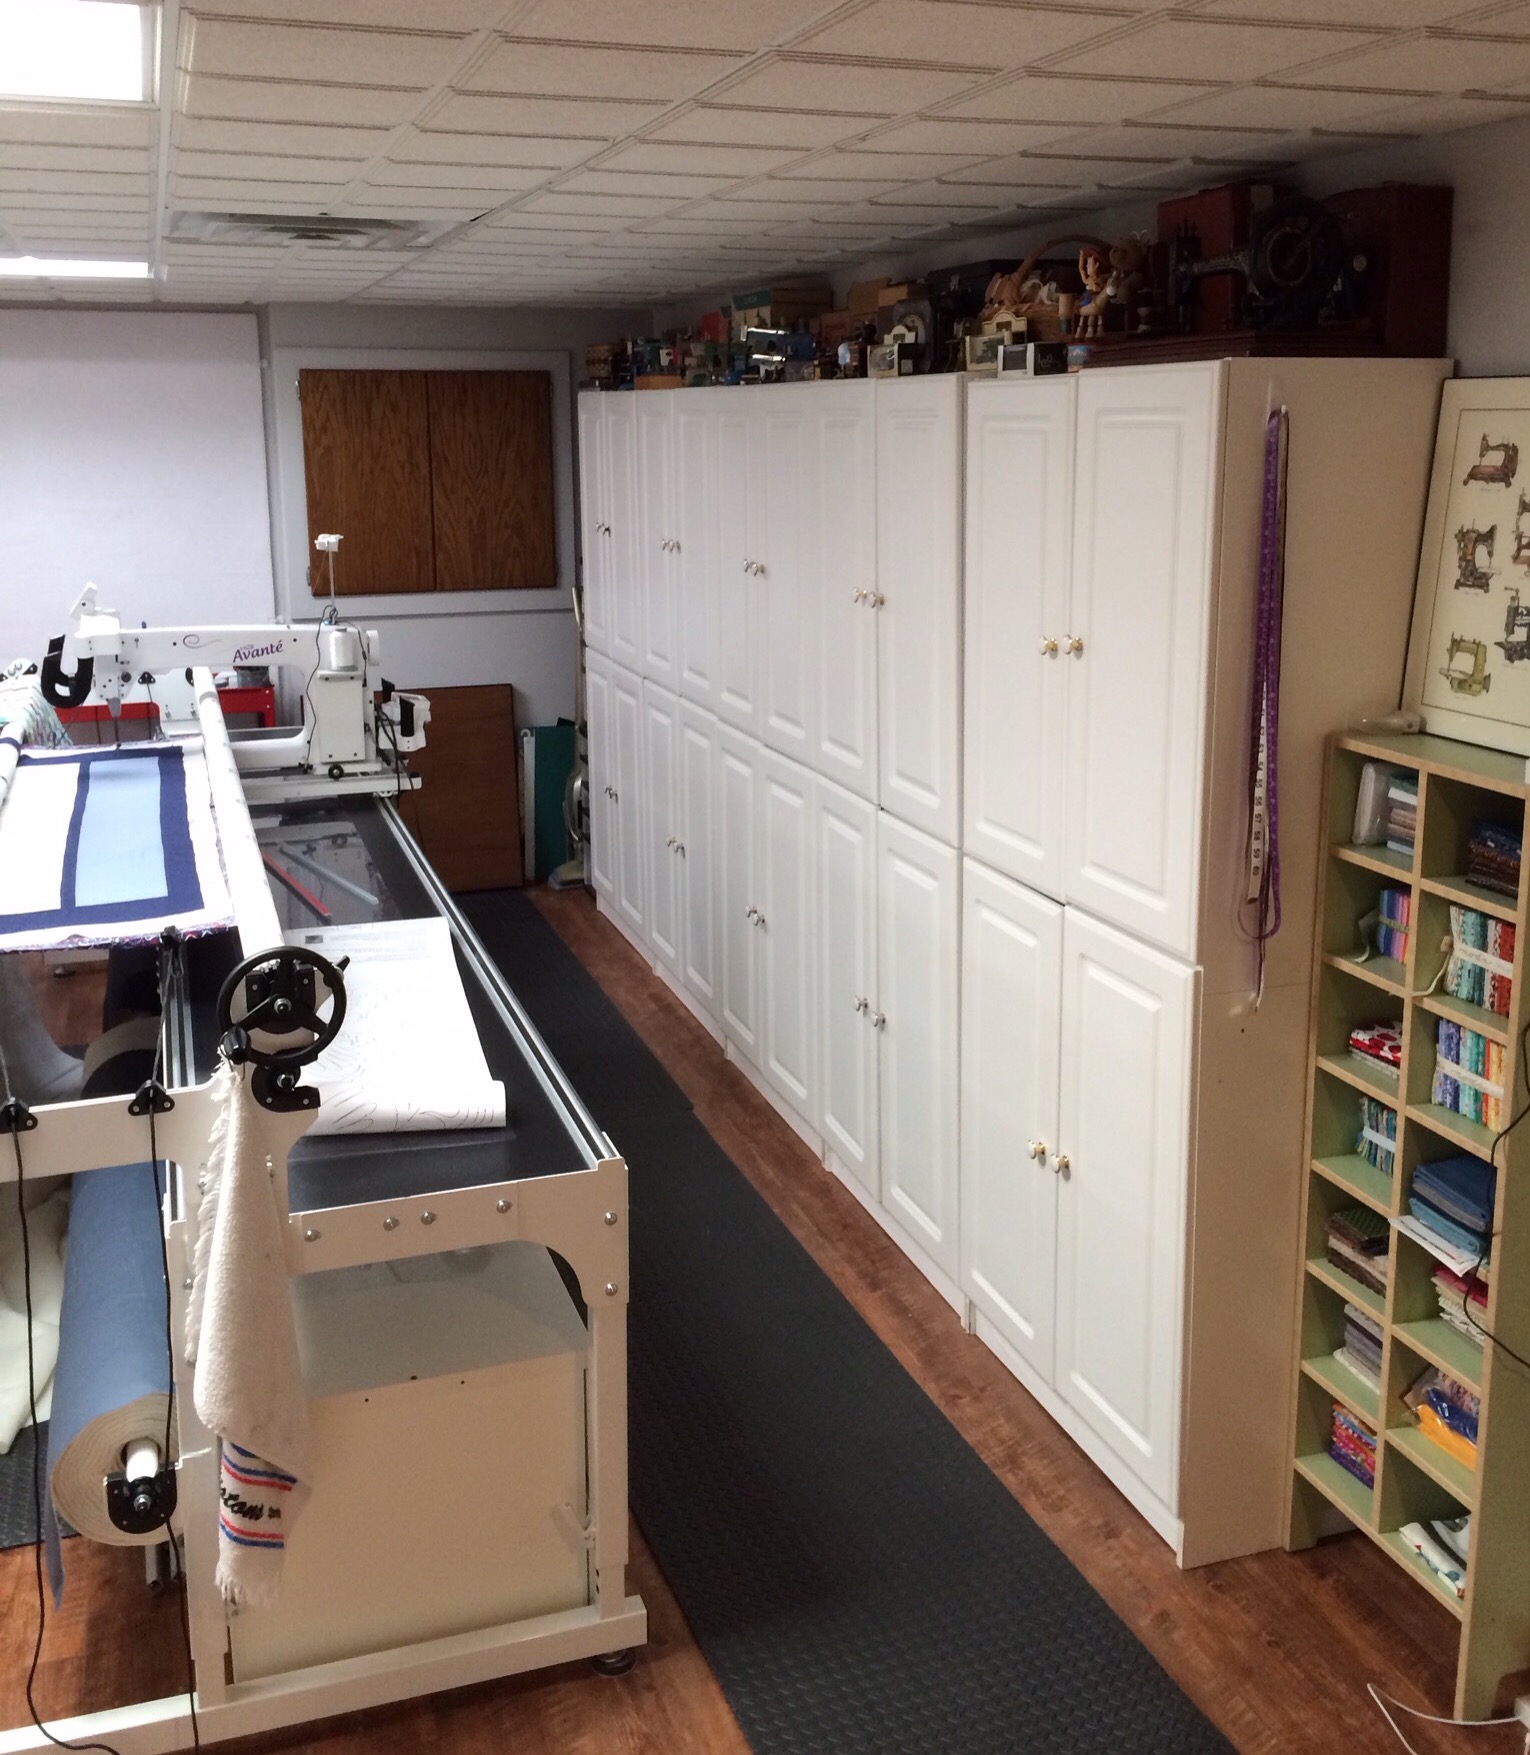
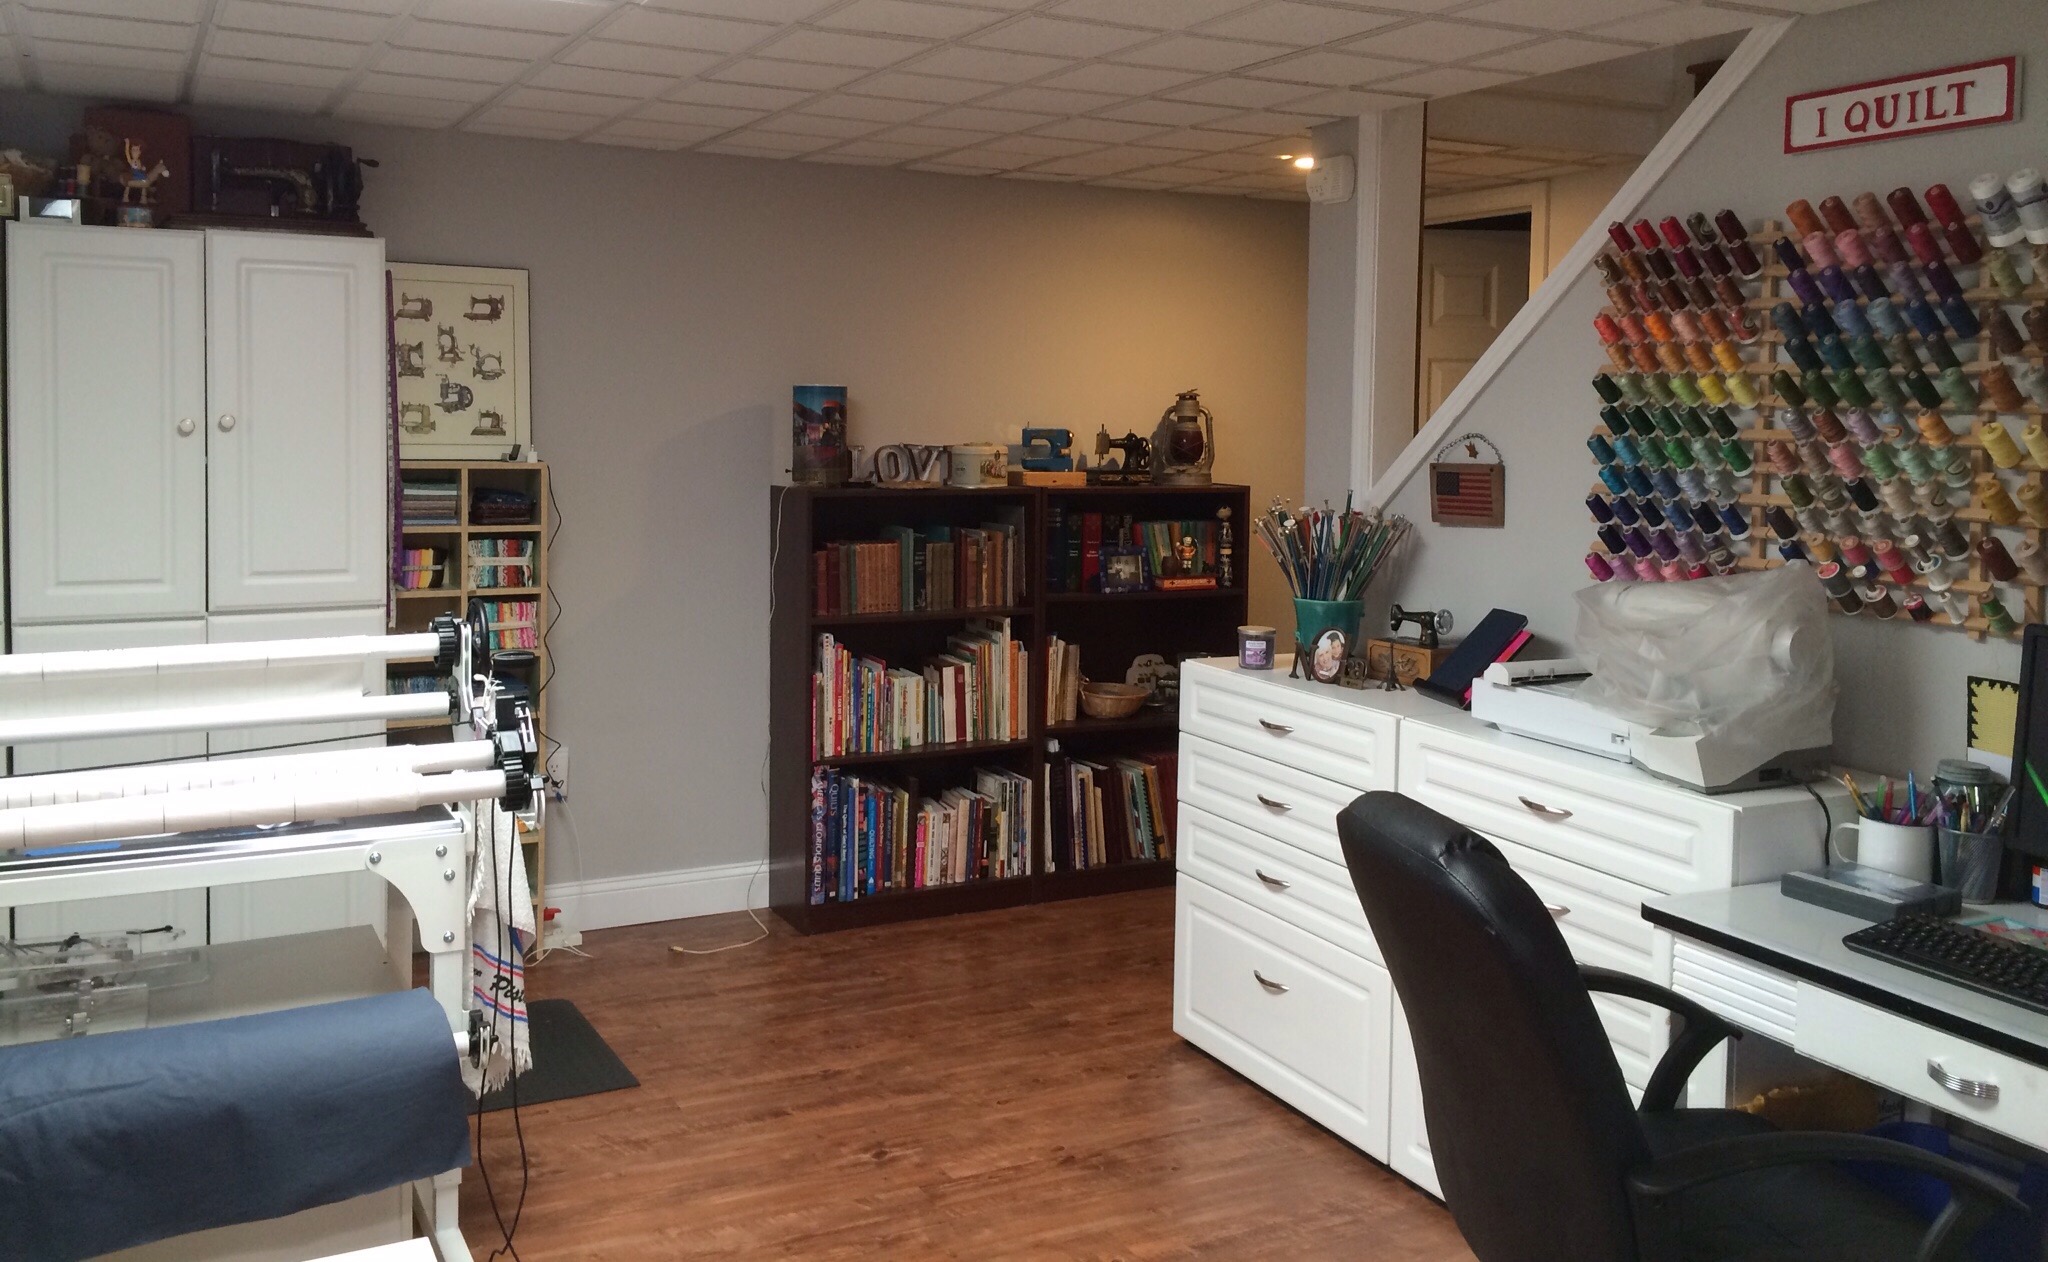
My sewing room takes up over half of our finished basement. This is the view as you walk down the stairs. My sewing room is to the left and hubby’s office to the right.

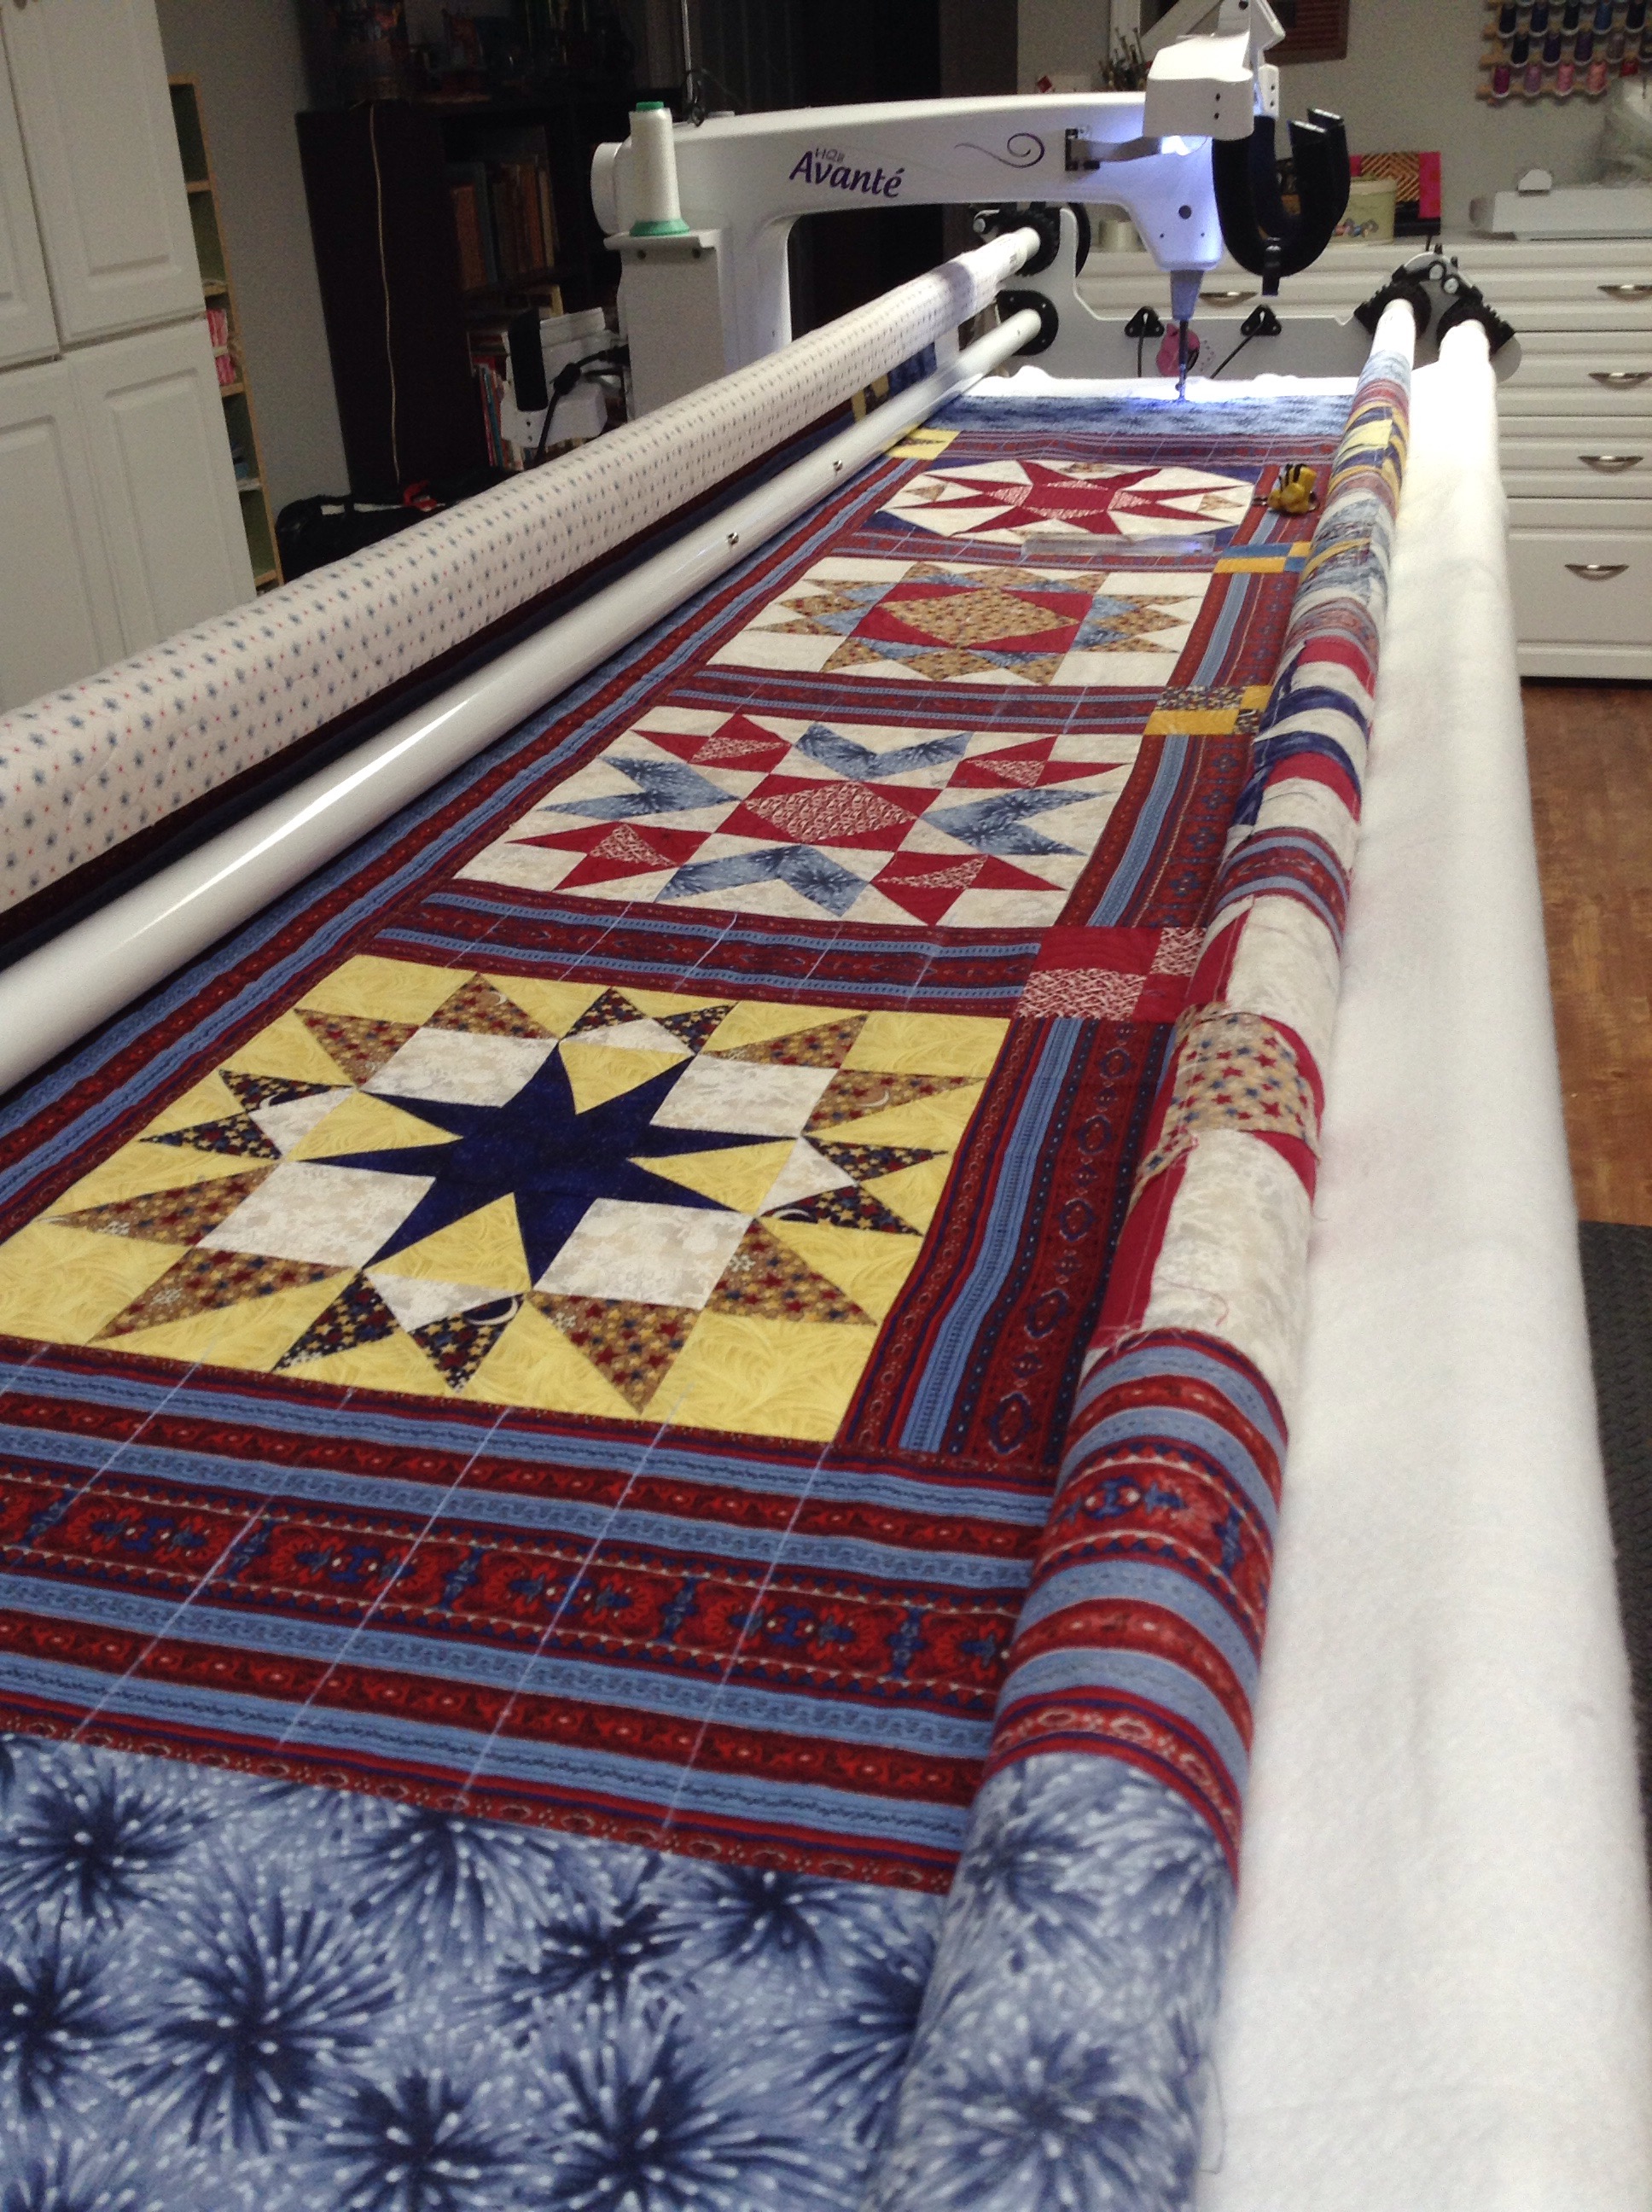
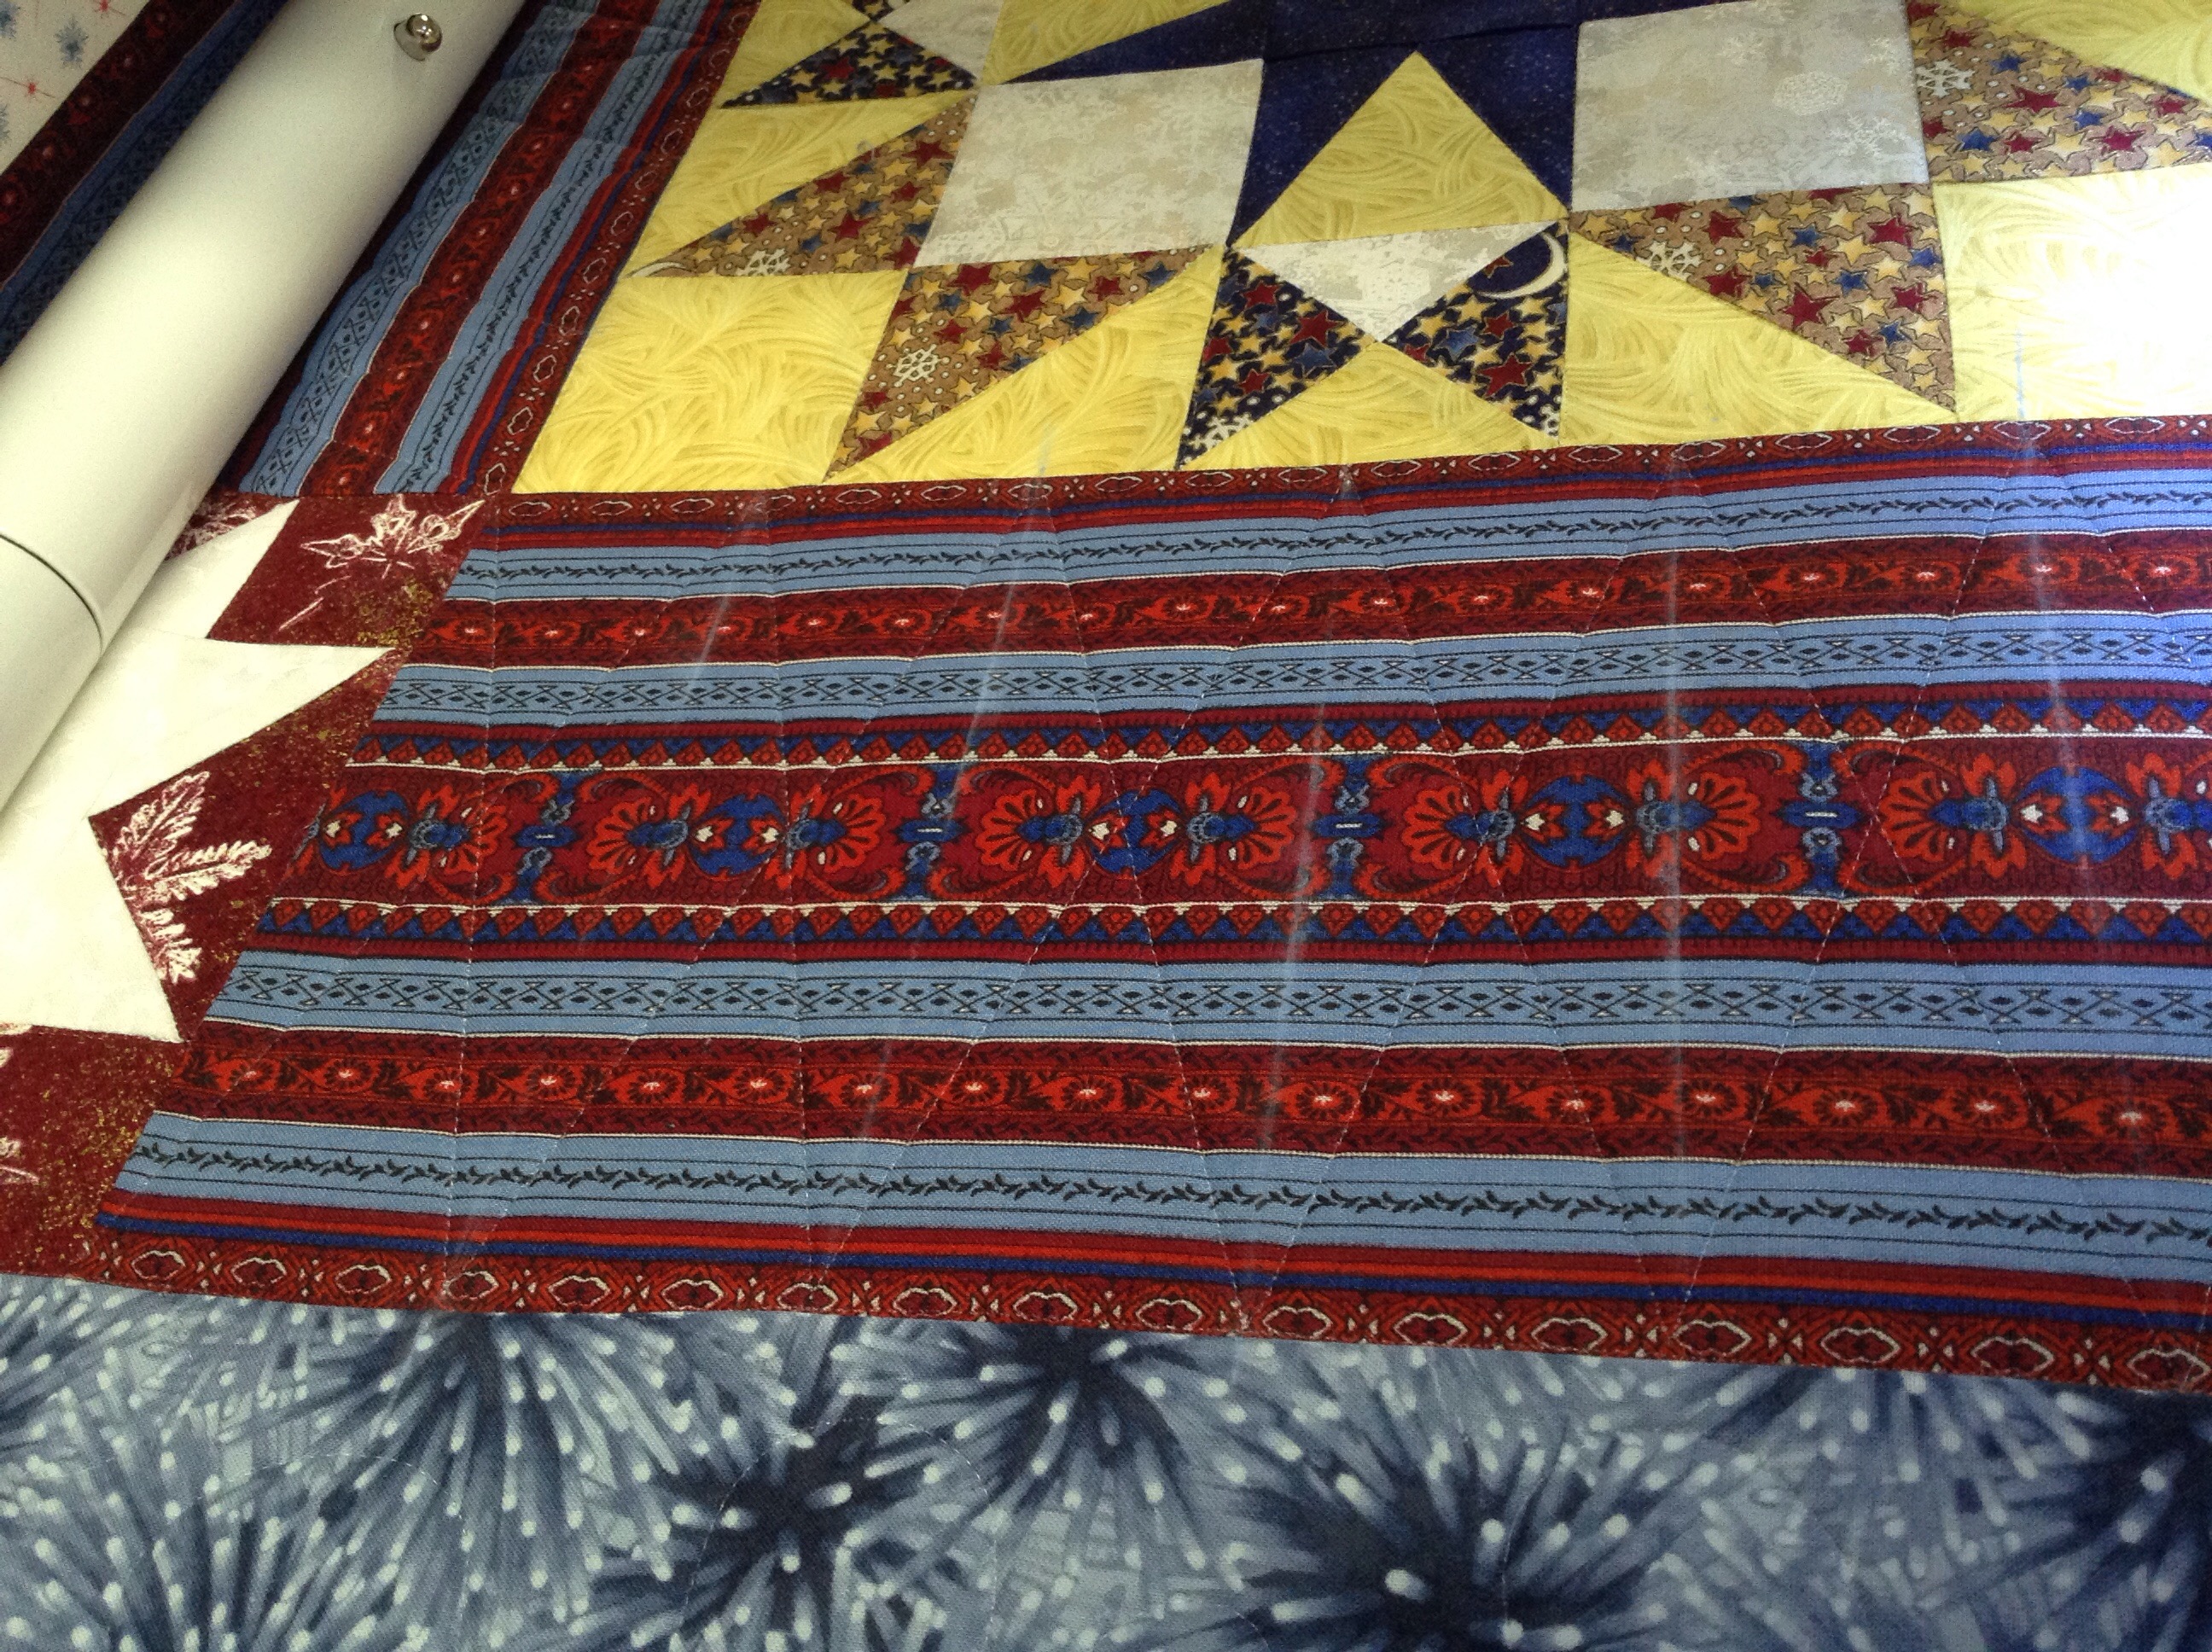
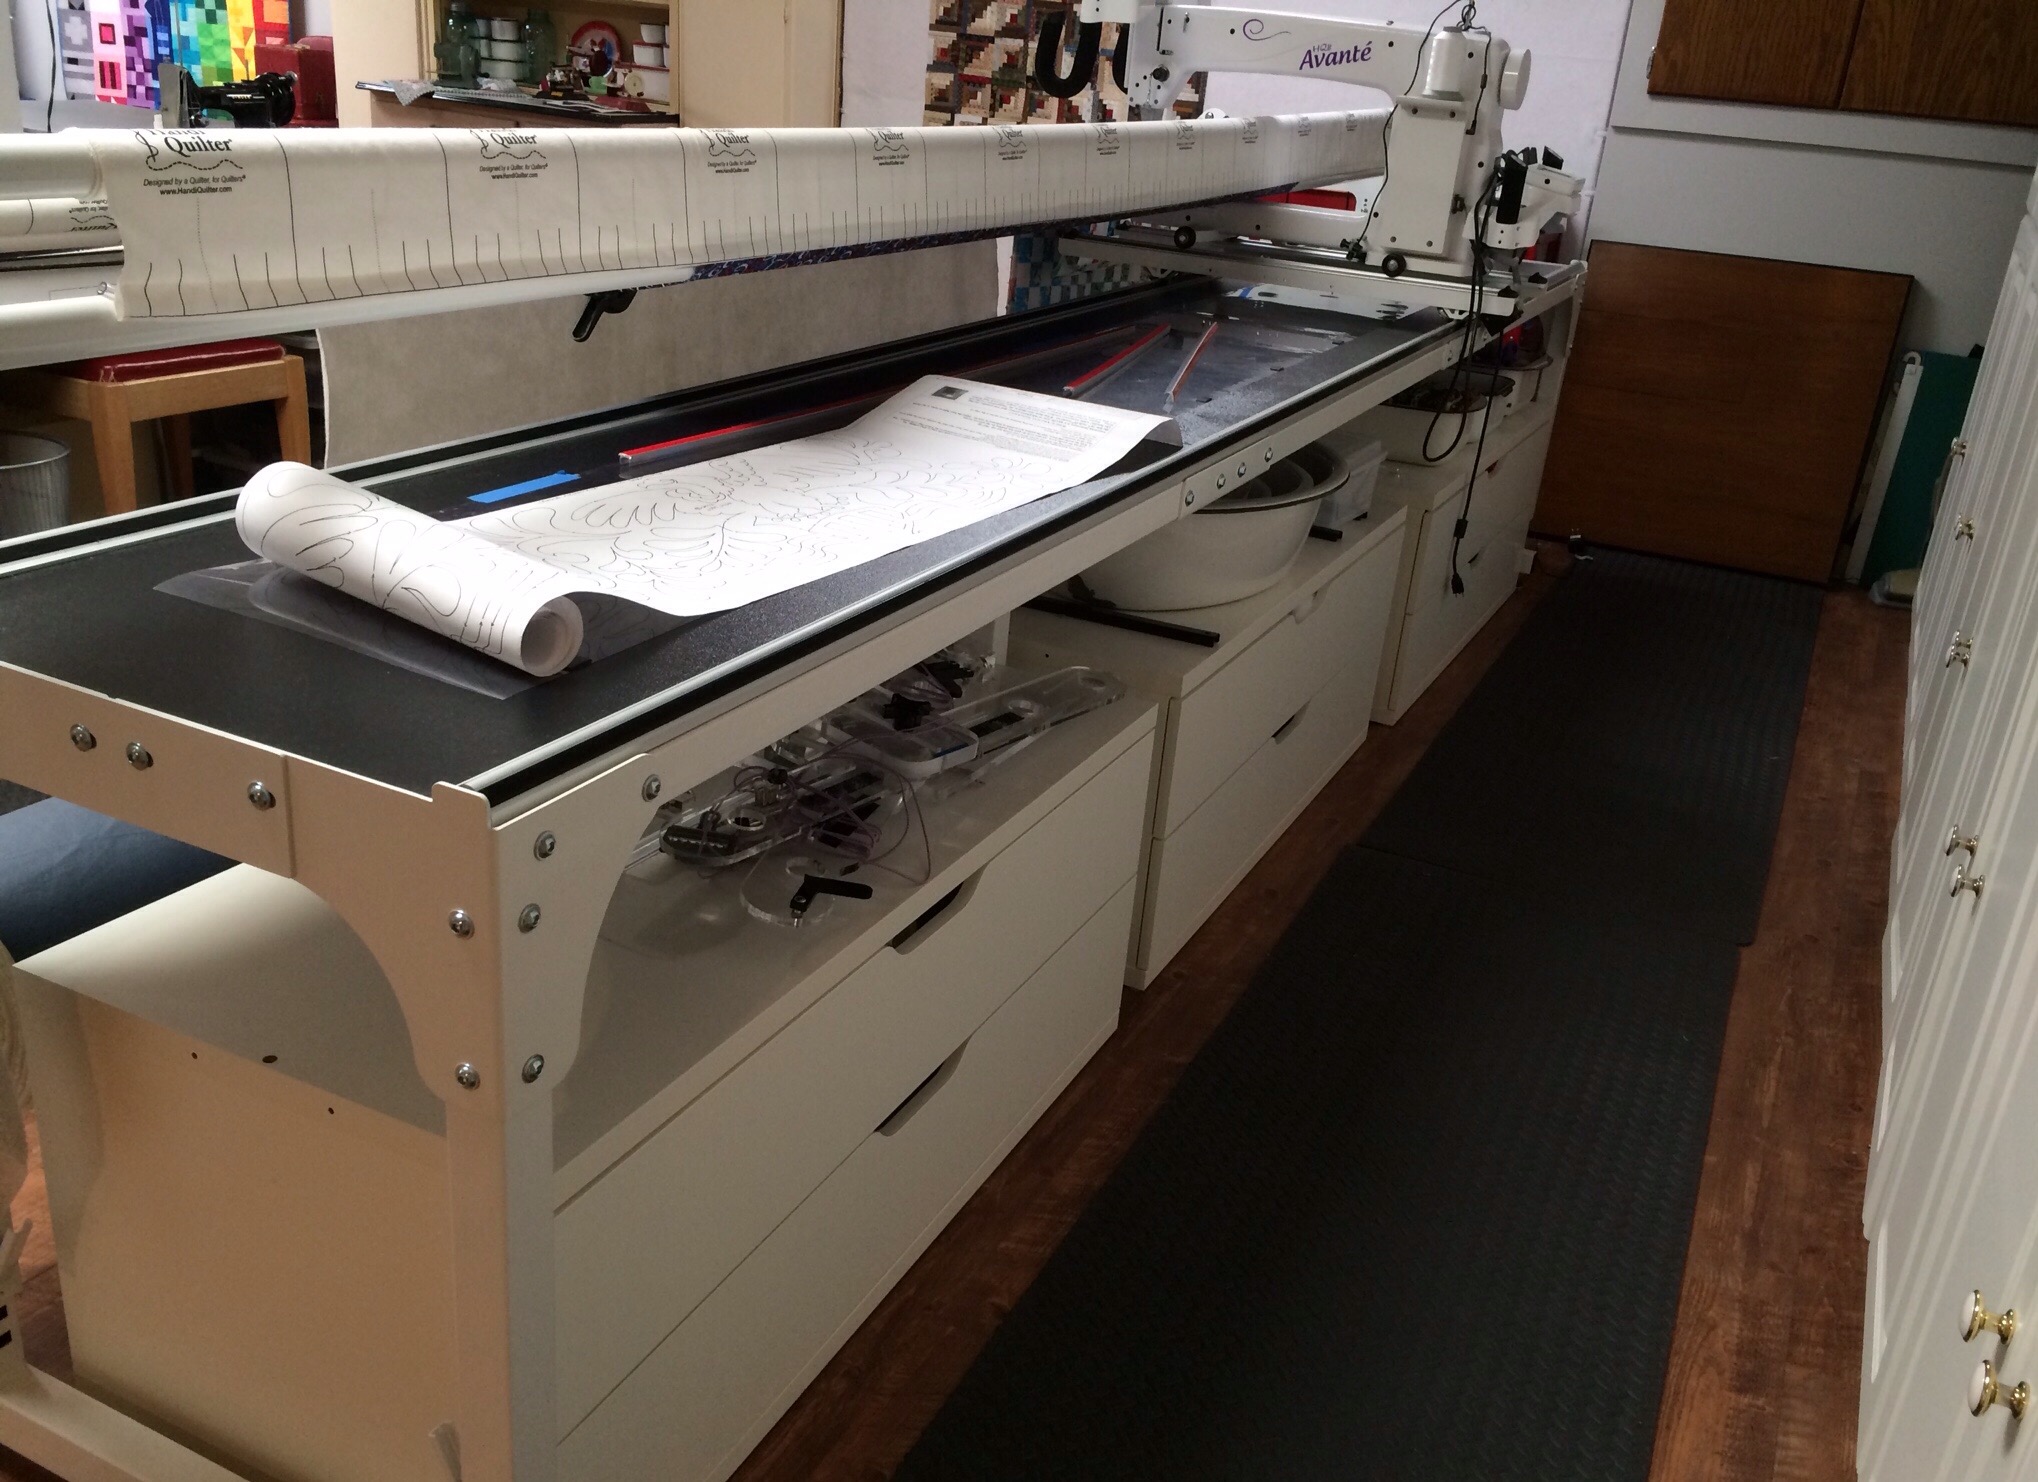
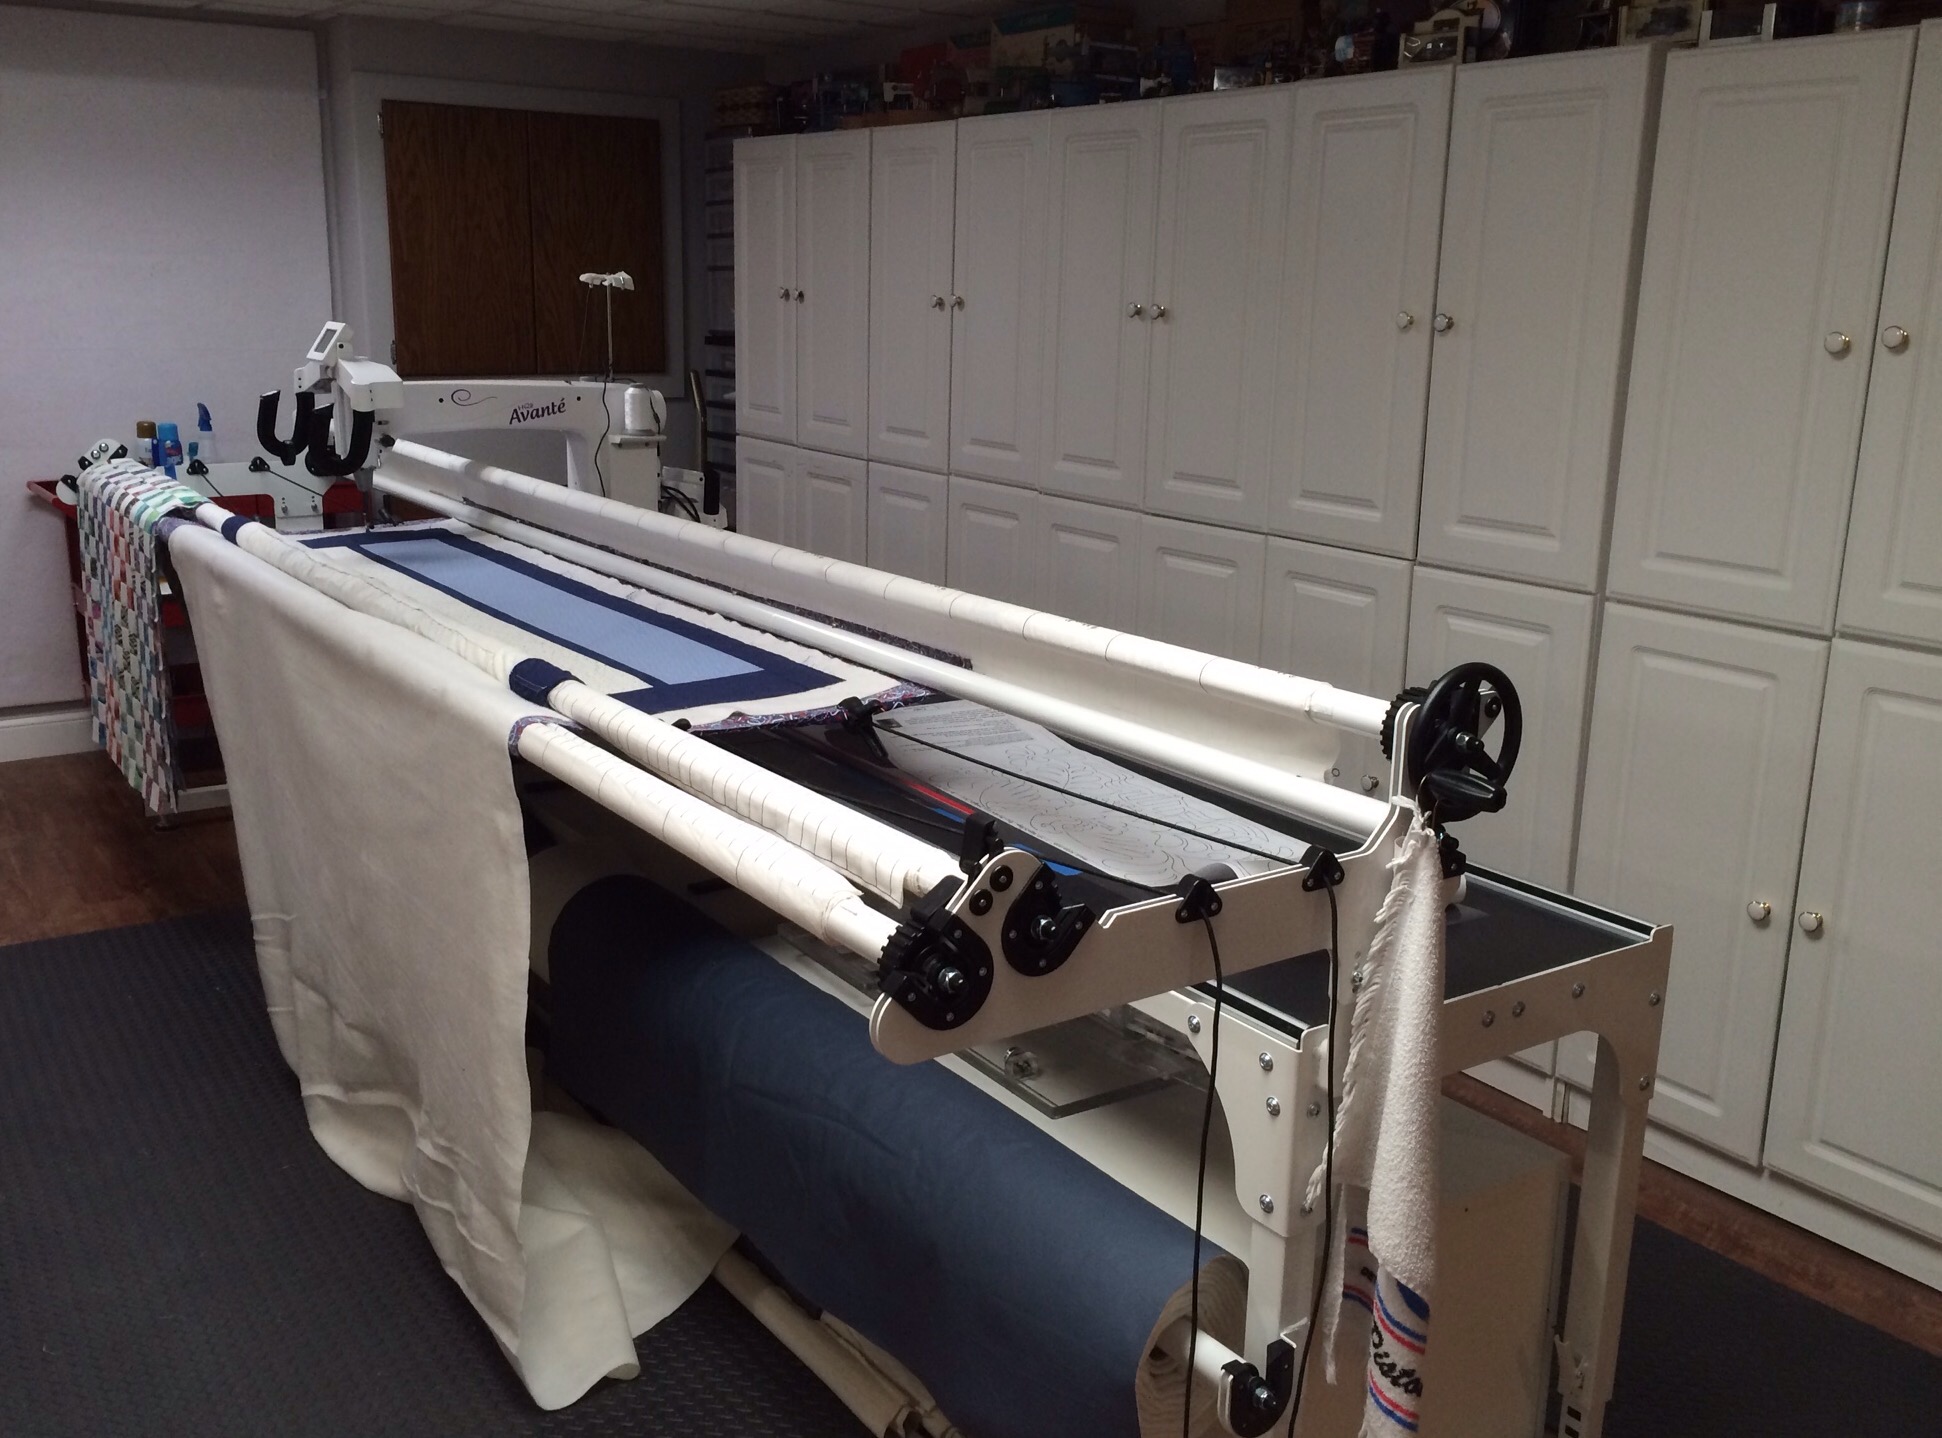
I will walk you around the room moving to the left. The first things you see are my white storage cabinets. These things have traveled to France and back! We used them when we lived there in the late 90s for bathroom and kitchen storage. Now I get them all for sewing stuff! They hold long arm bits, books, vintage sewing machine attachments, my serger, craft supplies, etc. In front of those, you see my favorite machine EVER! My HQ Avante long arm.

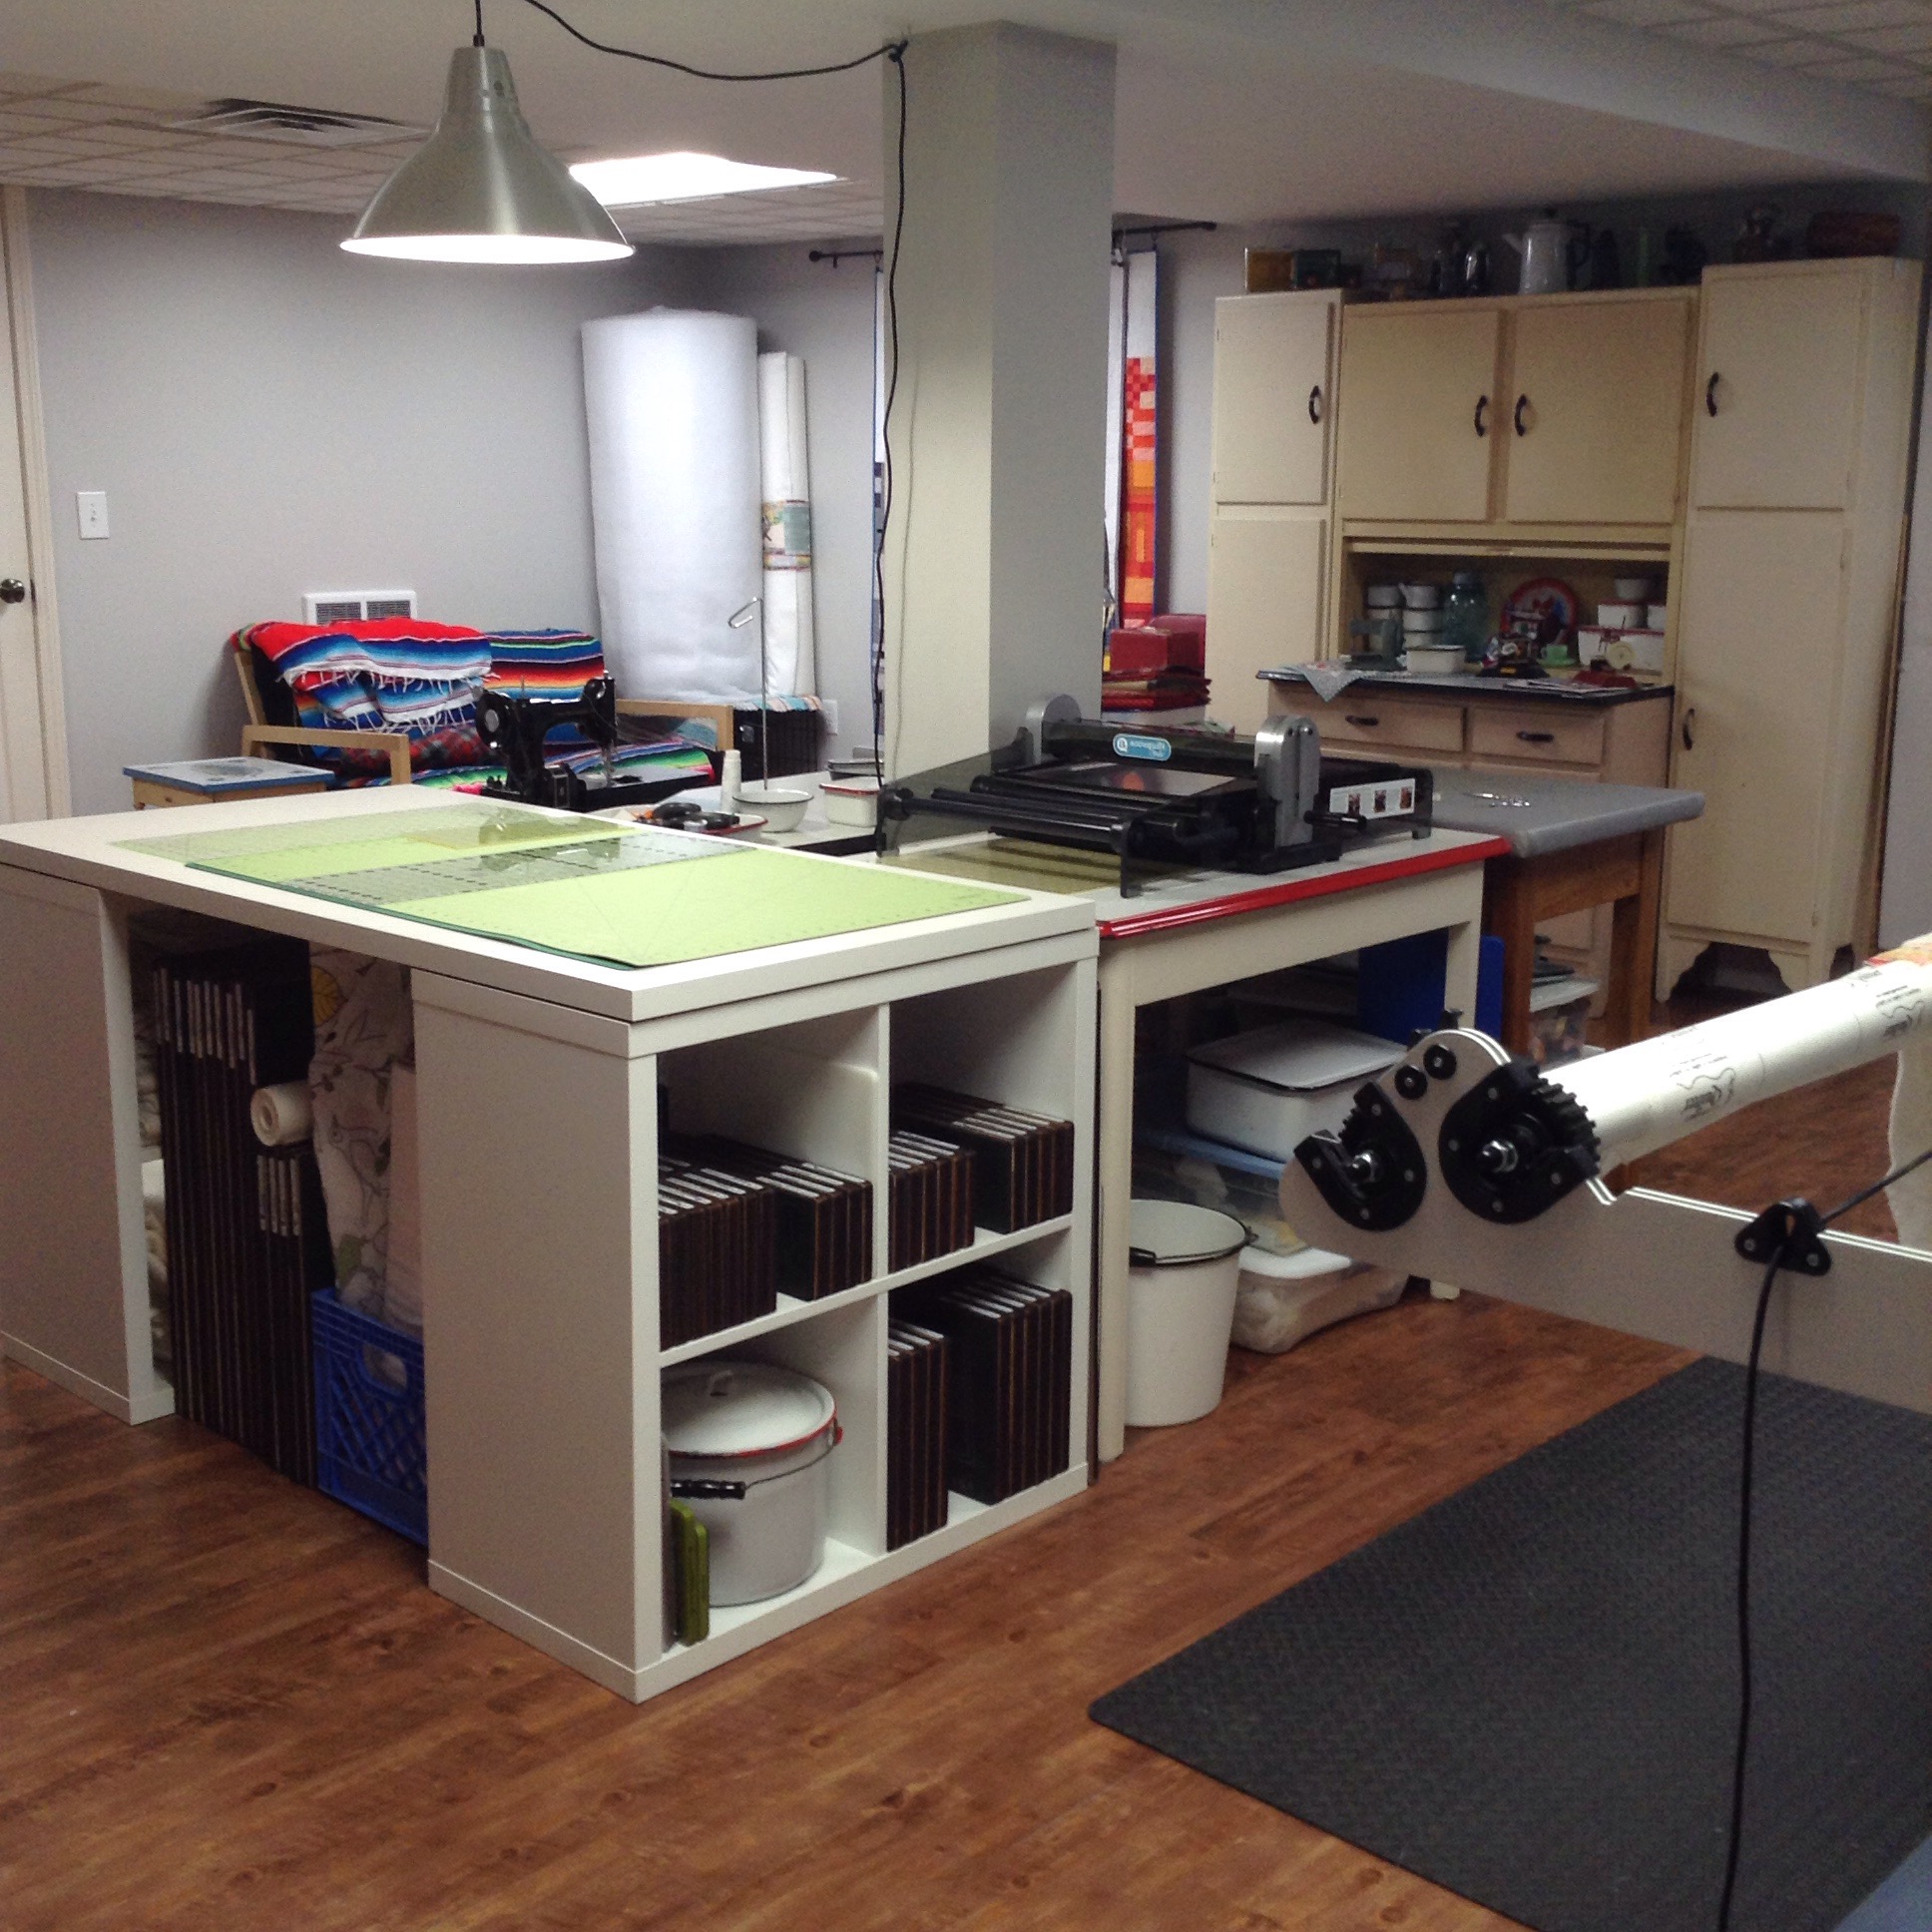
Beneath the long arm, I have these Ikea Stolmen cabinets. They were intended to be part of a closet organizing system but they fit perfectly between the supports of my frame. I use these to store quilts that I have quilted, quilt tops waiting to be quilted, large pieces of fabric for backings, and my pantographs.

I store some of my batting on a rail beneath my frame. The black mats are anti-fatigue mats.

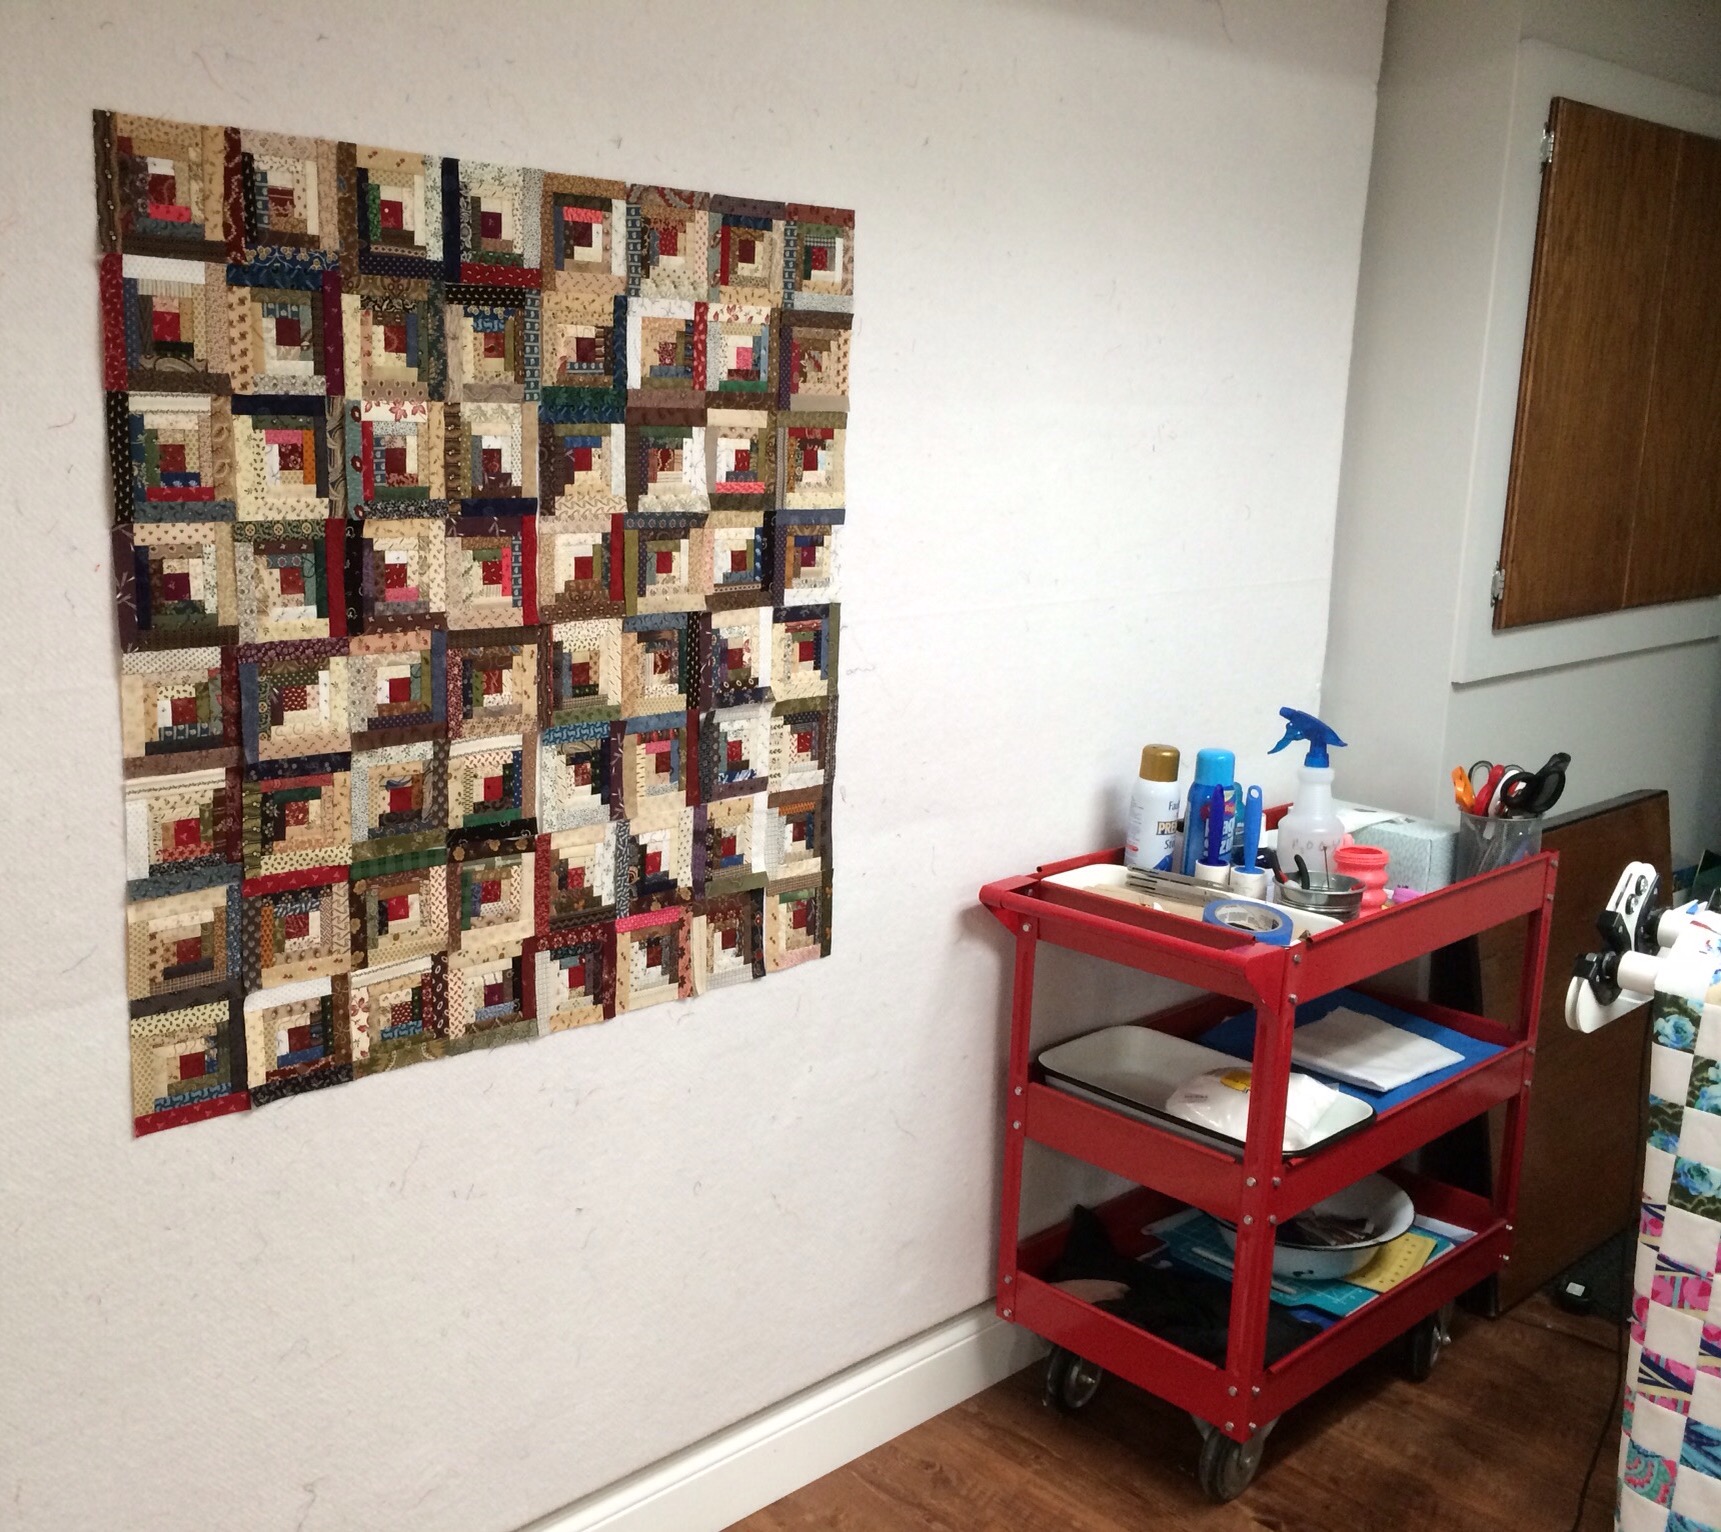
Continuing on, you can see my red cart and my design wall. The red cart holds frequently used thises and thats. I got it at Harbor Freight. I can easily move it to wherever it is handy. I love having a design wall, but honestly, I could use more! If only I had more wall space!

Next you see my favorite piece of furniture in my sewing room, my hoosier with side cabinets. It is a later model and doesn’t have the flour sifter. That works for me as I don’t bake but can use the extra space for sewing stuff! Eventually, I would like to give it a fresh coat of white paint.

Want to take a peek inside? The cabinet on the right is where I store my long arm thread.

In the middle on top, I have long arm bobbins and containers of fabric that I have cut up ready to piece.


The little enamelware containers hold lots of different things. I love having a collection that is also useful!

The cabinet on the left holds sets of finished blocks, more precut pieces, my vintage tea towels, fat quarter bundles, and layer cakes.

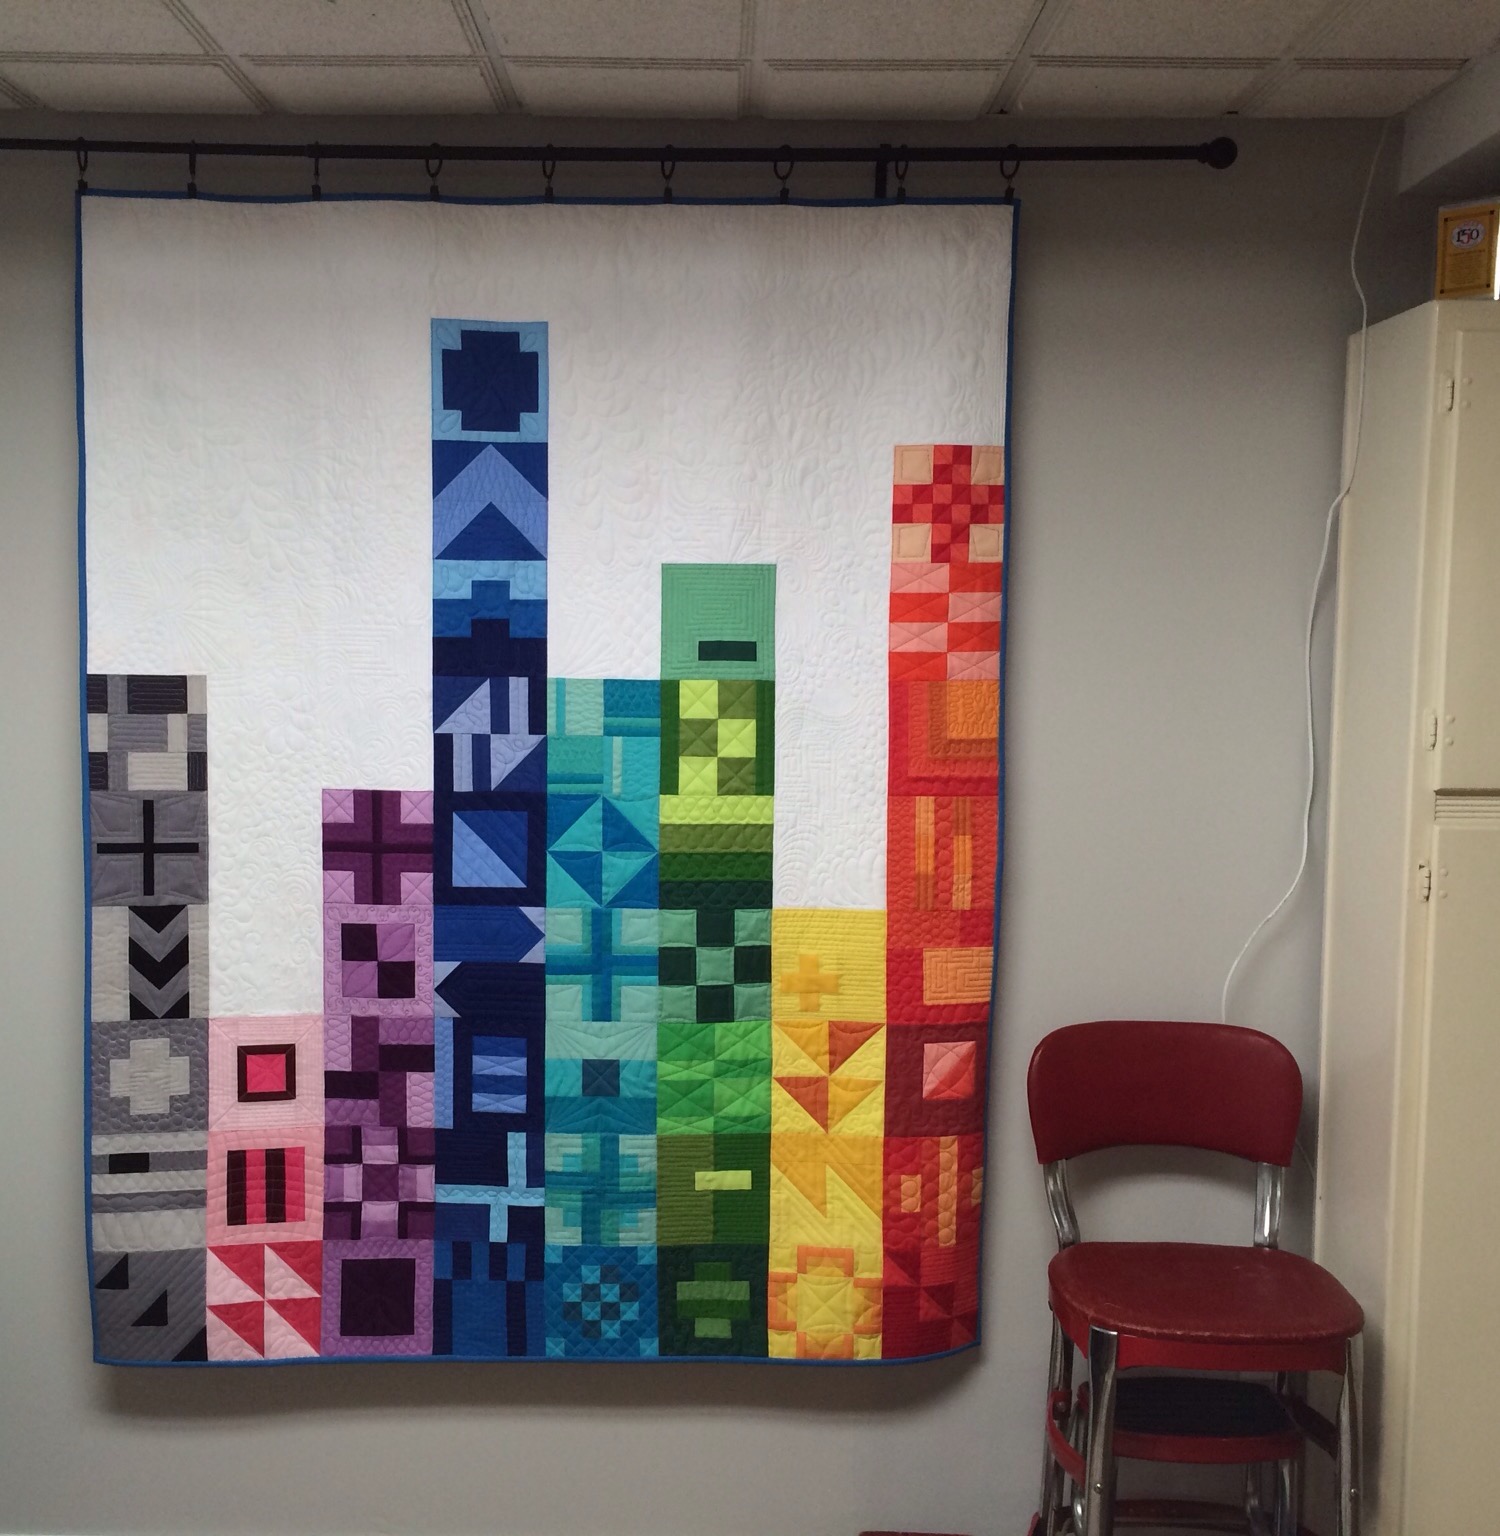
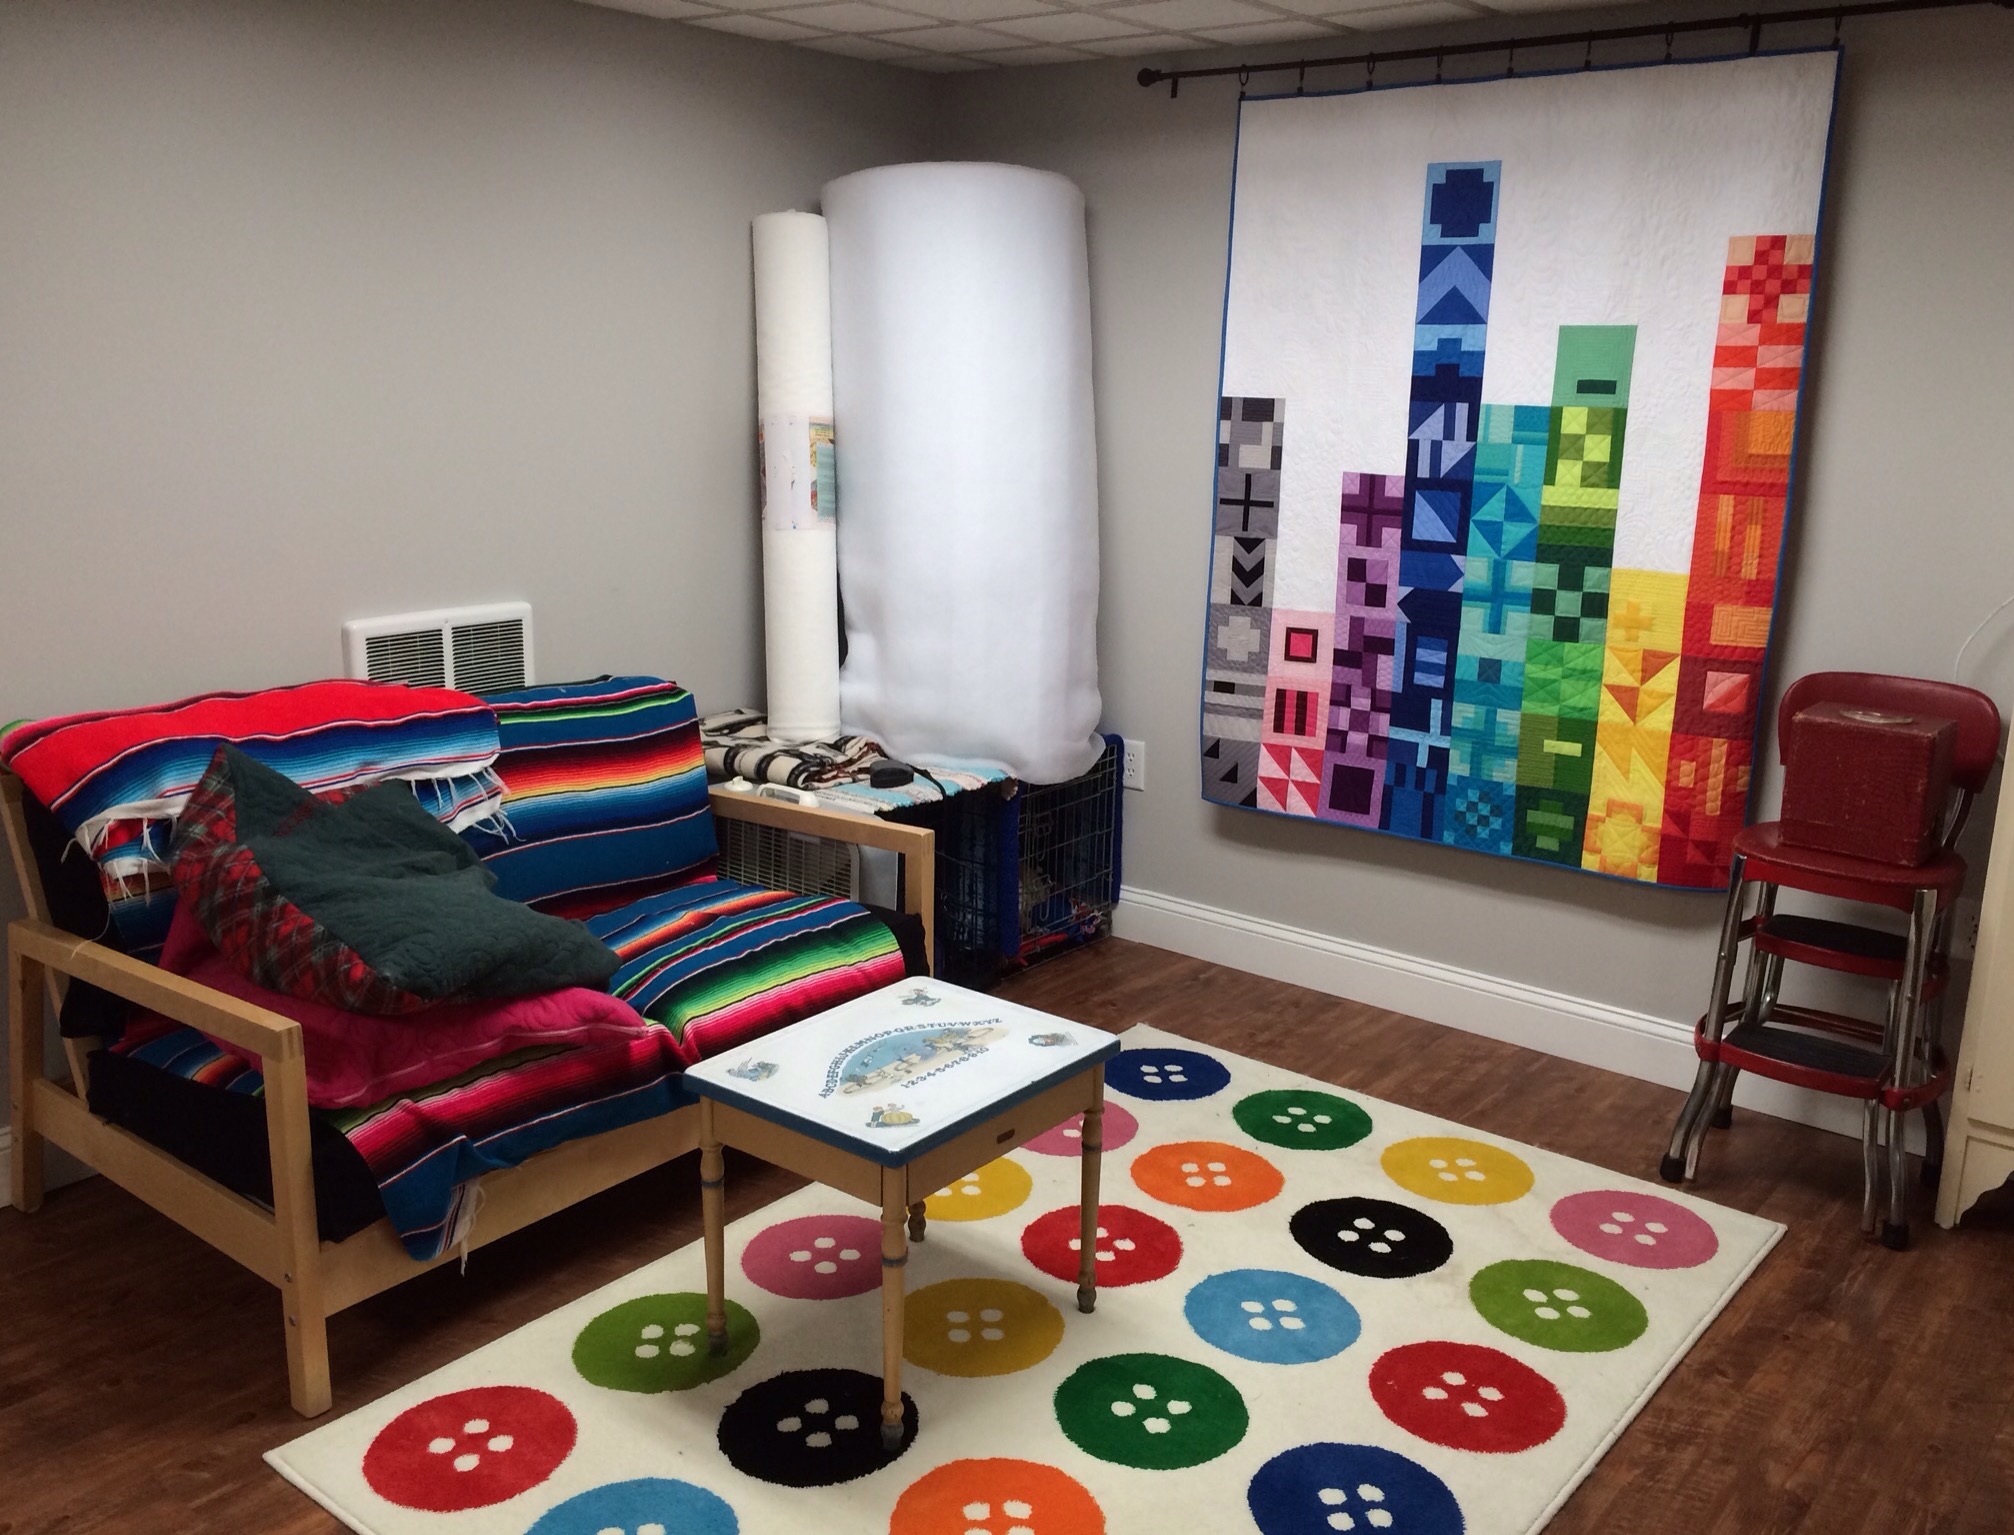
Moving to the left again you can see the curtain rod my hubby put up for me to hang quilts on. I use café style rings with clips to hang the quilts. This makes it really easy to change out the quilts on display. My vintage step stool comes in handy since I can’t reach the top of my design wall without it!

This corner belongs to the dogs, literally. You see their crates underneath those two rolls of batting. And that love seat? It belongs to the dogs too. No one else sits there.

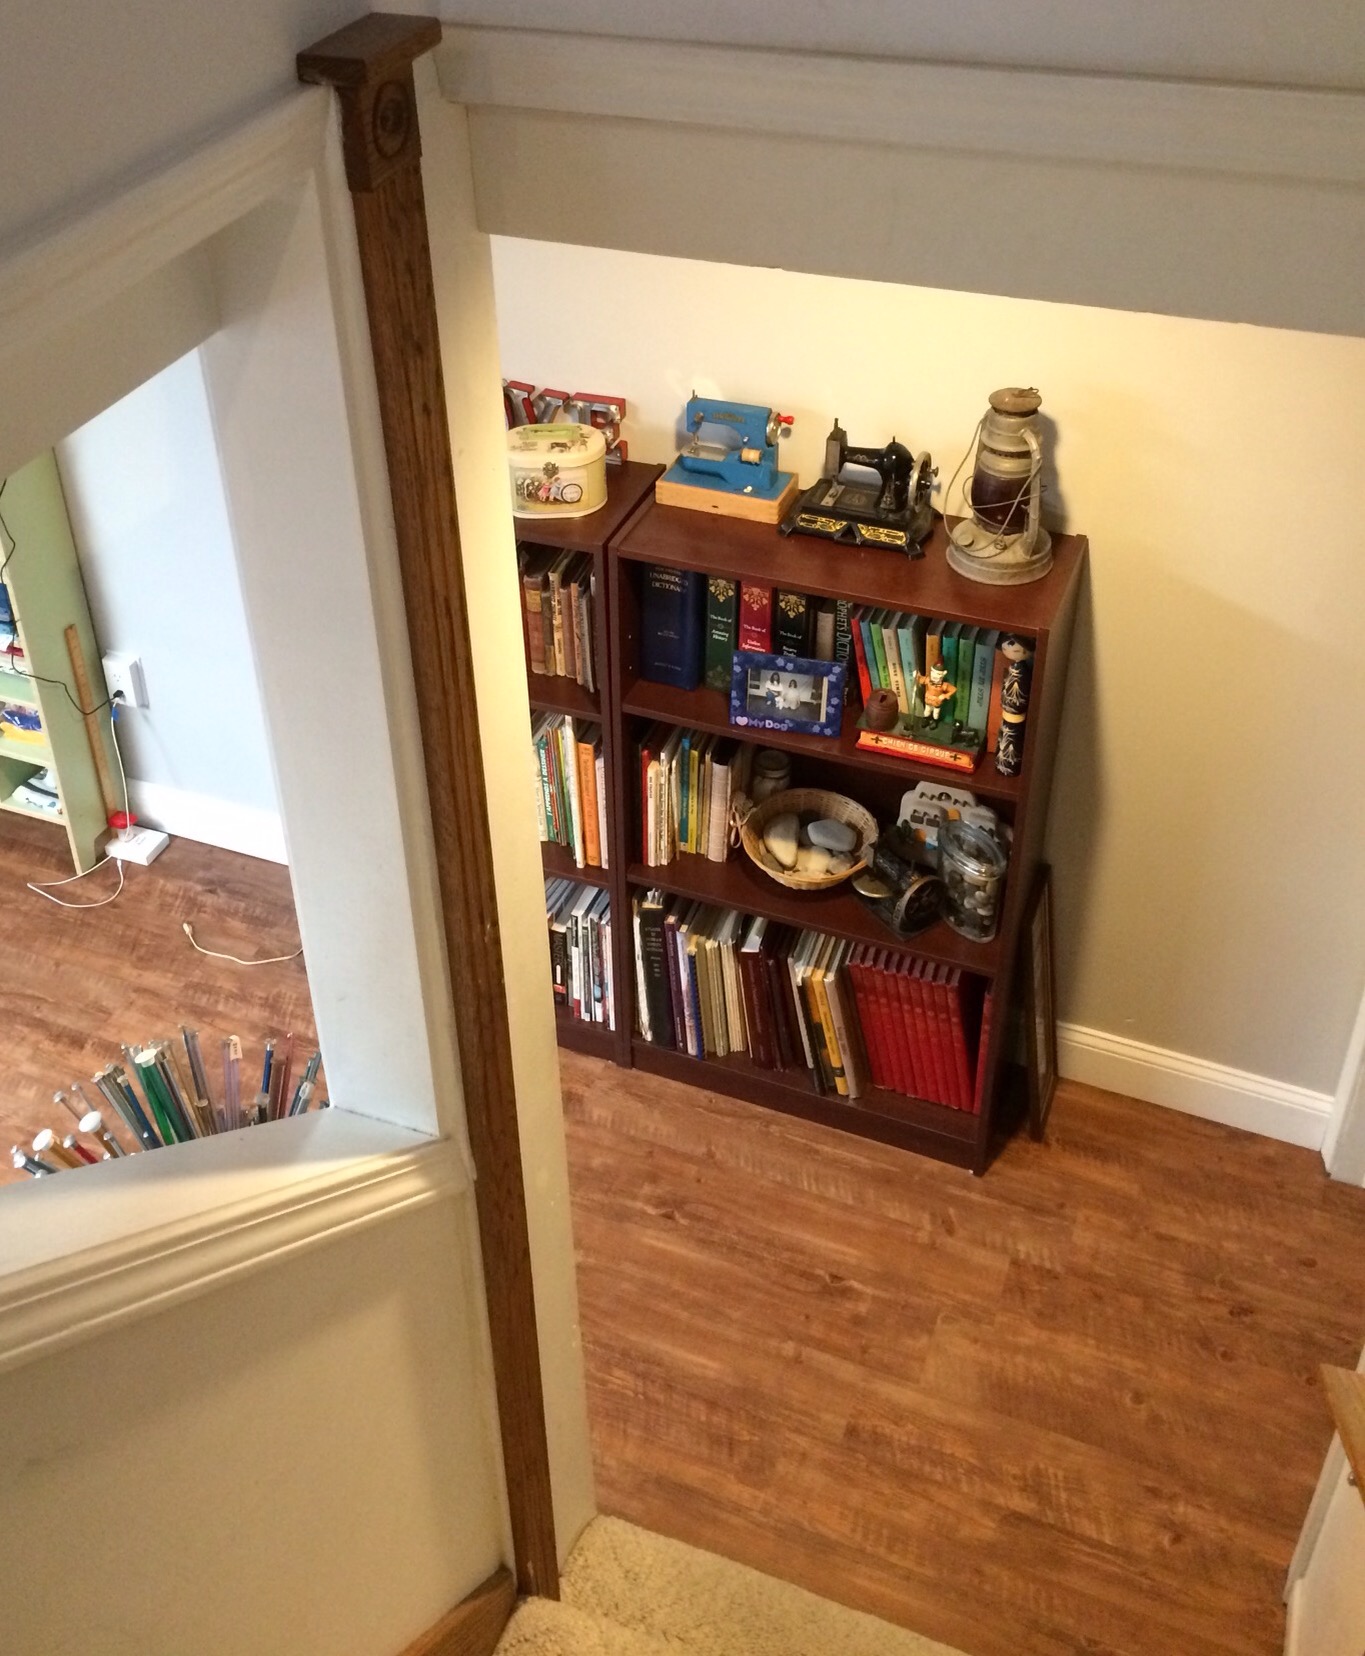
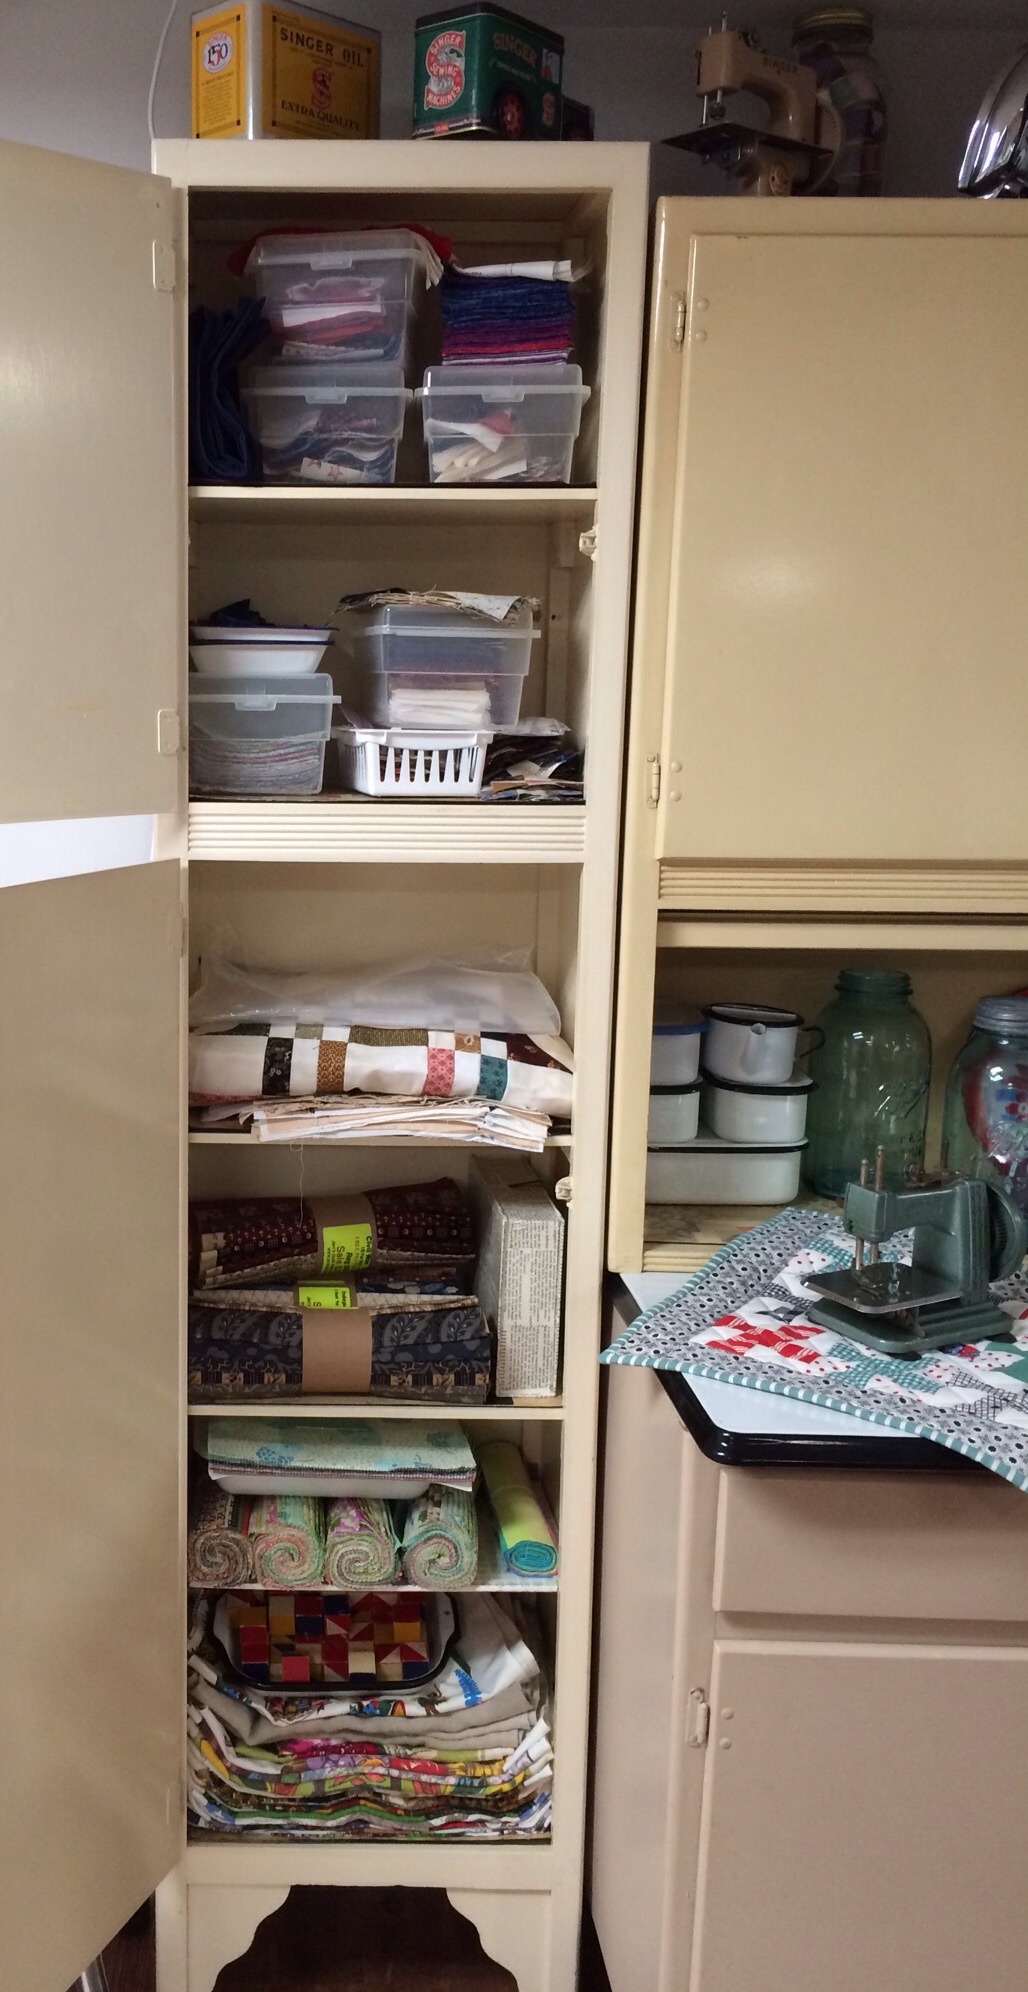
The door you see here goes to a walk in closet. This still needs work, lots of work. We put so much work into the sewing room and office that we rather stalled out when we got to the closet. It will get there. In the red cabinet you see next is my vintage 1955 Singer Model 201. And here you can see my primary fabric storage. Boy, those baskets need some sorting and straightening! These units are from Ikea (can you tell I love that place?). The door just to the left leads to a bathroom.
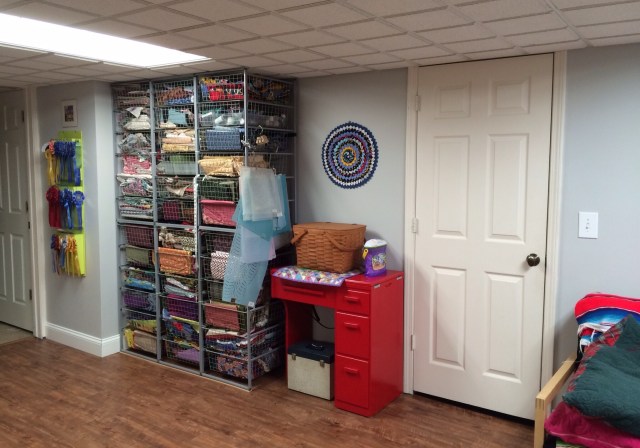
Here is a picture of my 201 opened up. 
To the left of the bathroom door is the door to hubby’s shop and to the left of that is my Bernina 1030 in a desk that hubby modified for me. You can read more about that here. I have a bulletin board above that machine for miscellaneous notes, ideas etc.

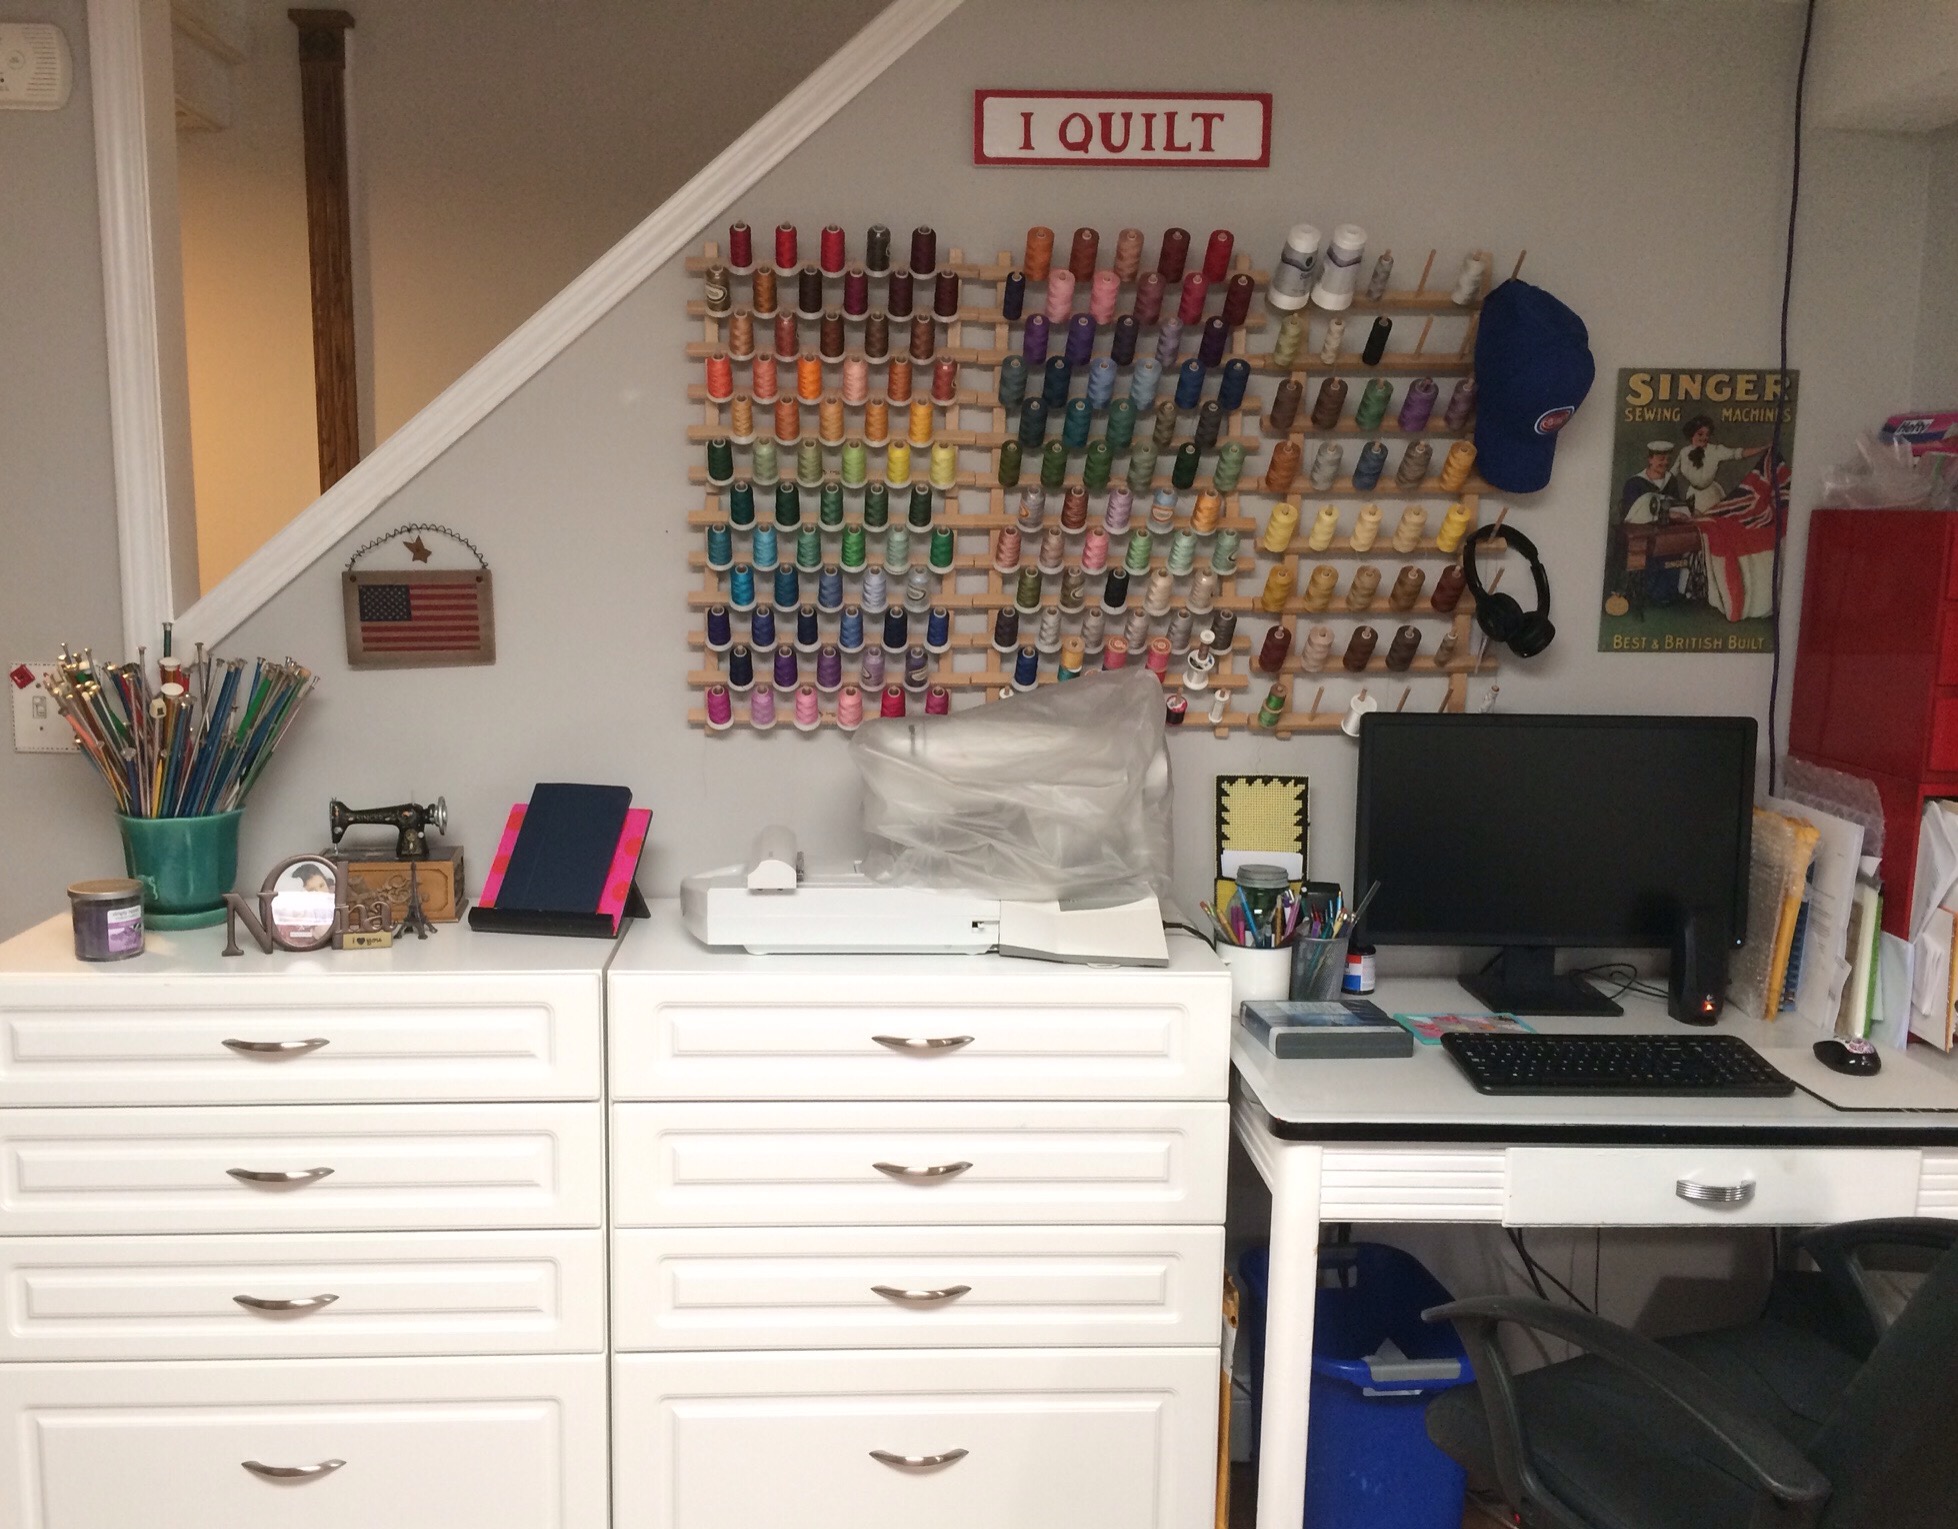
This next area shows my computer desk and embroidery area. My embroidery machine hooks up to my computer so they have to be together. My embroidery and most of my piecing thread hangs above on the racks. One of the drawers in the cabinets below the machine also holds thread. The rest hold quilting templates, interfacing, fusibles, stencils, miscellaneous craft supplies, trims etc. And that takes us back to the beginning……almost.


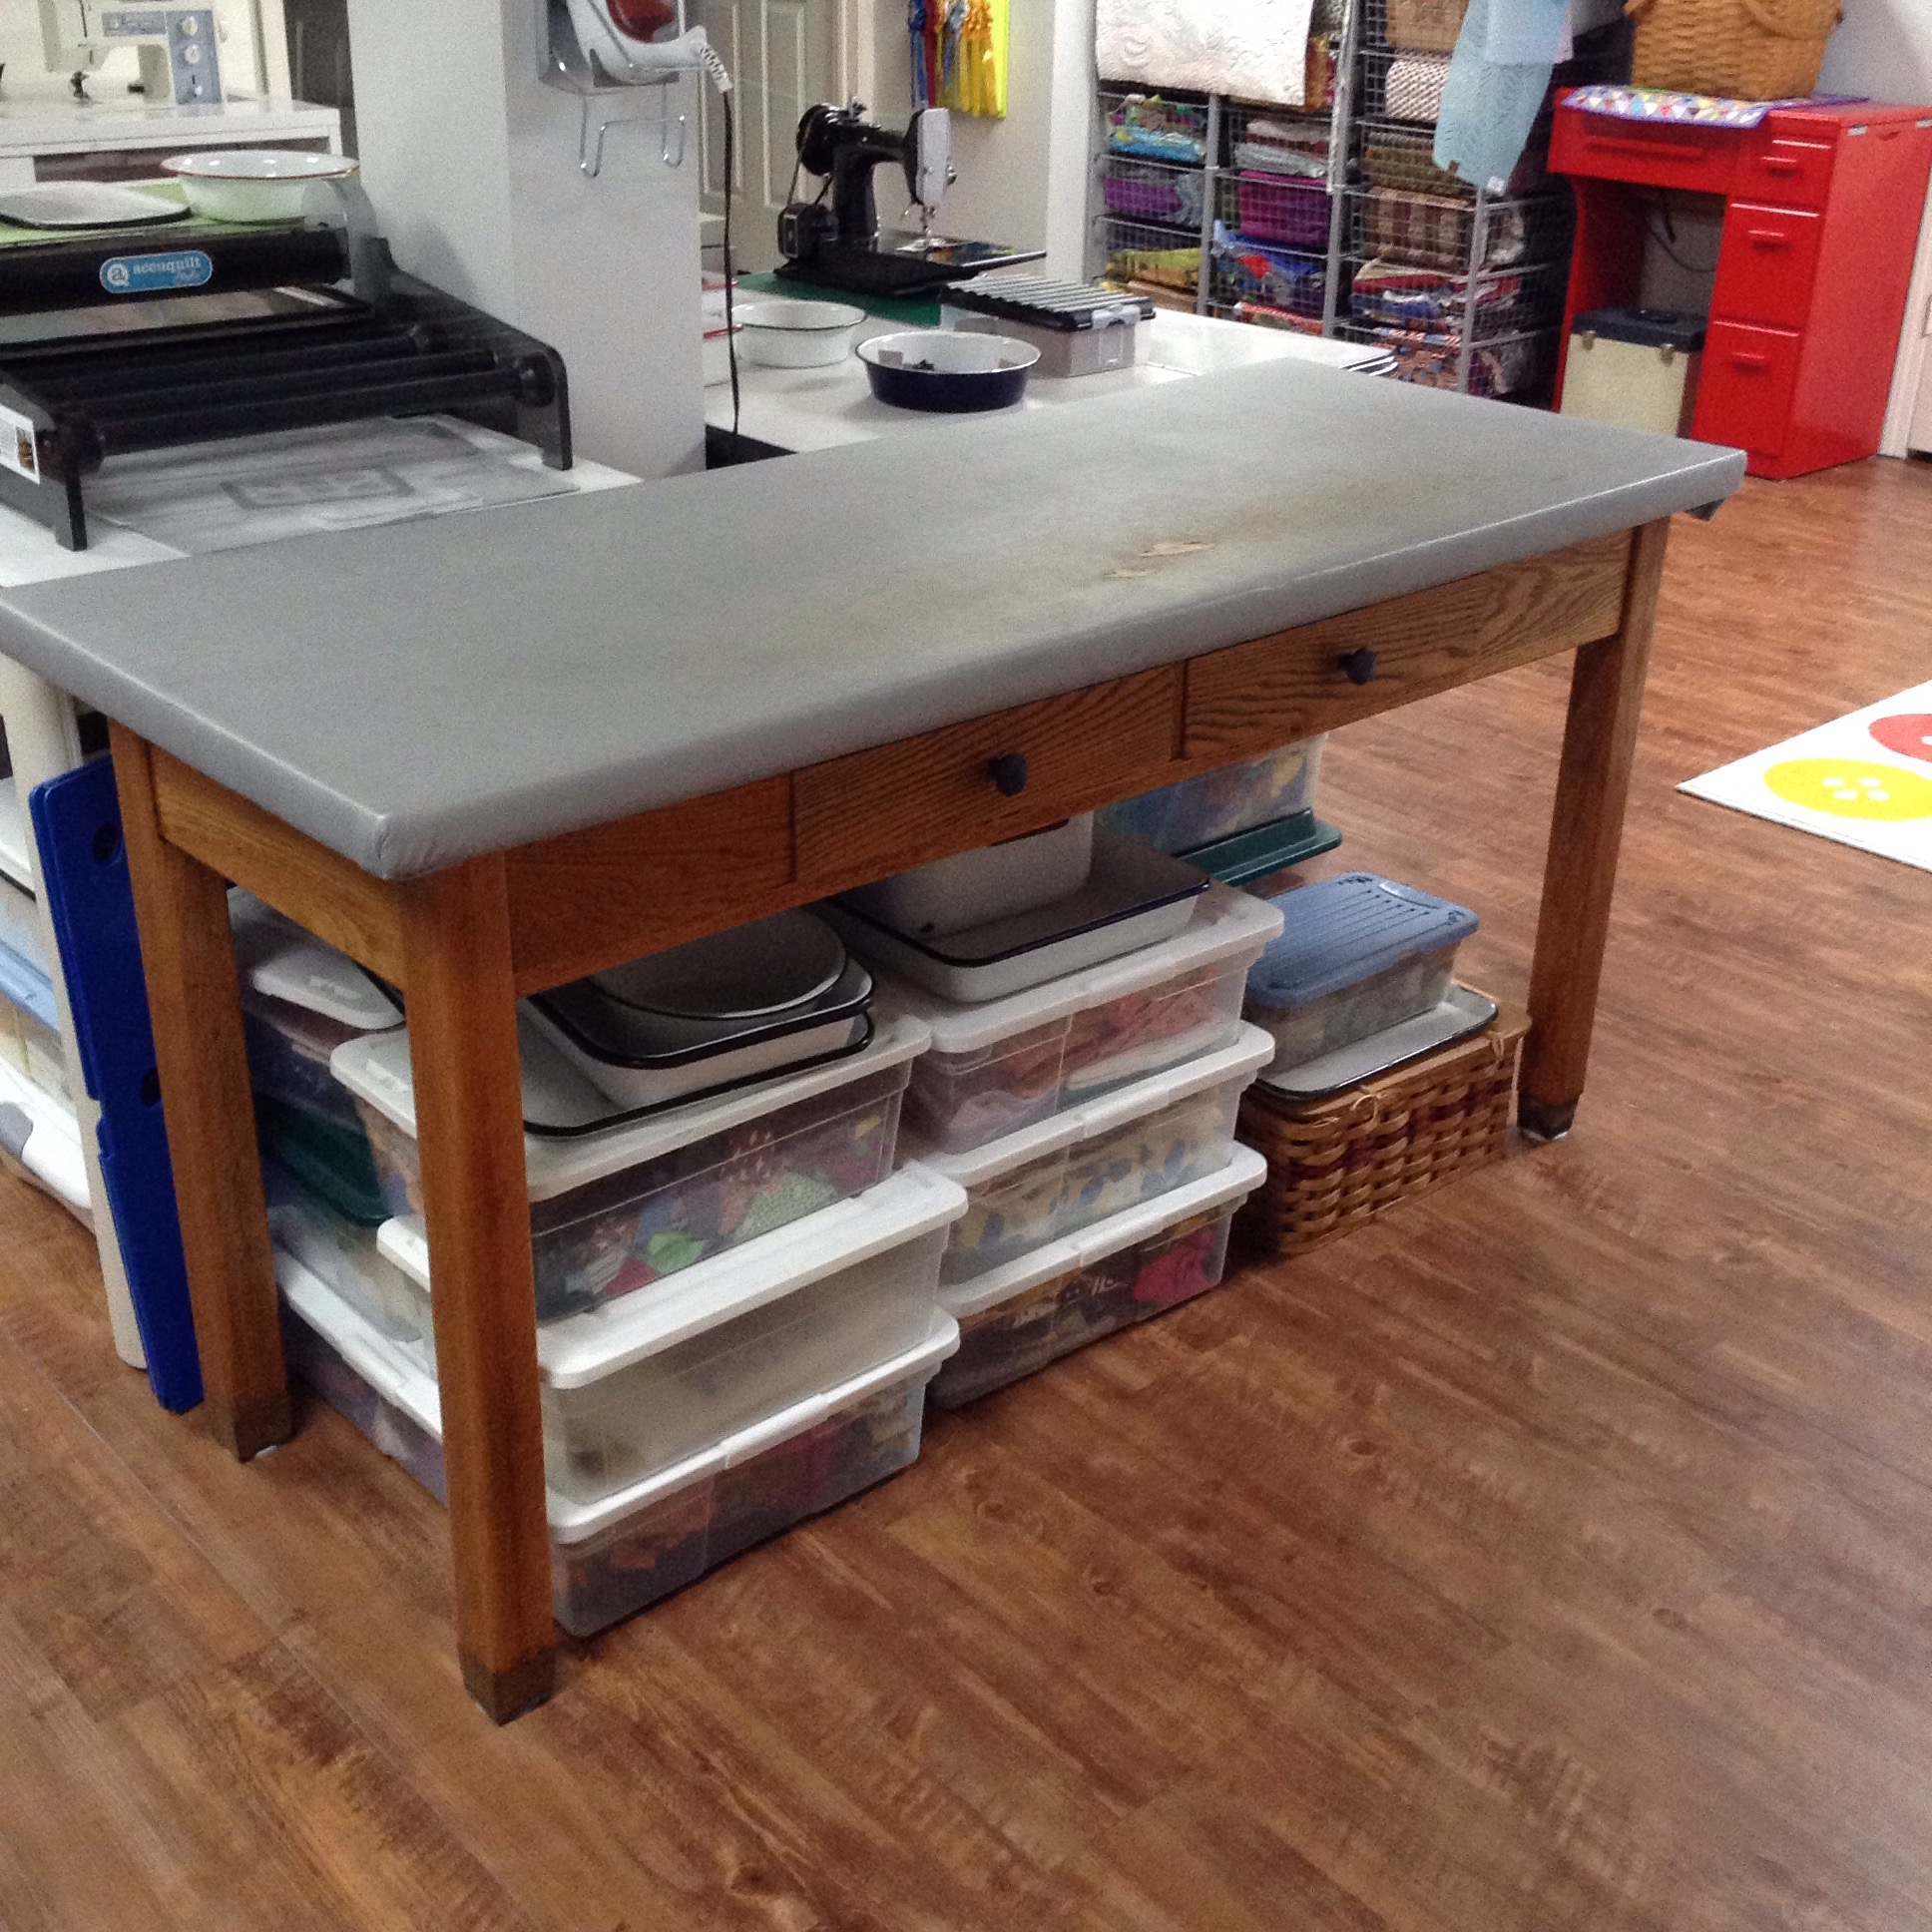
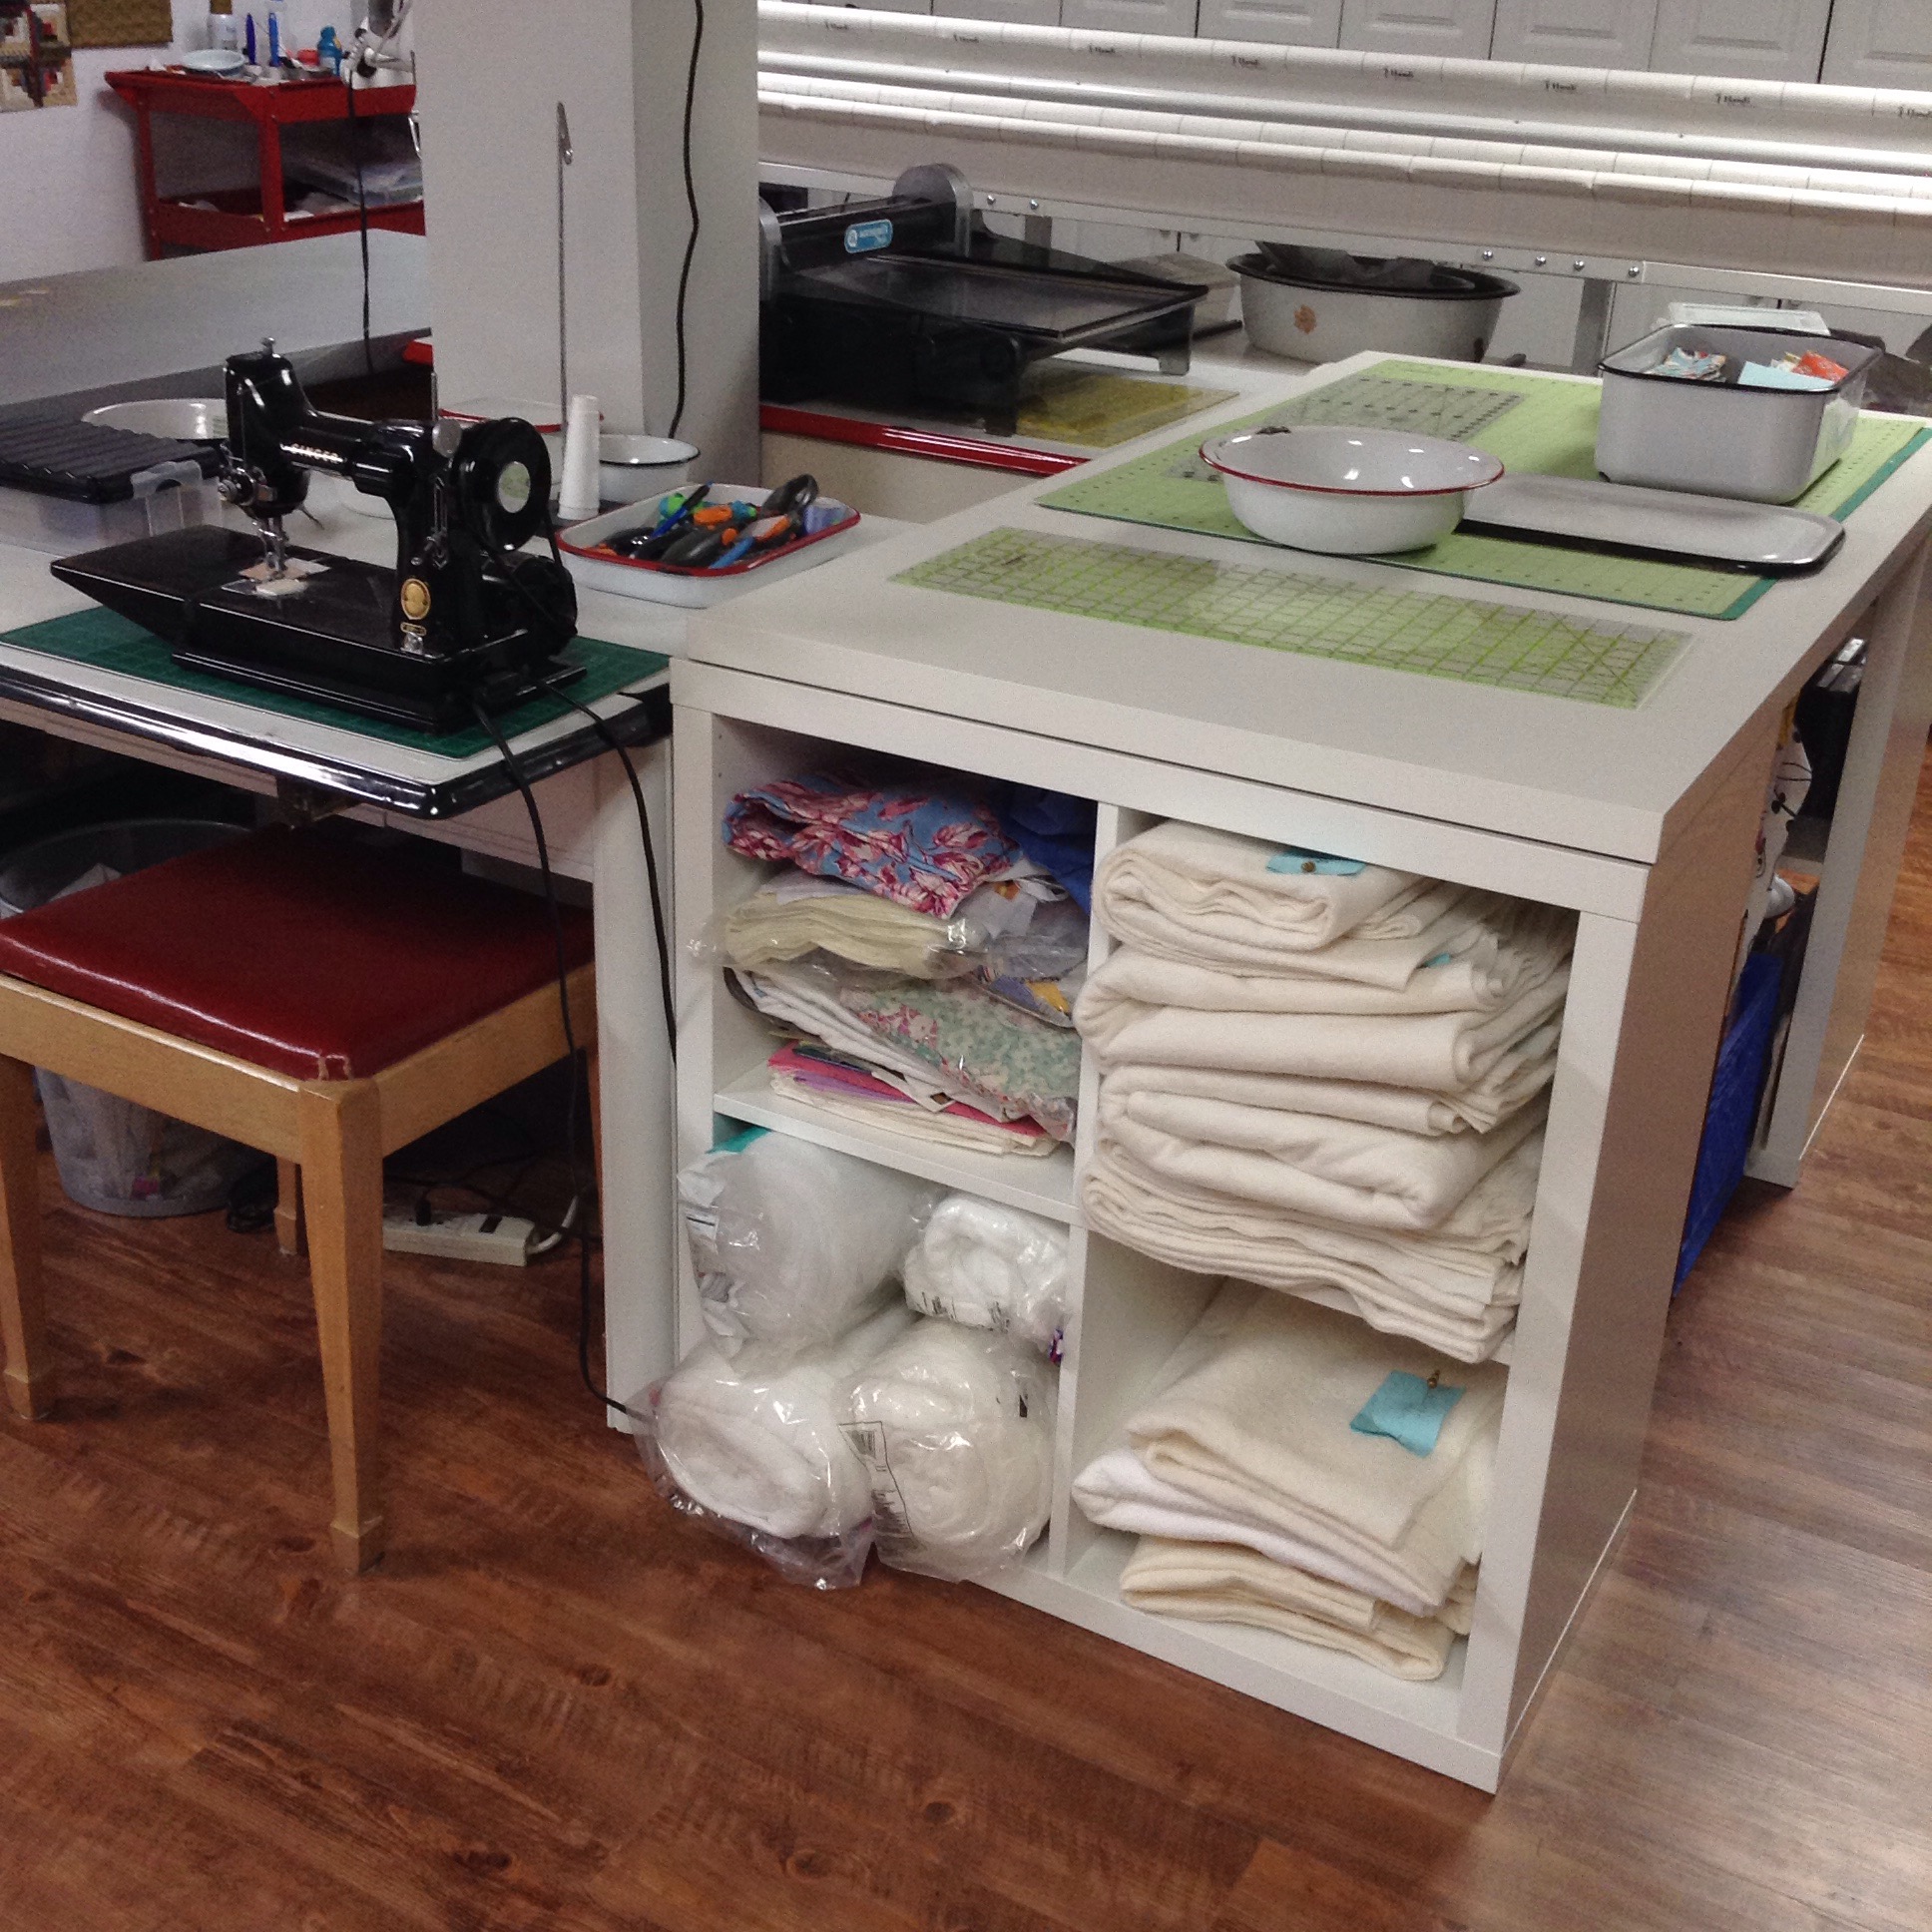
In the center of this room is a support column. Thankfully, it has an electrical outlet in it. I wanted a work island and since I couldn’t move the column, I had to work around it. I surrounded the column with a cutting table, two vintage enamel tables, and an ironing table made from an old high school lab table.
The cutting table was made from two Expedit cabinets from Ikea with a 30 by 60 inch table top set on top. I have my long strip cutting dies and bolts of fabric under it.

One of the tables holds my Accuquilt Studio diecutter. I LOVE this! The cubbies to the left of the cutter hold the smaller dies. The big enamel pot is used as a trash can.

Here you can see my ironing table. It sure needs to be recovered! I love the iron holder that you can barely see at the top of this photo from…you guessed it, Ikea! Below are bins of fabrics sorted by type.

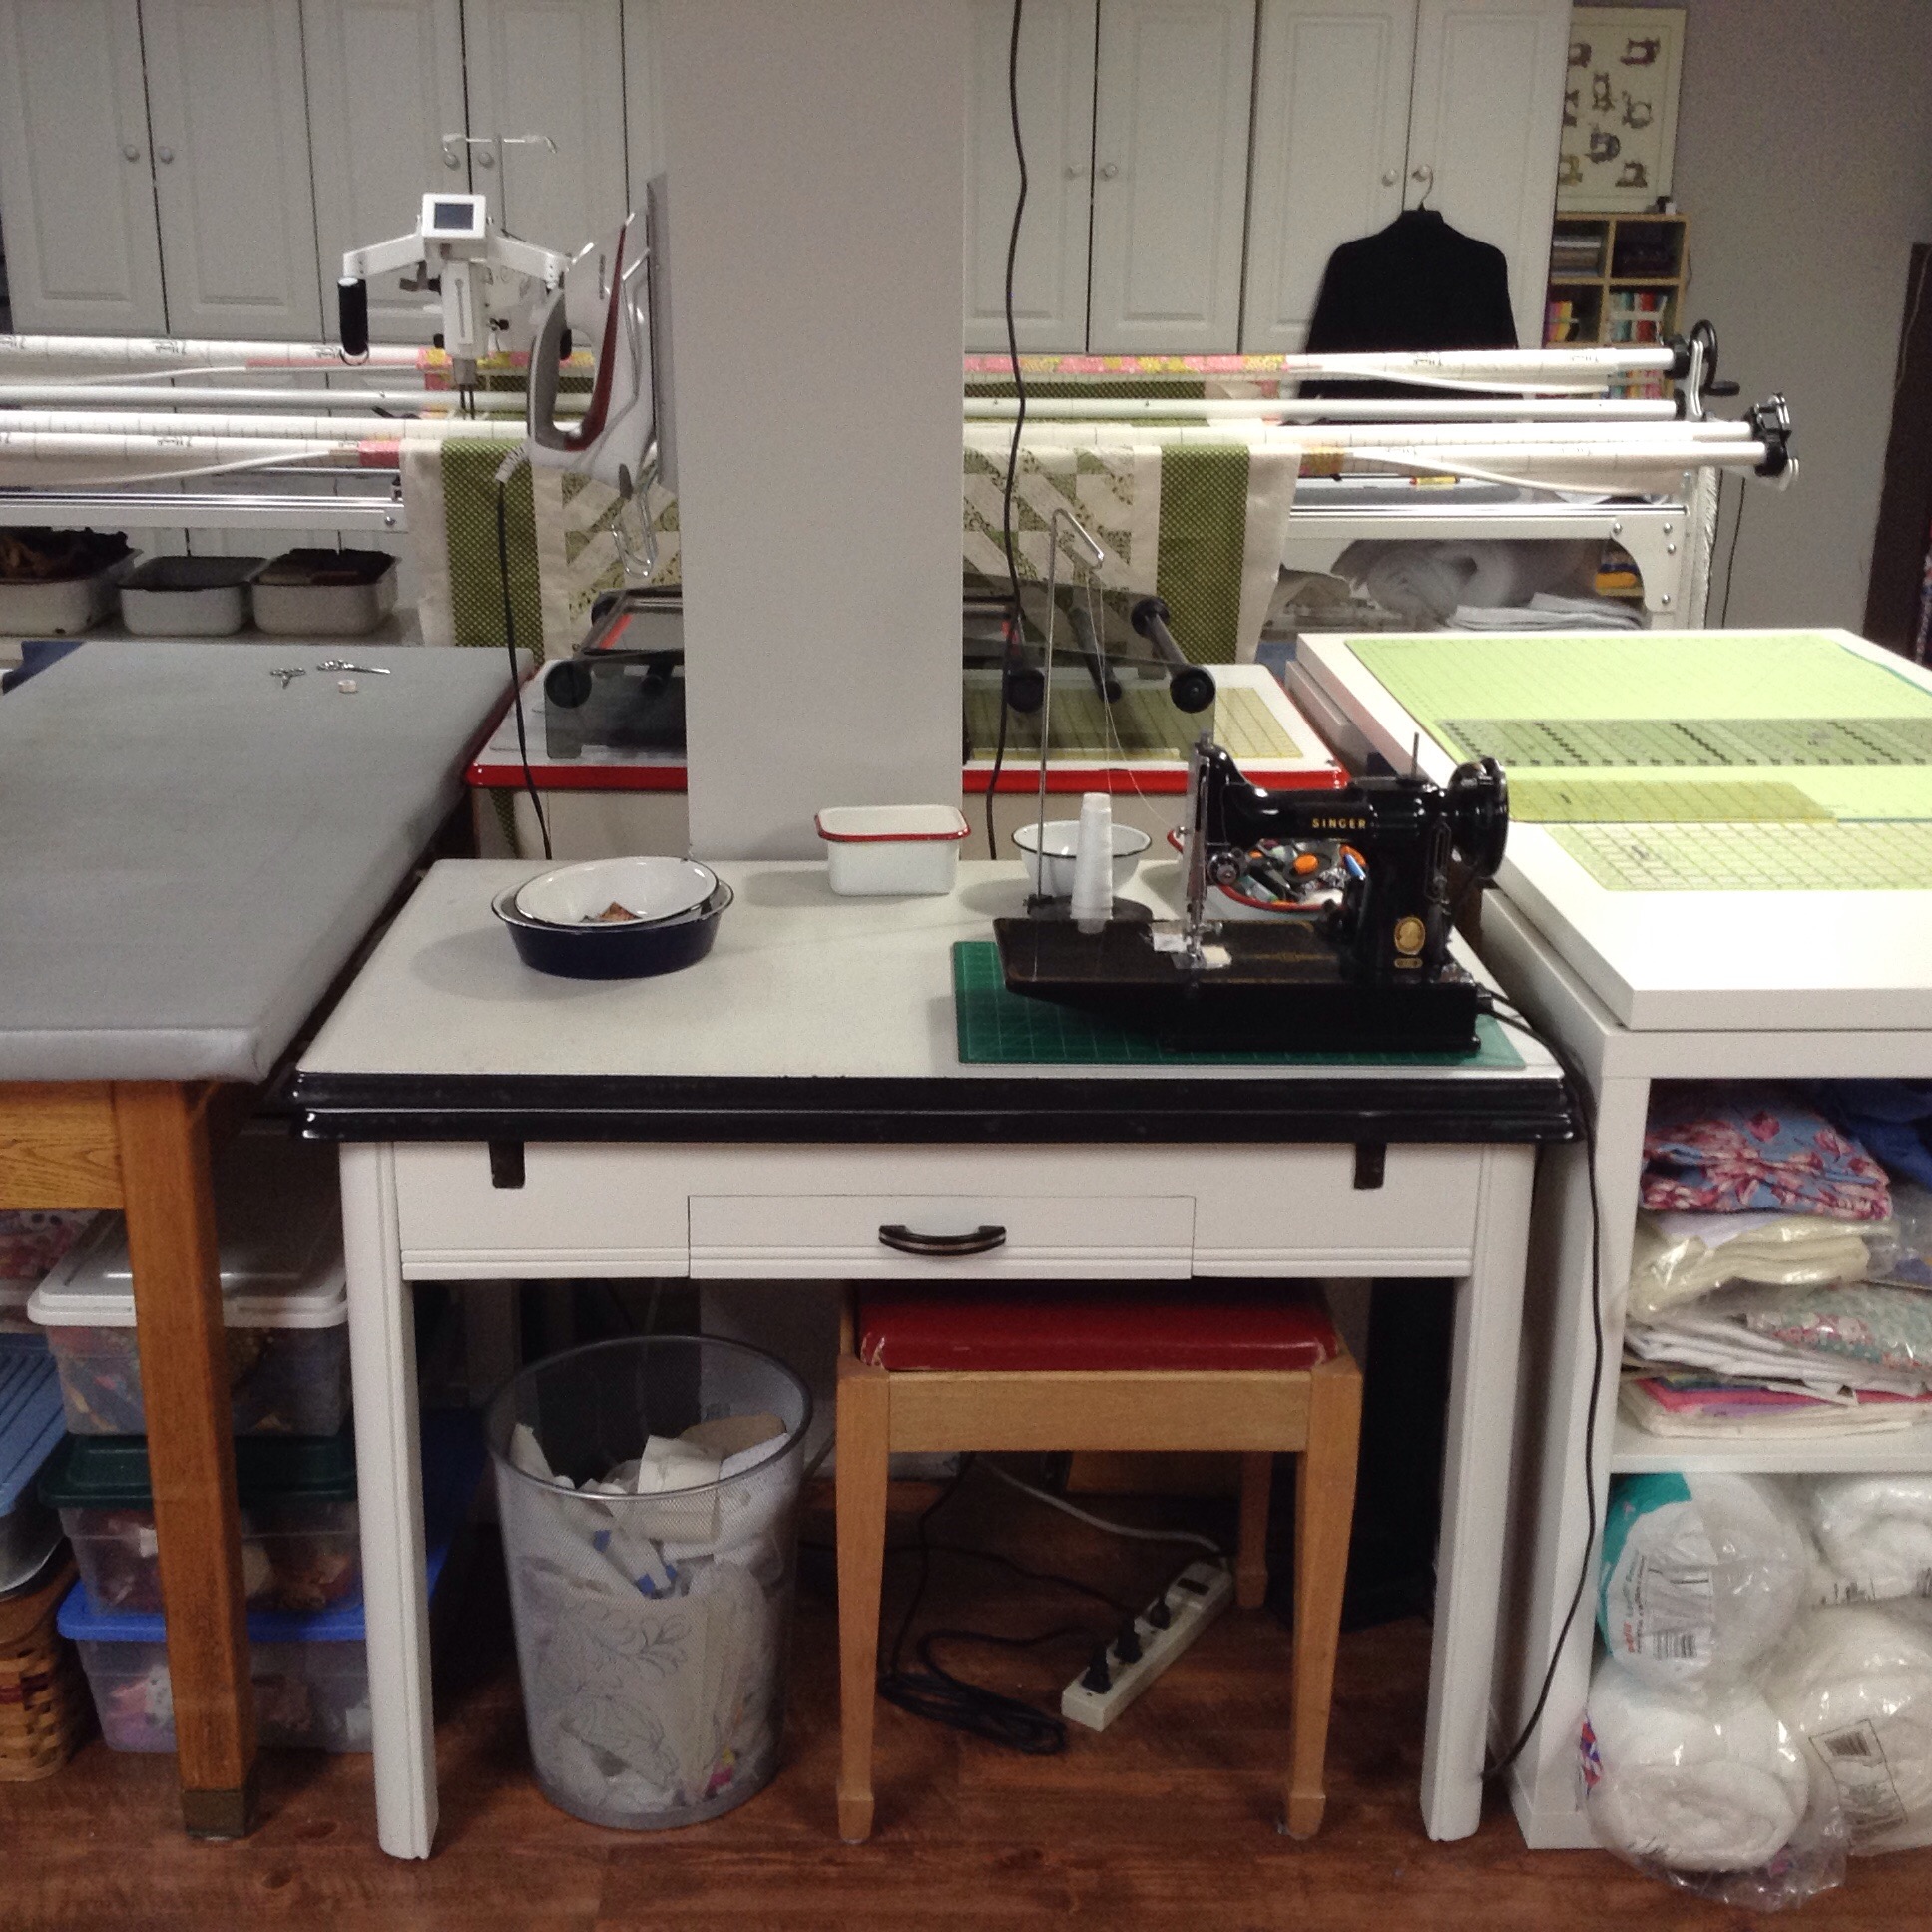
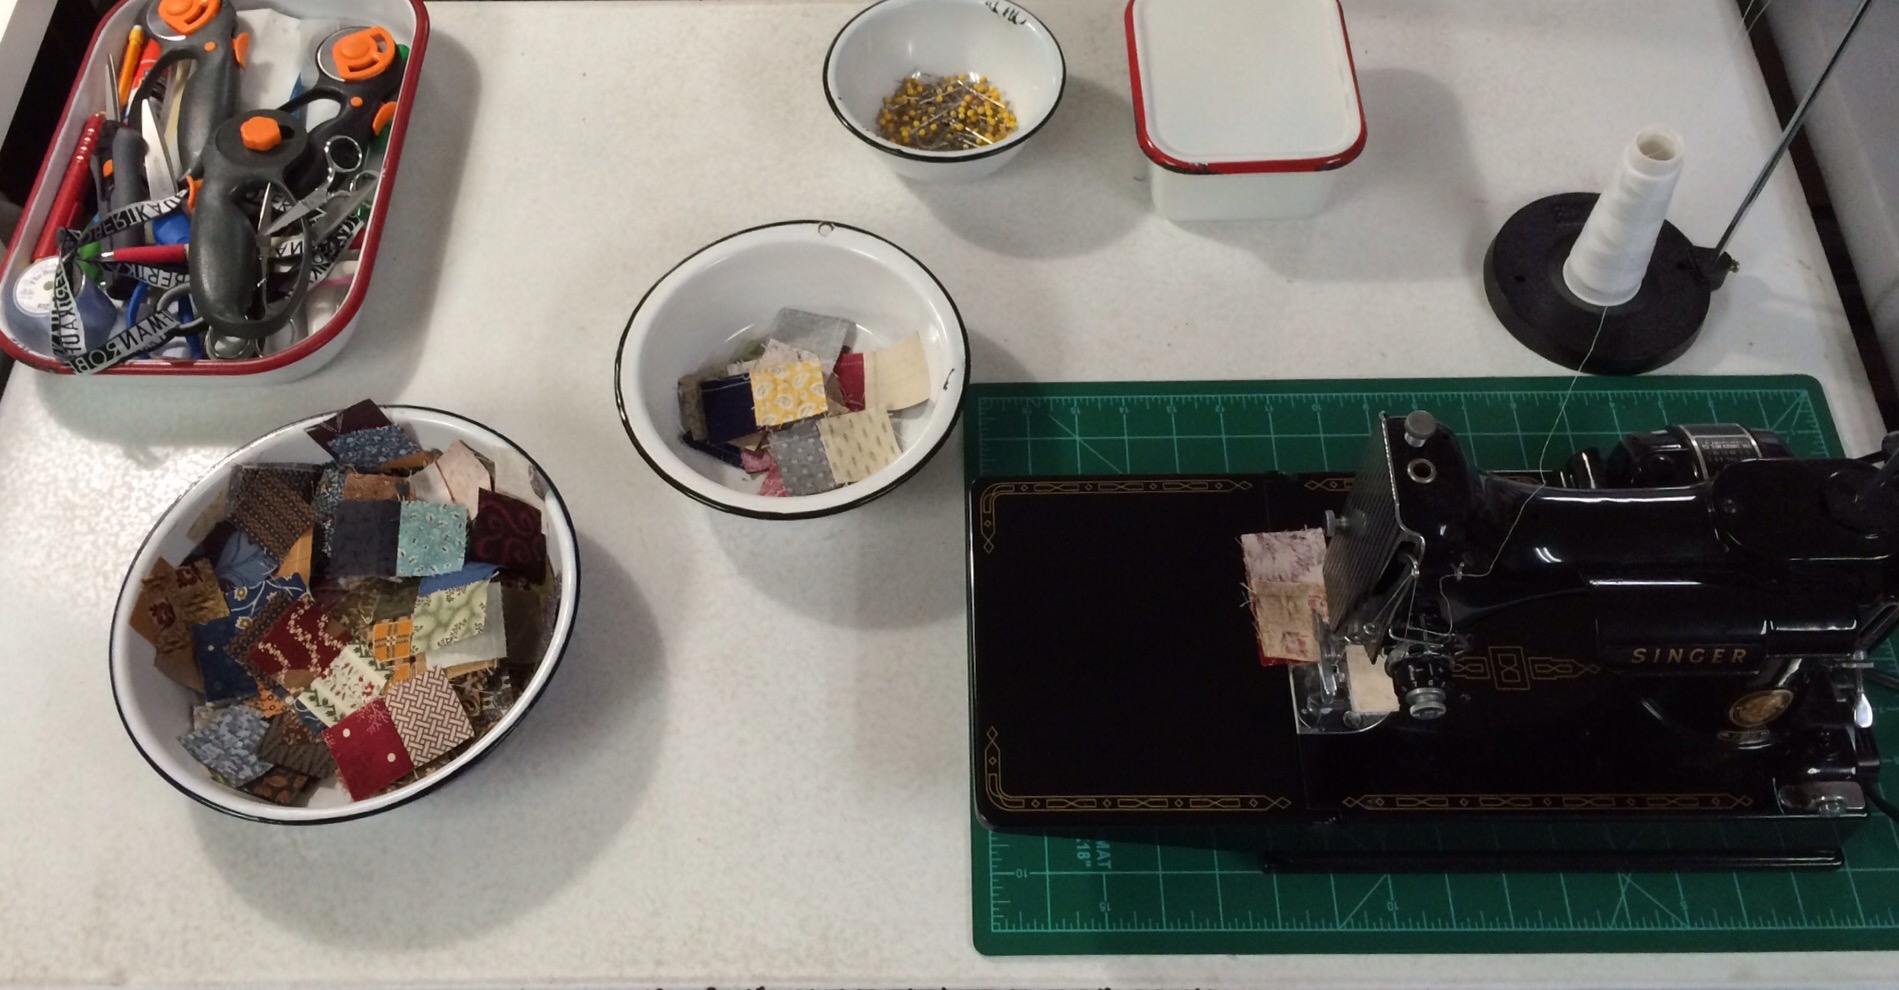
The other vintage table holds my daily driver machine, one of my Singer Featherweights. I do most of my piecing here.

Here is a look at the stuff on the table top. I have a container of scissors, pencils, cutters, rippers etc. Pins in another container, bobbins in another, and my leader ender projects in the bowls.

Off cuts of batting and some vintage quilt kits live in the cubbies at the other end of the cutting table.

My vintage toy sewing machine collection lives happily on top of my white cabinets.
As with most sewing rooms, this is and always will be, a work in progress. As I find things that are not working for me, I work toward a solution. For example, I used to have the die cutter and my Featherweight table switched around but I like to pull out one of the table leaves and I felt squashed between the table and the long arm. Trading spaces for these two items solved the problem. I only wonder why it took me so long! I also find that while I am working, I am often shifting piles from place to place. I decided that I have the space to add another table in front of my wire basket system so I have room to set baskets while sorting through them as well as a space off to the side to keep my cutting table clear. The hunt is on for the perfect piece to meet this “need.”
This is pretty much the normal state of cleanliness in my room. I can’t stand a lot of clutter and disorganization.
Finally, I would like to say that yes, I have more space than most people. I am truly blessed. I remember the days of sewing at my kitchen table and then having one “whole” cupboard to put my supplies in. My sewing space has definitely grown over time. The first time I had a whole room to myself, it measured 6 feet by 8 feet. I loved every square inch! My kids are all out of the nest now so I might as well use the space for quilting!
If you have any questions, please ask! I will probably collect them all and answer in a follow-up post. Thanks for visiting my happy place and don’t forget to visit Amy and the Quilt Studio Link Party here.

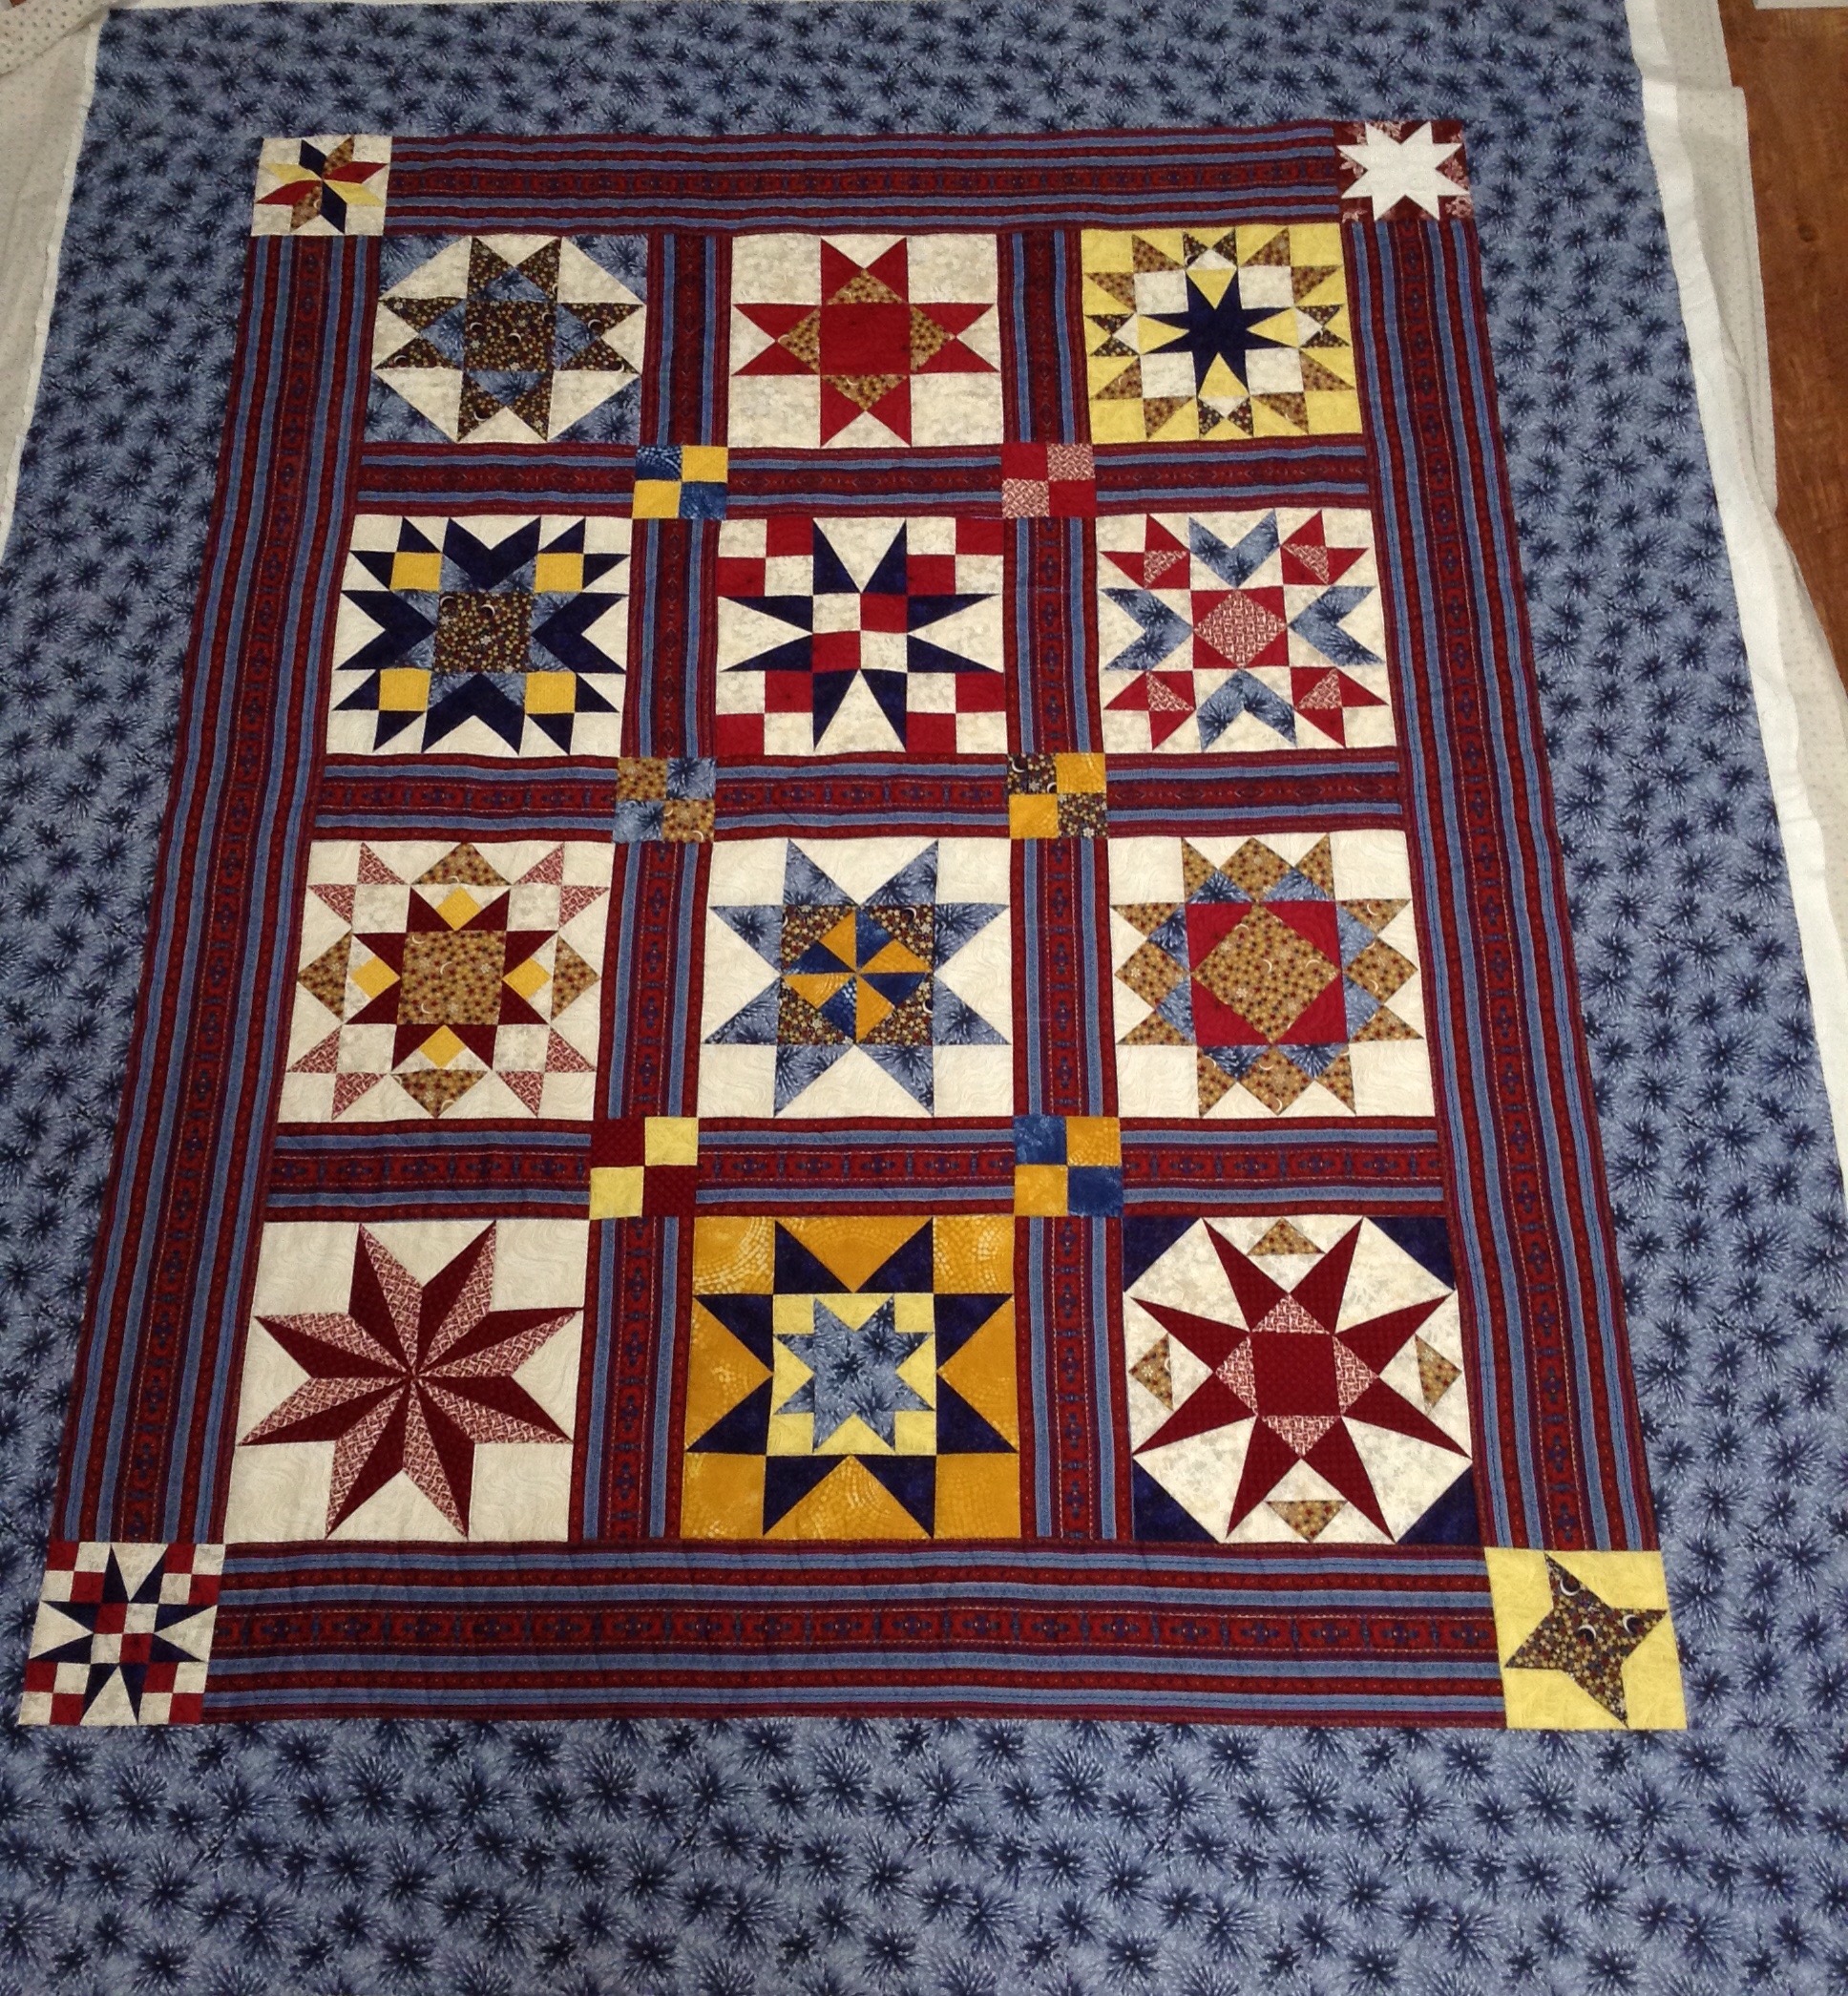
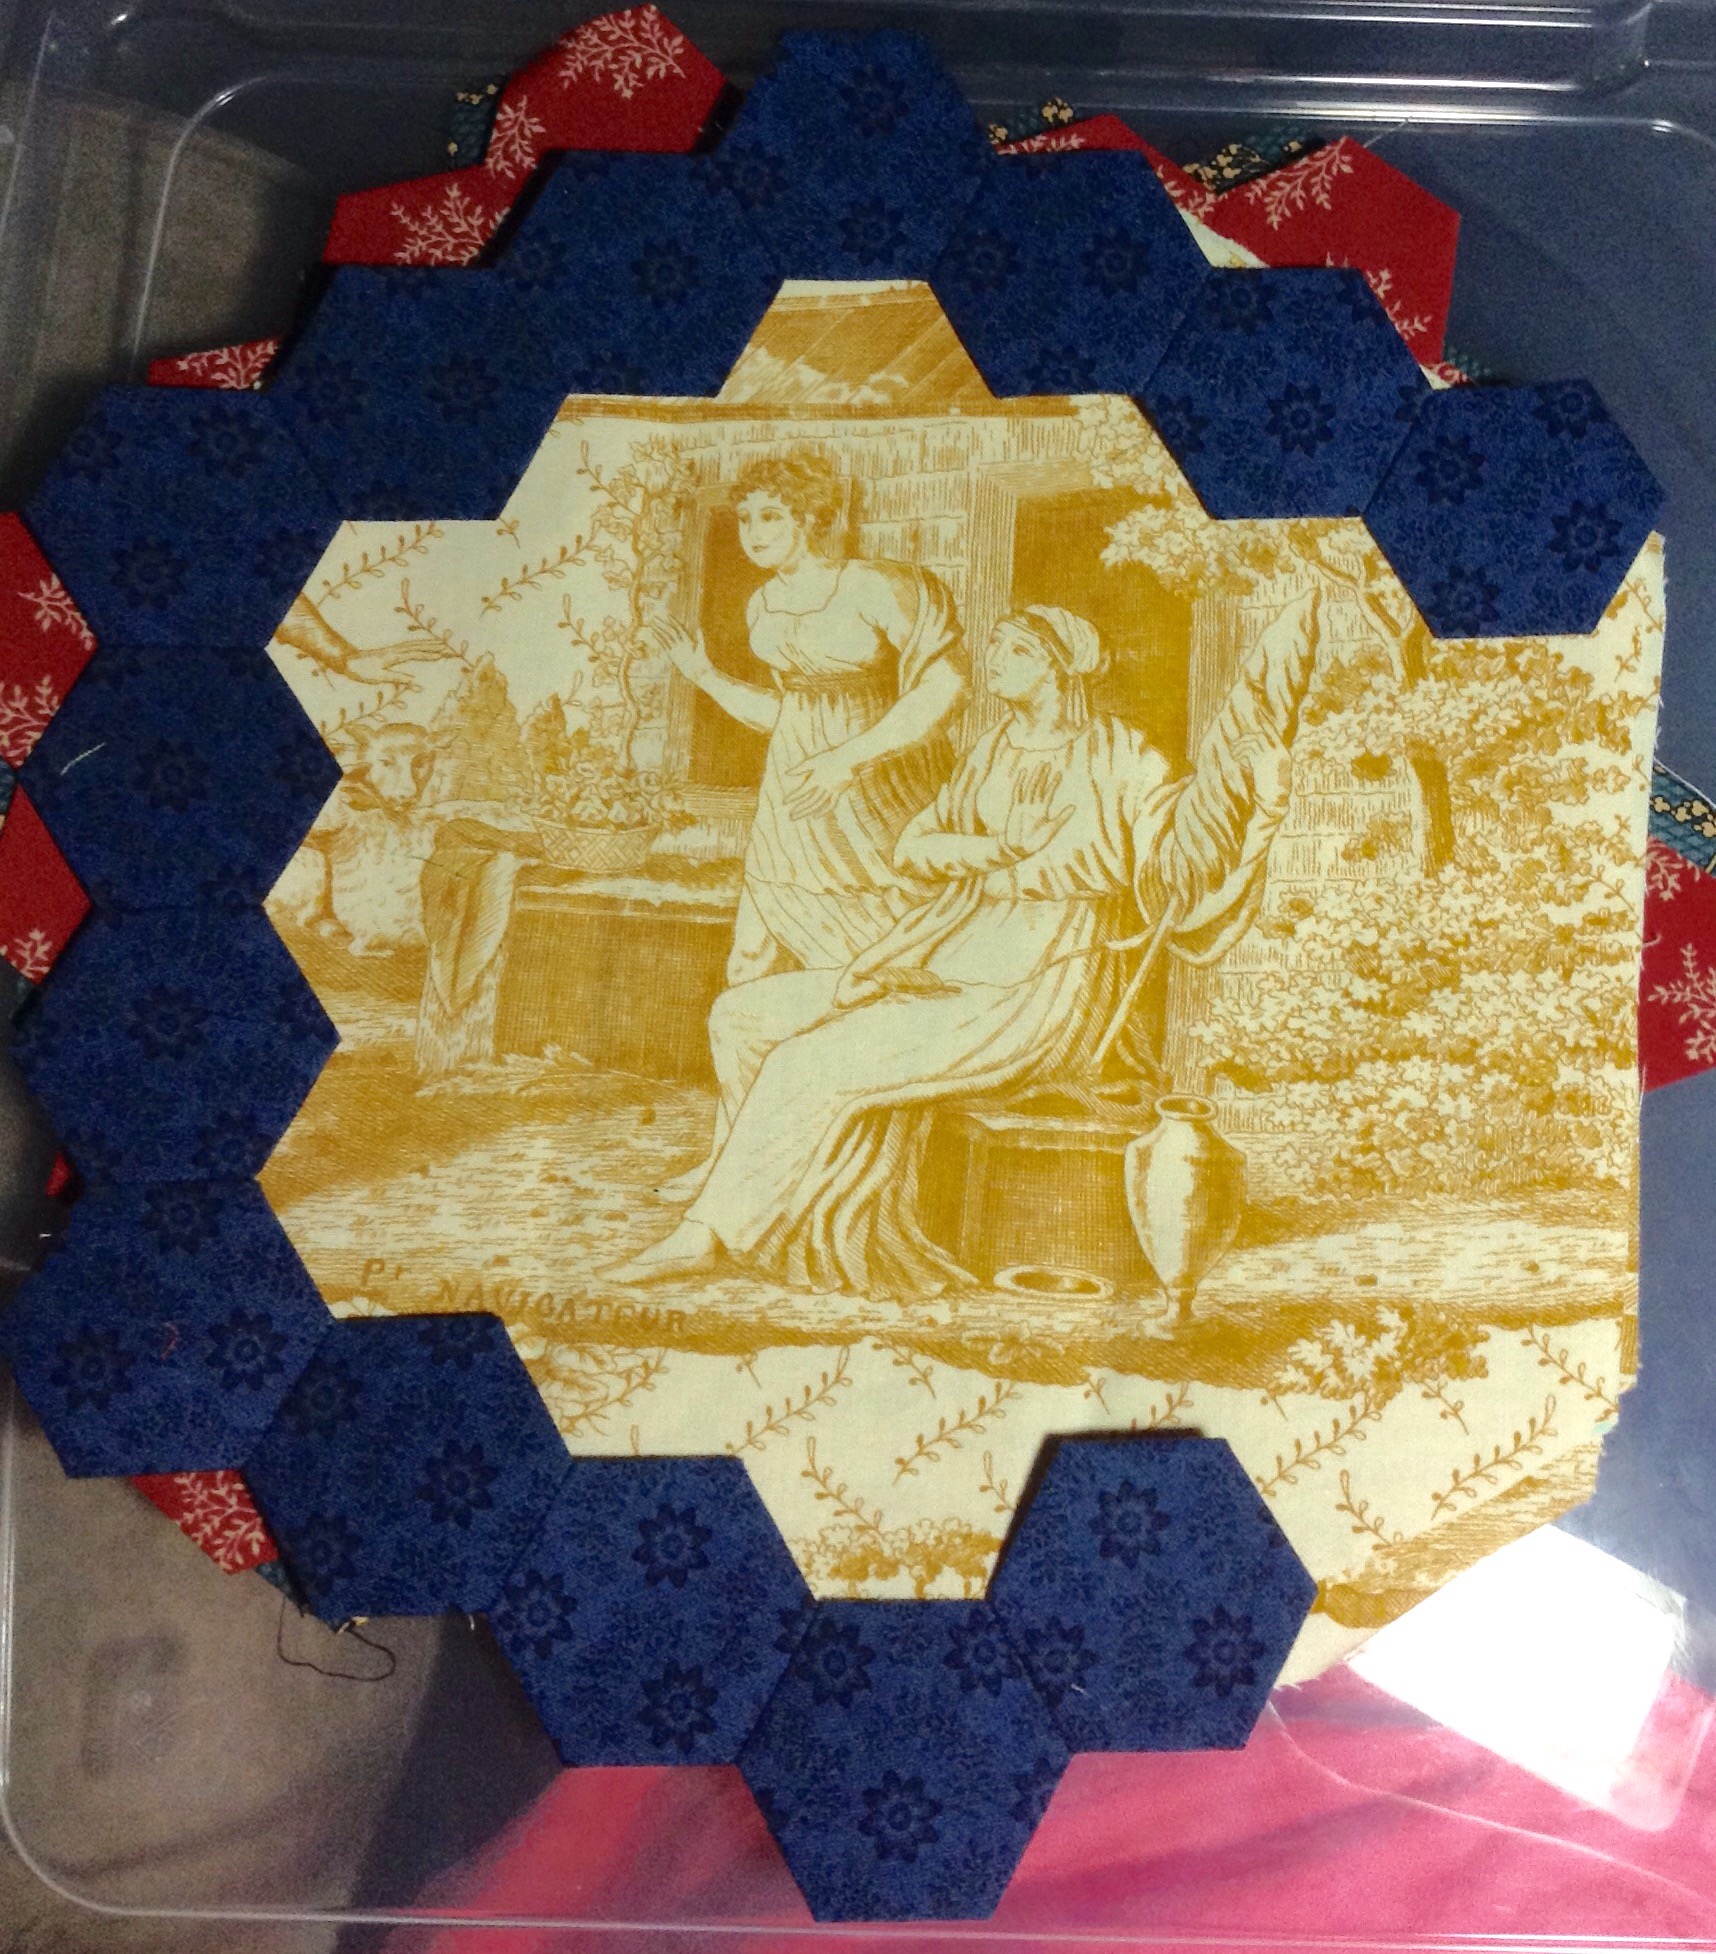
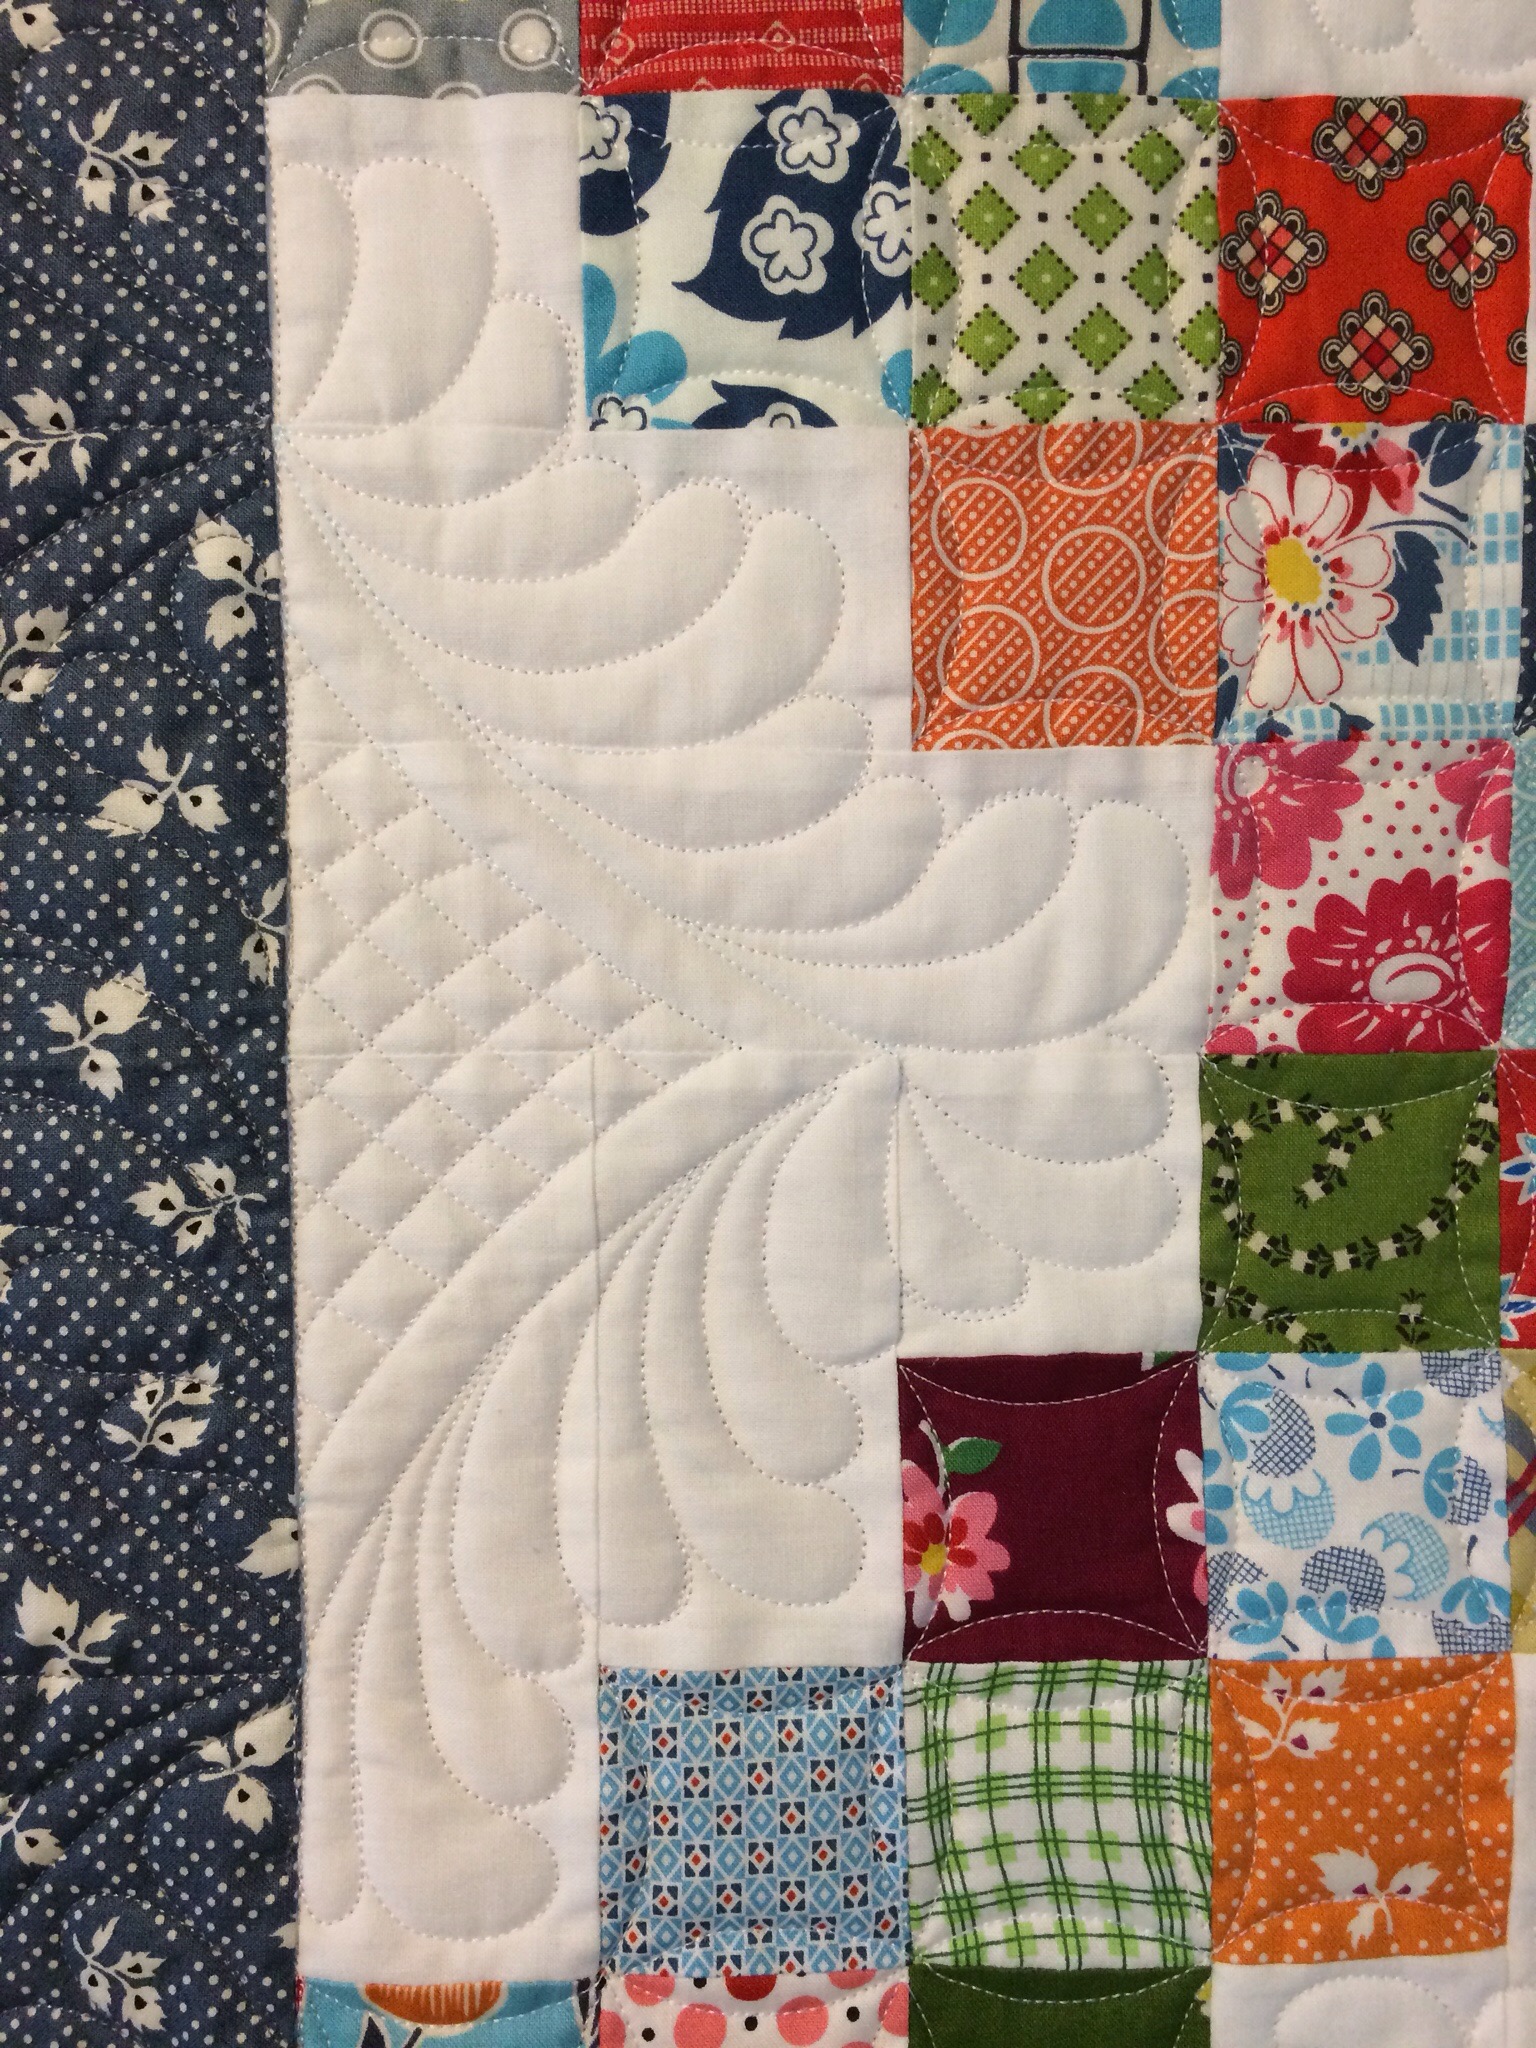
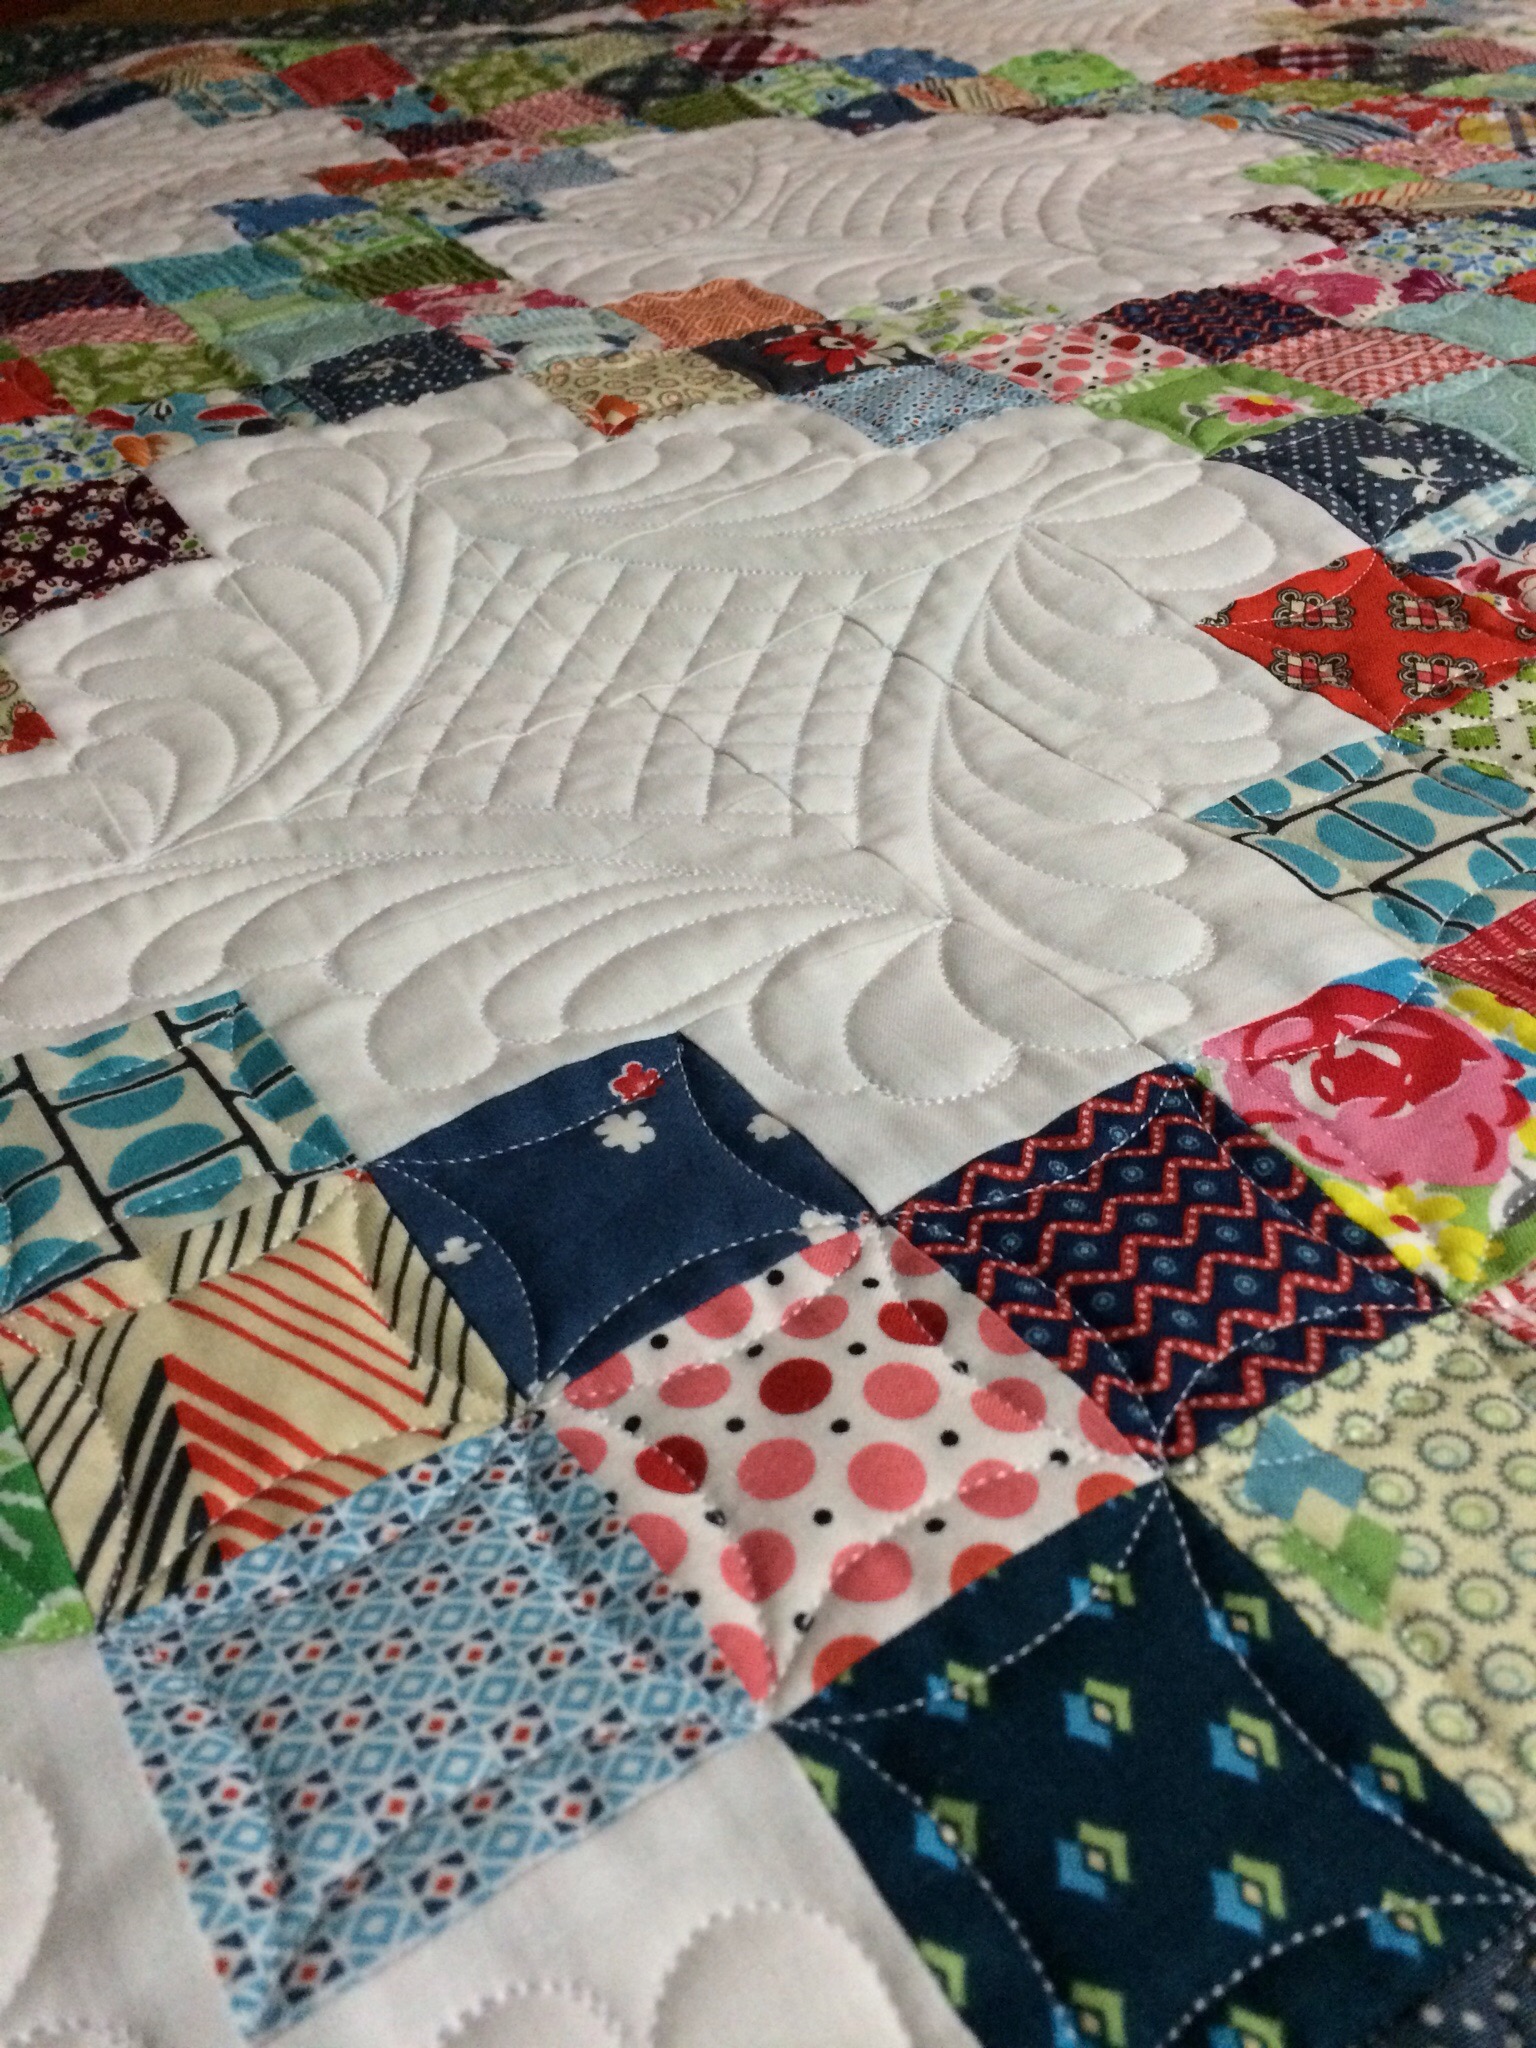
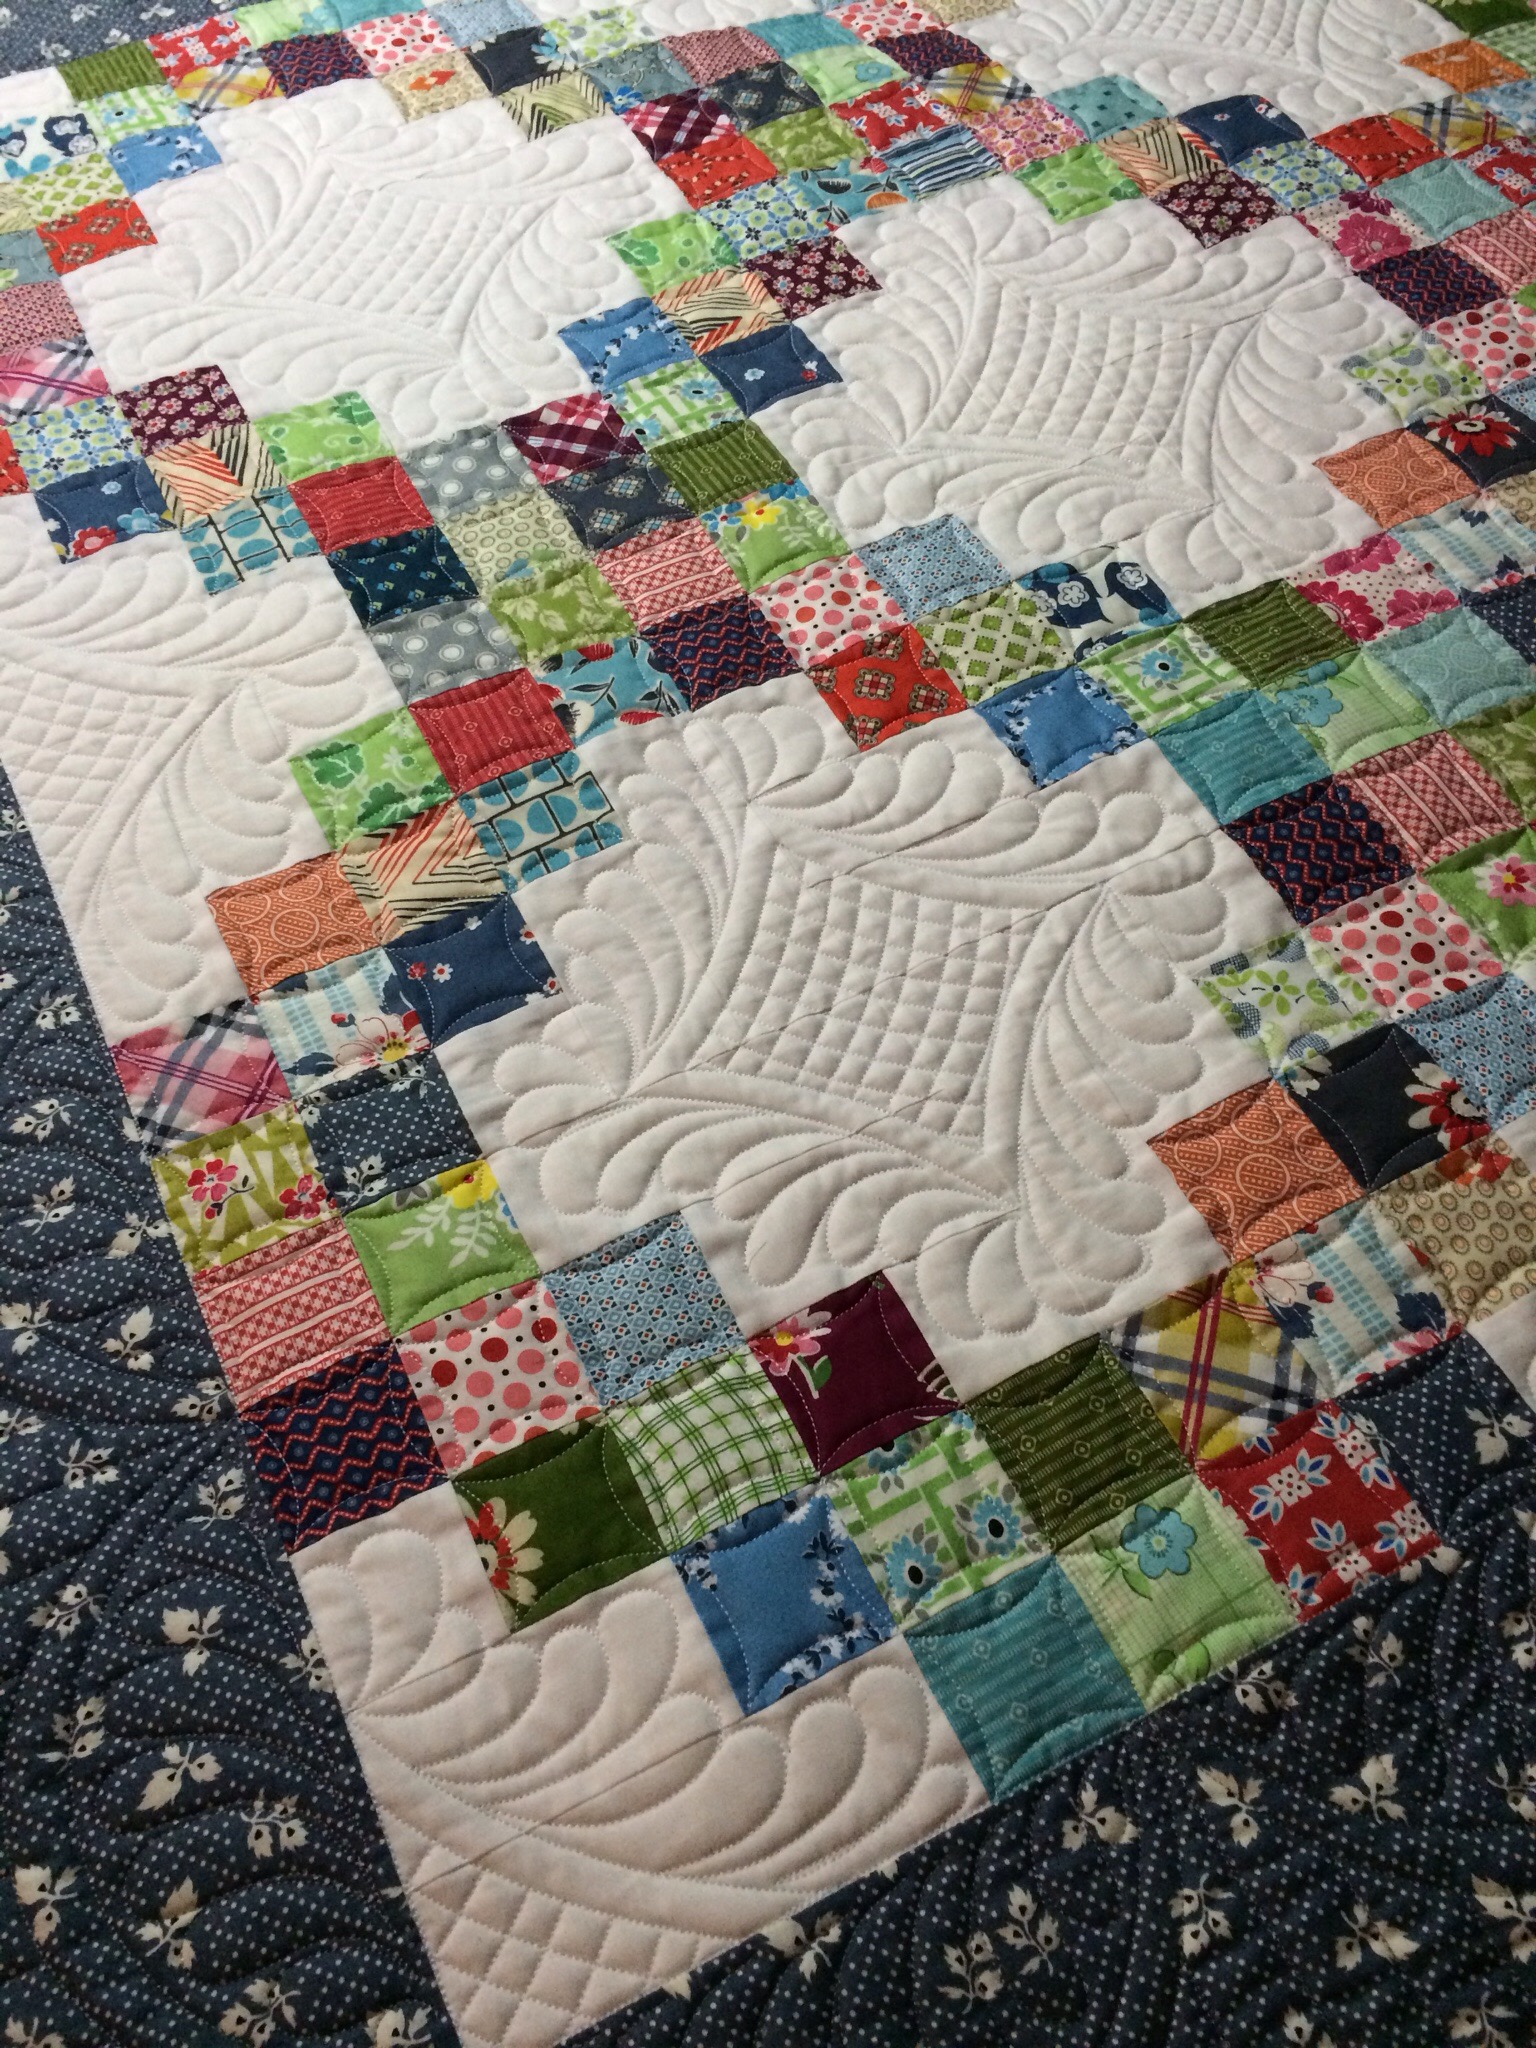
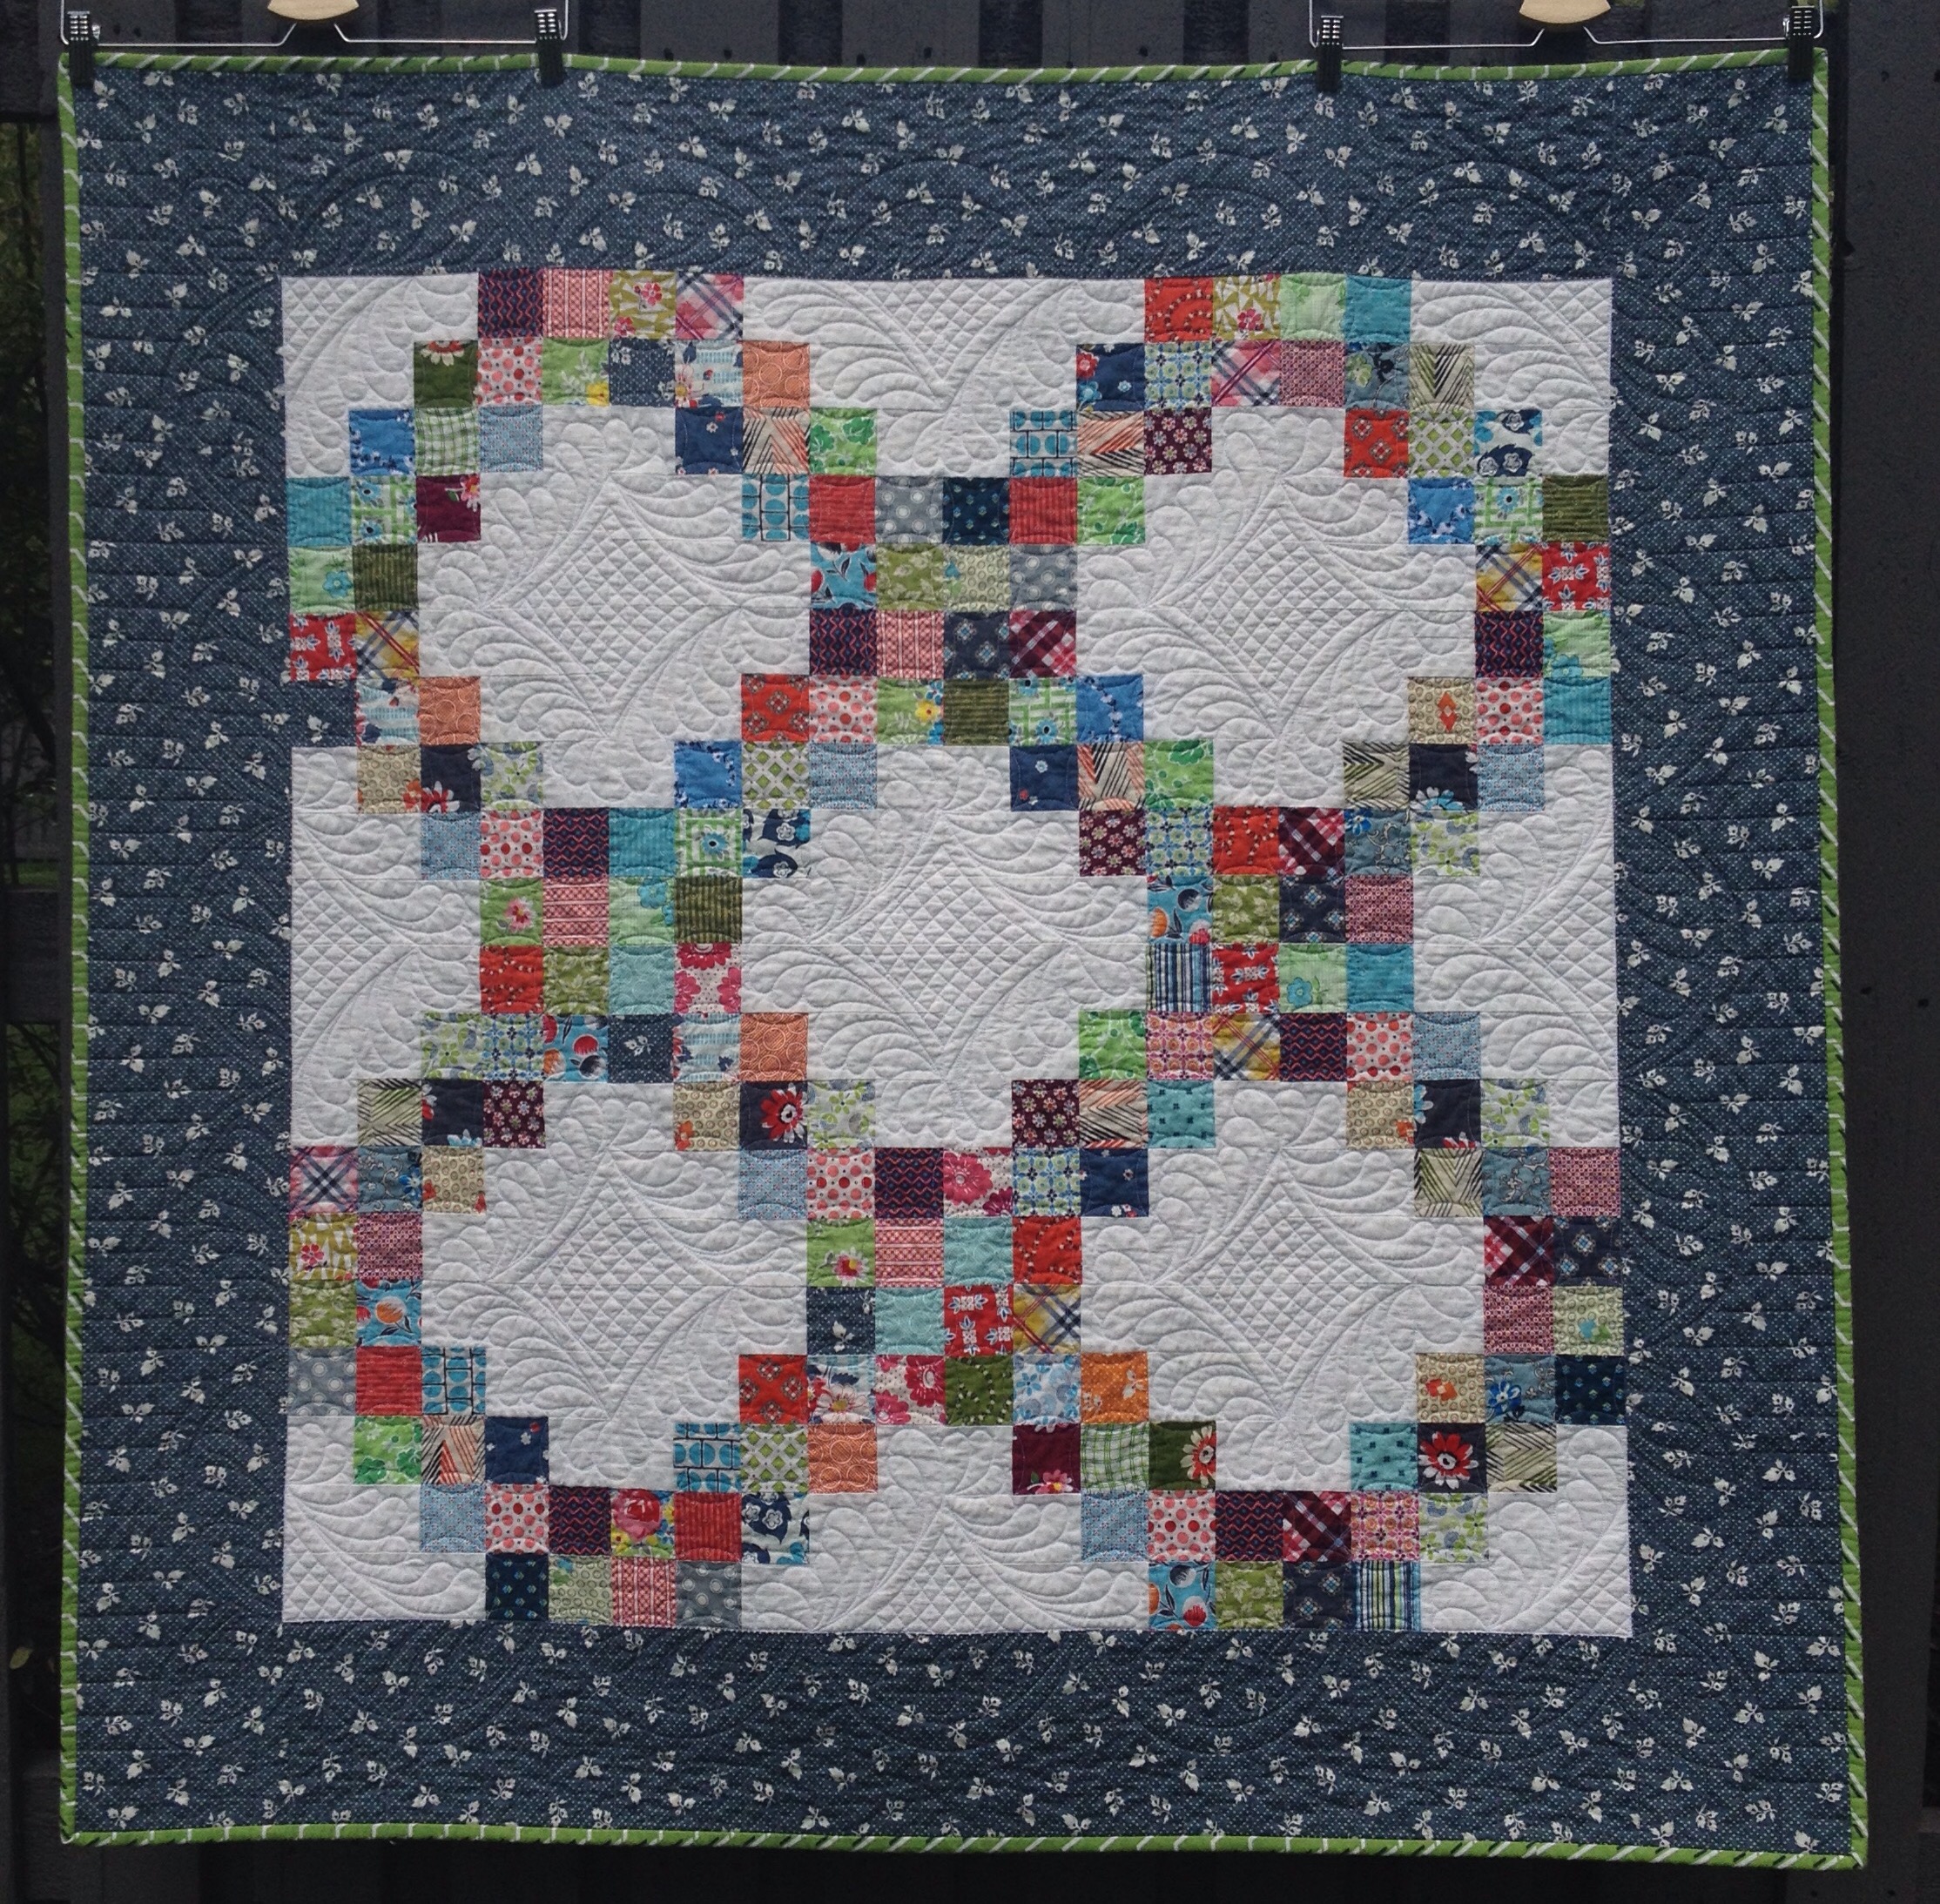
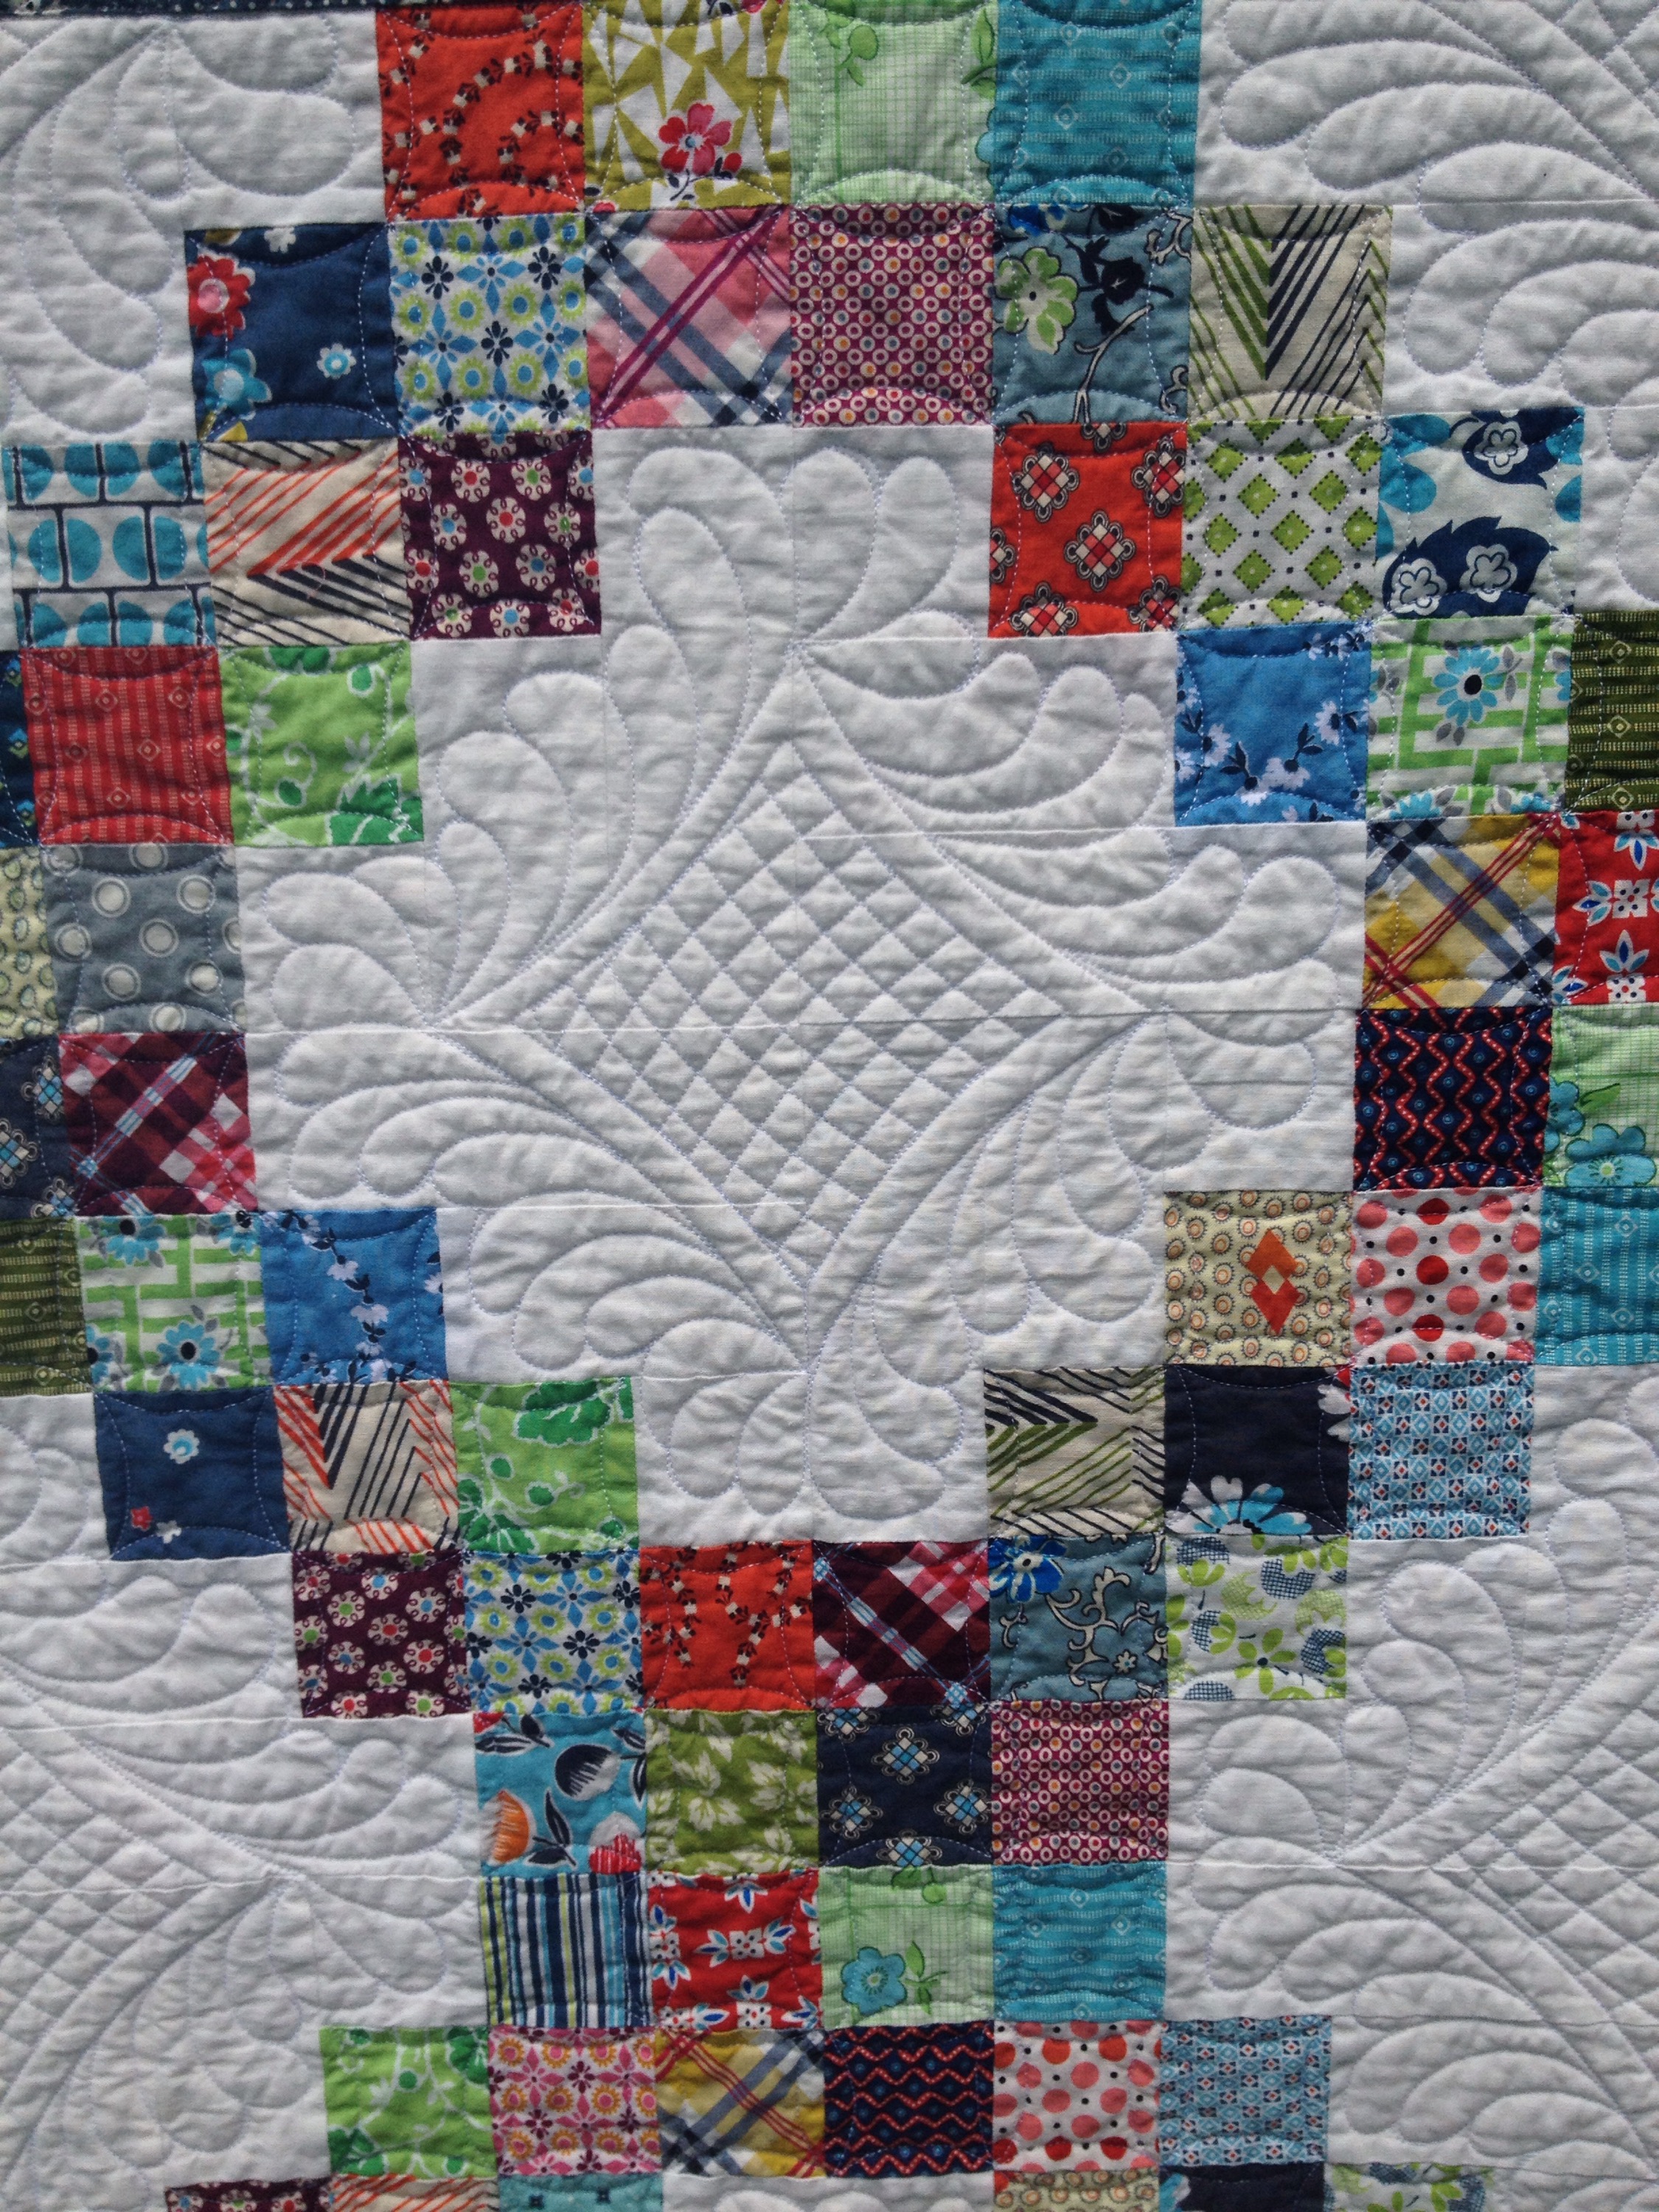
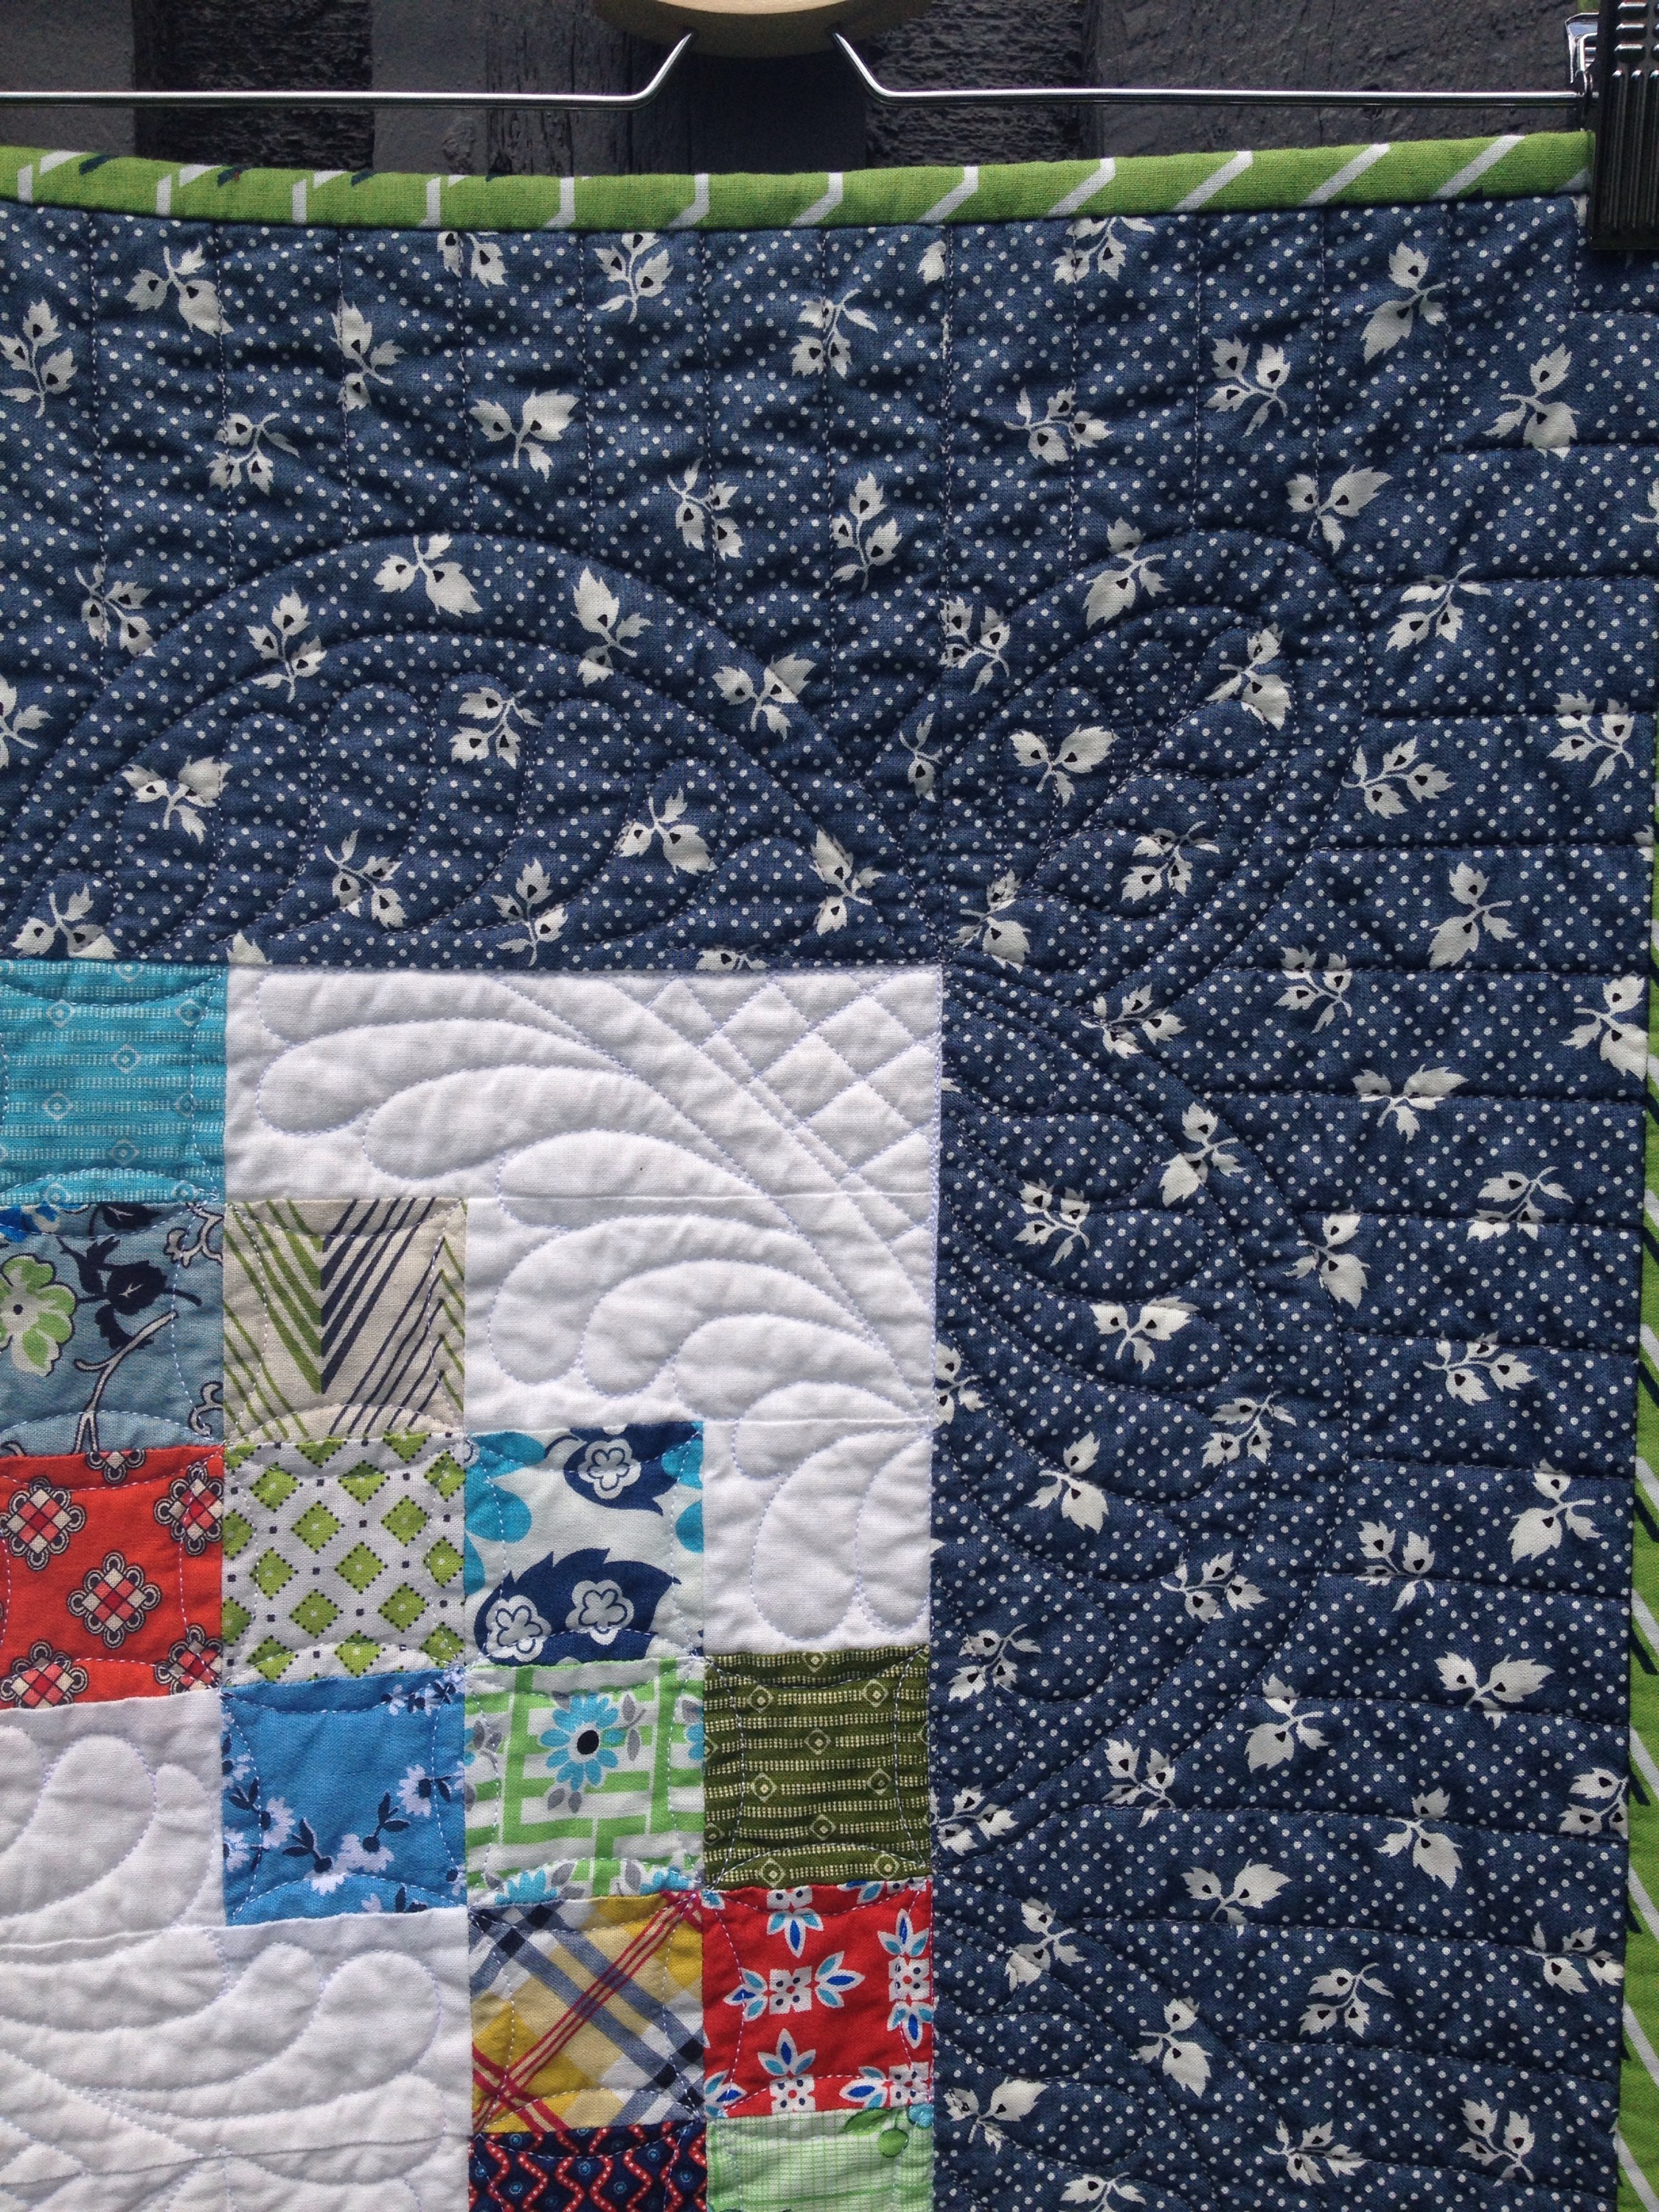
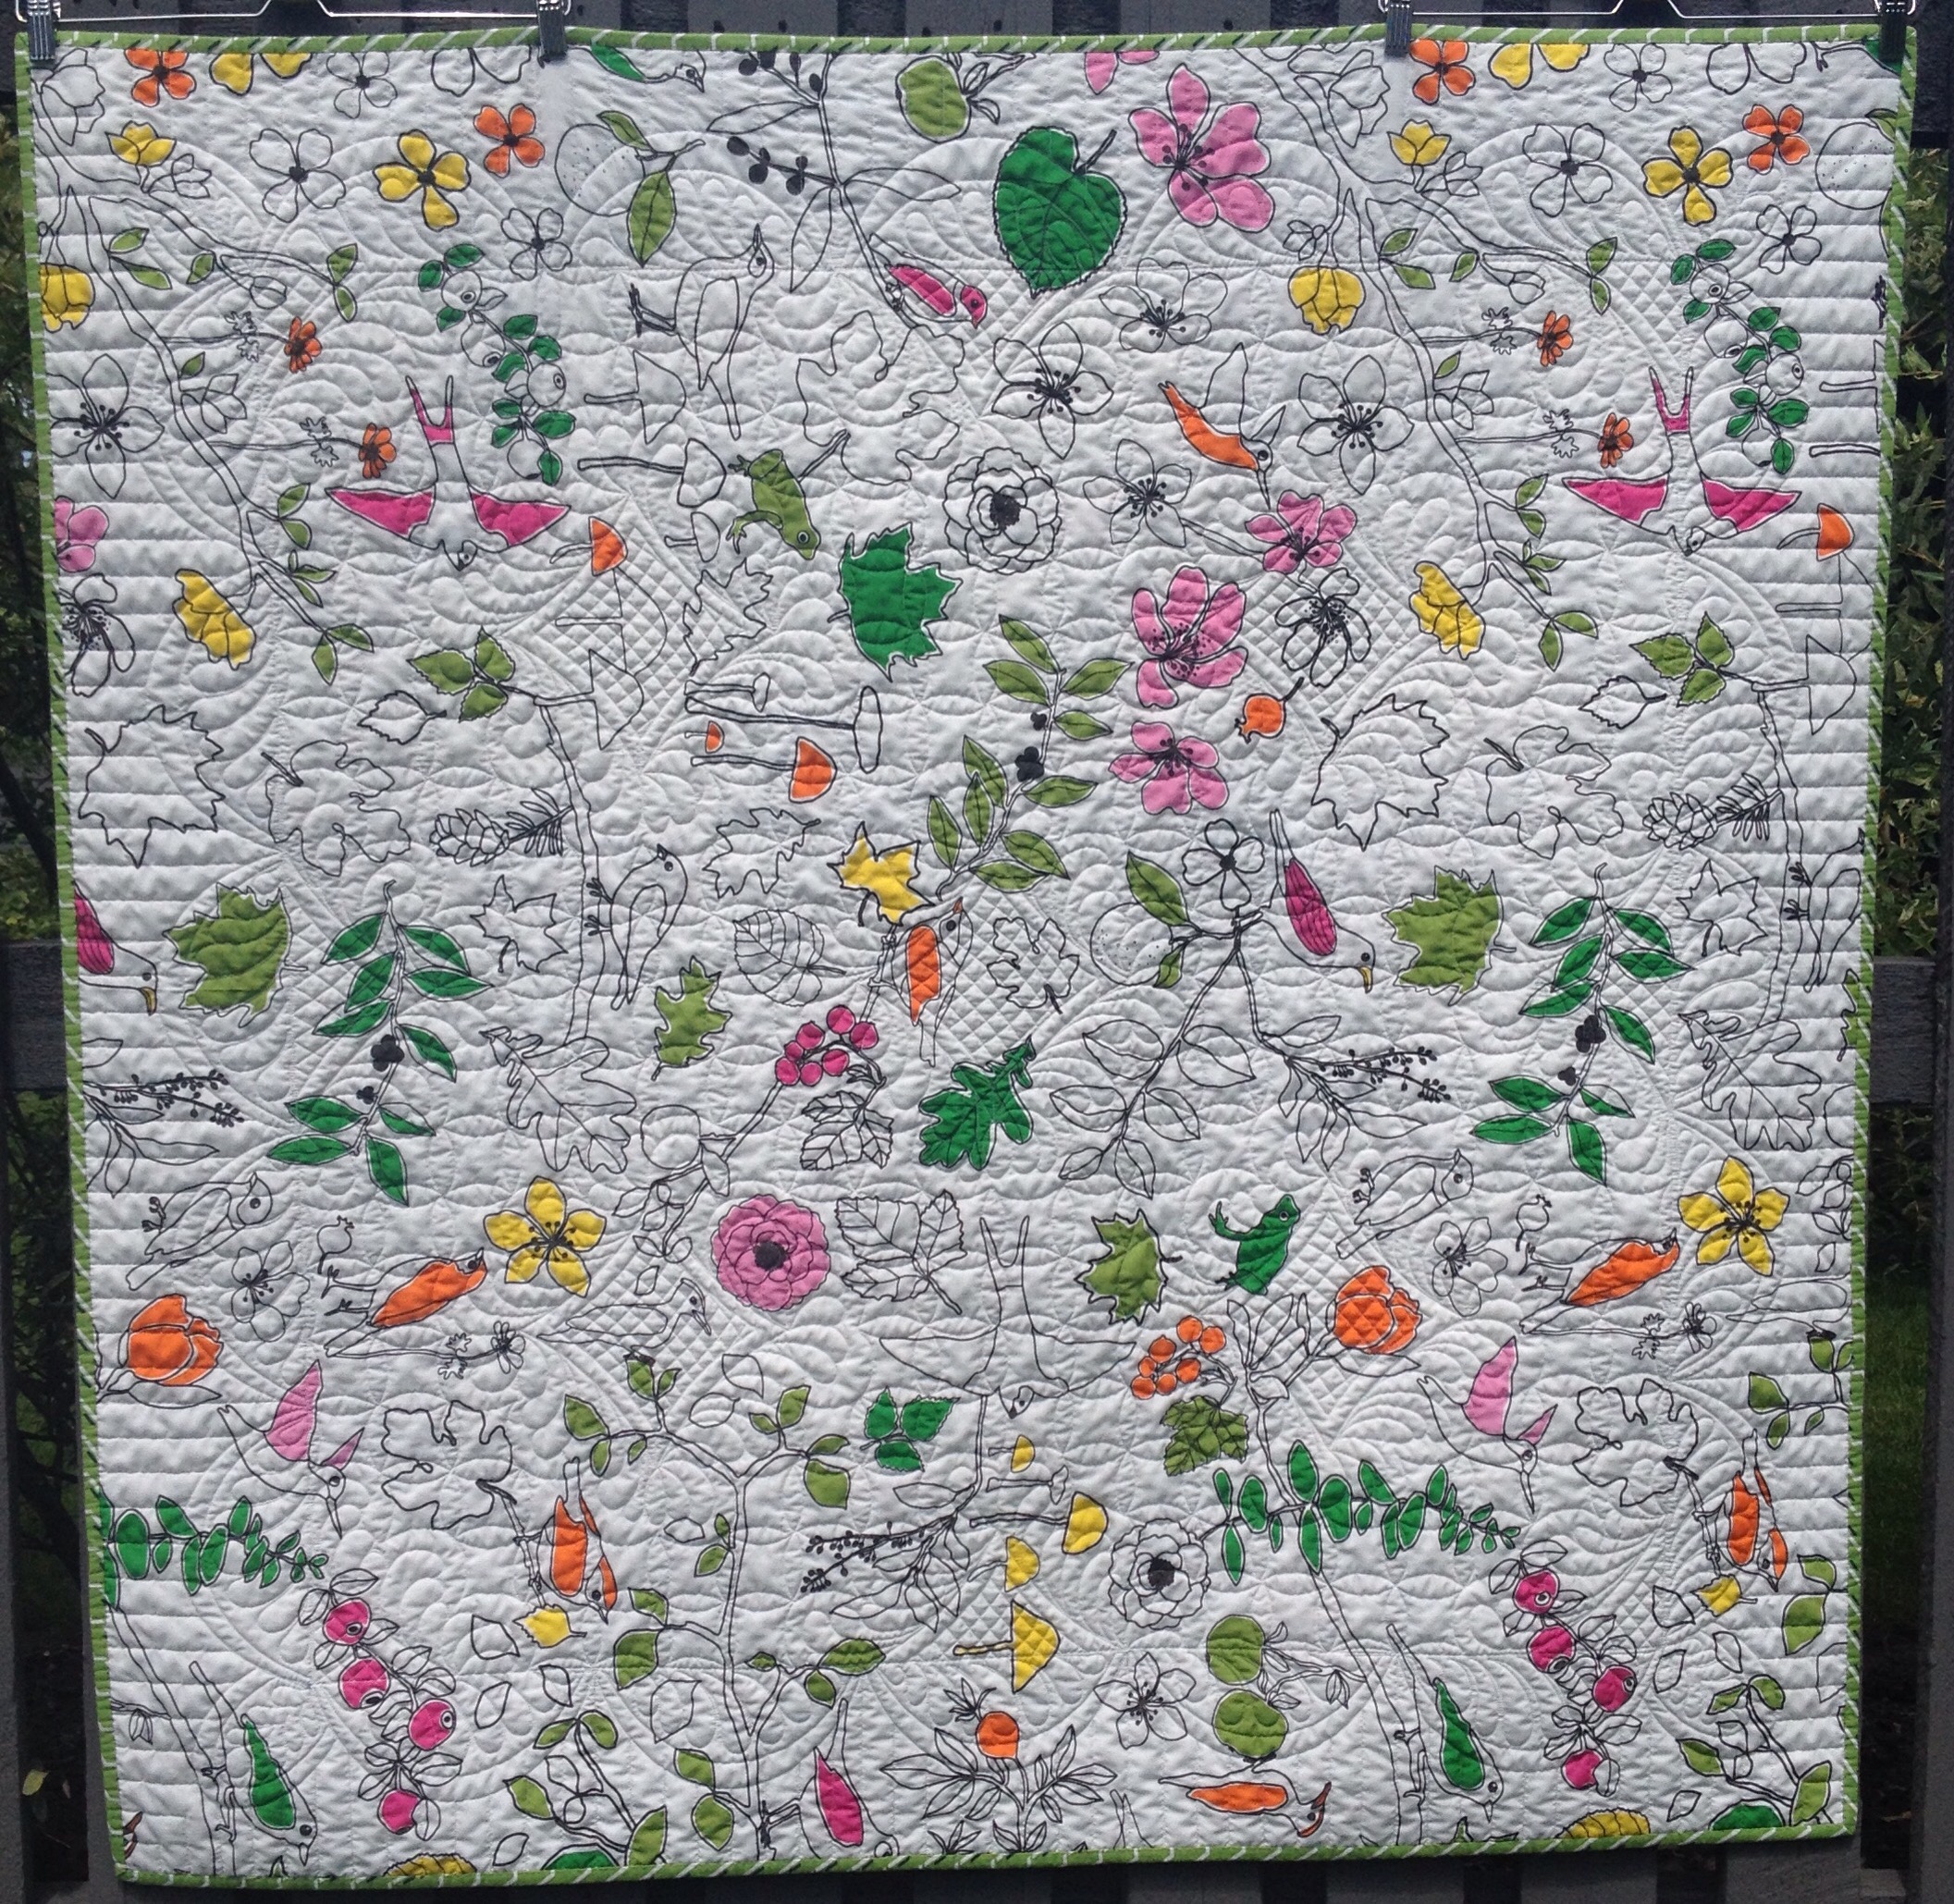
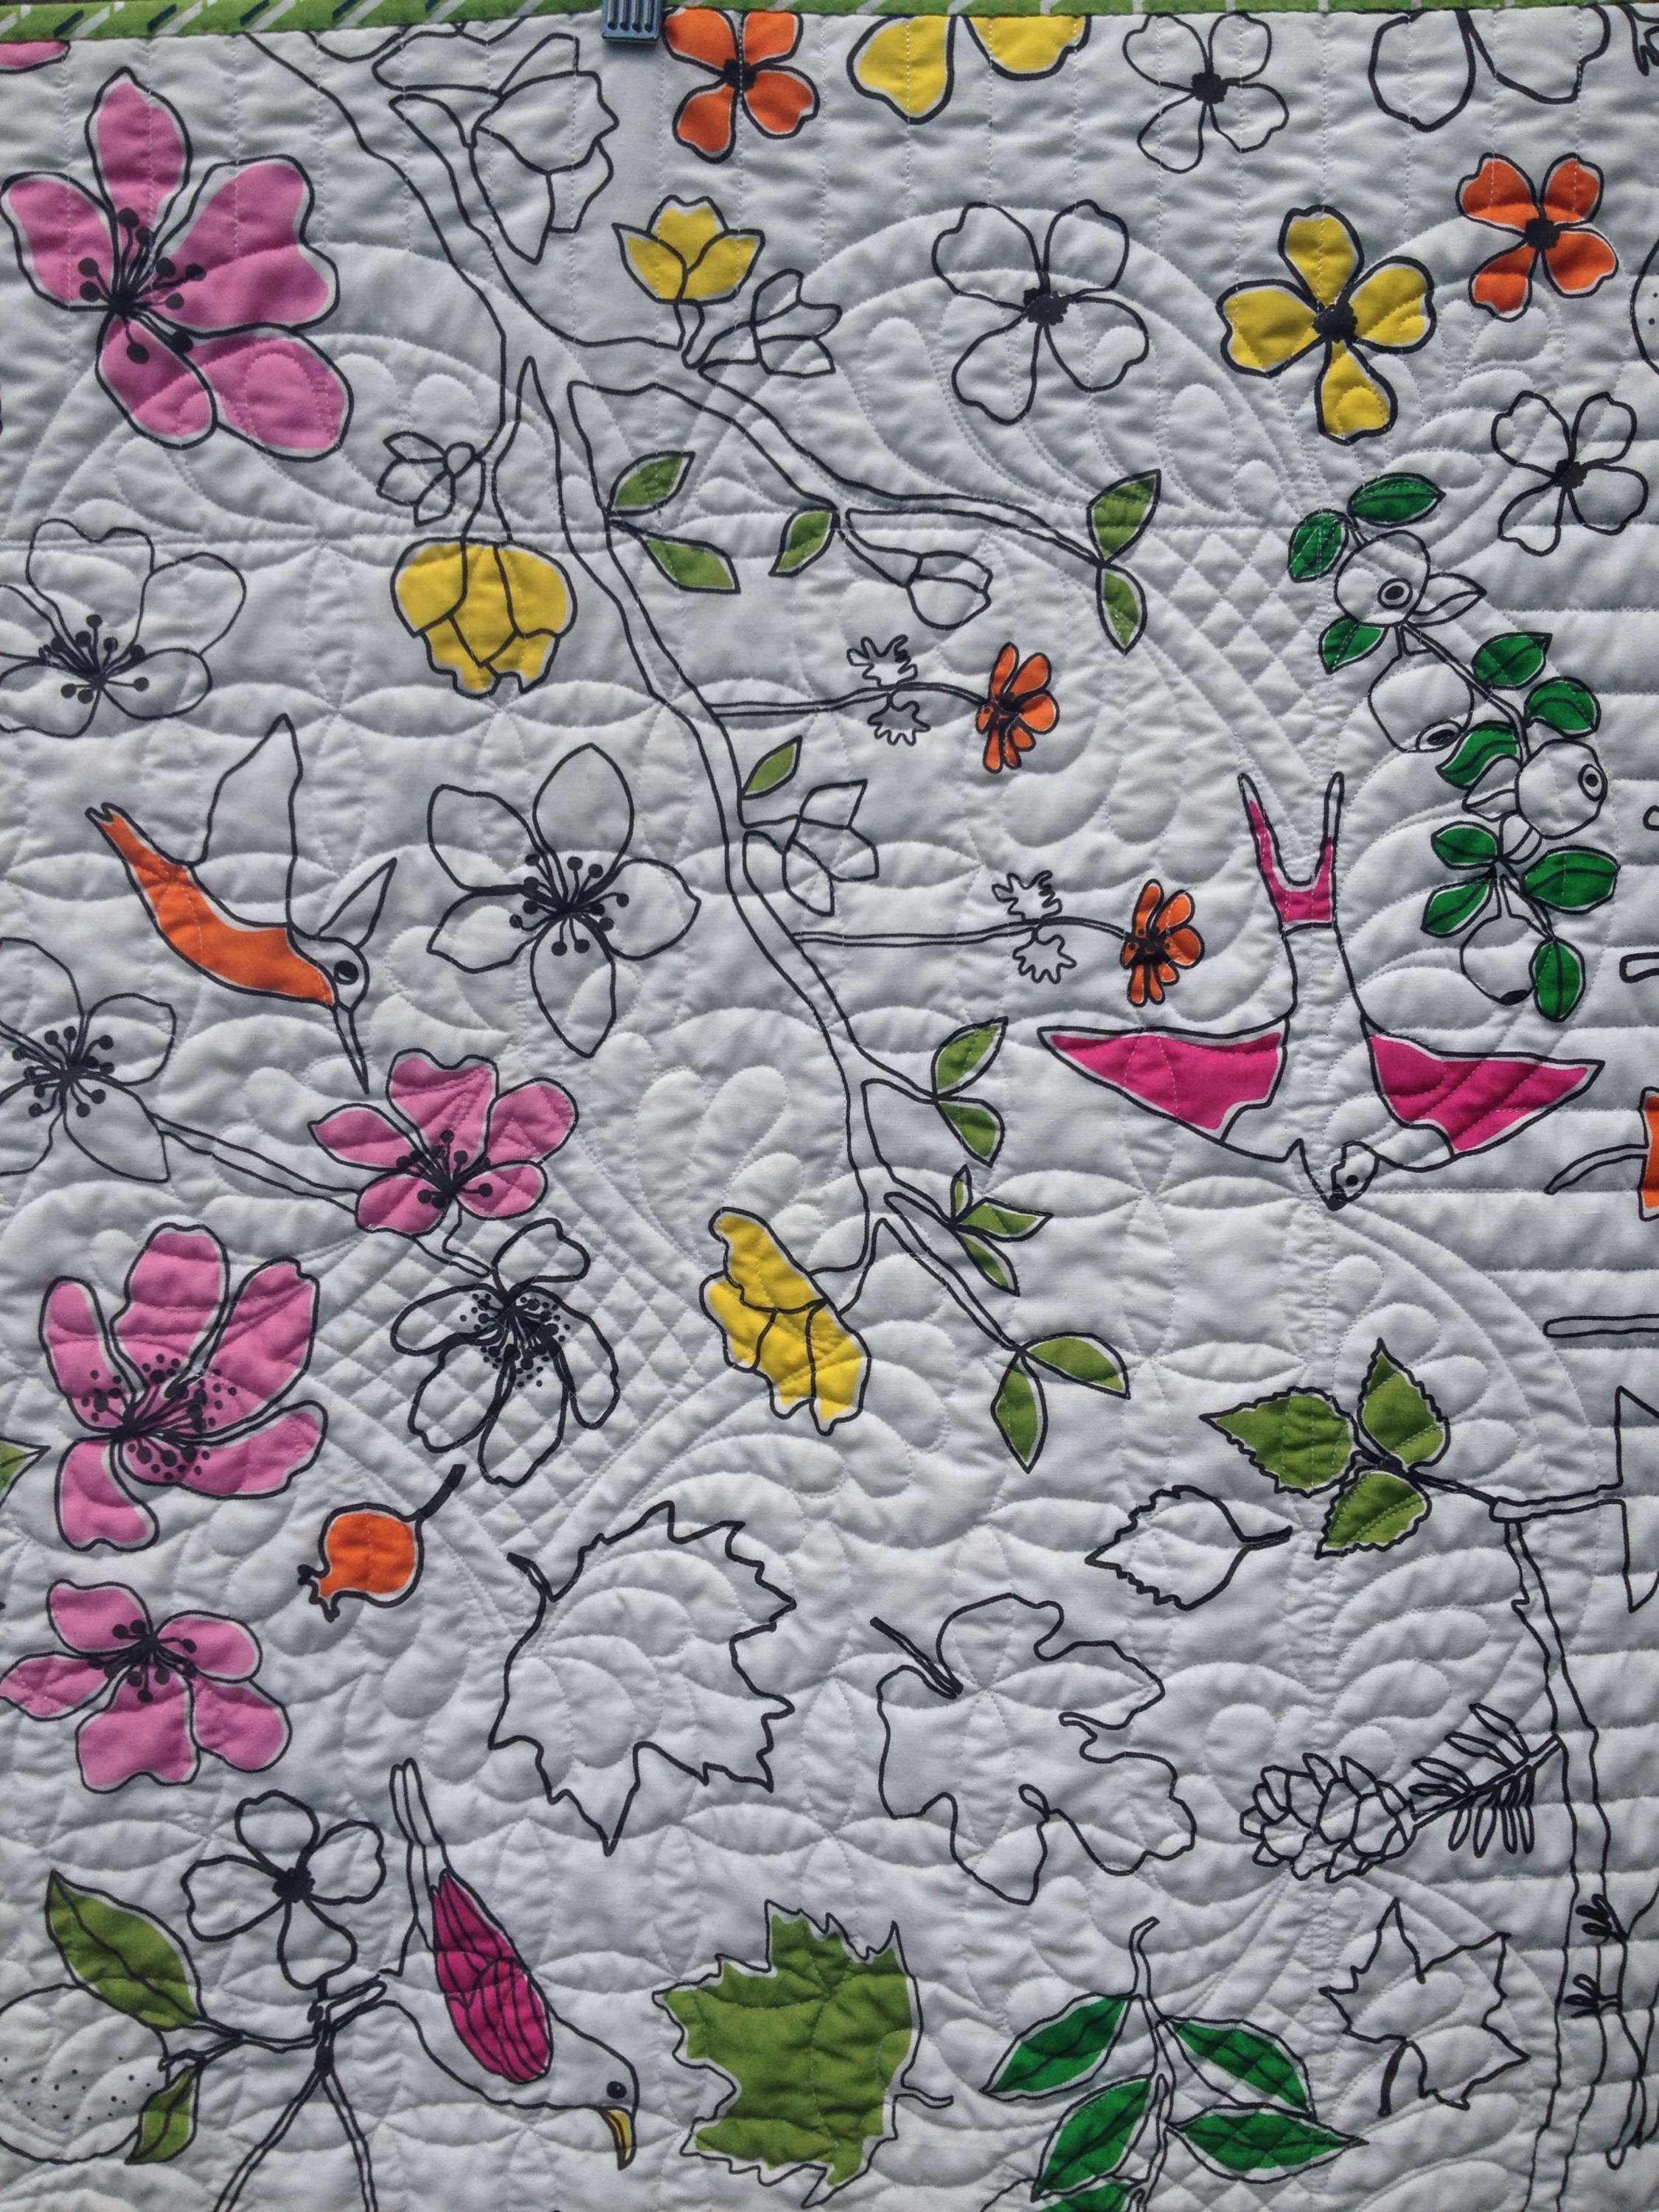
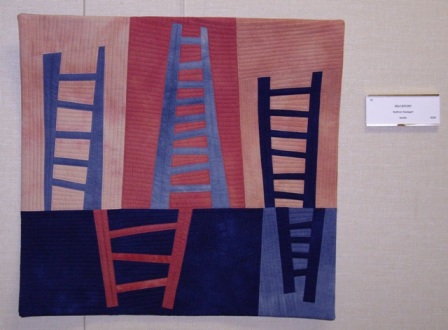
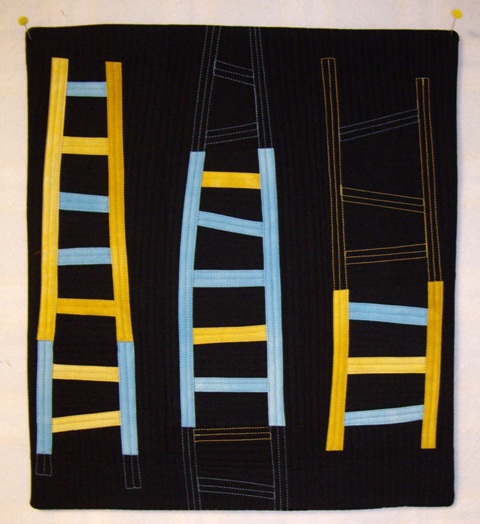
 This in not what a well done facing looks like but I was a bit desperate to get something close to a finish this weekend. I will share this little one later this week though I did give a peek of it on Instagram.
 Sorry for the bad pictures. And also prepping this room for painting.
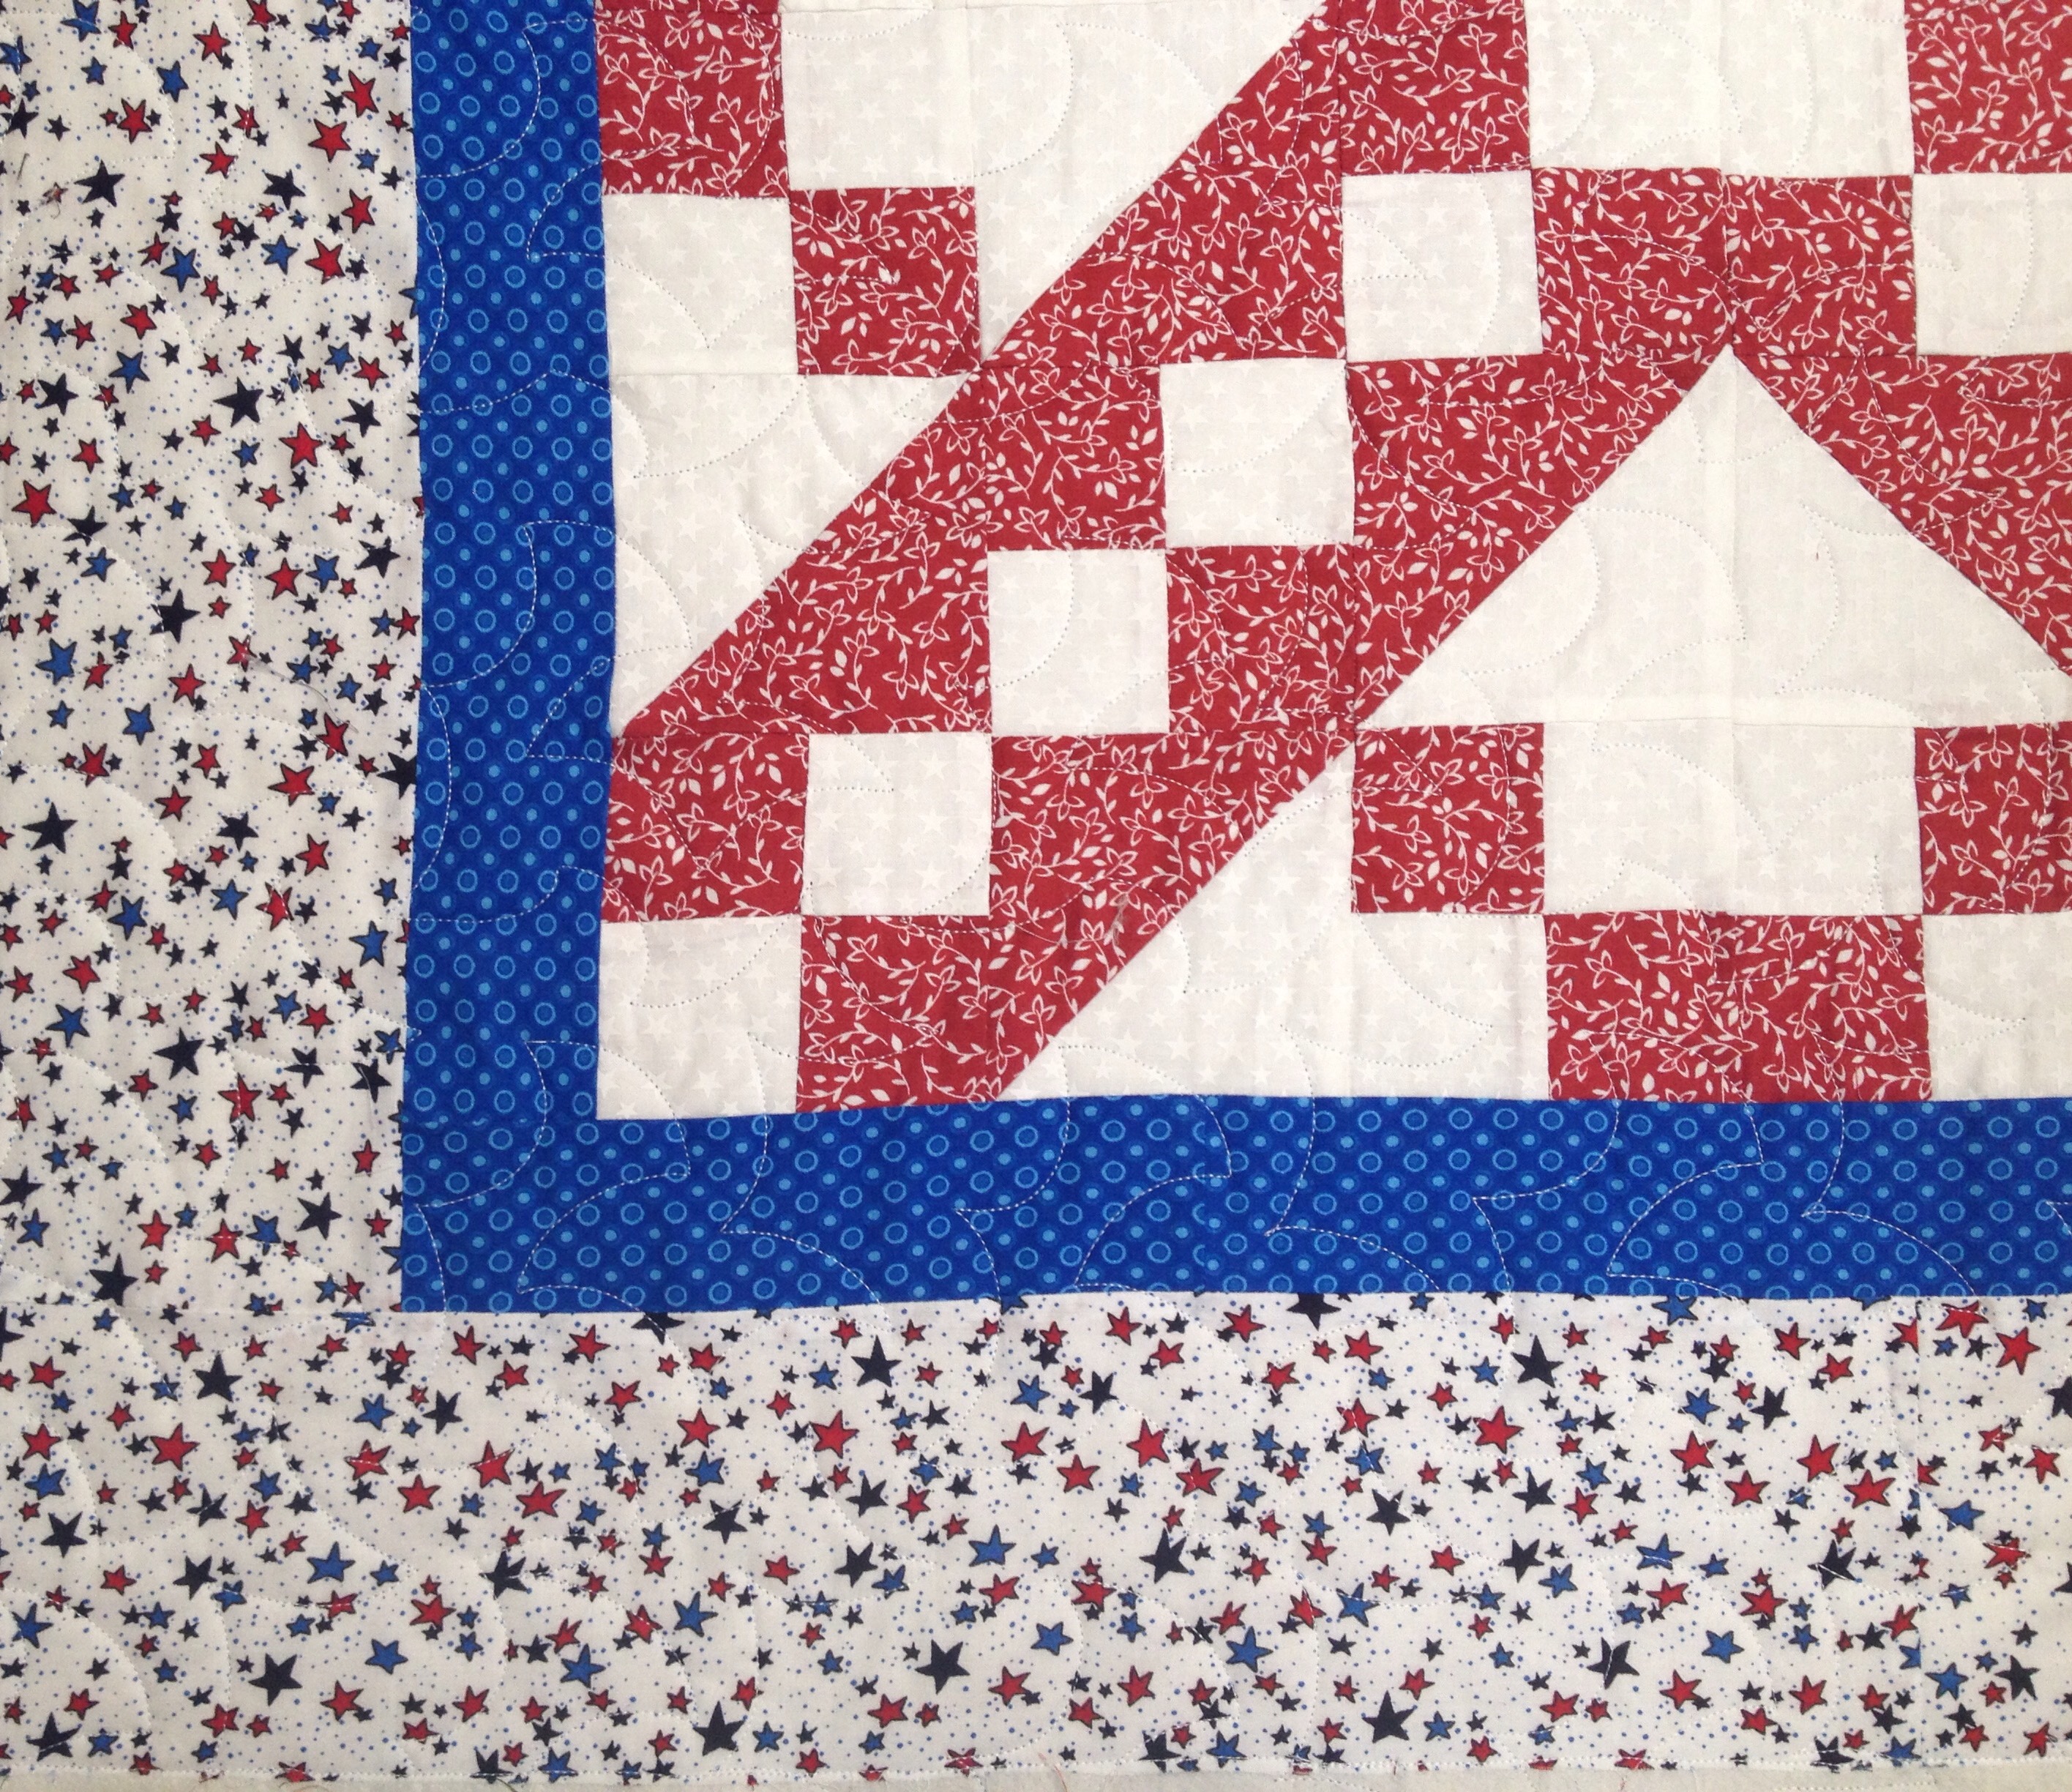


