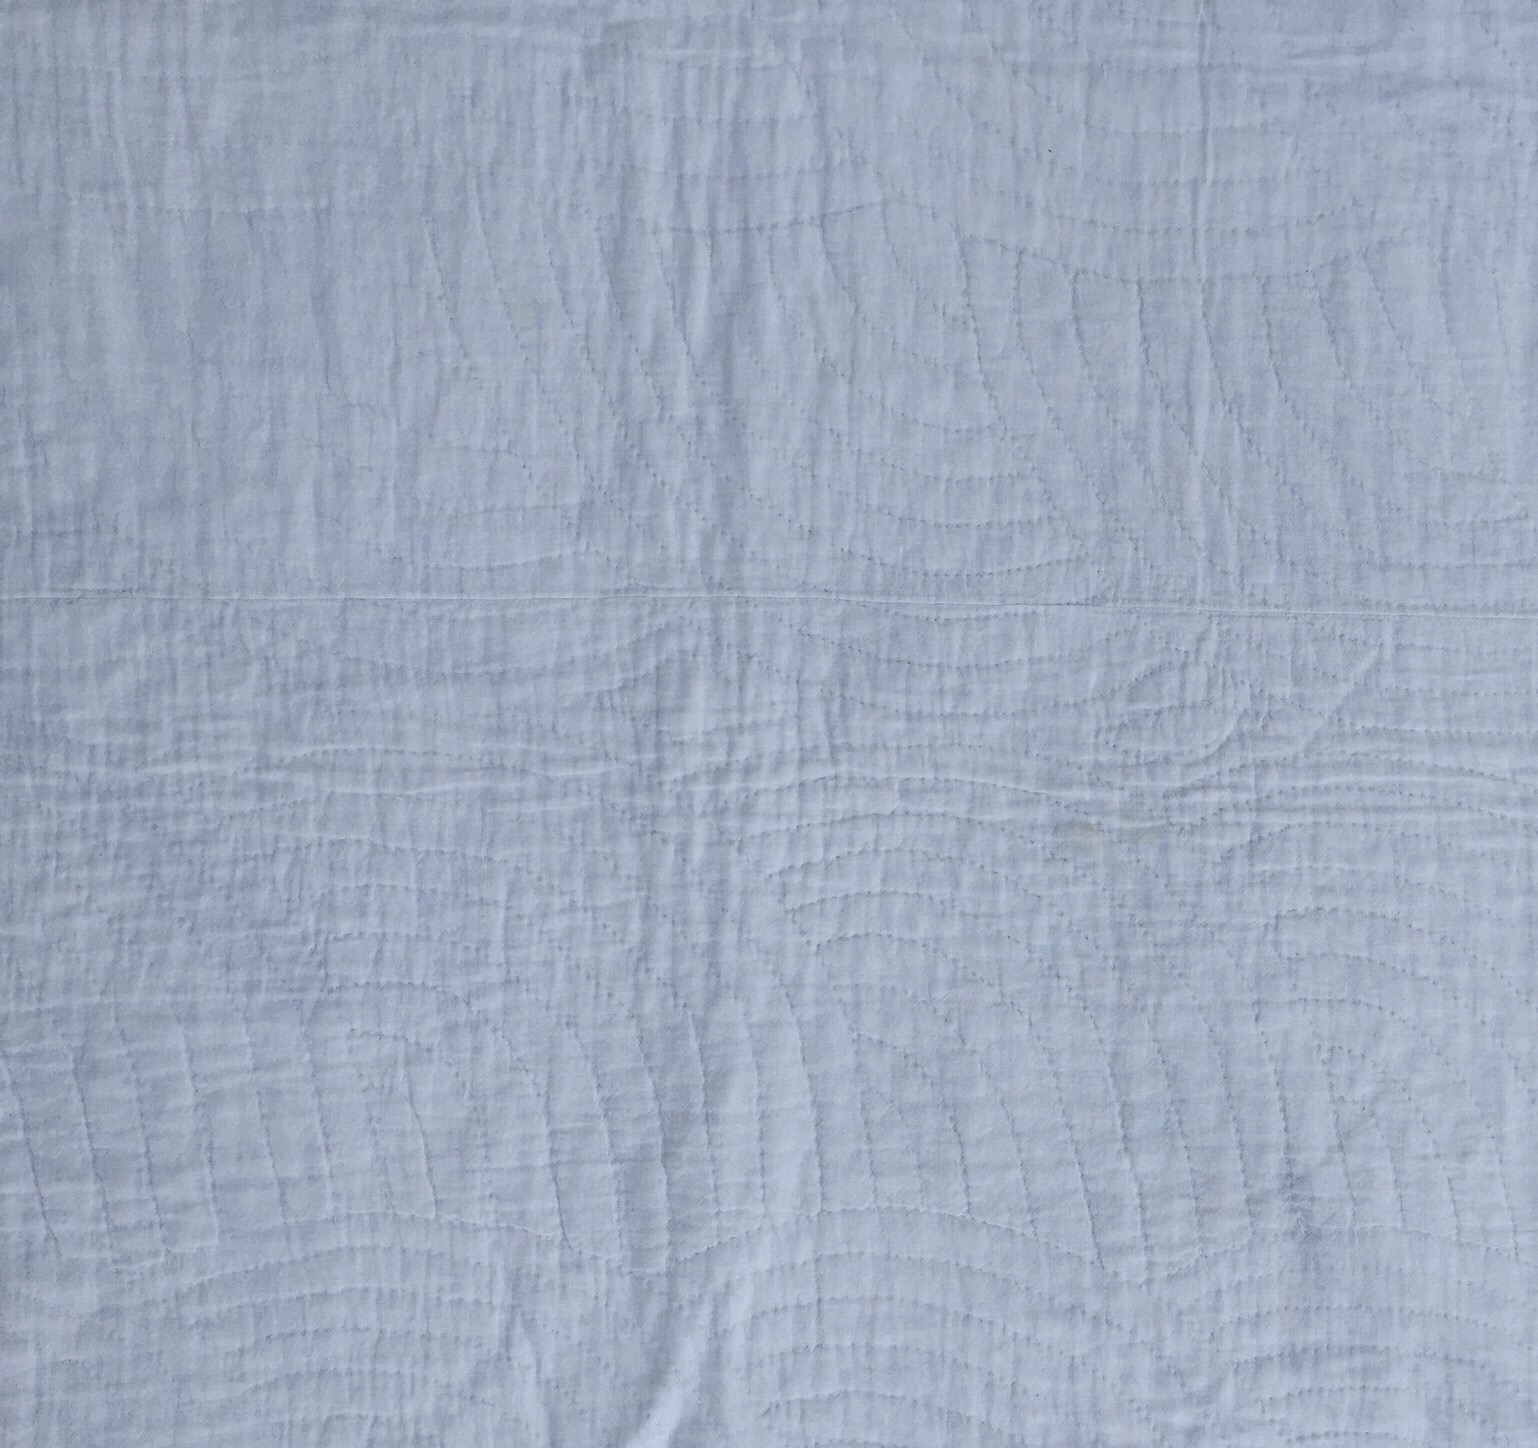
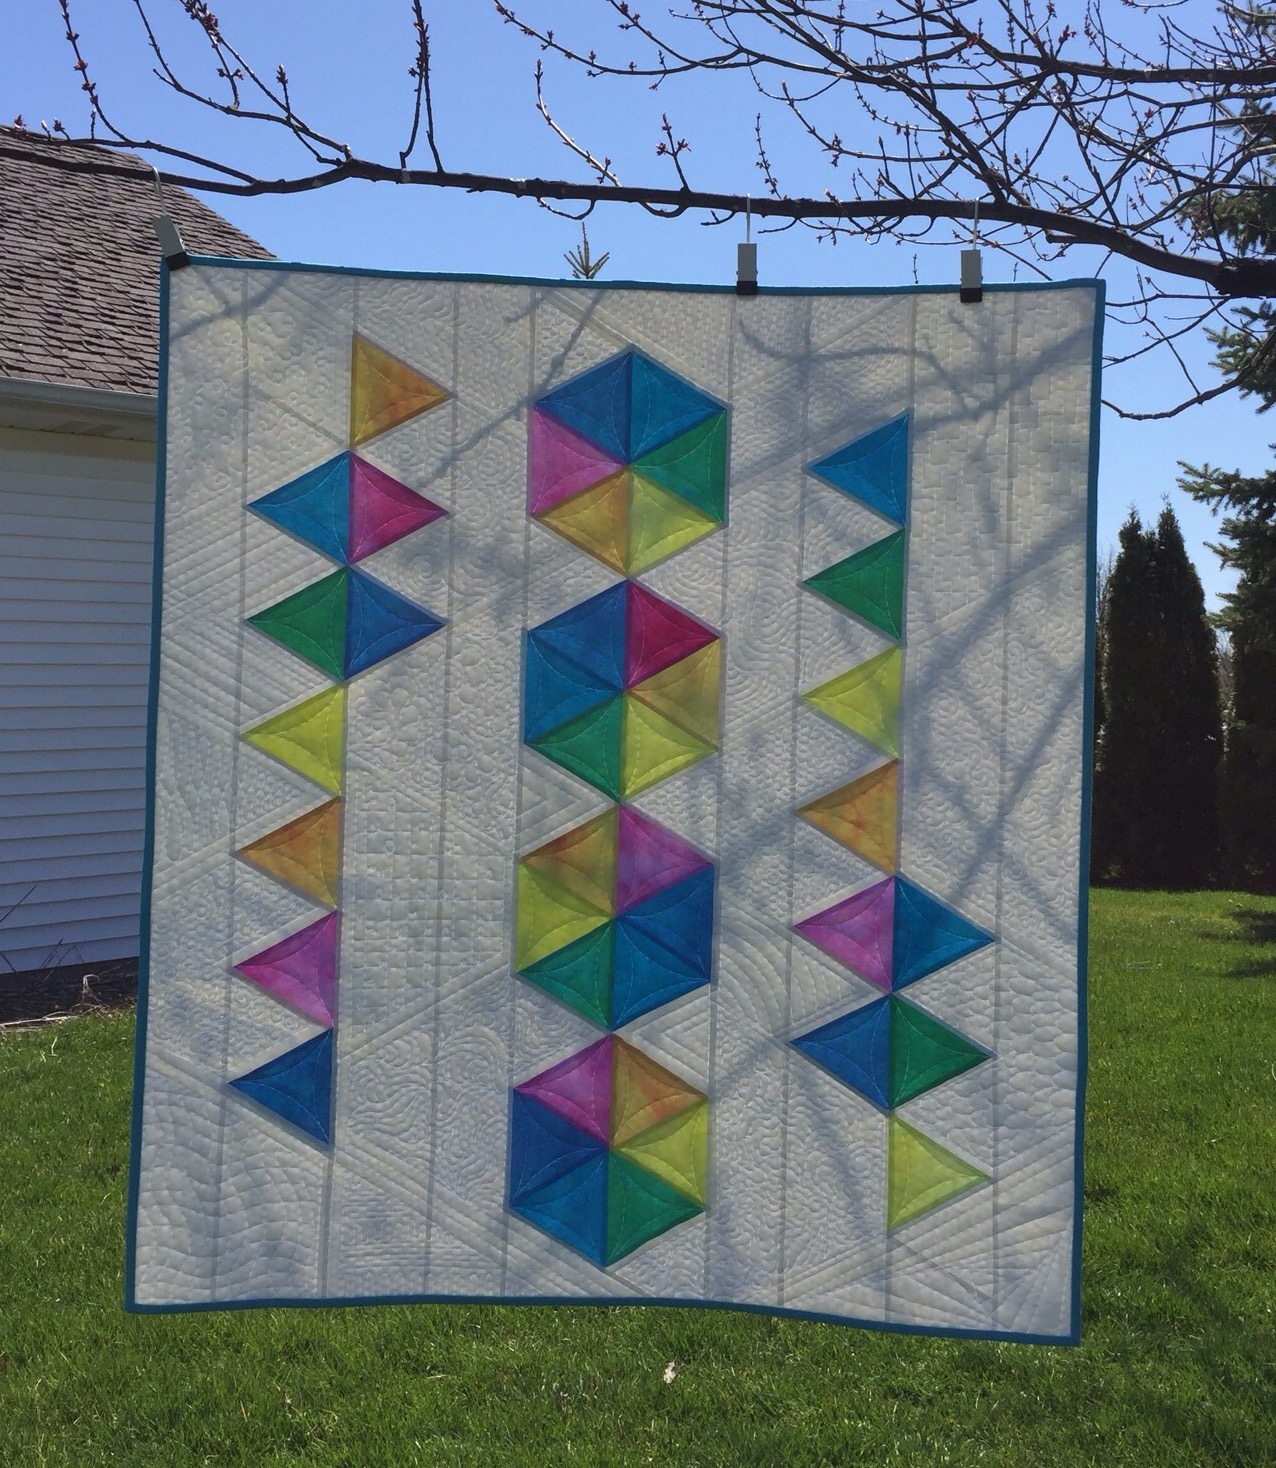
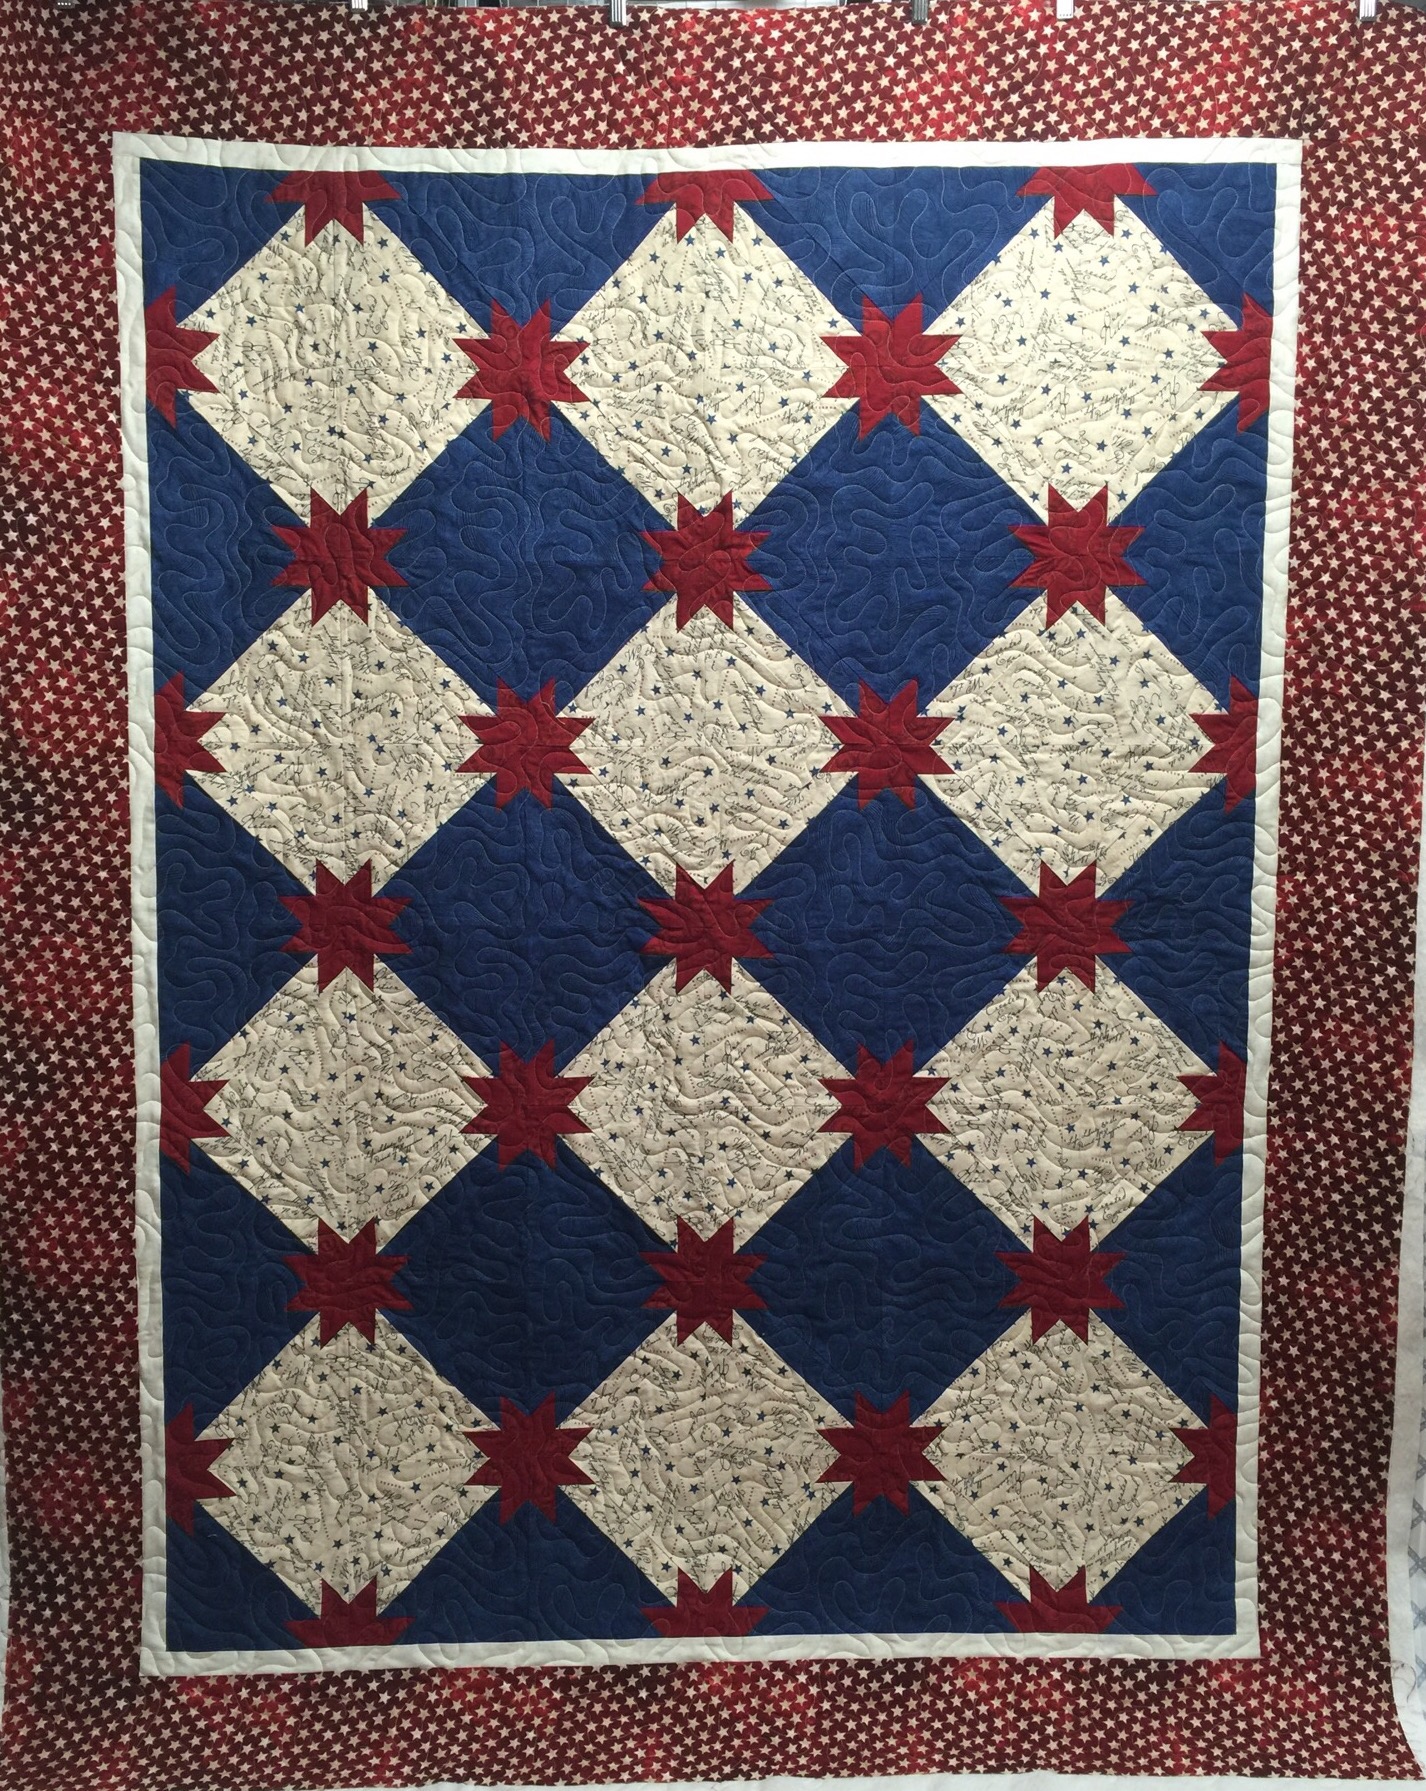
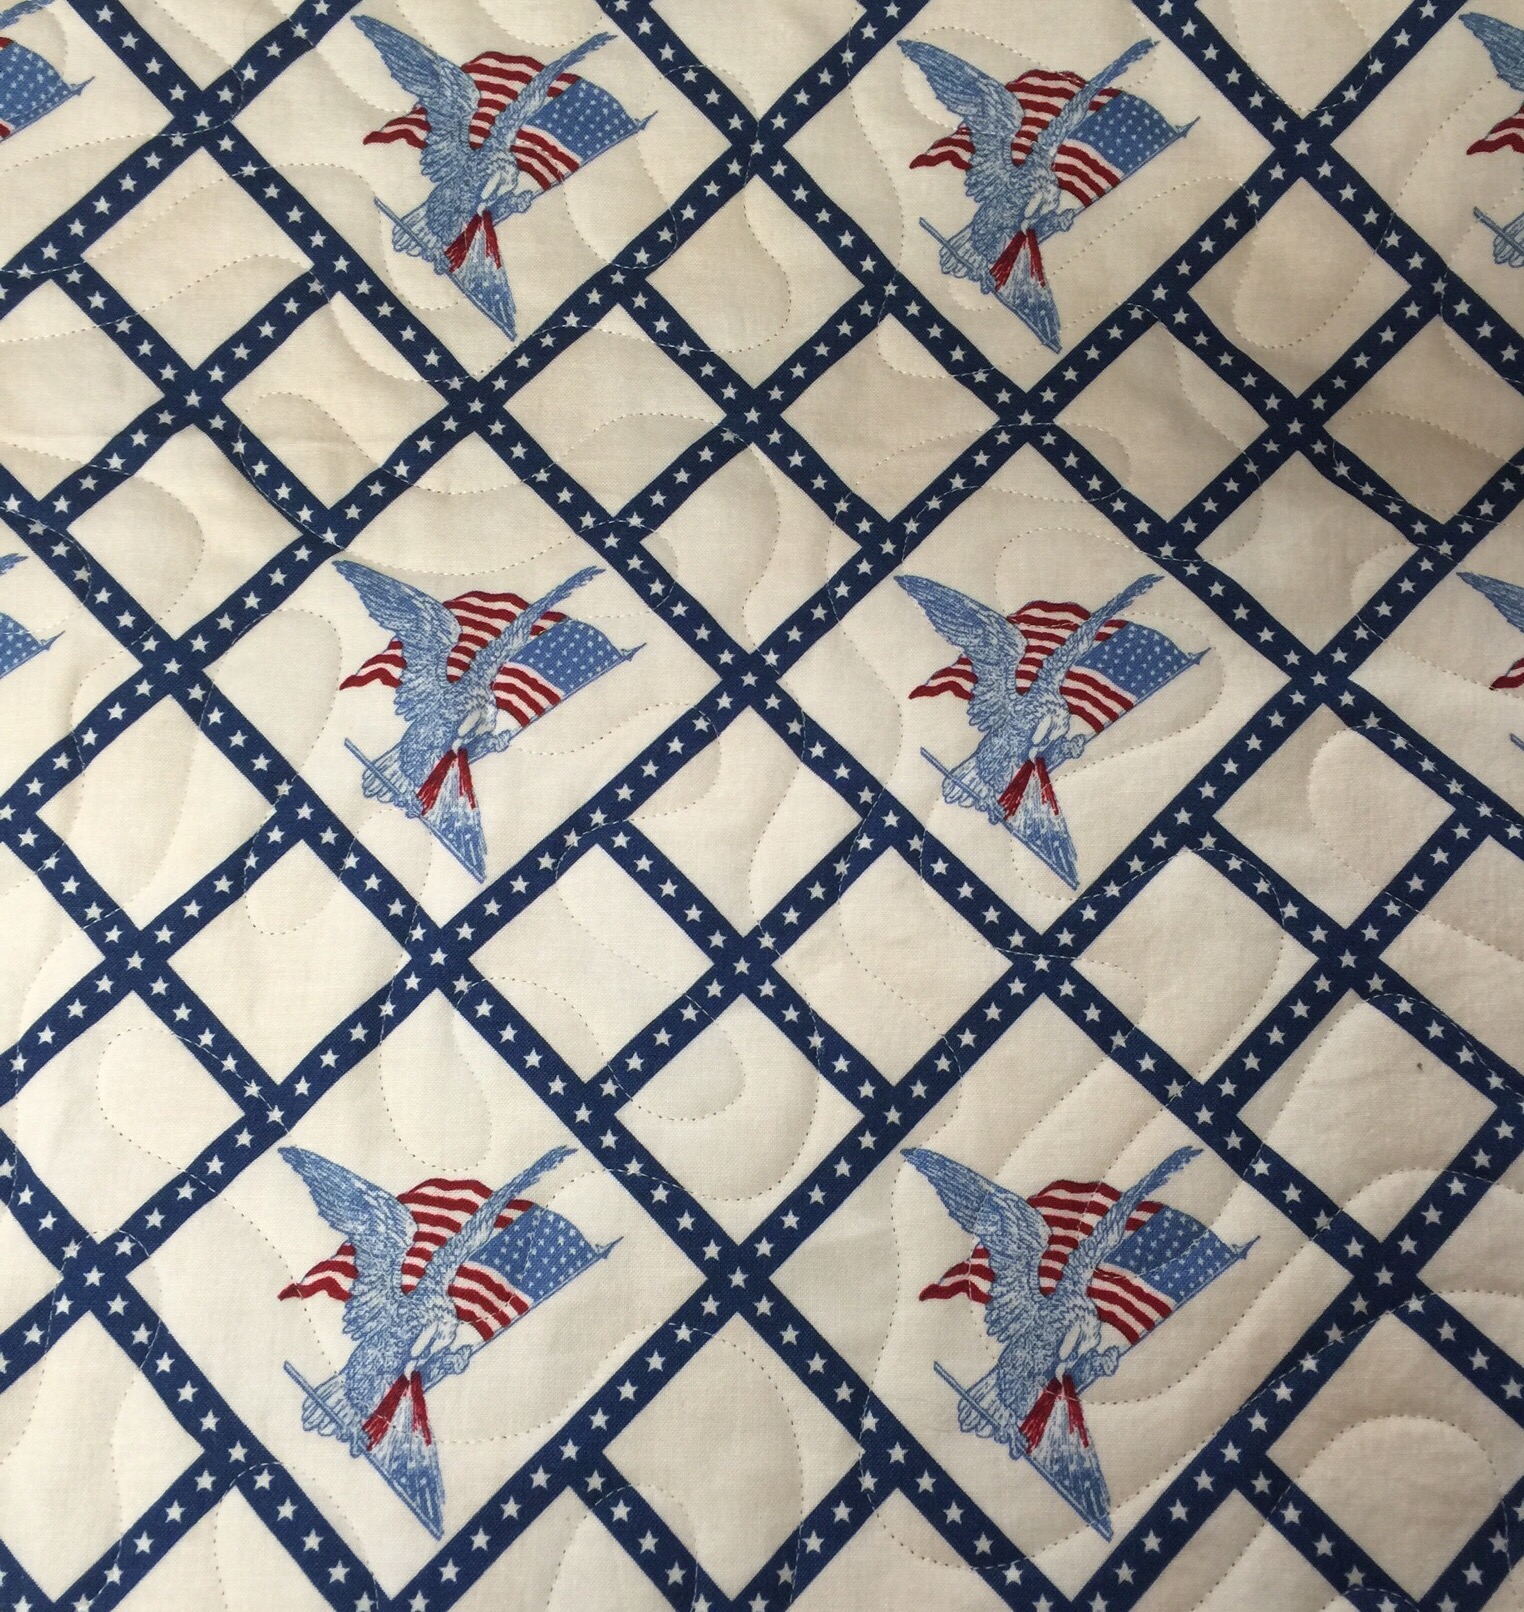
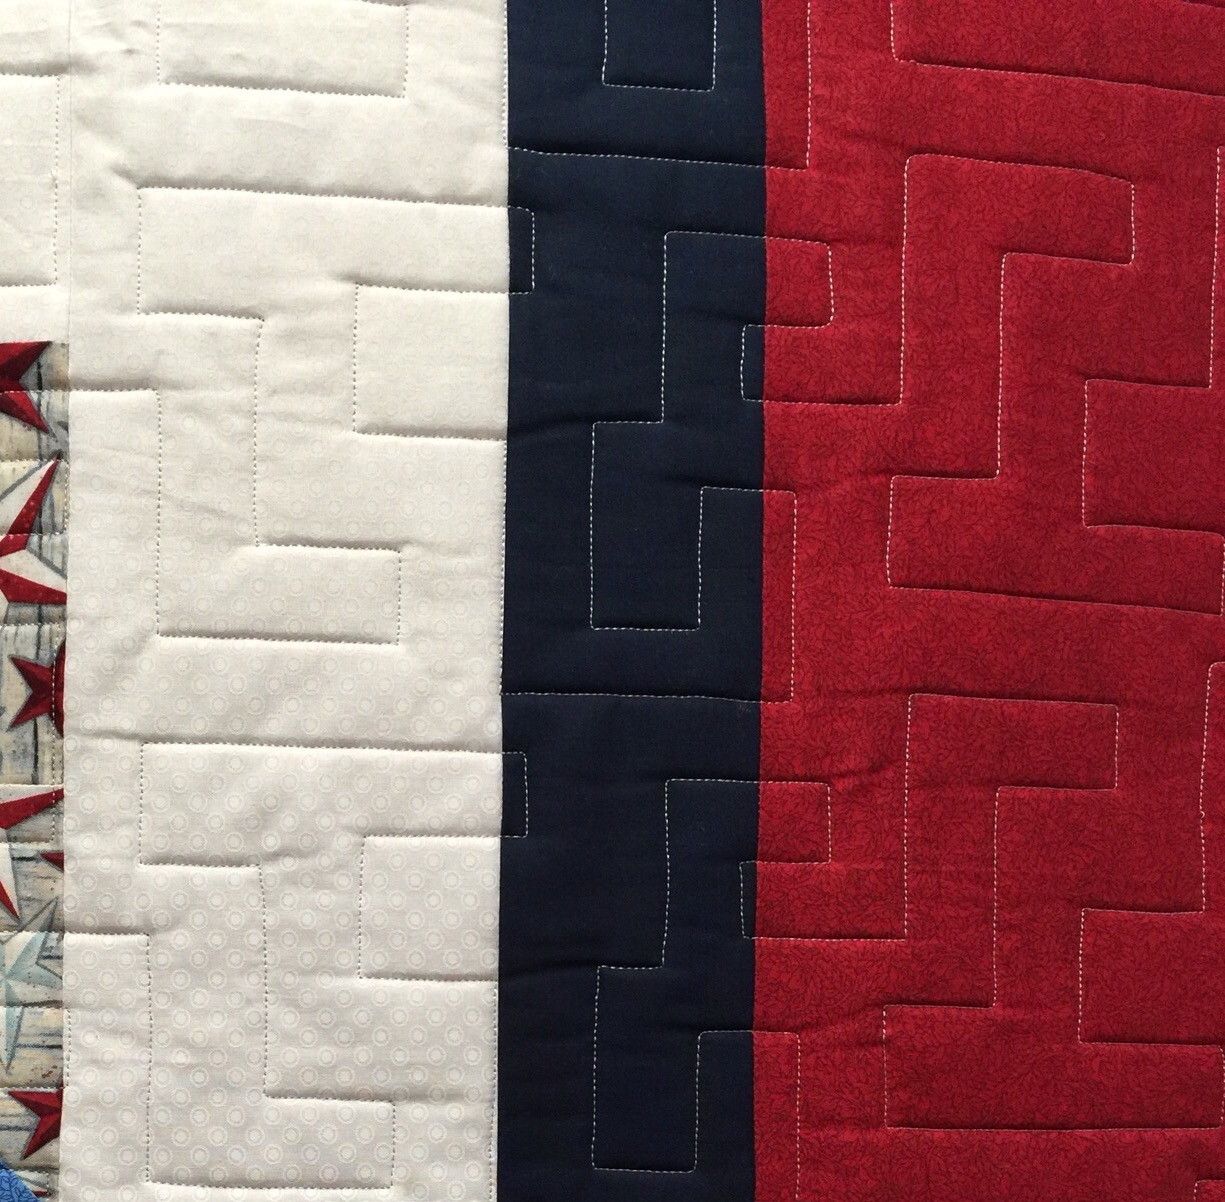
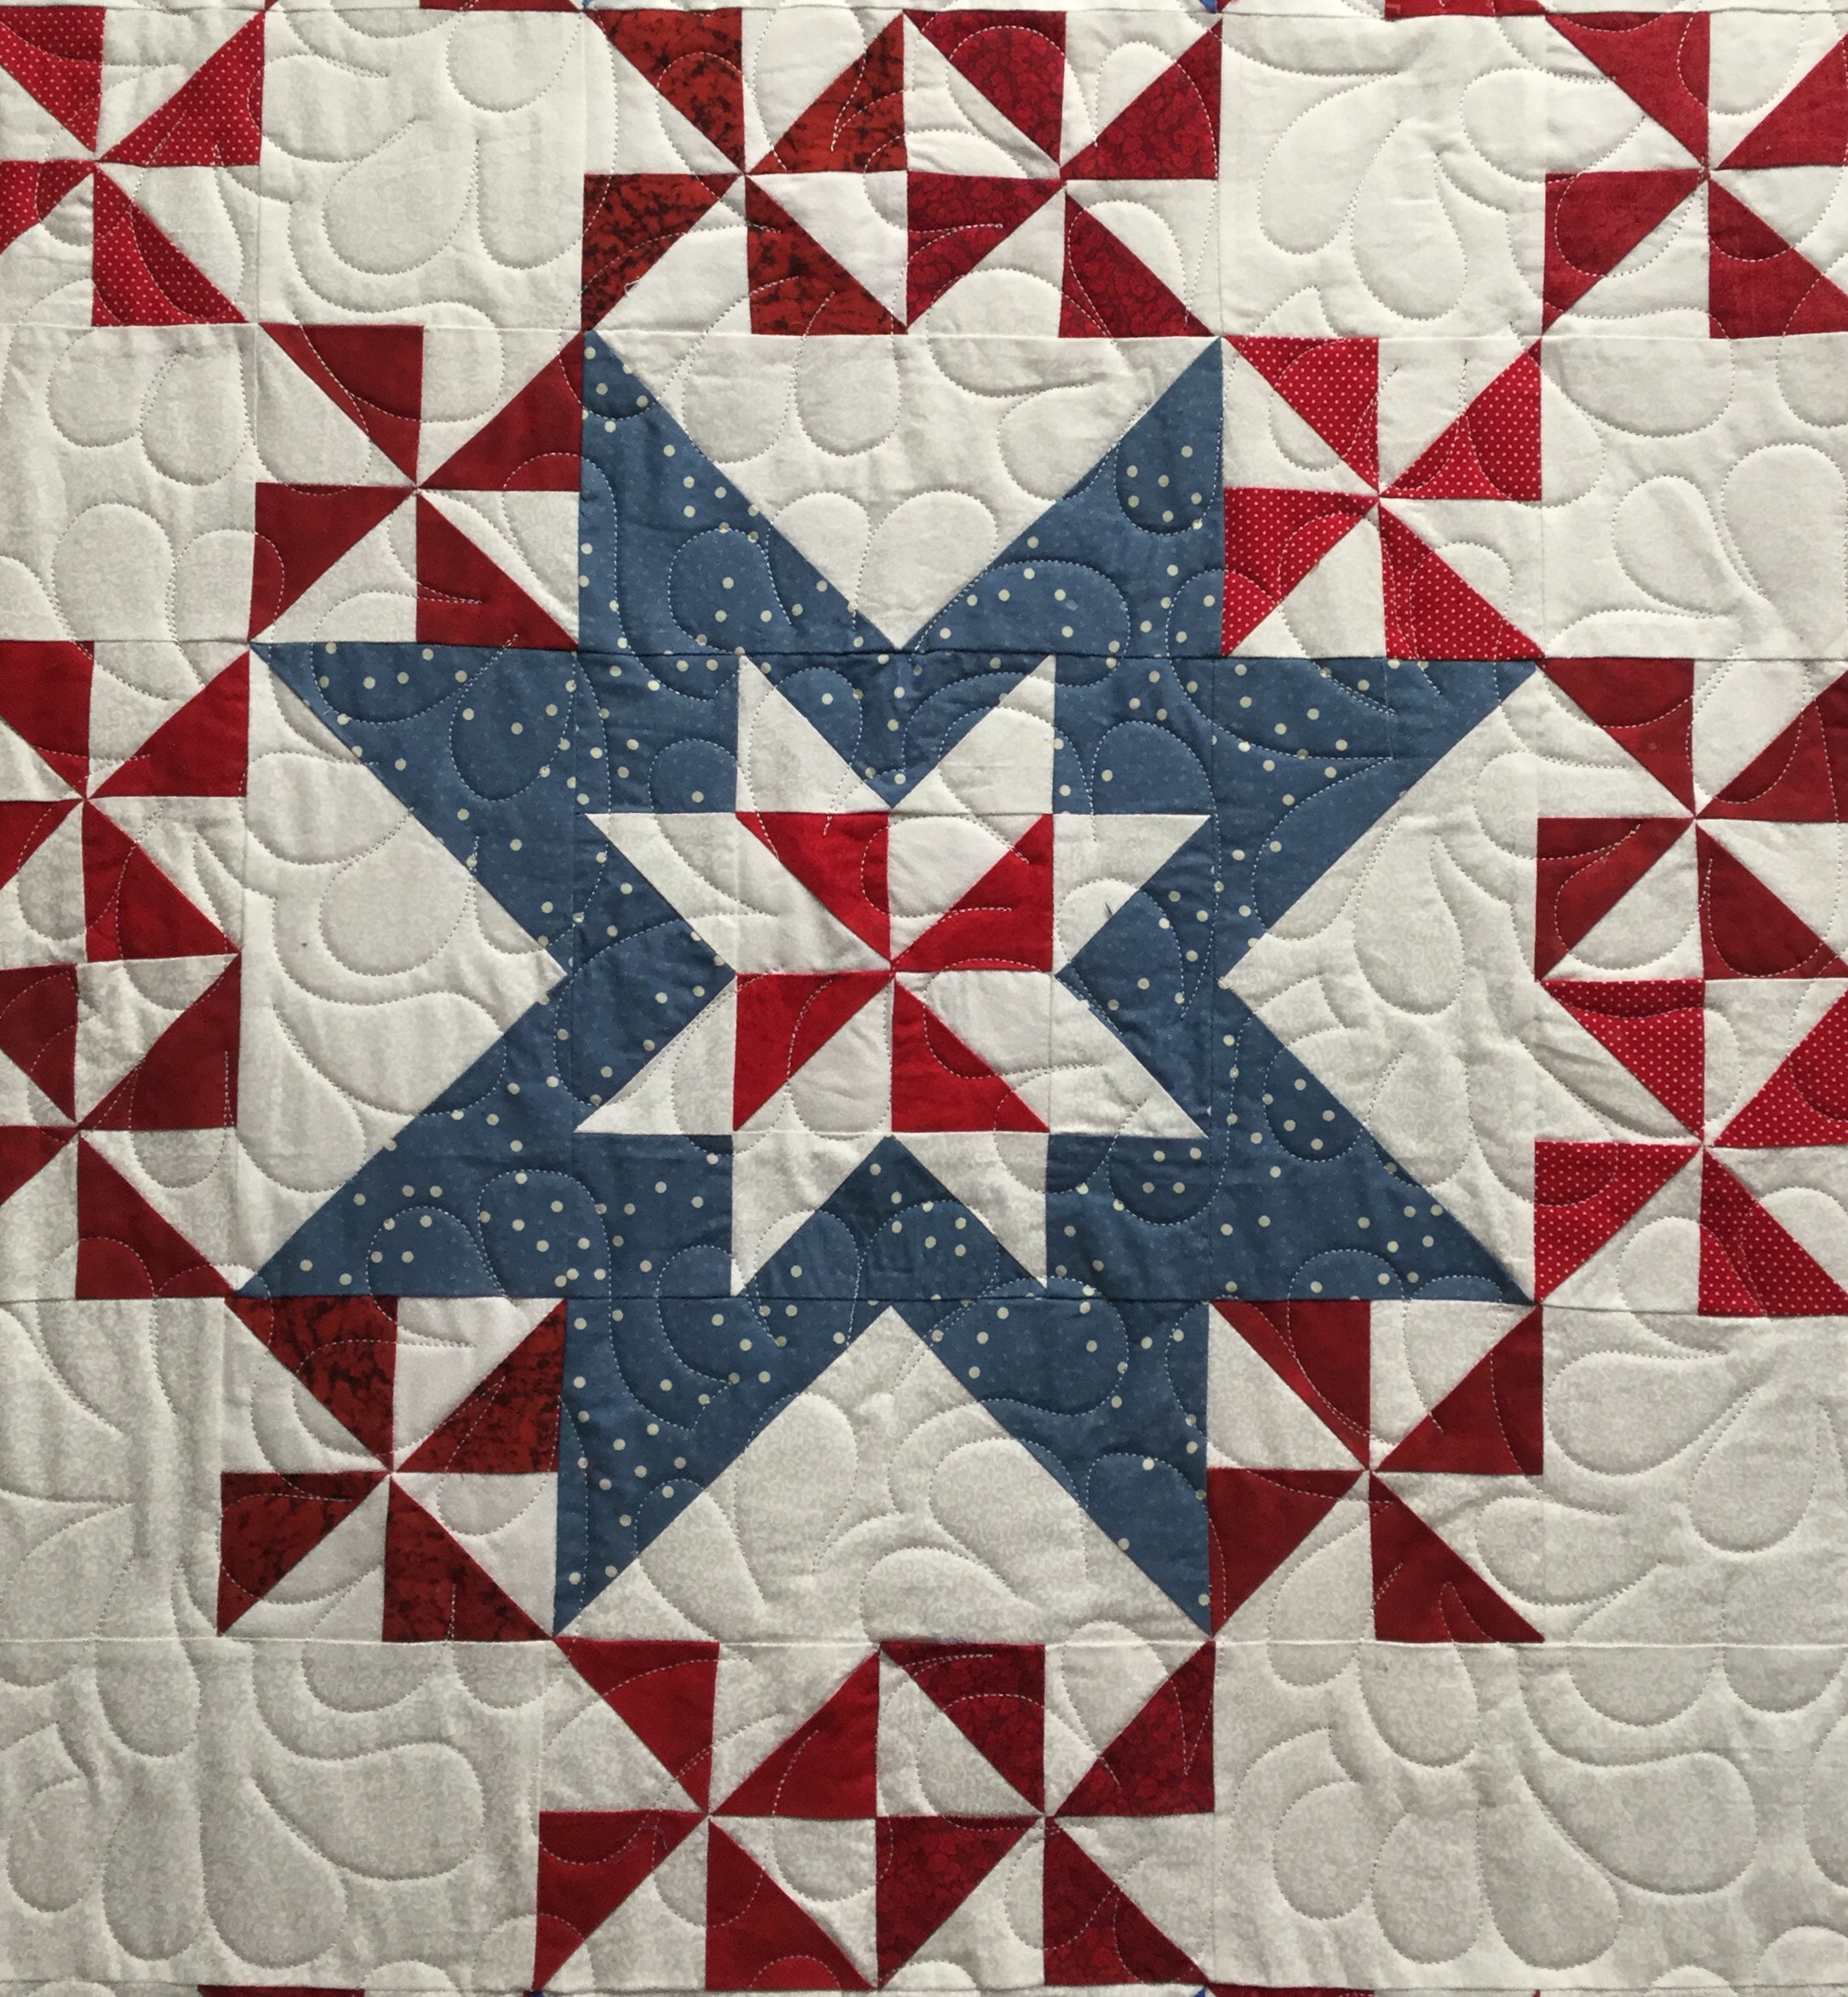
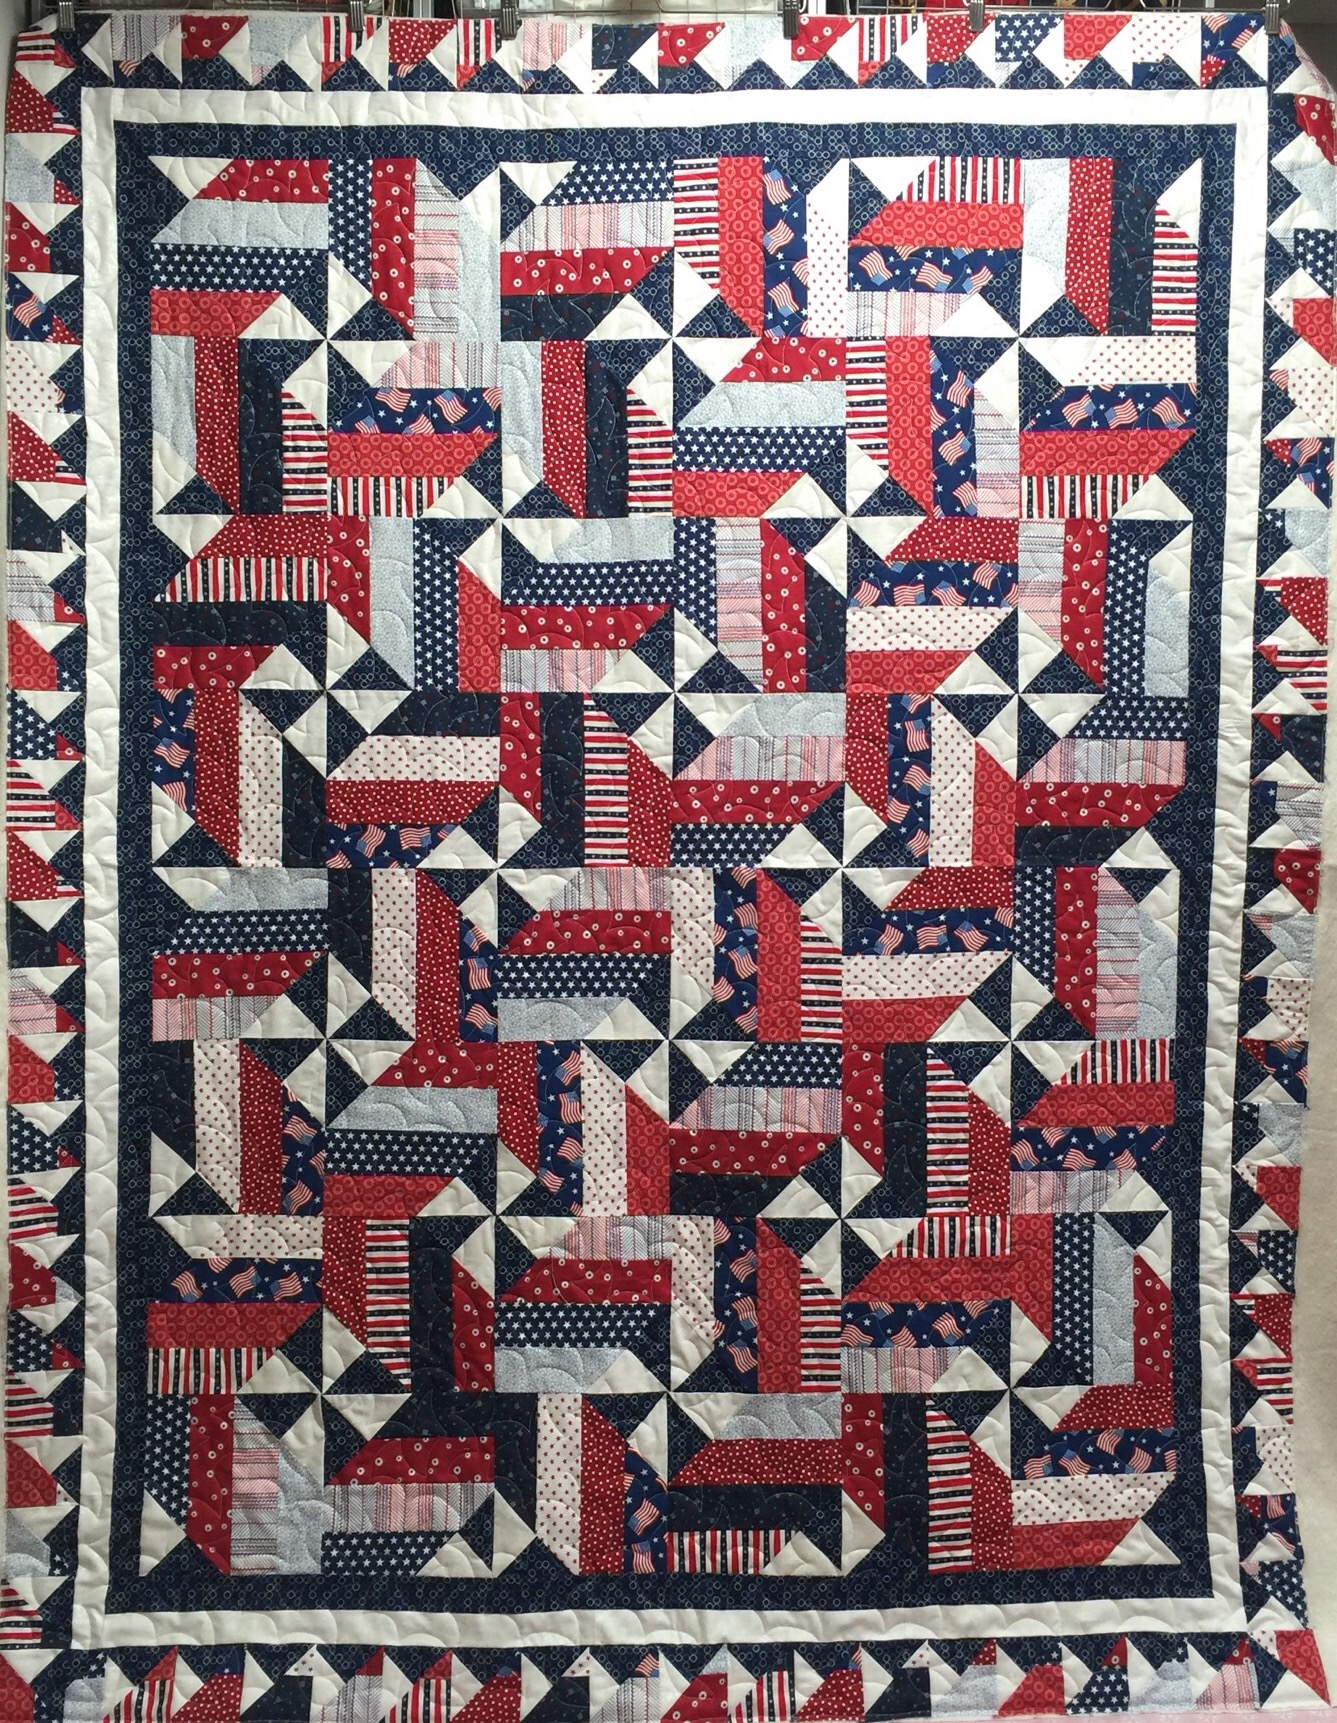
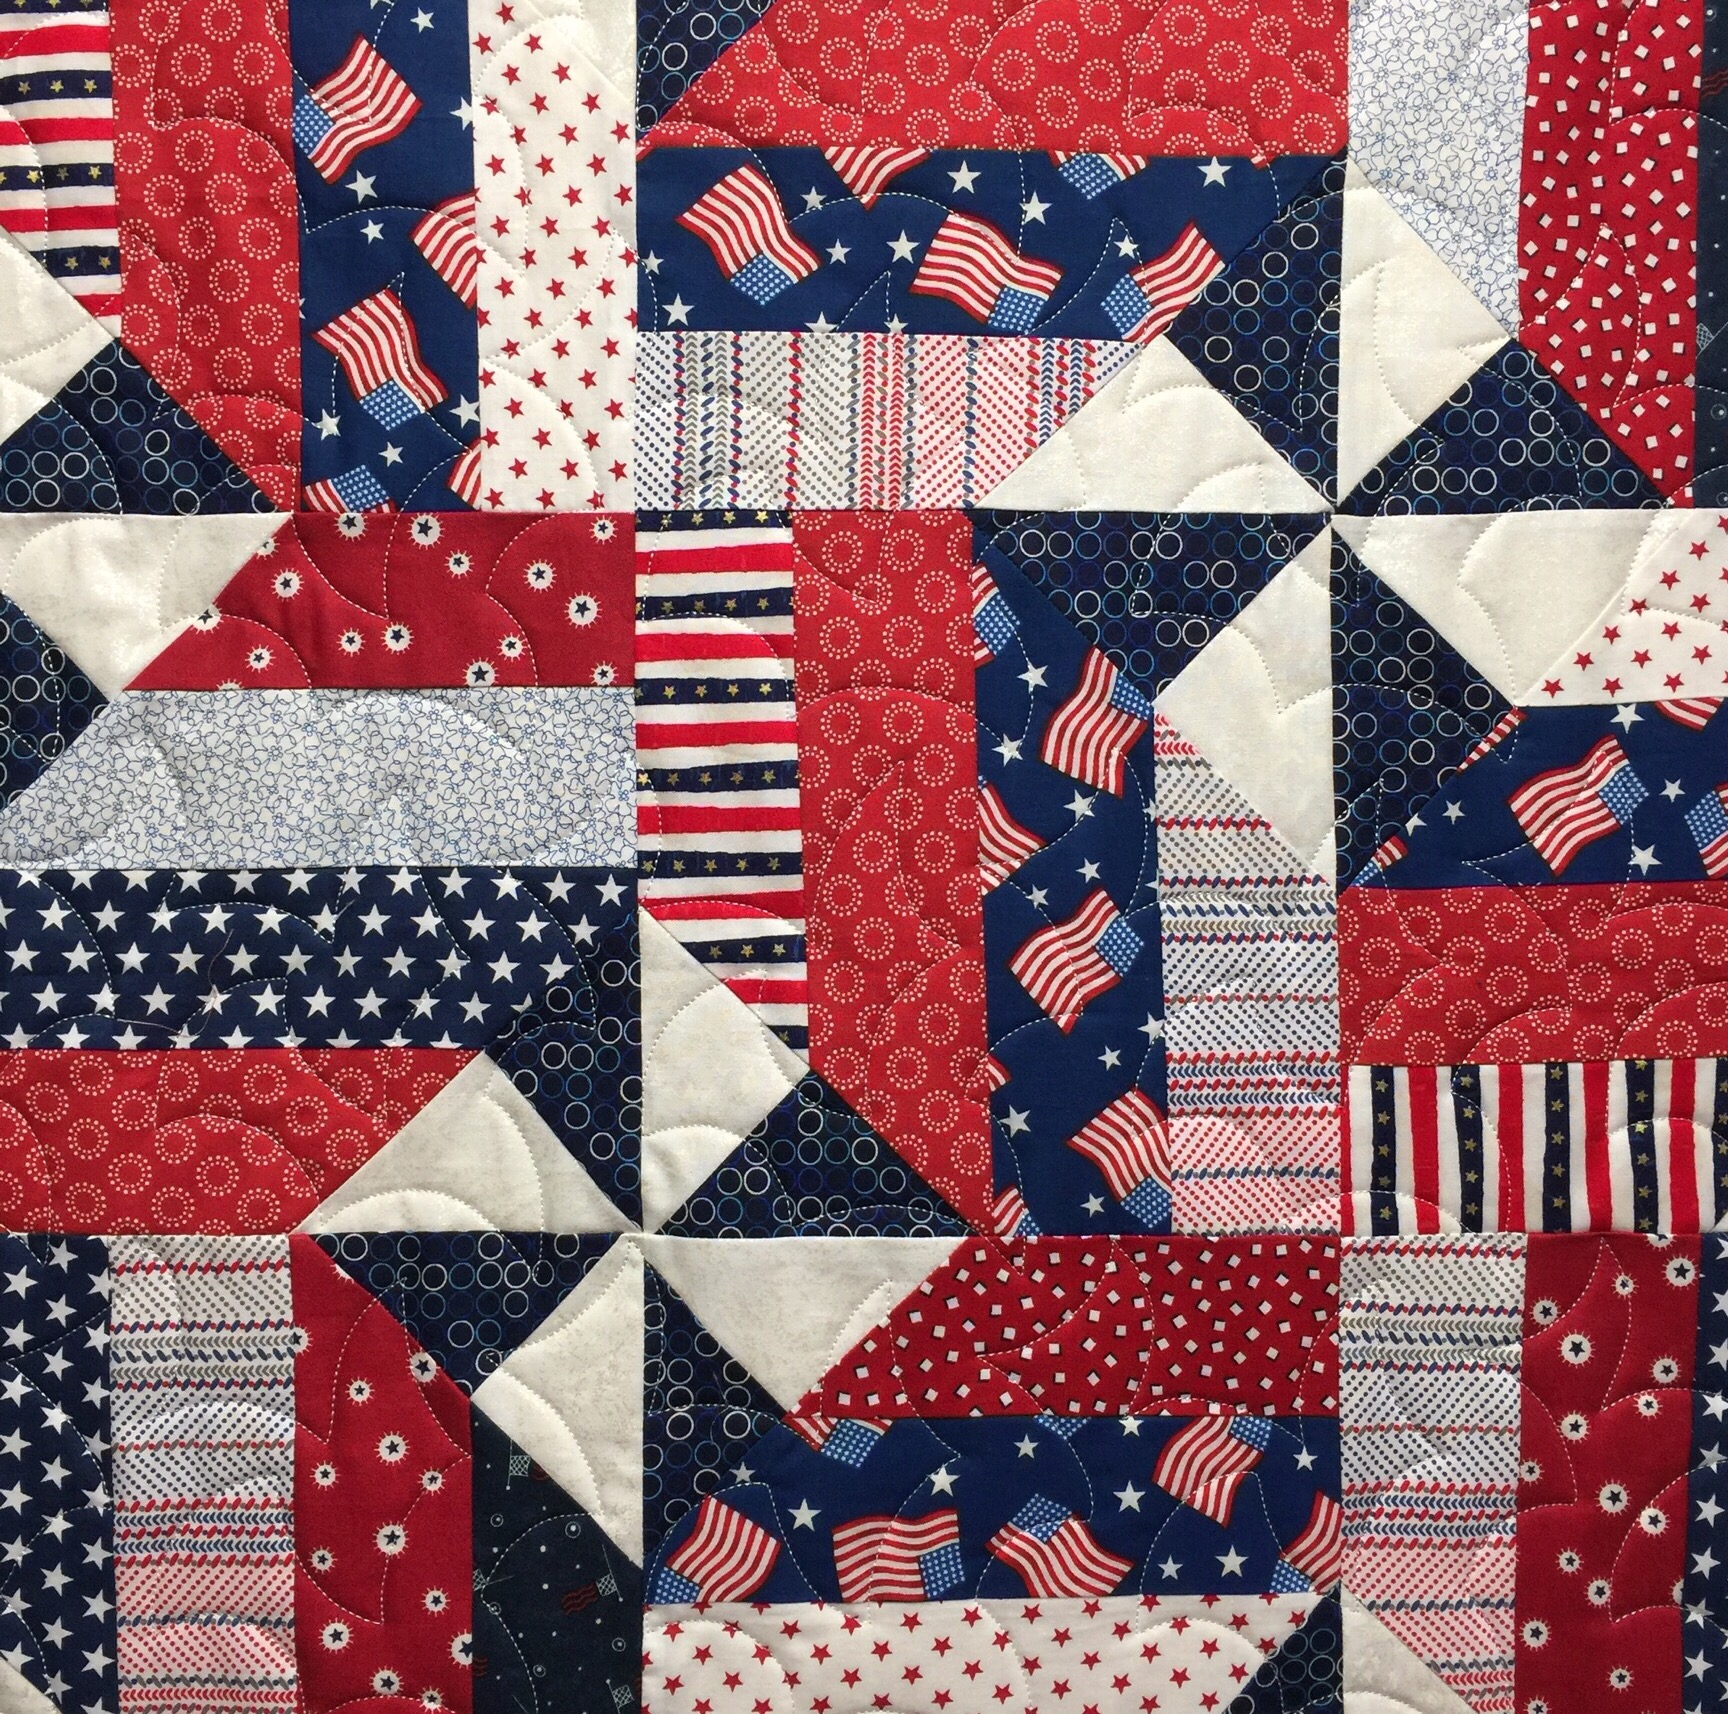
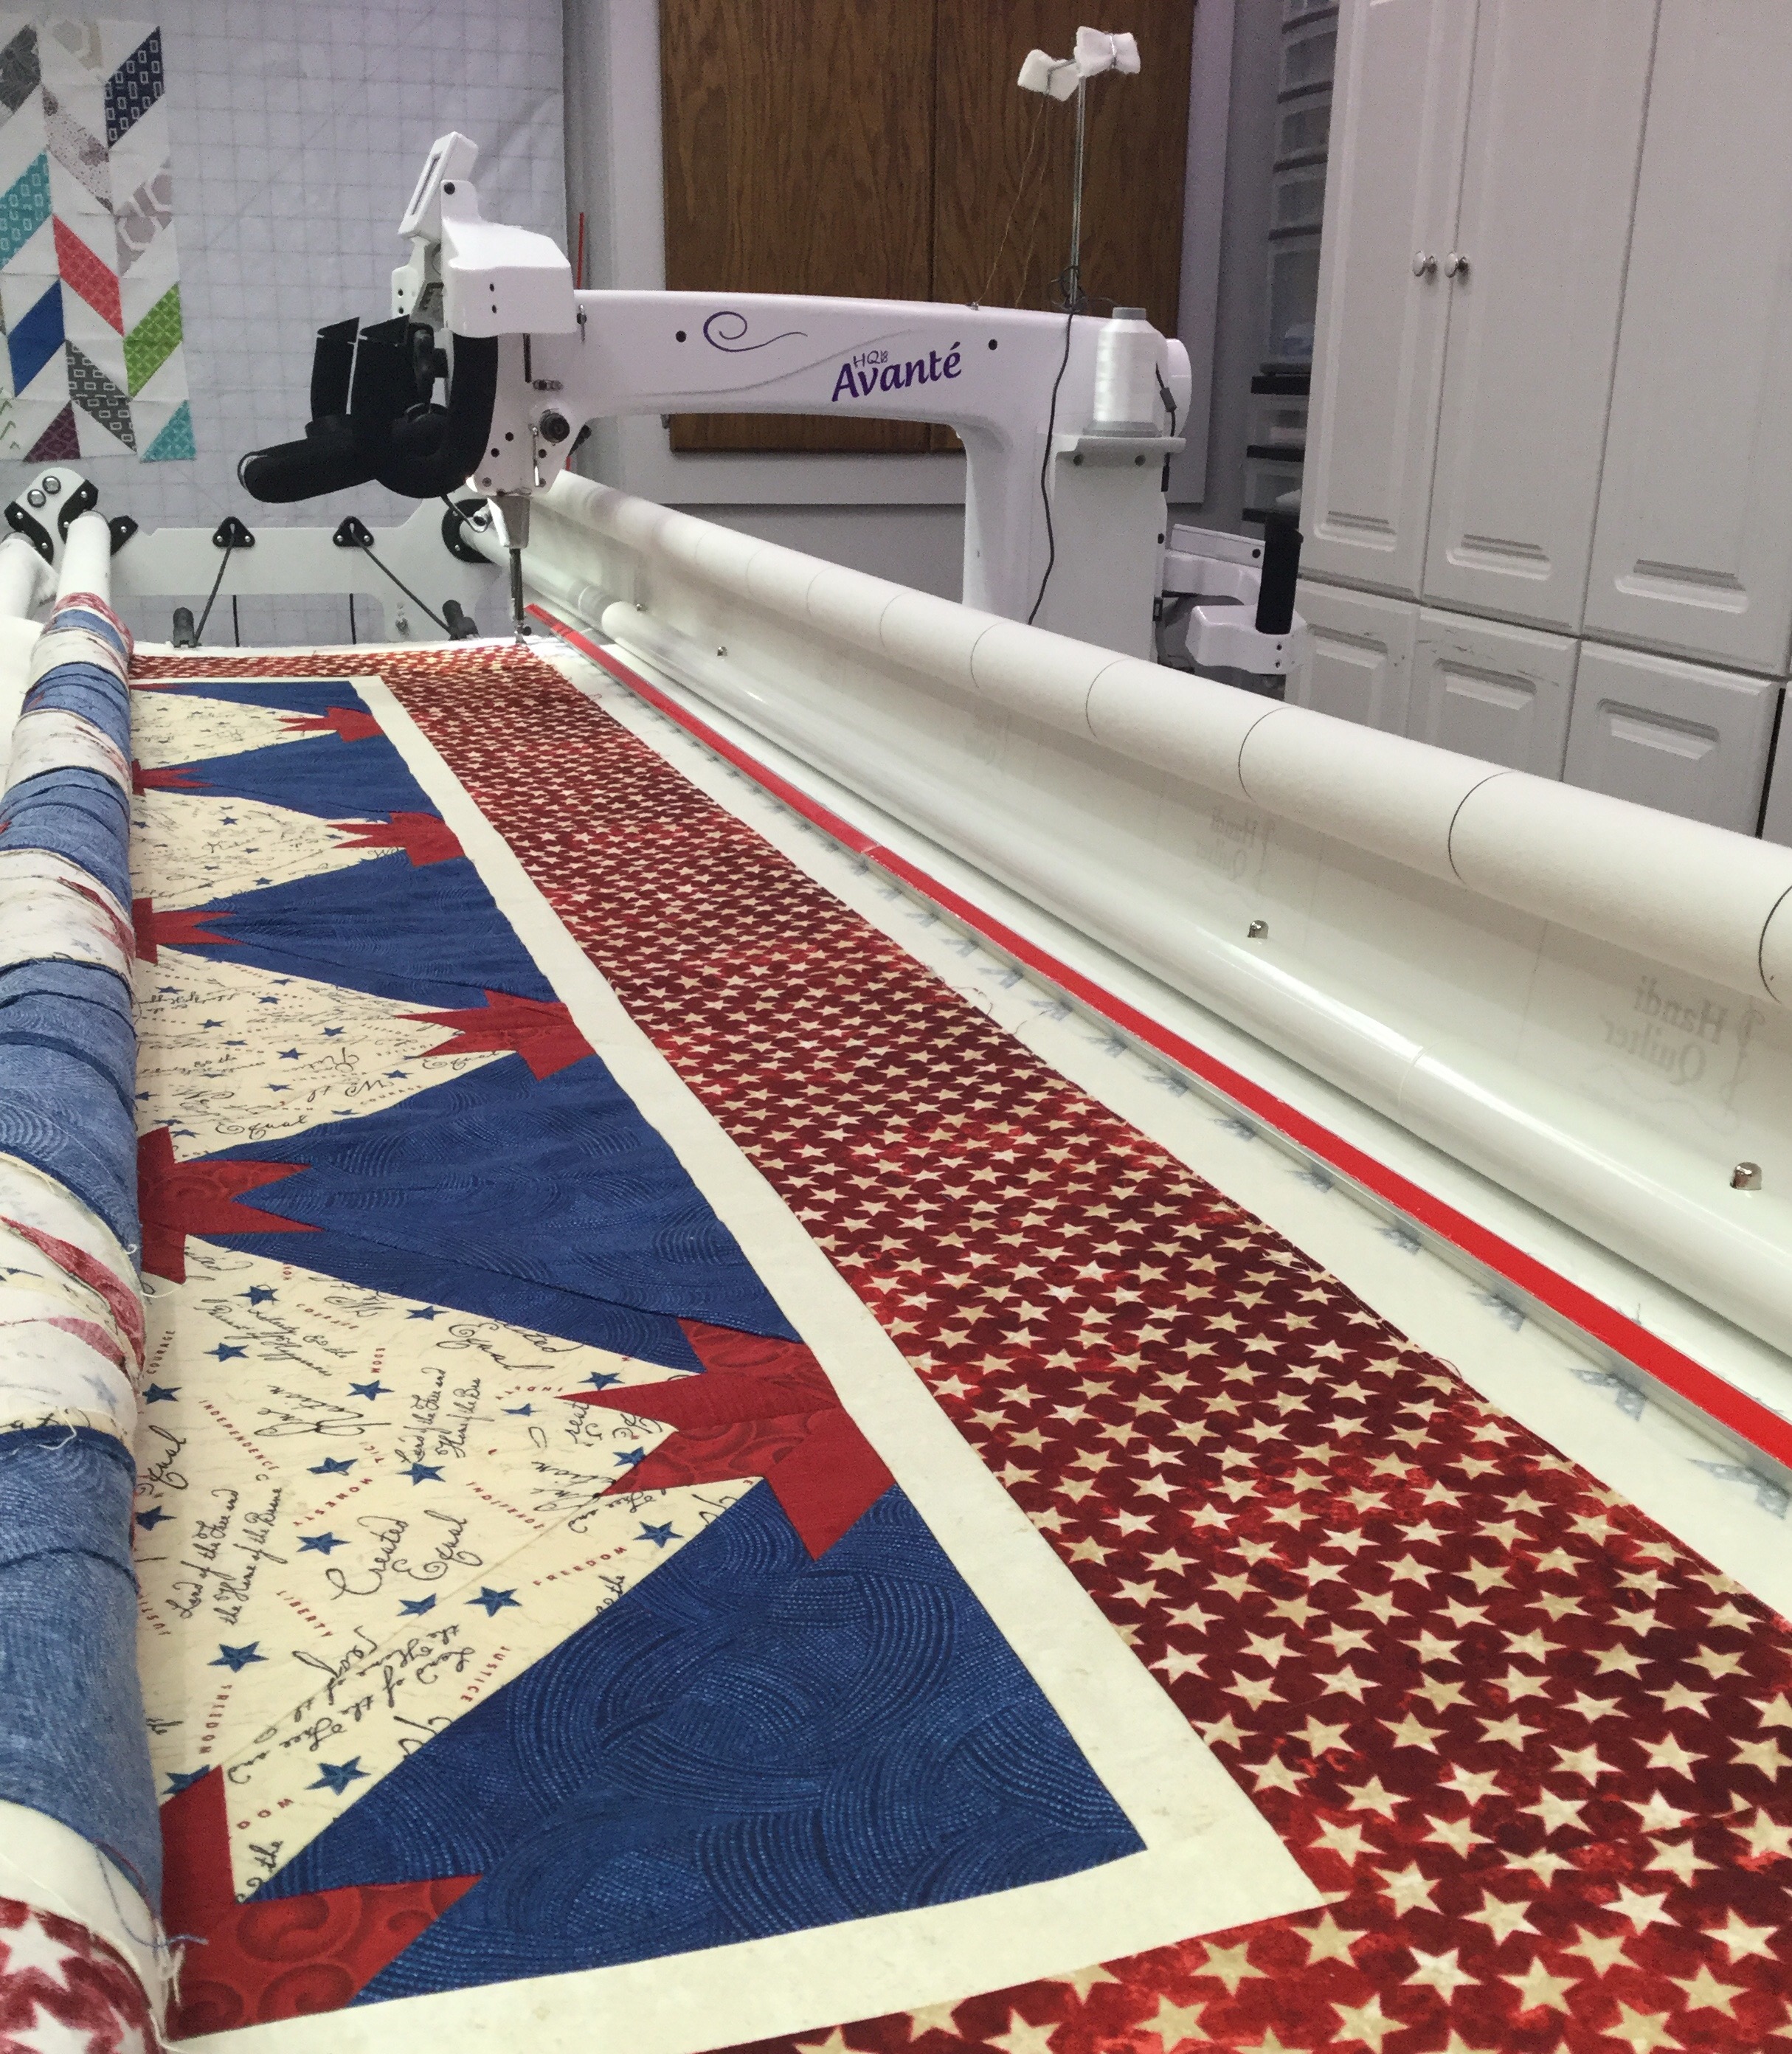
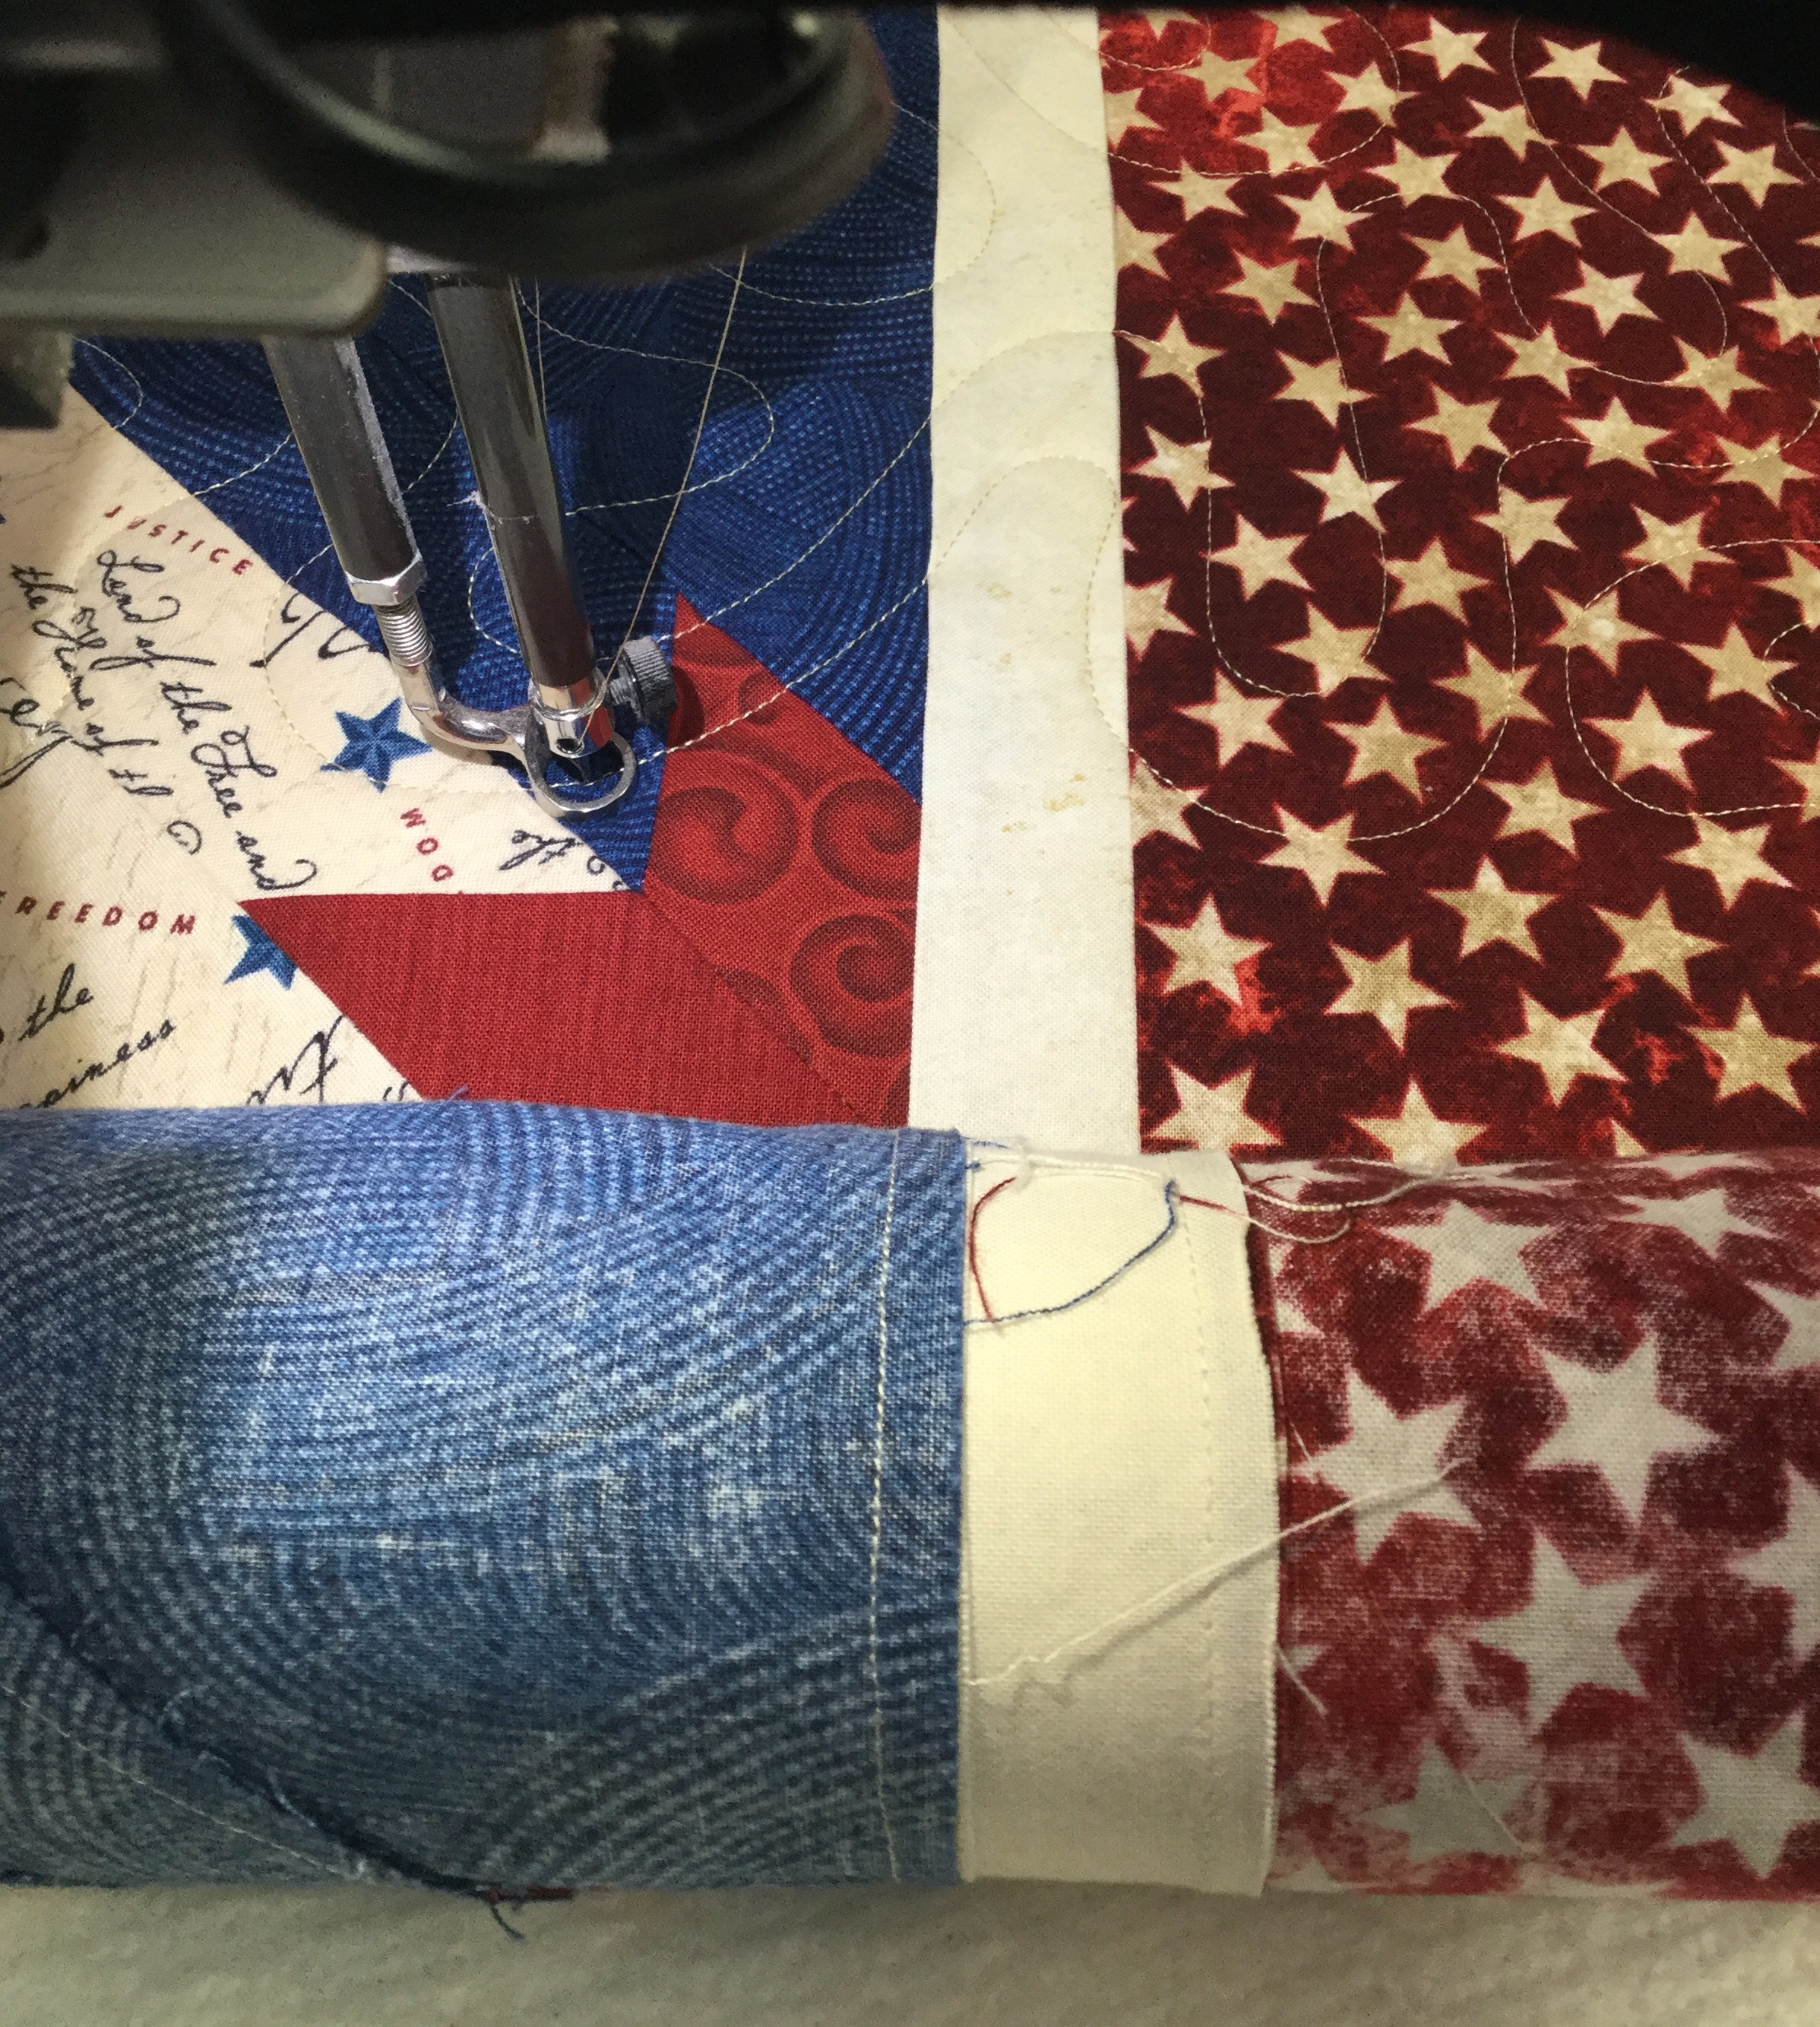
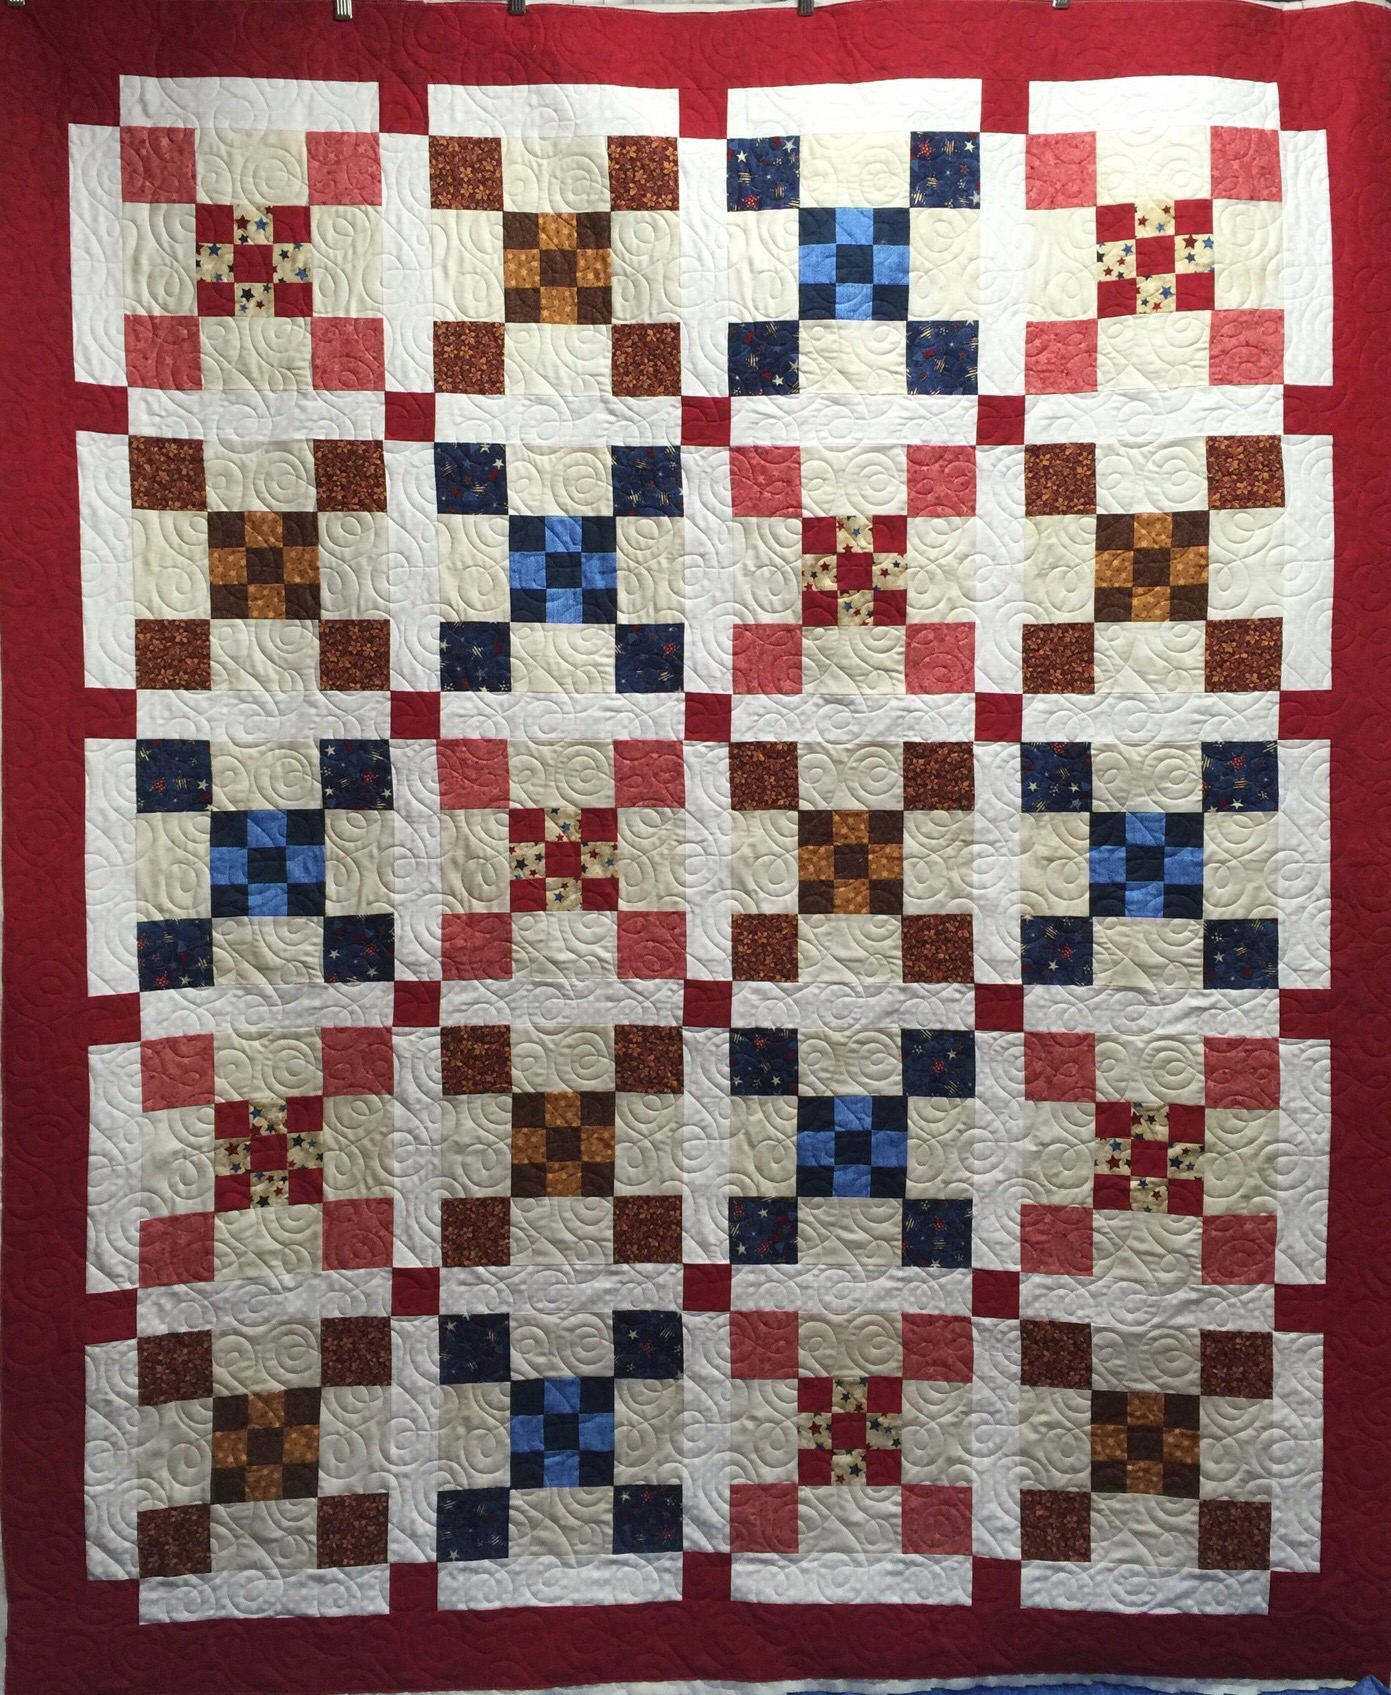
I’ve been quilting lots of pantographs lately. I thought I would share a bit about how they are used and how I space the rows of the design. This first pictures shows a Quilt of Valor loaded and ready for quilting. 
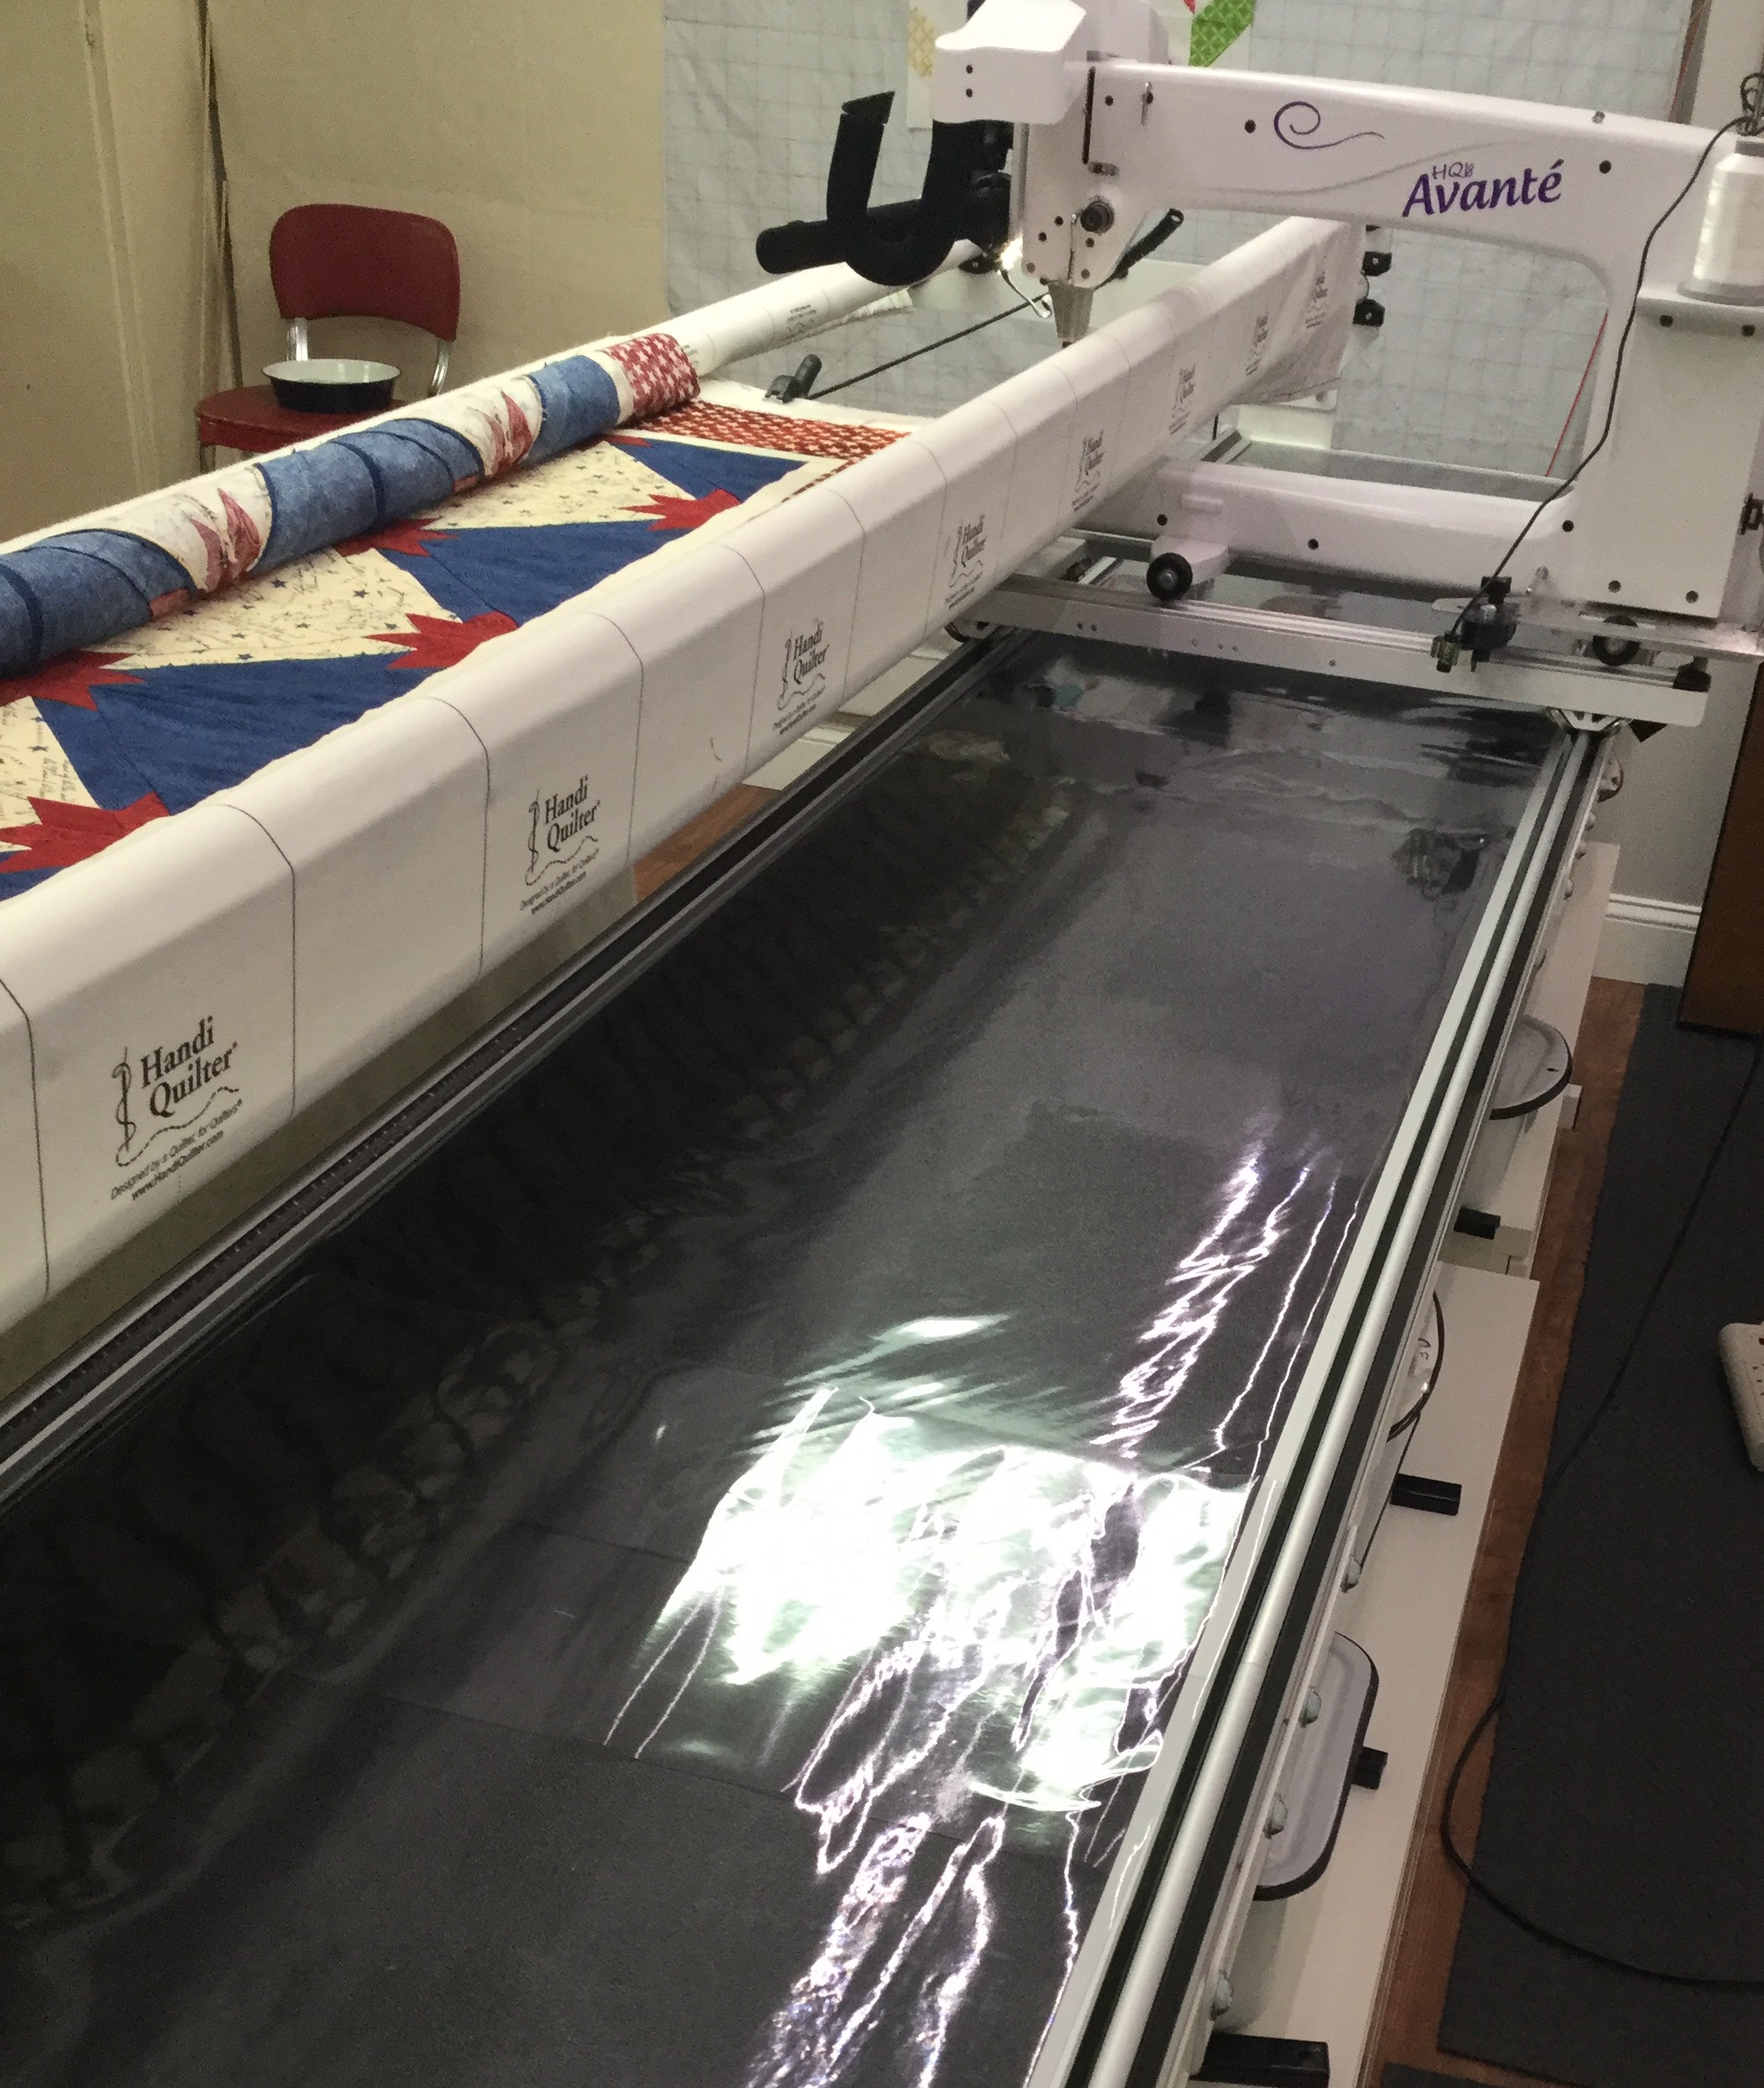
I have some heavy vinyl laying on the table of my frame. I lay the paper pantographs underneath that. It keeps them in place and I use a grease pencil to mark the pattern as needed. A dry towel is all I need to erase the marks. I purchased this from JoAnn’s in the home dec area.

I always mark a line where the edges of the quilt are so I don’t go off quilting in mid air.

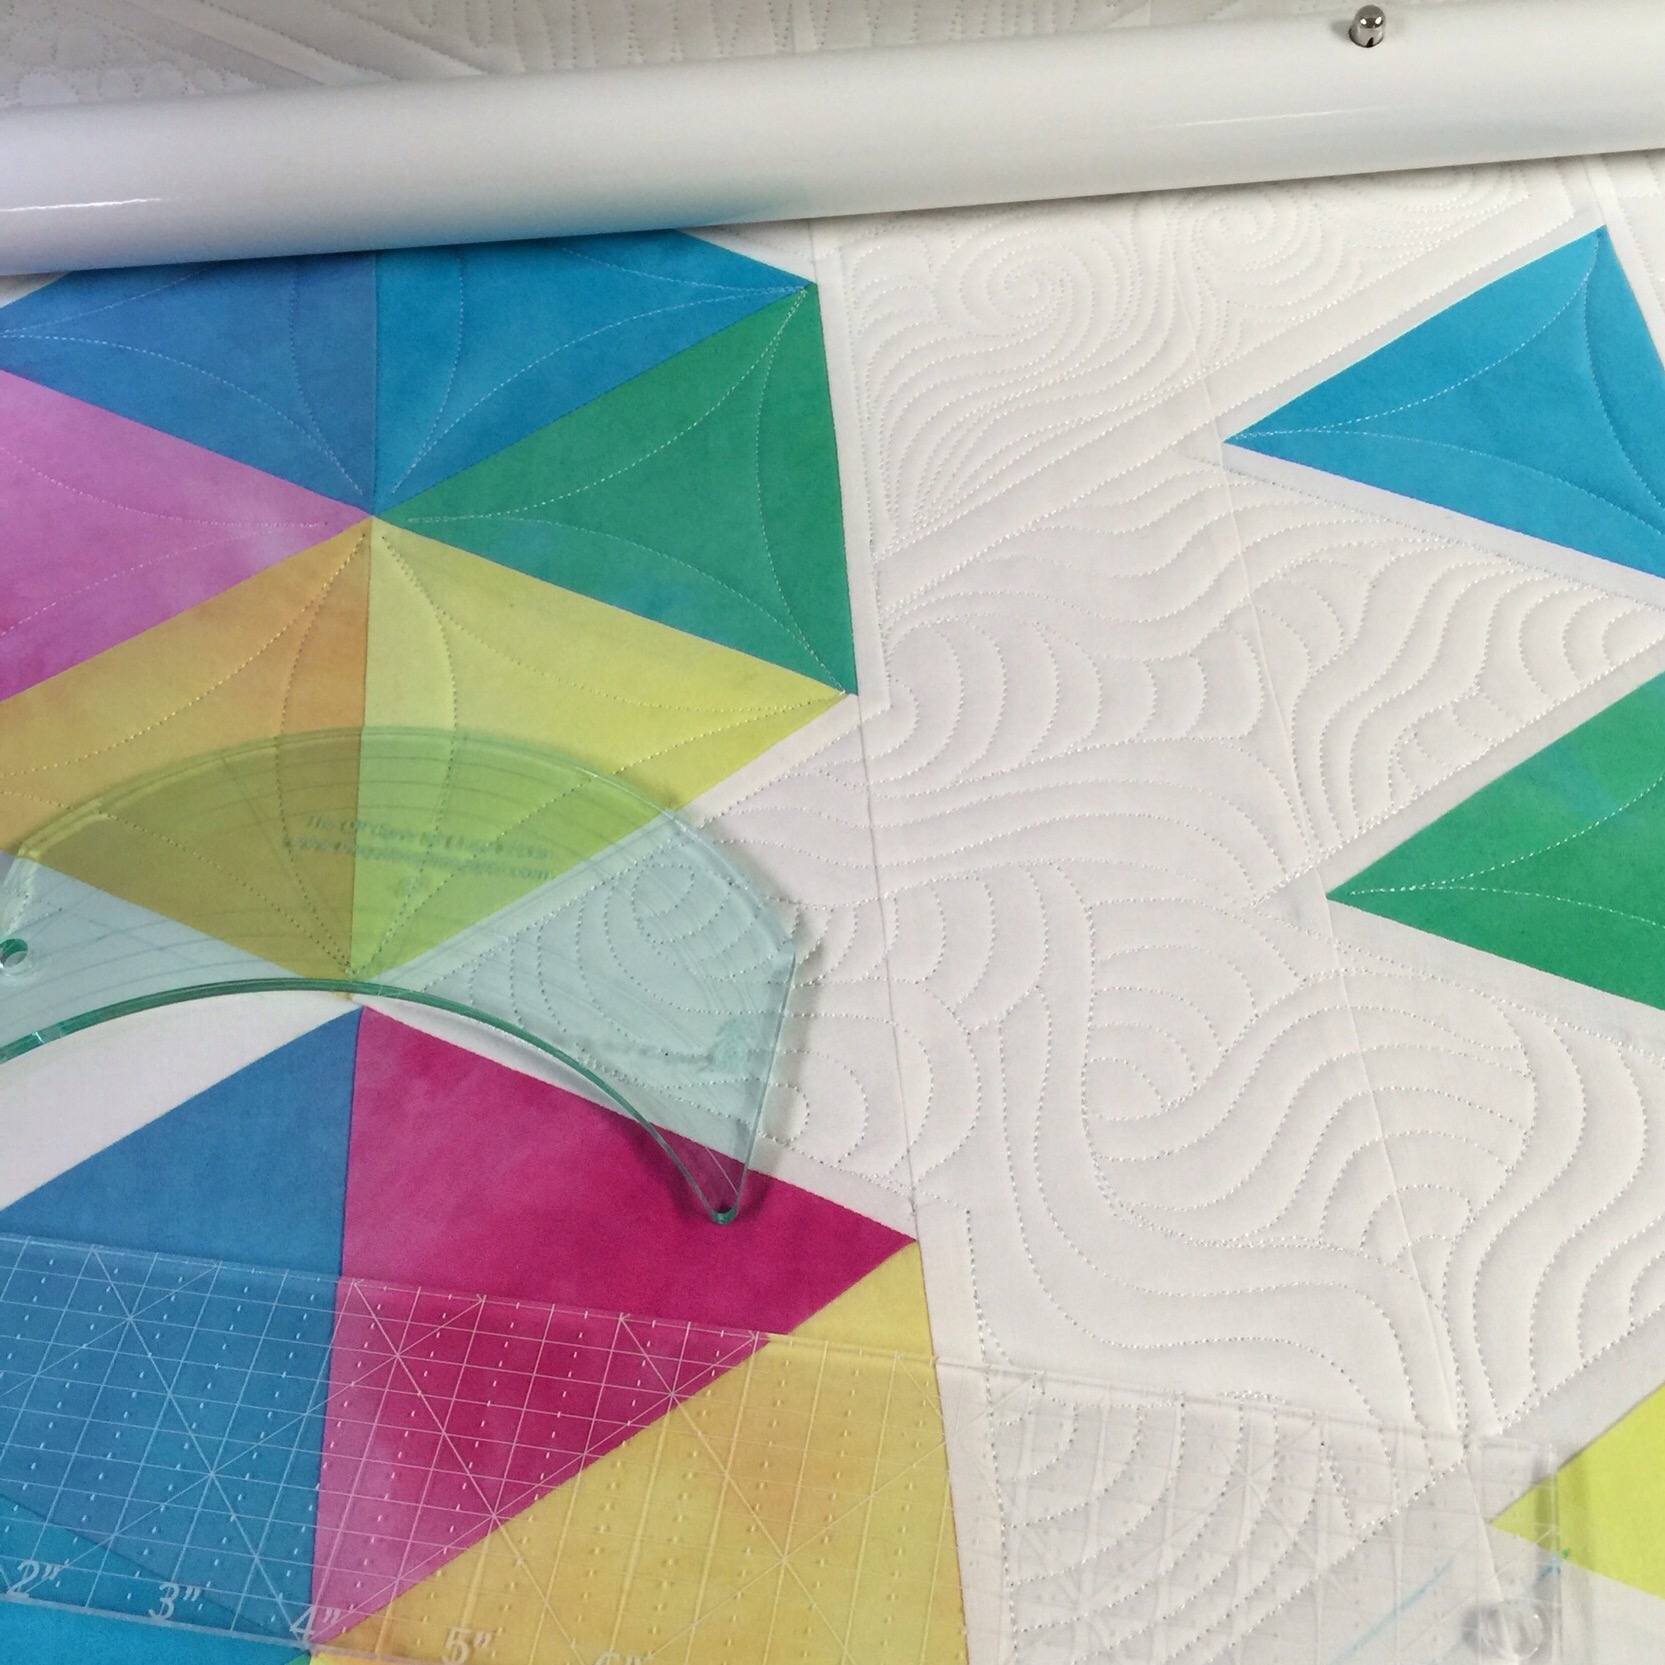
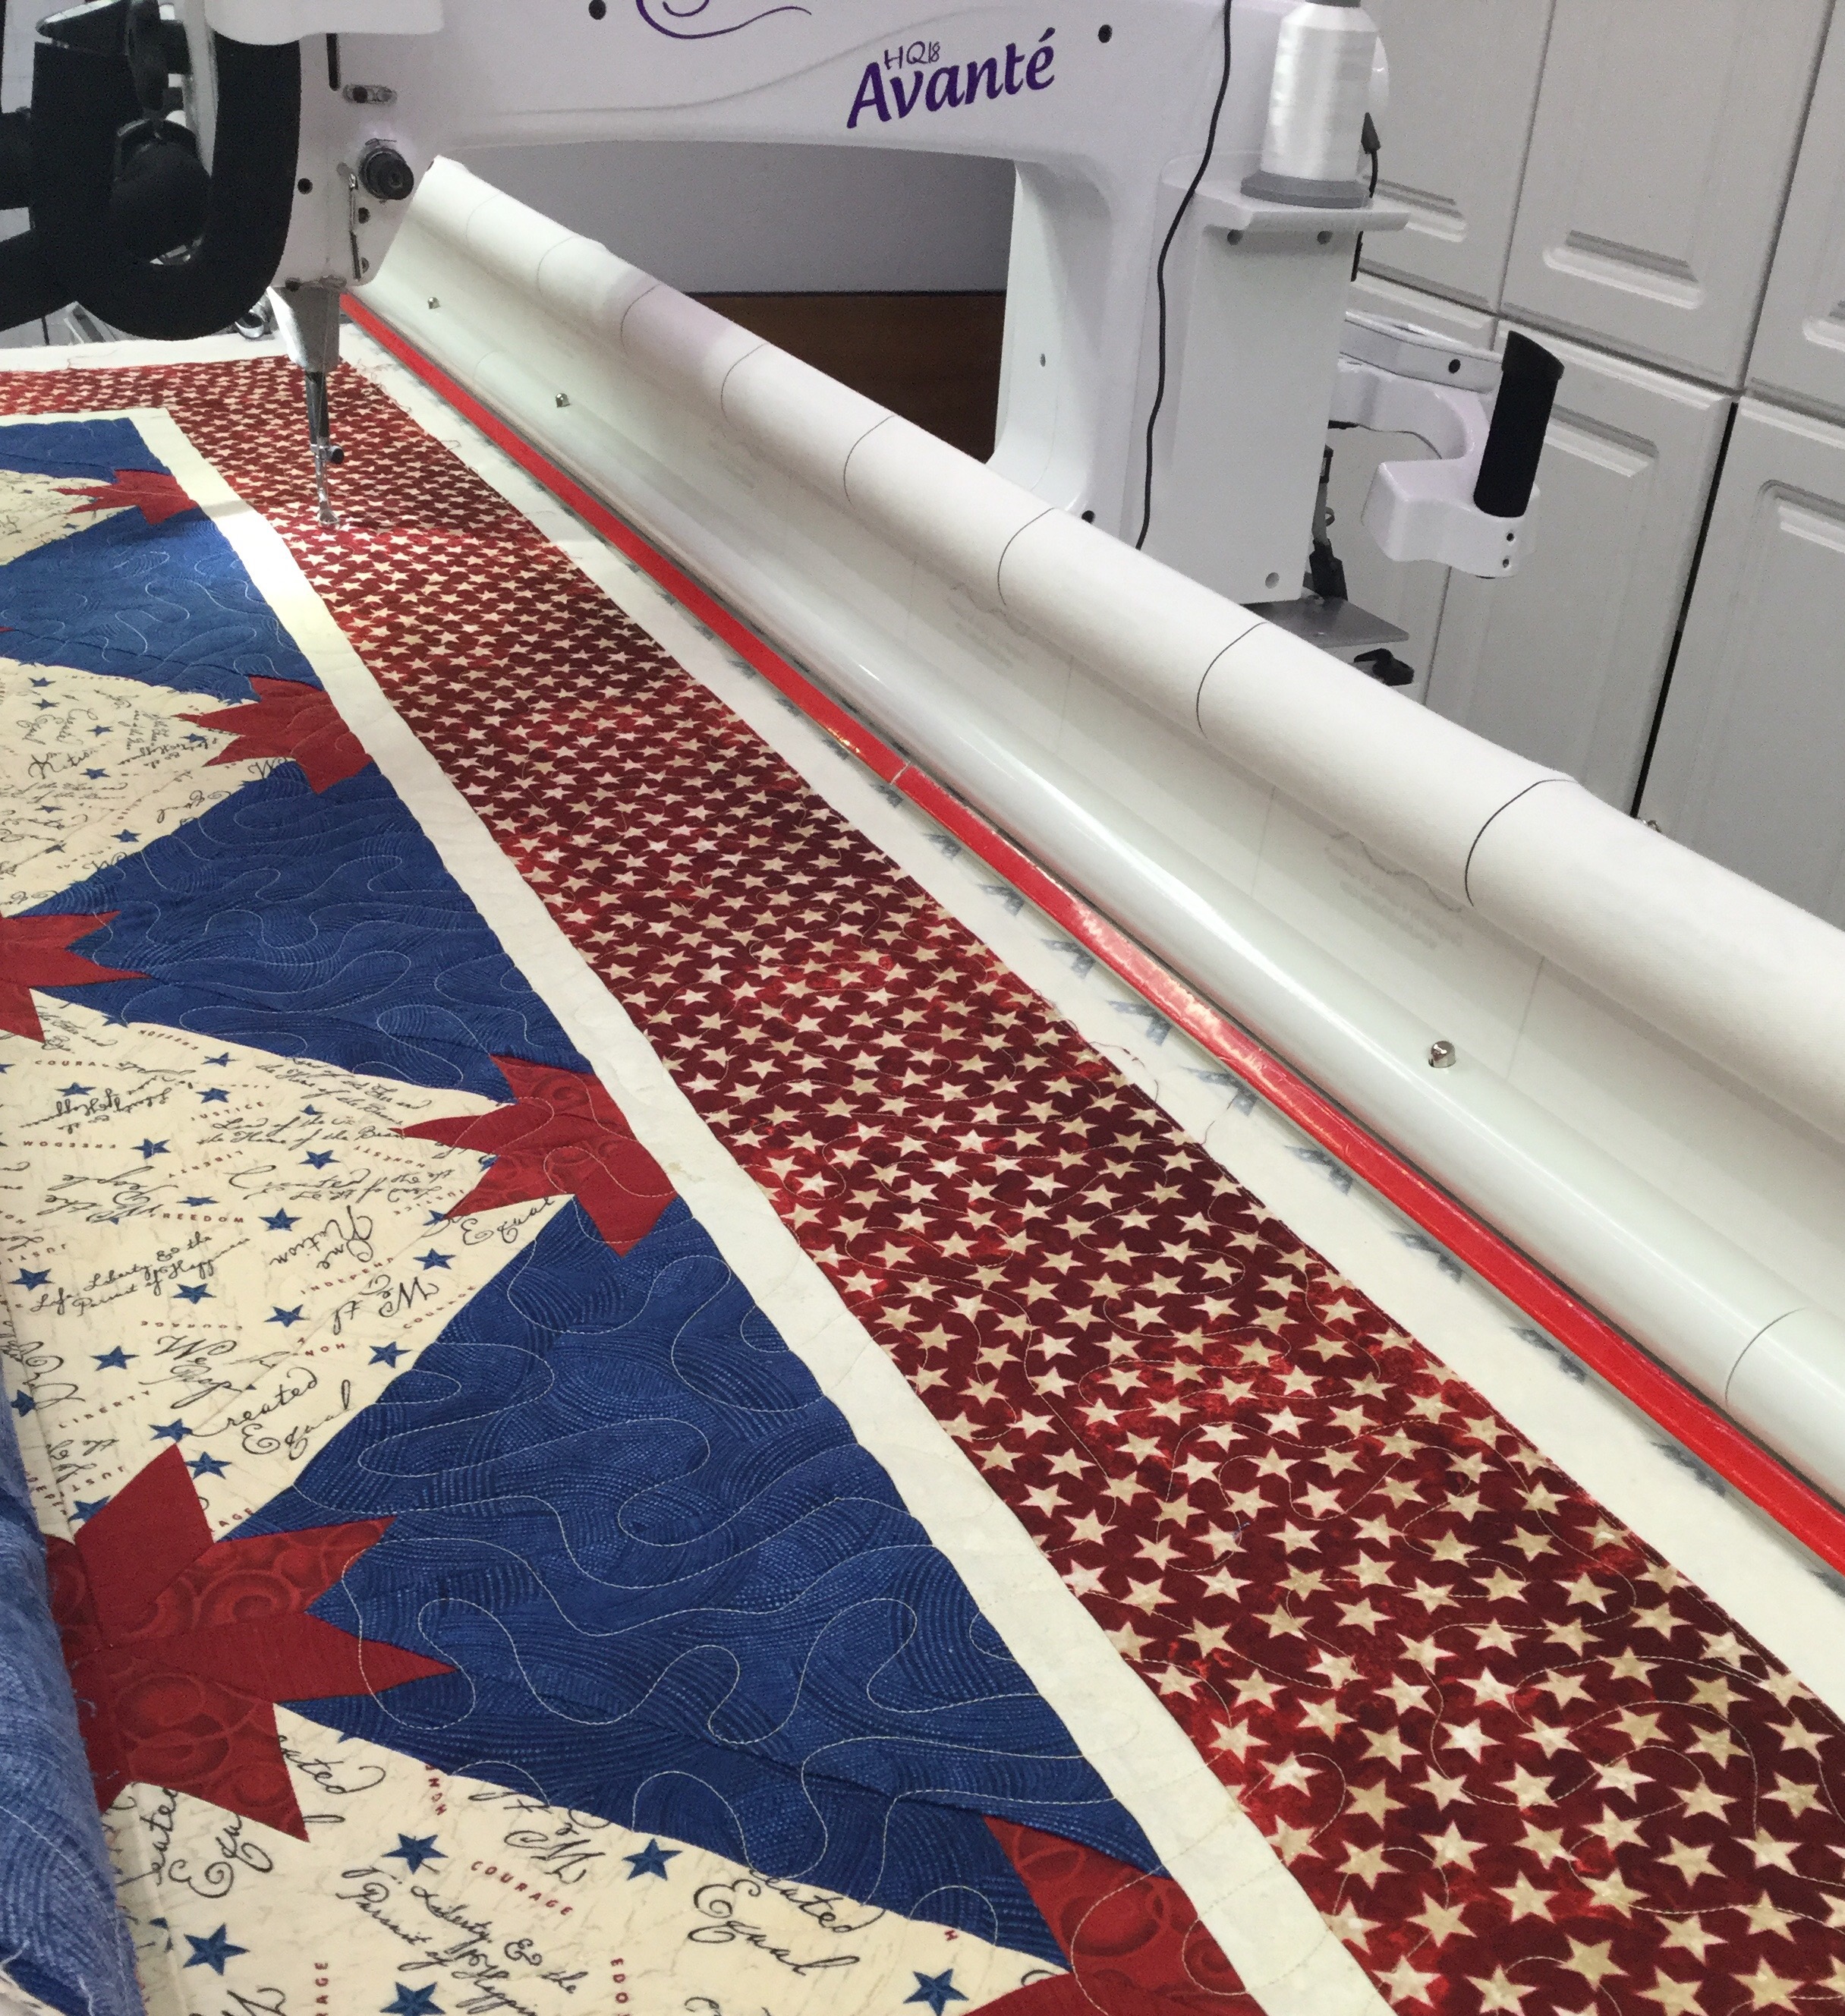
This shows the first row of the pantograph completed.

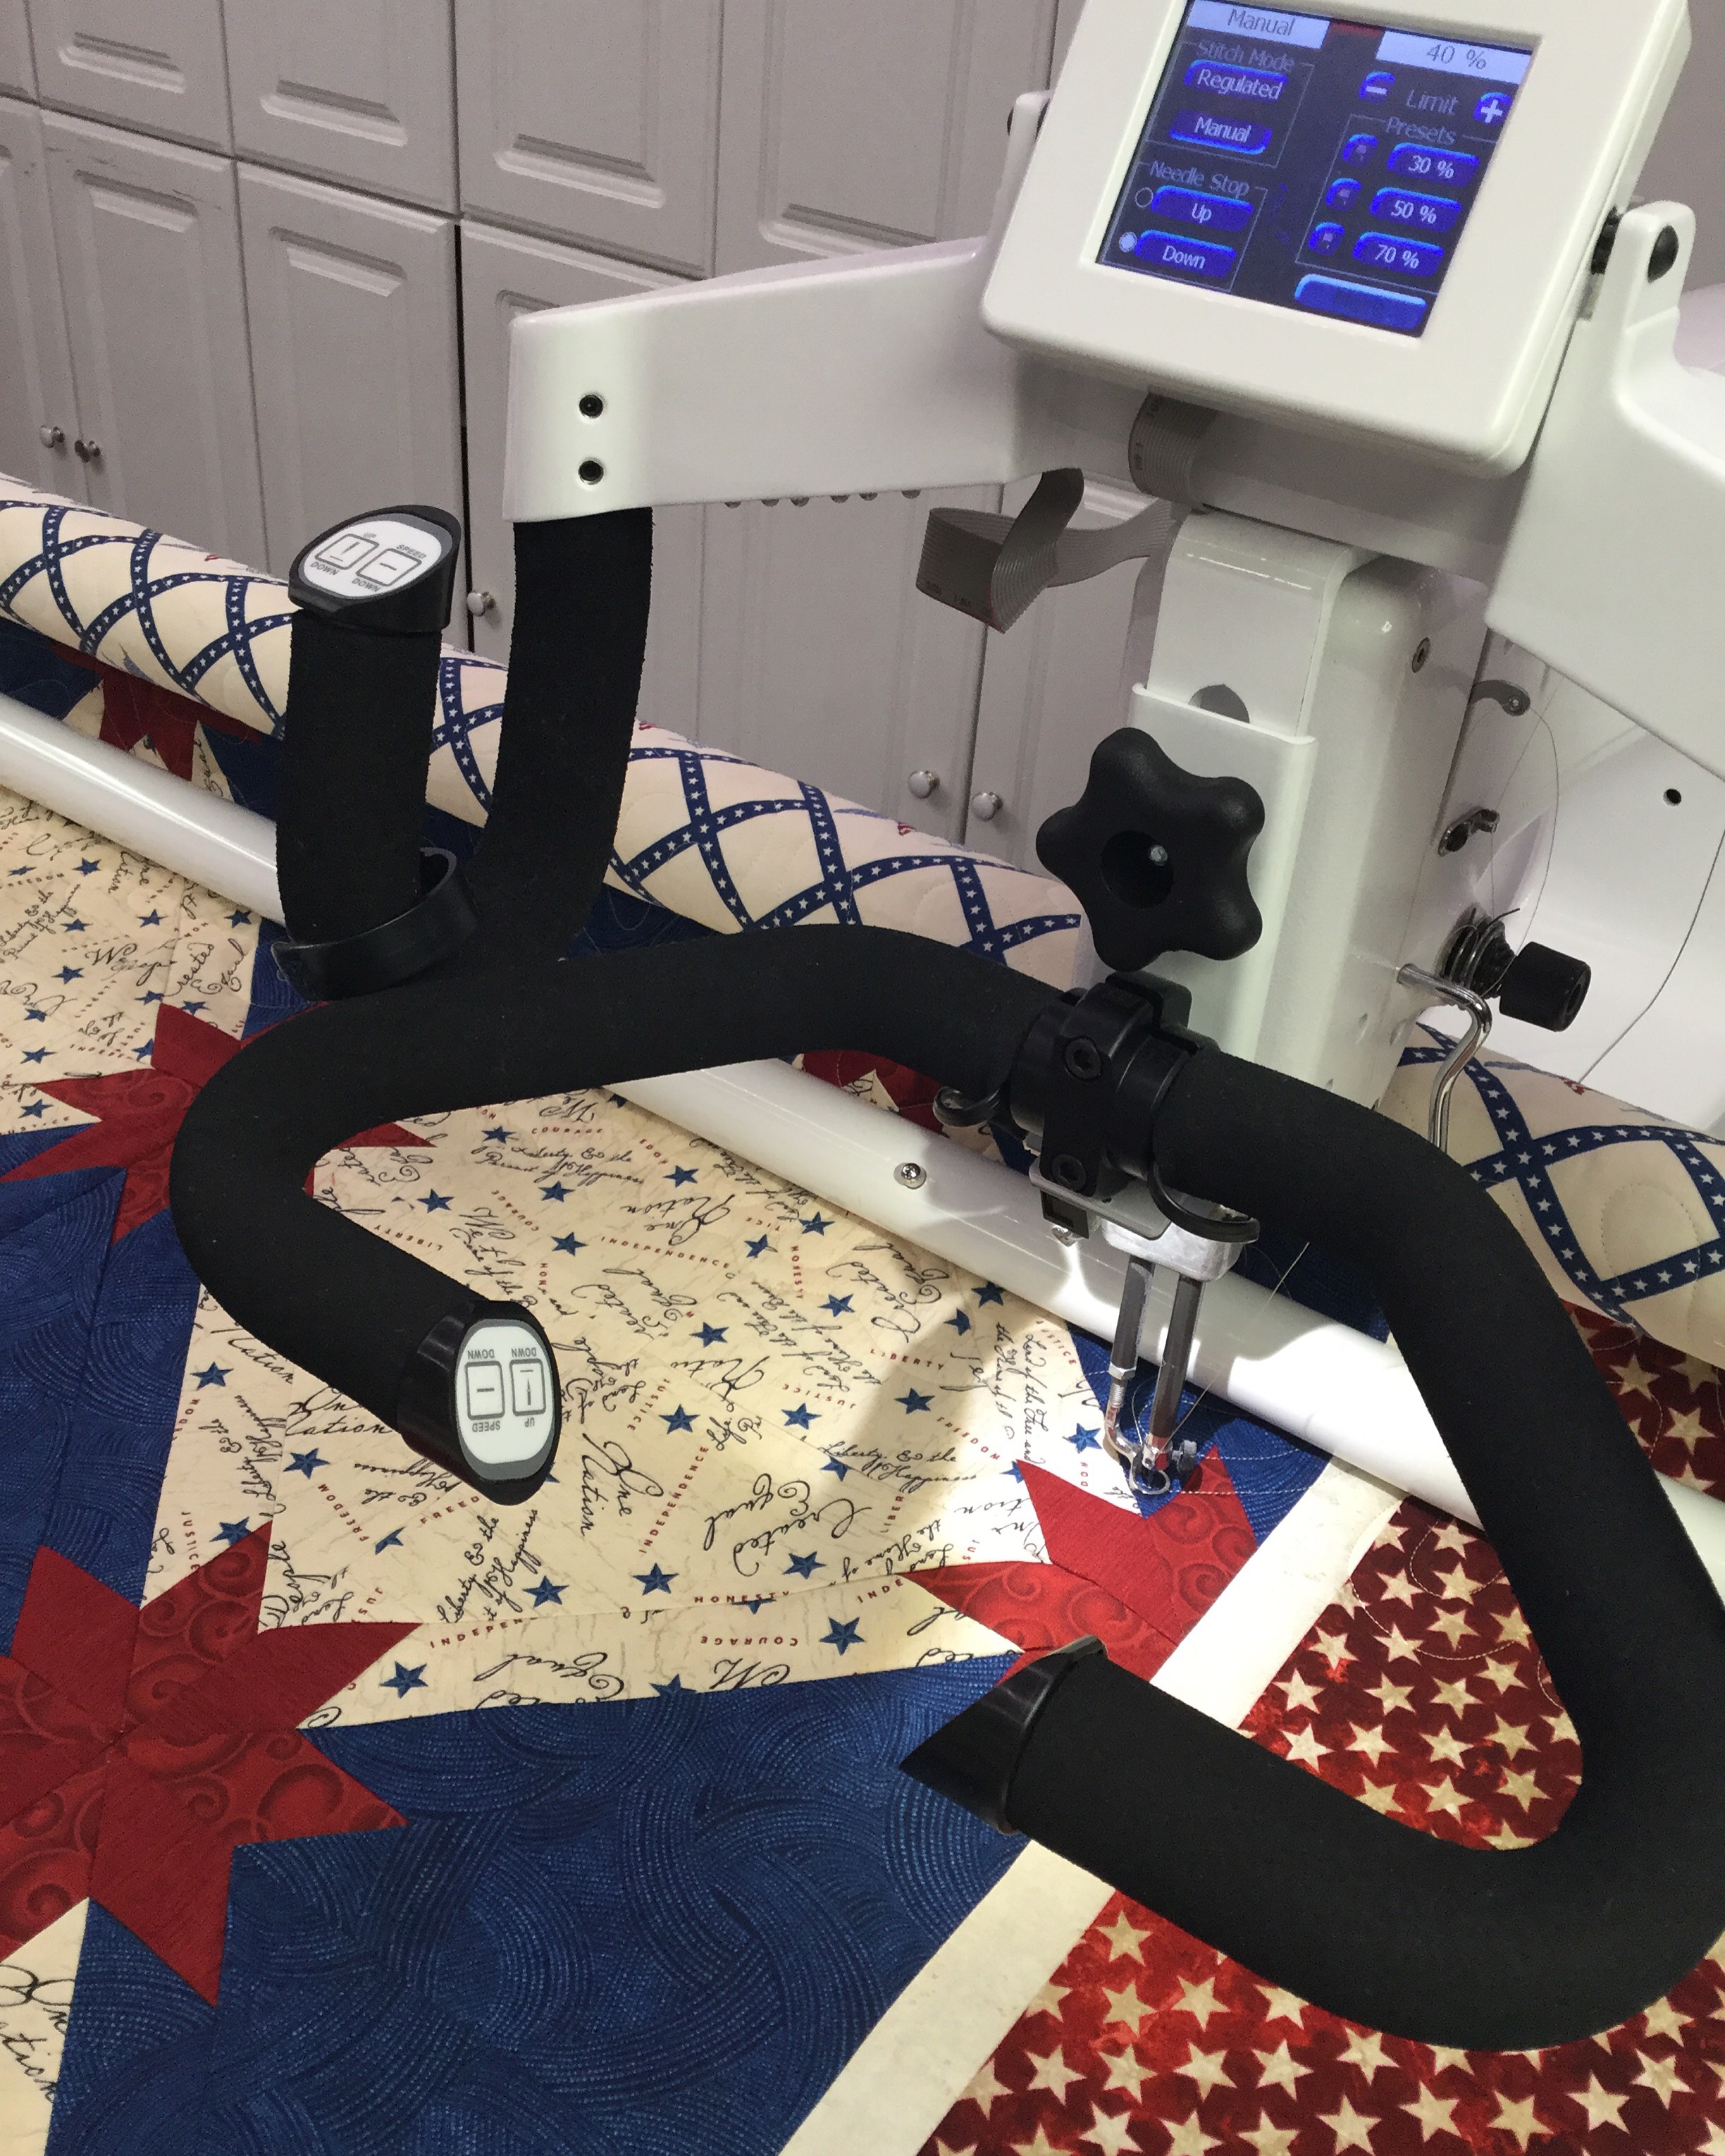
When I finish a row. I move the machine so that I can drop the needle in the highest point of the pattern.

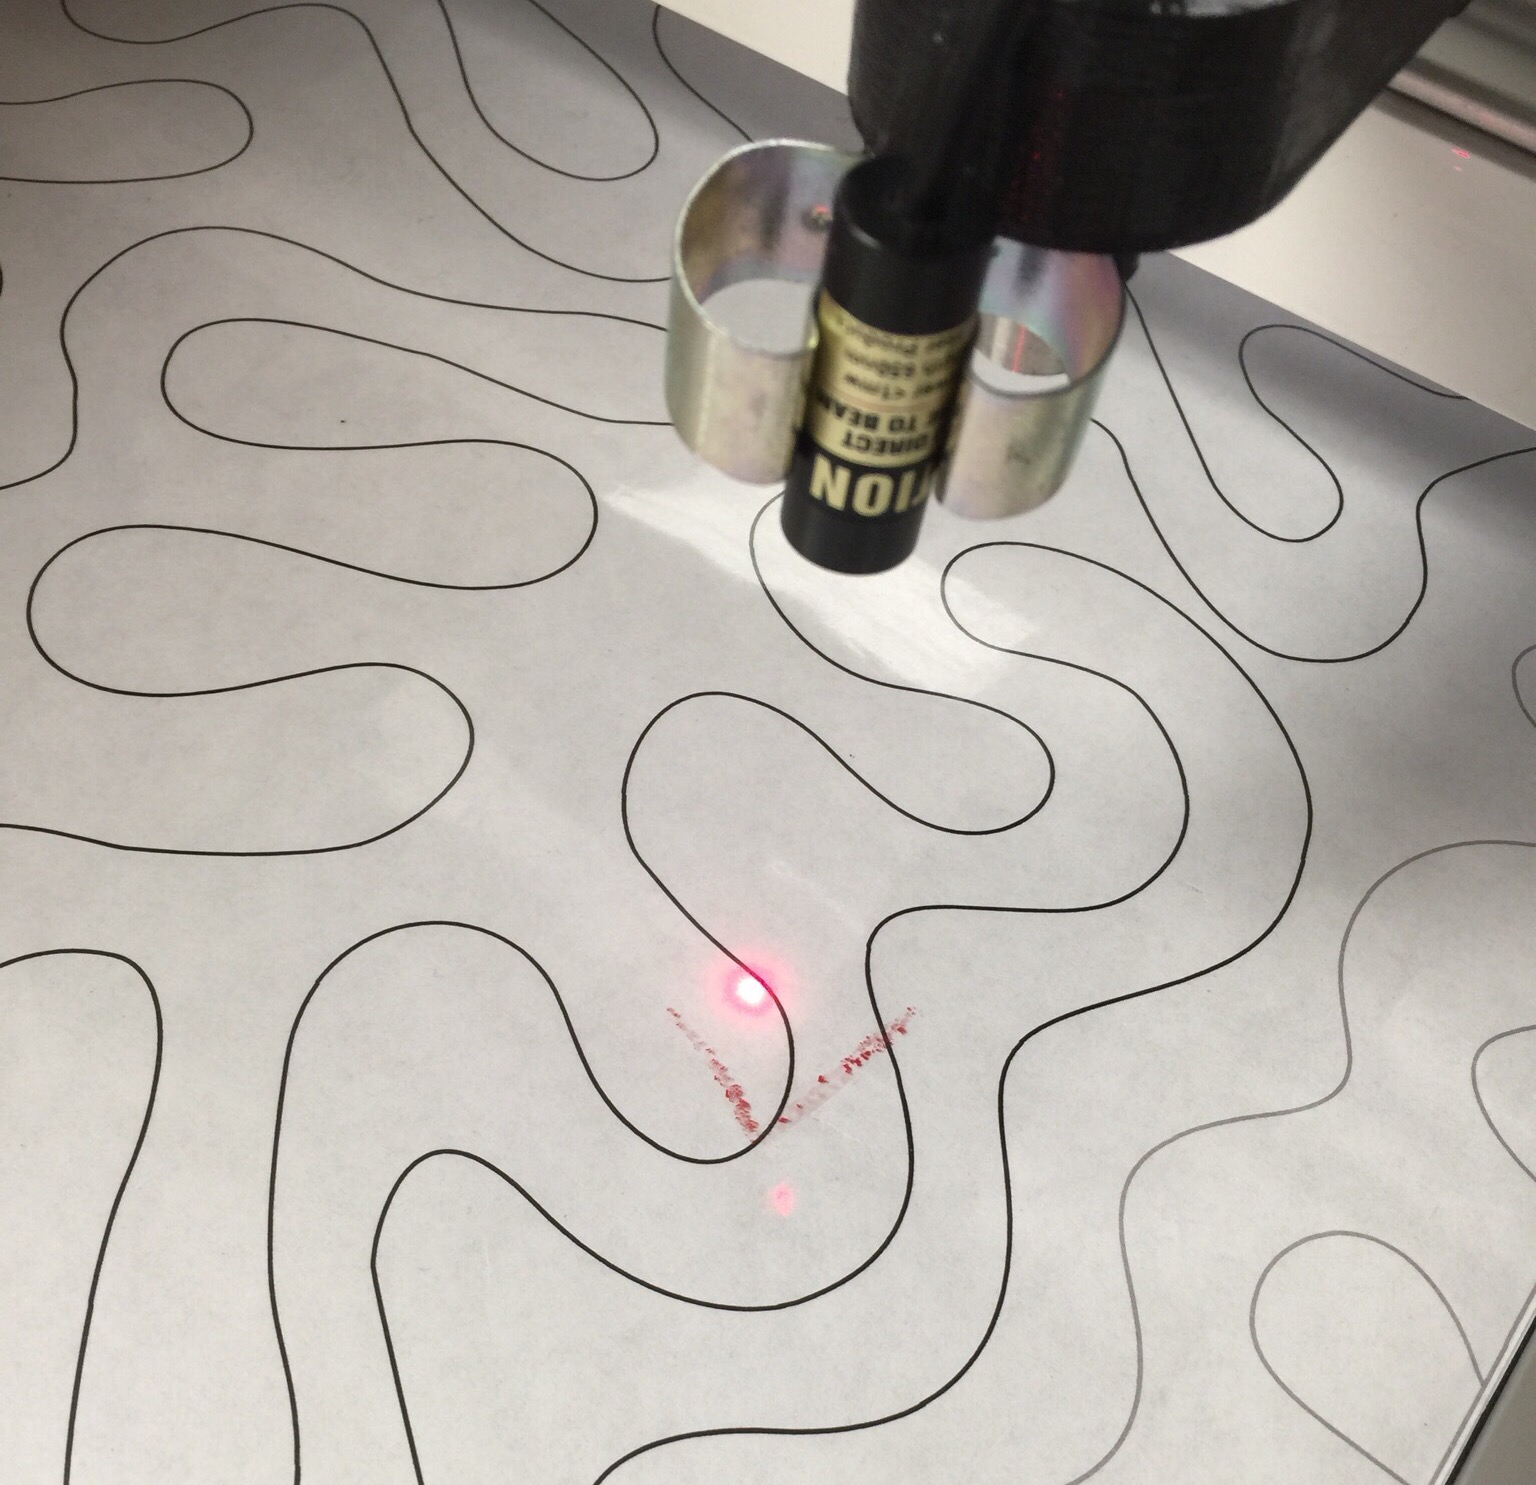
You can see in the next picture, that the laser light is on the corresponding part of the paper pattern.

I leave the needle down, turn the rollers to advance the quilt until the laser light is now on the lighter gray area of the pattern. This corresponds to the previous row. The machine moves as I roll the quilt. 
See how the machine has the needle down in the same spot of the quilt, but it is now close to the back bar? 
Now everything is lined up for the next row. I will use smooth everything out and then machine to baste the edges of the top to the batting/backing ad I am ready to go.
See the little arrow I marked with a grease pencil? Sometimes, I can’t complete a row. If I mark an arrow, it is easy to remember which way I am going when I come back. It isn’t always easy to see which way you are traveling on a complex pattern. You don’t want to sew on top of a previously sewn line and then have to rip! Ask me how I know this…

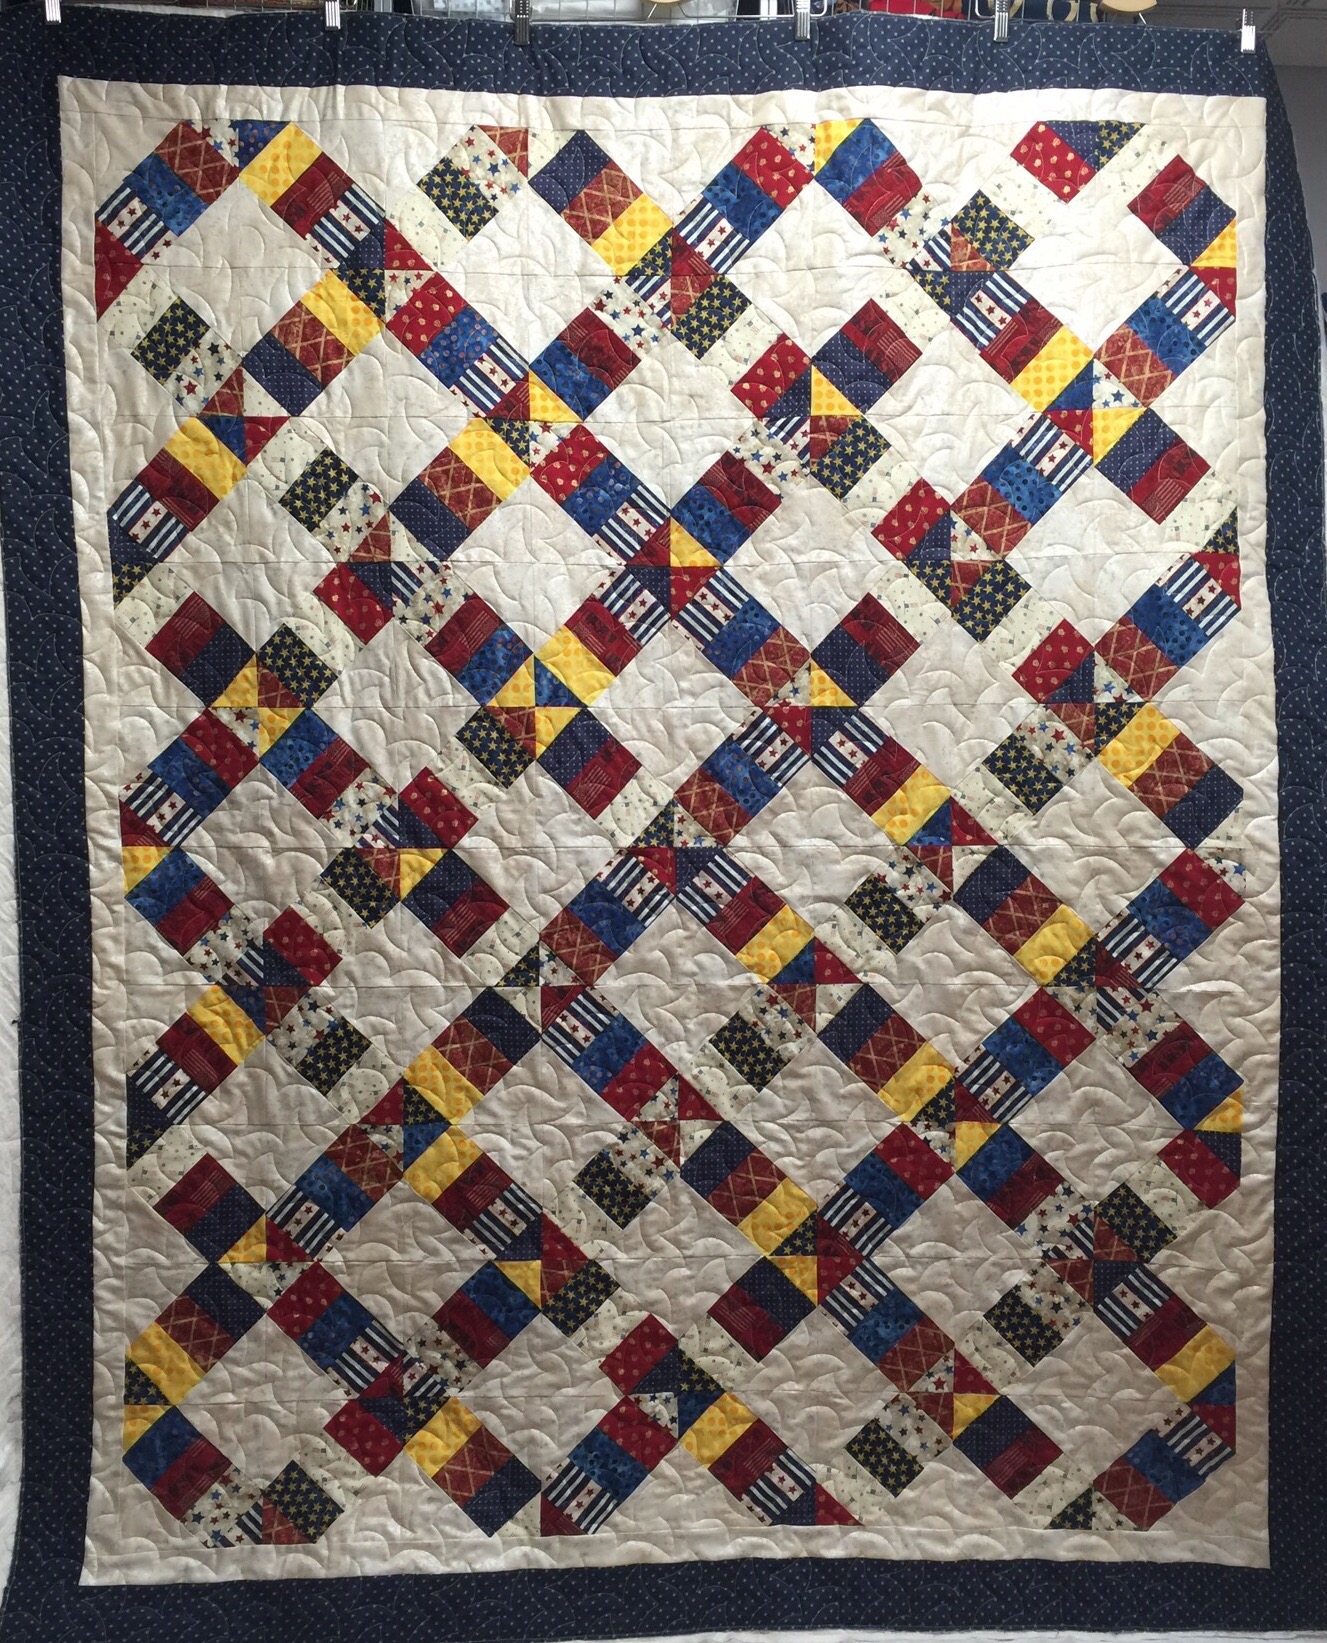
The pantograph I am using here is called Elongated Meander. It is a 13 inch panto and that is about the biggest I can do on my 18 inch machine.
I hope this makes sense. I am going to try to do another posting on choosing and purchasing pantos soon.
Linking up with Sew Fresh Quilts, Quilt Fabrication