Slow Stitching Sunday ~ Appliqué Prep

I’ve been prepping more pieces for my Gwennie Inspired Medallion QAL. I told you I was slow at this! I am no expert on the A word, but I thought I’d show you how I prep my leaves for appliqué.

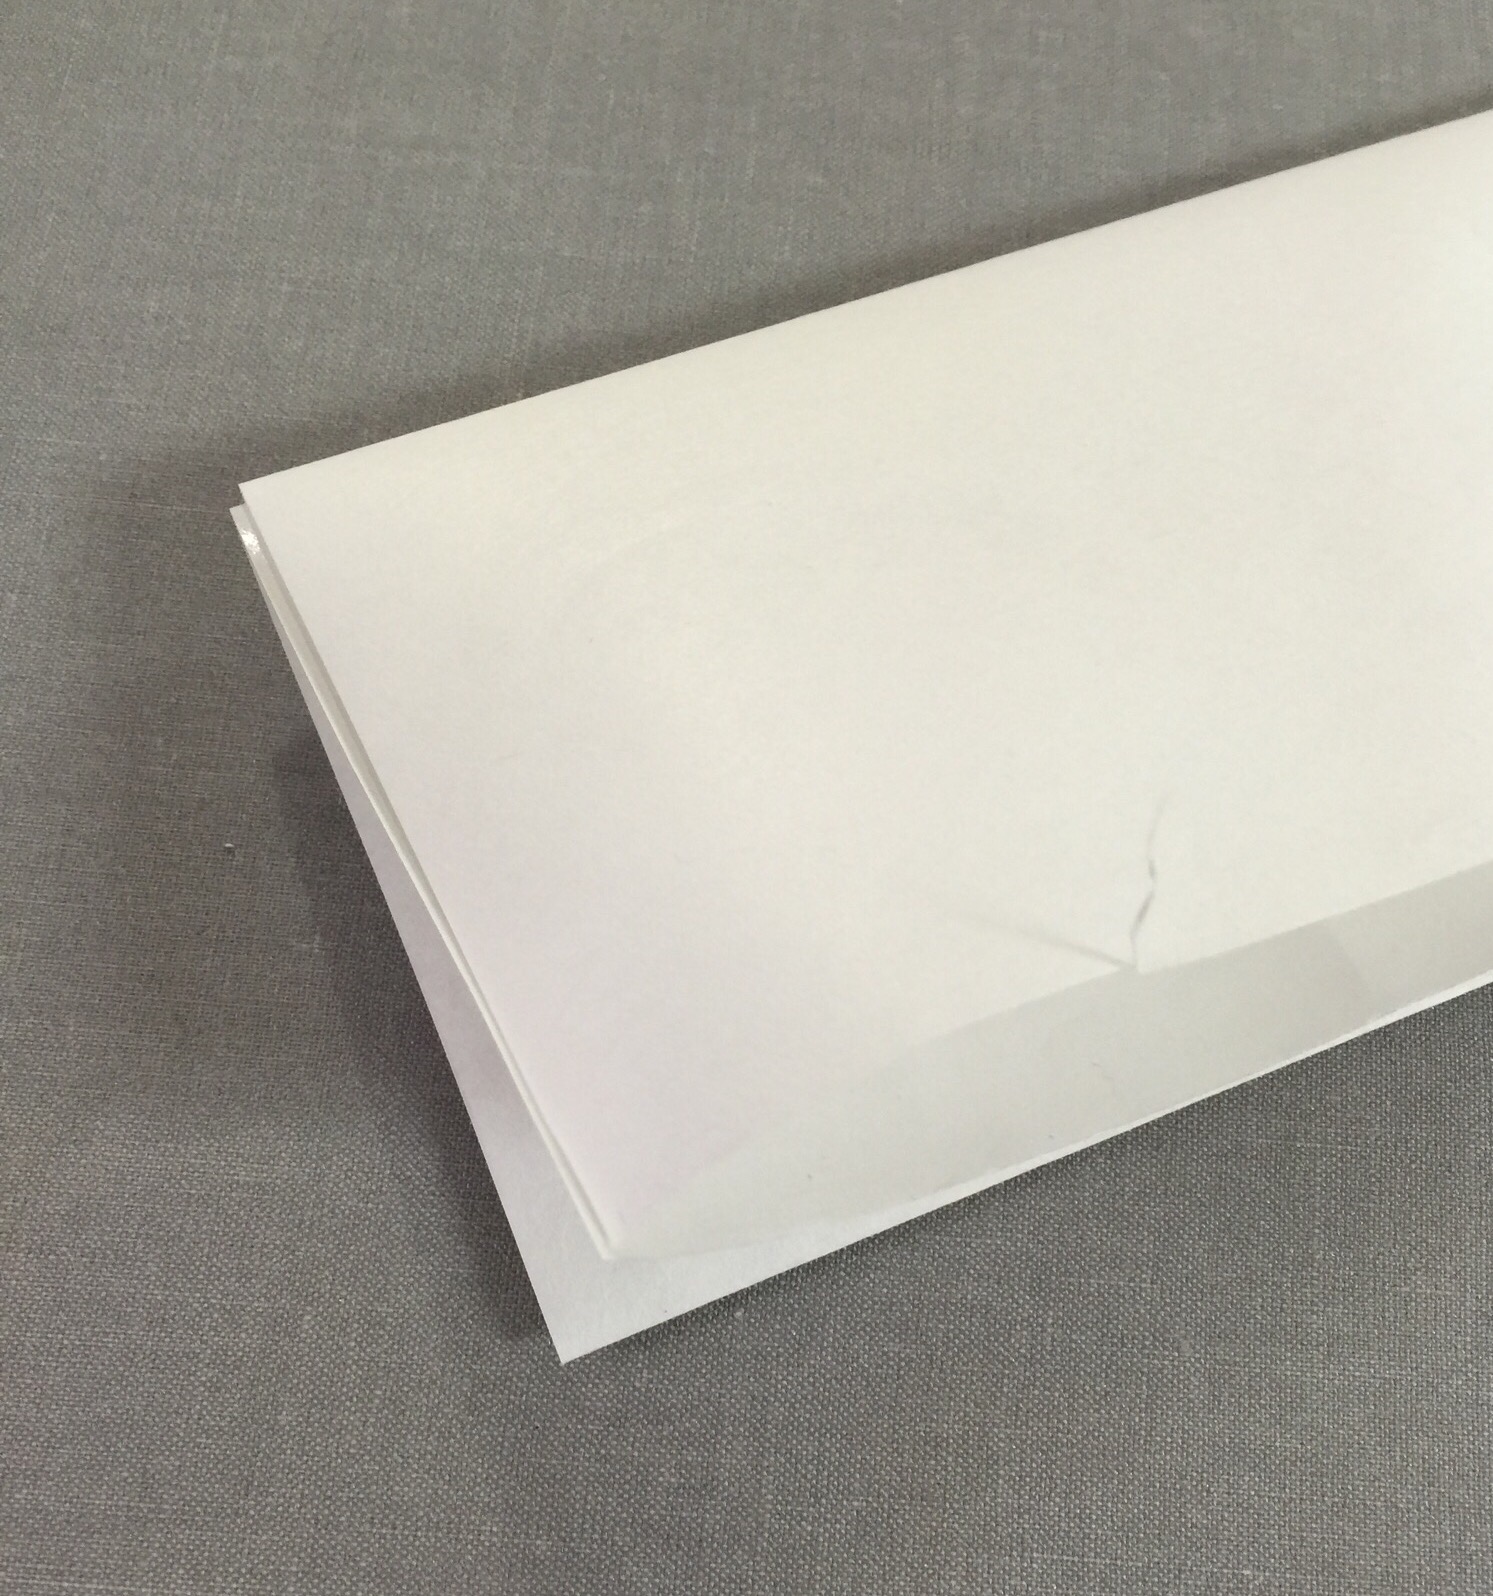
First, I take a piece of freezer paper and fan fold it into 4 layers.

I used a small circle template to make a curved line.

And another.
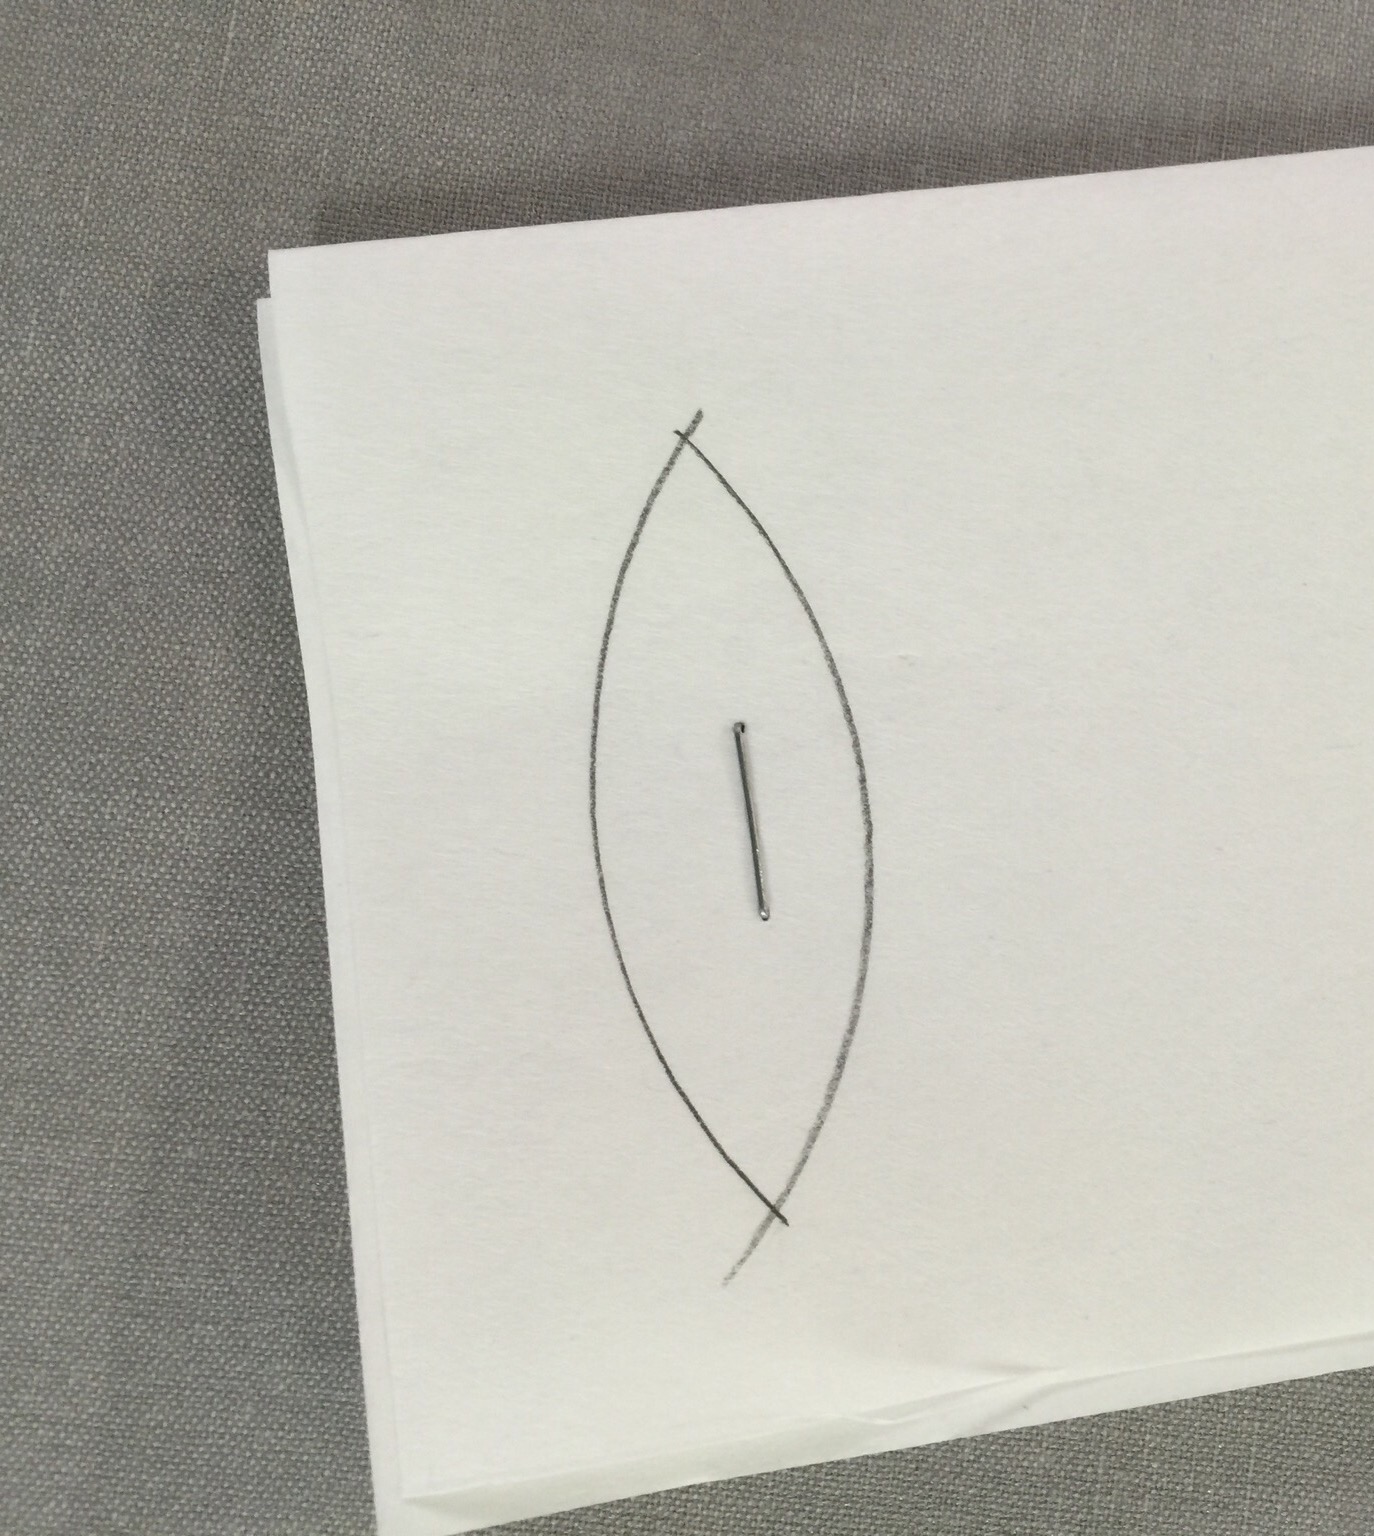
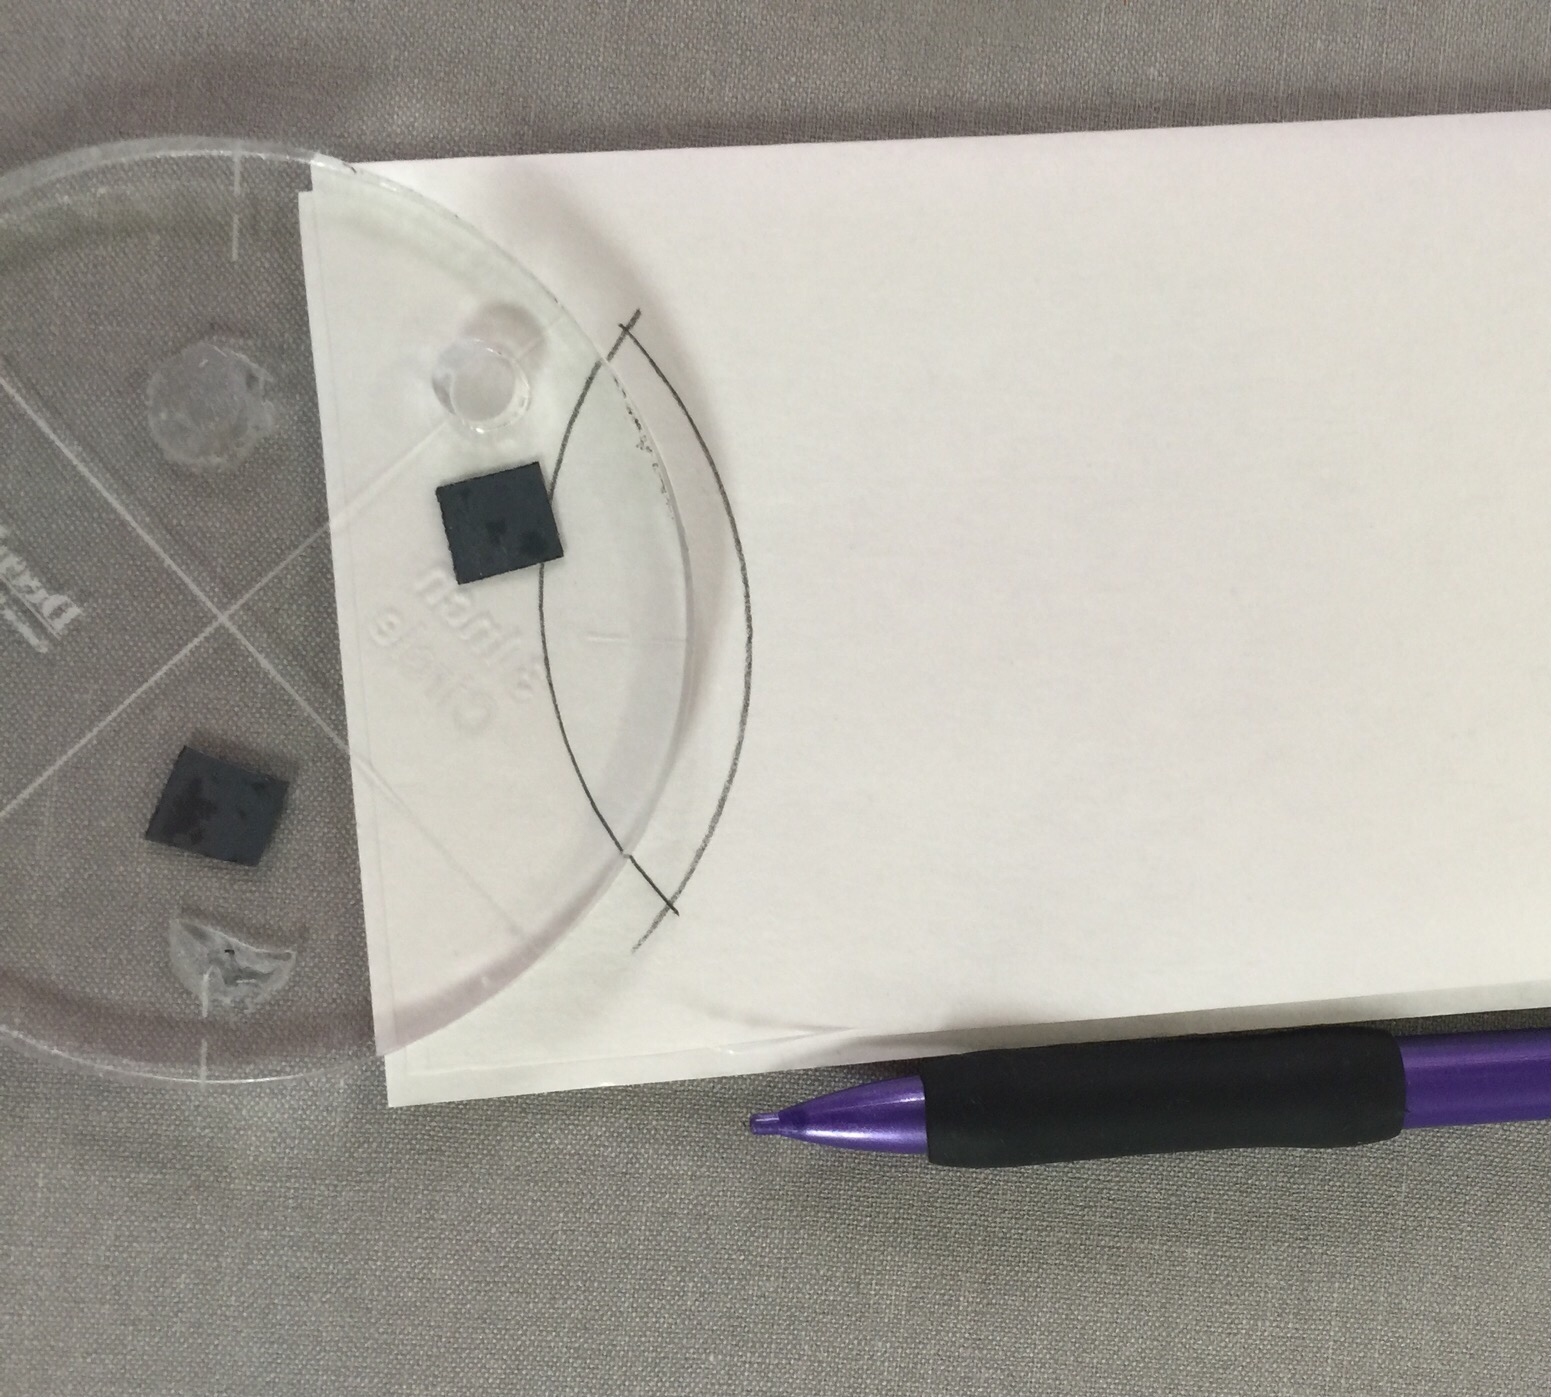
 There’s my leaf shape! Pretty simple. Then I place a staple through all the layers so they don’t shift when I cut them out.


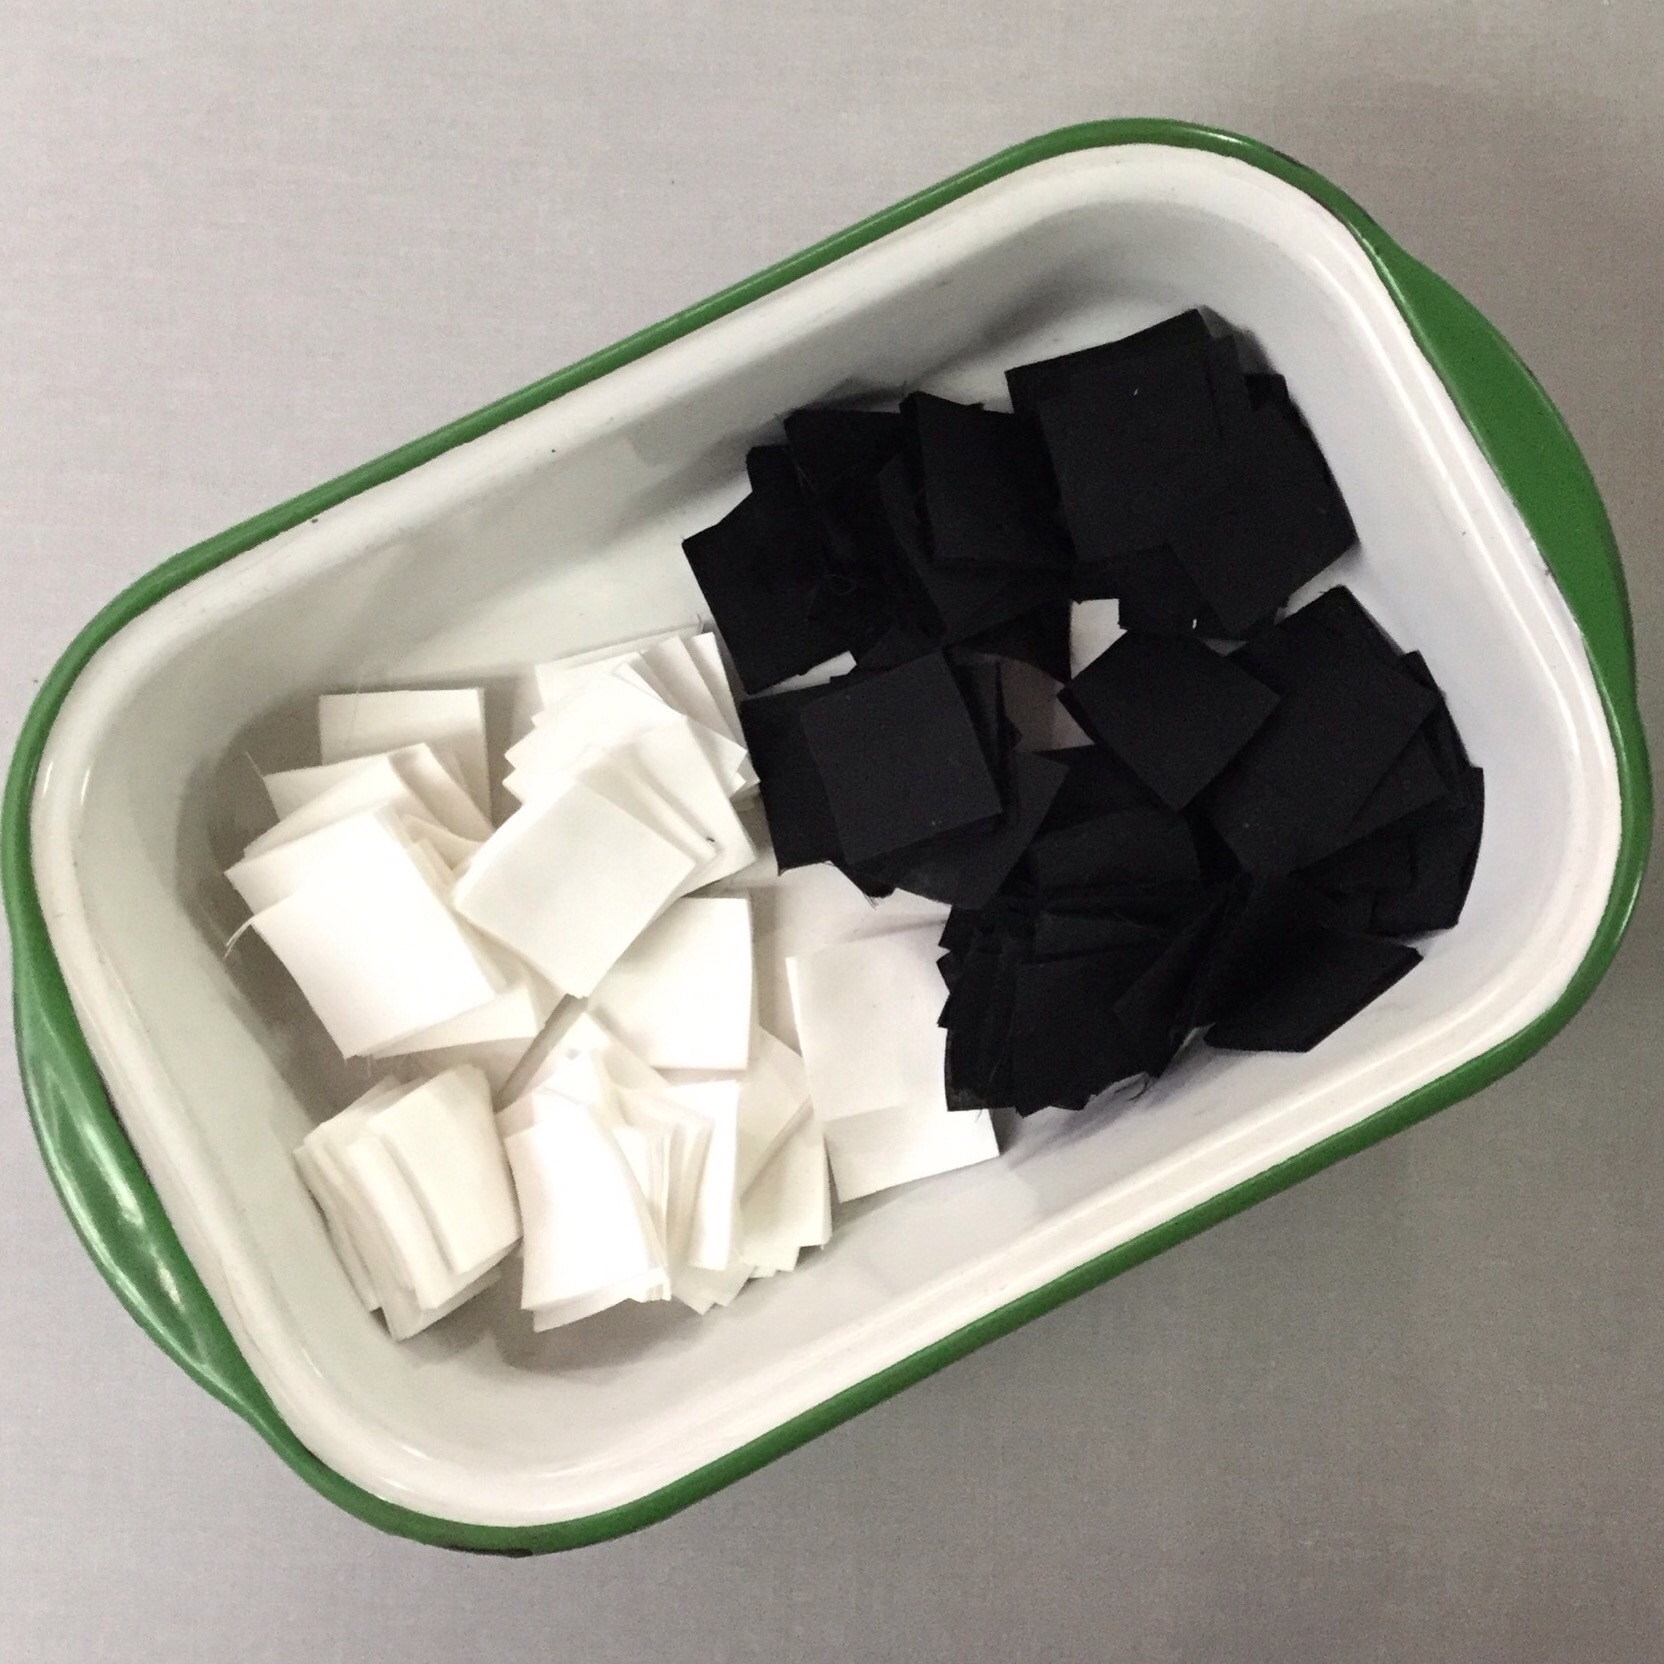
Here are my four leaves.
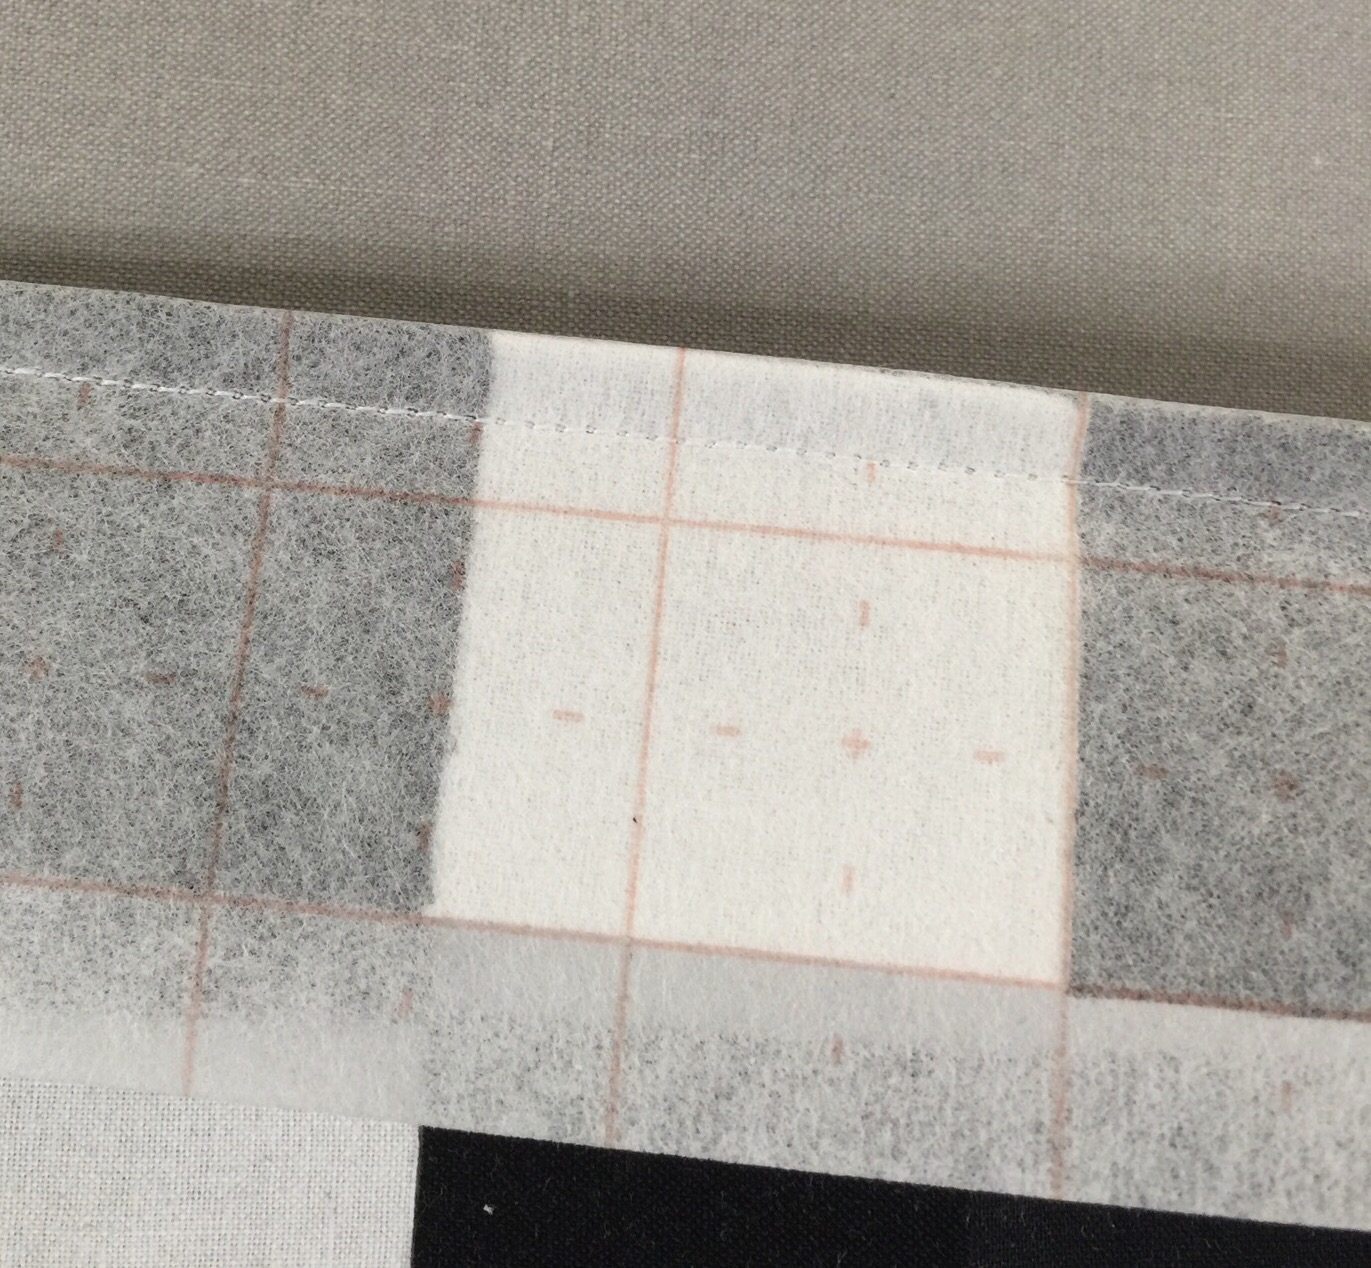
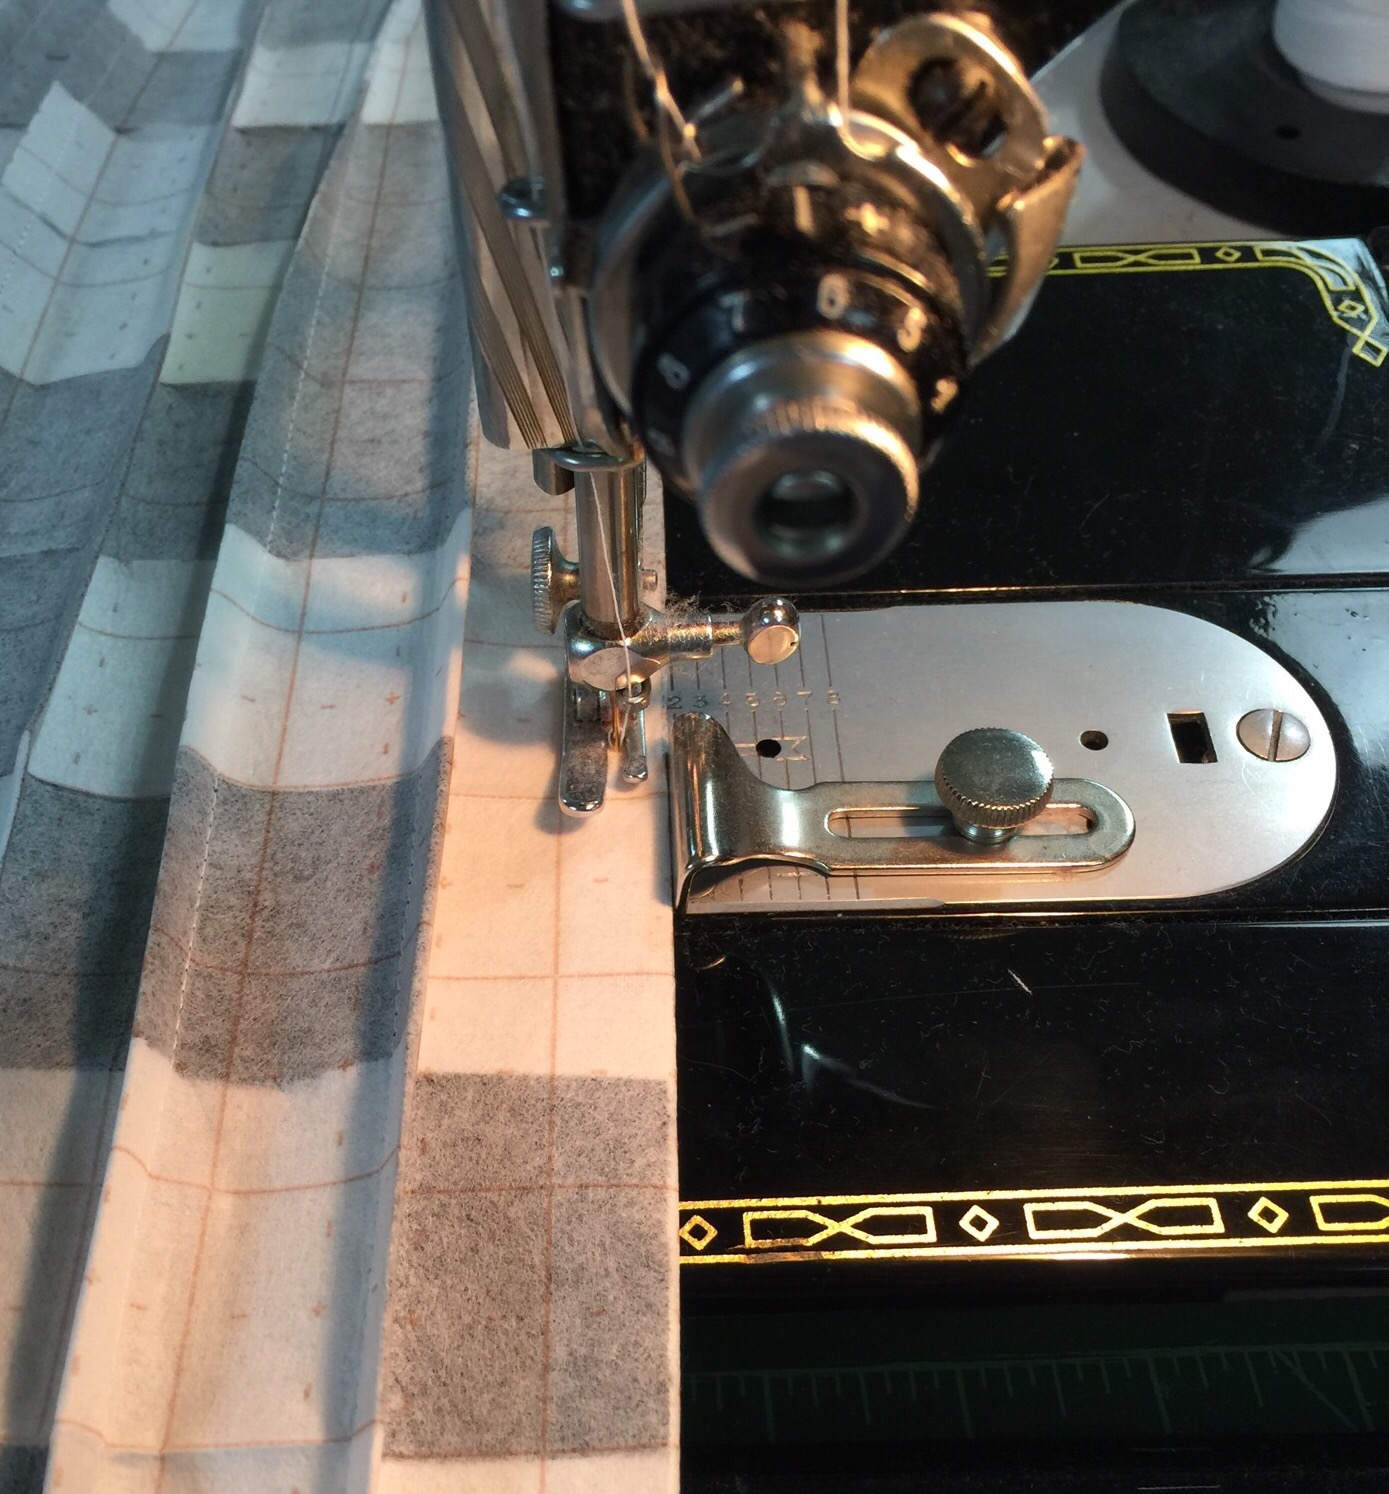
The freezer paper on the waxy side can be ironed onto the back of my fabric.
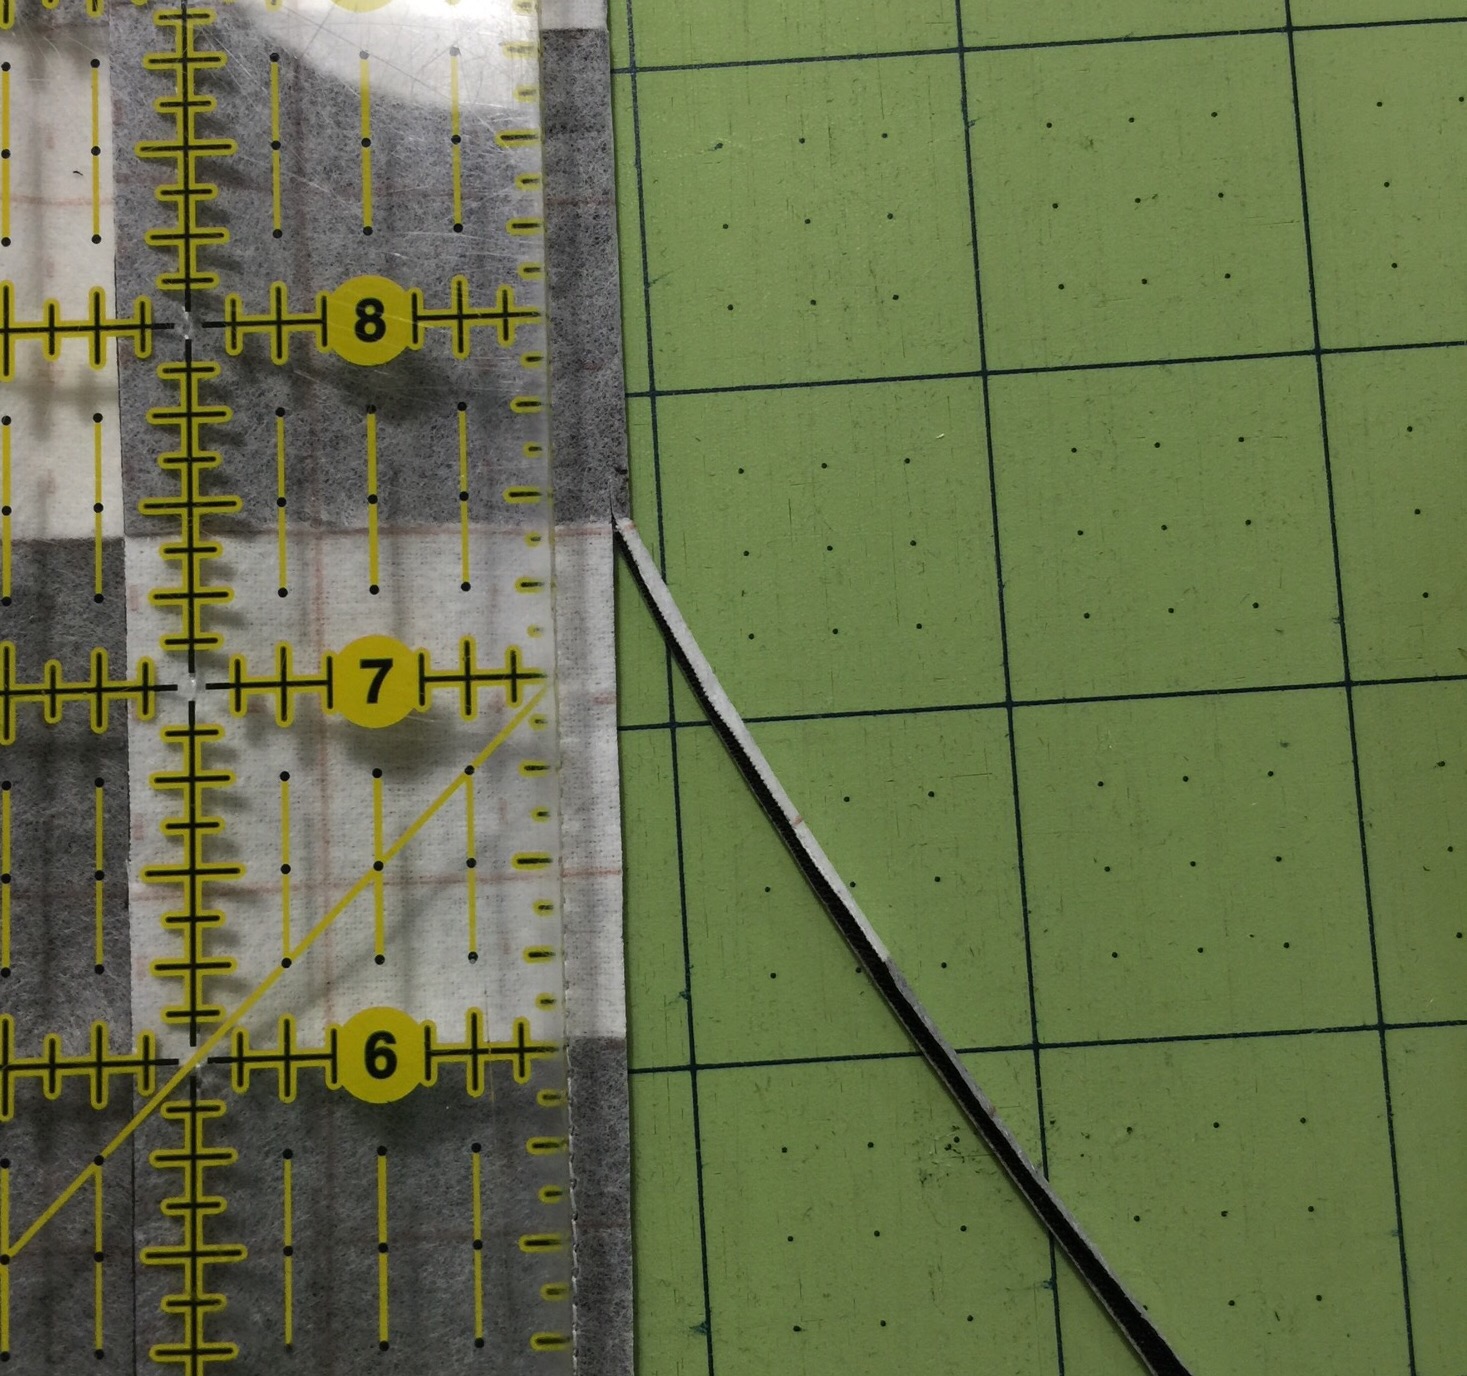
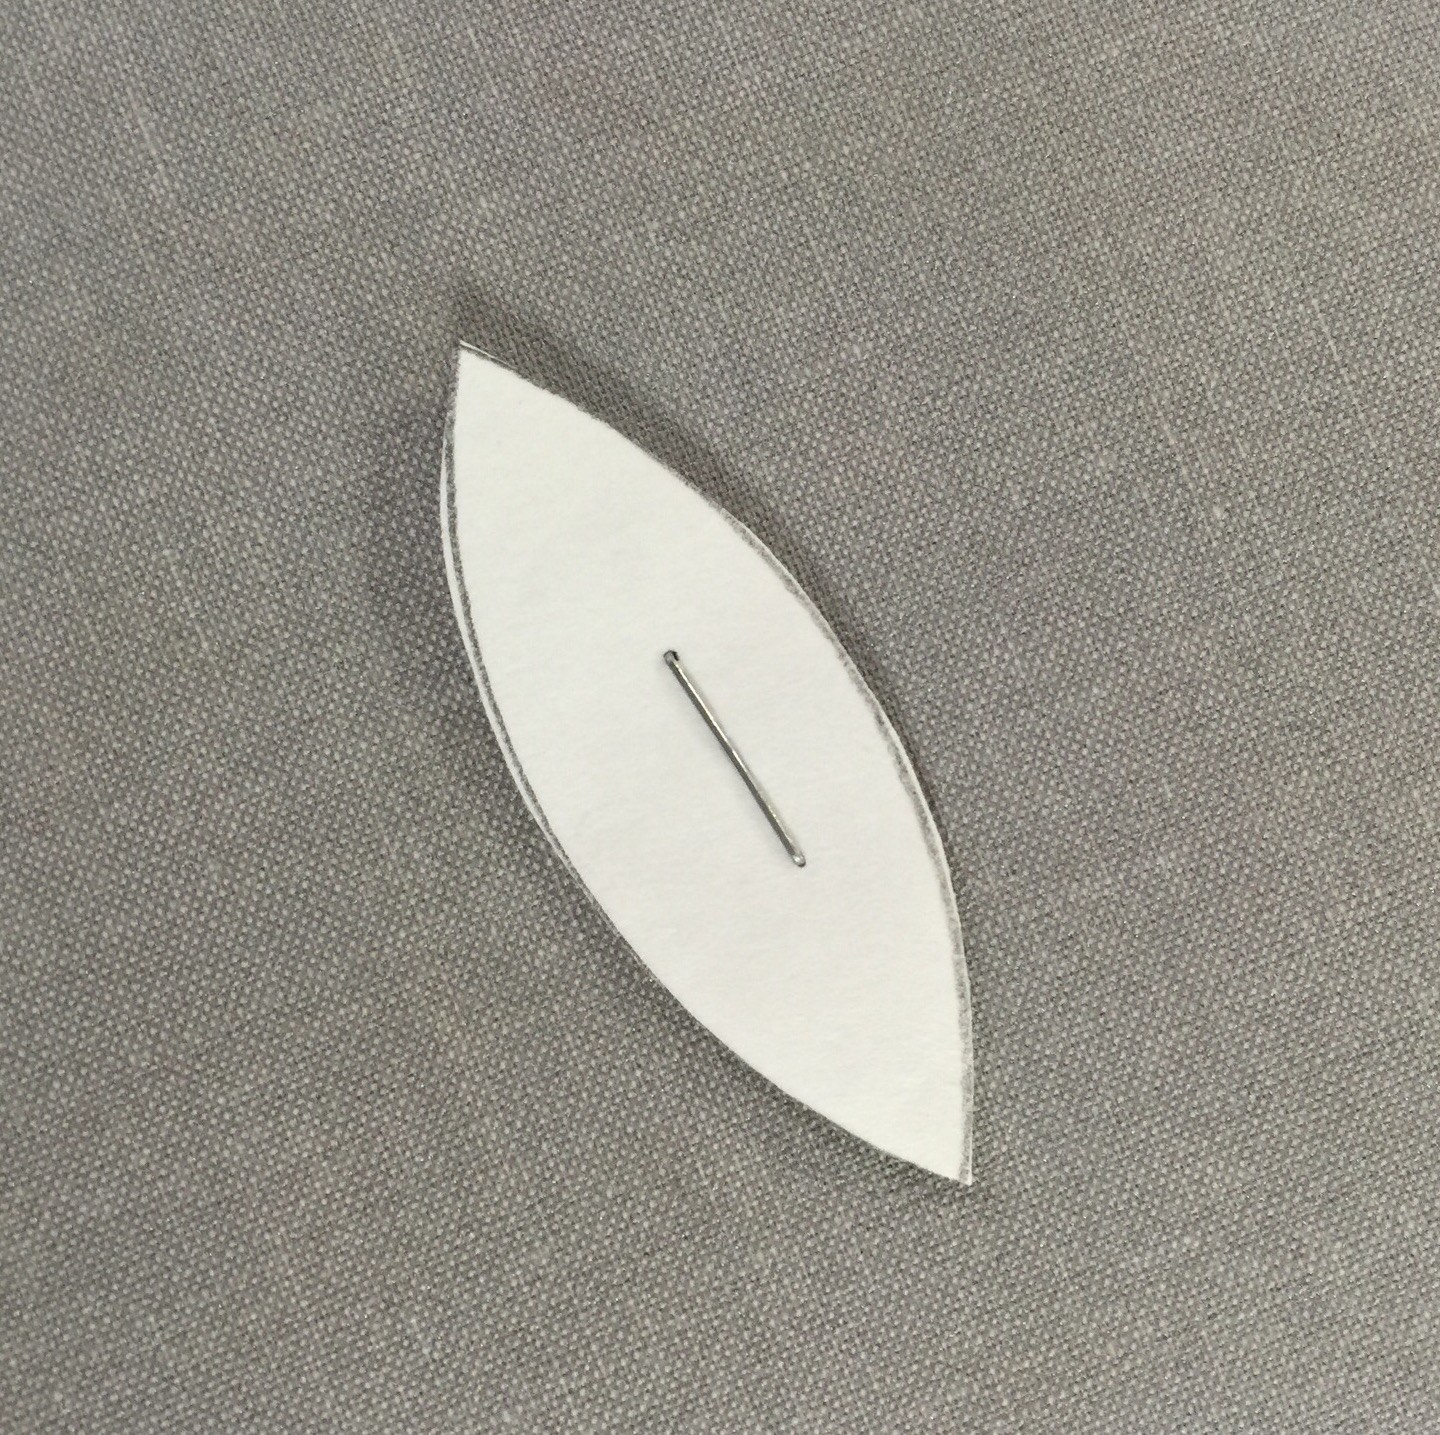
Then I cut them out leaving about a quarter inch seam allowance.

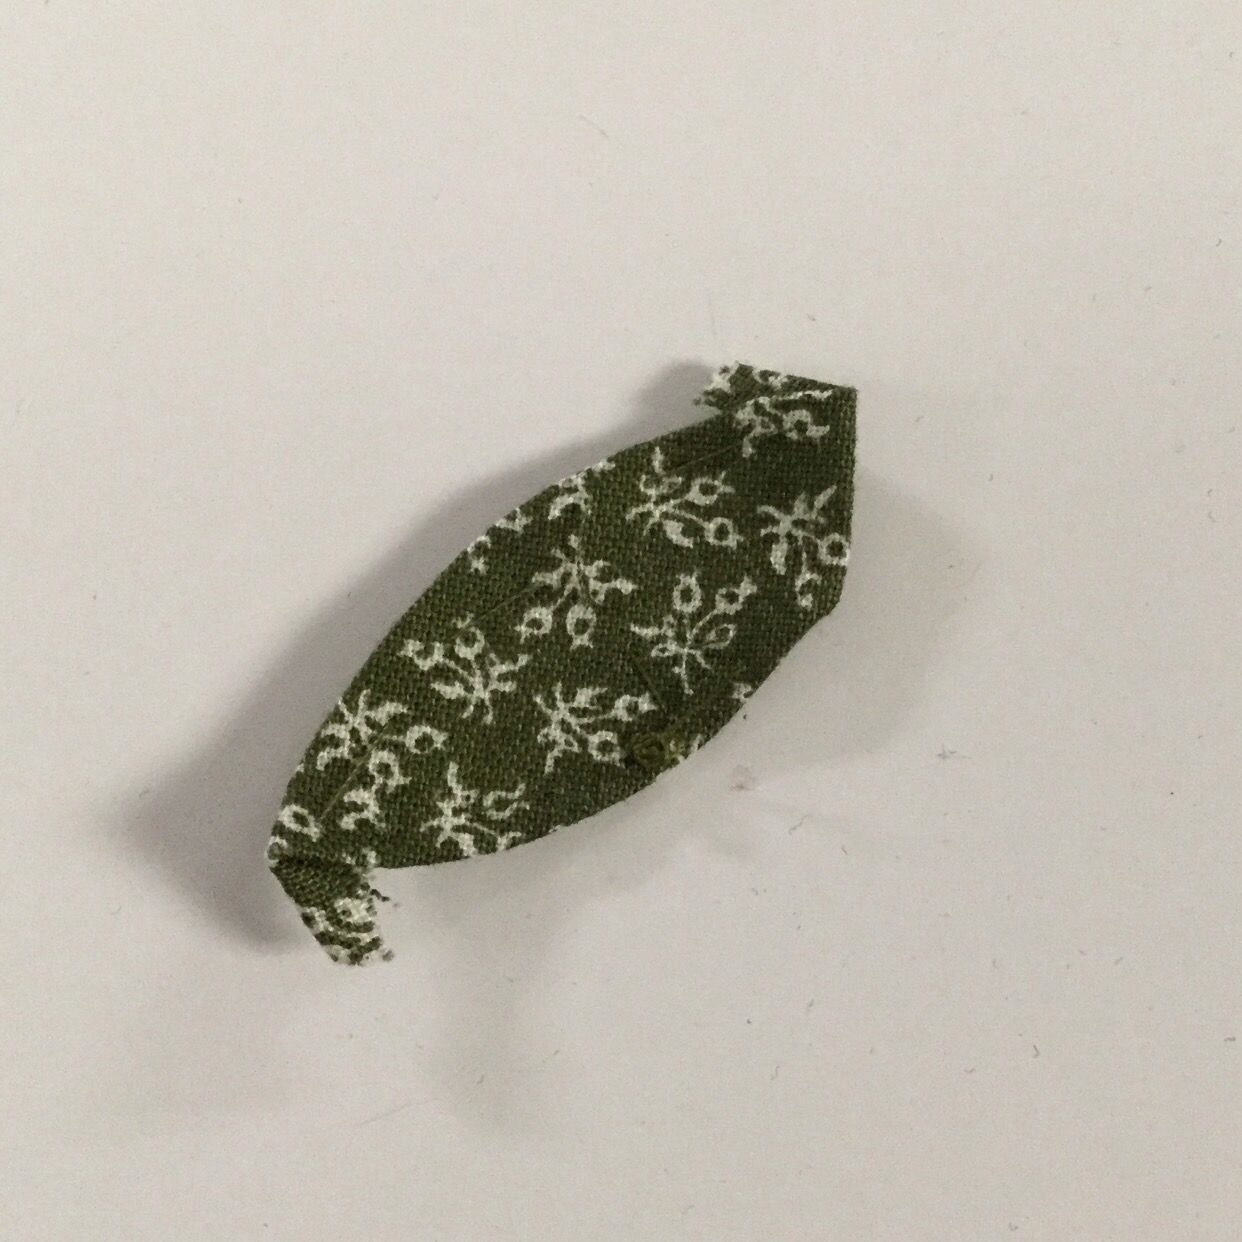
Next, I thread baste the edges under. I shouldn’t have used green thread for this step!

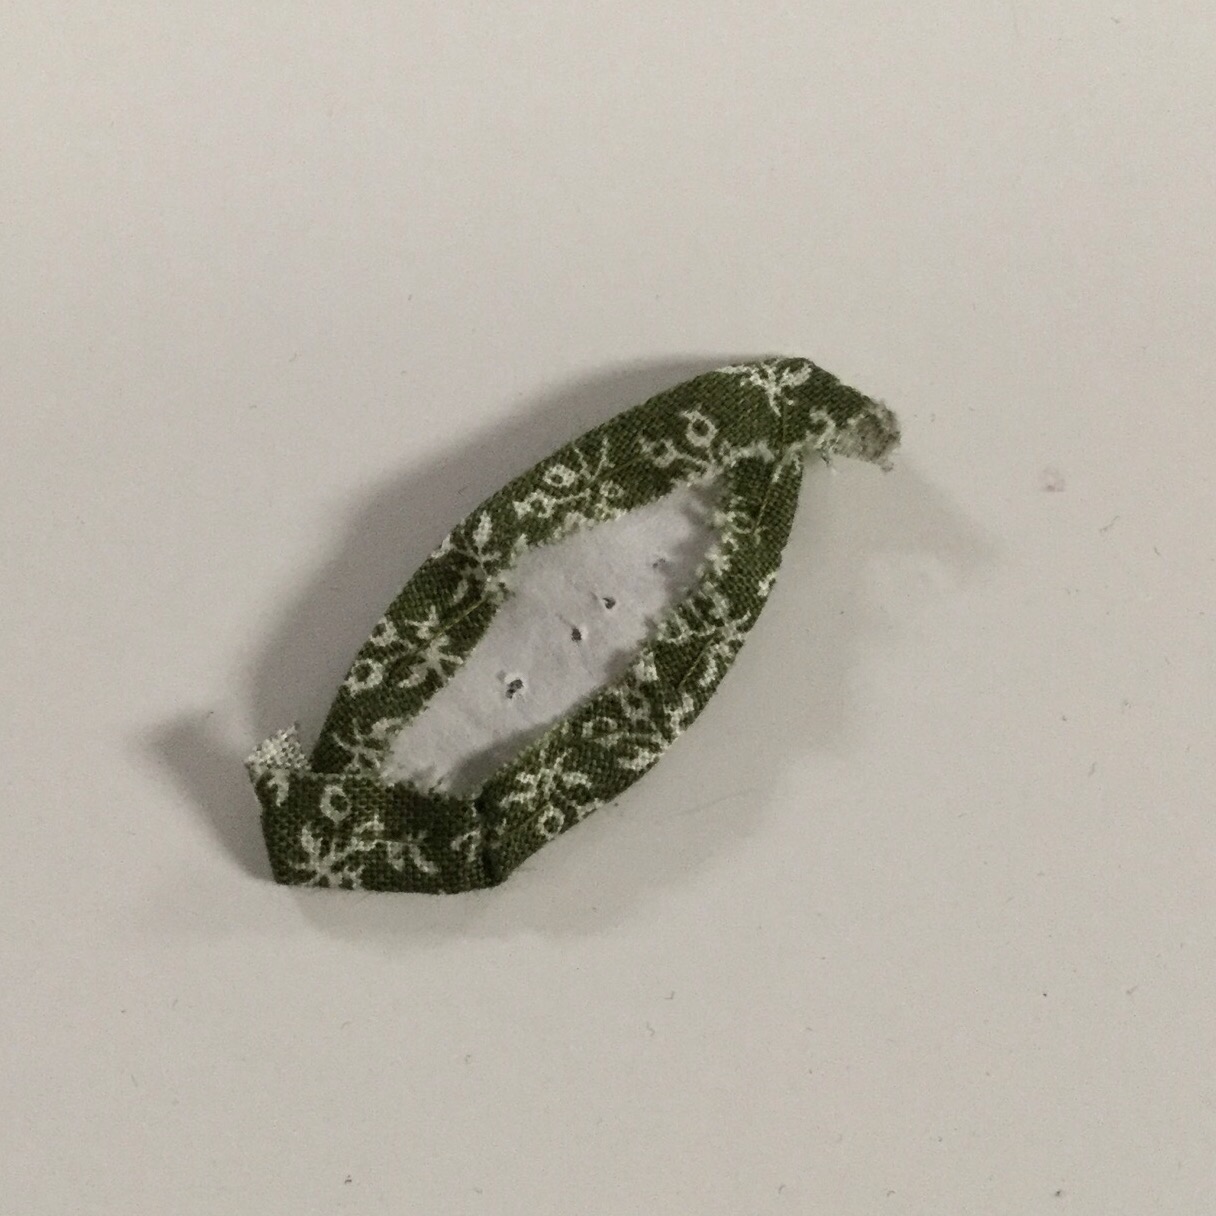
This is what the back looks like, I don’t worry about perfectly tucking those points under, I will take care of that during the actual applique.

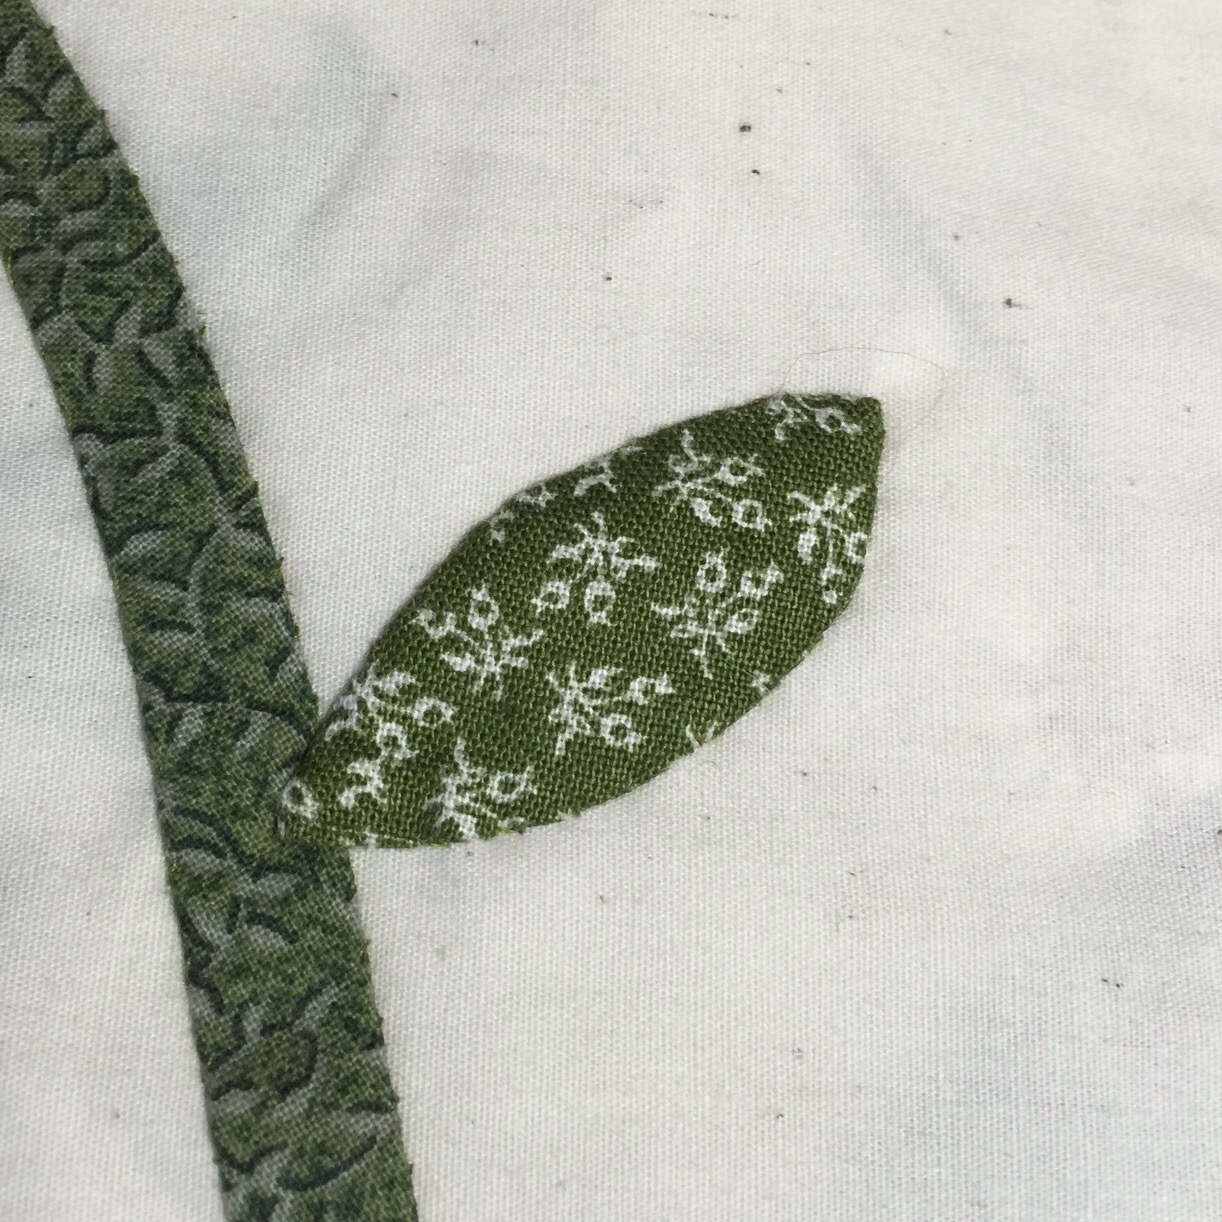
Then I pin the leaf in place on the background. You can see it is pretty small!

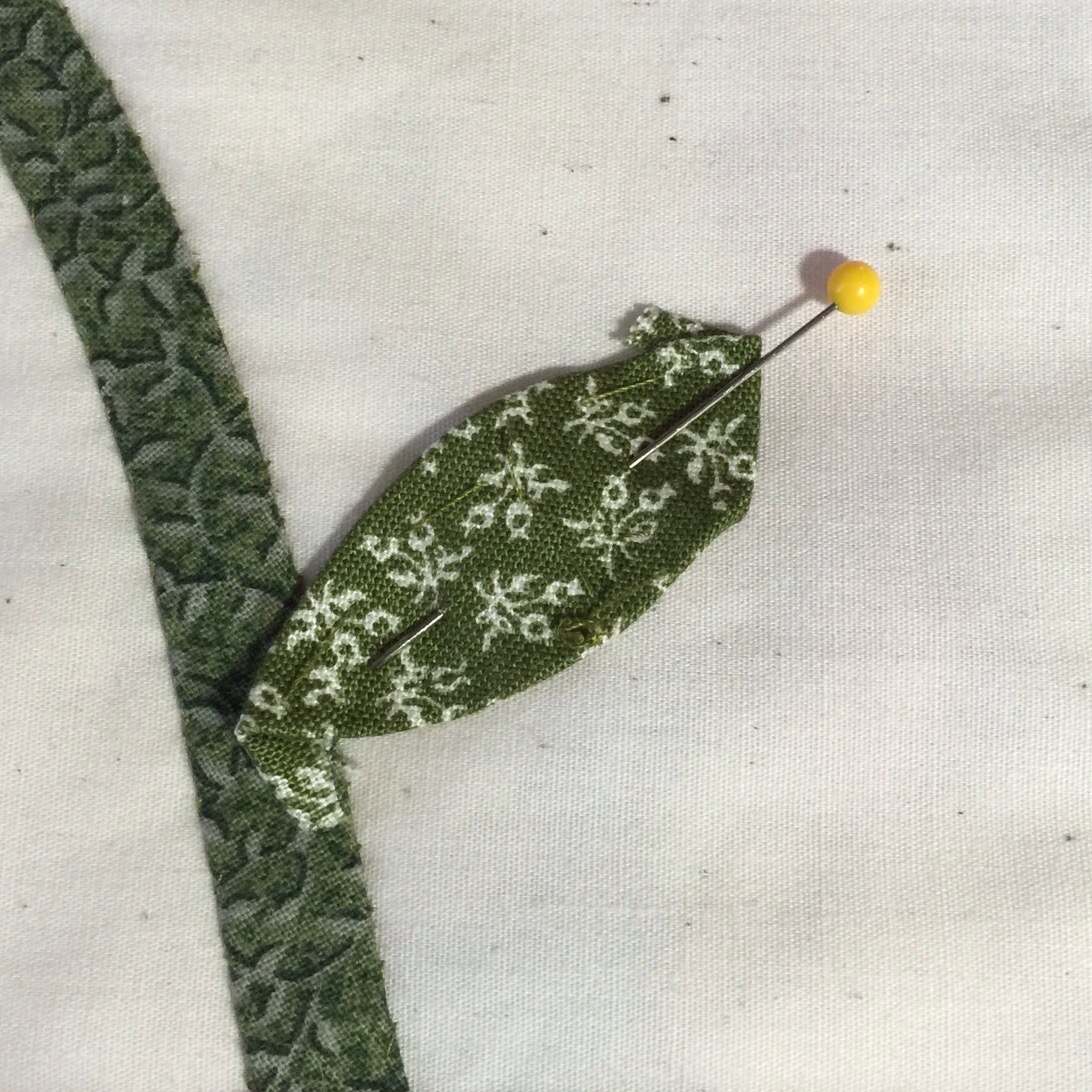
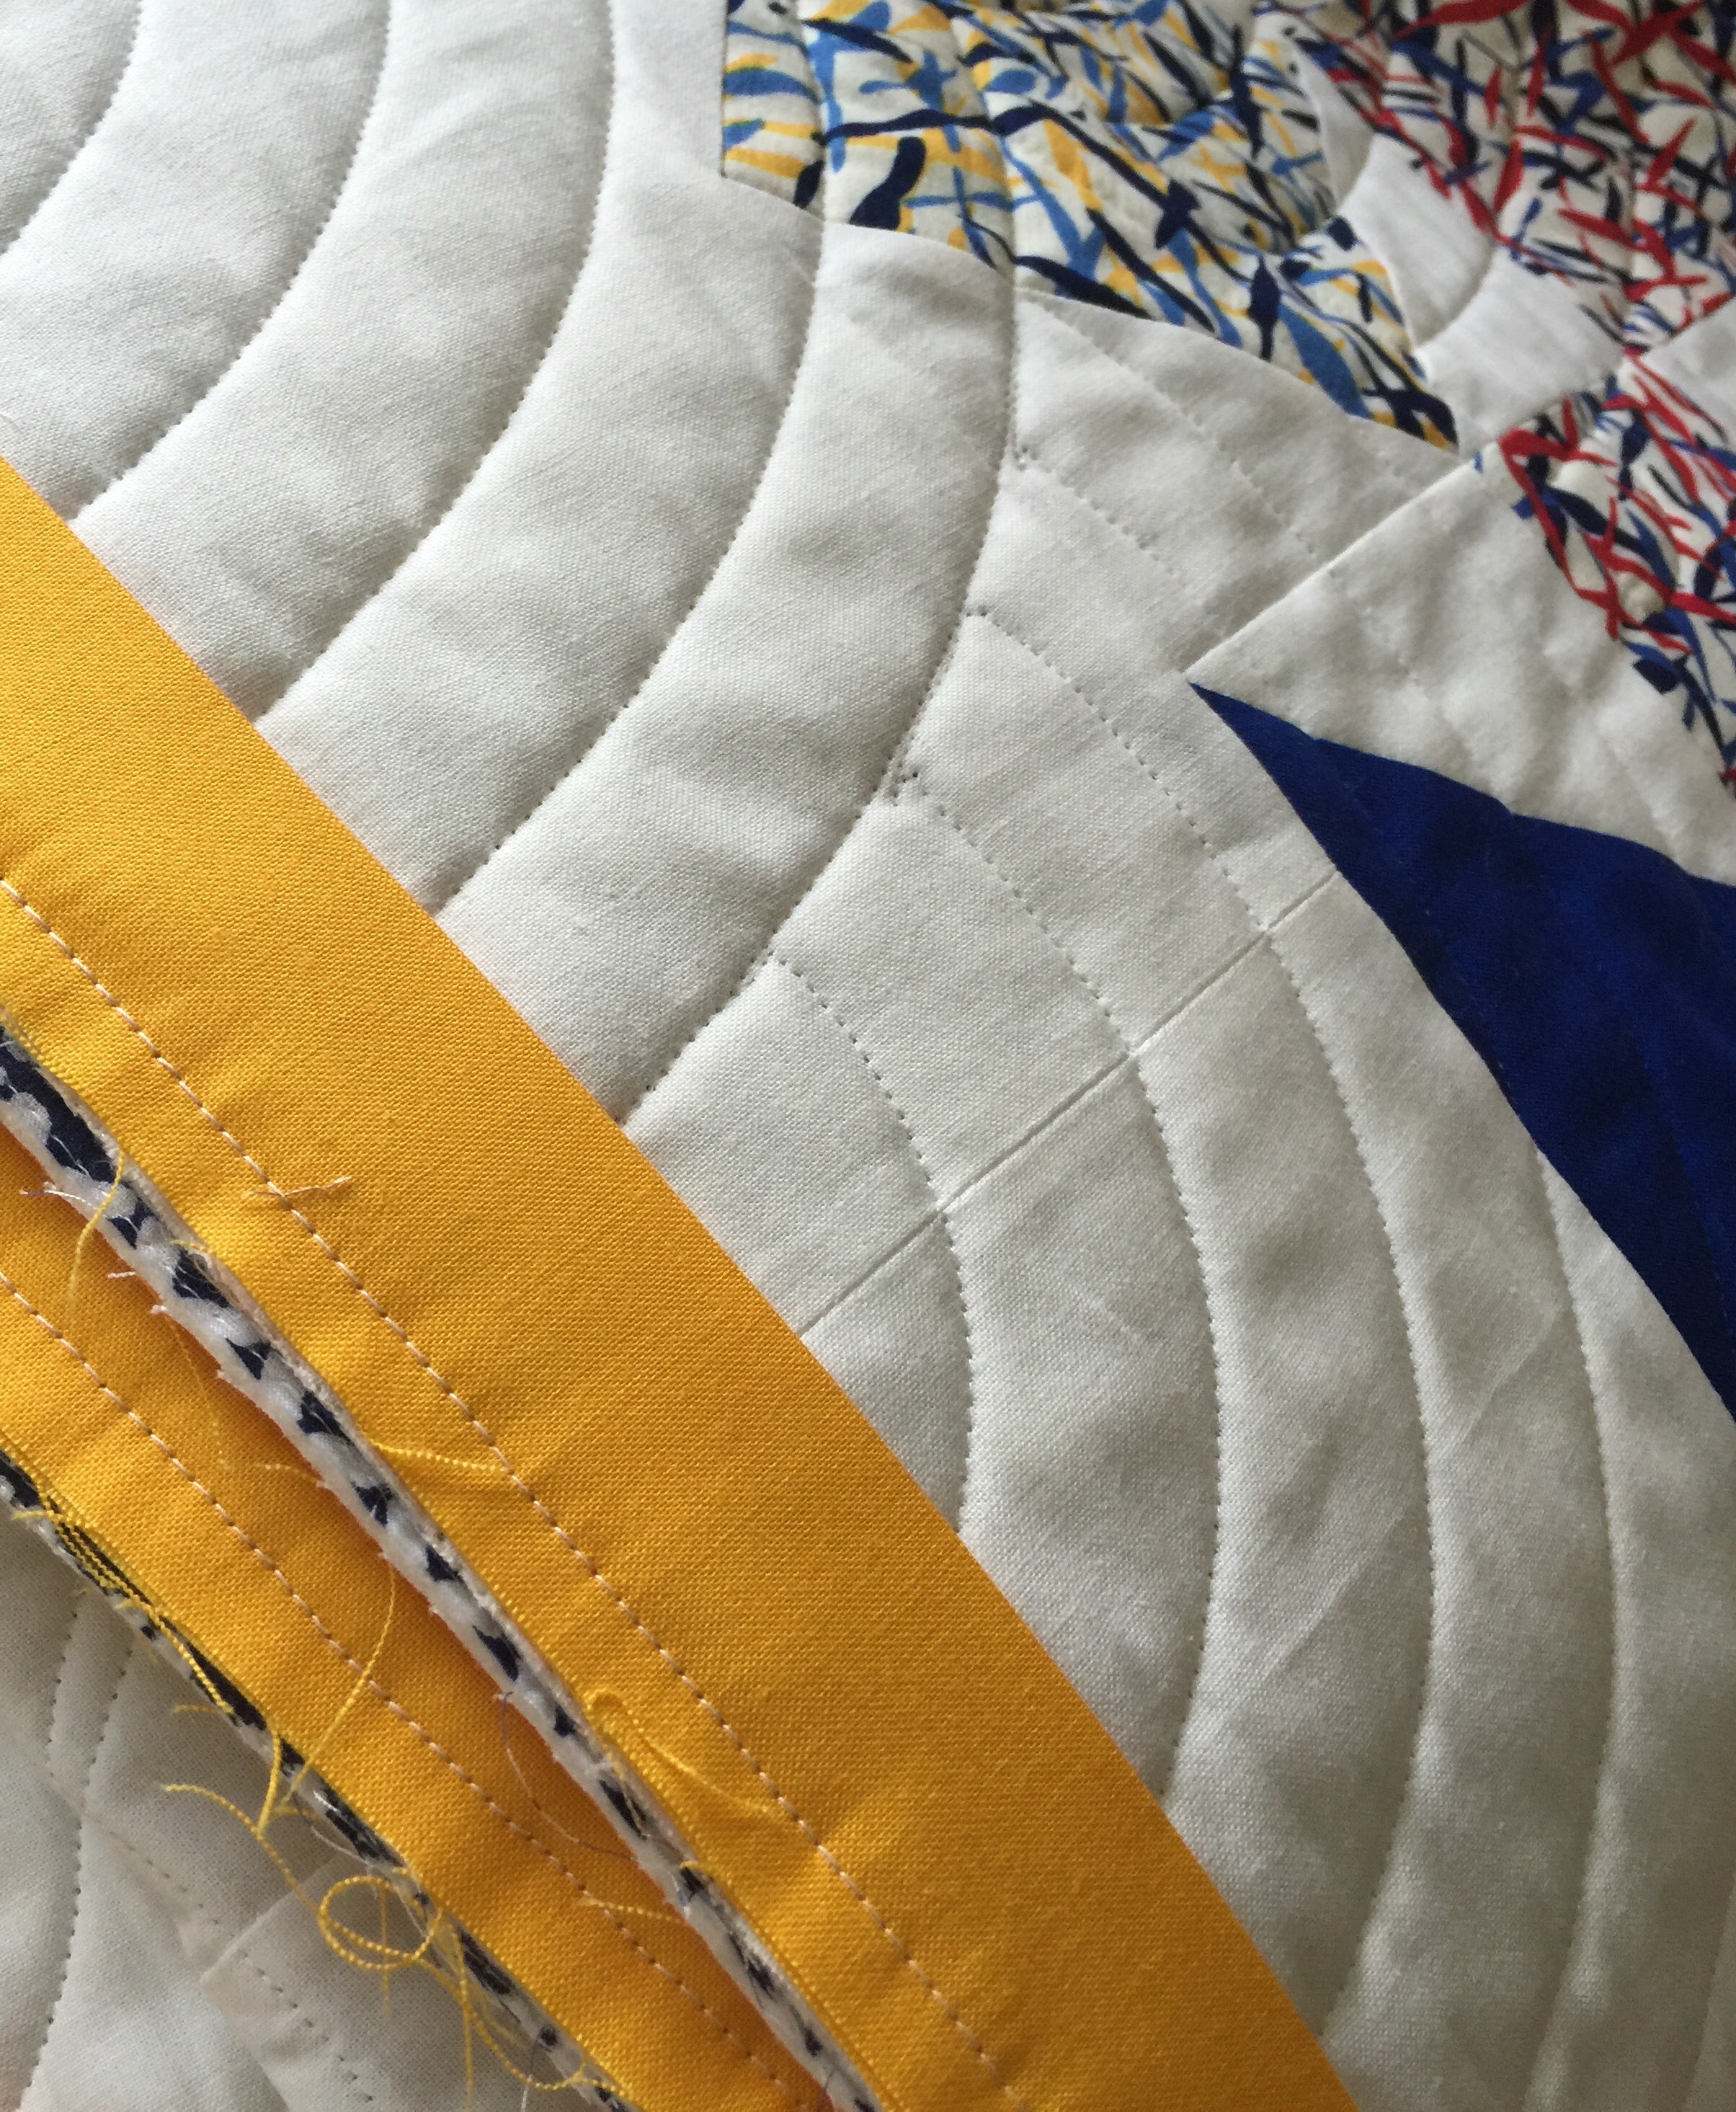
I applique around the edges, leaving the area between the arrows unstitched.

Then I remove the basting stitches and use tweezers to pull out the freezer paper template.


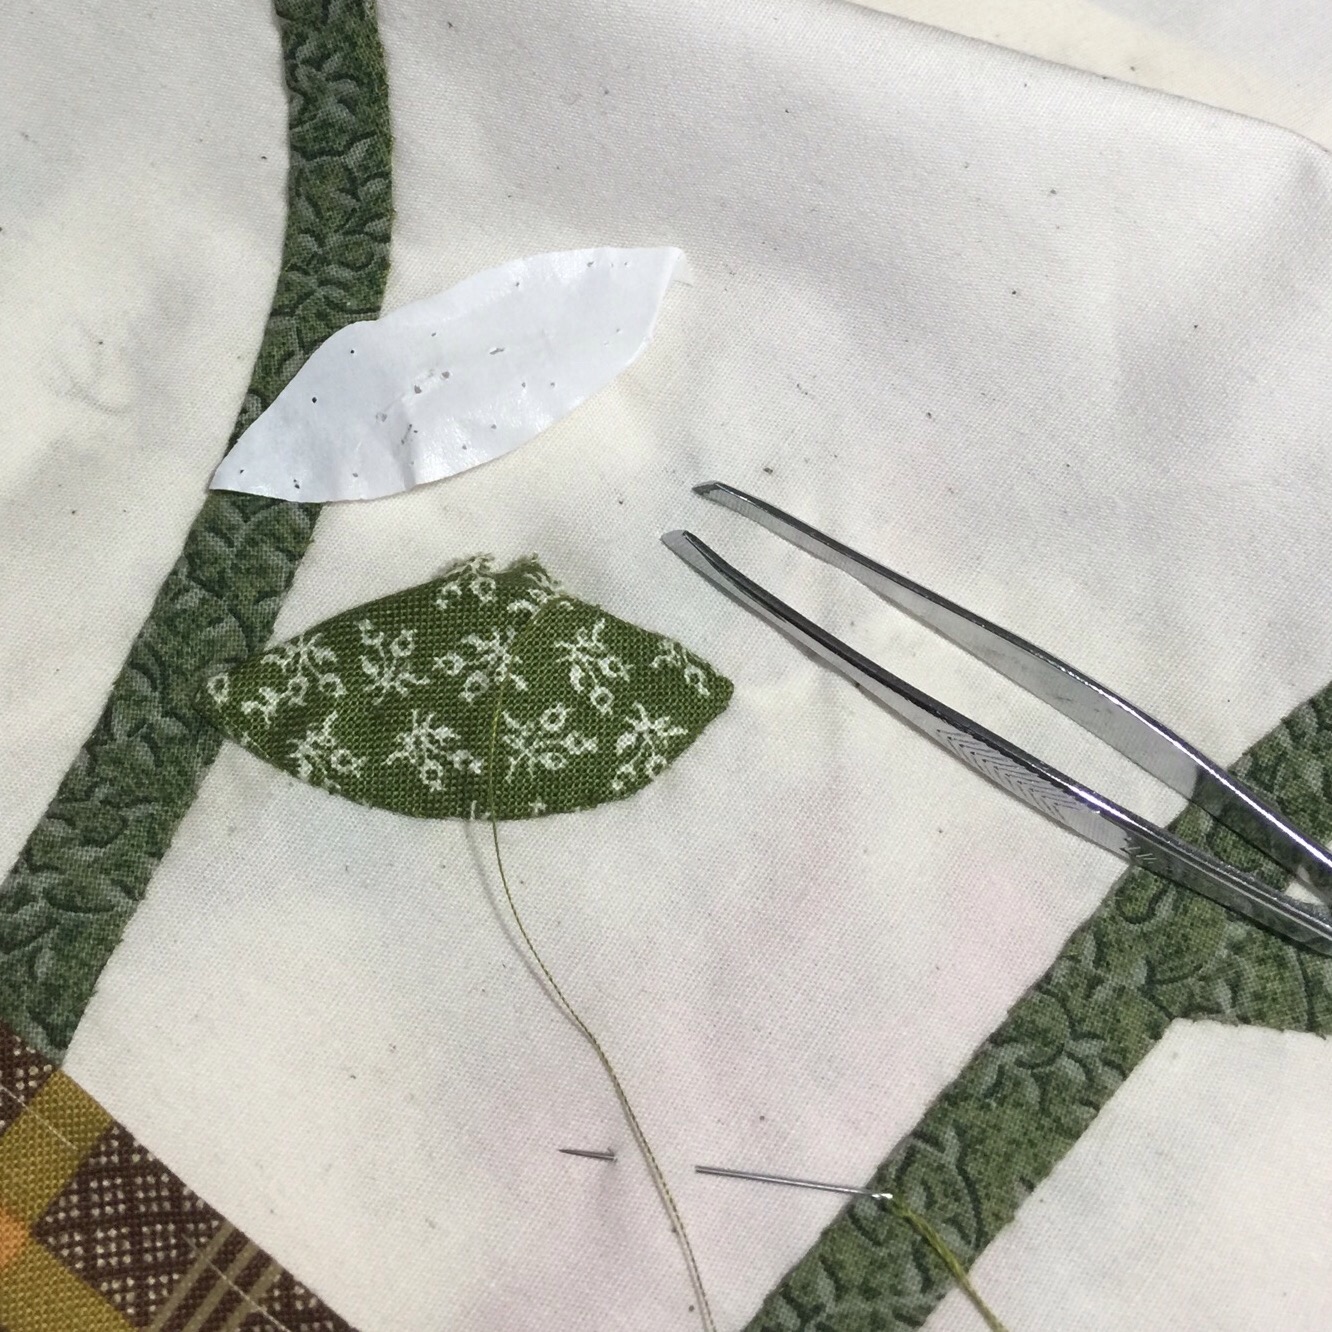
After tucking that edge back in, I finish the applique.

One leaf down, a bunch to go!

I only have one more week to finish this so I better get moving! Linking up with Kathy’s Quilts for Slow Stitching Sunday

Posted in Gwennie inspired Medallion QAL, Tutorials, Uncategorized | 17 Comments

More Black and White

What a response to this WIP this past week! I am making forward progress on this. On my last post, I had my squares fused to the grid. Time to sew! I folded one row at a time on the line “between” pieces and pressed.


Then I took the whole thing to the machine to sew. I had my seam guide set for 1/4 inch. I pressed each seam before sewing.

After I had all the seams in one direction sewn, I very carefully used my rotary cutter to remove just a sliver of the fold.

Then I pressed these seams open. This took a long time. 

Time to sew the other way! Again, I folded on the line and pressed before sewing each seam.

I trimmed the seam folds again, but this time I pressed to one direction. I think I was losing patience!

This is kind of a pain, but the results made it so very worth it! Not every intersection turned out perfectly, but most were quite nice.

Again, this kind of sewing can get a bit tedious. This helped:

I listened to 4 tracks while doing the sewing on this small top. Time to think about borders and quilting. Not sure how that will go with this fusible grid on the back. We shall see!

Posted in Uncategorized | 6 Comments

Finsh It Up Friday ~ Dear Betty

It all started with this Christmas gift from Daughter #1.

IMG_1454

I immediately loved it, but it took me a while to find the perfect pattern for it. I finally settled on this traditional Rolling Star pattern.

These blocks are a whopping 18 inches finished.  I wanted the fabrics to really shine here.

I need a good place to hang a big quilt for pictures!

I used my pattern boards to quilt this with a Baptist Fan design. Here is the backing, it is part of a duvet cover I found on clearance. The pattern and color were perfect!

I just love the texture that the quilting gives.

I used Superior Mono-poly thread on top and white magna Glide Classic in the bobbin. It is currently living in my guest room.

 Sorry for the picture overload, but I love this texture!

I love leaving the door open and walking by this room.

I didn’t end up using all the fabrics in that bundle, so another quilt from this will be coming somewhere down the road.

Linking up with Confessions of a Fabric AddictCrazy Mom Quilts, Sew Can She

Posted in Bed Quilts, Finishes, Uncategorized | 27 Comments

Throwback Thursday ~ More Closet Quilts

Here are a couple more quilts I found while cleaning closets this week. This first one was made while we lived in France in the late 90s. I purchased a small bundle of these Provencal fabrics from a quilt shop in Paris called Le Rouvray.

I machine quilted this on my 1955 Singer Model 201. I think the white fabric came from Ikea.

The next one started out as a vintage top purchased at a garage sale. I could not believe my luck when I found it at a price I could afford!

I hand quilted this. I just love this sashing fabric. See the little duck blowing bubbles?

I quilted it simply and used a vintage purple fabric for the binding.

I have more closets to clean. I wonder what else I will find!

Linking up with My Quilt Infatuation

Posted in Throwback Thursday, Uncategorized | 4 Comments

WIP Wednesday ~ Black and White

 Have you figured it out yet? I had to cut up a bunch more inch and a half squares.

I’m using this fusible grid product. 
  

I placed all my squares on the grid in my chosen pattern.


Then I placed a piece of parchment paper over the top and used my iron to fuse them in place.


That’s as far as I got yesterday. I’m hoping to start sewing today. I sure hope this all works out as planned! Stay tuned!
 

Linking up with Sew Fresh QuiltsQuilt Fabrication

Posted in Uncategorized | 13 Comments

Cleaning Closets

Sounds fun, right? Not so much. I didn’t take a single stitch yesterday as I was too busy cleaning. The up side is that I found a couple quilts I hadn’t seen in a while. This is one inspired by Gwen Marston. I couldn’t find it when I did my announcement for theGwennie Inspired QAL. This one actually appeared in an issue of Quilt Magazine back in the day. It has been washed a gazillion times.

This next one has blocks from a swap way back in the days of the AOL Online quilters. Remember that? We had a small group and each made blocks to represent our house.

I love the lace curtains in the one on the upper right! The one on the right in the second row was made by a lady who lives Ina very modern looking house. She said if the roof was removed and you looked at her house from above, it would resemble a box of fabric!

At the time, we lived in a 1950s ranch and had just painted it blue.

Daughter #2 loved this quilt. I used to rock her with this quilt and we would make up stories about the people that lived in these houses. It isn’t a “pretty” quilt, or well done. But the memories of sitting with my baby girl mean it’s a keeper.

Happy Tuesday!

Linking up with Free Motion by the River, The Quilting Room with Mel, Blossom Heart Quilts

Posted in Uncategorized | 9 Comments

Design Wall Monday ~ Another UFO…..Sort of….

Em, over at Em’s Scrapbag, has a linky party on Monday’s called Moving It Forward. The idea is to share forward movement on any project. I really like this concept. There isn’t any pressure to share a finish, just encouragement to take another step toward the goal. In fact, I like this idea so much, that as I wander around my sewing room deciding what to work on, I find myself looking at UFOs and thinking, what do I need to do to move this forward? And that is exactly what I am doing with this one.

I listed this in my UFO parade at the beginning of the year.


I’m finally ready to start working on it again; but, I threw most of it out and decided to start over.


I have the same vision for this project, but in thinking about moving this project forward, I changed my mind about the process I will take to get there. Anyone want to guess where I am headed with this?

Linking up with Em’s Scrap BagLove Laugh QuiltCooking Up QuiltsPatchwork Times

Posted in Design Wall Monday, UFOs, Uncategorized | 9 Comments

Finally Some Slow Stitching

 I have finished quilting. 
 Finished trimming. 
 Made my binding. 
Applied it.

 
And I’m ready for some slow stitching. Have a wonderful day!

Linking up with Kathy’s Quilts

“This is the day the Lord acted; we will rejoice and celebrate in it!”

‭‭Psalms‬ ‭118:24‬ ‭CEB‬‬ 

Posted in Uncategorized | 13 Comments

Armed Forces Day


Thankful.


Posted in Uncategorized | 5 Comments

Leader/Ender Update

I haven’t shared the progress on my leader/ender blocks in a while. This shows four blocks put together.img_1662-1

Each rectangle was cut 2  inches by 3 1/2 inches. I sew twosies as leaders/enders and when this little pan looks full, I stop and make a 12 inch block.img_3502

It doesn’t take long to make one or two blocks and is a good thing to do when I have a few minutes to fill.  I think I will stop at 64 blocks for a quilt 96 by 96. Maybe. I might change my mind. At this point, I have 41 blocks made. Here is what they look like all together.


I have really enjoyed making these and consider this project my first real success at using leaders/enders to create a whole new quilt.

Linking up with A Quilting Chick, Quilting is More Fun Than Housework

Posted in Leader/Ender, Scraps | 17 Comments