
I’ve been prepping more pieces for my Gwennie Inspired Medallion QAL. I told you I was slow at this! I am no expert on the A word, but I thought I’d show you how I prep my leaves for appliqué.
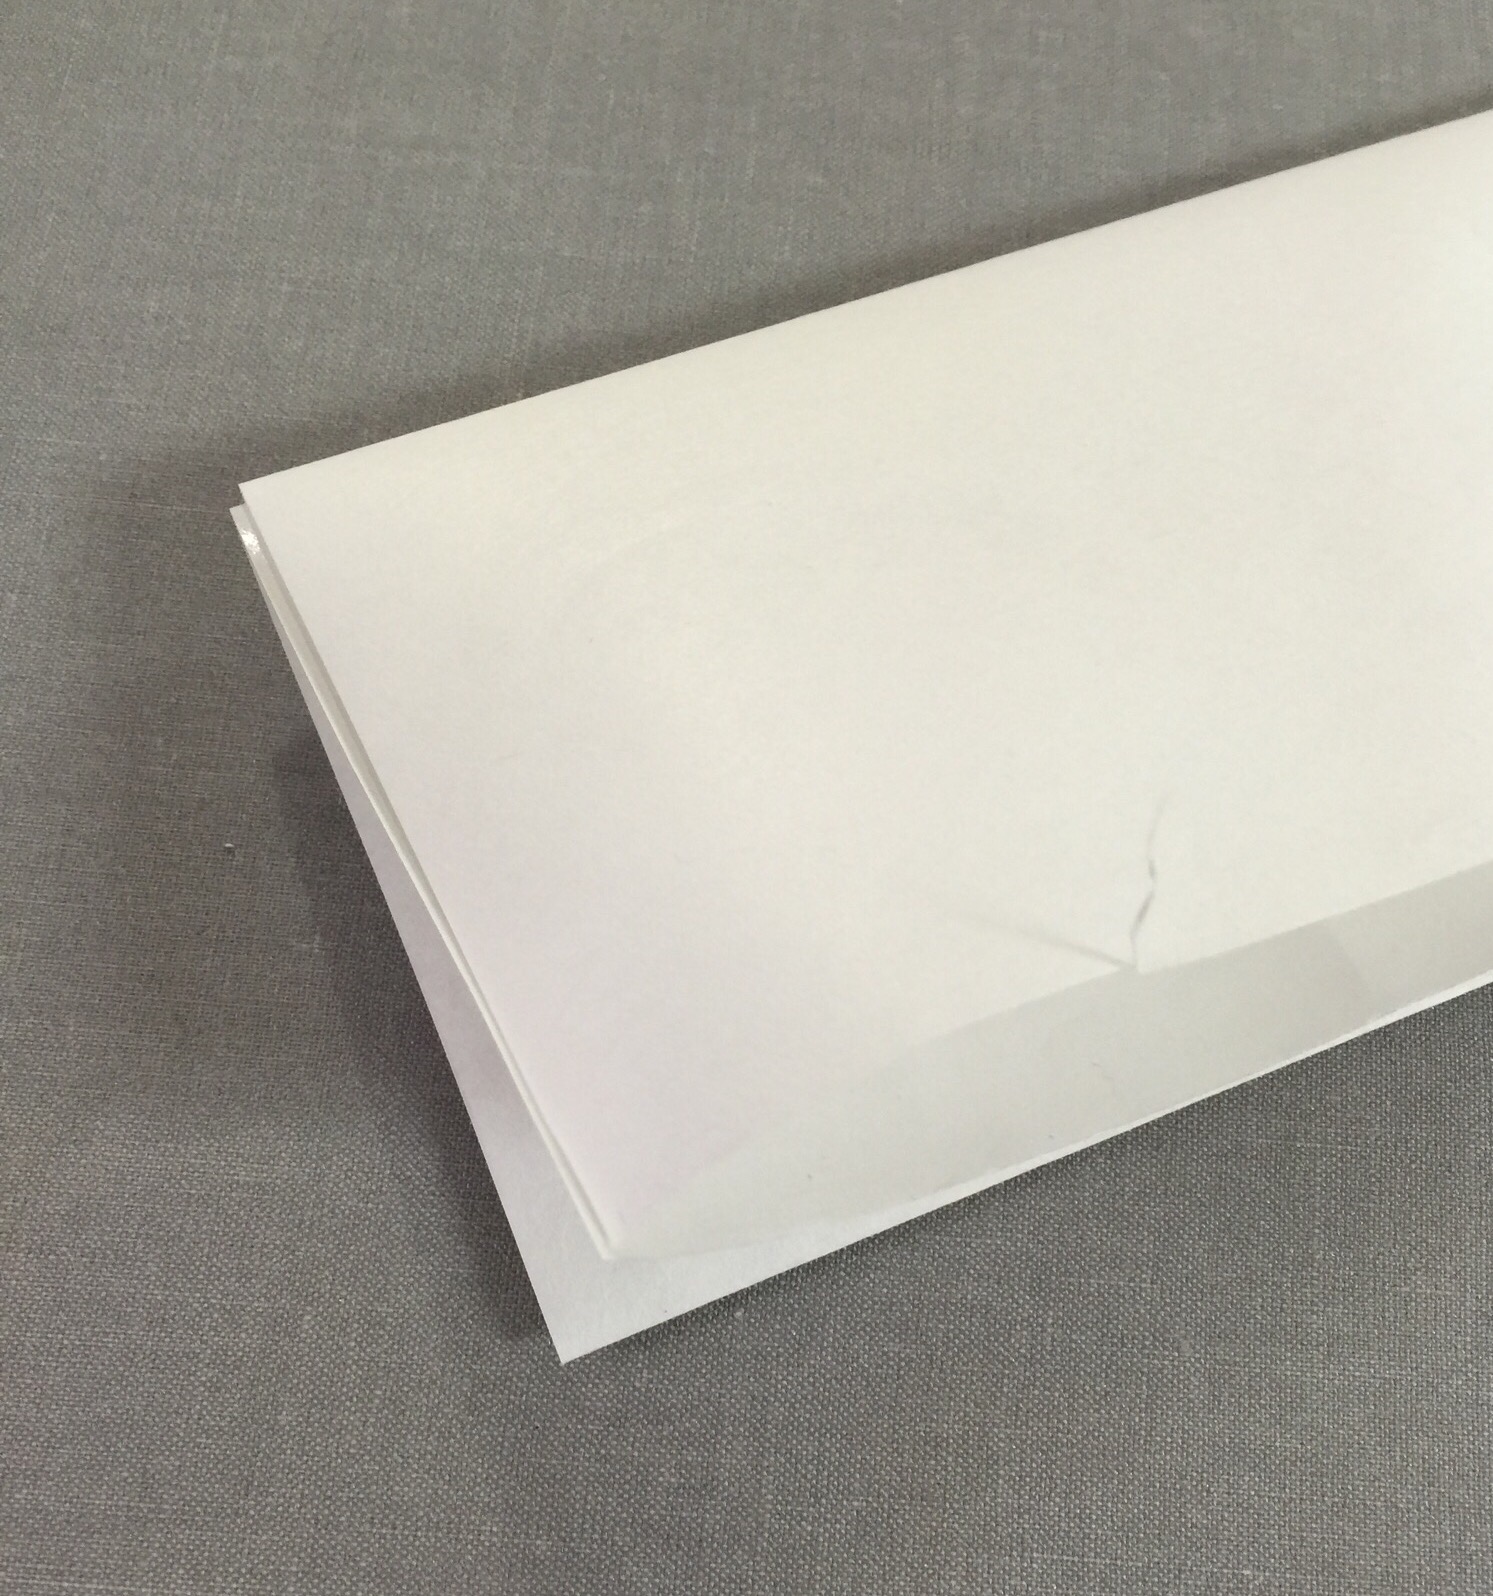
First, I take a piece of freezer paper and fan fold it into 4 layers.
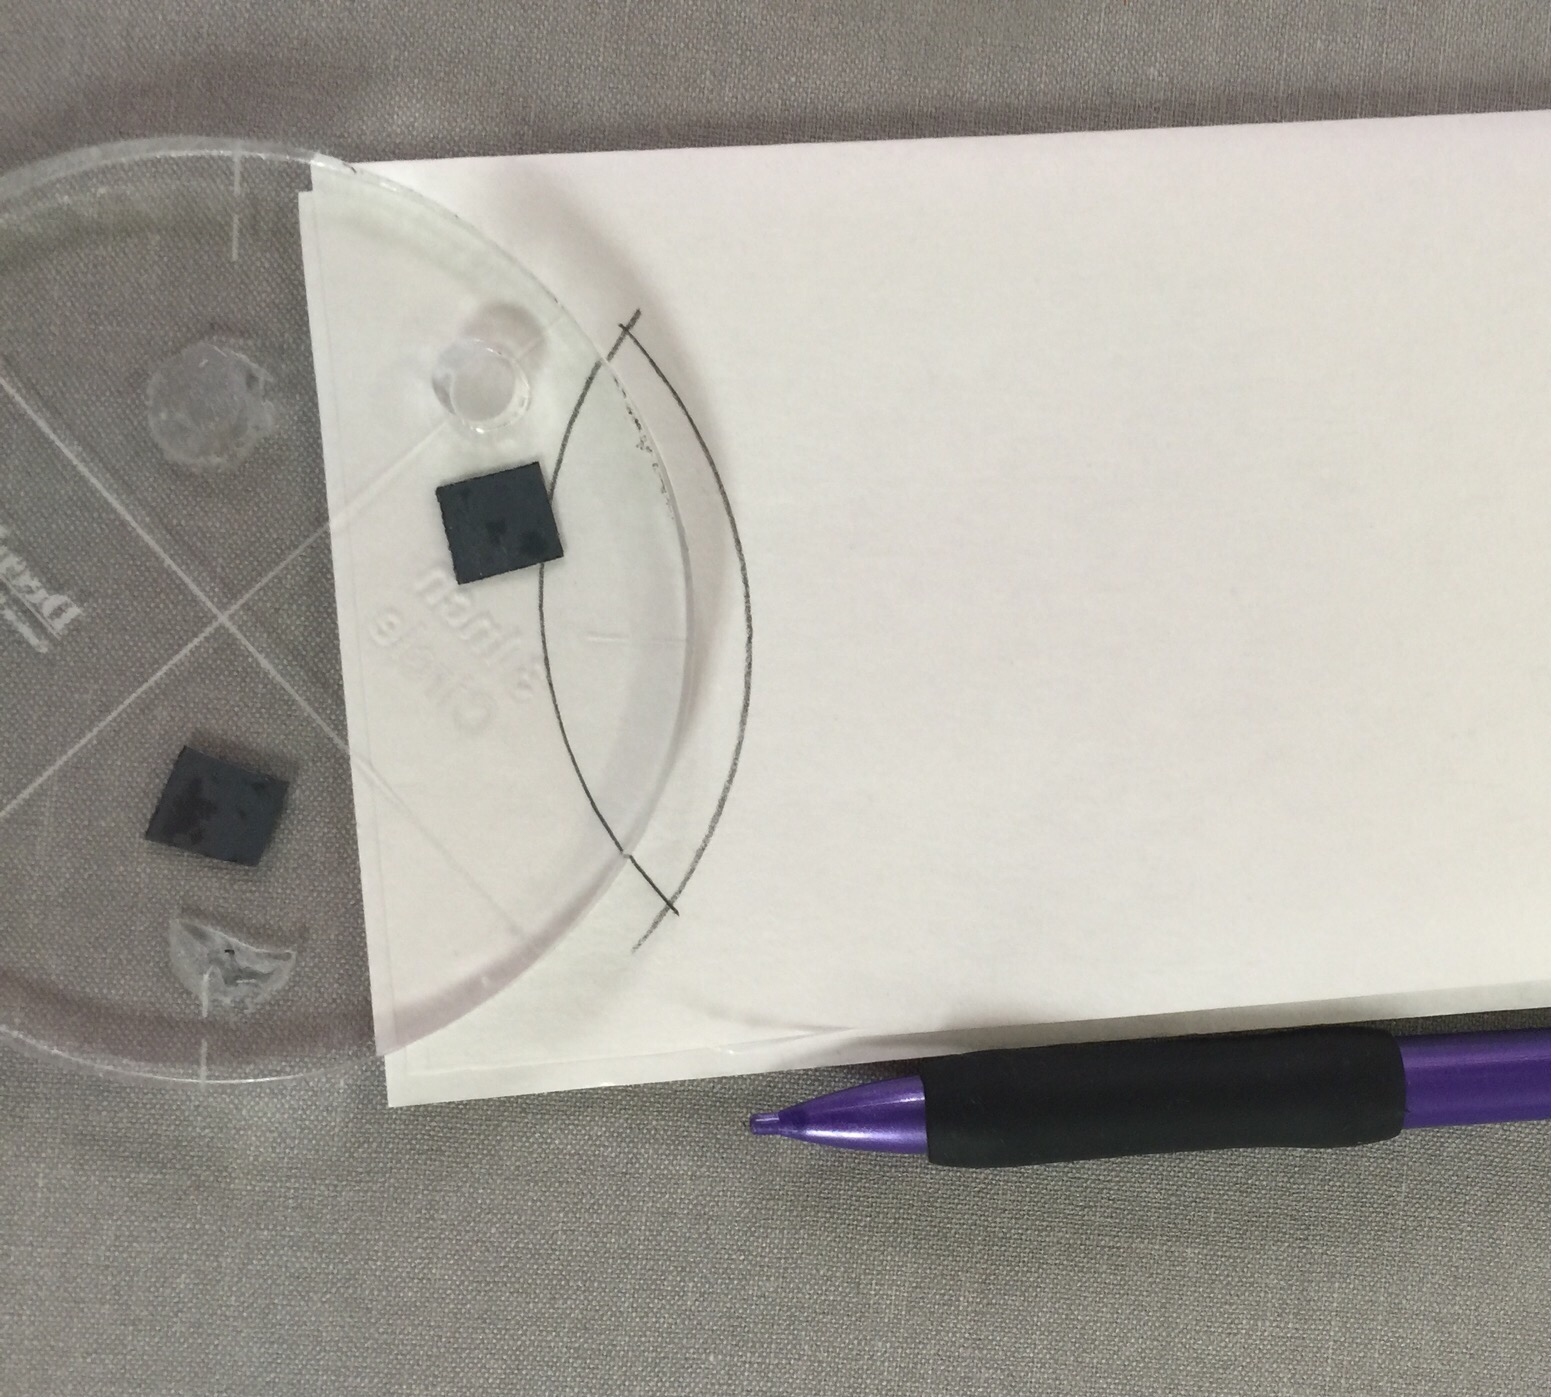
I used a small circle template to make a curved line.

And another.
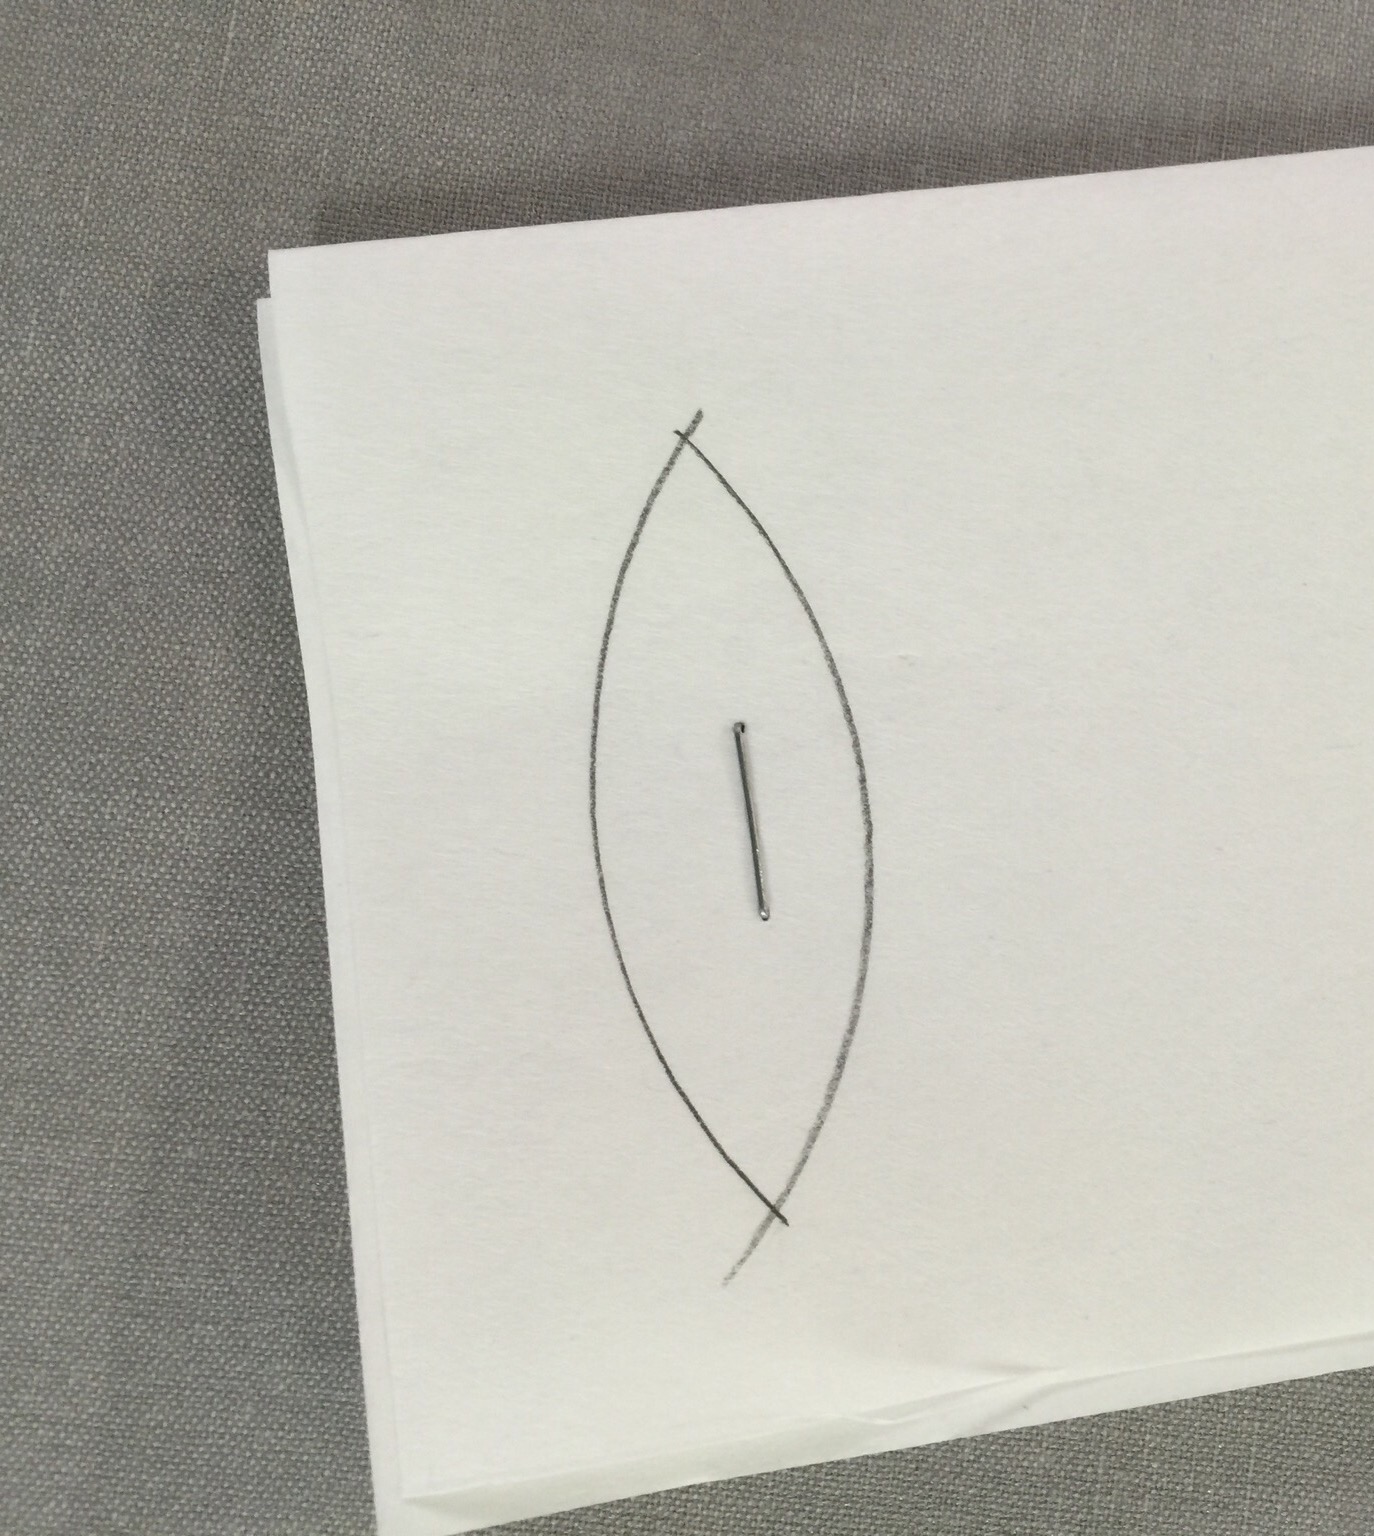
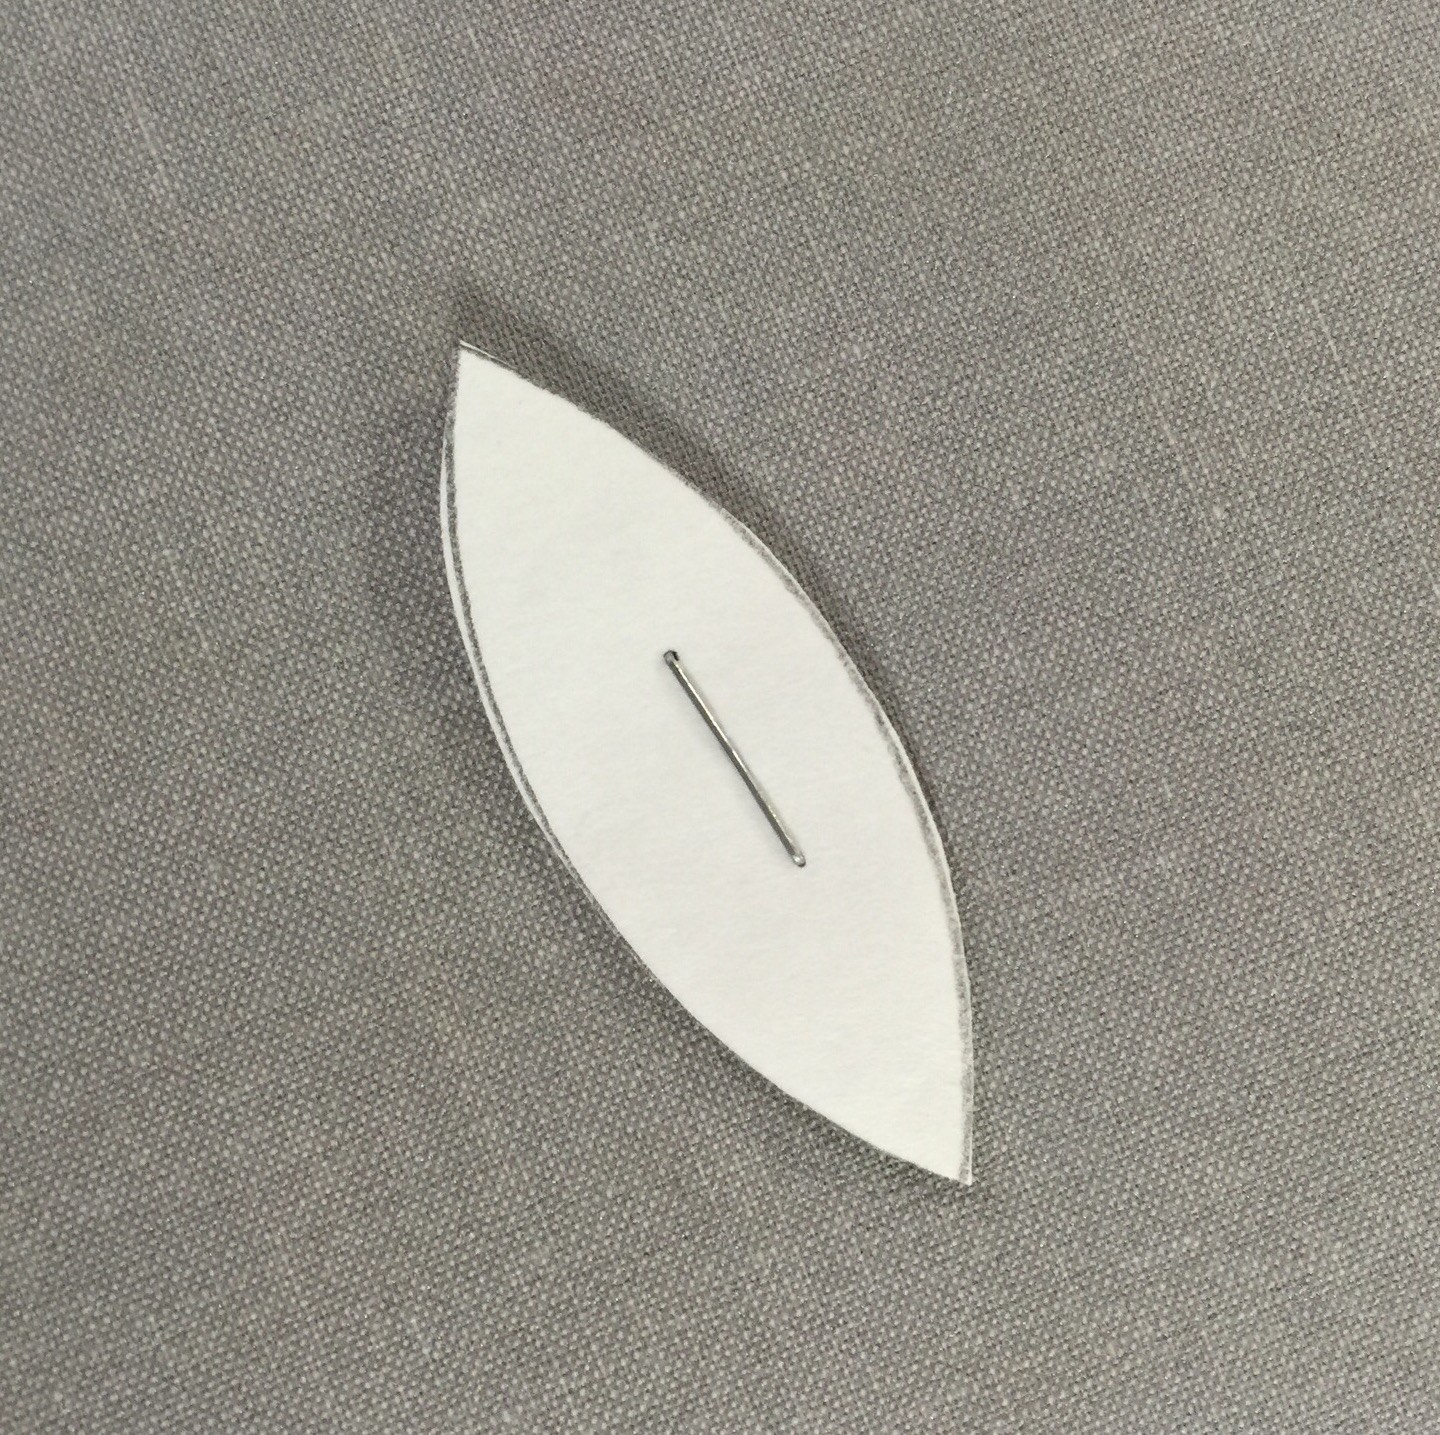
 There’s my leaf shape! Pretty simple. Then I place a staple through all the layers so they don’t shift when I cut them out.
Here are my four leaves.
The freezer paper on the waxy side can be ironed onto the back of my fabric.
Then I cut them out leaving about a quarter inch seam allowance.
Next, I thread baste the edges under. I shouldn’t have used green thread for this step!
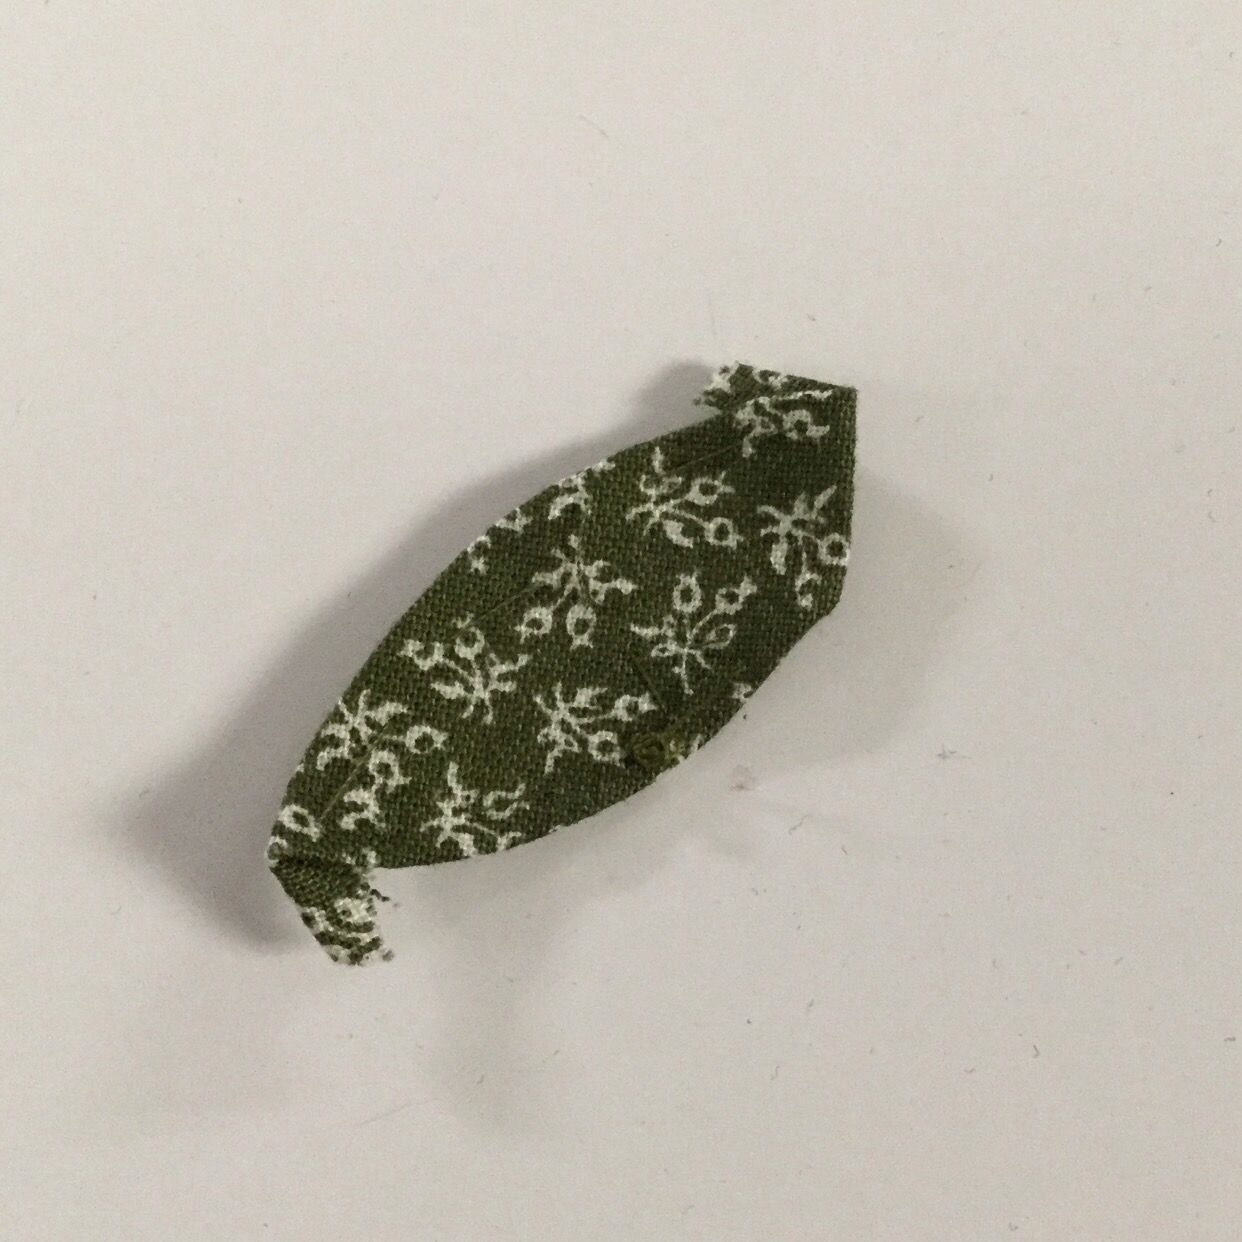
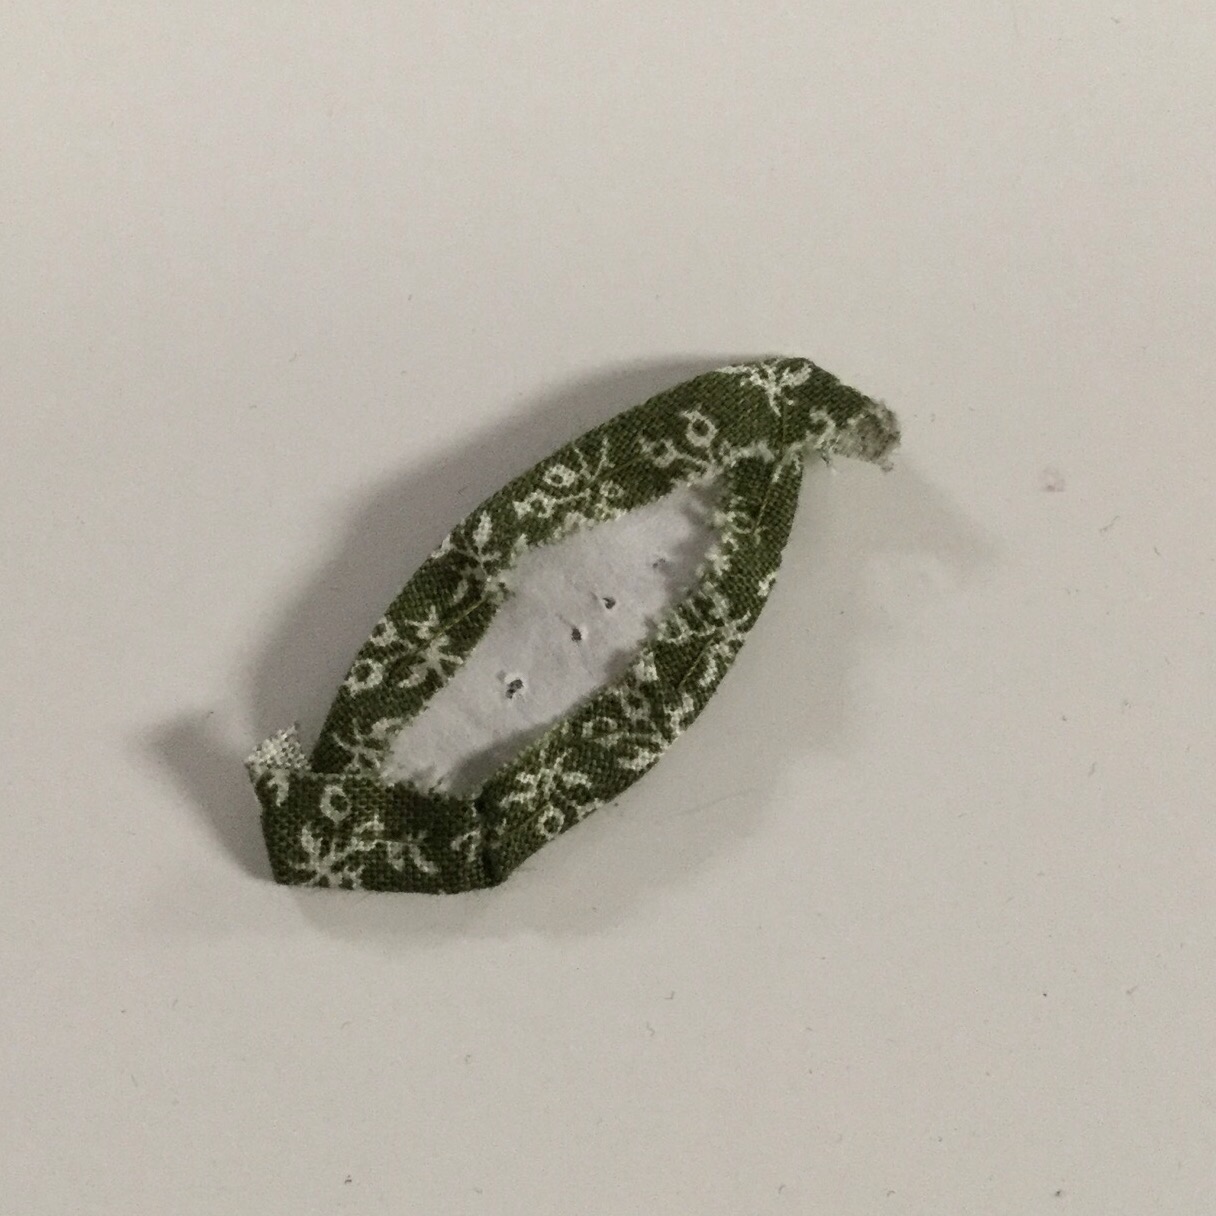
This is what the back looks like, I don’t worry about perfectly tucking those points under, I will take care of that during the actual applique.
Then I pin the leaf in place on the background. You can see it is pretty small!
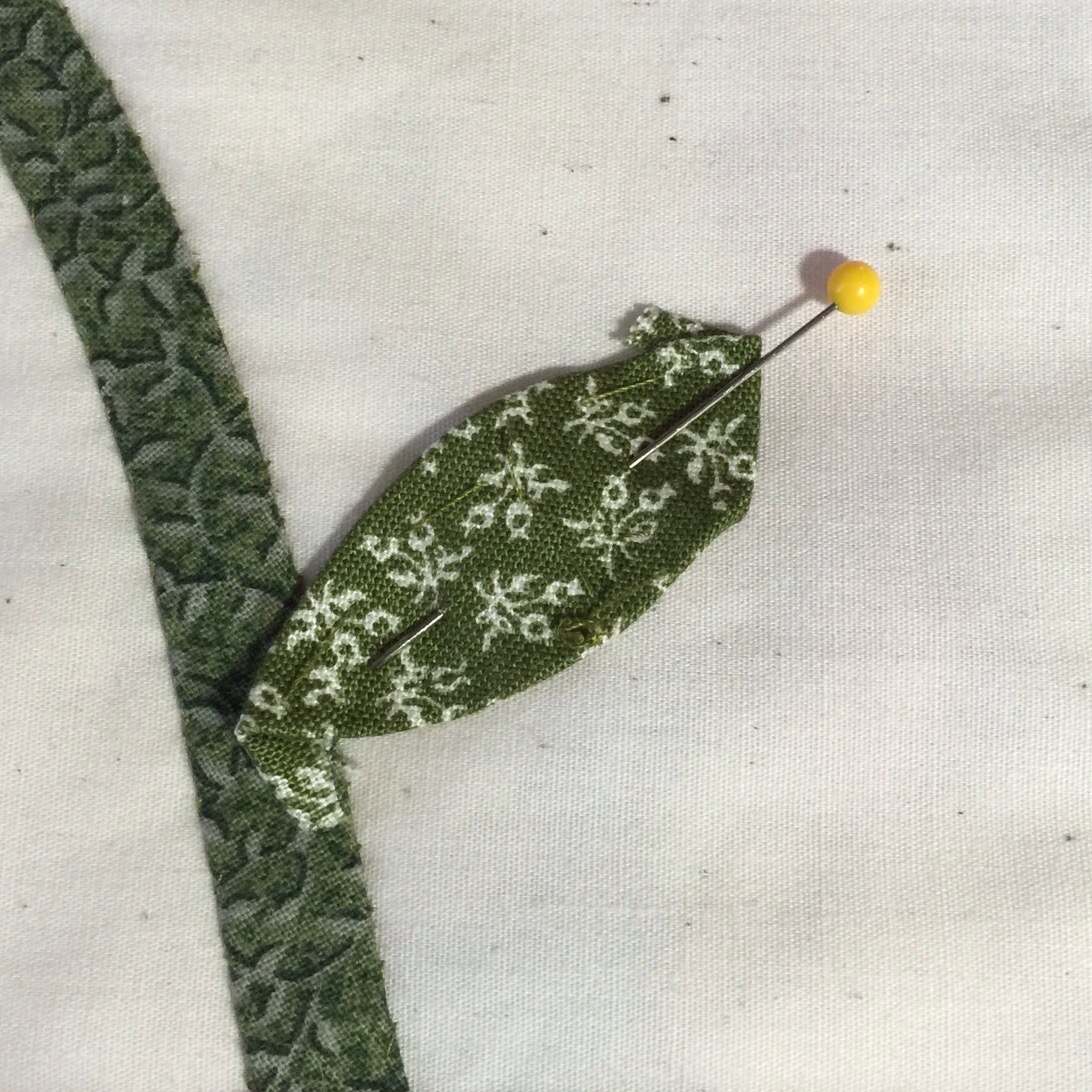
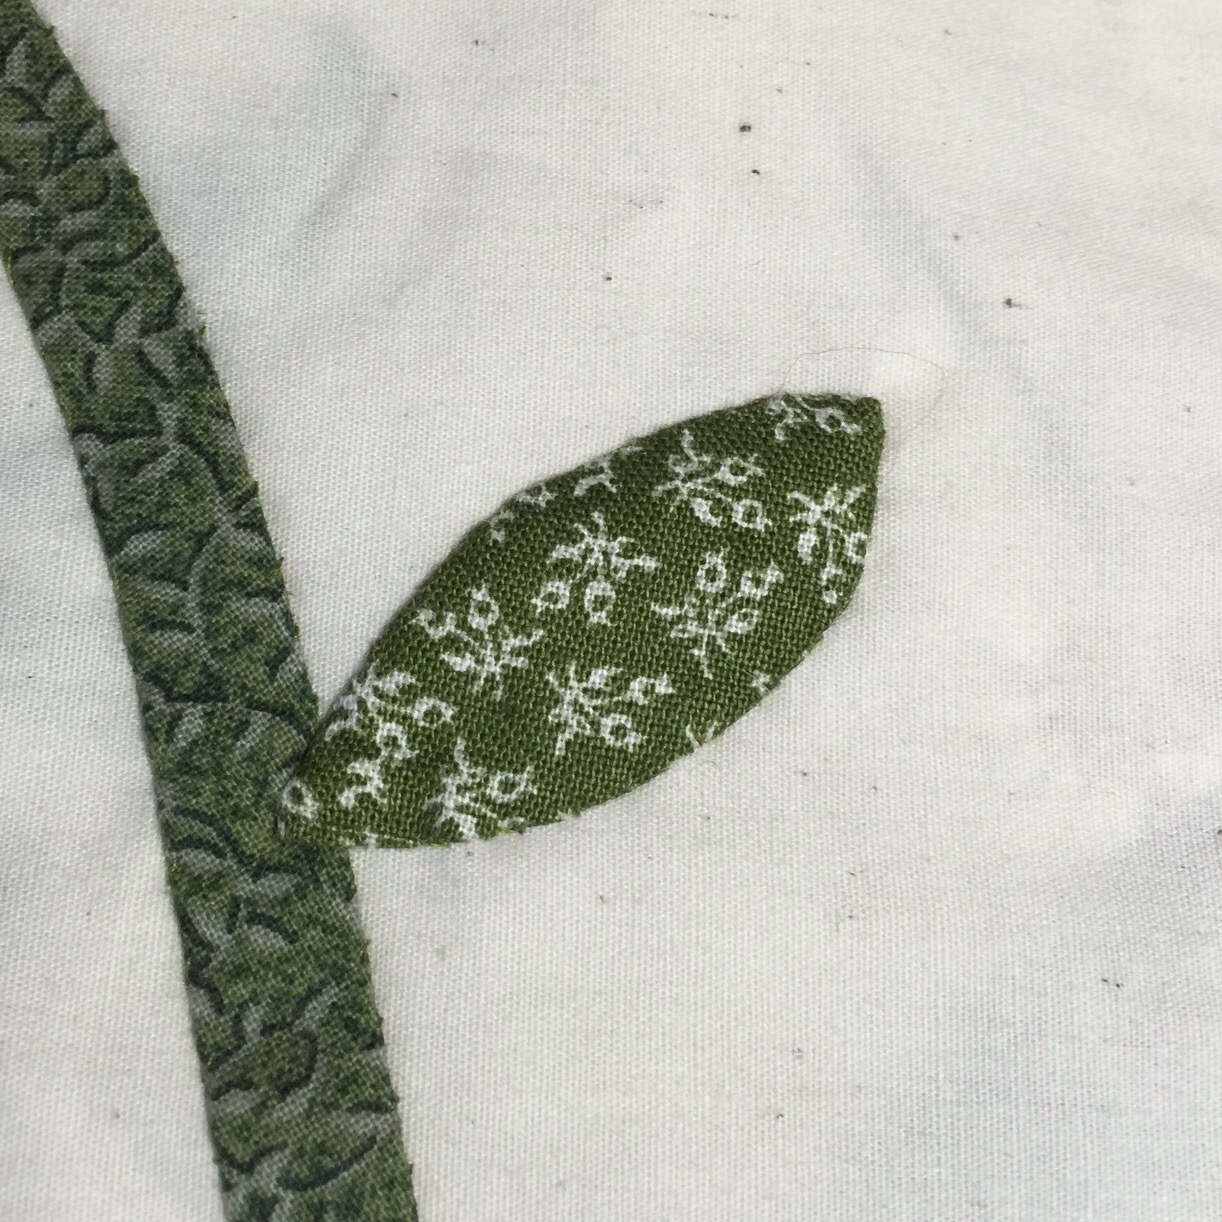
I applique around the edges, leaving the area between the arrows unstitched.

Then I remove the basting stitches and use tweezers to pull out the freezer paper template.
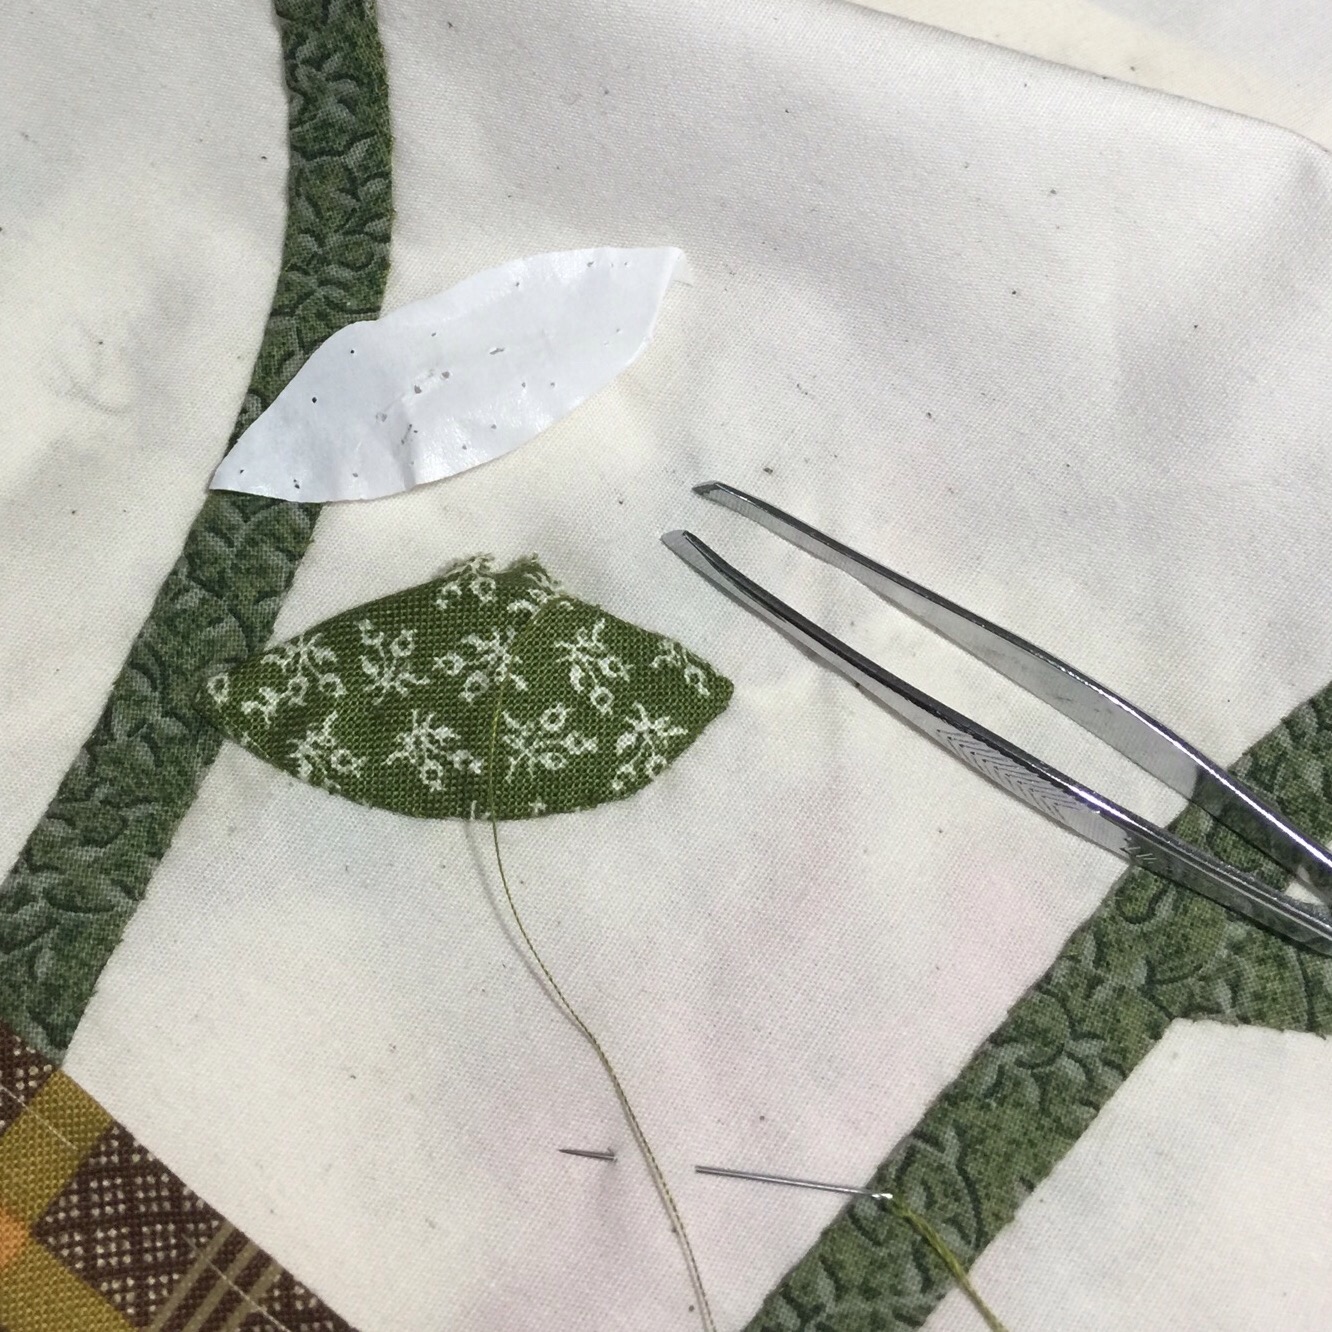
After tucking that edge back in, I finish the applique.
One leaf down, a bunch to go!
I only have one more week to finish this so I better get moving! Linking up with Kathy’s Quilts for Slow Stitching Sunday


Neat method! I was wondering how you were going to remove the paper! Pretty slick 🙂
I don’t applique, but I am fascinated by the many different methods available. This almost looks doable to me. : )
Thanks for showing how you cut out leaves. I’m relatively new to applique and have just been cutting the shapes free-hand. I’m beginning to feel a little rushed to get my basket done by the end of the week, too. And I’ve only stitched the bottom of the basket!
Looking good Katy. Great tip for leaf making. I will use that method, cause the nothing bugs me more than leaves with different sides. I know…anal! 🙂
http://www.susannasquilts.blogspot.com
I use freezer paper but after I iron the template to the fabric, I startch the edges of the fabric around the template and then pull out the template. The fabric stays in its perfect shape and it is simpler to work with. I very lightly glue the shape with elmers glue (be sure it is acid free). Works a treat!
I do it pretty much the same as you – except I use sequin (applique) pins to hold the piece in place. Because they’re so small and short, my thread doesn’t get wrapped and tangled – try it! Also, I cut out the background behind my applique and remove the paper that way. Can’t wait to see what this turns in to!
Very nice tutorial. You are doing a great job on the leaves. Can’t wait to see them all onto their stems.
Great tutorial on appliqué. I can’t wait to see your quilt come together. I have to admit that I’ve done very little appliqué … I can do very simple shapes decently enough, but most appliqué designs that I like are too complex and intimidating.
Enjoy your stitching. Those leaves look great. You are ahead of me in the applique department. I have never tried it.
Thank you for this great tip. I don’t do a lot of applique but with tips like this I might do more.
It’s looking good! Can’t wait to see the finished piece. I’ve tried freezer paper (years ago) and wasn’t too good at it. I have more success with a glue stick. Just finished a quilt with 24 appliqued elephants, so I’m much better at it than I used to be. Enjoy the process!
Thank you for sharing your appliqué method ! I can’t wait to admire your block !! 🙂
What a GREAT tutorial to show how to use freezer paper so nicely! Thanks for the tips 🙂 I am good at traditional piecing but not great at applique yet and leaves and stems may be where I start… for a border treatment maybe! Thanks again for the tutorial and for linking up so I saw your post! 🙂 Kathi
That was really fun to see the step by step instructions…love the idea of stapling multiple layers of freezer paper to make many templates at the same time!
I have never done thread basting. Do you do it for more complicated shapes?
I have never done freezer paper Applique. Thanks for the demo. I may have to try it next time….
Thanks for sharing those useful tips. Appliqué is something I need to practice – it can add so much interest to a quilt.