Hand Piecing

Someone asked about hand piecing my bow tie blocks. I thought I would share a quick tutorial on how I do it.

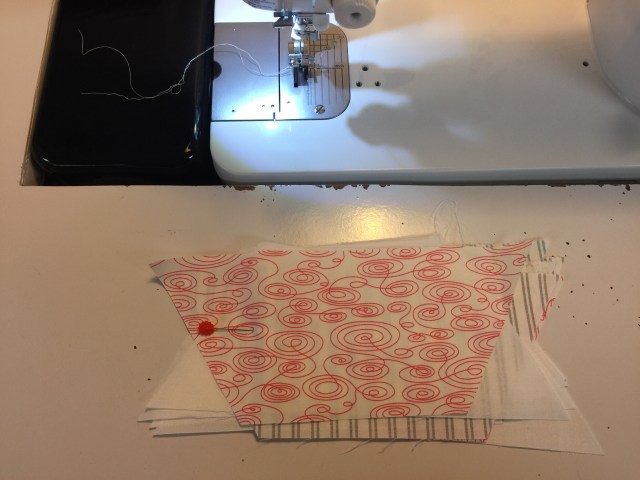
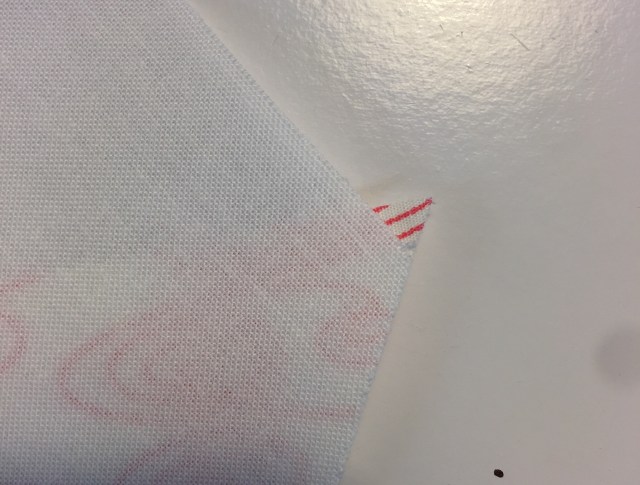
First, I cut my pieces and mark the seam allowances on the back.

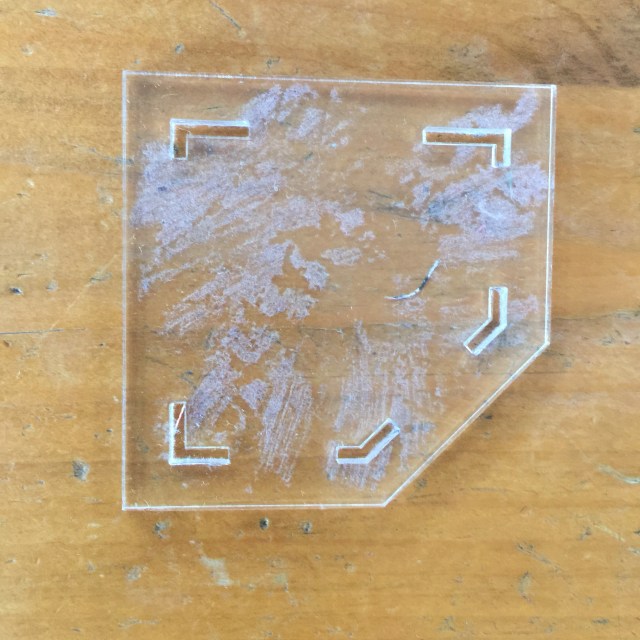
The template I use has slots at the corners for this, but you can also use a smaller ruler with a quarter inch seam marked on it. Ignore the mess, I put rubber cement on the back as a fabric gripper. When it is too linted up to hold, I rub it off and apply a new coat.
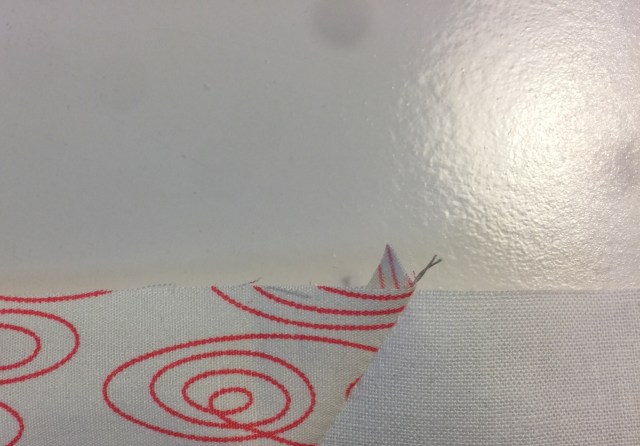
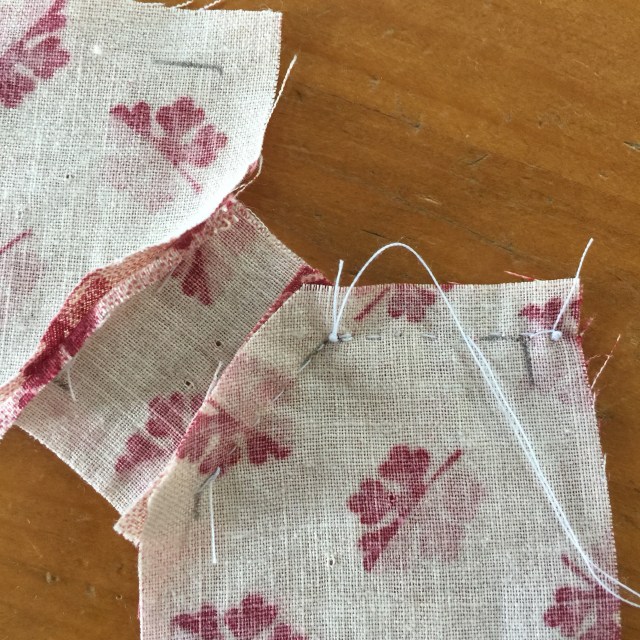
I only use one pin at the place my seam will end. I use my threads needle and go exactly through the marks at the beginning of the seam.
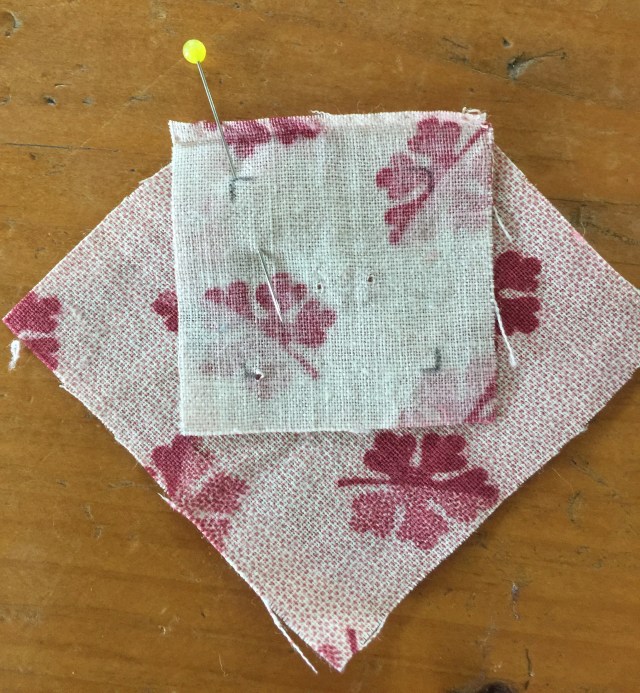
I backstitch at the beginning and end of the seam.
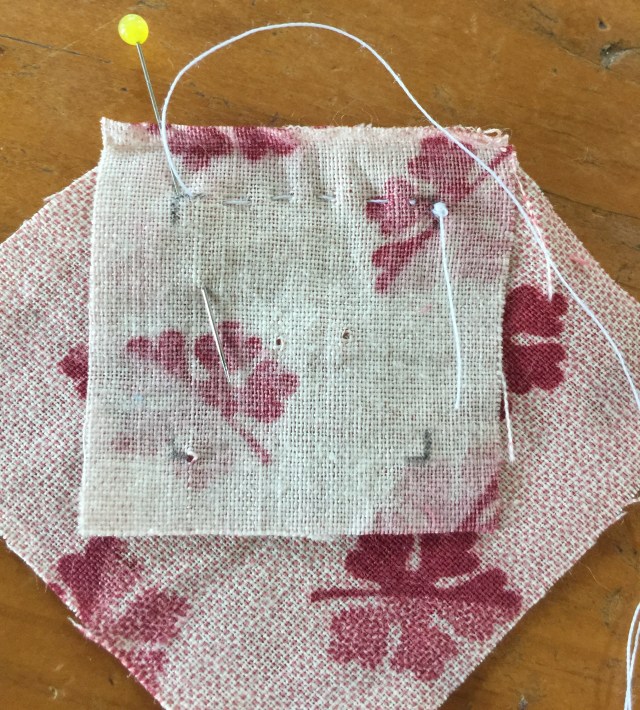
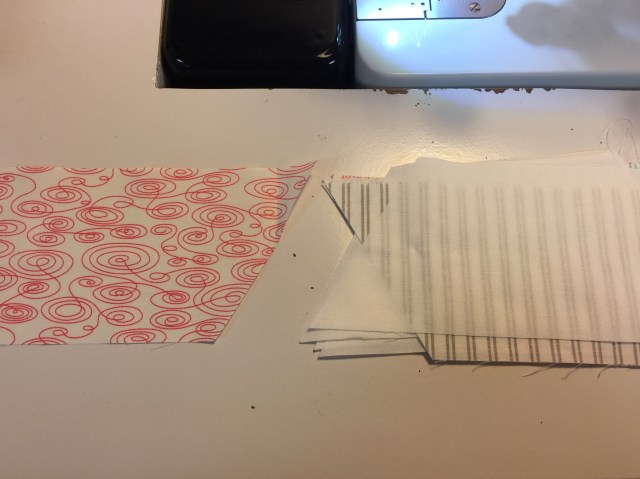
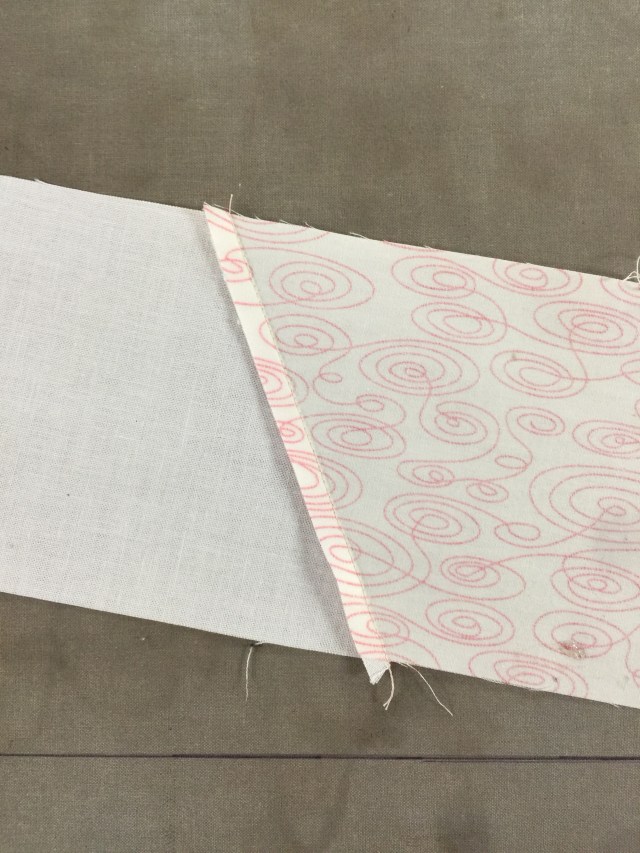
I always make the “tie” first.
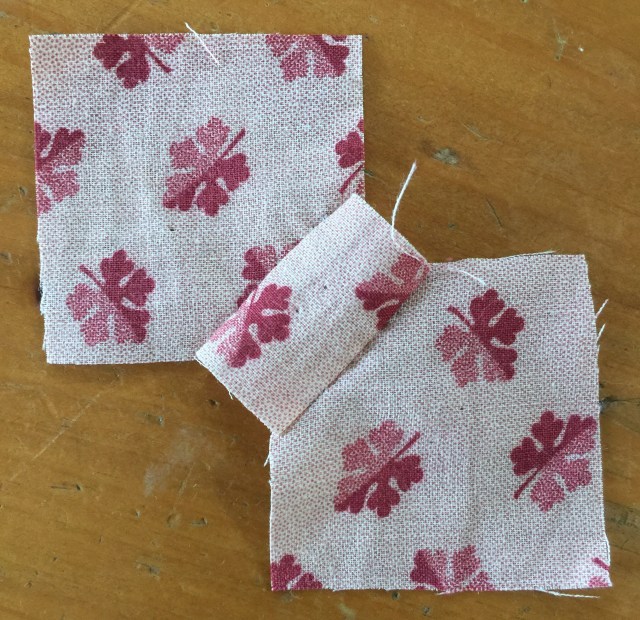
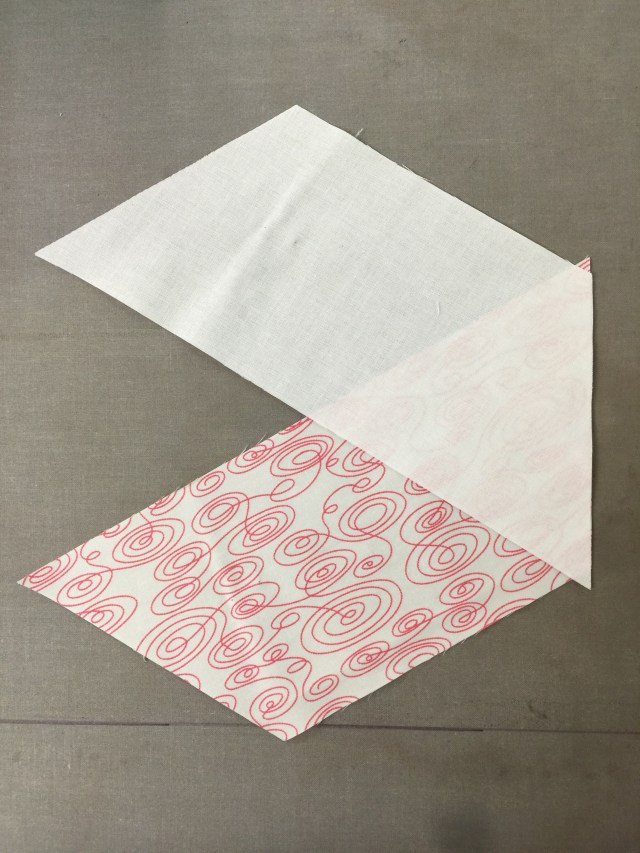
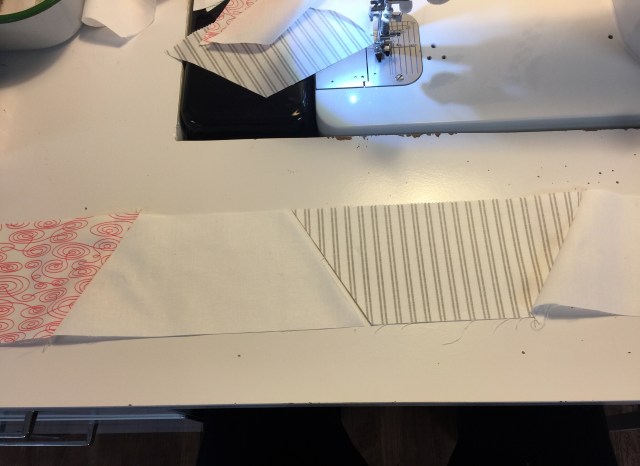
Then I add in the background pieces. I stitch from one edge to the first intersection, then move my pin to the second intersection.
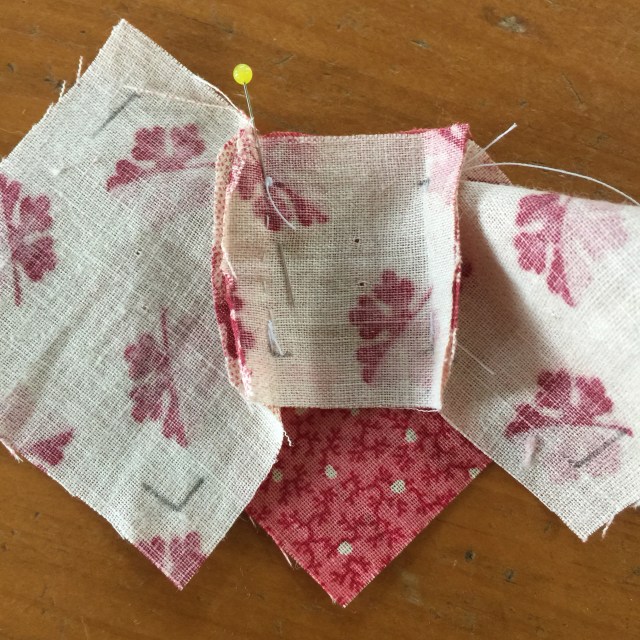
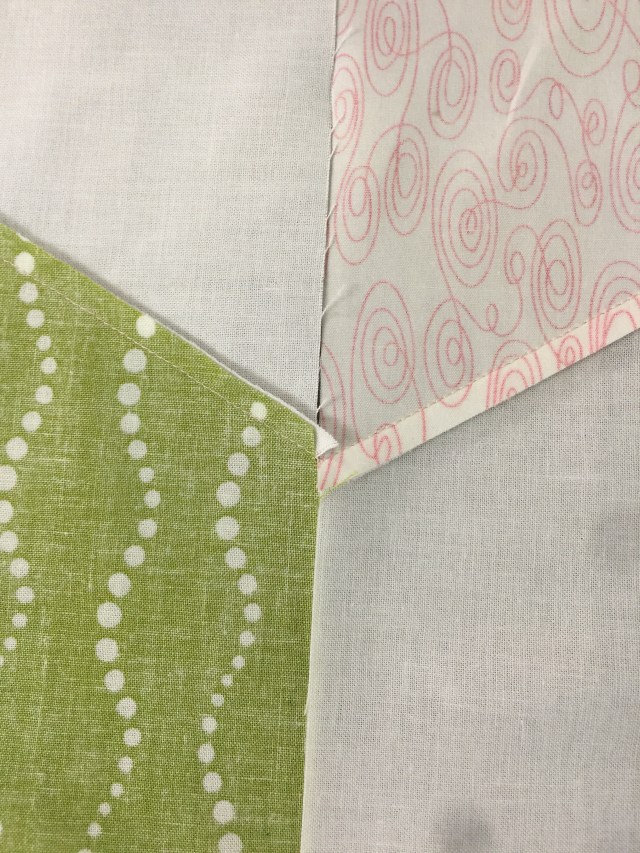
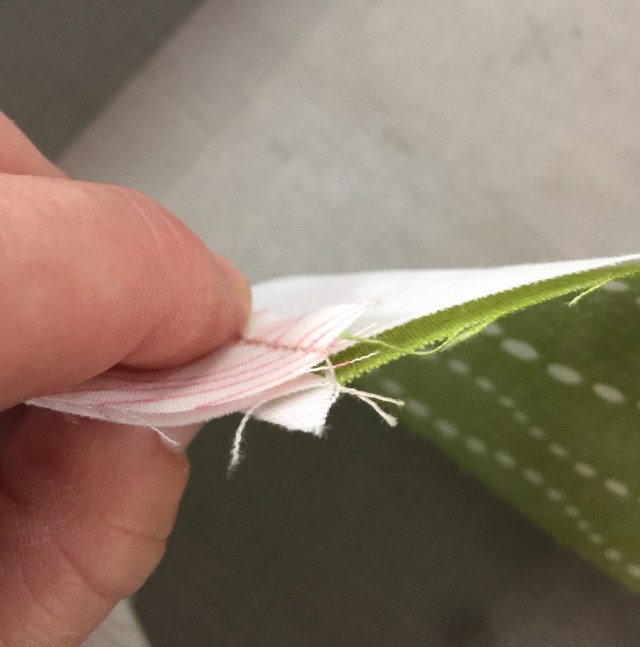
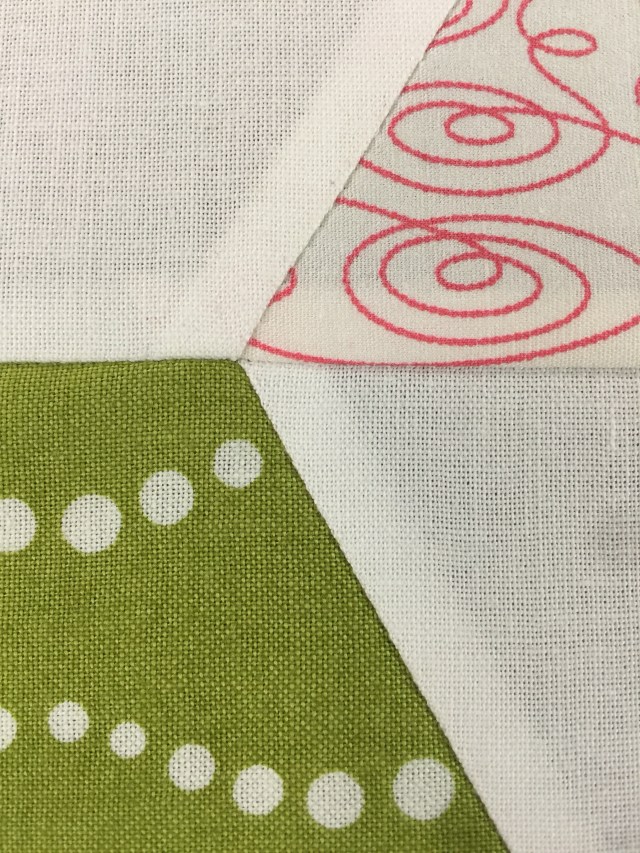
When I’m done, I twirl my seams in back and press like this.
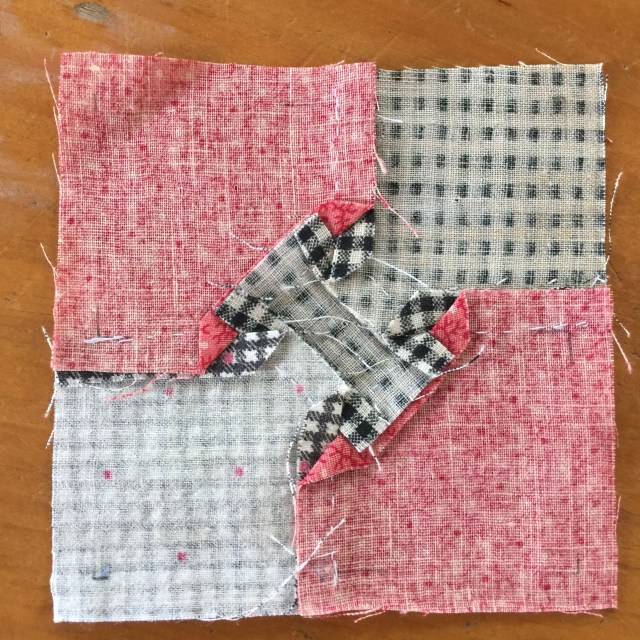
I see those two tiny holes in my background fabric. I’m not going to worry about them since this will be a decorative mini quilt only. This stuff is part and parcel of using vintage scraps.

I use Bohin sharps for hand piecing and I really like them. I got mine at Fat Quarter Shop . It’s about the only place I could find them.

Hope this helps!

This post contains affiliate links.
Posted in Hand piecing, Tutorials, Uncategorized | 6 Comments

DWMonday ~ Fun Finds

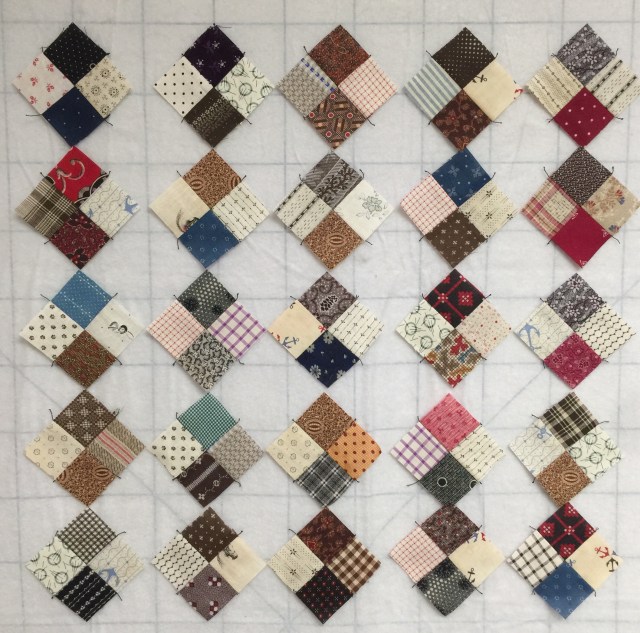
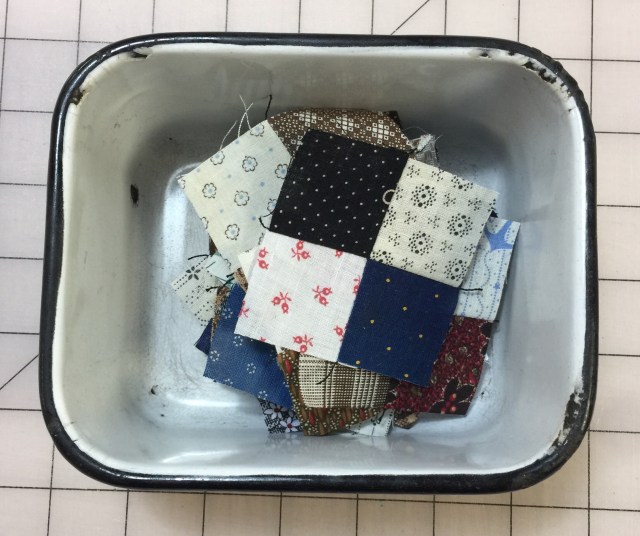
I love all the little things I find in my sewing room! Recently, I came across these tiny four patches I made from vintage scraps.

I’m going to be involved in a doll quilt swap in the new year and I think I might use these as my starting point. They will finish at two inches. They would look good on point, perhaps with a double pink background.

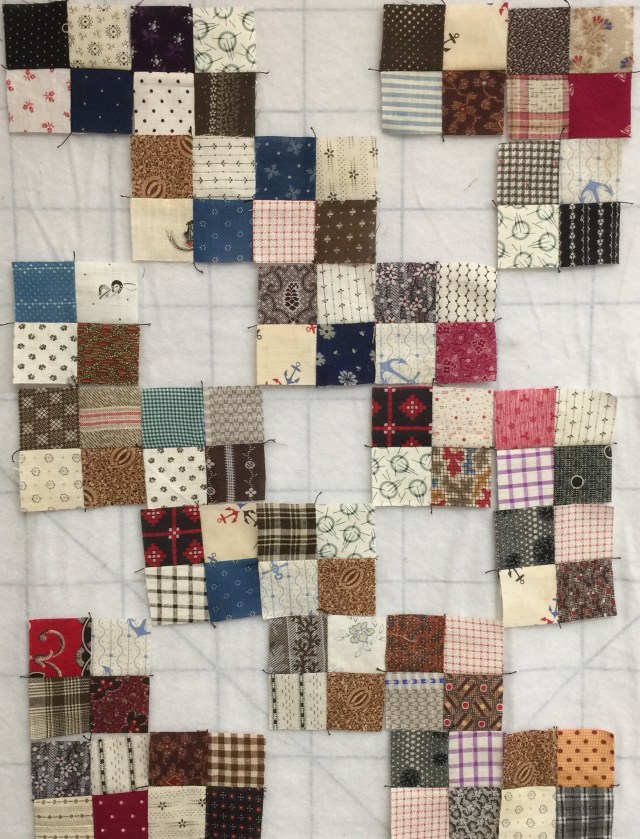
I could make a few more to create 16 patches.

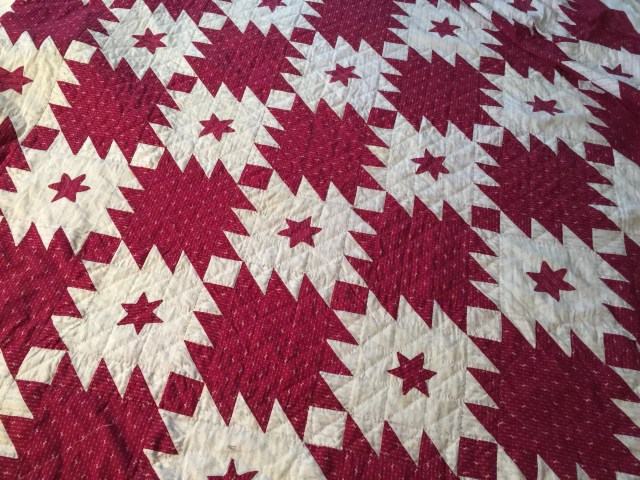
I always liked my Downton Abbey quilt and this might be a good layout in miniature.

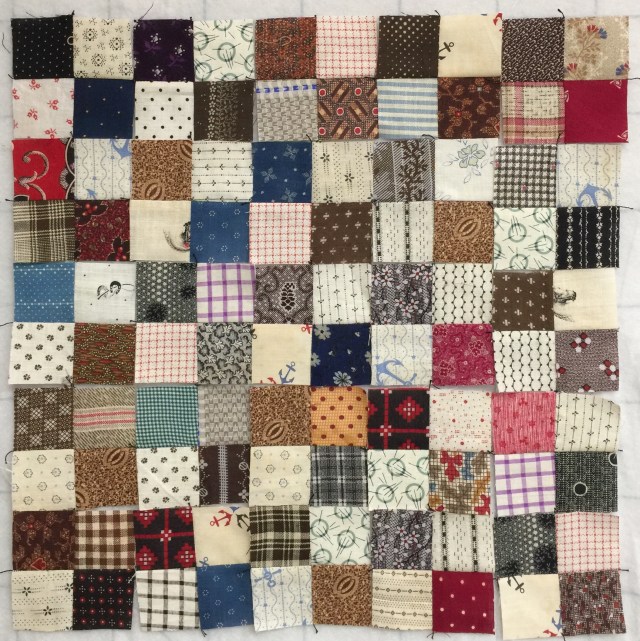
Maybe lump them all together?

So many ideas, so little time.

Have a great day!

Posted in Uncategorized | 7 Comments

Slow Stitching Sunday

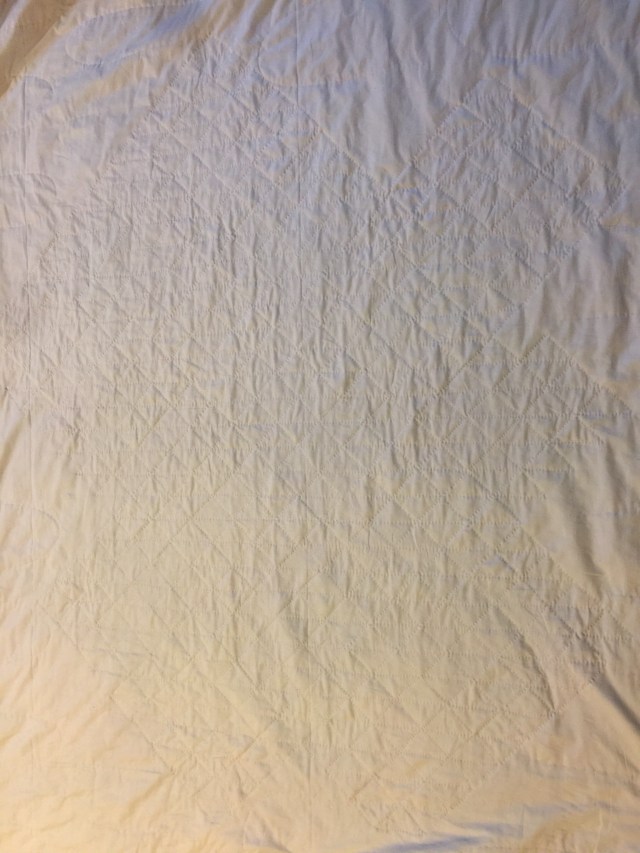
I thought I’d share a hand quilting update with you. I’ve really enjoyed hand quilting this vintage top.

It is hard to get a good photo where the quilting shows though.

This is what the back looks like at this point.

I’m loving it so far!

Have a great day!

Posted in Uncategorized | 4 Comments

This and That

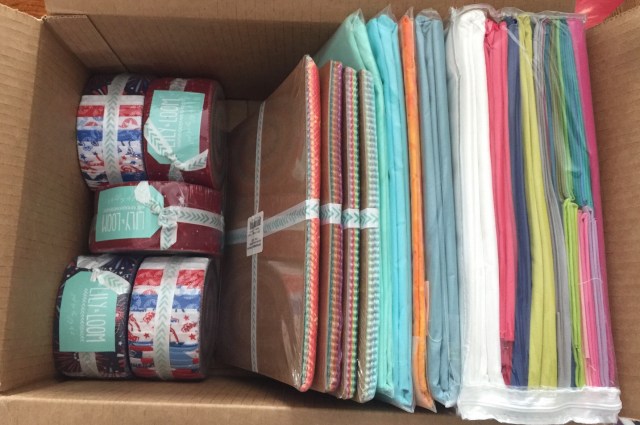
I succumbed to the Black Friday sales. Here is some of my loot!

I had to make a new stocking for E3’s first Christmas!

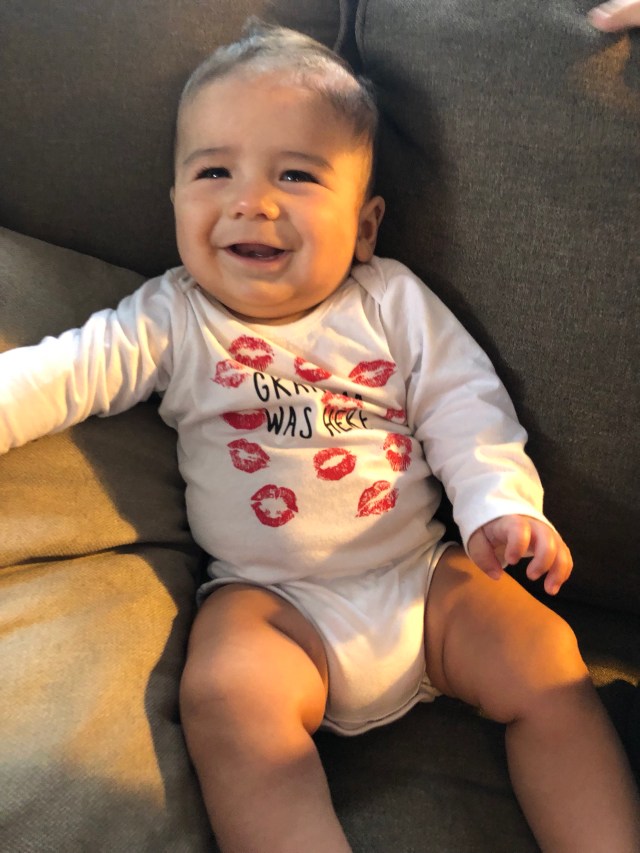
His shirt says, Gramma was here!

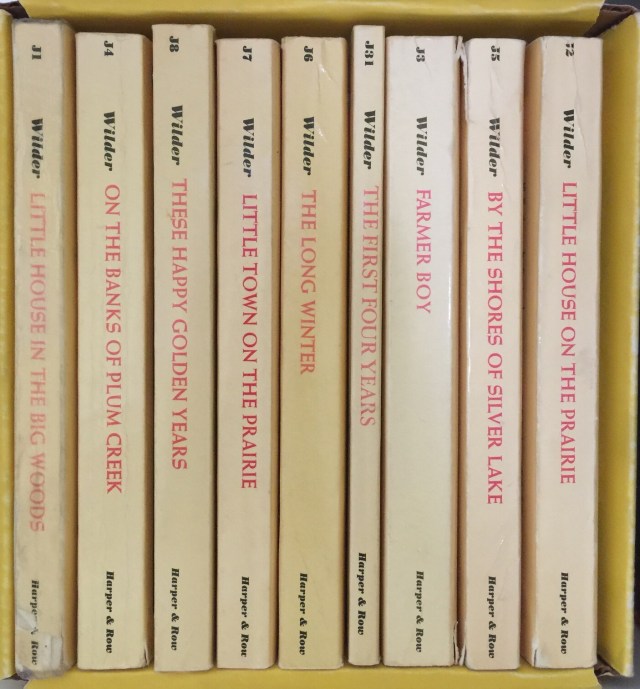
I recently listened to this book on audio. I enjoyed it very much.

It made me pull these out again. My sweet MIL bought these for my birthday about 30 years ago. I can’t tell you how many times I’ve read them and here I go again!

Winnie is getting into the Christmas spirit!

And so is E3!

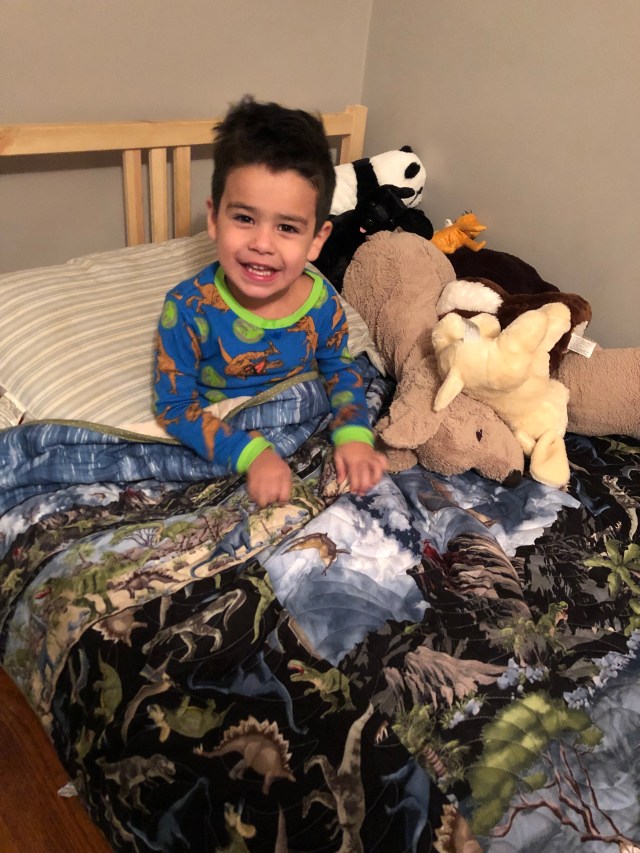
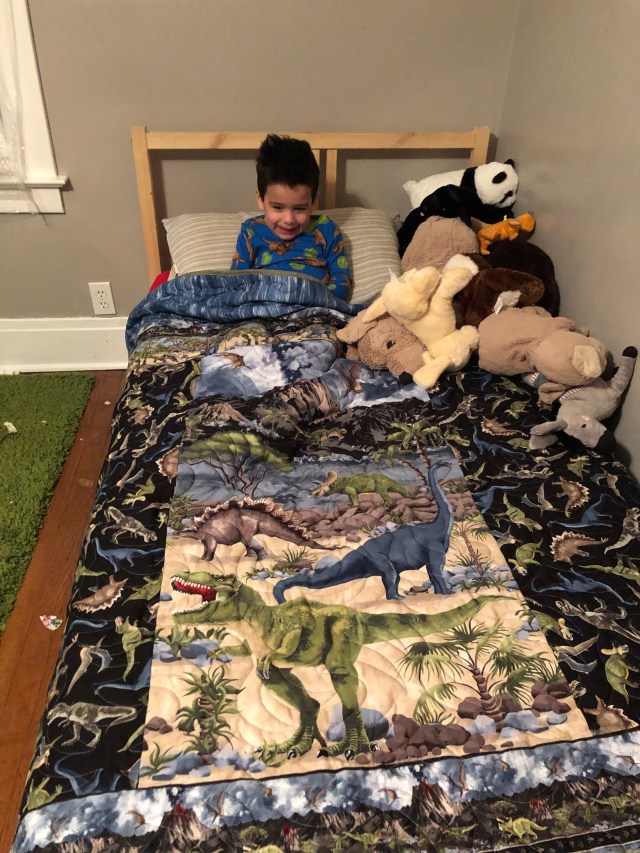
I was so happy to finally give E2 his birthday quilt. This face is the best part of making quilts!

Now, didn’t that just put a smile on your face?

Have a good one!

Posted in Uncategorized | 9 Comments

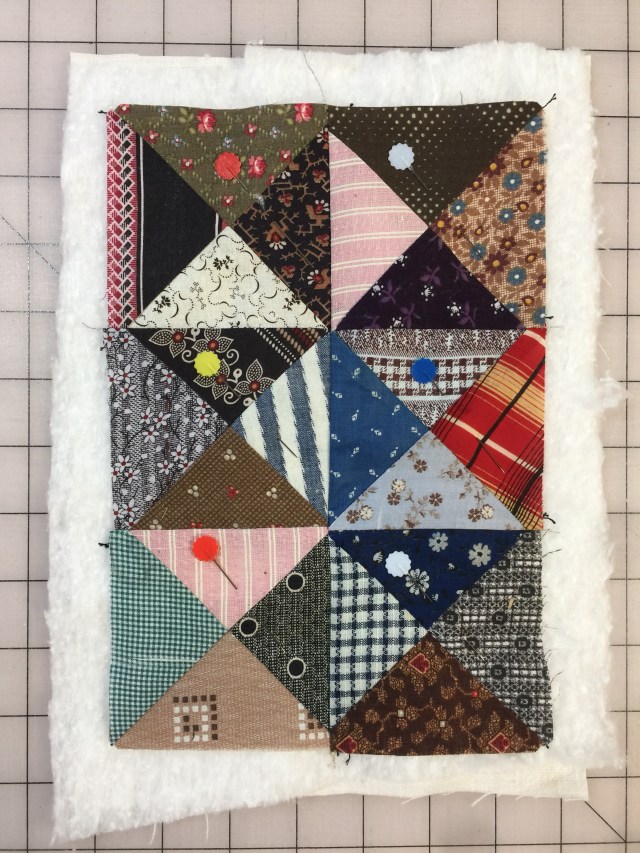
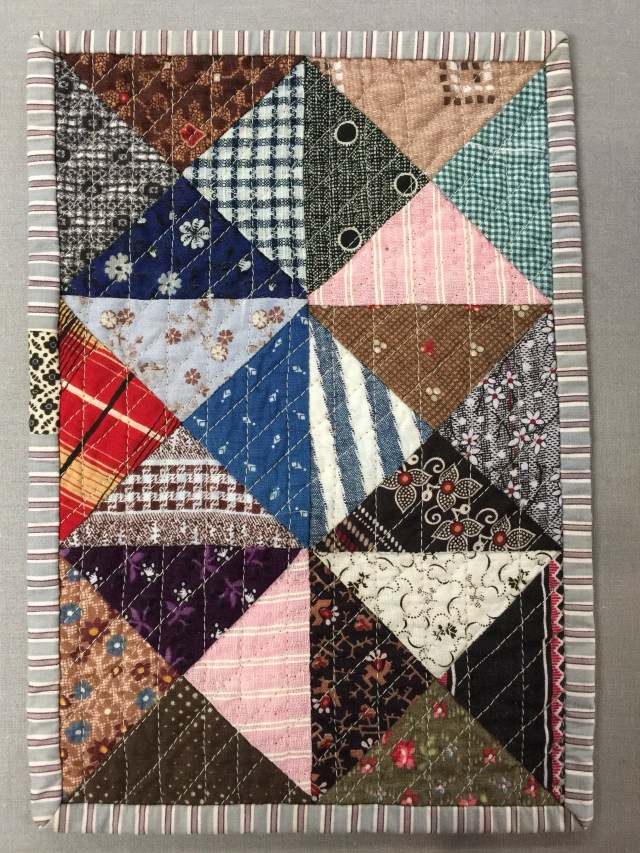
Finish It Up Friday ~ Vintage Hourglass

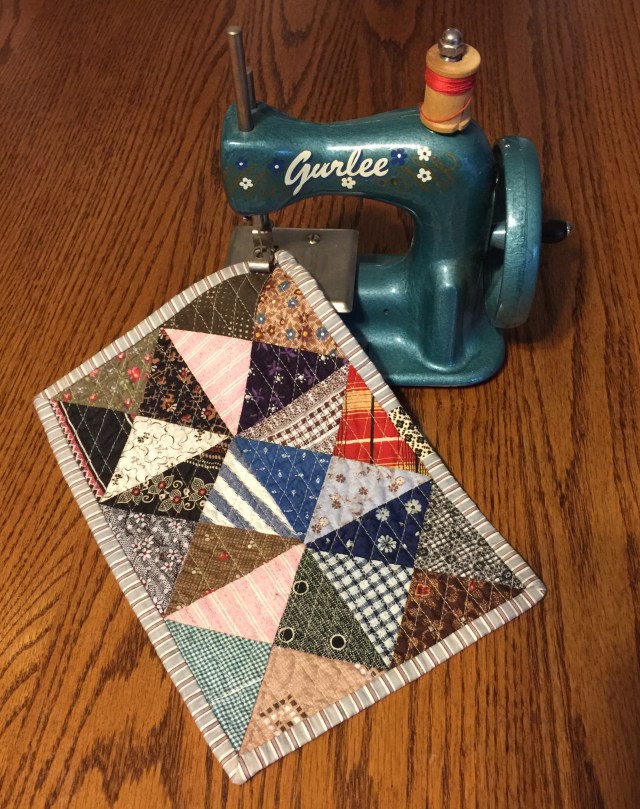
Recently, I headed downstairs for something. The next thing I knew, I had a little quilt!

Does that ever happen to you?

I spied these little blocks made from vintage scraps on my design wall and they called out to me as I walked by.

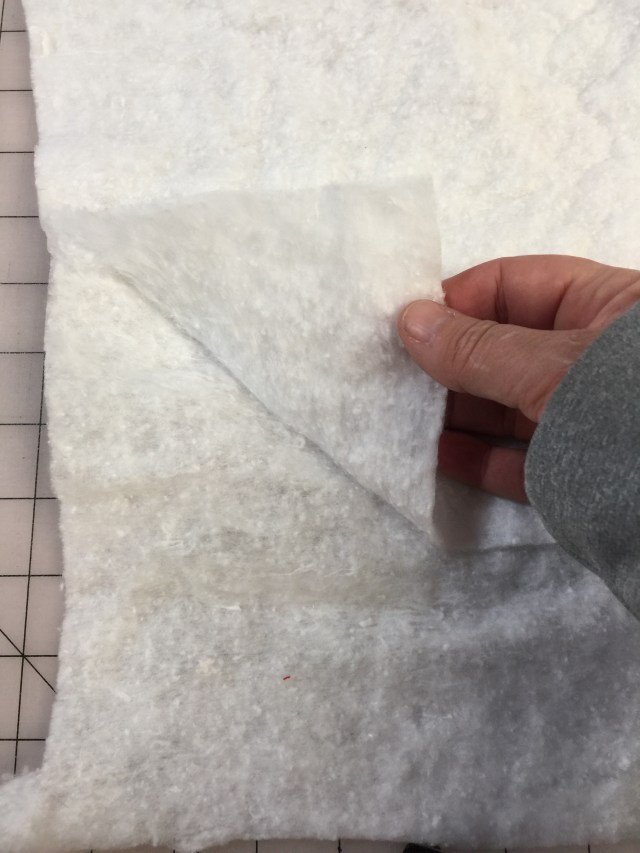
I quickly stitched them together and grabbed a scrap of batting. I’m not sure Mountain Mist Blue Ribbon batting is made anymore, but I love it for minis. You can actually separate it into two layers for a very thin batt, perfect for tiny quilts.

A little pin basting.

Quick quilting and a vintage fabric bi ding and it was done! All before hubby got home with groceries.

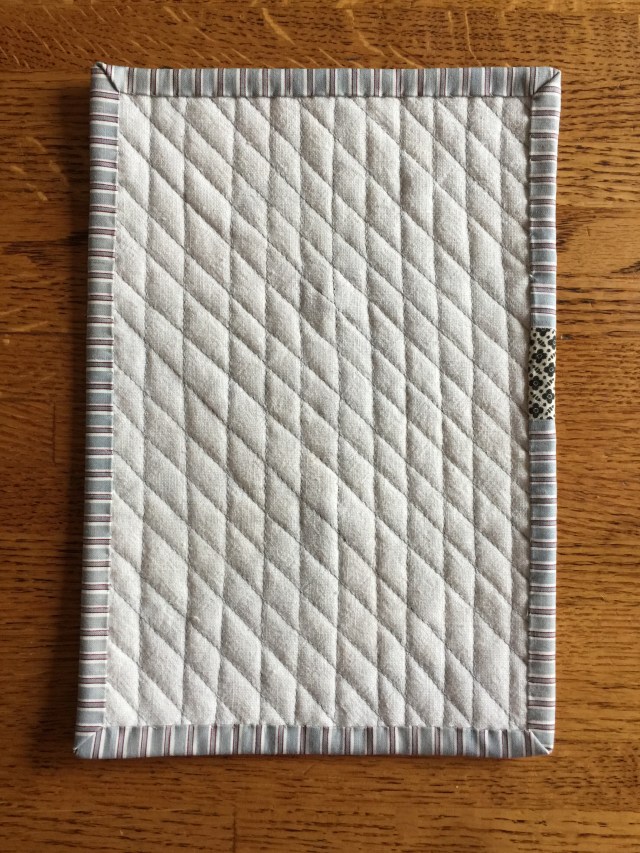
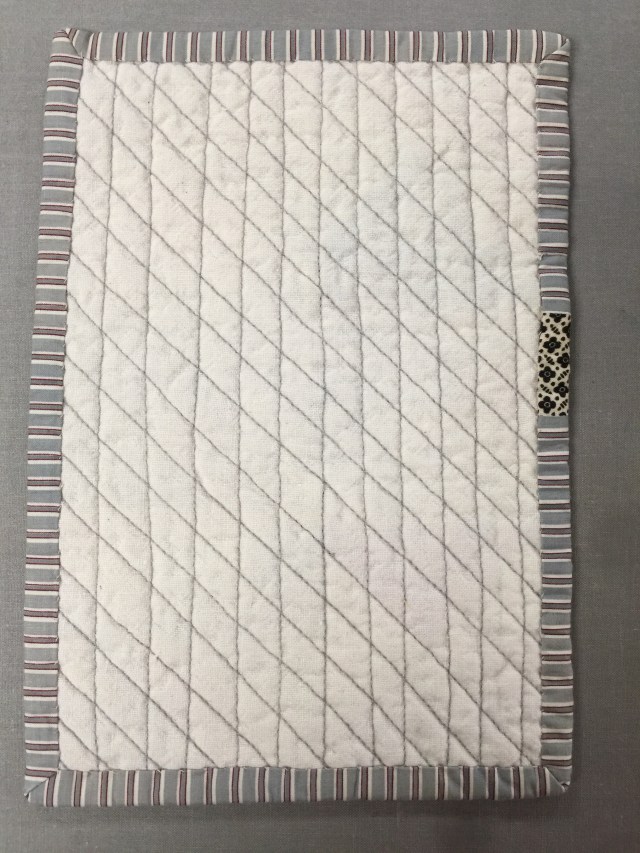
I washed it by hand and here are the after washing pics. It really completes the vintage look.

I used a scrap of vintage feed sack for the back. And I had gray thread in the bbbinand didn’t bother changing it.

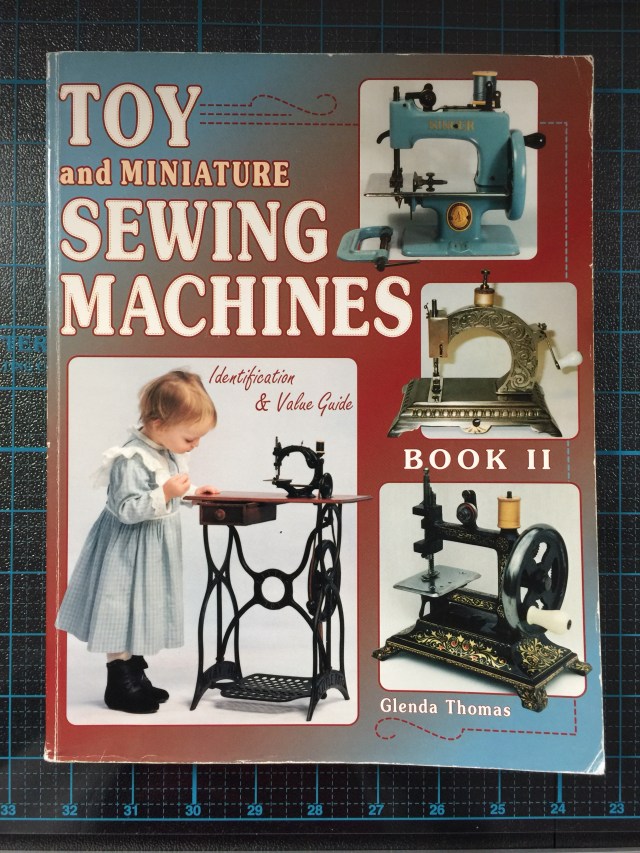
If you are interested, here is a little info on the toy sewing machine in the first picture.

It is from this book.

Have a great day!

Linking up with Confessions of a Fabric Addict

Posted in Doll Quilts, Finishes, Uncategorized, Vintage Fabrics | 9 Comments

TBT ~ The “A” Word

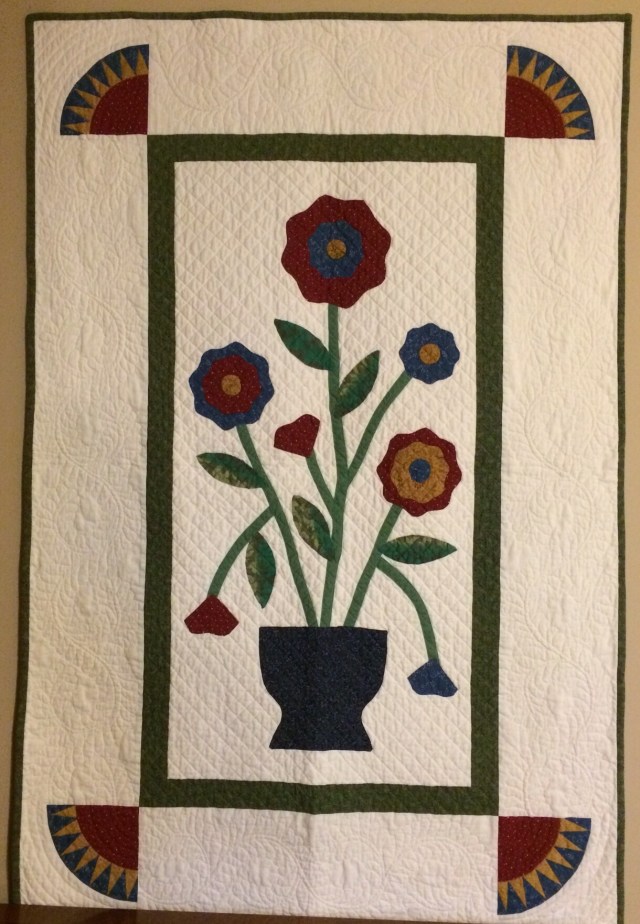
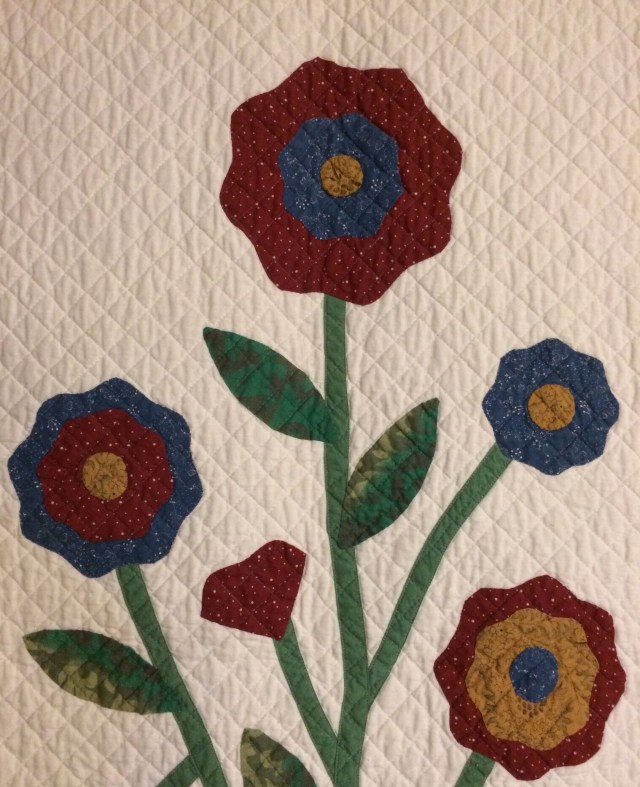
Of course we are talking about applique here. I love the look of applique, but I’m not very good at it. I do like this attempt. The shapes are very simple.

But still far from perfect.

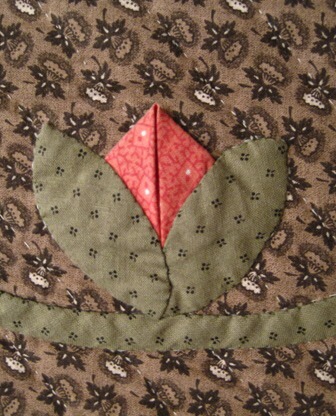
This was part of an applique border. Notice the overlapping leaves to avoid that inside V.

More very simple shapes.

This machine appliqué was all done on my embroidery machine. Perfect for a kid quilt, but I don’t care for the satin stitch look for traditional stuff.

Here is my non-applique applique. The leaves are fused, but not stitched. I just quilted over top.

Here is my most recent applique piece progress.

I stopped when I got to those leaves. Heaven help me!

I do want to finish this…… I really do…..but applique is hard. I don’t foresee anyBaltimore album quilts in my future.

Hav a great day!

Posted in Uncategorized | 4 Comments

Half Hexie Progress and Tips

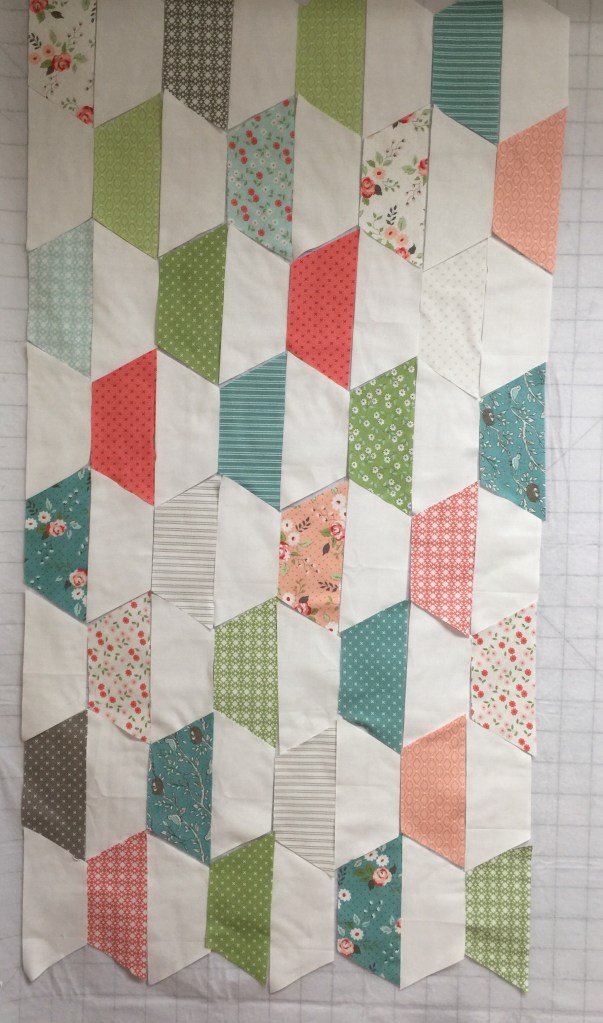
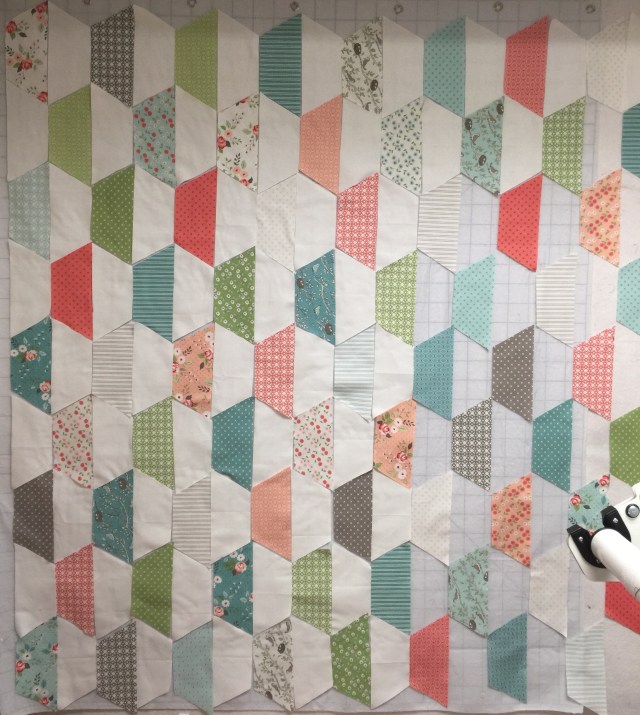
Construction of this top has started and it is going well! Looks like my idea worked. I’m often asked how I keep my pieces in order when moving from the design wall to the machine. I thought I’d try to explain my process with you today.

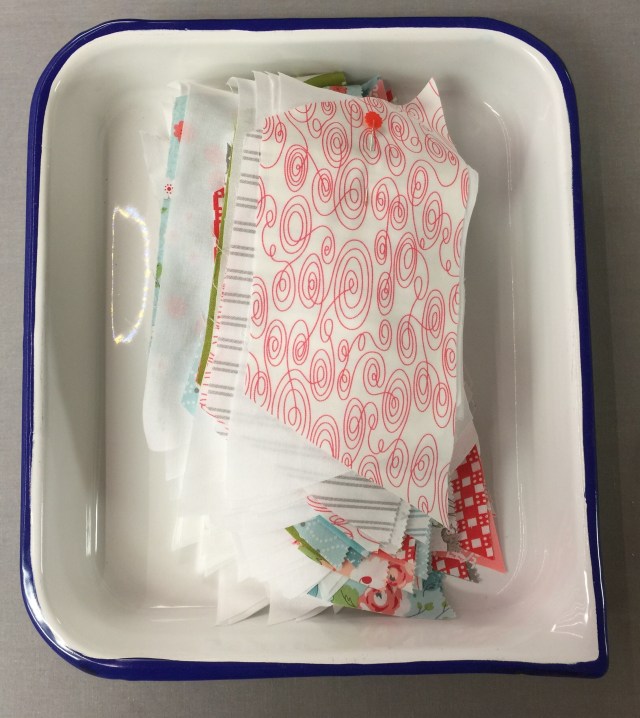
This quilt is constructed in columns. But the process is the same. I started at the top of each row and picked up each piece, placing it underneath the last. So in each pile in this pan, the top piece is on top of each stack and the bottom piece is at the bottom. I place a pin in each stack so I know that the head of the pin is at the top of the piece.

I take one stack to the machine at a time, placing the stack so that the pin is to the left, indicating the top of the column.

I remove the pin and slide the top piece to the left. It will be sewn to the white piece on top of the stack at the right.

If you’ve never sewn angled seams before, things start looking a little strange here. Just keep going. When you flip the piece on the right over to sew the seam, it will look like this.

I chain sew pairs until I get to the end of the stack. Then I reach back and snip off the first pair, opening them up and placing them to the left. I snip the second pair, open it, and place it to the right. Now I’m ready to sew pairs into sets of four. Each time I sew a seam, I snip the next pair at the back of the machine and place it to my left and the next set and place it to my right.

This sounds way more complicated than it is. It’s a habit I’ve gotten into and I’m certain it isn’t the only way. The important thing is to get in a habit of doing it the same way each time. I also wanted to show you how you must offset the pieces by a quarter inch when sewing them together like this.

Then when you open them up, everything lines up beautifully.

When I finished the first column, I pressed all my seams toward the bottom of the column.

For the second column, i presses all the seams toward the top so the columns have seams in opposite directions.

This way your seams nest together nicely, helping you to match your points when you sew the columns together.

See! Perfect intersections!

I think the rest of the piecing should go pretty fast now. The layout took the longest.

Have a great day!

Posted in Tutorials, Uncategorized | 3 Comments

Thrift Store Find!

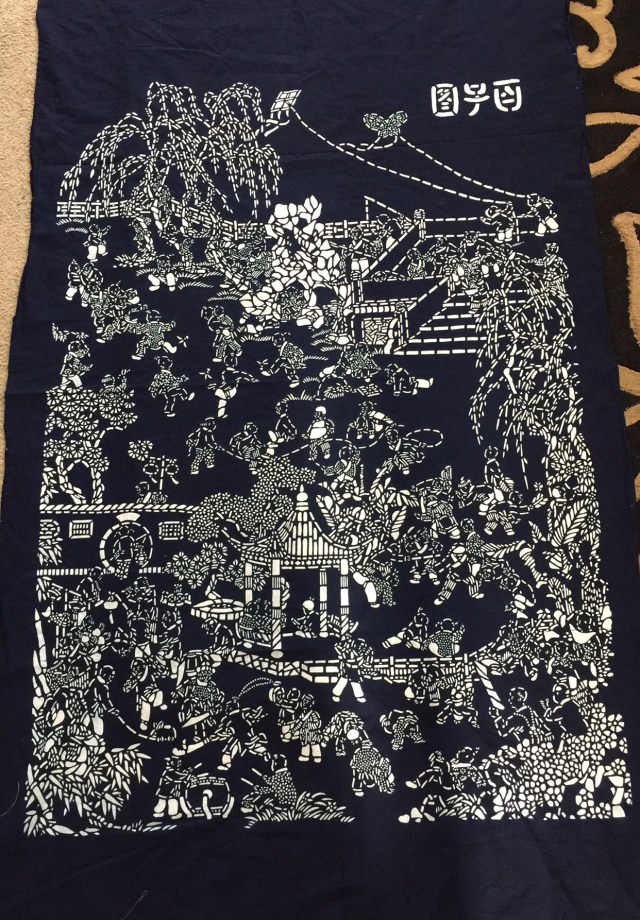
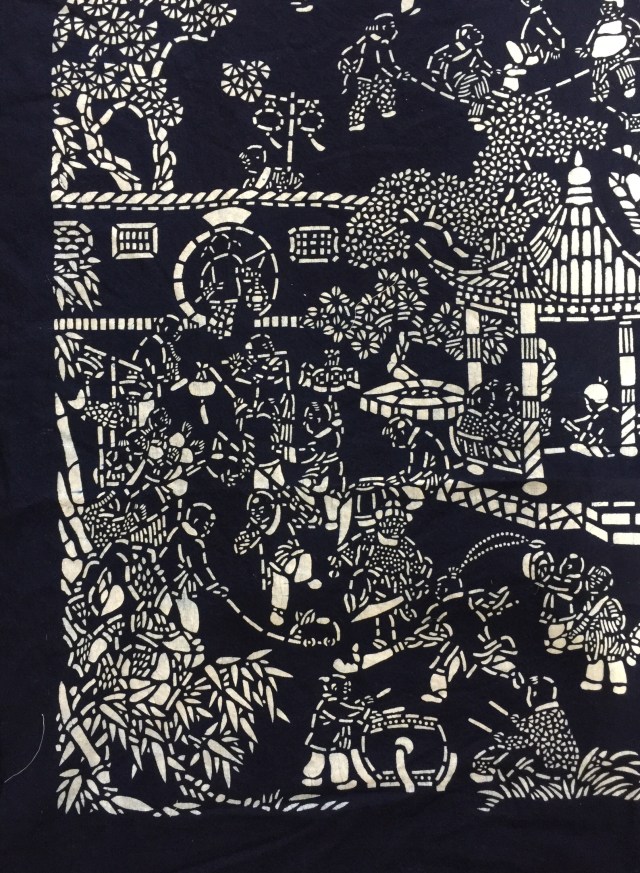
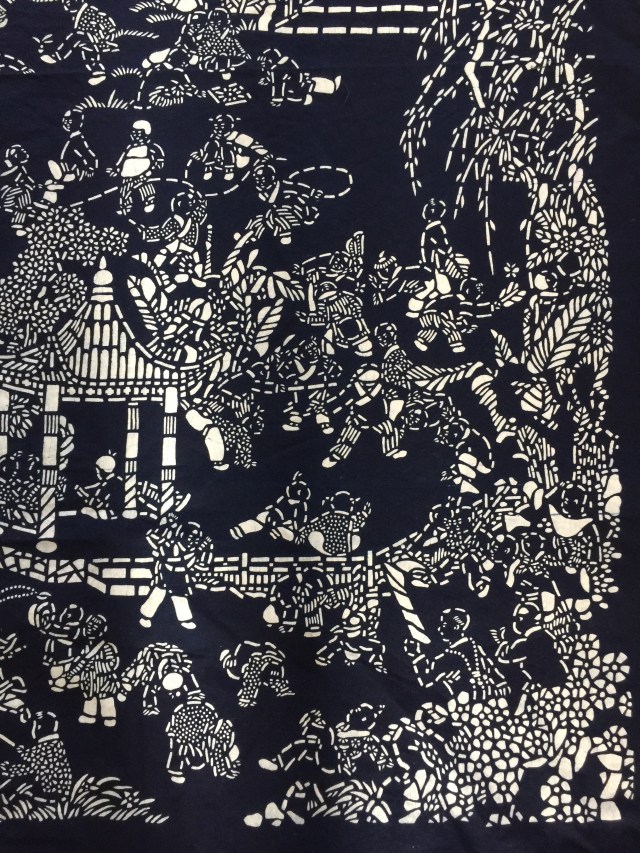
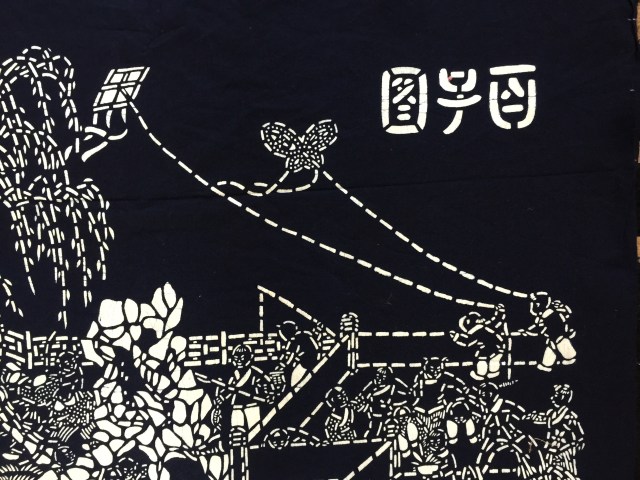
I love to go to thrift shops with my son. You never know what you will find. This time I got this for all of $2.

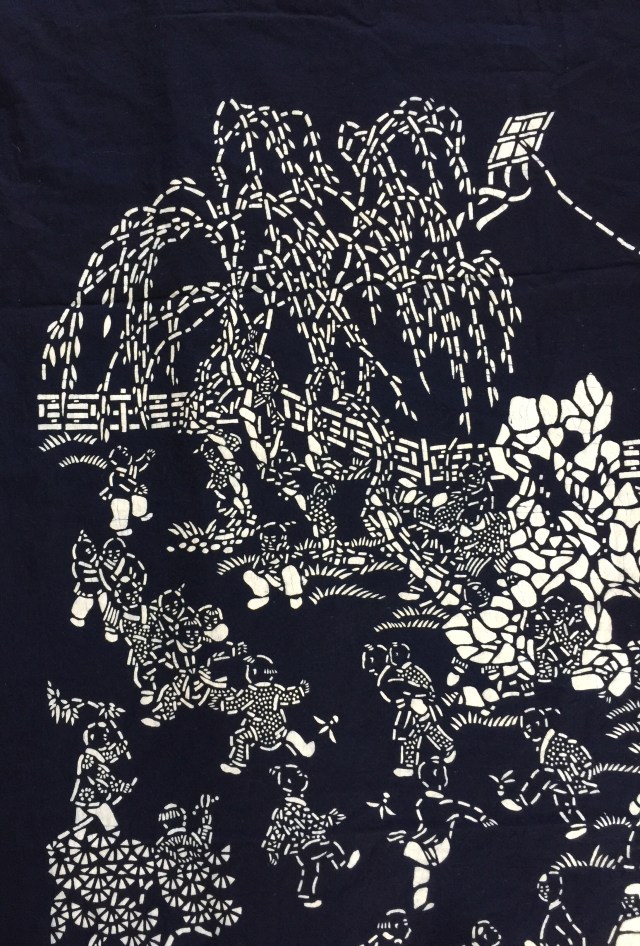
I’m not really sure what it is, but it reminds me a lot of the Nankeen fabric that Mr. Wonderful bought for me in China. You can see that here.

I love the scenes on it!

This just makes me want to hit up a few more thrift shops!

Have a great day!

Posted in Fabric, Thrifting | 5 Comments

DWMonday ~ Half Hexies

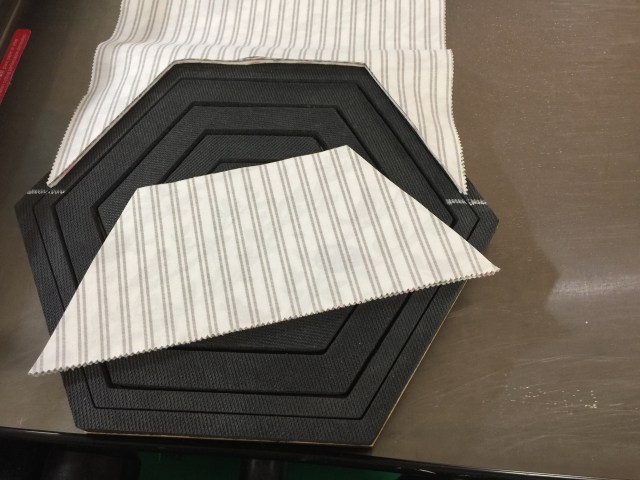
I’ve been interested in the half hexie quilts I’ve seen floating around cyber land. I don’t have a half hexie die or template, but I got an idea. Dangerous, I know.

I’m using this layer cake and some off white yardage.

I grabbed my nested Accuquilt hexagon dies and made marks with a silver sharpie 4 inches from the top edge of one. I lined up ten layer cake squares on these marks and ran them through my die cutter.

I did the same with the background fabric.

Clearly I need a few more of those. I may hunt down a few more prints as well.

I won’t know until I get to piecing if this is a brilliant idea or a tragic disaster. Stay tuned.

Have a great day!

This post contains affiliate links.

Posted in Uncategorized | 1 Comment

Arizona

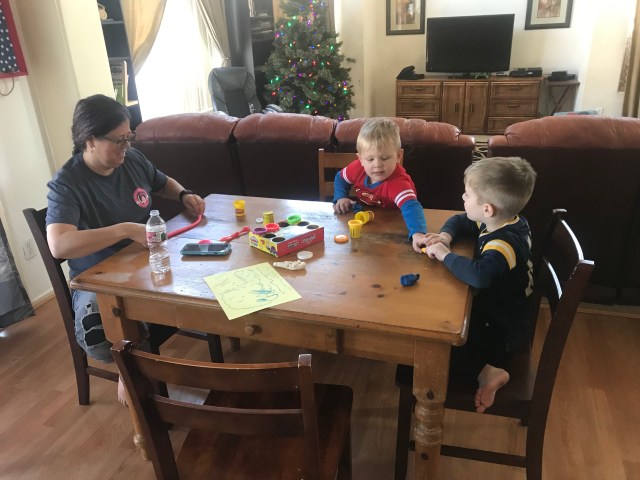
Arizona is one of my most favorite places on earth! A large piece of my heart is there. And right now, the rest of me is too!

I’ve scheduled posts ahead for the blog and I’ll check in now and again while I’m here as well. But while I read and appreciate comments, they will likely go unanswered for the time being. I’ve got little boys to play with!

I also wanted to remind you that today is the last day for 25% off everything at Urban Elementz . I did finally finalize my order!

Have a great day. I’m off to snuggle my boys.

This post contains affiliate links.

Posted in Uncategorized | 8 Comments