Using Pantographs

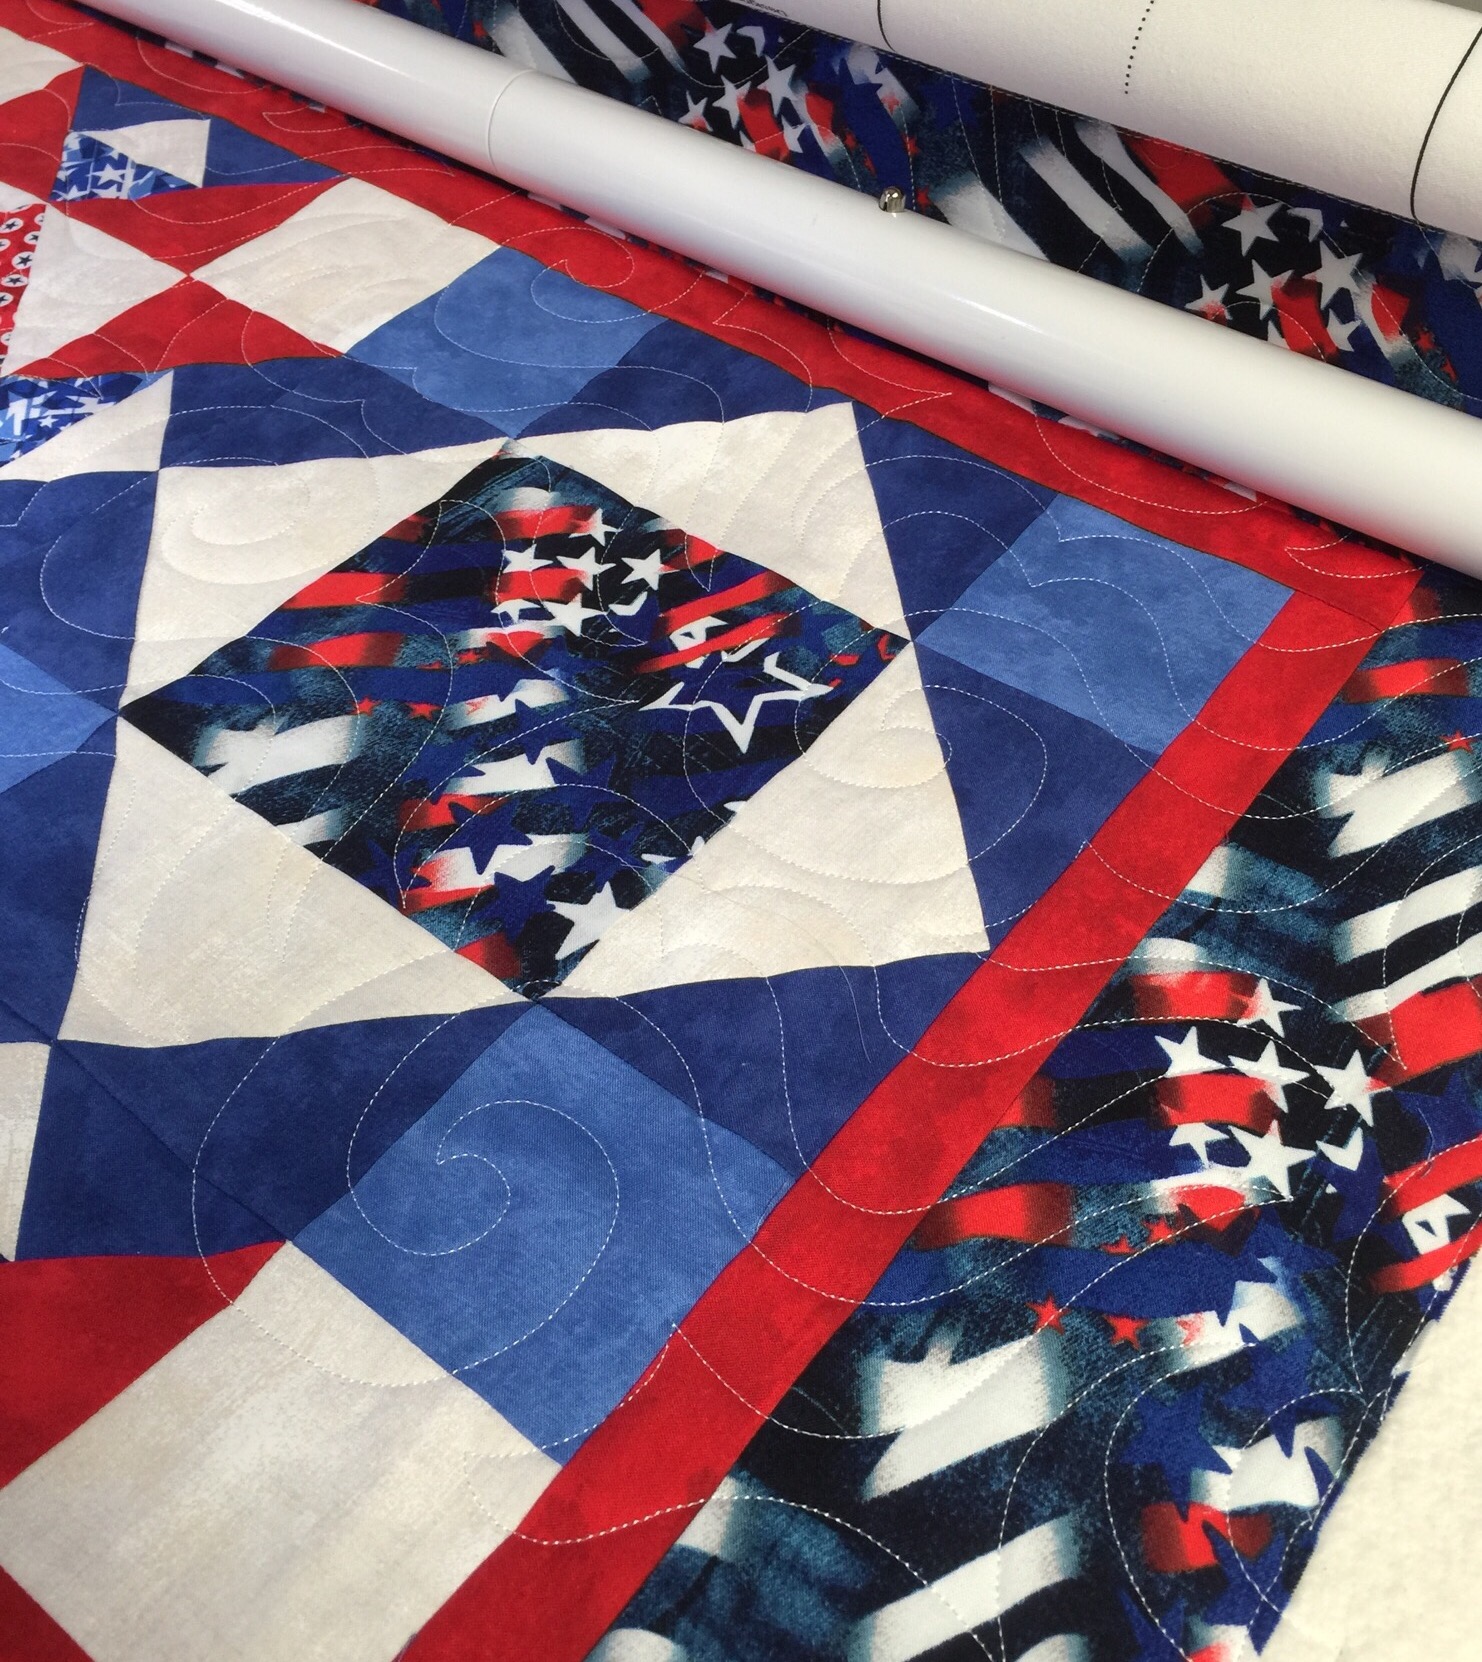
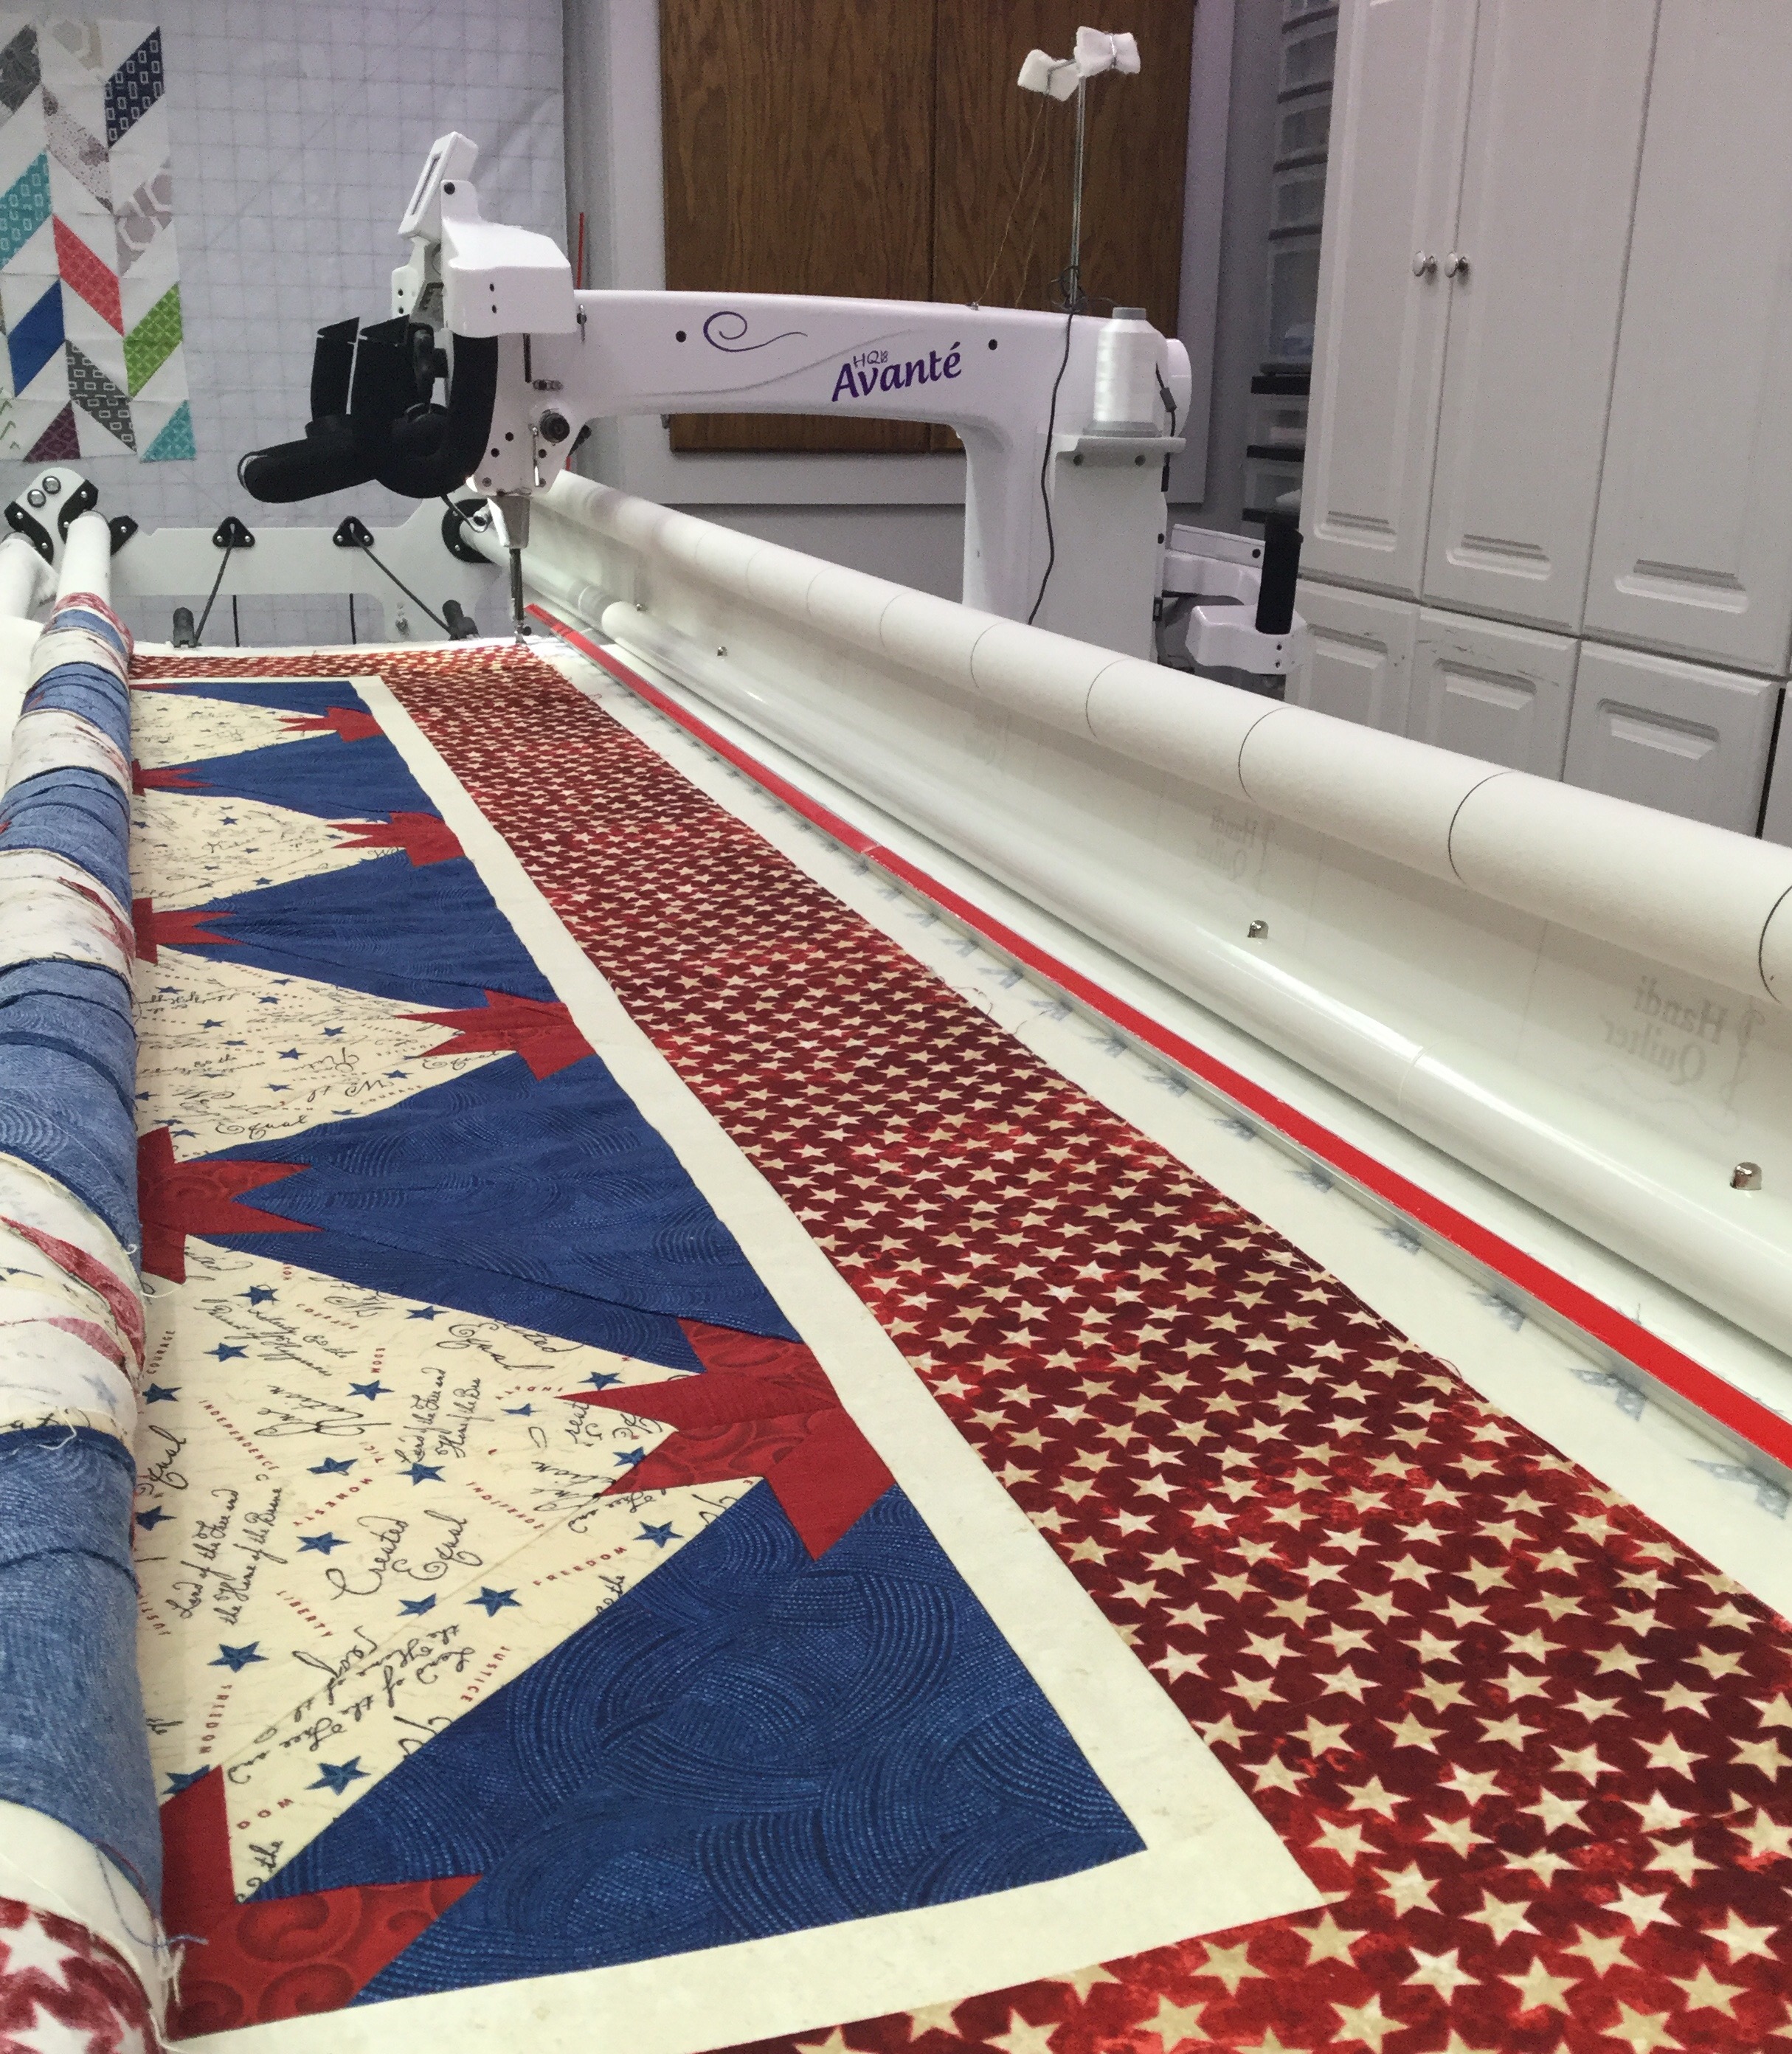
I’ve been quilting lots of pantographs lately. I thought I would share a bit about how they are used and how I space the rows of the design. This first pictures shows a Quilt of Valor loaded and ready for quilting.
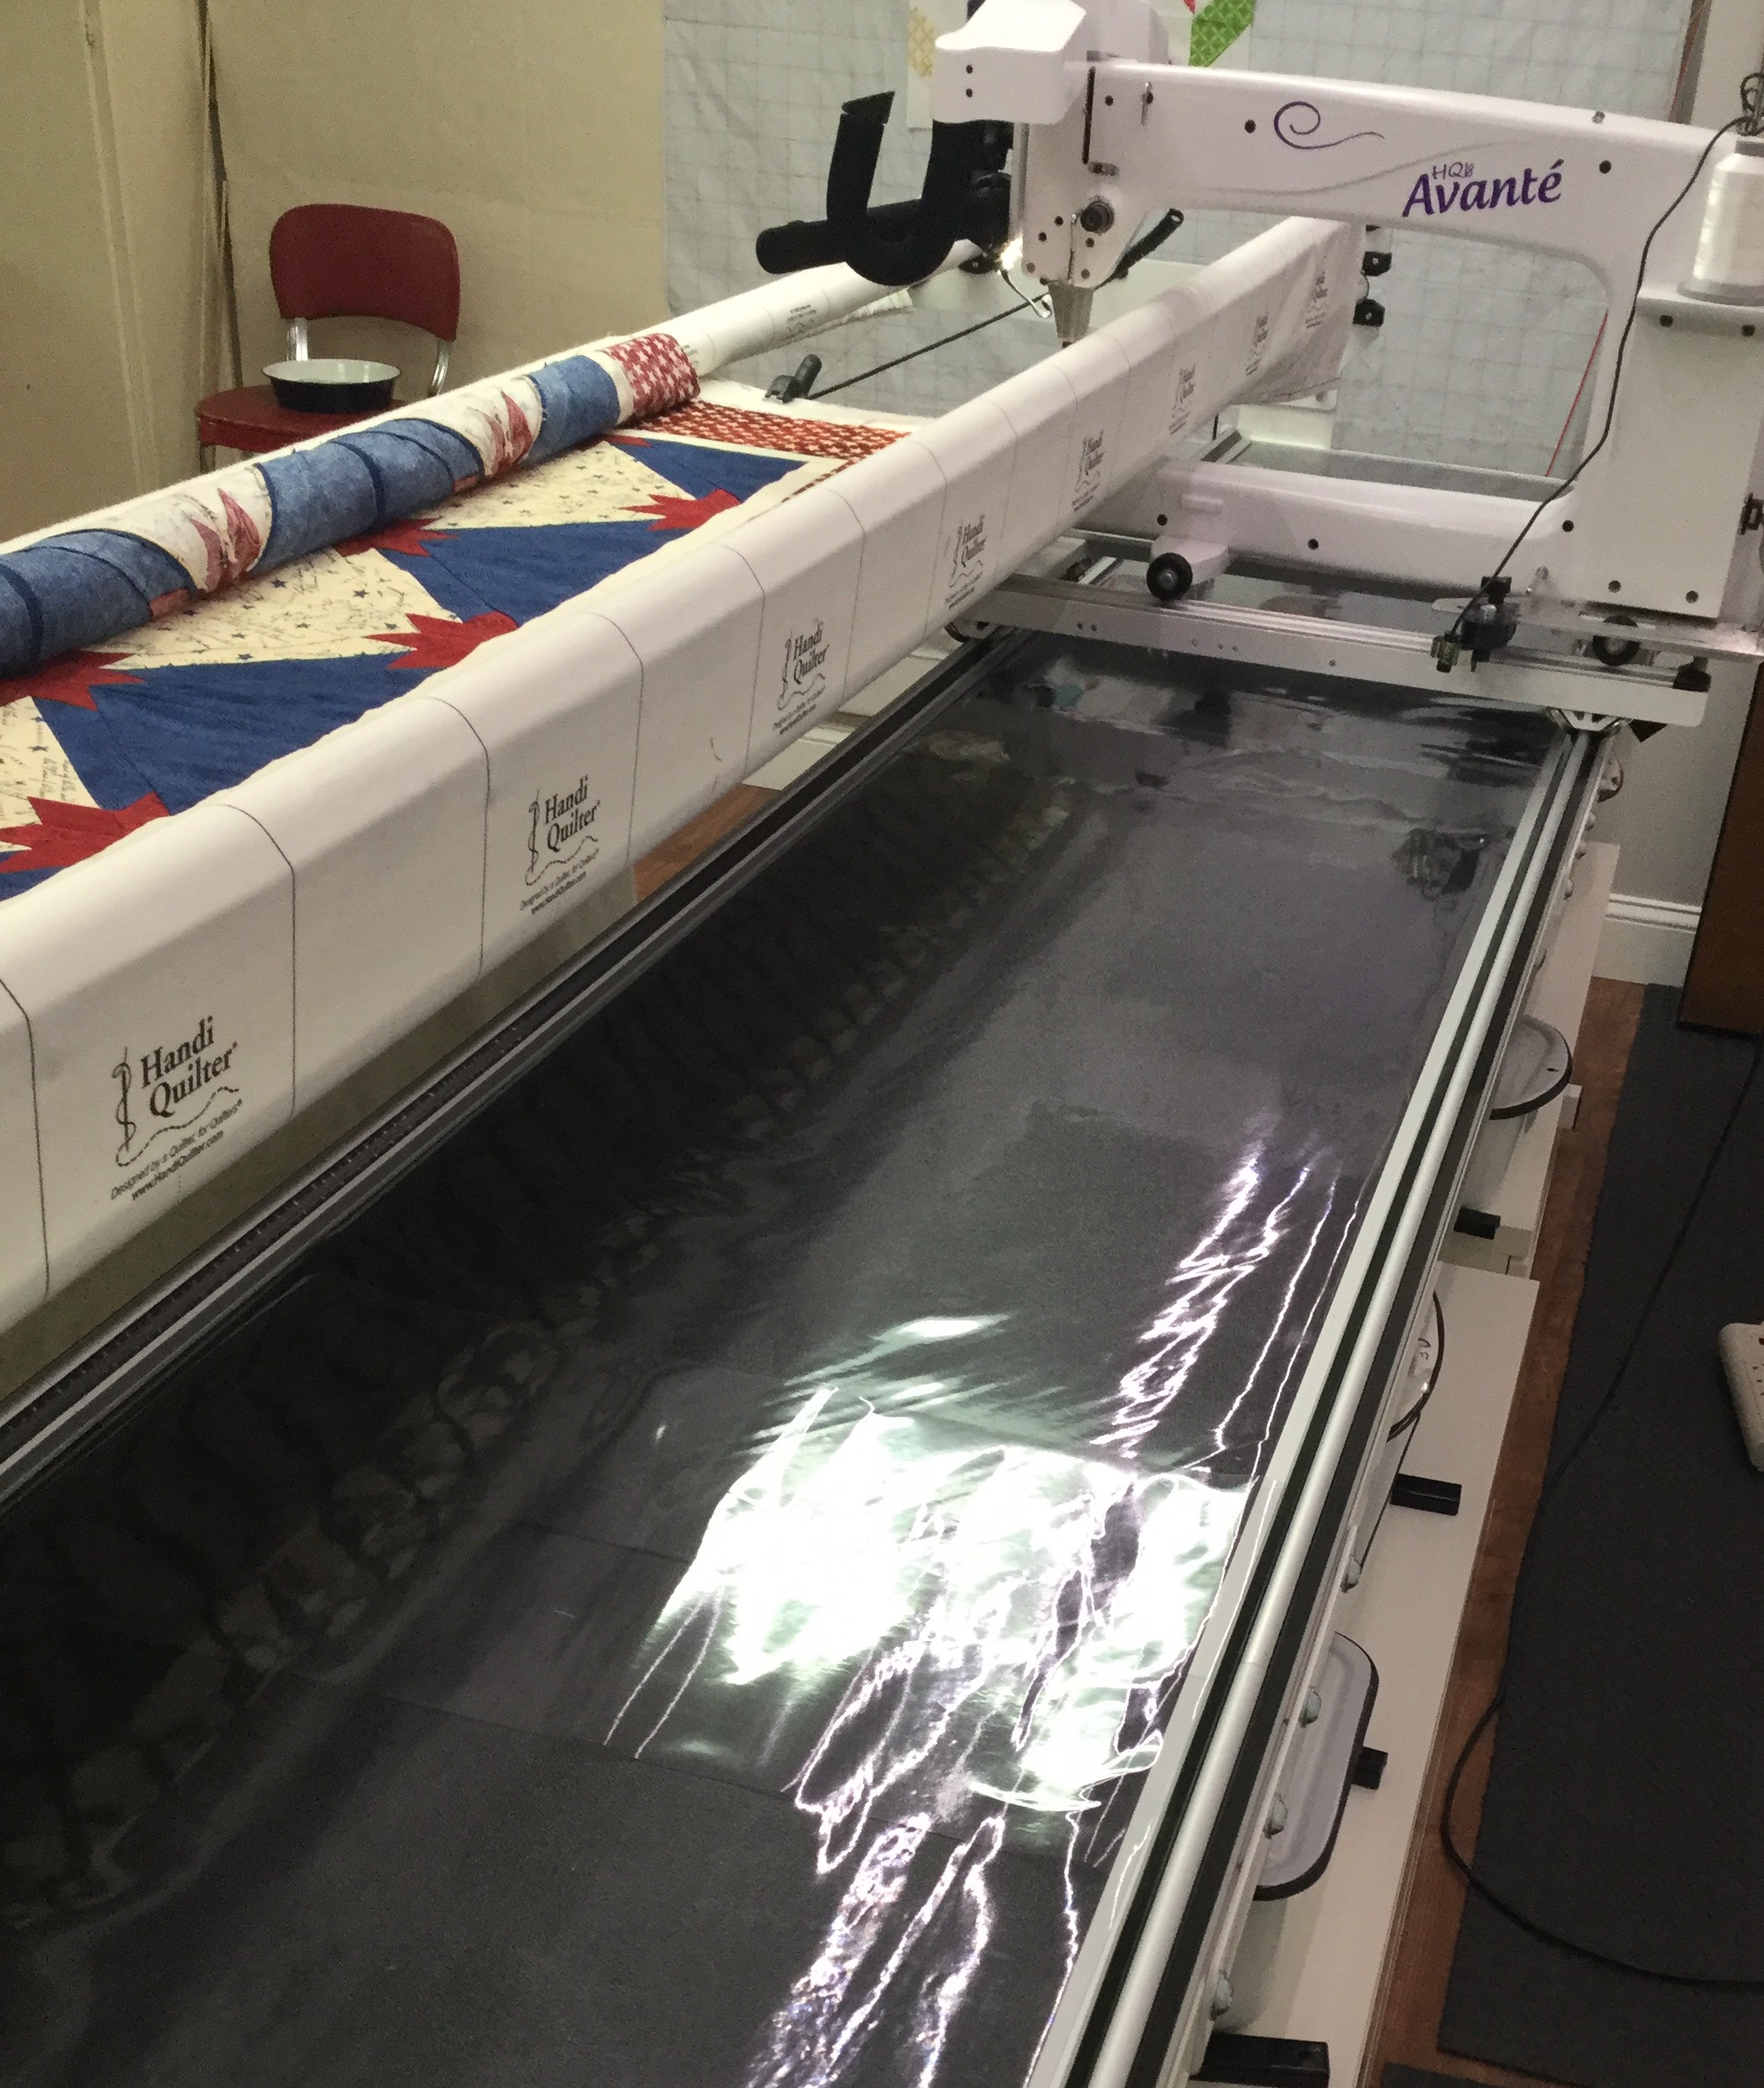
I have some heavy vinyl laying on the table of my frame. I lay the paper pantographs underneath that. It keeps them in place and I use a grease pencil to mark the pattern as needed. A dry towel is all I need to erase the marks. I purchased this from JoAnn’s in the home dec area.
I always mark a line where the edges of the quilt are so I don’t go off quilting in mid air.

img_1556

This shows the first row of the pantograph completed.
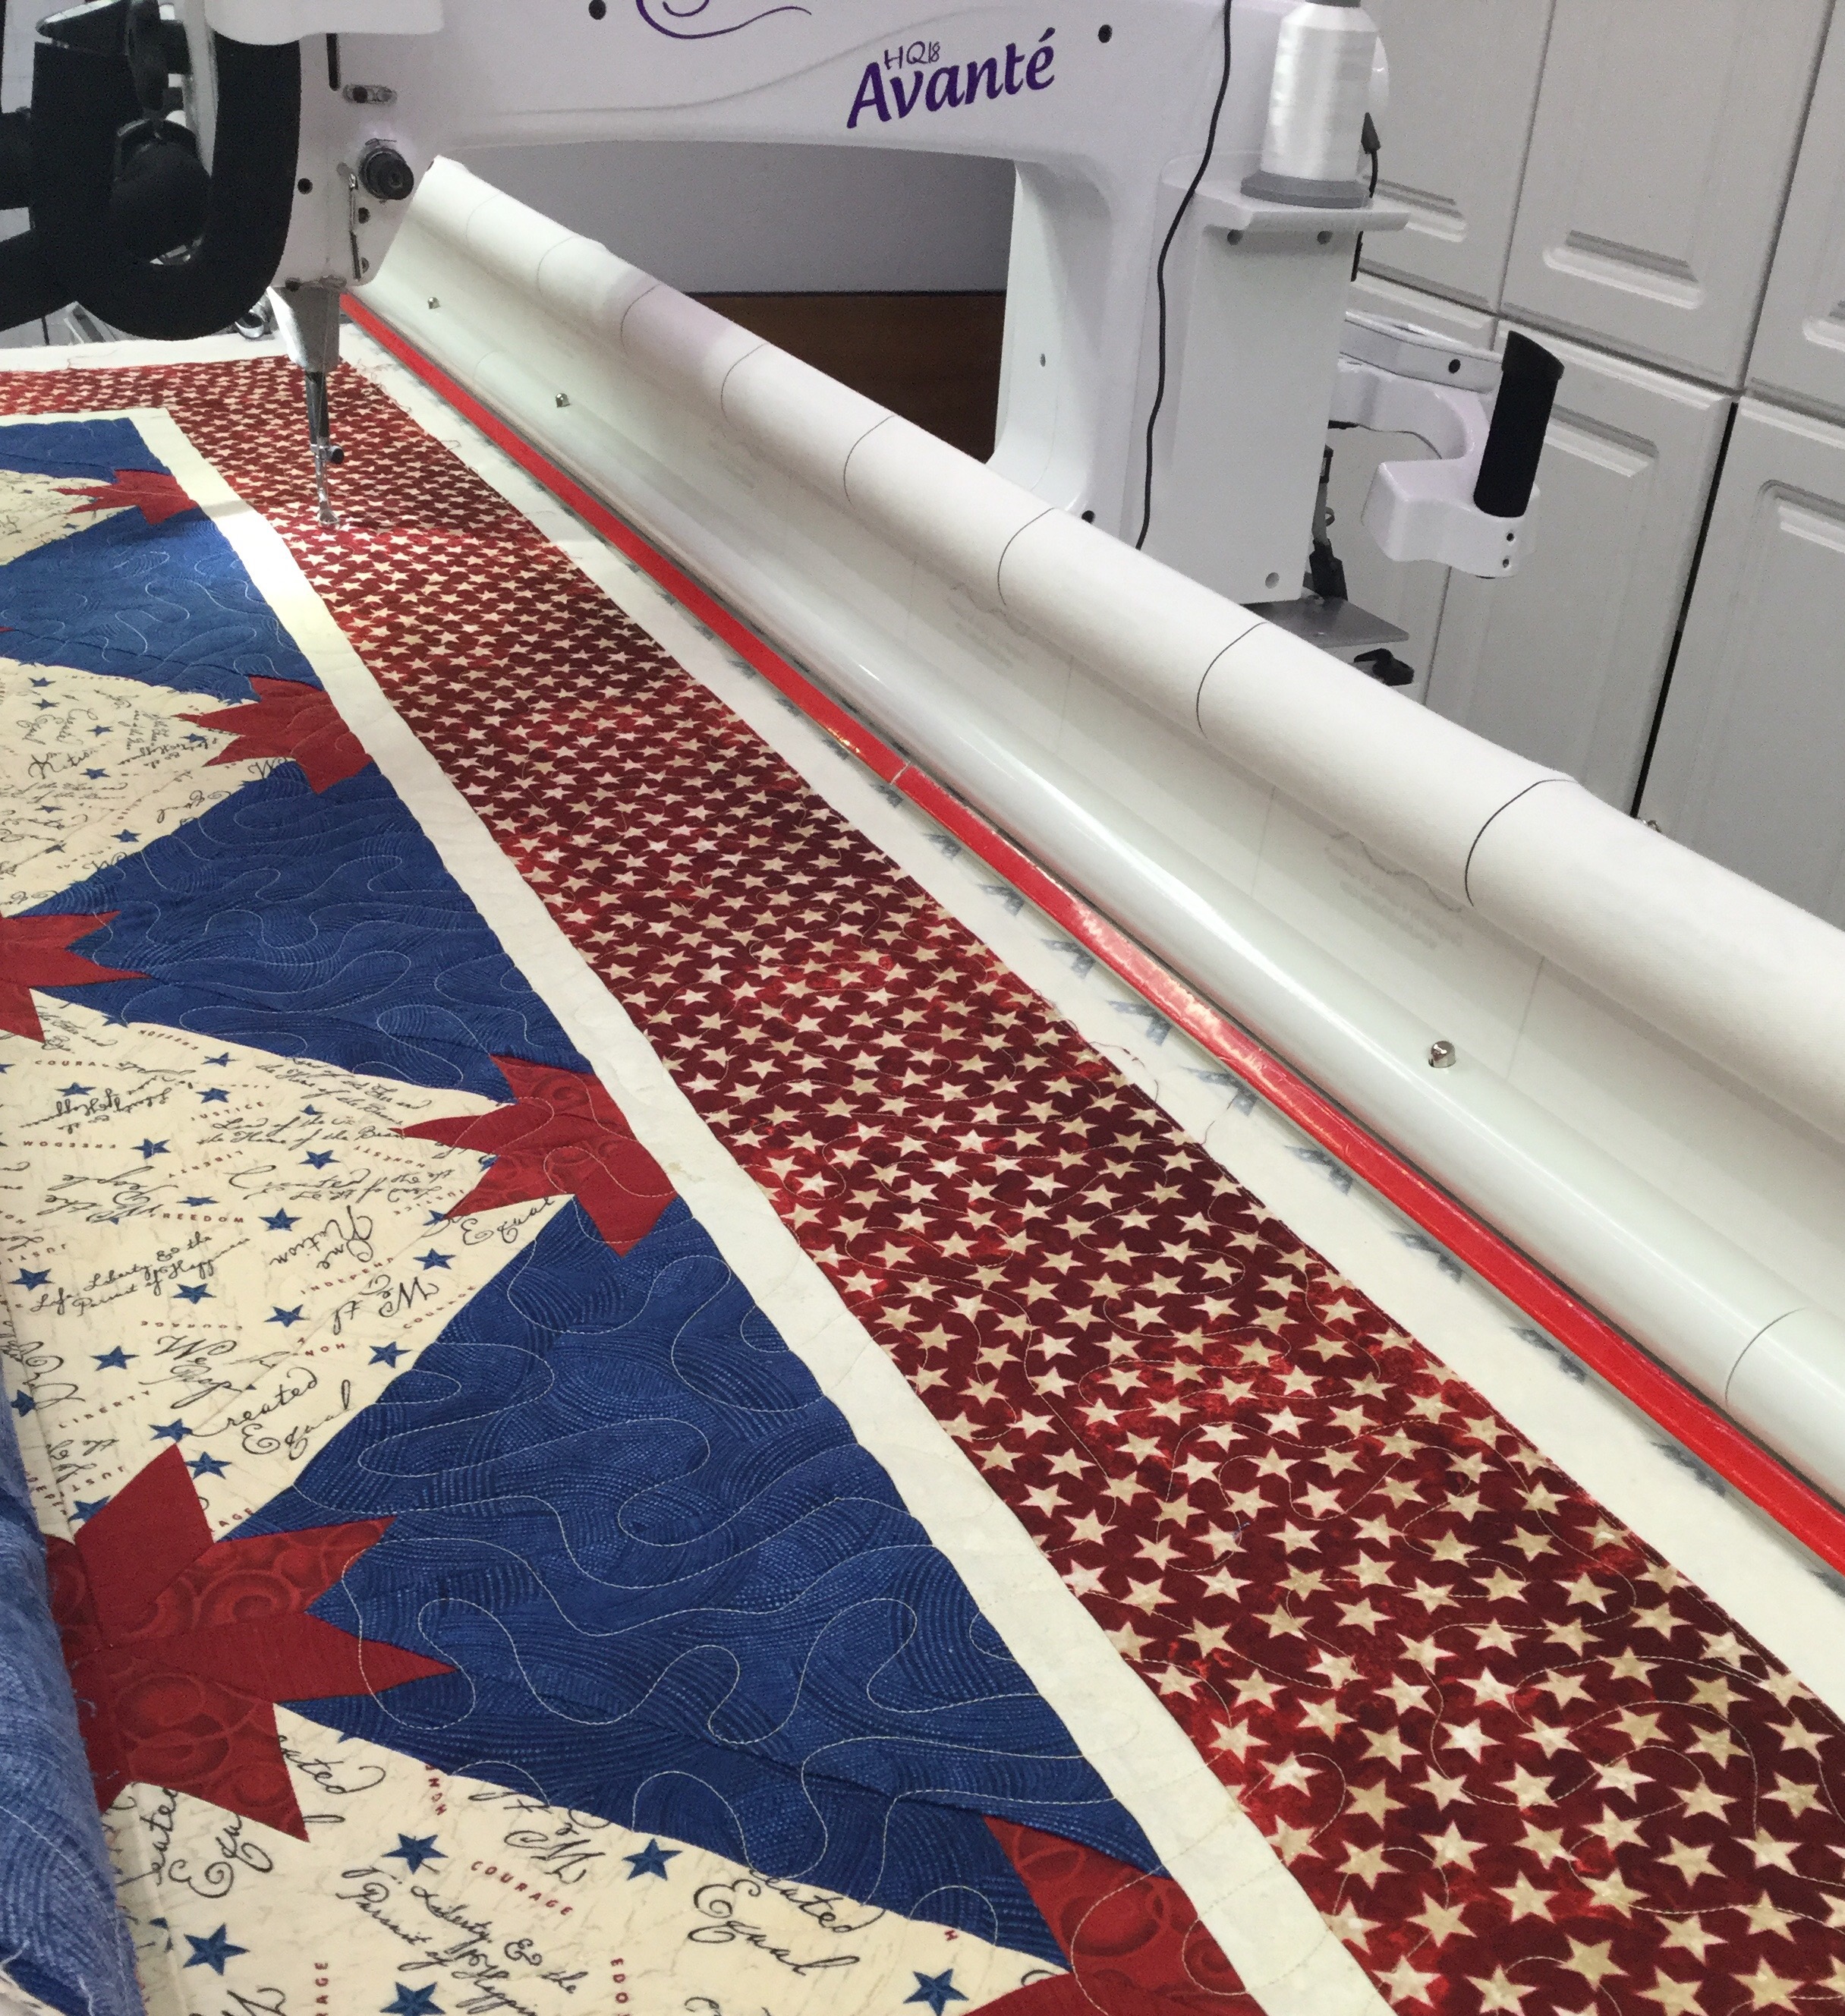
When I finish a row. I move the machine so that I can drop the needle in the highest point of the pattern.
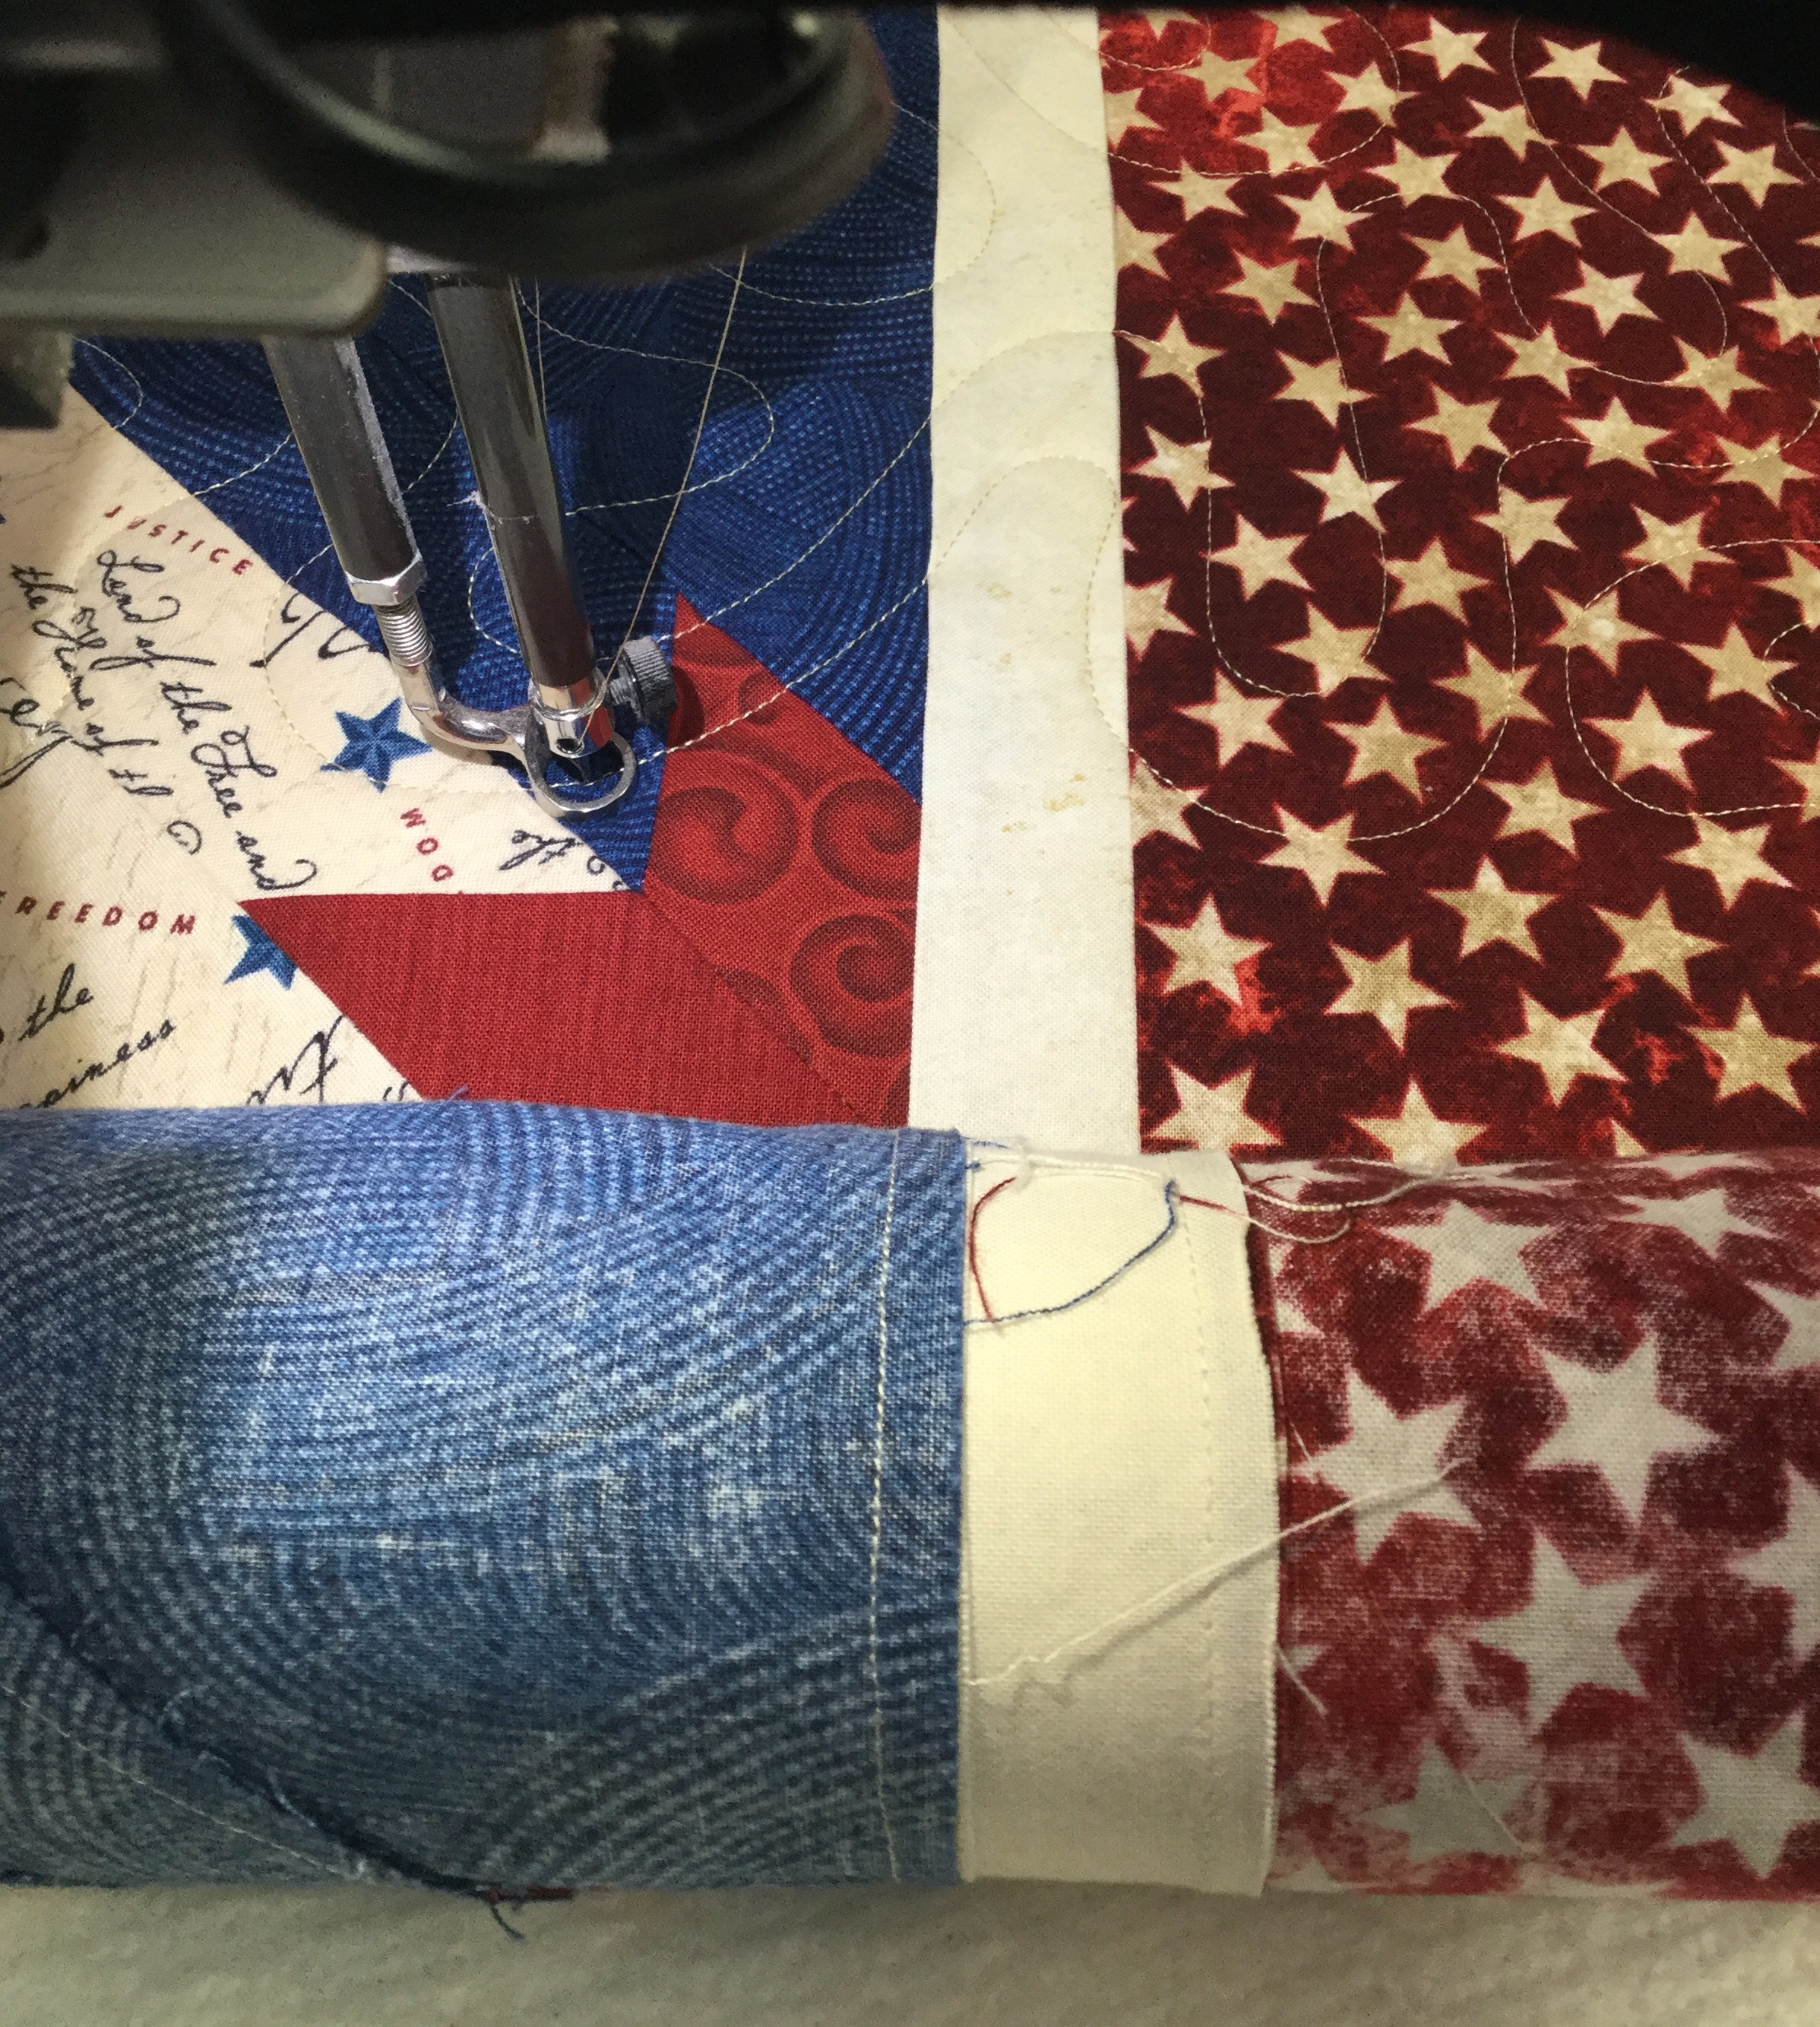
You can see in the next picture, that the laser light is on the corresponding part of the paper pattern.

I leave the needle down, turn the rollers to advance the quilt until the laser light is now on the lighter gray area of the pattern. This corresponds to the previous row. The machine moves as I roll the quilt. 
See how the machine has the needle down in the same spot of the quilt, but it is now close to the back bar? 
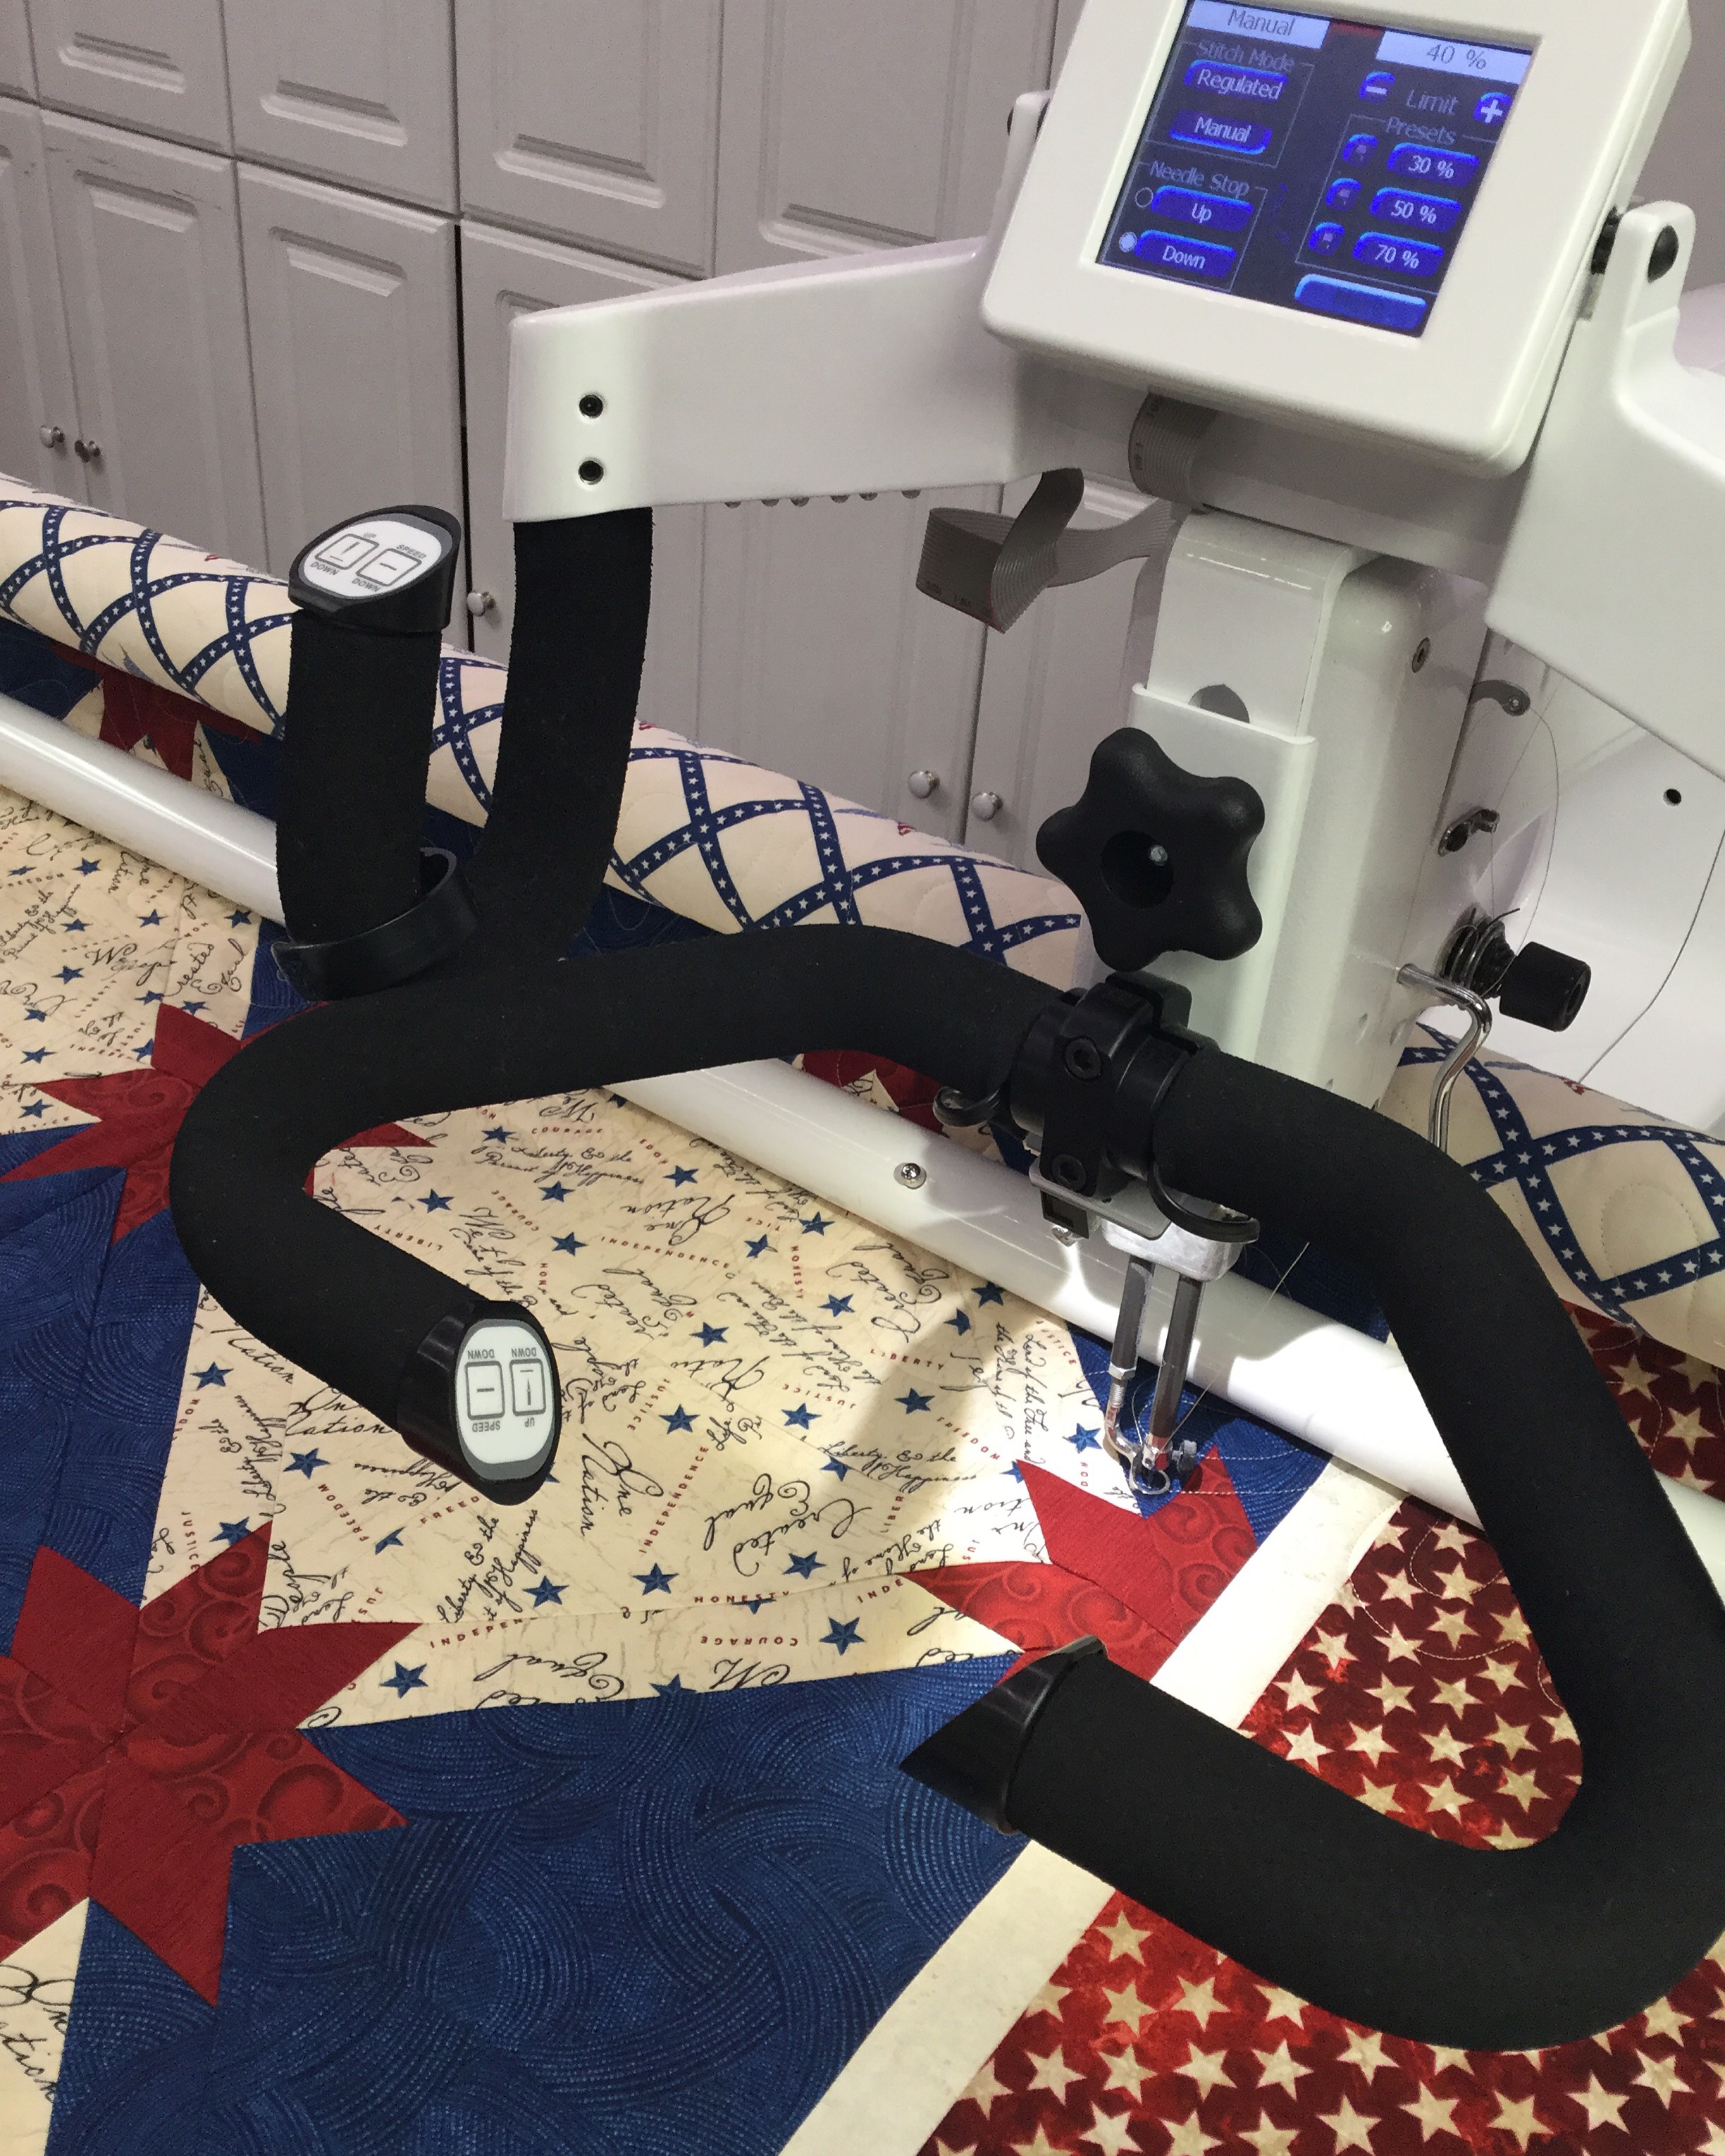
Now everything is lined up for the next row. I will use smooth everything out and then machine to baste the edges of the top to the batting/backing ad I am ready to go.

See the little arrow I marked with a grease pencil? Sometimes, I can’t complete a row. If I mark an arrow, it is easy to remember which way I am going when I come back. It isn’t always easy to see which way you are traveling on a complex pattern. You don’t want to sew on top of a previously sewn line and then have to rip! Ask me how I know this…
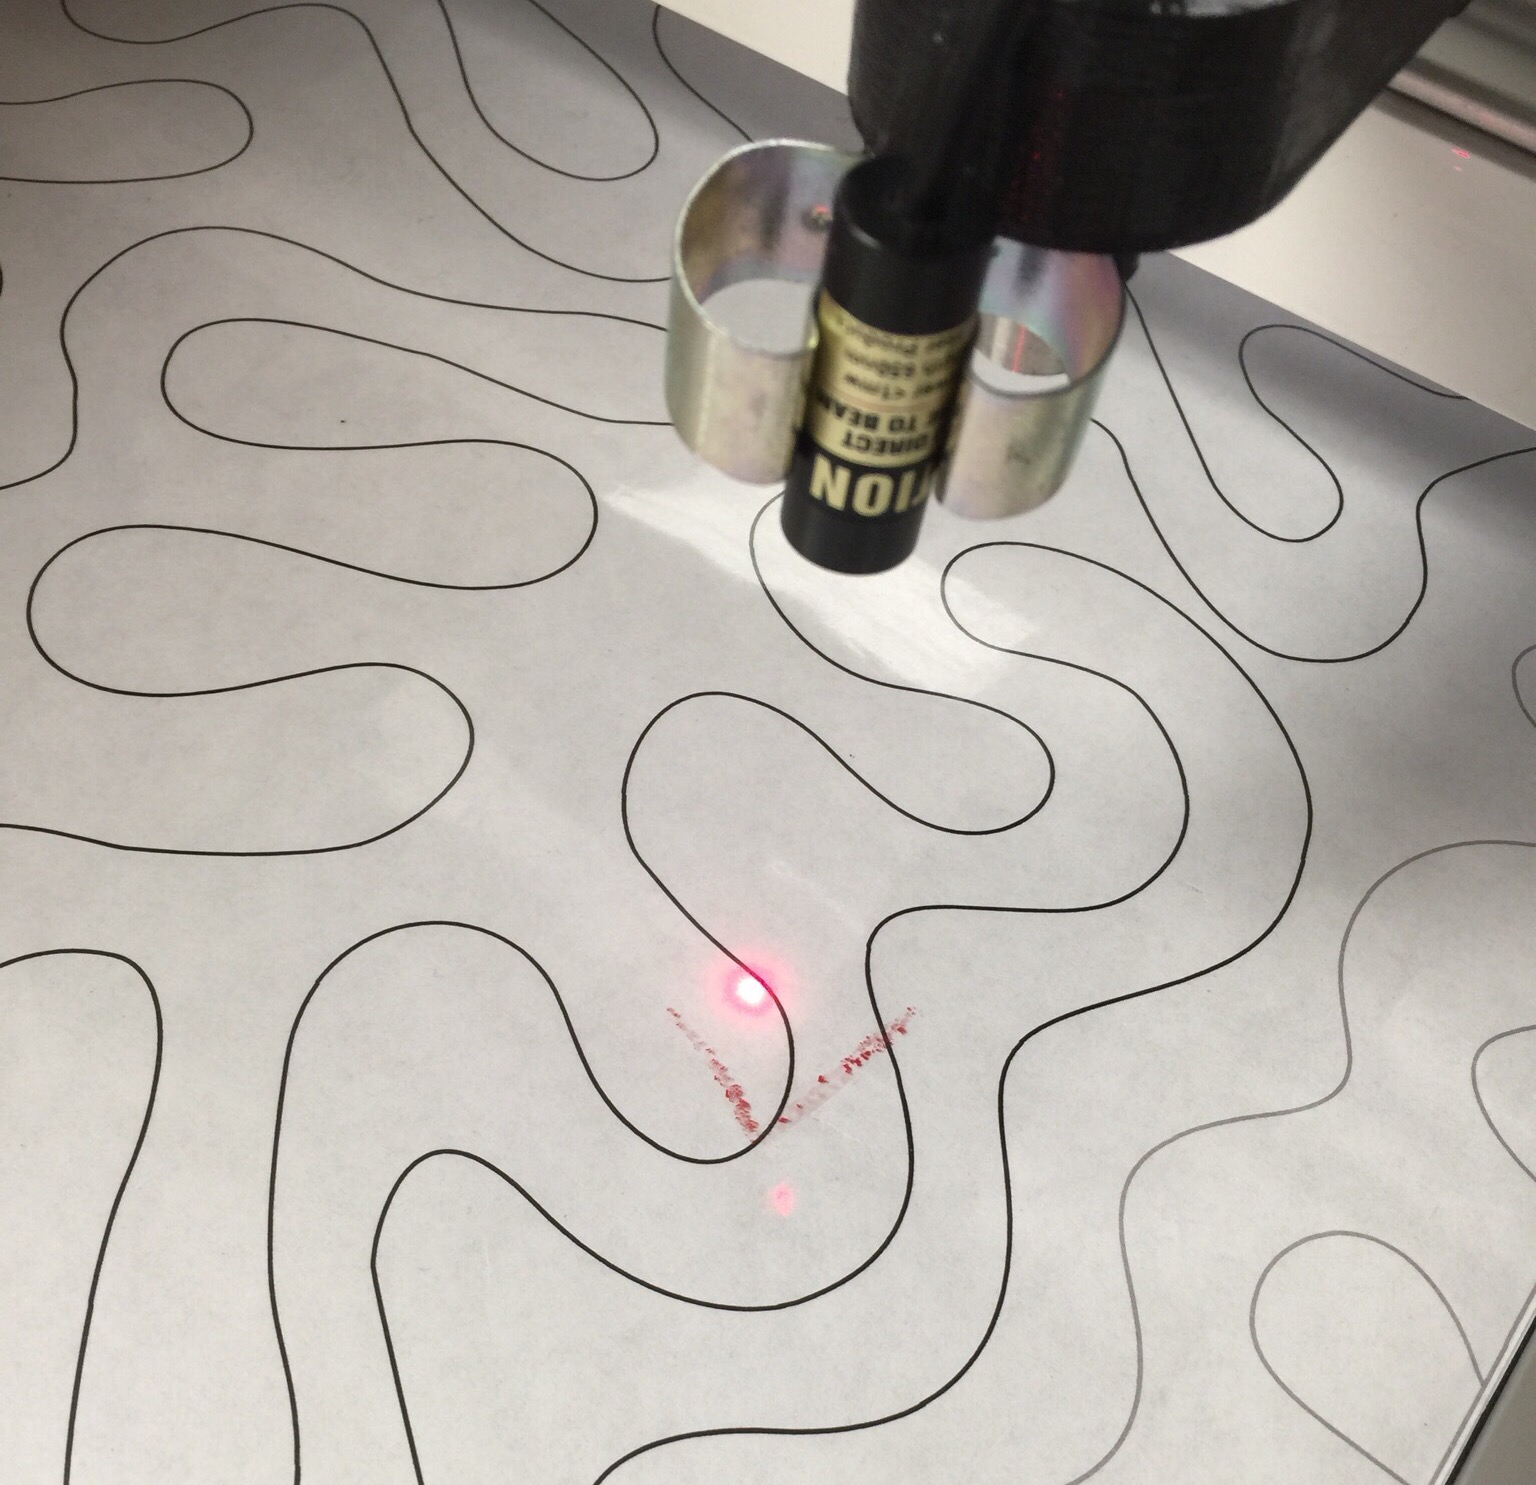

The pantograph I am using here is called Elongated Meander. It is a 13 inch panto and that is about the biggest I can do on my 18 inch machine.

I hope this makes sense. I am going to try to do another posting on choosing and purchasing pantos soon.

Linking up with Sew Fresh Quilts, Quilt Fabrication
Posted in Long Arm Quilting, Longarm Quilting, Pantographs, Uncategorized | 16 Comments

Quilt of Valor Week

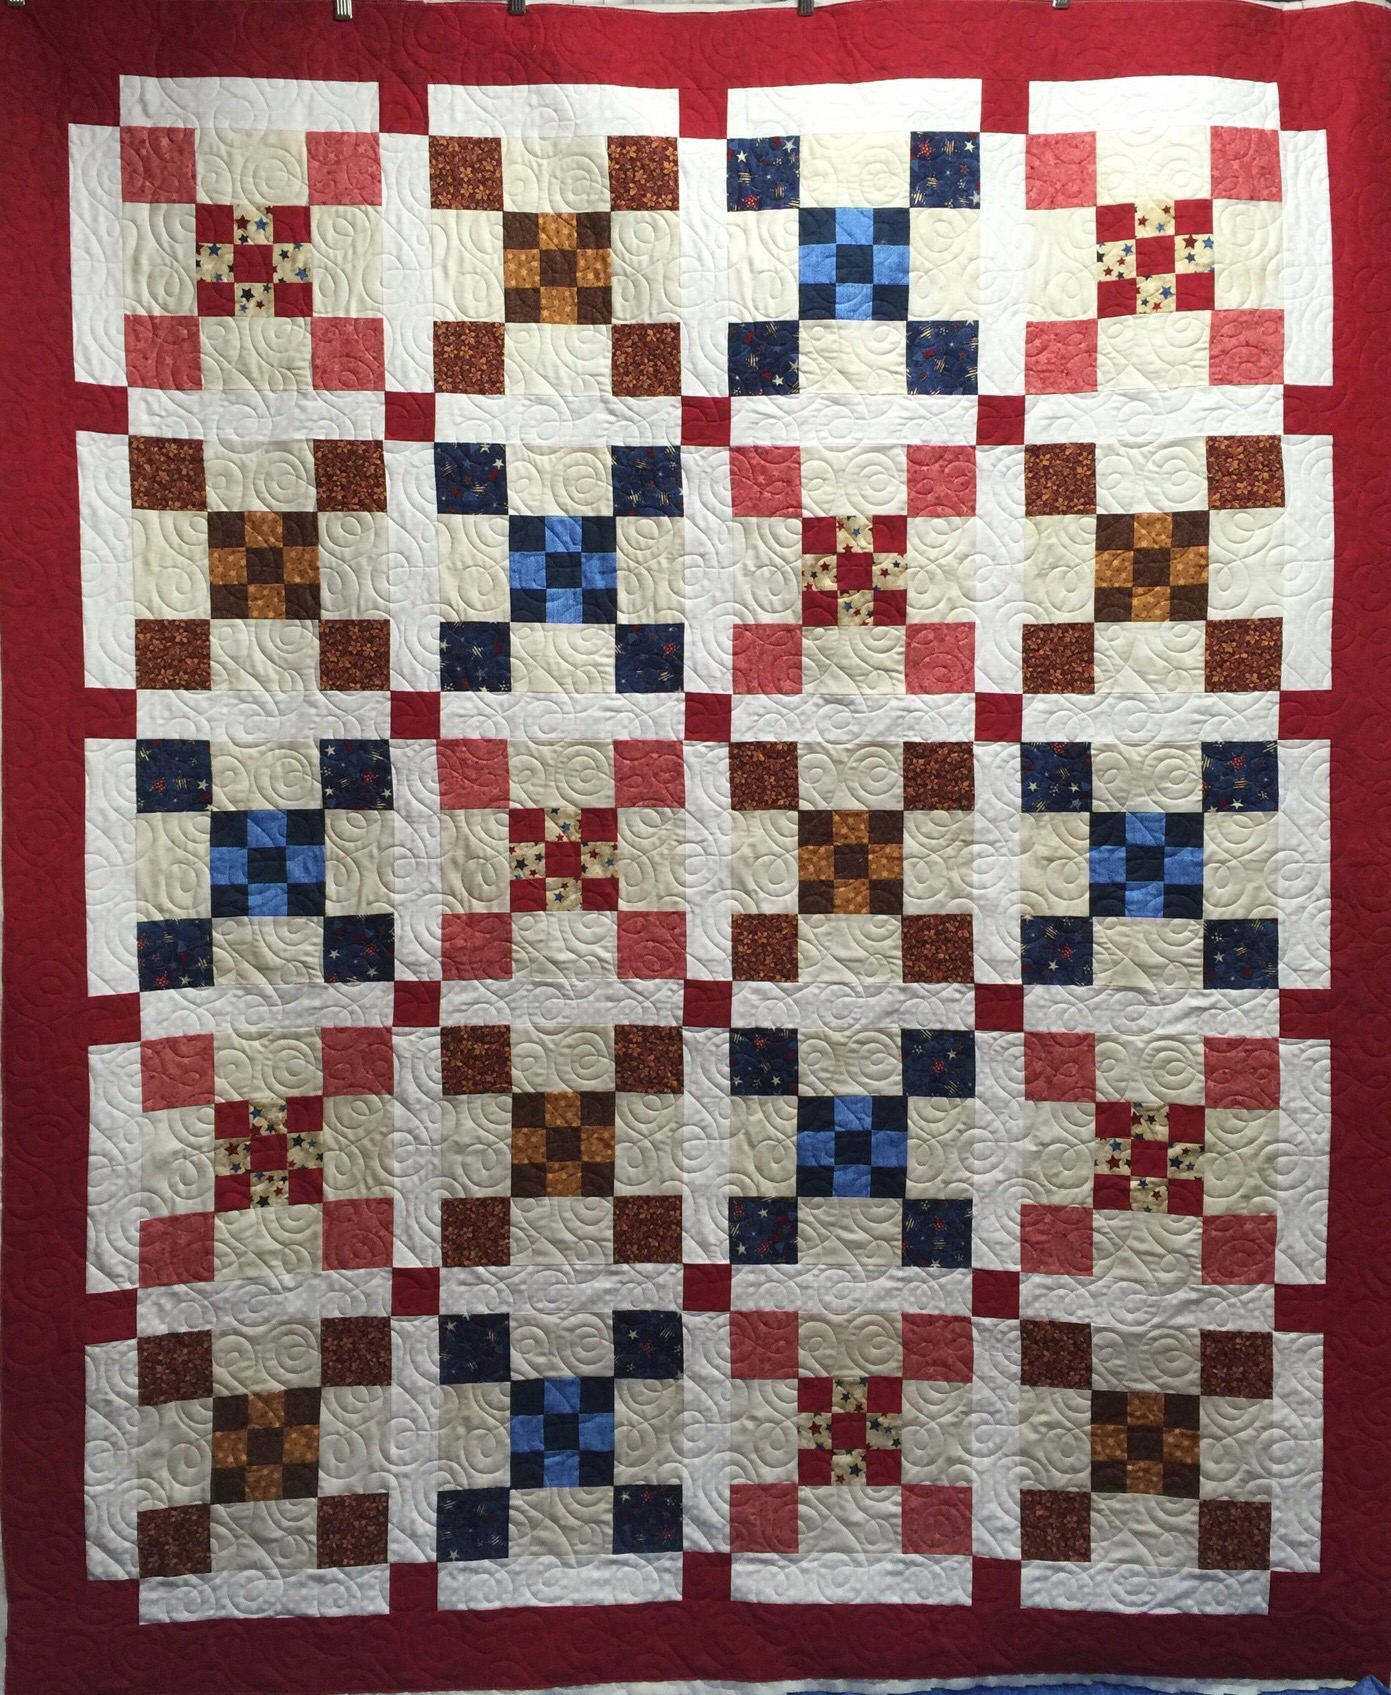
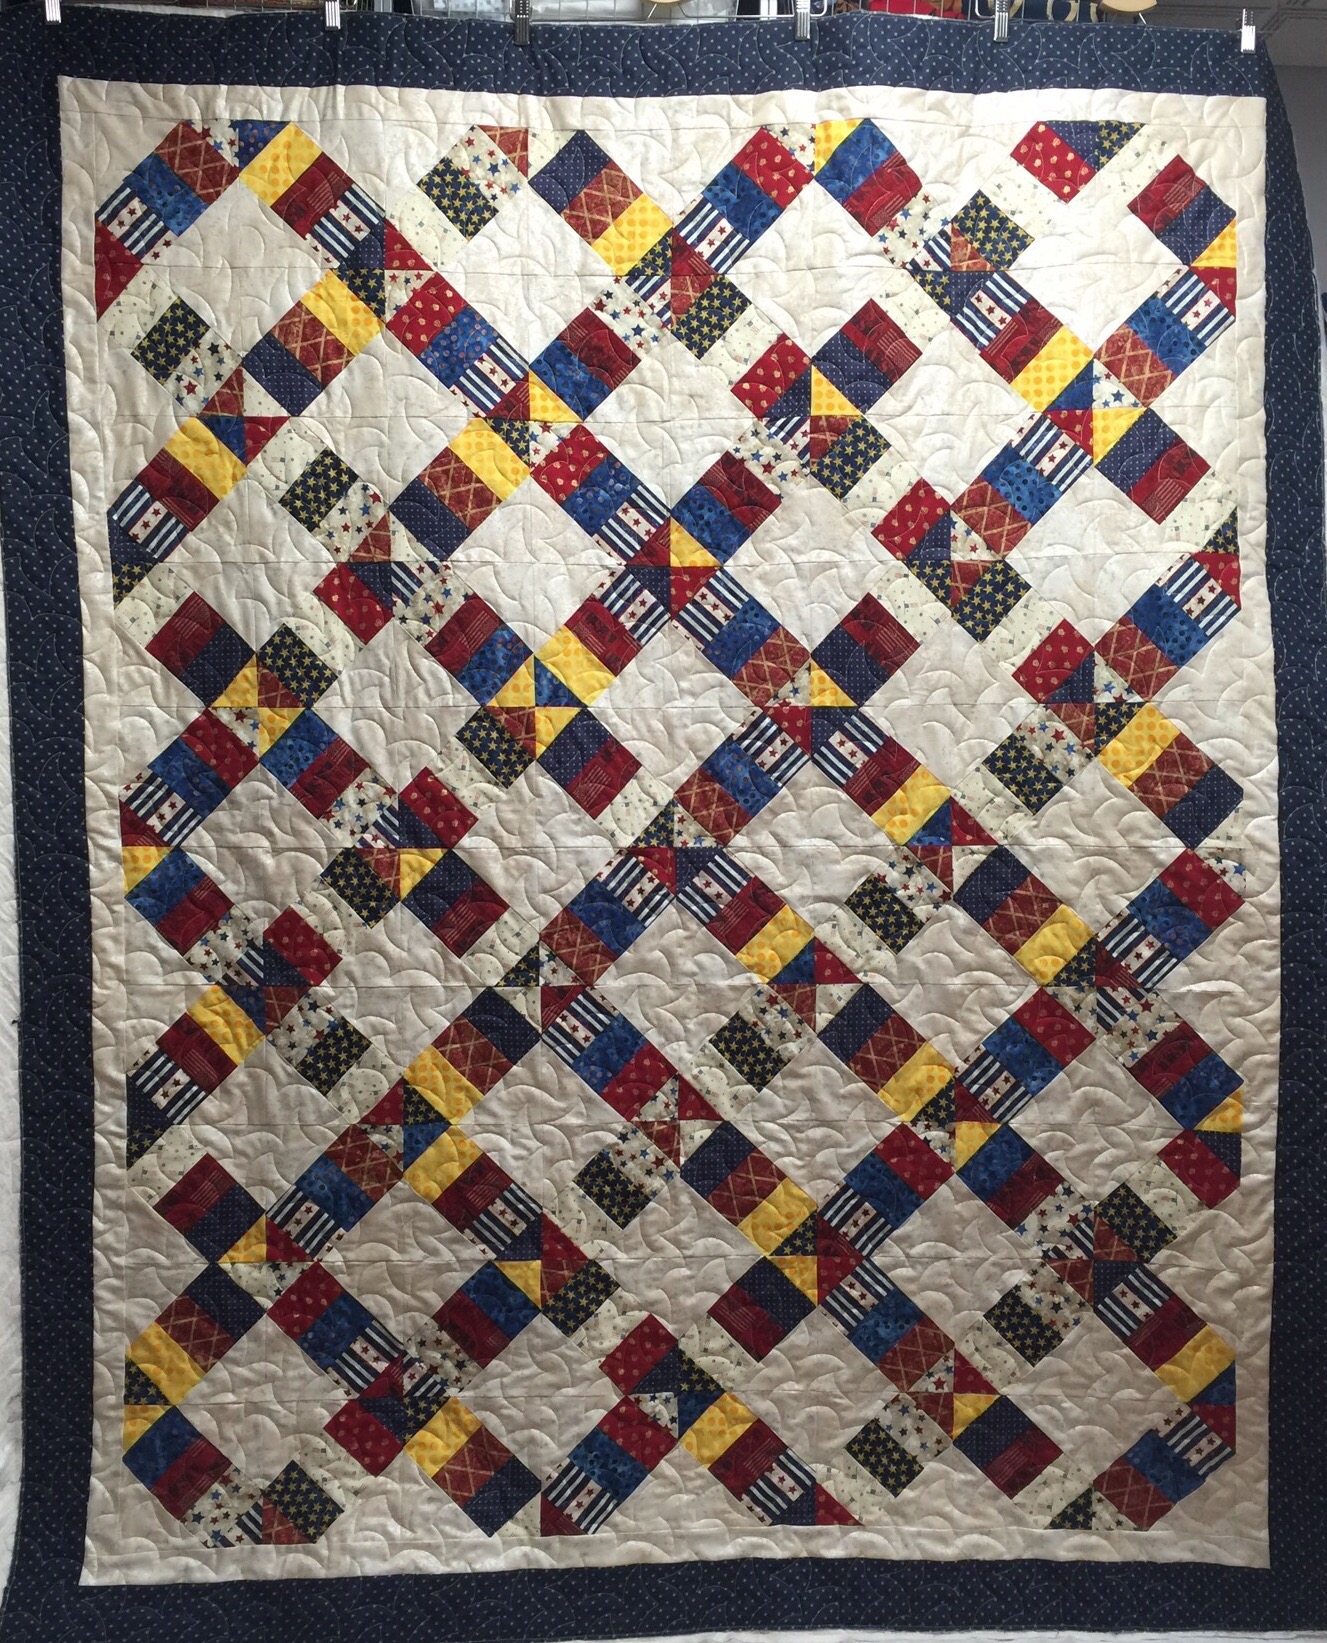
I spent a good chunk of my weekend quilting QOVs. These tops were all pieced by members of the Stitching Sisters group.


They do such beautiful work! I love quilting these. I have four more to do. I hope to get them done while hubby is on his business trip.

Have a beautiful day!

Linking up with The Quilting a Room with MelFree Motion by the River, Blossom Heart Quilts

Posted in Finishes, Quilt of Valor, Uncategorized | 11 Comments

DWMonday ~ Procrastination and Social Media

I’ve been procrastinating on the sewing for a quilt I cut out some weeks back. All the prints are from a couple lines of Tina Givens fabrics.

img_3129

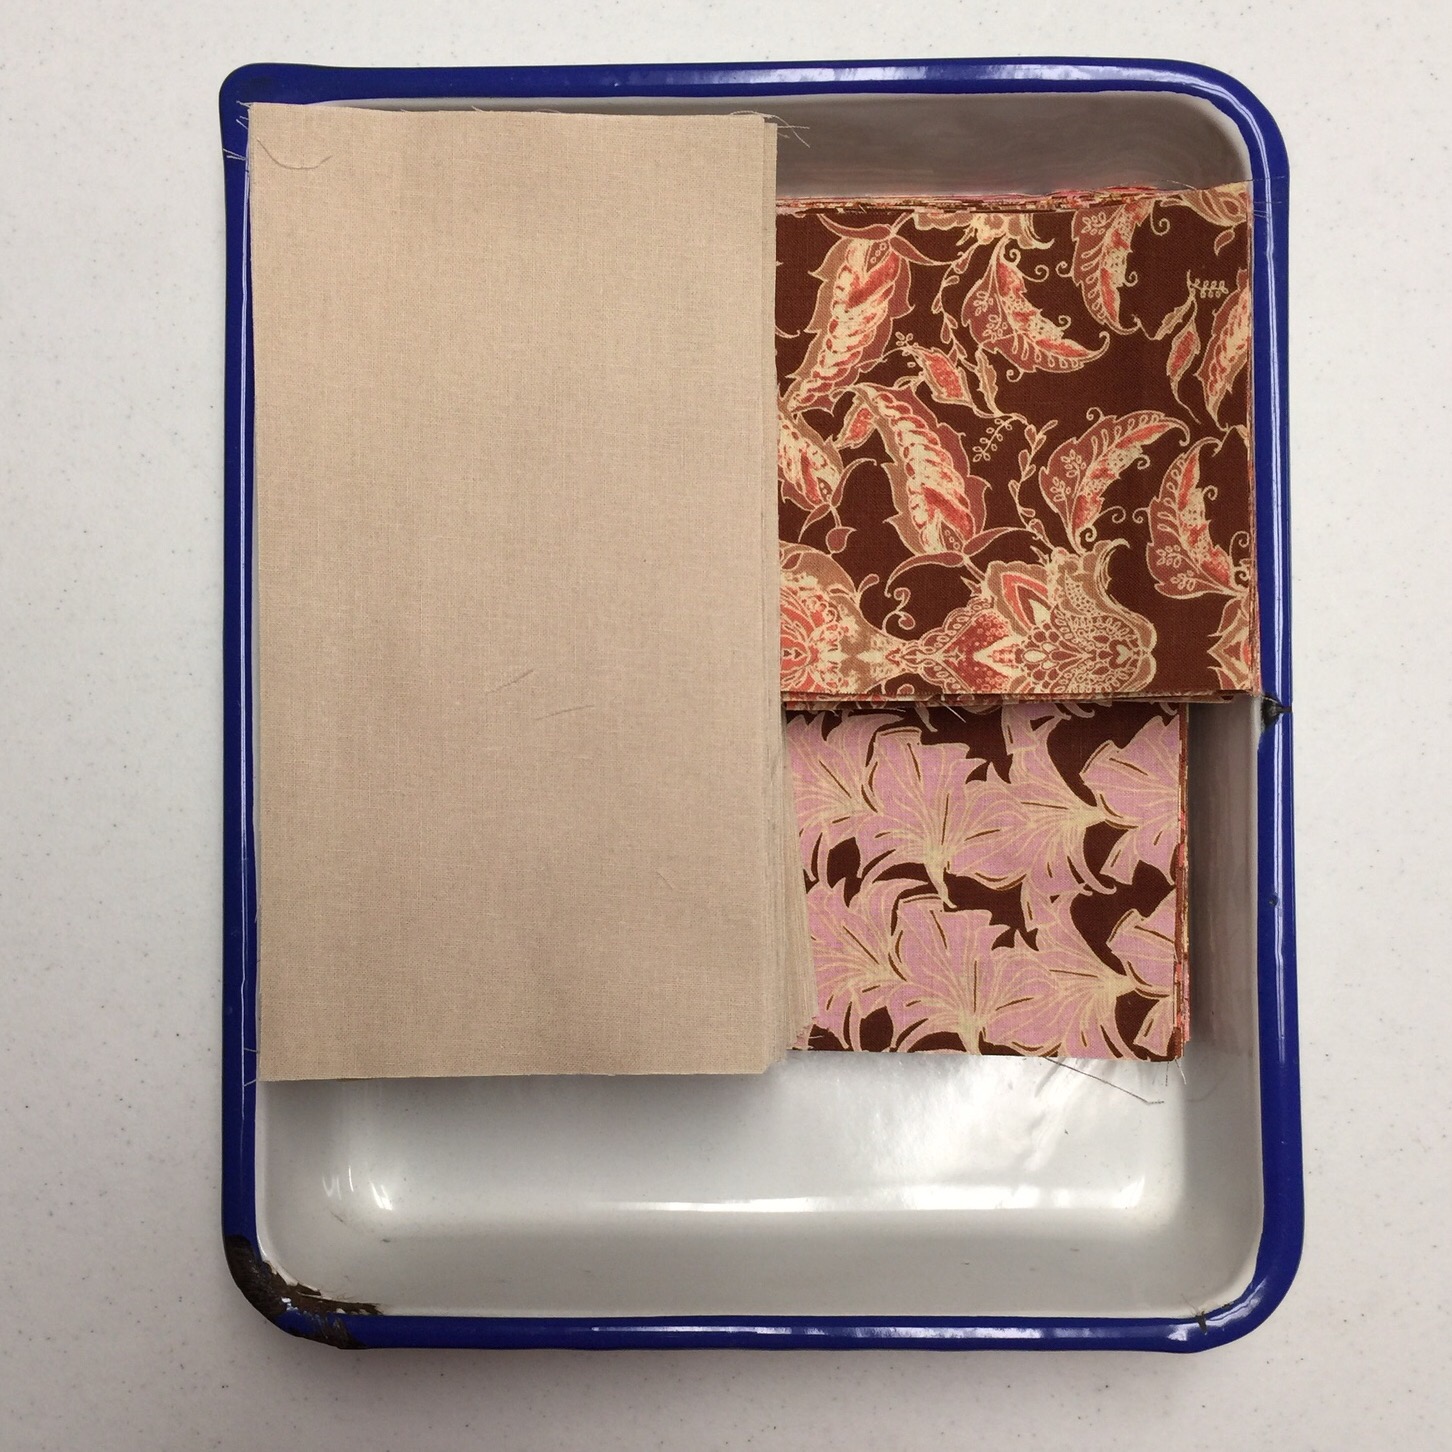
They seem to play well with each other but not so much with fabrics by other designers. I cut what I thought was the perfect background color.


But now, I’m not so sure. I think this is what has been keeping me from working on this. I found a piece of a  very odd color of Kona in my stash and it might be better. It’s hard to see the difference between these two fabrics, the second has a rosy tone to it. I have exactly three yards of this, it might be enough.

I cut a few pieces of the second fabric for  a side by side comparison. I think this shows the truest color. The backing will be a chocolate brown minky.

Thoughts?
In other news, this happened on Instagram last week.


Who knew that many people cared what I am sewing on any given day? Daughter #2 encouraged me to get an IG account just for quilting a couple years ago. I have really enjoyed it as a way to connect with other quilters and find inspiration for projects. I keep a separate, private IG account for family photos.

 It doesn’t replace blogging though, or reading blogs. I love both. For the last few years, I have used Bloglovin’ to keep up with the blogs I follow.  There are some things about it that I don’t care for. I know many people use Feedly, but apparently it doesn’t always play nice either.

I have Facebook, but I don’t post much quilting stuff there. I mostly use it to keep up with friends and family. Some quilters have FB accounts for just quilting, but I think that is more than I want to keep up with. If I end up long arming as a business at some point, I may change my mind.

Have a great day!

Linking up with Em’s Scrap BagLove Laugh QuiltCooking Up QuiltsPatchwork Times

Posted in Design Wall Monday, Uncategorized | 26 Comments

Hands2Help 2016 Update

Today is the day we are to share an update on our quilts for Hands2Help 2016. I am happy to say that I have one done. Here it is: 


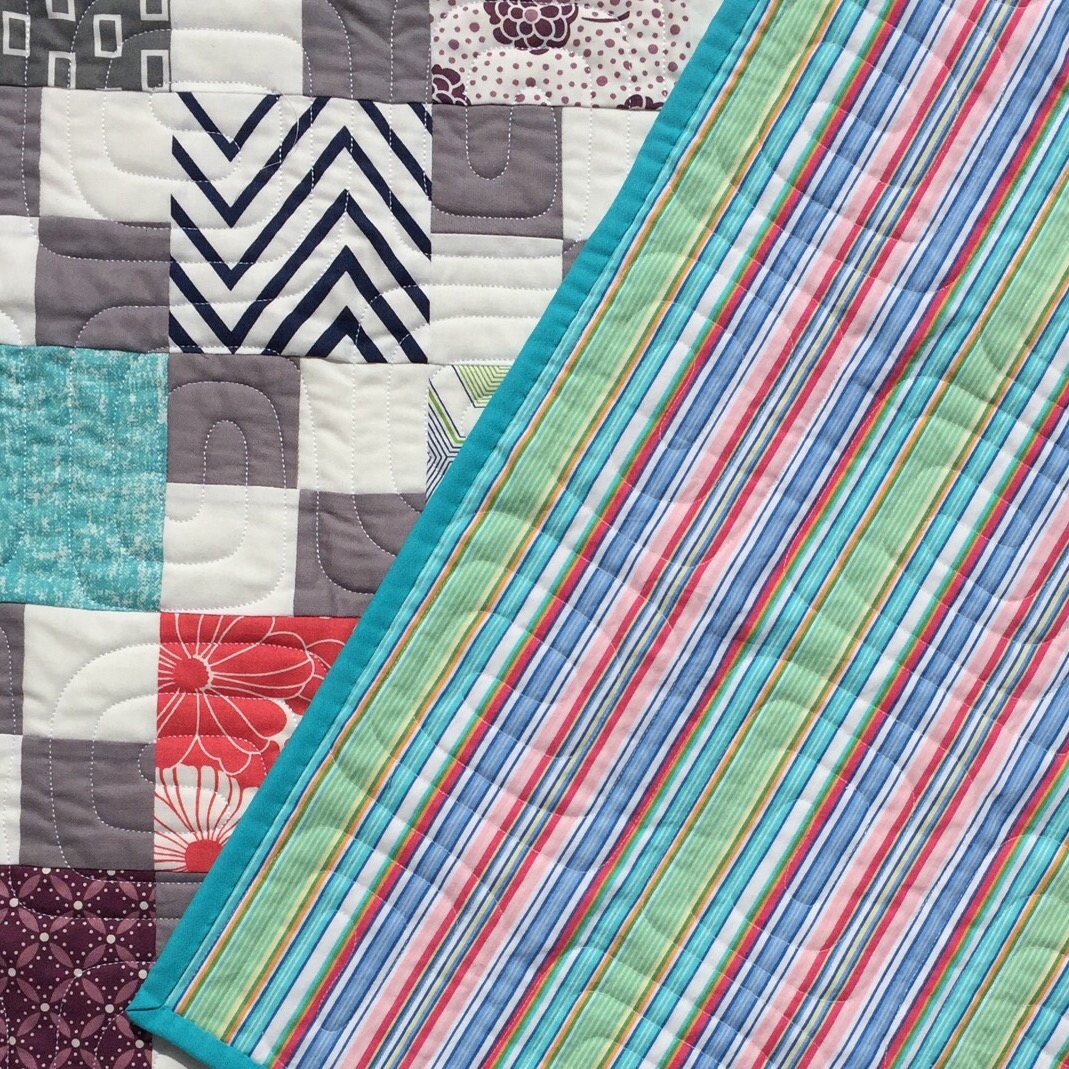
And the back:

   
The second one is  my slow stitching project for today. I just have the hand sewing on the binding to go and then I will ship them out!

 
Yesterday was a gorgeous day here! It was warm and sunny. I worked in the morning, but in the afternoon, I sat in the backyard and did a bit of handsewing. Later on, Daughter #1 came over with Big E and Little E. Little E was a wonderful quilt model! 


Big E enjoyed giving little brother a ride in the wagon. 

 
He also enjoyed a ride from Papa with his pal, Stinky the dog. 

 
That’s Stinky in front wearing a diaper. Doesn’t your dog wear a diaper? 

I have a pile of QOVs to quilt. This is a look at number two of eight.  

 
I hope to get this one done and off the frame tonight. Happy Sunday!

Linking up with Kathy’s QuiltsConfessions of a Fabric Addict

Posted in Donation Quilts, Finishes, Uncategorized | 19 Comments

Score!

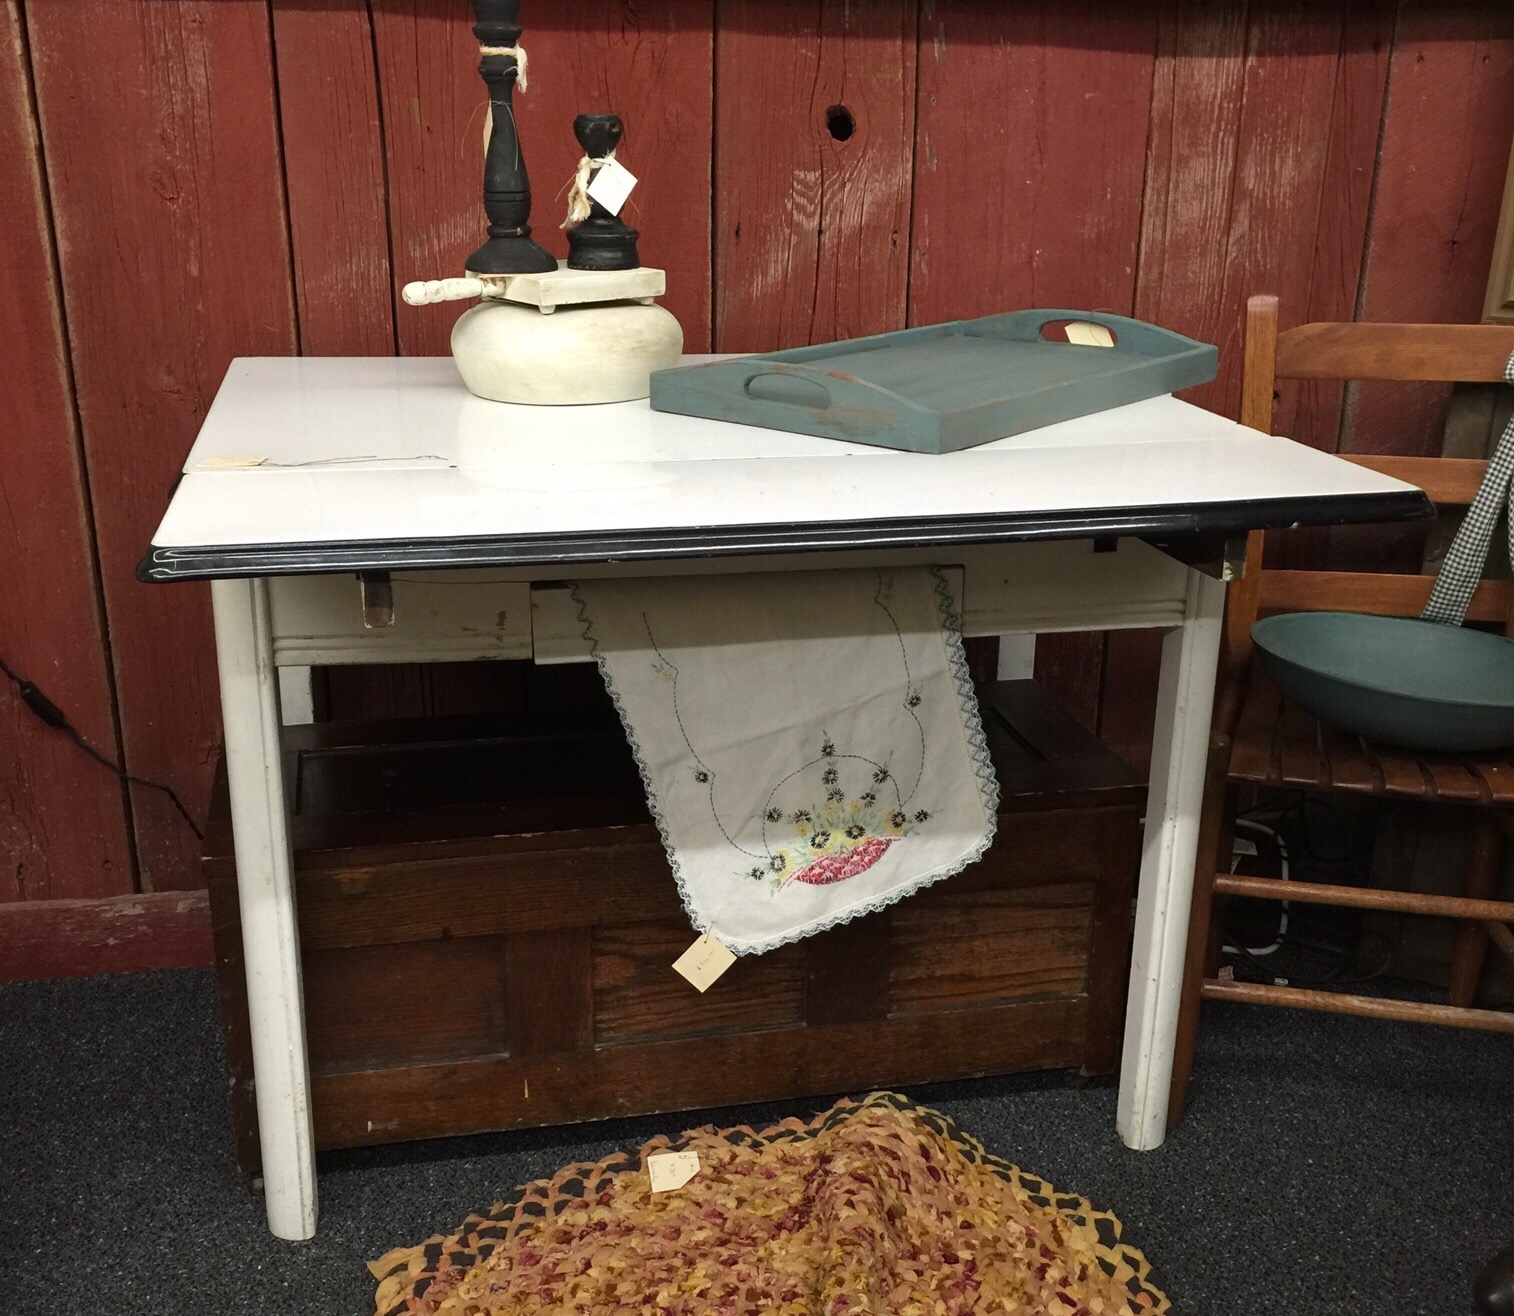
Remember last week when I told you about the vintage table I was thinking about buying? I had zero time  to go back to the antique mall to give it a second look.

 Later, I was checking out estatesales.net and found a sale here with an enamel top table  listed. So you know I had to check it out! I had errands to run so the sale had been open for an hour before I got there.

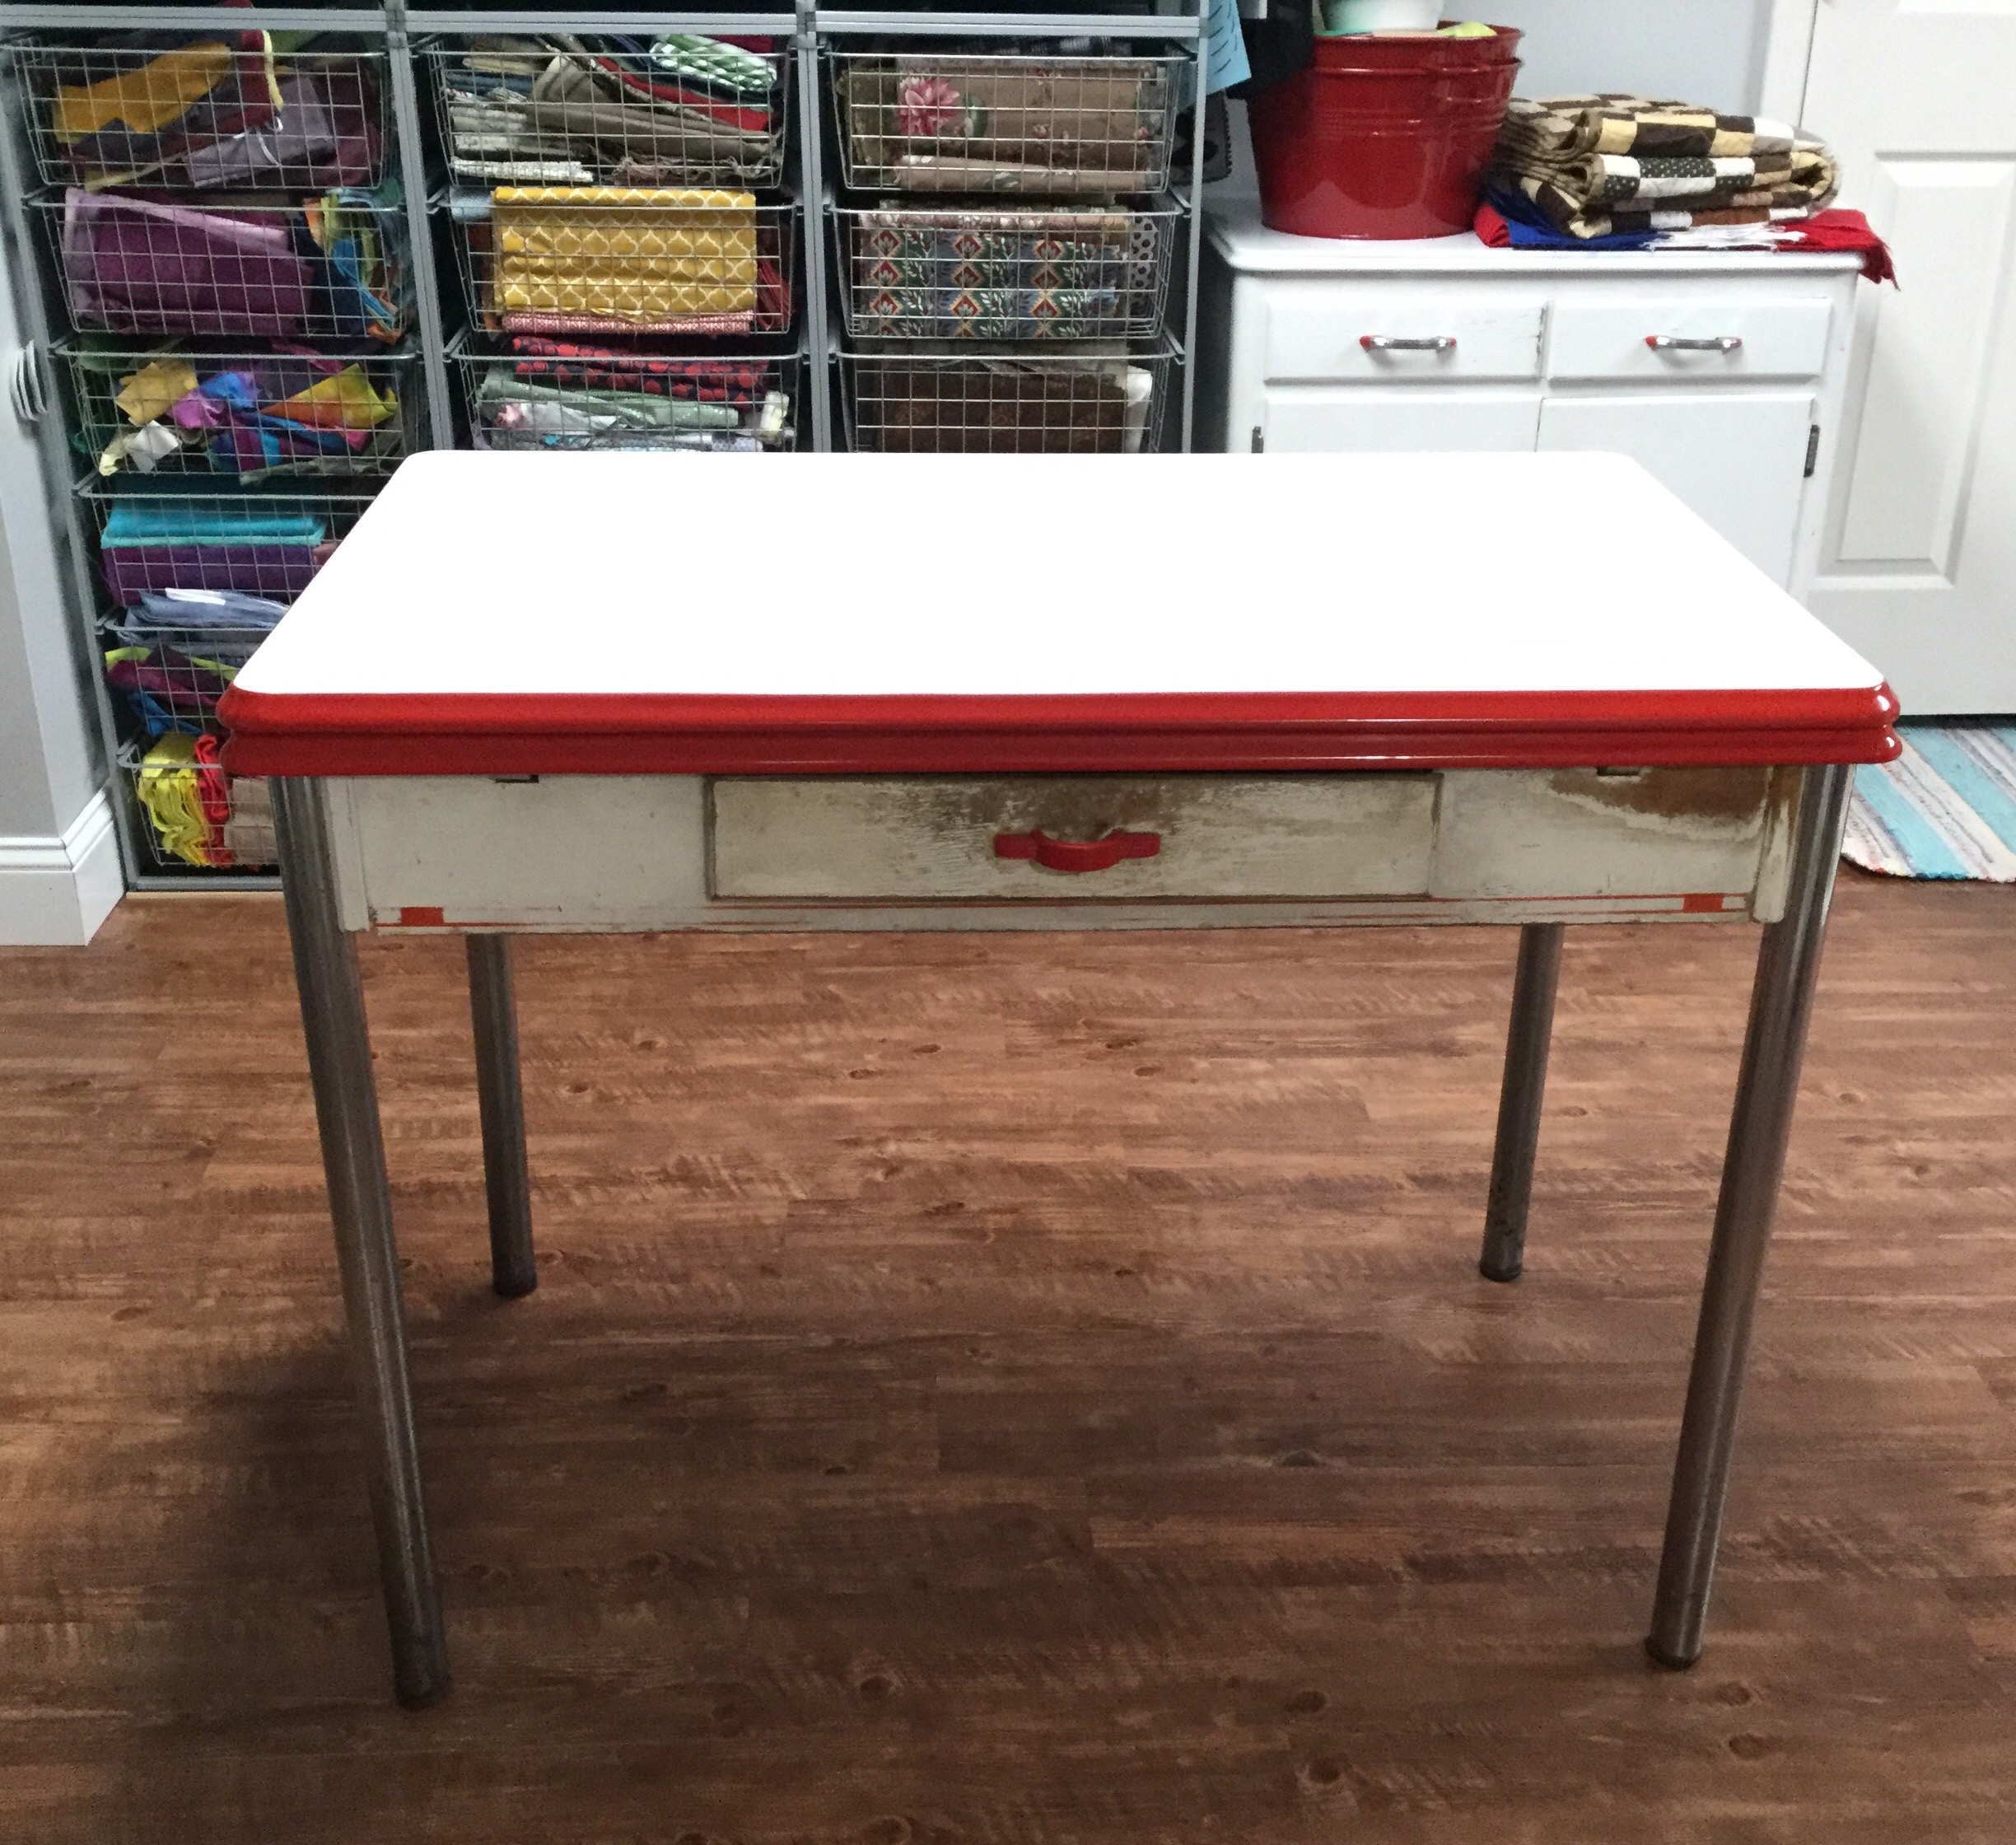
But my table was waiting for me.


It does have metal legs and I would have preferred the wooden ones, but they are not the “loop” style that I was totally set against. If you Google, enamel top table, you will see what I mean. The top and leaves are in excellent condition, with just one very small chip in the porcelain.

It could use a fresh coat of paint, but I hate to lose the original stencil detail.


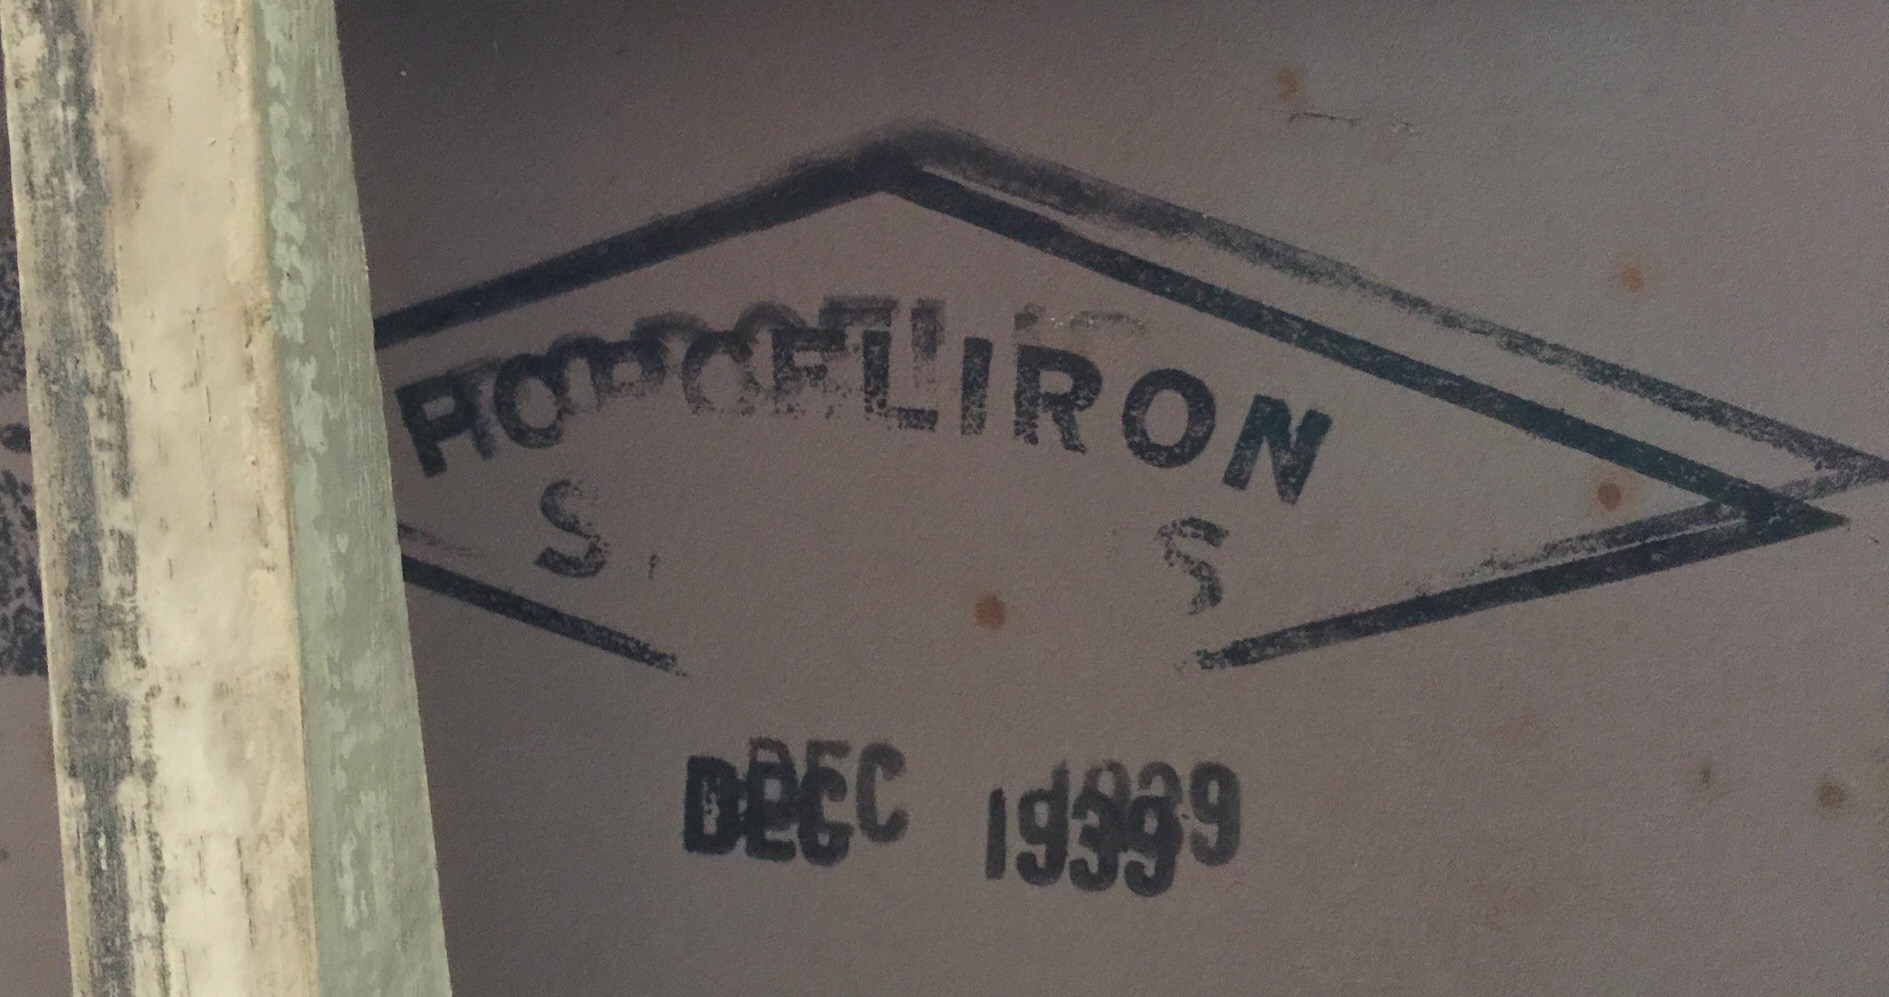
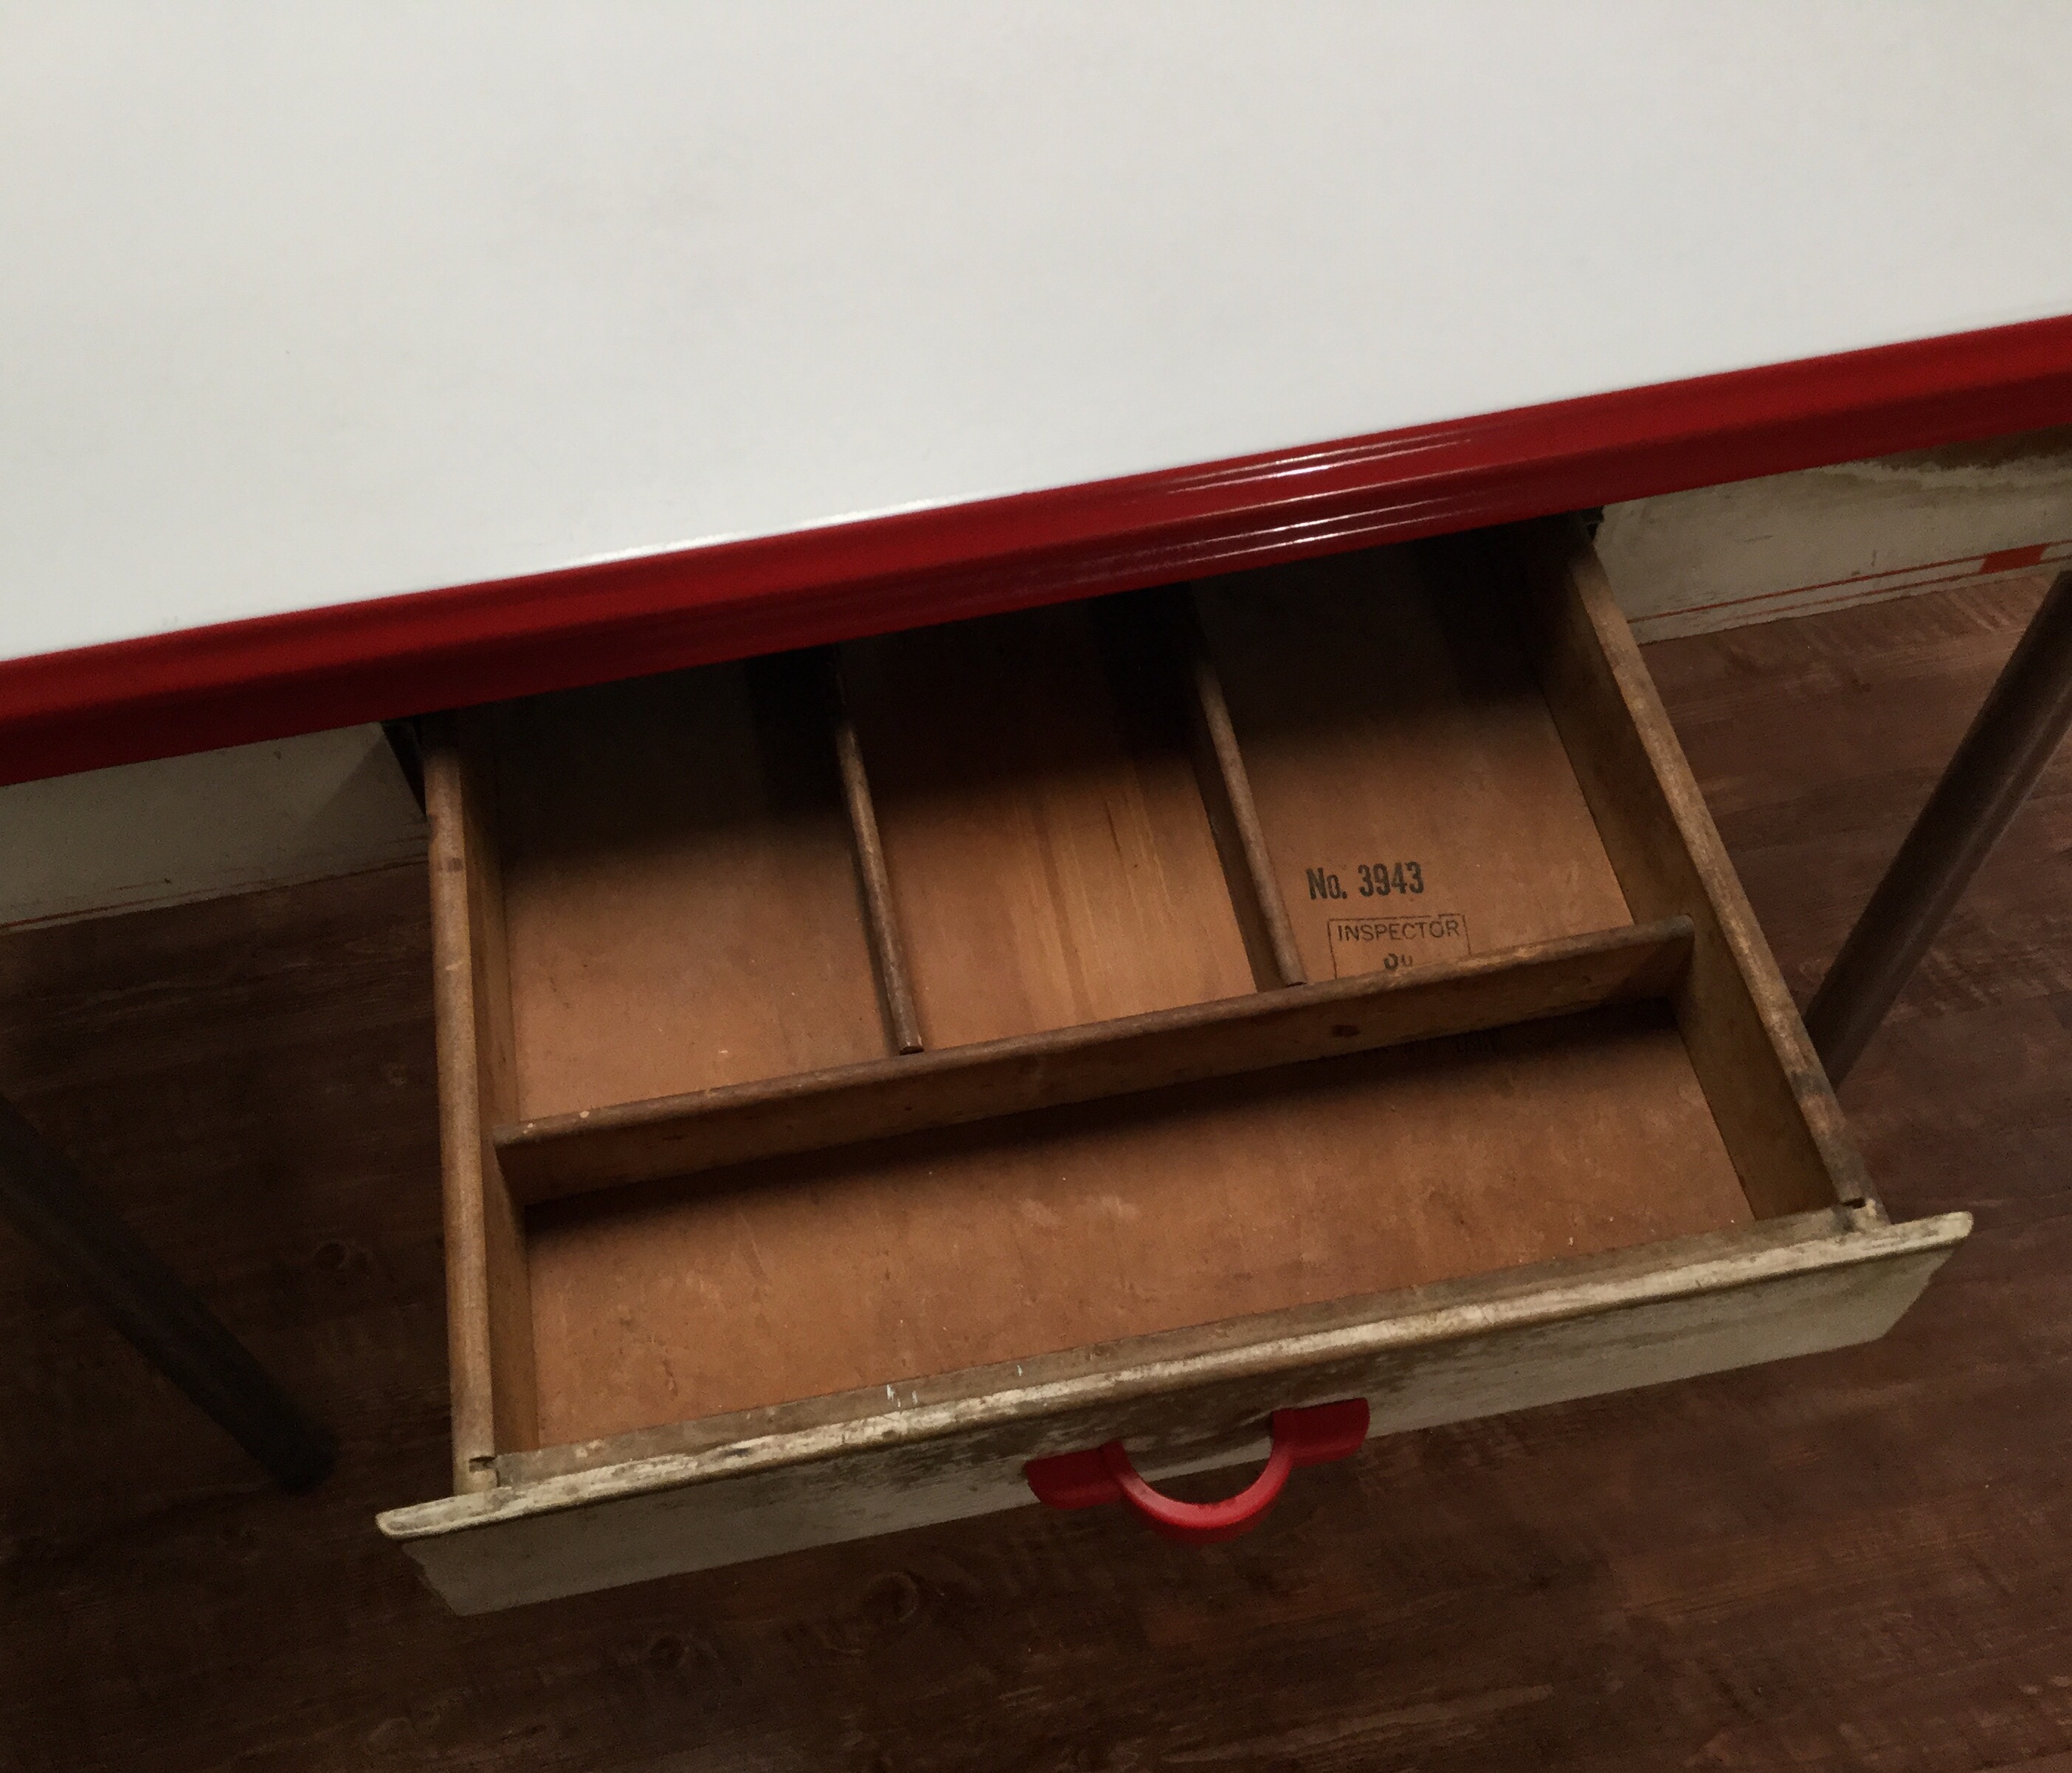
Do you see that tag? Sellers was a company out of Indiana and was one of the big names in kitchen furniture back in the day. I found this under neath:


I actually found a Sellers catalog from 1939 that someone scanned and posted online. This table was a new model that year! It was available with blue, black or red trim.
I’m so glad I waited! Oh, you want to know about the price? It was $45. That is $100 less than the one at the antique mall. I am a happy camper!


Posted in Uncategorized | 15 Comments

Finish It Up Friday ~ Simply Style 4 Patch

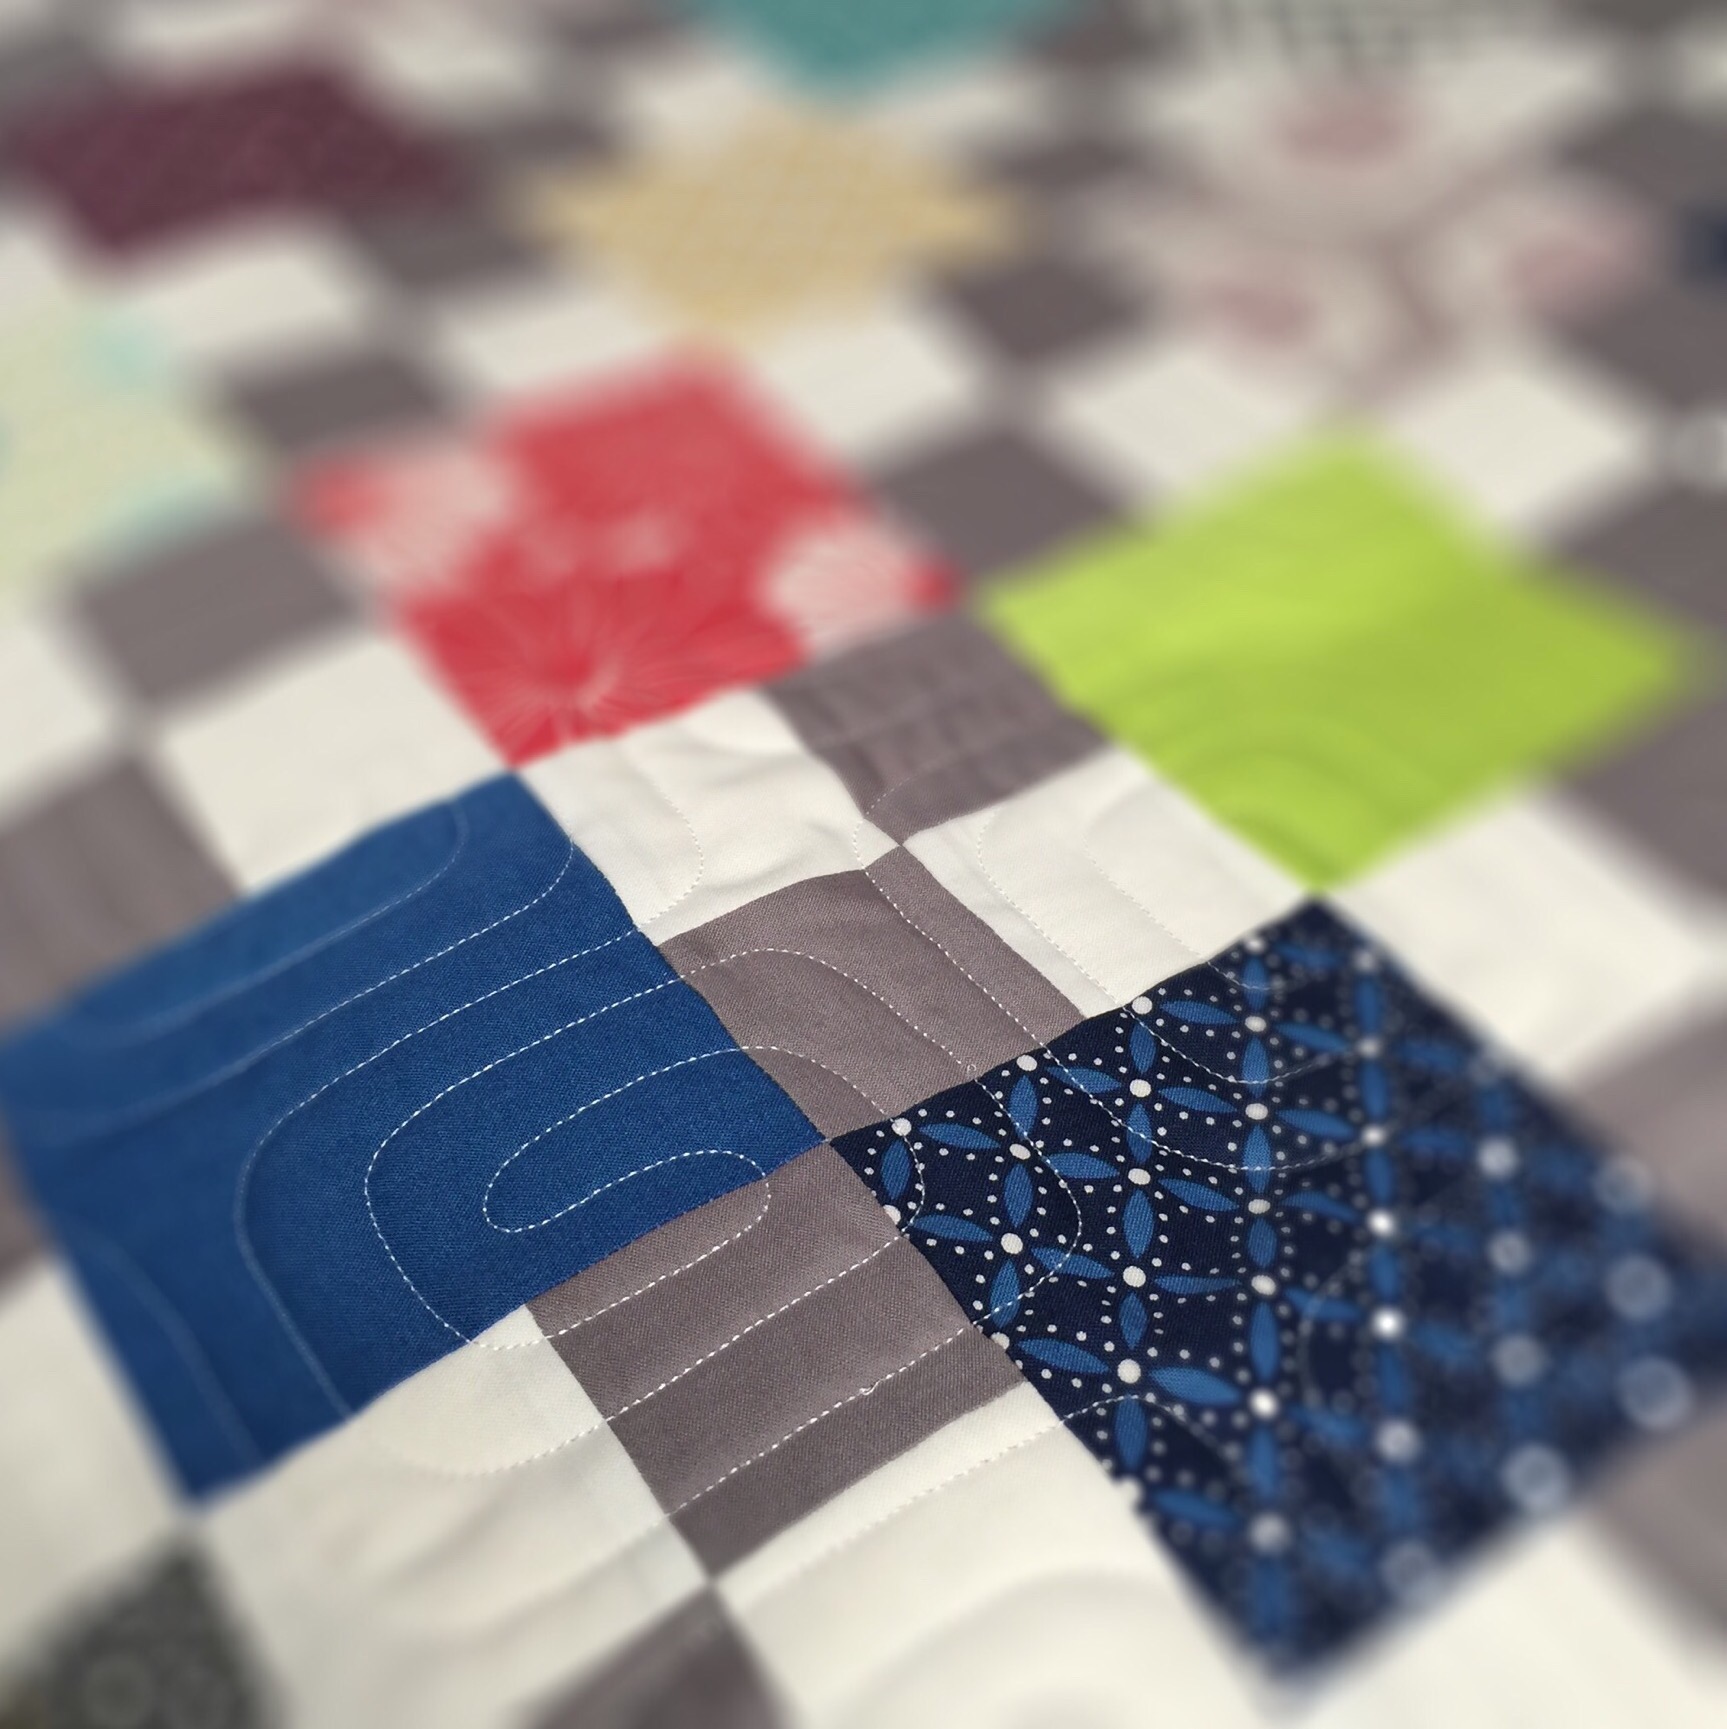
I finished my Simply Style 4 Patch quilt this week.
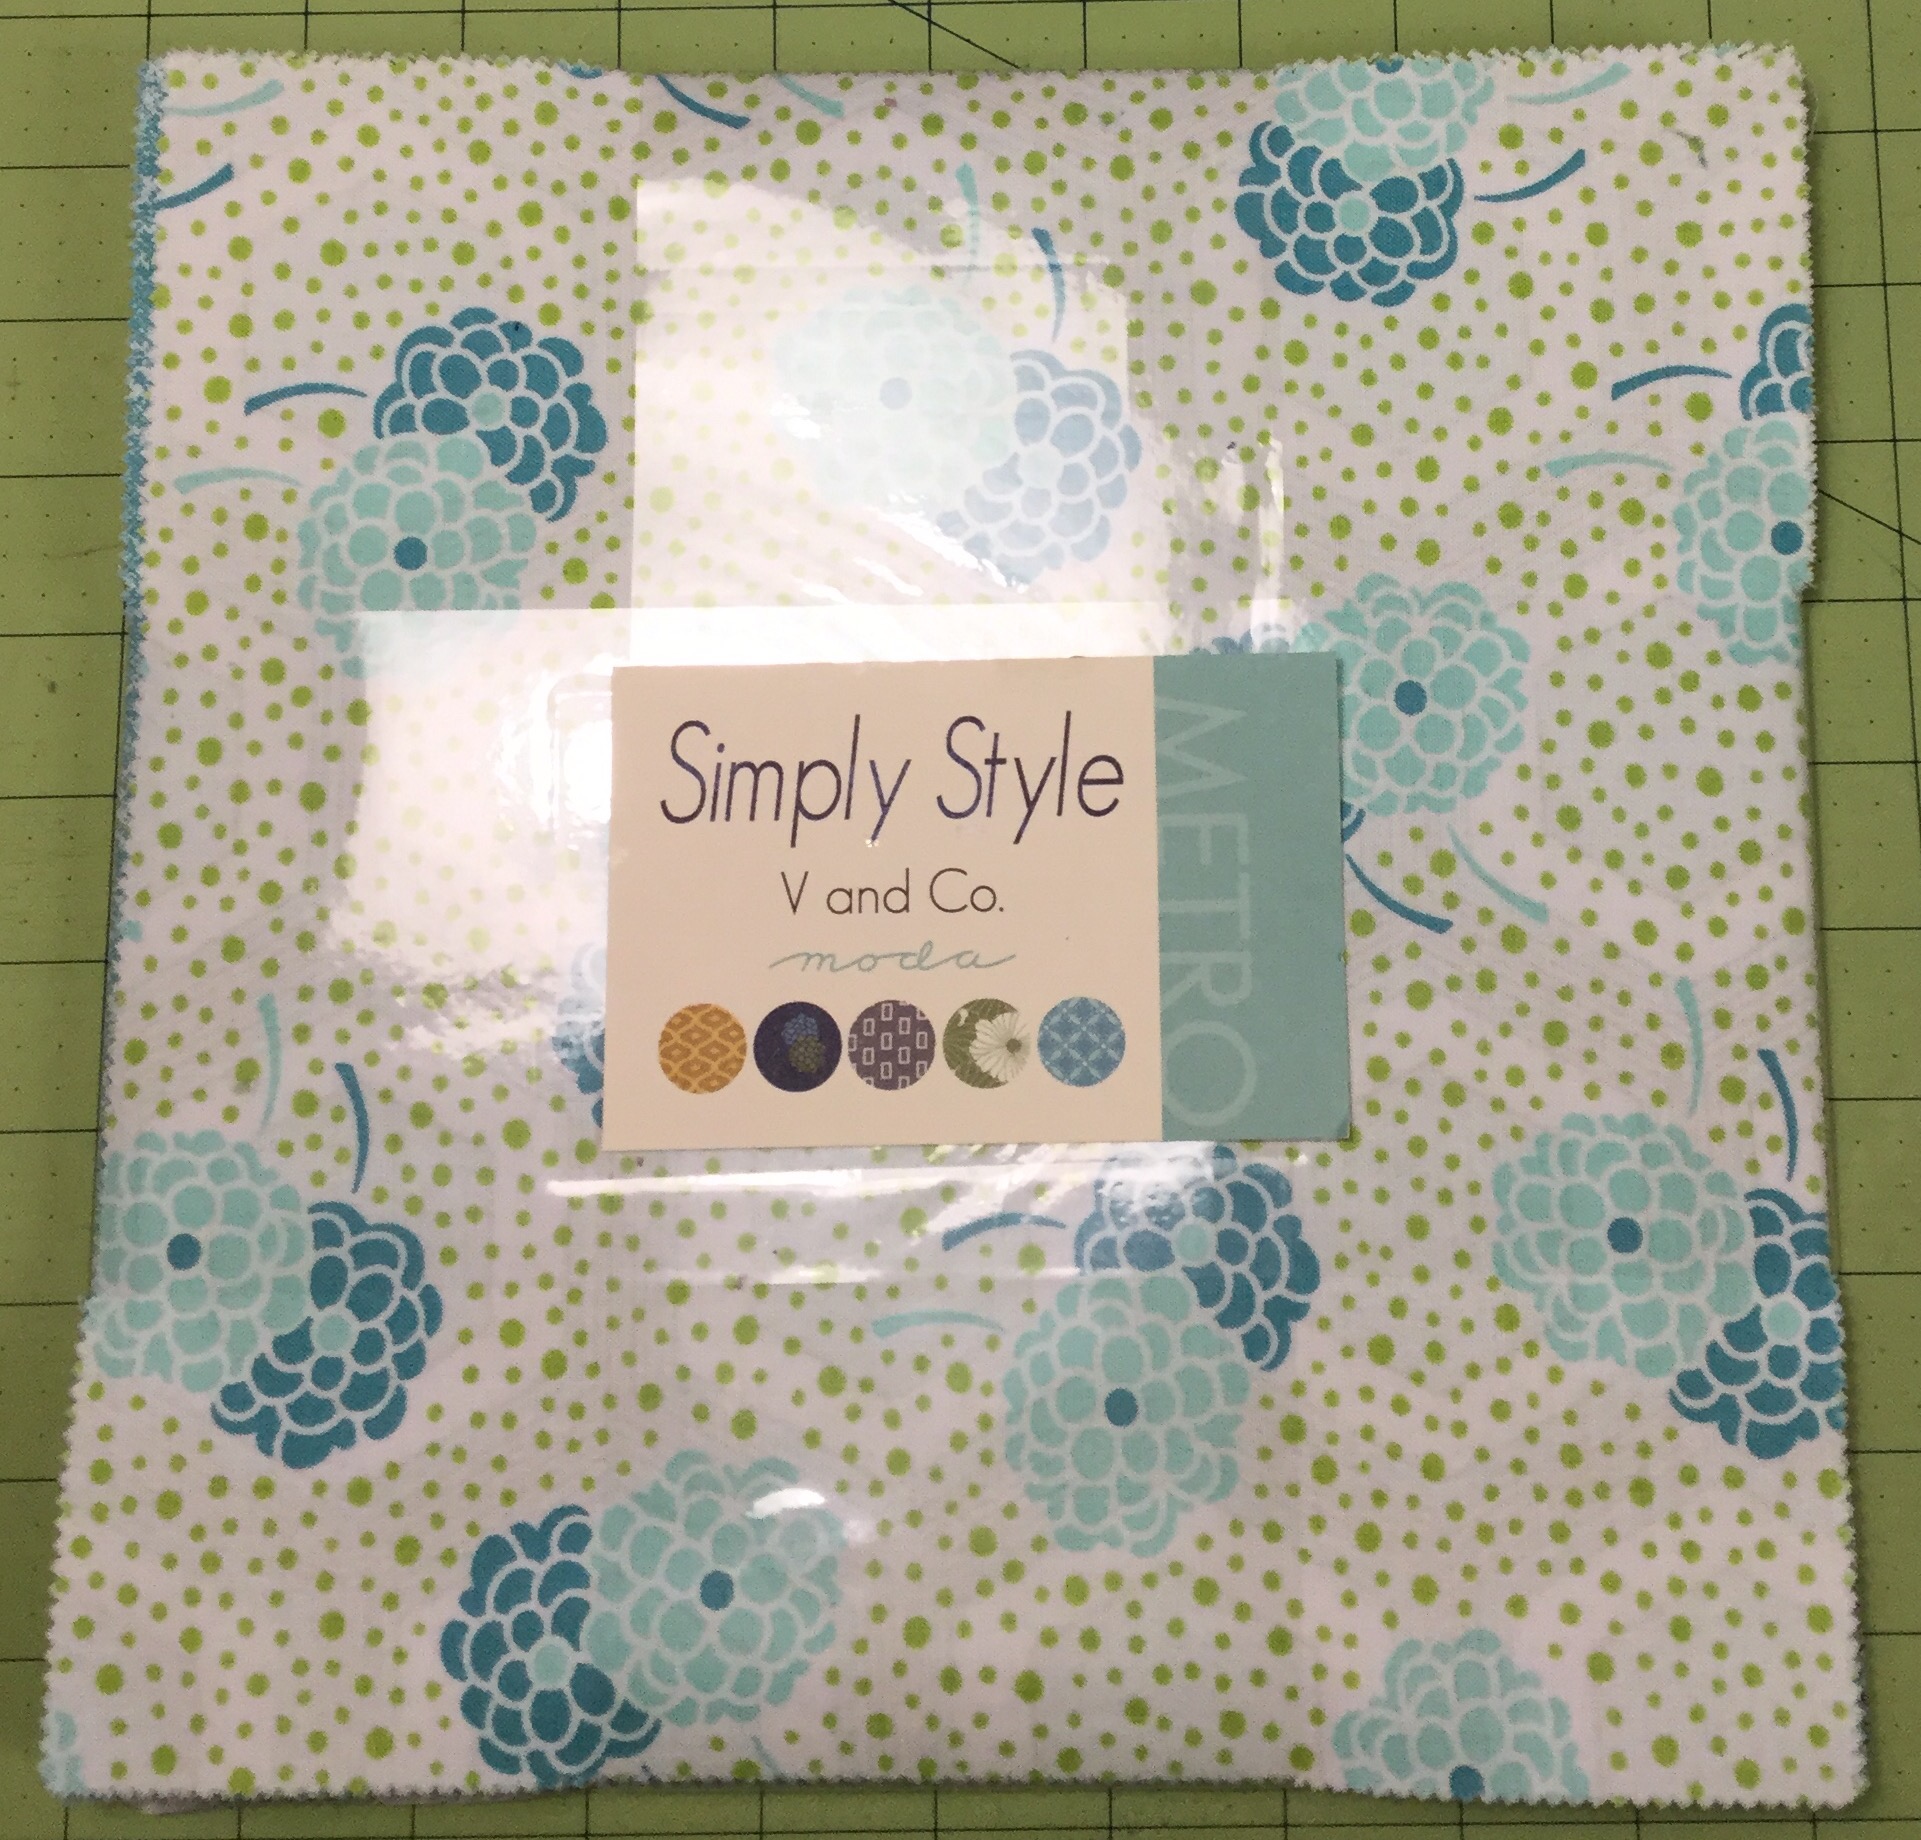
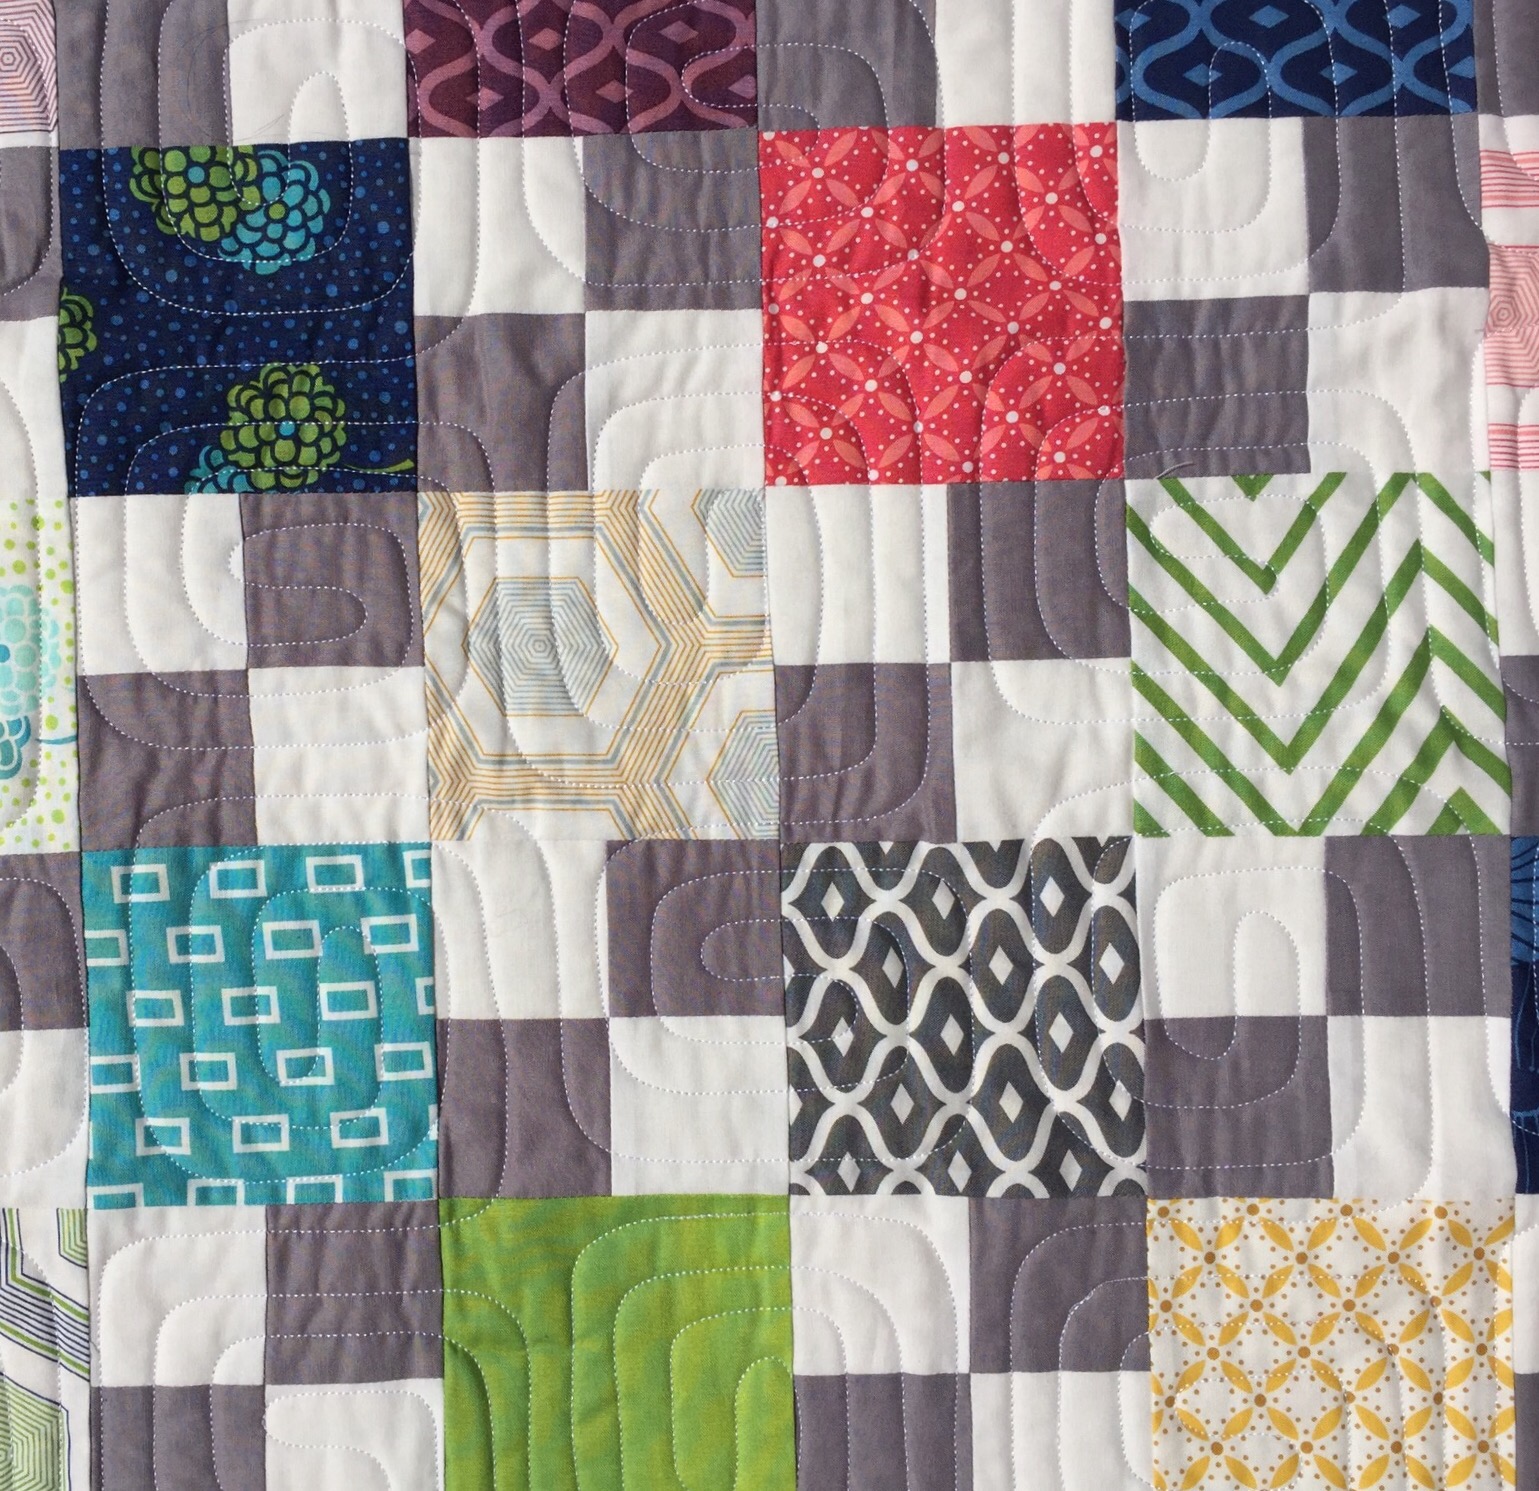
The prints all came from this layer cake given to me by Daughter #1. The quilt finished at 56 by 72 inches. I used a pantograph called Yodel to quilt this with Glide thread and Legacy 80/20 batting.

The backing is a new Ralph Lauren sheet. I love the colors and have had great success using sheets for quilt backs. However, this one was a bit too tightly woven and cased some tension headaches!

I have one 4 patch turned the wrong way! Can you see it? I really love simple patterns and this one really allows the beautiful fabric to shine.

Thanks for stopping by!

Linking up with Crazy Mom Quilts, Confessions of a Fabric Addict, A Quilted Passion,  Faith and Fabric, Sew Can She

Posted in Finishes, Fresh Modern Quilts, Precuts, Uncategorized | 24 Comments

Distracted!

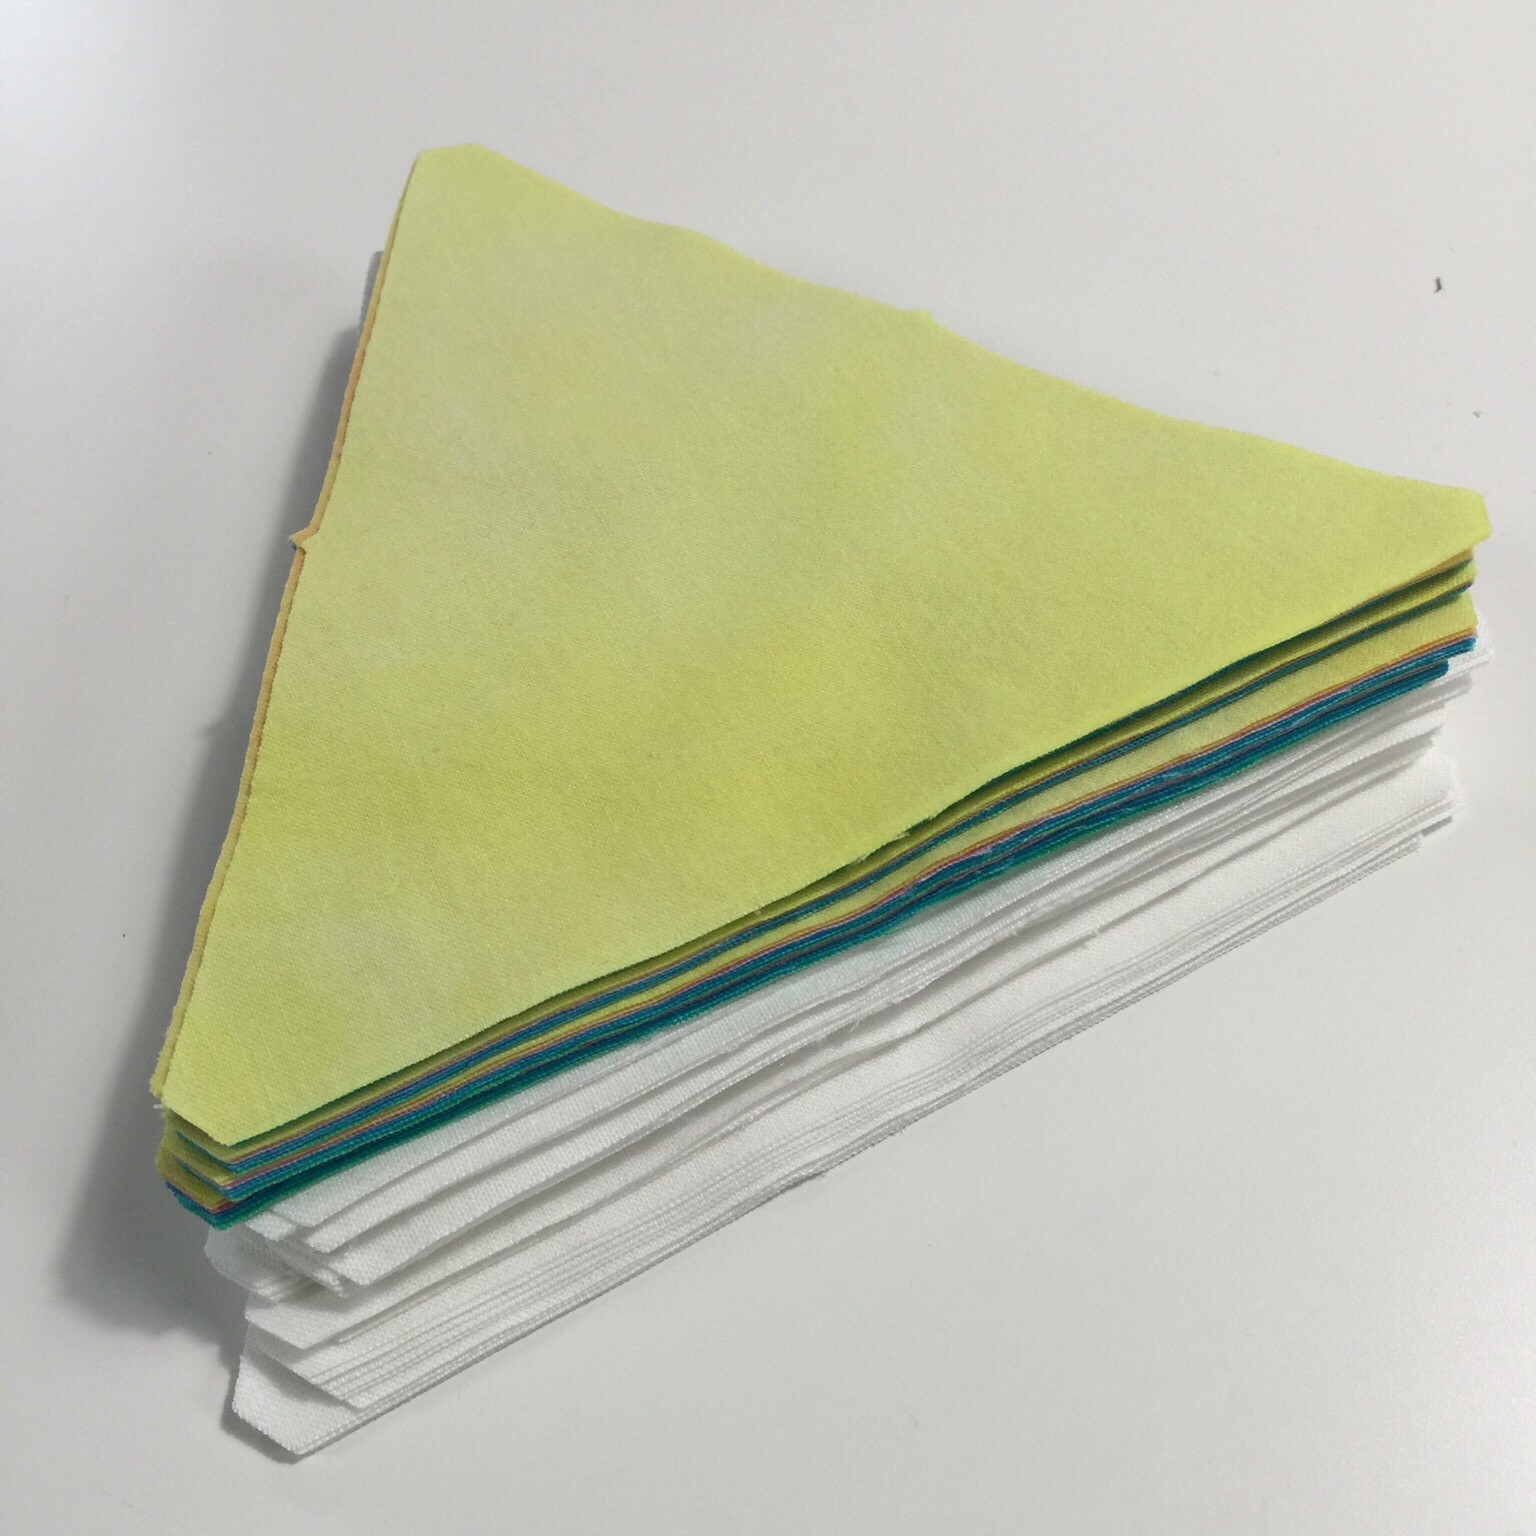
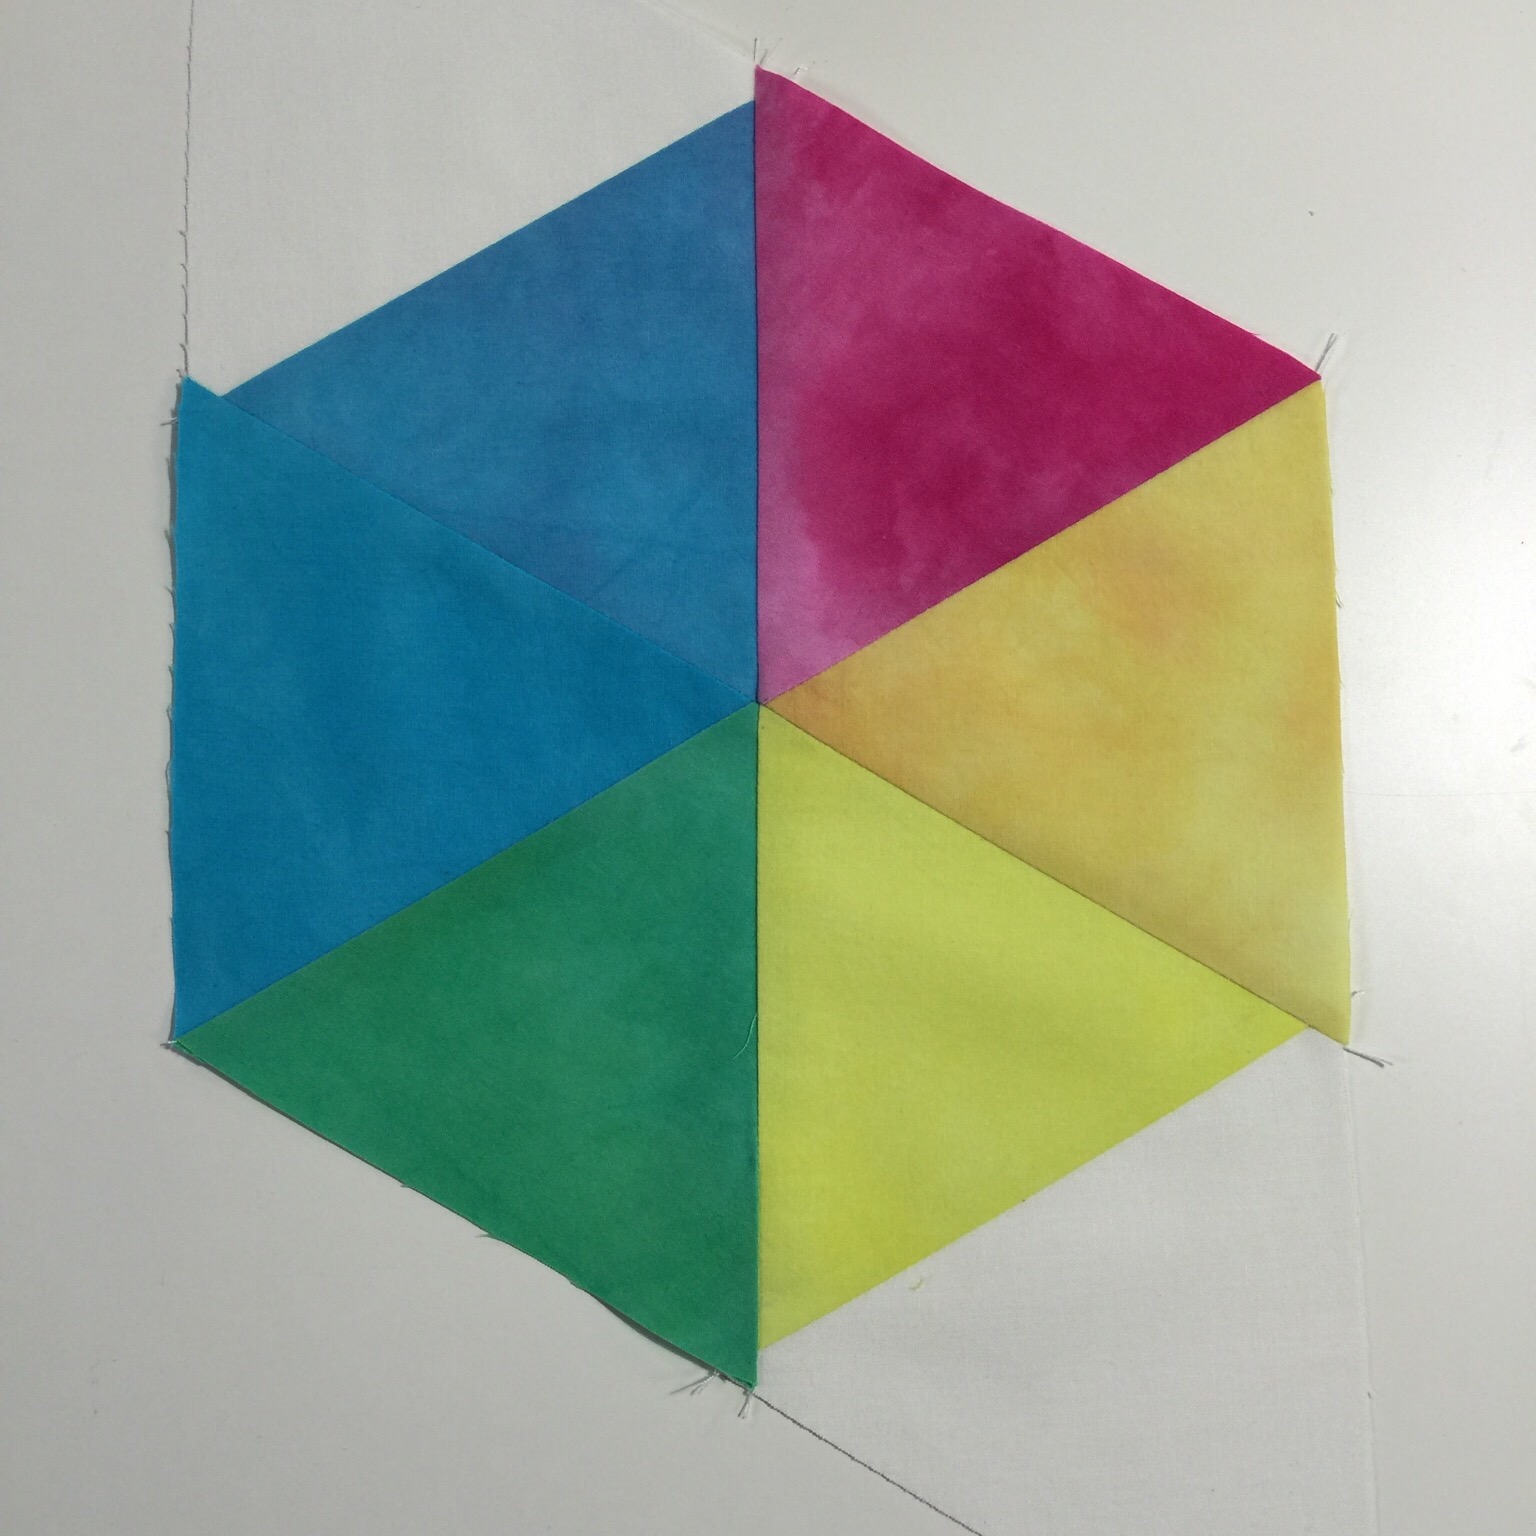
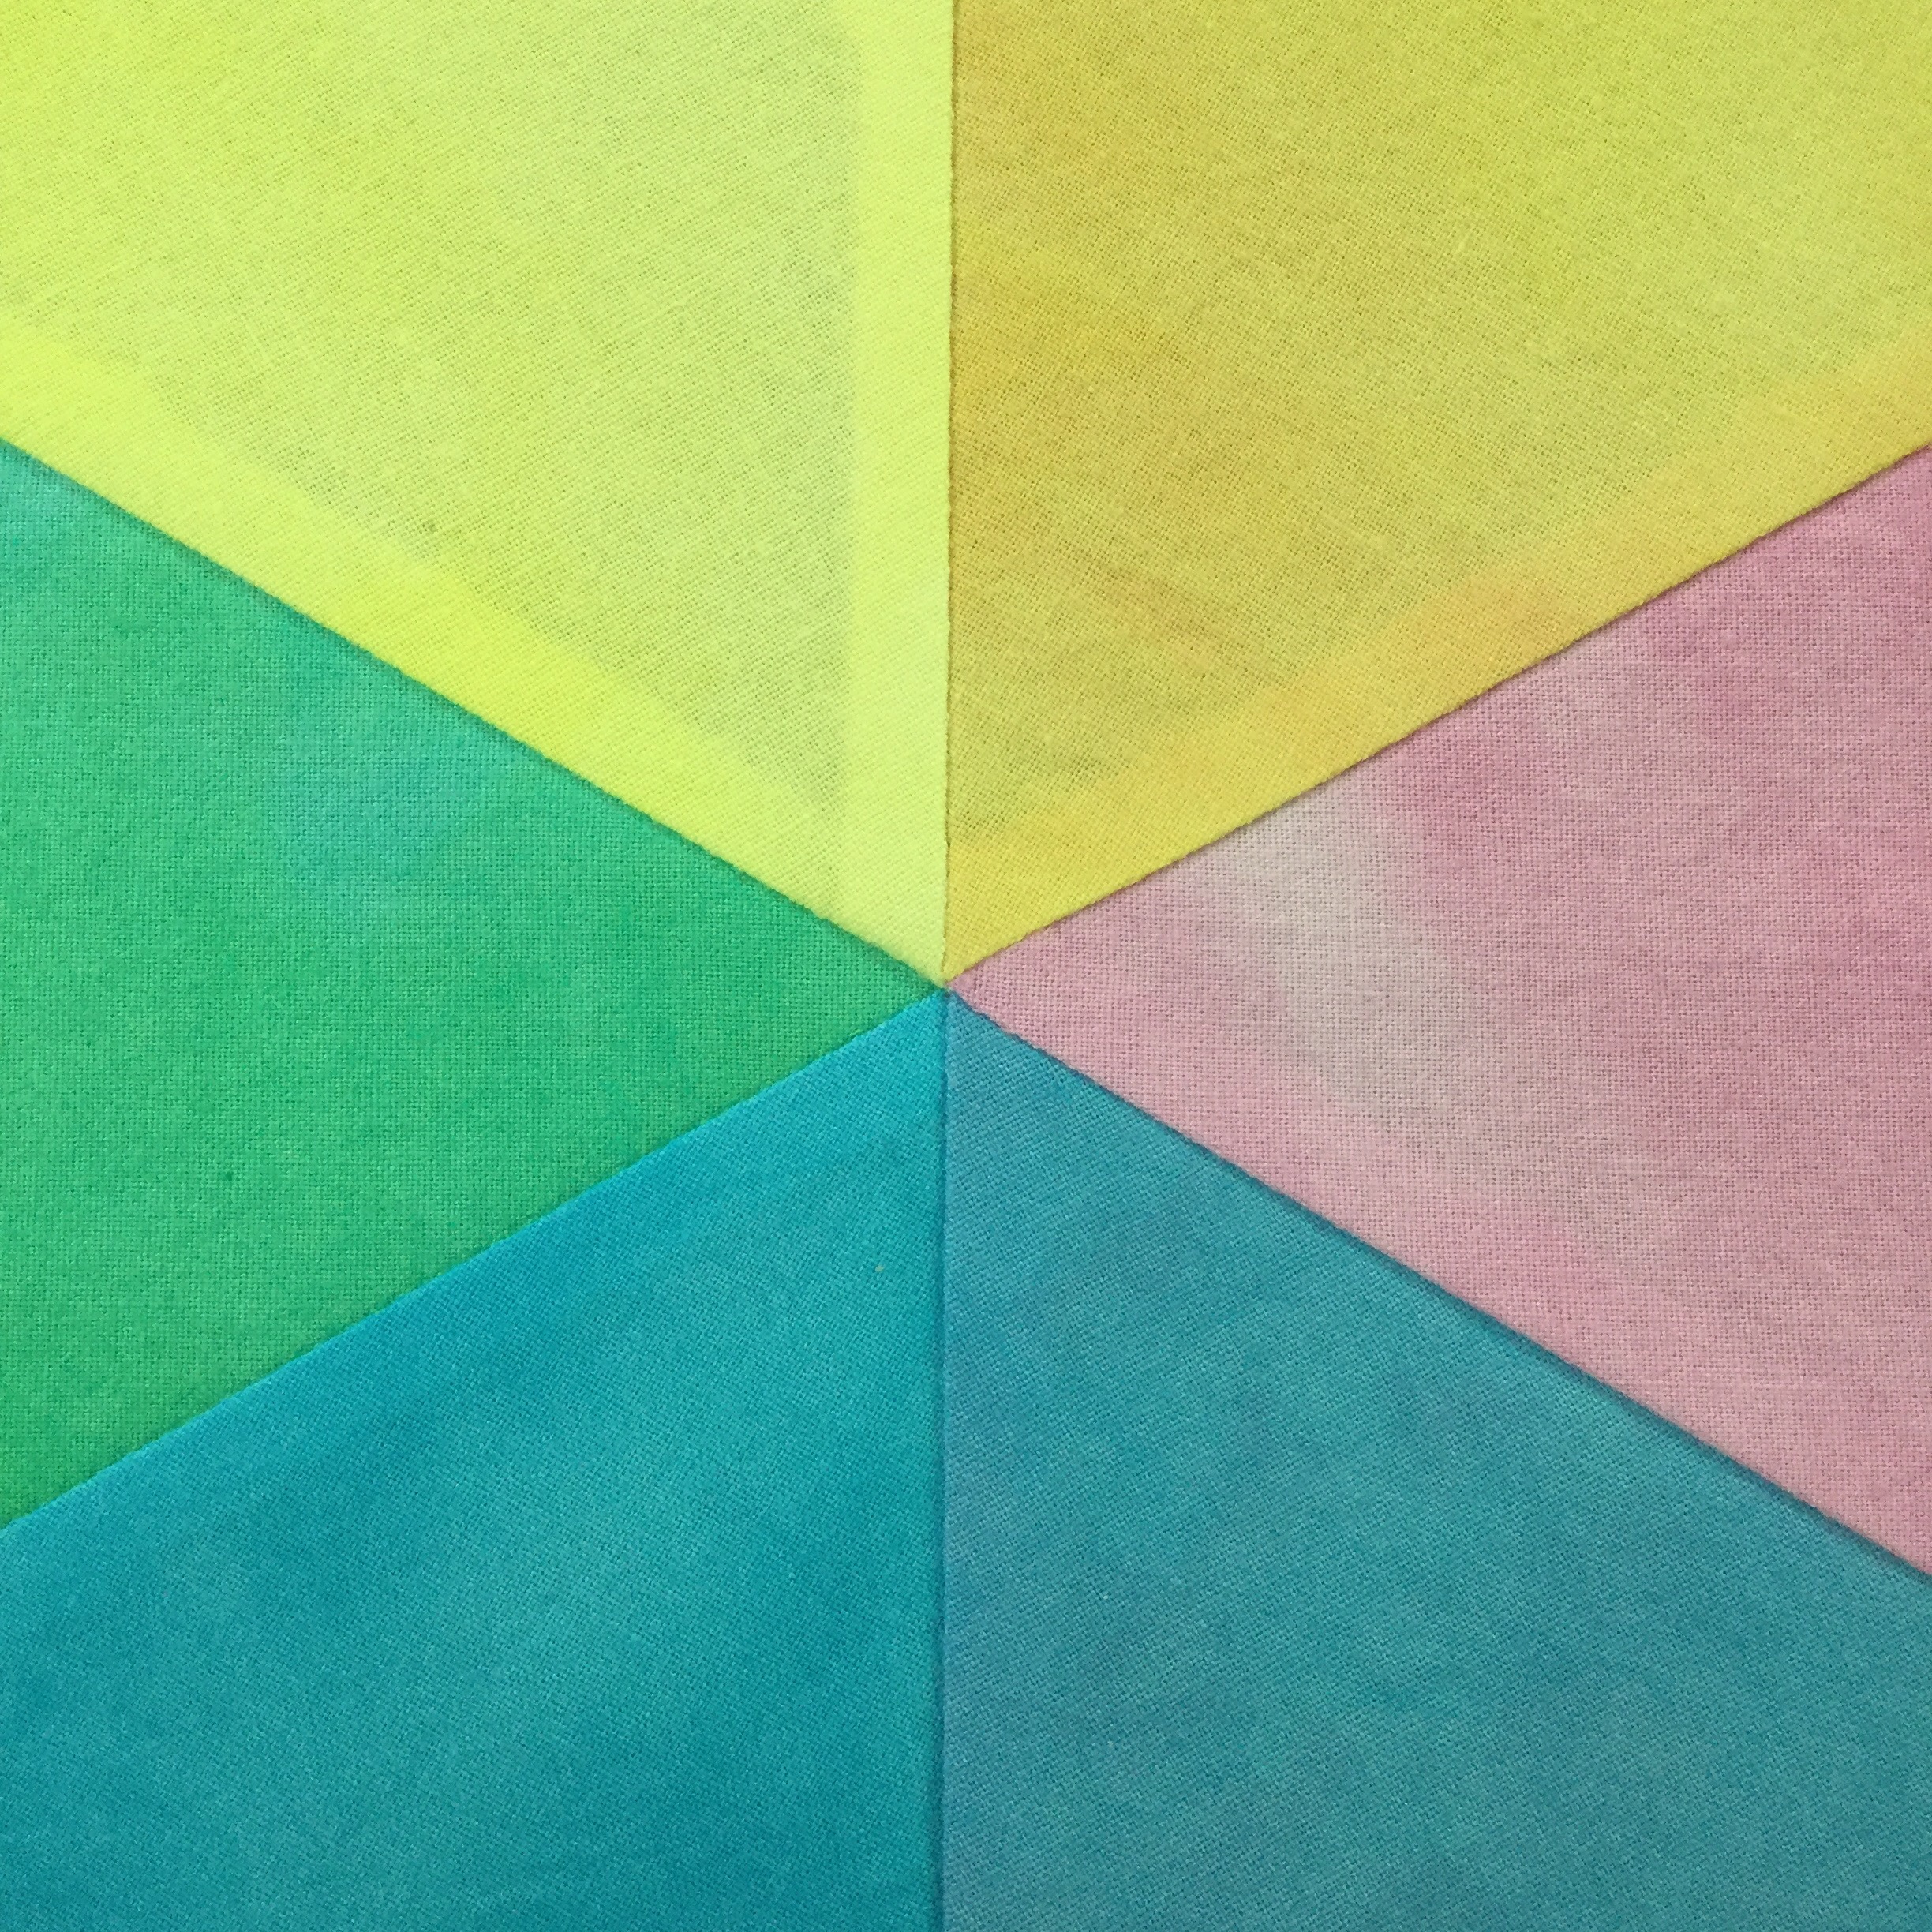
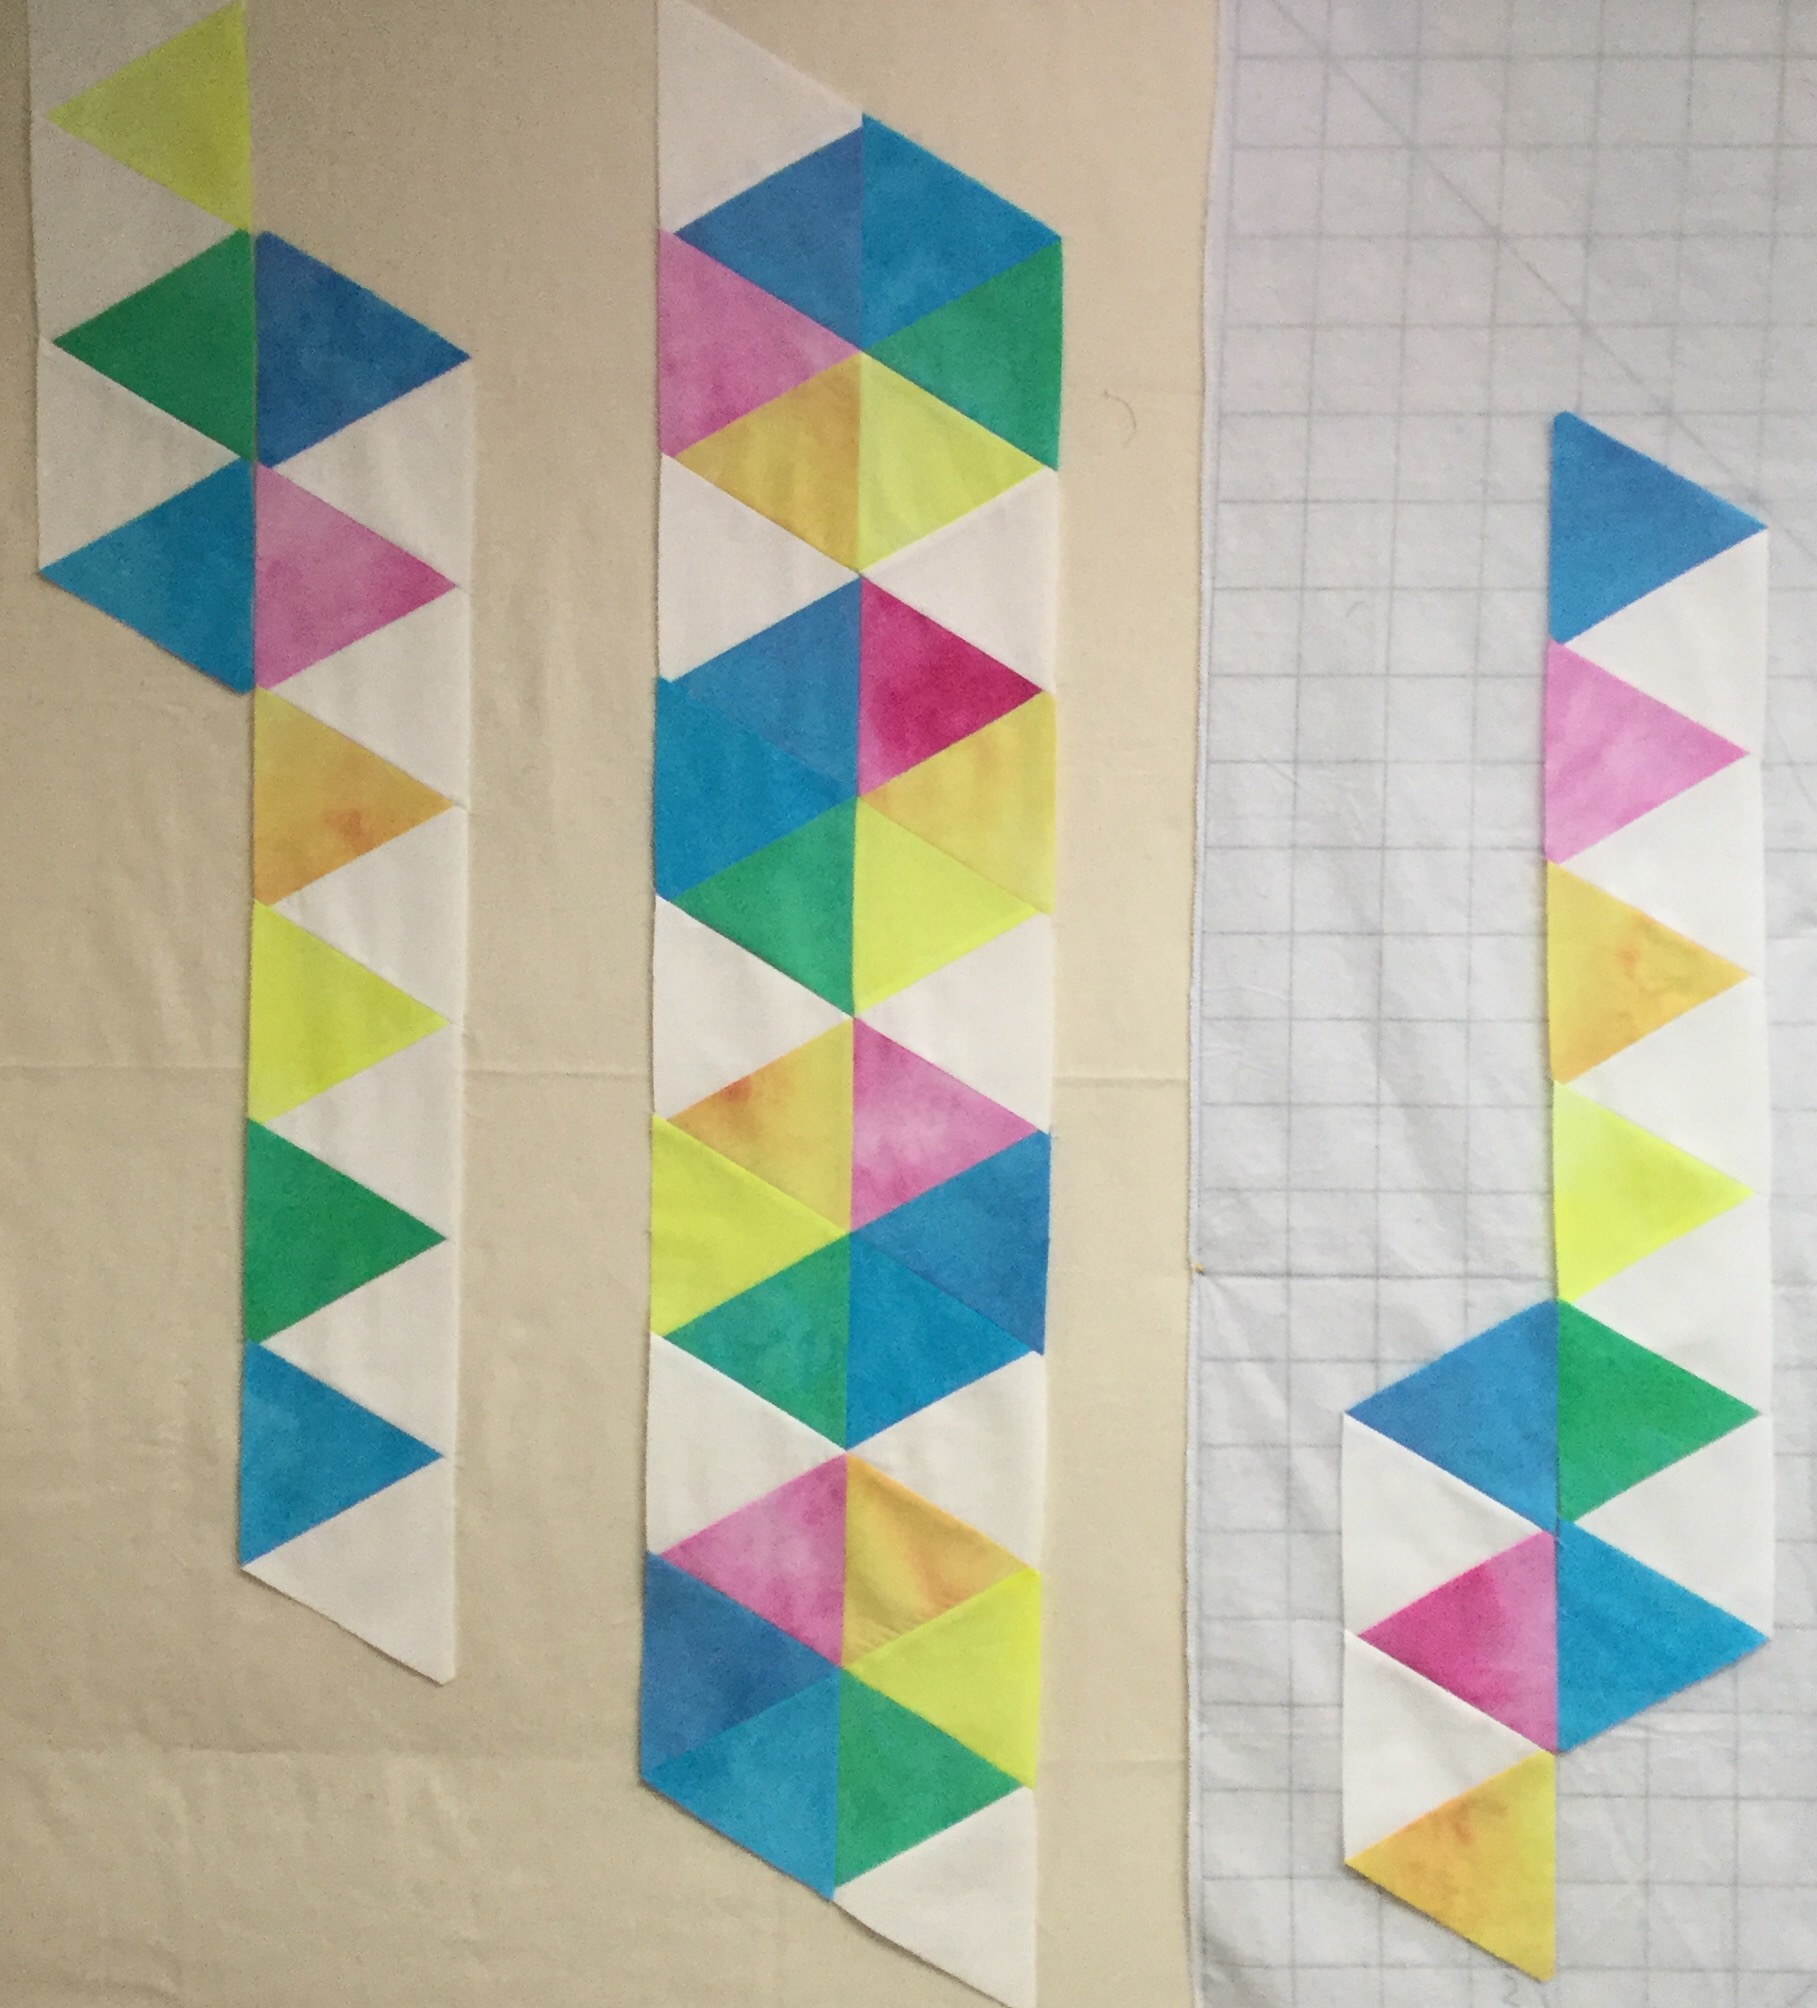
I got distracted from my triangles by other triangles! I came across some of my hand dyed fabrics and decided to use my equilateral die set to cut them up. These will finish at 5 inches on a side.
My purple is not very purple and my orange is not very orange. If they were, this would make a nice color wheel. I really like these dies. They have tiny notches on two sides making it easy to get them lined up. This doesn’t happen very often:
 So I had to take a picture of that intersection! These “blocks” remind me of beach balls. Time to play a bit on the design wall.

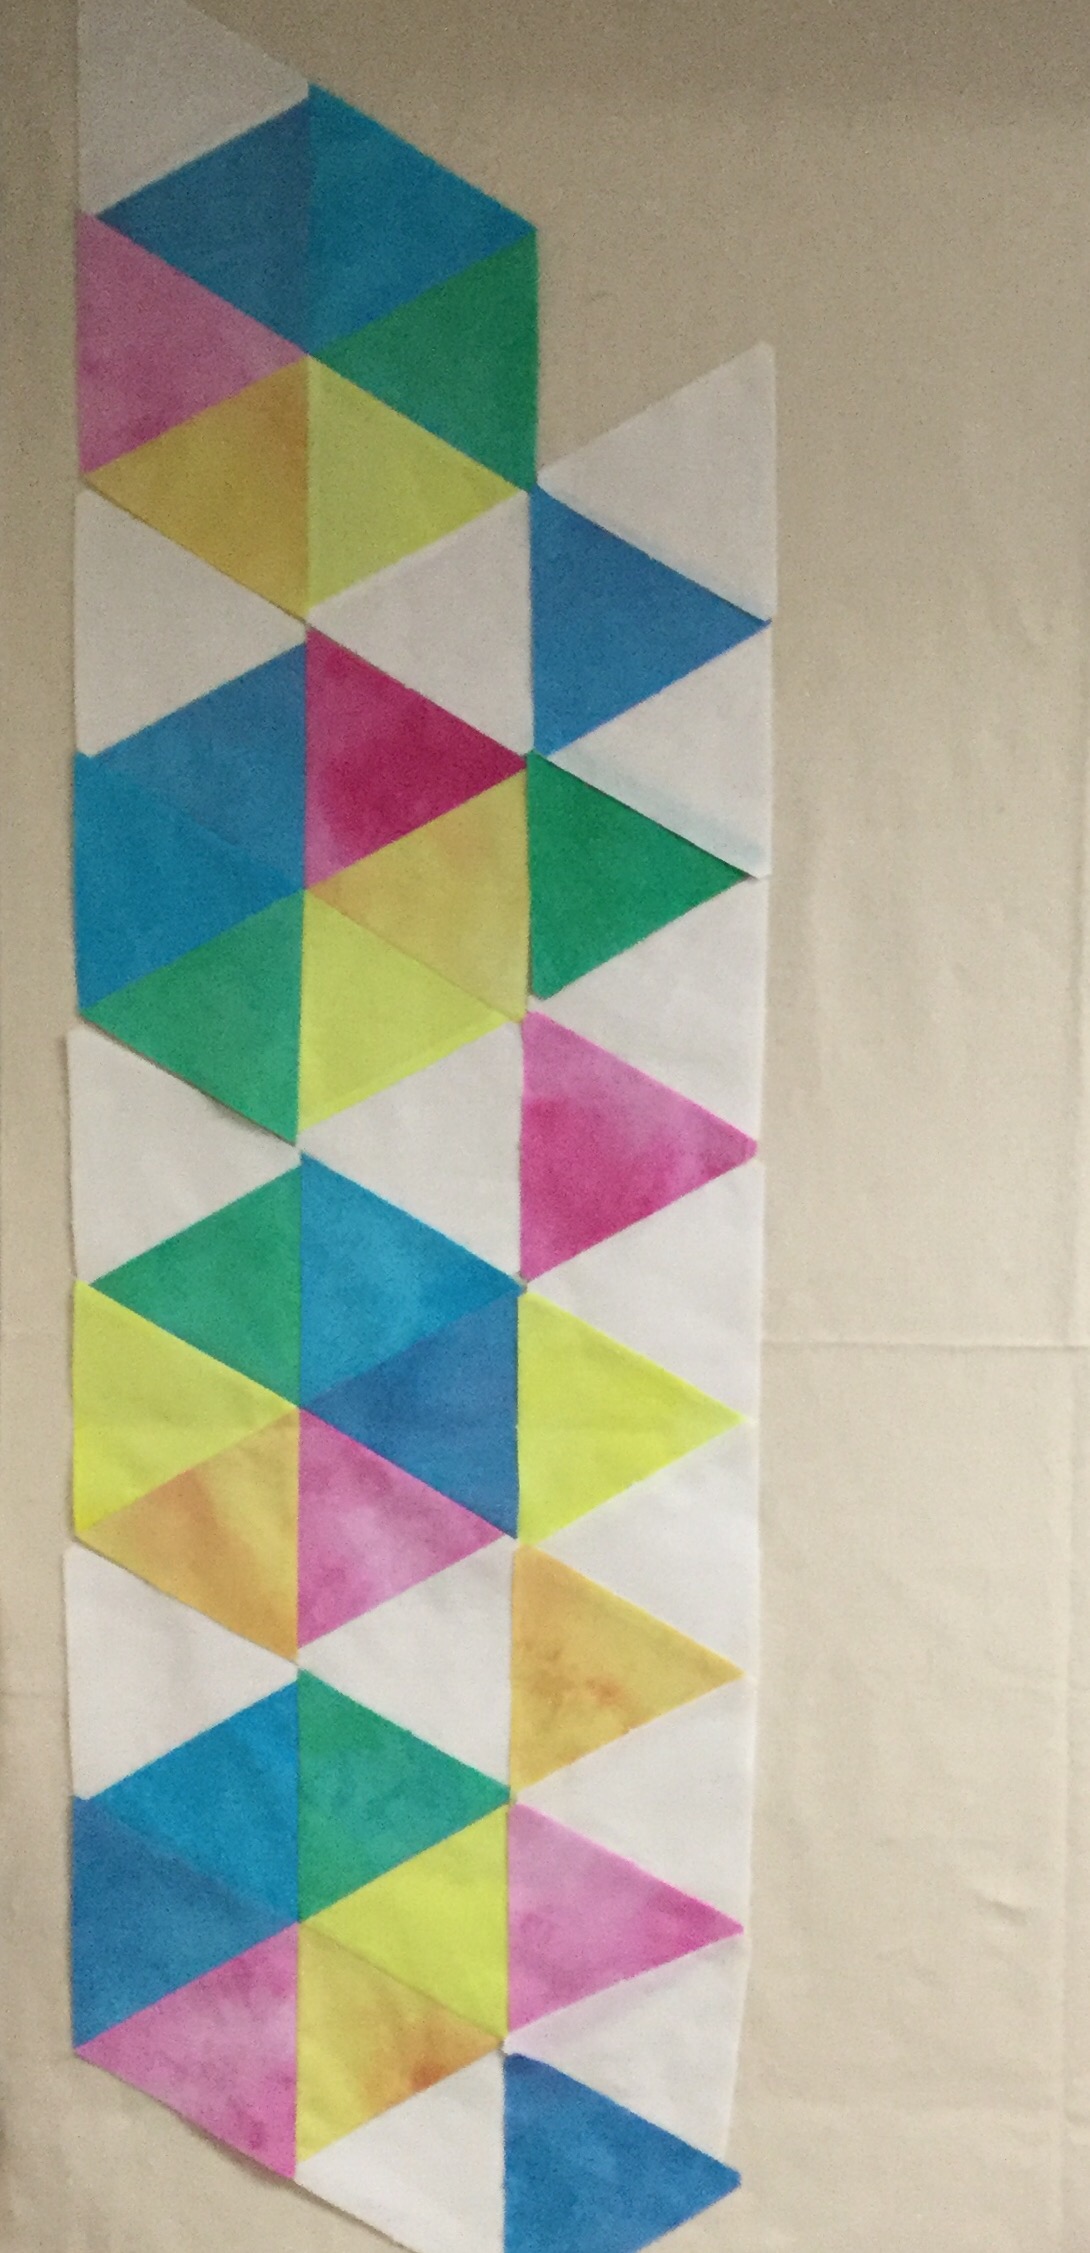
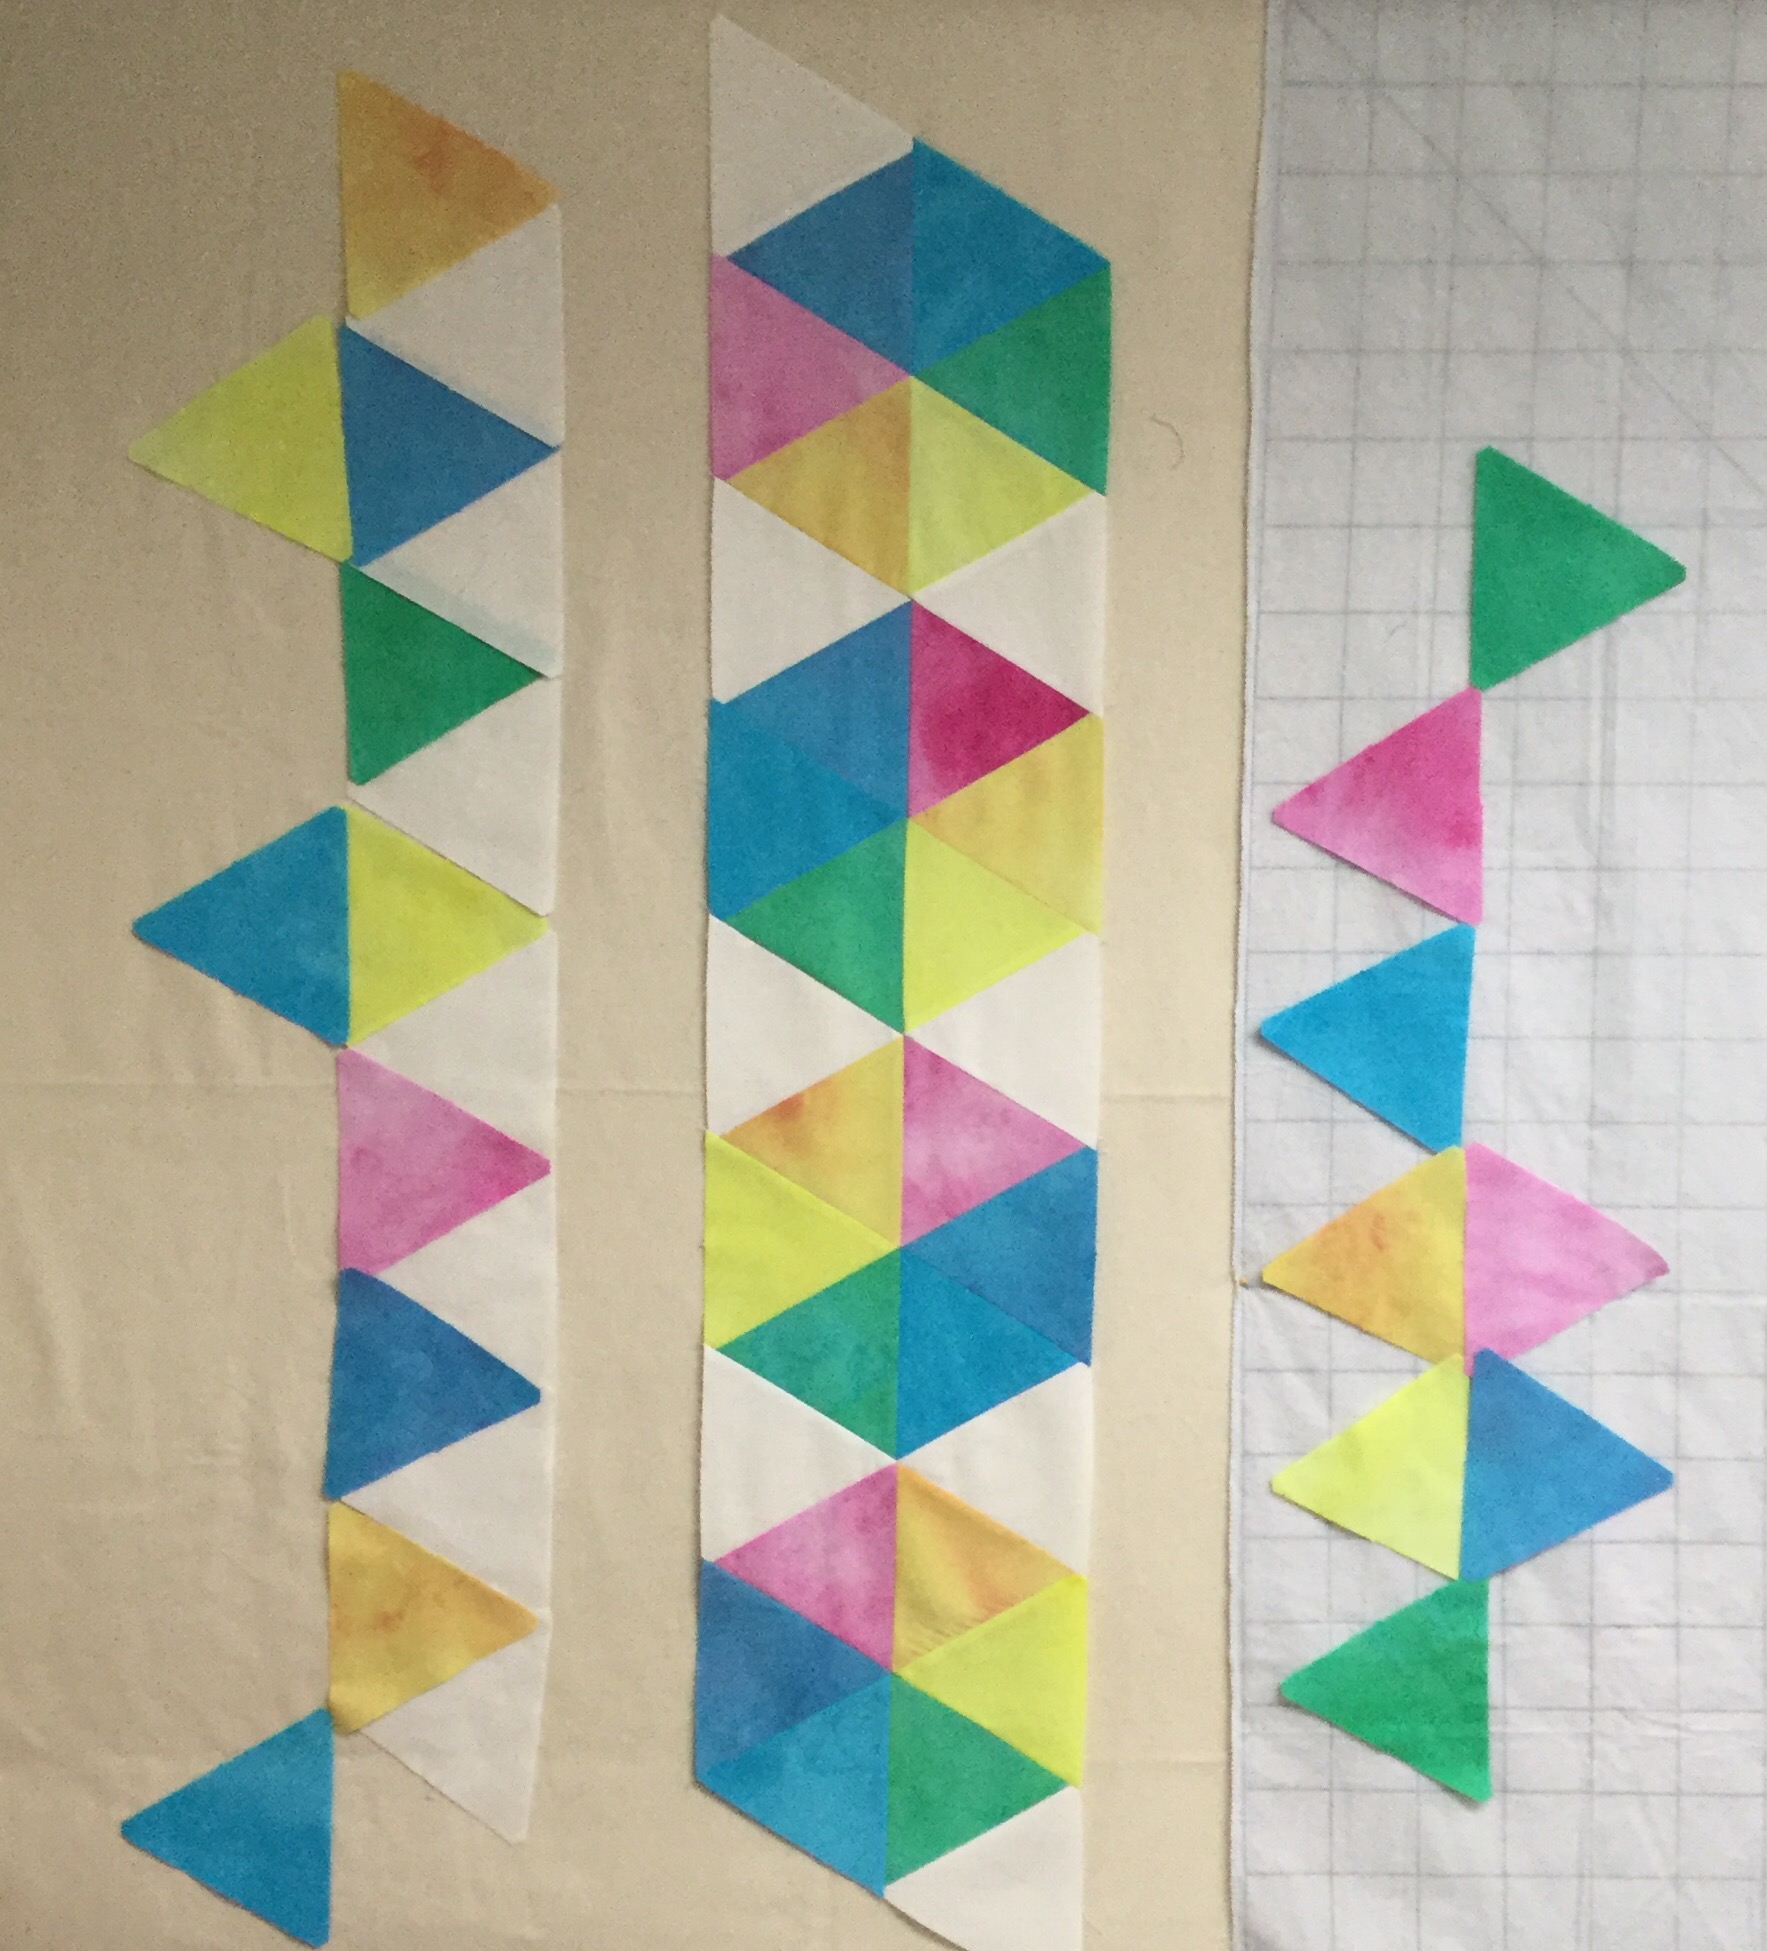
I tried going with a random lay out of the triangles on the sides, but it didn’t work for me. Since the hexagons were in color order, the triangles wanted to be also.

Better.
  Then I added some  background.

The strips above are not yet sewn together. This will be another baby quilt. I am really looking forward to playing with the quilting on this. The colors remind me of cotton candy, not my go to palette, but it’s kind of cute.

Linking up with My Quilt Infatuation

Posted in Baby Quilts, Hand Dyed Fabric, Uncategorized | 5 Comments

Work in Progress Wednesday

I am glad so many of you enjoyed seeing my new light strips! Check yesterday’s comments for a very informative comment from Bev.

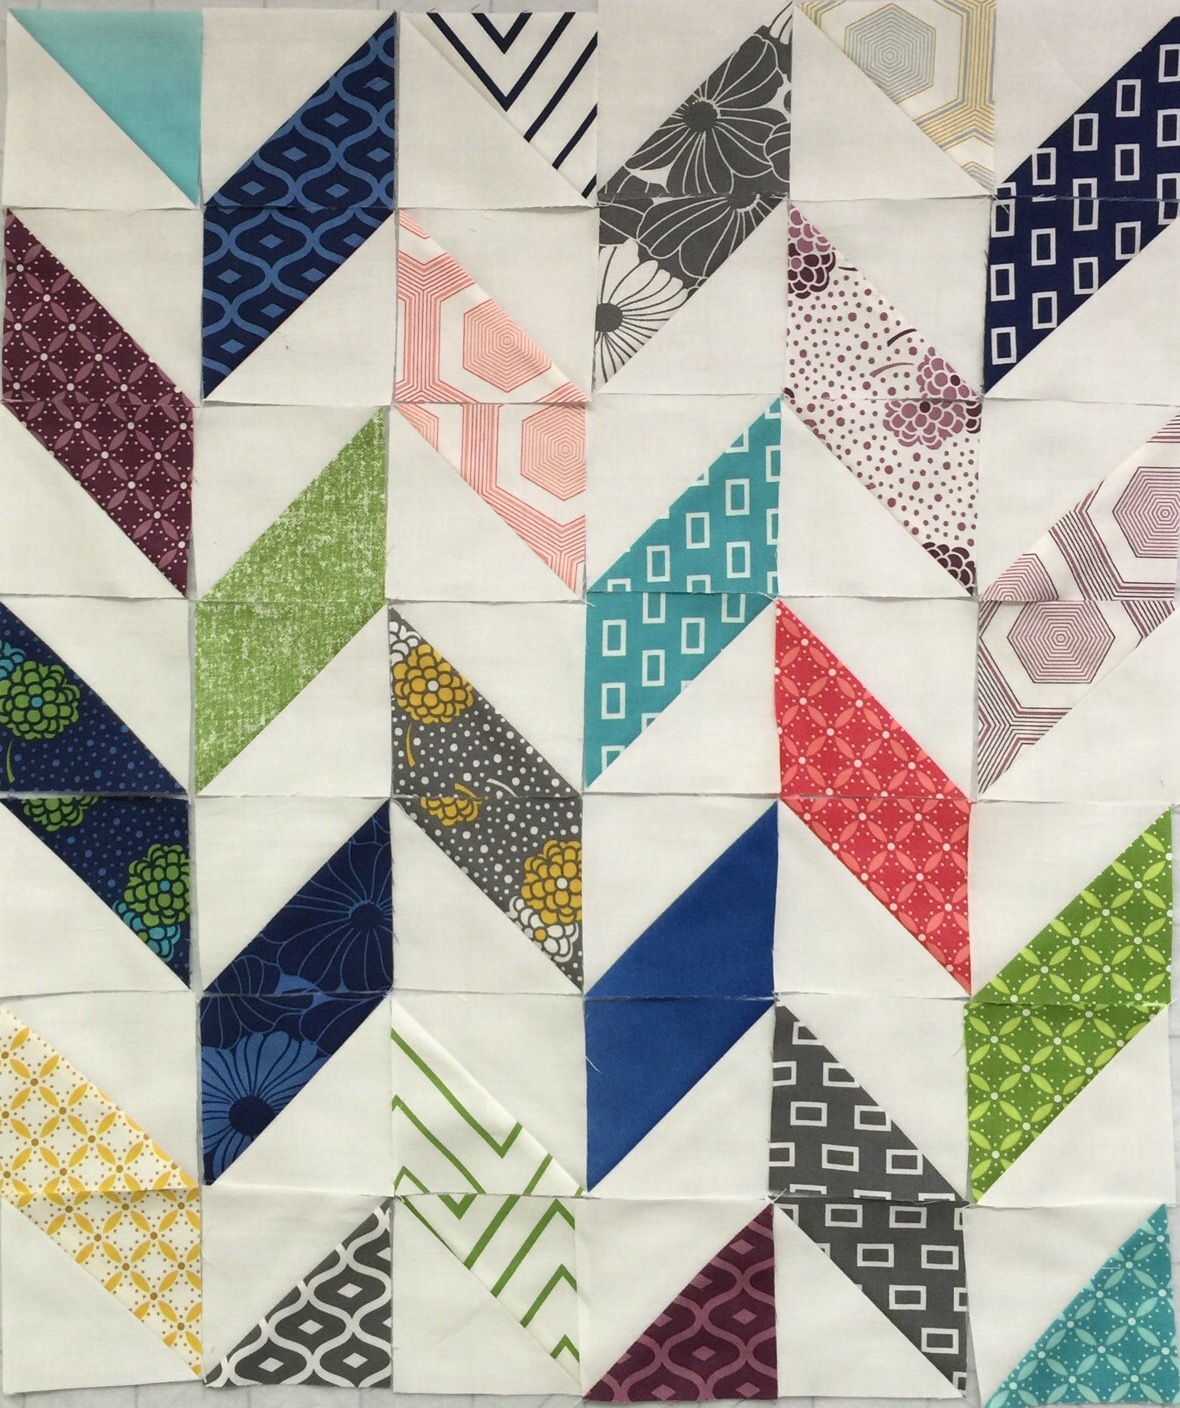
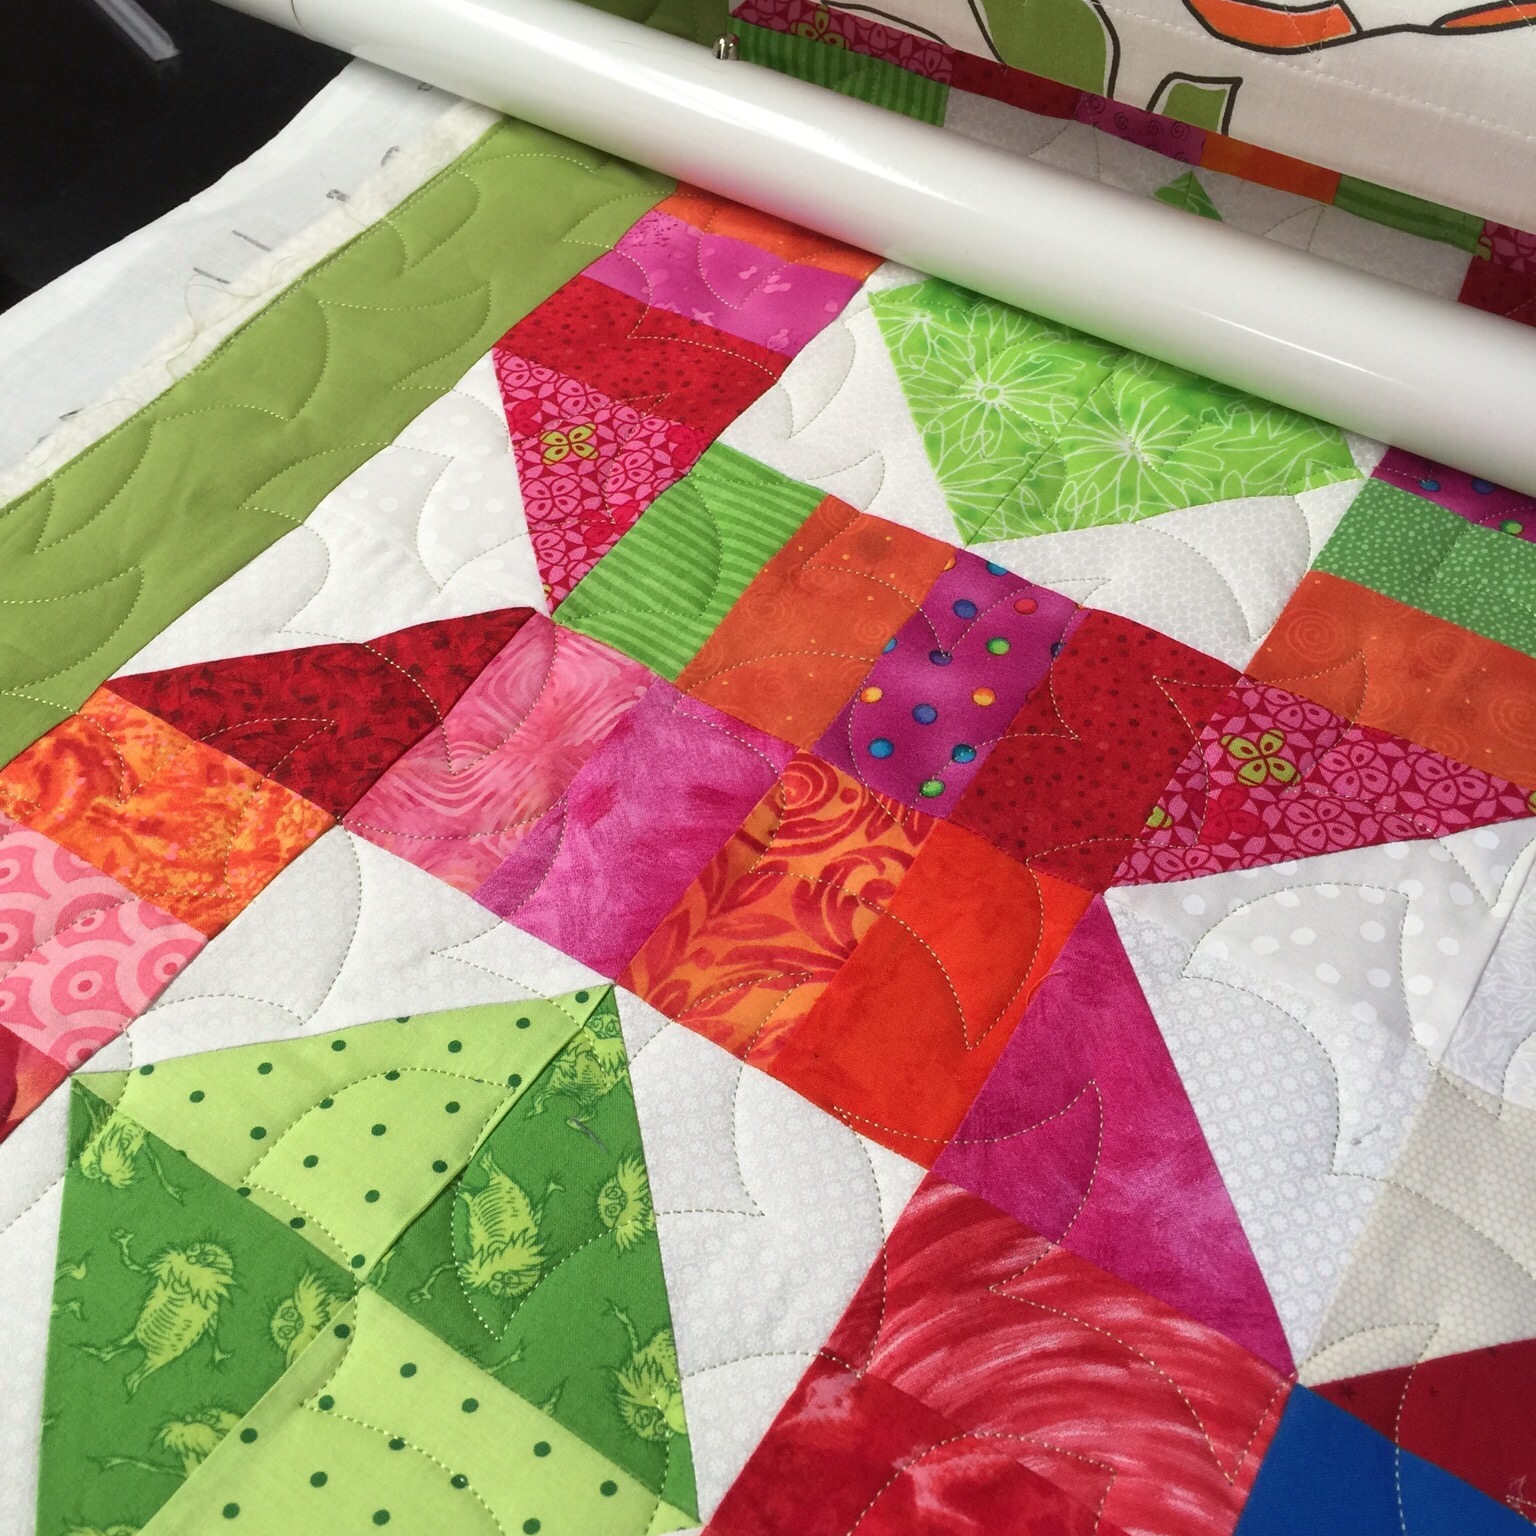
I got the top from my swap blocks I showed on Monday put together and the quilting started! Since it is only about 54 inches square, it won’t take long.


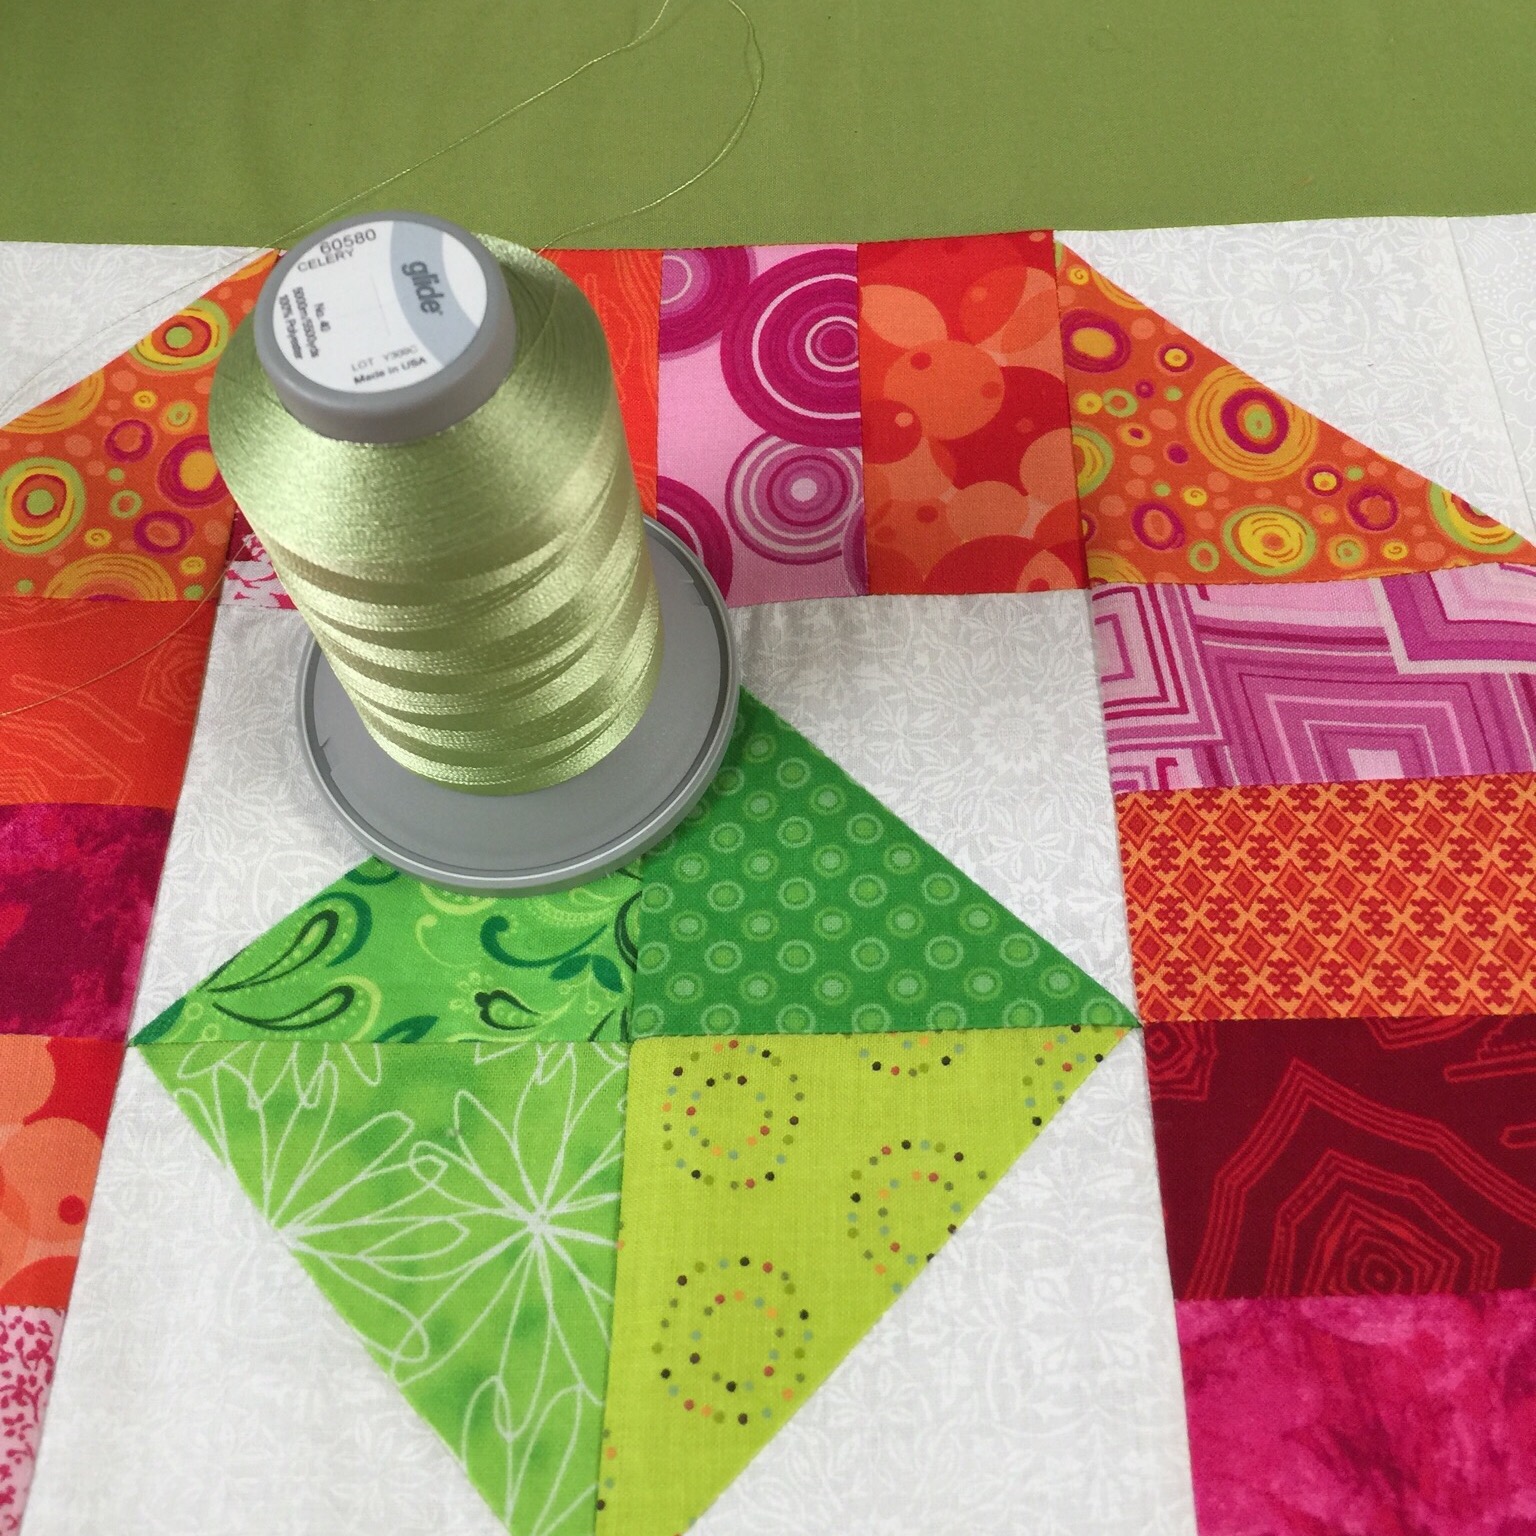
I am using one of my favorite colors of Glide thread, Celery.

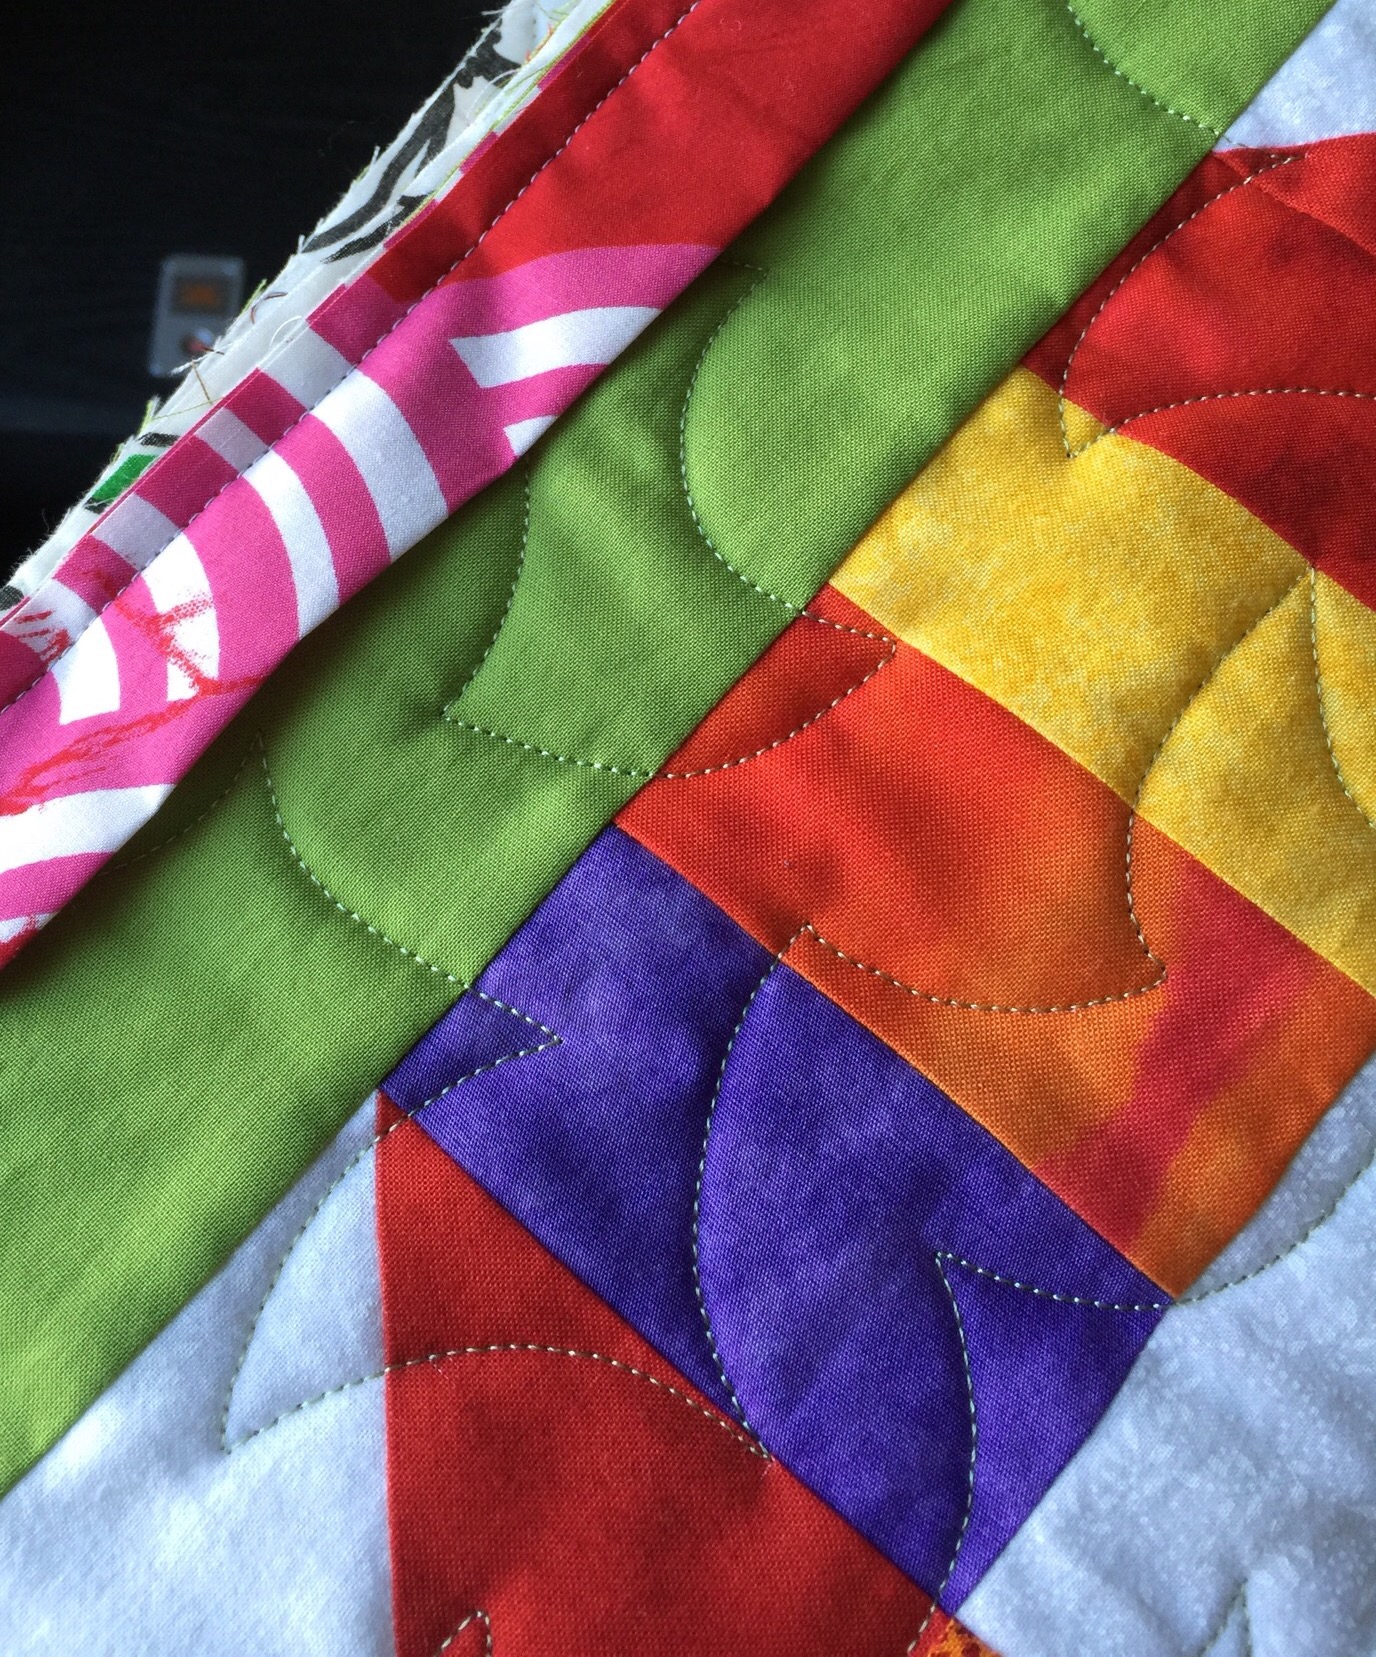
  This is the pantograph I am using.


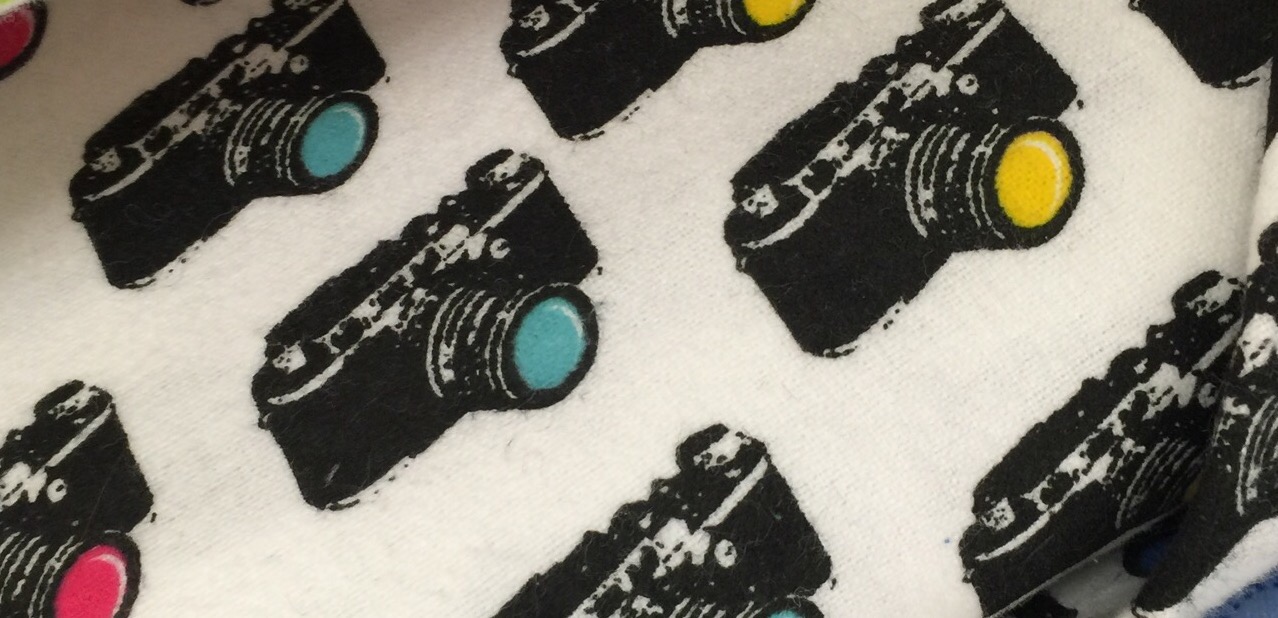
I found these cute flannel prints at JoAnn’s the other day.


Aren’t they cute? I might have to go back and get some, though I don’t know what I would use it for. My photographer daughter sure would love these!

Linking up with Sew Fresh Quilts, Quilt Fabrication

Posted in Uncategorized | 8 Comments

Those Triangles and a Bright Idea

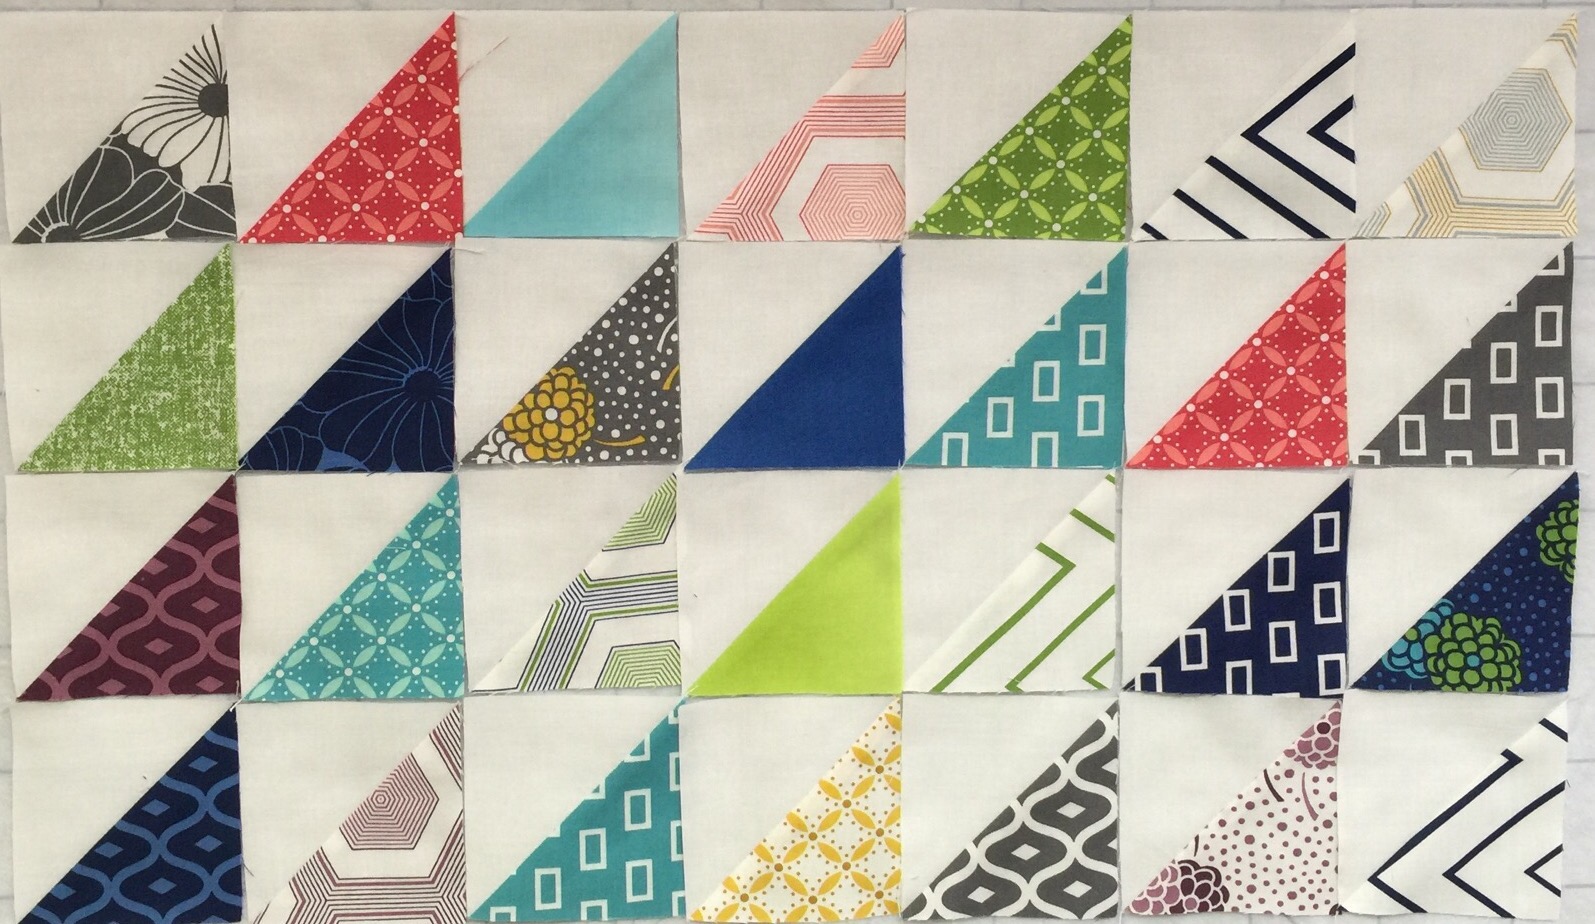
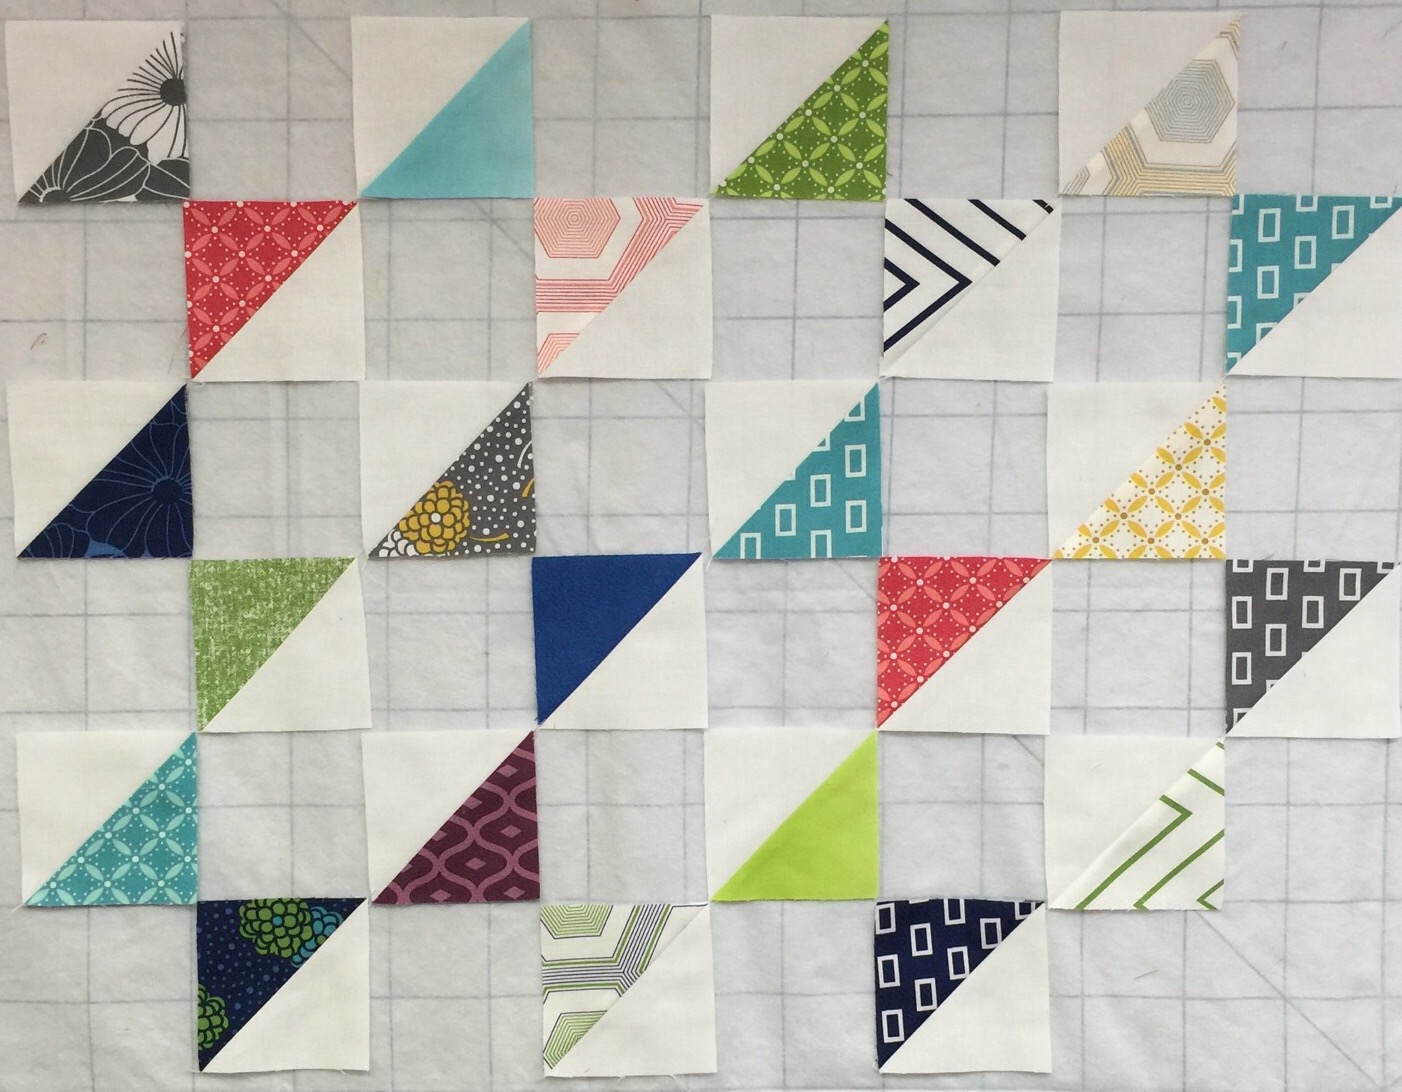
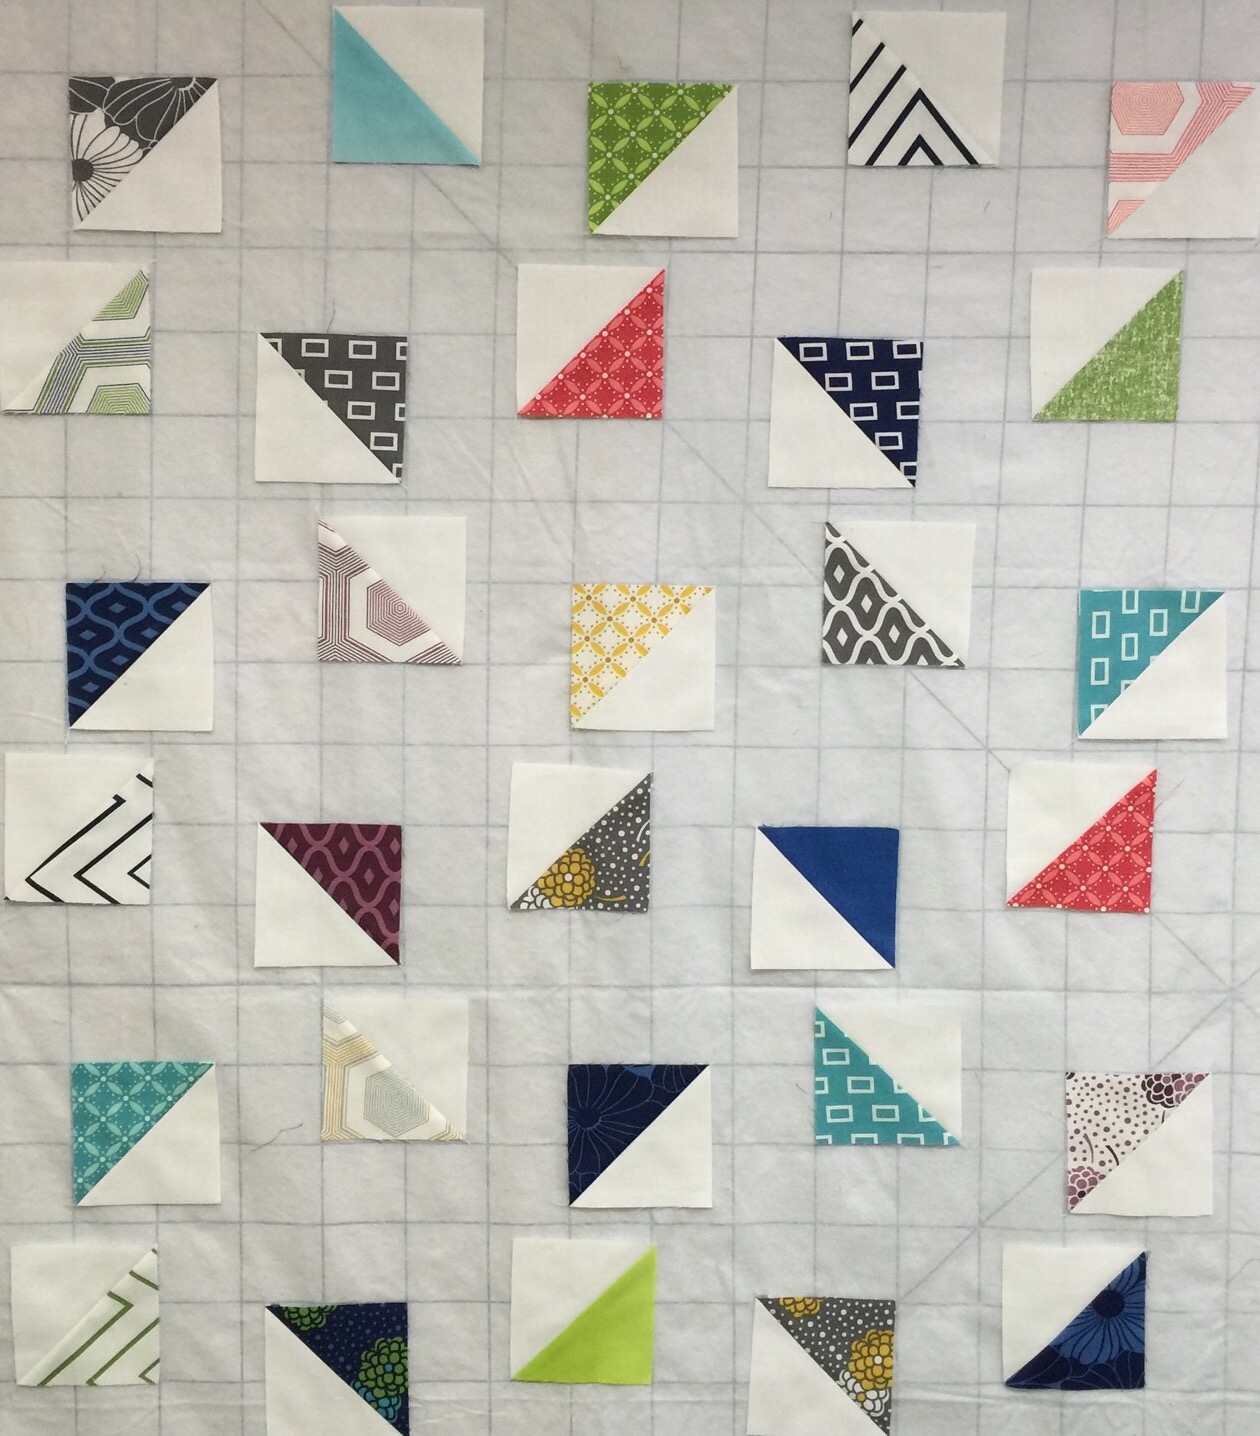
I played a bit with the triangles leftover from my Simply Style layer cake. Here are some of my ideas.  


I haven’t made a decision yet, I am leaning toward a layout that would have some plain blocks added to make this a bit bigger. I don’t like skimpy baby quilts!

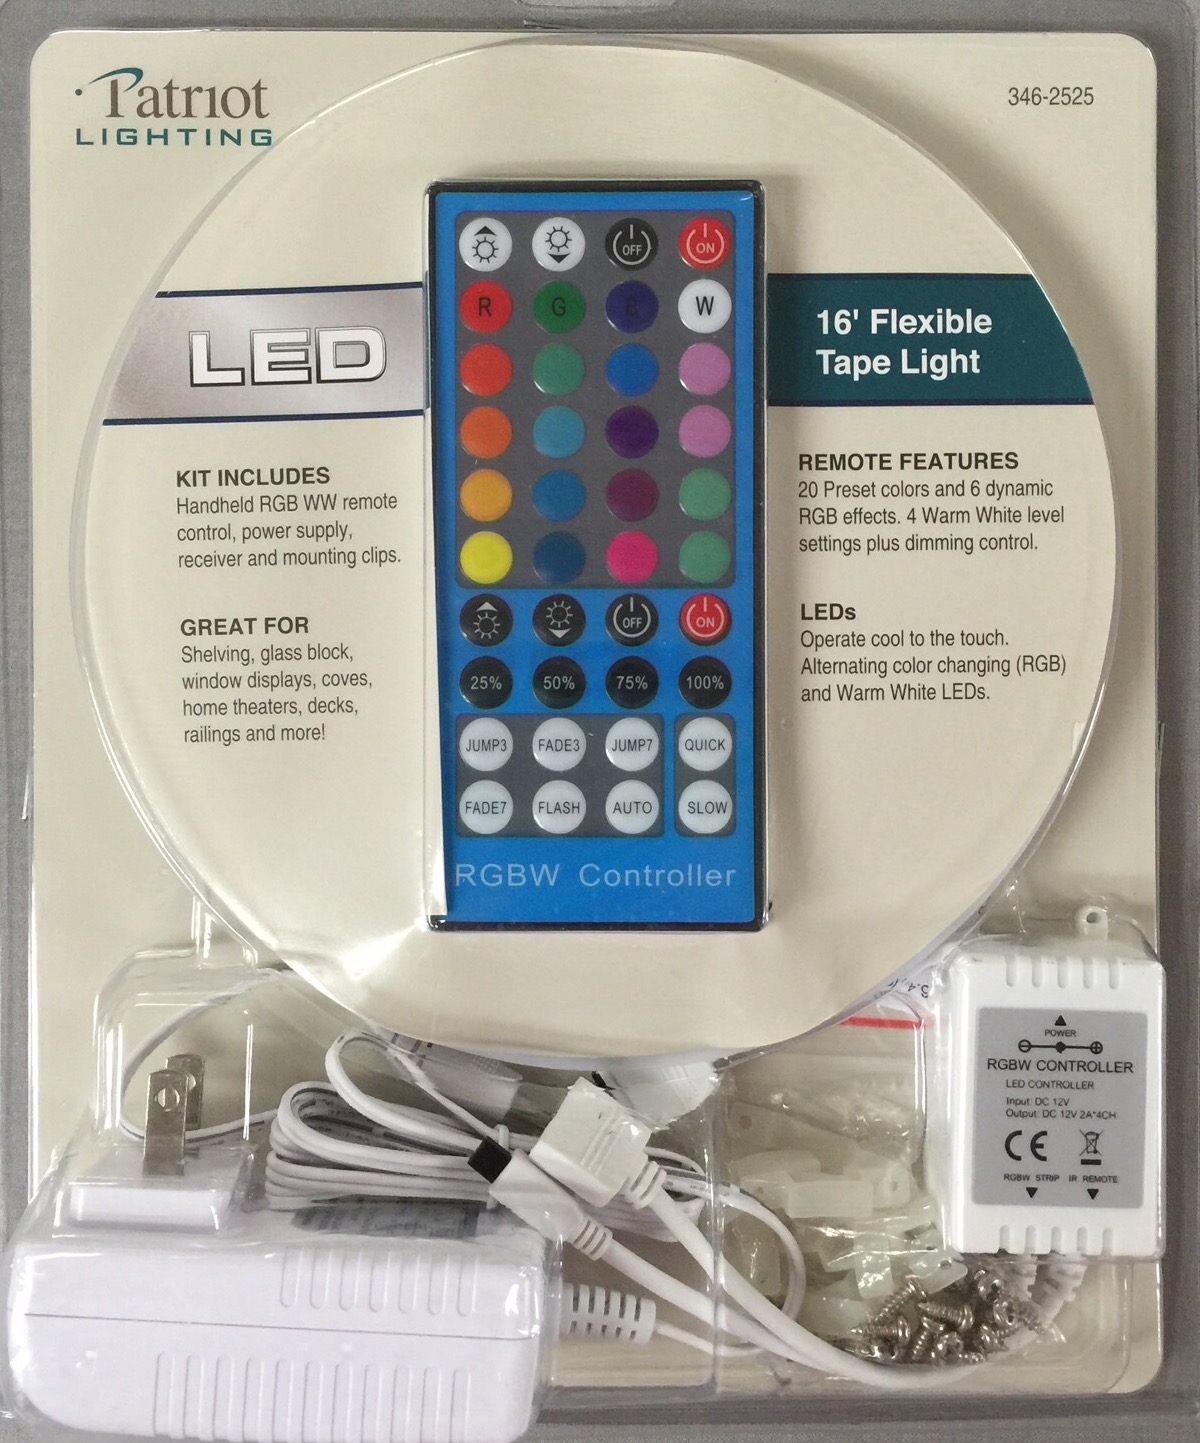
My husband came home from Menards the other night with several packages of these LED lighting strips. 

 
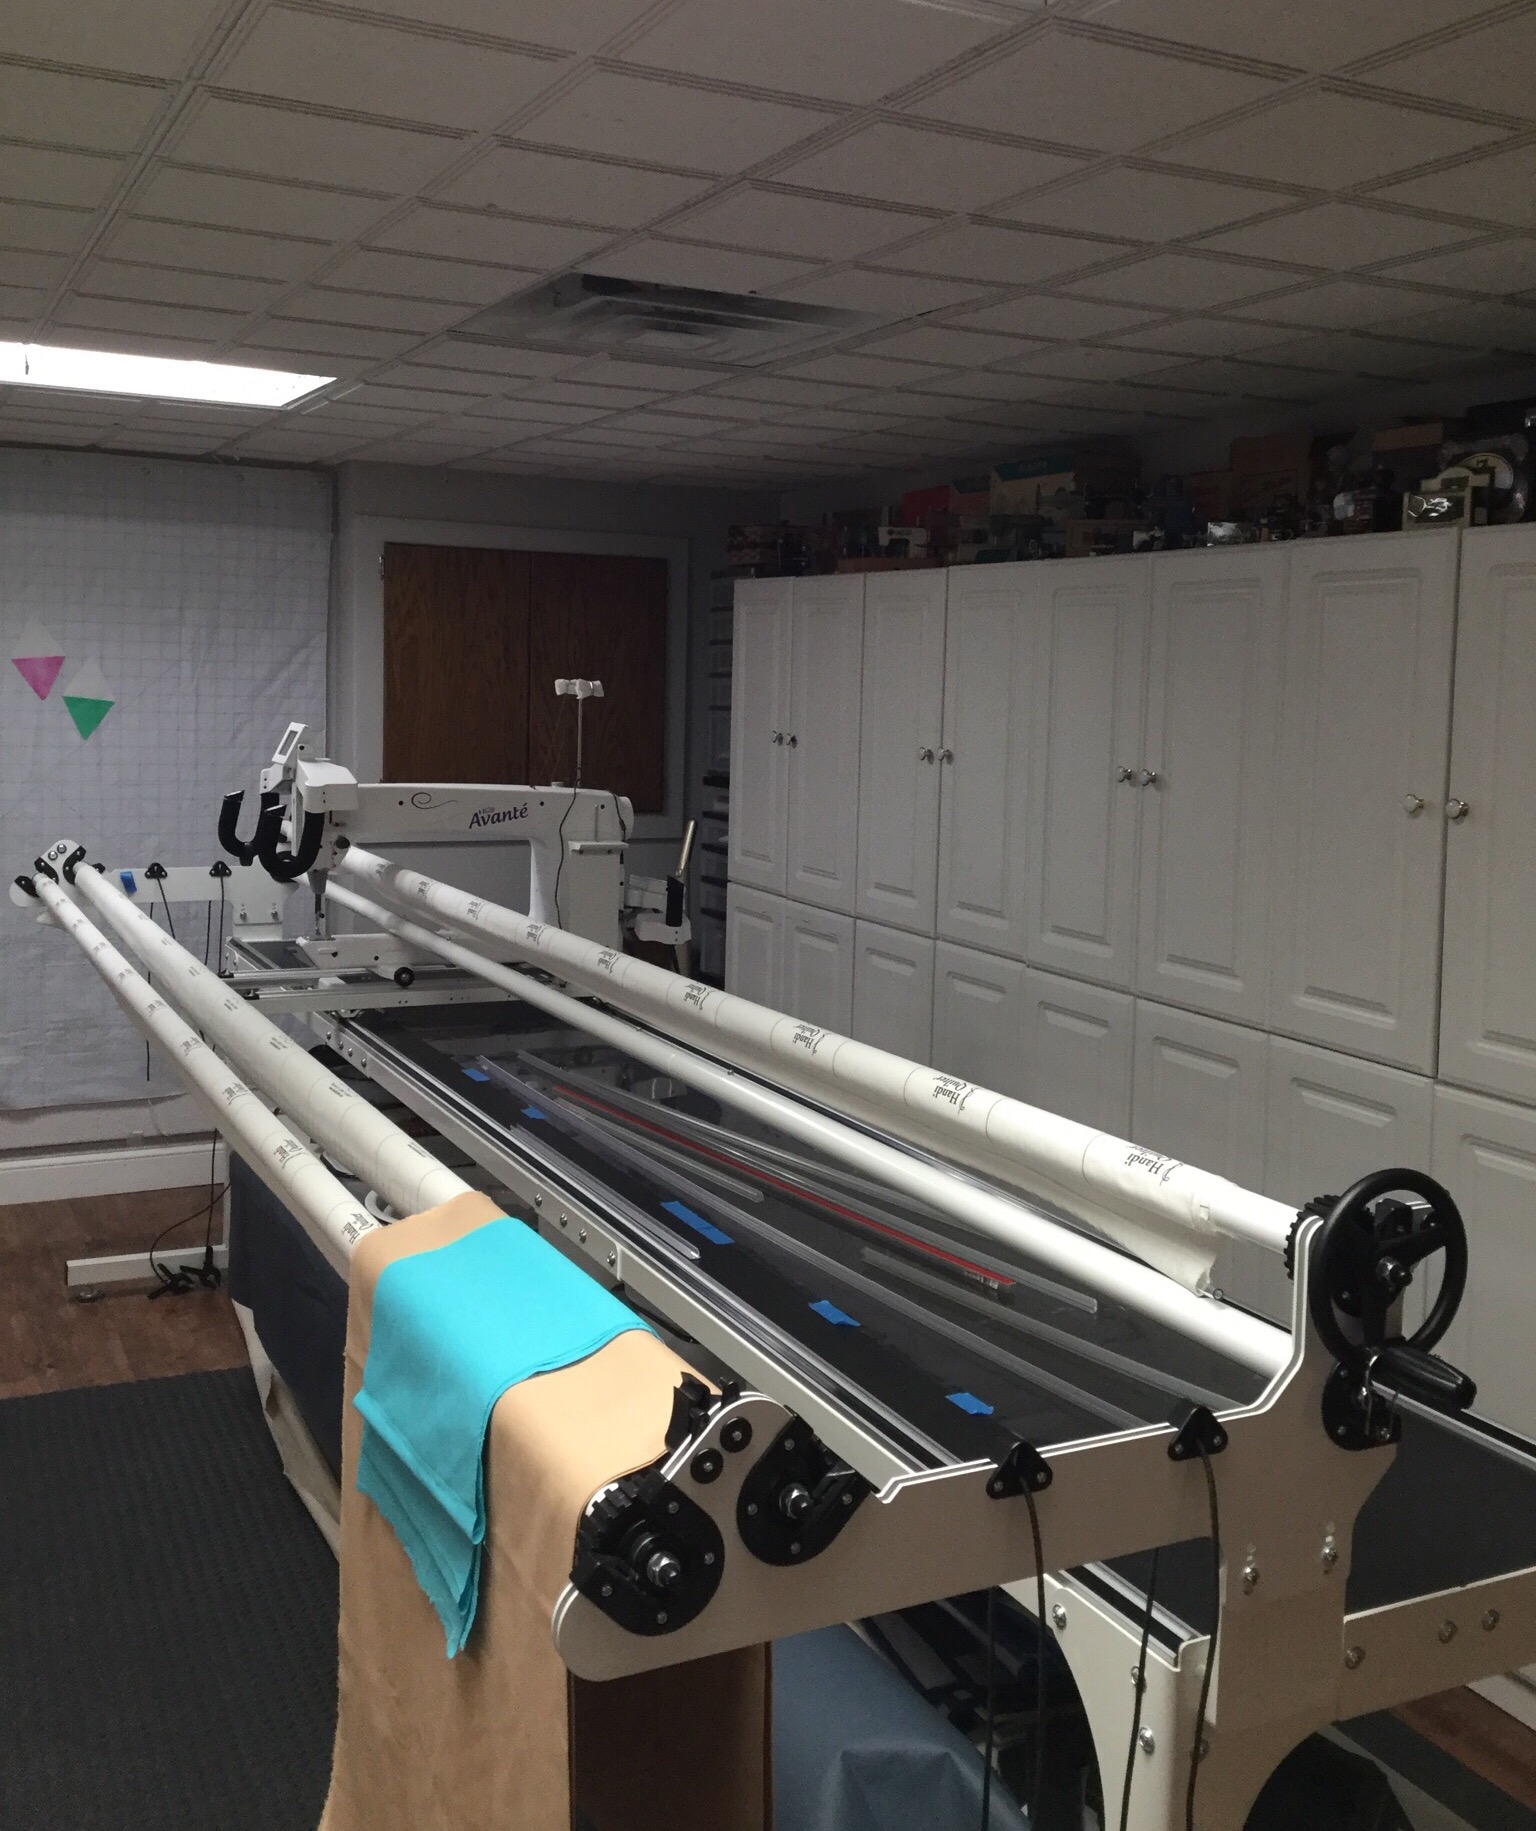
They had a great sale and he thought they could be useful in the sewing room. It is a large room with four big fluorescent fixtures. The ceiling is not super high and there are some shadowy areas. We ended up mounting several of them on the suspended ceiling grid work over the long arm. Here is a before shot: 

 
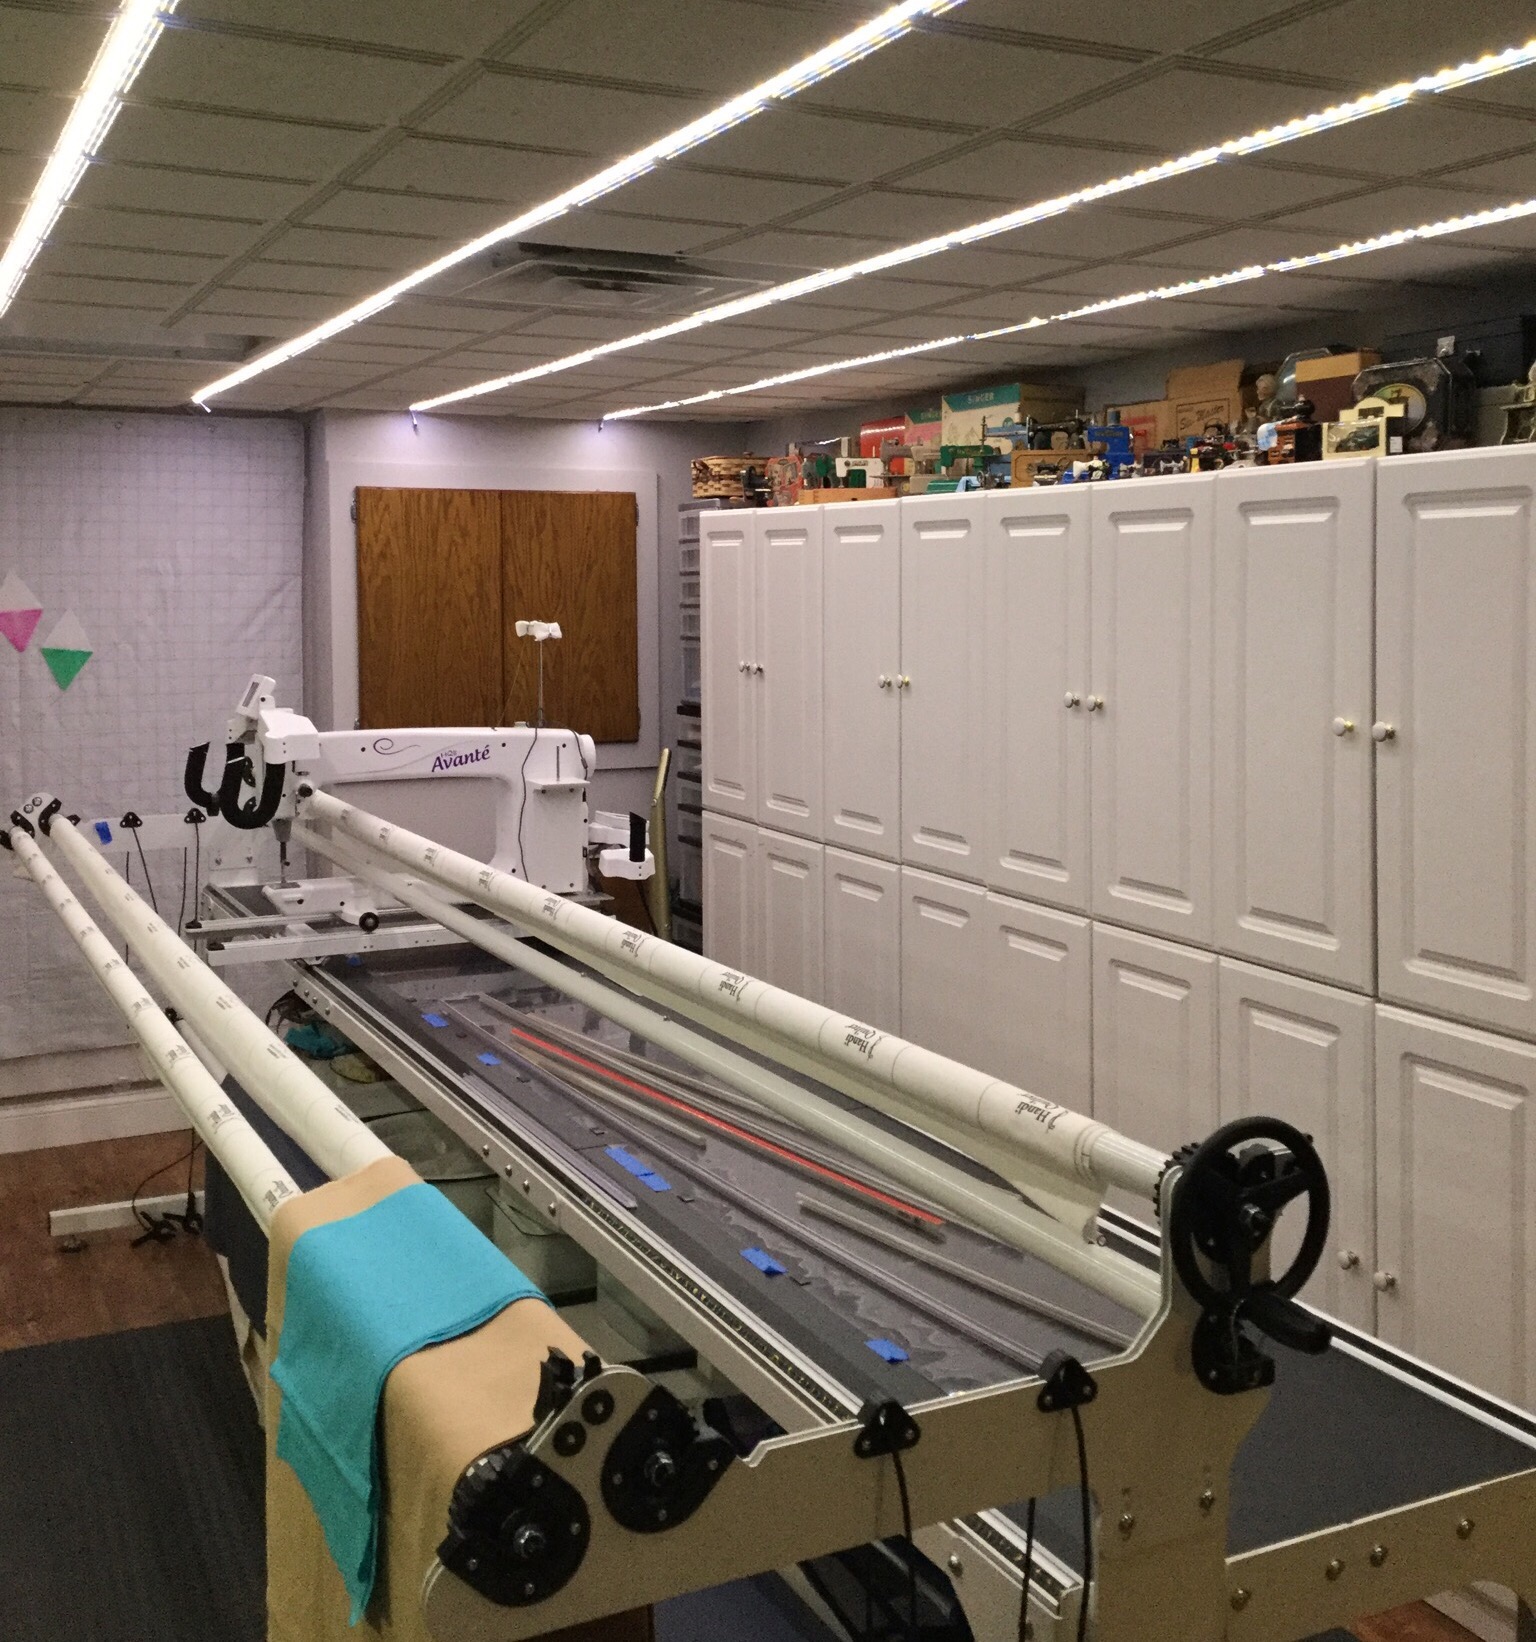
And here is after with the regular lights off!


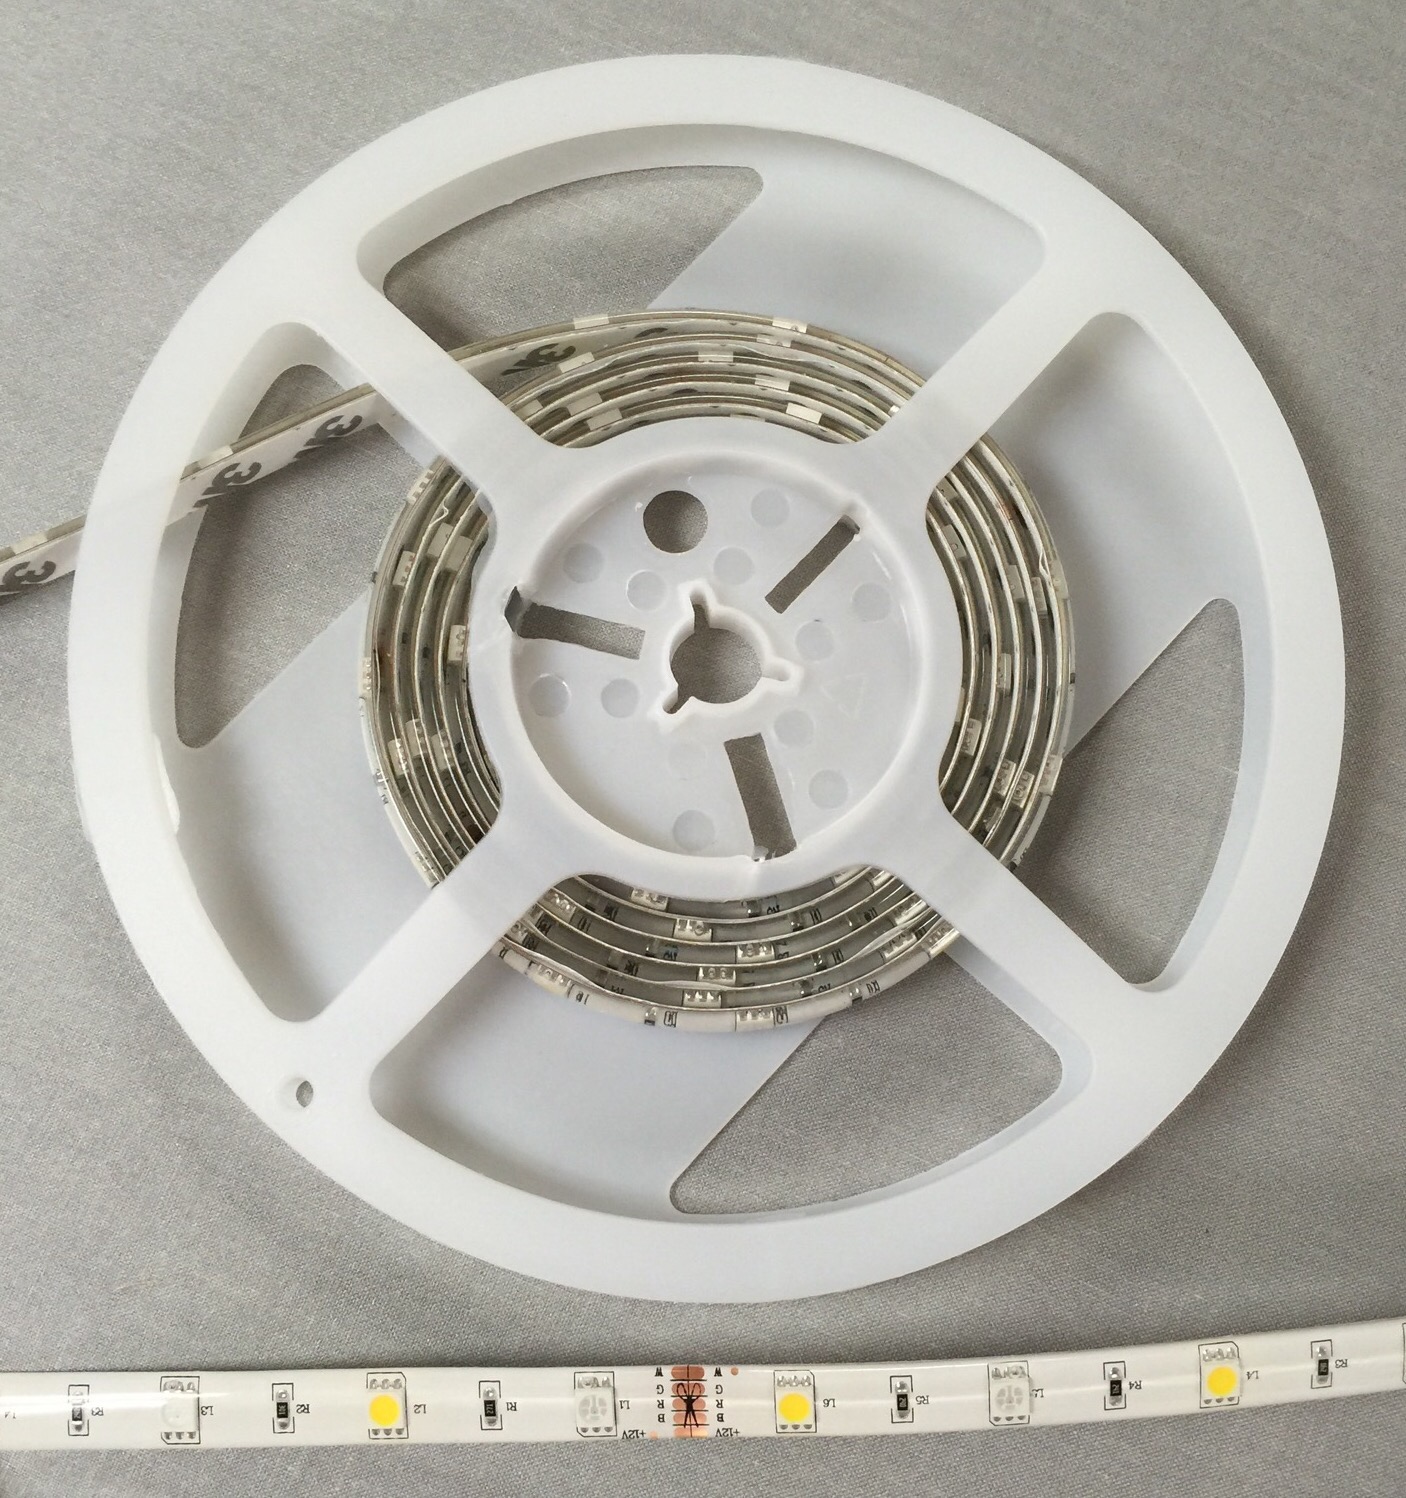
Each strip is only 23 watts so very low energy usage and they really brightened things up! I especially  like that you can see my toy sewing machine collection on top of my cabinets now. Here is a look at the light strips. 
 
The strips can be cut with scissors to fit the space that you need. They are mounted with a self adhesive strip.

Have a great day! 

Linking up with The Quilting a Room with MelFree Motion by the River

Posted in Uncategorized | 18 Comments

Design Wall Monday

 I wanted to make another quilt for Happy Chemo as part of the Hands2Help 2016 event. I looked through my UFO list thinking I could kill two birds with one stone.  I pulled out these blocks from a guild swap last year. 

These colors look happy to me! The blocks should finish at 12 inches. I put them up on the design wall. 
 
As with most sets of swap blocks, there are variations in size which add to the challenge.  At this point, I think I will set them block to block and add a small border. Hopefully, I can get it in the frame by the end of today.

I haven’t forgotten those triangles from last week! 

  
They are now all pieced and pressed and it is time to play with them once I get the design wall cleaned off!

Linking up with Em’s Scrap BagLove Laugh QuiltCooking Up QuiltsPatchwork Times

Posted in Uncategorized | 13 Comments