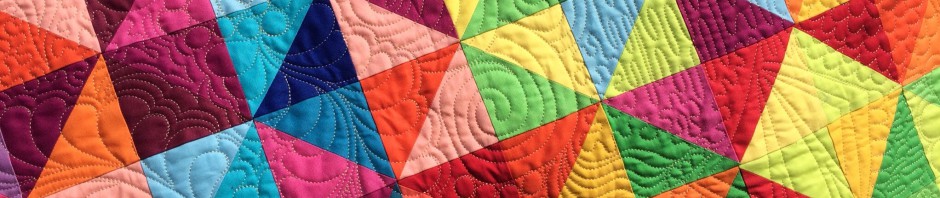
This is the last of the quilts that I entered into the local guild show.

I was shocked to see my quilt hanging with this ribbon, which was different from all others in the show.
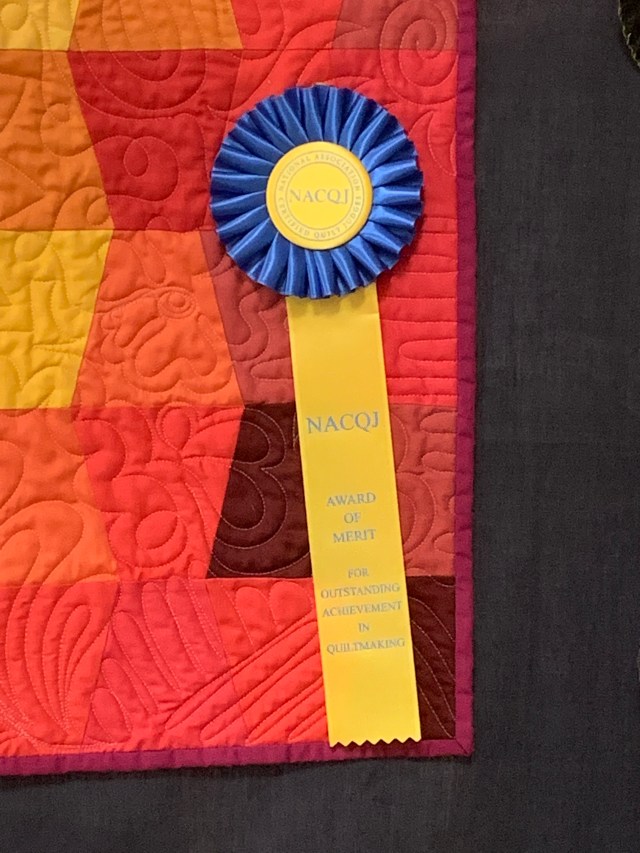
Here is the explanation.
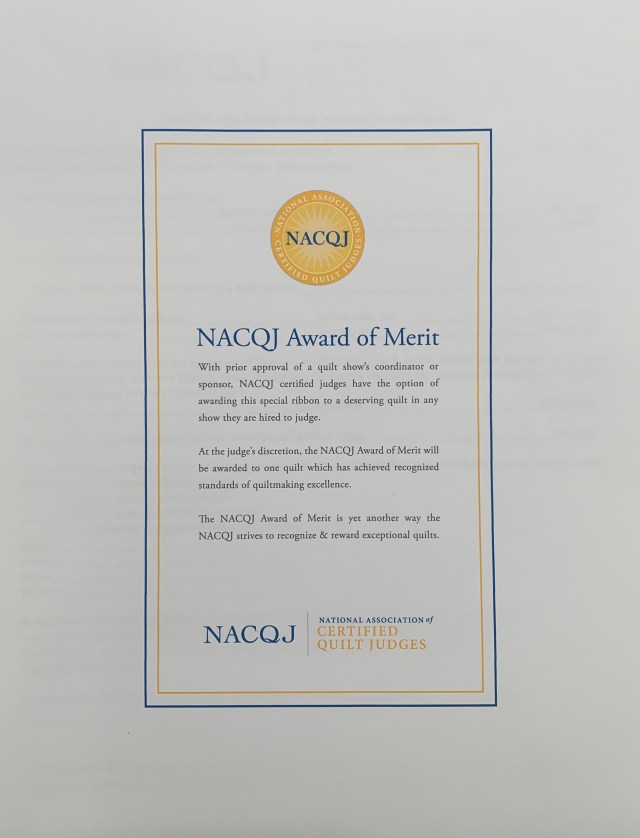
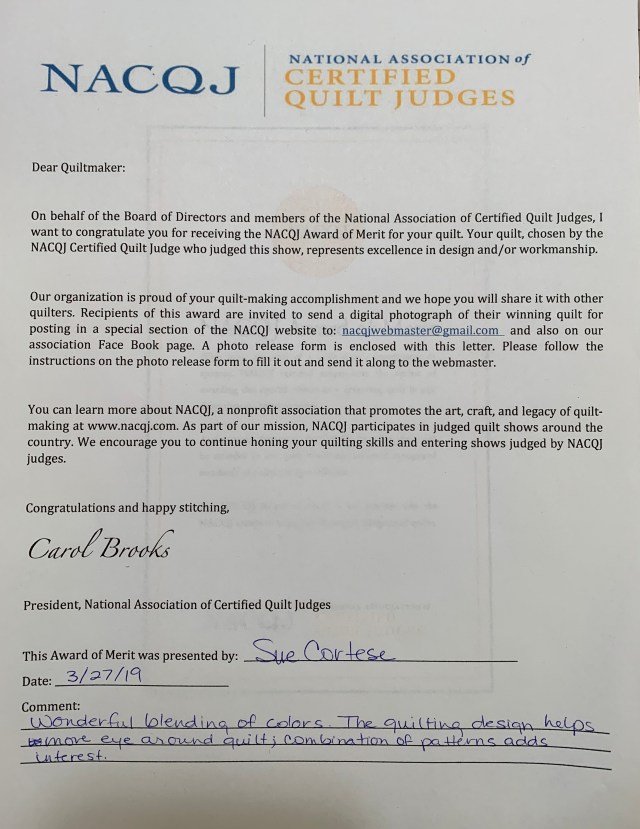 I’m still stunned. 😊
Have a great day!
This is the last of the quilts that I entered into the local guild show.
I was shocked to see my quilt hanging with this ribbon, which was different from all others in the show.
Here is the explanation.
I’m still stunned. 😊
Have a great day!
These quilts that I had hung in our local guild show.

I was thrilled to be able to hang my Gwenny Medallion!


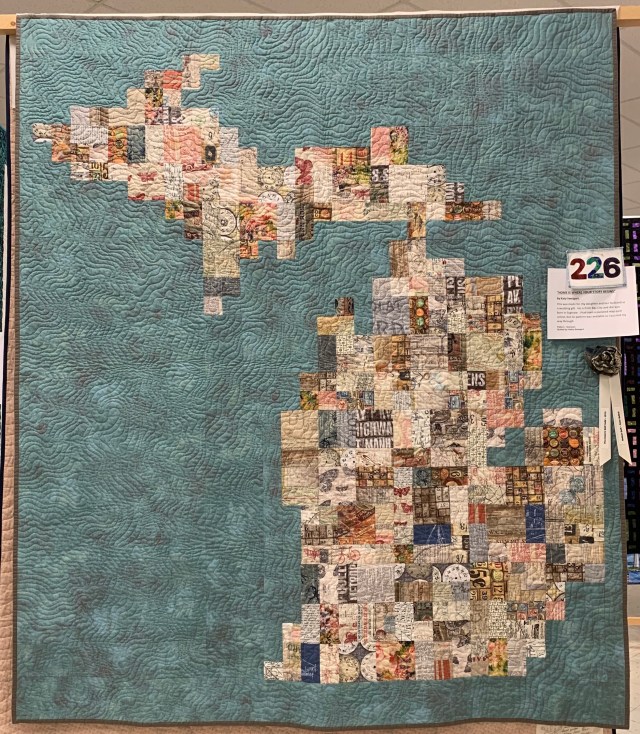
Our guild was given thousands of ties and the show committee decided our show theme would be Tie One On. We could all grab ties to use for a challenge. This was my piece.

I was pleased to see that they hung it so the back could be seen.

More to come. Have a great day!
I’m so excited to share this finish with you today! For the Fat Quarter Shop Classic and Vintage Quilt Along, we were asked to make one Union Square block. You know I couldn’t do that!

I decided to go big and I’m so glad I did. I love this quilt!
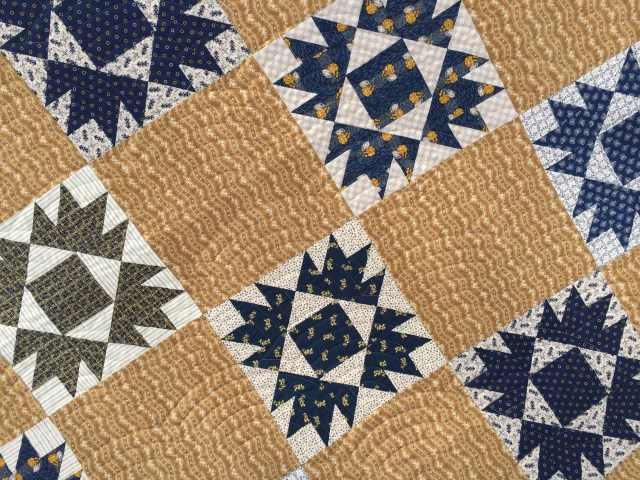
I bought the fabrics at the Sewing and Quilt Expo in Phoenix and they remind me of a great day with my Arizona friends.

It was a very cold and windy at the local park when I took these photos.
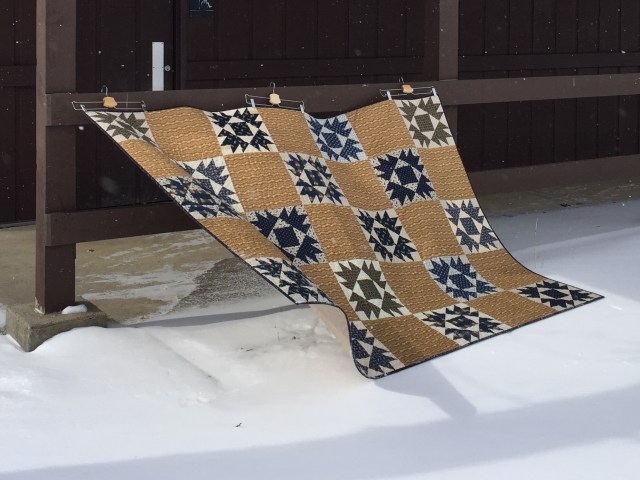
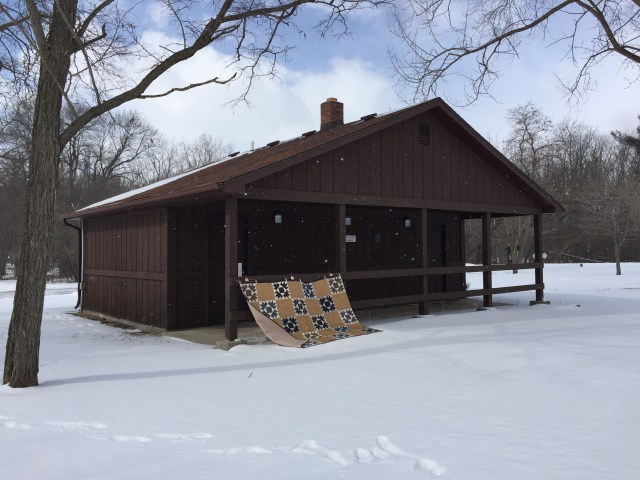

This might be my favorite finish so far this year. Check out the other Union Square projects at the Fat Quarter Shop blog.
Here is a link to the free block pattern.
Have a great day!
Linking up with Confessions of a Fabric Addict
This post contains affiliate links.
My local guild’s show was last weekend so I have several posts showing some of my favorite quilts scheduled over the next couple weeks.
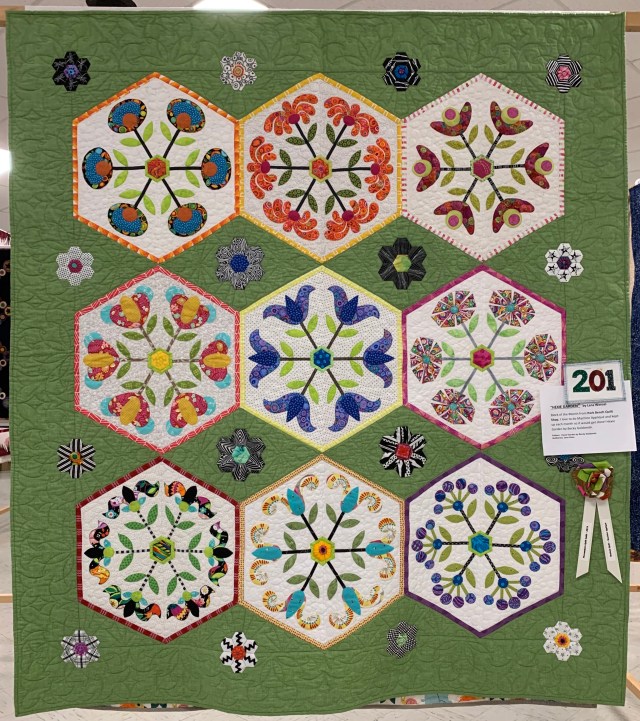
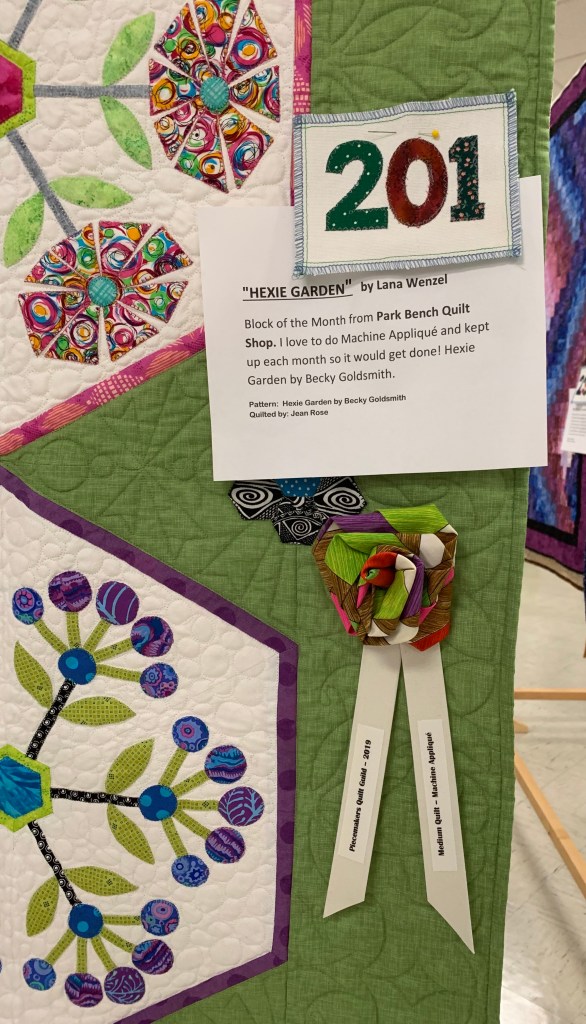
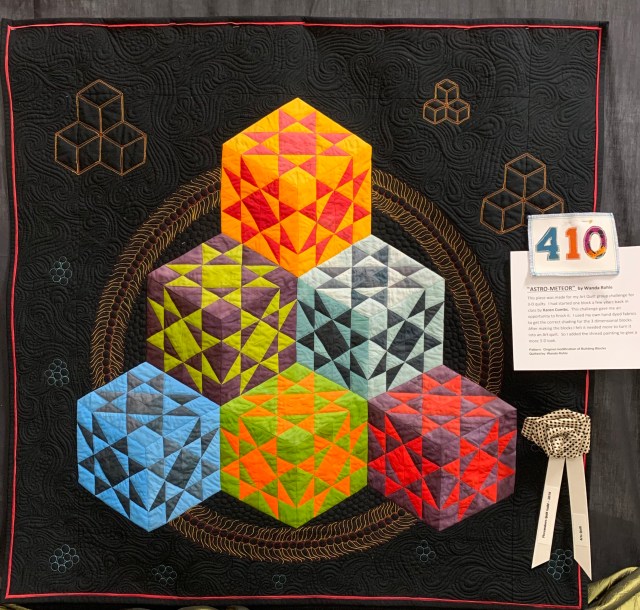
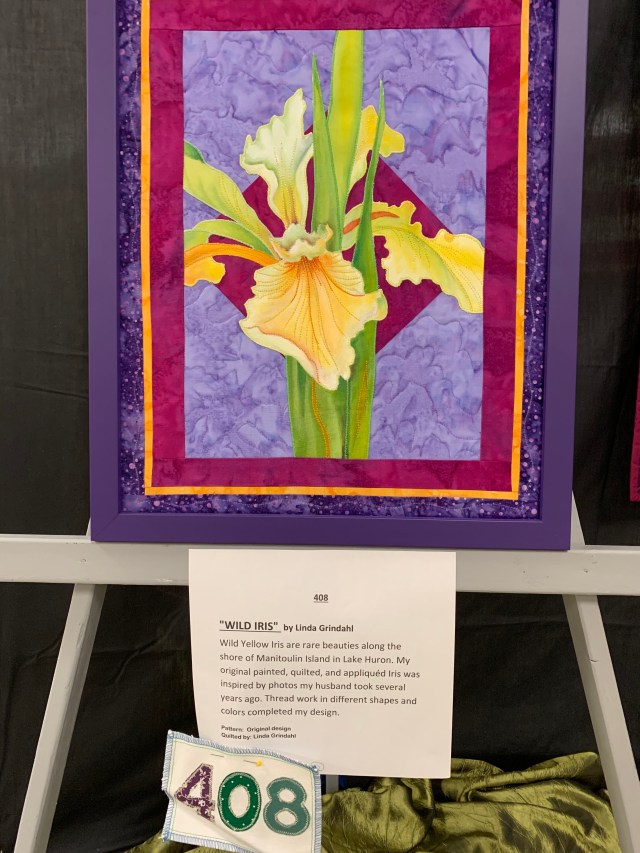
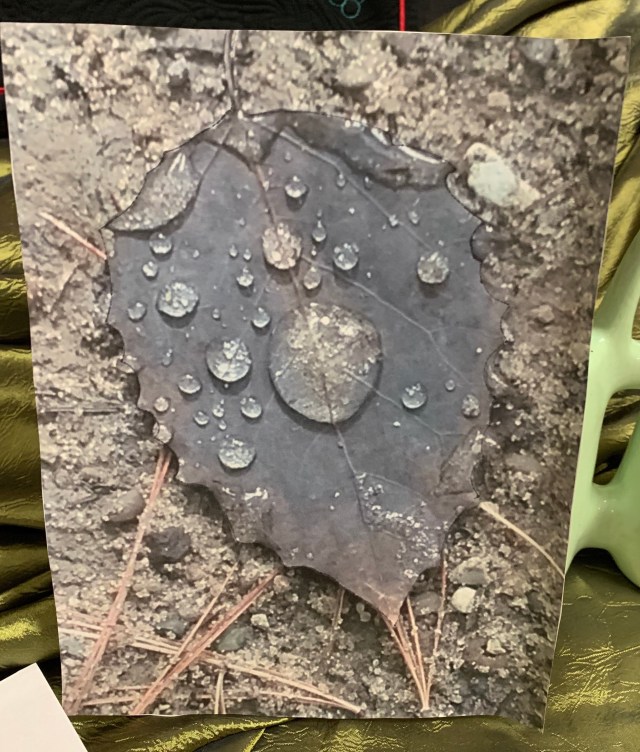
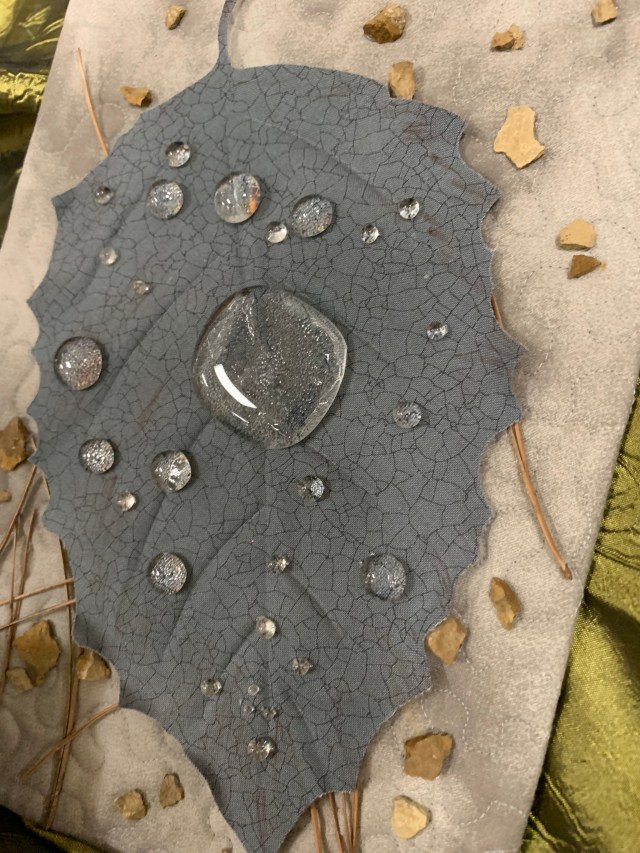
This next picture is a photo taken by my friend Jane.
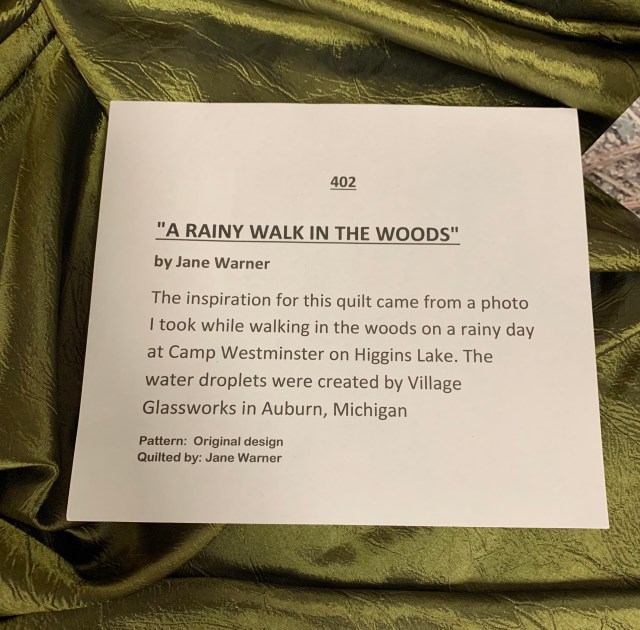
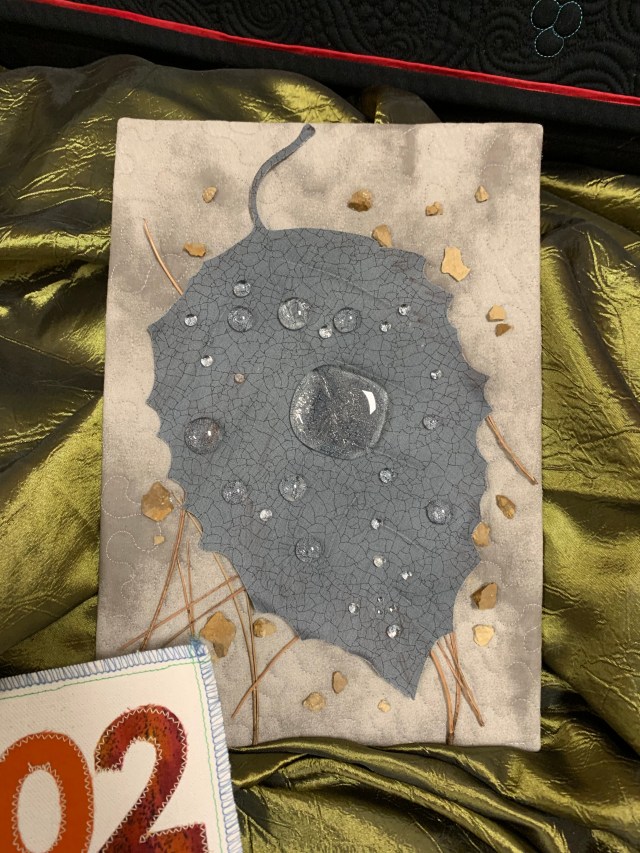
This is her quilt. Isn’t it amazing?
Have a great day!
Remember this? It is my Union Square top all ready to quilt!
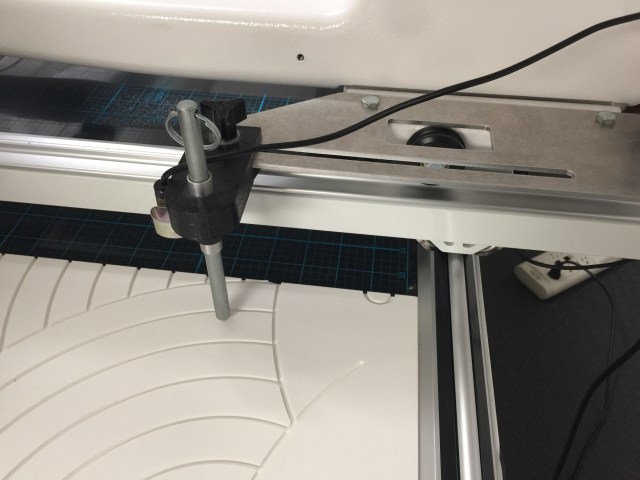
I decided to use my pattern boards to quilt Baptist Fans on this.

They are placed on the long arm table like a pantograph, but a stylus fits into the grooves.
Looking good if I say so myself!

Have a great day!
Janice recently acquired some 60 degree diamonds and asked for tips on sewing them together. I wanted to make a mug rug, so I decided to create a tutorial and kill two birds with one stone. Here are my scrap diamonds.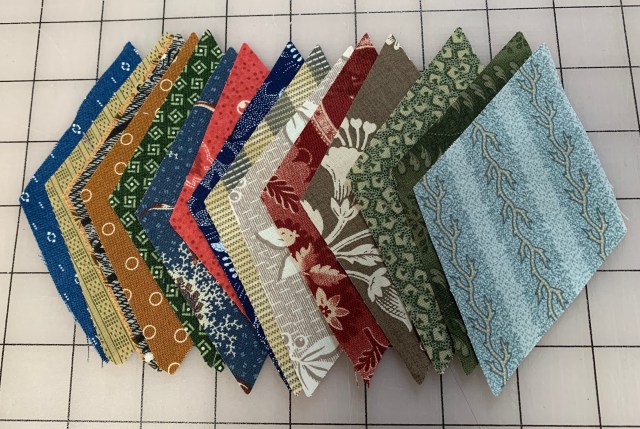
I cut them with this die for my Accuquilt studio cutter. And that leads to my first tip, you must cut accurately. However you choose to cut your diamonds, due to the angle, errors are multiplied.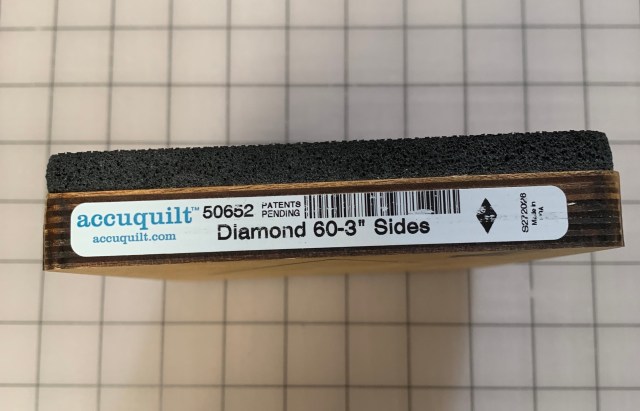
Next I decided on my layout.
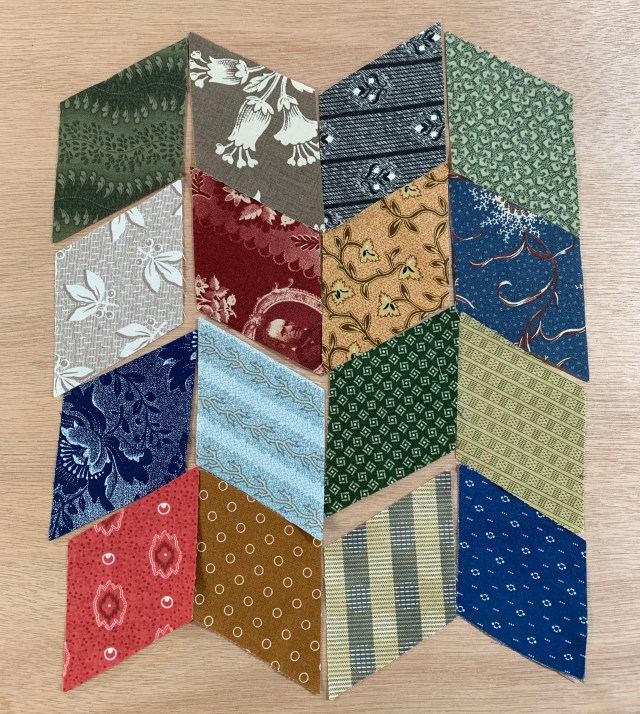
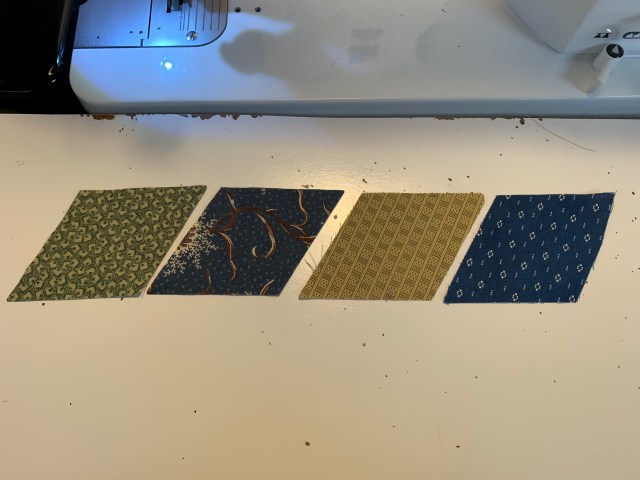
I’m sewing this in columns. Here is the column on the right in the photo above laid out in sewing order.
When the pieces are placed together to sew, the dog ears should be off set by 1/4 inch at the top and bottom.
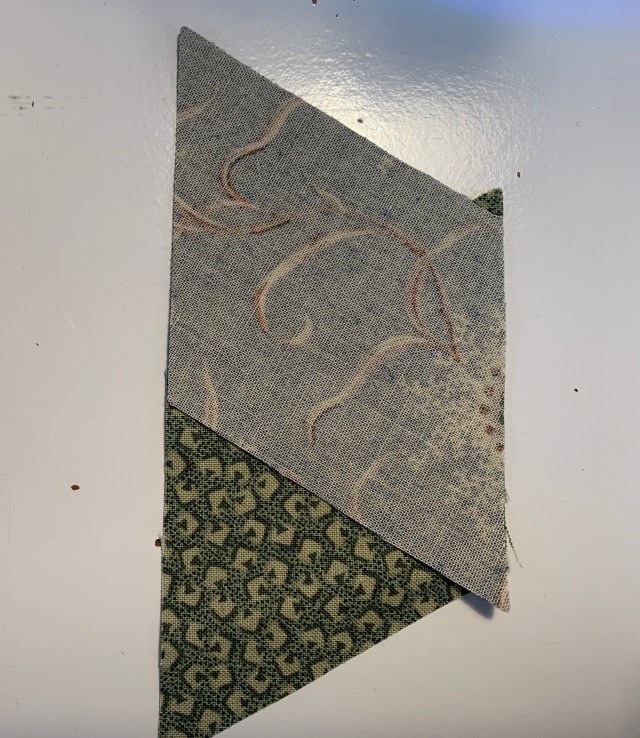
This next photos should give a clearer idea of what I mean.

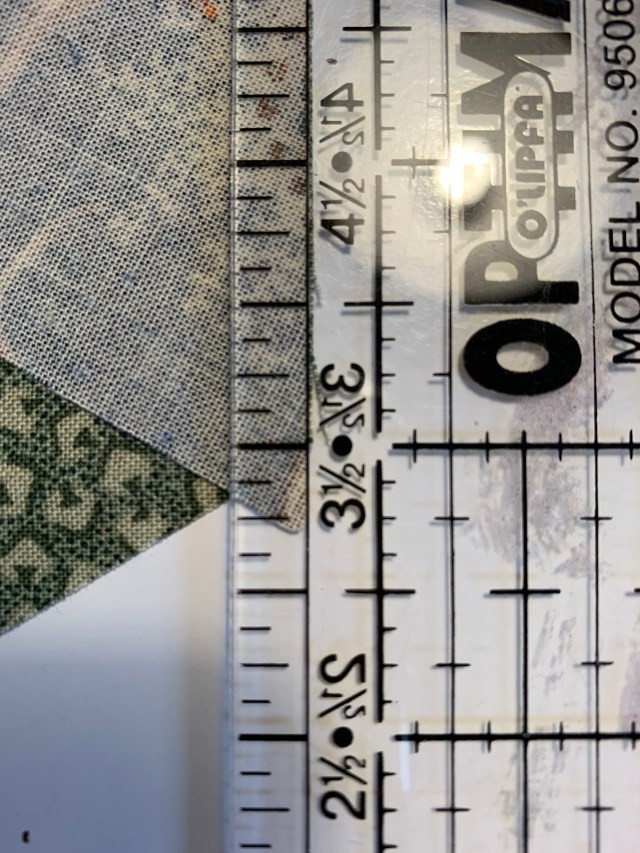
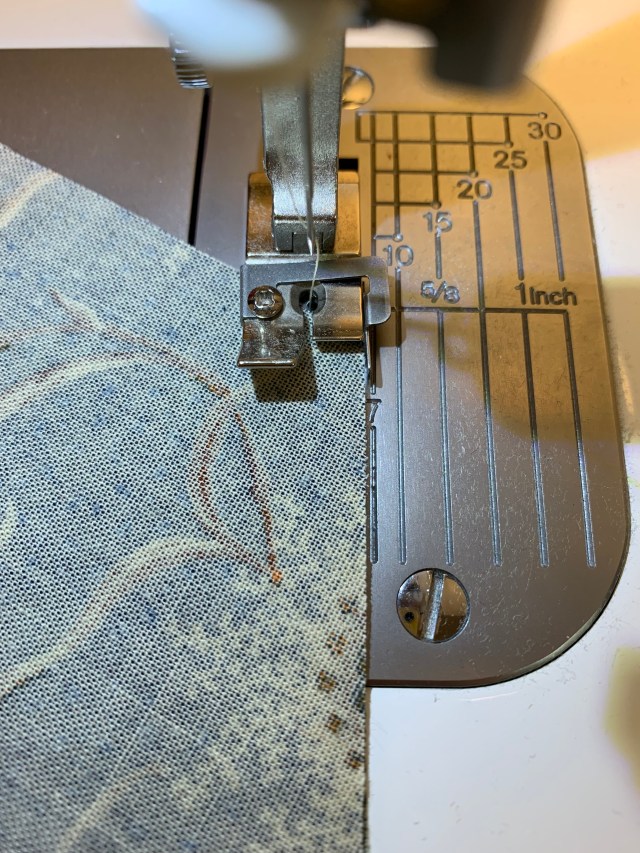
That little “V” is where your needle should be when starting the seam.
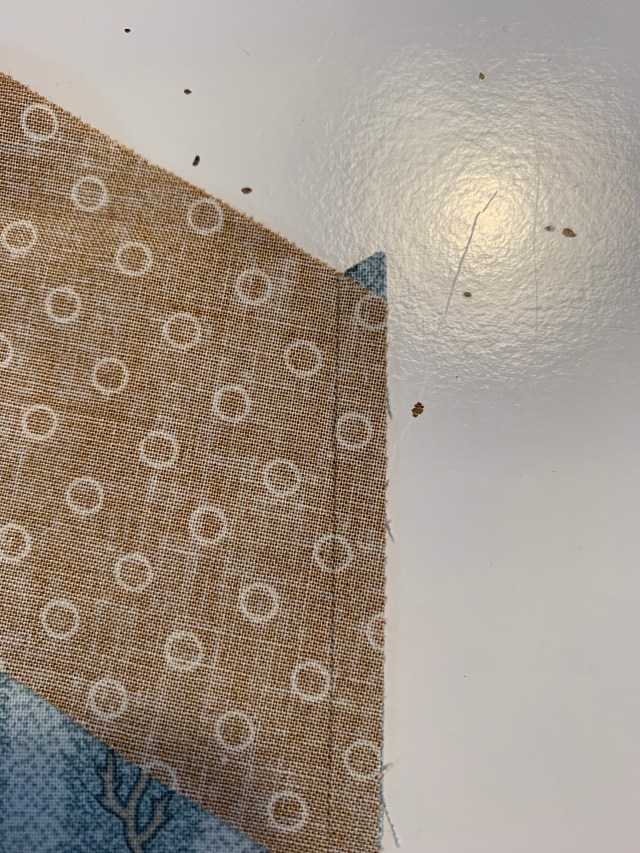
If the offset is correct, when you open the seam, you will have a straight row without any jogs.

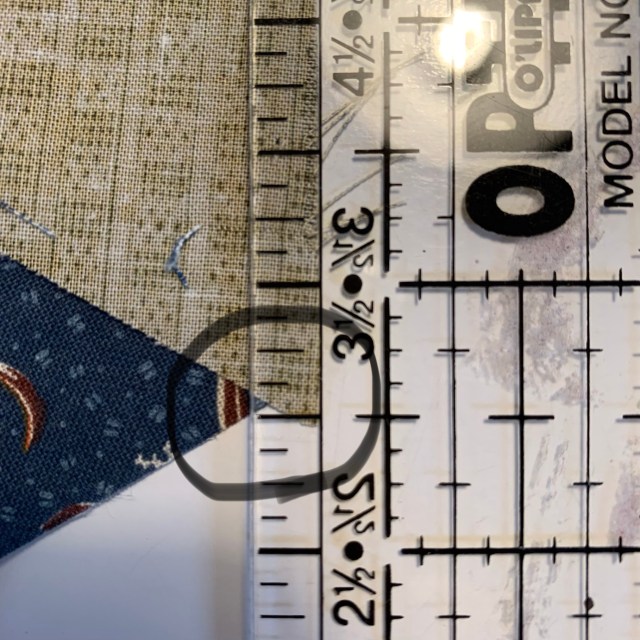
As you practice, you can line this up by eye. Until then, check with a ruler. This is wrong.
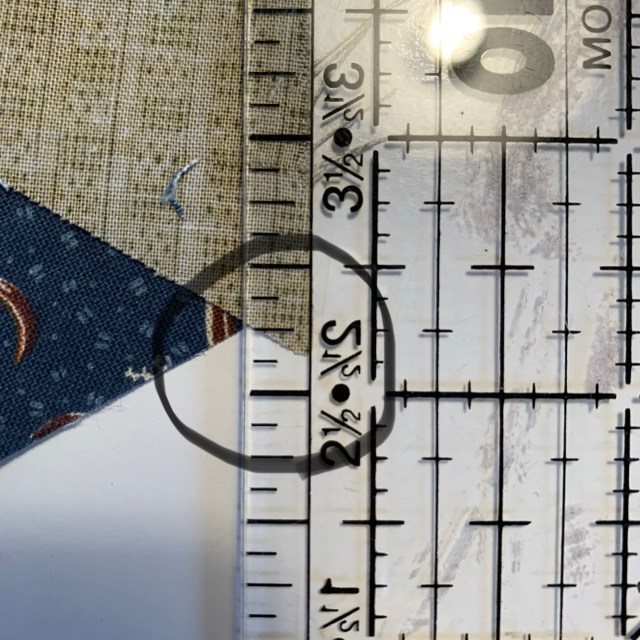
After adjusting, this is ready to go.
If it helps, you can draw the seam line as shown below.
I don’t use any puns when sewing these diamonds. When I’m done with the columns, I press the seams in opposite directions as shown below.
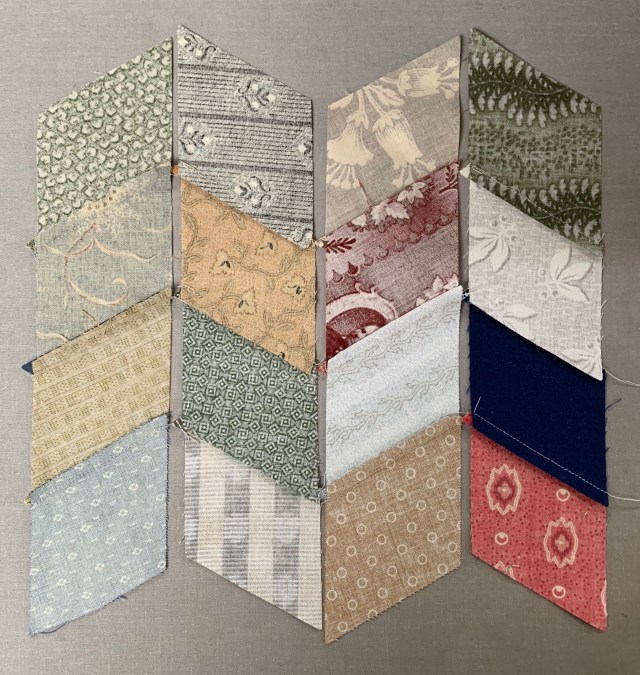
This allows my seam allowances to best together.
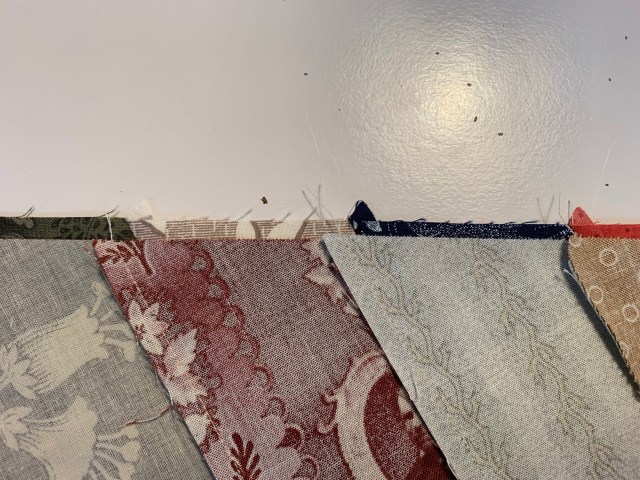

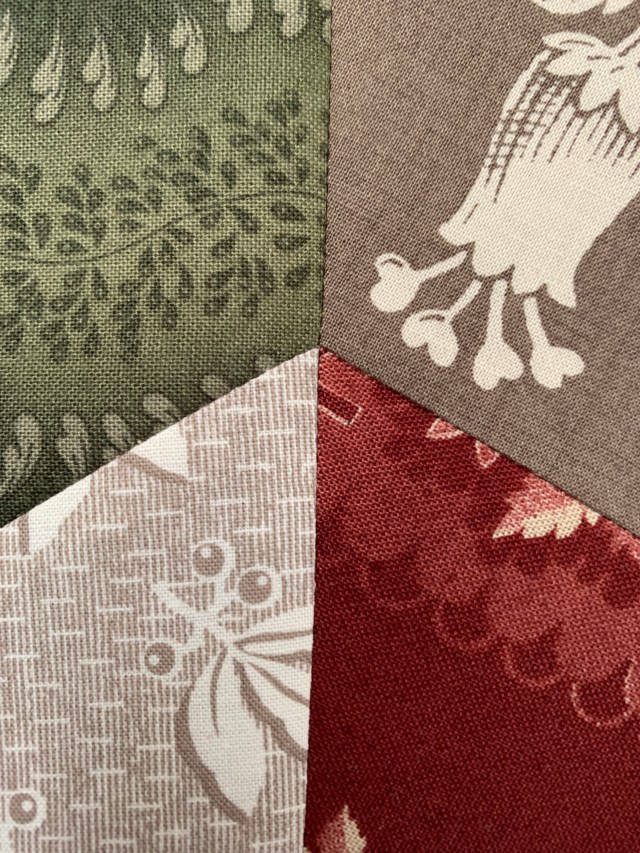
This is how the intersections should look when pressed.
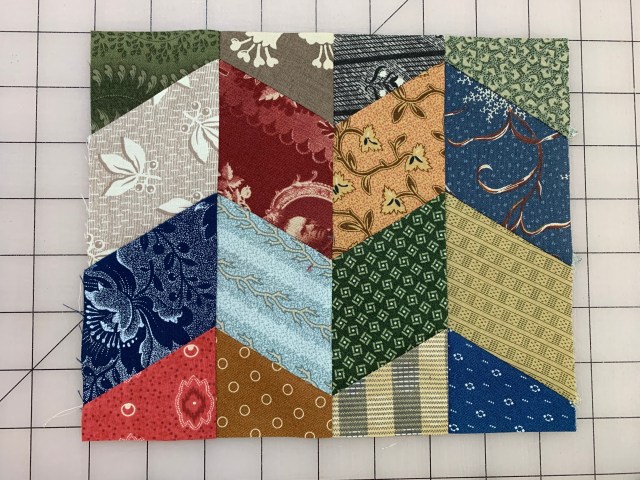
I trimmed my piece down when I was done sewing. I’ll share this little finish after it has been gifted.
I hope this was helpful. Have a great day!
This post contains affiliate links.
Yay! Summer is coming! Here are the goals I set for March:
1. I’m working on another Fat Quarter Shop project that needs to be done this month. Done! But I can’t show it just yet.
2. Ten string diamonds for the string along. Done!
3. Finish my album block quilt. Done!

4. Start another I Spy quilt for E3s birthday. Not done.
5. Again, finish hand quilting the vintage claret/white quilt. Not done. I’m going to blame this one on Winslow.
What else did I finish?
I quilted 5 Quilts of Valor.
I made this piece that I’m calling And So It Goes.

And I finished this one, Kintsugi.

And a baby quilt for my niece.

I have a big trip coming up this month with Mr. Wonderful so I need to be reasonable with my goals for April.
1. I need to nail down trip details. I know, not quilt related, but this has to be done before quilting happens!
2. Make 10 more diamonds for the String Along.
3. Finish my small quilt for a swap.
Anything else will be bonus!
Have a wonderful day!
My little top is done and I’ve decided to hand quilt it.

I’m hoping to finish the quilting today so I can bind it tomorrow and get it shipped off this week.
Have a lovely day!
I mentioned the other day that I didn’t have any measurements for this little vintage quilt, just a photo from the internet. I decided to make the small squares in the blocks to finish at one inch. I wanted to keep the sashing proportional. I thought you might be interested in how I figured out that measurement.
First I pulled up the photo of the original on my iPad. Then I zoomed in until the squares measured one inch on the screen. I used a tape measure to know how much to zoom in.
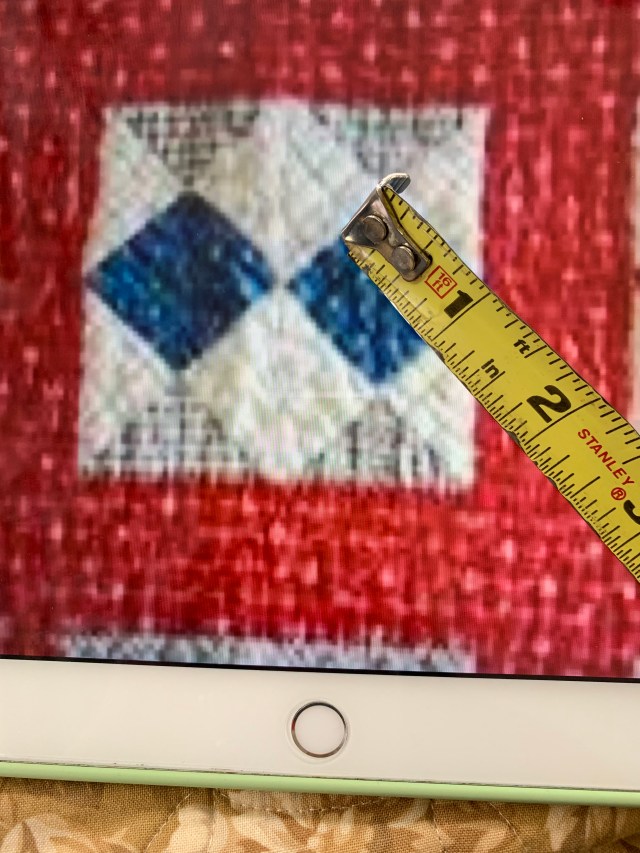
Then I used the tape measure to measure the width of the sashing. Easy!

I decided in the end to make my sashing to finish at 1 1/4 inch rather than an inch, but this was an easy way to figure it out without wasting fabric and ripping stitches.
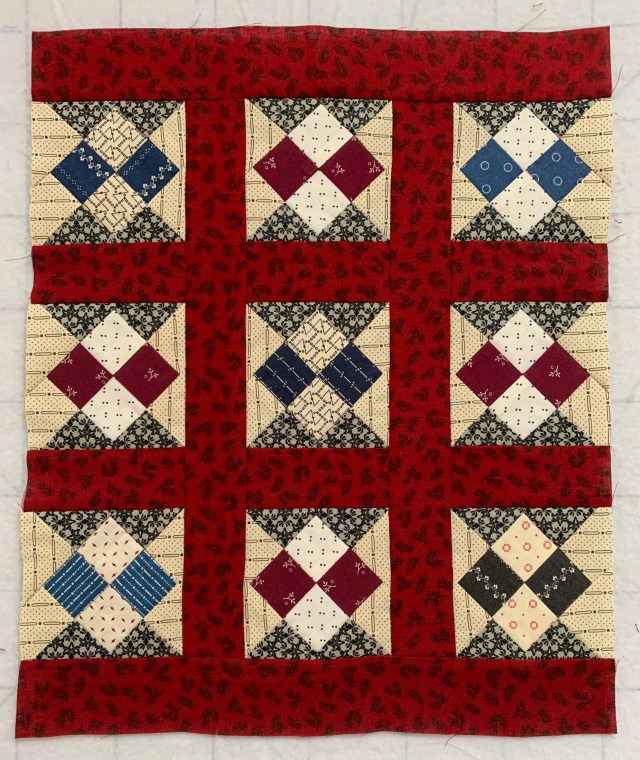
Hope this helps someone. Have a great day!
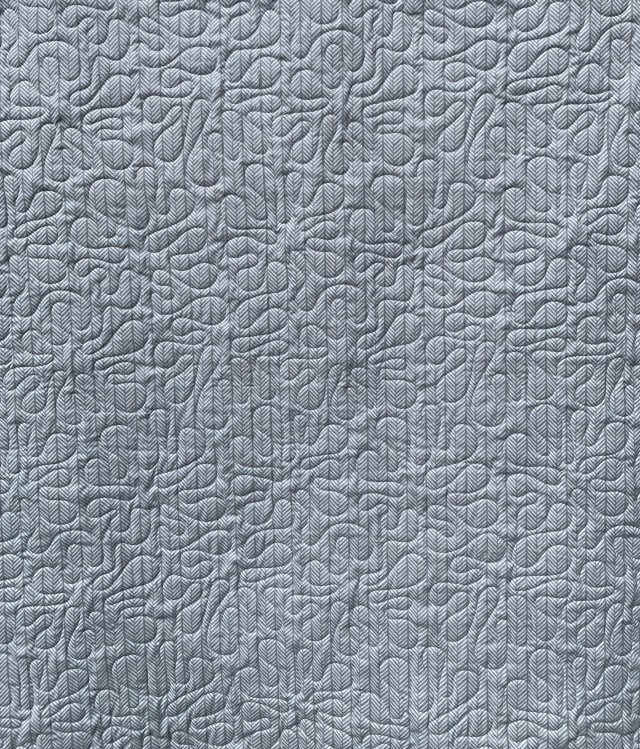
I love making baby quilts! They are done so quickly. This first photo is not good. The sun was actually TOO bright! But since that is such a good problem to have, I decided to use it anyway.
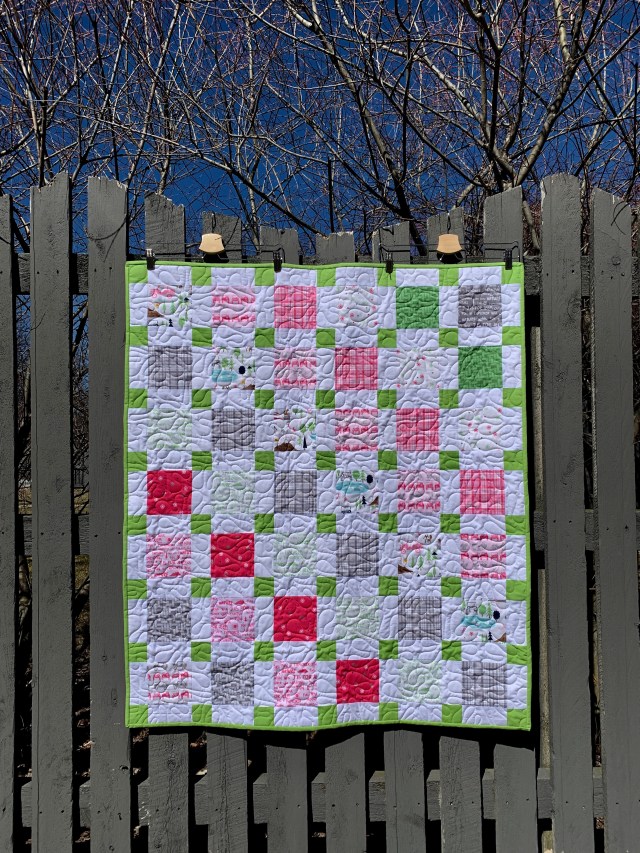
It was good for showing off the quilting texture.
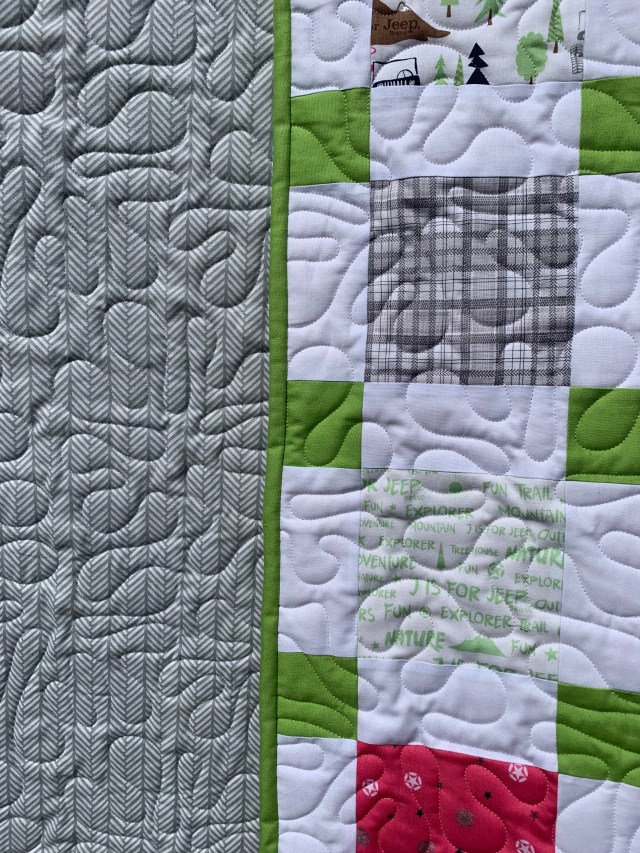
I love this panto called Splat!
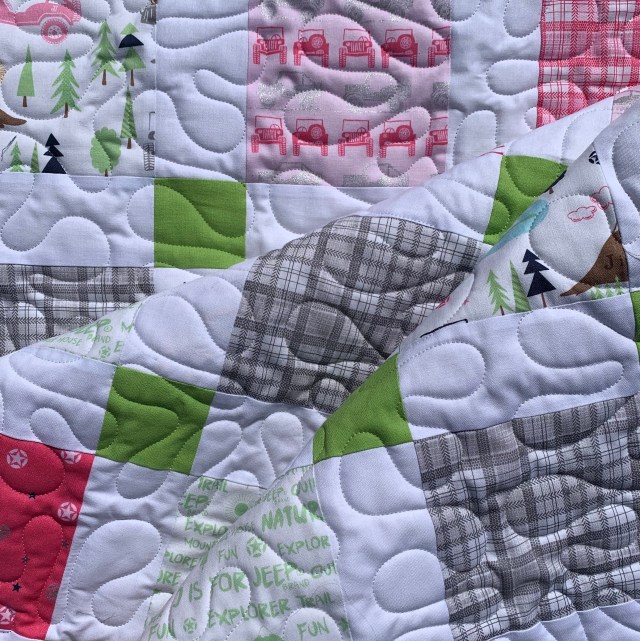
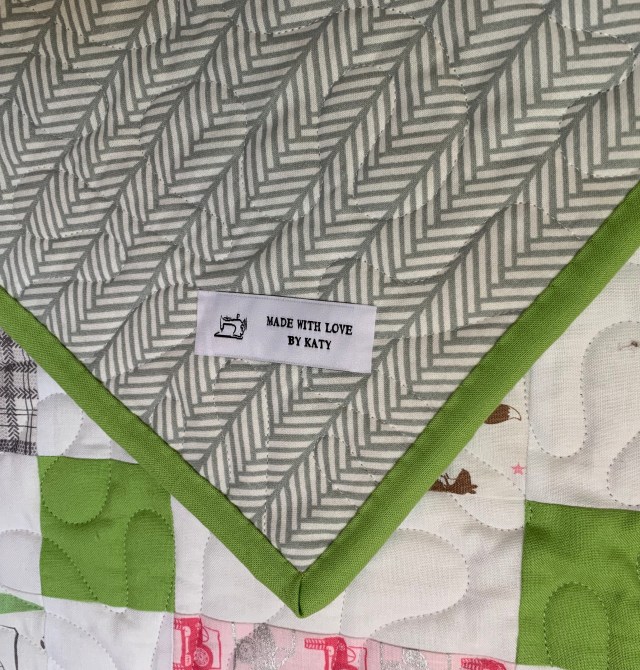
I used one of my iron on labels.
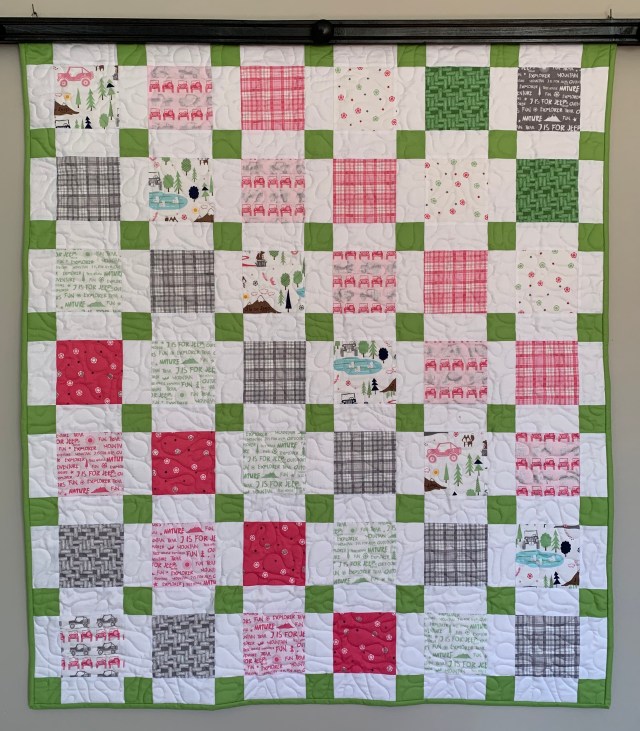
This last photo shows the color most accurately.
Time to package it up and ship it off. Have a great day!
Linking up with Confessions of a Fabric Addict


