More Sewing Room Organization

Hubby found these little organizer drawers from Menards and they are perfect for long arm bobbins.

I rediscovered this label maker and now I’m labeling everything!

Like these drawers.

I also bought a hollow core door to make my cutting table bigger. Eventually I will paint it white. I also got the big new cutting mat. 

It sure feels good to finally make some progress on all of this! I sure hope I finish some day soon.

By the way, Accuquilt has just added a new free pattern . Click the link to get the new Rainbow Flying Geese pattern and others. Need anything else? Click here for all the current sales.

Have a great day!

This post contains affiliate links, and I receive a small compensation for any purchases made through them. Thank you for your support!

Posted in Sewing Room Pics, Storage, Uncategorized | 12 Comments

DWMonday ~ 9 Patch QOV

I finished the UFO top that I found last week and I even got it loaded up to quilt.


I pulled out this variegated thread and thought I might use it for the quilting.


Then I remembered this panto and pulled it out.


Love this panto, but probably not in the variegated thread. Hmmm….have to think about that some more.

Have a great day!

Linking up with Cooking Up QuiltsSmall Quilts and Doll QuiltsLove Laugh Quilt

Posted in Quilt of Valor | 7 Comments

Black and White 2

Here are some more photos from a recent trip home. I’ve always been fascinated by dilapidated, abandoned houses like this one.

I can’t help but wonder about the people that lived there and why it was left to fall down.

I saw this beautiful creature. I stopped and she and I just looked at each other for a long time! 

I find it fascinating how different things look in black and white!

Here is a shot of Lake Michigan.

Have a great day!

Posted in Photography, Uncategorized | 7 Comments

Finish It Up Friday ~ Shenandoah Stars

I started this quilt way back in November of 2014! Gosh, it’s good to finally be done with it!

I quilted it with a panto called Airborne from Urban Elementz.

The stars are 8 inch blocks. The fabrics are from a Nancy Gere line called Shenandoah.

I’ve been trying to find new places to take pictures of finished quilts. These next few pics were taken after washing.

I’m always fascinated by the way washing changes the texture.

Have a wonderful weekend!

Linking up with Confessions of a Fabric AddictBusy Hands QuiltsQuilting is More Fun Than Housework

Posted in Accuquilt, Bed Quilts, Civil War Repro Quilts, Finishes, Uncategorized | 21 Comments

I Found Another UFO!

In the process of cleaning the sewing room, I found yet another UFO. These bits and pieces were from a mystery quilt along last fall. I set this aside when I was preparing to go to AZ and just found it again. 

The pattern called for 9 patches, so I got those done and I have plain blocks done as well.

I was going to make a red and white only quilt, but I have some great patriotic prints I could throw in. 


I think that will make it a bit more fun. I use my 2 1/2 inch strip die from   Accuquilt to cut my strips and then to subcut my units, so it went pretty fast. 

I’m procrastinating on cutting up that last big tub of scraps, so I might get this top together today. I bet you all never do that! Lol!

BTW, I just found out that the flash deals at Accuquilt have been extended. And they have new free patterns available here. Here is a link for free shipping from Accuquilt.

Have a great day!
This post contains affiliate links, and I receive a small compensation for any purchases made through them. Thank you for your support!

Posted in Uncategorized | 6 Comments

Facings Tutorial

I shared this finish with you last week, but I took pictures while making the facing as I thought some of you might be interested in learning how I did it.

First I cut 2 1/2 inch strips and pressed under about a half inch along one side of each. I placed one on each of the shorter ends of the quilt, stretching the facing strip slightly and pinning as I went. You can see that I didn’t measure, just left them a little long. Next I stretched slightly and pinned the two strips on the long sides. I did trim these ends just a little short as you can see below. 

That was done on purpose to reduce bulk in the corners. Then I stitched all the way around about a quarter inch from the edge. 

I trimmed the excess facing and the corners just beyond the stitch line as you can see here.

Next I opened up the side strips and pressed them outward. 

Then I turned the whole thing over and pressed again as it would be sewn. See the nice edge you get?

At this point, your corners will look like this.

Time to hand stitch the facing to the back side.

Stretching the facing slightly as it is applied, encourages the facing to stay to the back so you can’t see it at all from the front. 

This is what it looks like after hand stitching.

I hope this is helpful. It really isn’t that hard and it can be the perfect edge treatment for some projects.

Have a great day!

Posted in Tutorials, Uncategorized | 5 Comments

More Scrap Busting!

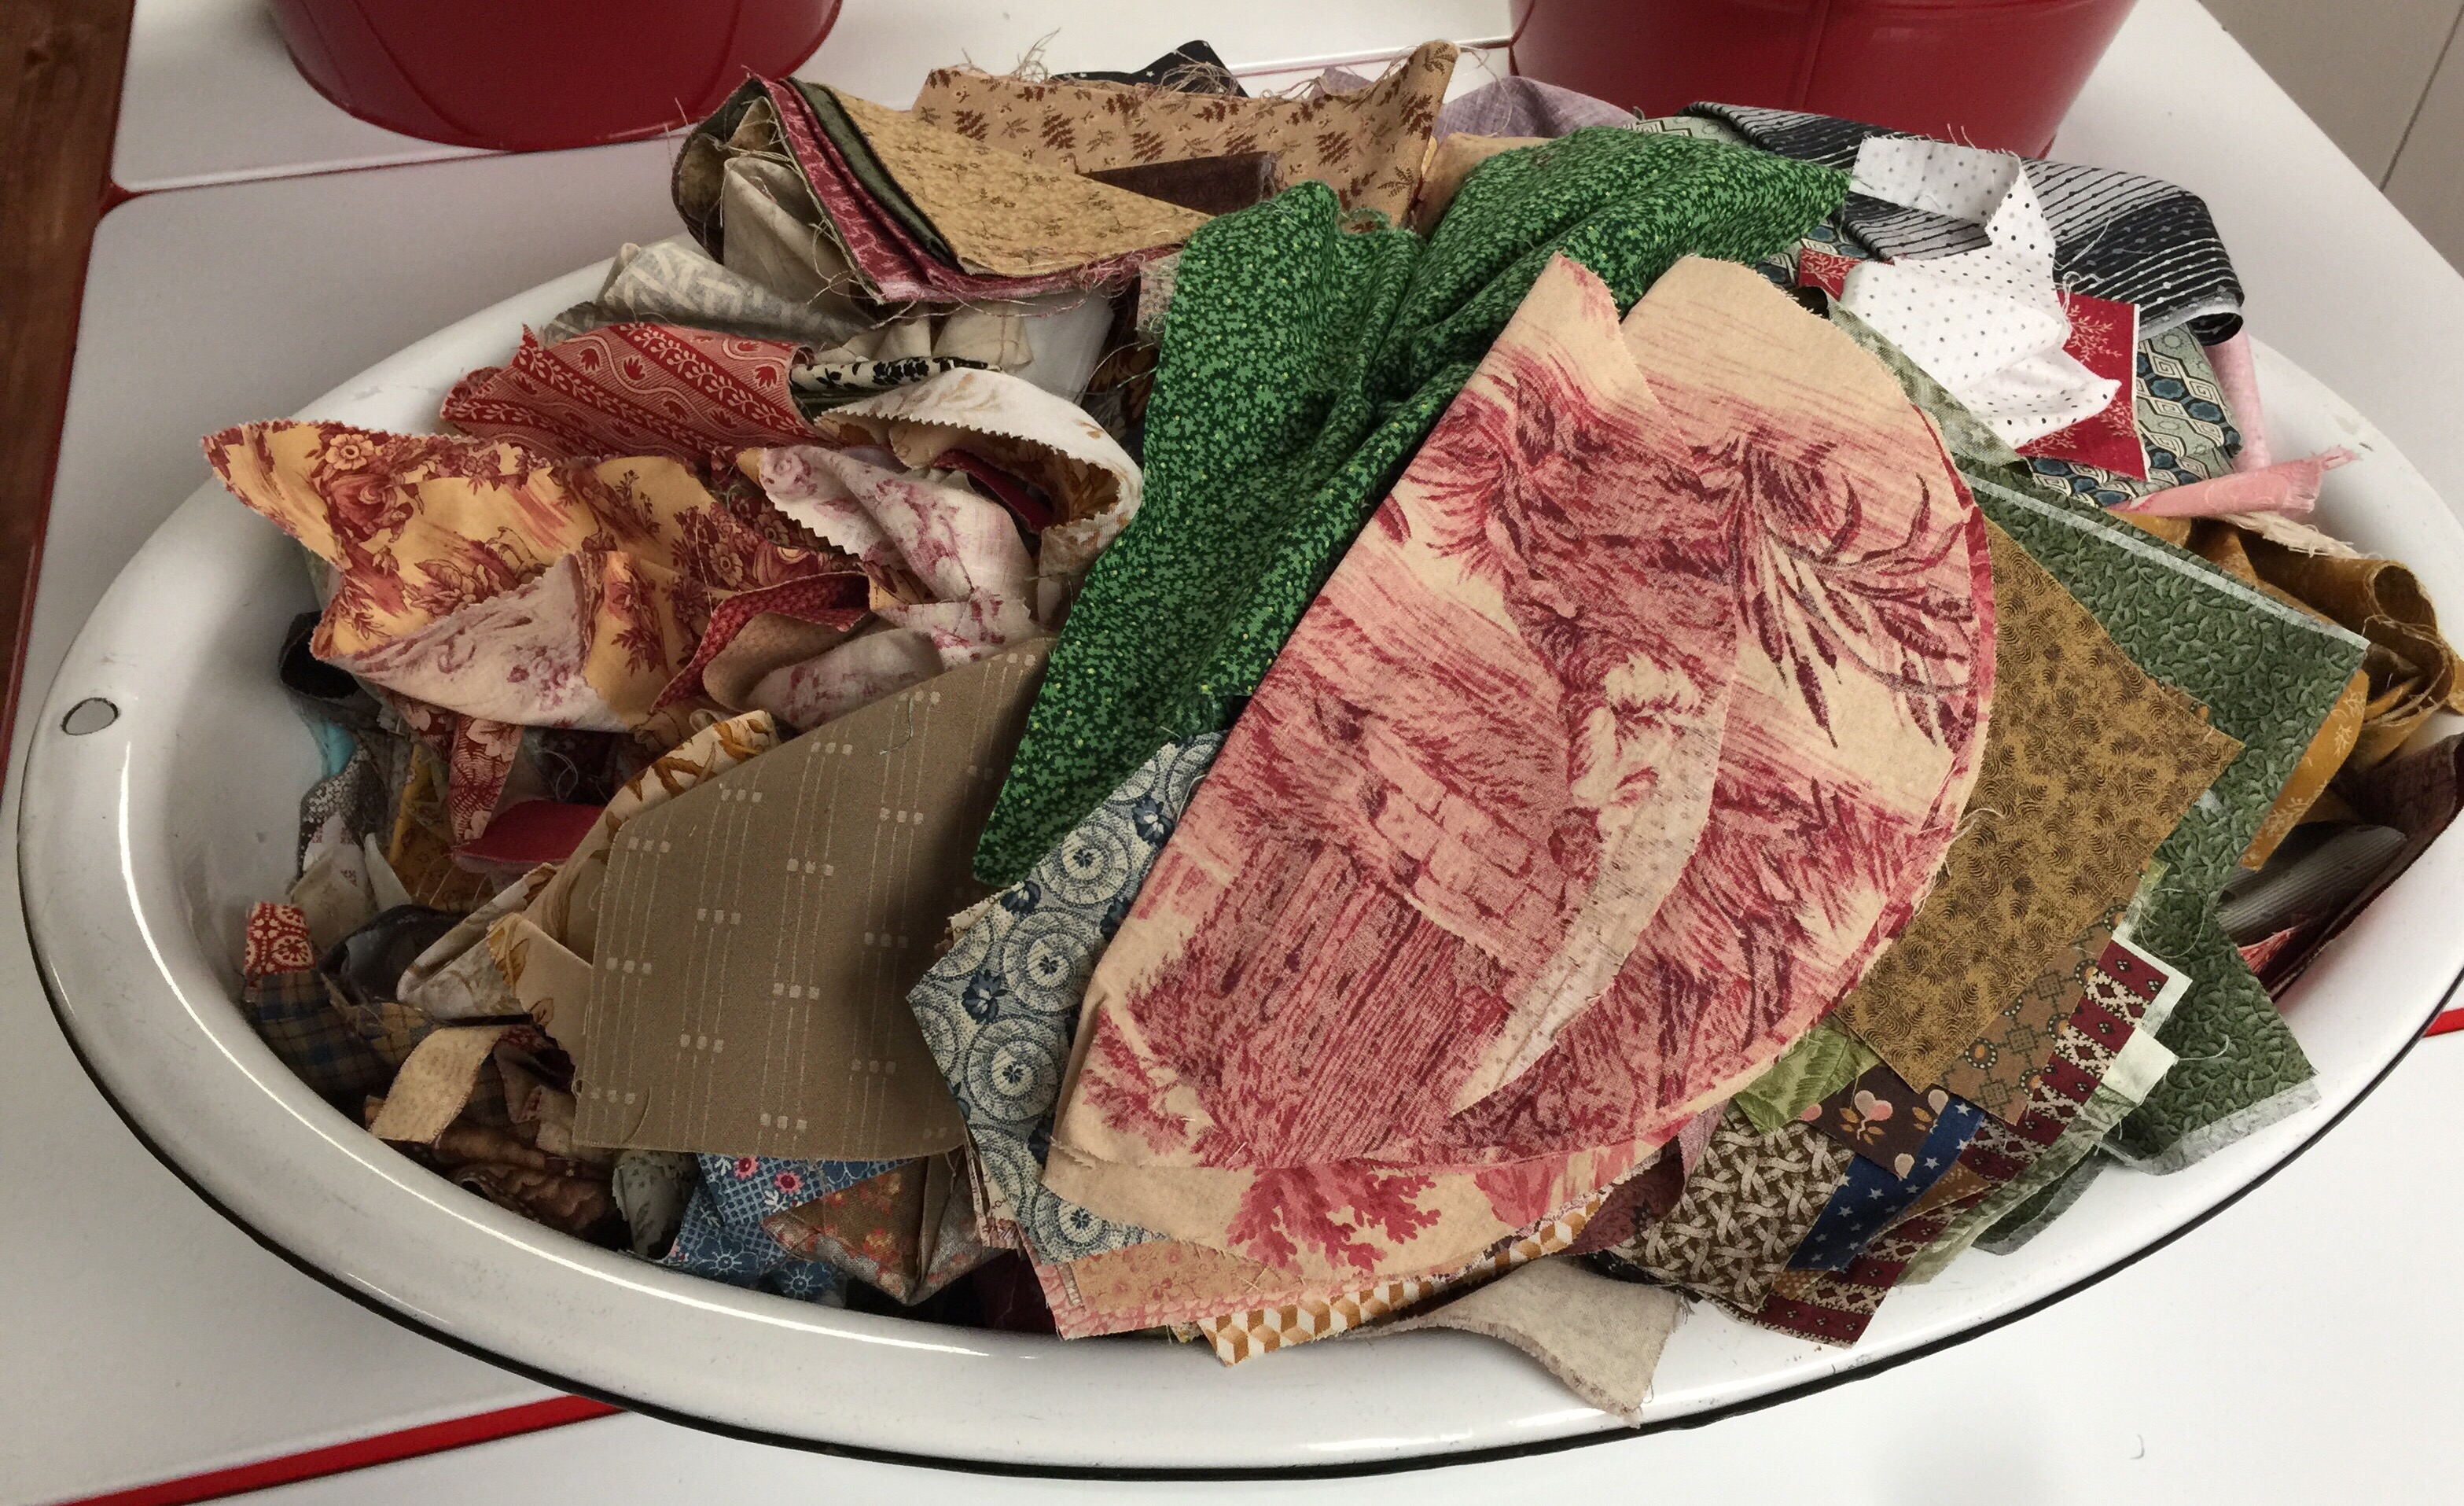
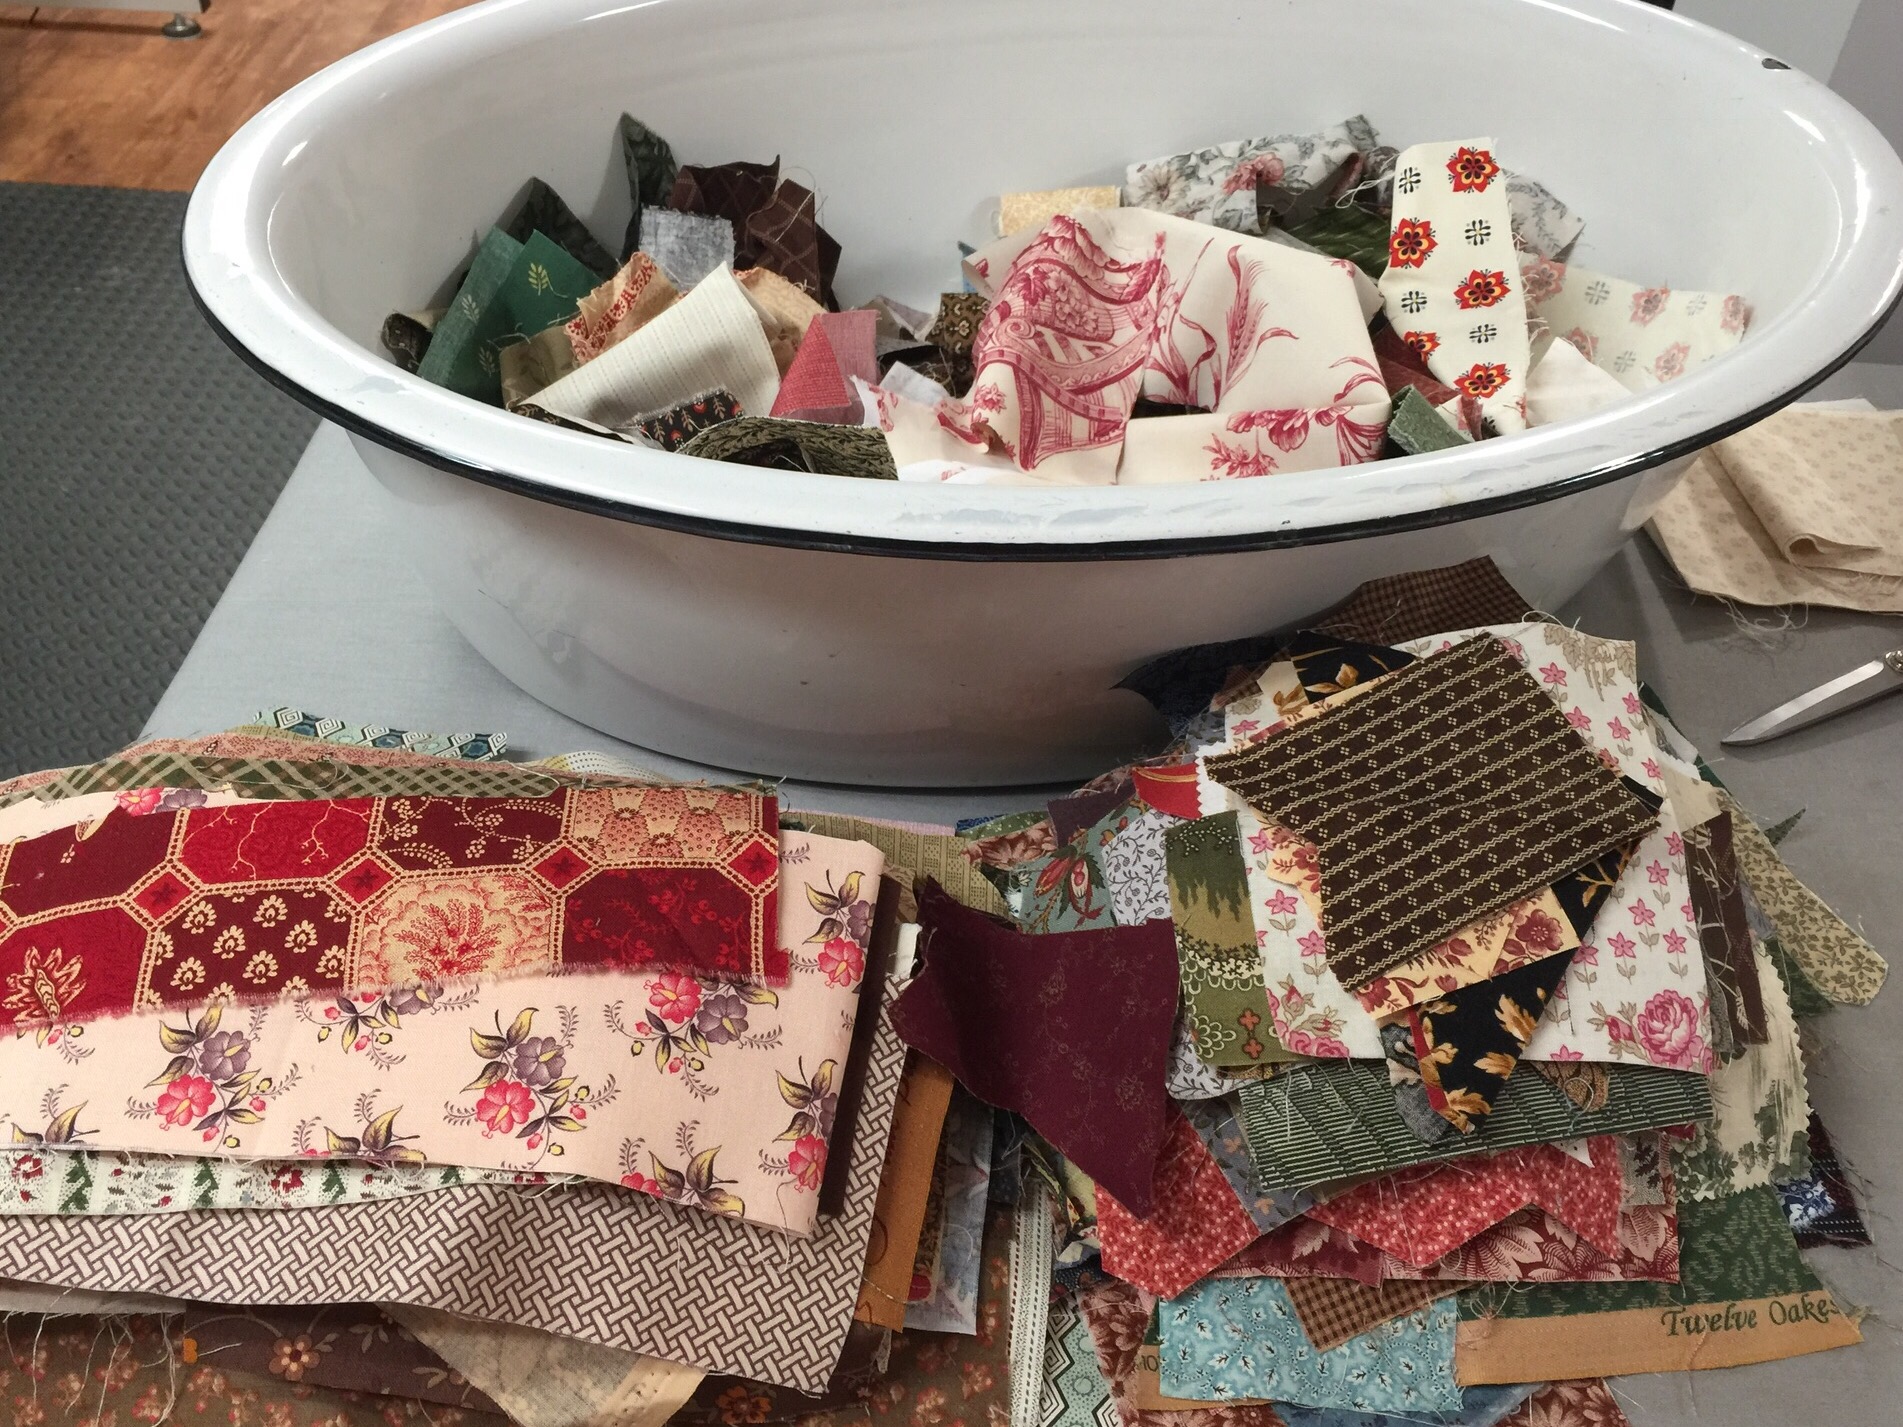
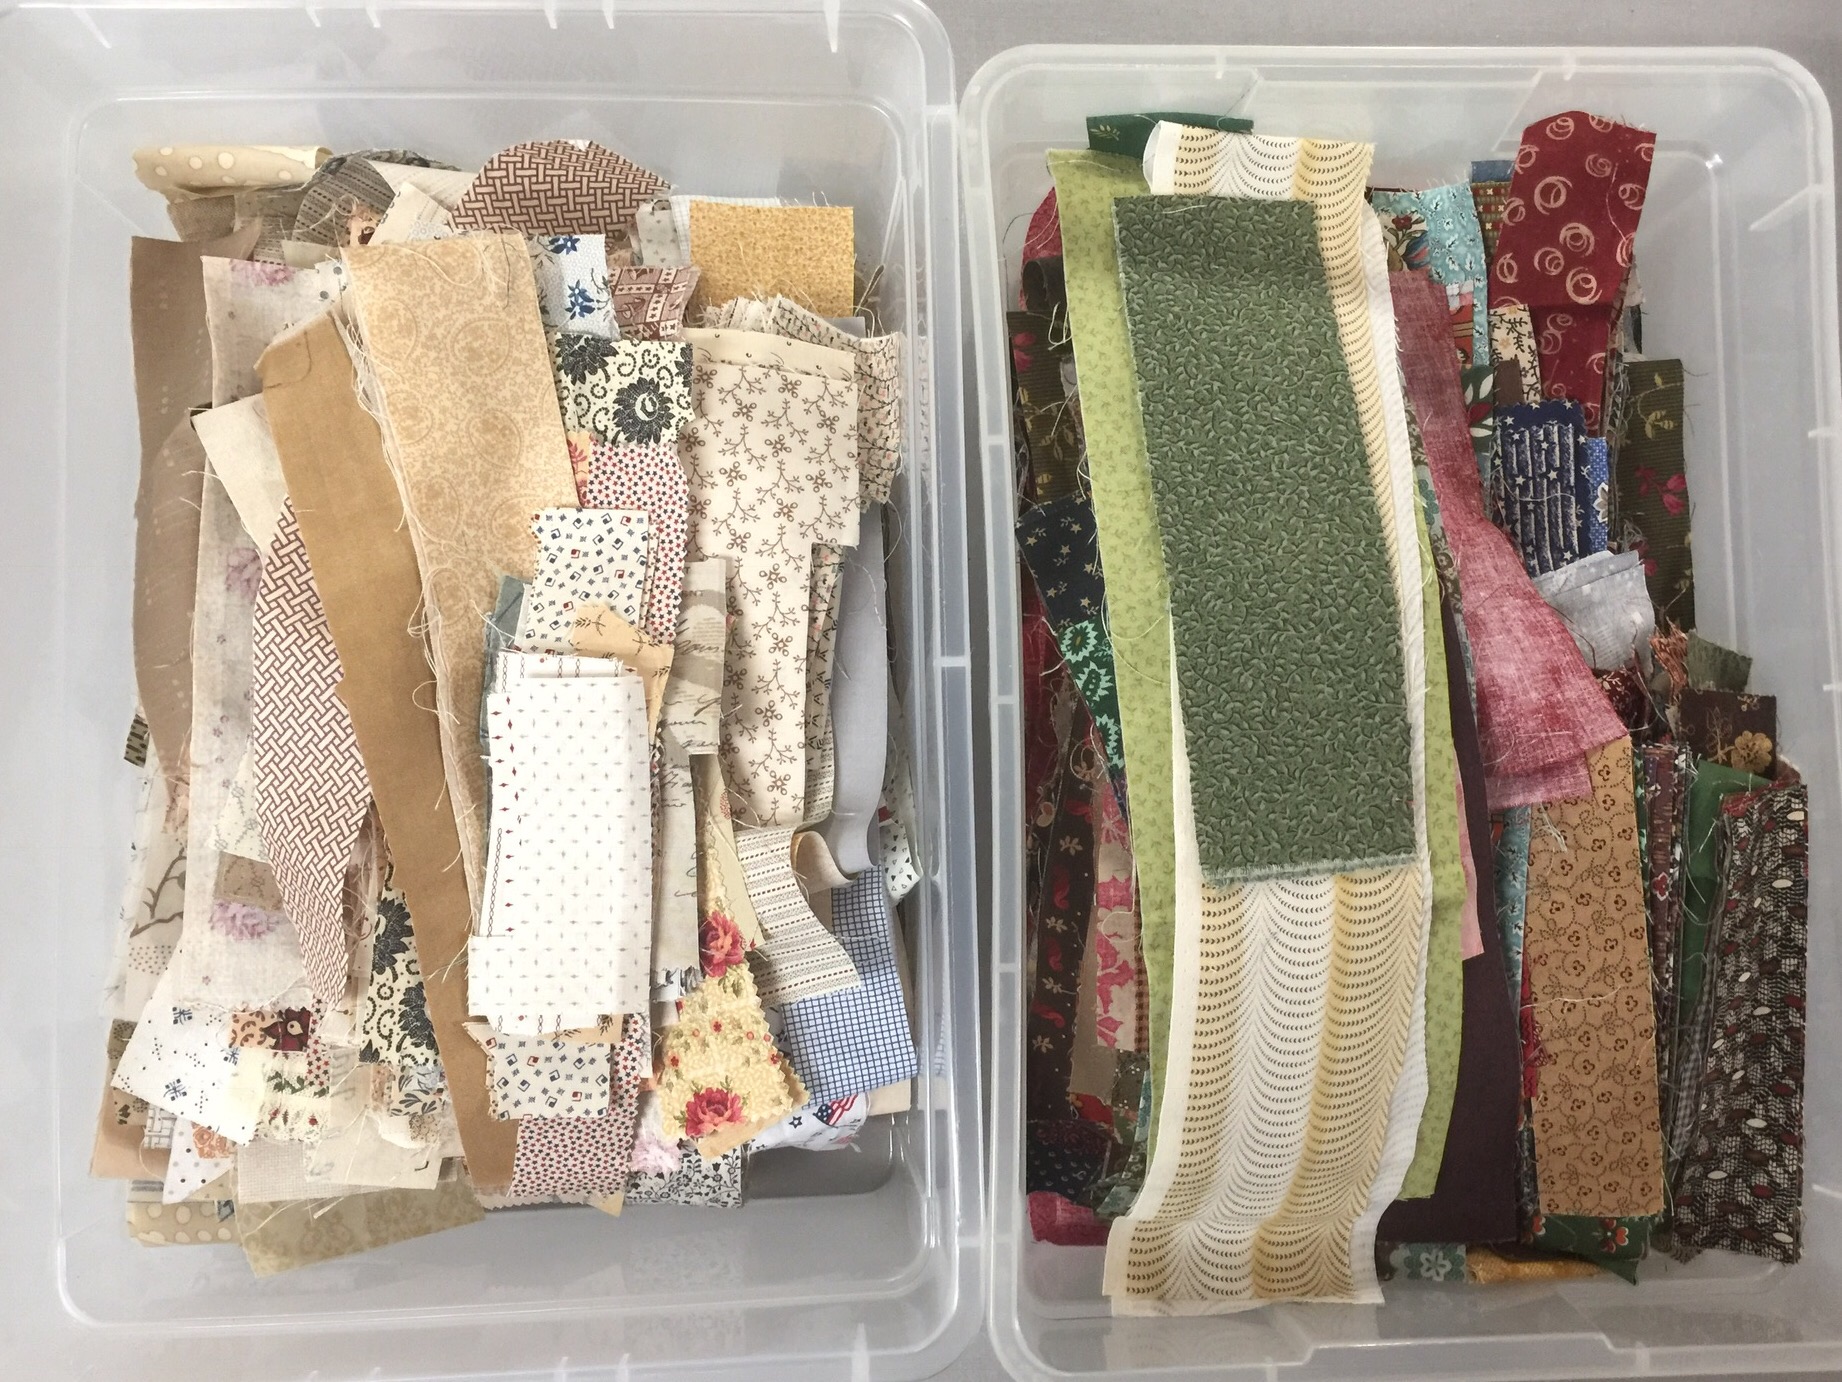
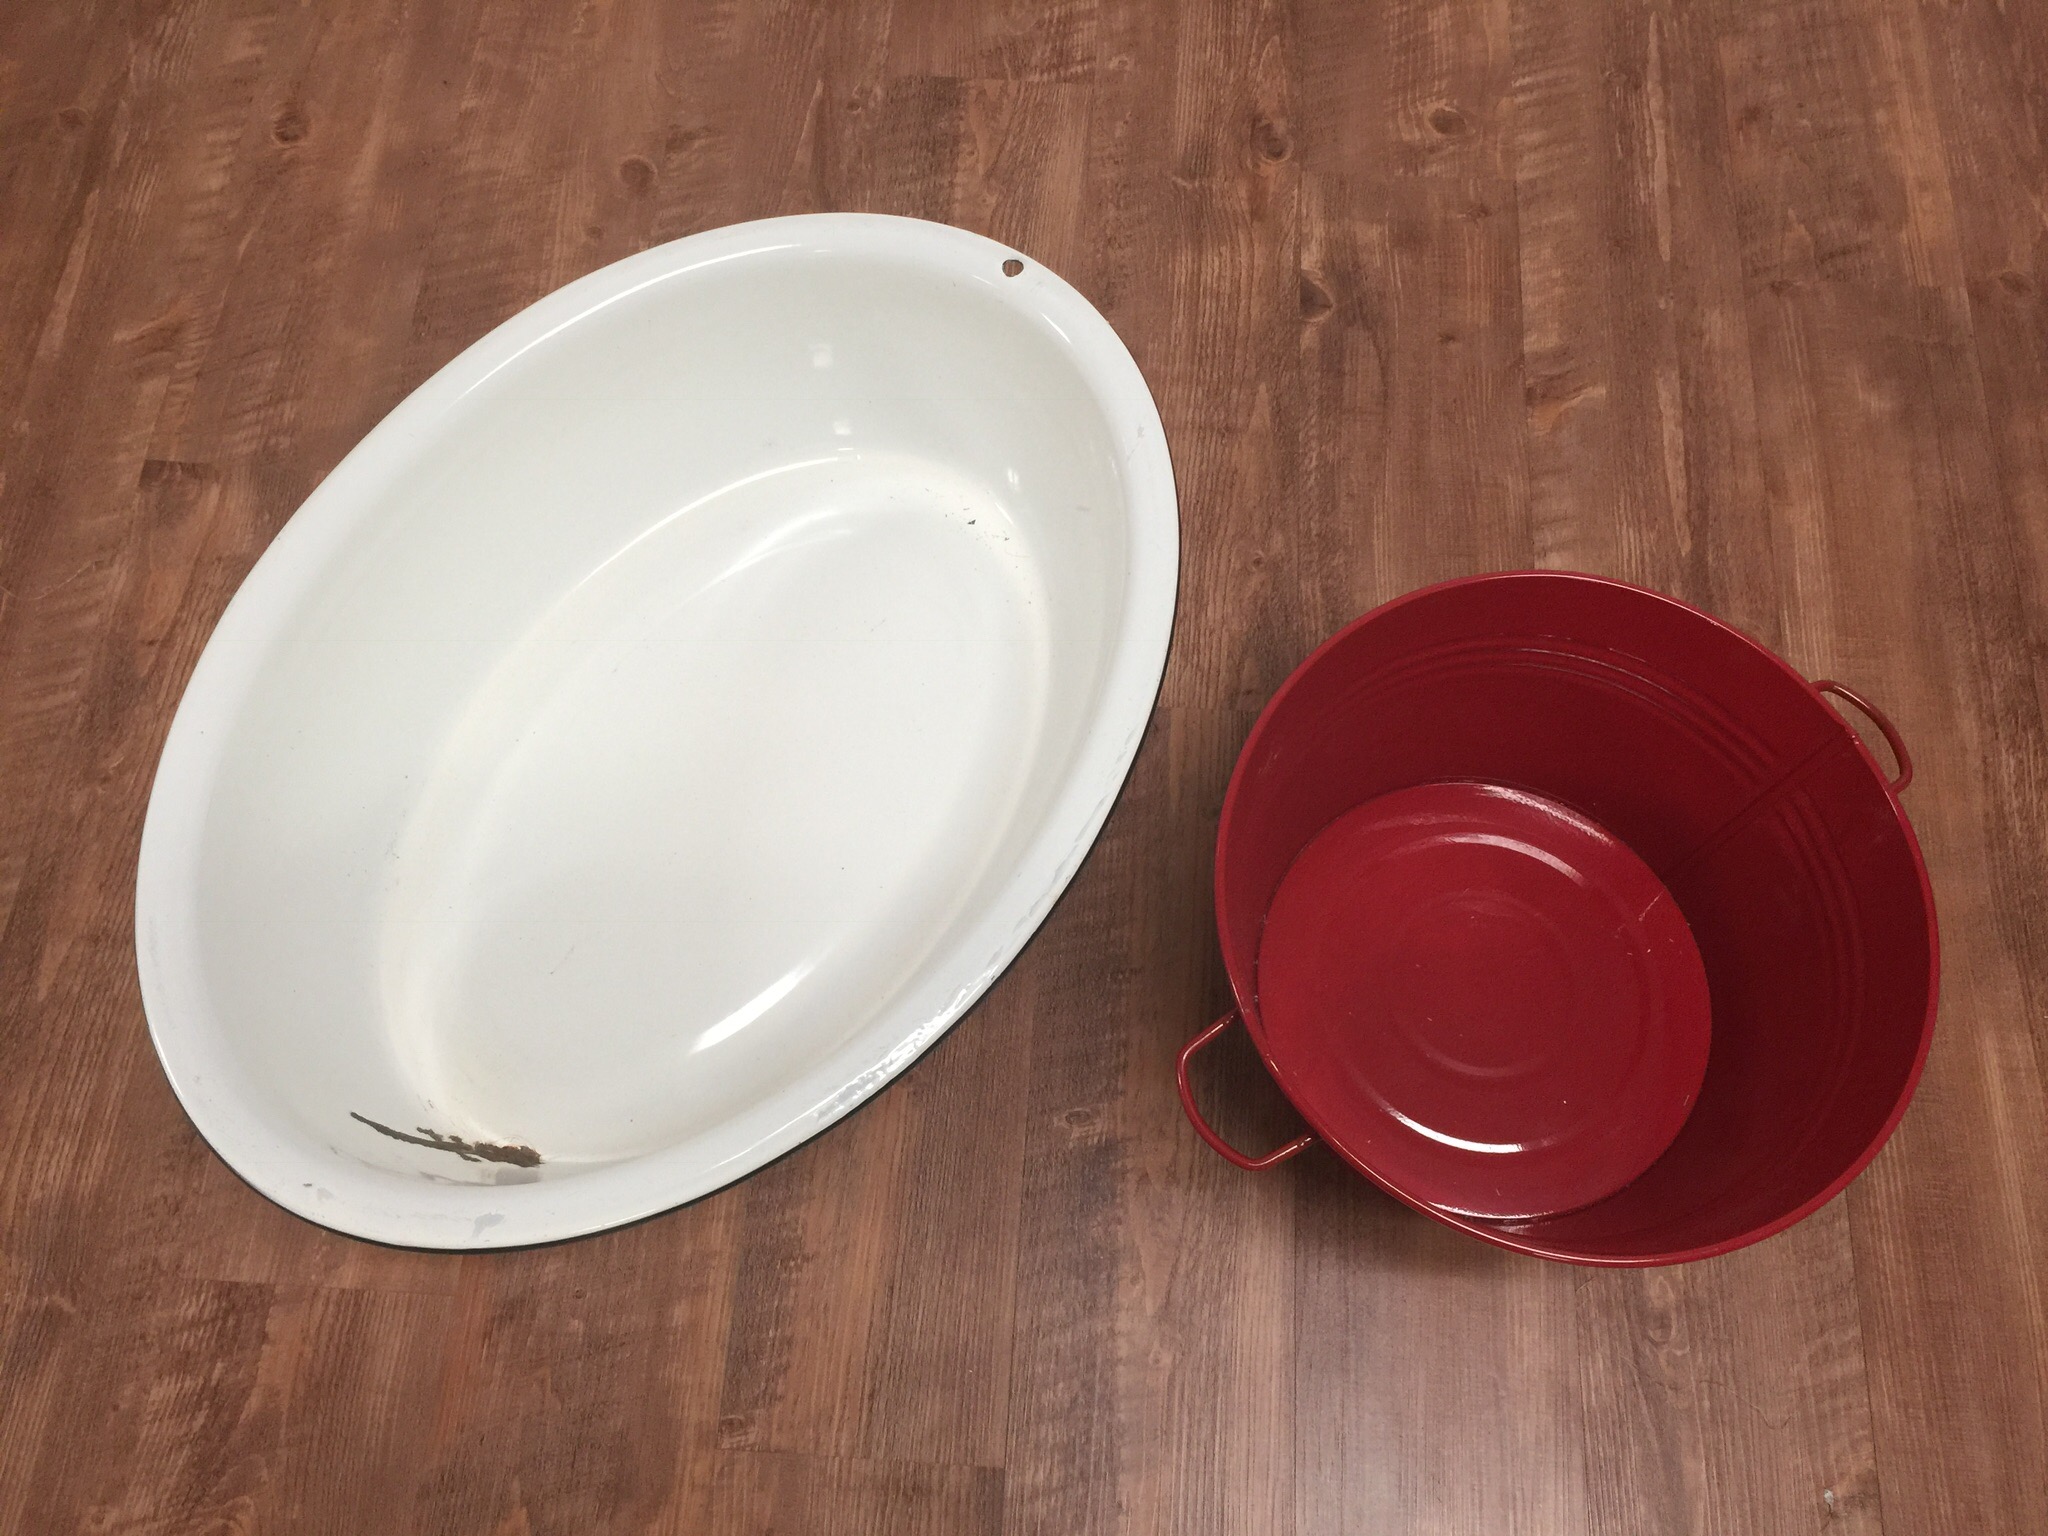
Beware! This is a photo heavy post! Hubby is out of town so I’ve spent some concentrated time scrap busting the last couple days! Remember my overflowing baby bath tub full of scraps?

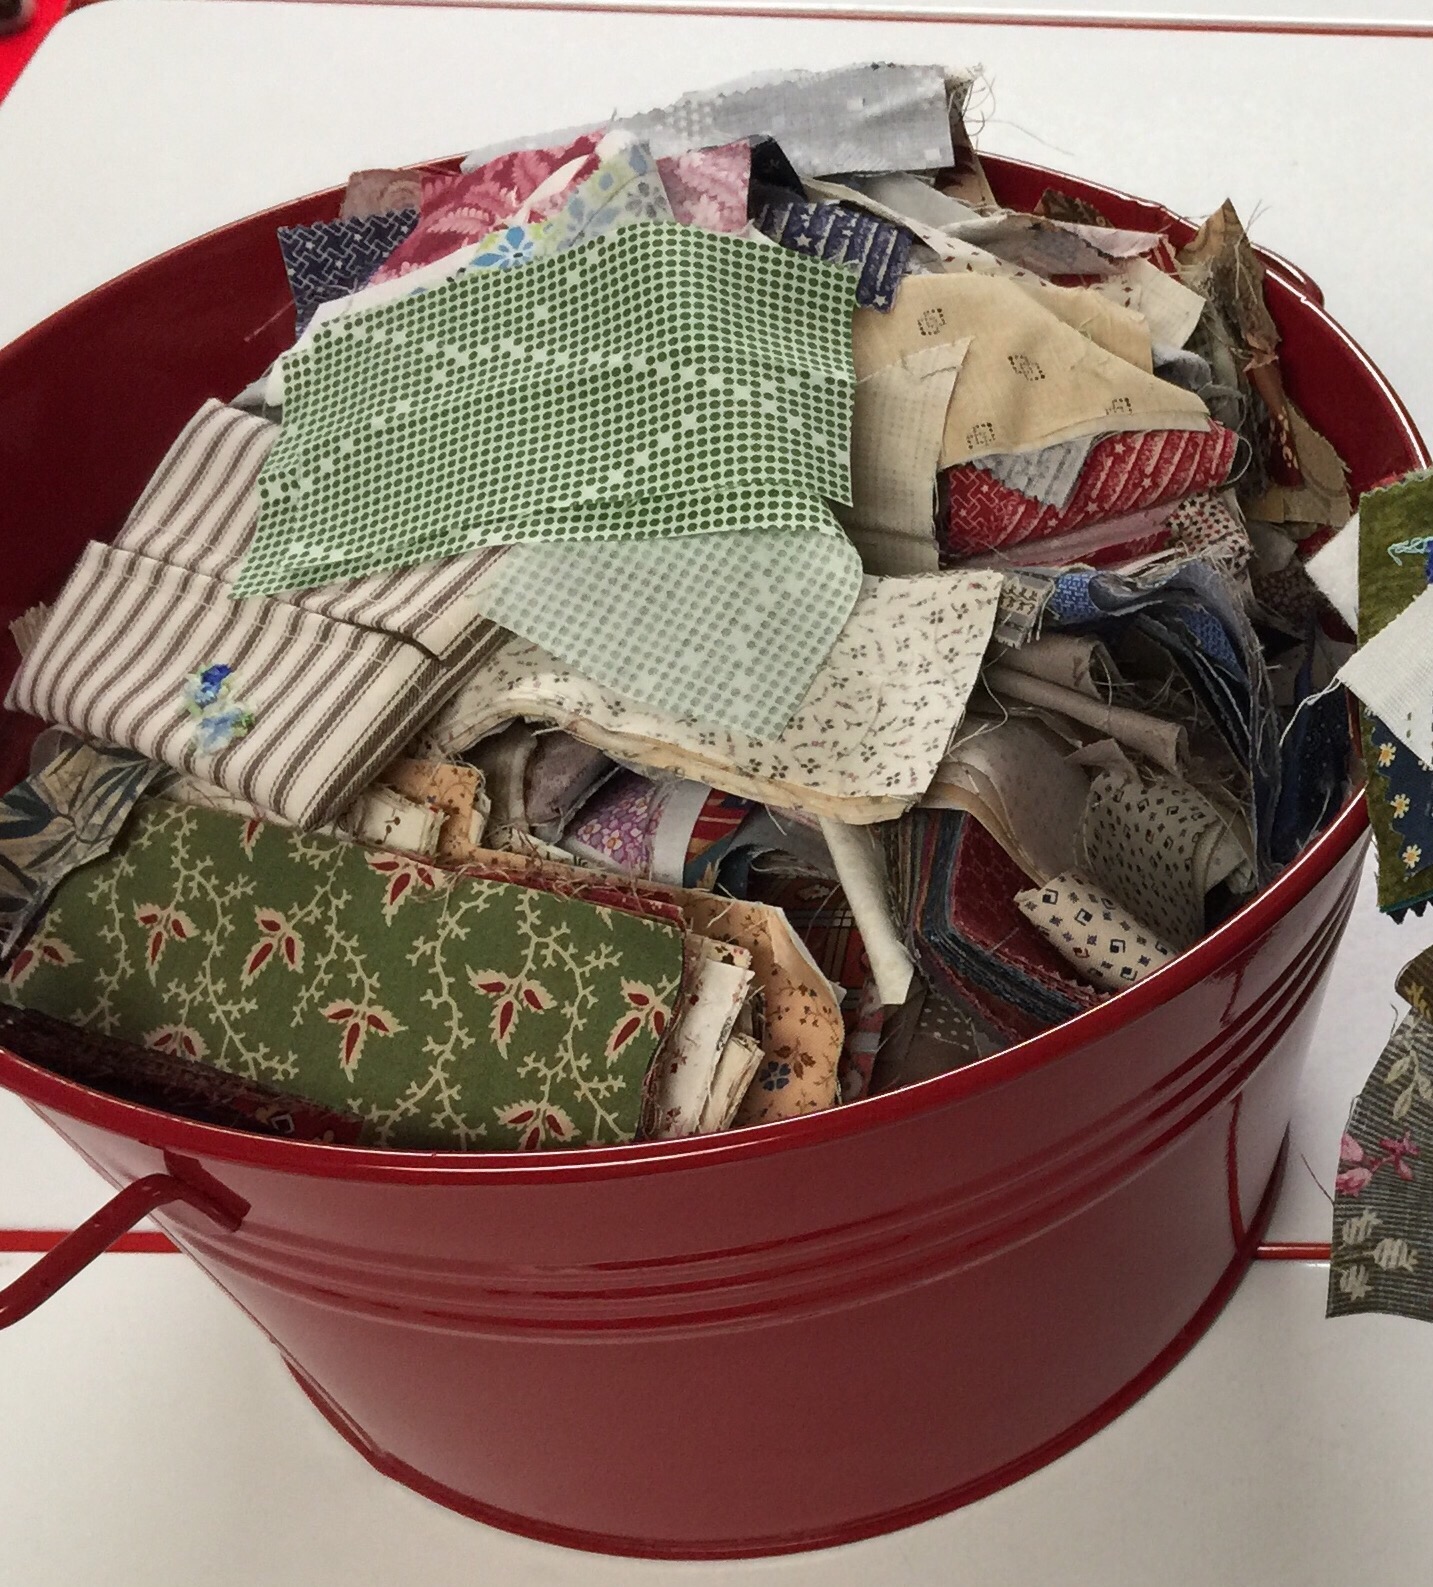
And this big bucket of scraps?

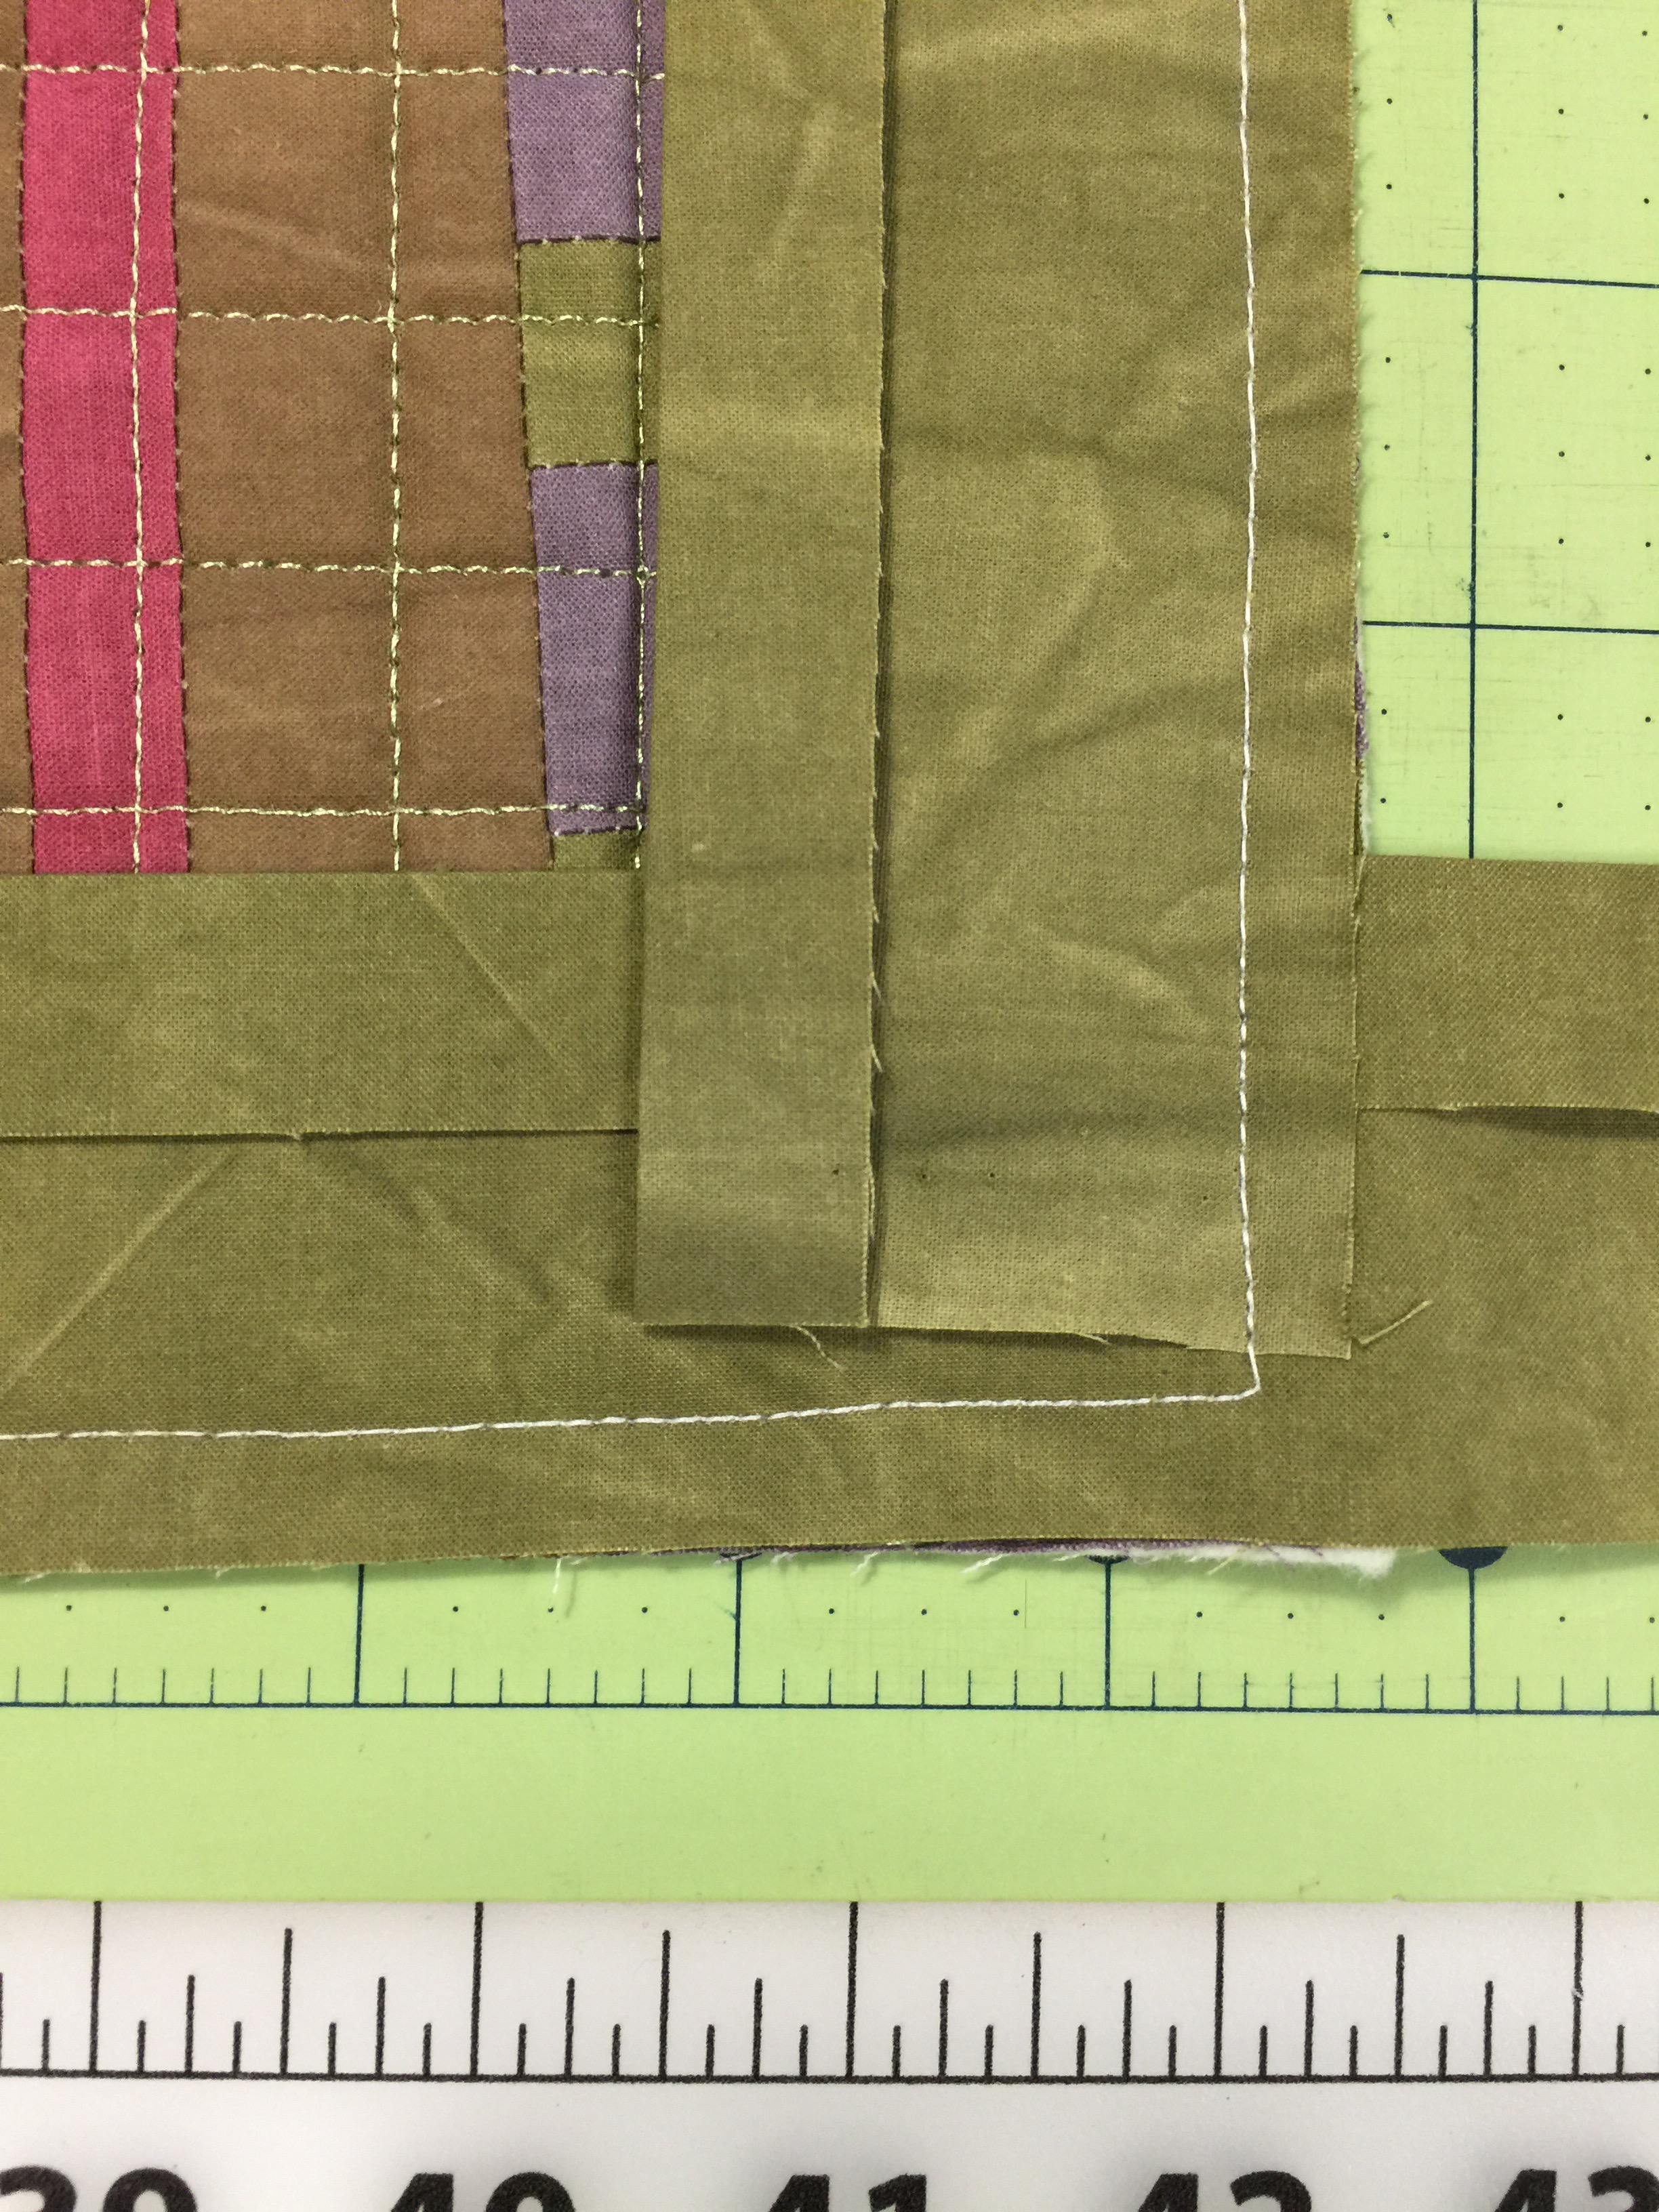
I put on an audio book and start pressing and sorting into piles of similar sizes.

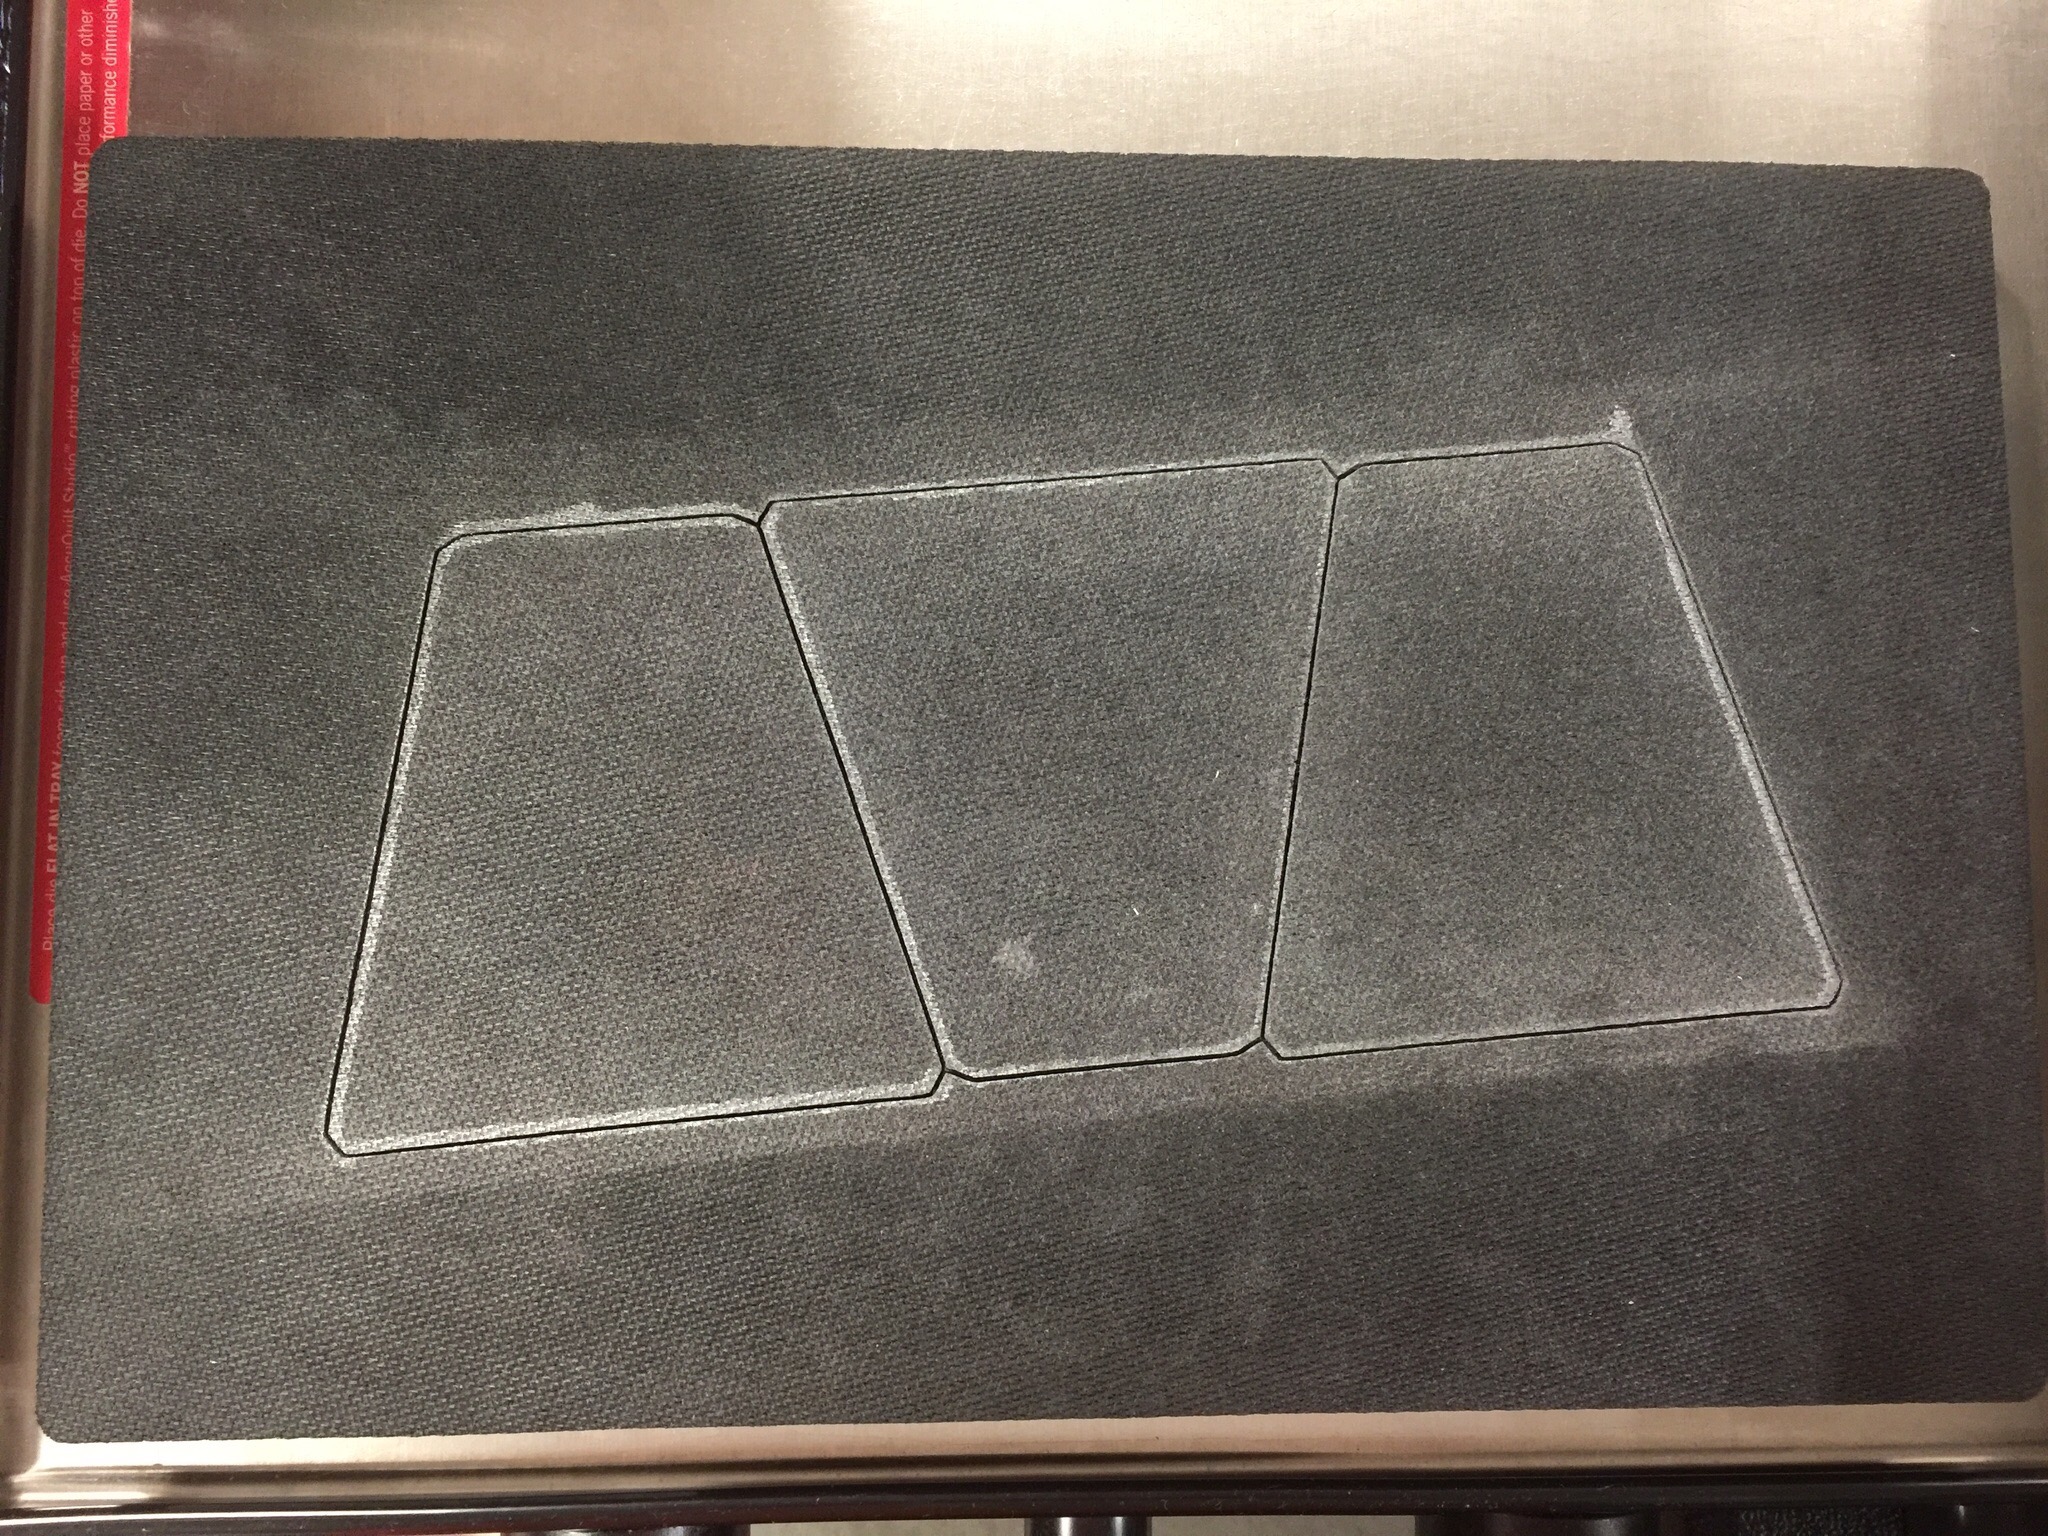
And then I started cutting. I always start with the biggest die I want to use. These will be 4 inch finished tumblers. Here is my die.


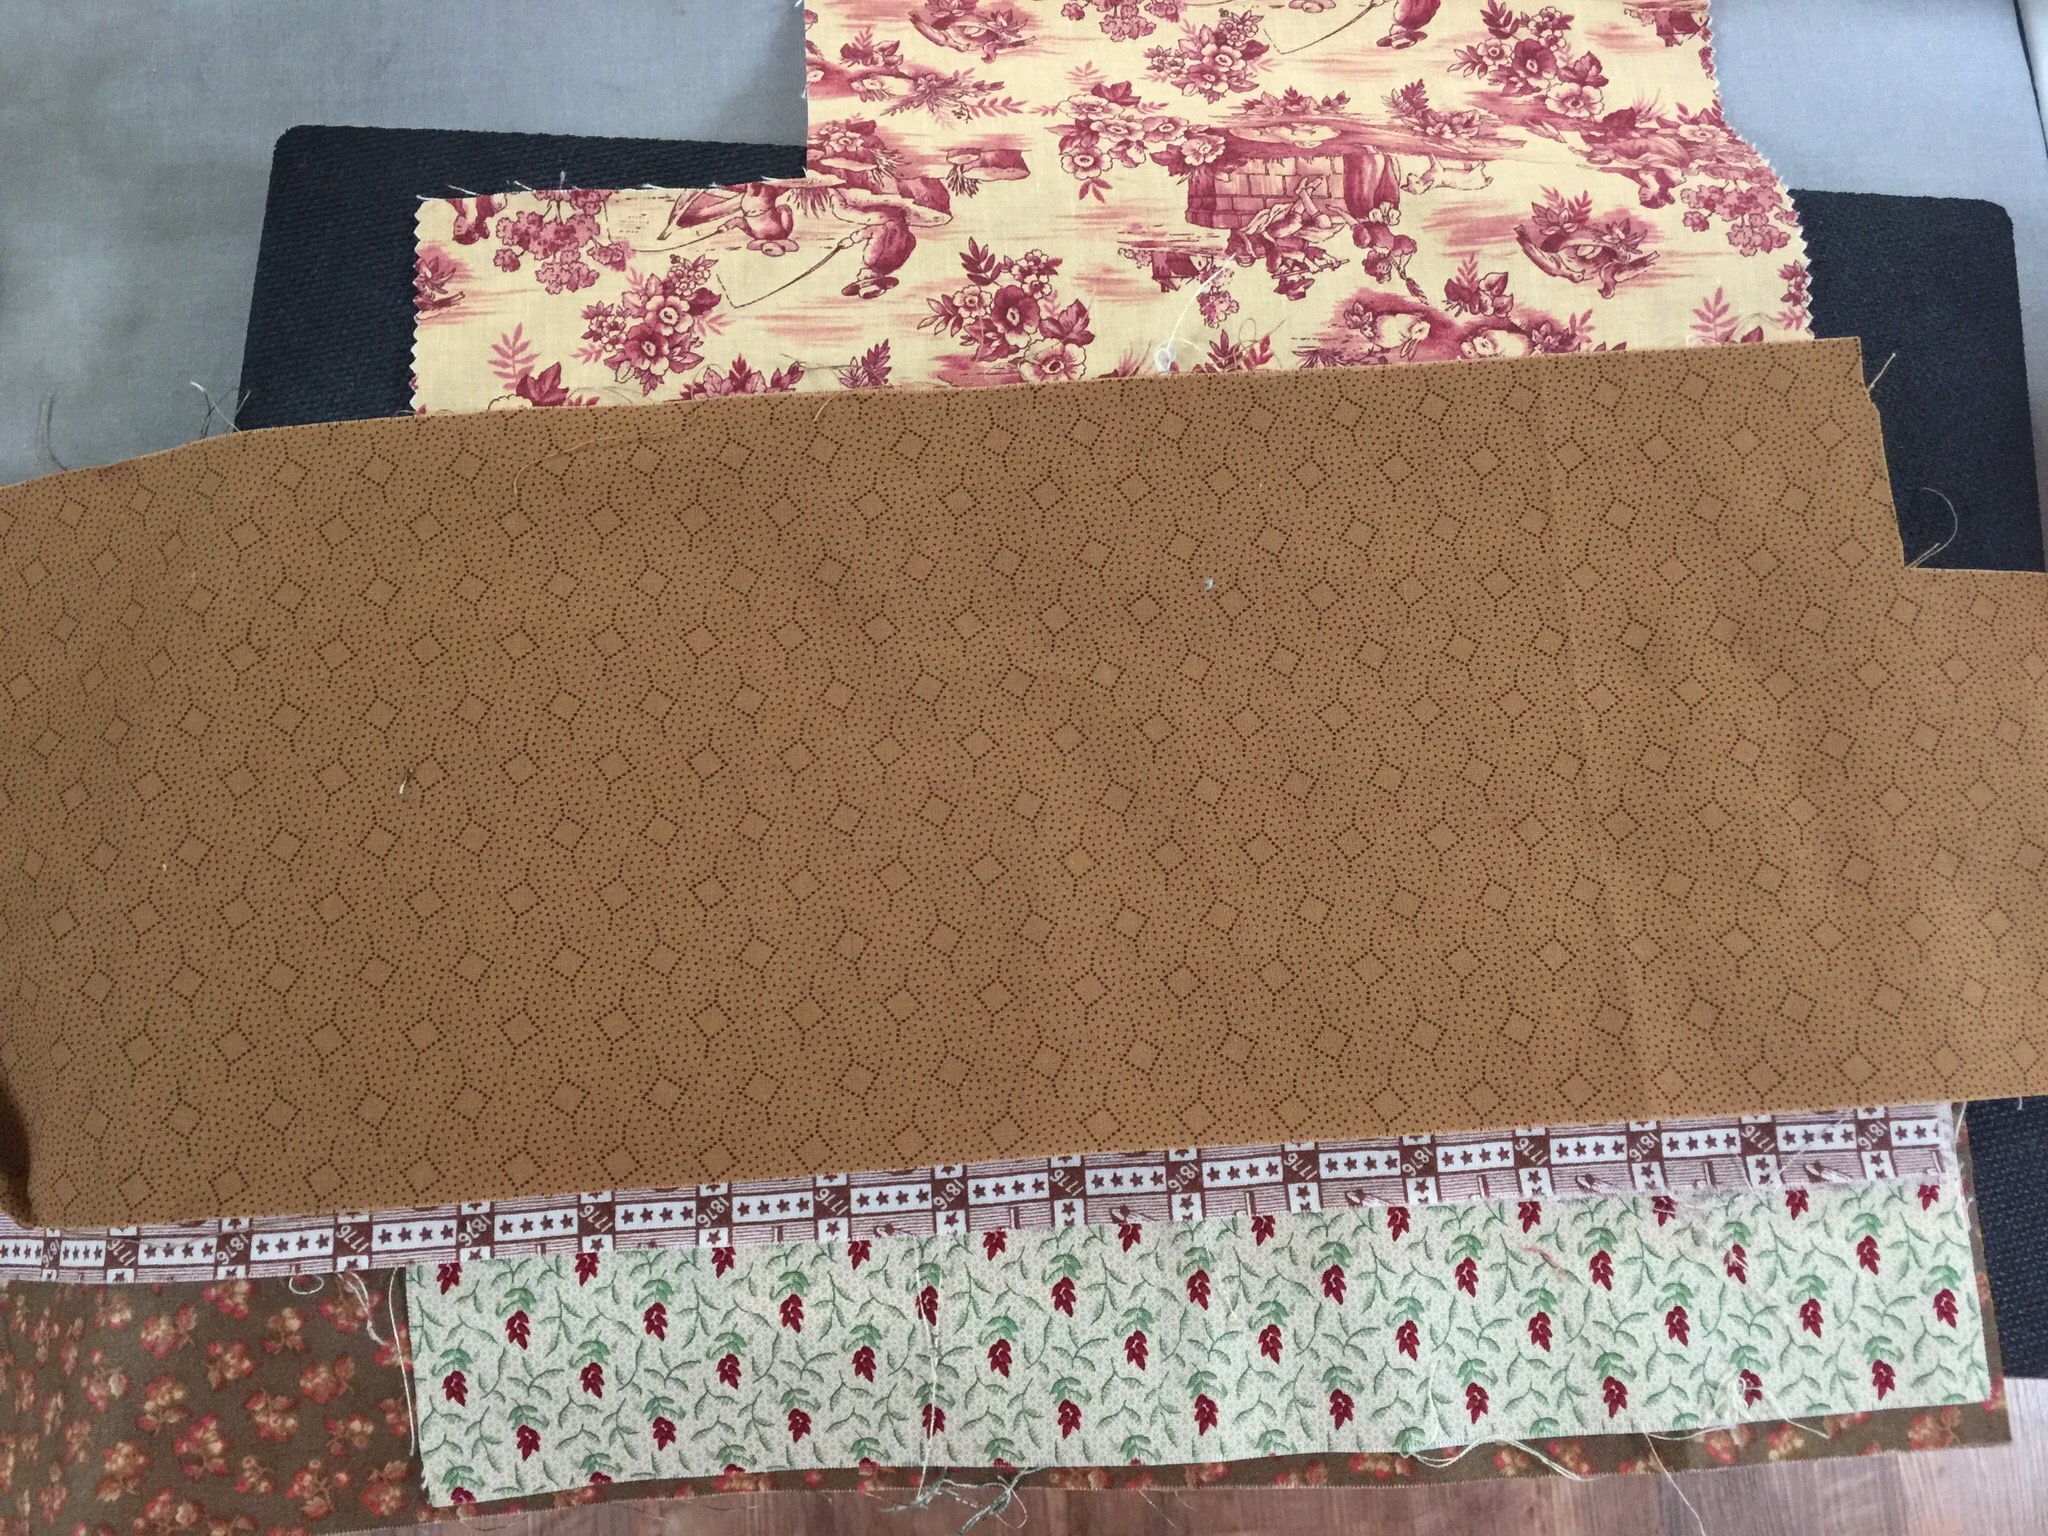
I layer my pieces on the die.

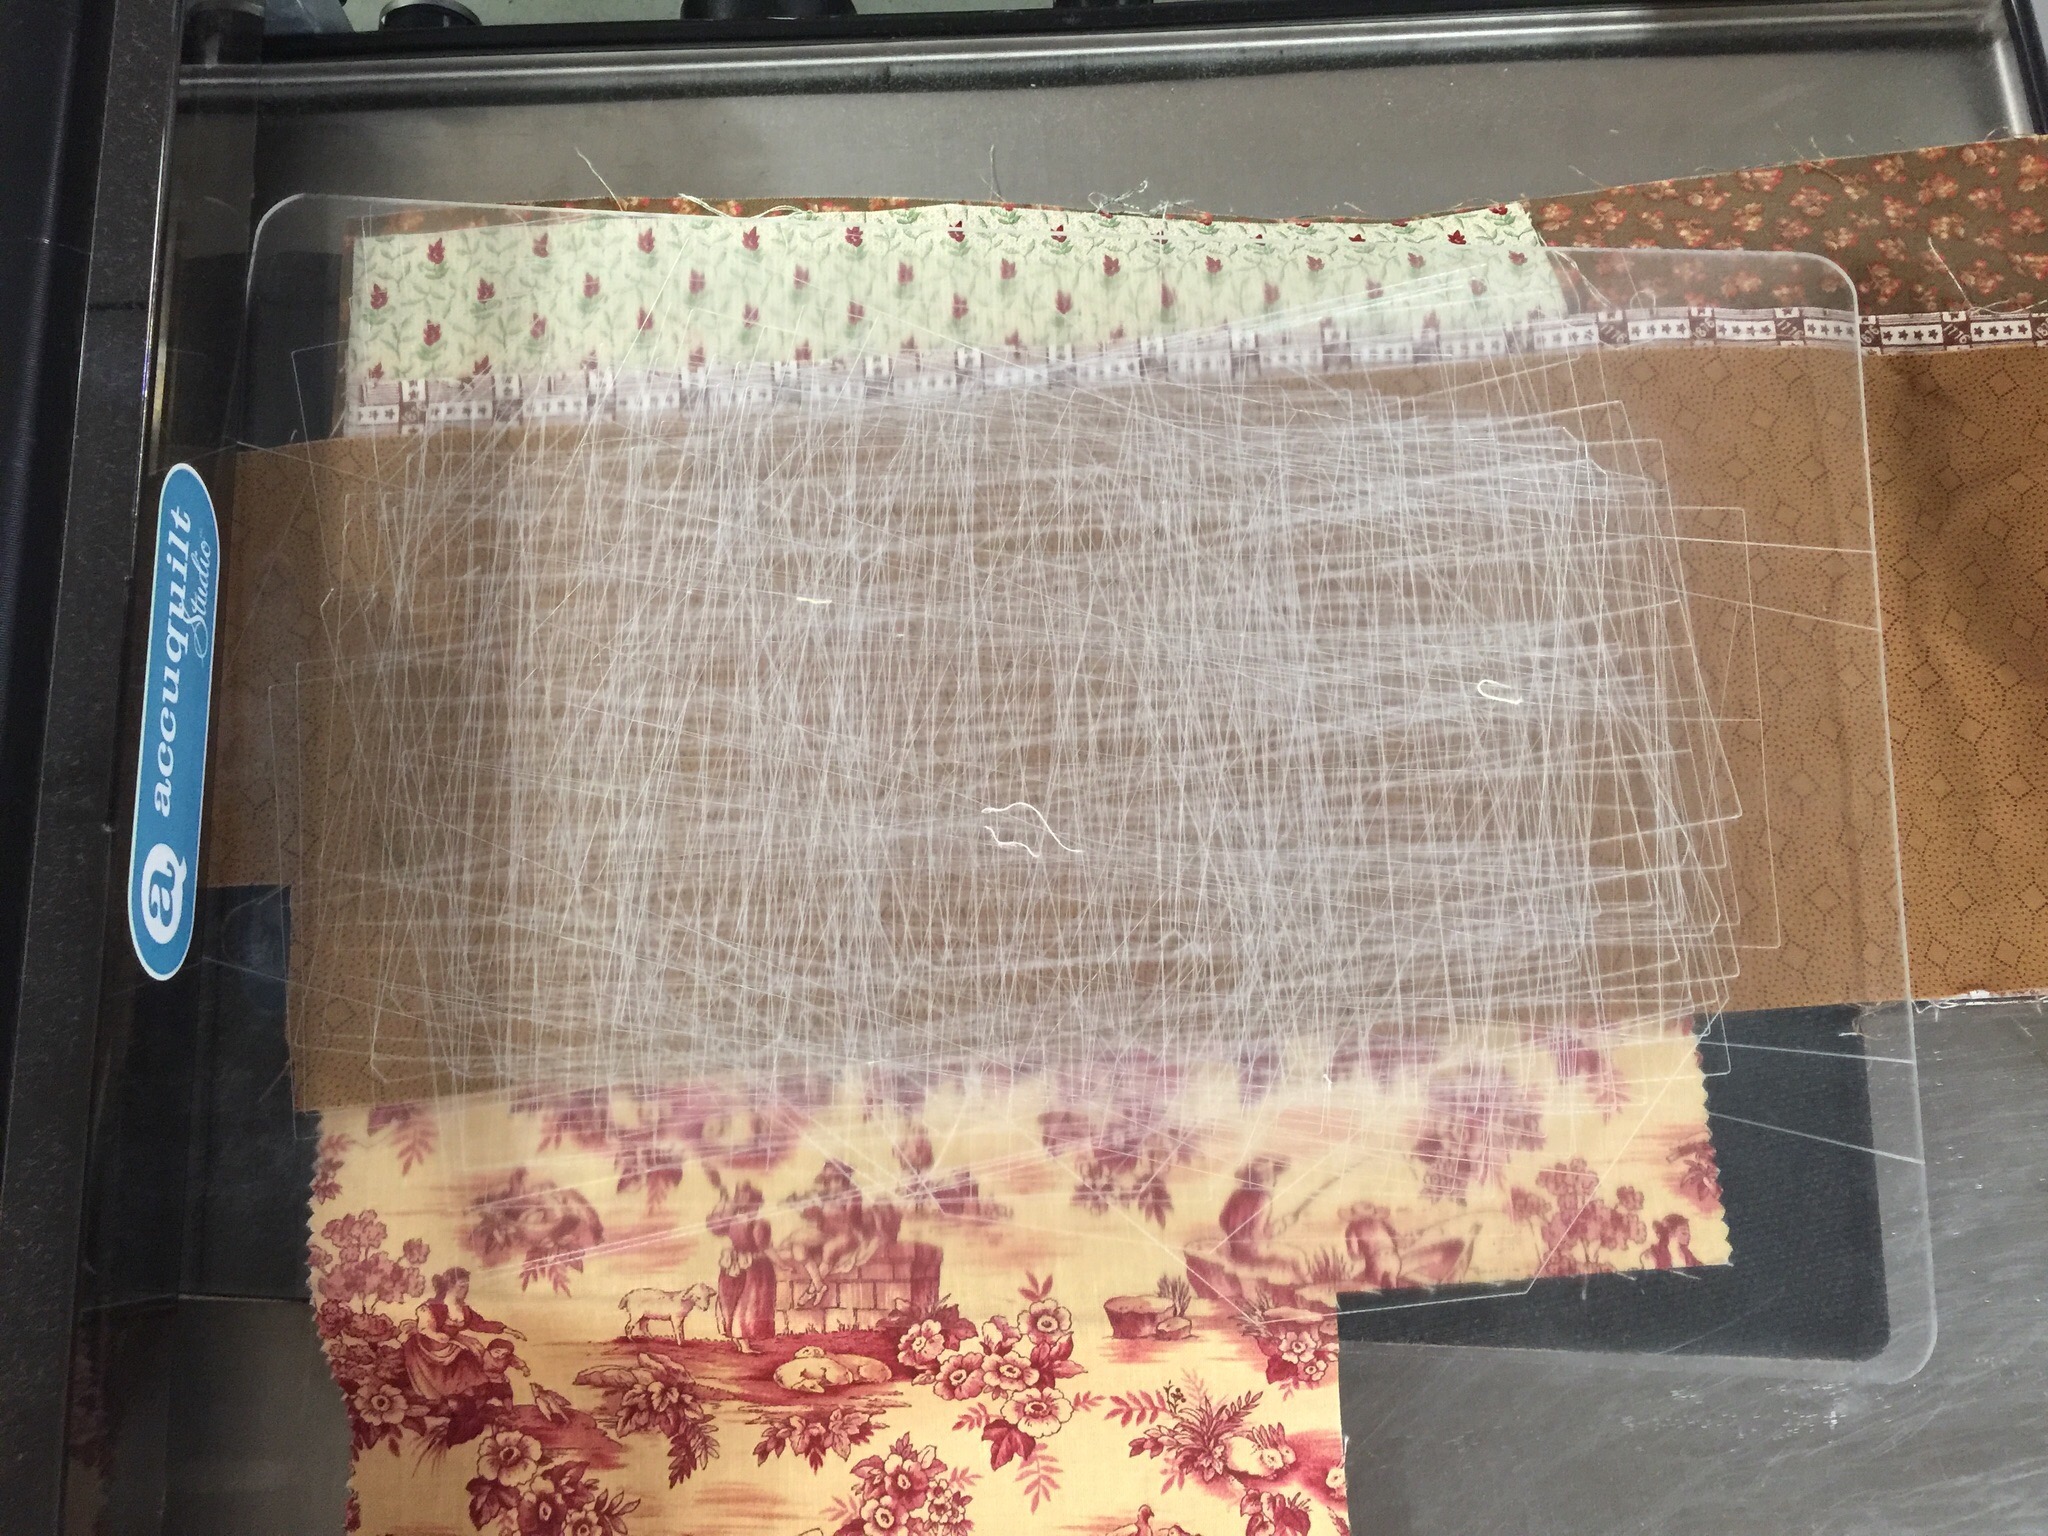
Place a cutting mat on top.

And run it through. With my studio cutter I can do up to ten layers at a time. Those leftover bits will get cut down with smaller dies.

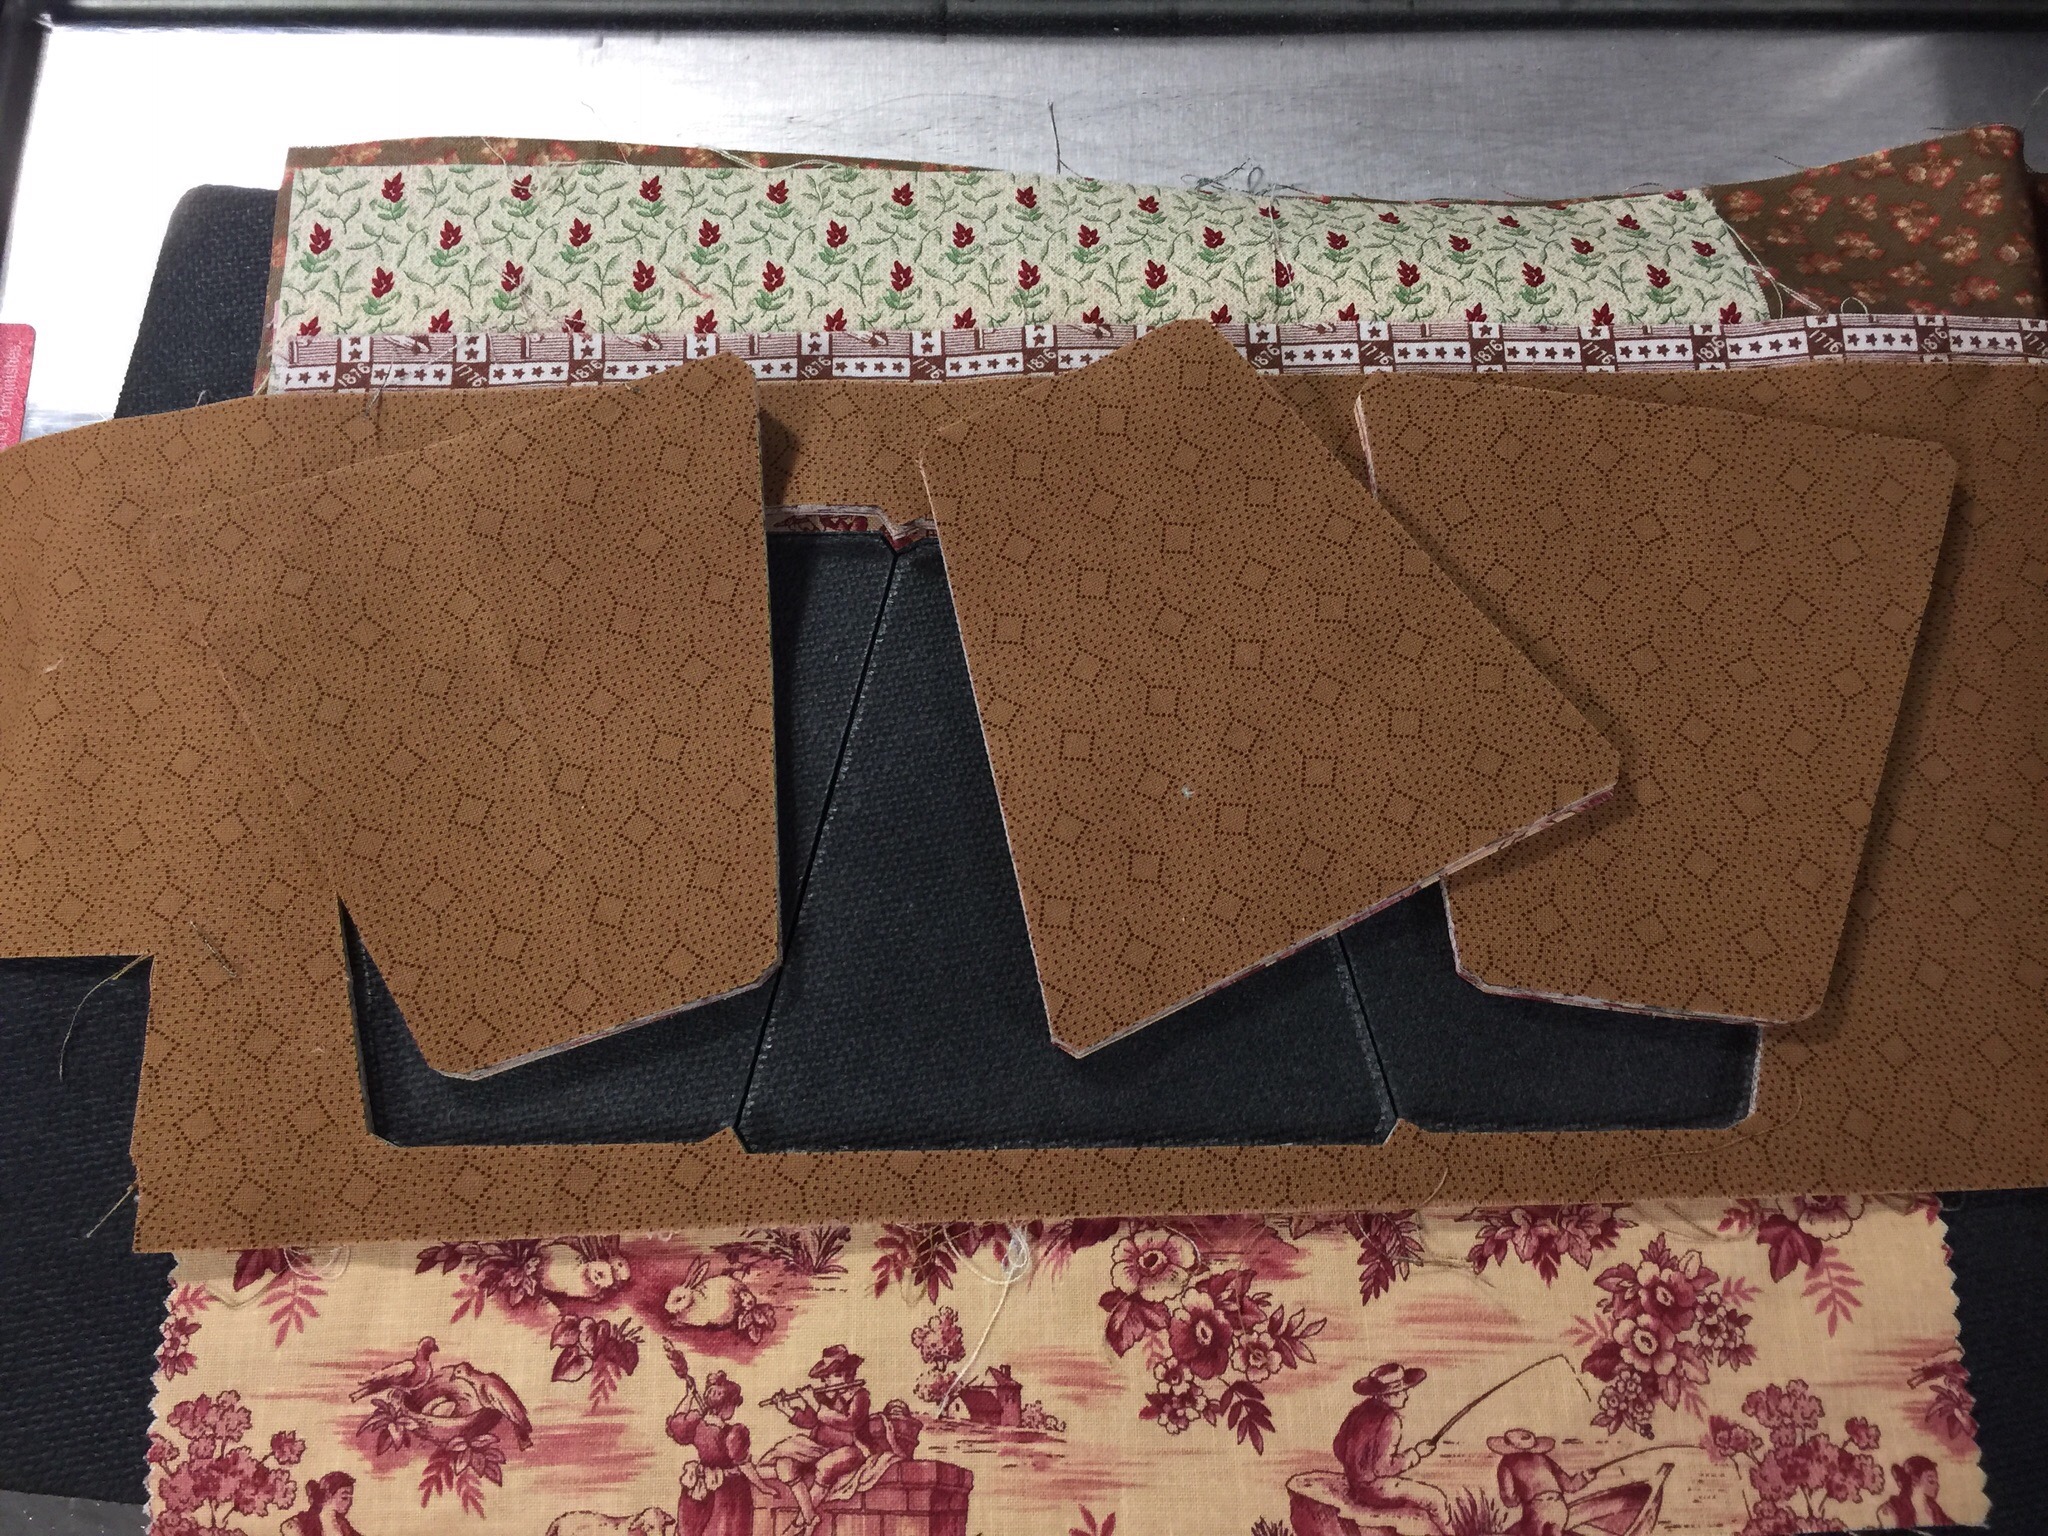
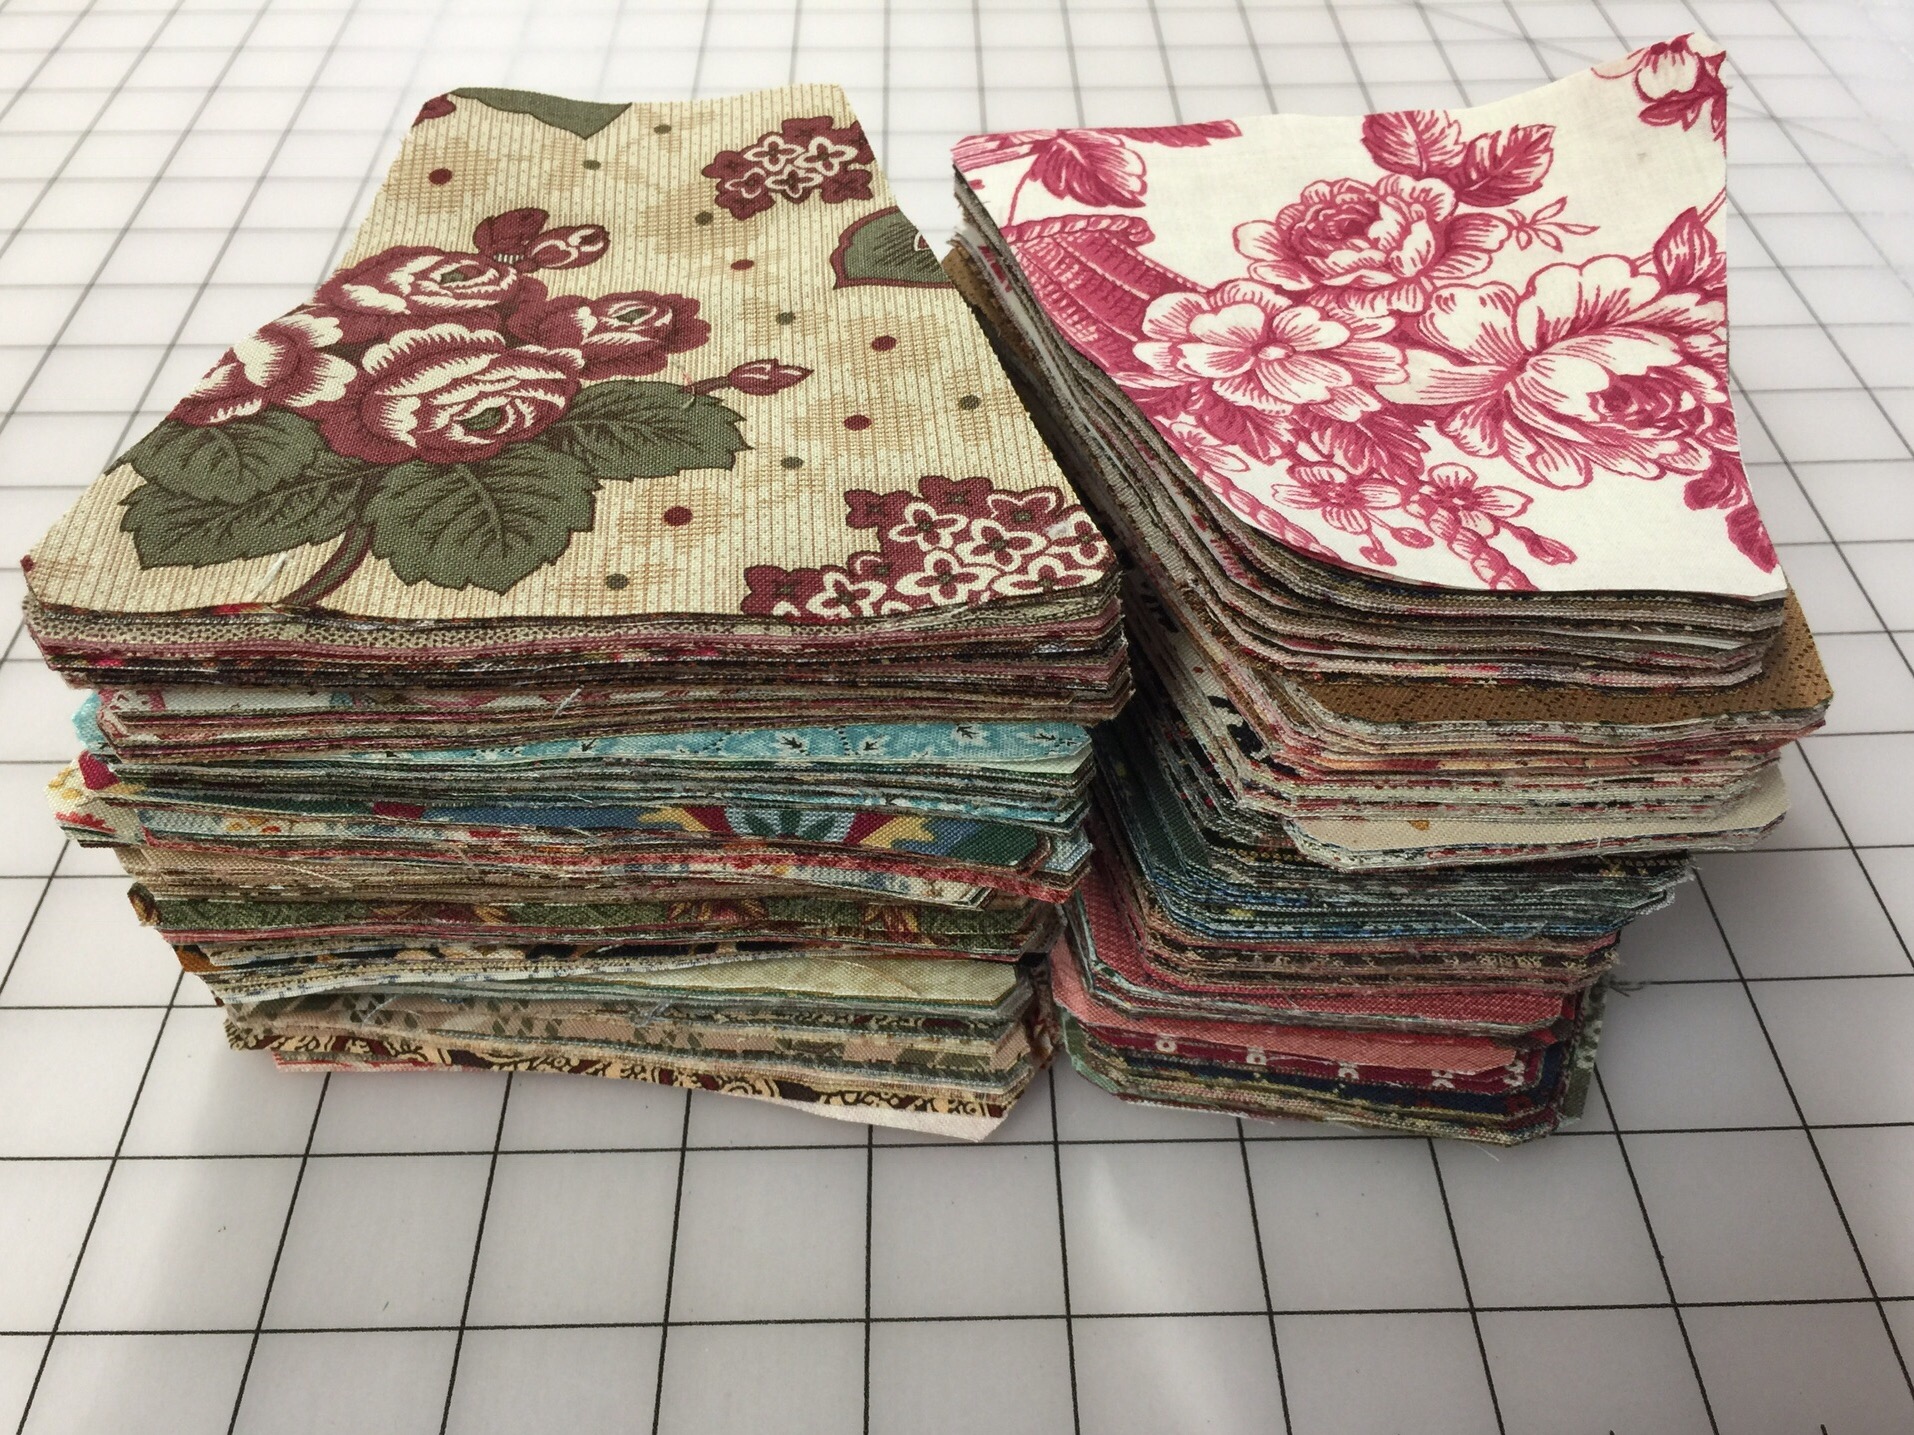
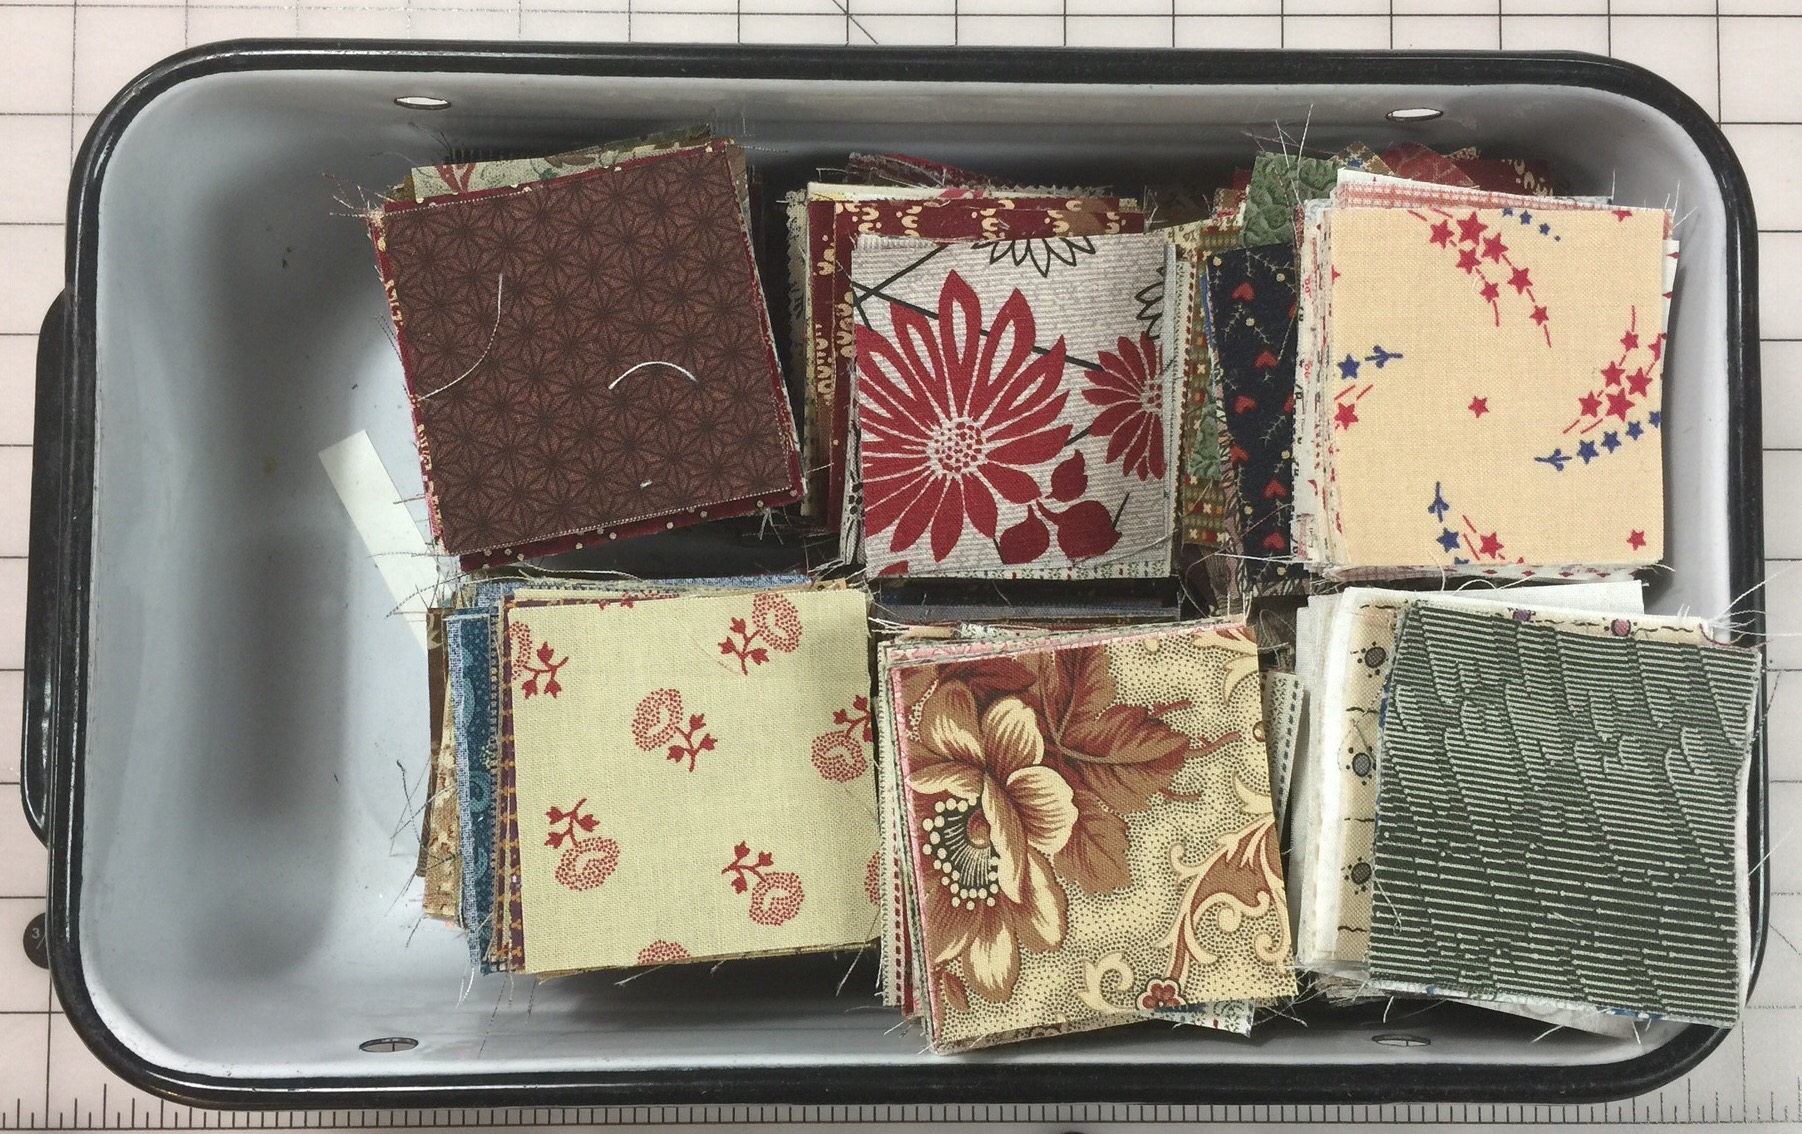
Not sure how many I have here. Somewhere over 500.

I grabbed the next largest die and did the same.

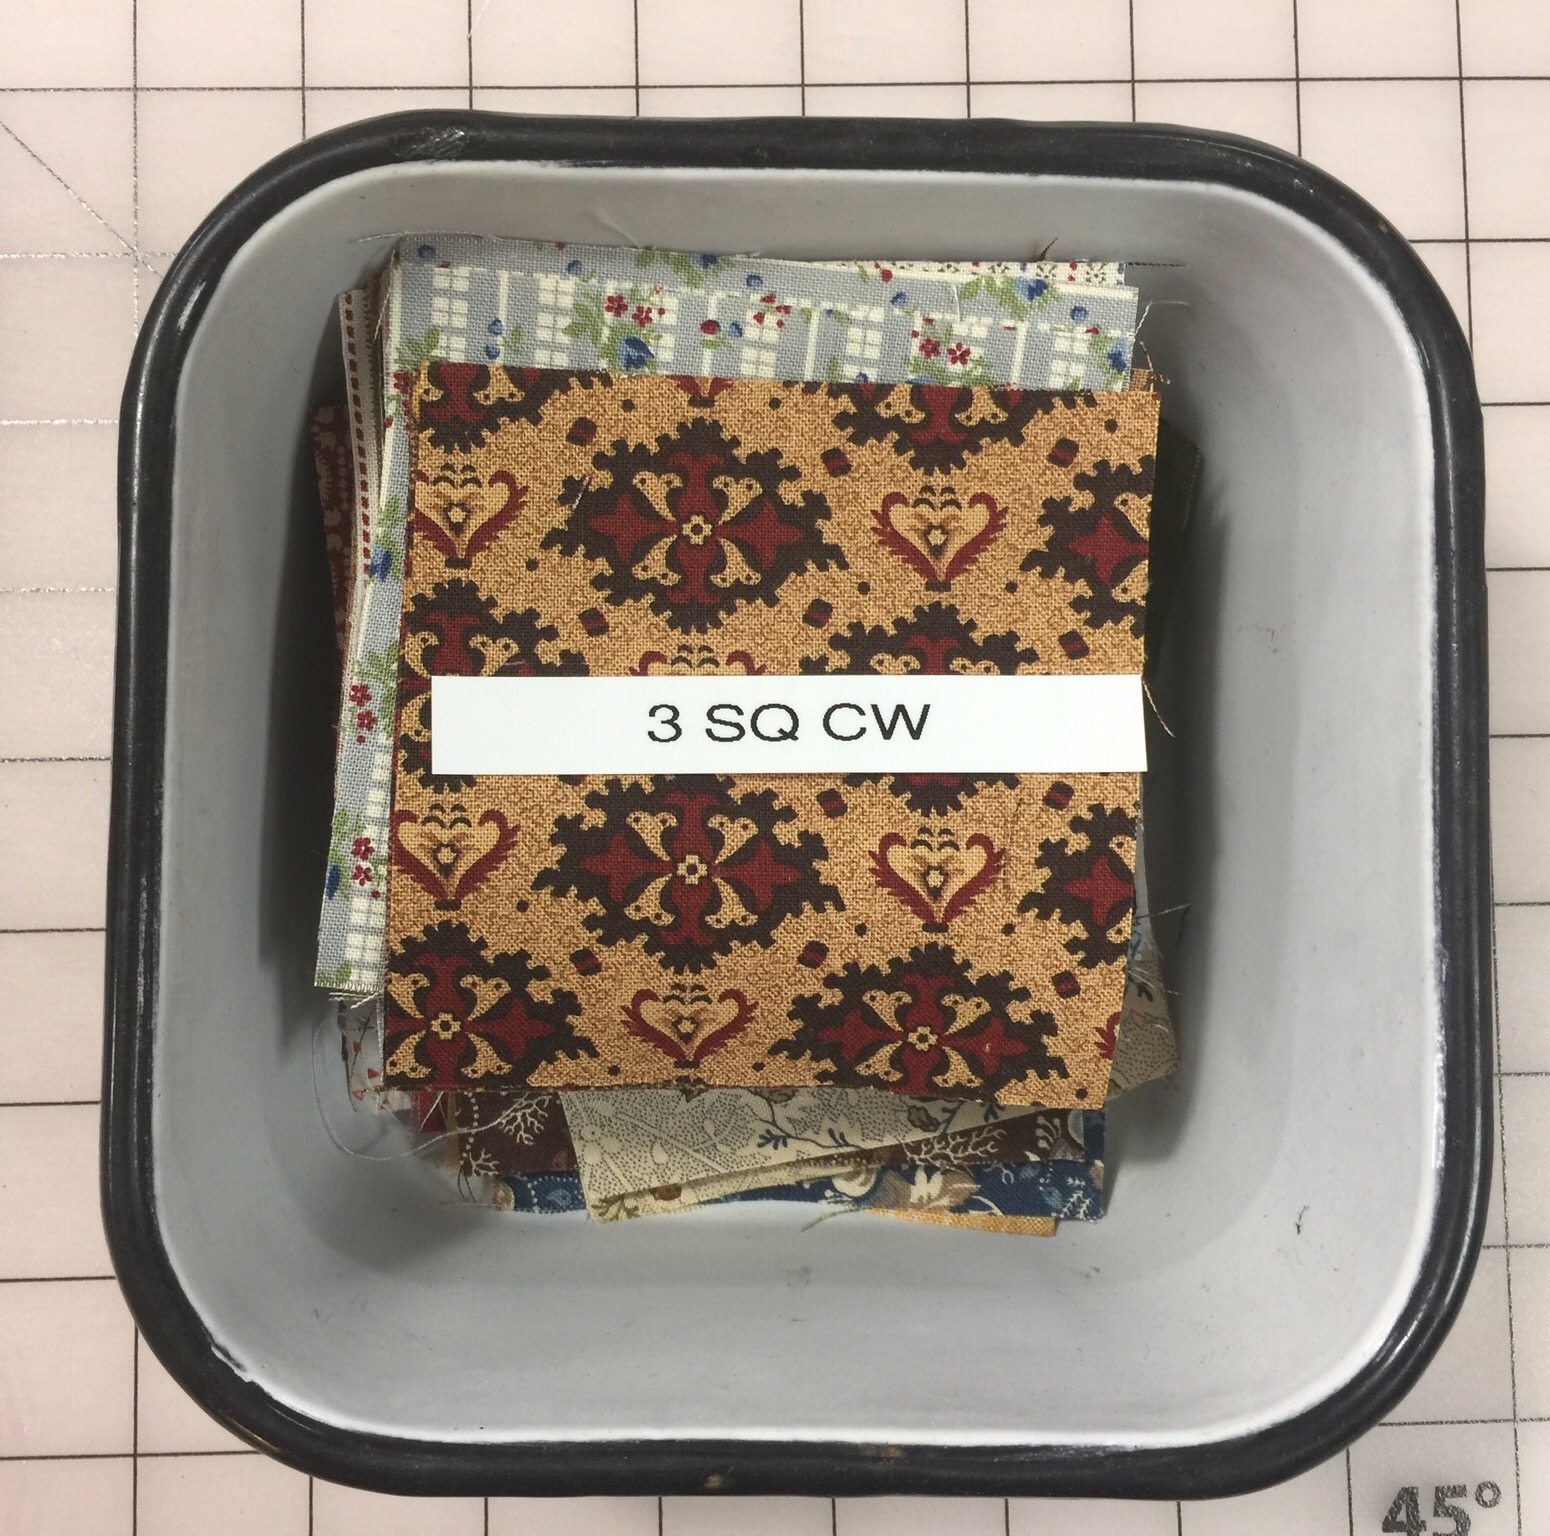
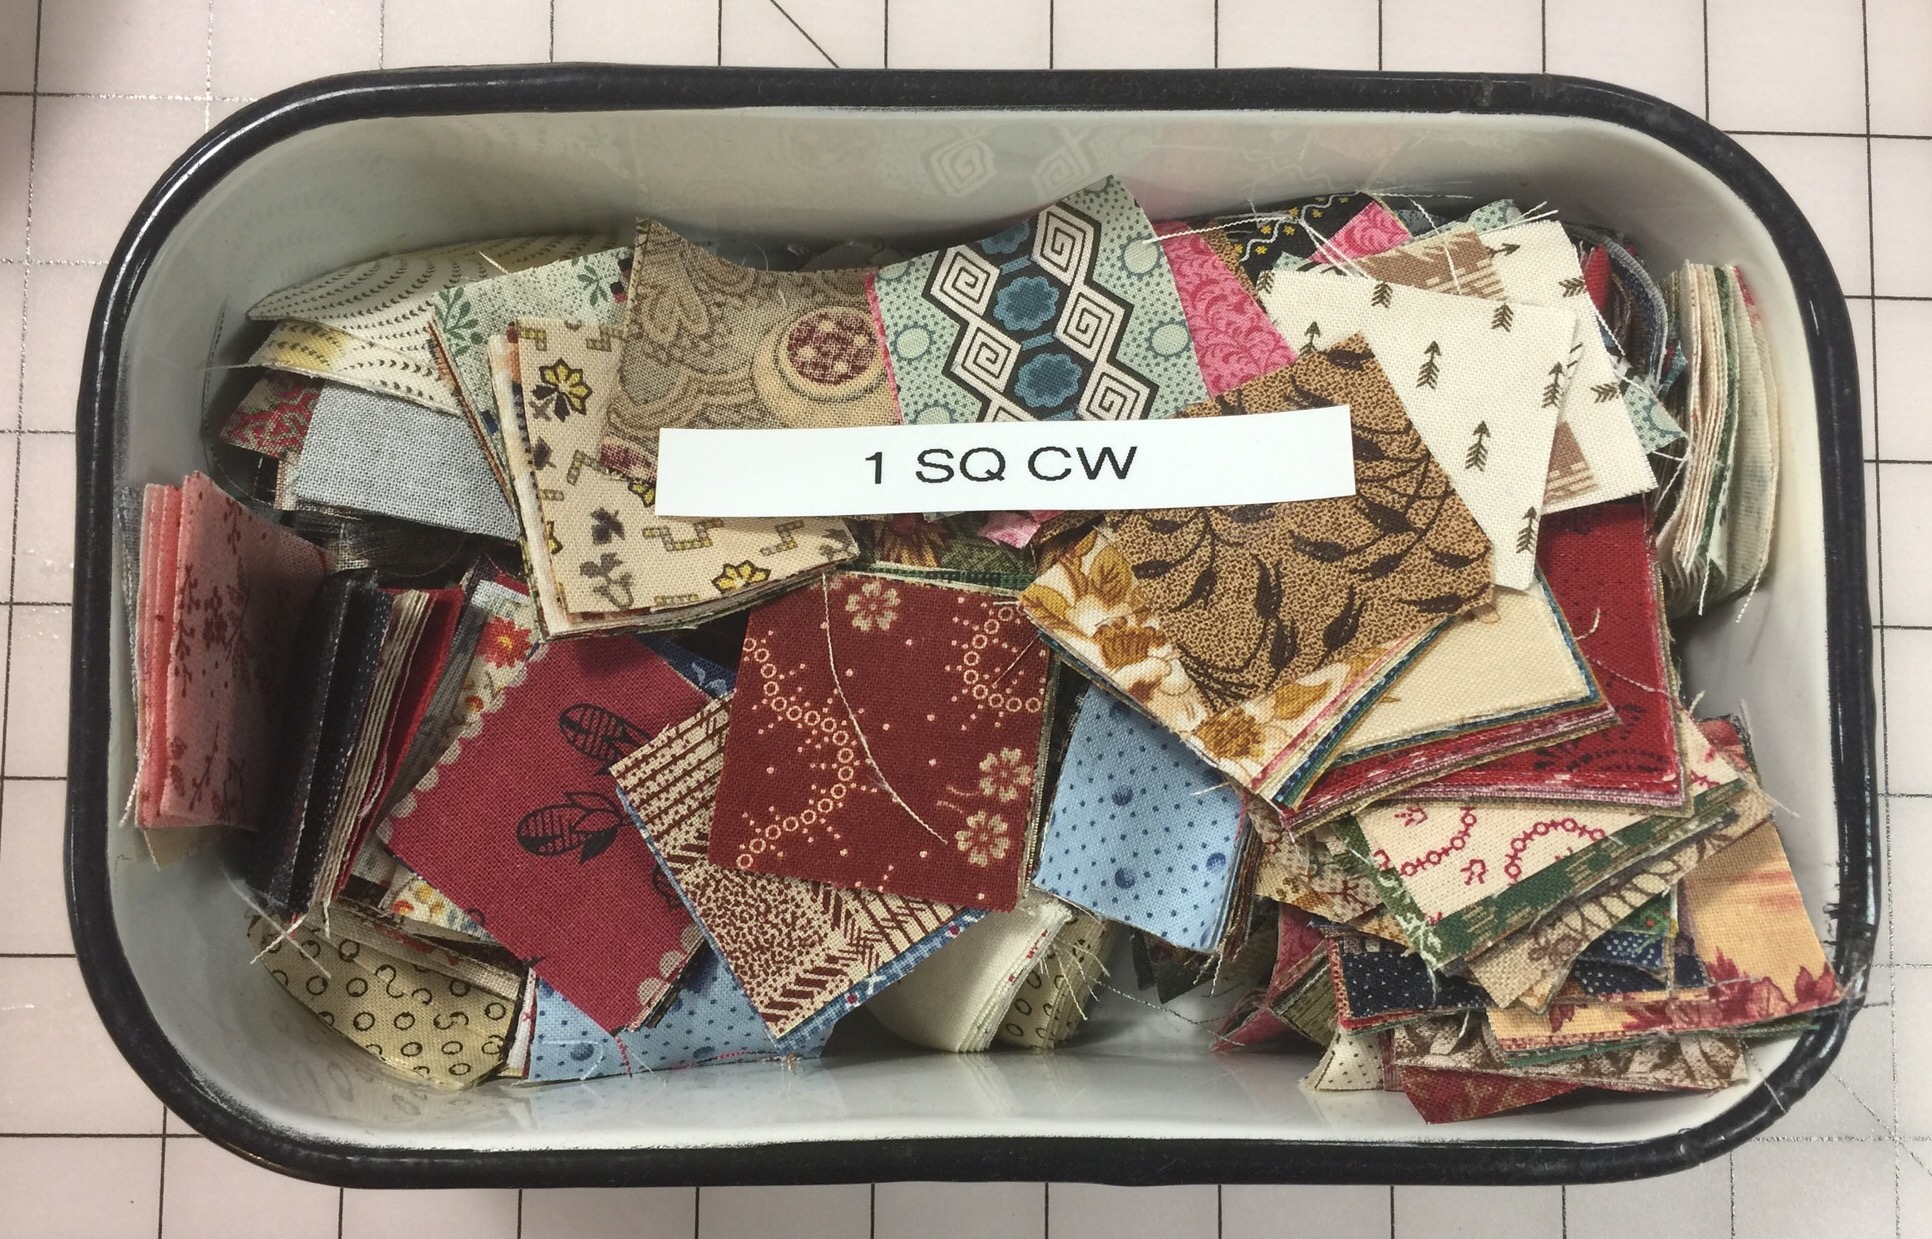
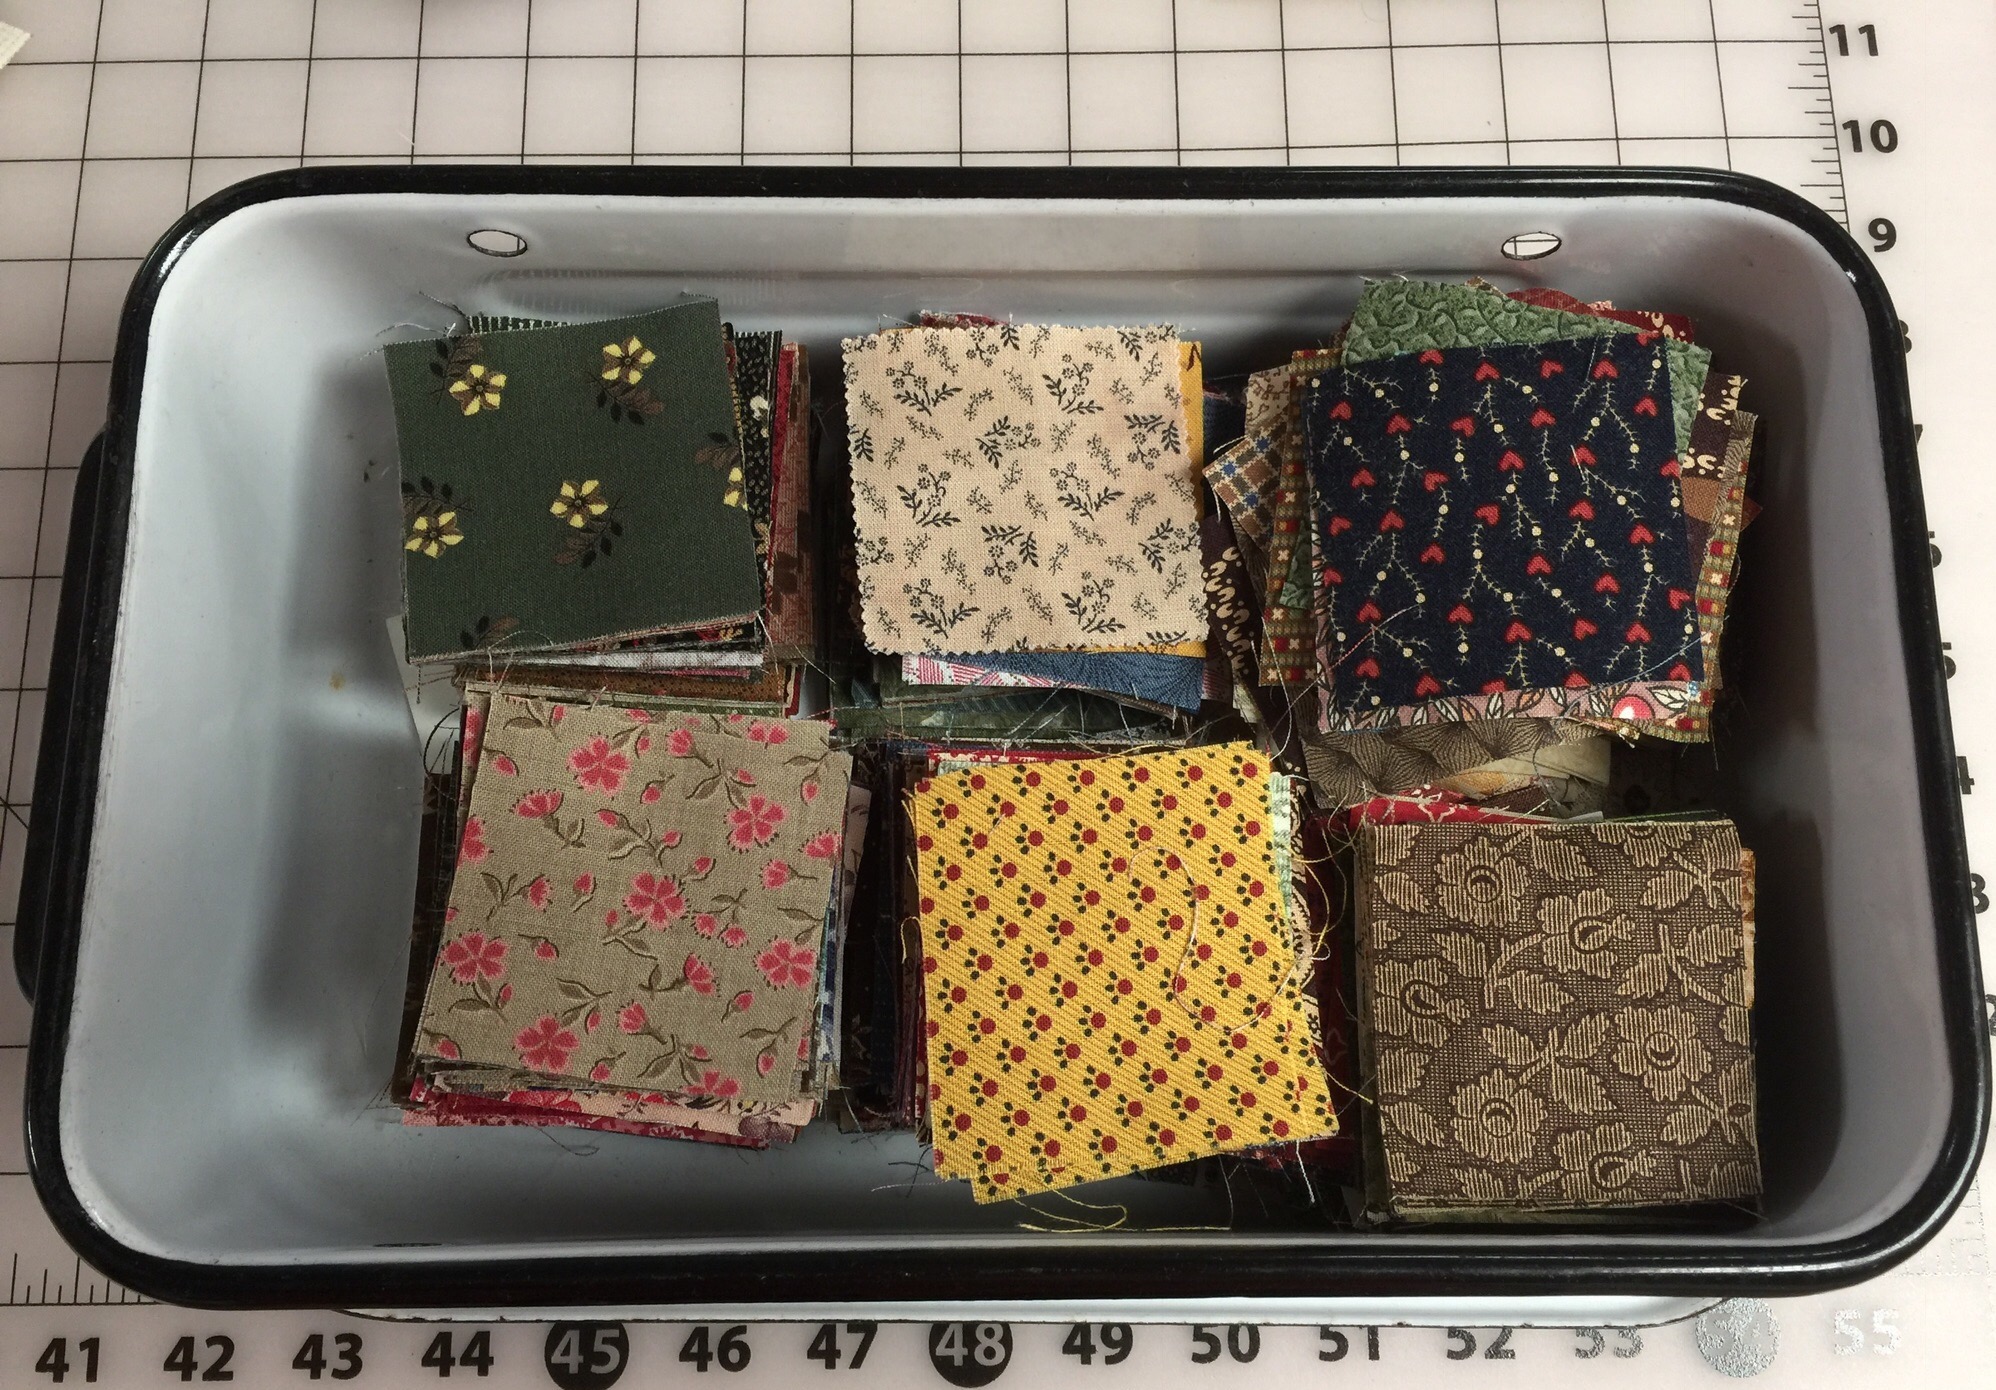
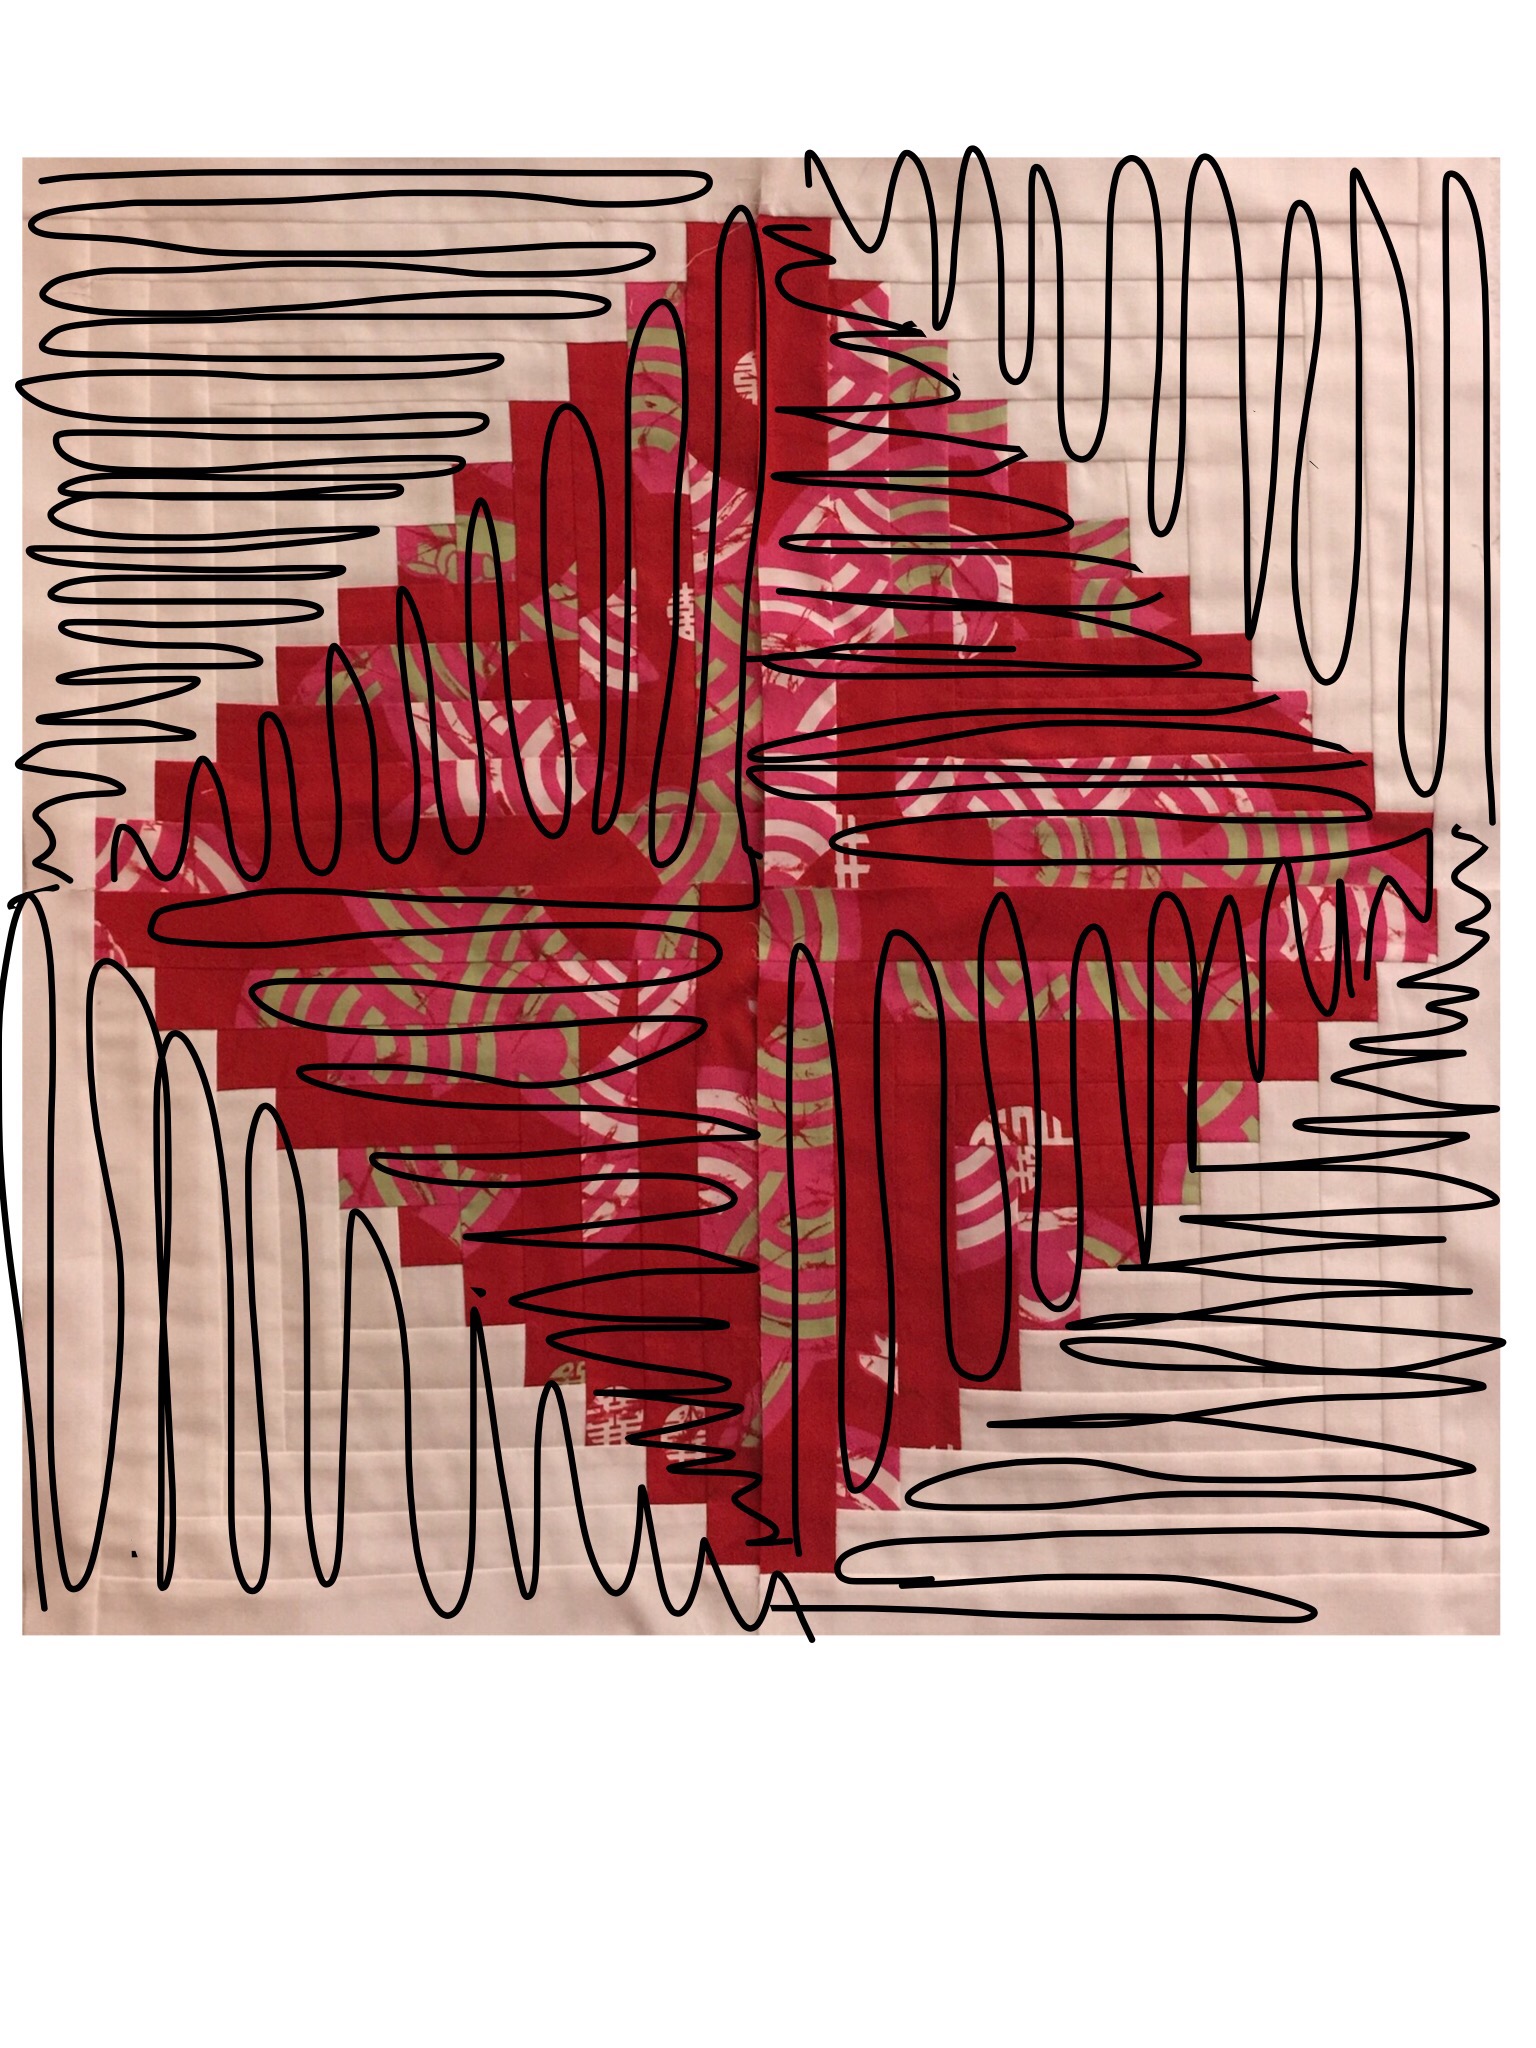
Here are some of my other scraps all cut down and ready to use.


I added quite a few left over strips and strings to those boxes as well.


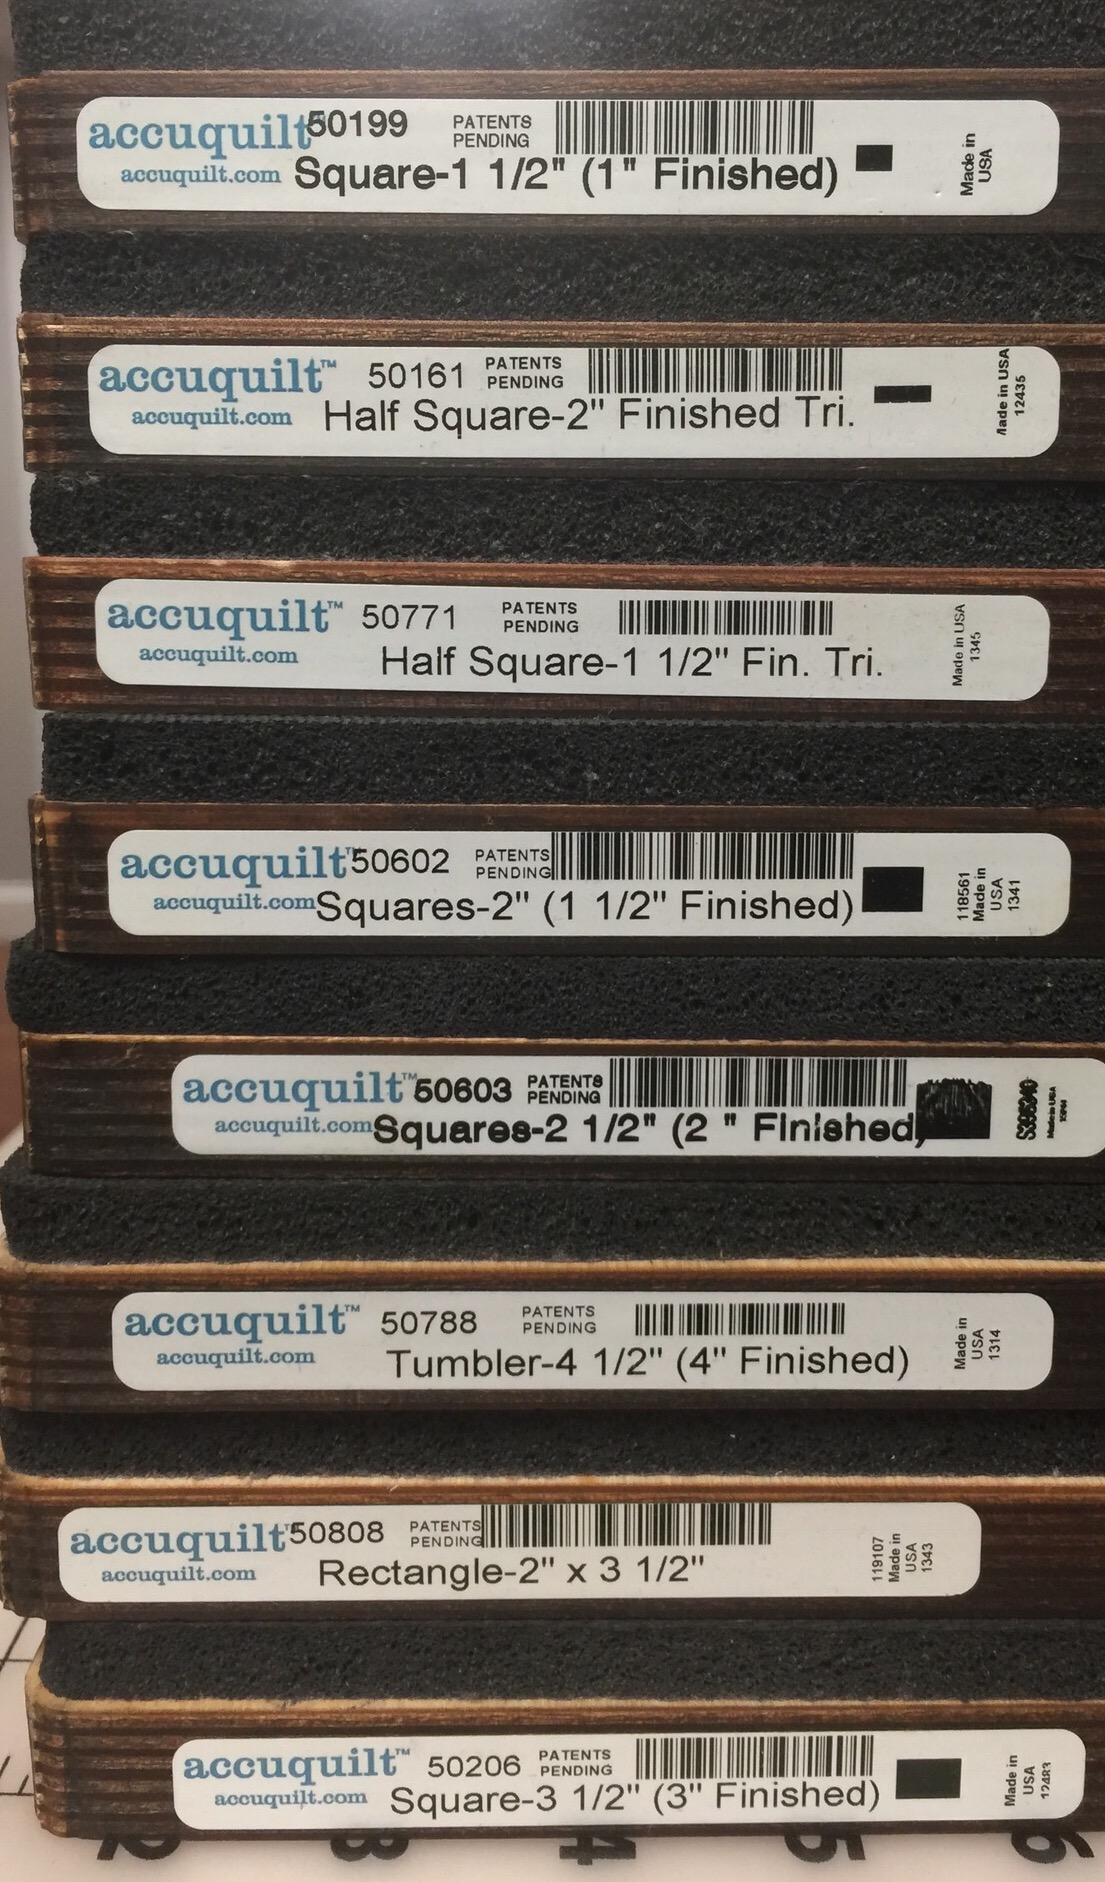
Here are the dies I used.

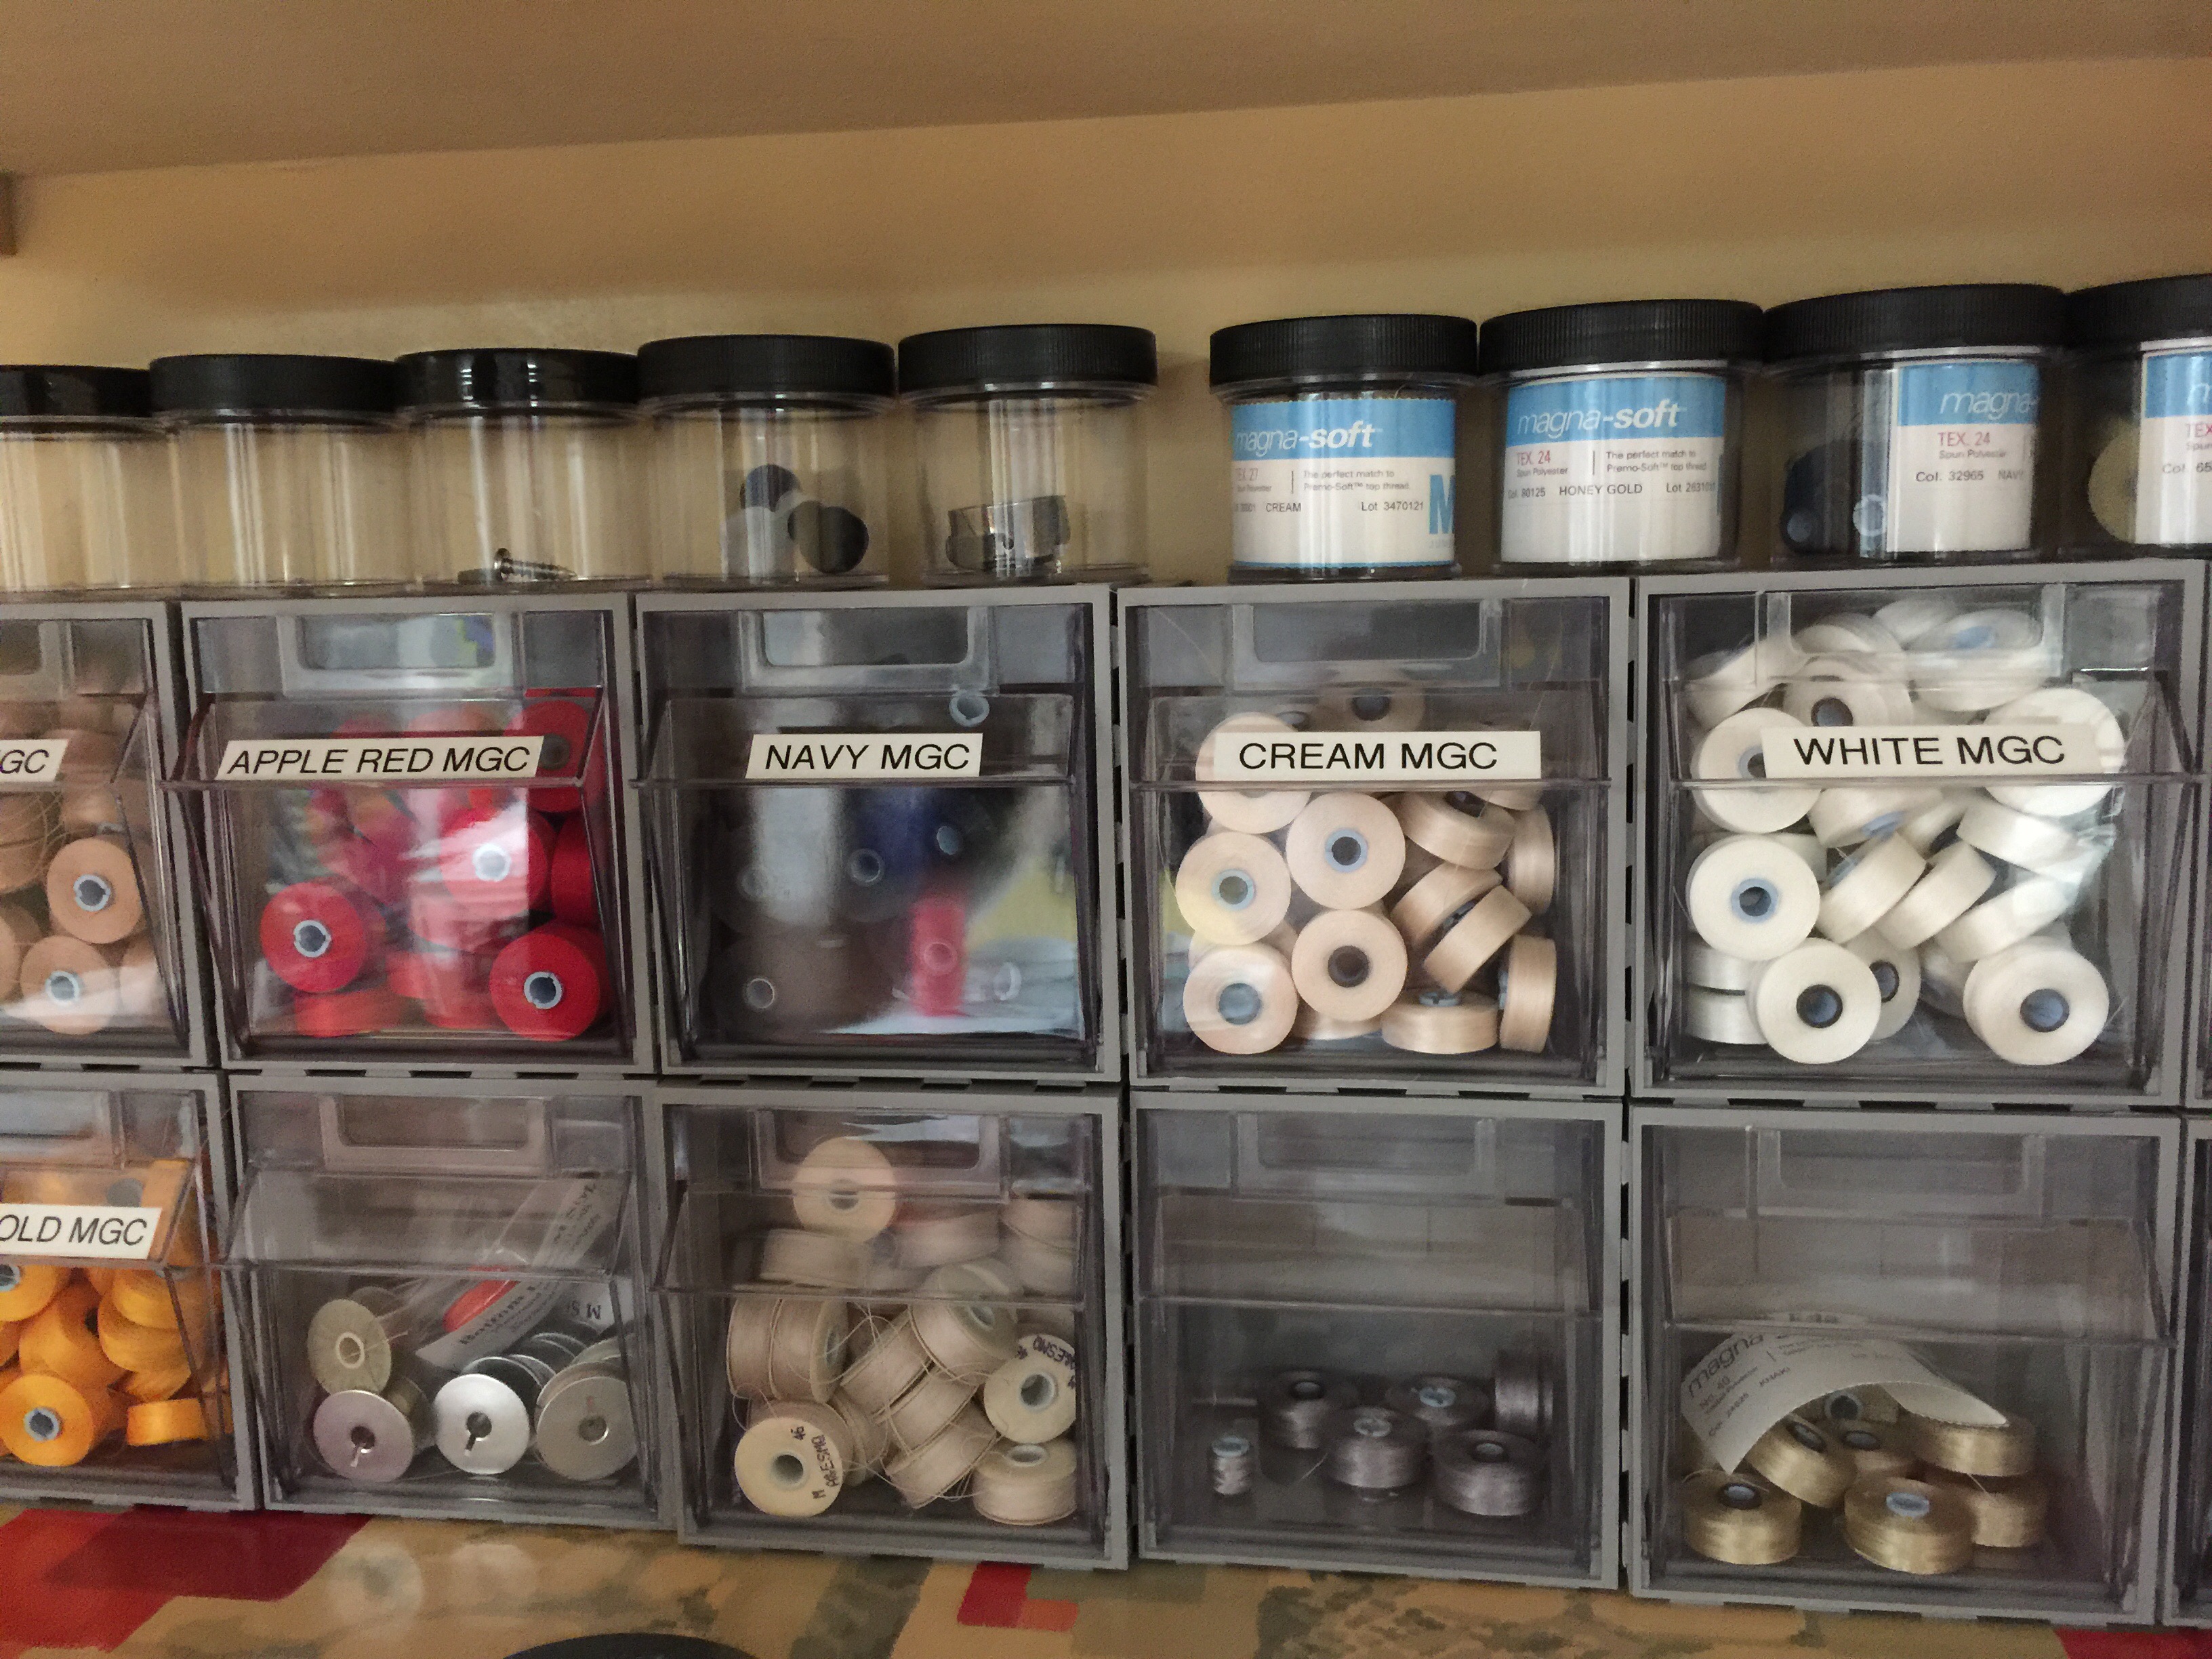
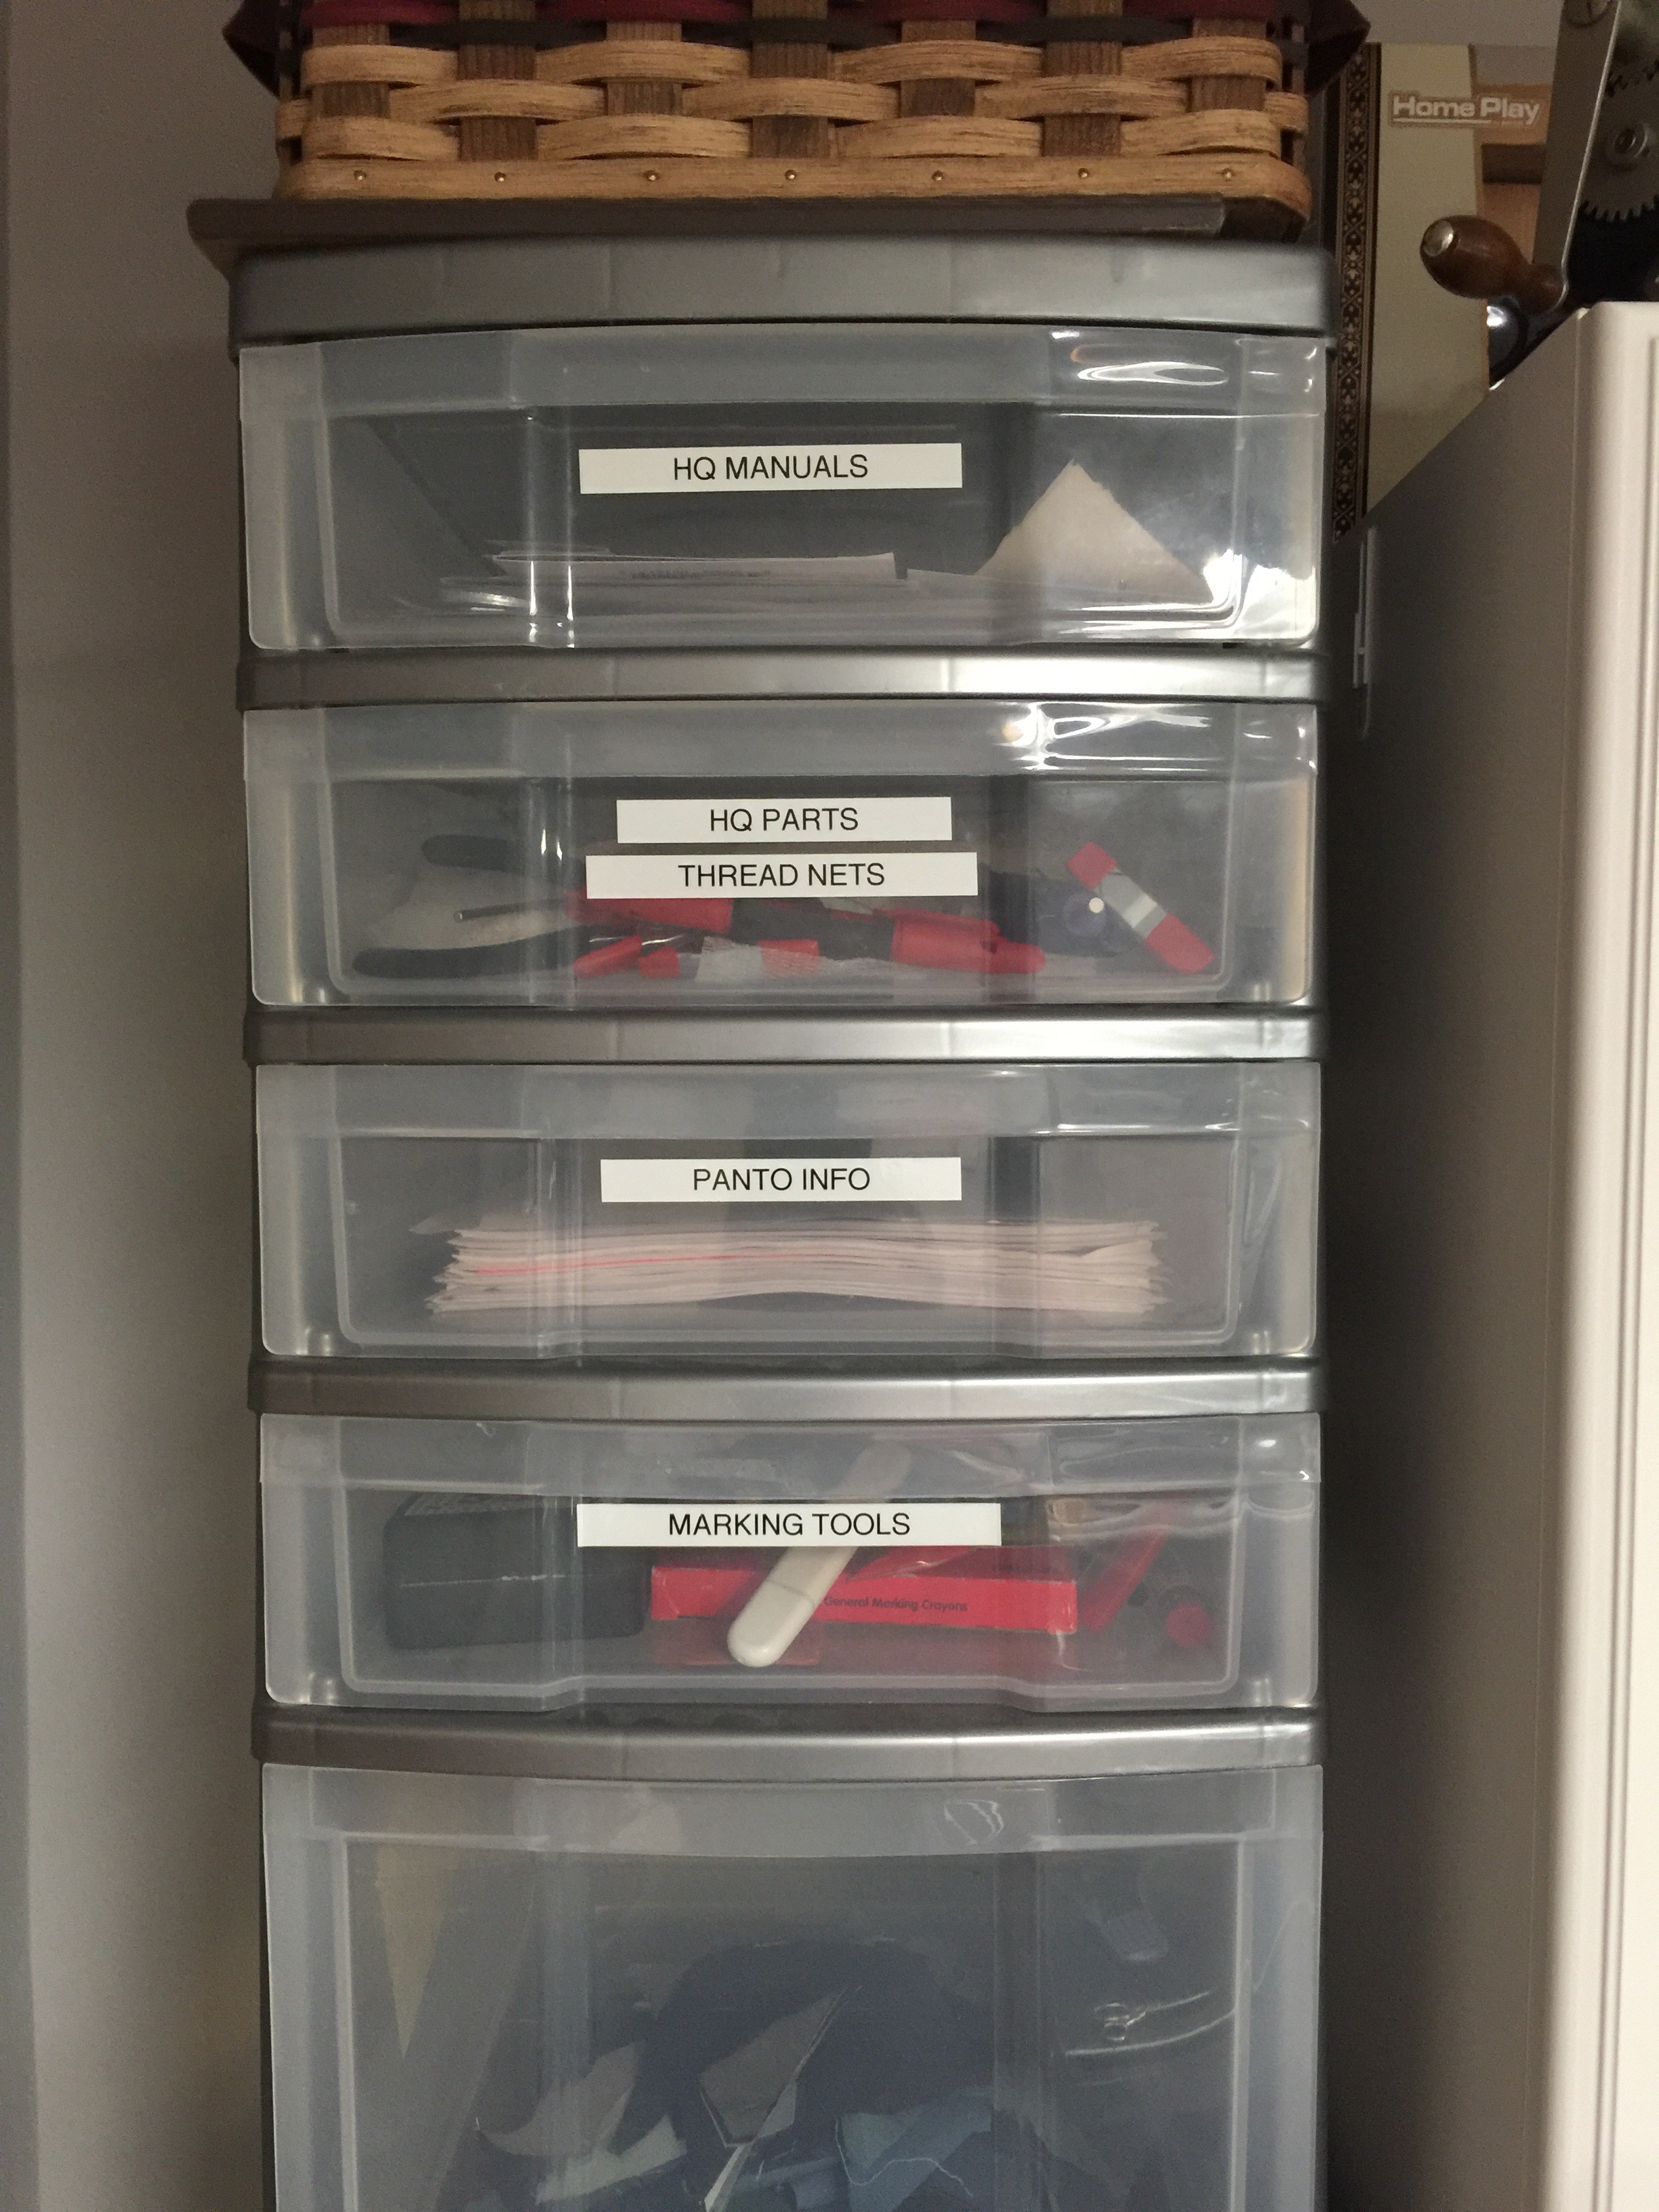
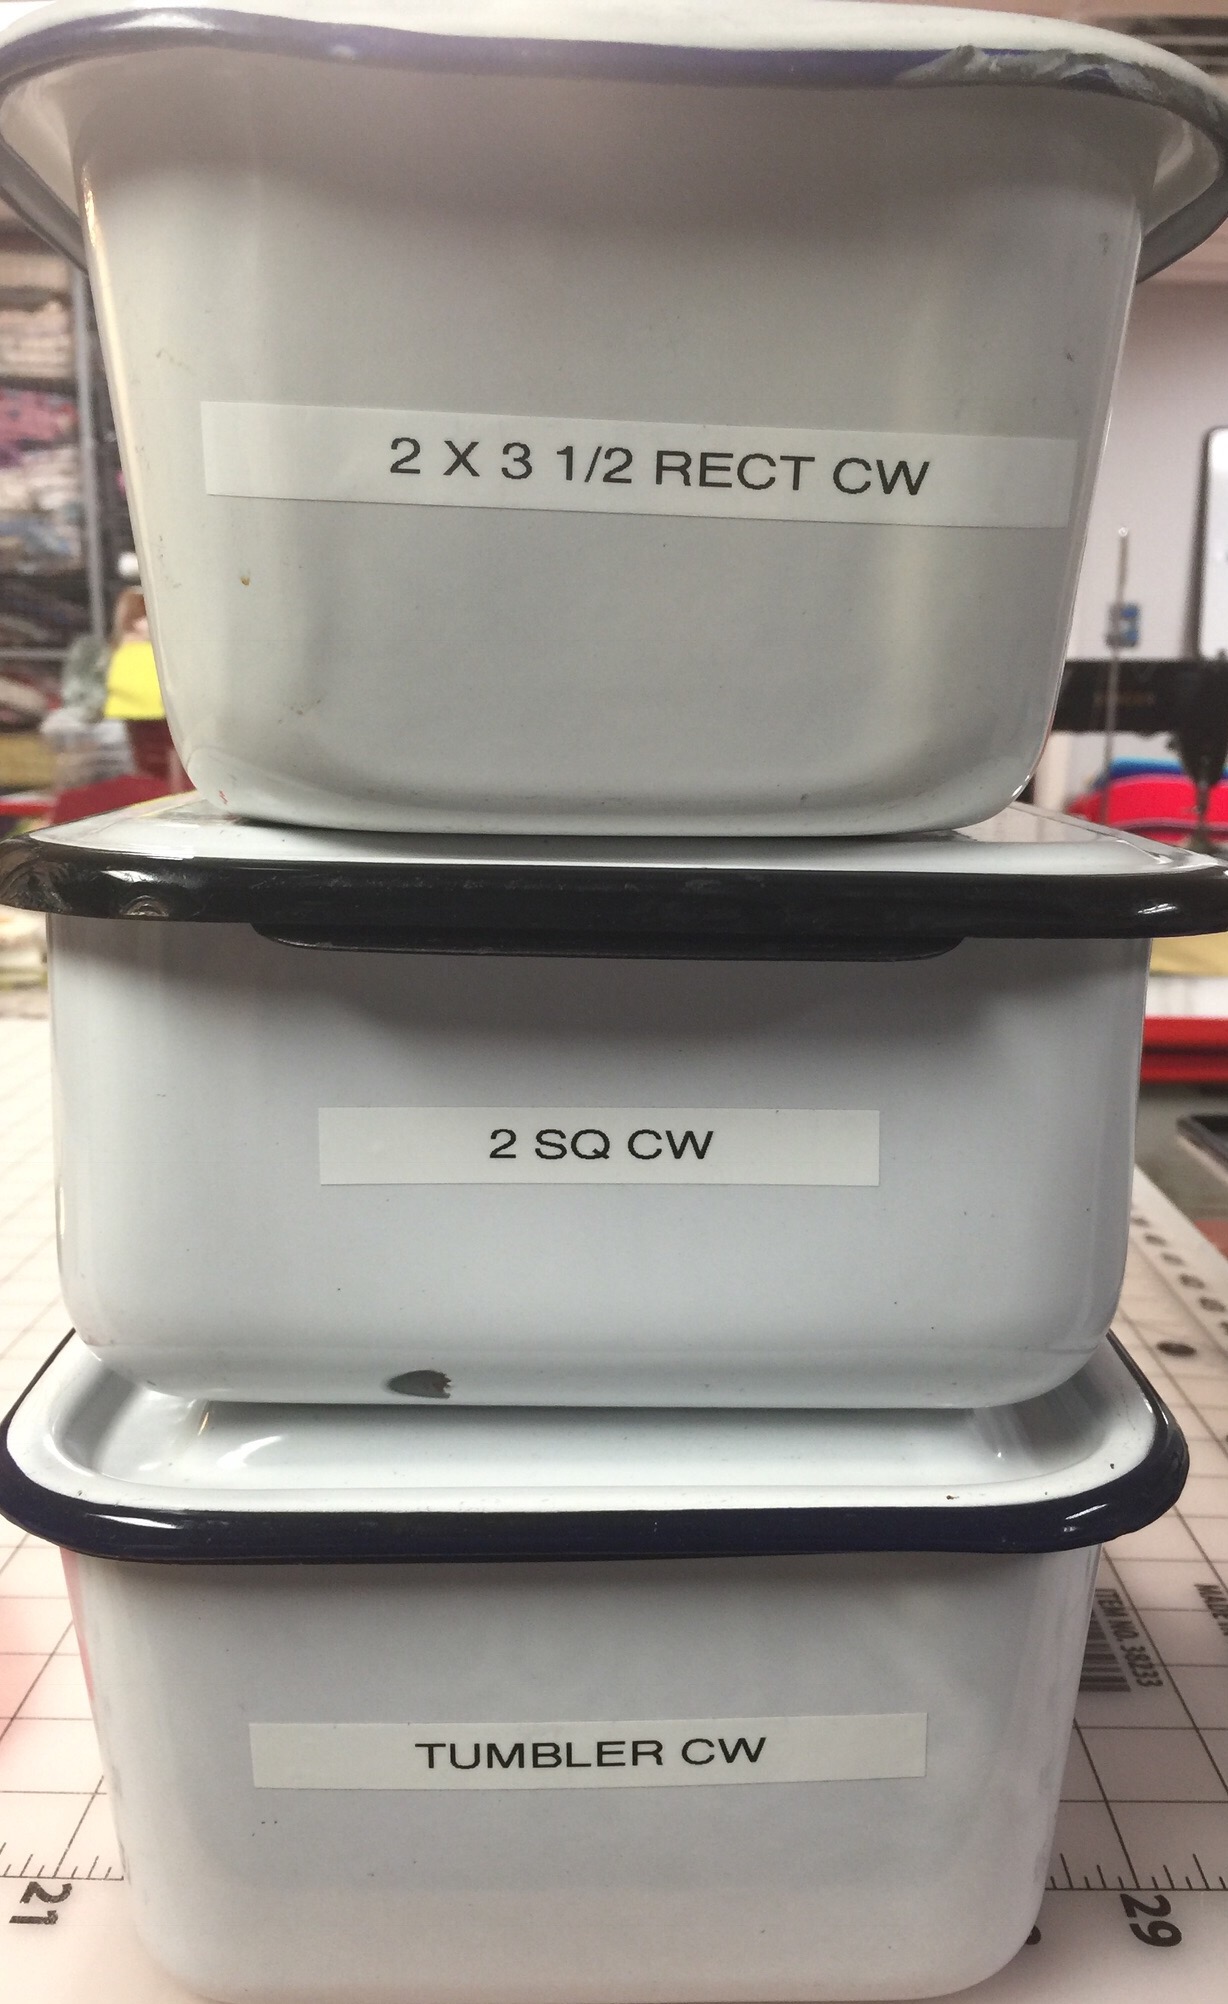
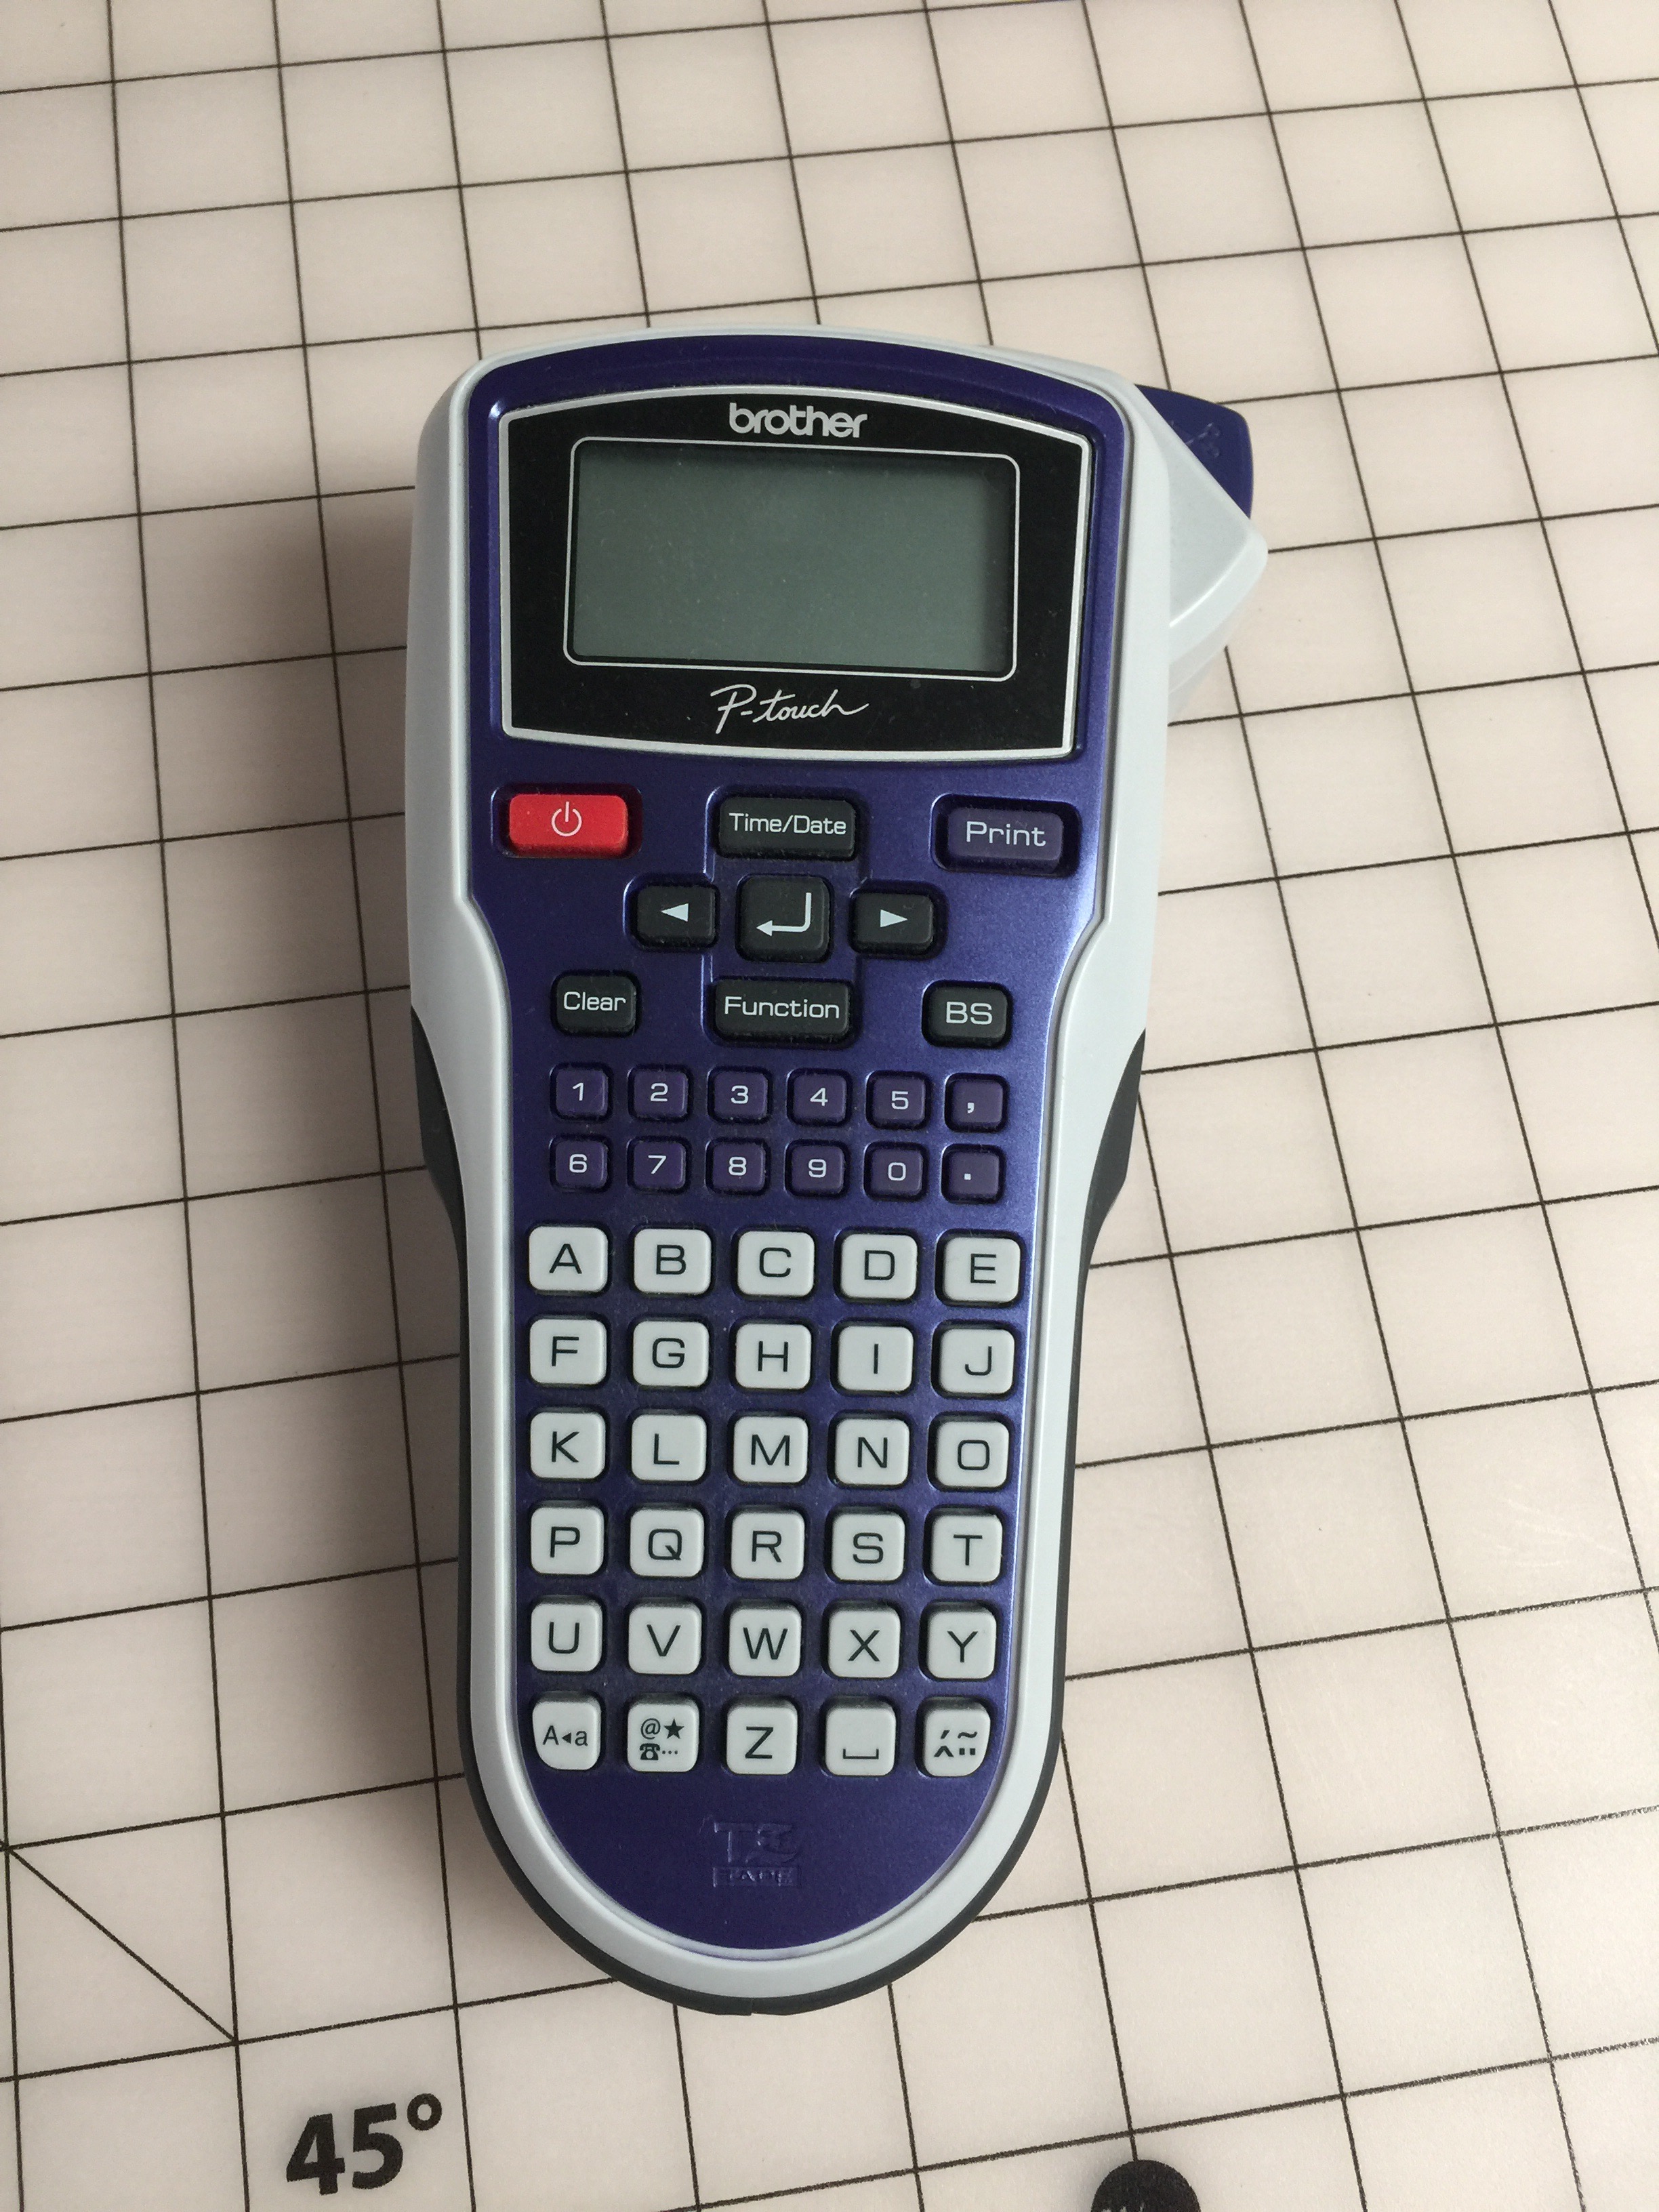
I even labeled my containers!
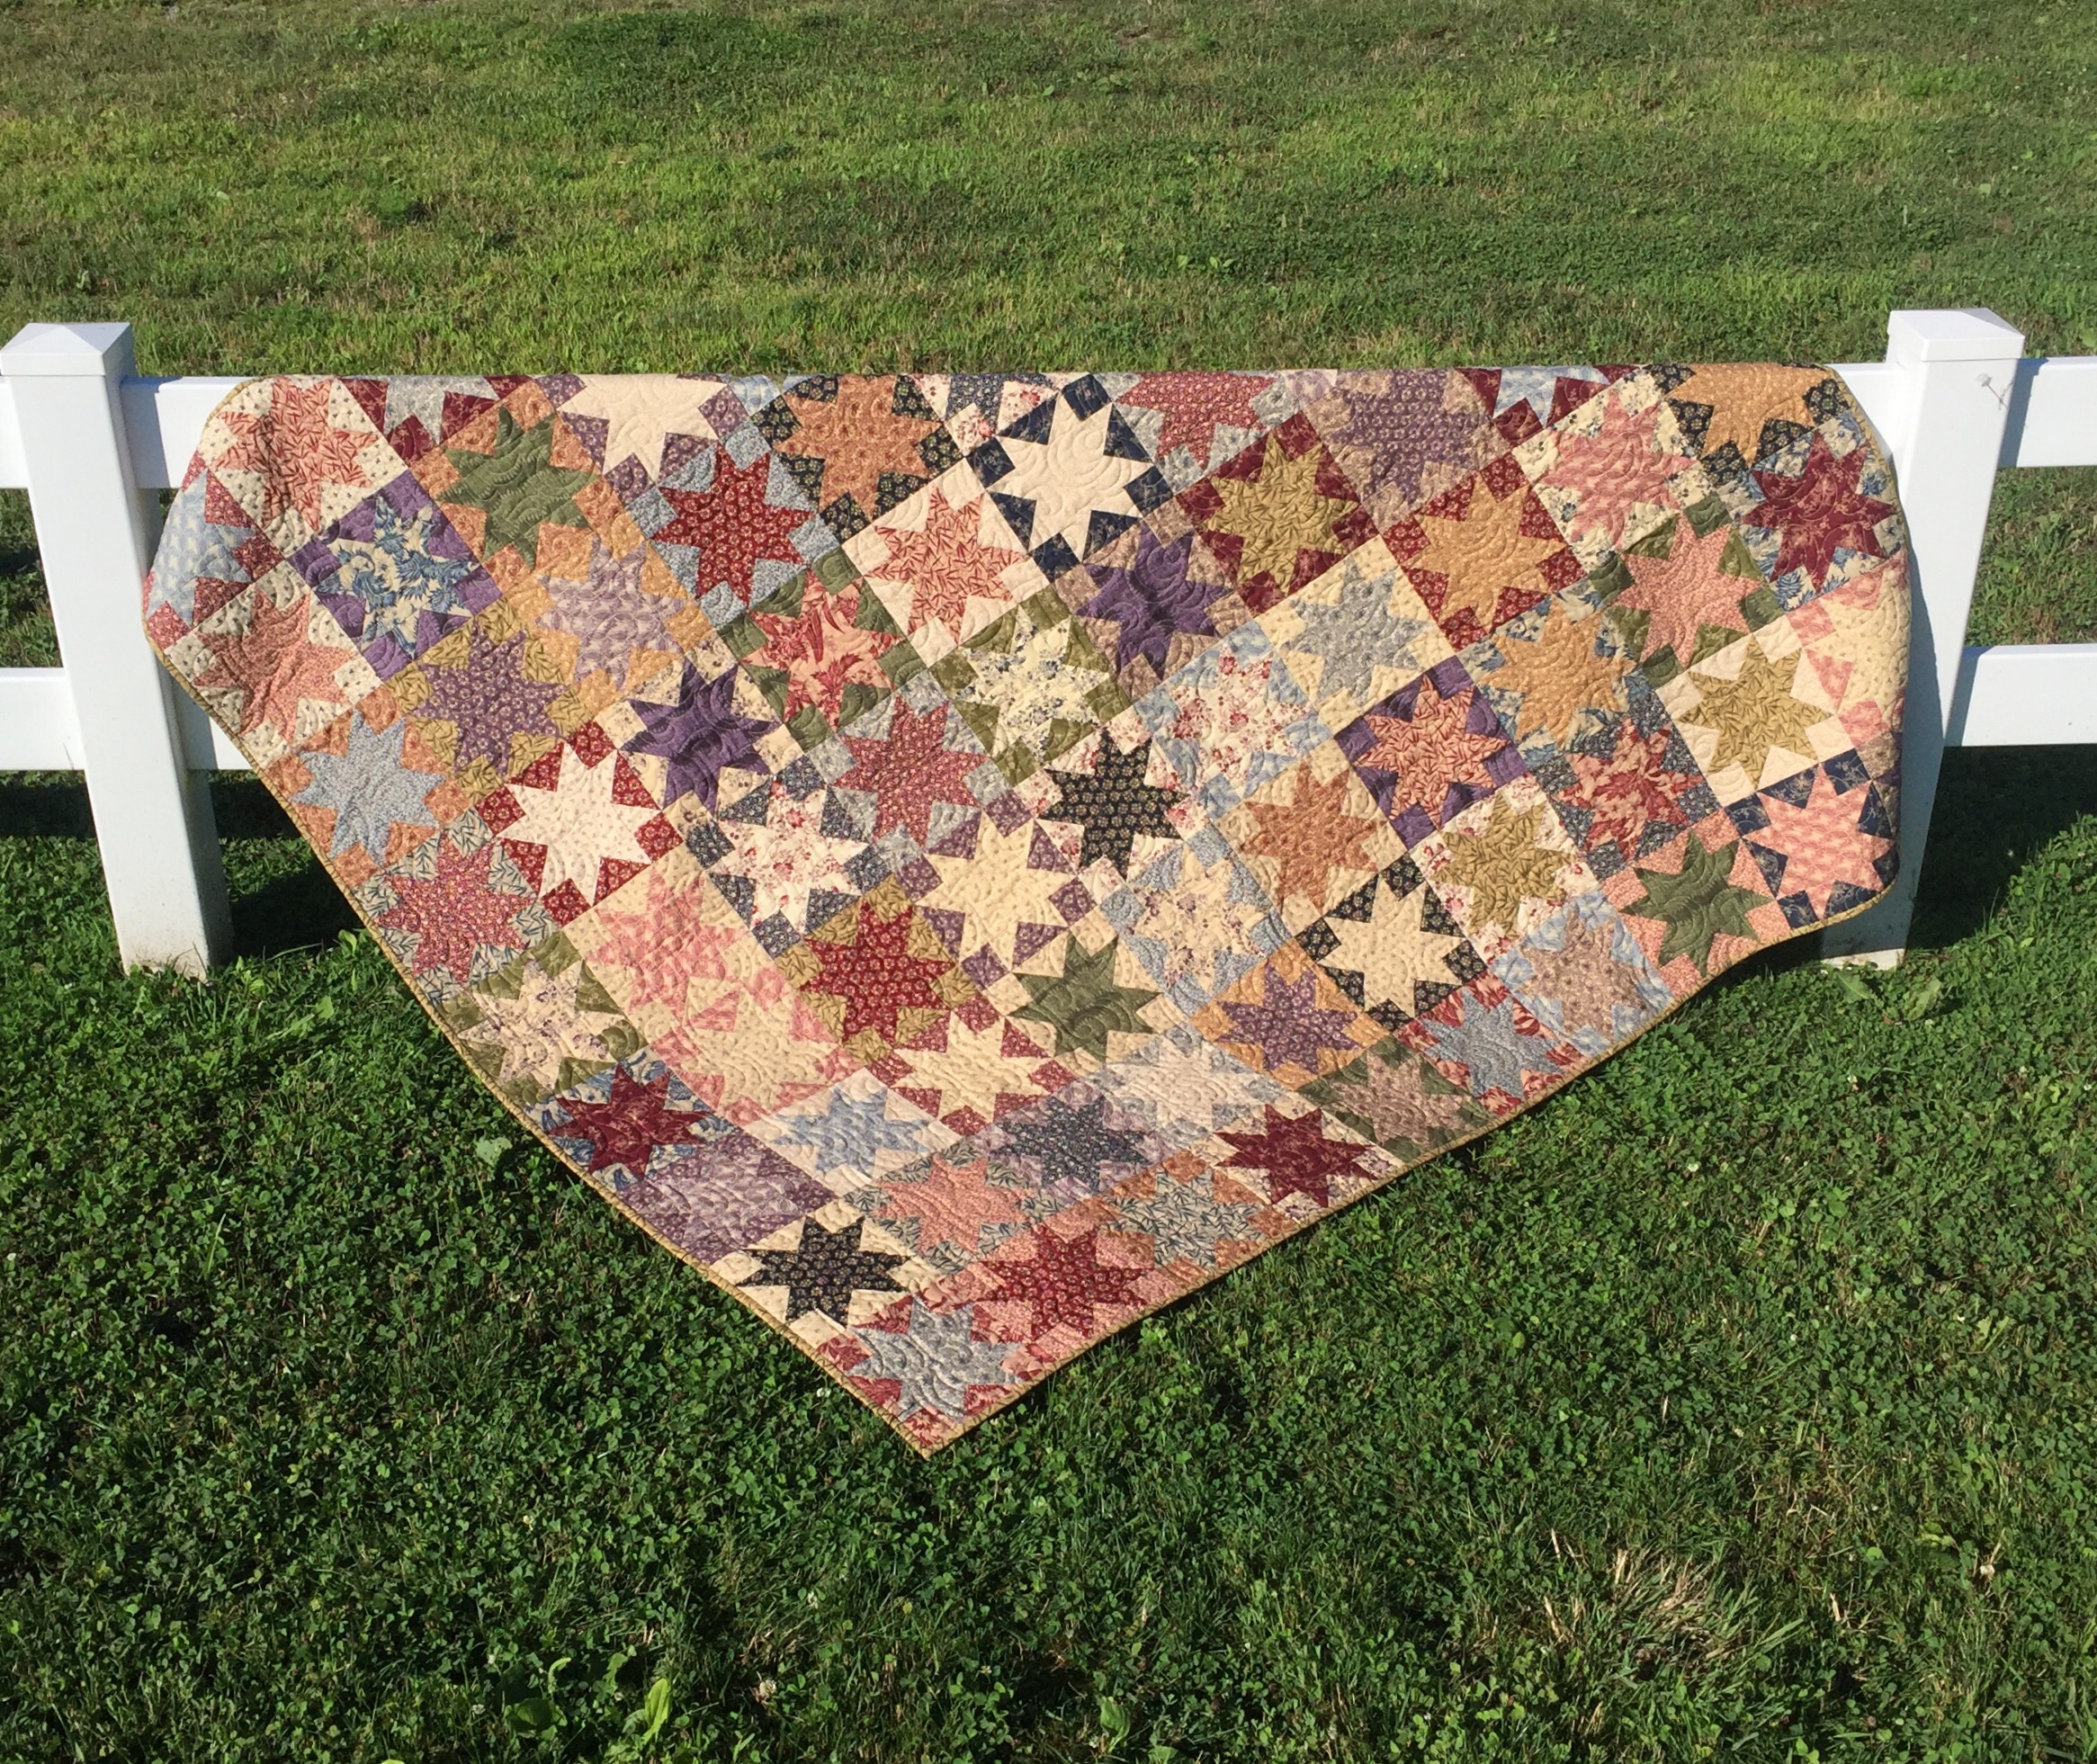
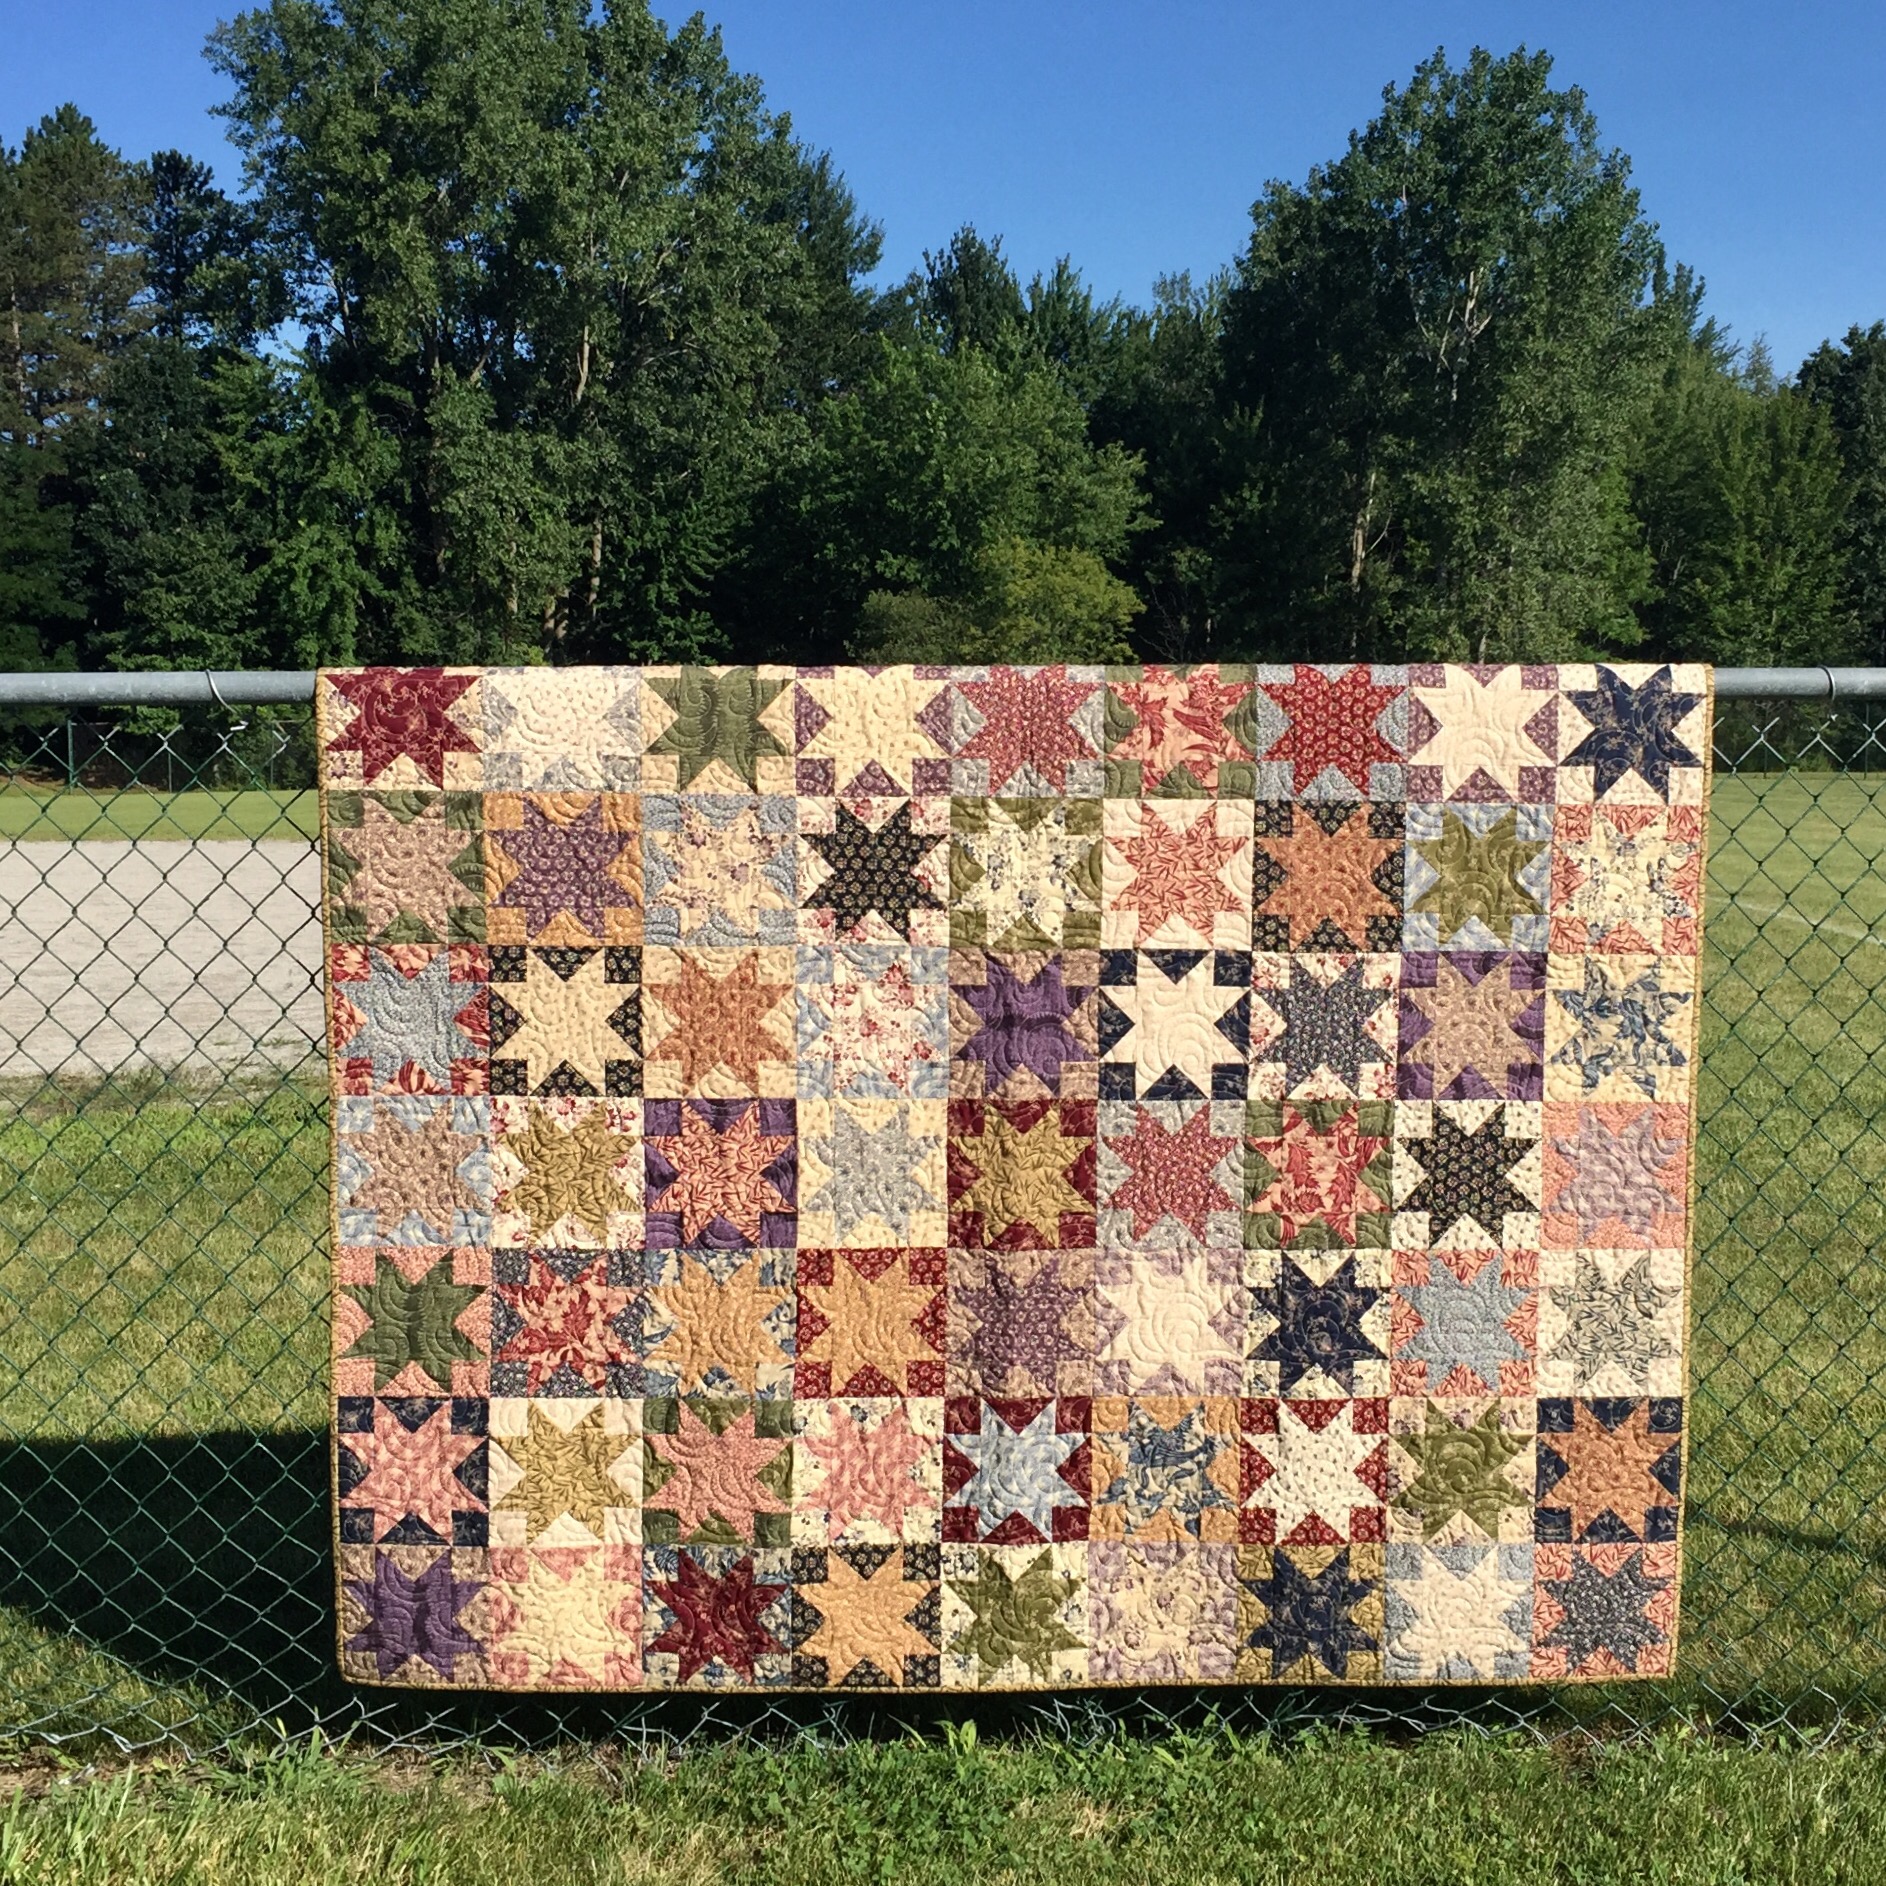
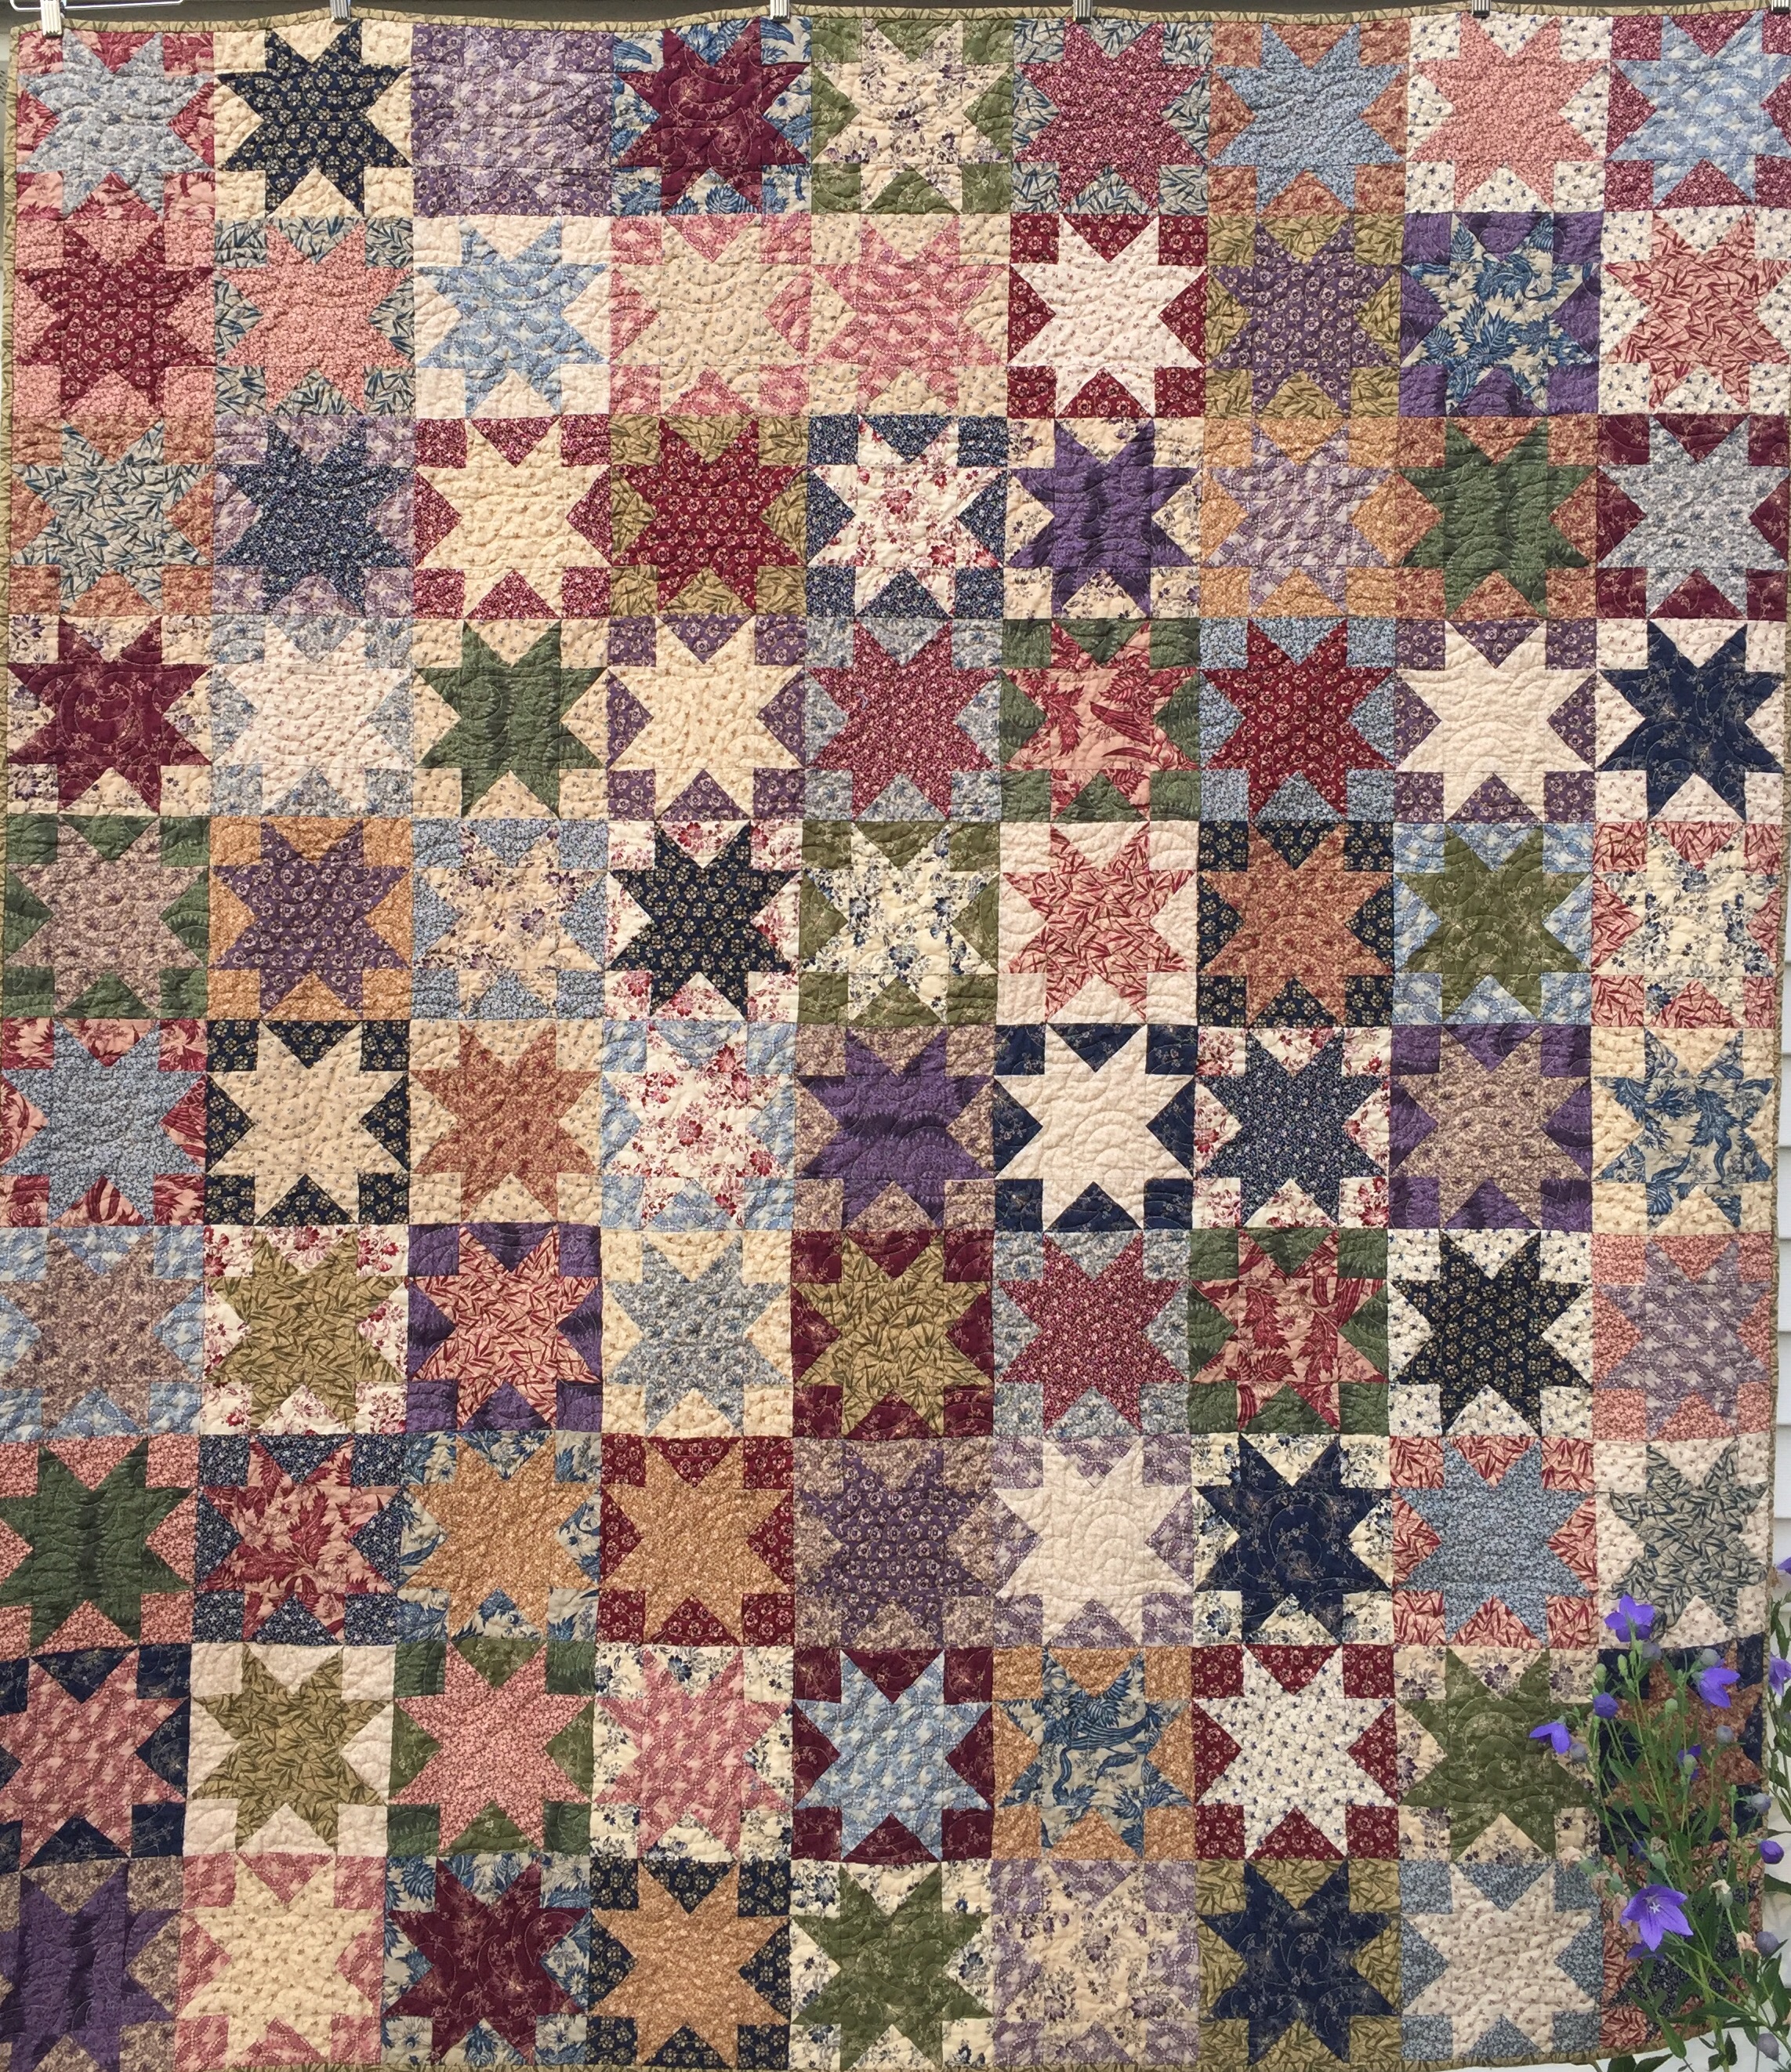

And ta daaaaa!!!


I’m not gonna lie, this took a while. I had let this get way out of control. And I have another heaping red bucket of scraps that I still need to do.

But I cannot begin to imagine how long this would have taken without my Accuquilt die cutter and dies. Honestly, I might have thrown all these scraps away rather than facing them! Right now, the regular GO! Cutter is on sale for $199 with free shipping. You can find details on that as well as their other current deals here.

I have more scraps to cut. Have a great day!

Note: This post contains affiliate links, and I receive a small compensation for any purchases made through them. Thank you for your support!

Linking up with The Quilting Room with Mel

Posted in Accuquilt, Scraps, Uncategorized | 15 Comments

DWMonday ~ Log Cabin Quilting 

Can you believe that after all the time I spent playing with these blocks, I went back to the first layout? Anyway, the blocks are now together and I am debating adding a white border. 

But I’ve also been starting to think about the quilting. Here are some of my ideas.

I’ve mentioned before that I use an app called Adobe Ideas to play with quilting ideas. Sadly, it is no longer available. My blocks finish at 12 inches. I used my log cabin die from Accuquilt to cut my pieces out.

Have a great day!

Linking up with Small Quilts and Doll QuiltsLove Laugh QuiltCooking Up Quilts

This post contains an affiliate link, and I receive a small compensation for any purchases made through the link. Thank you for your support!

Posted in Accuquilt, Design Wall Monday, Long Arm Quilting, Longarm Quilting | 10 Comments

Slow Stitching Sunday

My first slow stitching project today will be the binding on my Shenandoah Stars quilt.

If I have time after that, I will try to get another fan quilted on this.

Have a wonderful day!

Linking up with Kathy’s Quilts

Posted in Uncategorized | 6 Comments

Toy Sewing Machines

I’ve recently added to my toy sewing machine collection.  Mr. Wonderful bought this first one for me at an antique mall. He was able to wait a whole day before giving it to me! That is a record for him! And a huge surprise for me! 

Isn’t it adorable? It’s only 6 inches tall! This is a Muller No. 6. 

The rest of these we found at a local antique festival. I love the color of this Sister Zig Zag Model #26!

This Sew-Ette is all metal. It is my first like it.

And lastly, this is a Singer Model 20. I have another one that is quite similar.

This is what is unusual here, on most of these machine, the metal pieces across the top are all silver rather than black like this one. It was neat to find this variation at a good price.

They all need a bit of cleaning up, but that is part of the fun of collecting!

Have a great day!

Posted in Toy Sewing Machines, Uncategorized | 6 Comments