Lets Talk Binding

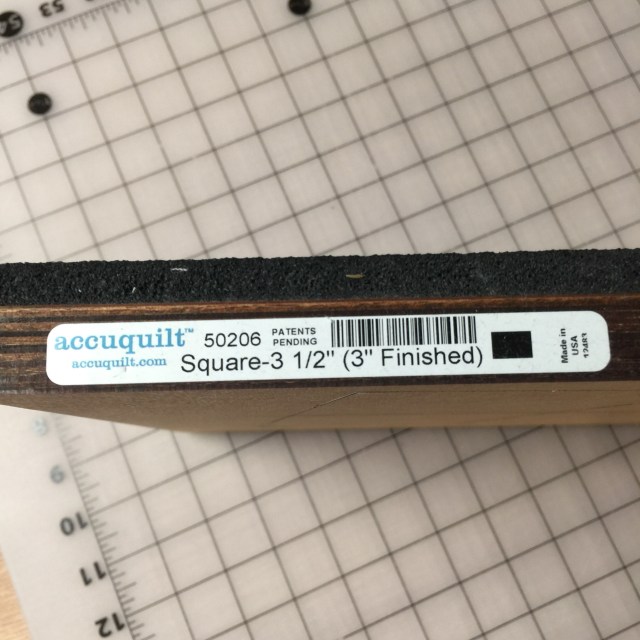
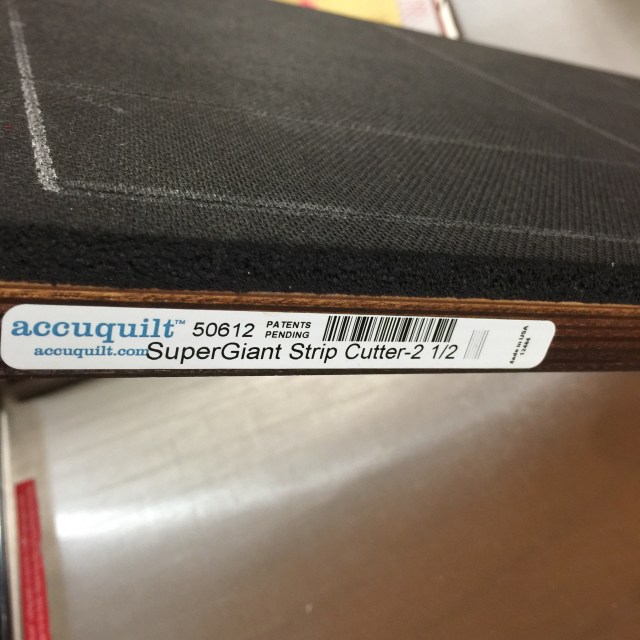
This is one of my most used Accuquilt dies. I use it to make nearly all of my binding.
After cutting my strips, I stitch them end to end and press the seam open.

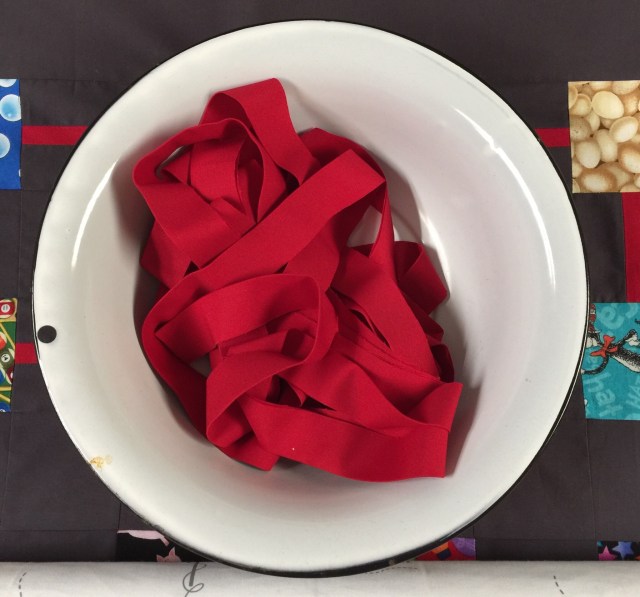
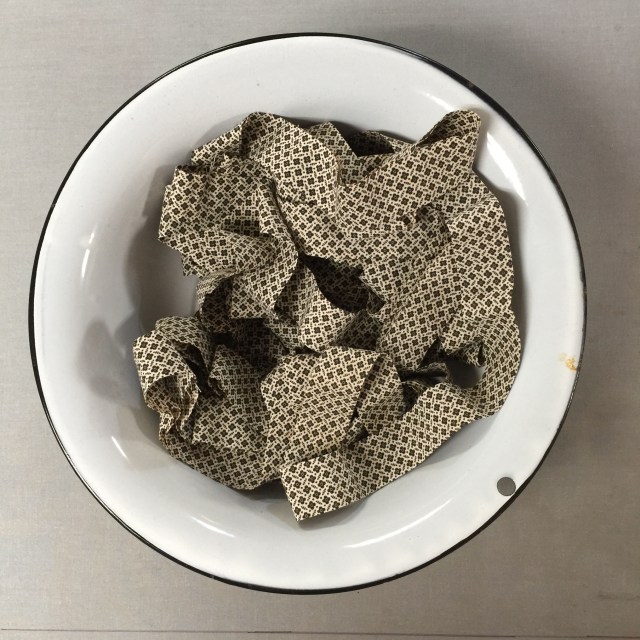
This is my pressing setup for binding. As I press it, it falls into the bowl.

I love a good bowl of binding! I usually make extra to have on hand for small quilts.
Here’s where I place the bowl when I start stitching it to the quilt.
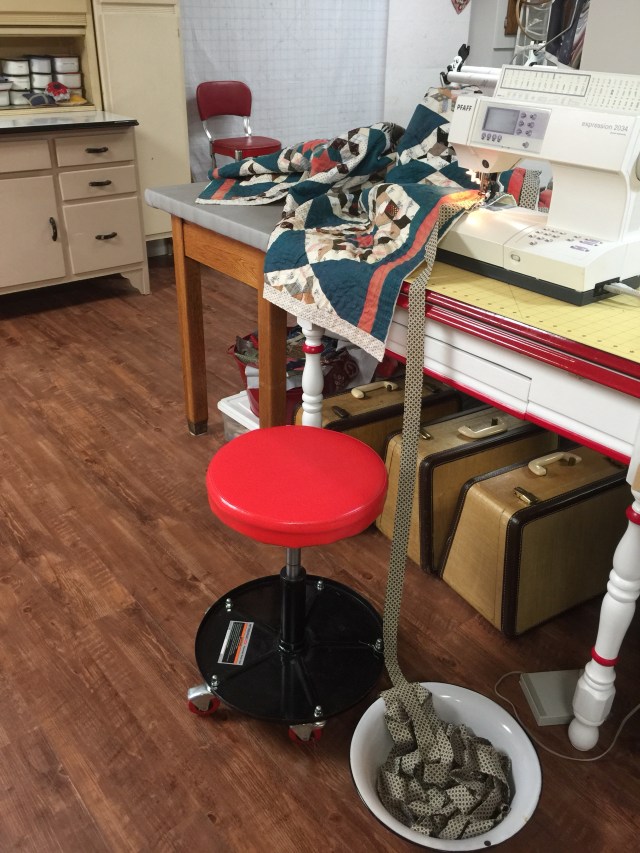
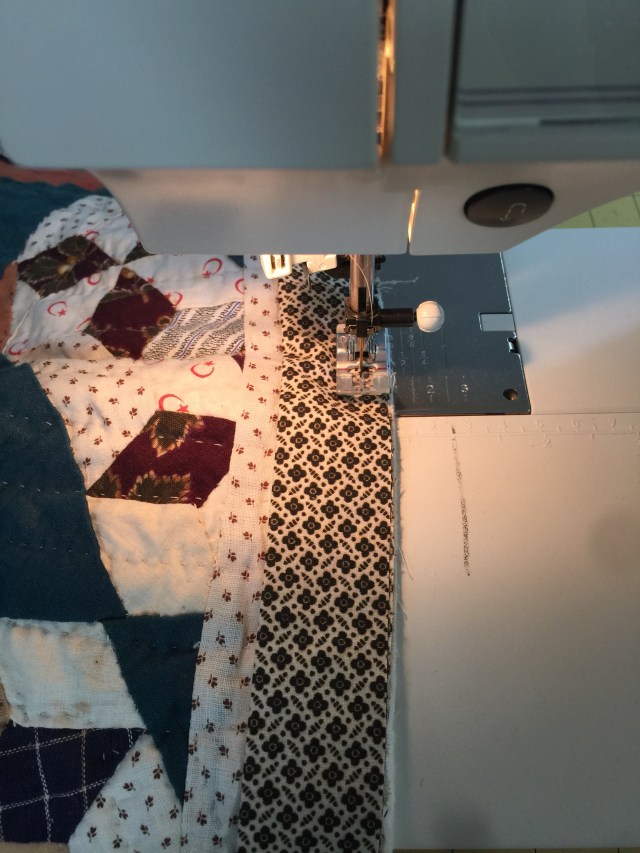
I leave a bit of a tail at the beginning and end.

I fold back these tails and give it a press to mark where they meet. That will be my seam line.
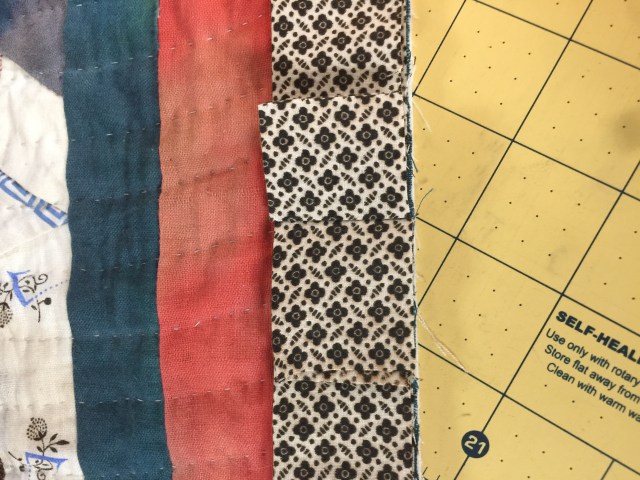
I match the creases and stitch them together on the pressed line, trimming away the excess.

I fingerpress the seam open and then finishing attaching the binding.
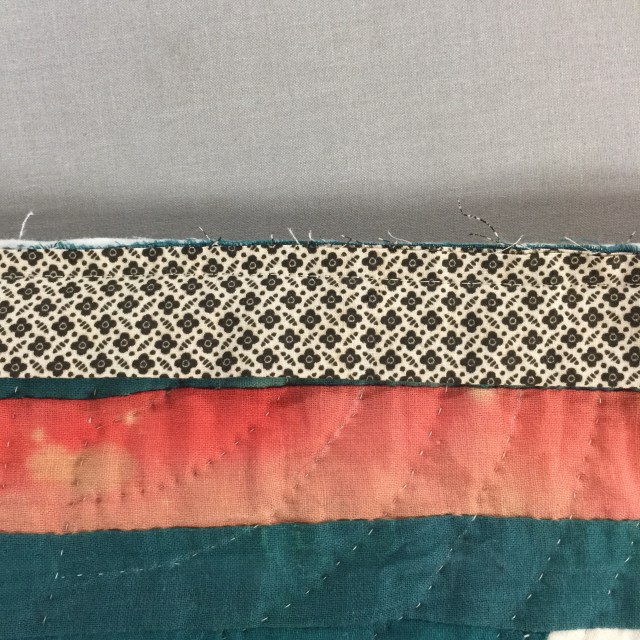
Now it’s all ready for hand stitching!

And no, I have not finished quilting this quilt. But since I started quilting around the outside and work toward the middle, I can bind as soon as the outside edge of the quilt is quilted.

Have a great day!

This post contains affiliate links.
Posted in Sewing Room Pics, Tutorials, Uncategorized | 5 Comments

Vintage Bow Ties

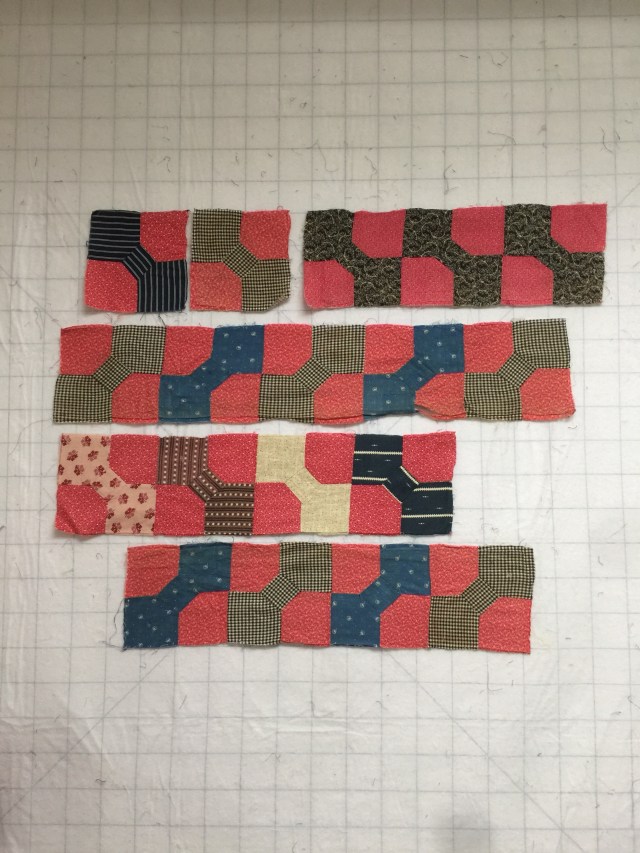
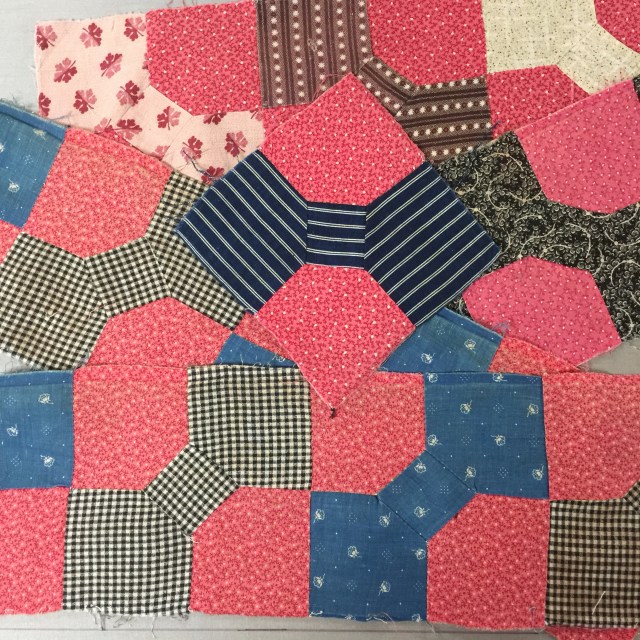
I’ll be doing some traveling next month, so I’ve been on the lookout for a hand project to take. Once again, I pulled out these vintage bow tie blocks.

Some are sewn into strips already. There is a total of 18 blocks.

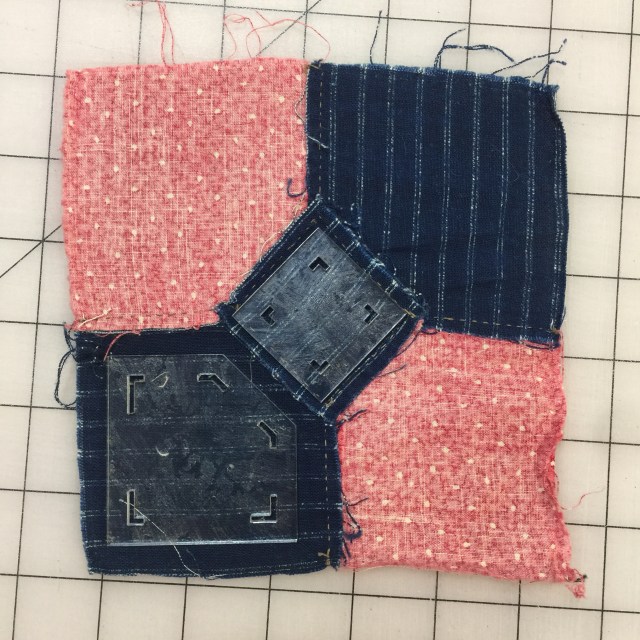
I remembered that I had this template set and I’m thinking about using it to cut these apart and make smaller blocks.

It would allow me to remove damaged bits and have consistent sized blocks to sew together into a doll quilt top.

That center square is a bit of a tight fit. I would probably dig through my vintage scraps to make a few more blocks as well.

Have a great day!

Posted in Hand piecing, Uncategorized, Vintage Fabrics | Leave a comment

Recycling

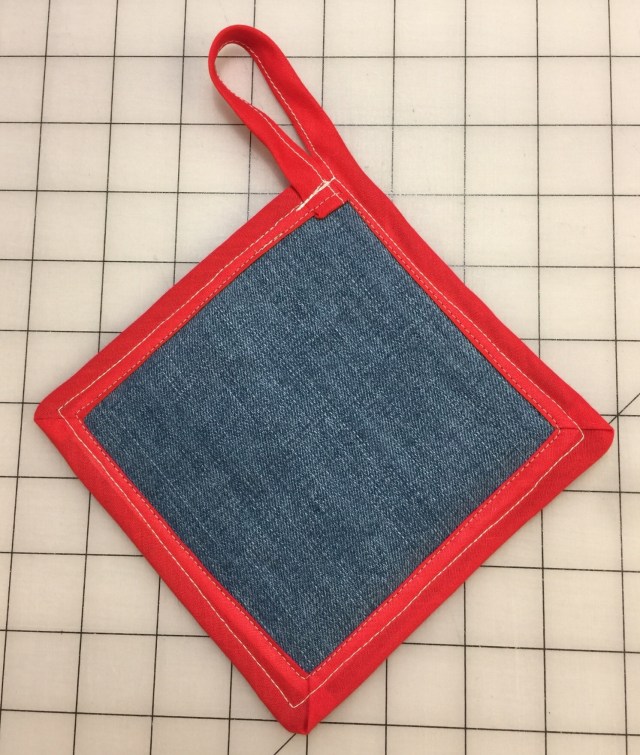
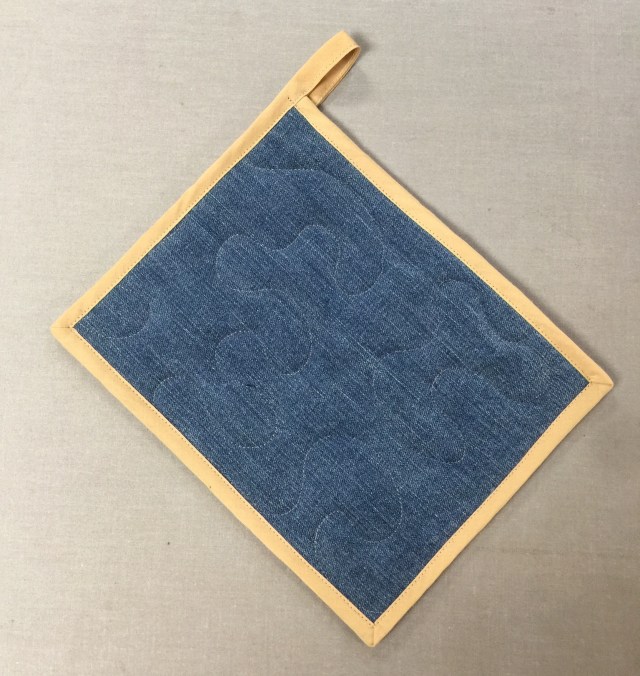
I saw on Instagram recently that someone had made hot pads out of old jeansand bias tape. Since I’d just blown the behind out of my favorite Levi’s, I decided to give it a go. Here’s my first attempt.

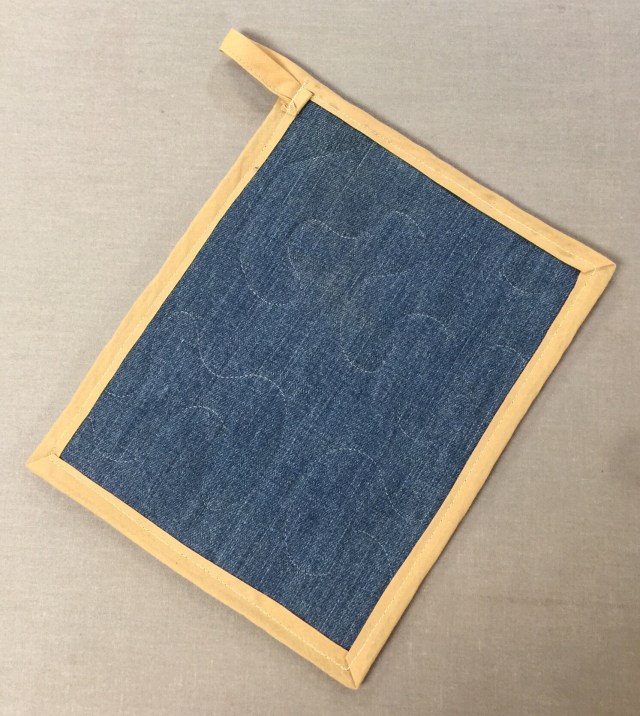
And the back.

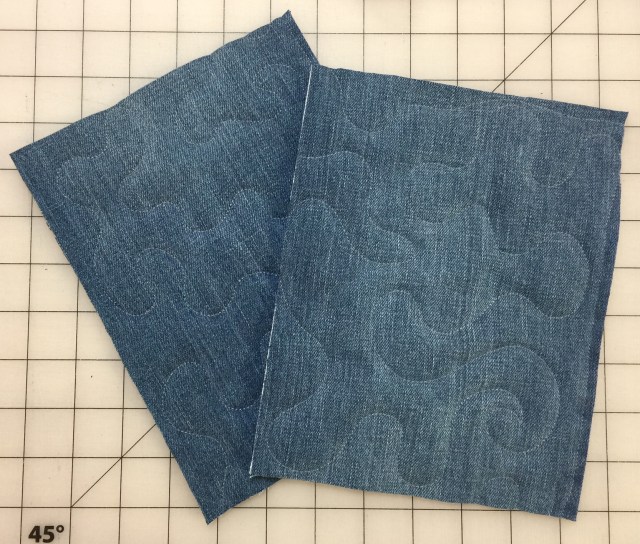
Too small and too messy. But not one to give up easily, I decided to try again. But this time, I quilted the layers first. BTW, I used a product called Insulbrite for the batting. It is specifically made for hot pads and such. It is available at your local JoAnn’s.

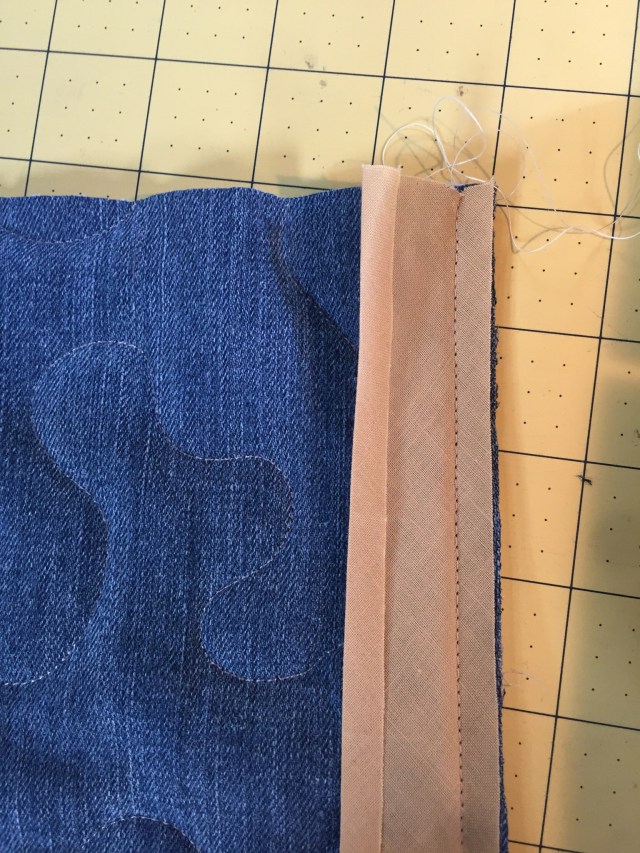
I used some prefolded bias tape I had laying around, stitching it to the top first. This stuff is trickier to work with than I expected.

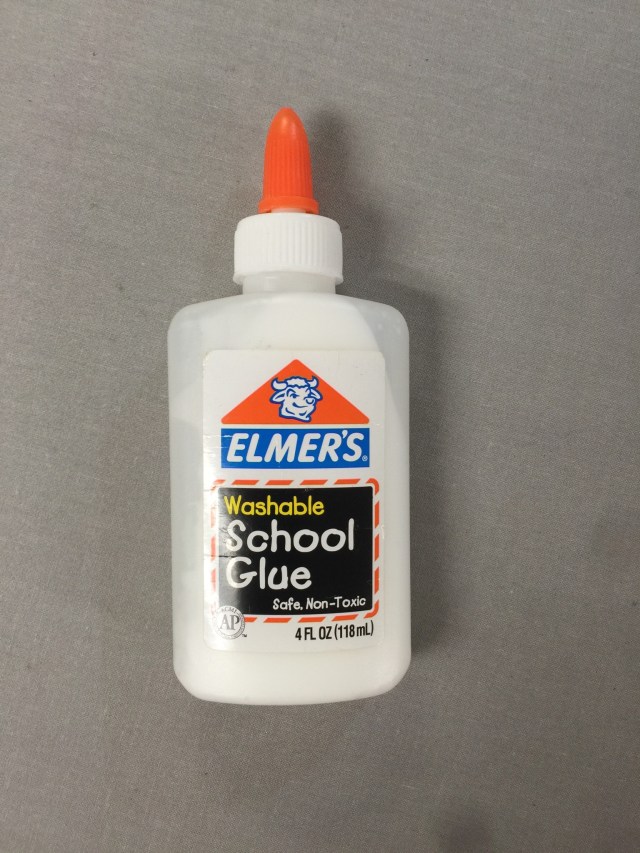
Then I pulled out a secret weapon. Well, not so secret, I suppose.

I used the glue to baste the edges to the back. Just a tiny bit of glue and a quick press of the iron will hold it in place.

Then I topstitched from the front close to the edge, creating the loop as I went.

The front looks much better than the back, but it’s good enough for me.

And I have enough left to make two more. These finish at about 6 1/2 by 8 1/2 inches.

Will everyone be getting hot pads for a Christmas? Heck, no! But it was an interesting little diversion. I might do this again, but it would be easier to just make my own binding.

Now, back to our regularly scheduled quilting.

Have a great day!

Posted in Crafty Things | 5 Comments

DWMonday ~ A Pieced Backing

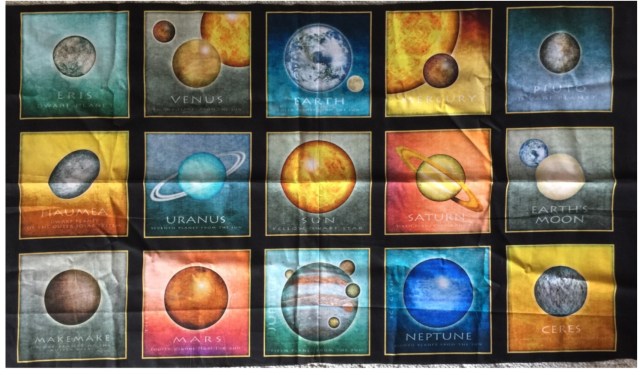
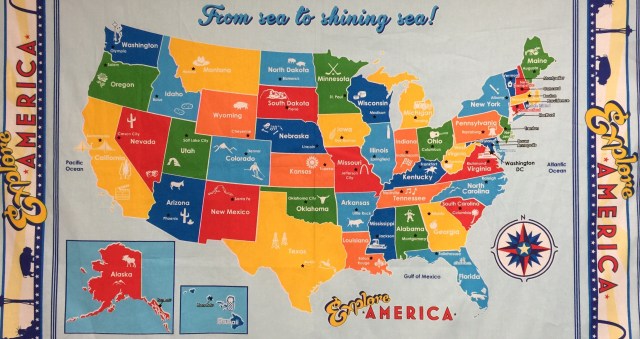
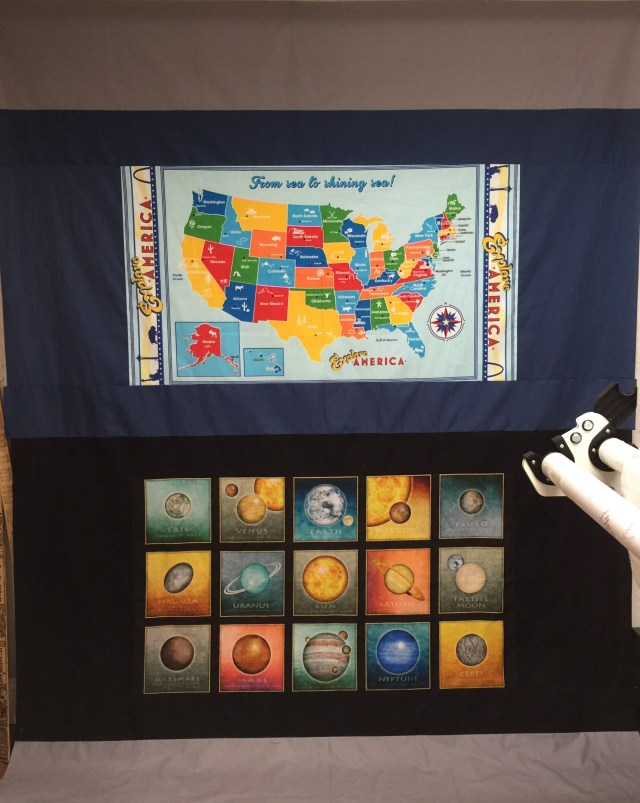
Generally speaking, I’m not fond of making pieced quilt backs. But I really wanted to use these panels on the back of the quilt I am making for Little L.

This is how the backing turned out. All the solids in this quilt are Kona Cotton. It really is my favorite solid. They have a great selection at the Fat Quarter Shop and the price is better than my local JoAnn’s.

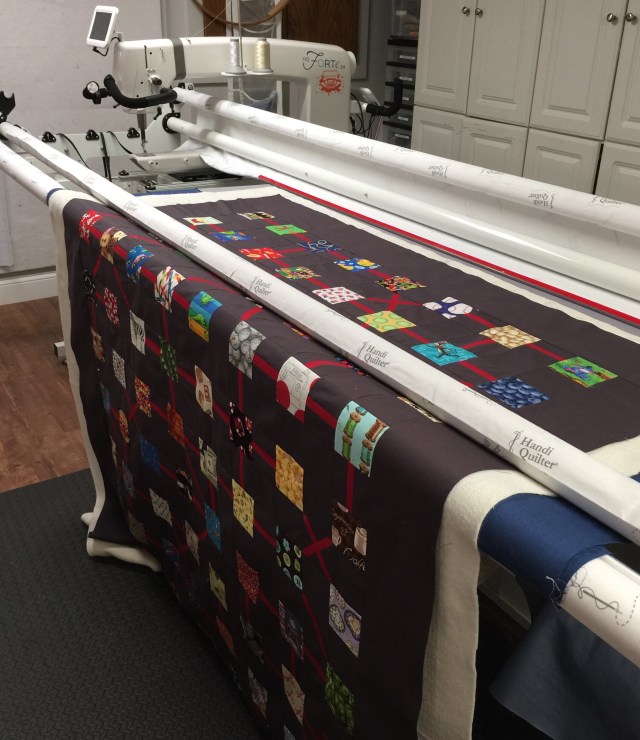
I’m so happy this is finally on the frame.

And my binding is made and ready to go.

Look for a finish on Friday!

Have a good one.

This post contains affiliate links.

Posted in Design Wall Monday, Uncategorized | 1 Comment

Slow Stitching Sunday ~ Vintage Seven Sisters

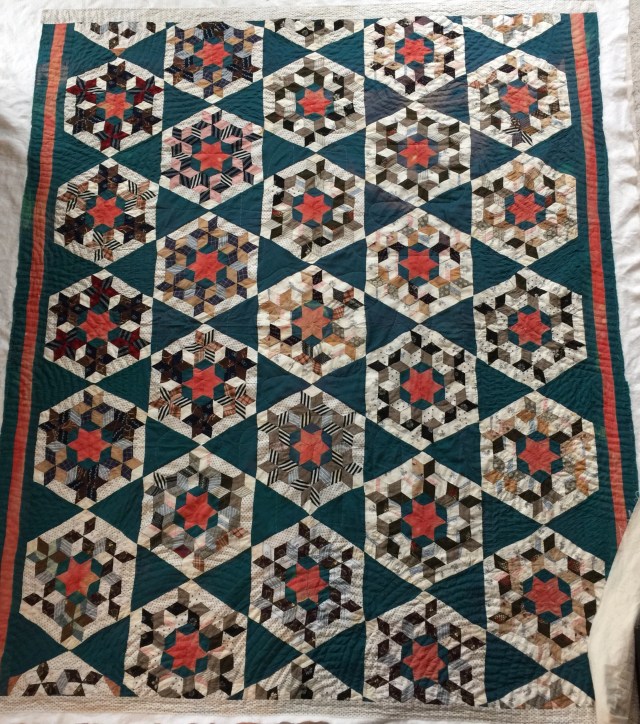
I’ve been slowly working on hand quilting this vintage top and I finally feel like I’m making progress. I’ve done one row of these large fans all the way around the outside edge.

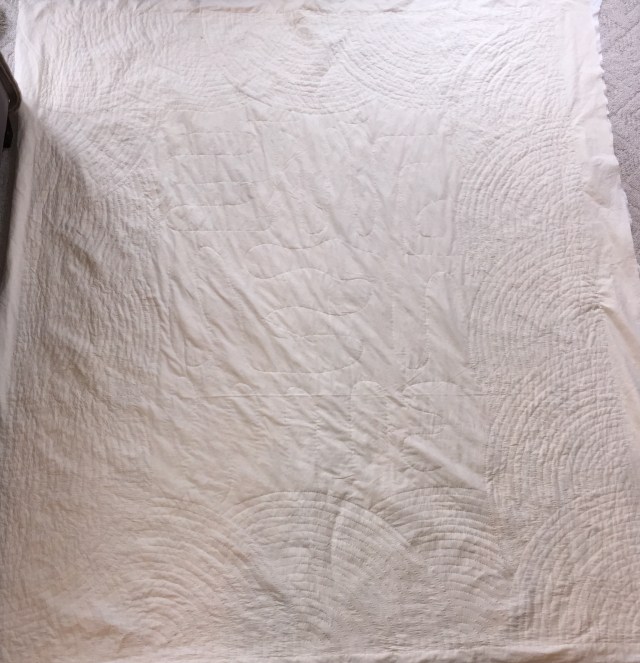
You may be able to see the quilting better on the back.

And yes, I am starting on the edge and working toward the center. I’ve found that this works out just fine when I’ve basted well on the long arm first. This also allows me to mark the fans as I go instead of doing all of that before I start. And I can also get it bound at this point which makes the rest of the quilting a bit less messy.

According to my calculations, I have 65% of the quilting done!

Have a great day!

Posted in Hand quilting, Uncategorized | 3 Comments

Leader/Ender Update

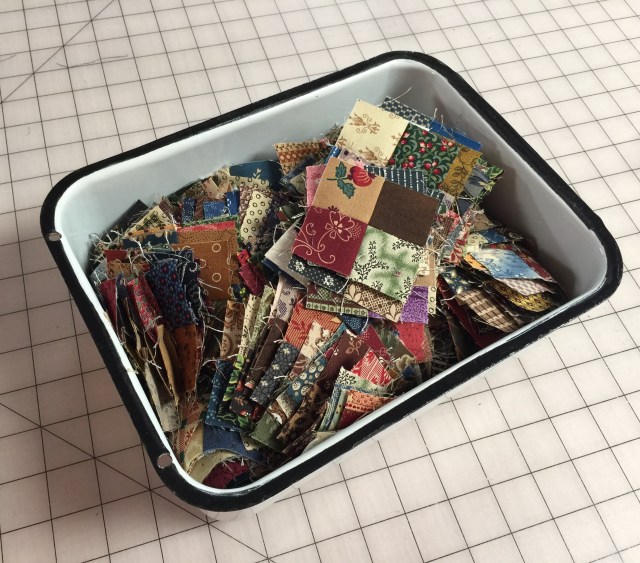
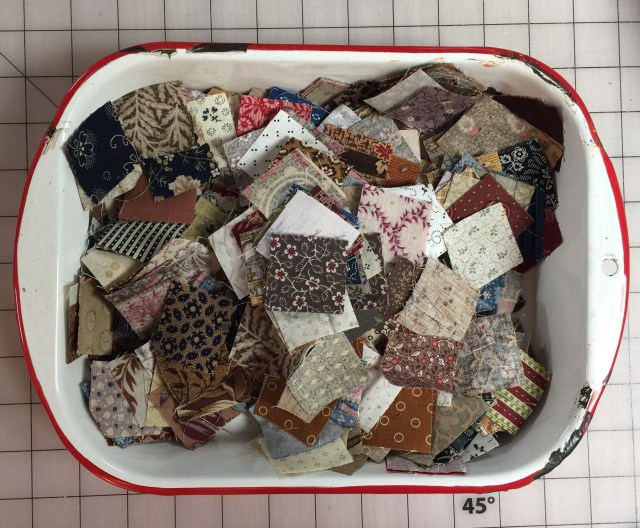
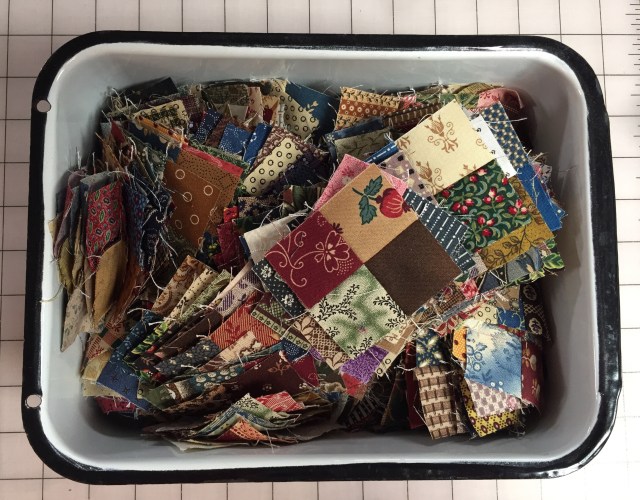
I’m pretty sure you’ve all been on the edge of your seats for months now wondering just where my leader/ ender project has been. No? Well, I’ll update you anyway! Here is my bin as it stands today. I admit, I quit doing this for a few months, but I’m back at it. Want to take a guess as to how many two inch 4 patches are in there?

Here is my bin of squares, all measuring 1 1/2 inches. I’m going to need to cut some more. And if you need an explanation of leaders/enders, click here.

Every time I finish a four patch, I throw it in this little bin.

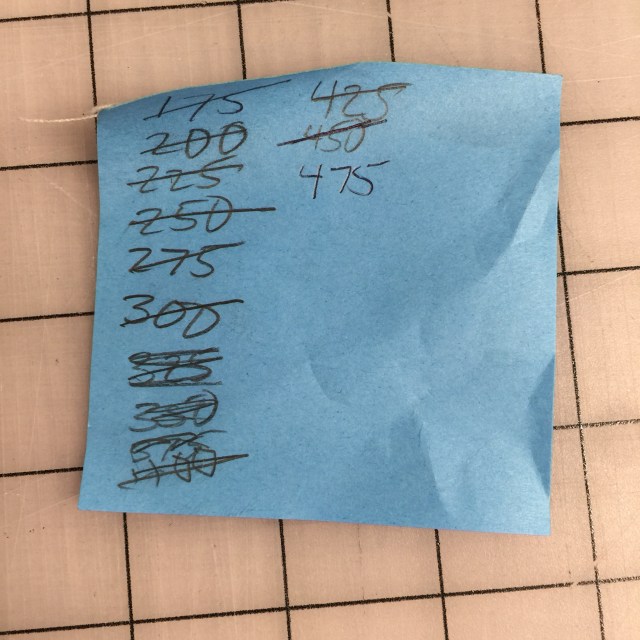
When I get 25 made, I transfer to the bigger bin and update my total. Are you ready for it?

Here it is!

Yeah, kind of anticlimactic.

I think I need like a thousand. Or maybe that’s a thousand more…..maybe I shouldn’t figure that out just yet….

Have a great day!

Posted in Leader/Ender, Uncategorized | 10 Comments

Finish It Up Friday ~ QOV #33

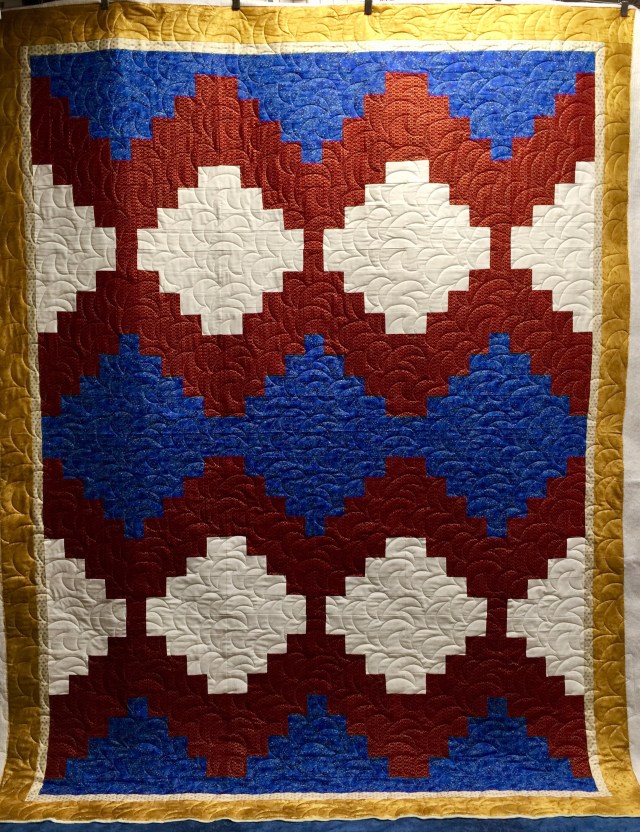
I’m not usually a fan of metallic fabrics, but this top, made by Nadine, had such a wow factor!

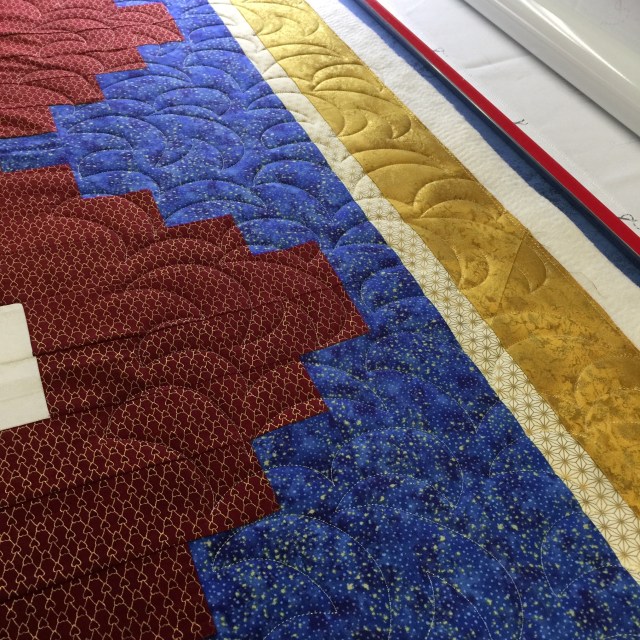
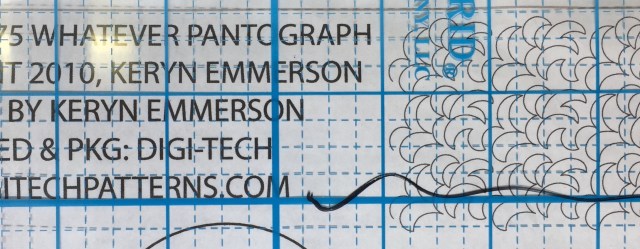
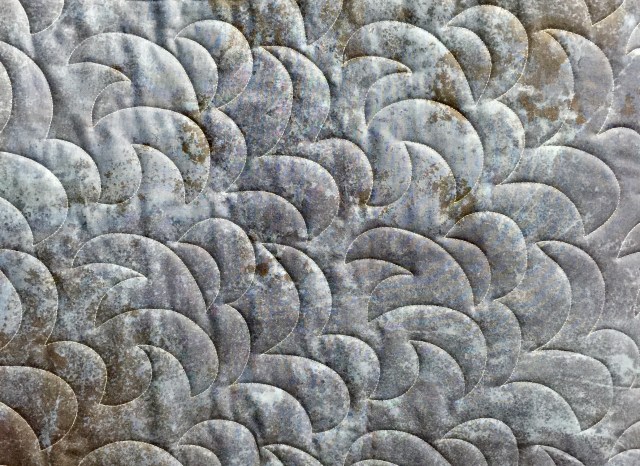
This is the panto I used to quilt it.

Here’s the back. The color is totally off here. It is actually a gorgeous blue.

The metallics really caught the light and showed off the quilting beautifully.

Have a great day!

Linking up with Busy Hands Quilts , Confessions of a Fabric Addict ,

Posted in Quilt of Valor, Uncategorized | 5 Comments

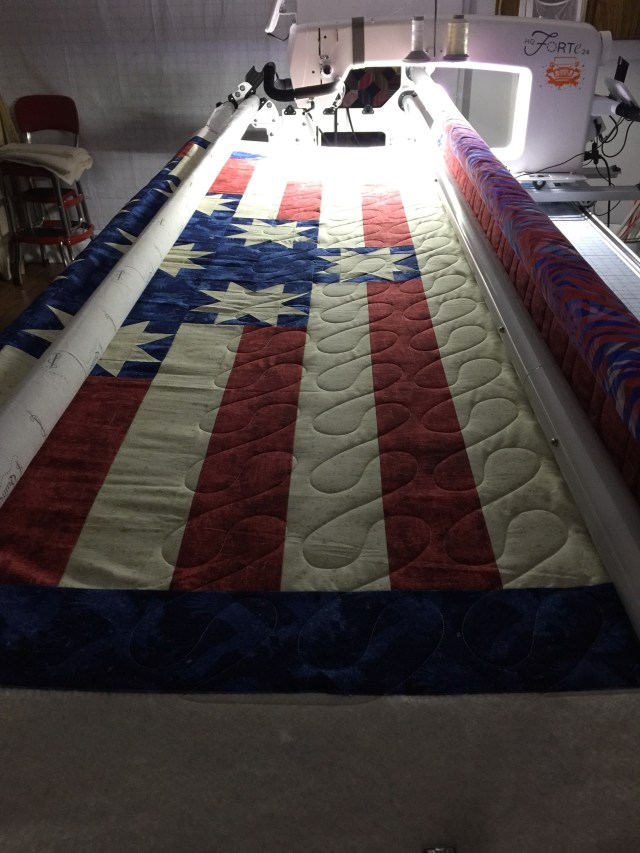
QOV #32

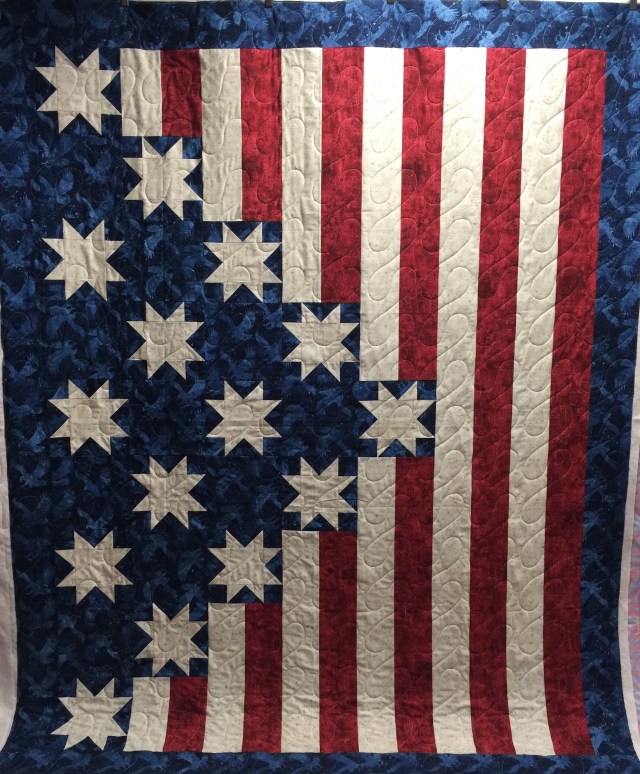
I love this top made by Val from our Stitching Sisters group.

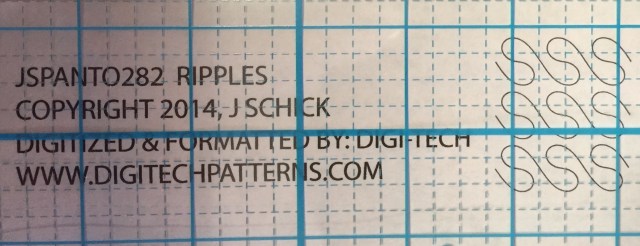
I used a panto called Jessica’s ripples to give it the appearance of waving.

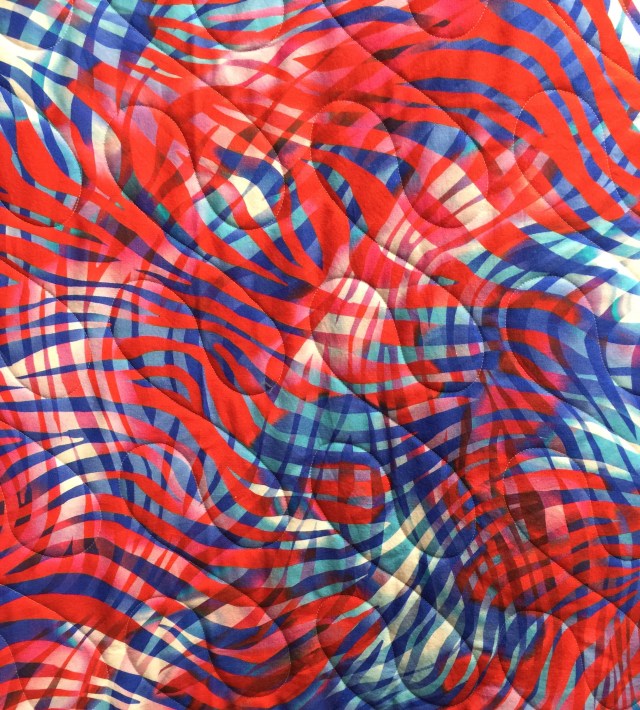
Gotta love this backing fabric!

Have a great day!

Posted in Quilt of Valor, Uncategorized | 13 Comments

Following Directions

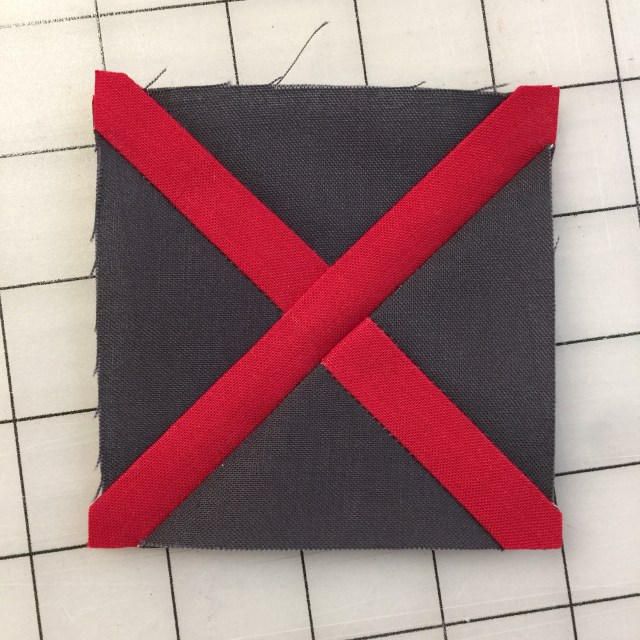
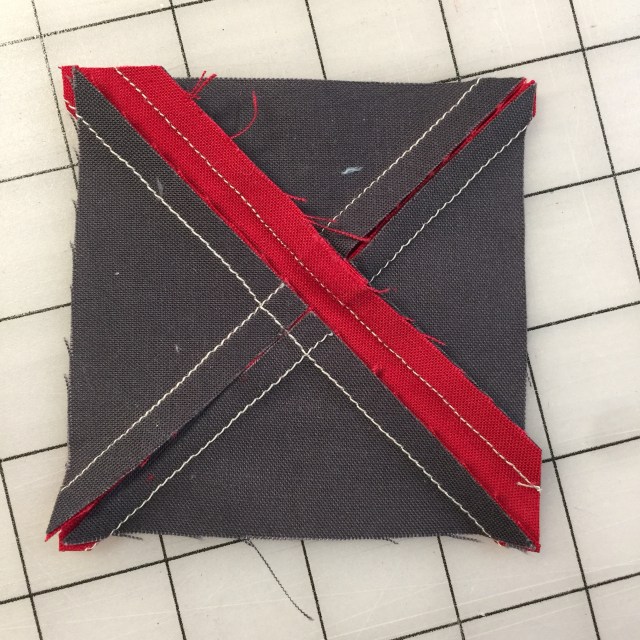
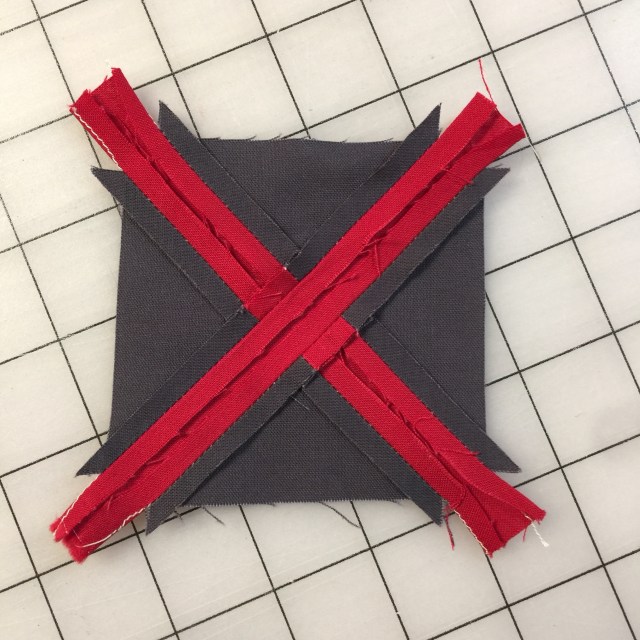
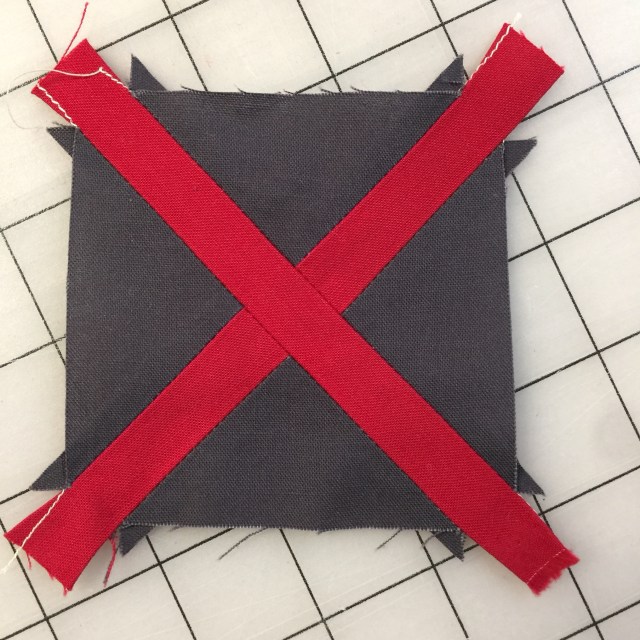
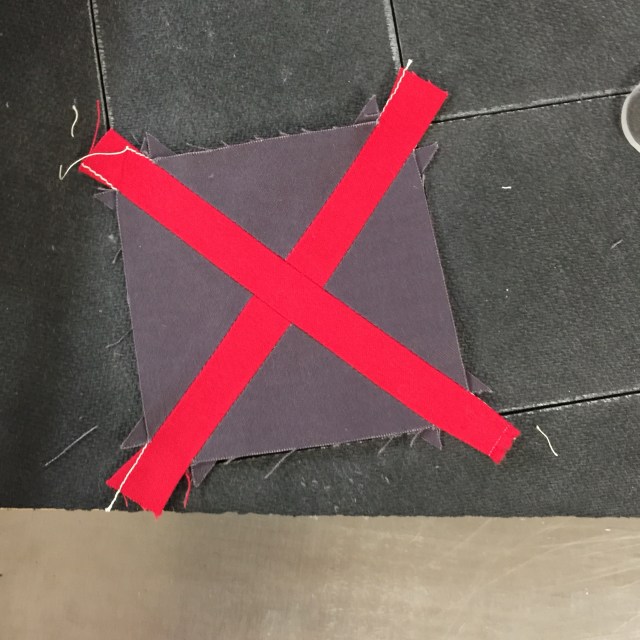
I’ve been working on Little L’s quilt this week. These are the connector blocks to go with the I Spy blocks.

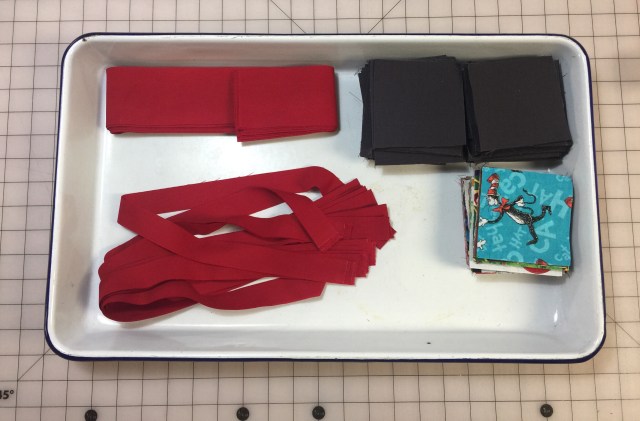
The directions said to press seams open. I hate doing that. But this was my first block. Less than stellar. BTW, the red strips finish at a half inch.

So I followed the directions on my next try.

That looks better. To trim these, I place them on my 3 1/2 inch die and run it through.

Still not perfect, but definitely better.

Sometimes it pays to follow directions. And here’s a teaser of a small area of the layout.

Have a great day!

Posted in Uncategorized | 6 Comments

Progress

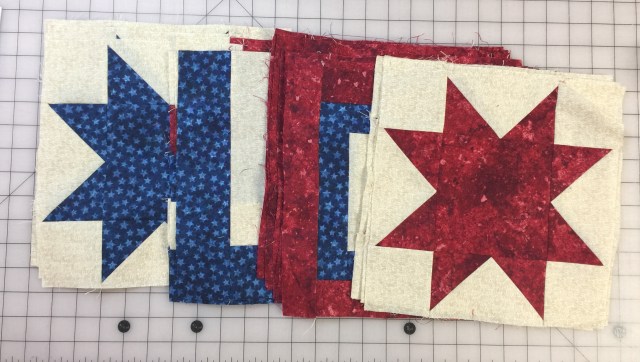
I finally finished all the blocks for the Mosaic Mystery hosted by Alycia Quilts.

And then I promptly dropped them into a project box. No deadline on this one so it is taking a back burner.

I got all the bits for Little L’s Maze quilt cut, except for borders. This will be my main focus in the coming days.

This die from Accuquilt is getting a workout on this one!

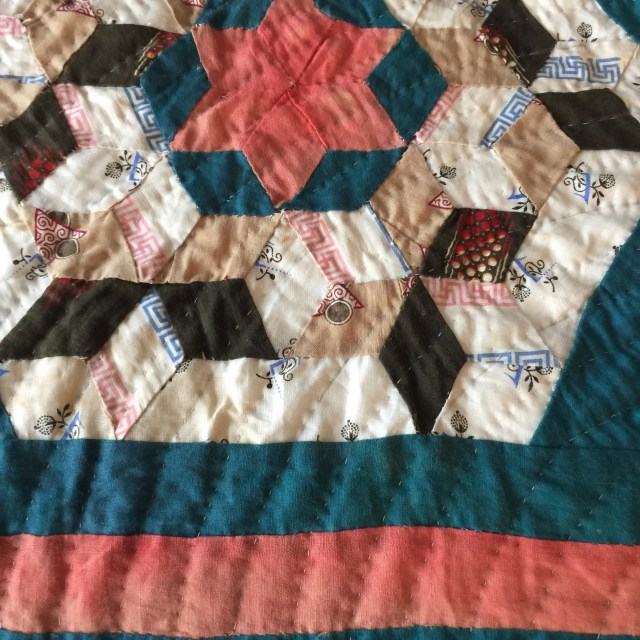
I’ve also made a bit of hand quilting progress on this vintages Seven Sisters top.

The Quilts of Valor are done this month and I gave a few more of those to share in the coming days.

Have a good one!

This post contains affiliate links.

Posted in Uncategorized | 1 Comment