Mr. Wonderful left early this morning on a business trip to China. After church, I plan to spend my day slow stitching.
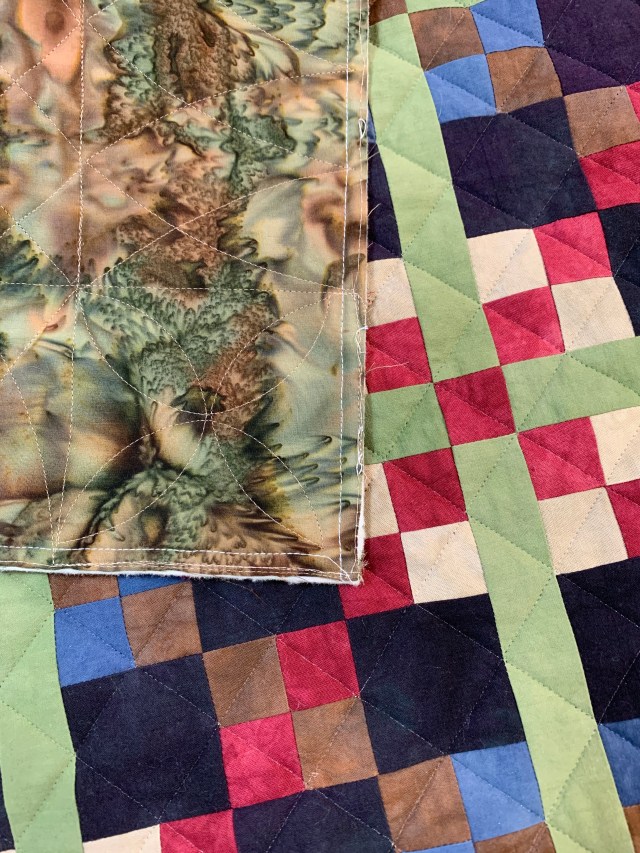
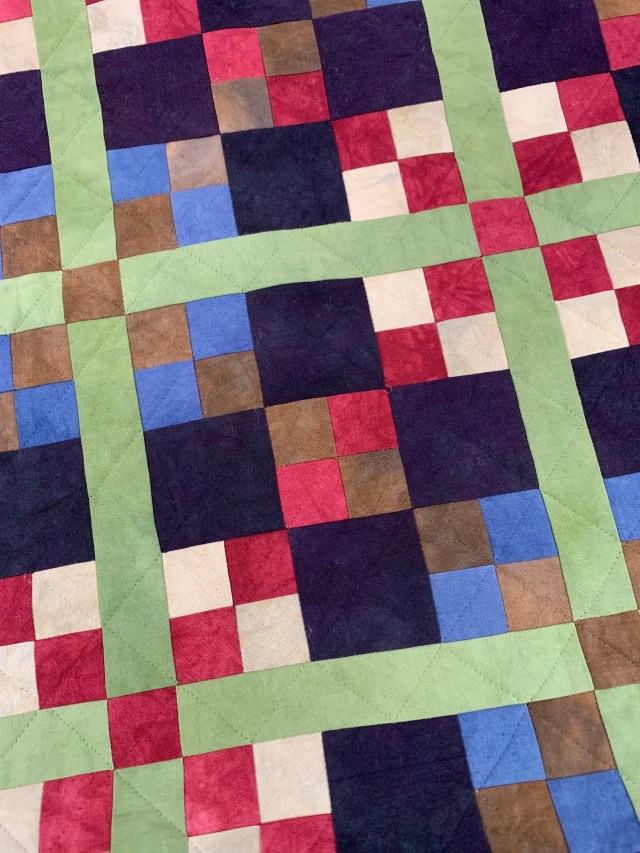
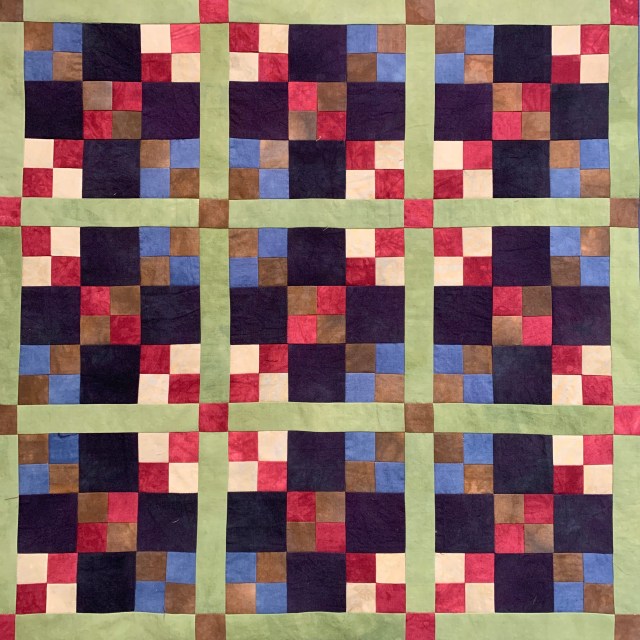
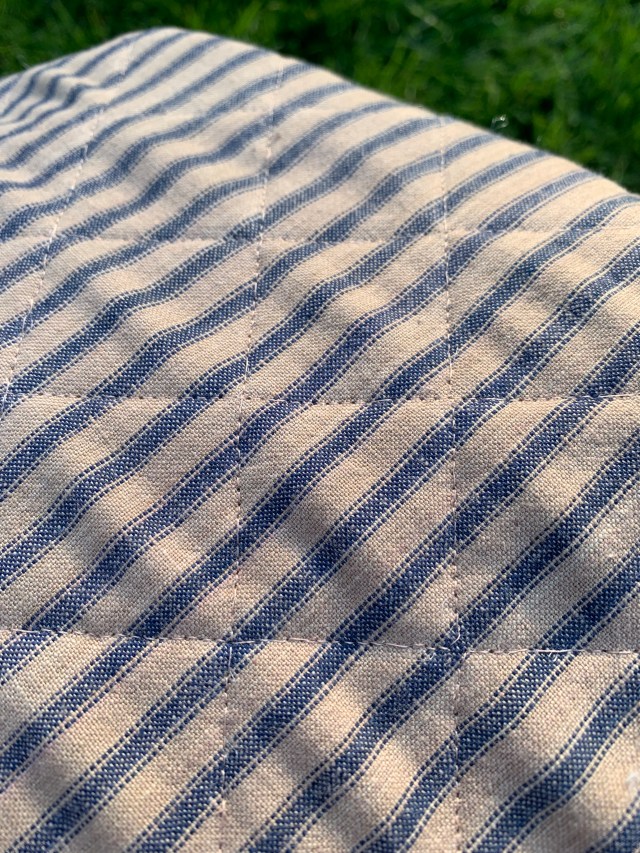
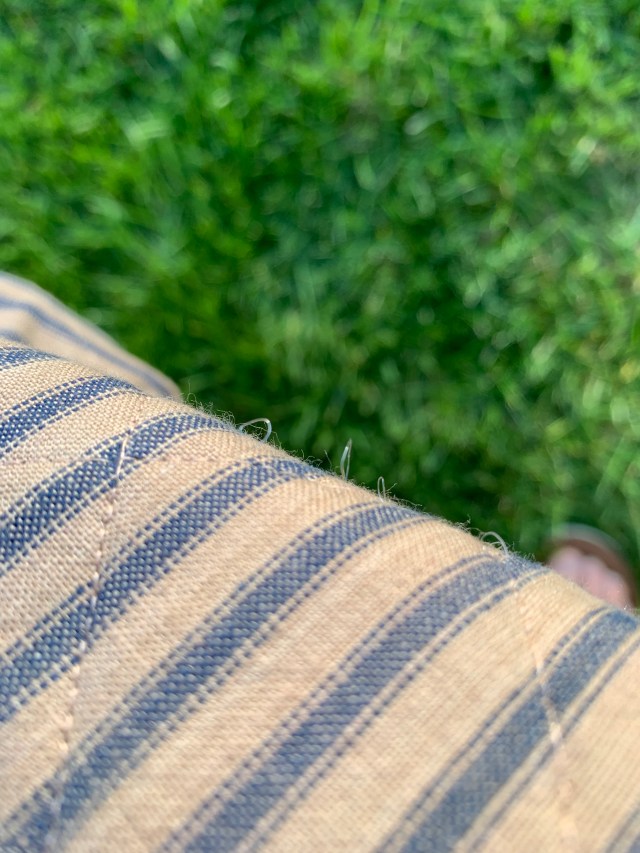
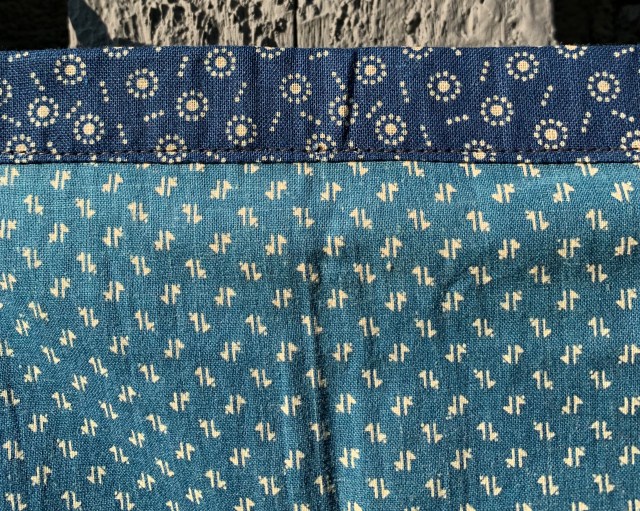
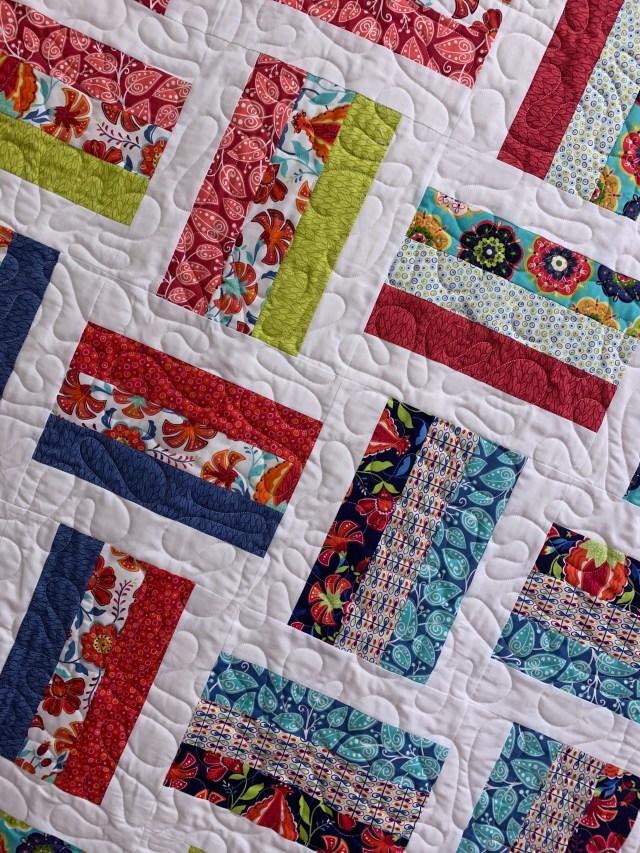
First up will be the binding for my Almost Amish quilt. I requilted it yesterday.
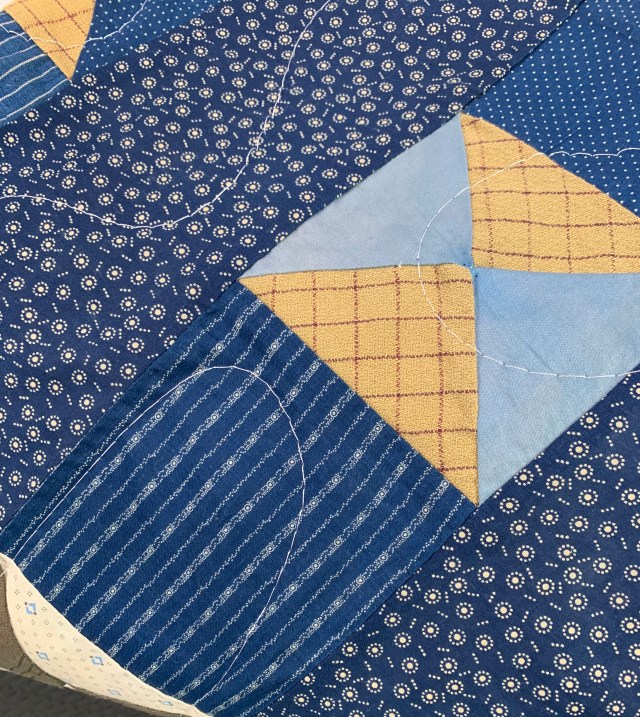
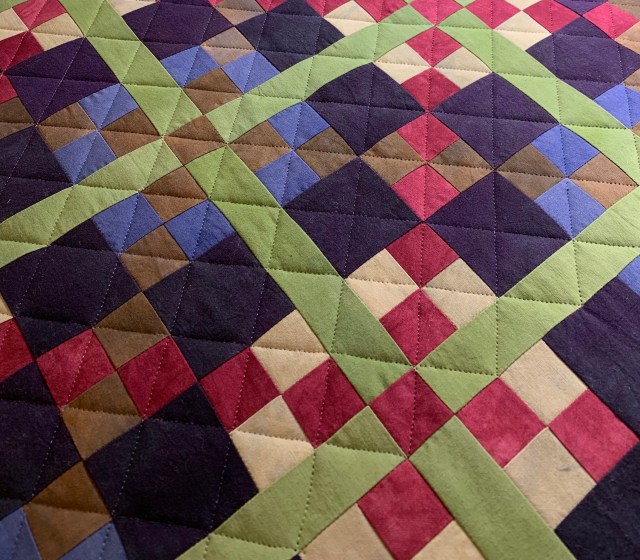
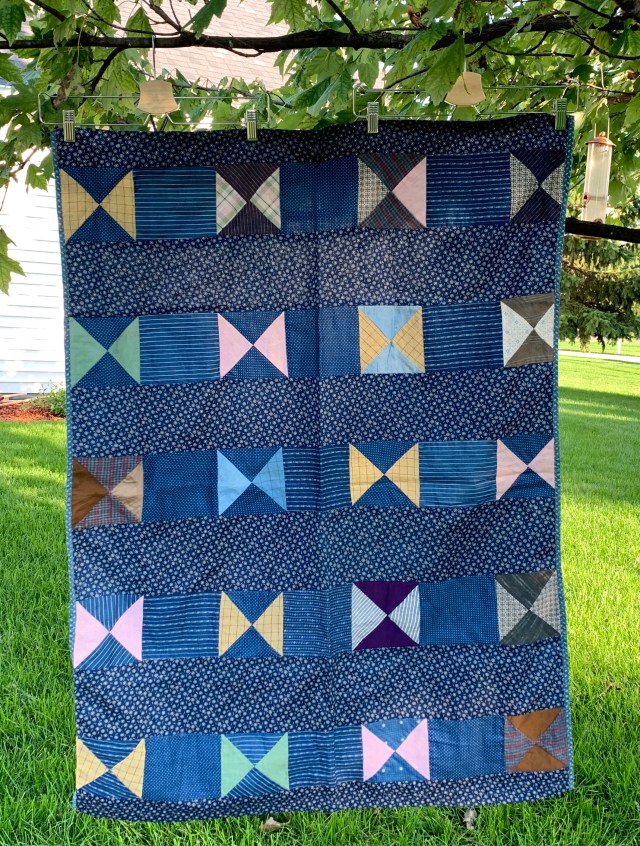
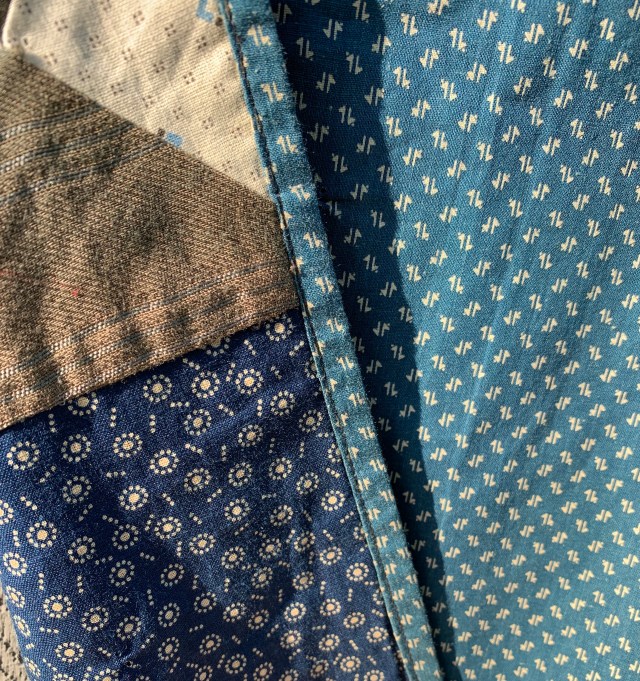
Then I hope to start hand quilting my vintage hourglass quilt. First though, I need to decide how to quilt it.
I could go with small Baptist fans…
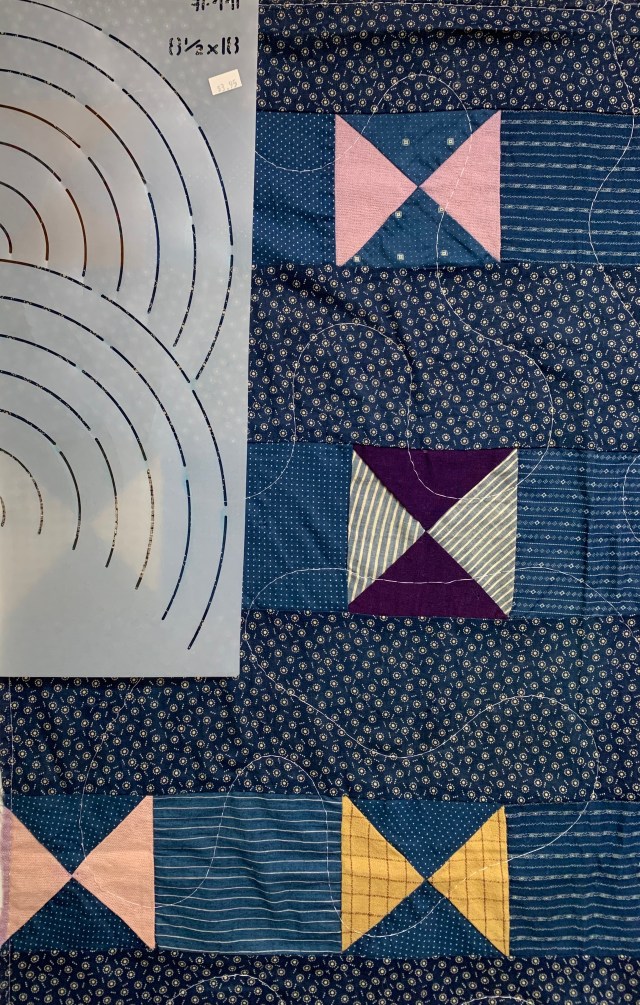
Or the big ones that I love so well.
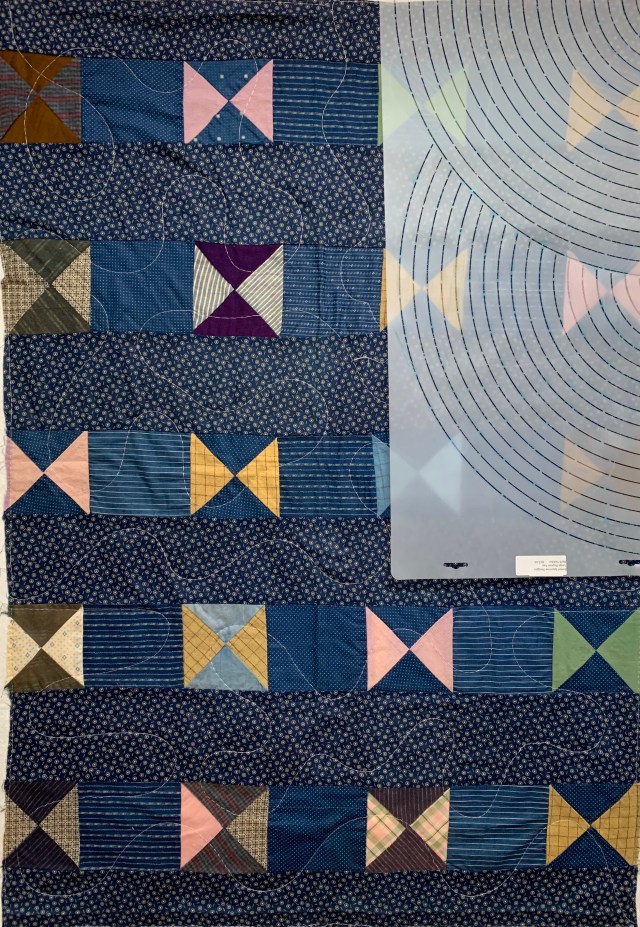
Or I could do something totally different. But I don’t want to think too hard…
Have a great day!

















 KatyQuilts