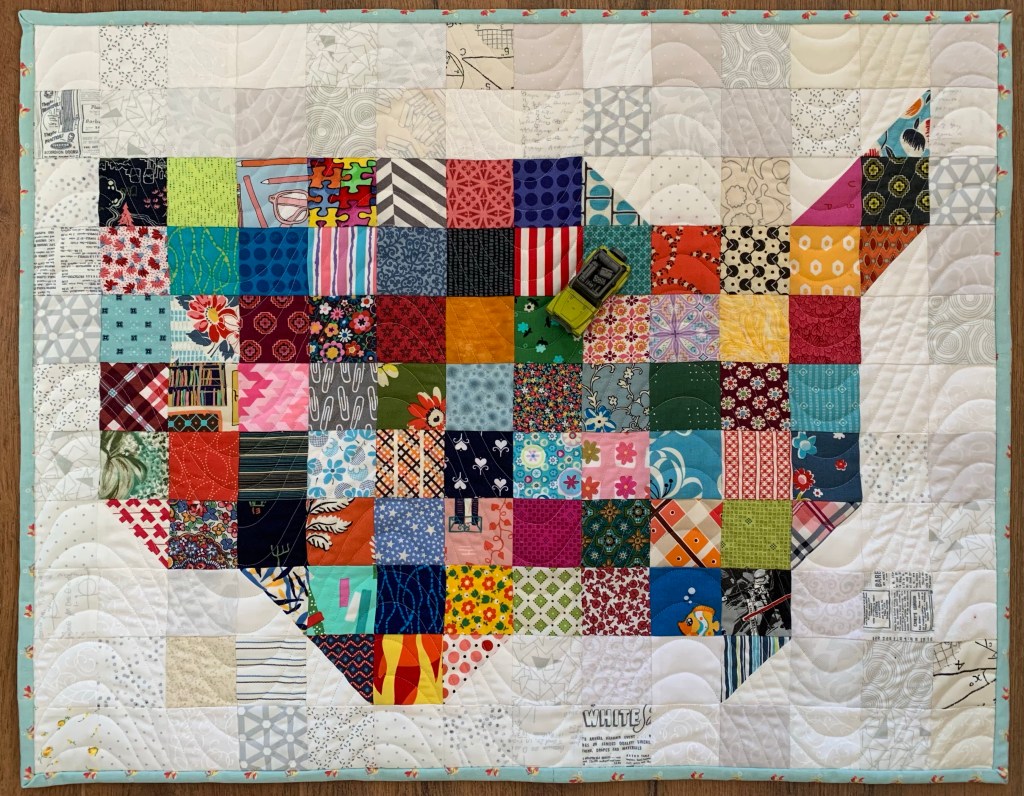
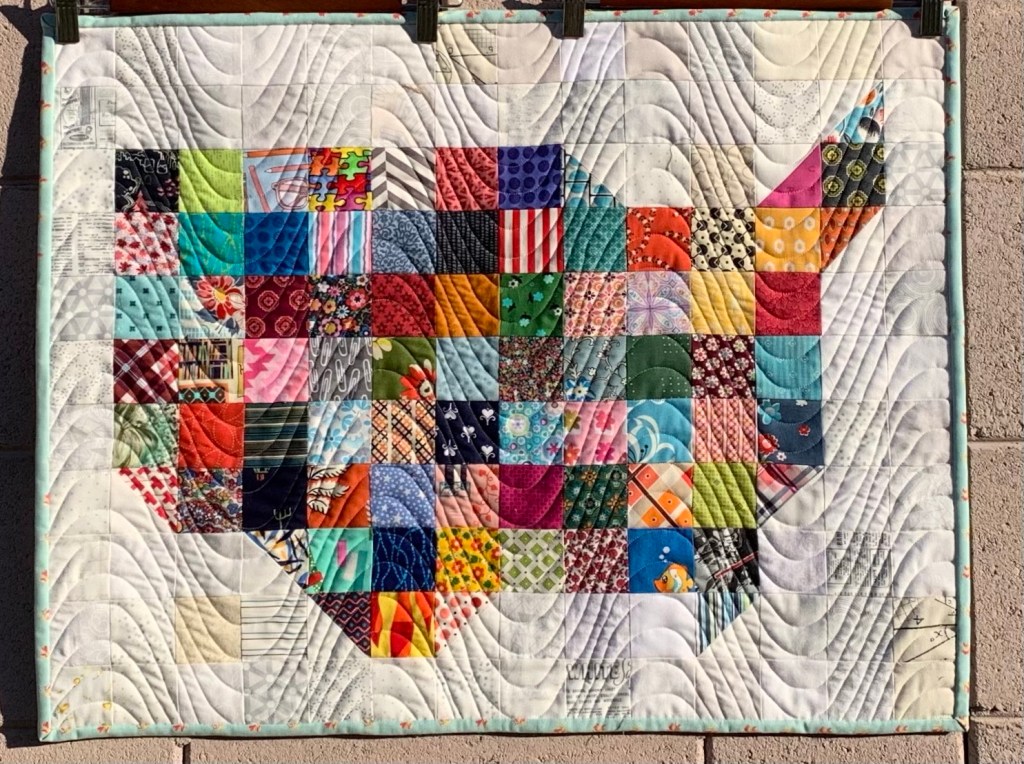
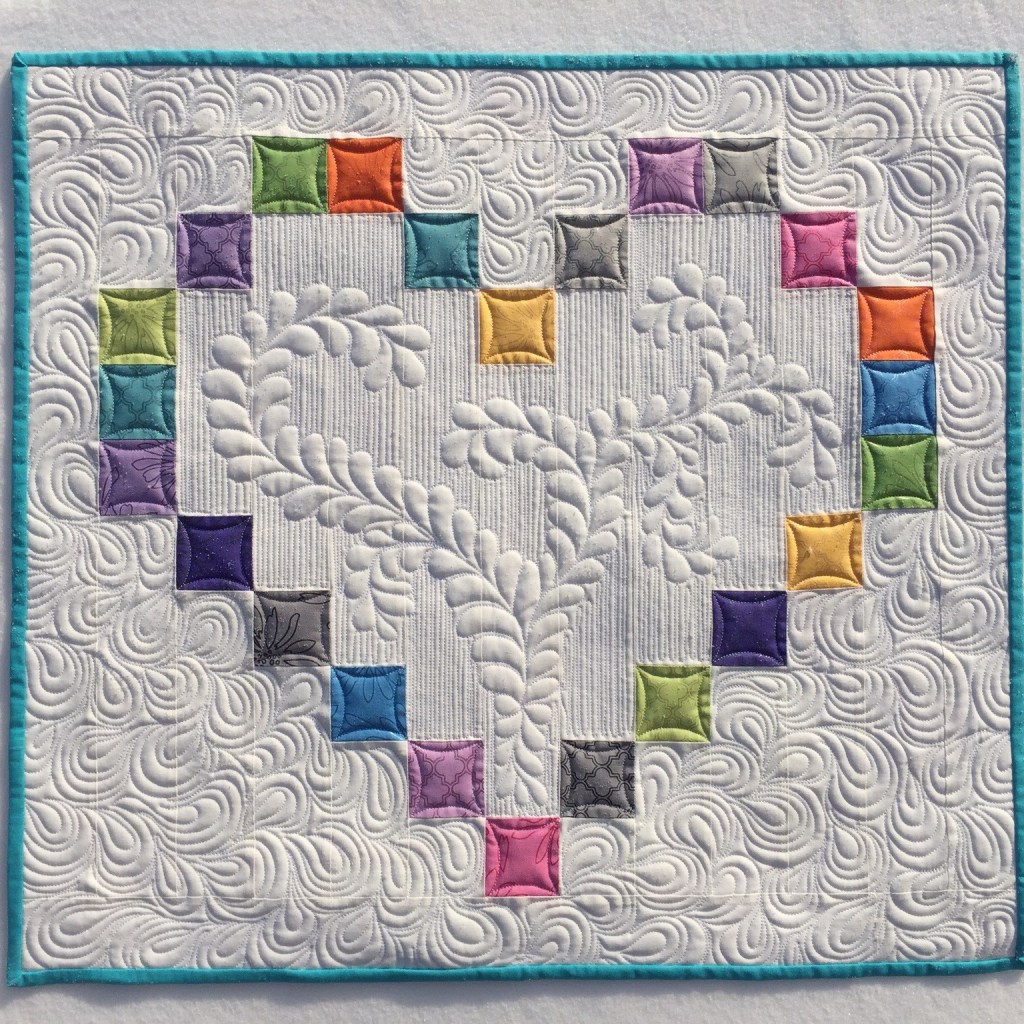
I made this little quilt quite a few years ago now, but those that have seen it seem to really enjoy it. So I thought I’d make and share a new version today, along with a quick tutorial so you can make your own. It’s my little Valentine to all of my dear readers.
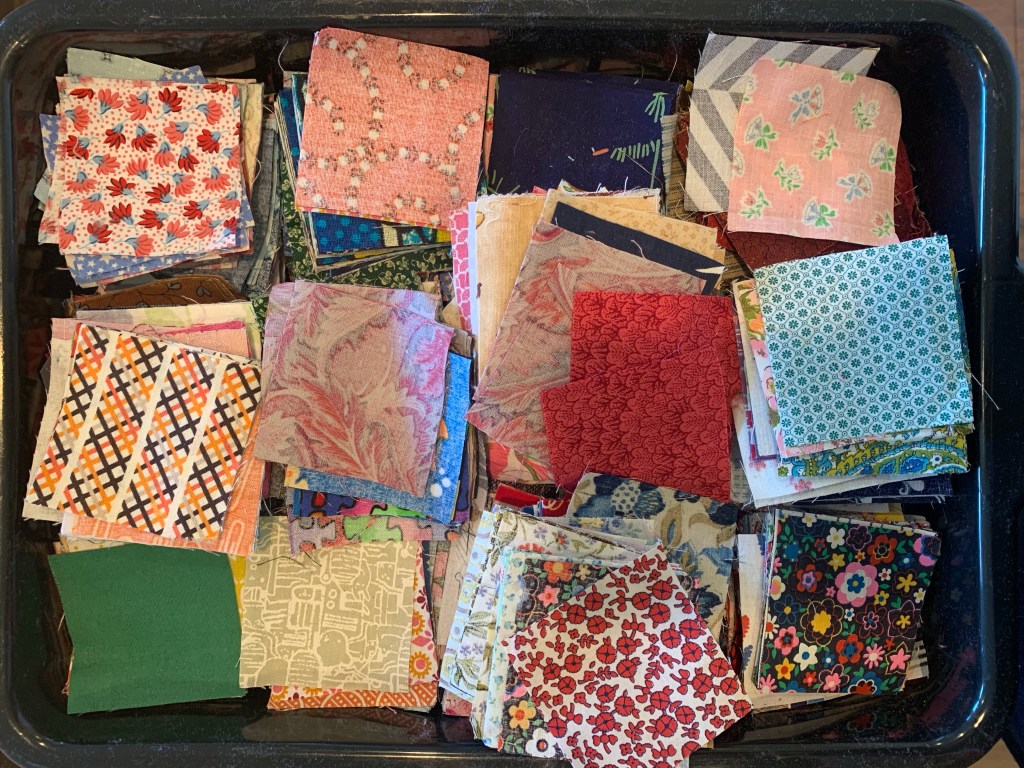
You will need about 2/3 of a yard of background fabric and 24 – 2 1/2” squares (A) in any colors you want.
Cut your background fabric into 8 – 2 1/2 by WOF strips.
Subcut your background strips as follows. I recommend cutting the longest pieces first.
B Cut 6 – 2 1/2 inch squares
C Cut 5 – 2 1/2 by 4 1/2 inches
D Cut 4 – 2 1/2 by 6 1/2 inches
E Cut 2 – 2 1/2 by 8 1/2 inches
F Cut 4 – 2 1/2 by 10 1/2 inches
G Cut 5 – 2 1/2 by 12 1/2 inches
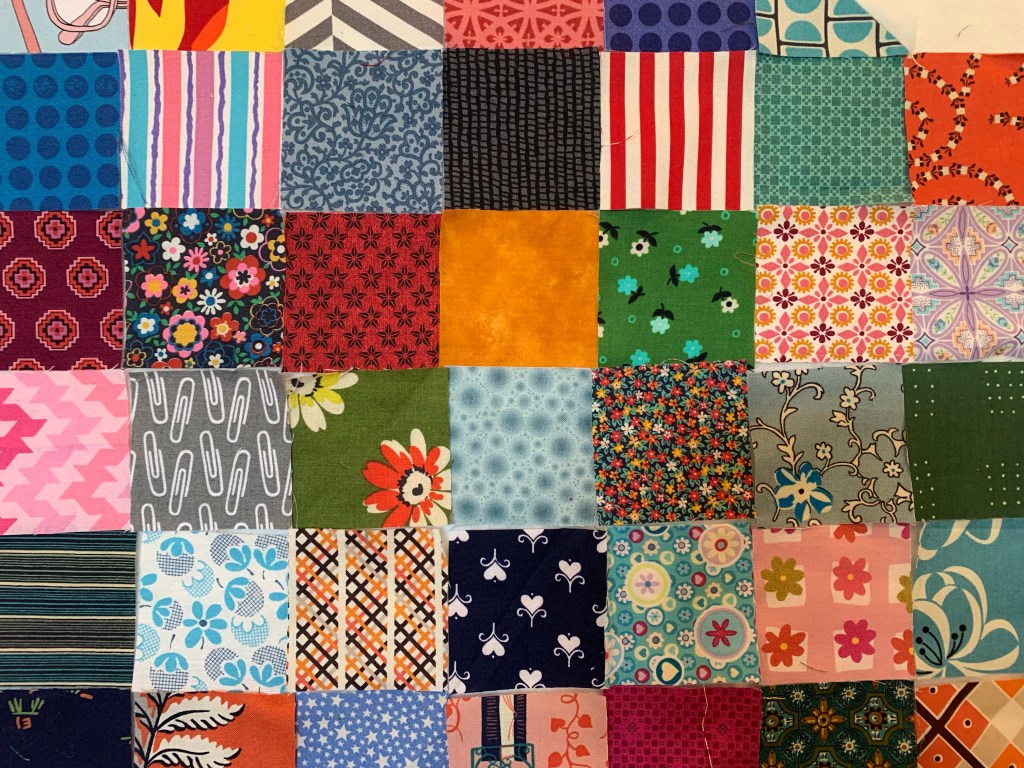
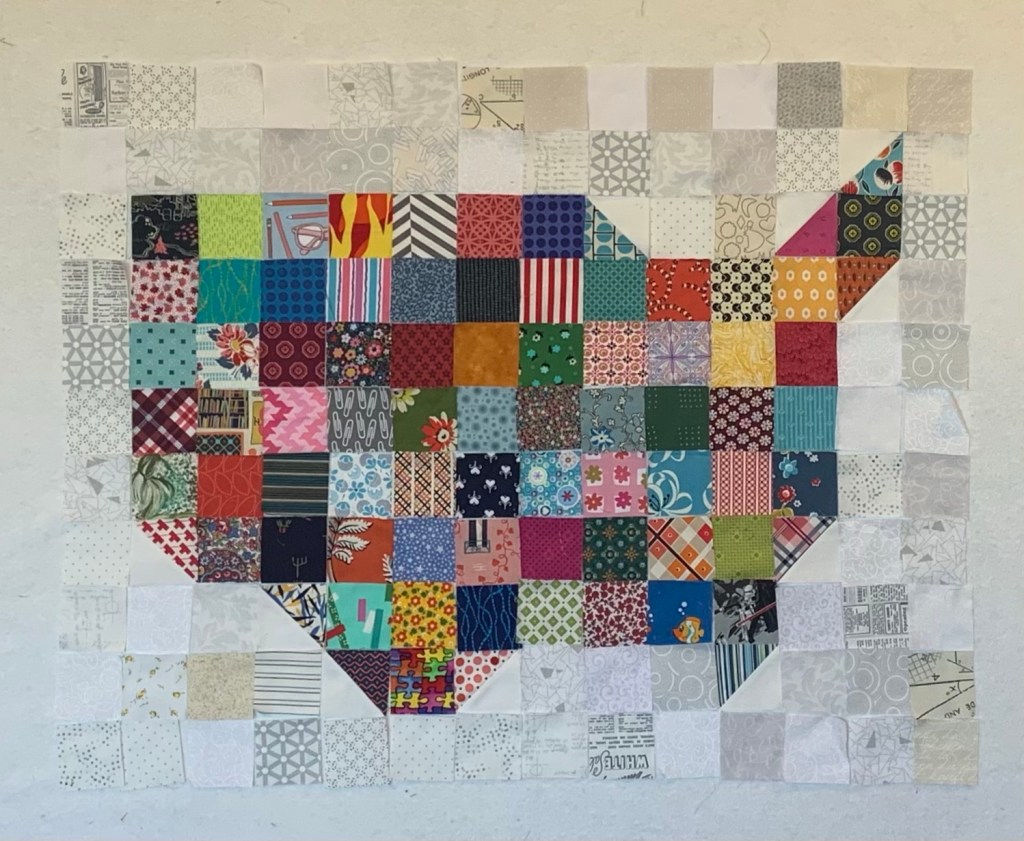
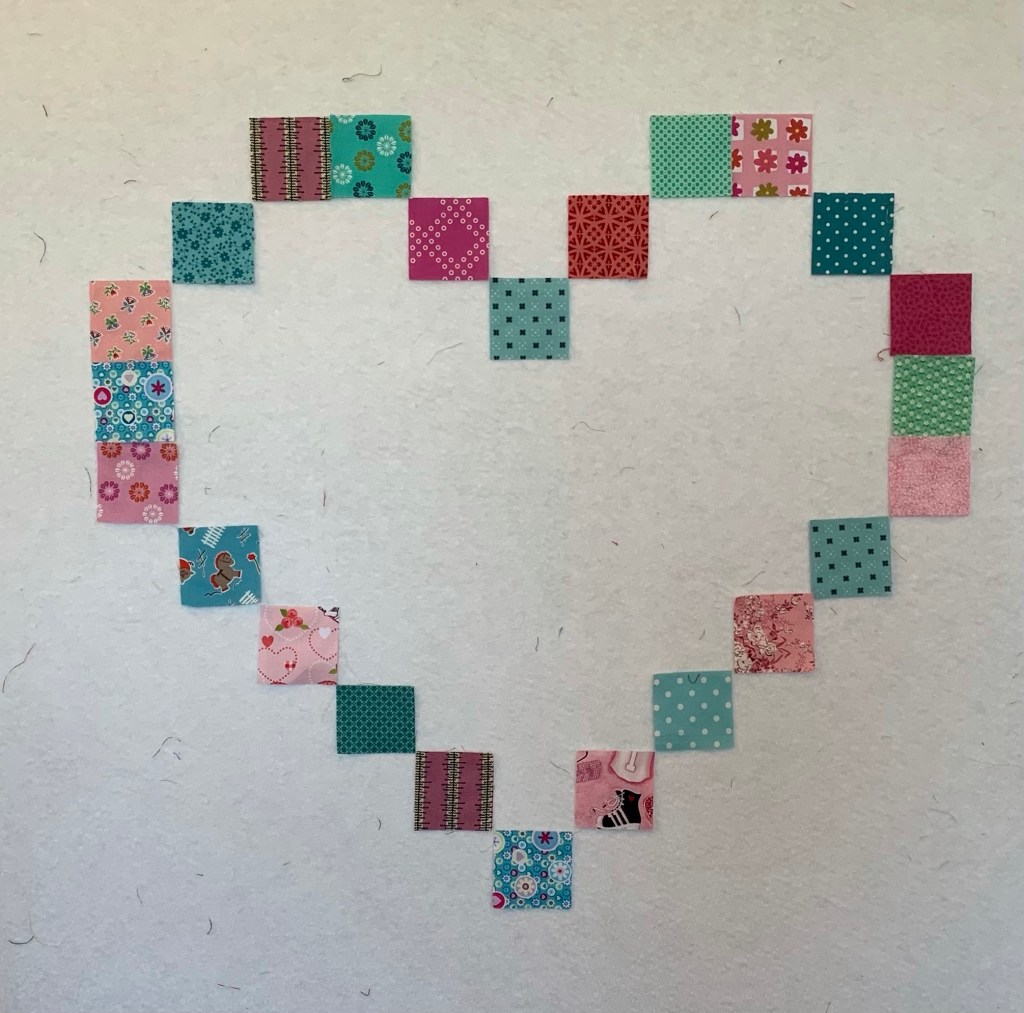
Lay out your colored squares as shown below.
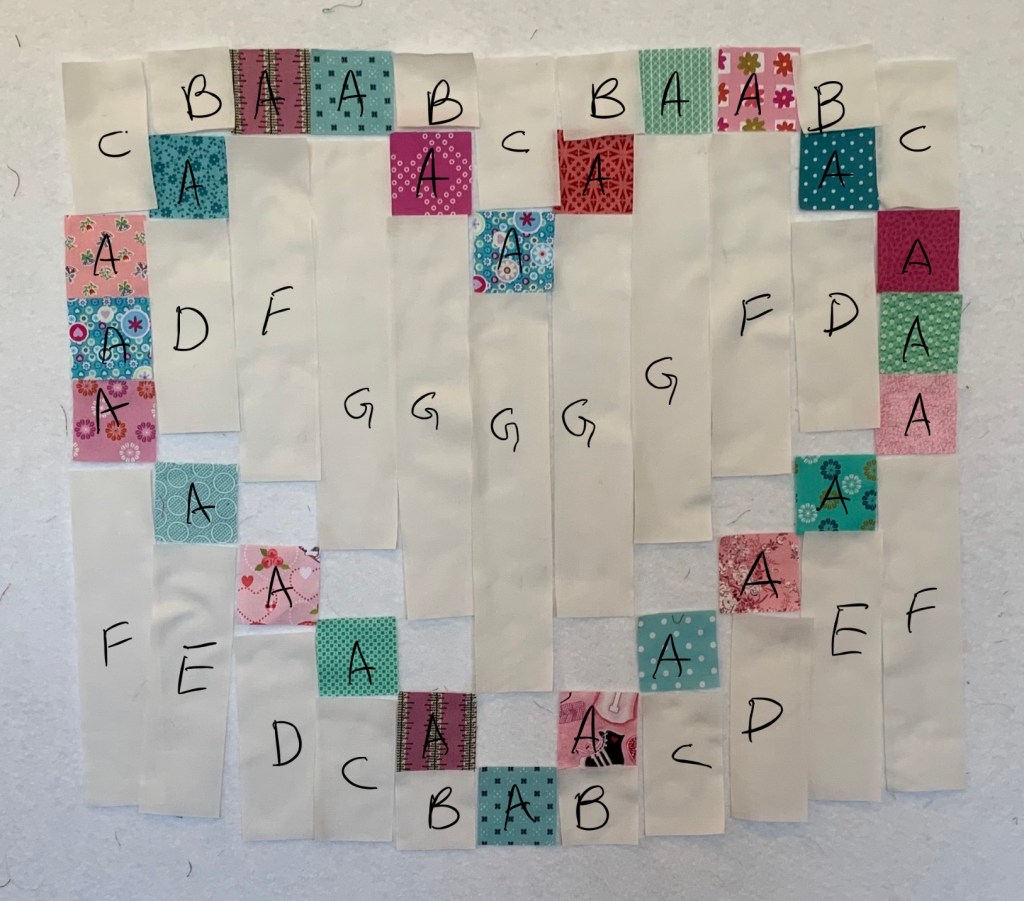
Then place background pieces in their positions as follows.
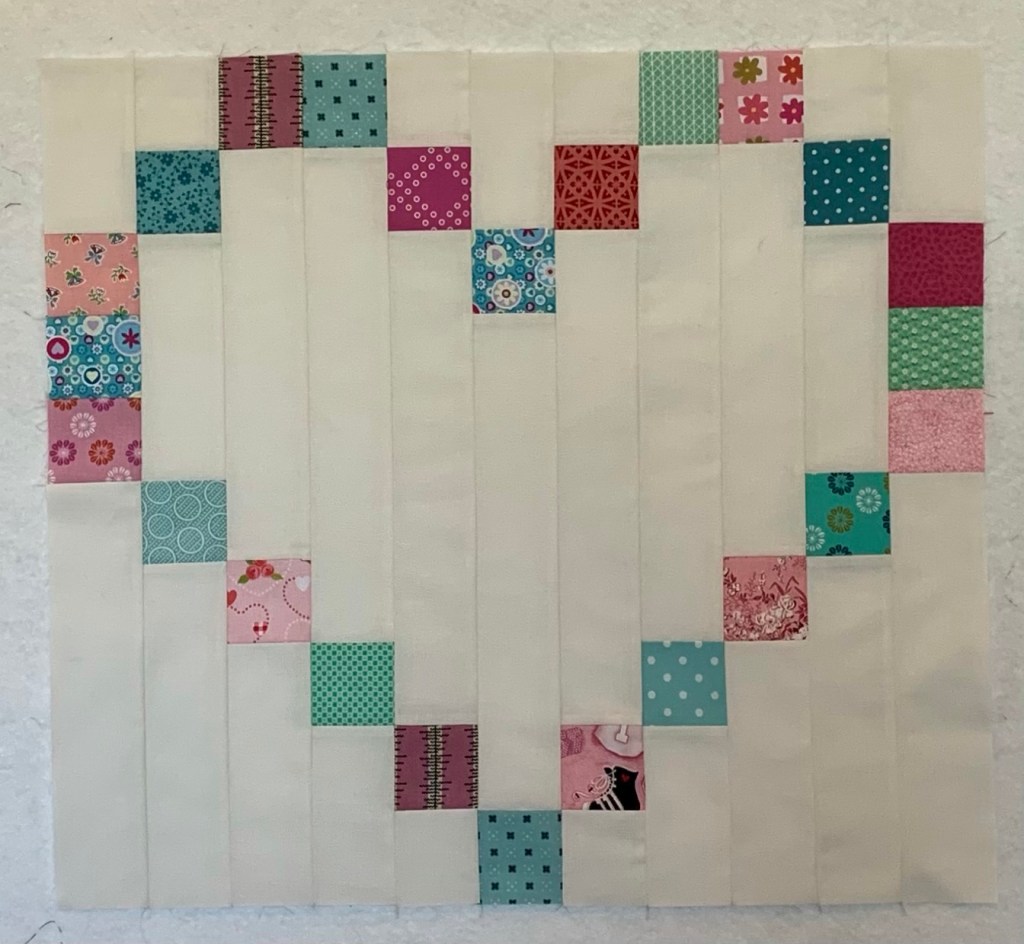
Sew pieces into columns. Press seams in each column in opposite directions. Next, sew your columns together.
Cut side borders 2 1/2 by 20 1/2 inches and add to each side. Cut top and bottom borders 2 1/2 by 26 1/2 inches and add to top and bottom. Press seams toward the borders.
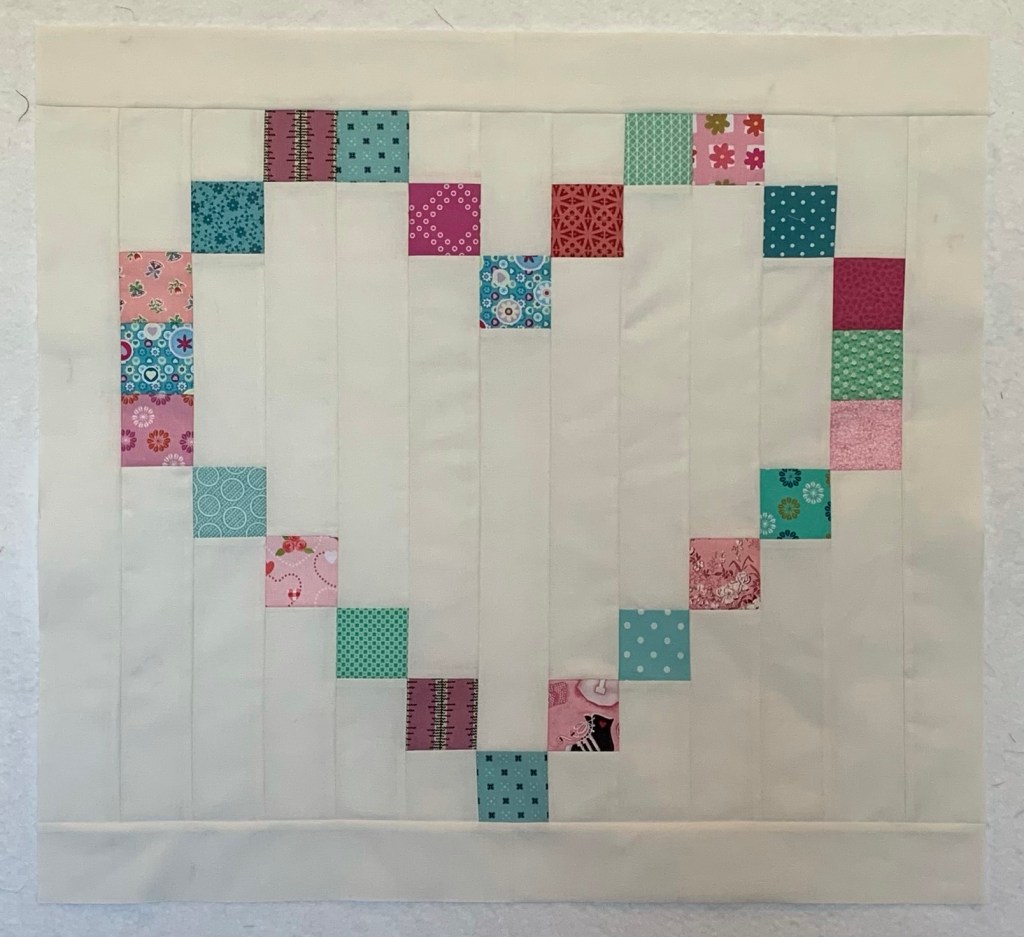
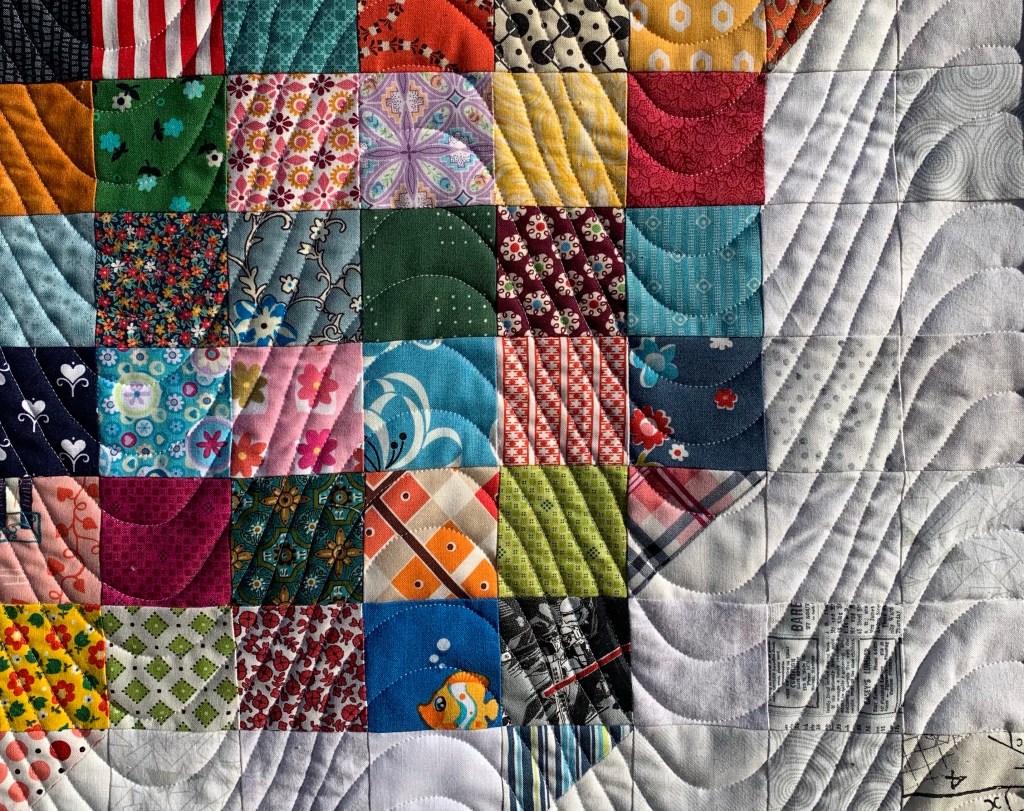
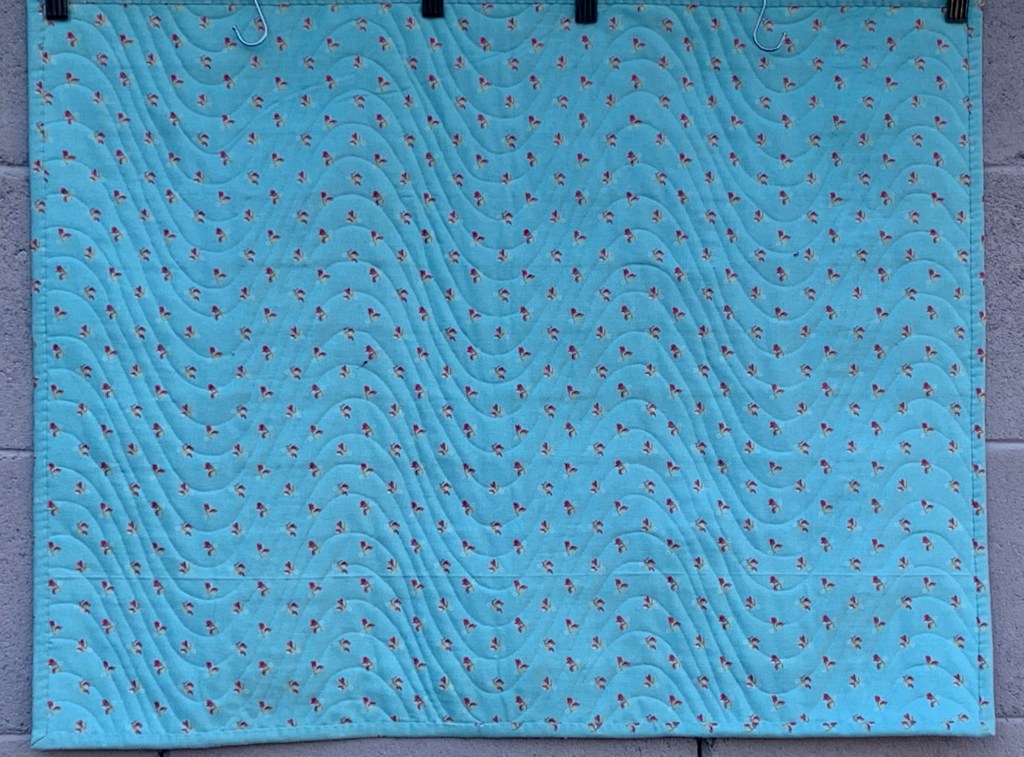
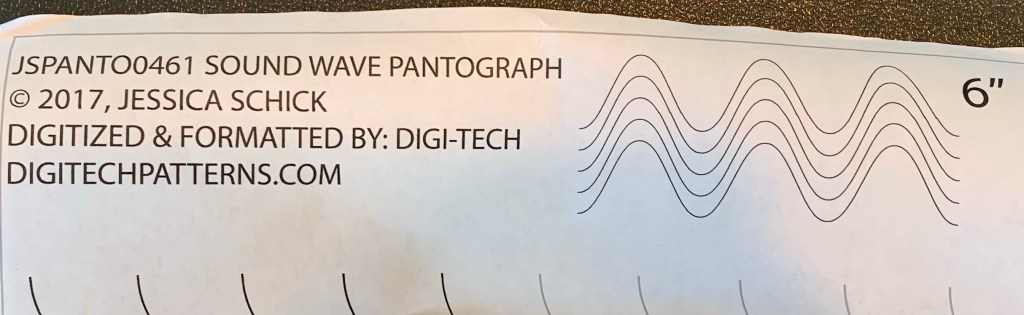
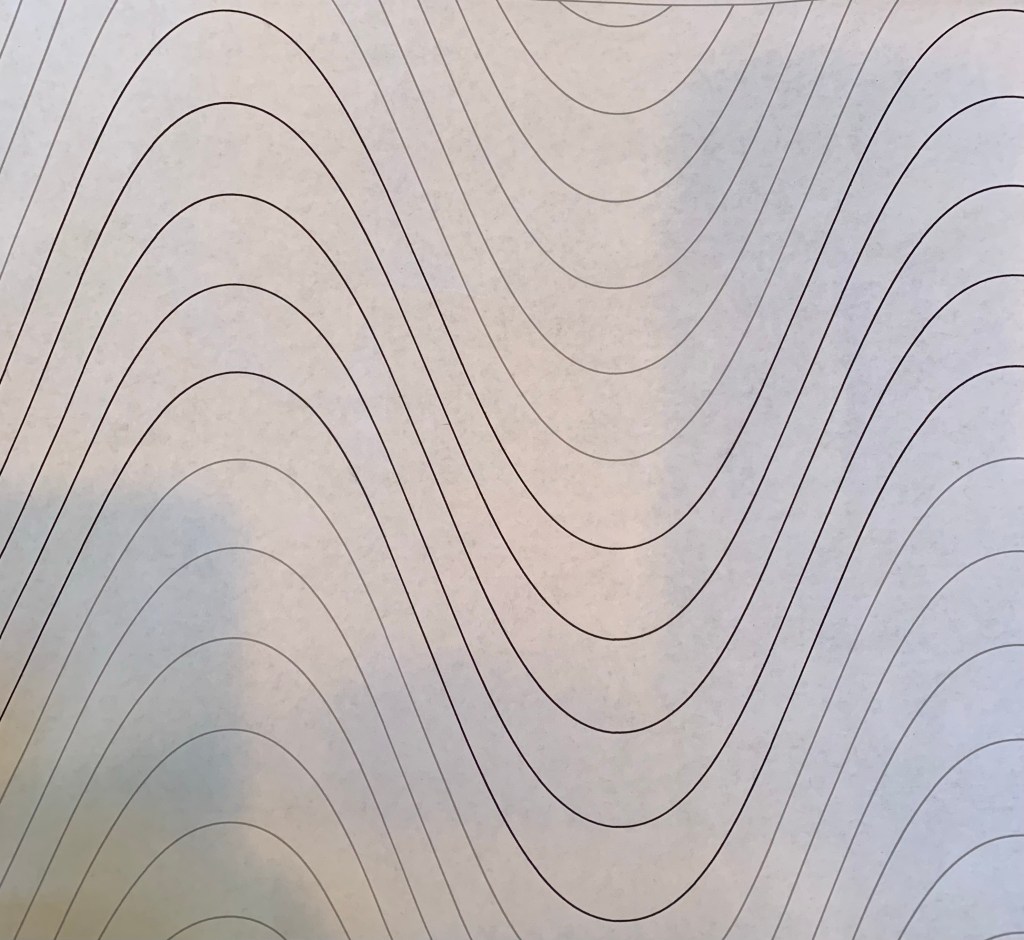
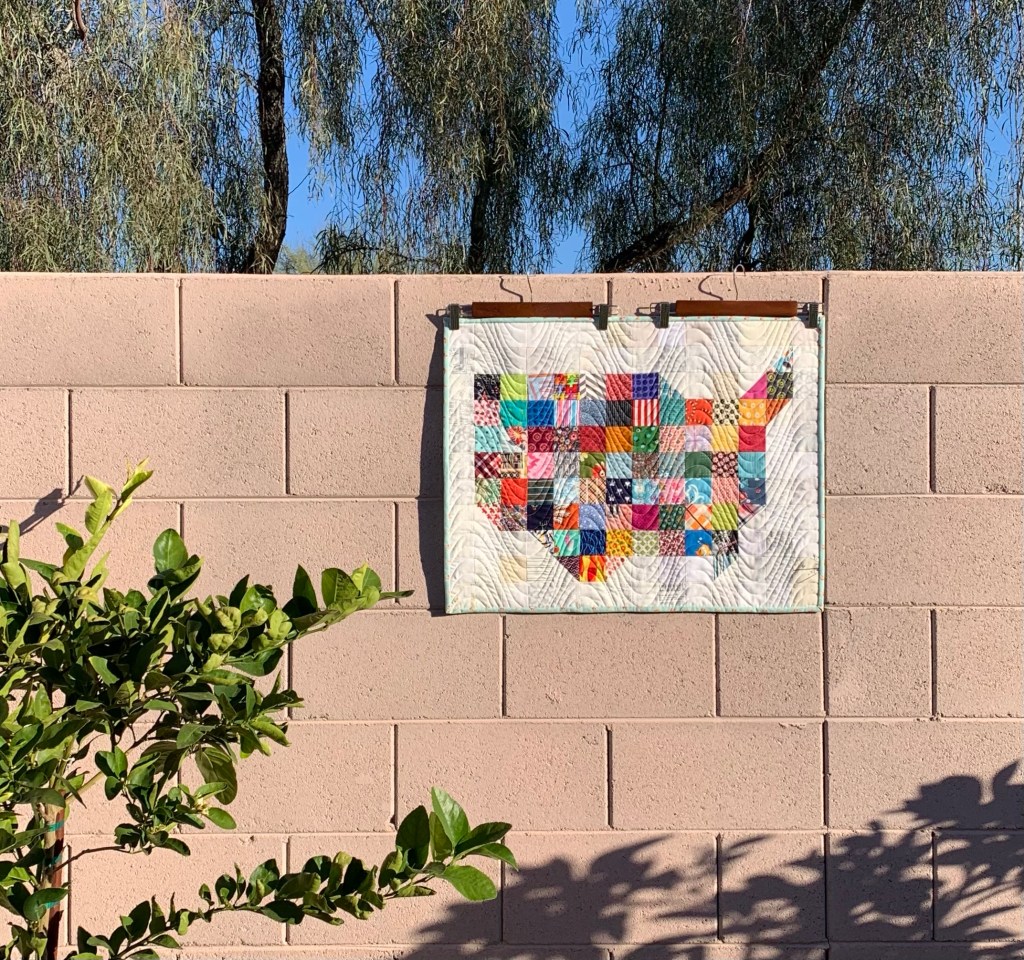
Quilt as desired! And come back on Friday to see my finished Valentine. If you make a quilt using this little tutorial, please post on Instagram and tag me in your post (@katyquilts).
Happy Valentine’s Day!