WIP Wednesday

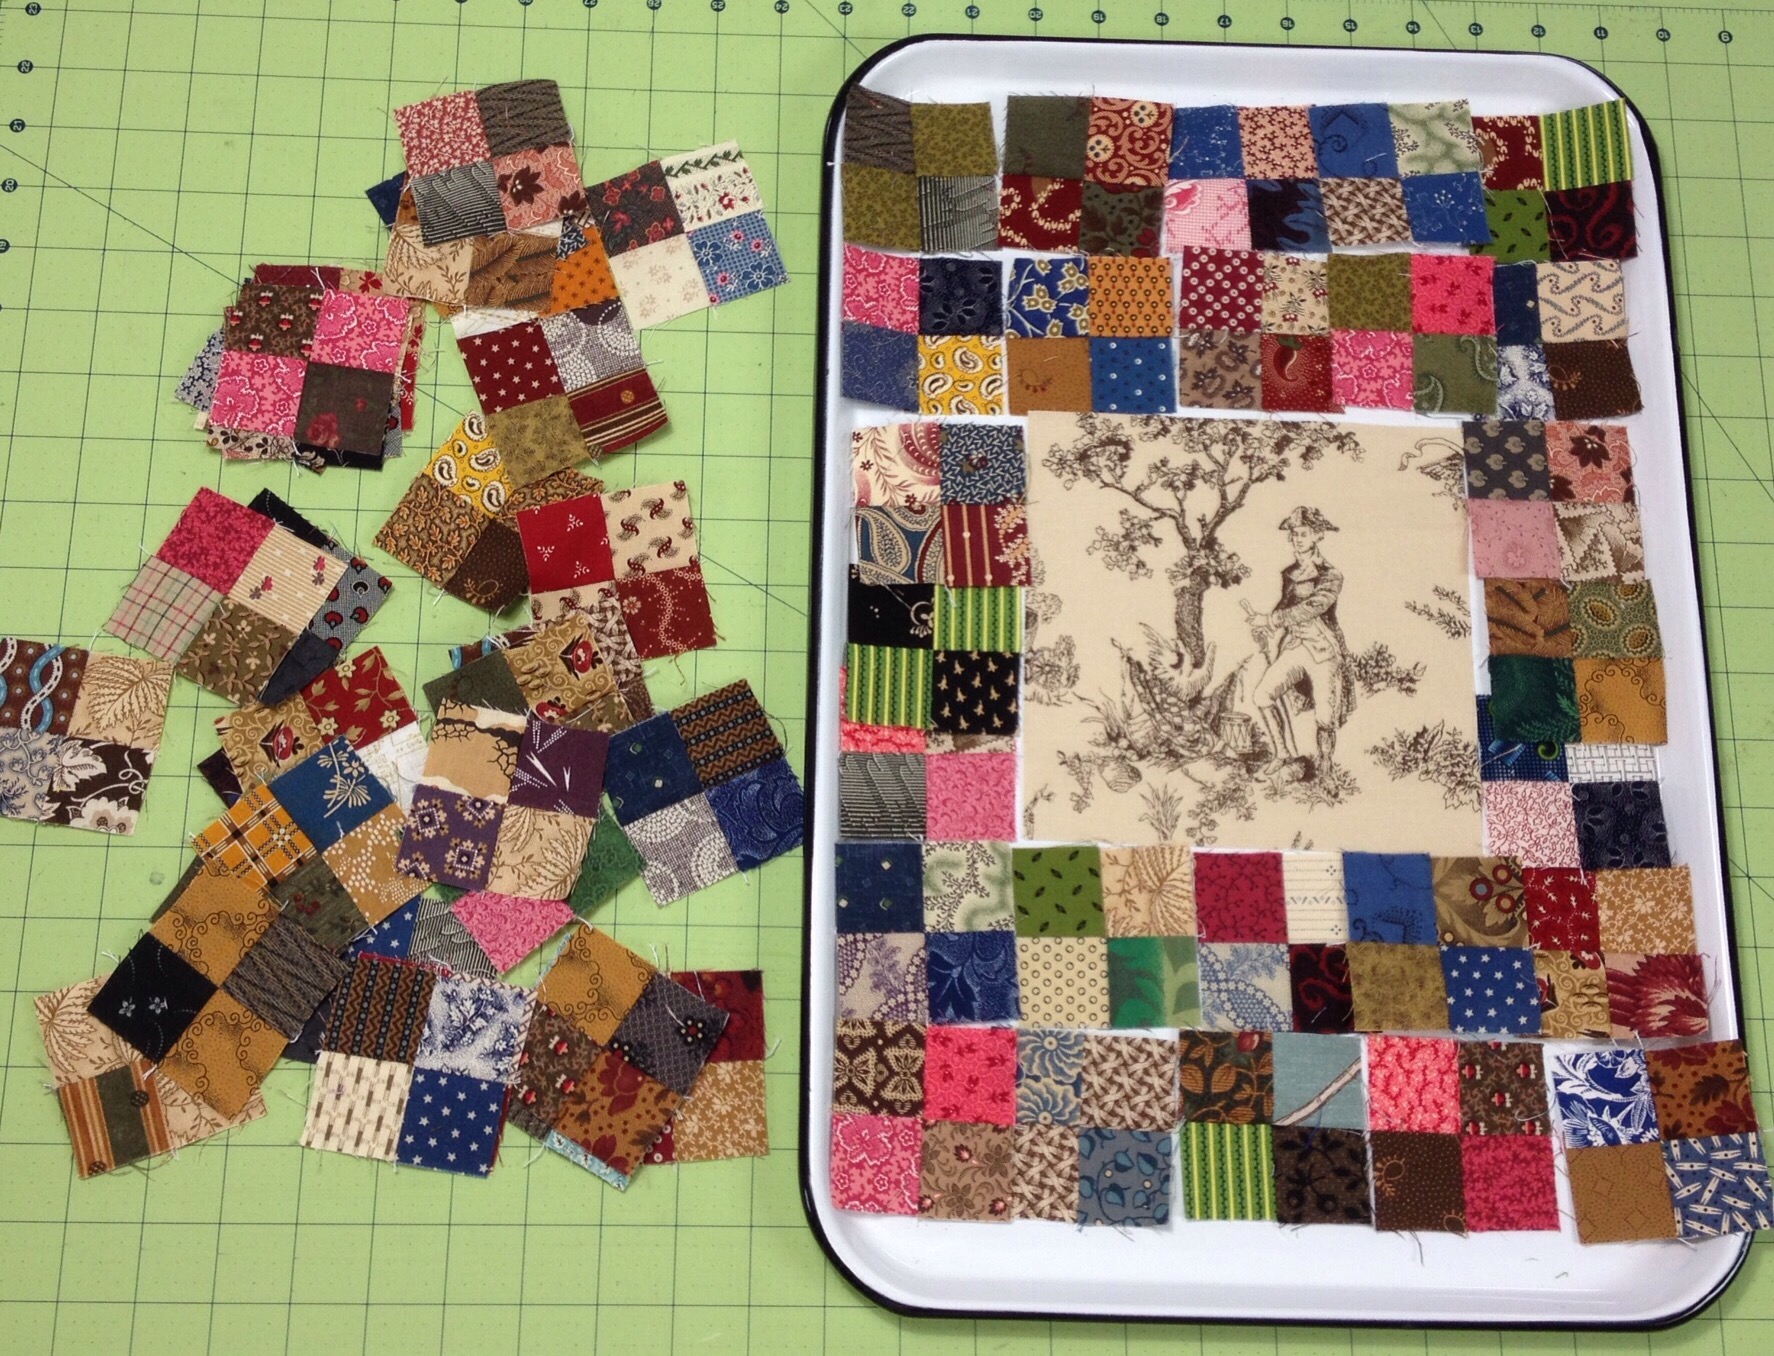
No painting for me yesterday! I did spend a bit of time moving some things around in the newly painted bedroom. And I worked on my new little quilt that I shared yesterday. I started laying out pieces like this. 


And then decided that George needed a frame. I cut and trimmed wrong so ended up adding another. 


I got it quilted and found some leftover binding to finish it off. I got off work at 9 last night and after taking the dog out, settled down with a bit of hand binding with Bonnie.  

Have you ever watched Bonnie Hunter’s (Quiltville) Quilt Cam? First time I heard of it, I thought it odd. Watching someone quilt via web cam? But then I decided to watch one night while sewing in a hotel room when I was traveling alone. And it was rather fun! Bonnie gives tips and tricks as she sews, explains what she is working on etc. it is interesting to see a master at work and Bonnie is so down to earth and fun.

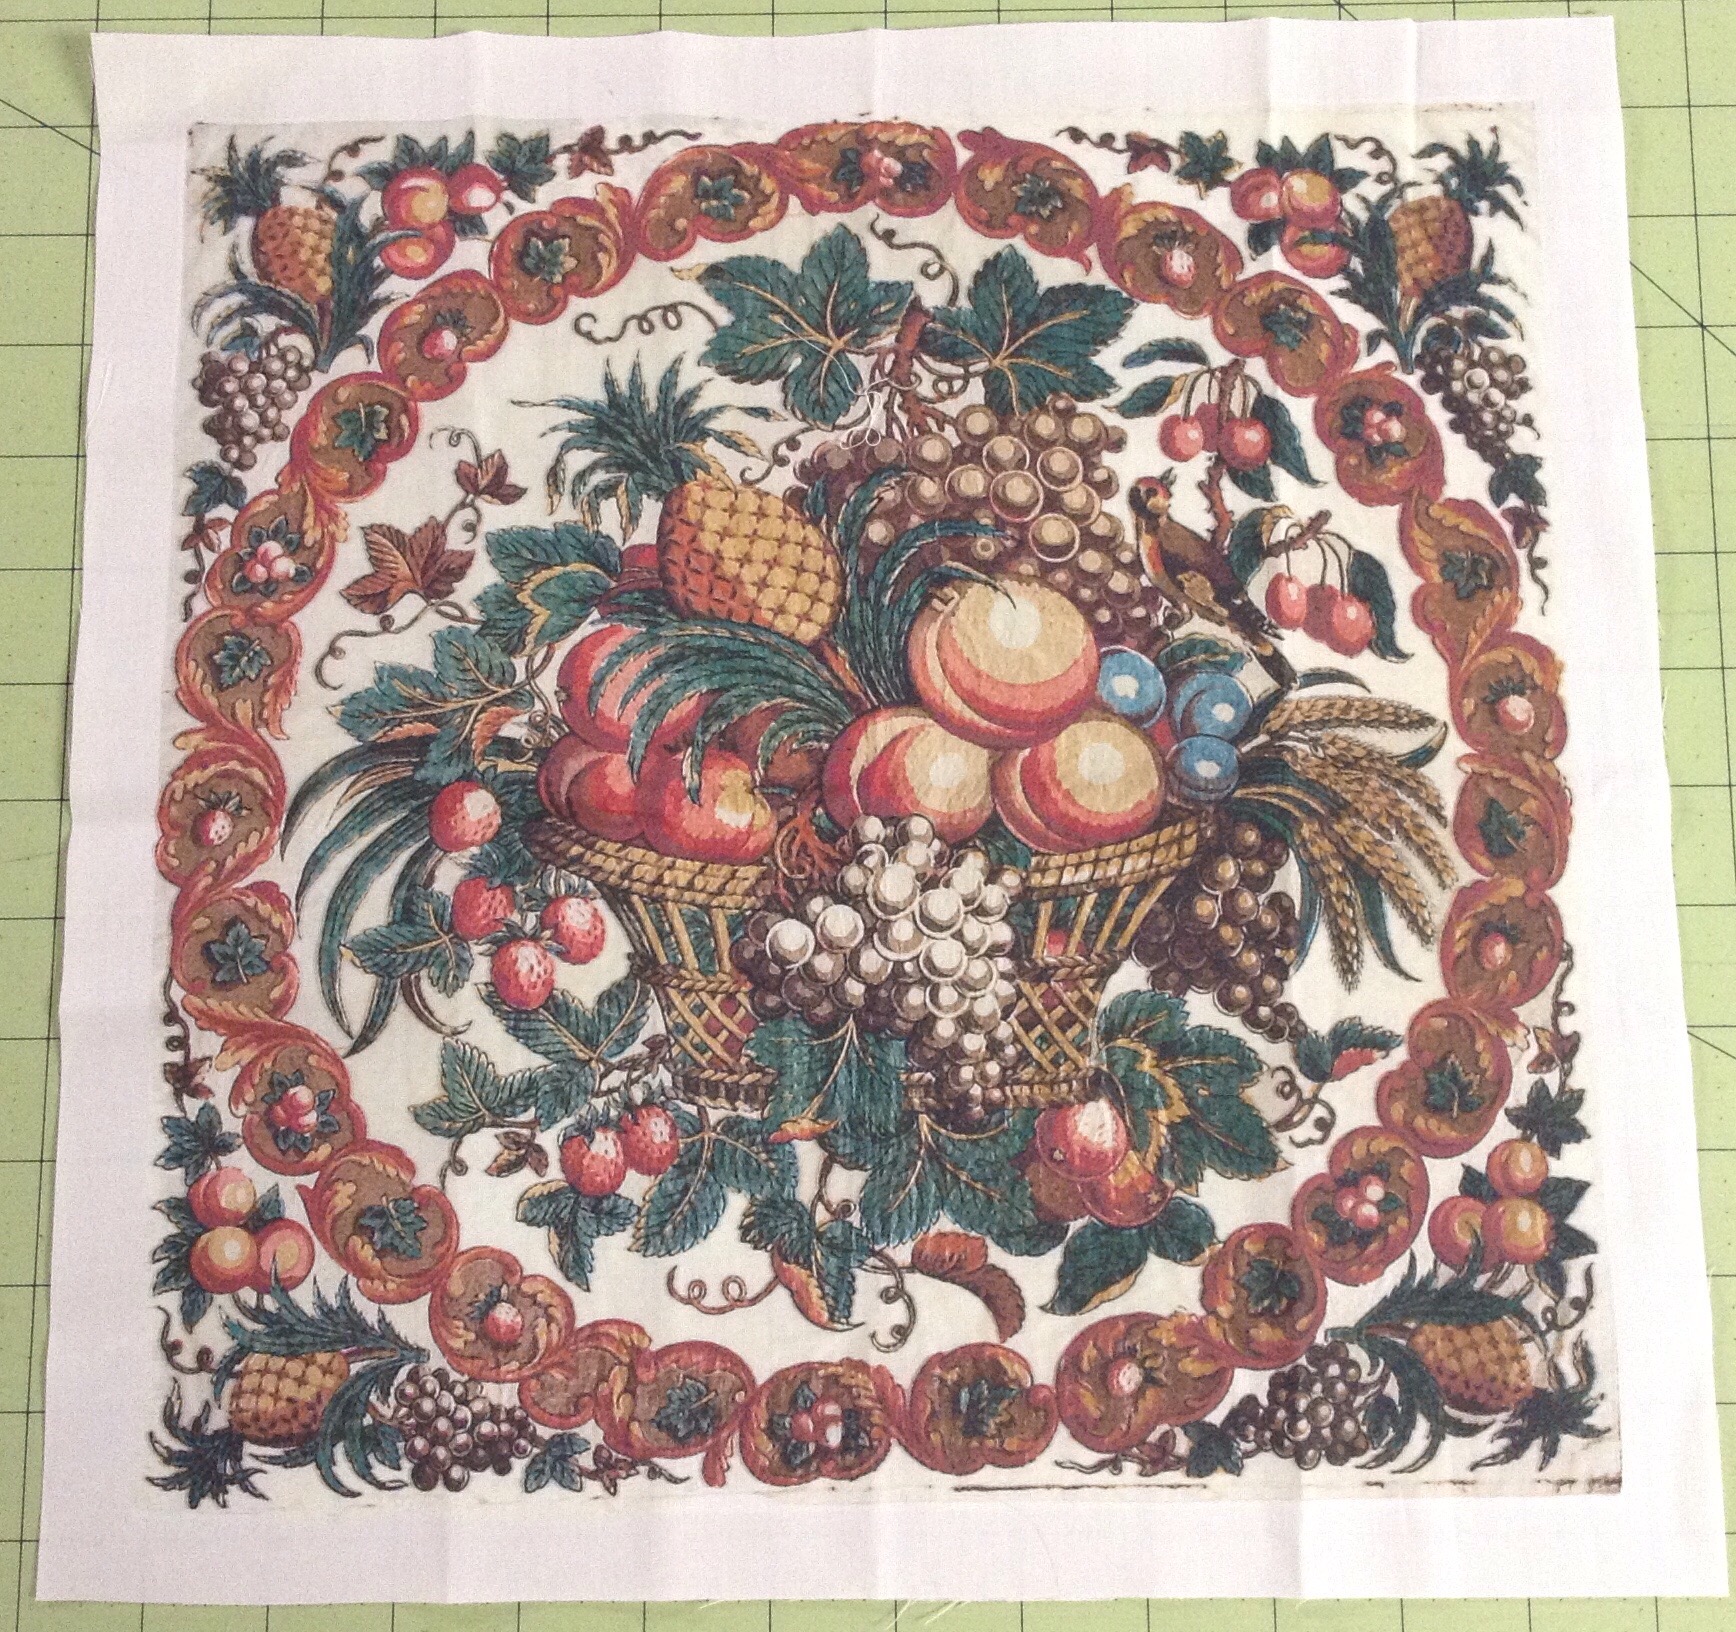
I got a bit of fabric in the mail yesterday for another project.  


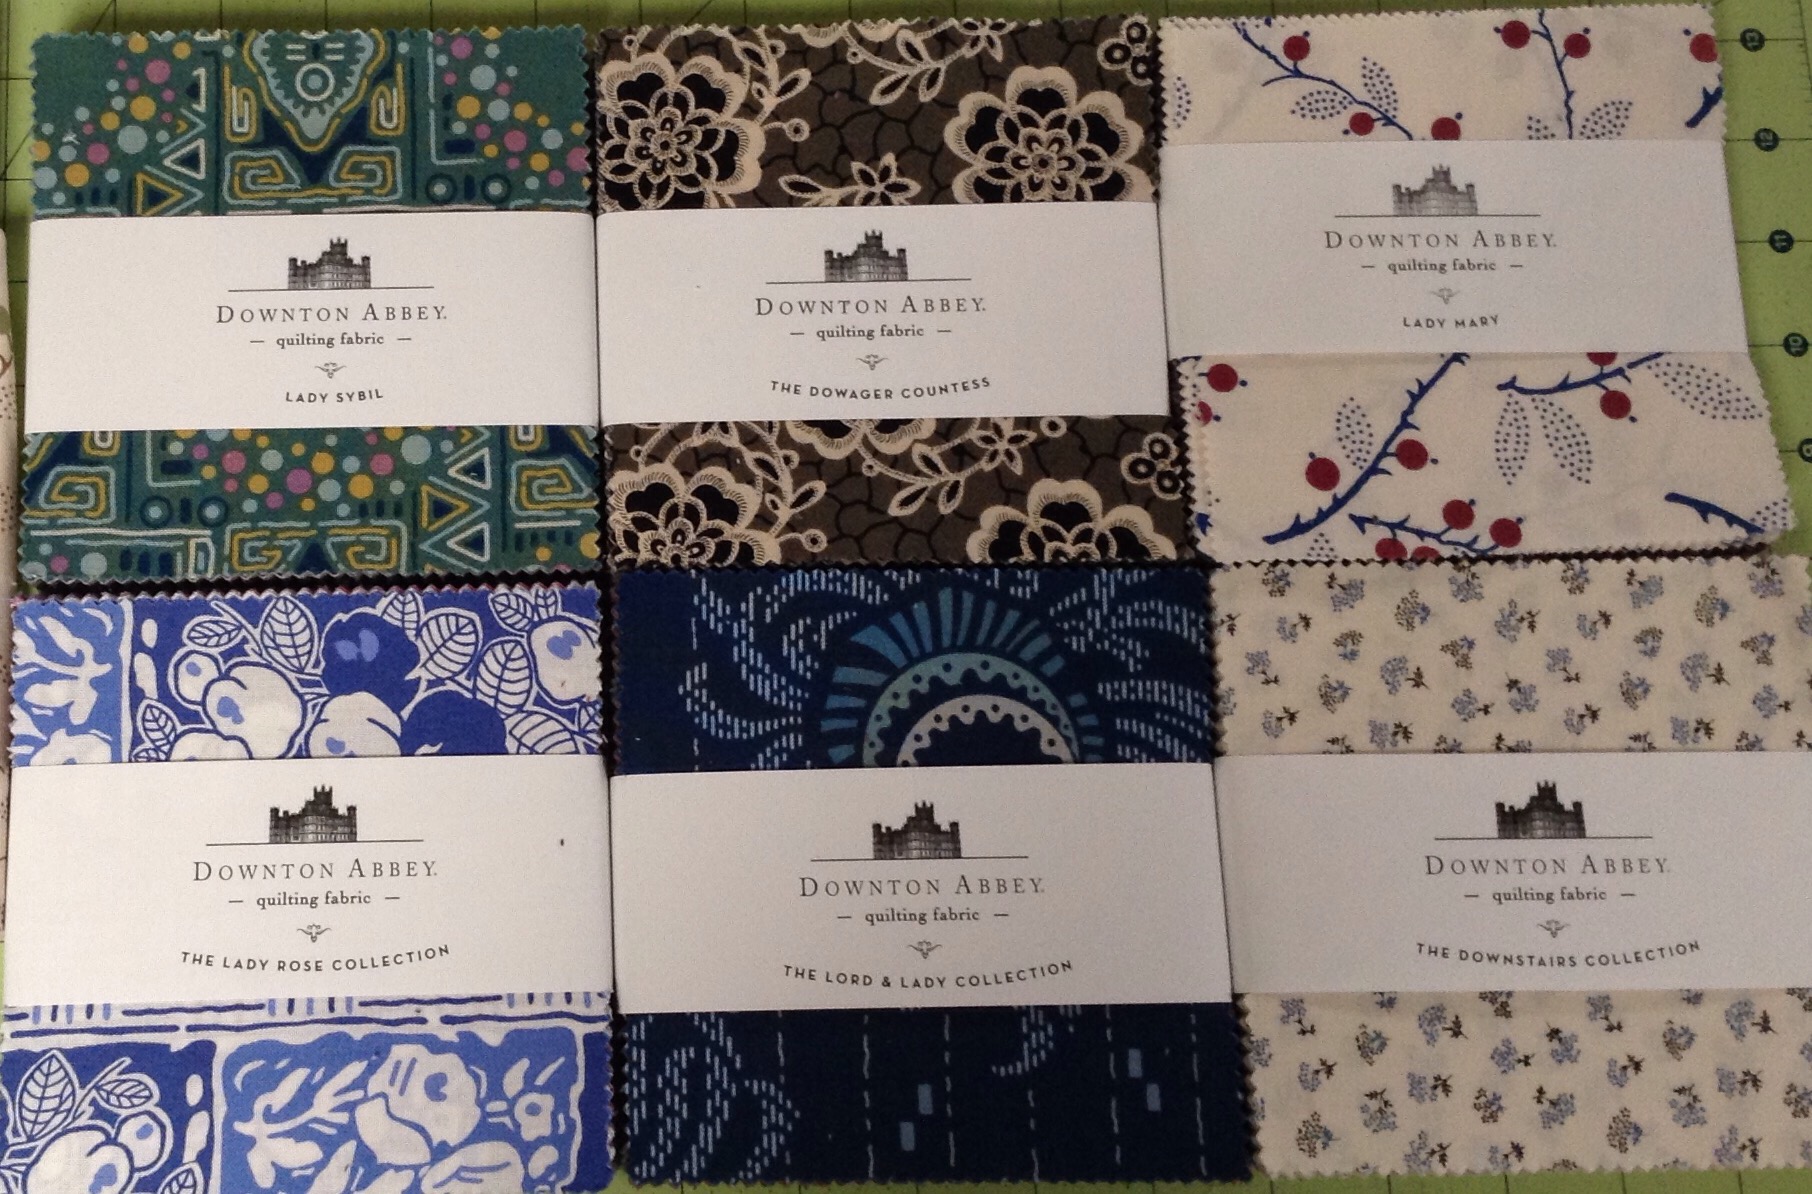
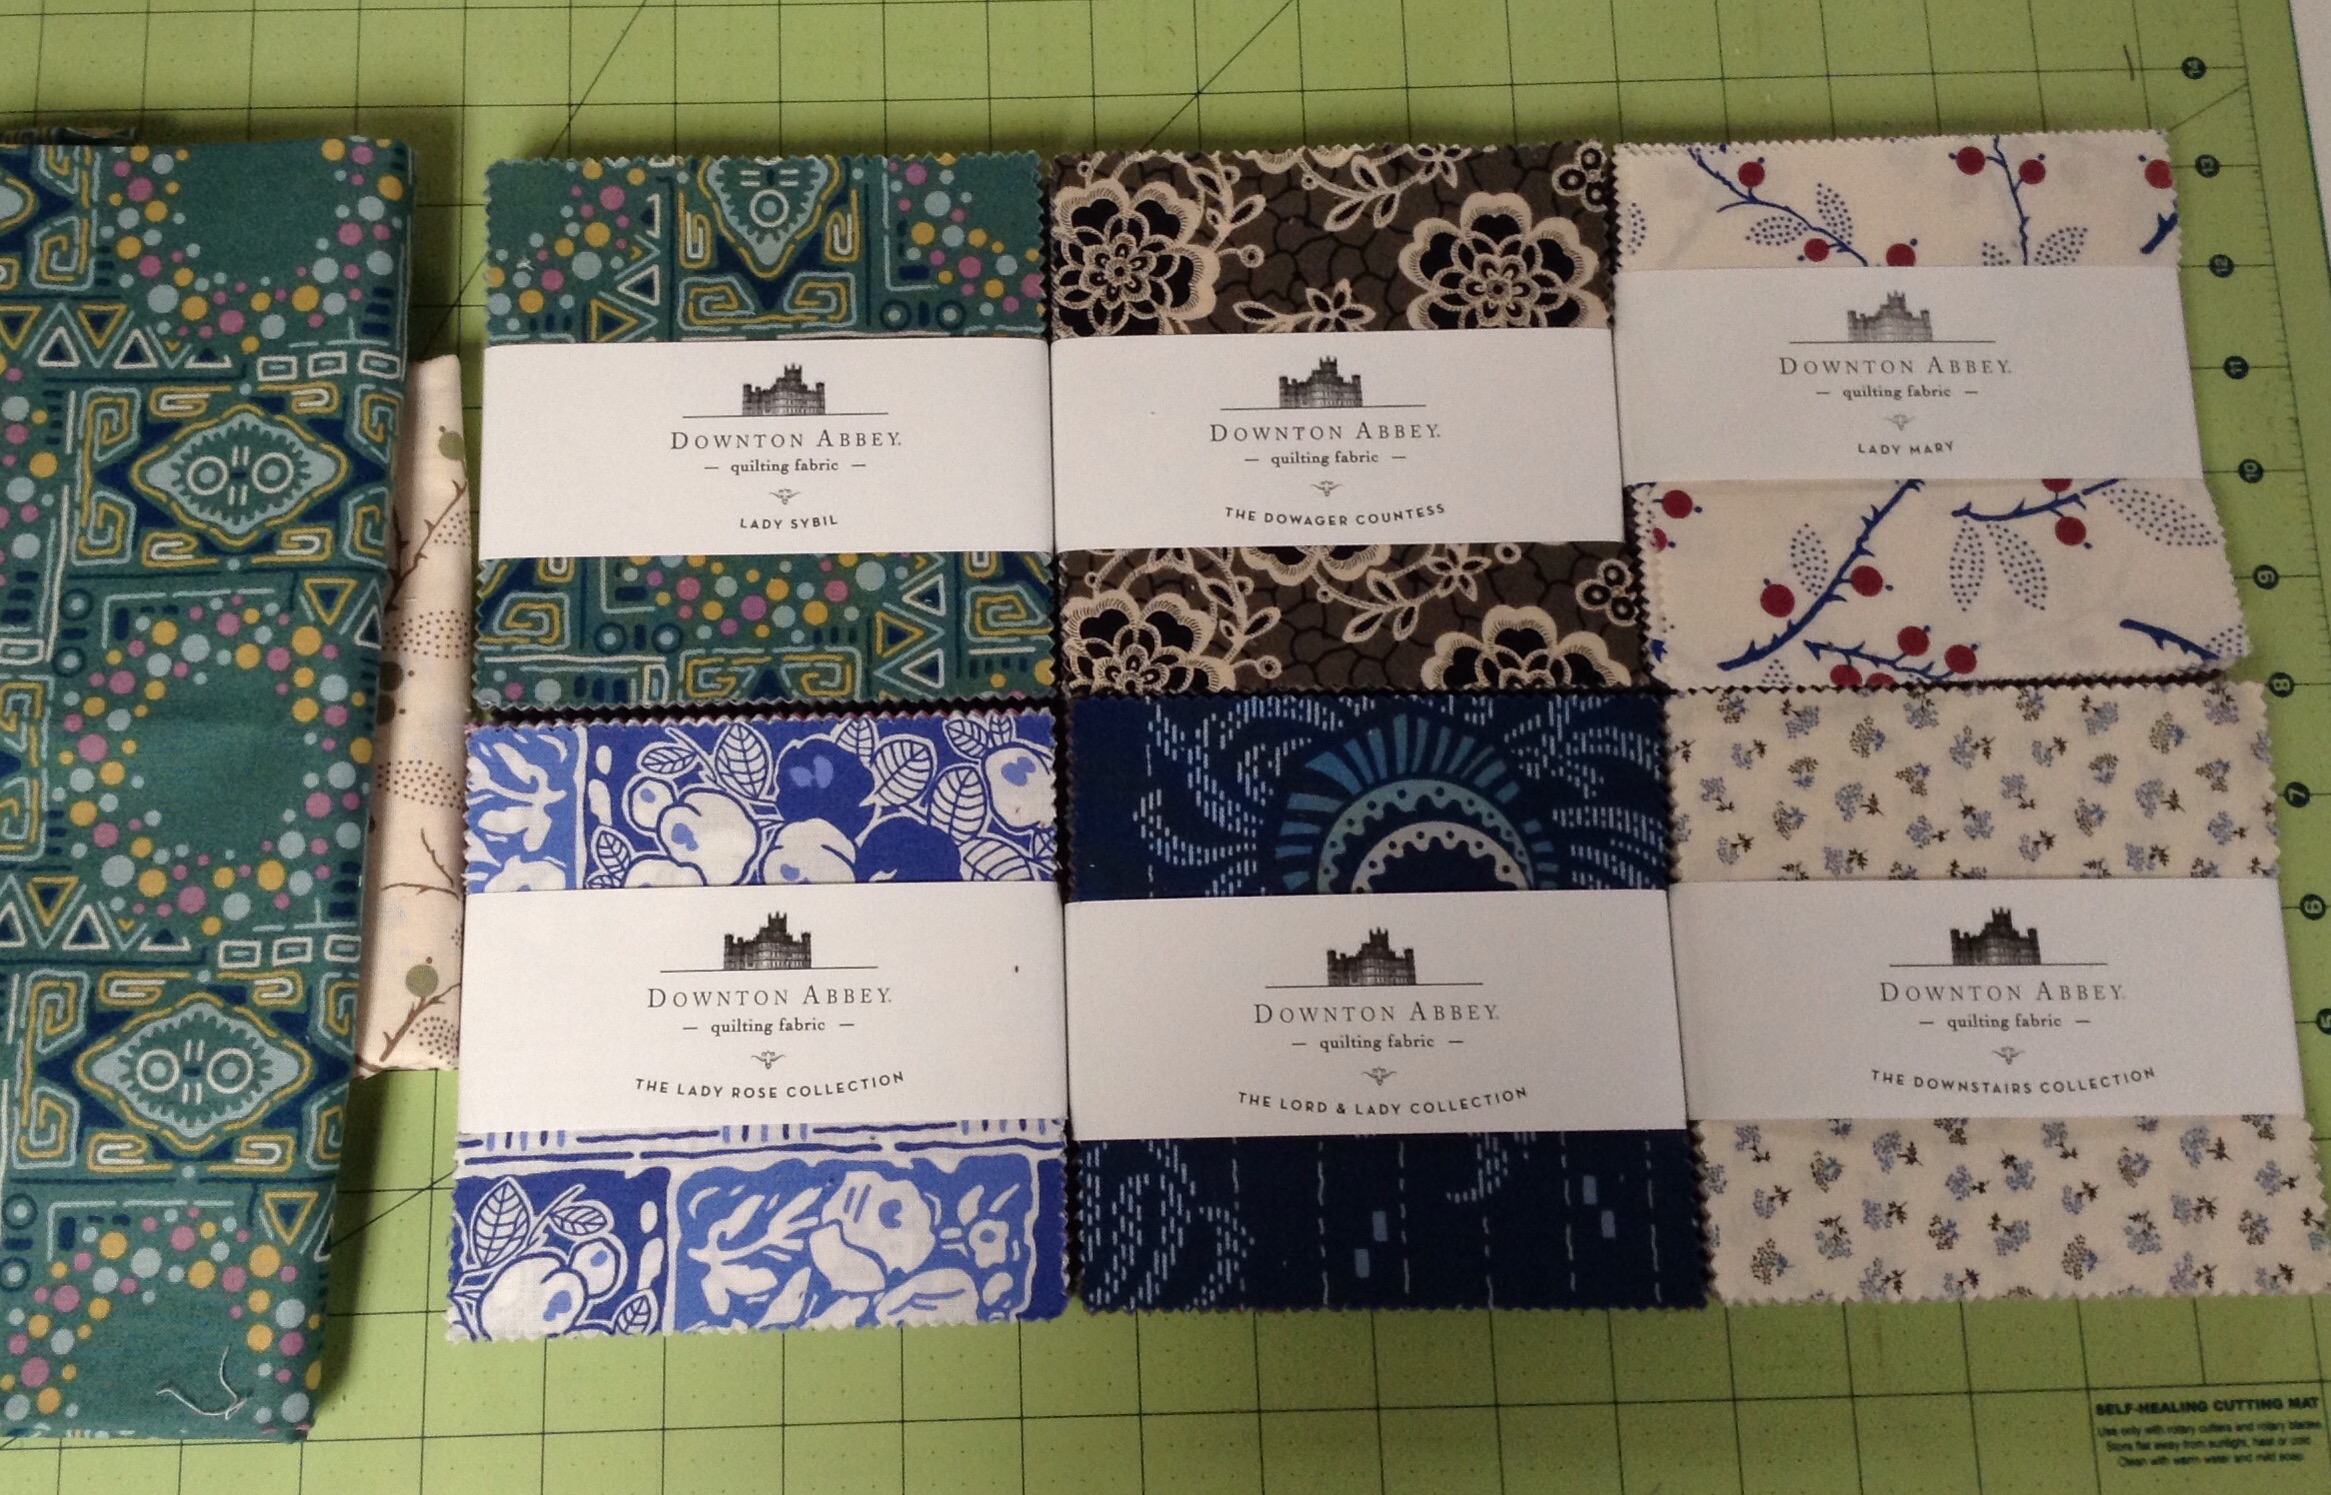
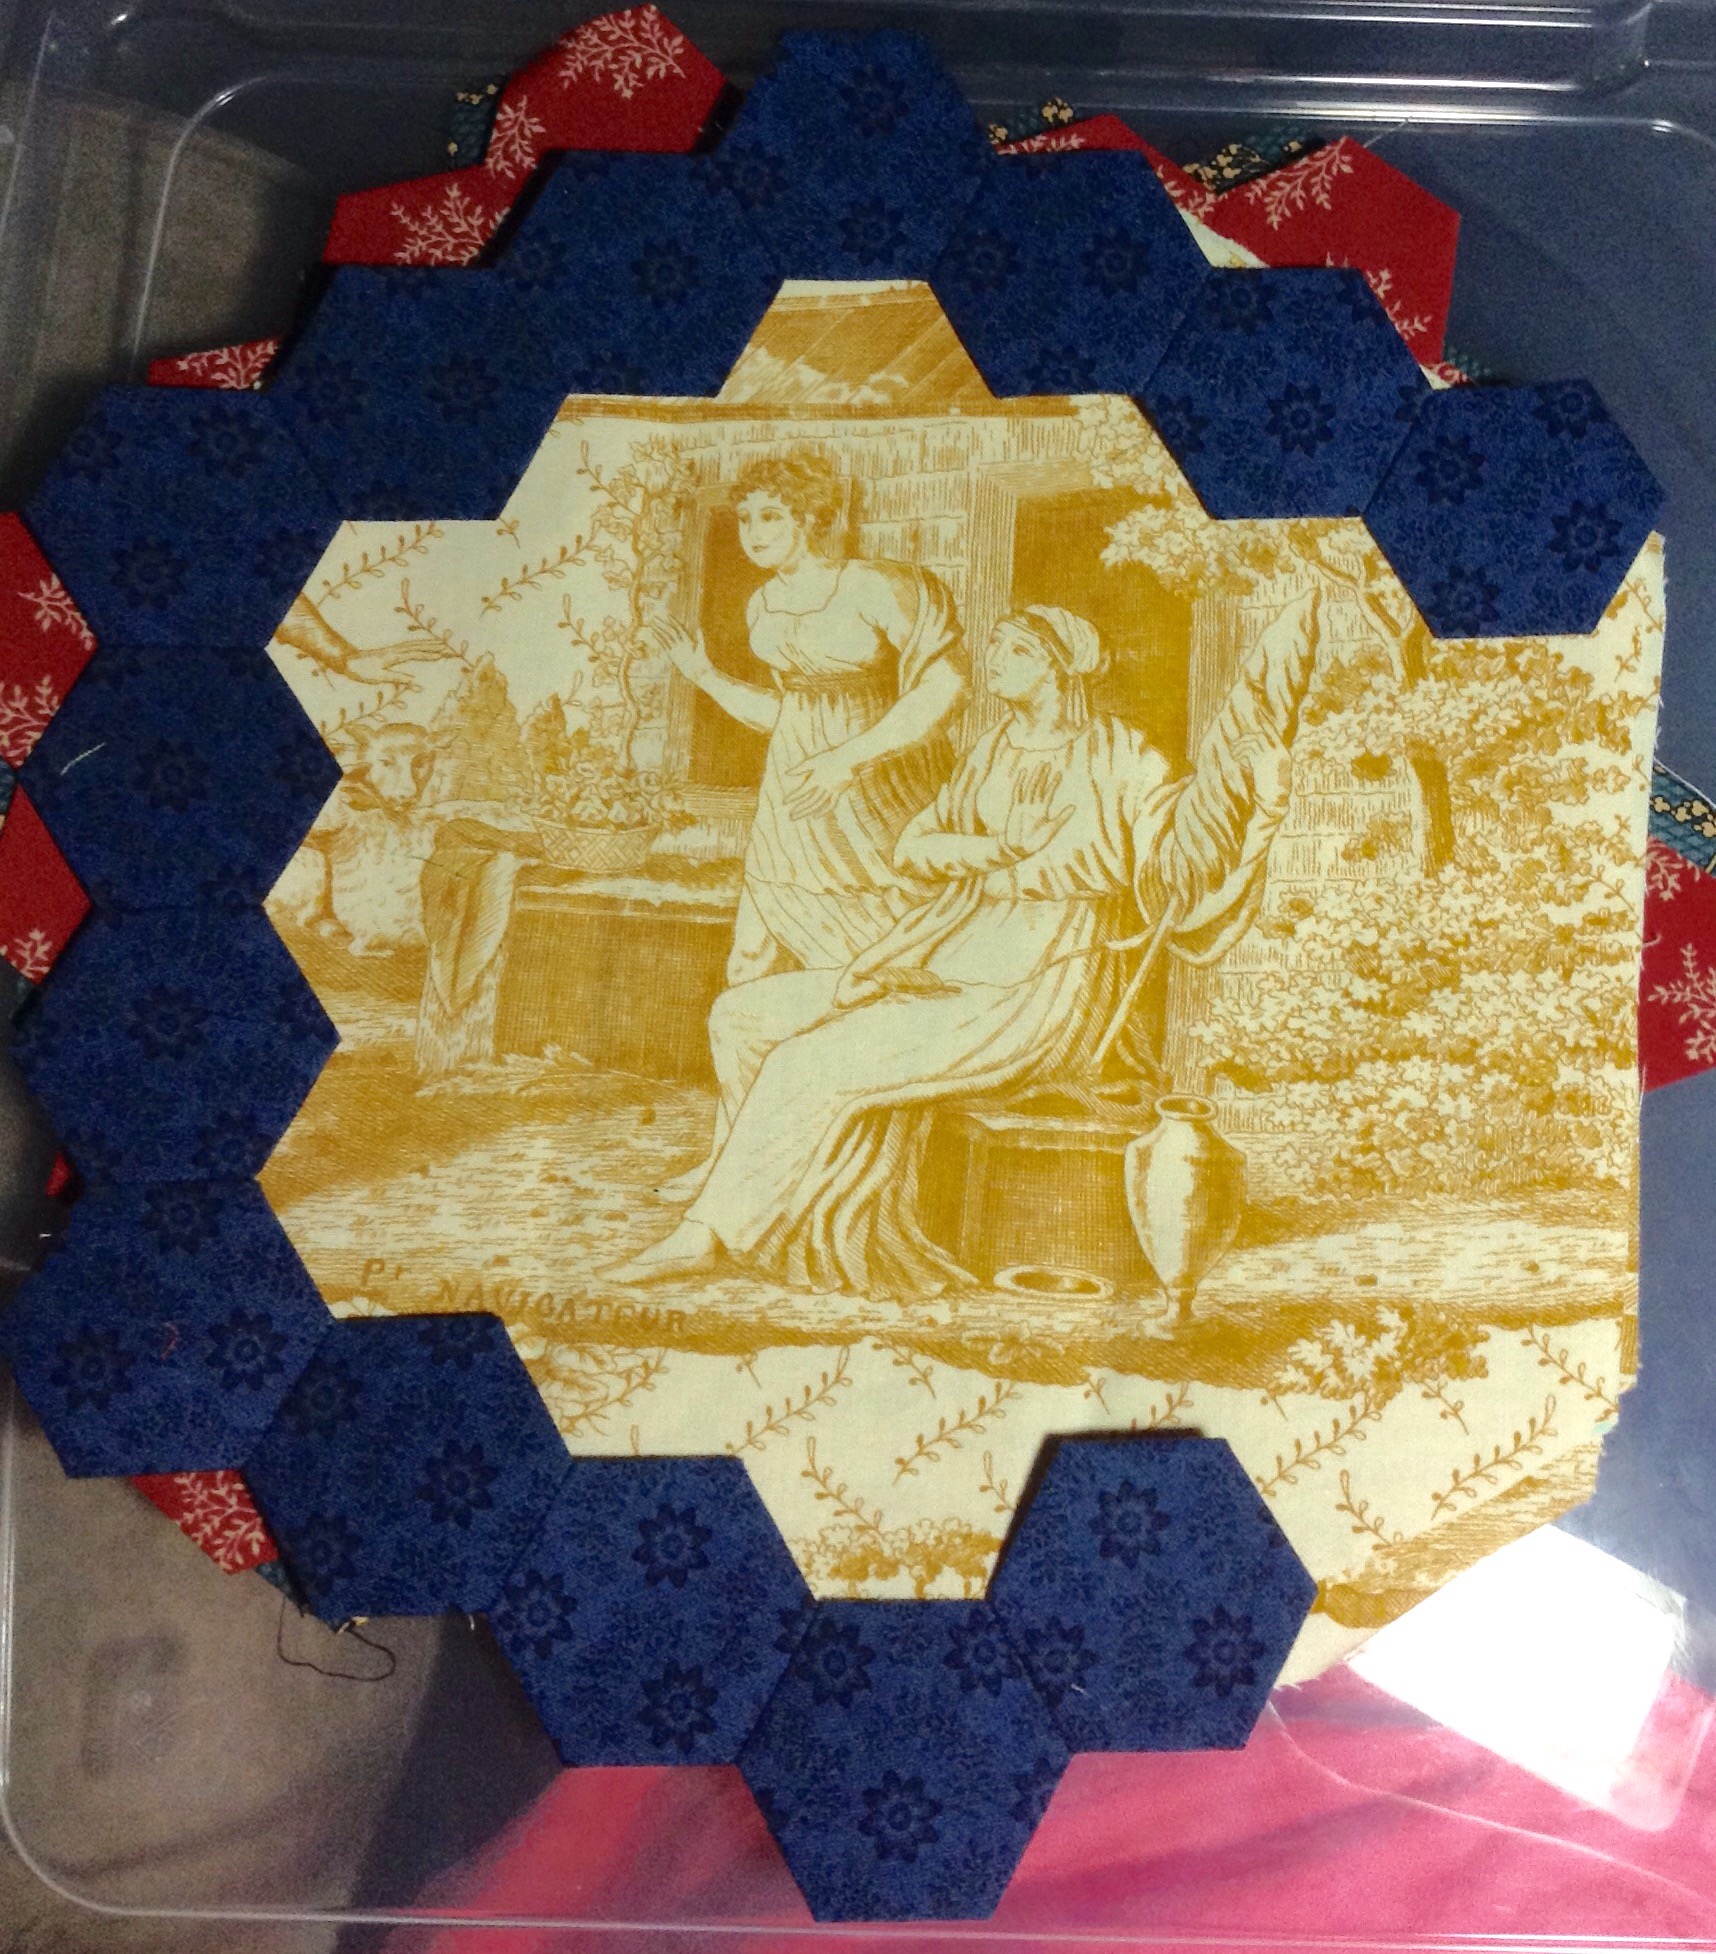
This 12 inch square was not cheap. I purchased this on Etsy. It looked to be a good match for this charm square set I had gotten a while back. 

As you can see, the block is the right colors/style but more faded looking.  I think this is an old block that was scanned and is being reprinted kind of like Spoonflower fabric. I thought when I purchased that it was a regular reproduction print like Mary Koval’s line shown above.  I’m not quite sure what I will do with this now. A faded center medallion is not what I had in mind. I do not fault the seller, I should have done more research.

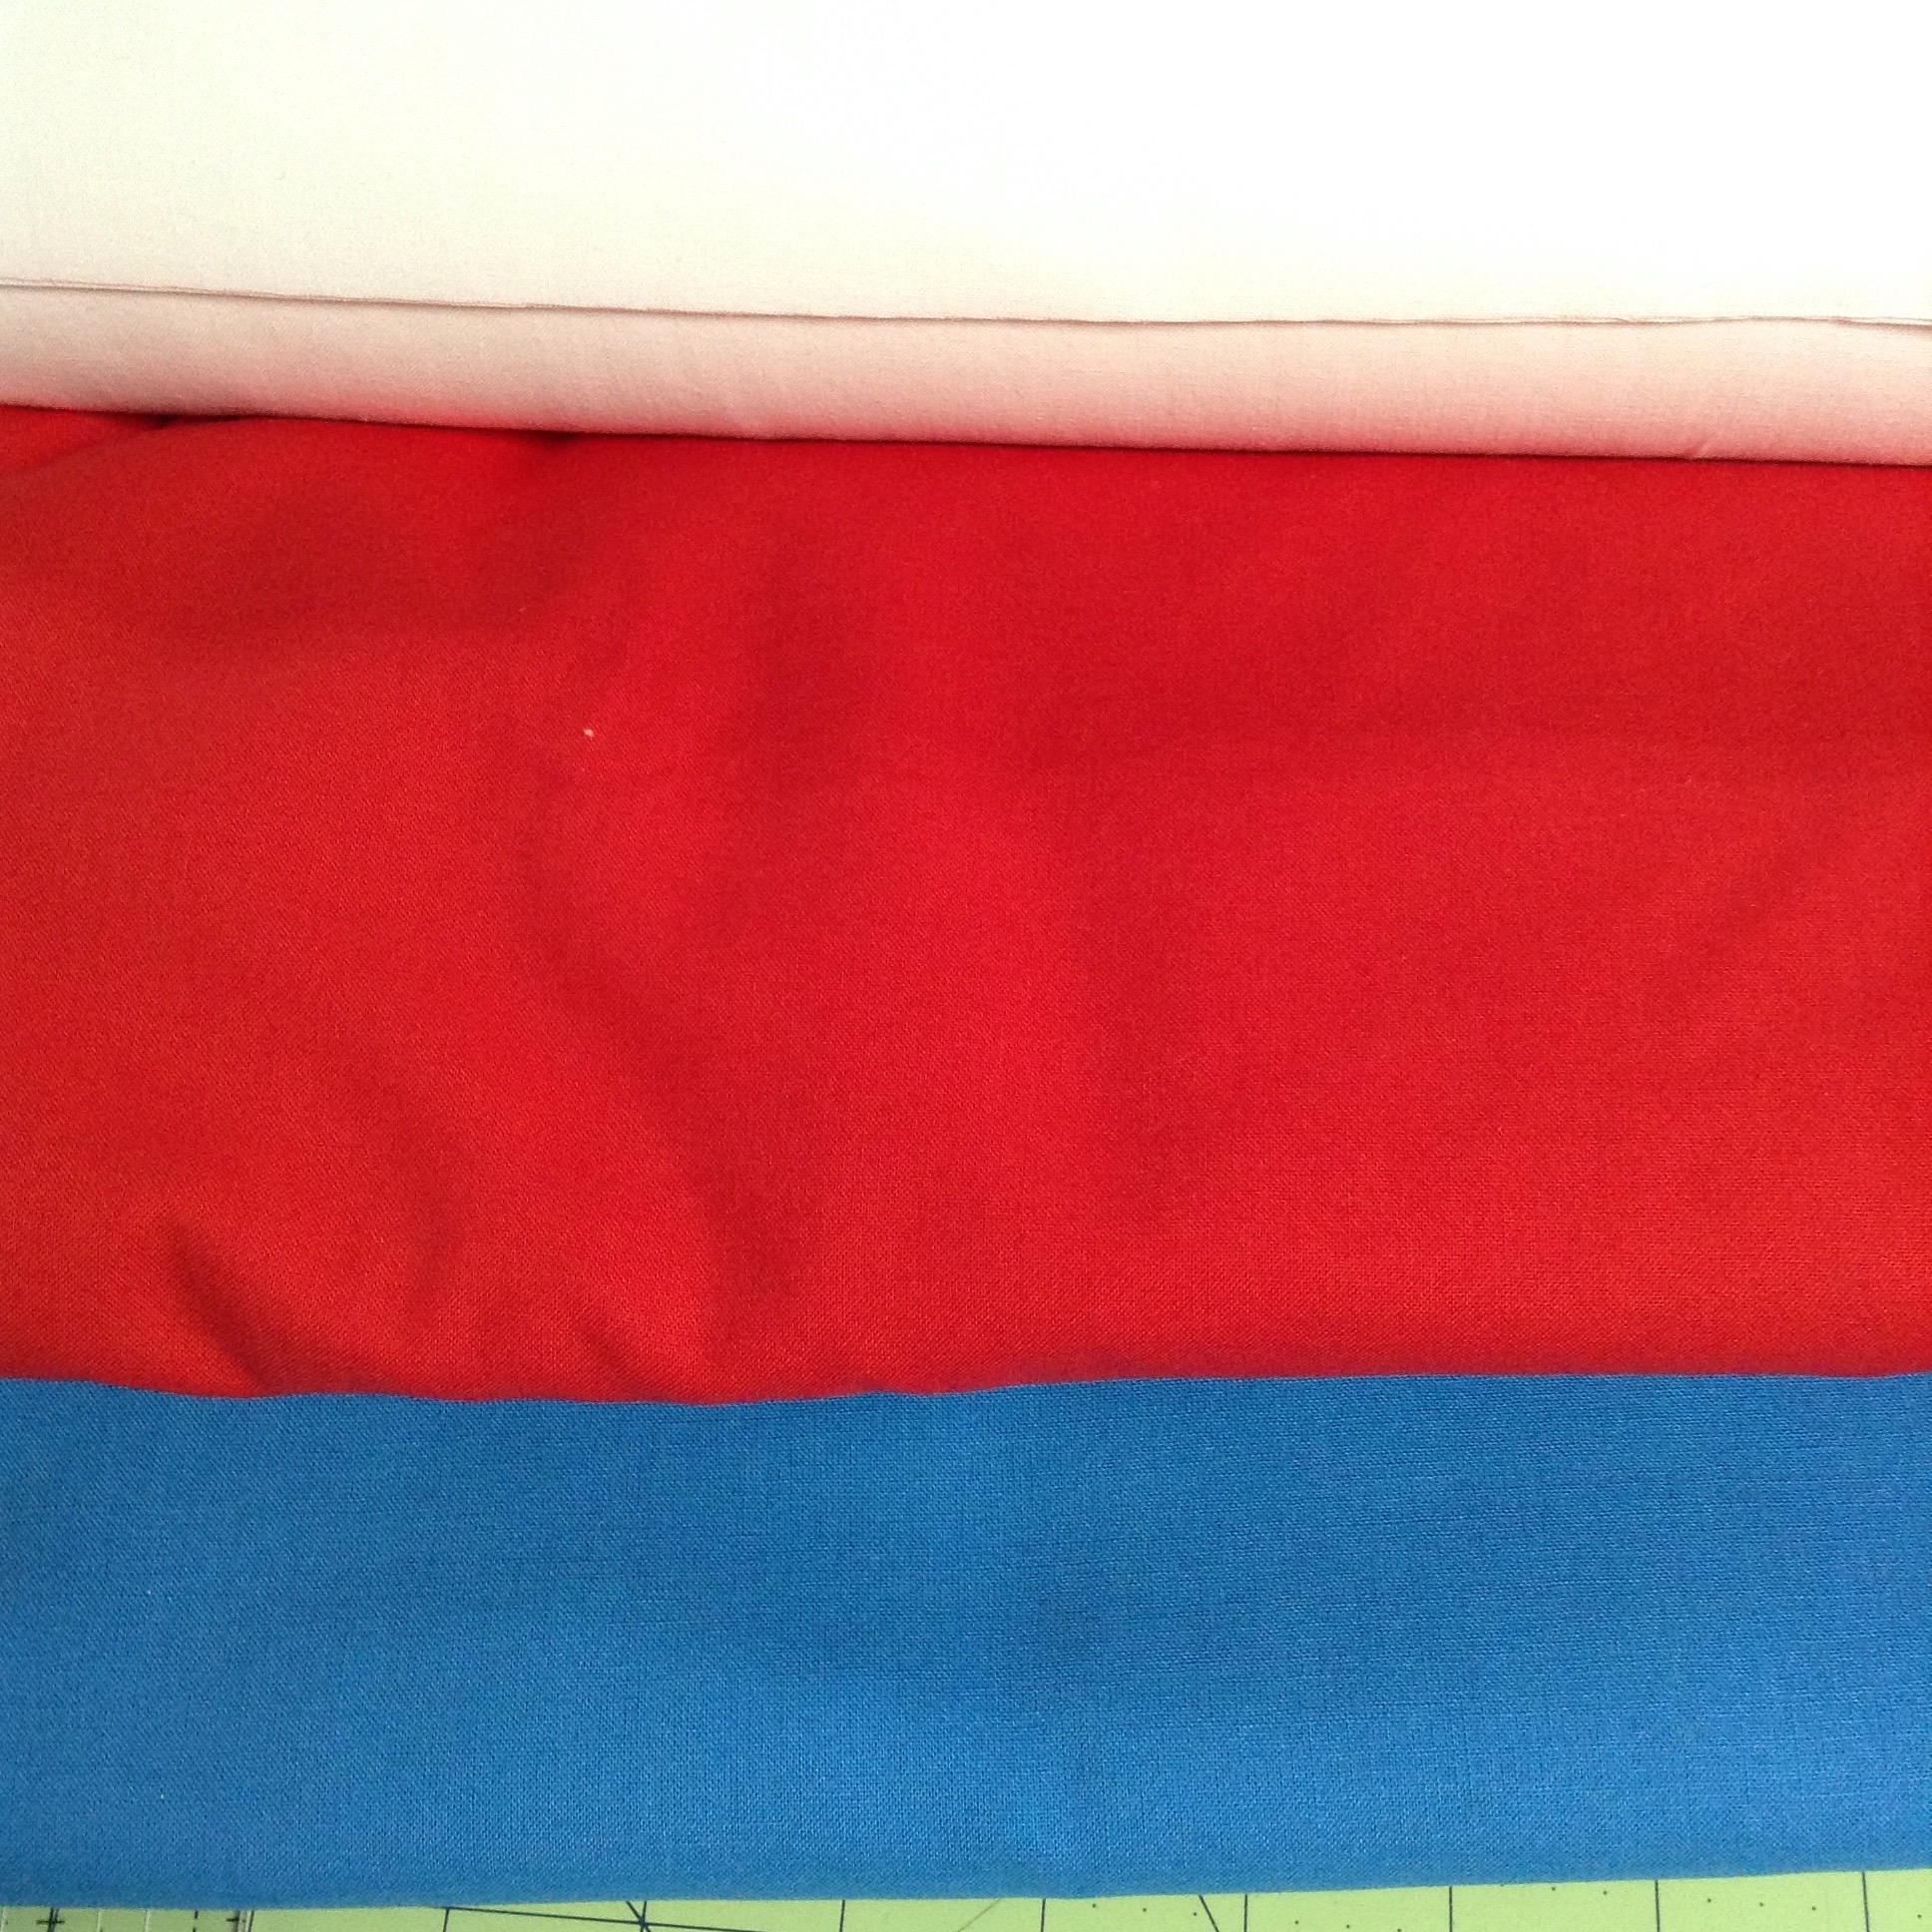
I want to make some more baby quilts to have on hand, especially boy quilts. I’m thinking of making some very simply pieced graphic quilts made with these solids. 

I’m itching to get something on the frame to quilt! 

Linking up with Sew Fresh Quilts , Freshly Pieced

Posted in Uncategorized | 2 Comments

Inspiration

Lori at Humble Quilts posted a picture yesterday of a small quilt she had made using a kit sent to her by Wendy from The Constant Quilter. You can see Lori’s quilt here. It is adorable!  If you haven’t seen Wendy’s blog, check it out. I have followed her for quite some time. She does beautiful work!

Anyway, this little quilt of Lori’s inspired me to dig out my little 4 patches I had been making as leaders/enders earlier this year. 

Then I just needed to find the perfect piece for the center. It didn’t take me long to come across a remnant of a fat quarter that had the perfect print of George Washington. 

Of course, now that I think about it, I might have a good piece with Lincoln on it…hmmmm….

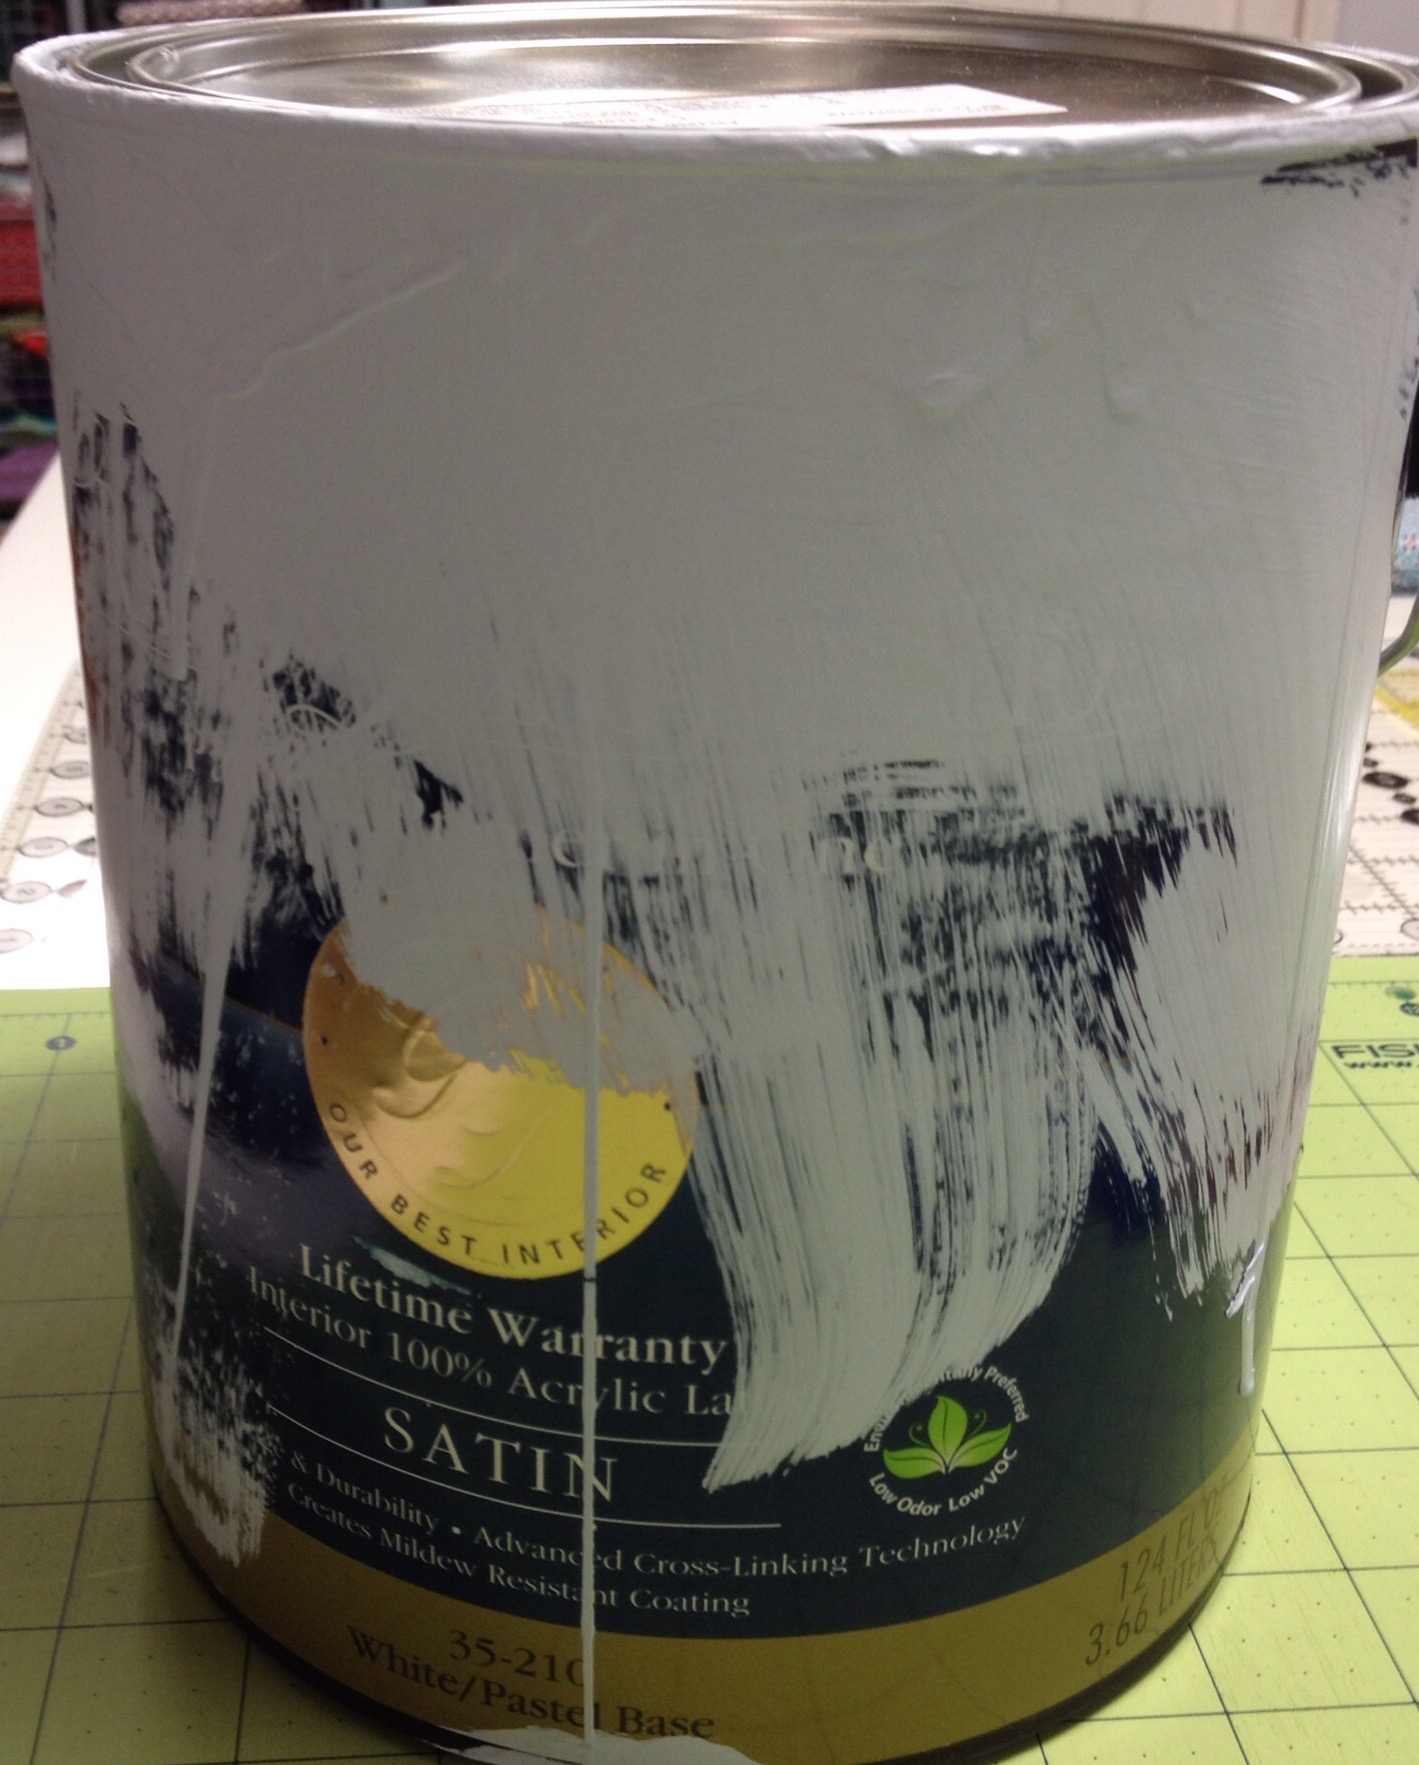
This might be the perfect project for me this week. I think I am getting more house stuff and less quilty stuff done while hubby is away. I got the bedroom painted in only two coats! Here is the paint I used:

Oops! It is Pittsburg Paints Grand Distinction and I bought it at Menard’s. It has primer in it! I think this is the best paint I have ever used. I finished painting the walls late Sunday night. Apparently too late as now I need to paint the trim. Sigh. And yes, I know I should have done that first. I also cleaned carpets and mowed the lawn yesterday so last night I was too tired to sew. Imagine that! I got my 4 patches out and George cut out and that was it.

I hope to do a bit of sewing before work this morning. Have a great day!

Linking up with Free Motion By the River, Quilt Story, Blossom Heart Quilts

Posted in Uncategorized | 7 Comments

Design Wall Monday -Leaders/Enders 

I finally did it. I cut up my Downton Abbey Charm squares. I did decide on making a 4 patch variation, but not the one I showed last week.  


I used my 4 1/2 inch square die and my 2 1/2 inch die. This is the waste from my cuts. 


 I can live with that!  Those of you with die cutters know that sometimes you have to snip a few threads in the corners. This is especially true if your mat is worn. This started happening while I was cutting these. I tend to not replace the mats as often as I should!  I decided to try turning my mat so the the wear lines were not parallel to my cuts like this. 

Worked like a charm! Hardly any threads needed snipping afterwards. This will extend the useful life of my mats for sure. Here are my pieces all cut. 


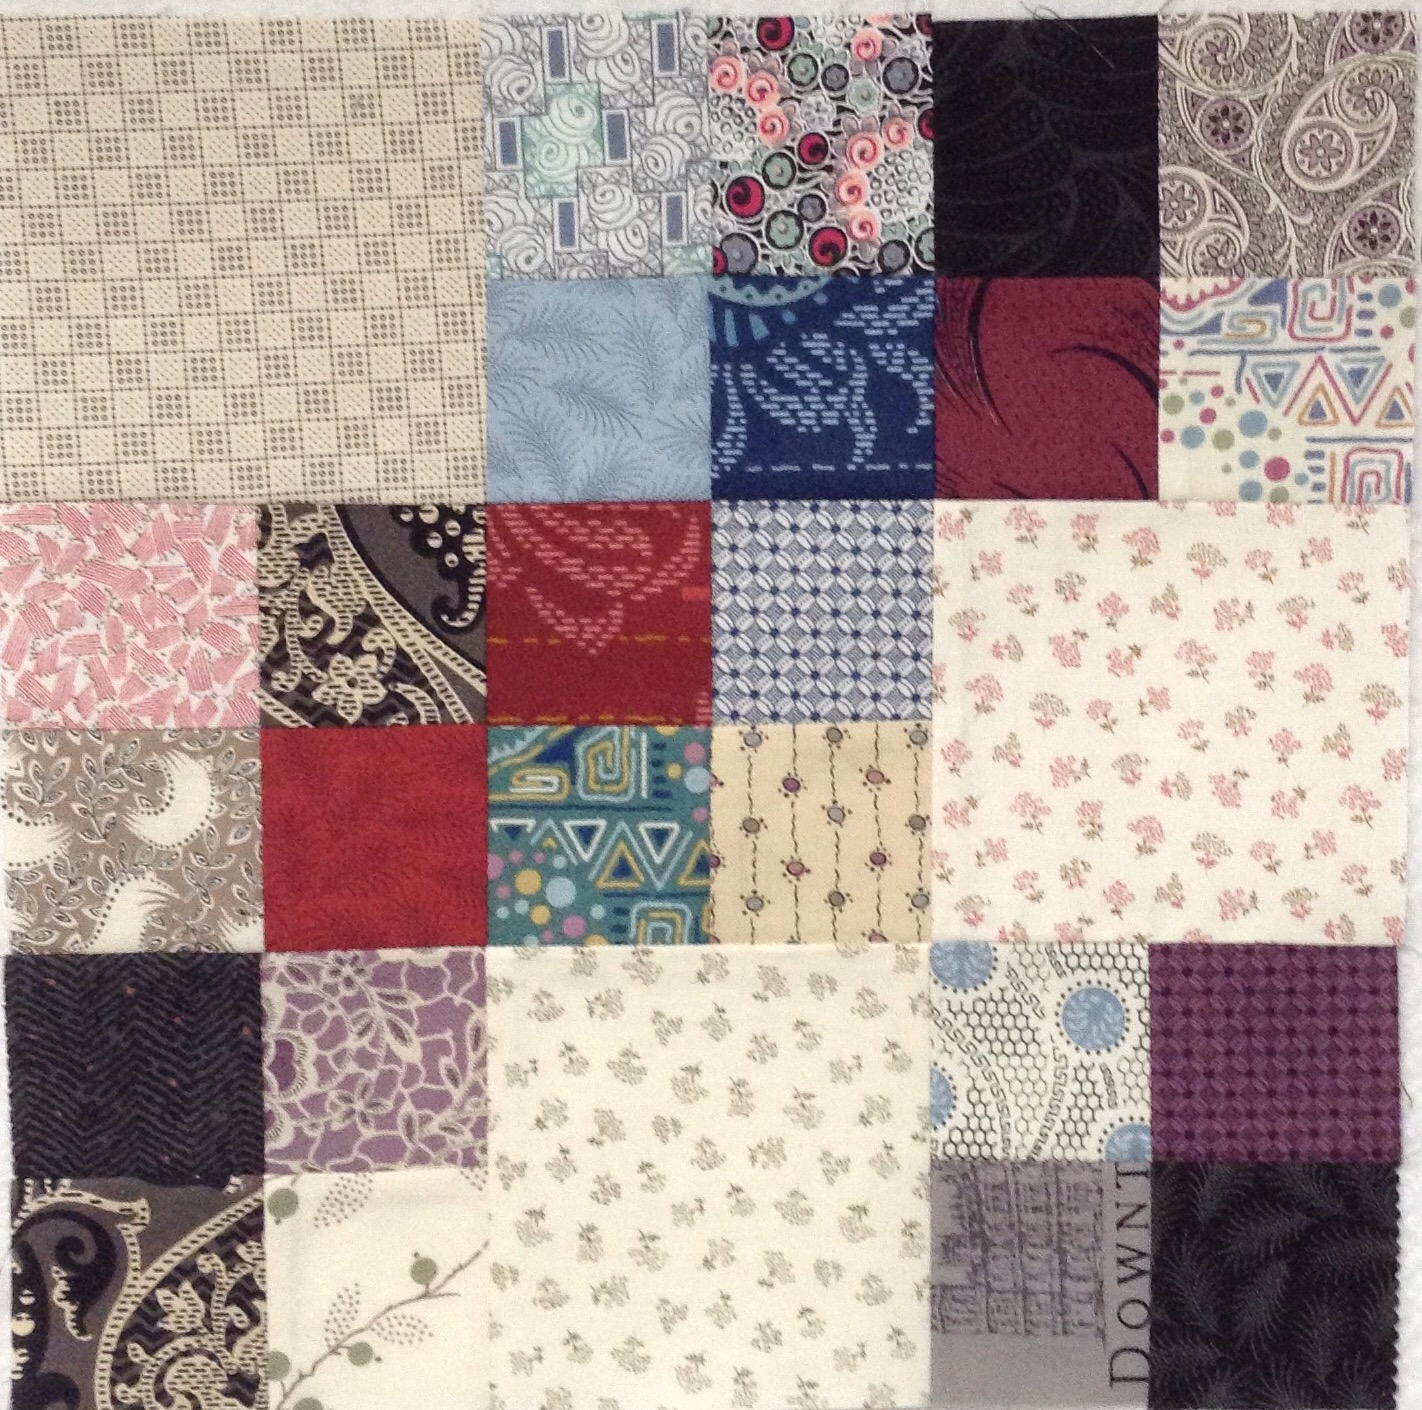
That pile of uncut charms at the top were pulled for a baby quilt. And if you read this far, you probably wonder where I am headed with these. Here is a finished block. 


I heard that collective groan! I was a bit underwhelmed too. But I knew I needed to trust the process so I made a few more blocks. 

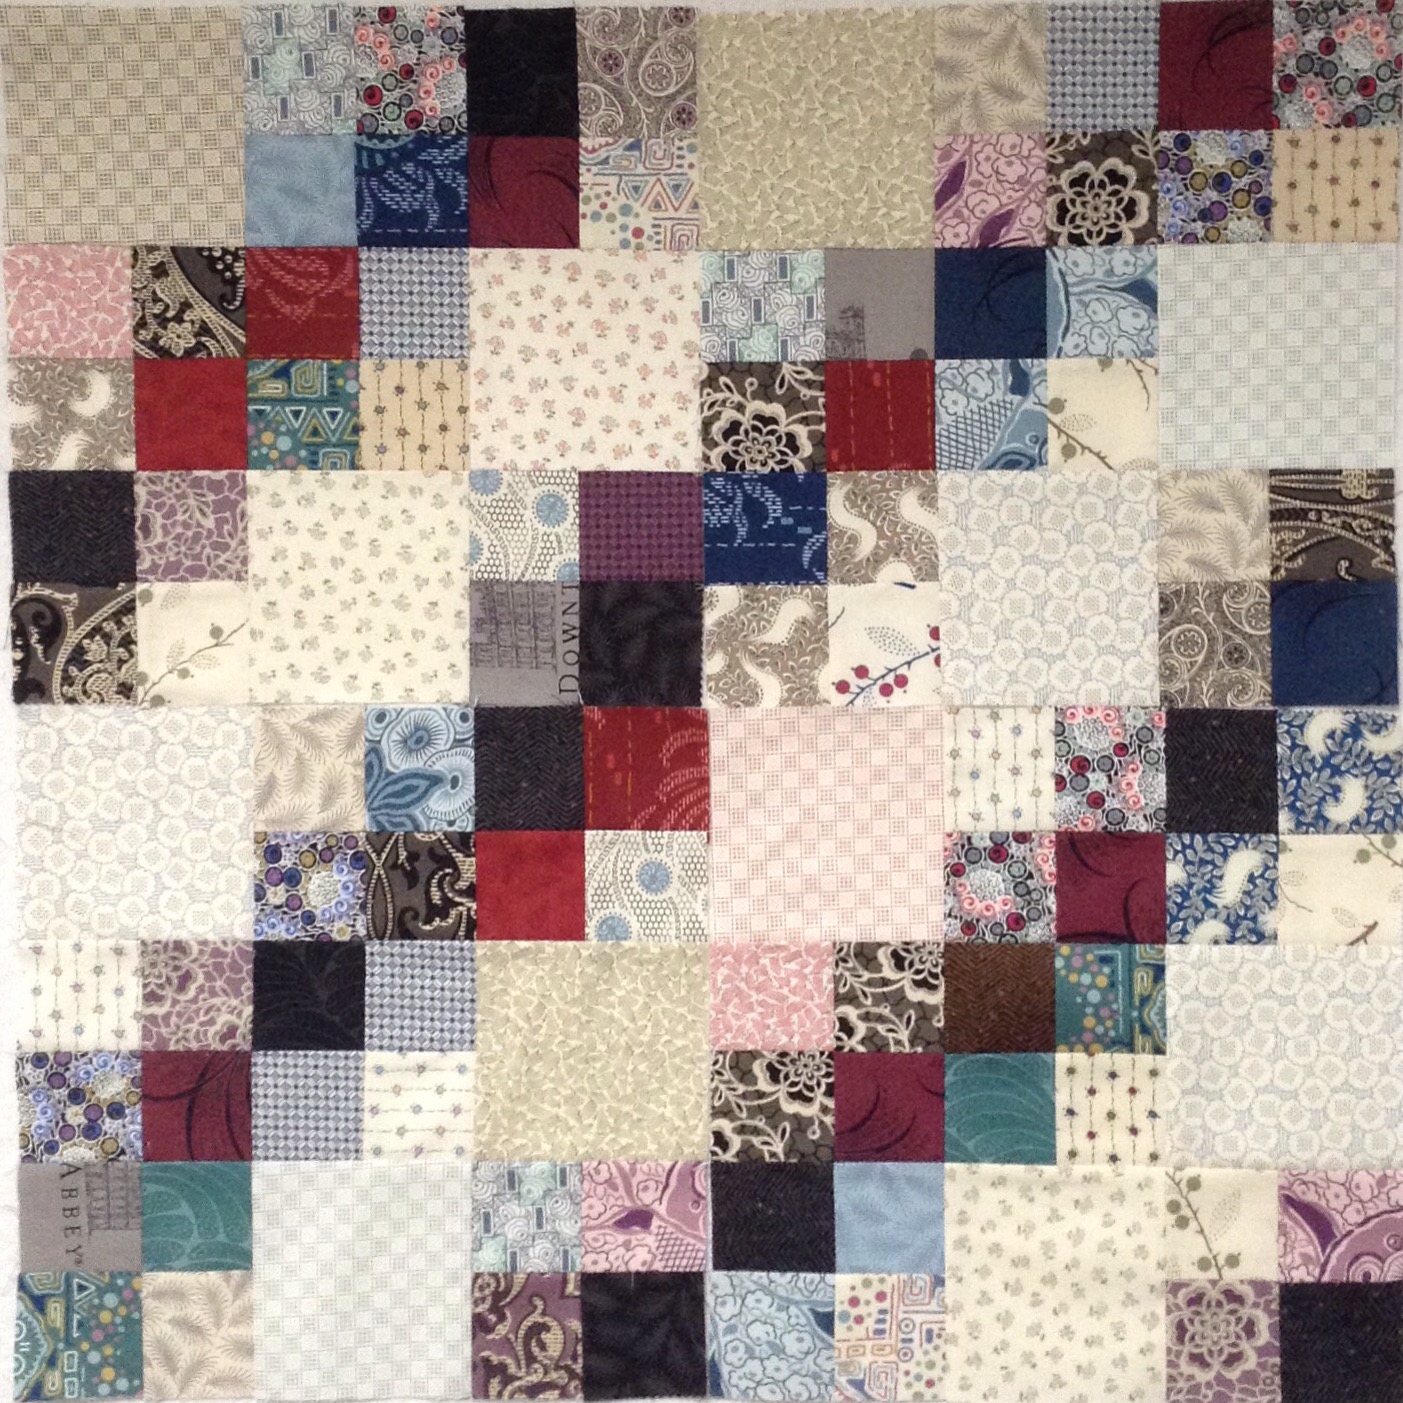
 That’s better! I can’t say I am in love  with this just yet but I am going to forge ahead. One of the issues I hadn’t thought through, is that there are lots of repeats in these charm packs. Most have as many as 5 charms of the same print. And I don’t feel the different lines flow that well together.

I will be piecing the rest of these as leaders/enders.

There will be a total of 30 blocks in this quilt. I may fall in love with it yet.

Linking up with Patchwork Times, Cooking Up Quilts, Hug A Bit Quilts

Posted in Accuquilt Studio Cutter, Design Wall Monday | 12 Comments

Slow Stitching Sunday

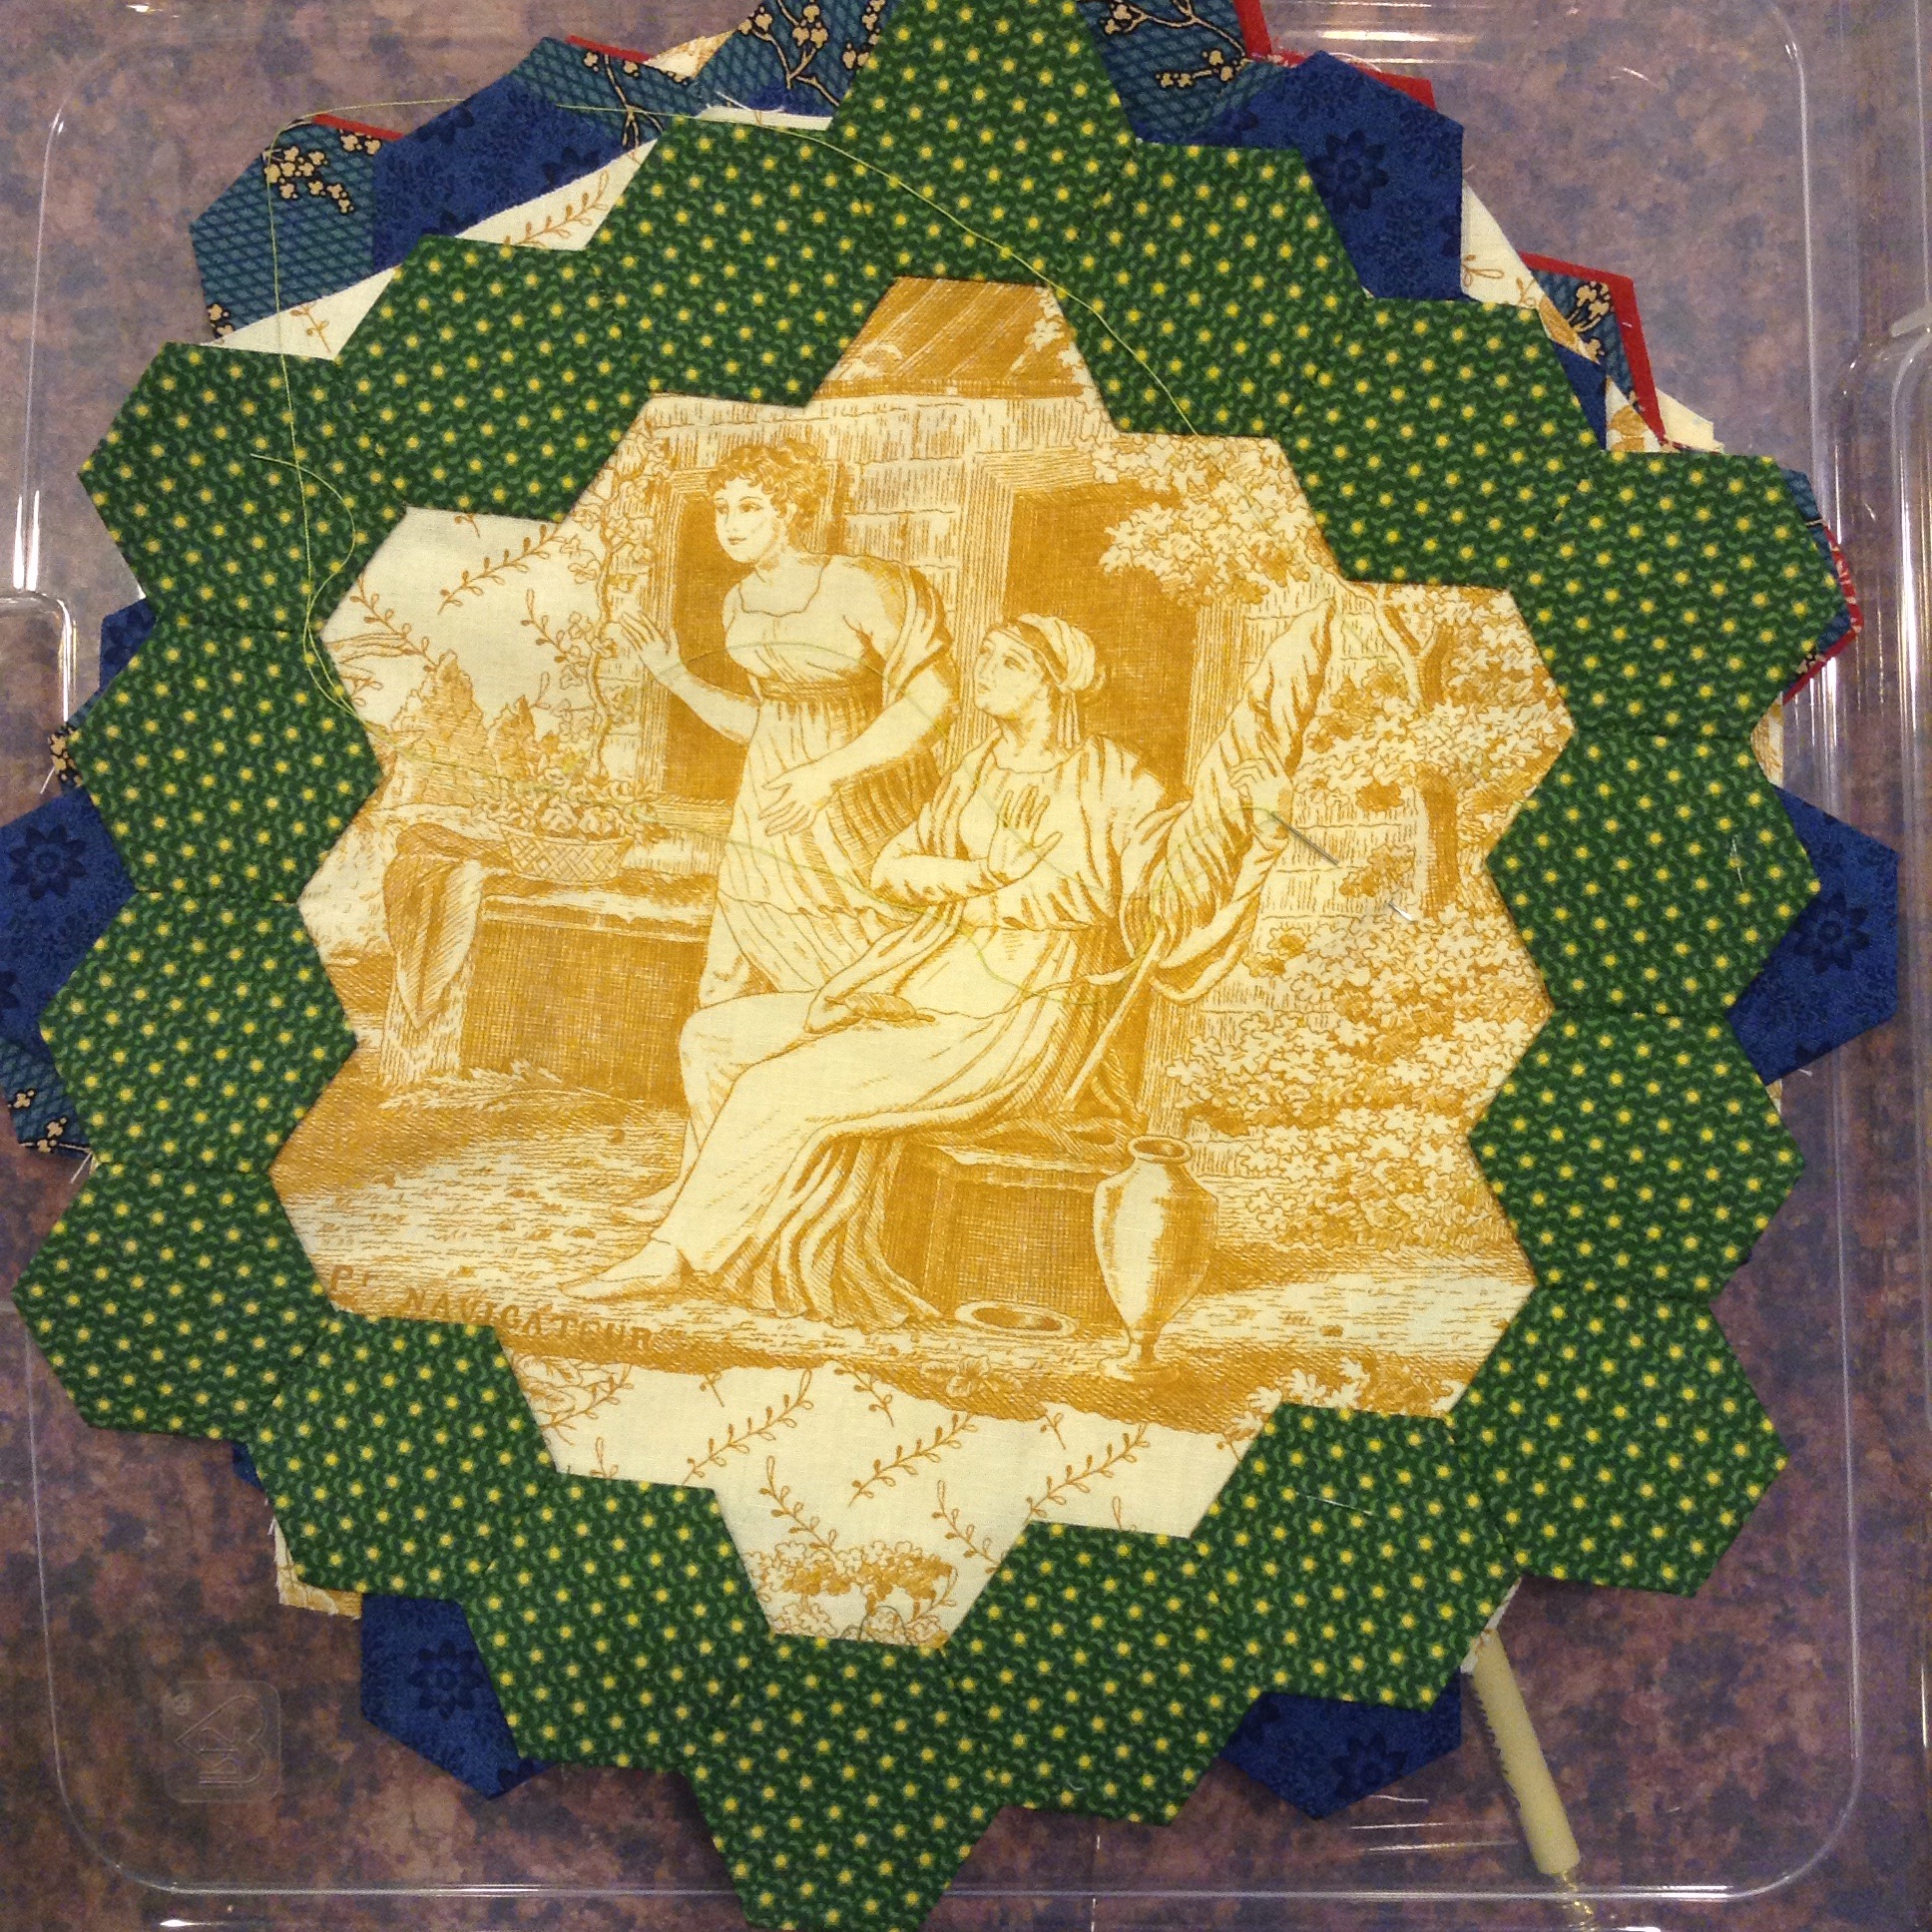
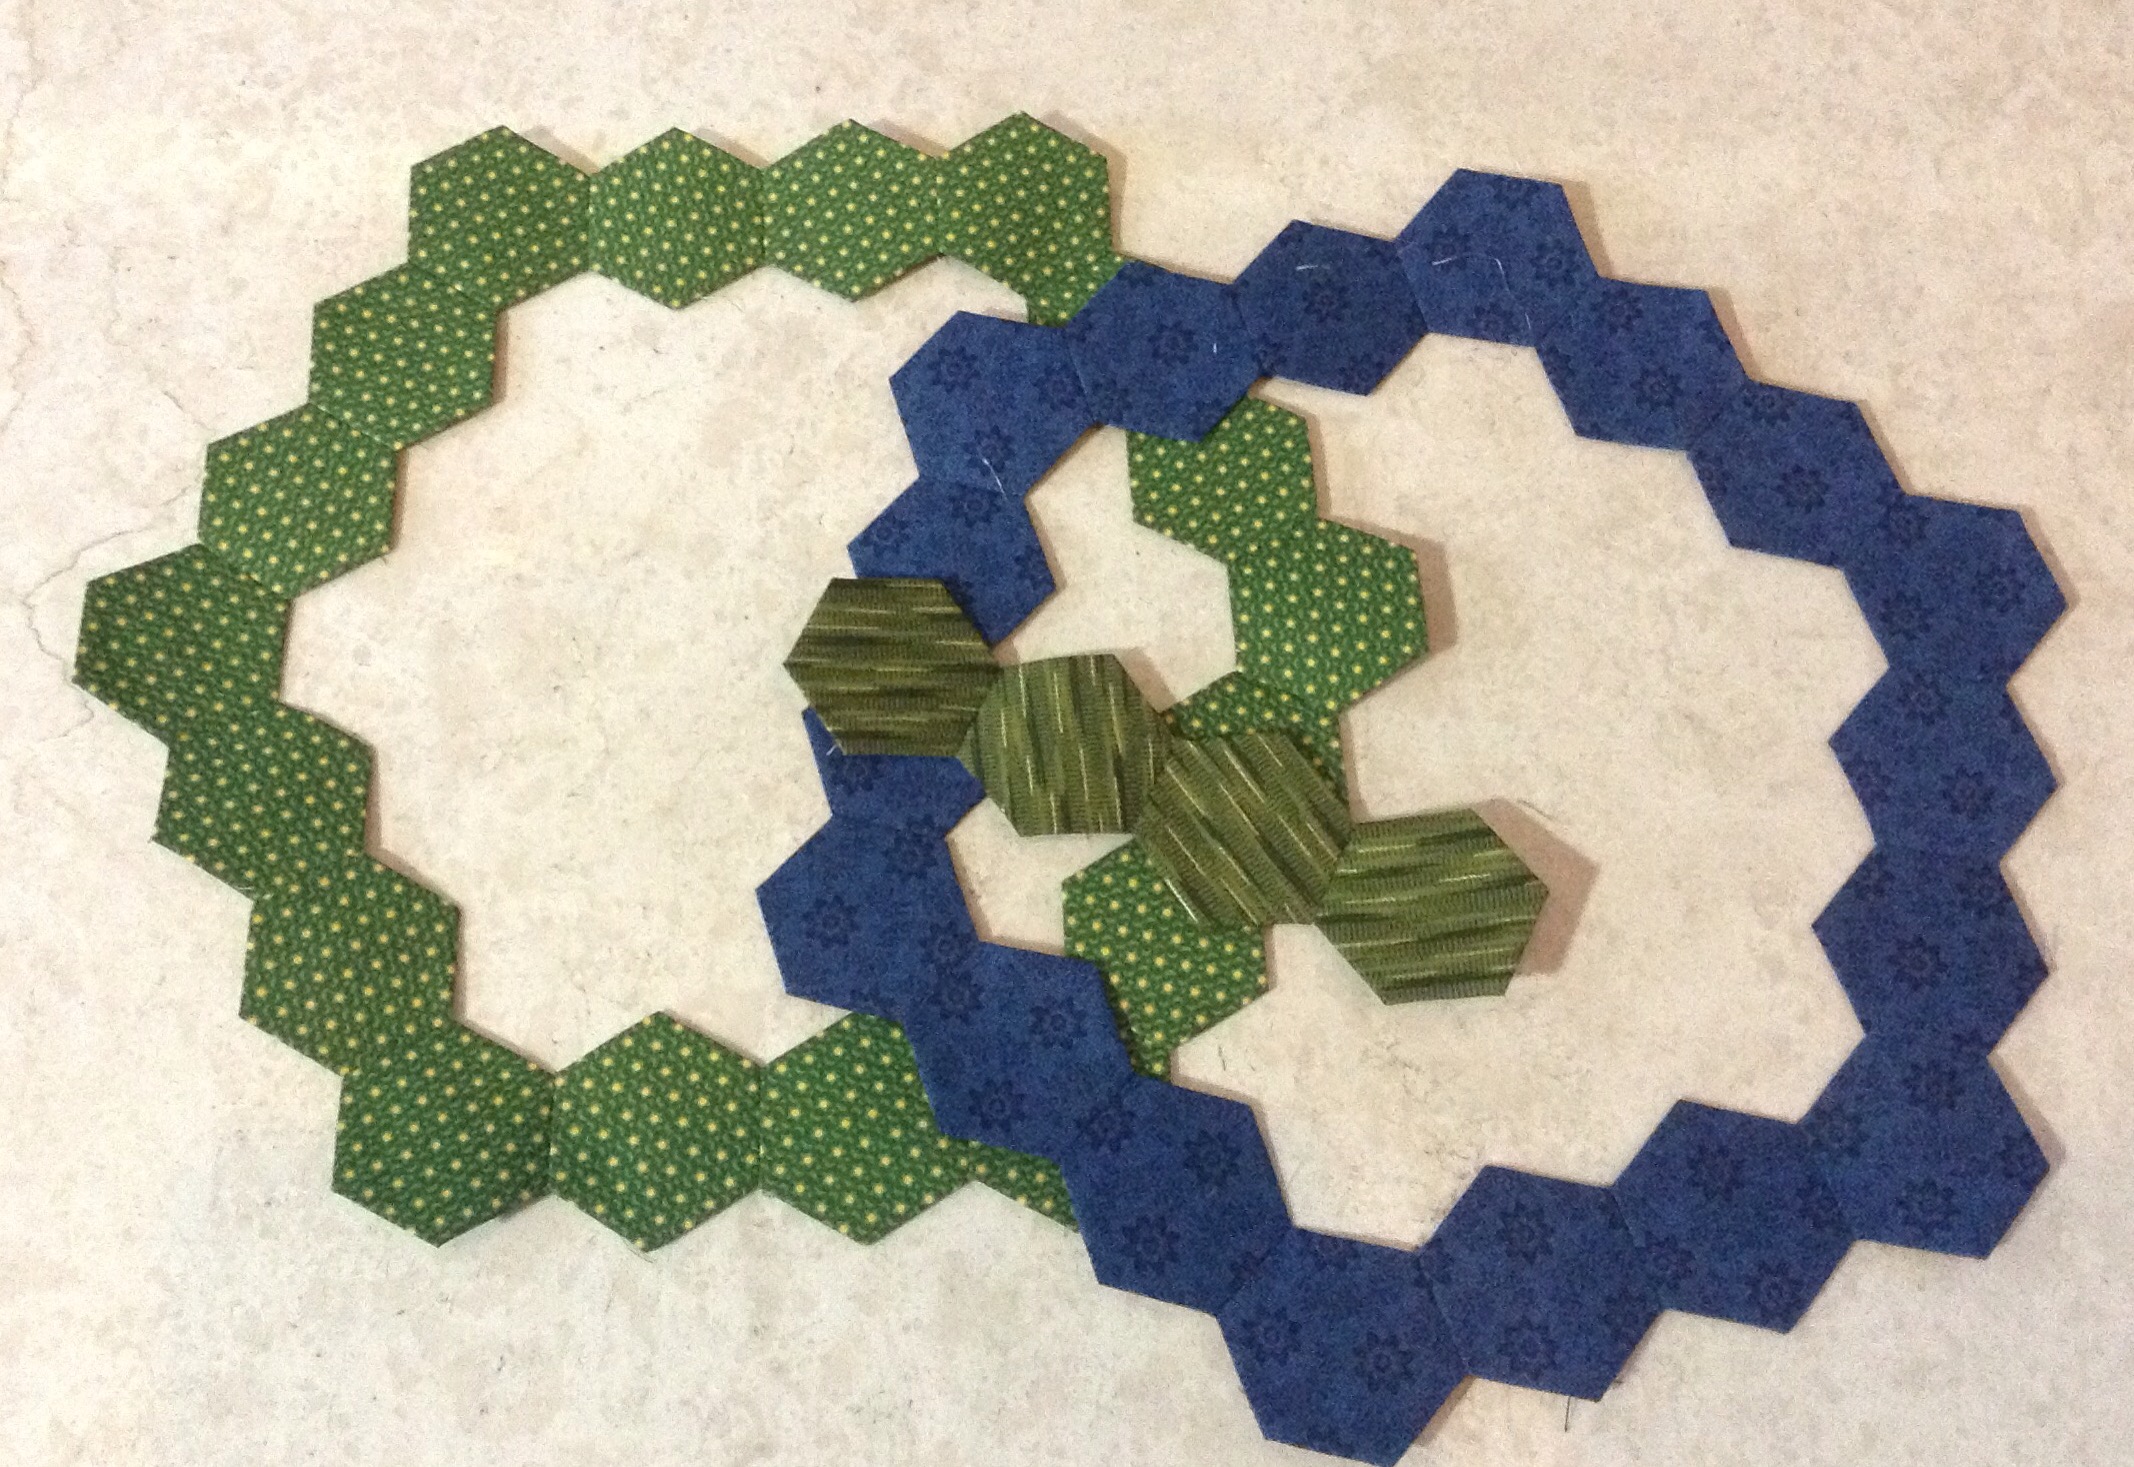
I sorted out the missing hexies for my Brinton Hall quilt and am about halfway through app,queuing this green ring to its background. 


I have another bit of hand stitching I would like to get done today as well, the facing on this small quilt. 

This in not what a well done facing looks like but I was a bit desperate to get something close to a finish this weekend. I will share this little one later this week though I did give a peek of it on Instagram.

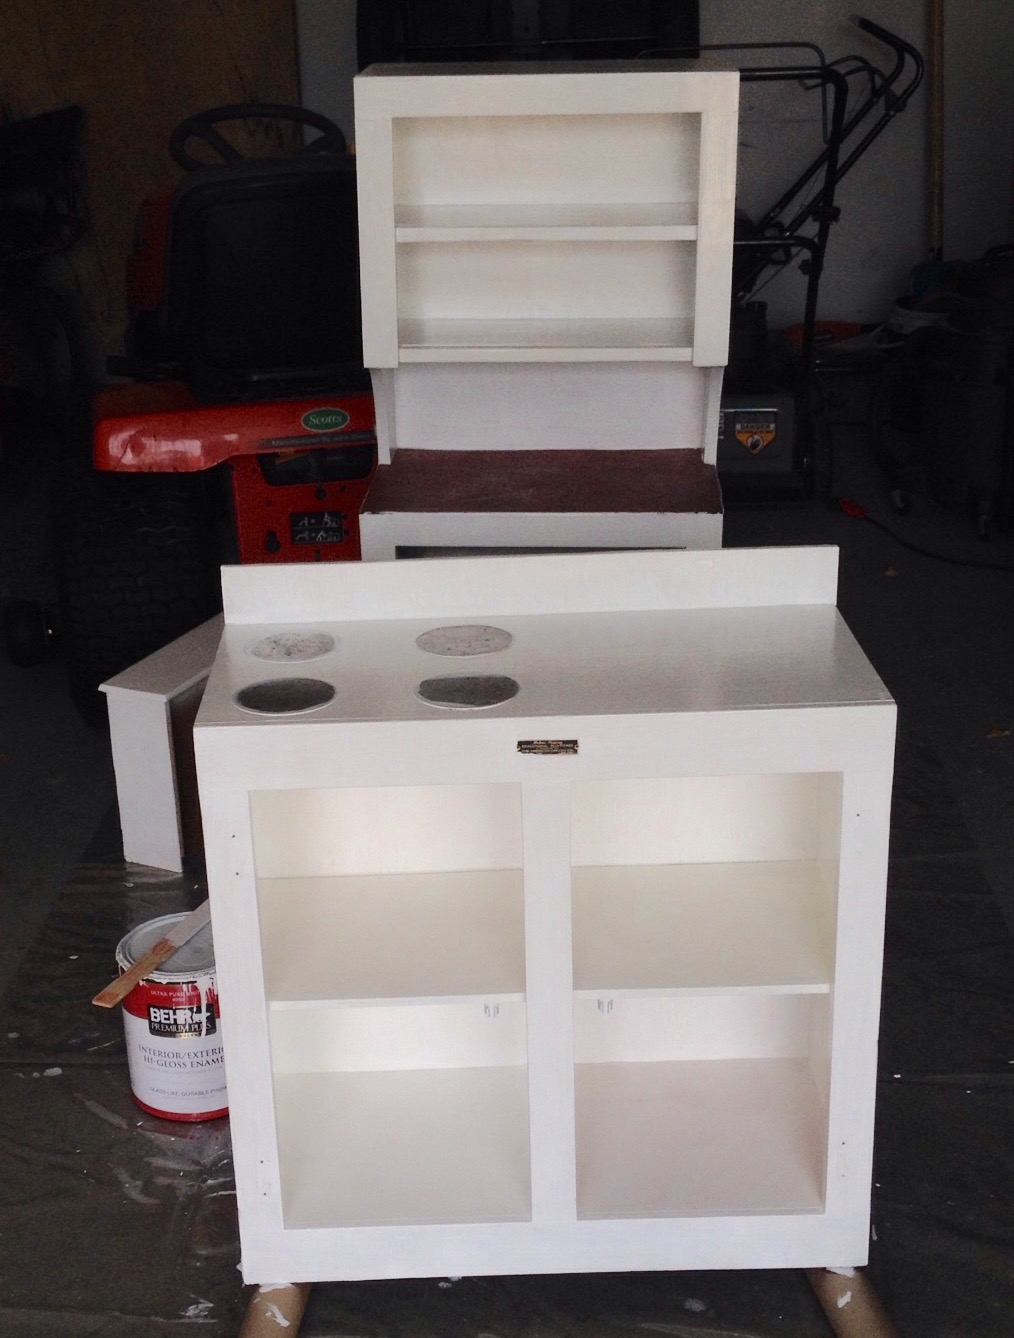
When hubby is out of town, I try to get a project done around the house. So I spent much of the day yesterday prepping and painting these small cabinets. 

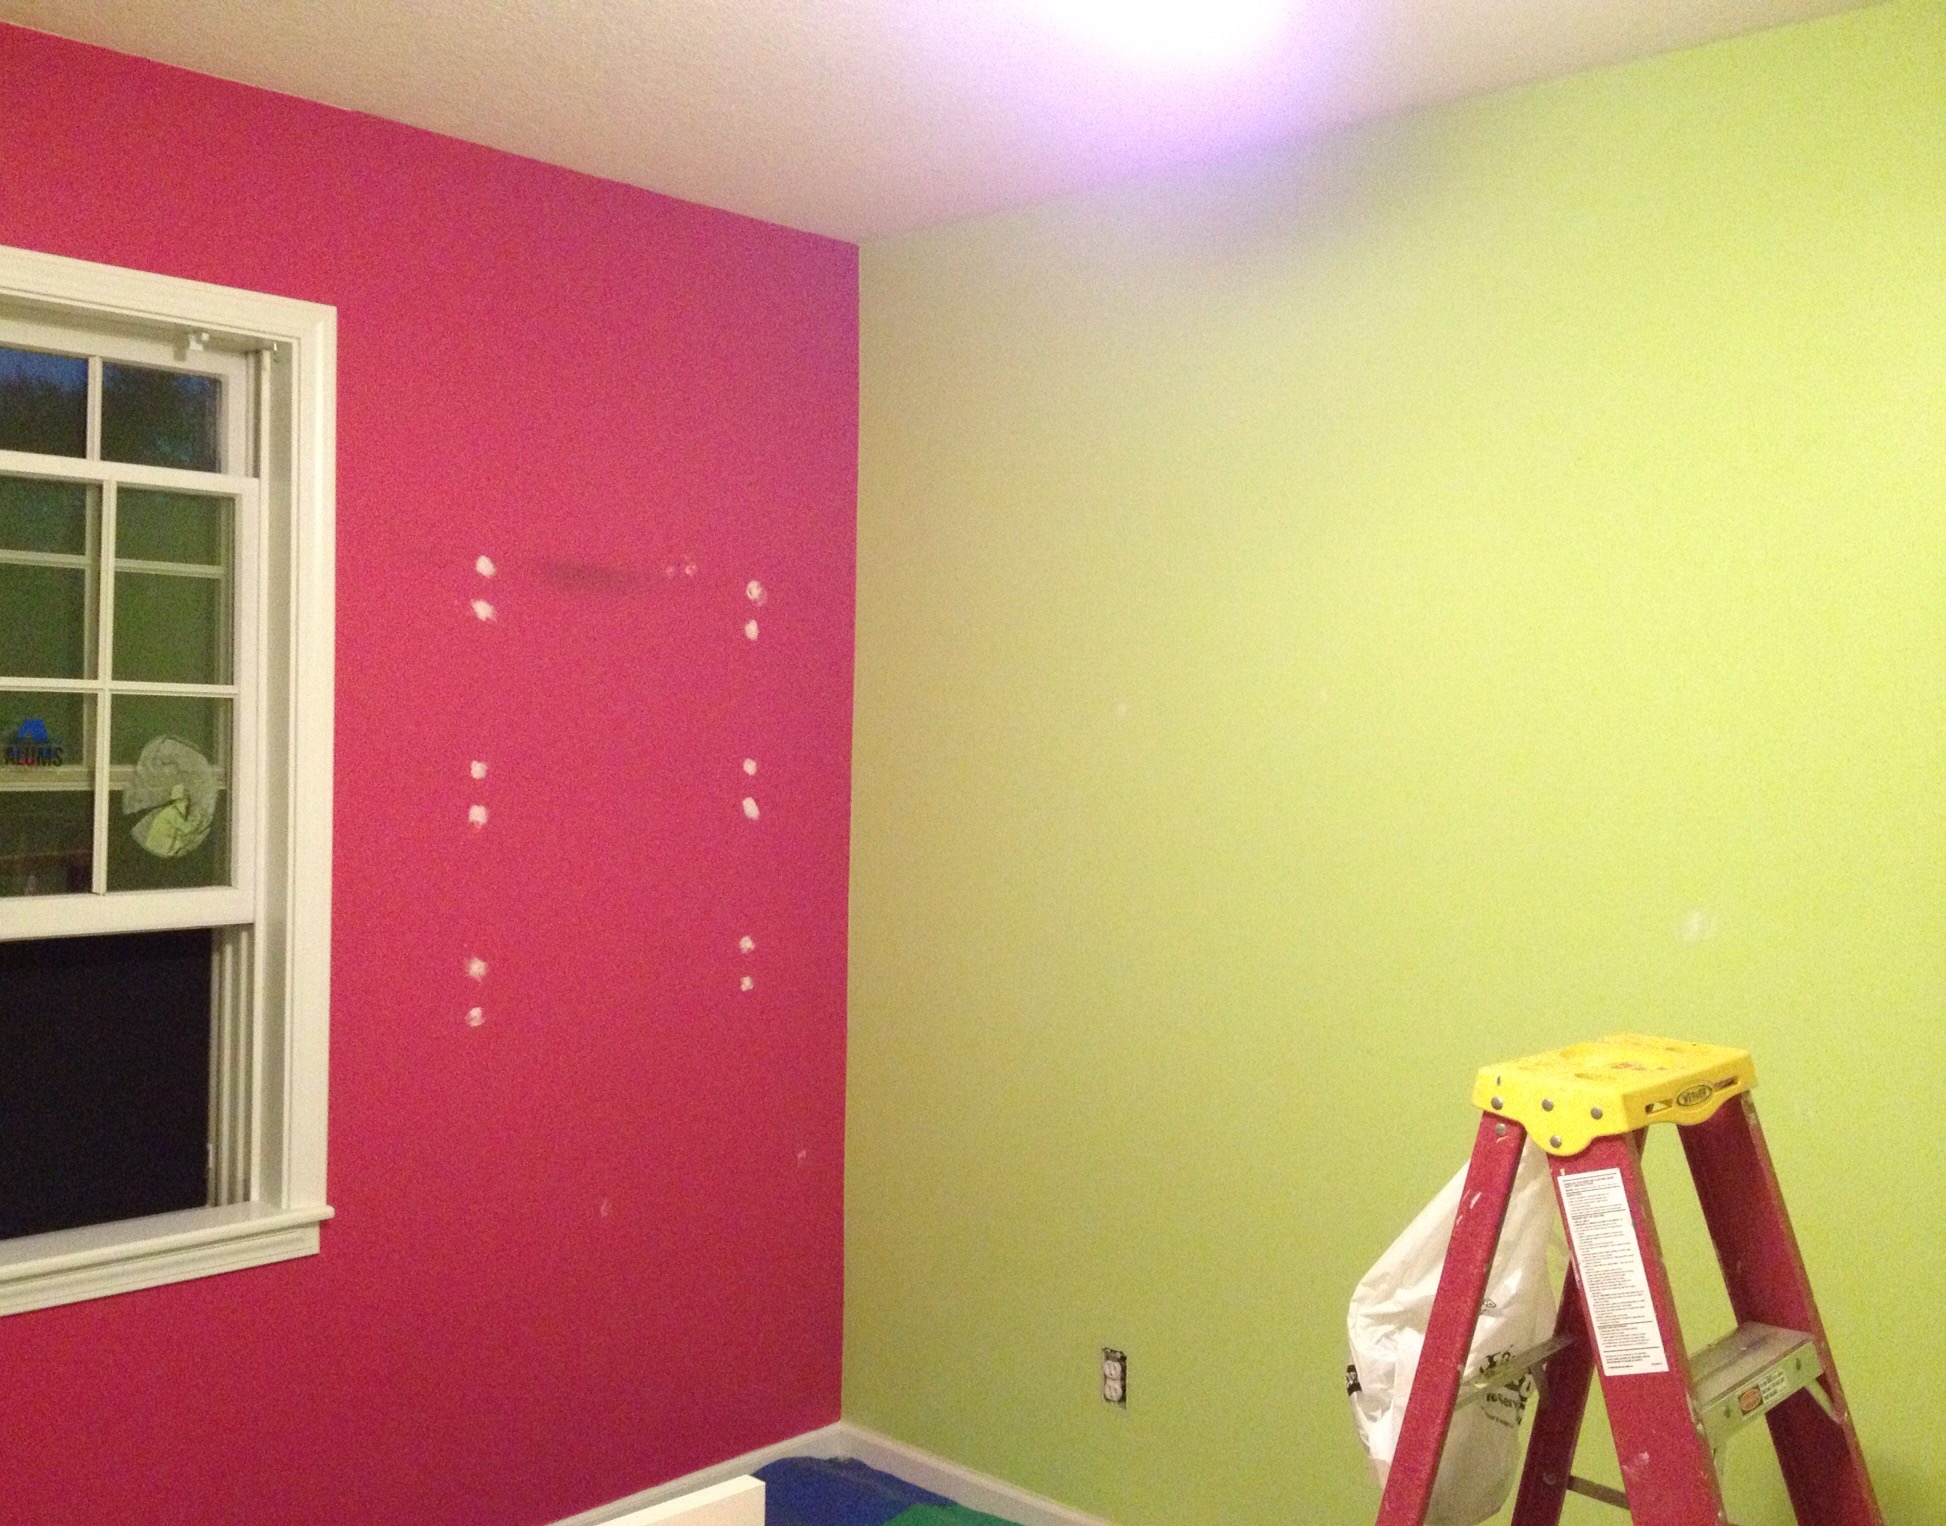
 Sorry for the bad pictures. And also prepping this room for painting. 


Yes, those are magenta and chartreuse walls. Sigh. These were the only colors Daughters #2 and 3 could agree on when they shared this room. They’ve both moved out and it is time to redecorate. I must say, it makes me a bit melancholy to do so, the end of an era and all that. Anyway, the plan is to paint the walls light blue and use my red, white, and blue quilts in here. I will decorate with a vintage toy theme and those little cabinets will reside here. 

It will be a full on painting day after church today. Looking forward to that slow stitching at the end of it. Any guesses how many coats of paint I will need to cover these walls?

Linking up with Kathy’s Quilts for Slow Stitching Sunday.

Posted in Uncategorized | 15 Comments

Finish It Up Friday – QOV Edition

I’ve been working on QOVs this week. First up is Kathy’s from the Stitching Sisters group. 


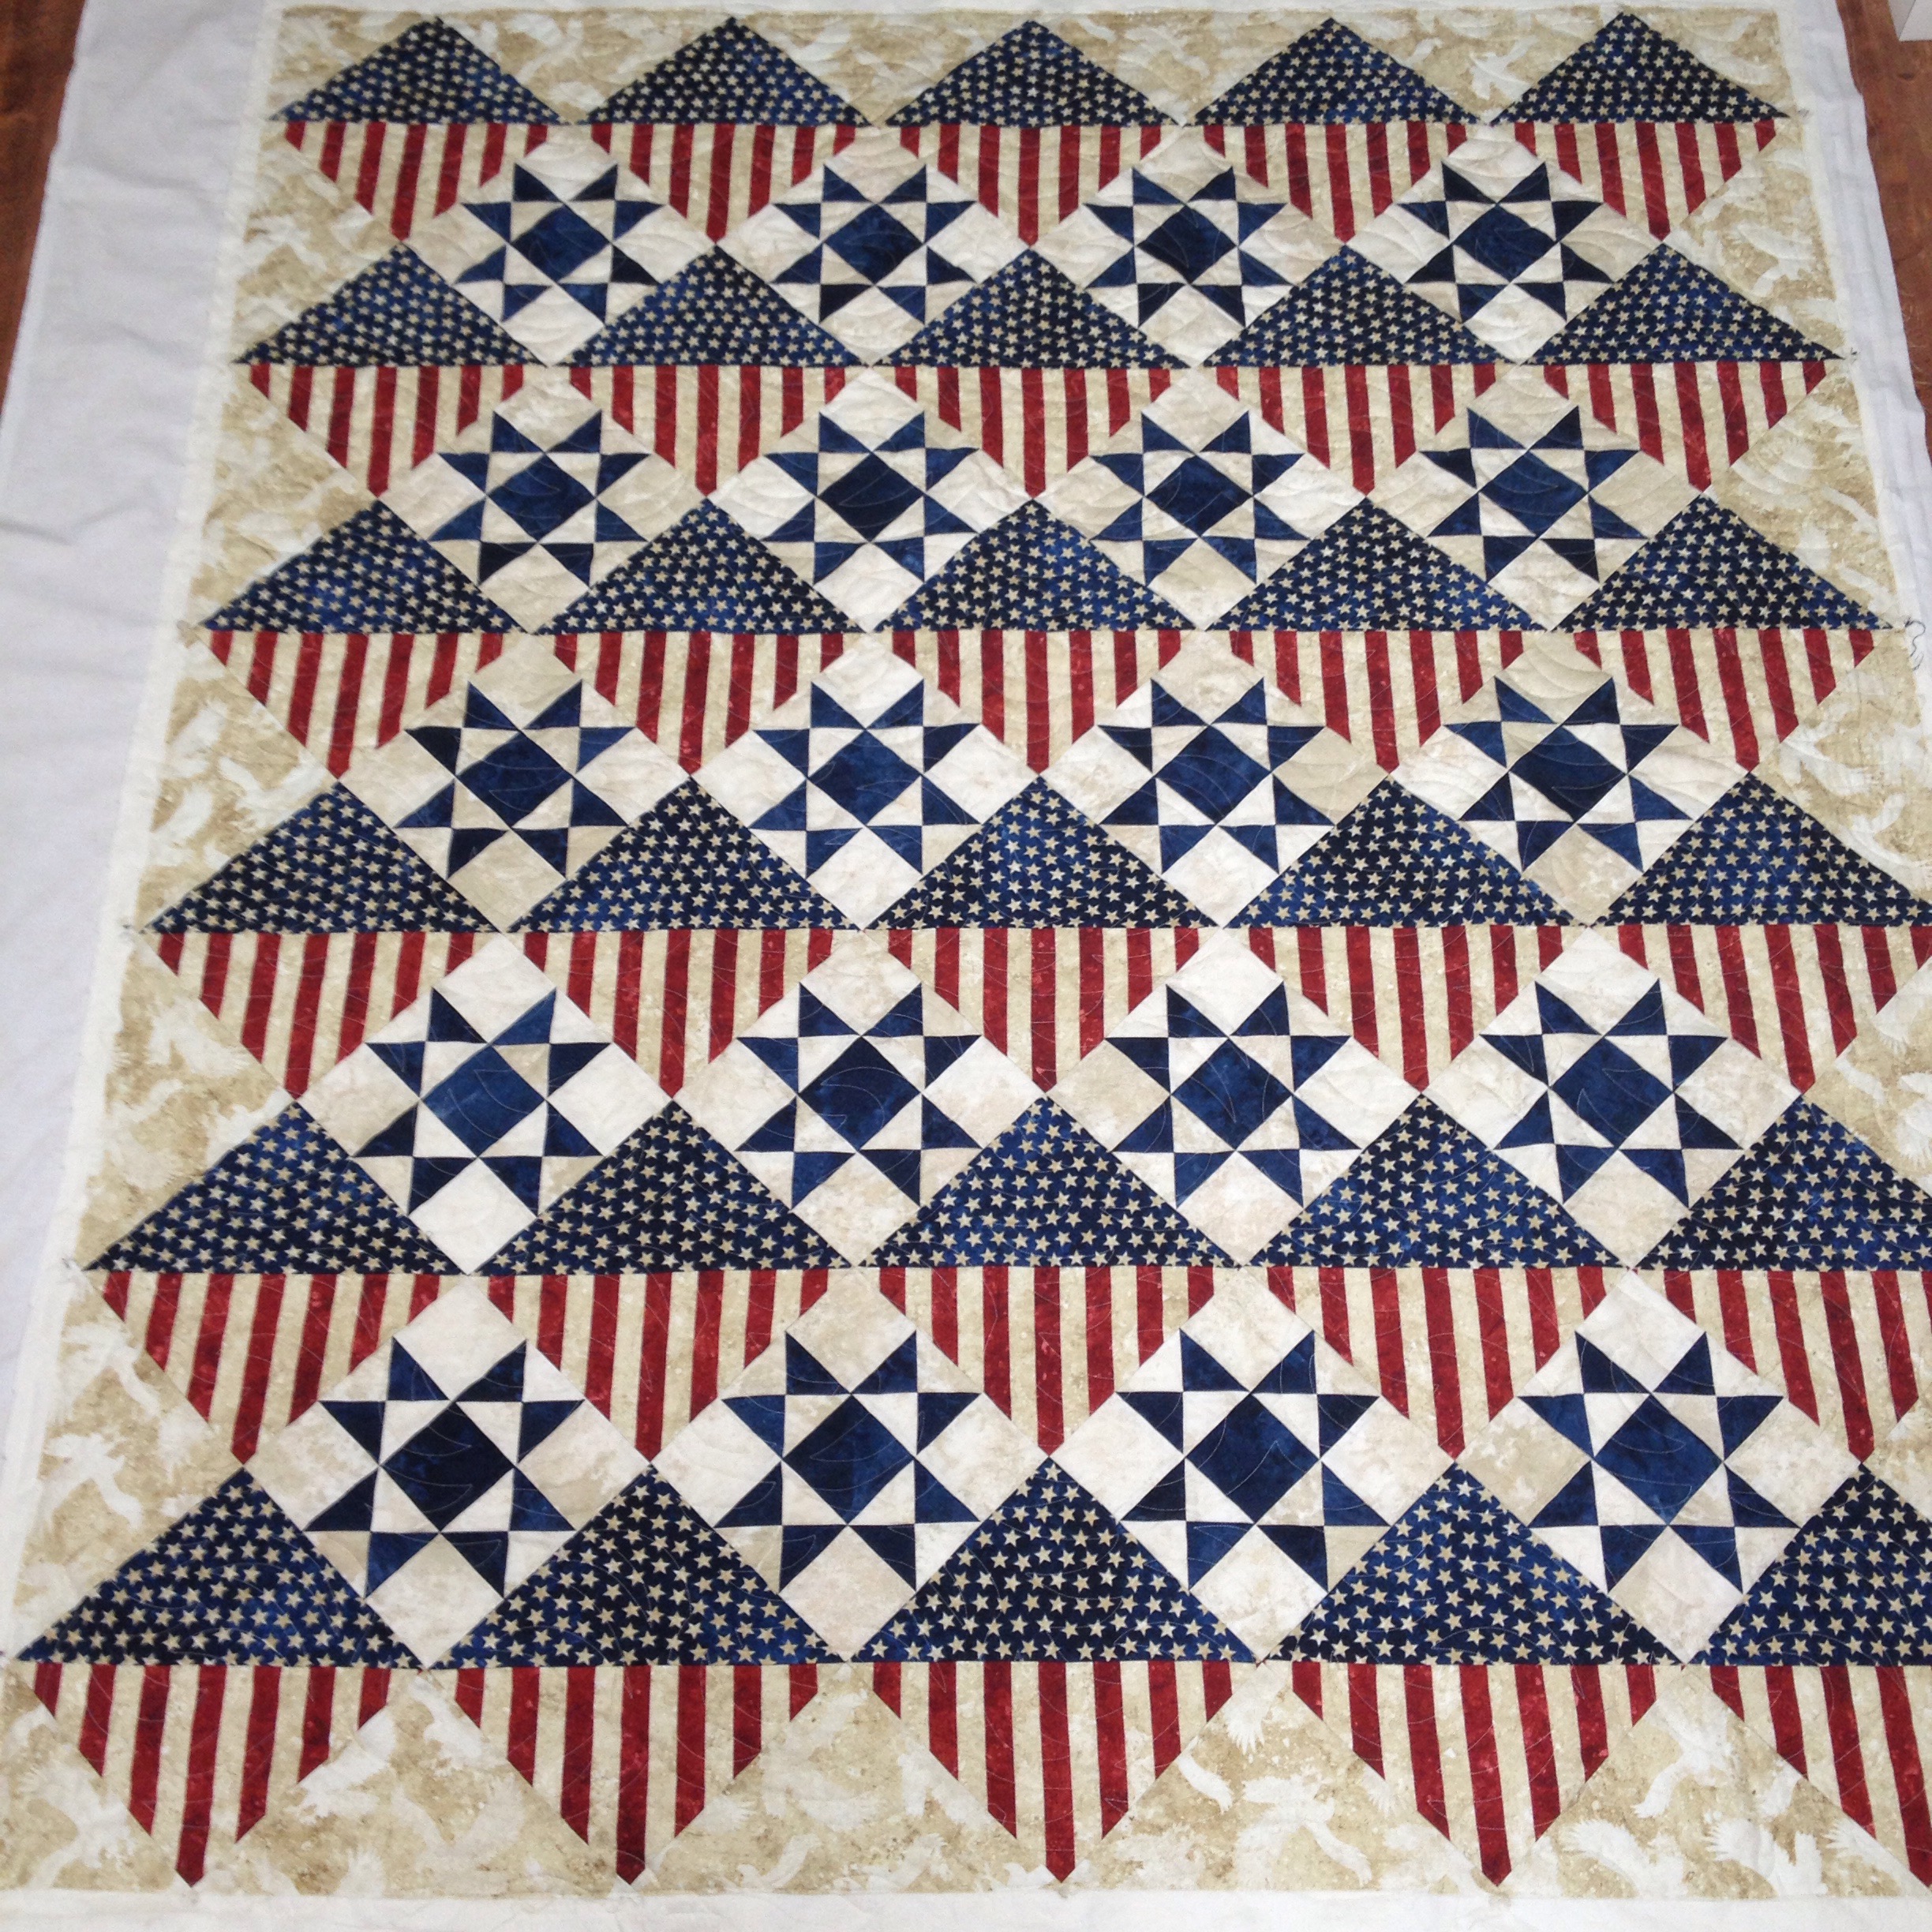
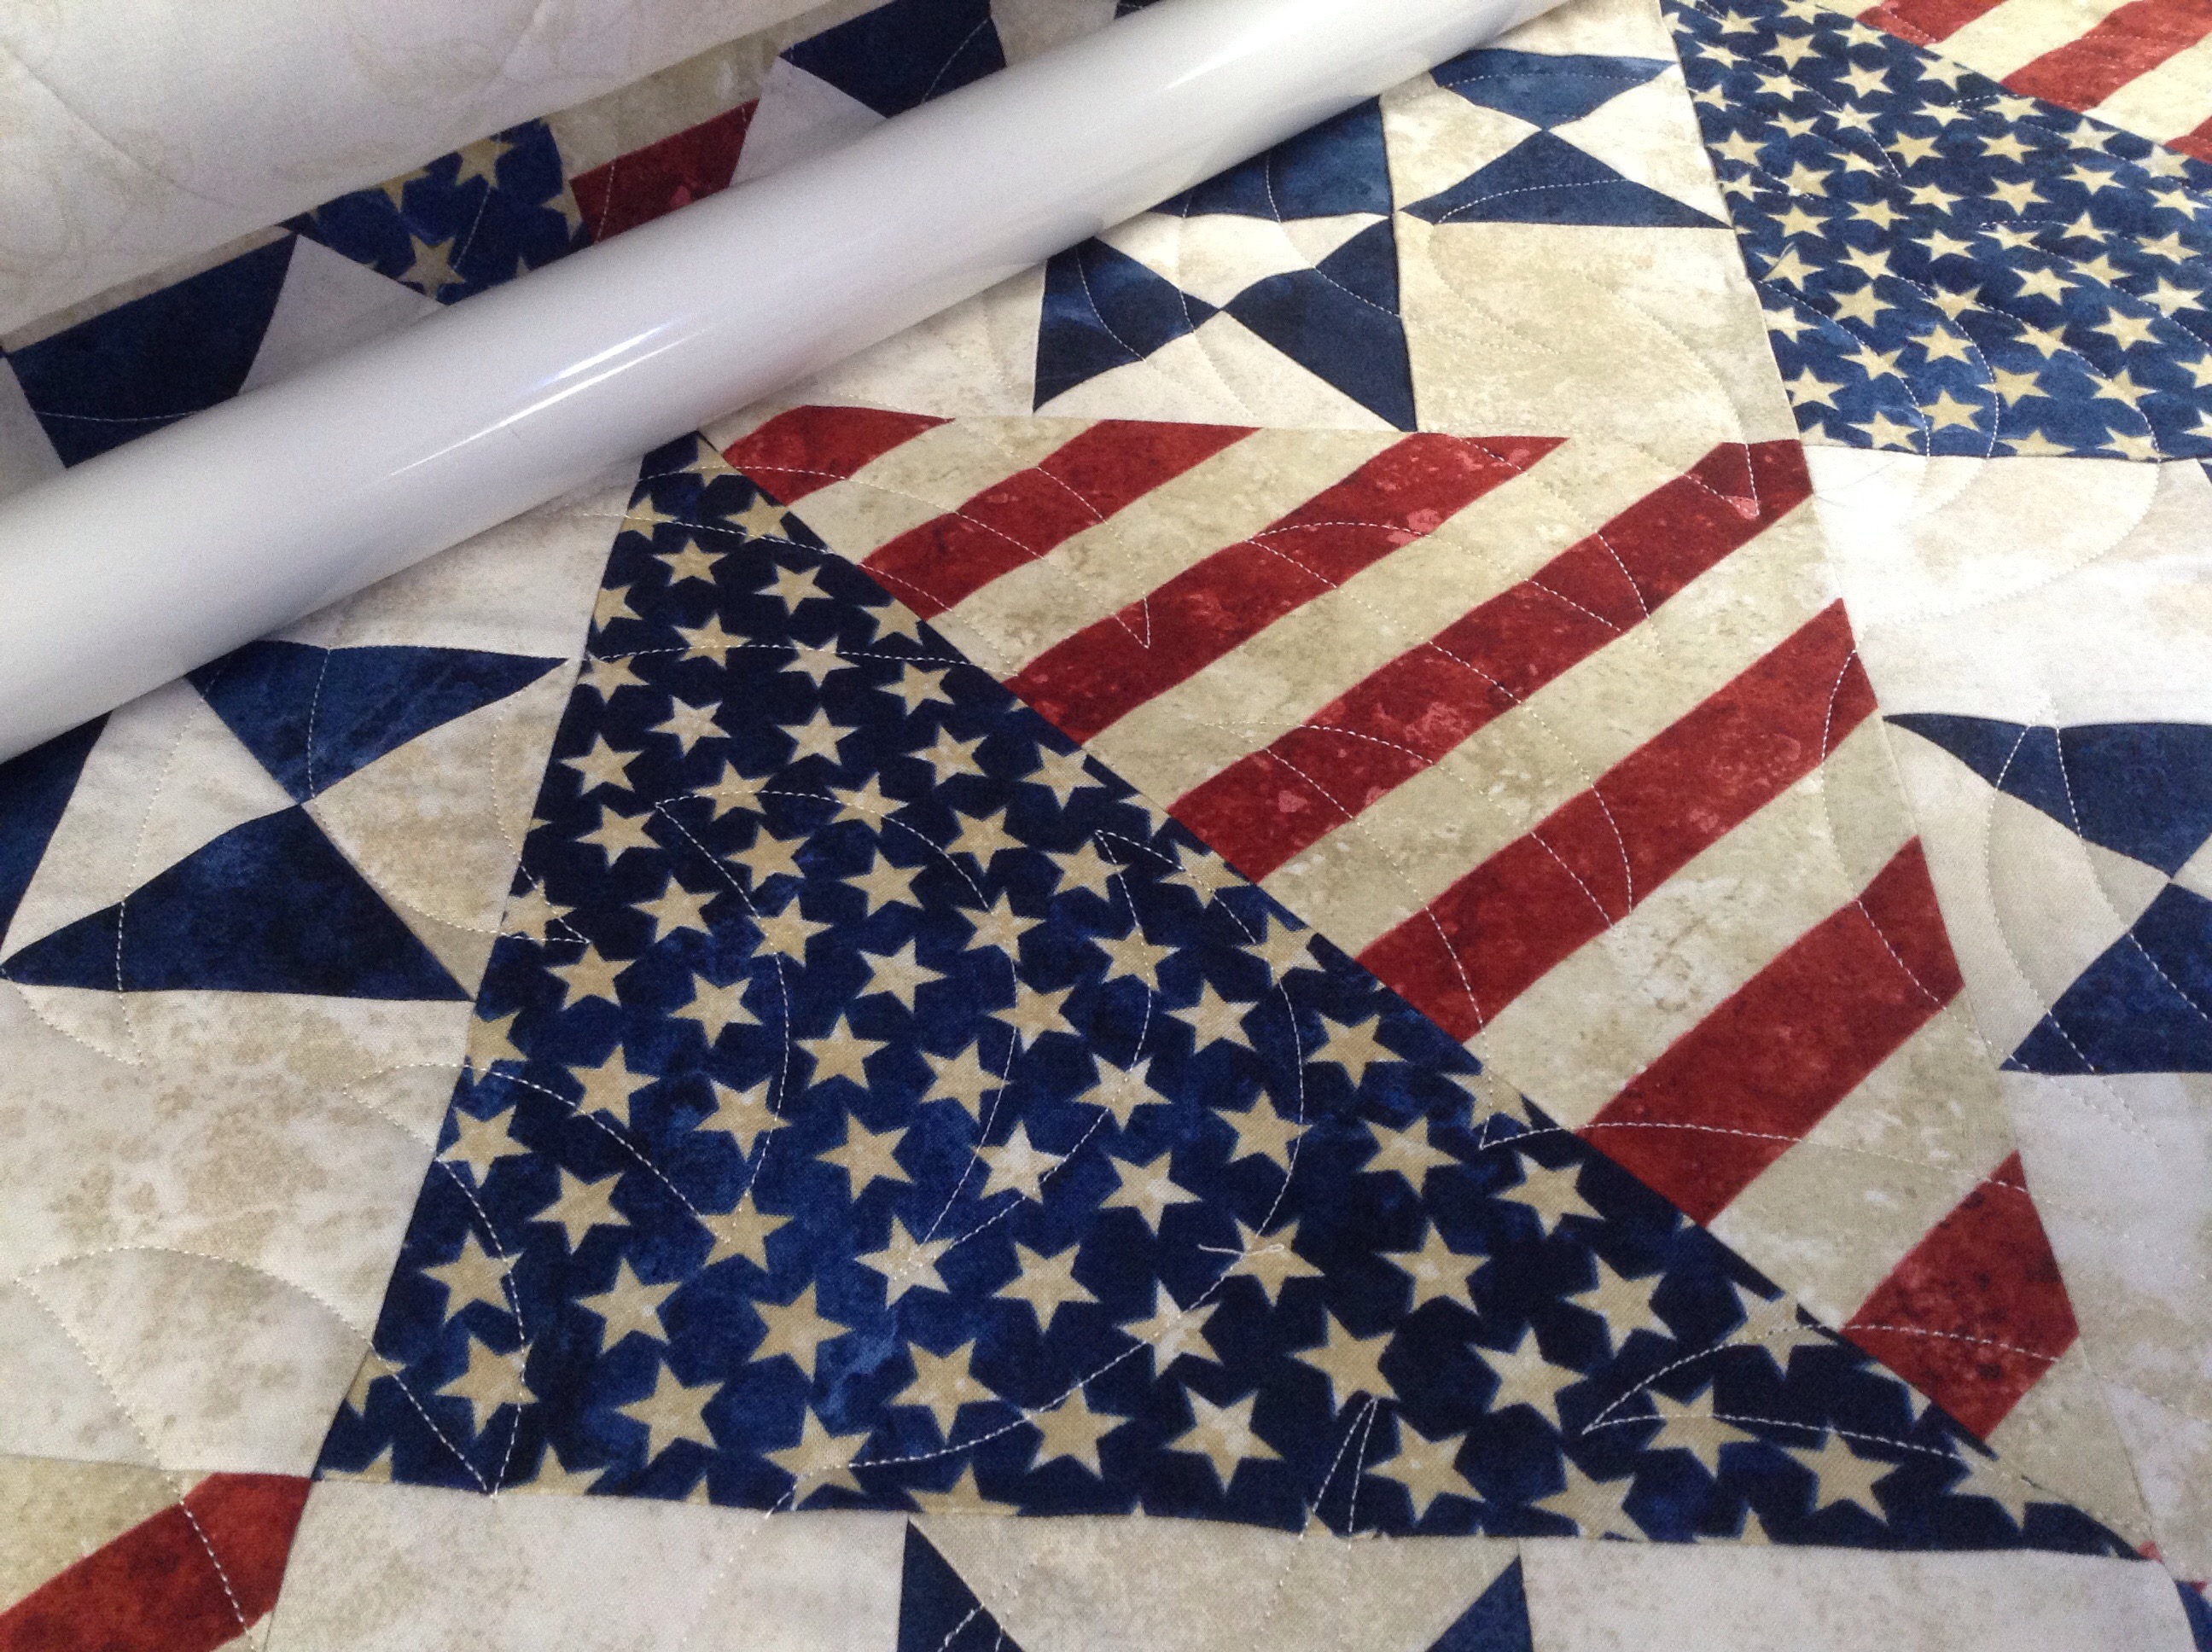
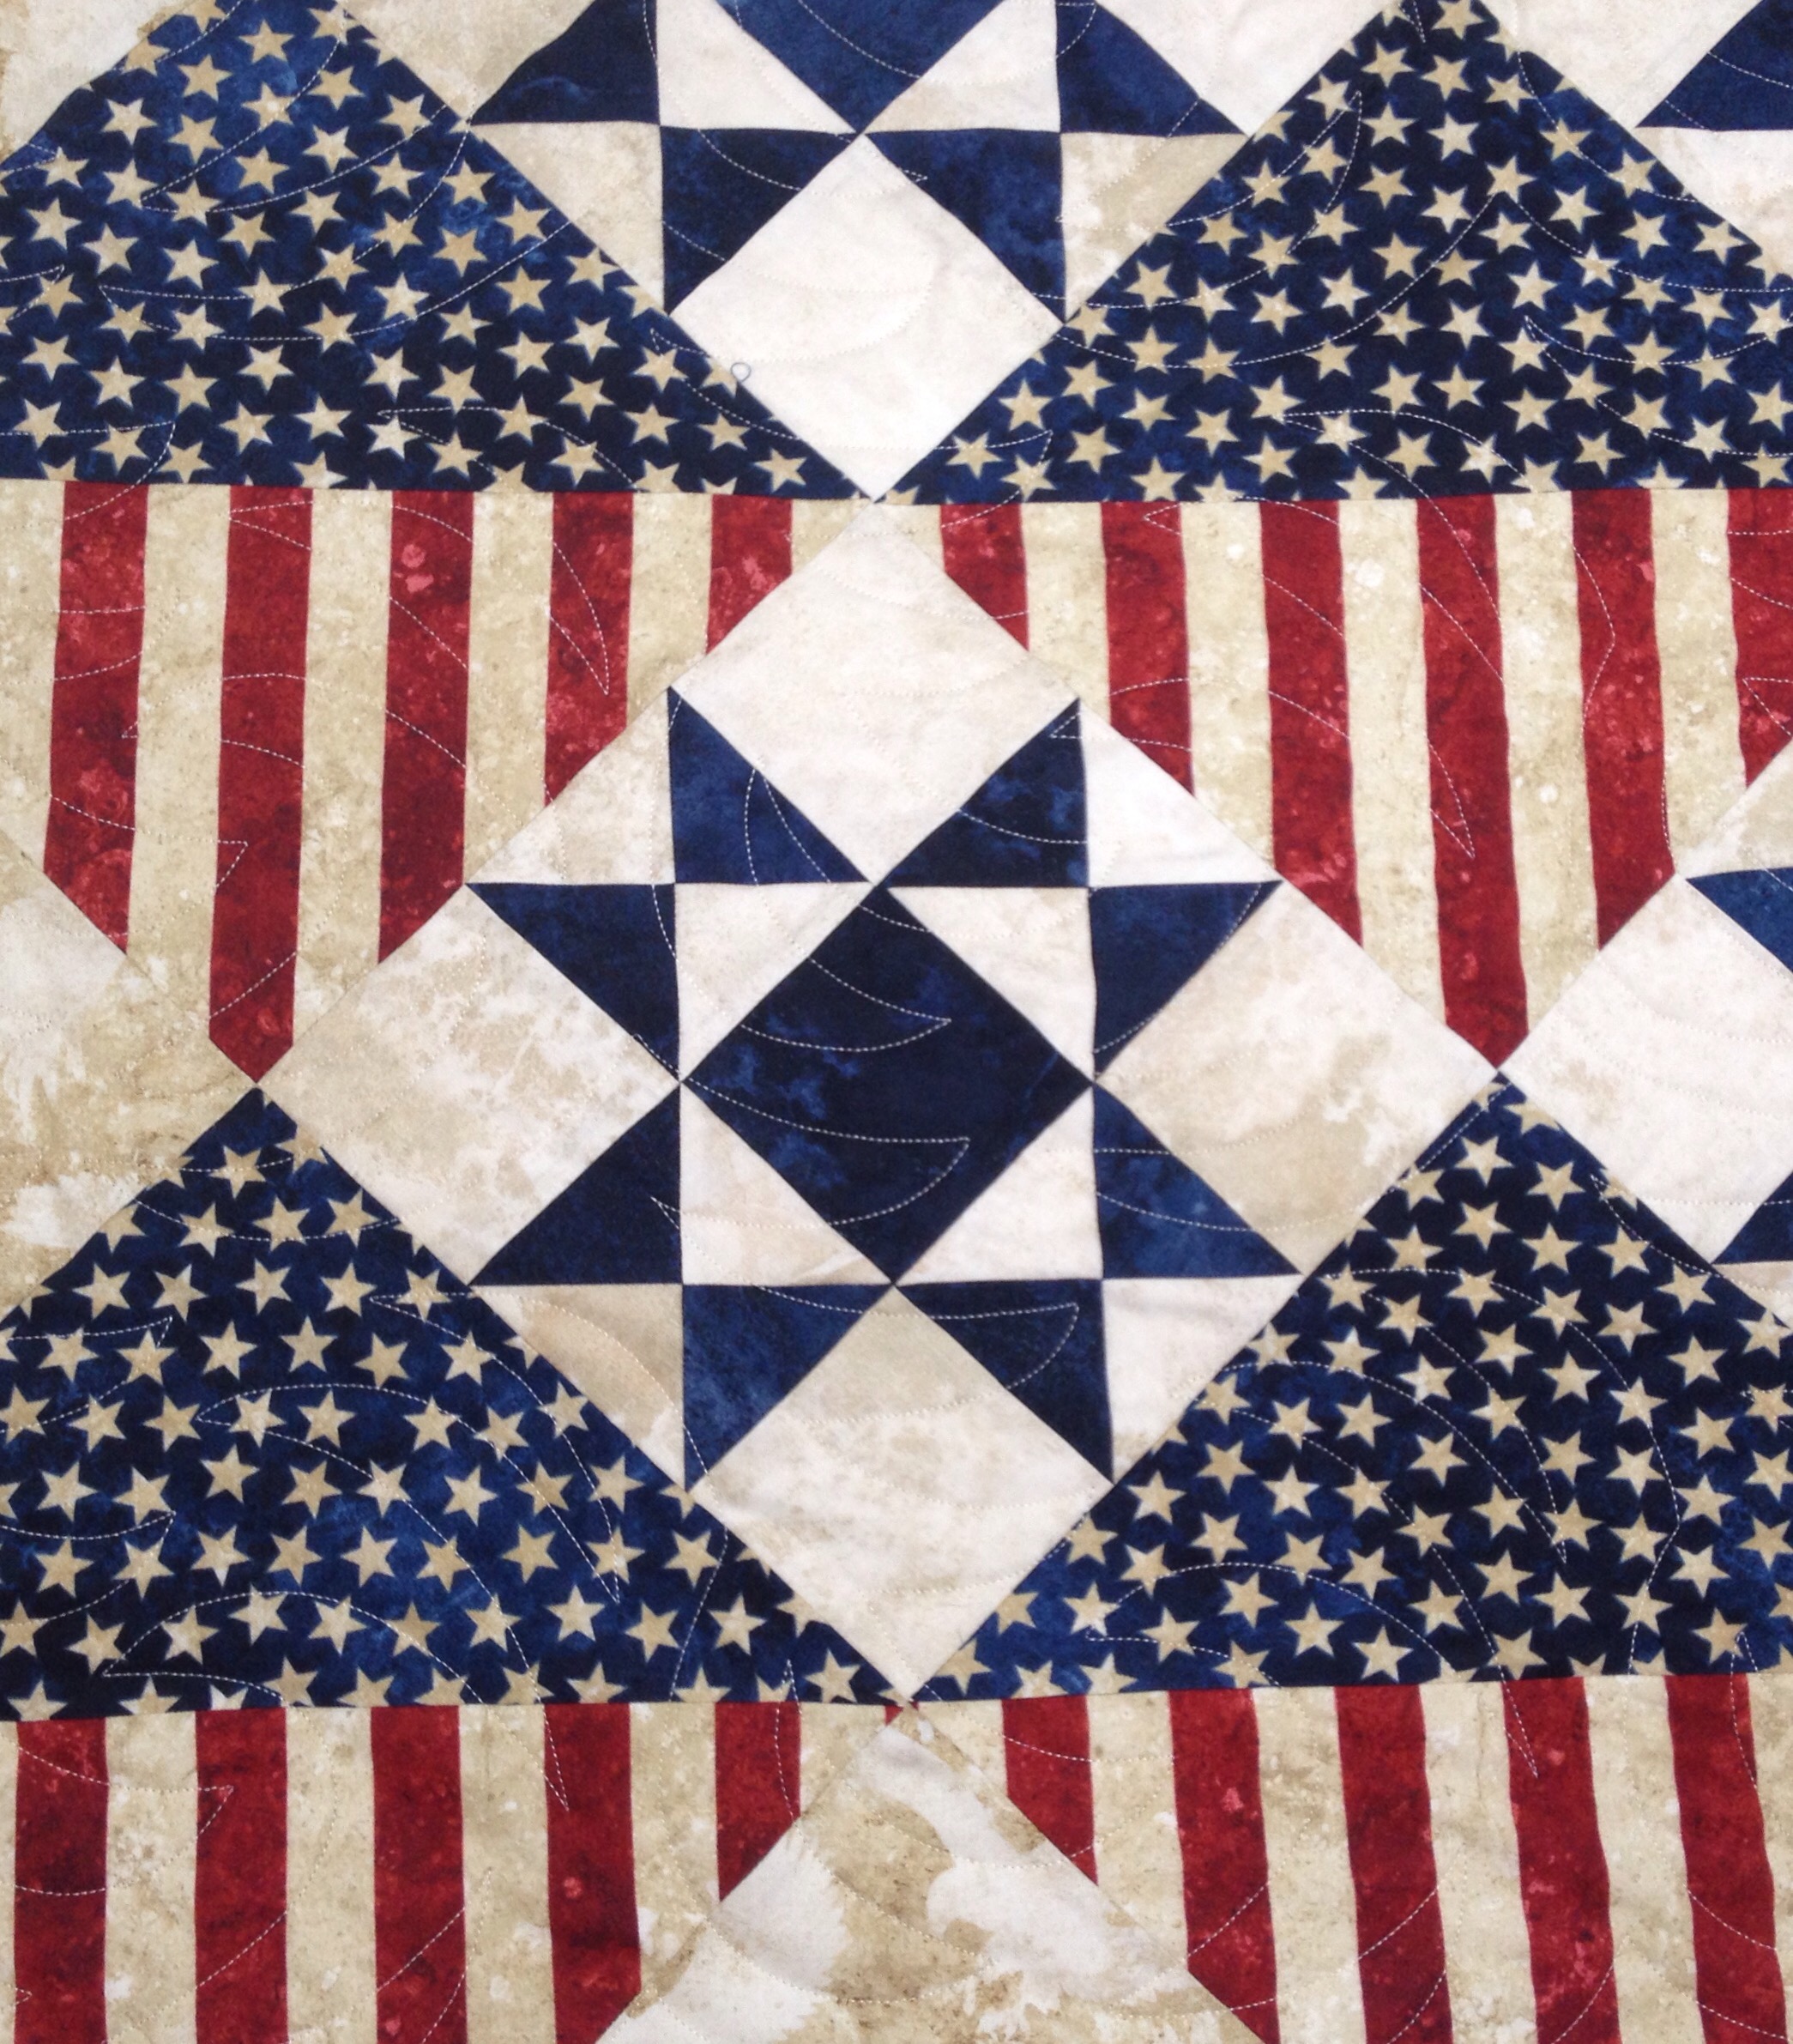
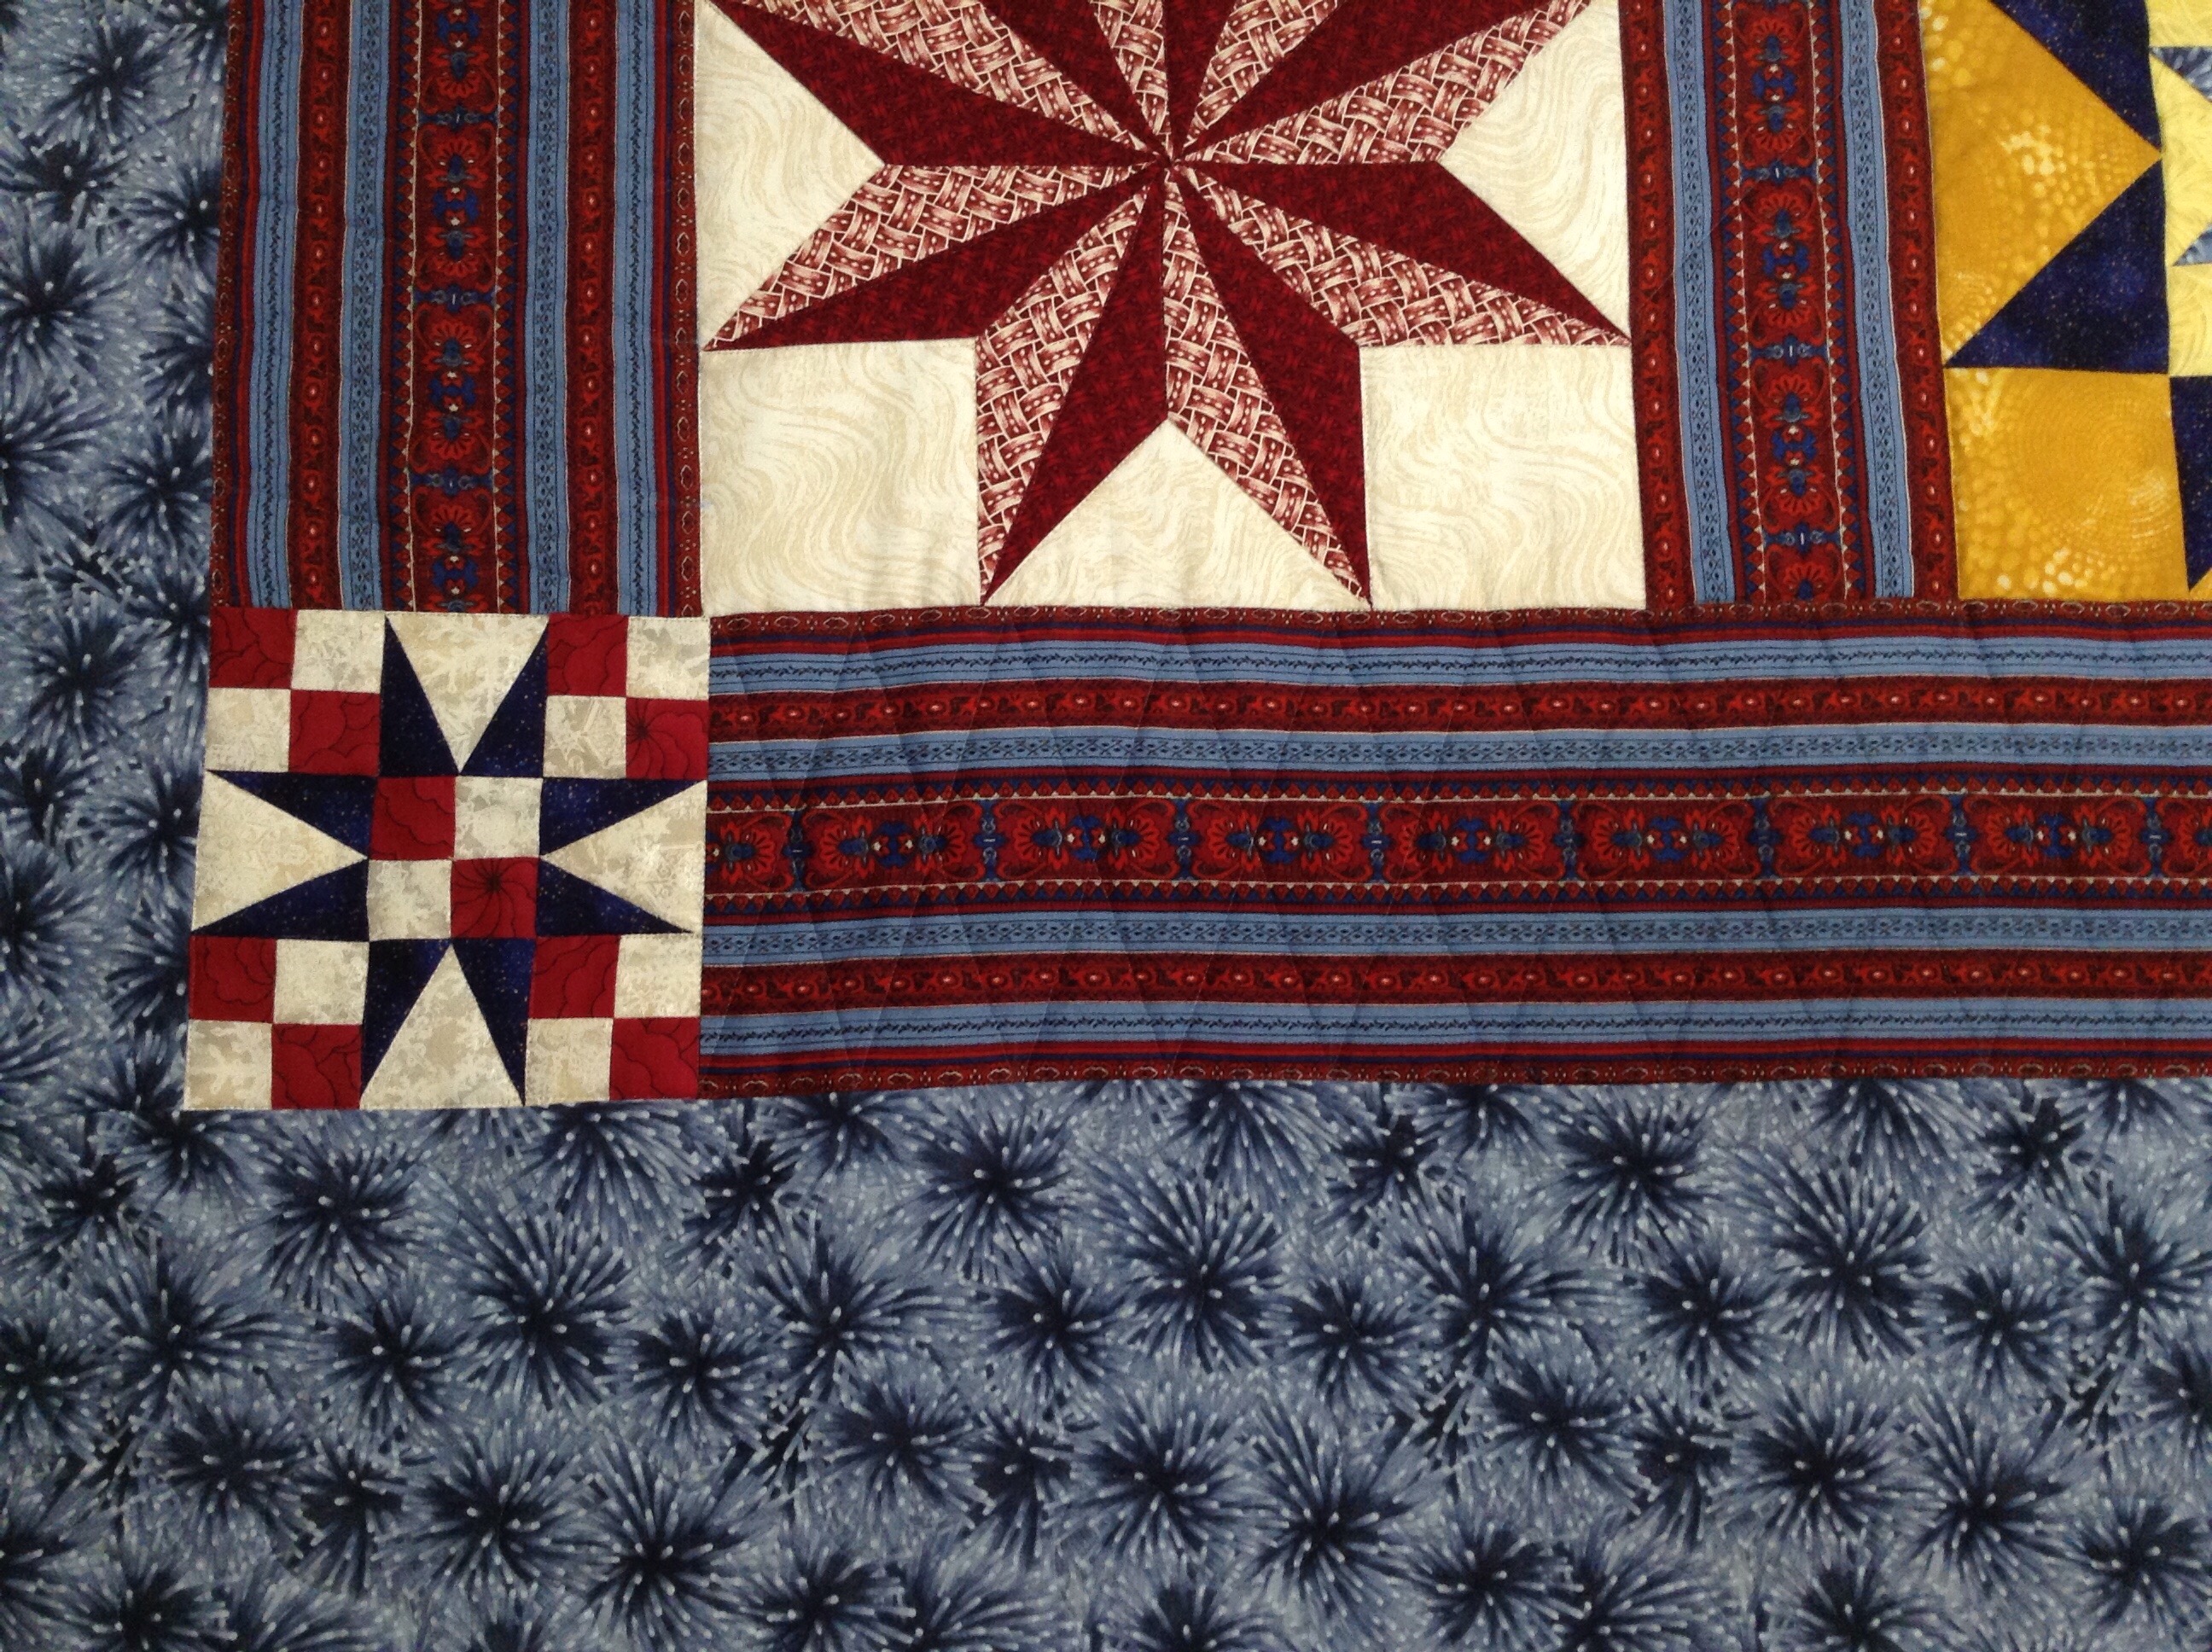
The panto I used is called Eagle’s Landing. I love it! Here is a look at the back.

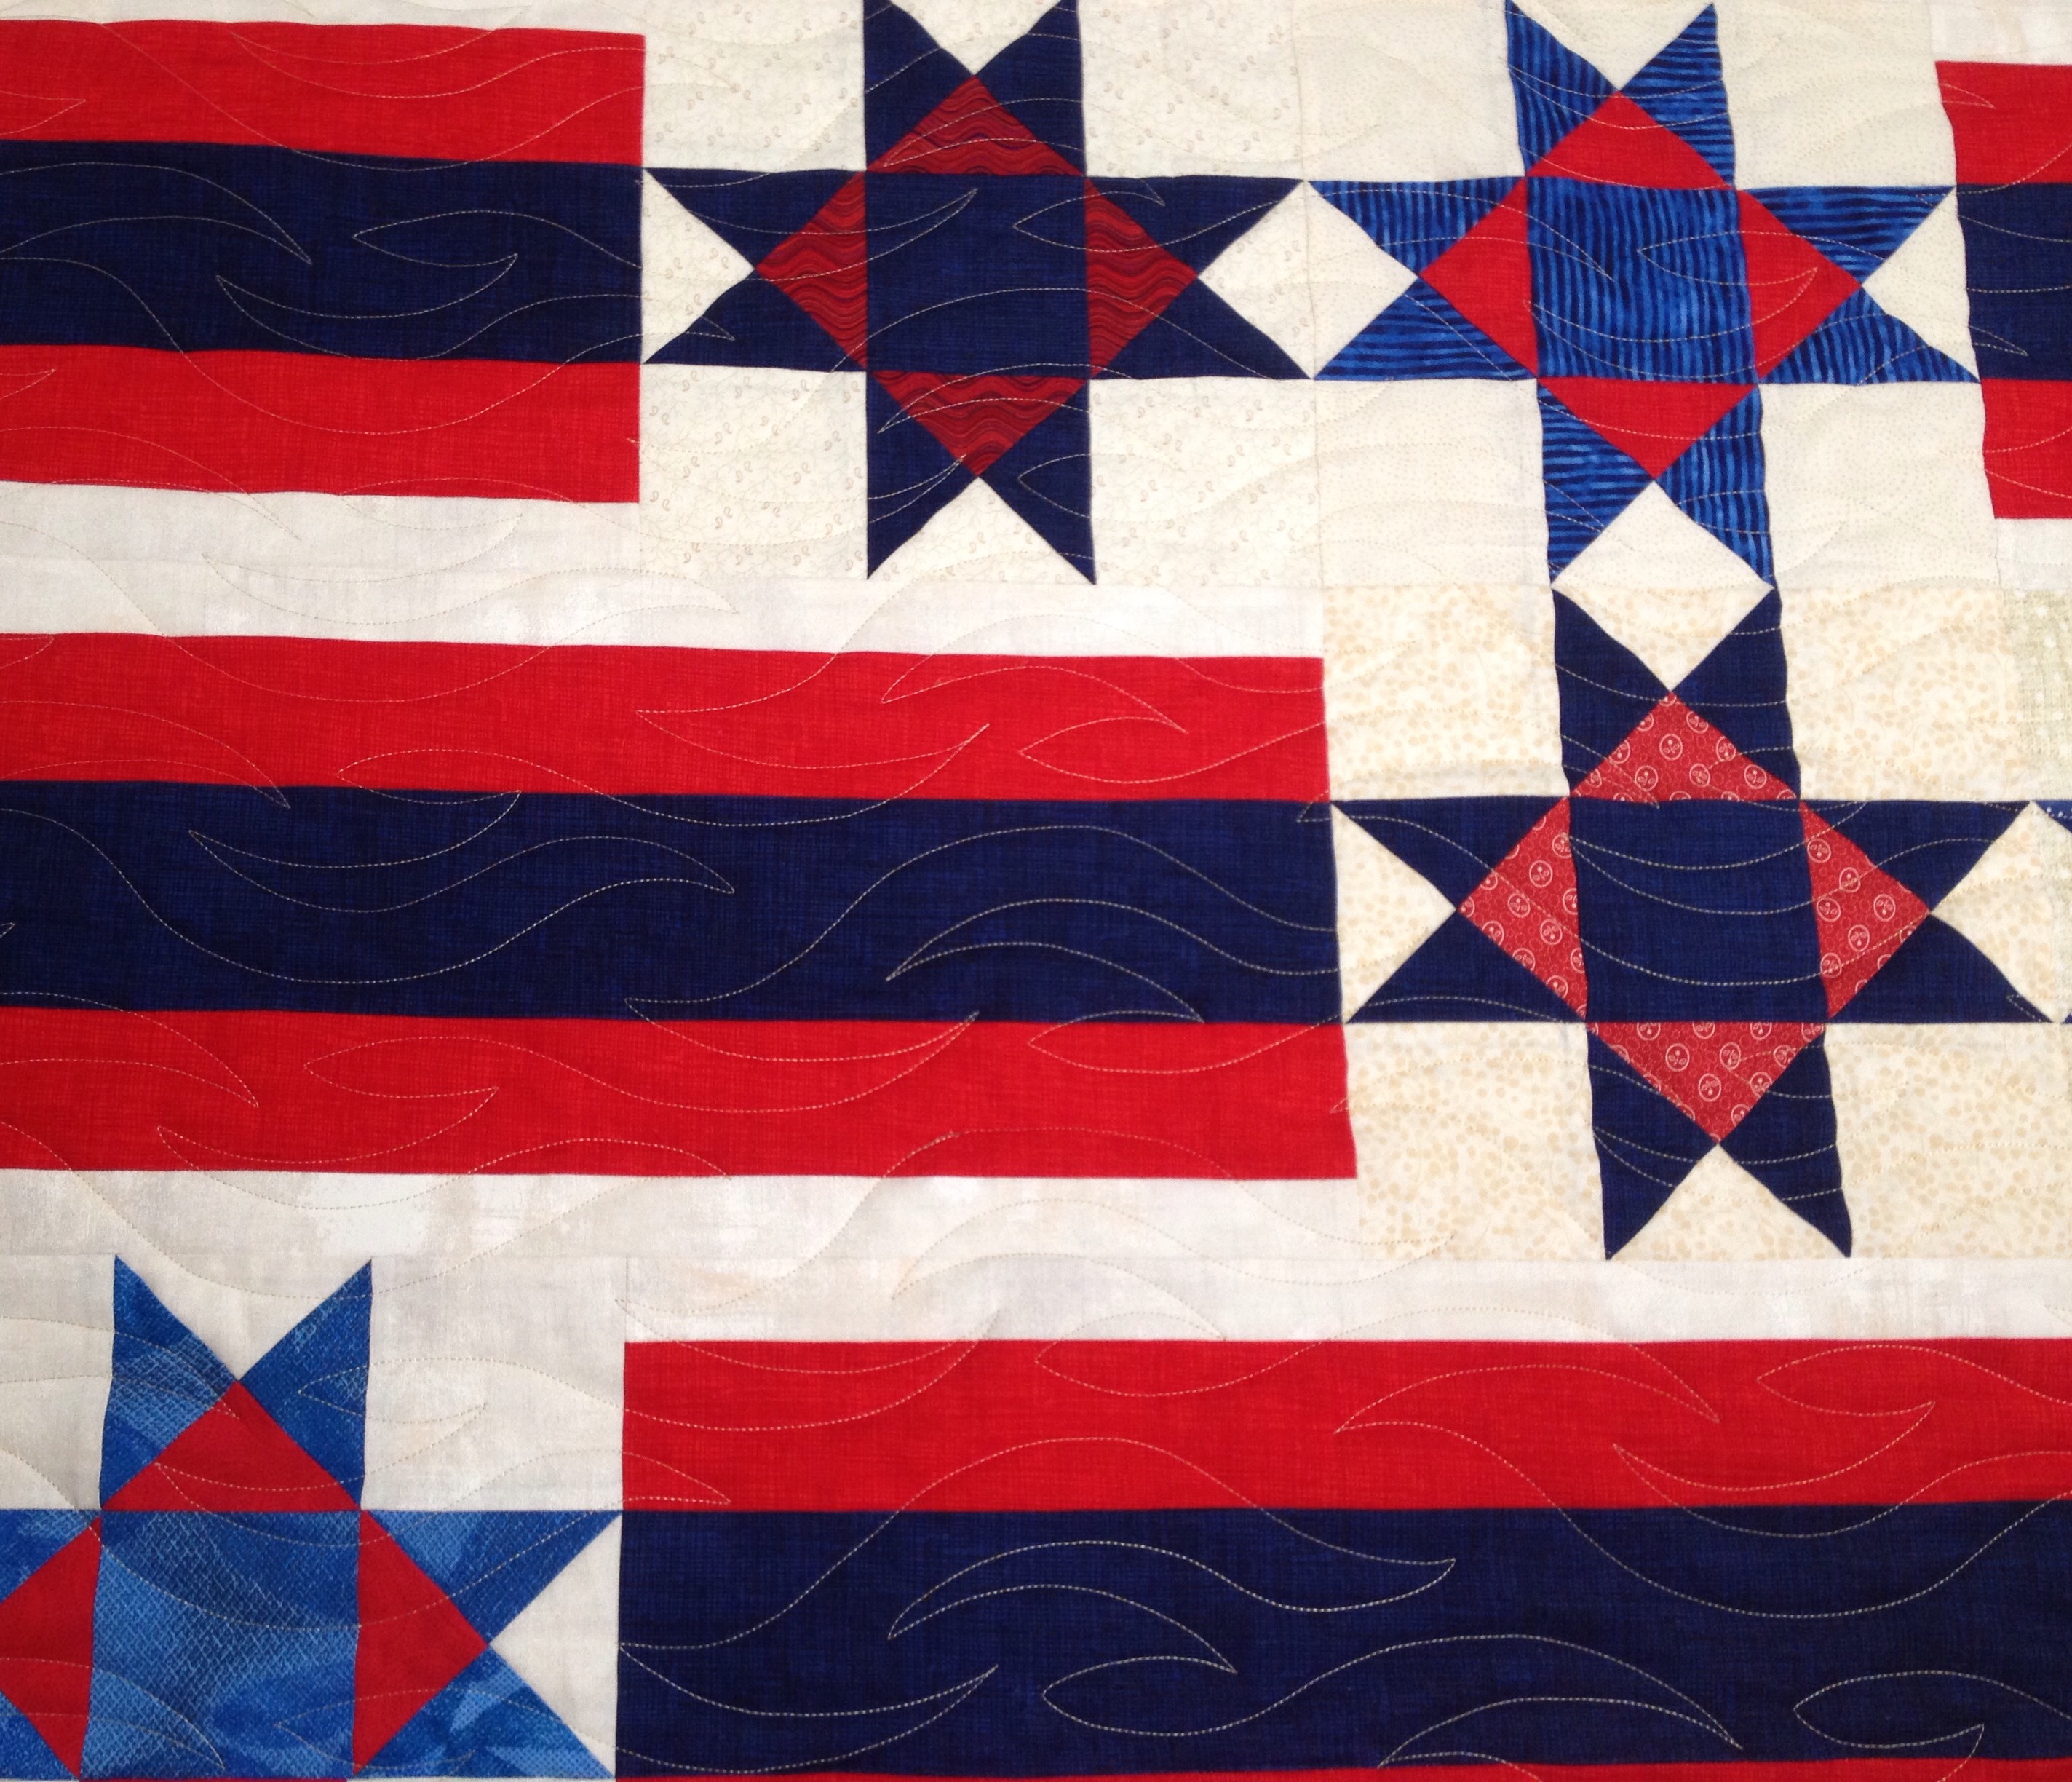
Next is Val’s. It is hard to see the panto I used here. It is called Ebb and Flow and I think it gives the feel of waving flags.


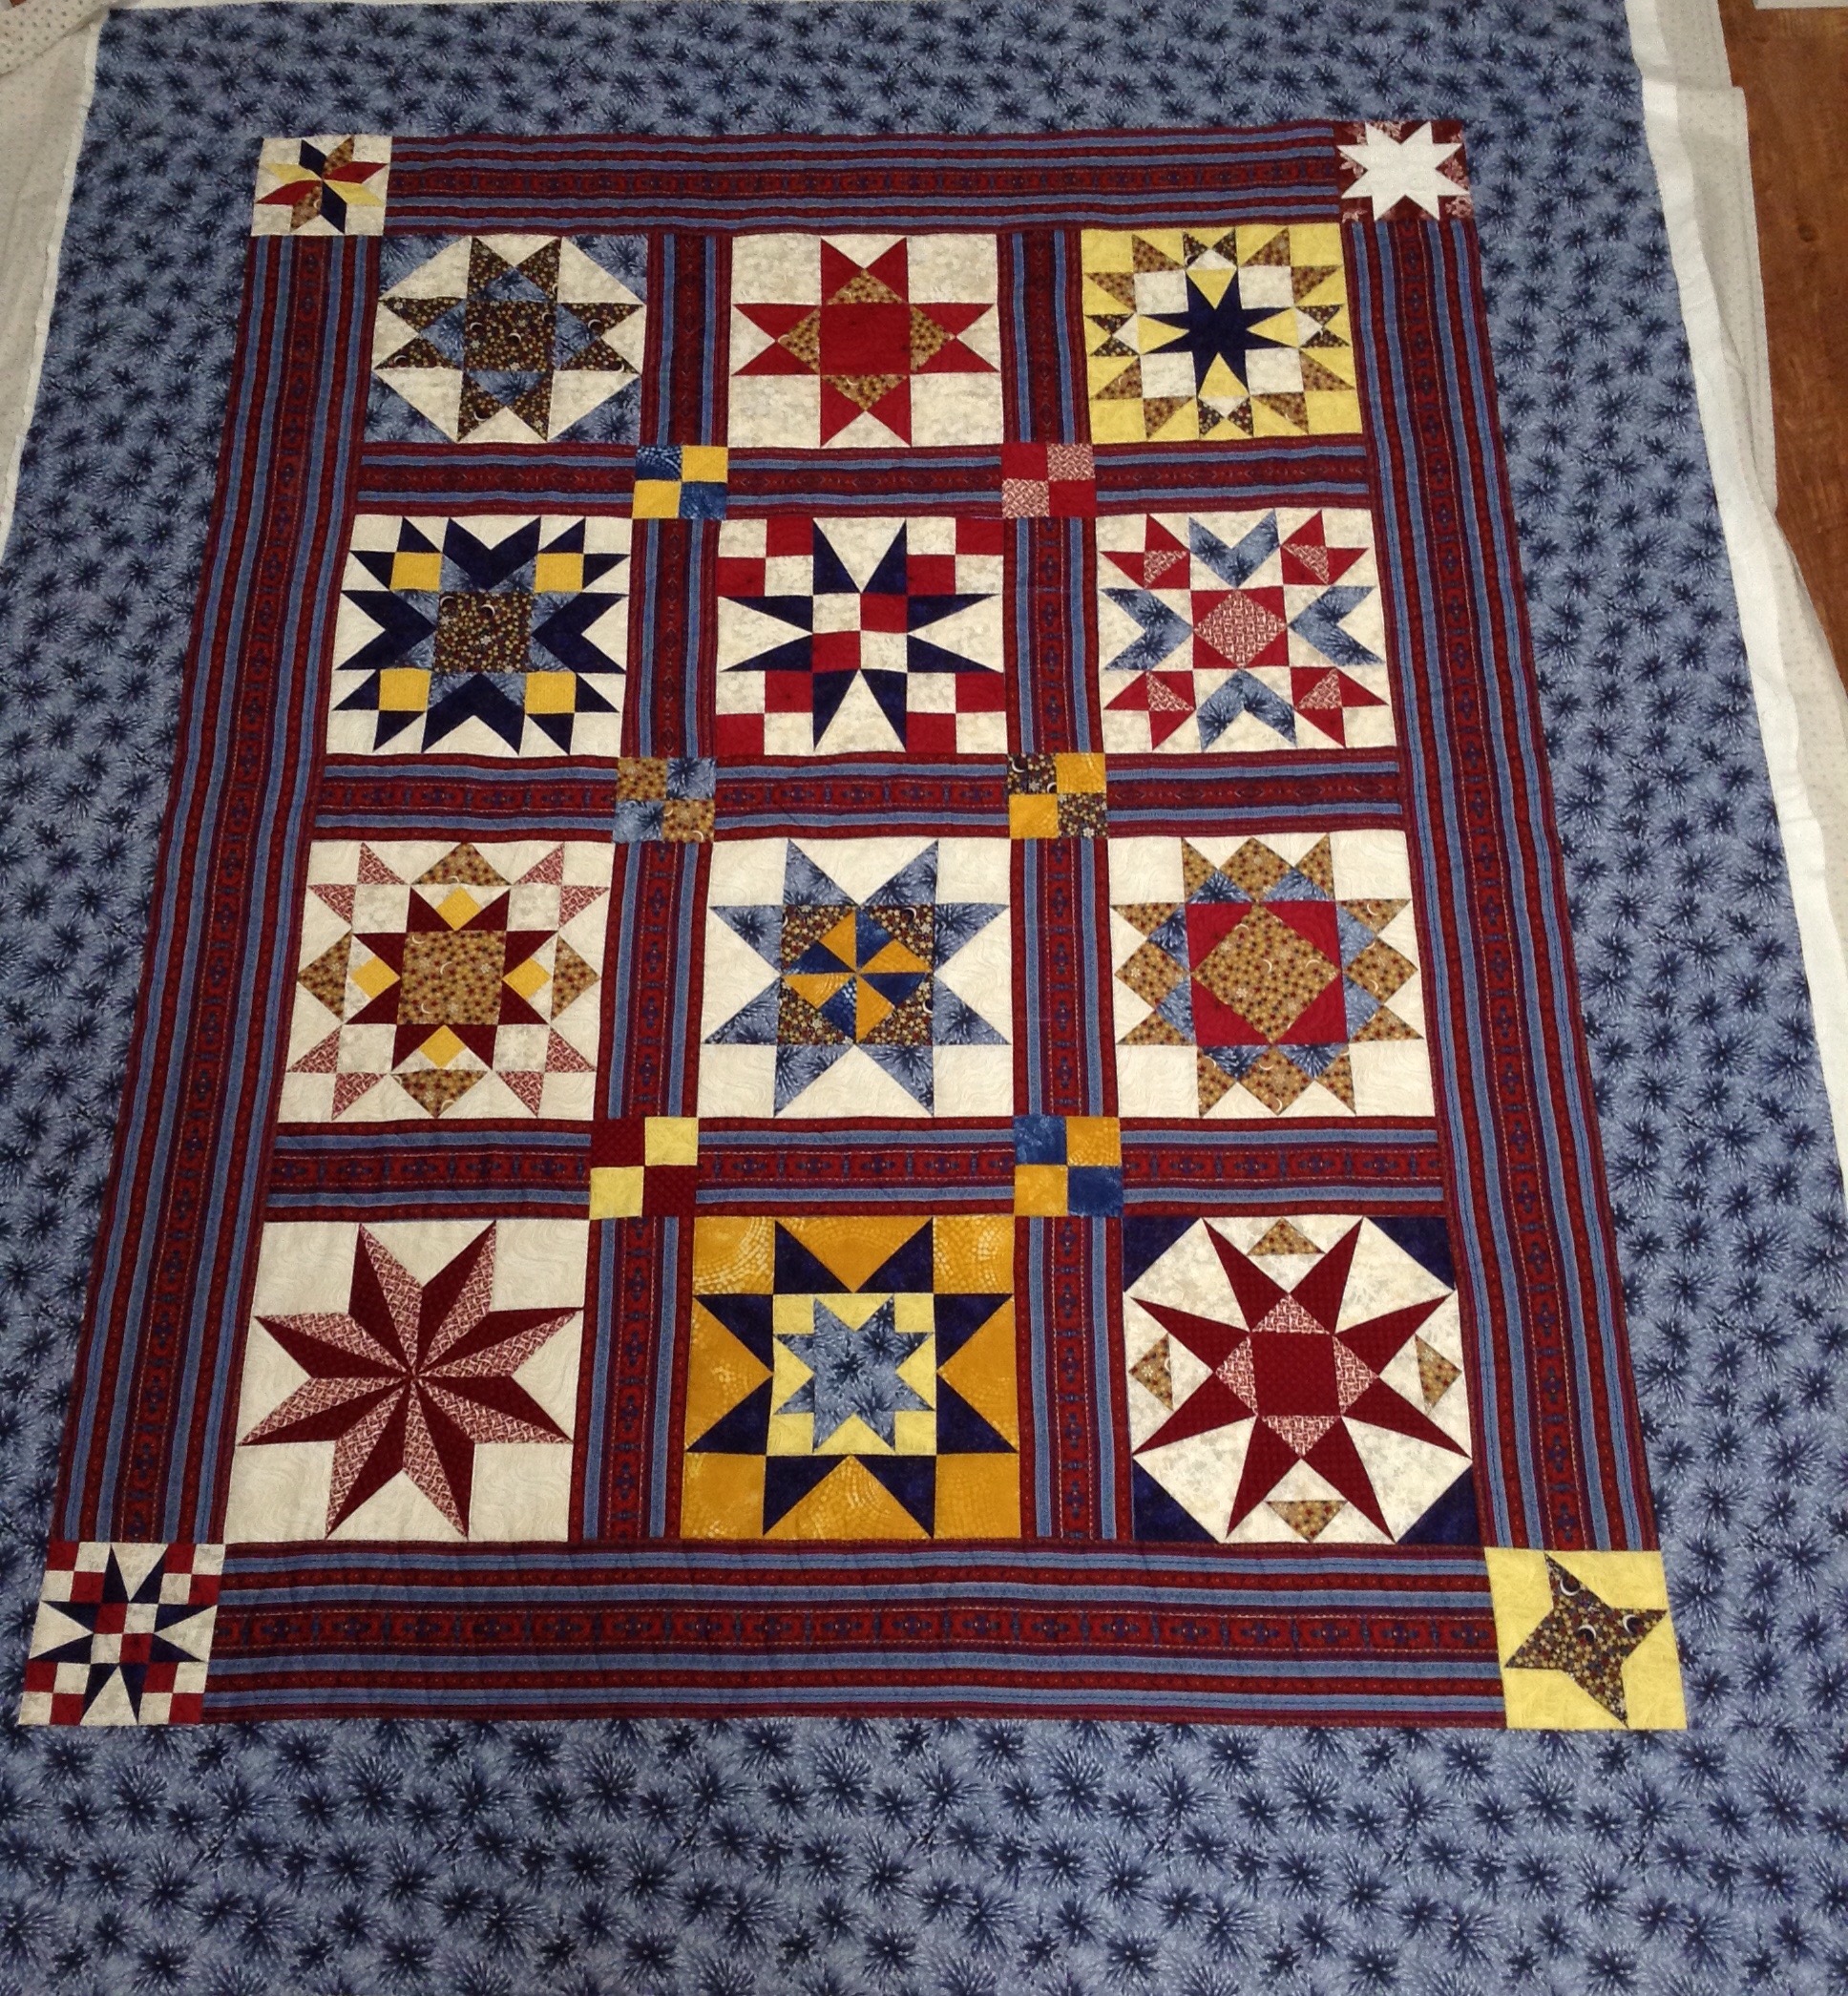
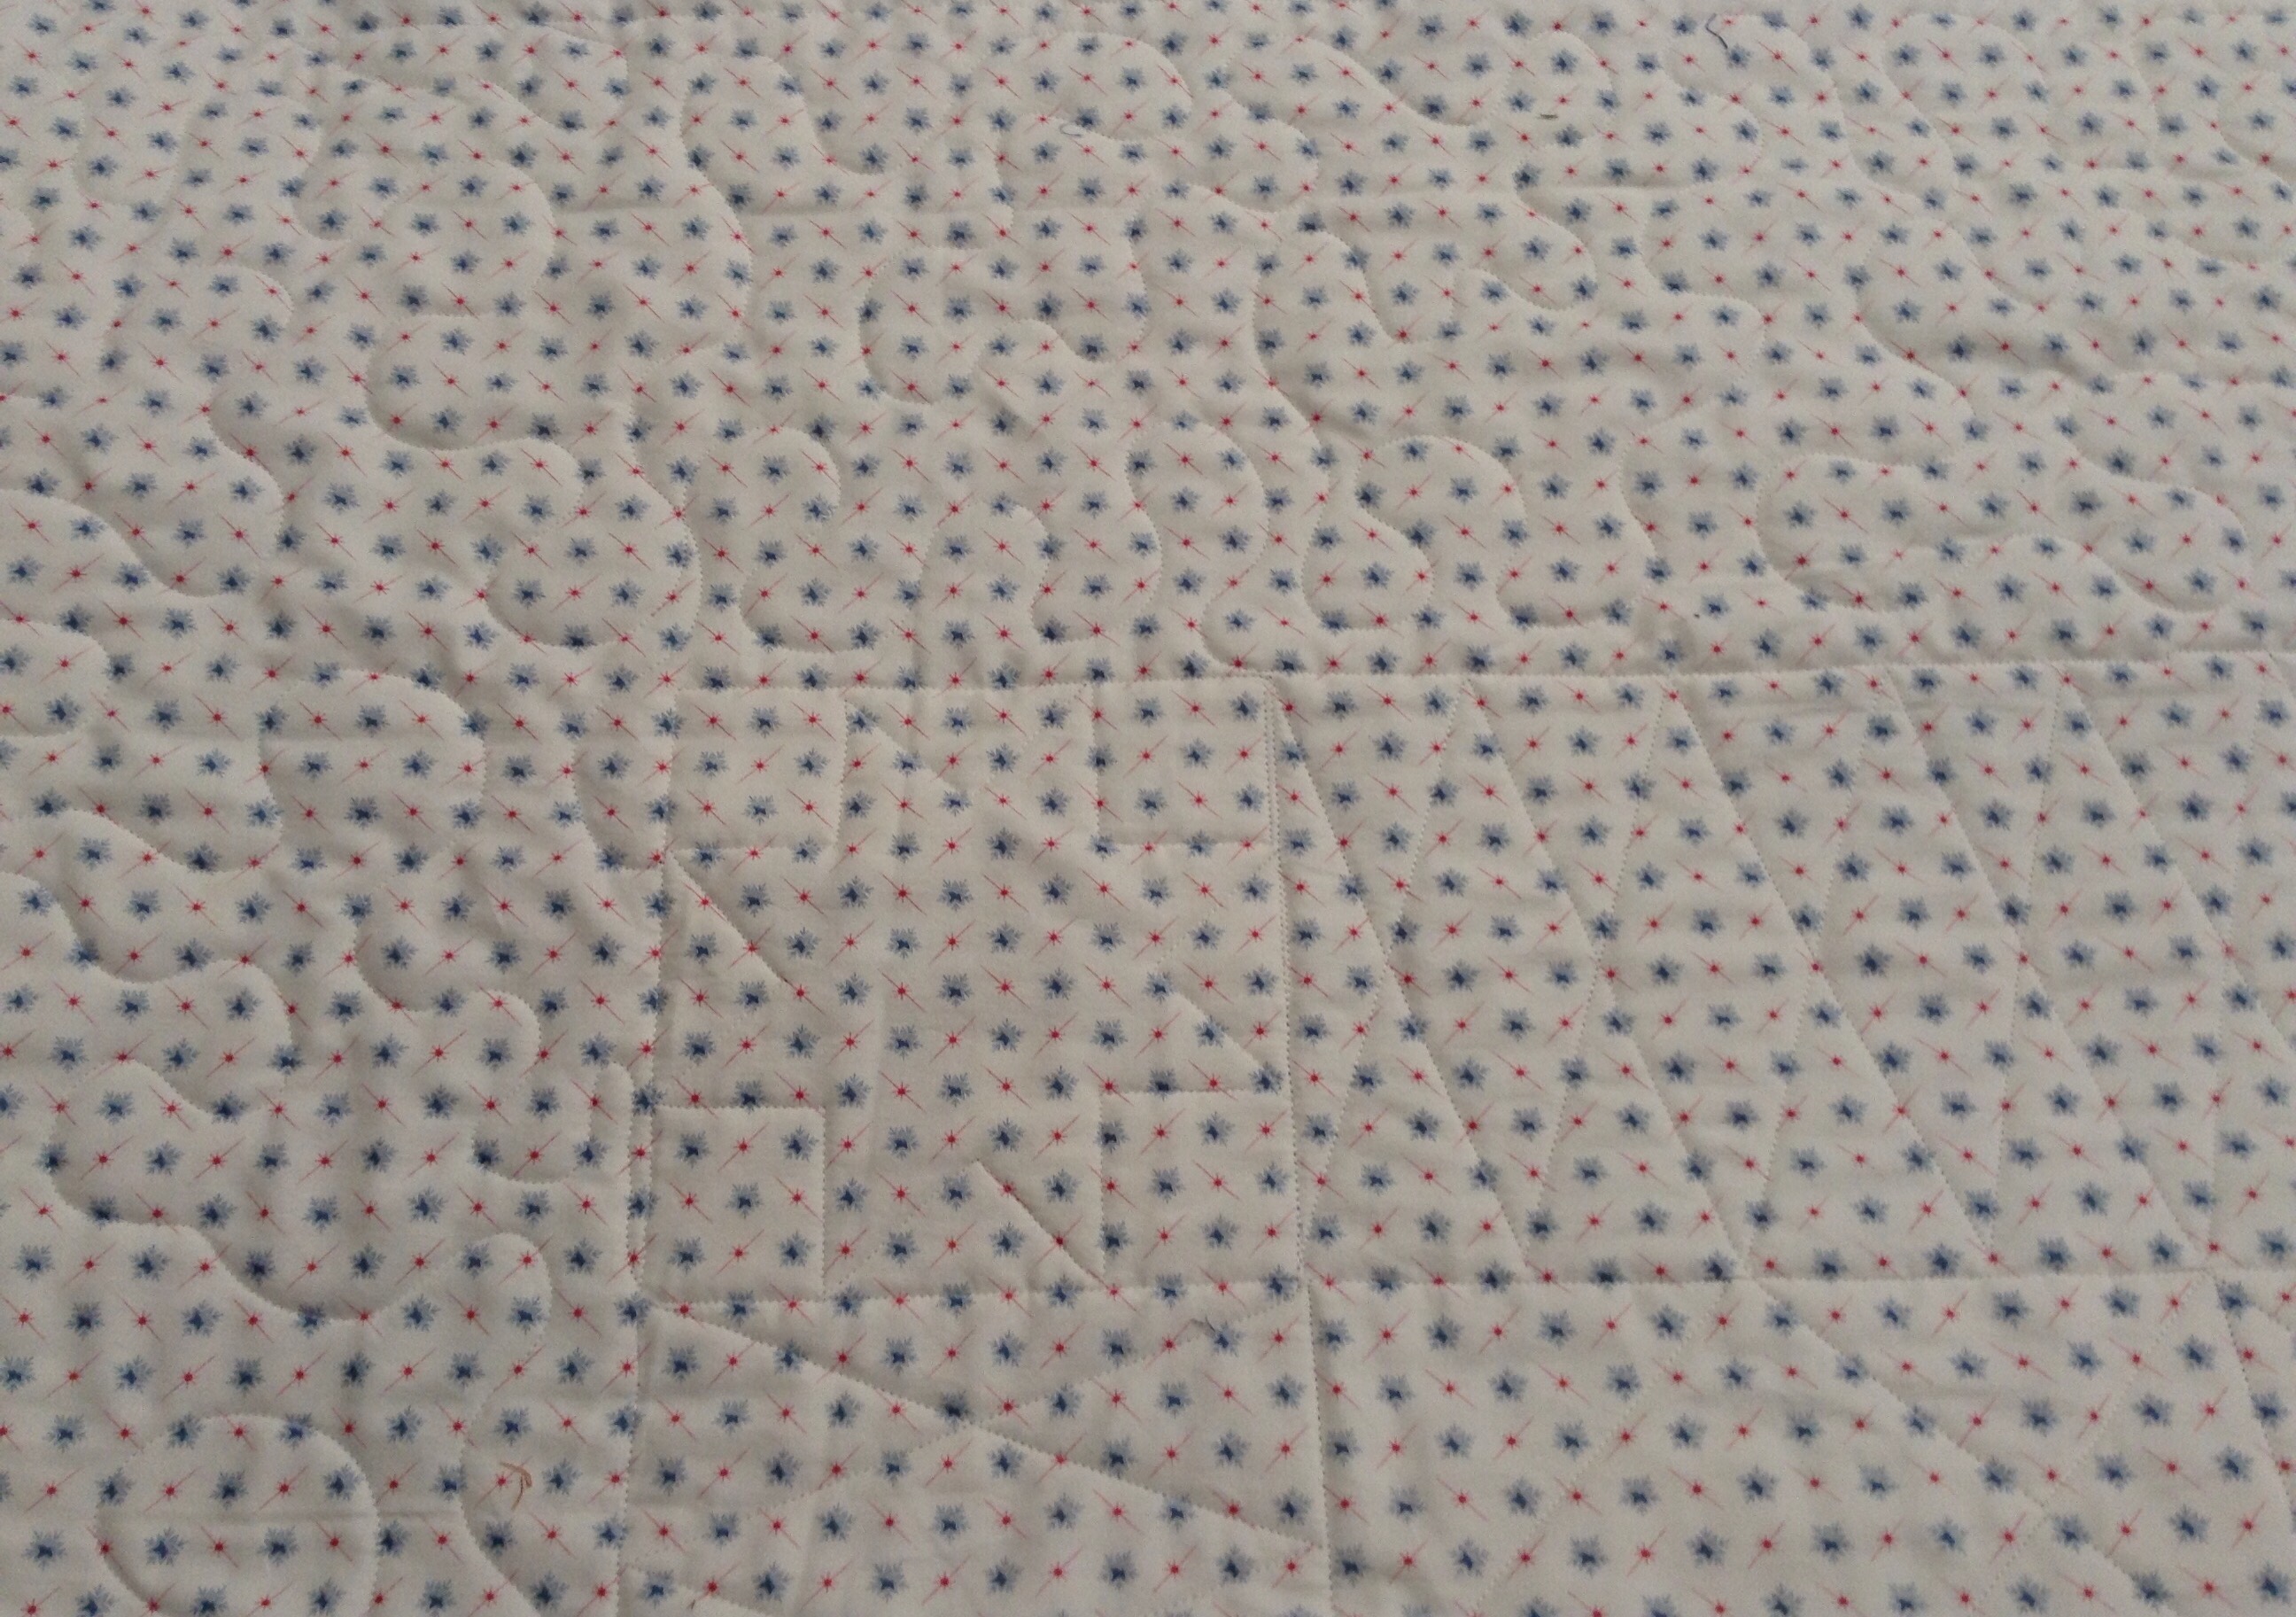
The quilting doesn’t show at all on the back! Lastly is a top made by Fran. She gave some pretty specific directions for how she wanted this quilted. She wanted to make sure it was not too closely quilted because she didn’t want it to be too flat.  

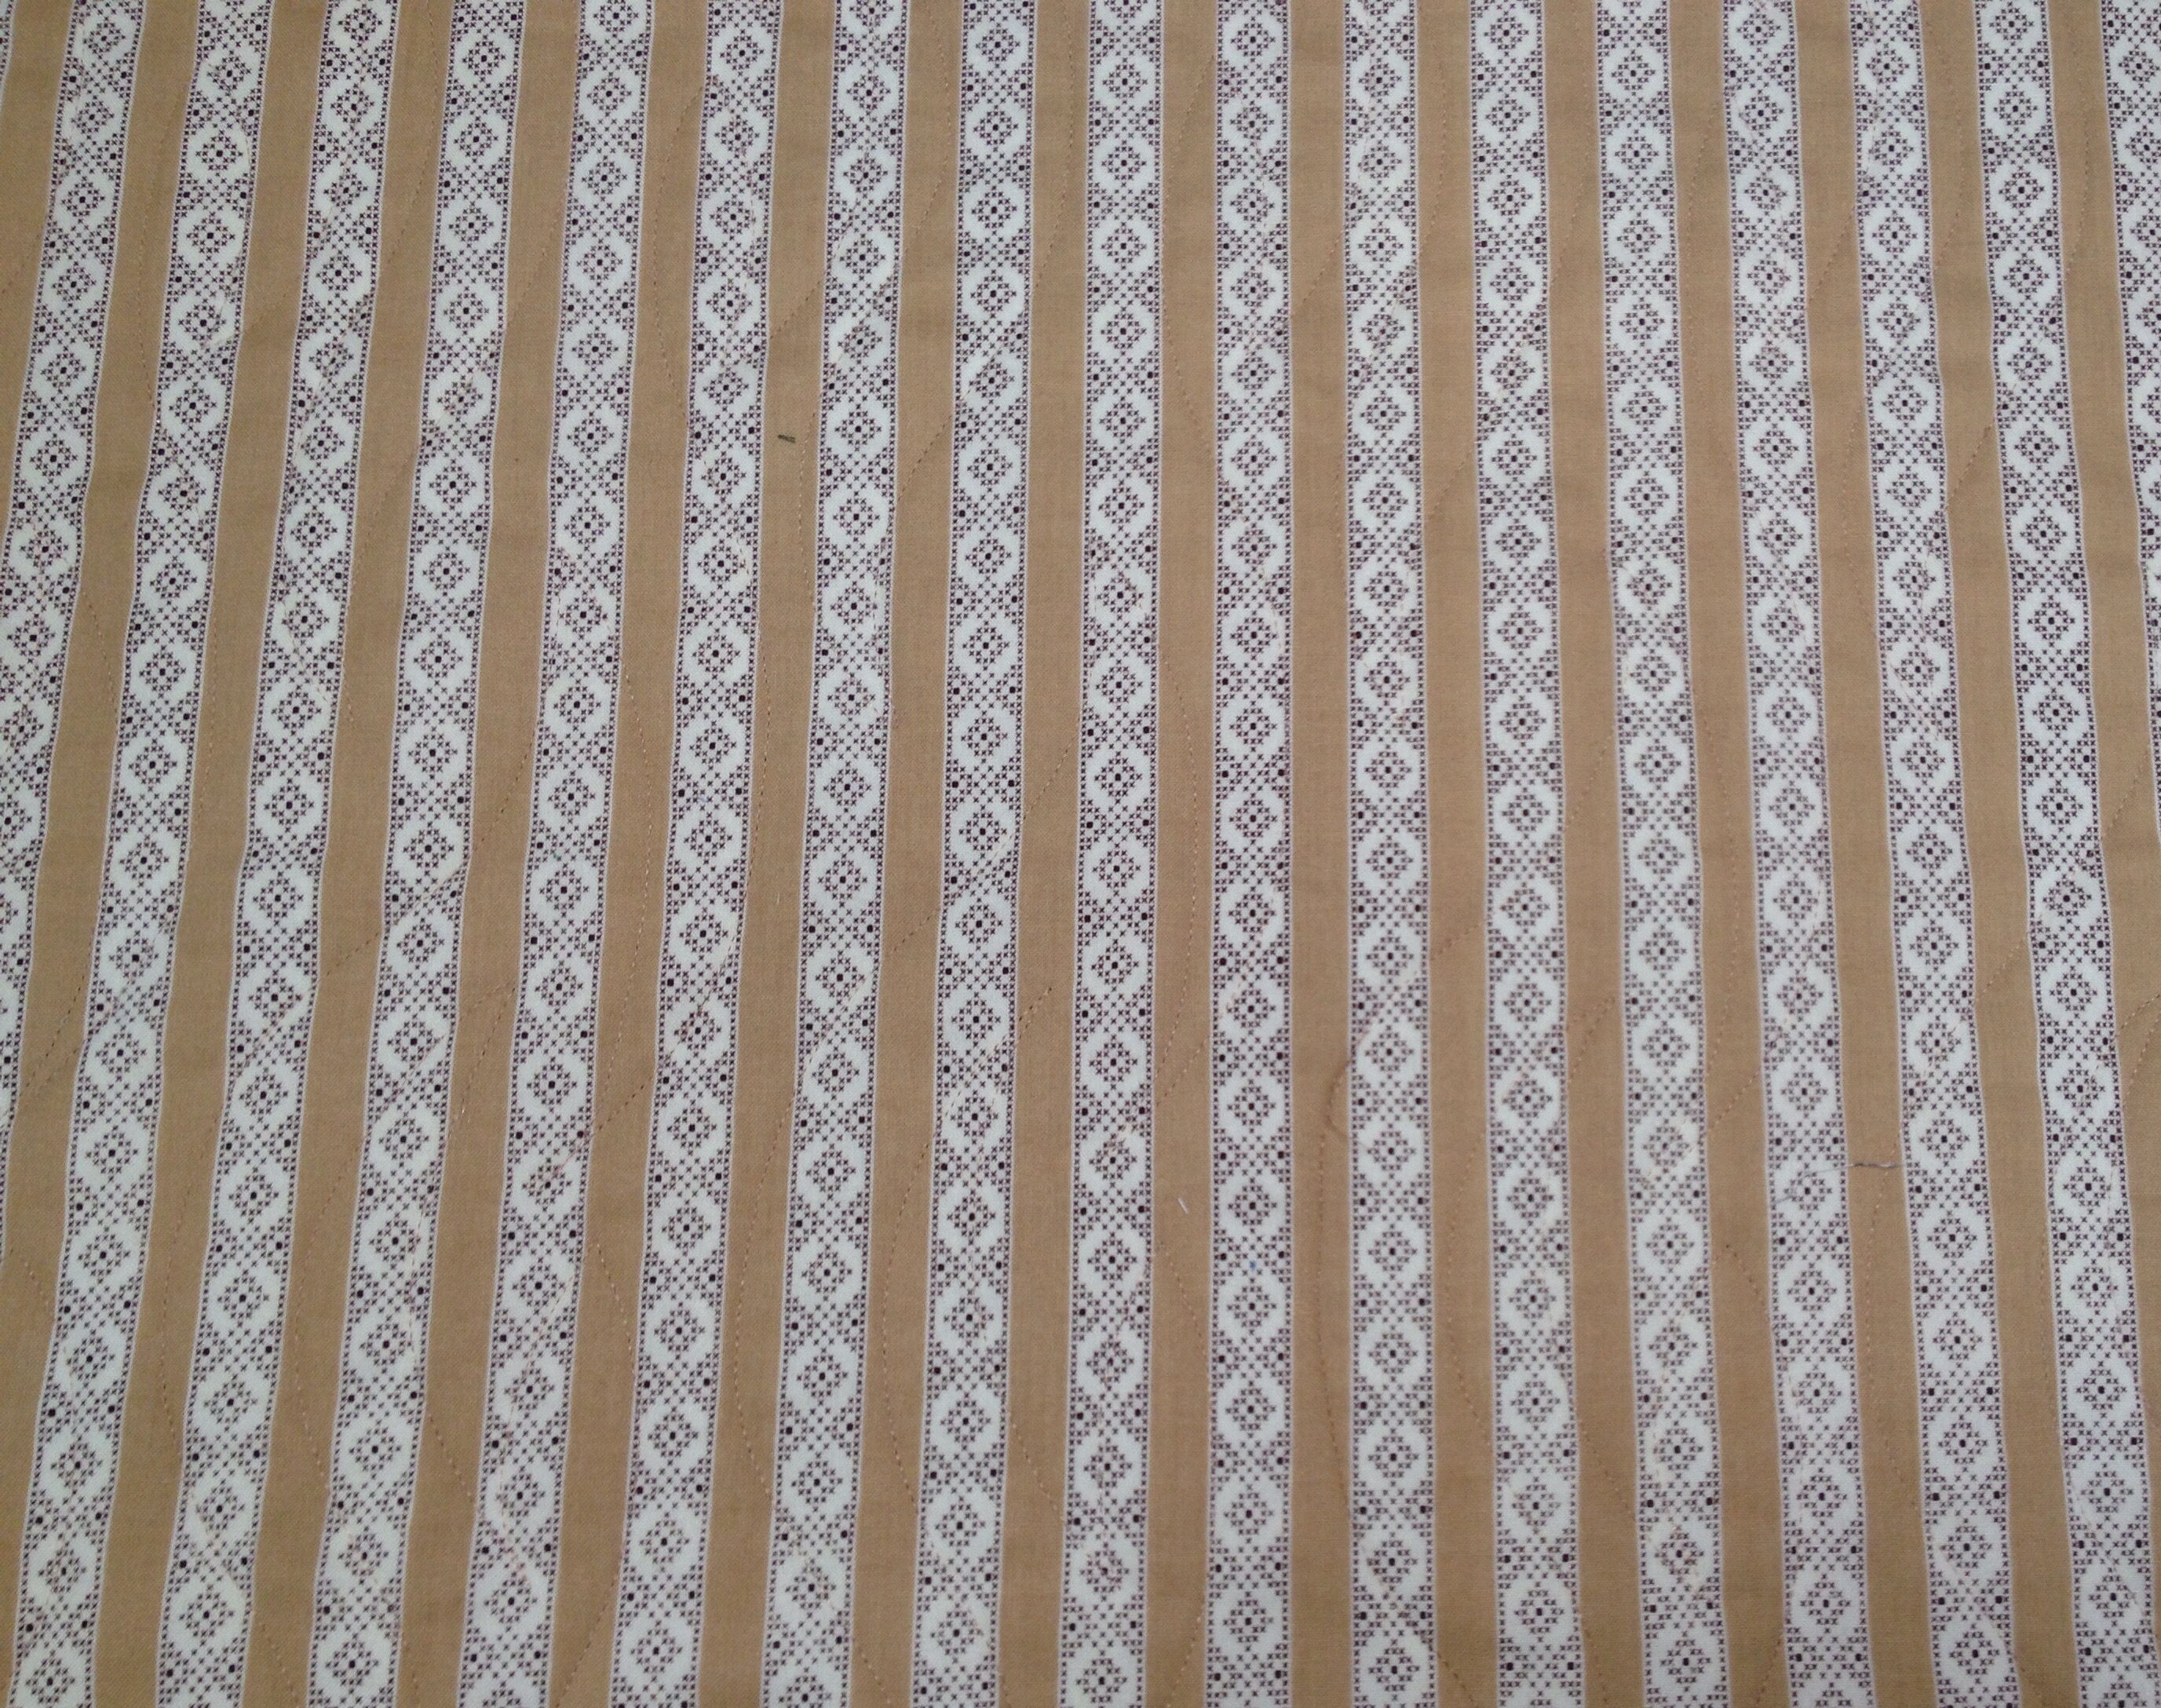
 She asked for all stitch in the ditch in the blocks, a large meander in the border and whatever I wanted in the sashing. I really wanted to quilt this more heavily but I followed the directions given. Here is a peek at the back. 

Hubby is off on a business trip to the other side of the world. I have projects to do while he is gone but I will definitely get some extra sewing time in as well!

Linking up with Confessions of a Fabric Addict, Richard and Tanya Quilts, Crazy Mom Quilts, Quokka Quilts


Posted in Finishes, Quilt of Valor, Uncategorized | 16 Comments

Throwback Thursday

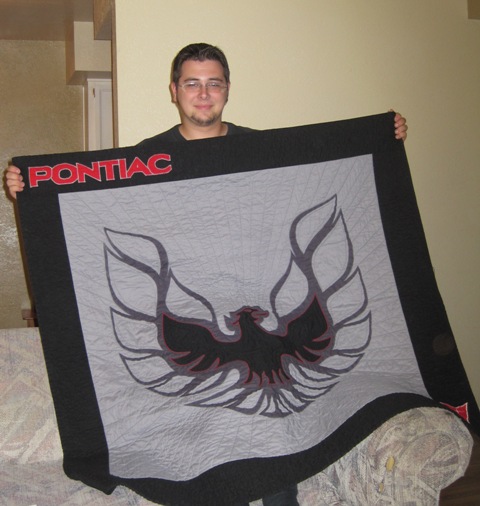
Good Morning! Since I am still quilting on that QOV that I showed you yesterday, I thought I would pull out an oldie once again. My son has always loved cars and graduated in 2010 from UTI with a degree in Automotive Technology. He owns a 1977 Trans Am that he calls Betty. So when he graduated, I made this quilt for him.

taquilt (4)

It was quite the undertaking, but he loved it! So it was all worth it.

taquilt (3)

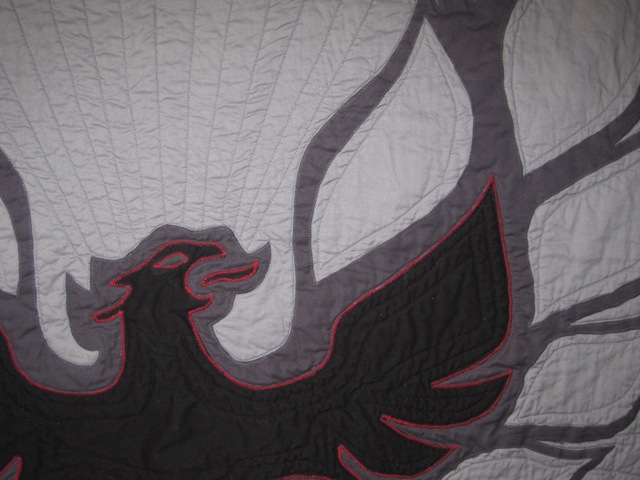
The red is satin stitching around the bird.taquilt (2) taquilt (1)

Have a great day!

Linking up with My Quilt Infatuation, Krista Quilts

Posted in Uncategorized | 14 Comments

WIP Wednesday

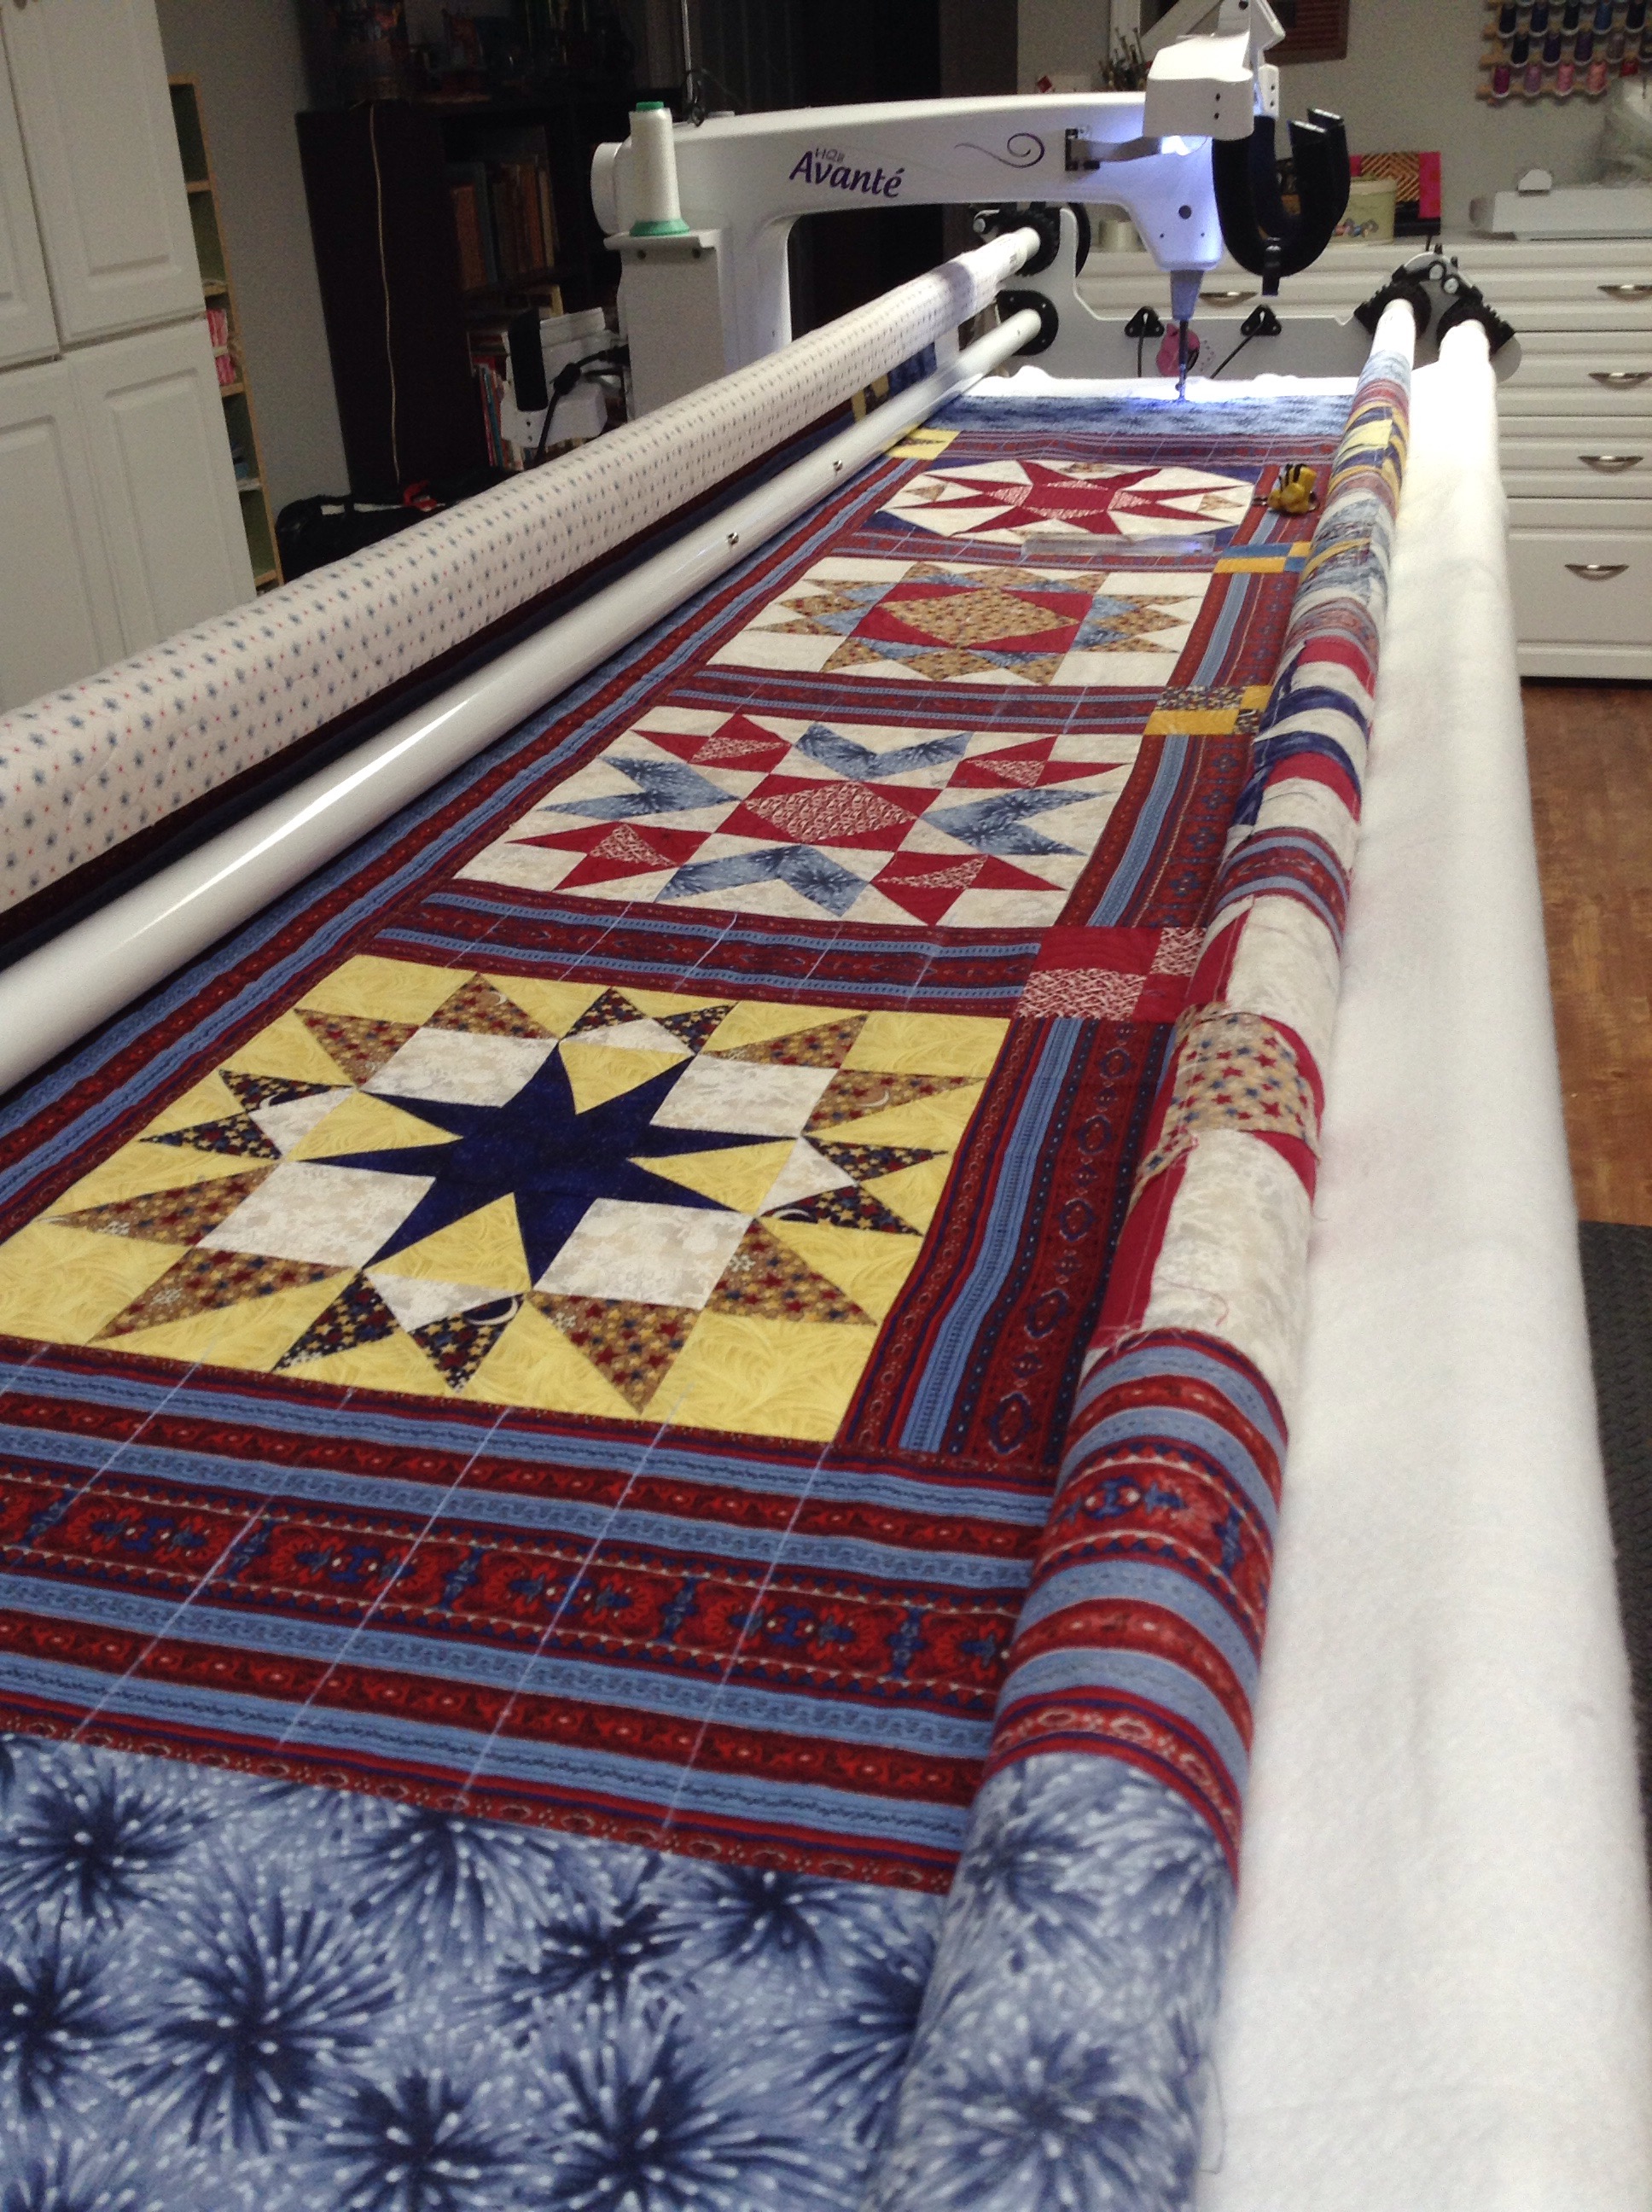
I’m currently working on my third QOV for the week.

This top was made by a lady that is in ill health so this will be her last. She gave very specific instructions for how she wanted this to be quilted.


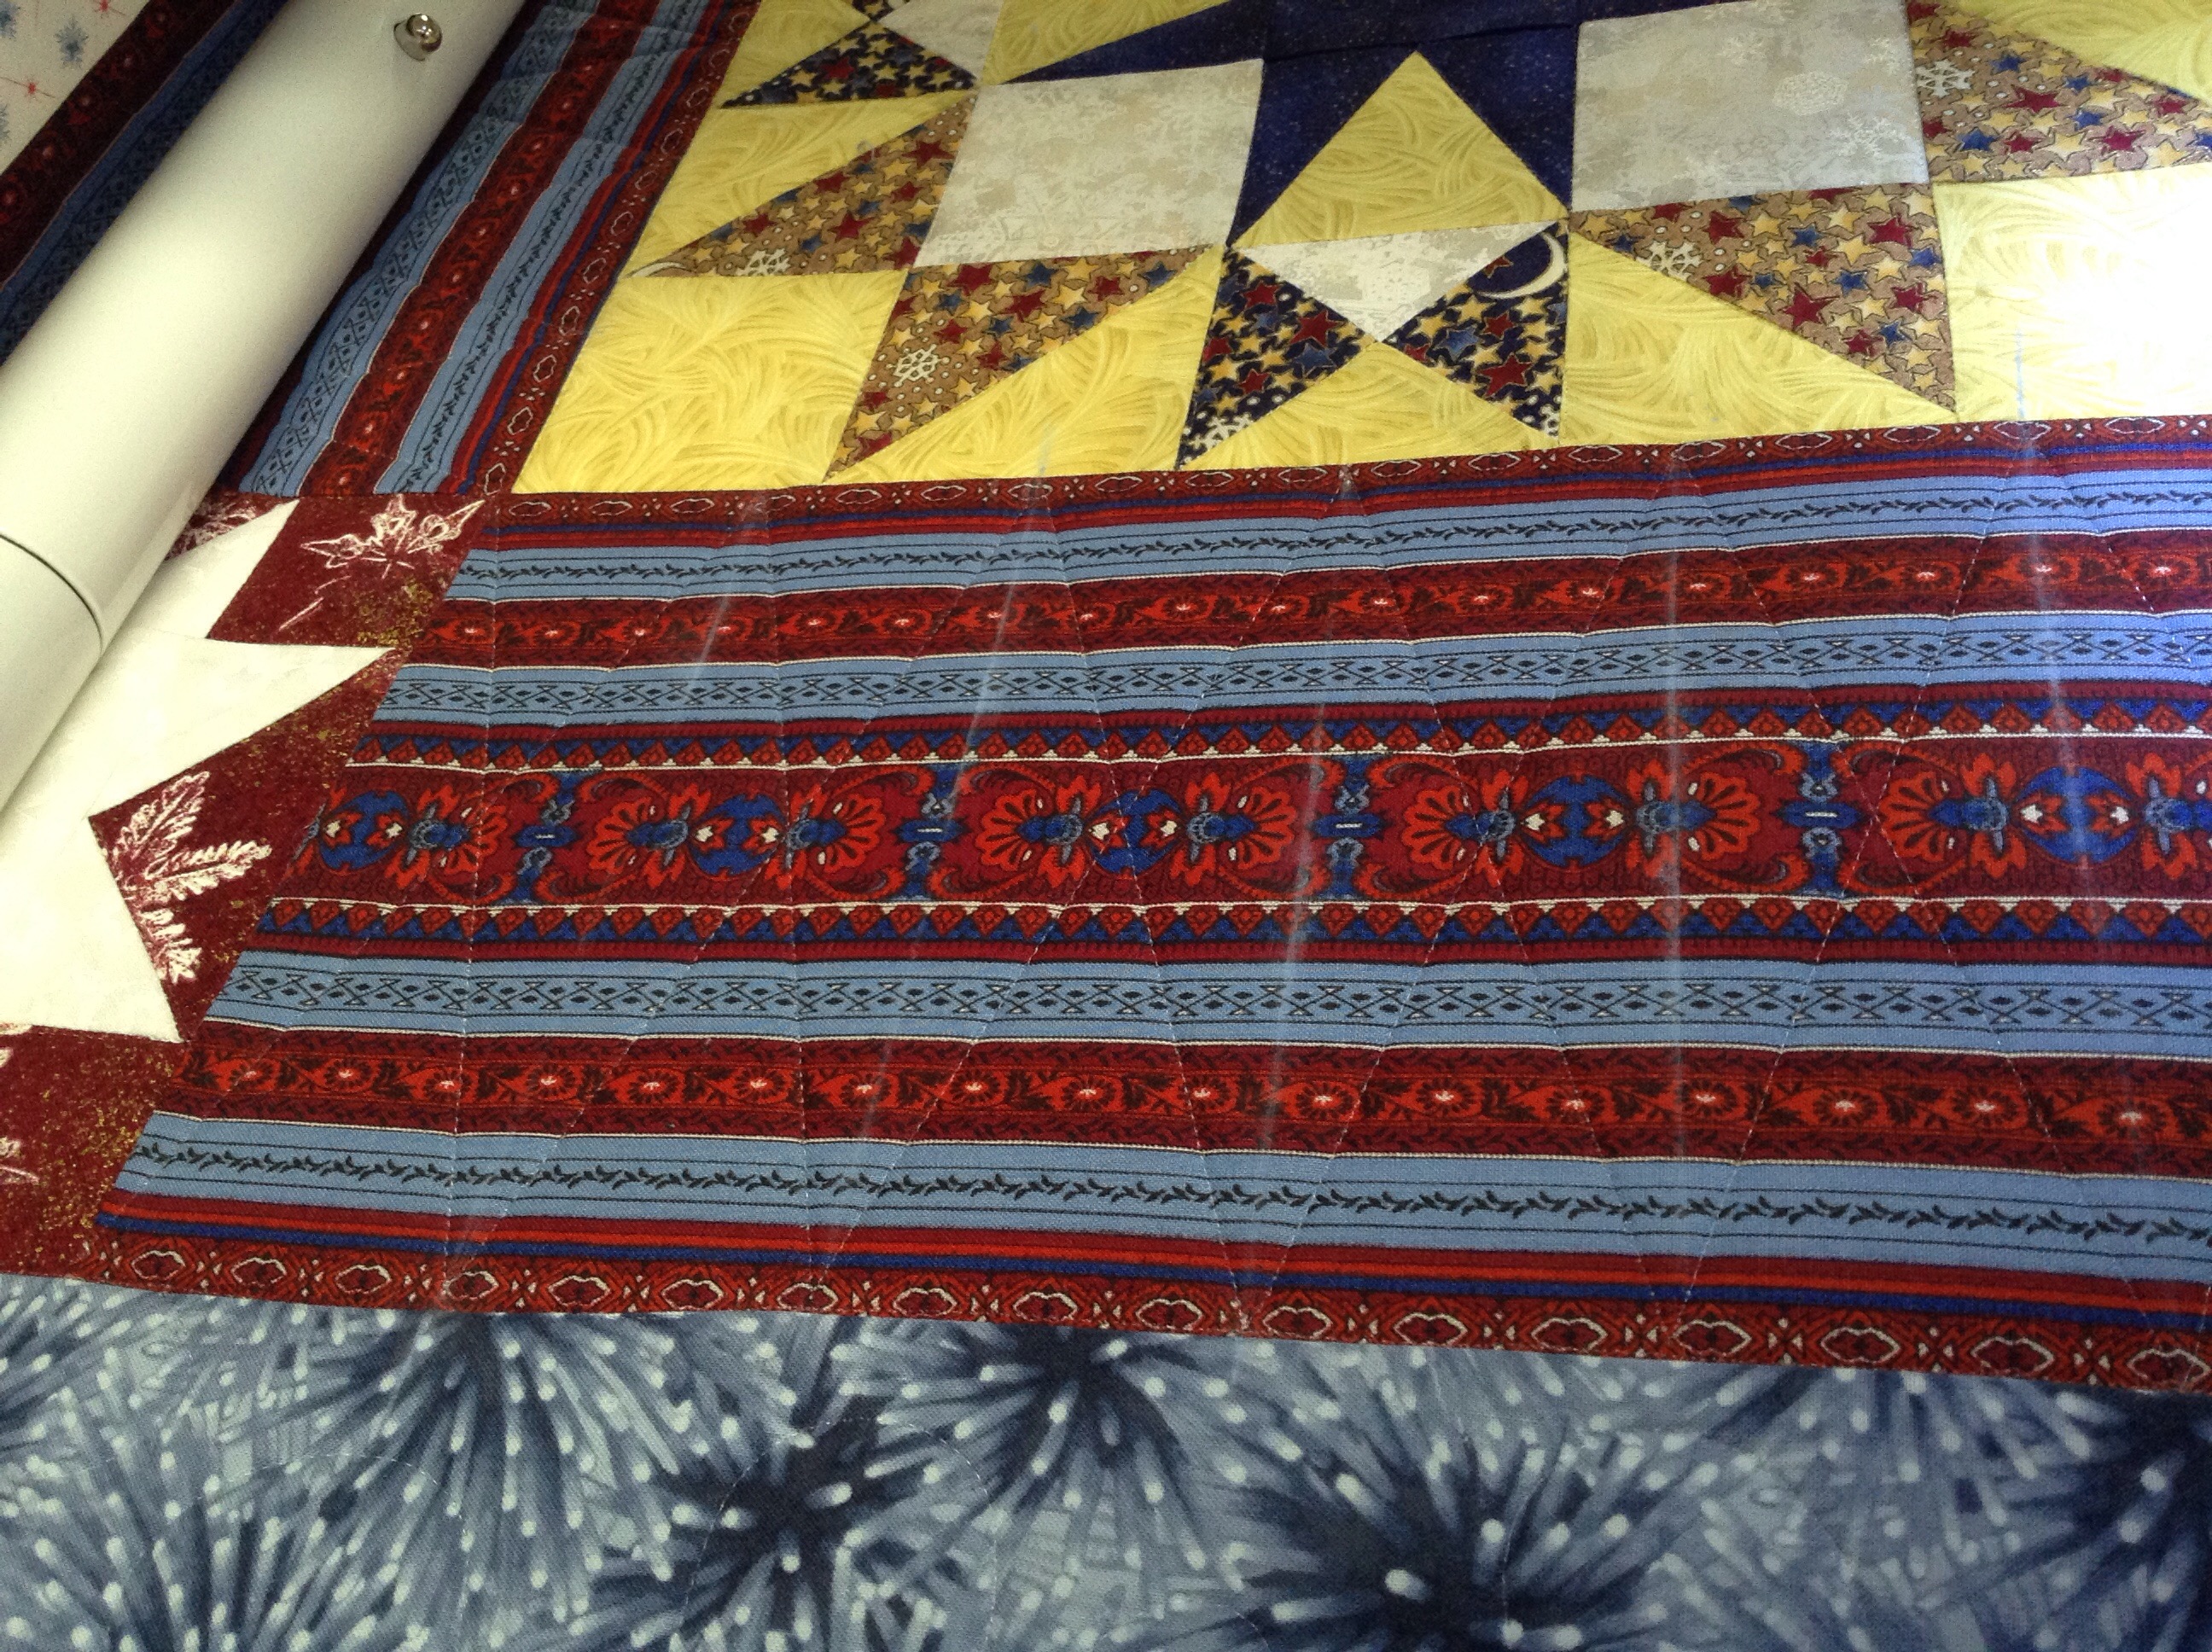
 I am quilting a large meander in the border and will do all the blocks by stitching in the ditch. She left the sashing up to me but didn’t want it quilted too heavily. I made chalk lines every two inches and I am quilting from point to point across the sashing to create diamonds.

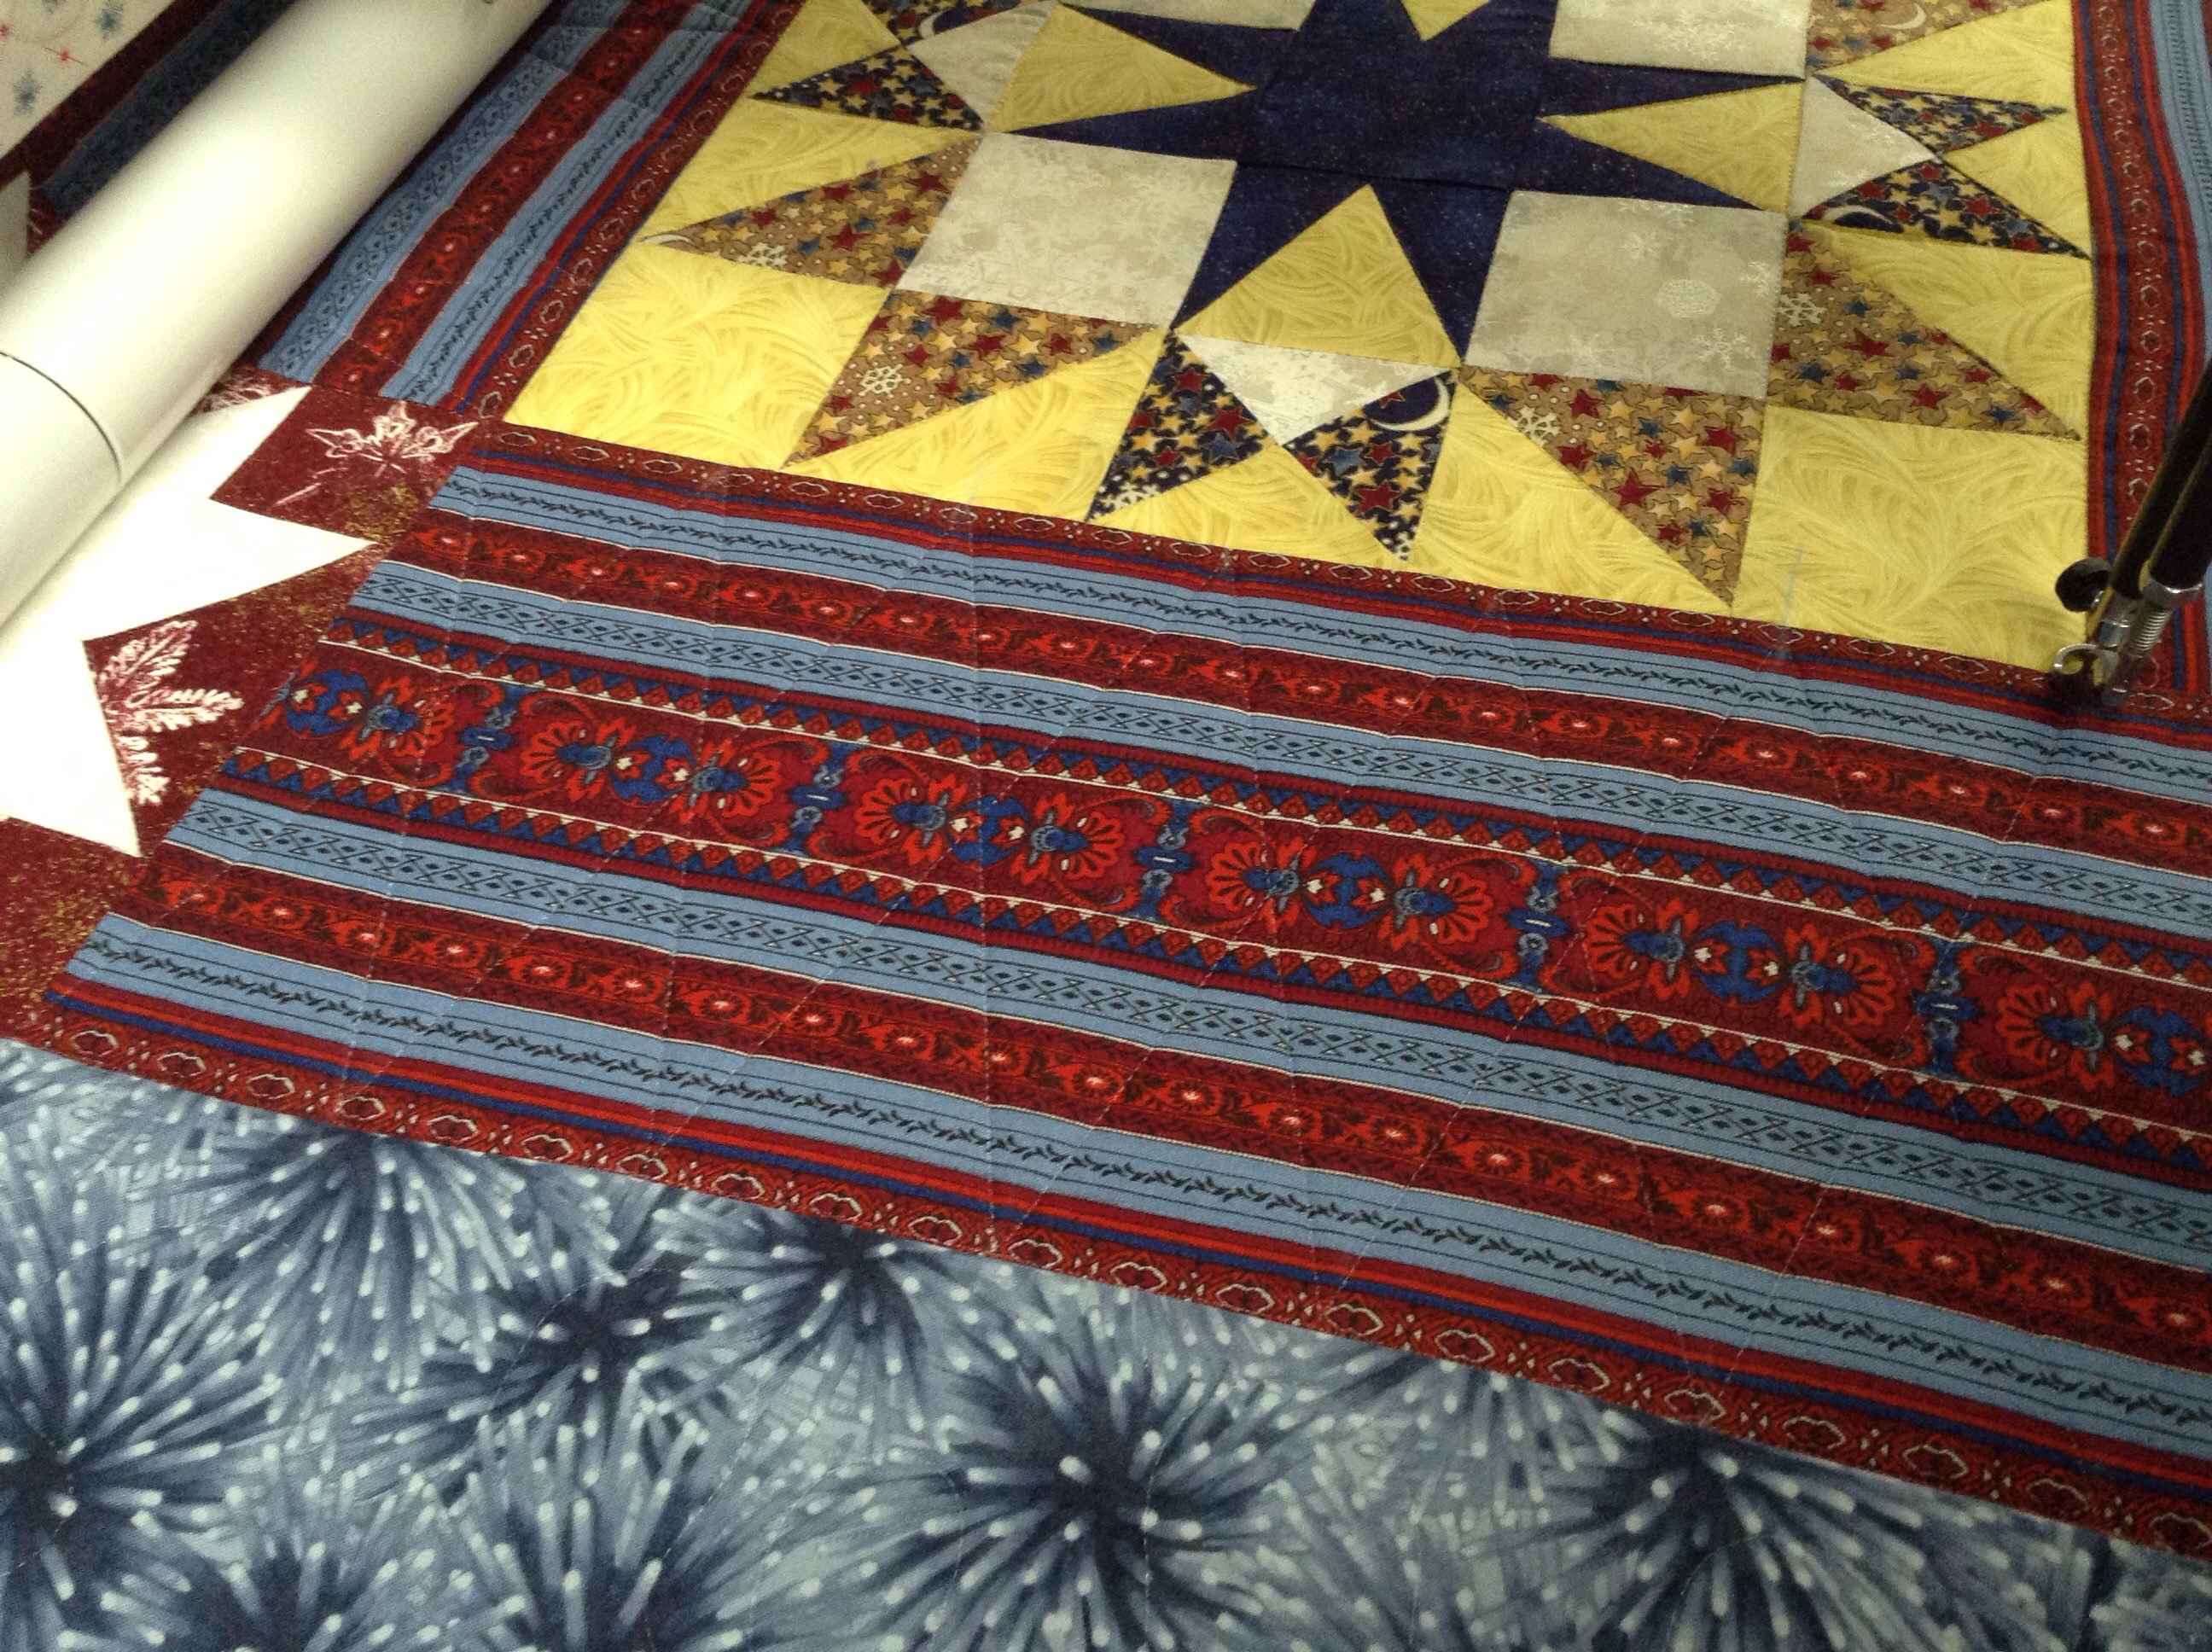
 You can see in the following picture that I really don’t quilt on the chalked lines at all, I just use them to make sure the points on each side line up.

This is how it looks after I brush away the chalk.

This is a pretty big quilt as far as QOVs go.   I am using Superior Mono-poly thread in the top and Superior’s Bottom Line in the bobbin. I hope to get this done and off the frame by tomorrow. We shall see.

Also, I had a question regarding the rulers I use on the long arm. I hope to write a post about this in the next week or so. I also had a wonderful response regarding how to make your long arm quilter happy. I hope to do another post on this in the near future as well. I so appreciate your comments and questions.

Linking up with Freshly Pieced and Sew Fresh Quilts.

Posted in Machine quilting, Quilt of Valor, Uncategorized | 5 Comments

Amy’s Quilting Studio Link Party

Amy over at Amy’s Free Motion Quilting Adventures has just given her studio an update. She and her hubby have done a wonderful job! You have to see her  awesome tables on wheels with metal storage shelves underneath. To celebrate, she has started a Quilt Studio Link Party, here,  so that people can share their sewing spaces. I love looking at sewing rooms online so I decided to jump in and share mine again as well!

Note: These pictures were actually taken a couple months ago so the projects in various states are not current!

Longtime readers will remember that just over a year ago we had a flood in our basement. We had several weeks of heavy rains and our sump  pump and backup sump pump both failed at the same time. We ended up totally renovating our basement. It was a lot of work but I ended up blessed with a lovely new room and my hubby got a new office. If you would like to see my old sewing room, click here. BTW, we haven’t had a drop of water in our basement since! Thank you Jesus!

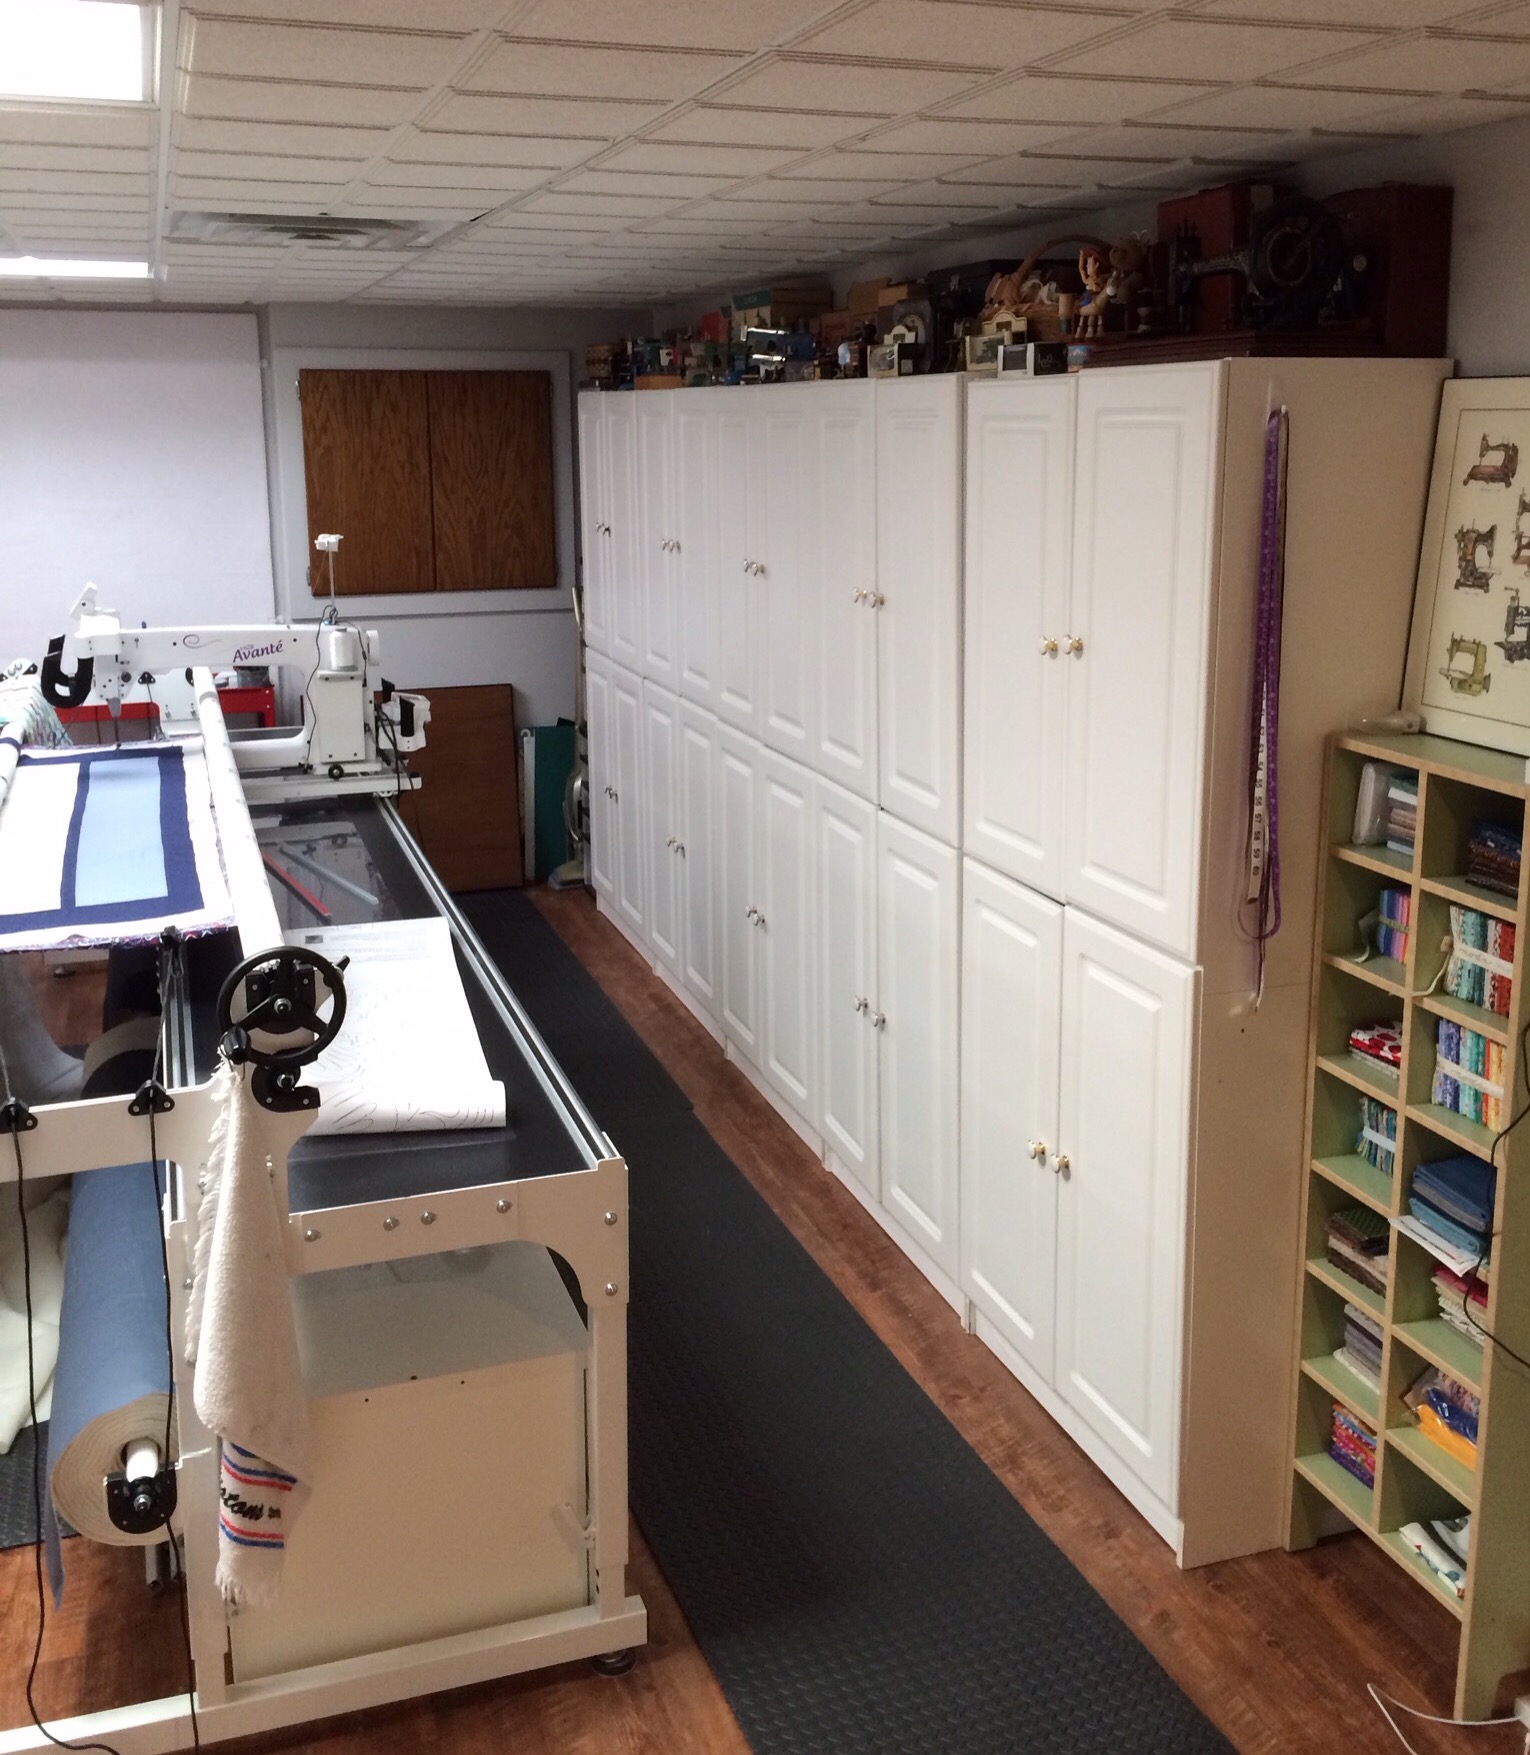
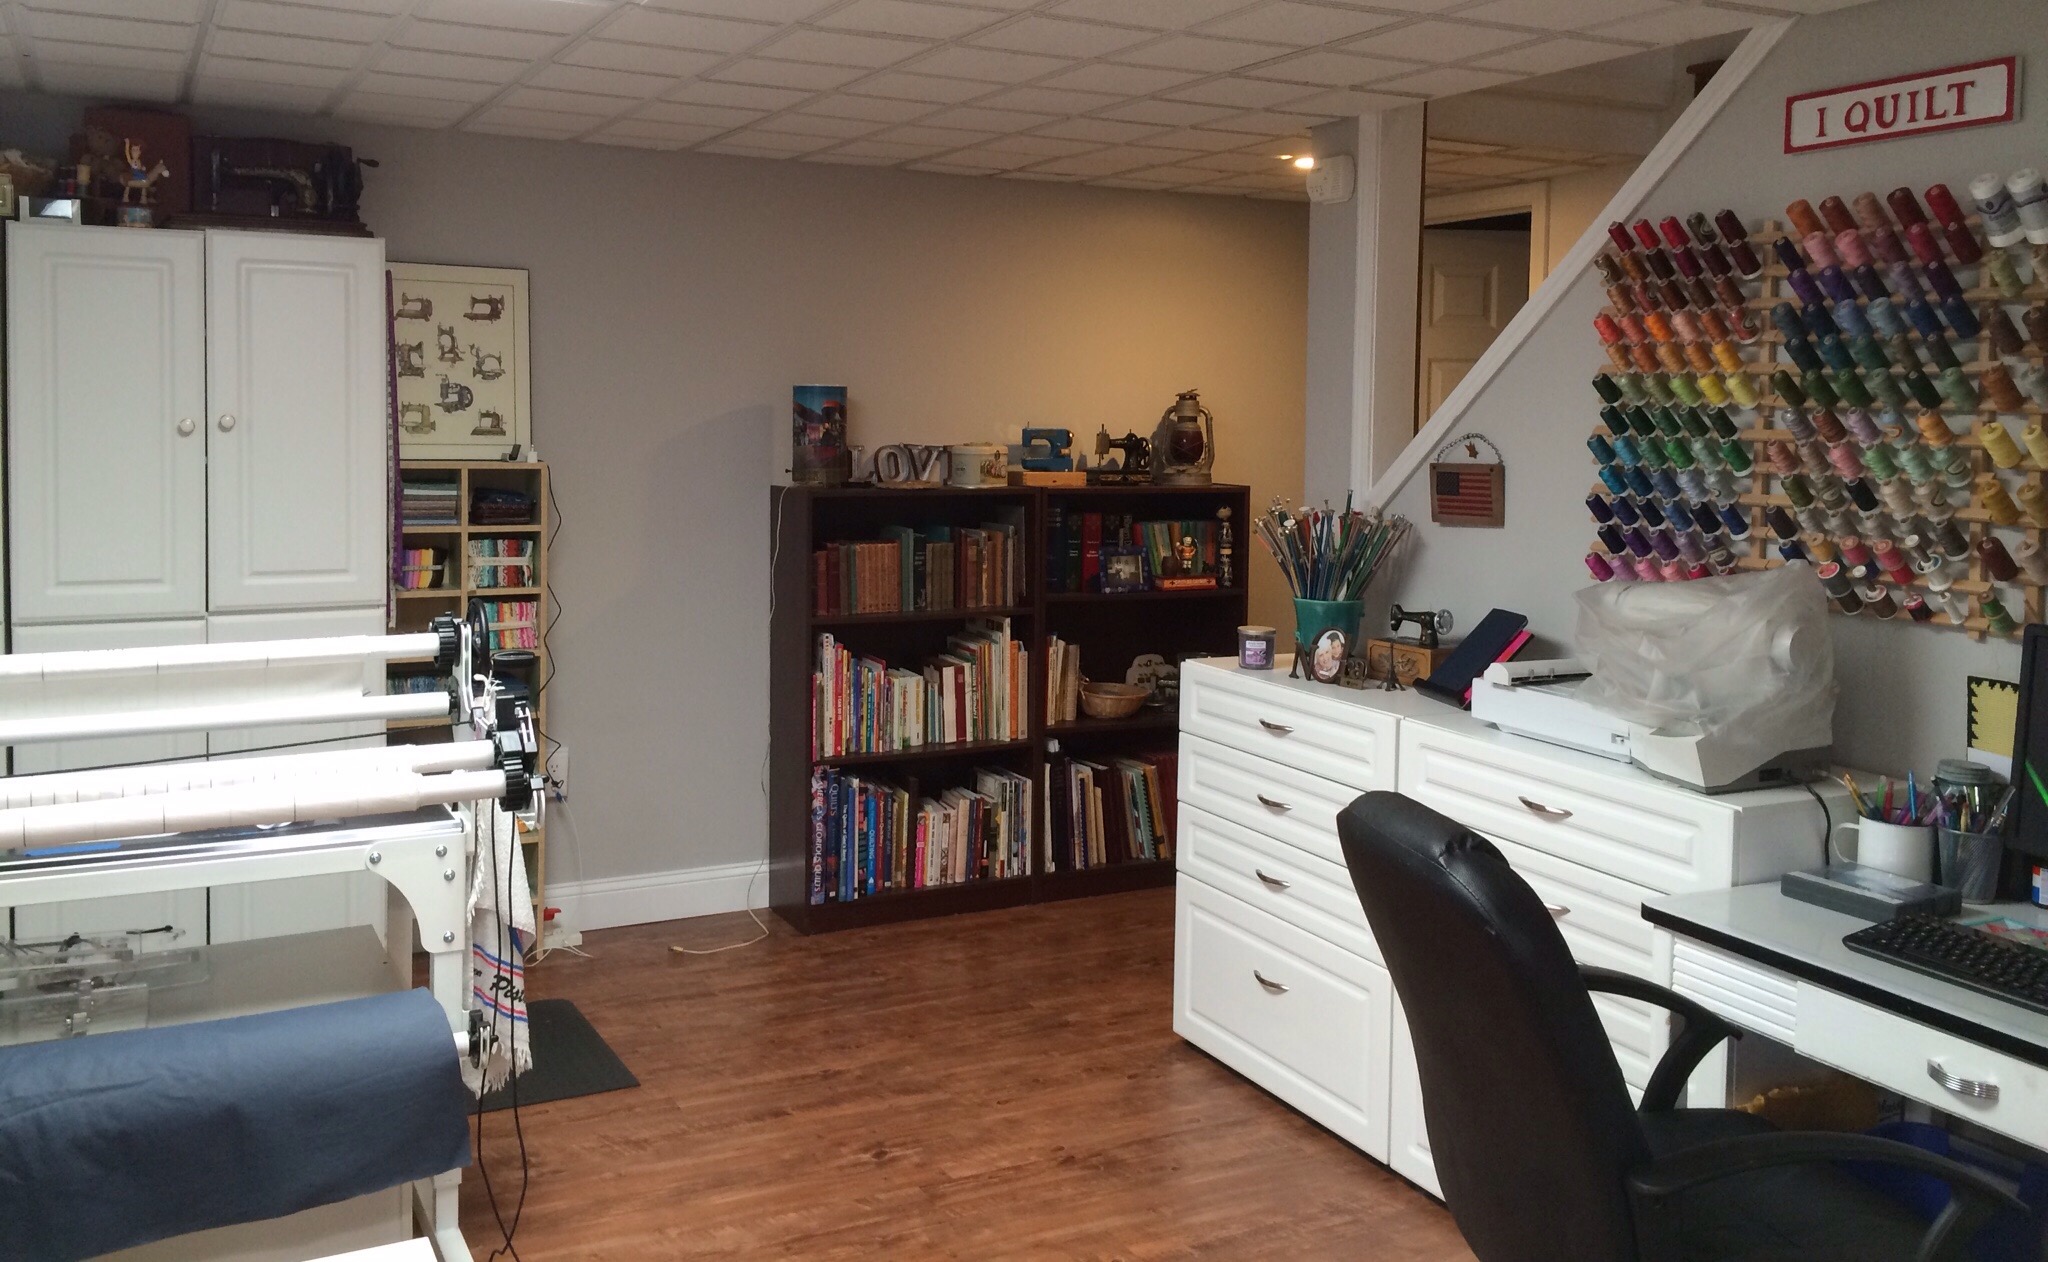
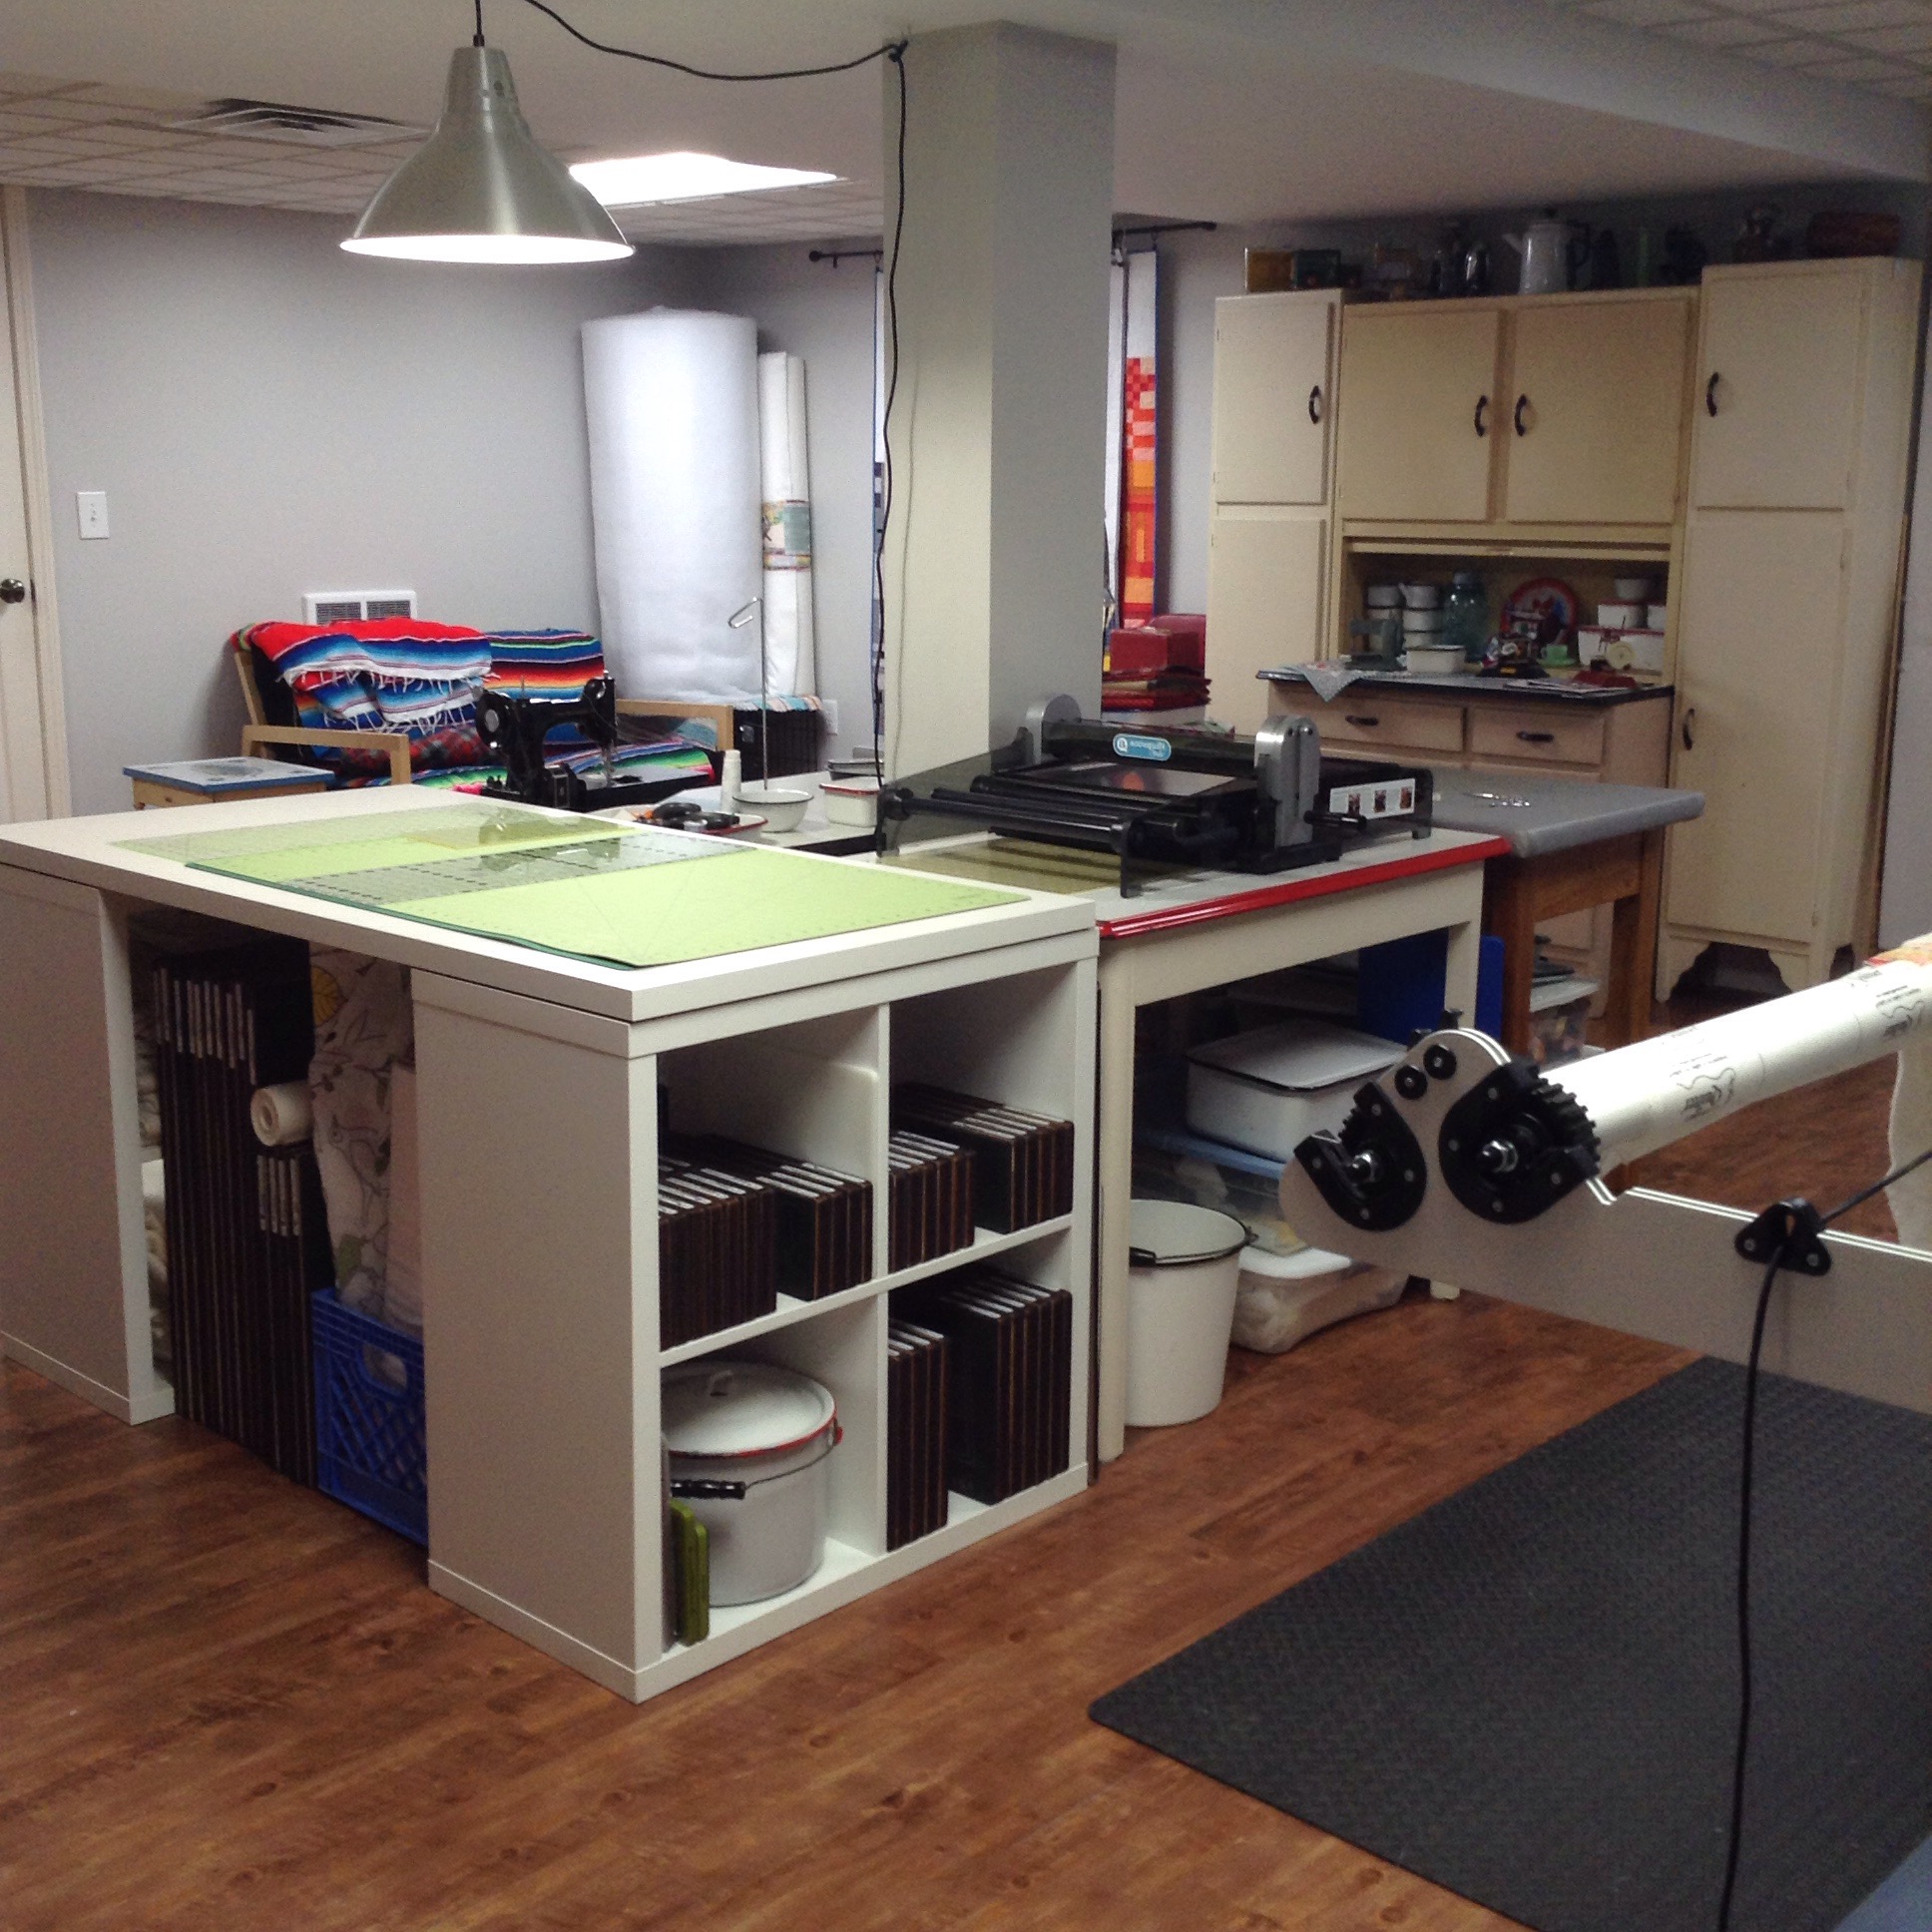
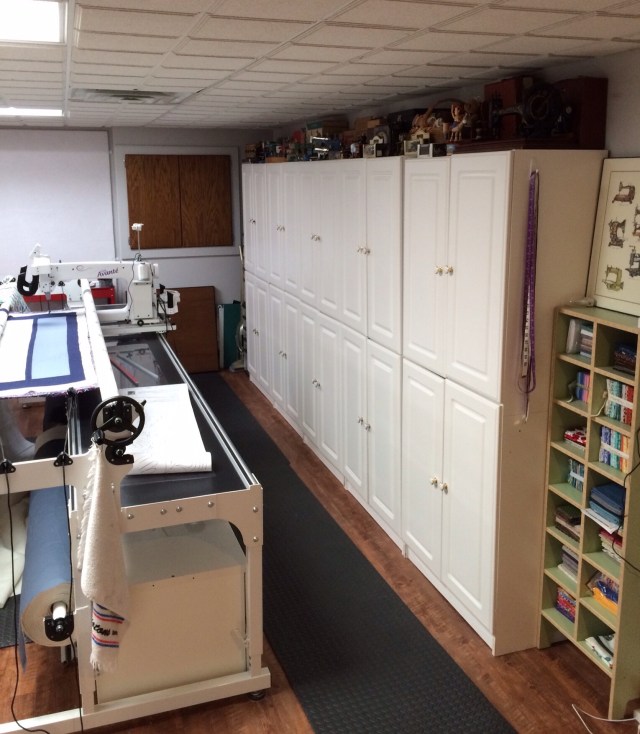
My sewing room takes up over half of our finished basement. This is the view as you walk down the stairs. My sewing room is to the left and hubby’s office to the right.

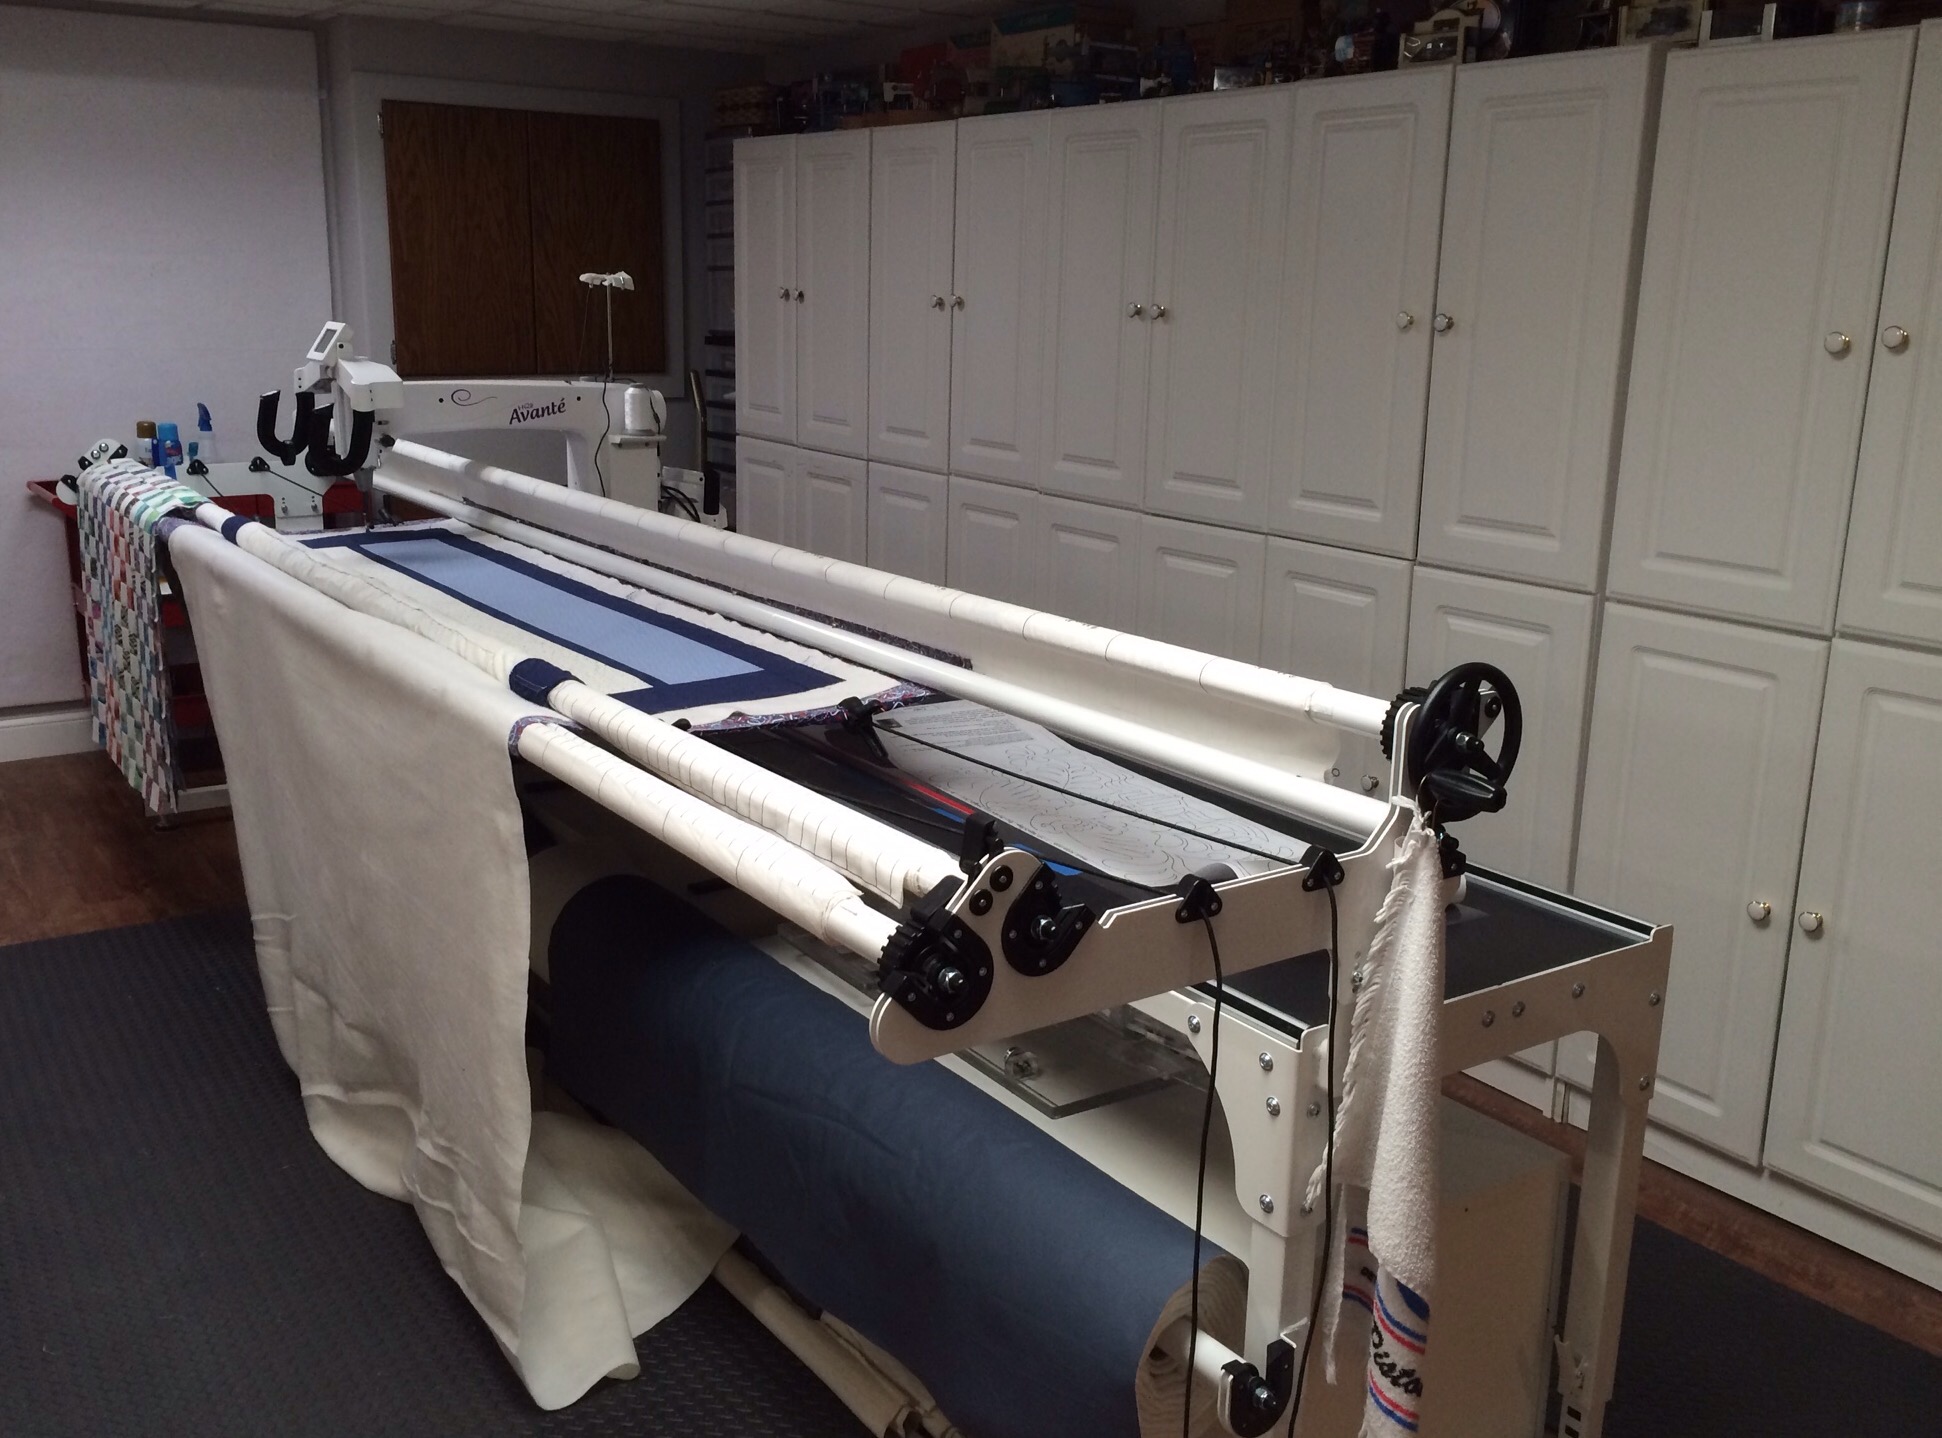
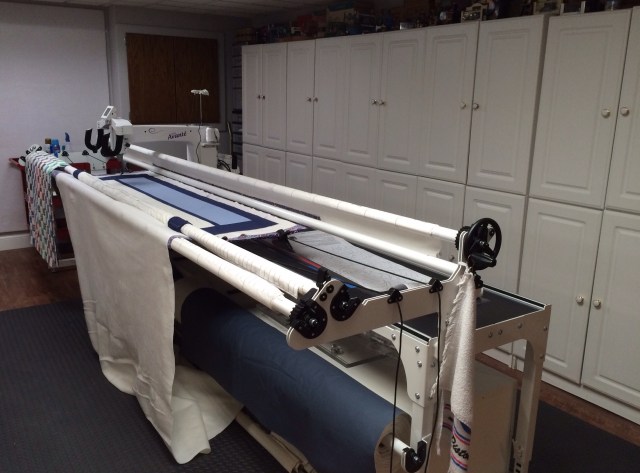
I will walk you around the room moving to the left. The first things you see are my white storage cabinets. These things have traveled to France and back! We used them when we lived there in the late 90s for bathroom and kitchen storage. Now I get them all for sewing stuff! They hold long arm bits, books, vintage sewing machine attachments, my serger, craft supplies, etc. In front of those, you see my favorite machine EVER! My HQ Avante long arm.
IMG_2997

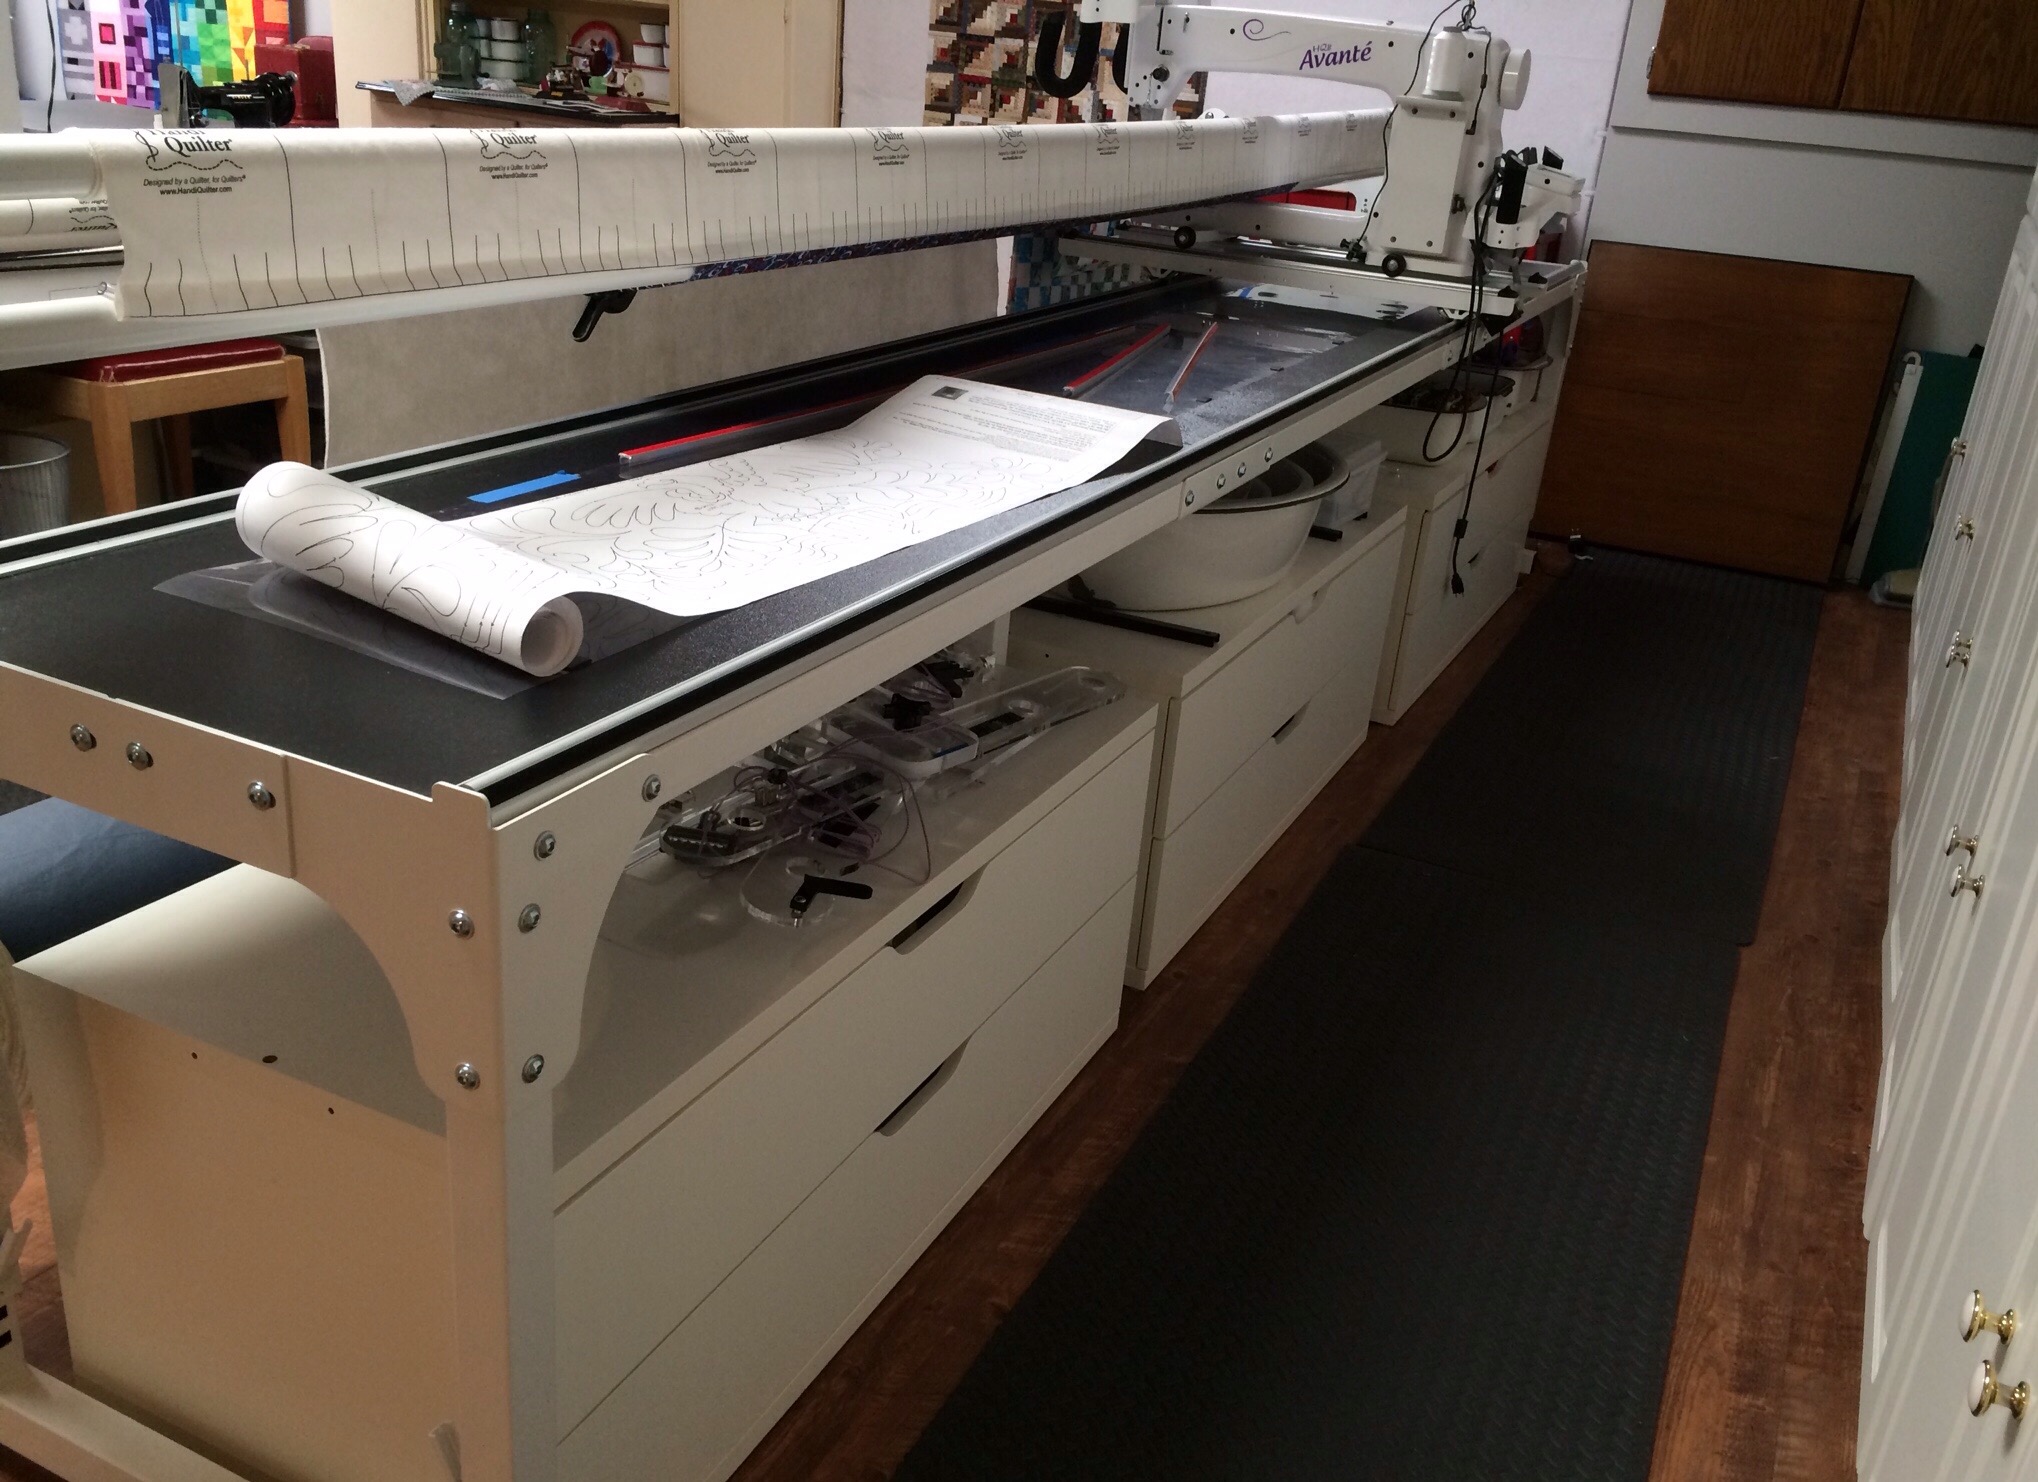
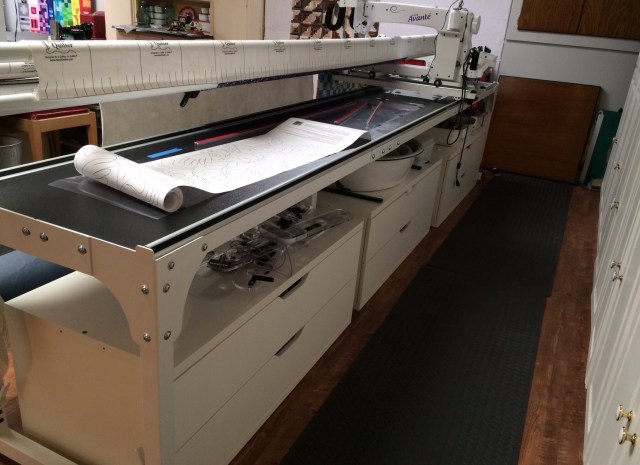
Beneath the long arm, I have these Ikea Stolmen cabinets. They were intended to be part of a closet organizing system but they fit perfectly between the supports of my frame. I use these to store quilts that I have quilted, quilt tops waiting to be quilted, large pieces of fabric for backings, and my pantographs.
IMG_2999

I store some of my batting on a rail beneath my frame. The black mats are anti-fatigue mats.
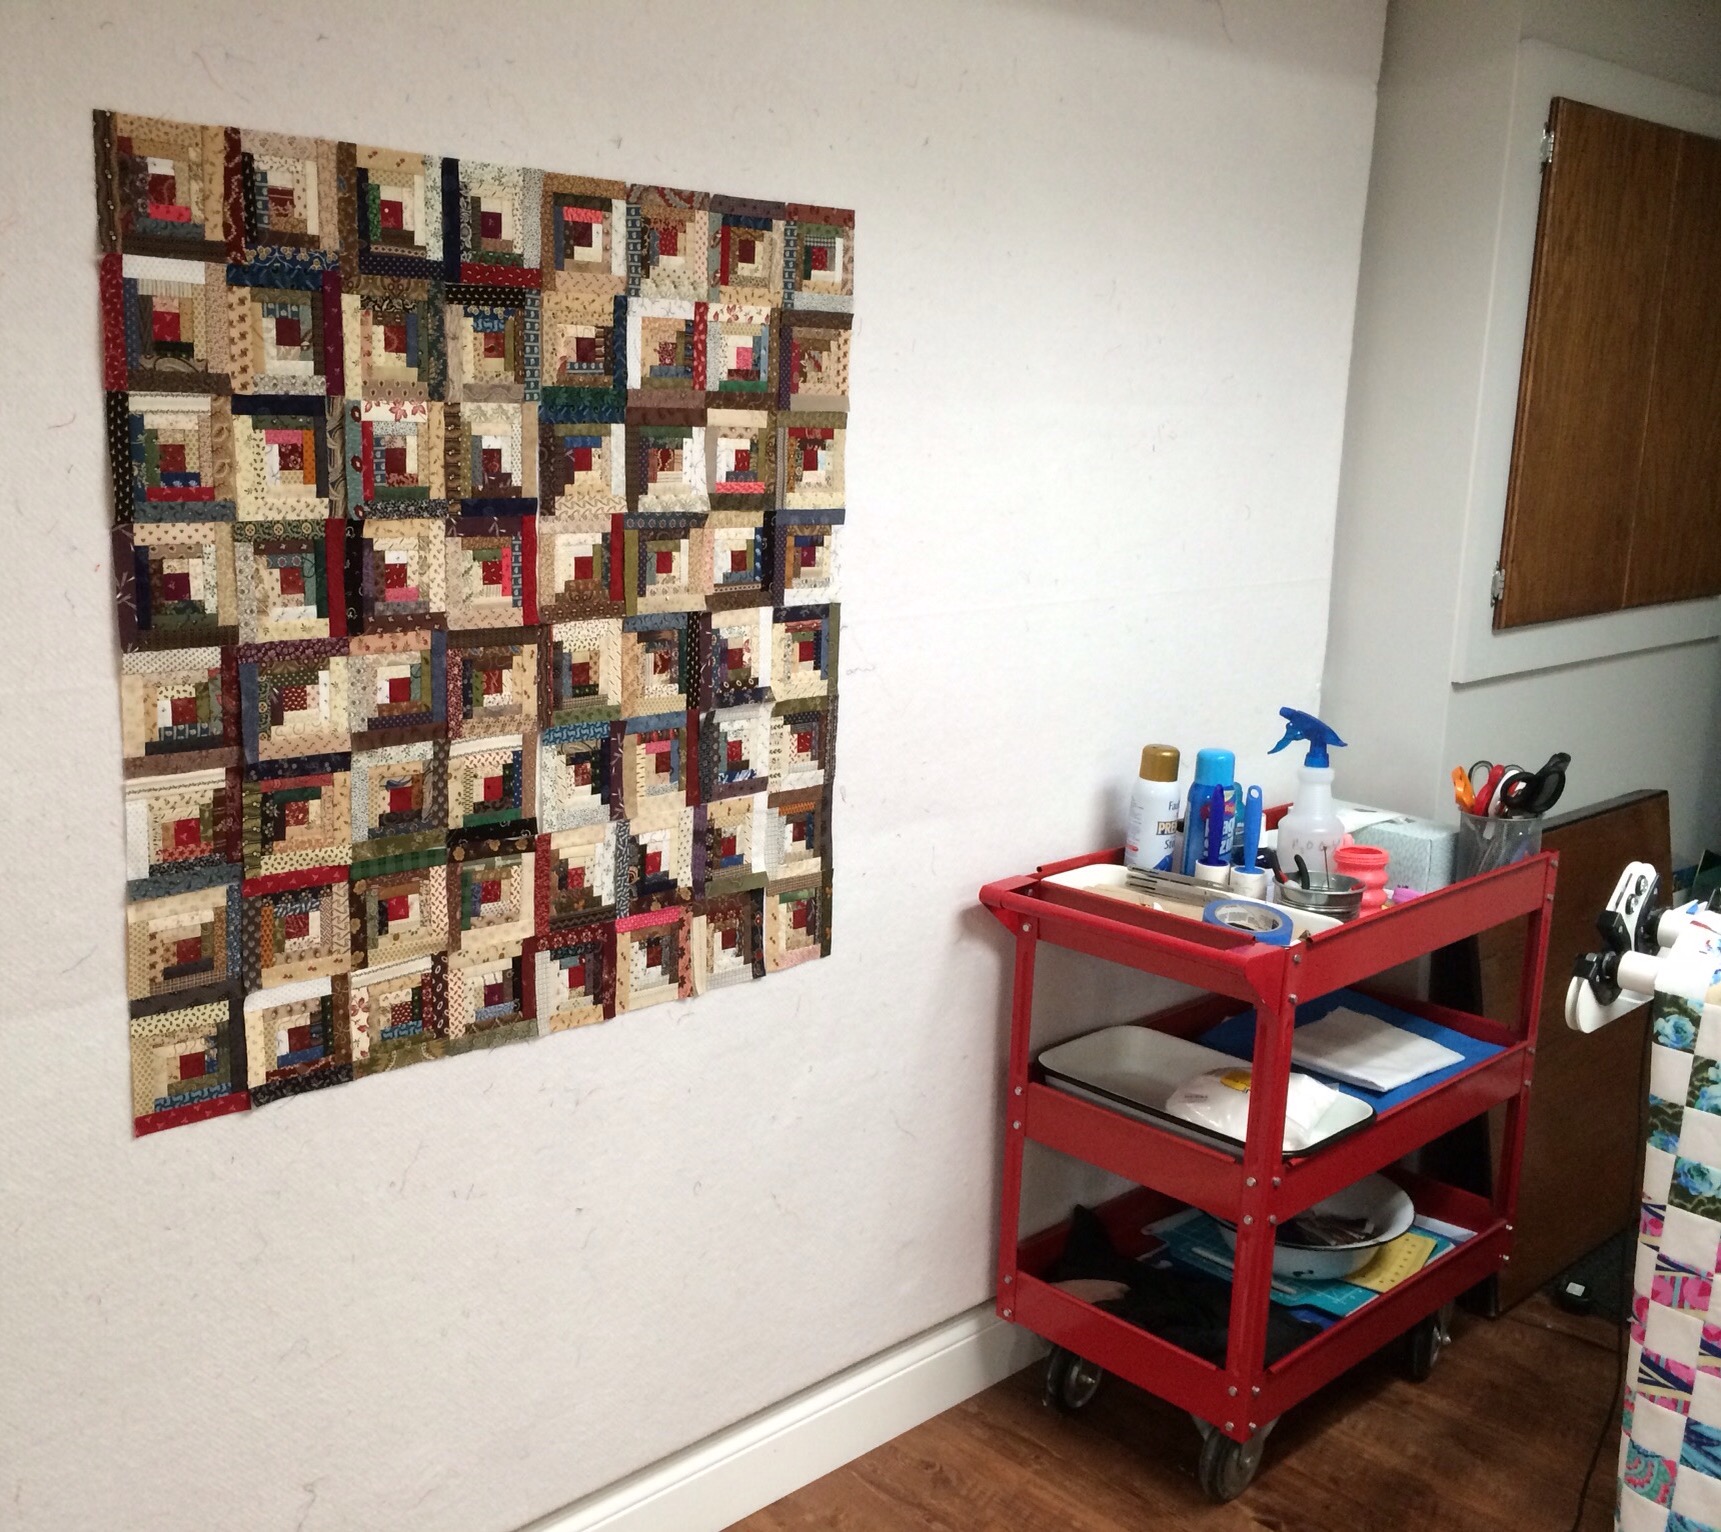
Continuing on, you can see my red cart and my design wall. The red cart holds frequently used thises and thats. I got it at Harbor Freight. I can easily move it to wherever it is handy.  I love having a design wall, but honestly, I could use more! If only I had more wall space!

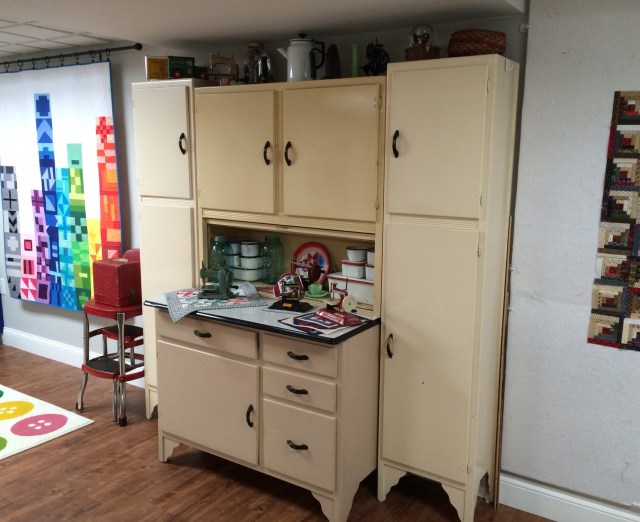
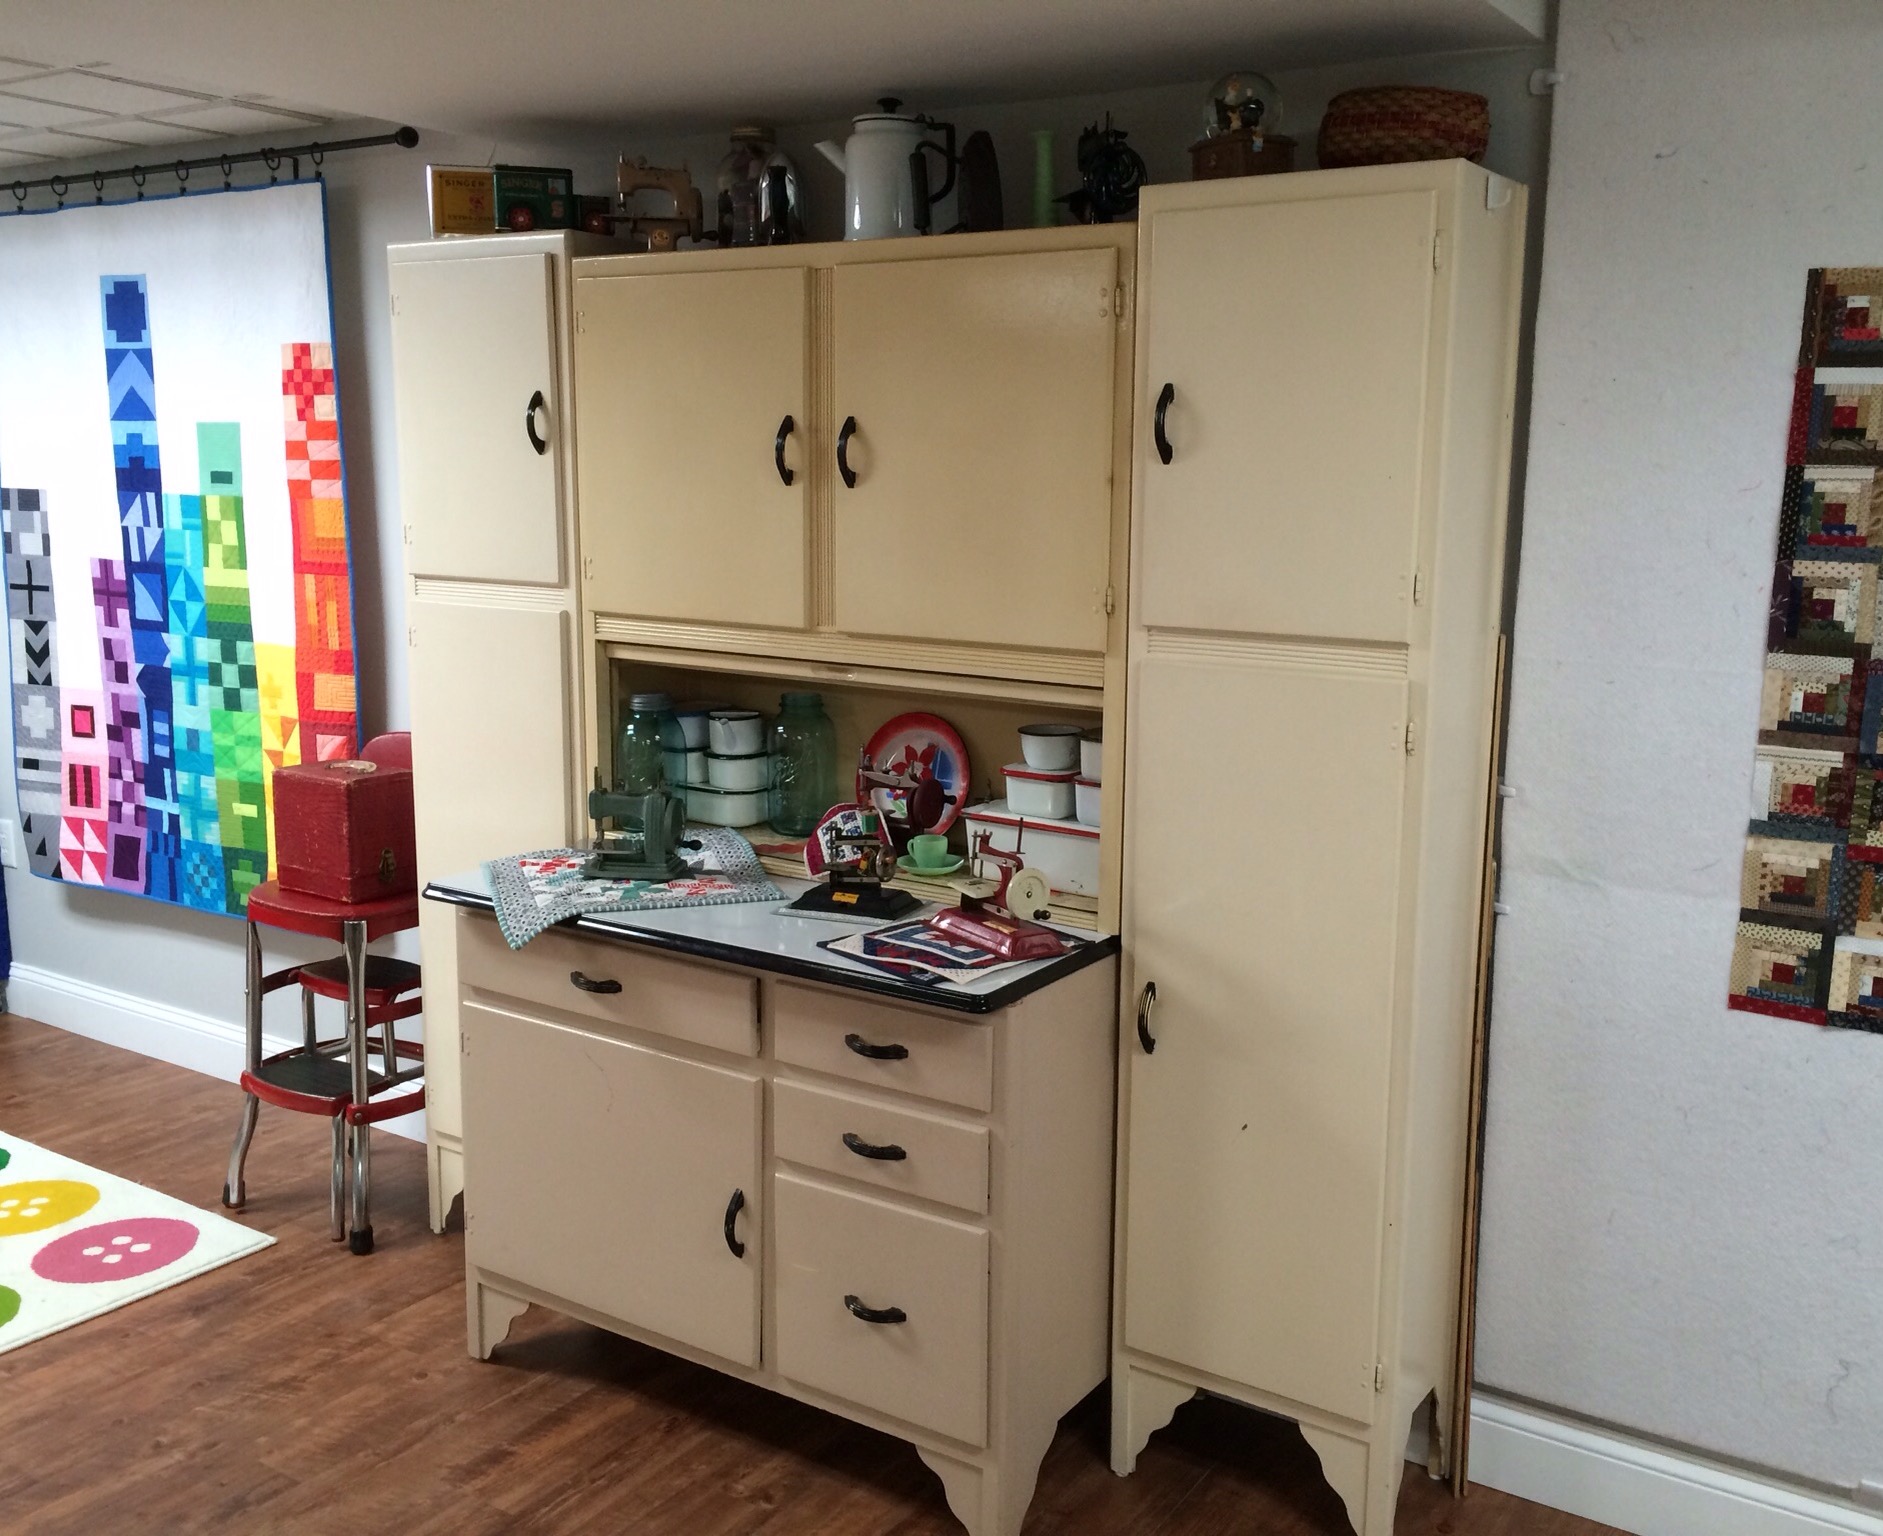
Next you see my favorite piece of furniture in my sewing room, my hoosier with side cabinets. It is a later model and doesn’t have the flour sifter. That works for me as I don’t bake but can use the extra space for sewing stuff! Eventually,  I would like to give it a fresh coat of white paint.
IMG_3003

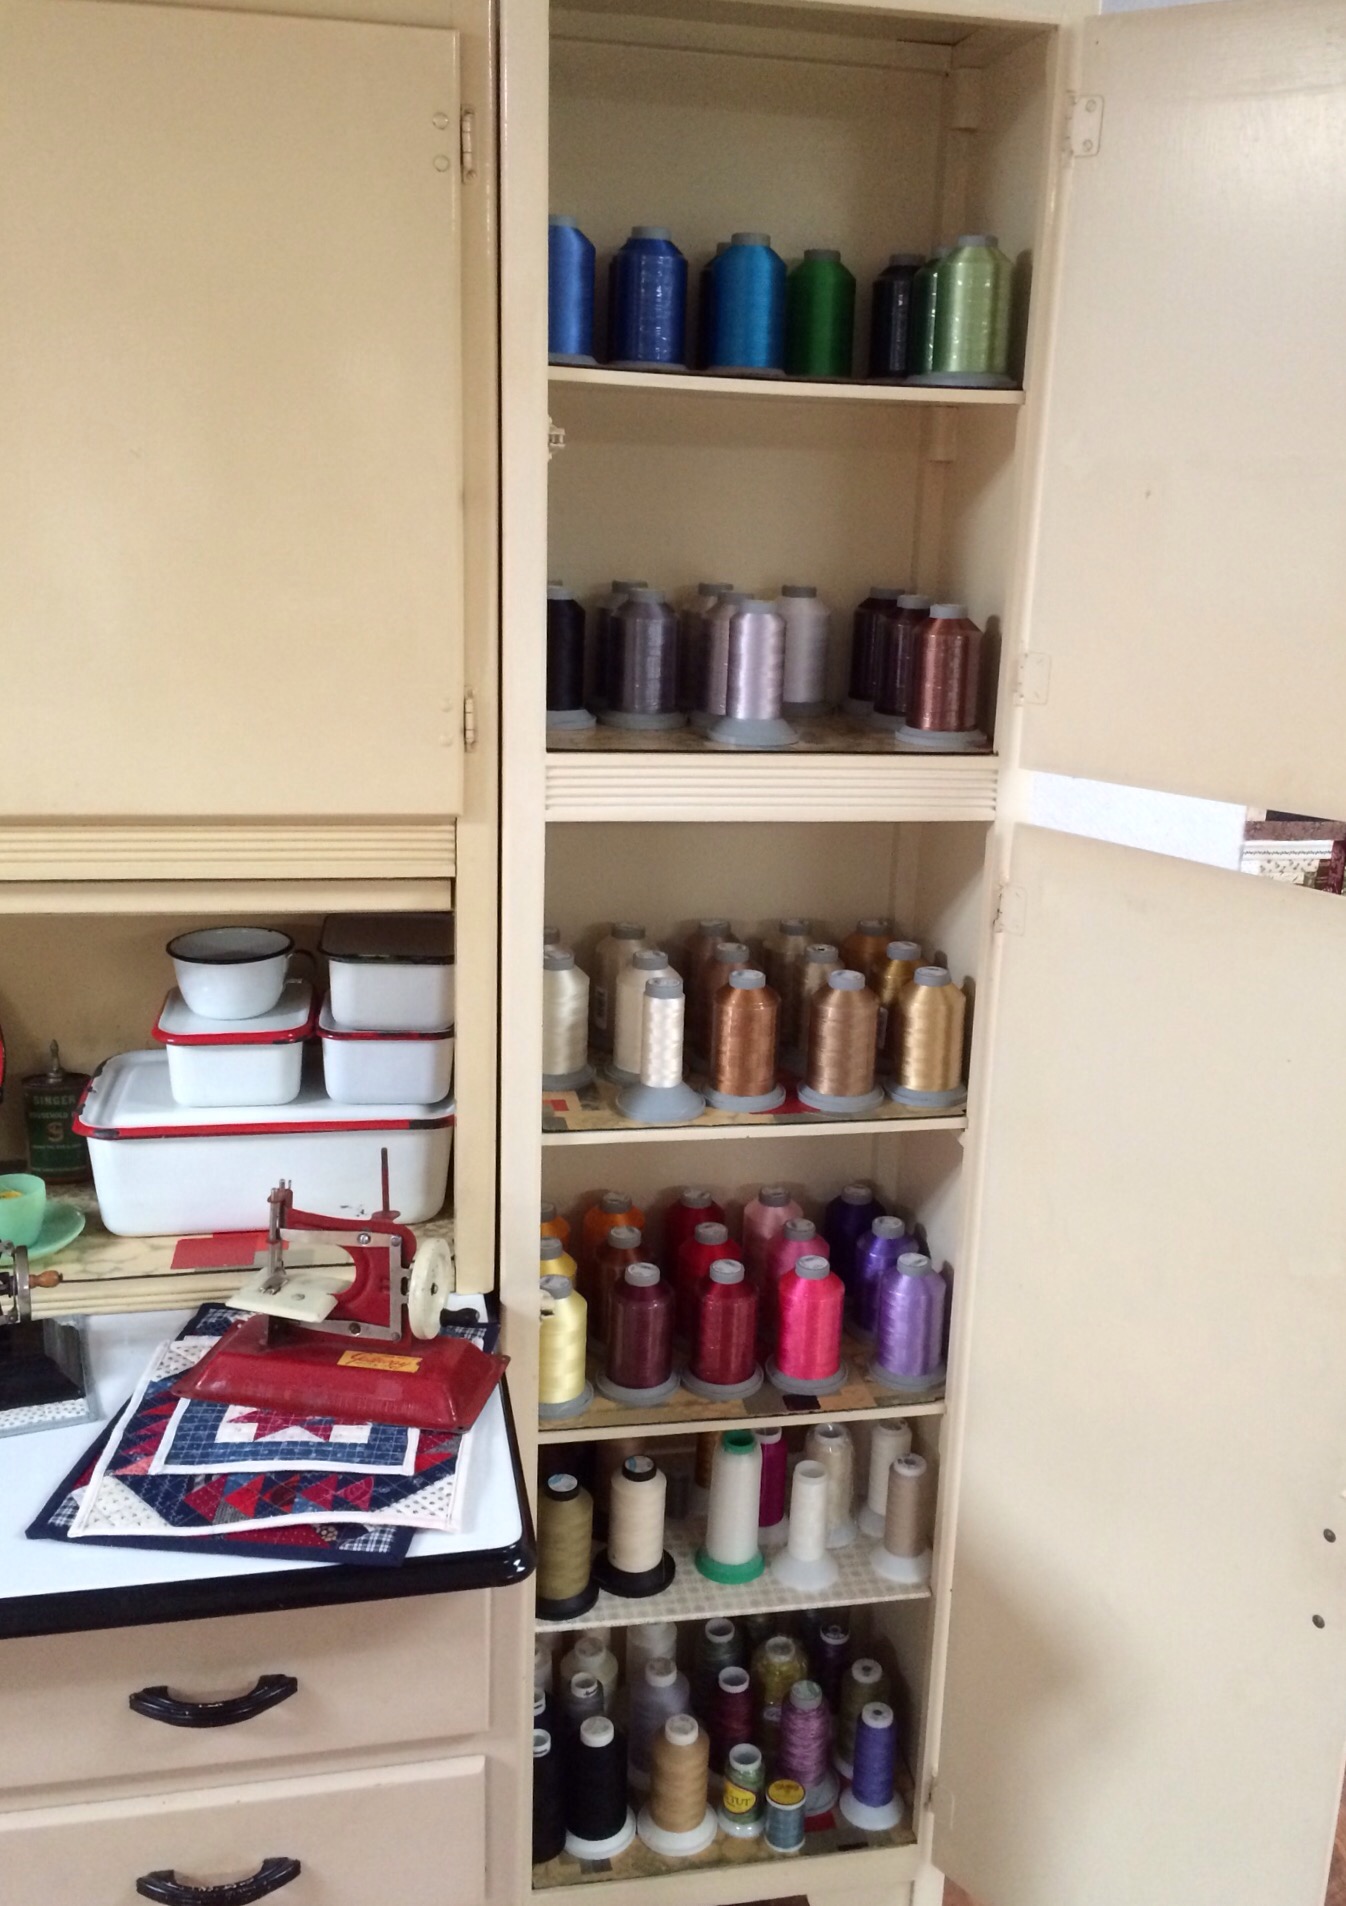
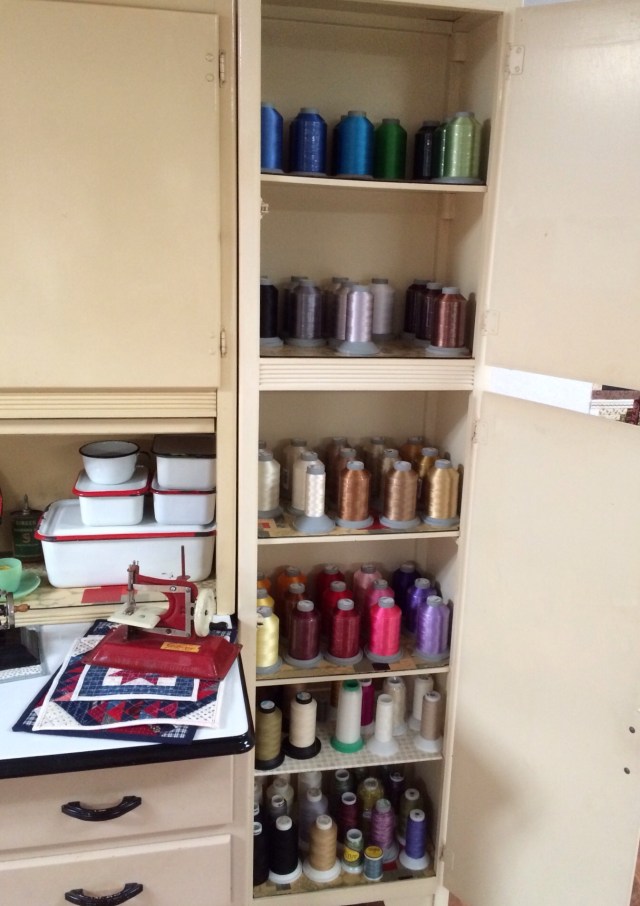
Want to take a peek inside? The cabinet on the right is where I store my long arm thread.
IMG_3004

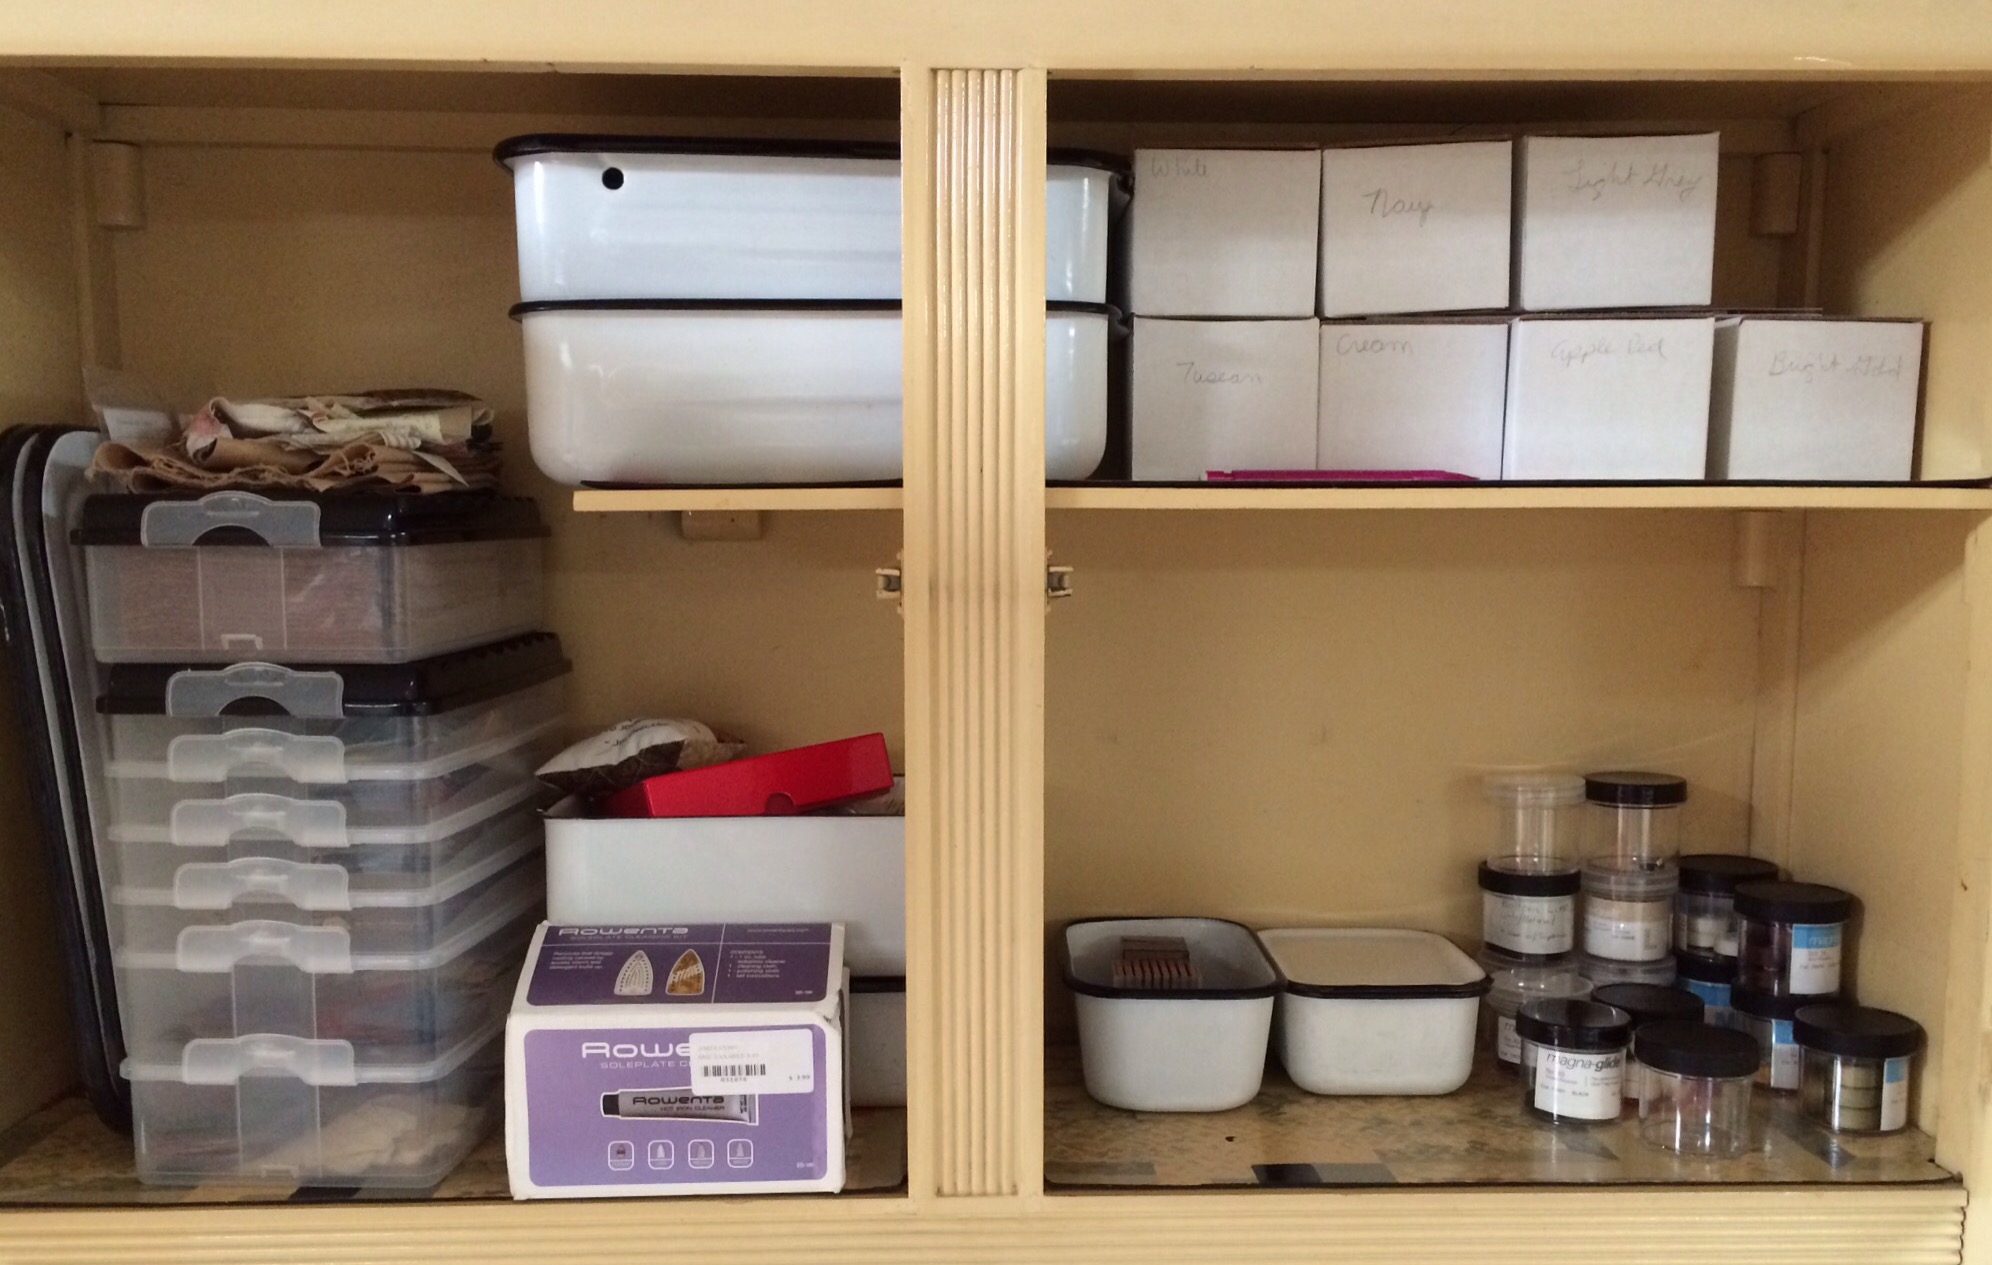
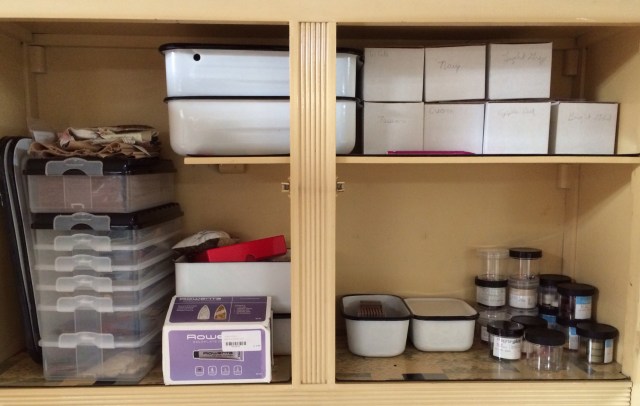
In the middle on top, I have long arm bobbins and containers of fabric that I have cut up ready to piece.
IMG_3005

IMG_3006-0

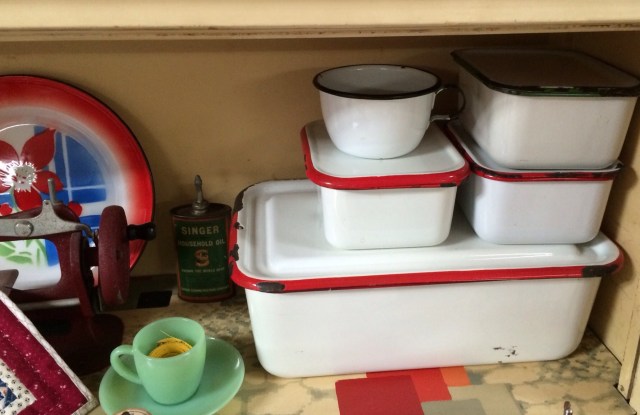
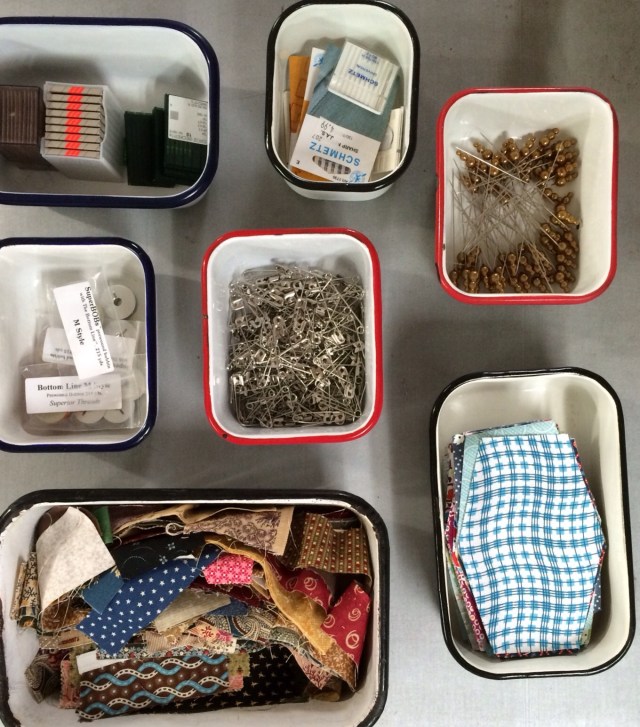
The little enamelware containers hold lots of different things. I love having a collection that is also useful!
IMG_3007-0

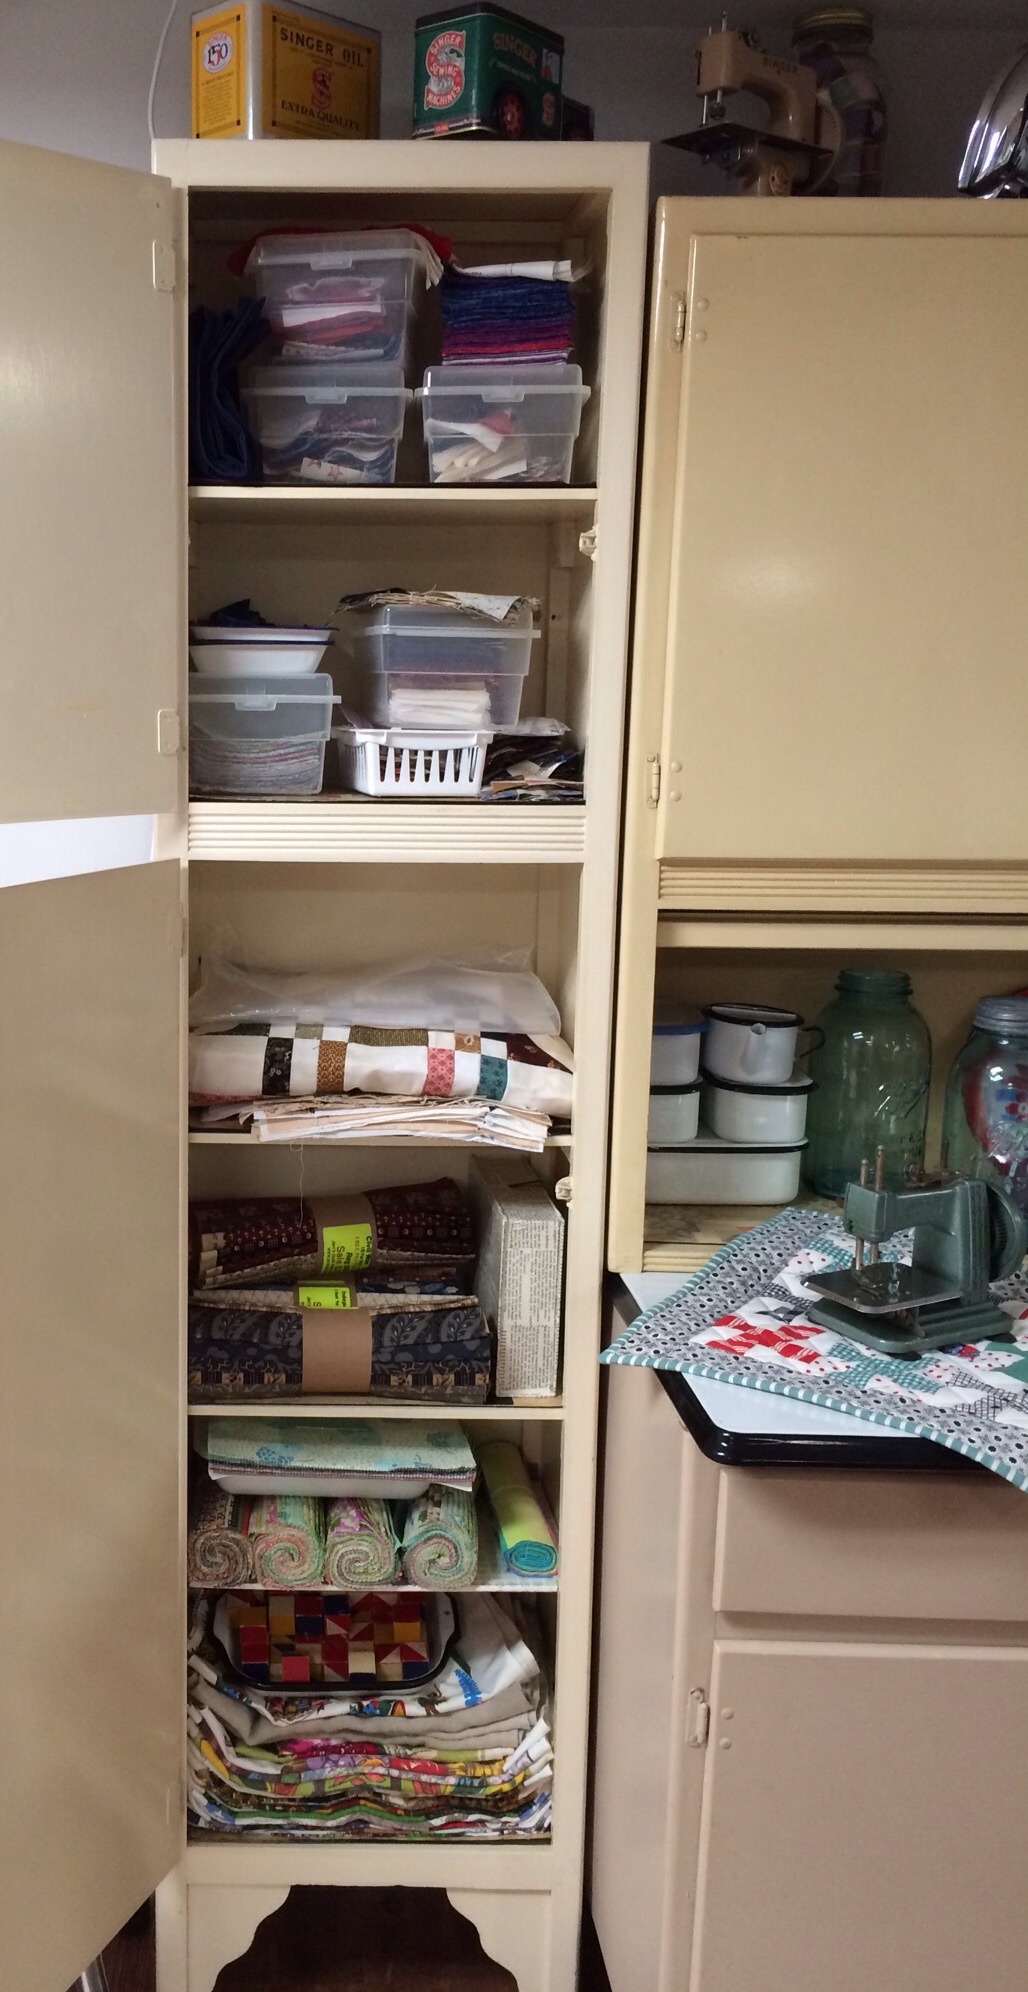
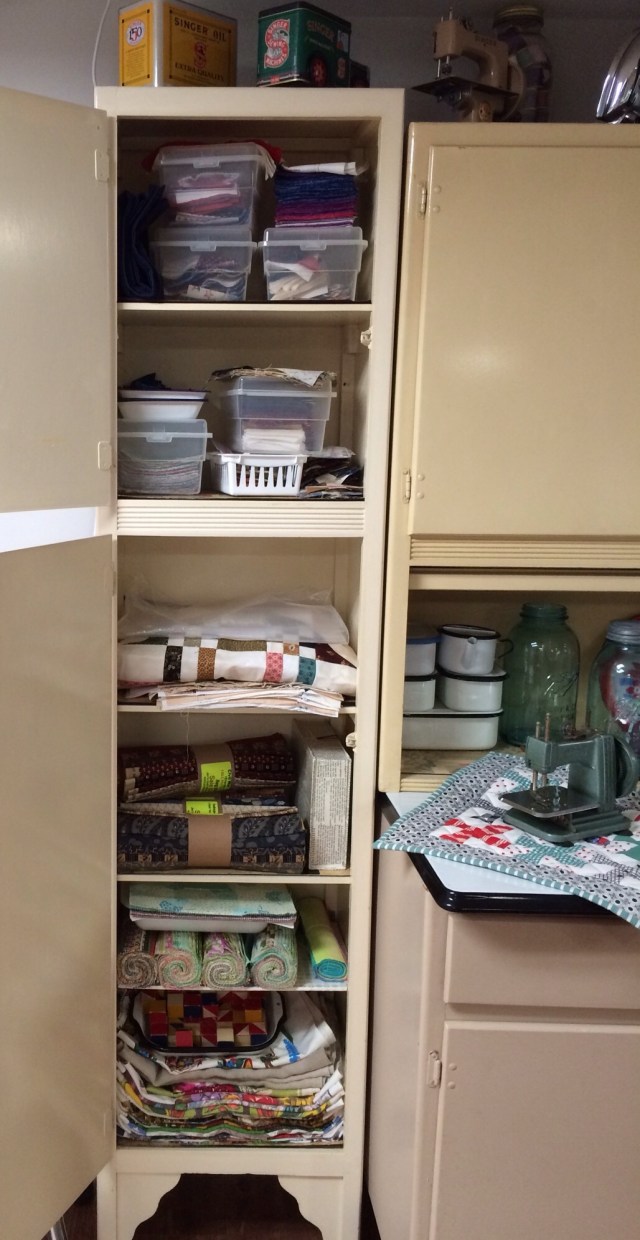
The cabinet on the left holds sets of finished blocks, more precut pieces, my vintage tea towels, fat quarter bundles, and layer cakes.
IMG_3008

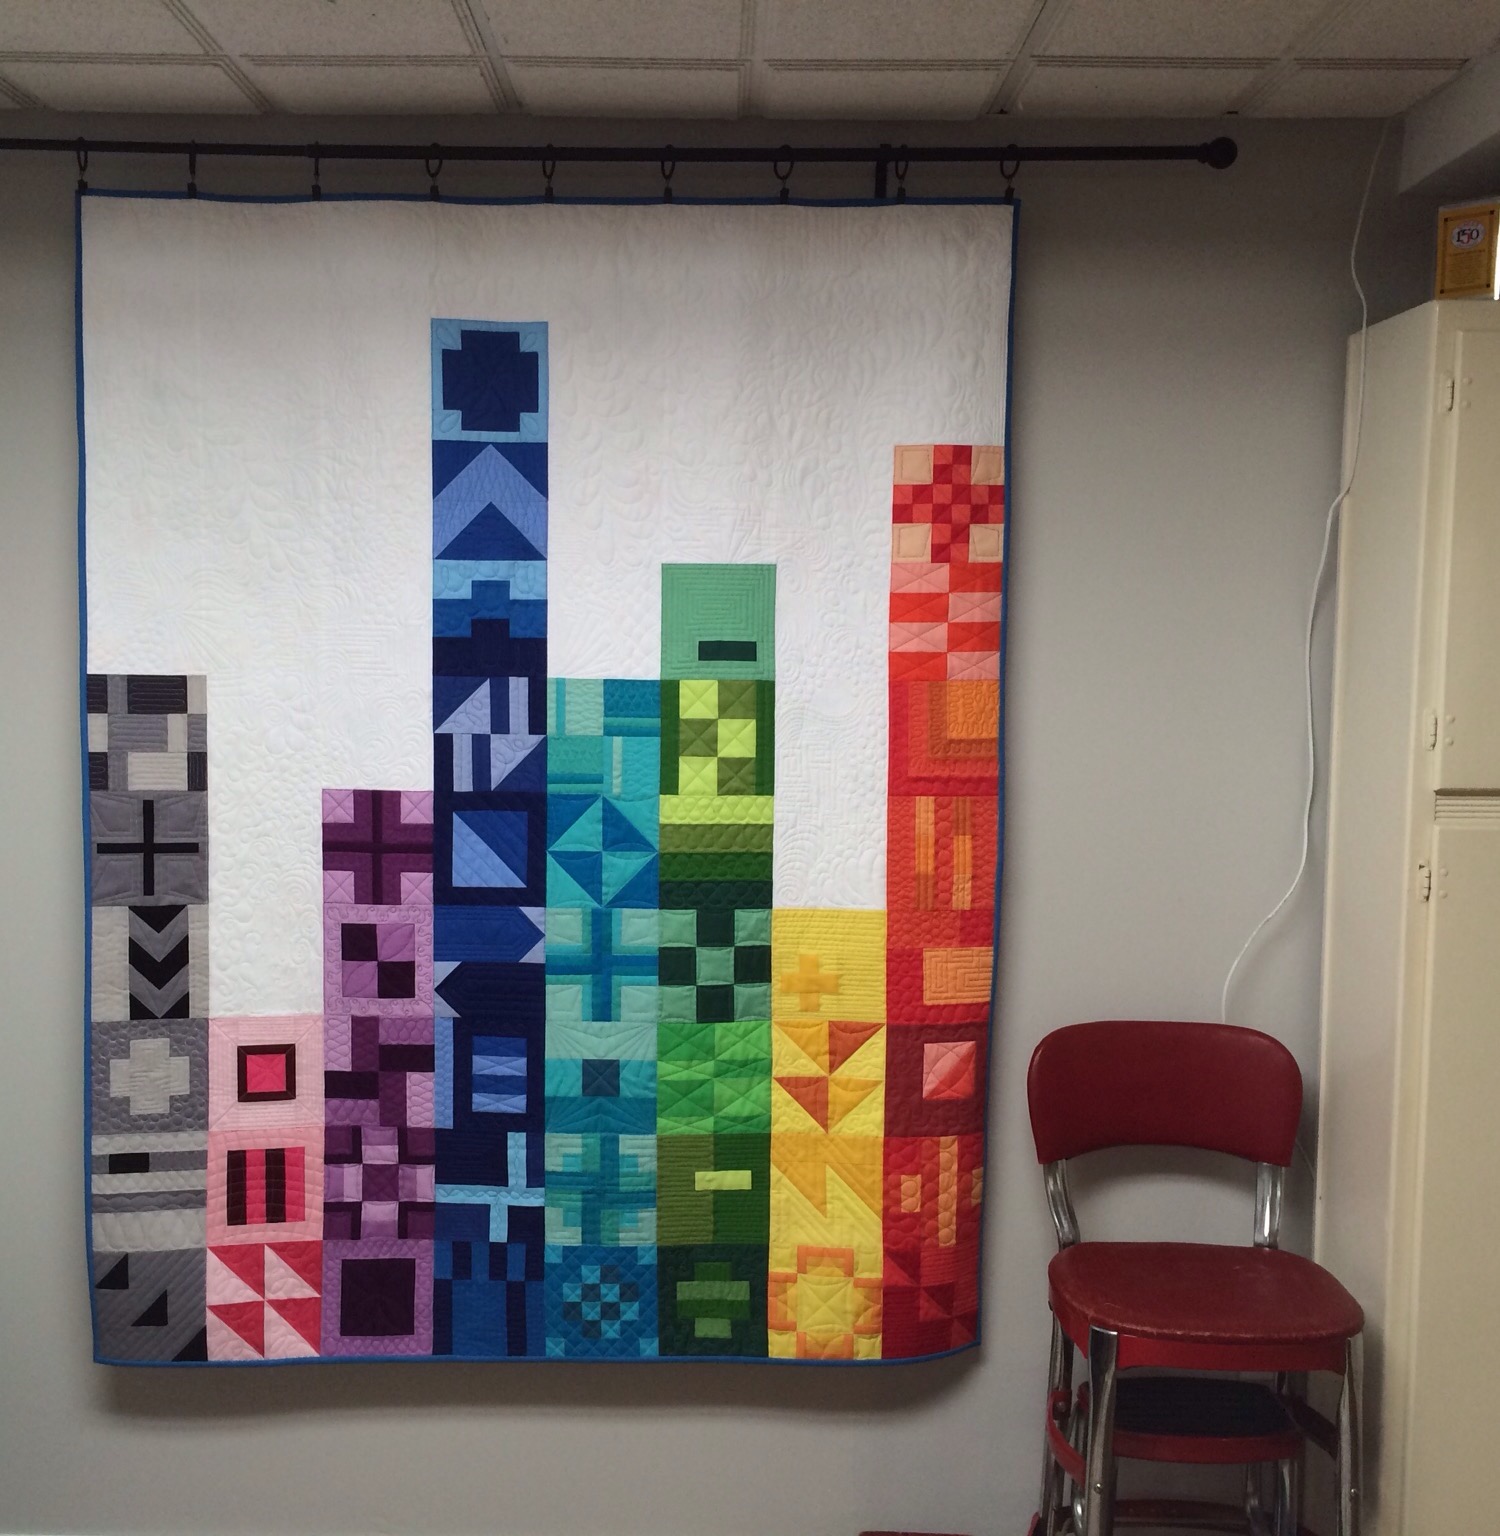
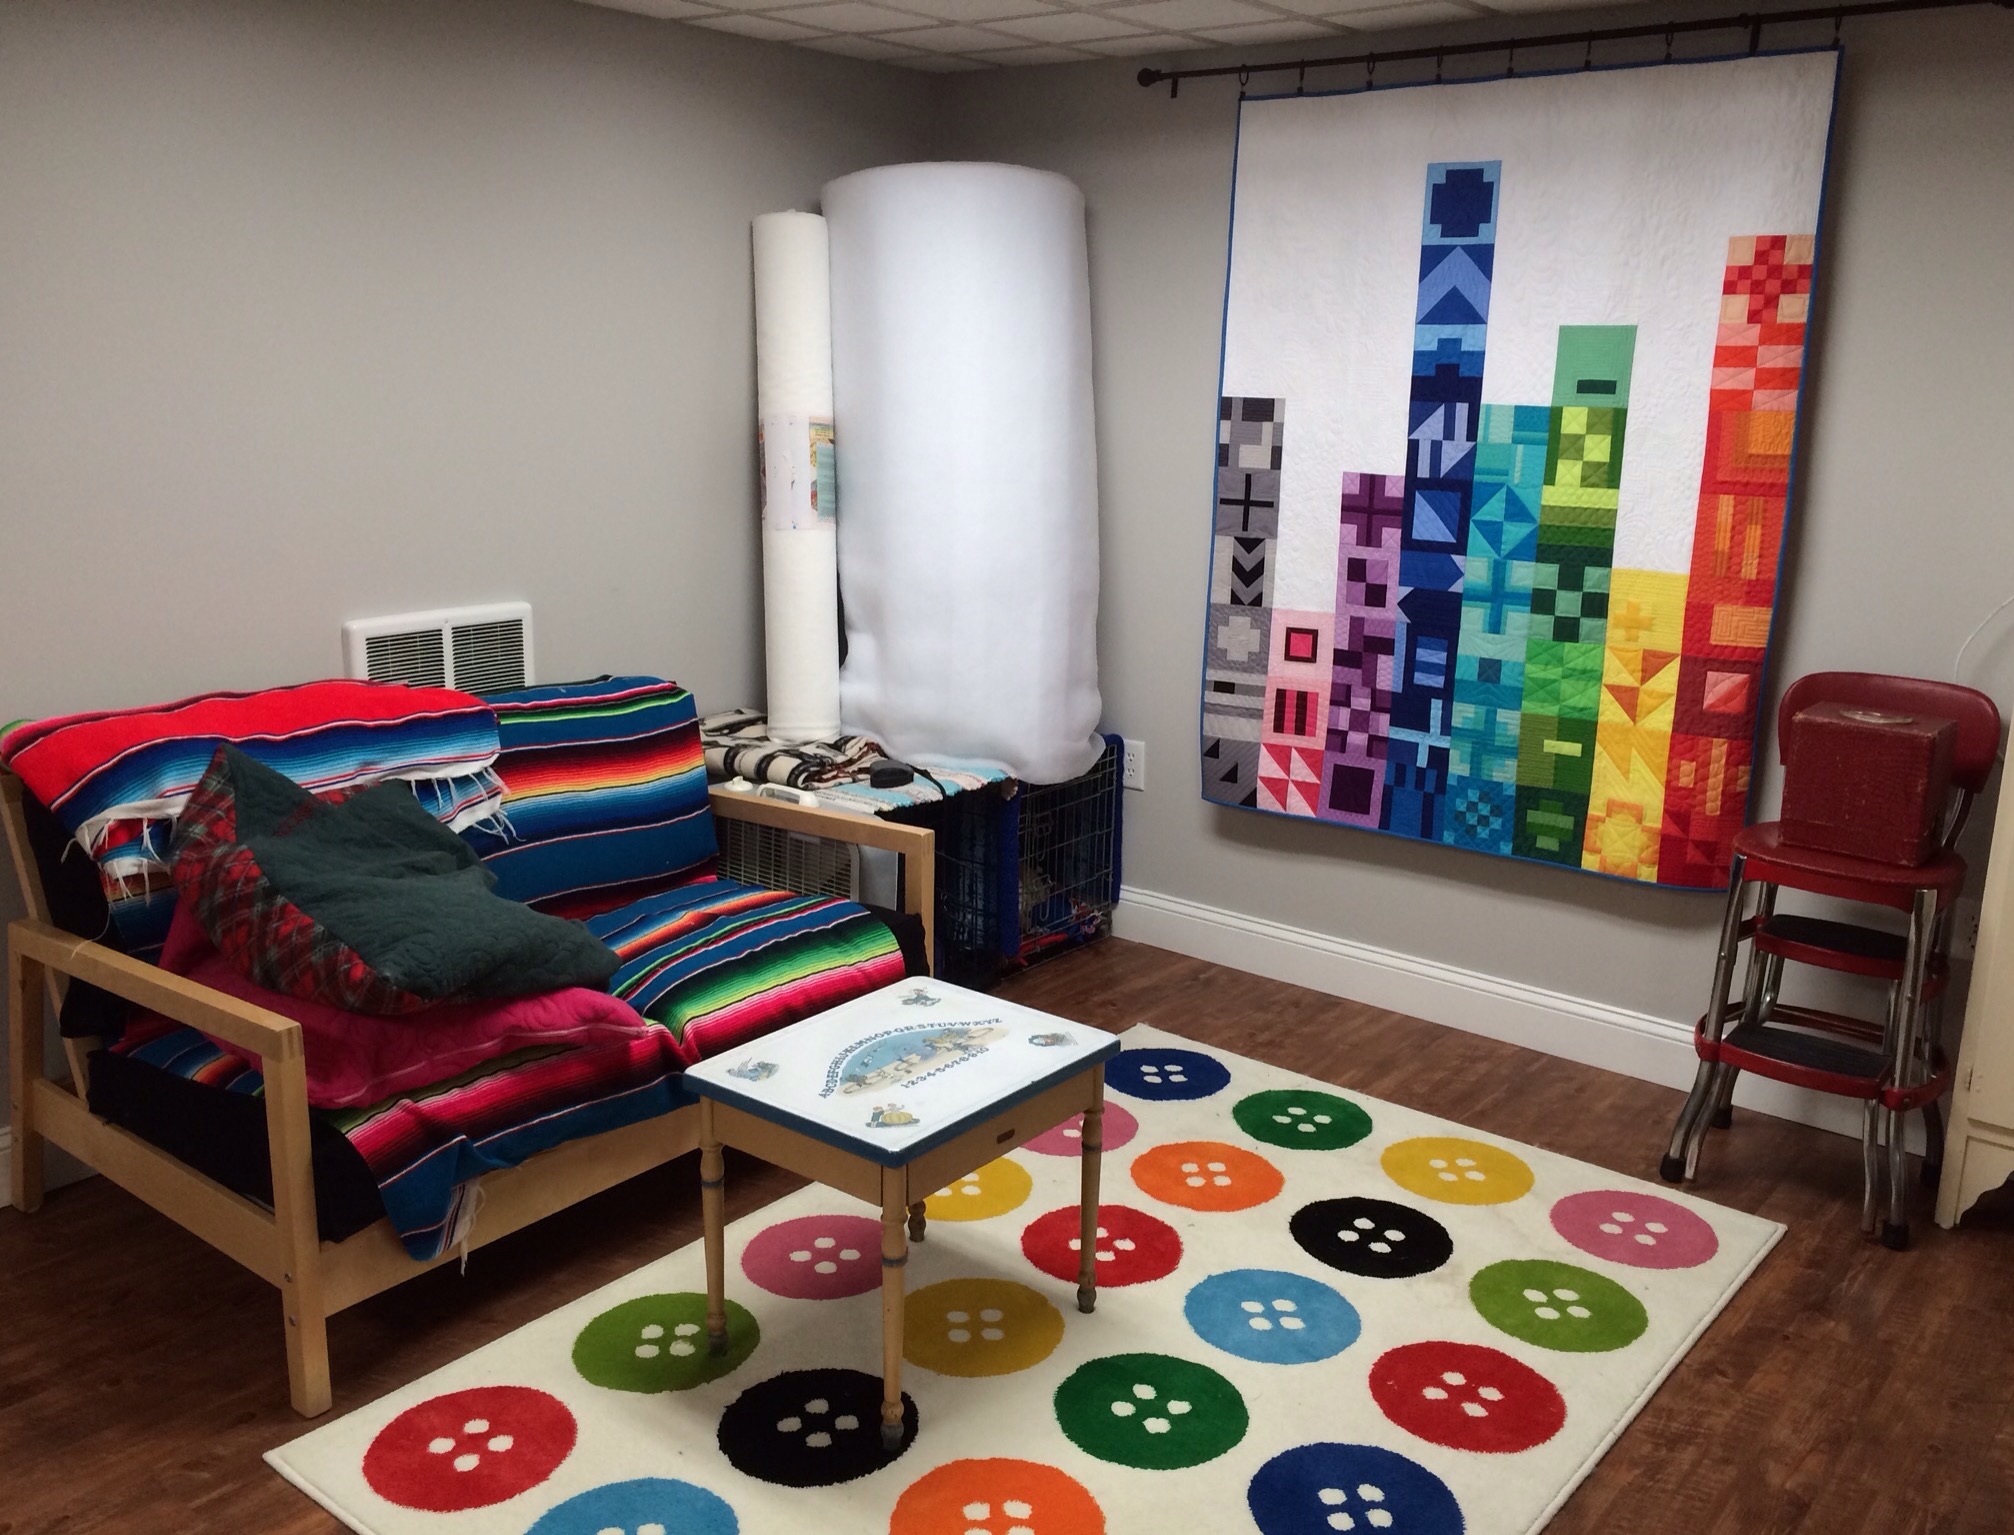
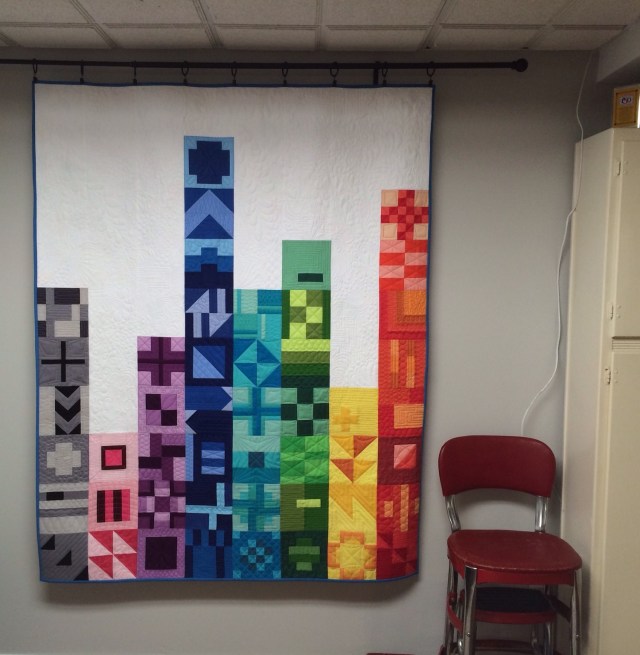
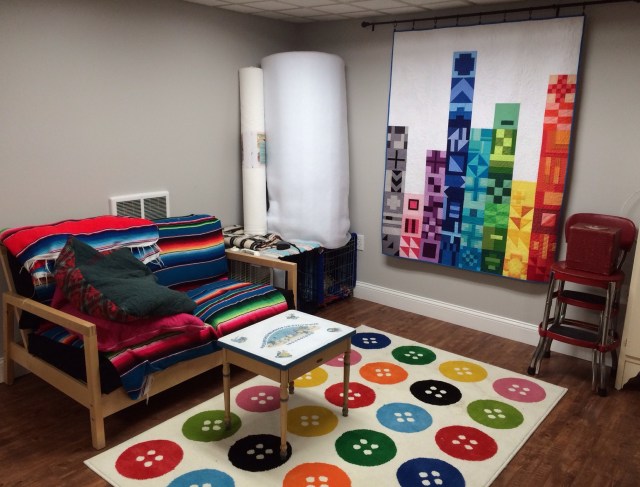
Moving to the left again you can see the curtain rod my hubby put up for me to hang quilts on. I use café style rings with clips to hang the quilts. This makes it really easy to change out the quilts on display. My vintage step stool comes in handy since I can’t reach the top of my design wall without it!
This corner belongs to the dogs, literally. You see their crates underneath those two rolls of batting. And that love seat? It belongs to the dogs too. No one else sits there.
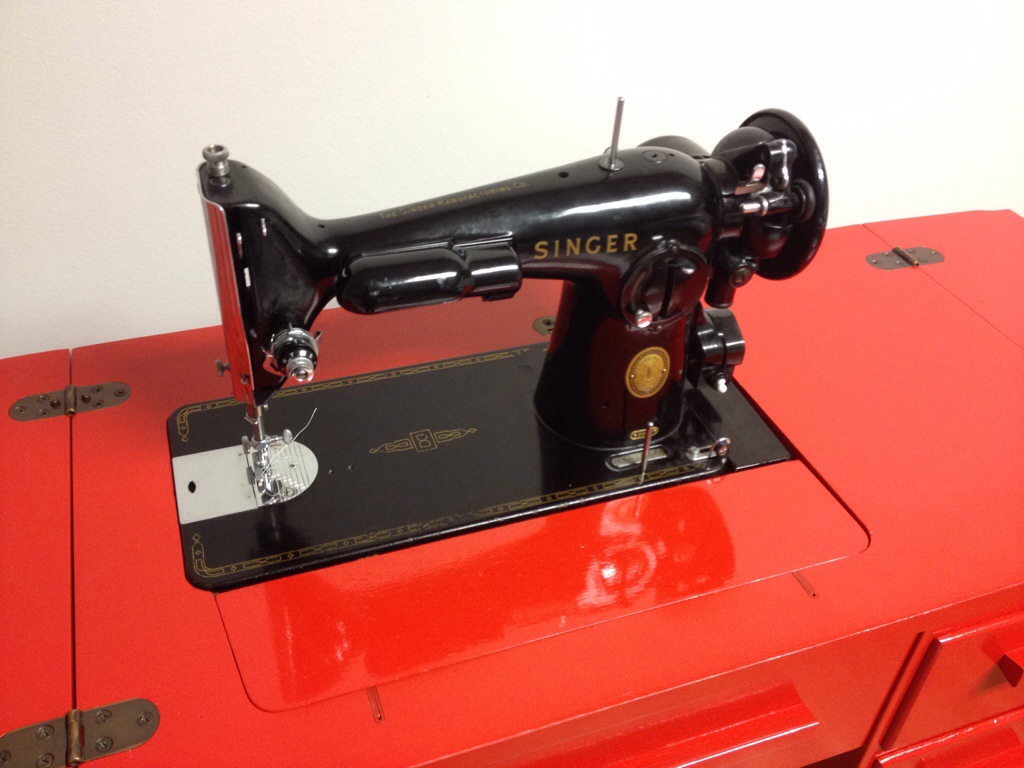
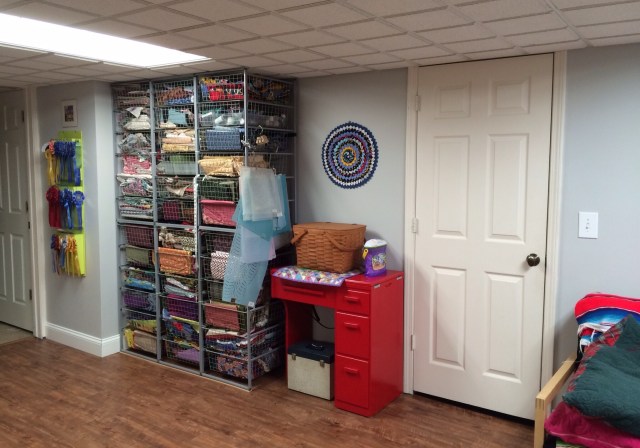
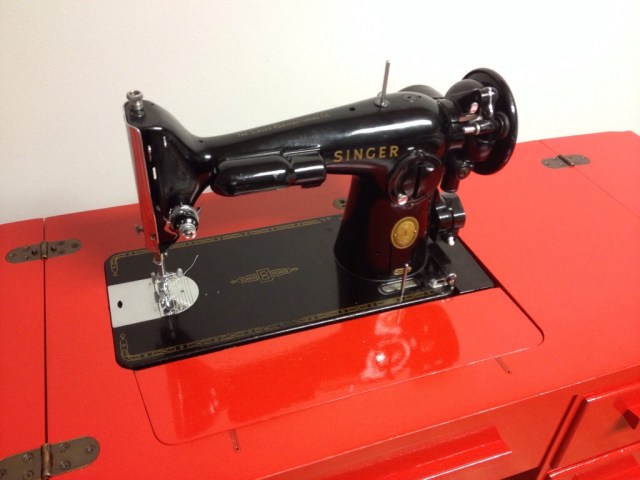
The door you see here goes to a walk in closet. This still needs work, lots of work. We put so much work into the sewing room and office that we rather stalled out when we got to the closet. It will get there. In the red cabinet you see next is my vintage 1955 Singer Model 201. And here you can see my primary fabric storage. Boy, those baskets need some sorting and straightening! These units are from Ikea (can you tell I love that place?).  The door just to the left leads to a bathroom.
Here is a picture of my 201 opened up. 20140611-201923-73163815.jpg
To the left of the bathroom door is the door to hubby’s shop and to the left of that is my Bernina 1030 in a desk that hubby modified for me. You can read more about that here. I have a bulletin board above that machine for miscellaneous notes, ideas etc.

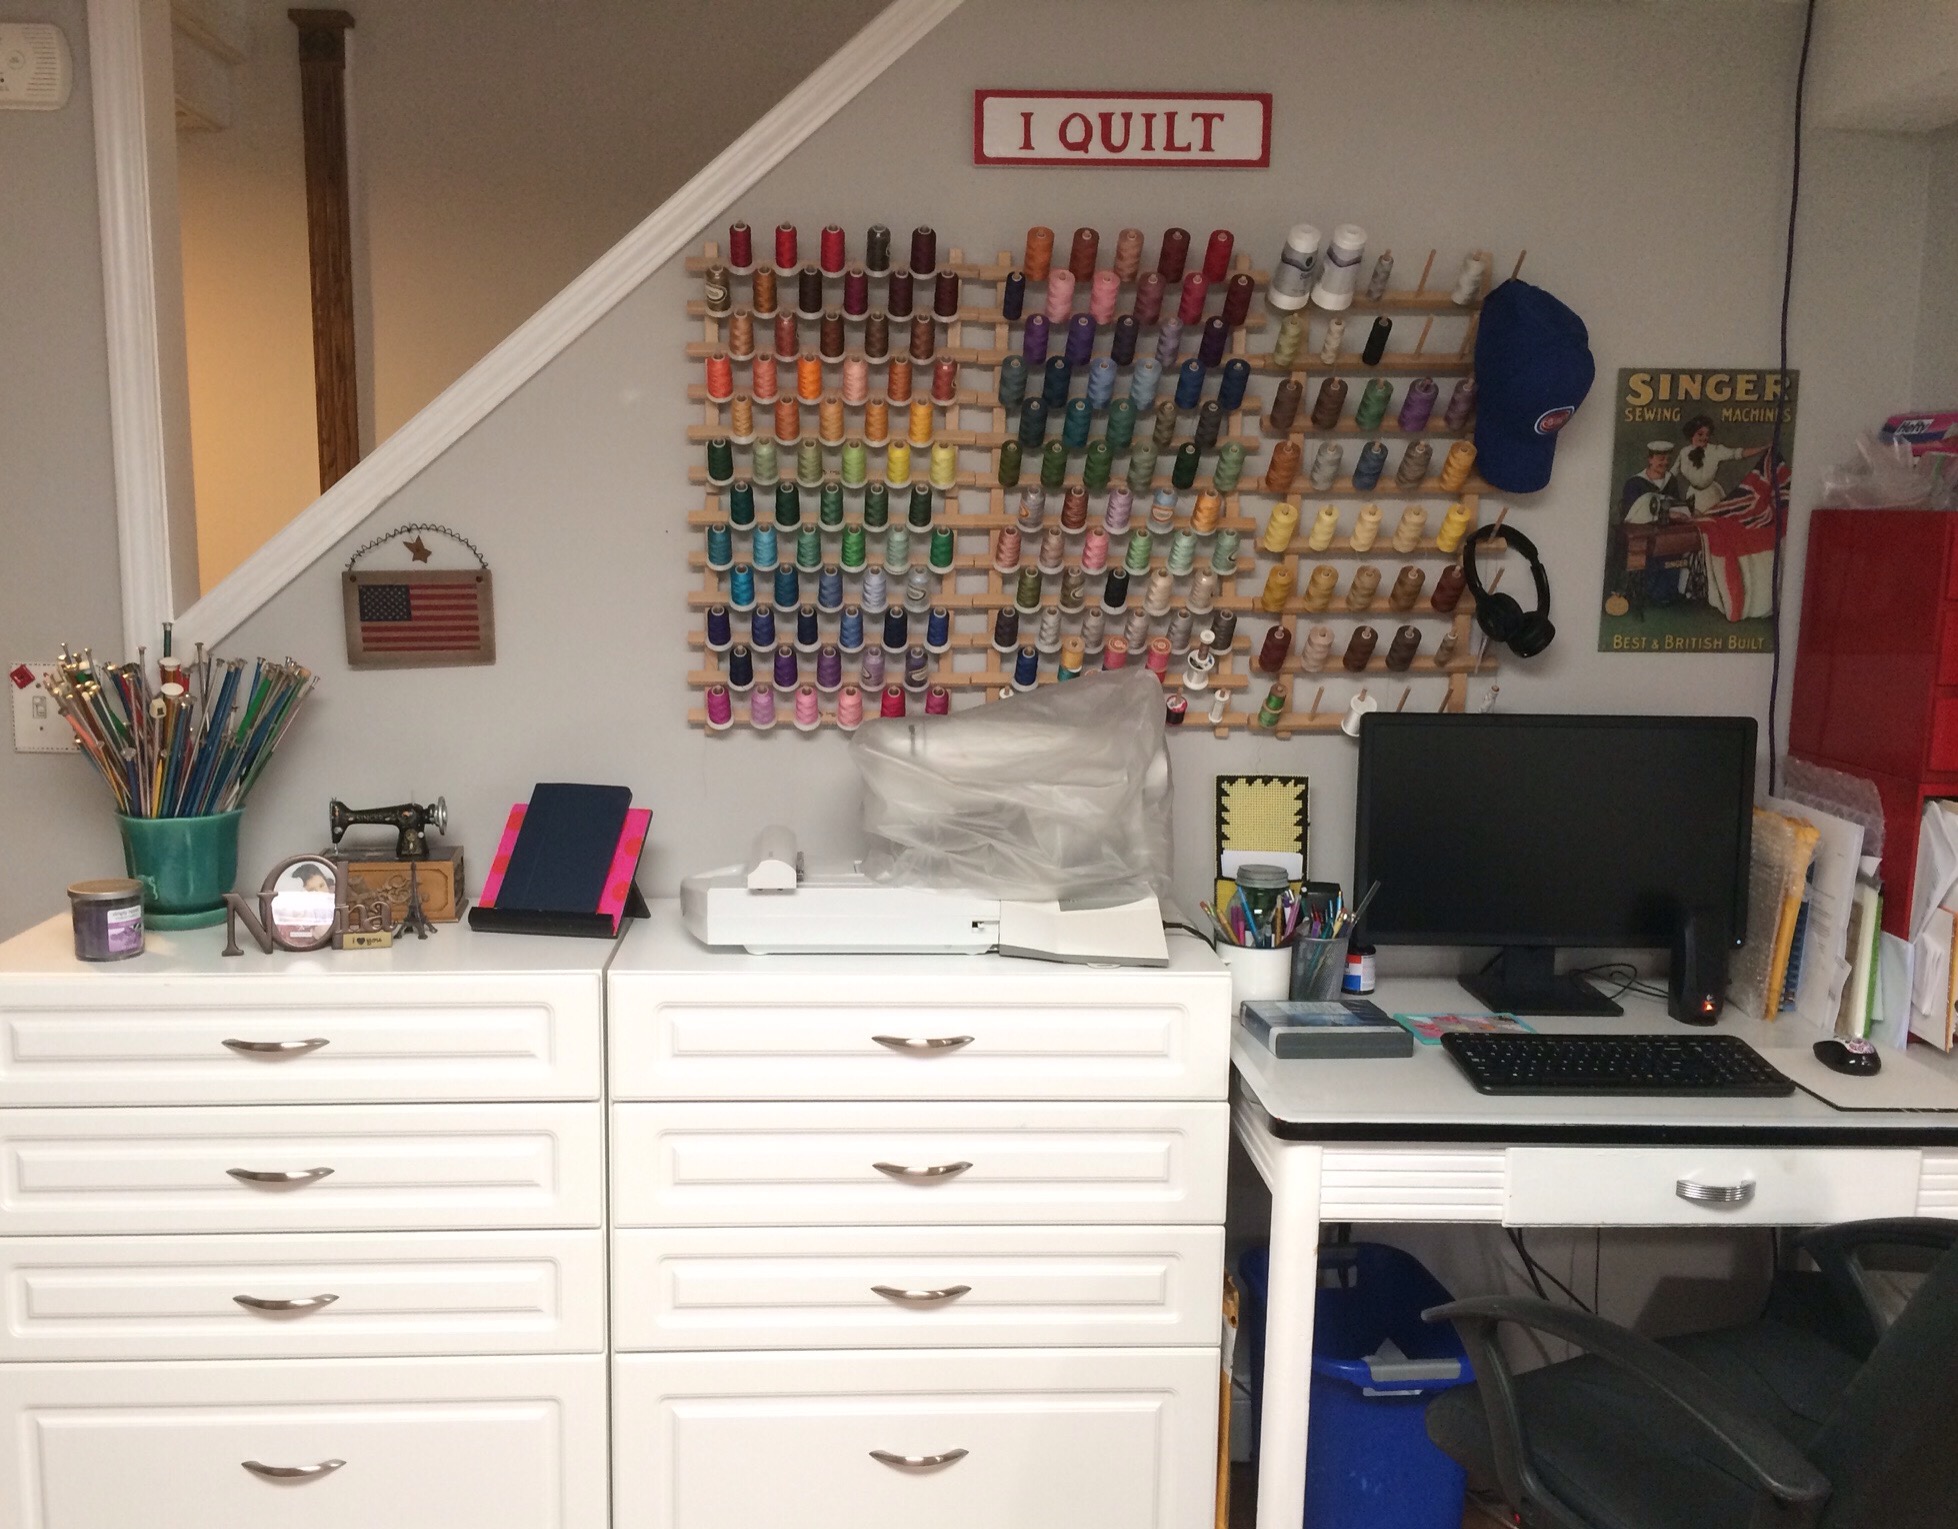
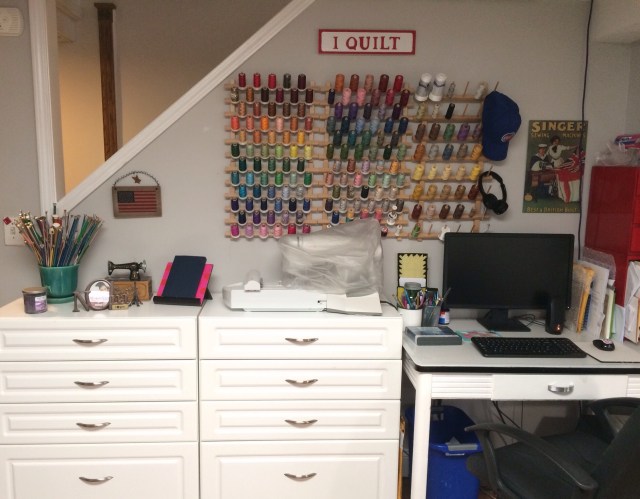
This next area shows my computer desk and embroidery area. My embroidery machine hooks up to my computer so they have to be together. My embroidery and most of my piecing thread hangs above on the racks. One of the drawers in the cabinets below the machine also holds thread. The rest hold quilting templates, interfacing, fusibles, stencils, miscellaneous craft supplies, trims etc. And that takes us back to the beginning……almost.
IMG_3028

IMG_3014

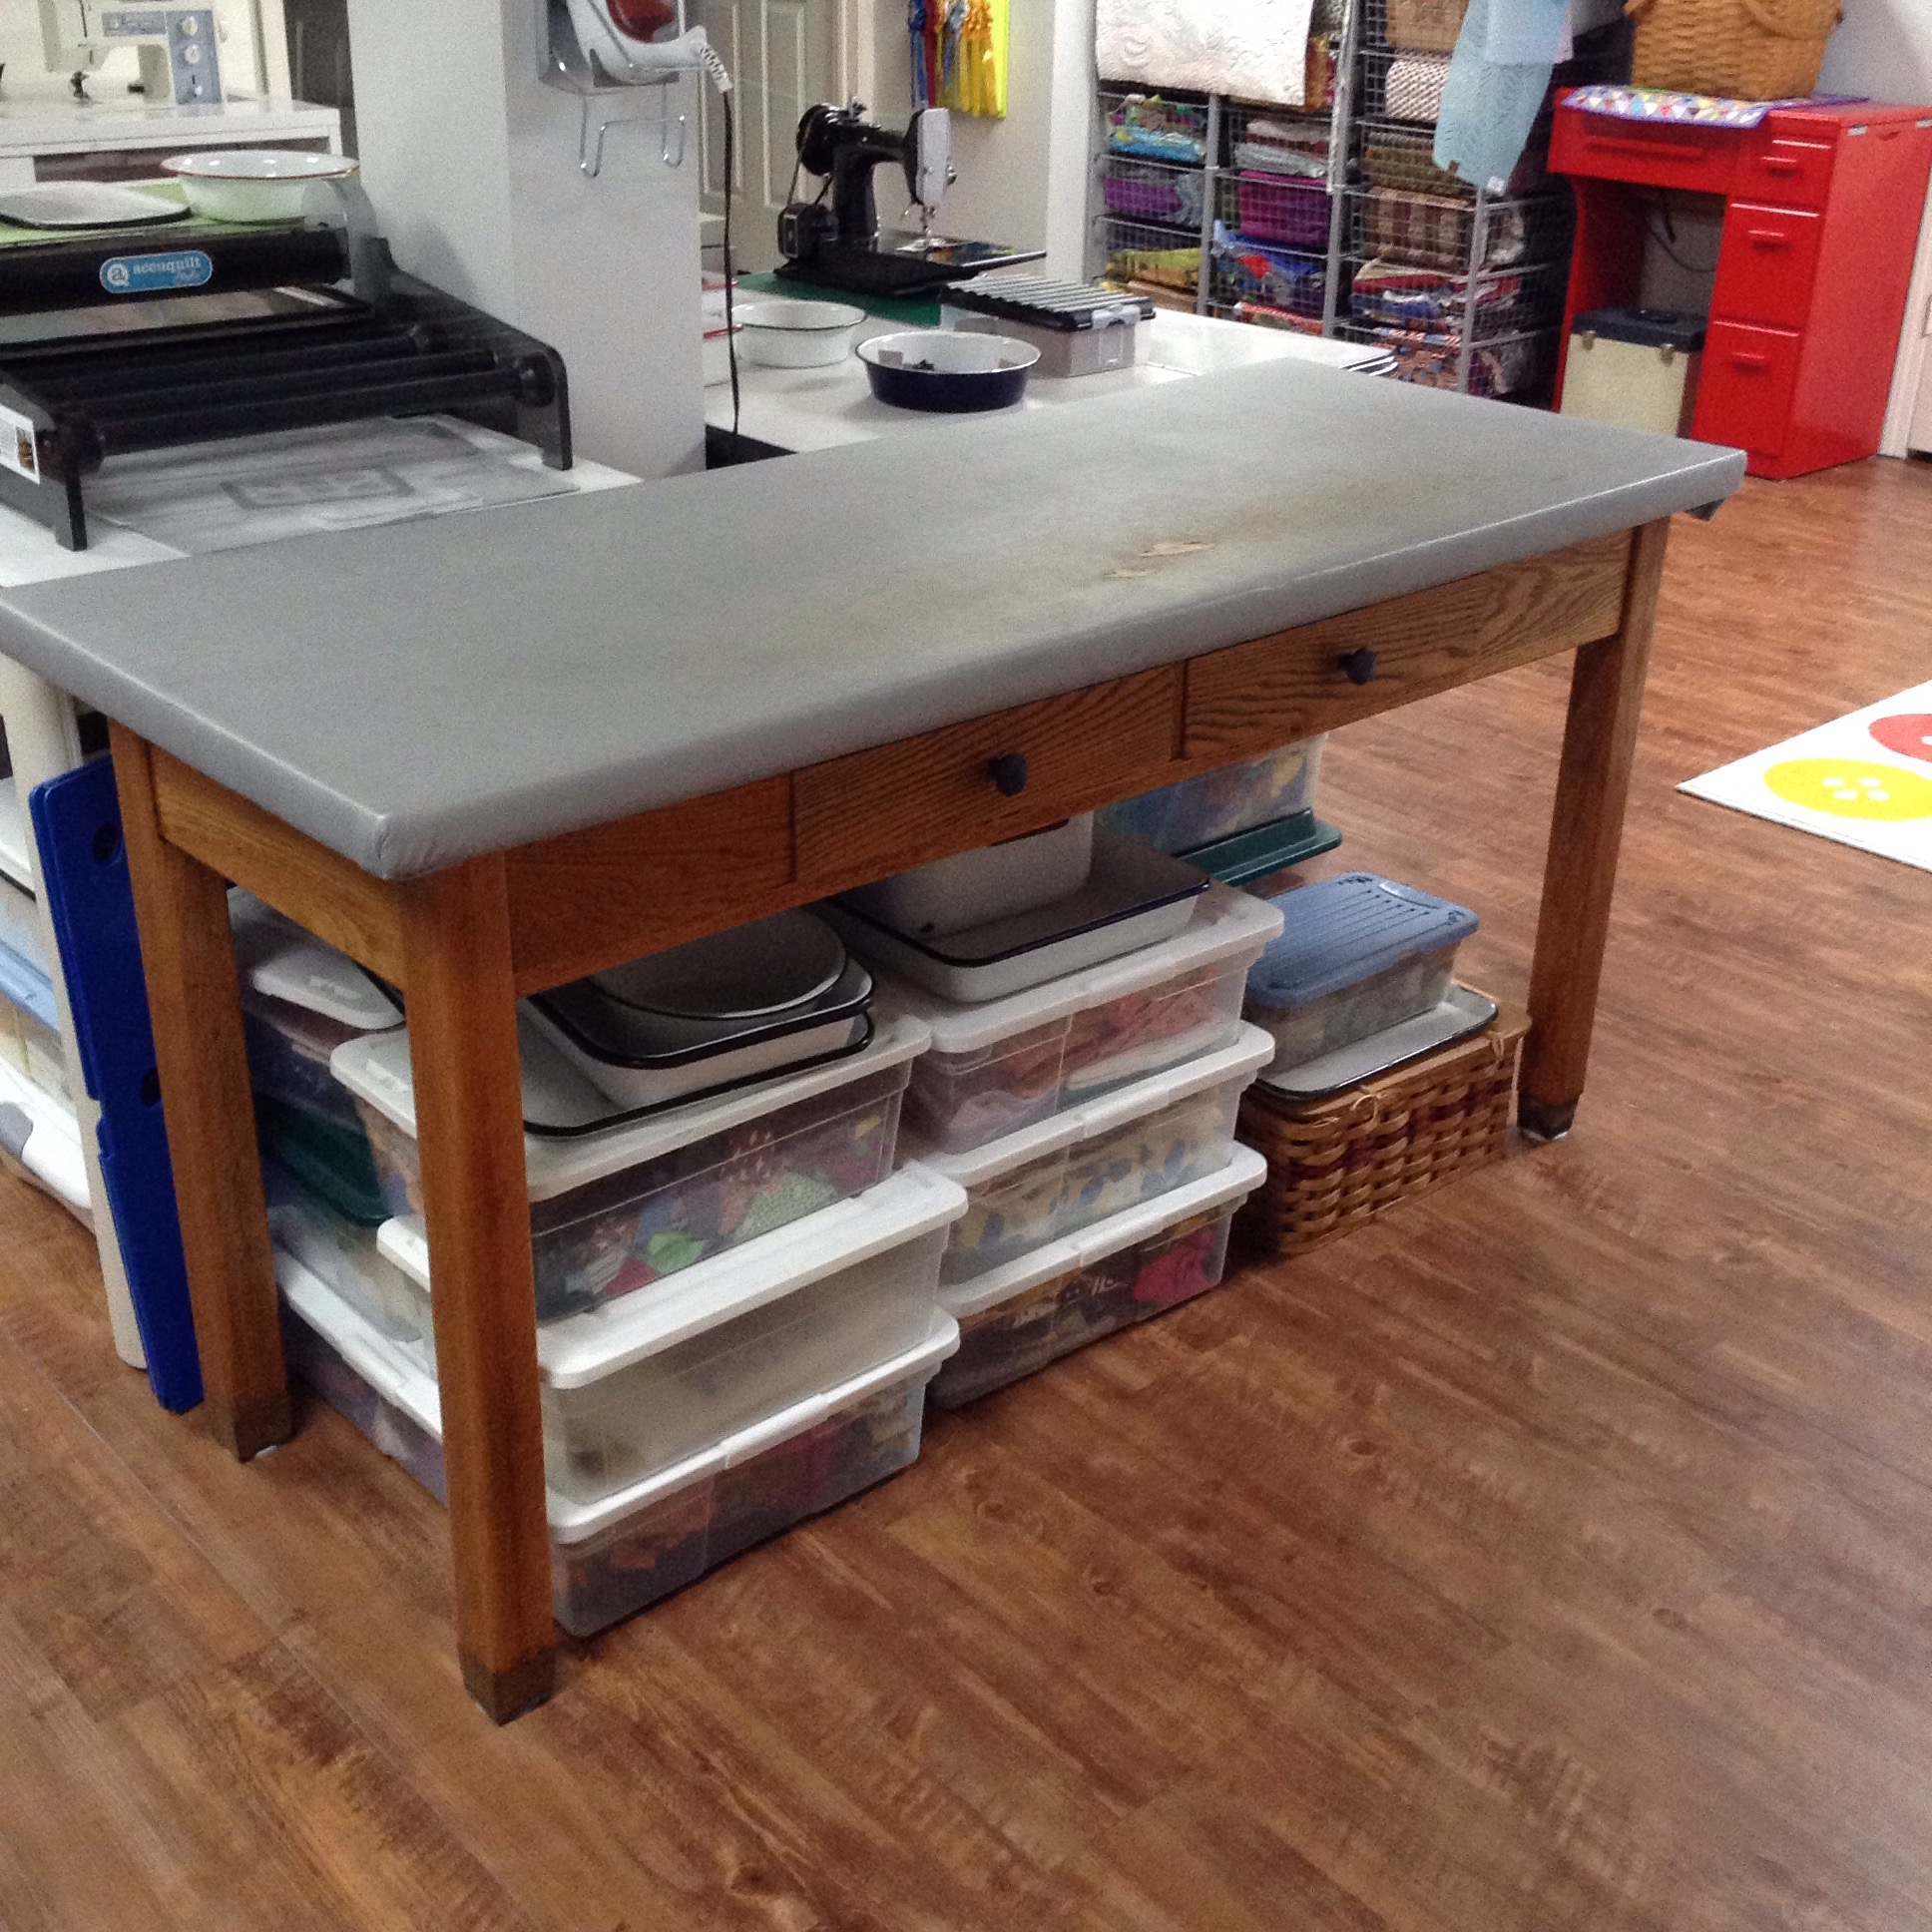
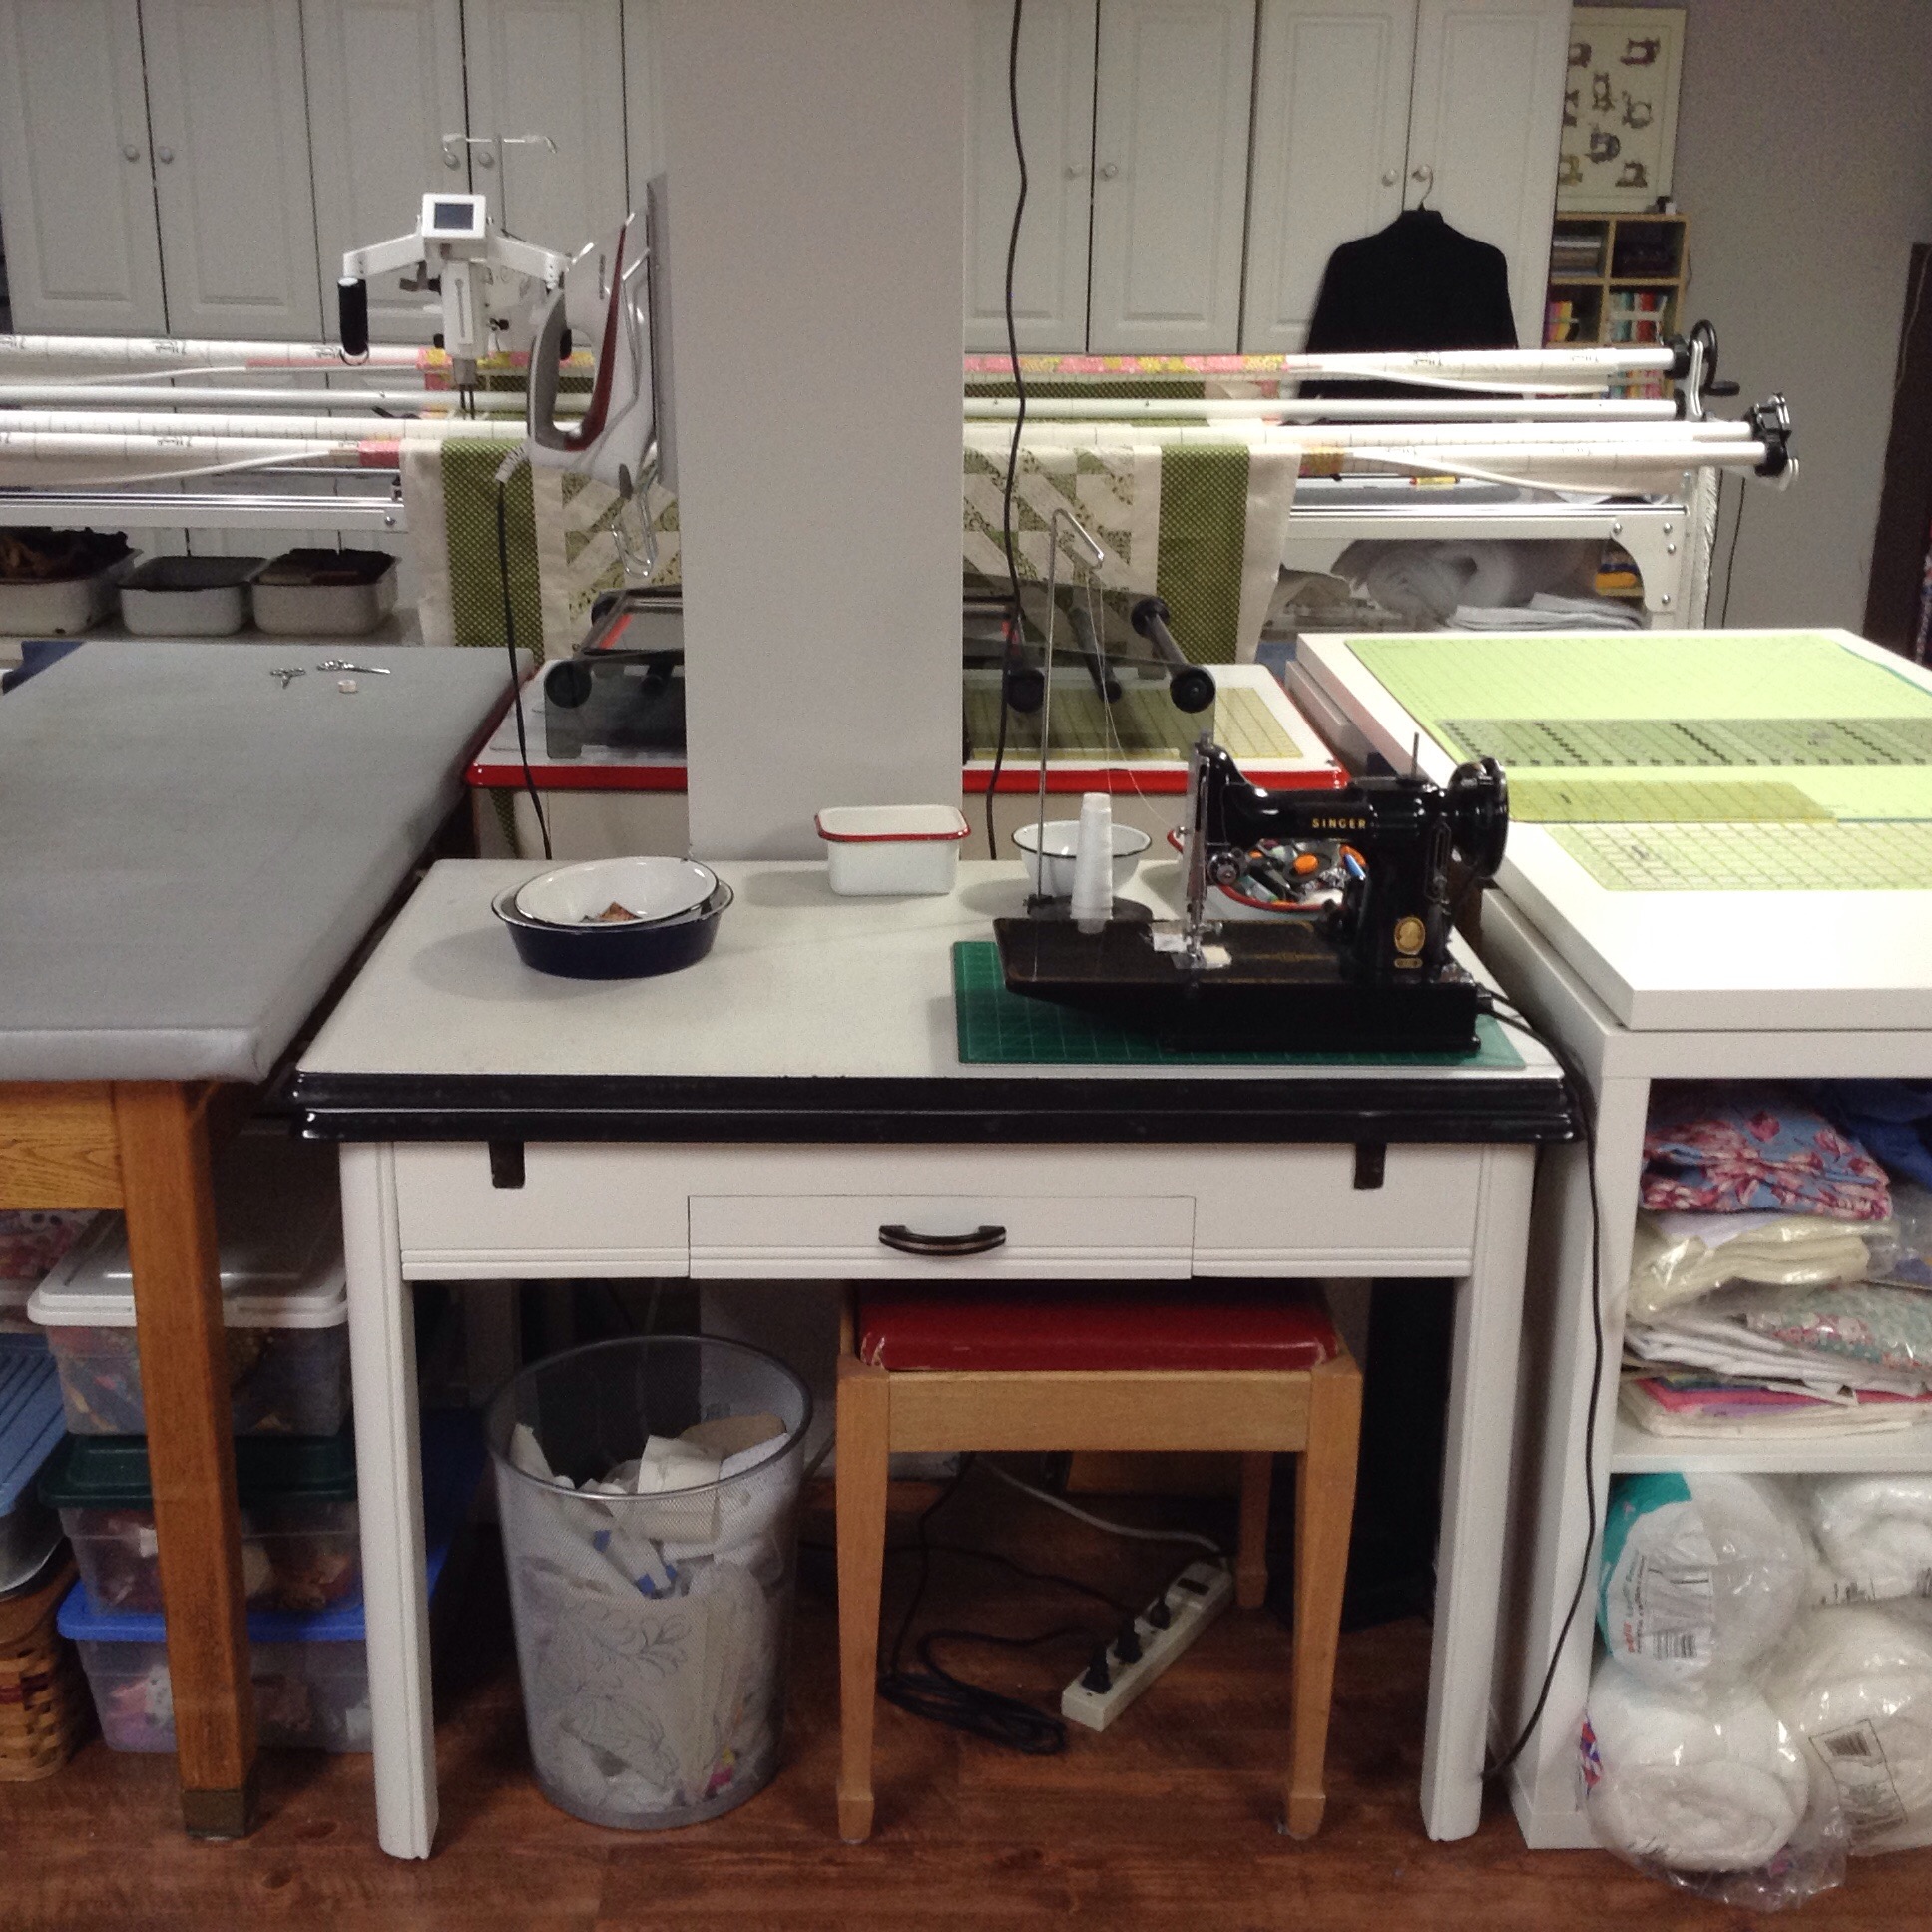
In the center of this room is a support column. Thankfully, it has an electrical outlet in it. I wanted a work island and since I couldn’t move the column, I had to work around it.  I surrounded the column with a cutting table, two vintage enamel tables, and an ironing table made from an old high school lab table.

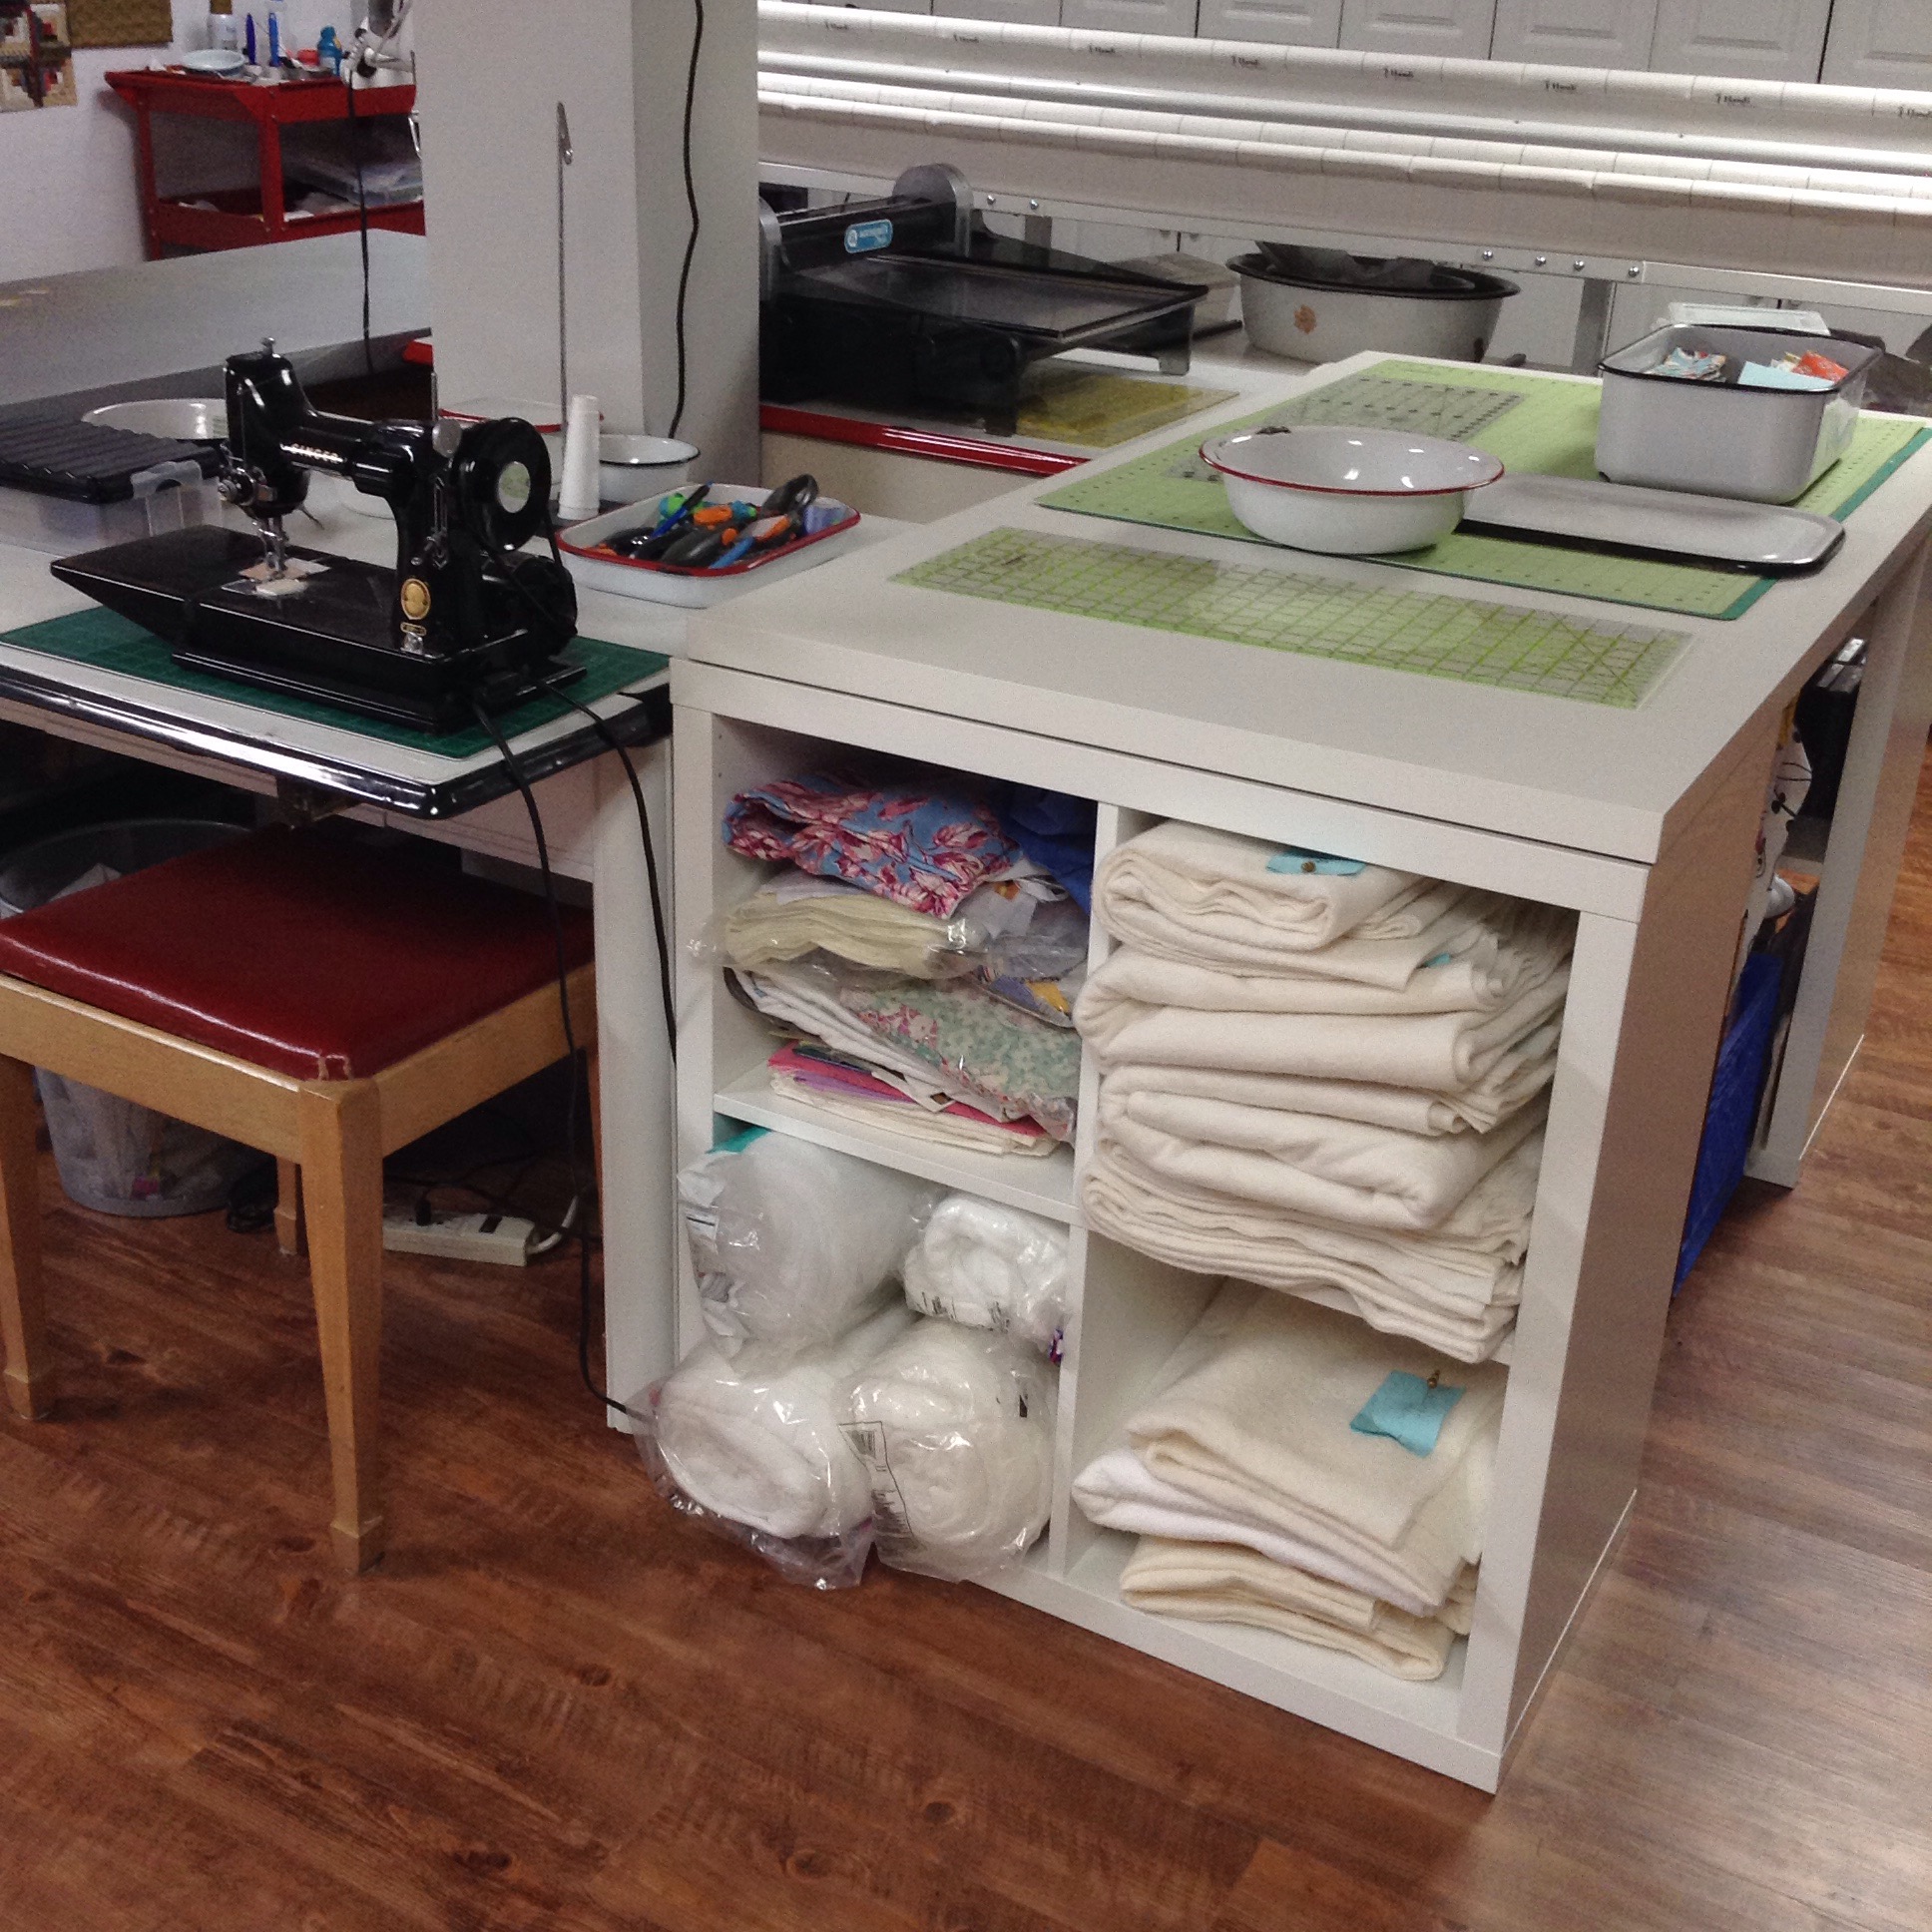
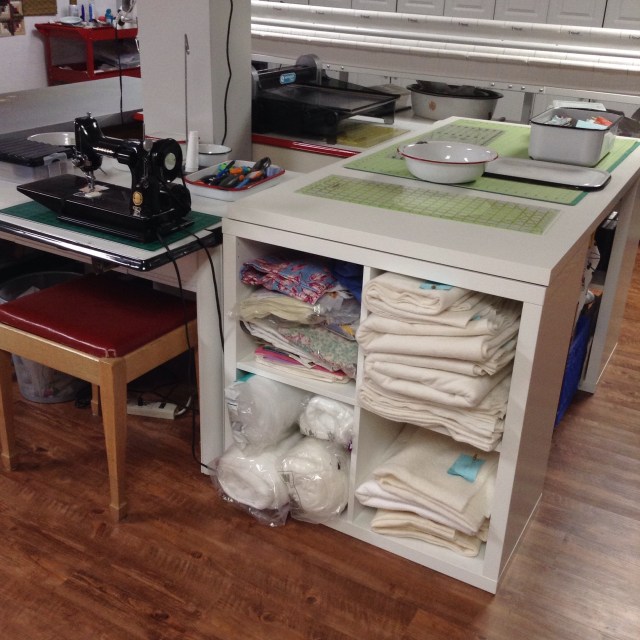
The cutting table was made from two Expedit cabinets from Ikea with a 30 by 60 inch table top set on top. I have my long strip cutting dies and bolts of fabric under it.
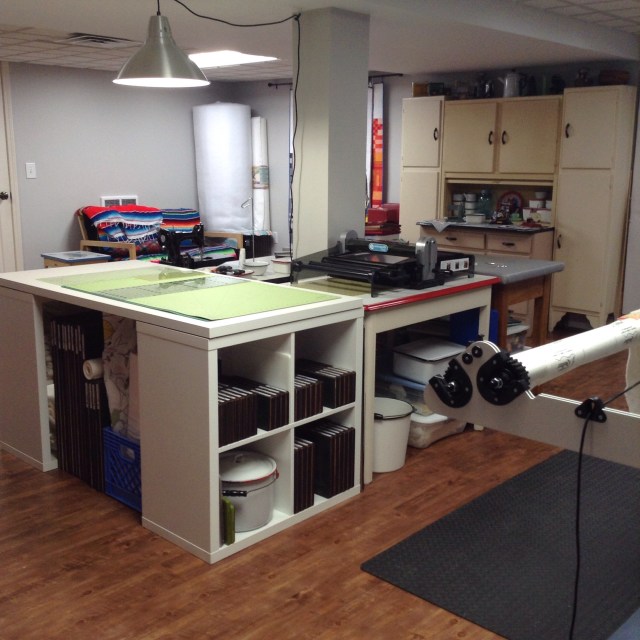
IMG_3131

One of the tables holds my Accuquilt Studio diecutter. I LOVE this! The cubbies to the left of the cutter hold the smaller dies. The big enamel pot is used as a trash can.
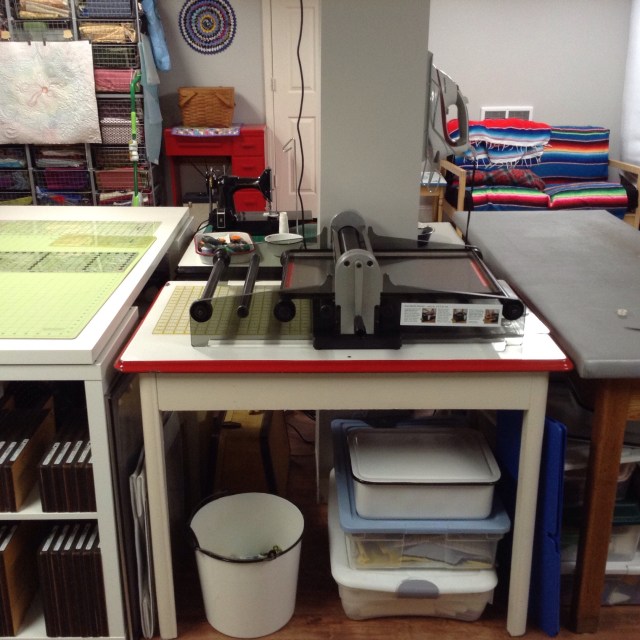
IMG_3132

Here you can see my ironing table. It sure needs to be recovered! I love the iron holder that you can barely see at the top of this photo from…you guessed it, Ikea! Below are bins of fabrics sorted by type.
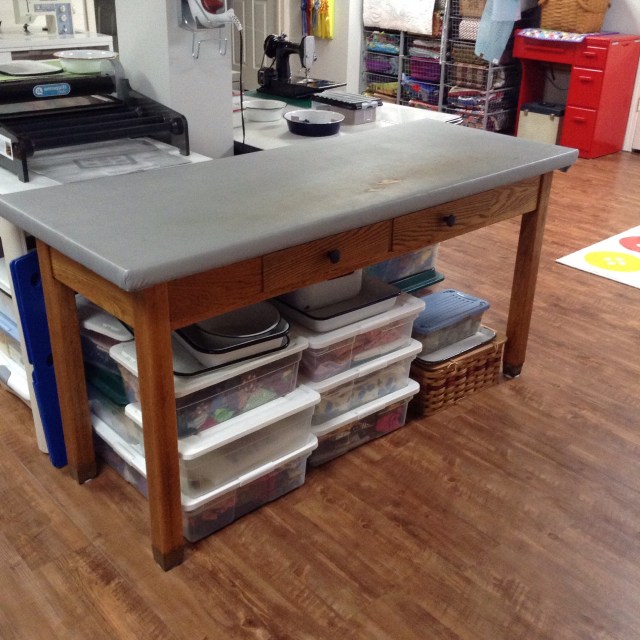
IMG_3146

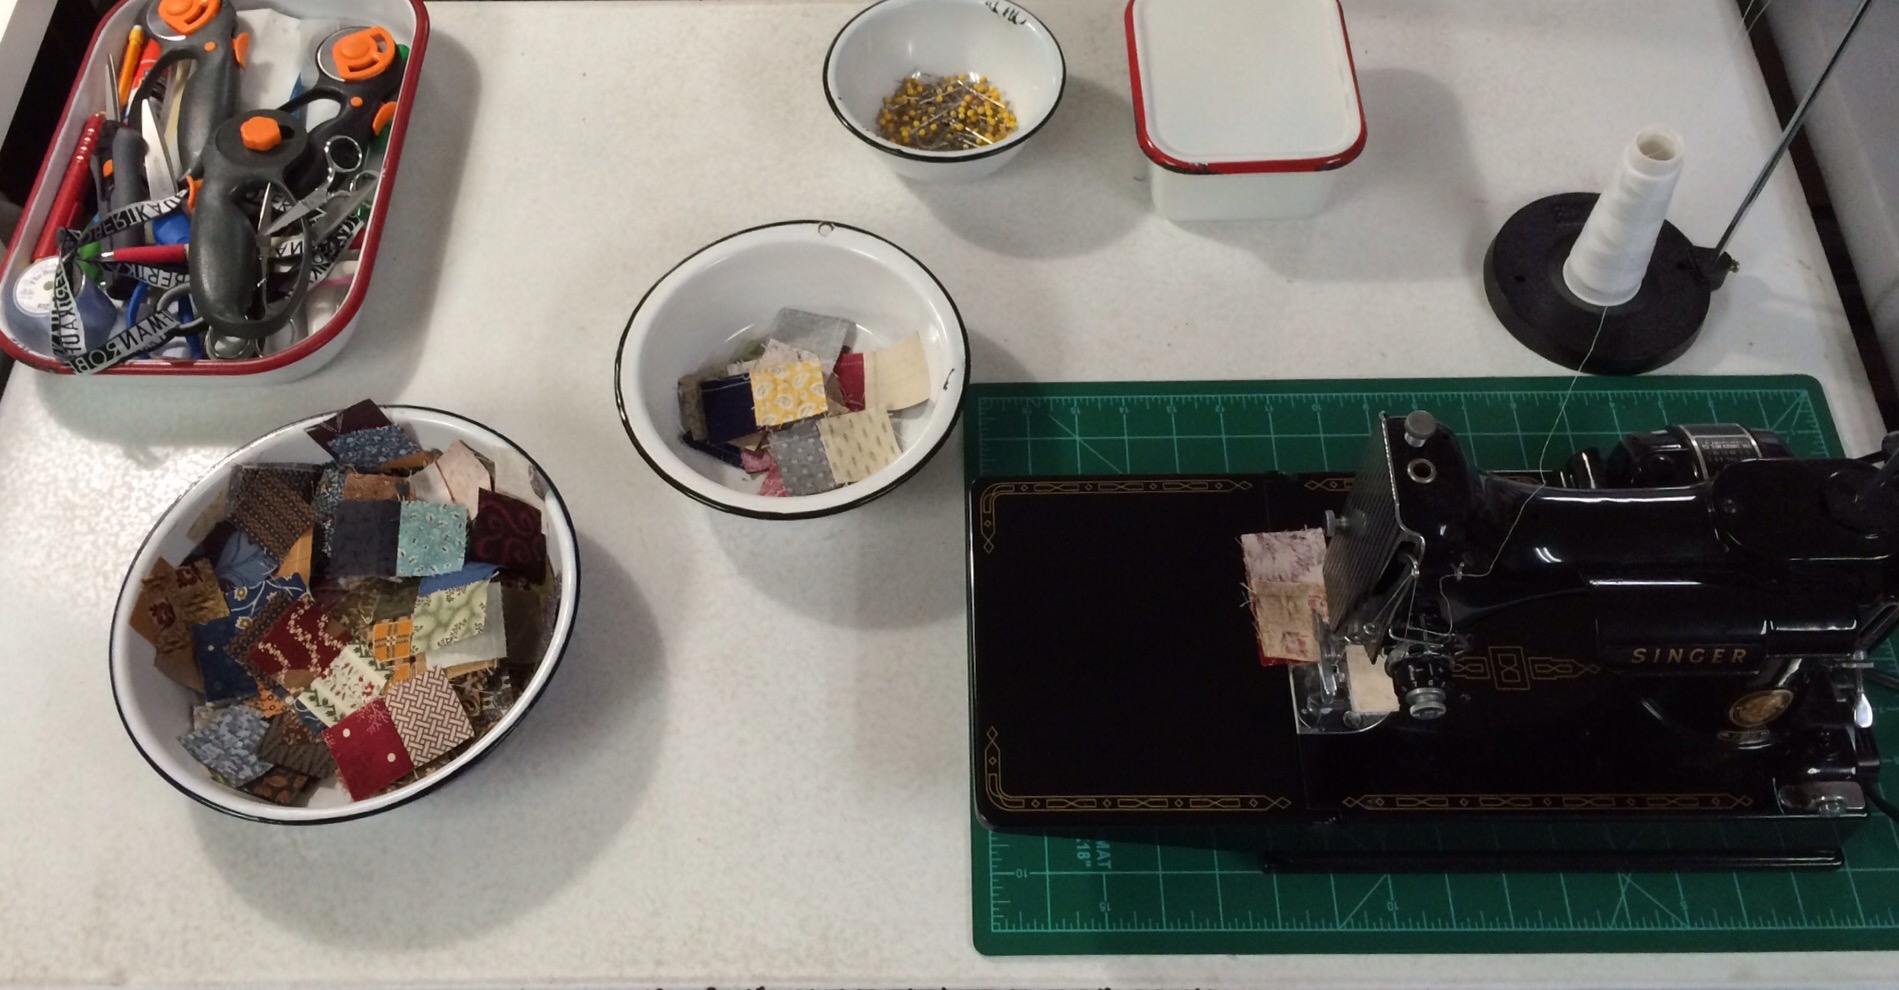
The other vintage table holds my daily driver machine, one of my Singer Featherweights. I do most of my piecing here.

IMG_3133

Here is a look at the stuff on the table top. I have a container of scissors, pencils, cutters, rippers etc. Pins in another container, bobbins in another, and my leader ender projects in the bowls.
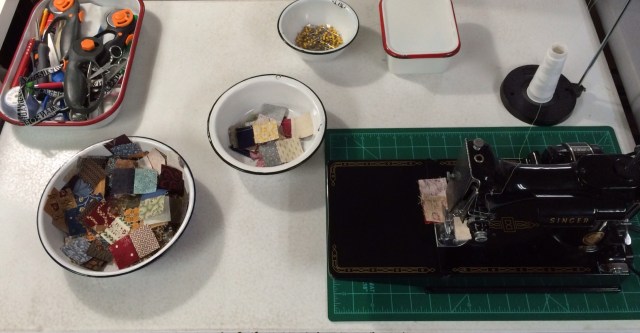
IMG_3020

Off cuts of batting and some vintage quilt kits live in the cubbies at the other end of the cutting table.
IMG_3148

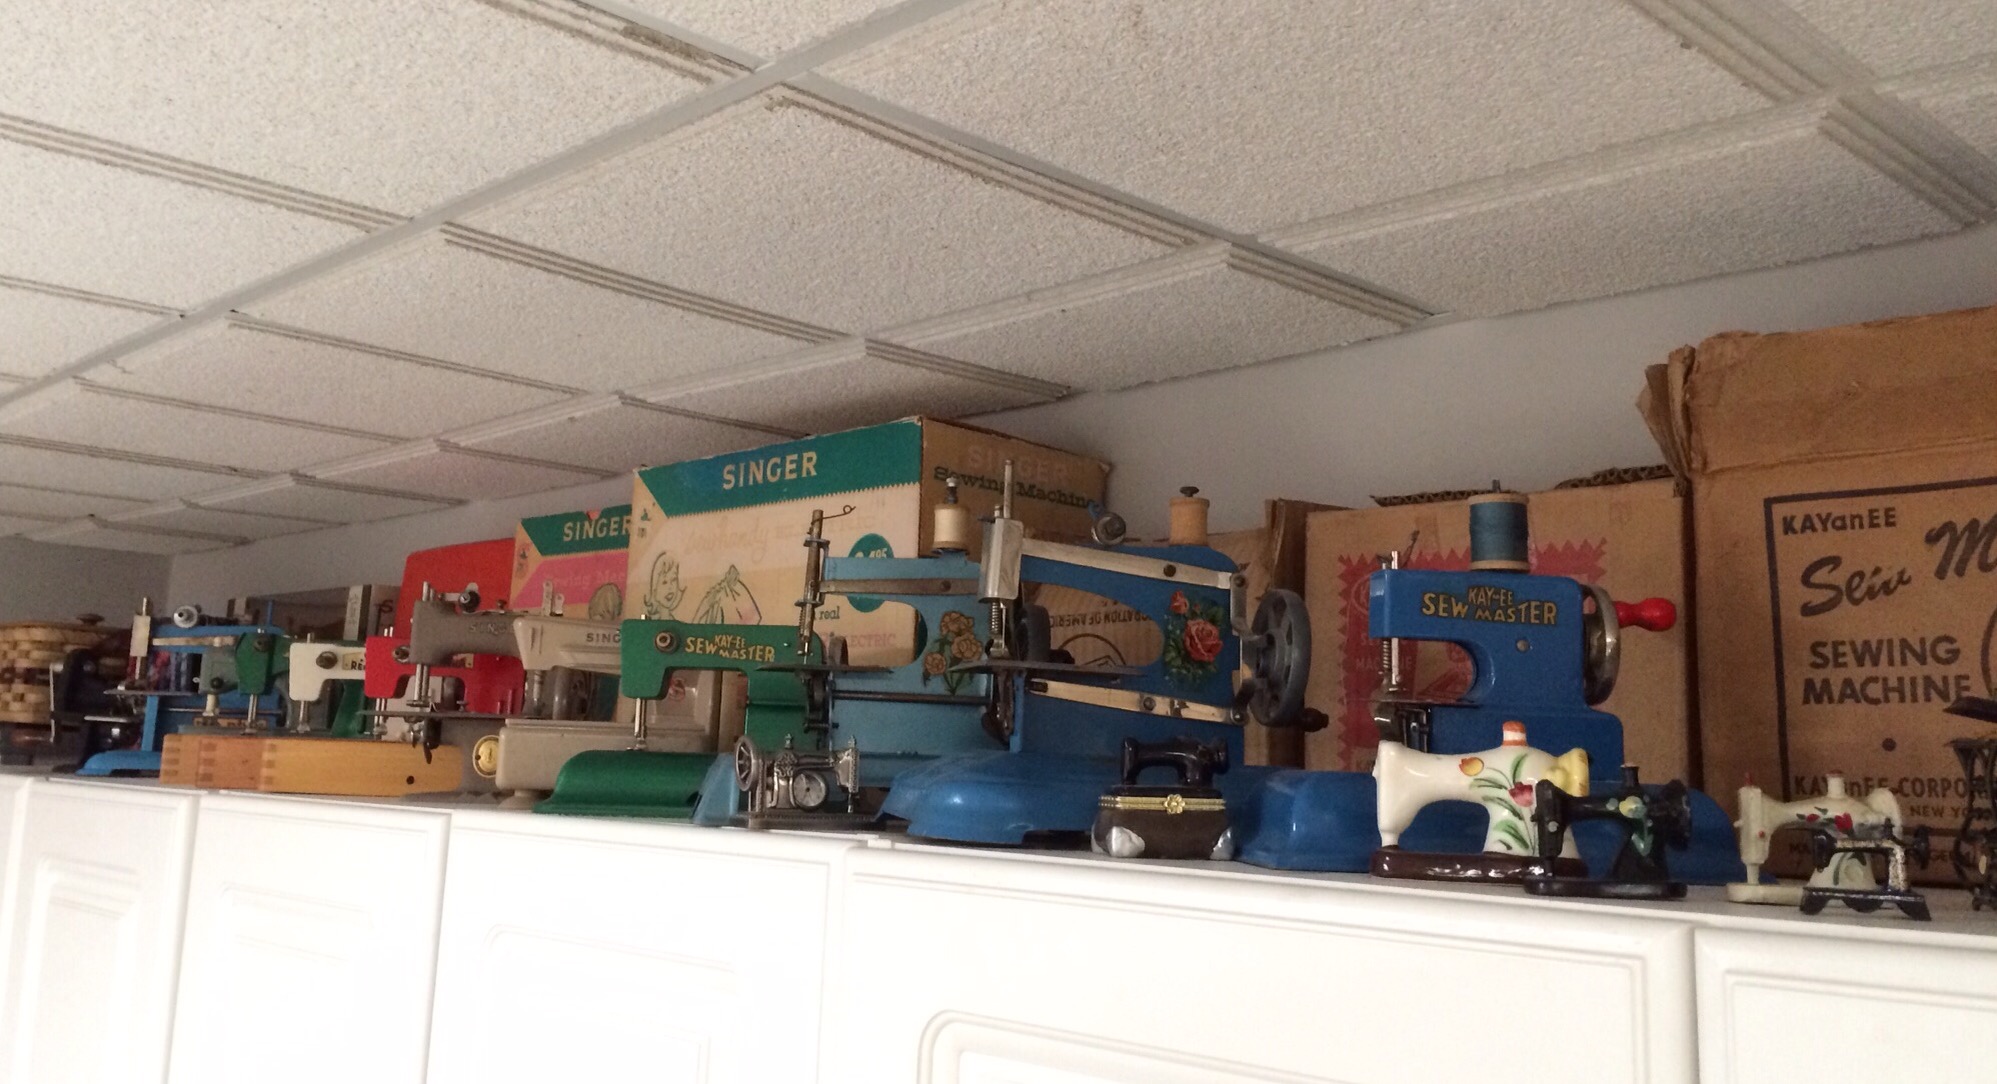
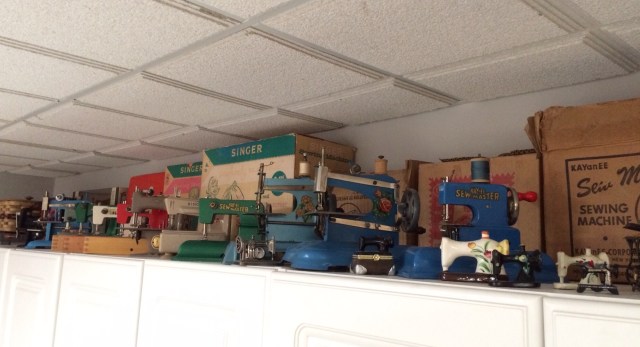
My vintage toy sewing machine collection lives happily on top of my white cabinets.IMG_2998
As with most sewing rooms, this is and always will be, a work in progress. As I find things that are not working for me, I work toward a solution. For example, I used to have the die cutter and my Featherweight table switched around but I like to pull out one of the table leaves and I felt squashed between the table and the long arm.  Trading spaces for these two items solved the problem. I only wonder why it took me so long! I also find that while I am working, I am often shifting piles from place to place.  I decided that I have the space to add another table in front of my wire basket system so I have room to set baskets while sorting through them as well as a space off to the side to keep my cutting table clear. The hunt is on for the perfect piece to meet this “need.”

This is pretty much the normal state of cleanliness in my room. I can’t stand a lot of clutter and disorganization.  

Finally, I would like to say that yes, I have more space than most people. I am truly blessed. I remember the days of sewing at my kitchen table and then having one “whole” cupboard to put my supplies in. My sewing space has definitely grown over time. The first time I had a whole room to myself, it measured 6 feet by 8 feet. I loved every square inch! My kids are all out of the nest now so I might as well use the space for quilting!

If you have any questions, please ask! I will probably collect them all and answer in a follow-up post. Thanks for visiting my happy place and don’t forget to visit Amy and the Quilt Studio Link Party here.
Posted in Sewing Room Pics, Storage, Uncategorized | 12 Comments

Design Wall Monday

Very little stitching happened over the weekend aside from some work on my Brinton  Hall hexies. I also realized that I was missing 6 green hexies! I was able to scrounge enough matching scraps to remedy that. I got two rings finished but no appliqué done.

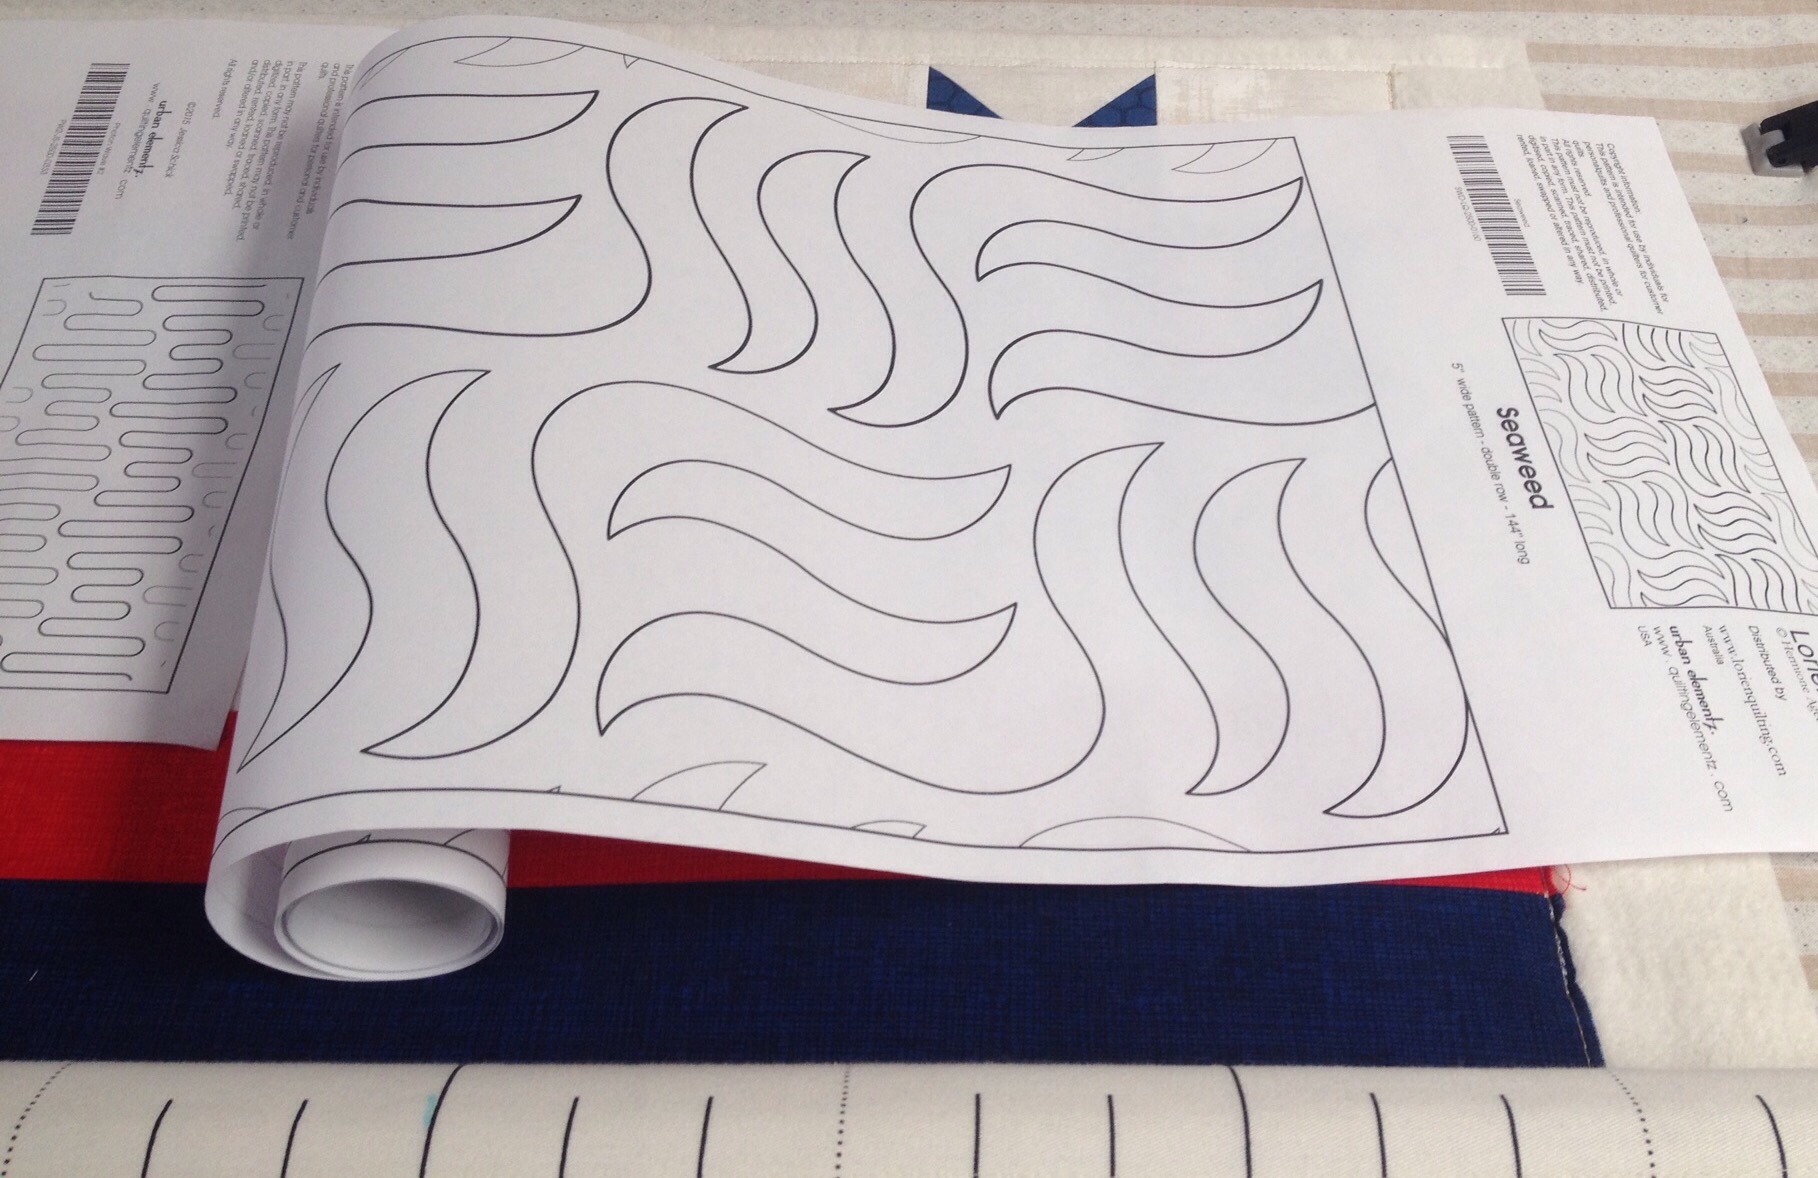
I still have the QOV on the frame and I am still trying to decide how to quilt it. I am thinking of going with one of these pantos: 


 I think I like the last one best. It gives the notion of flags waving in the wind. Today is my day off from the library so it has to be decided soon and quilted today. 

One thing I did do this weekend was to go from this: 


To this: 


Gosh, it sure is hard to open those nice neat charm packs! But I needed to get an idea of how many lights vs. darks I had. I came up with an idea for a 4 patch quit that would make for a lot less waste than the tumblers.


You have to imagine that as scrappy. This would make a great project for leaders/enders. I could make all my 4 patches and leave most of the designing until the end.

I have lots on my to do list today so I best get moving!

Linking up with Patchwork Times, A Quilting Reader’s Garden, Cooking Up Quilts

Posted in Brinton Hall, Uncategorized | 5 Comments

Slow Stitching Sunday

We spent the day yesterday helping Daughter #1 with her garage sale. It was a success but very tiring! has been a very busy week and it was so nice to have a quiet evening at home with hubby last night.  

We watched some TV and I worked on my hexies for Brinton Hall. I thought I had all the hexies for the frames basted but then this happened. 

I’m not sure if I just didn’t baste enough or if I lost a few somewhere. Either way, my first order of sewing business today is to find some more of this fabric and get this ring done. 

I THINK I have the rest basted but I better count them while I am at it! I still need to decide in the background fabric and start prepping that.

Linking up with Kathy’s Quilts for Slow Stitching Sunday. 

Posted in Uncategorized | 10 Comments