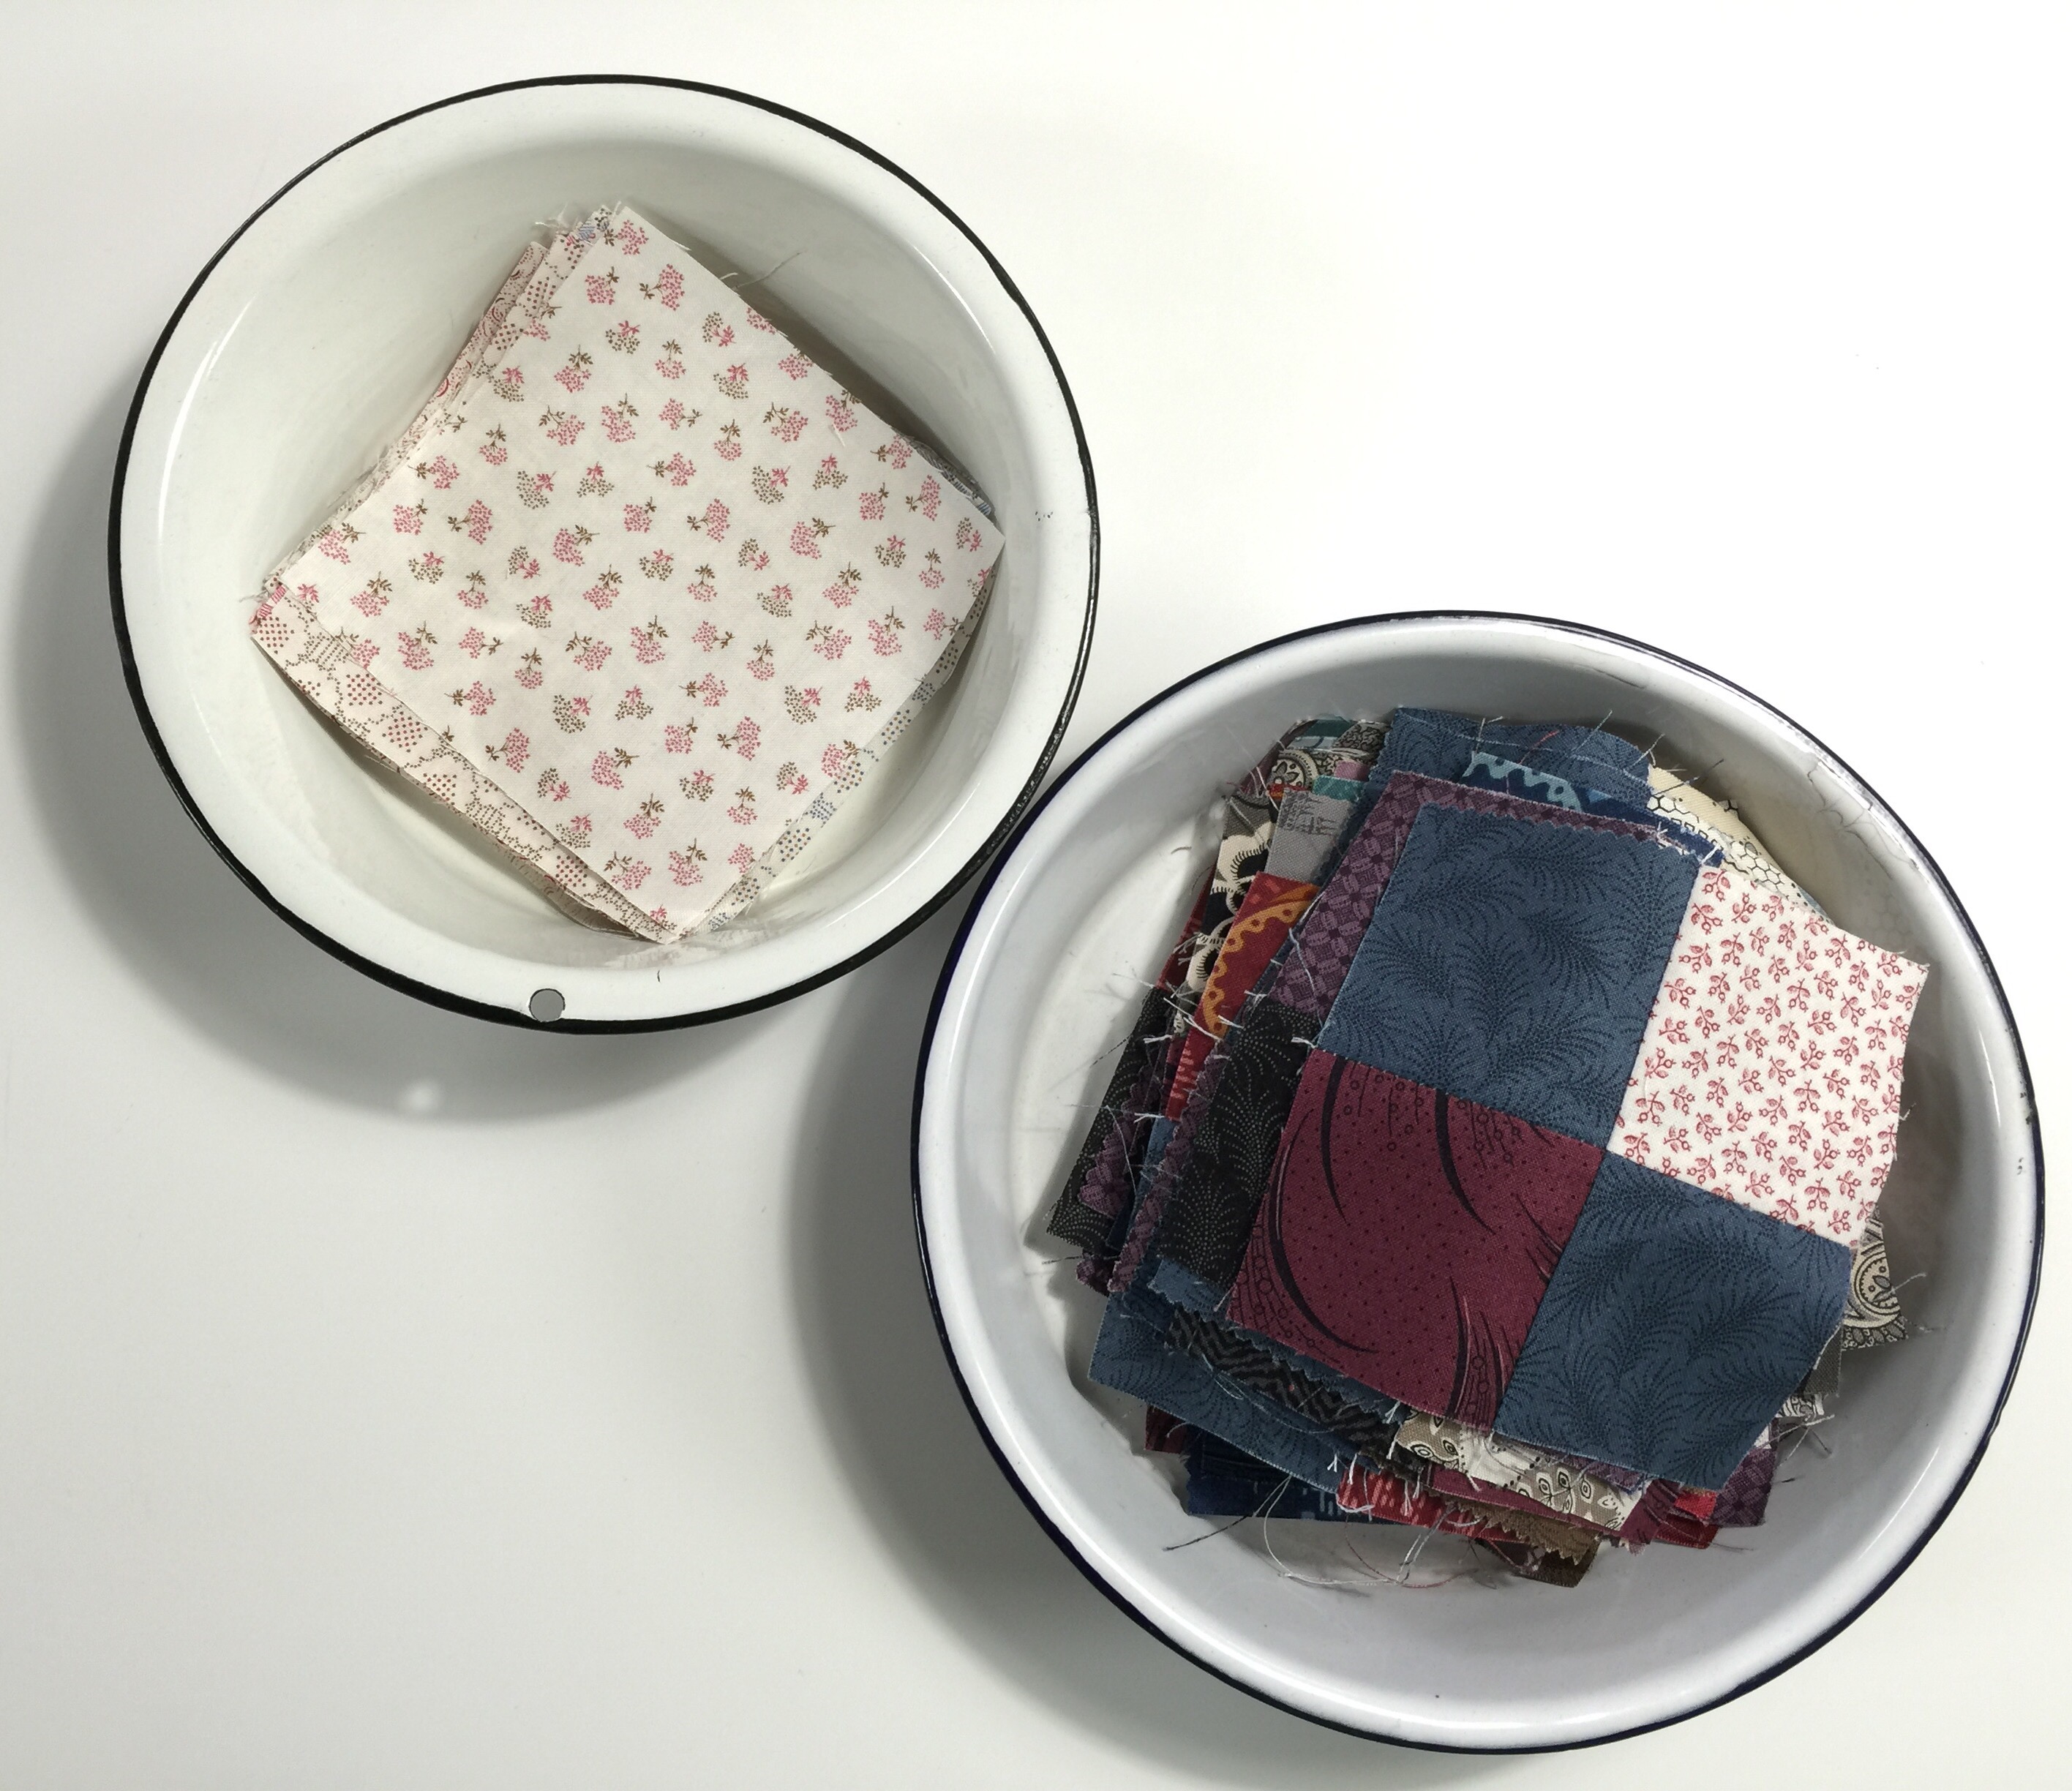
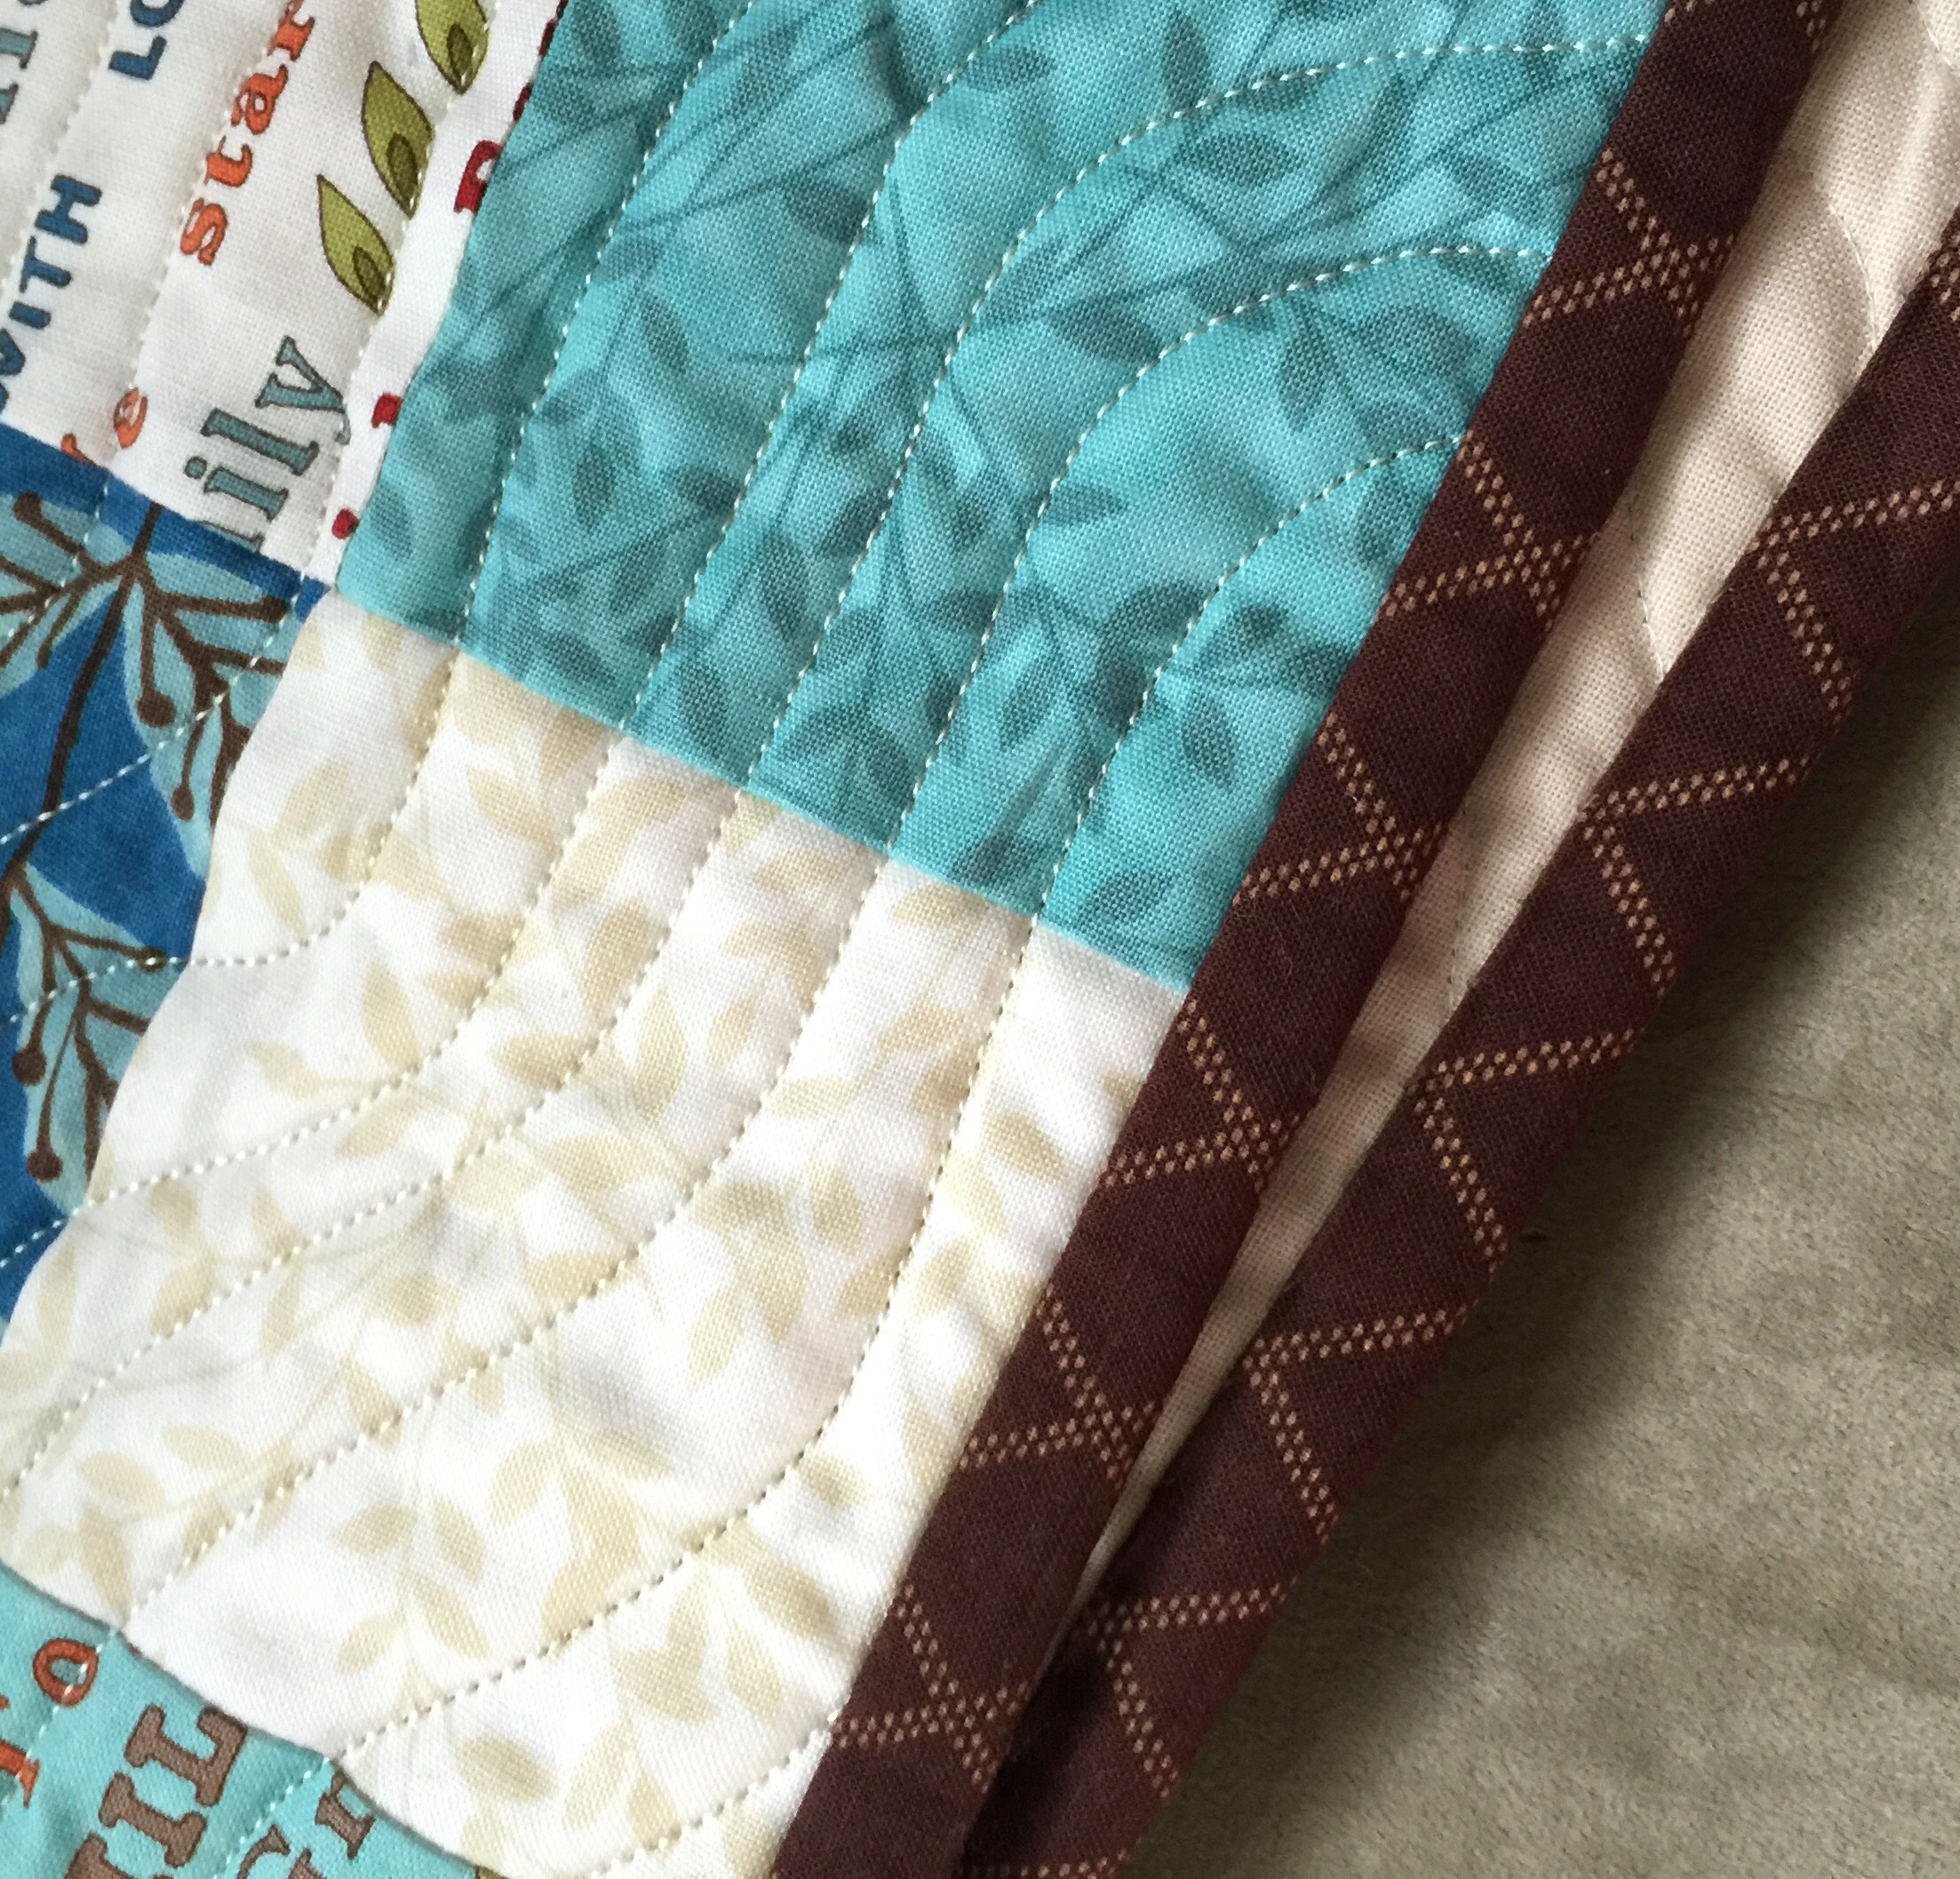
…..call for desperate measures!
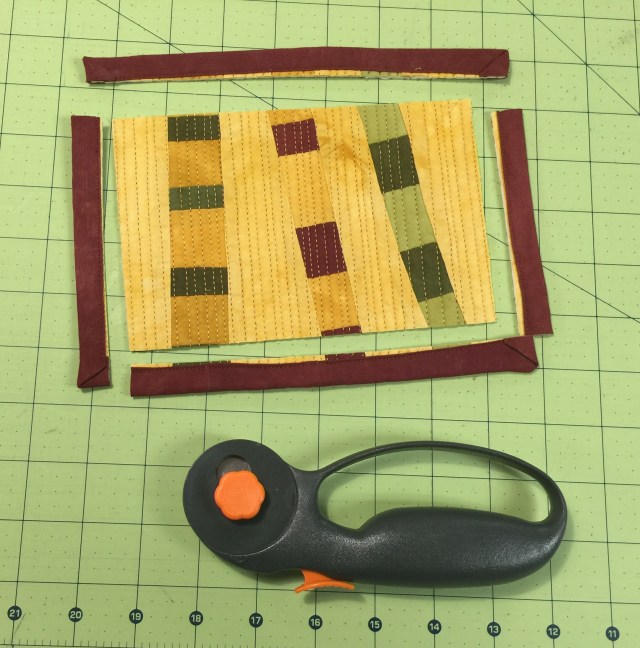
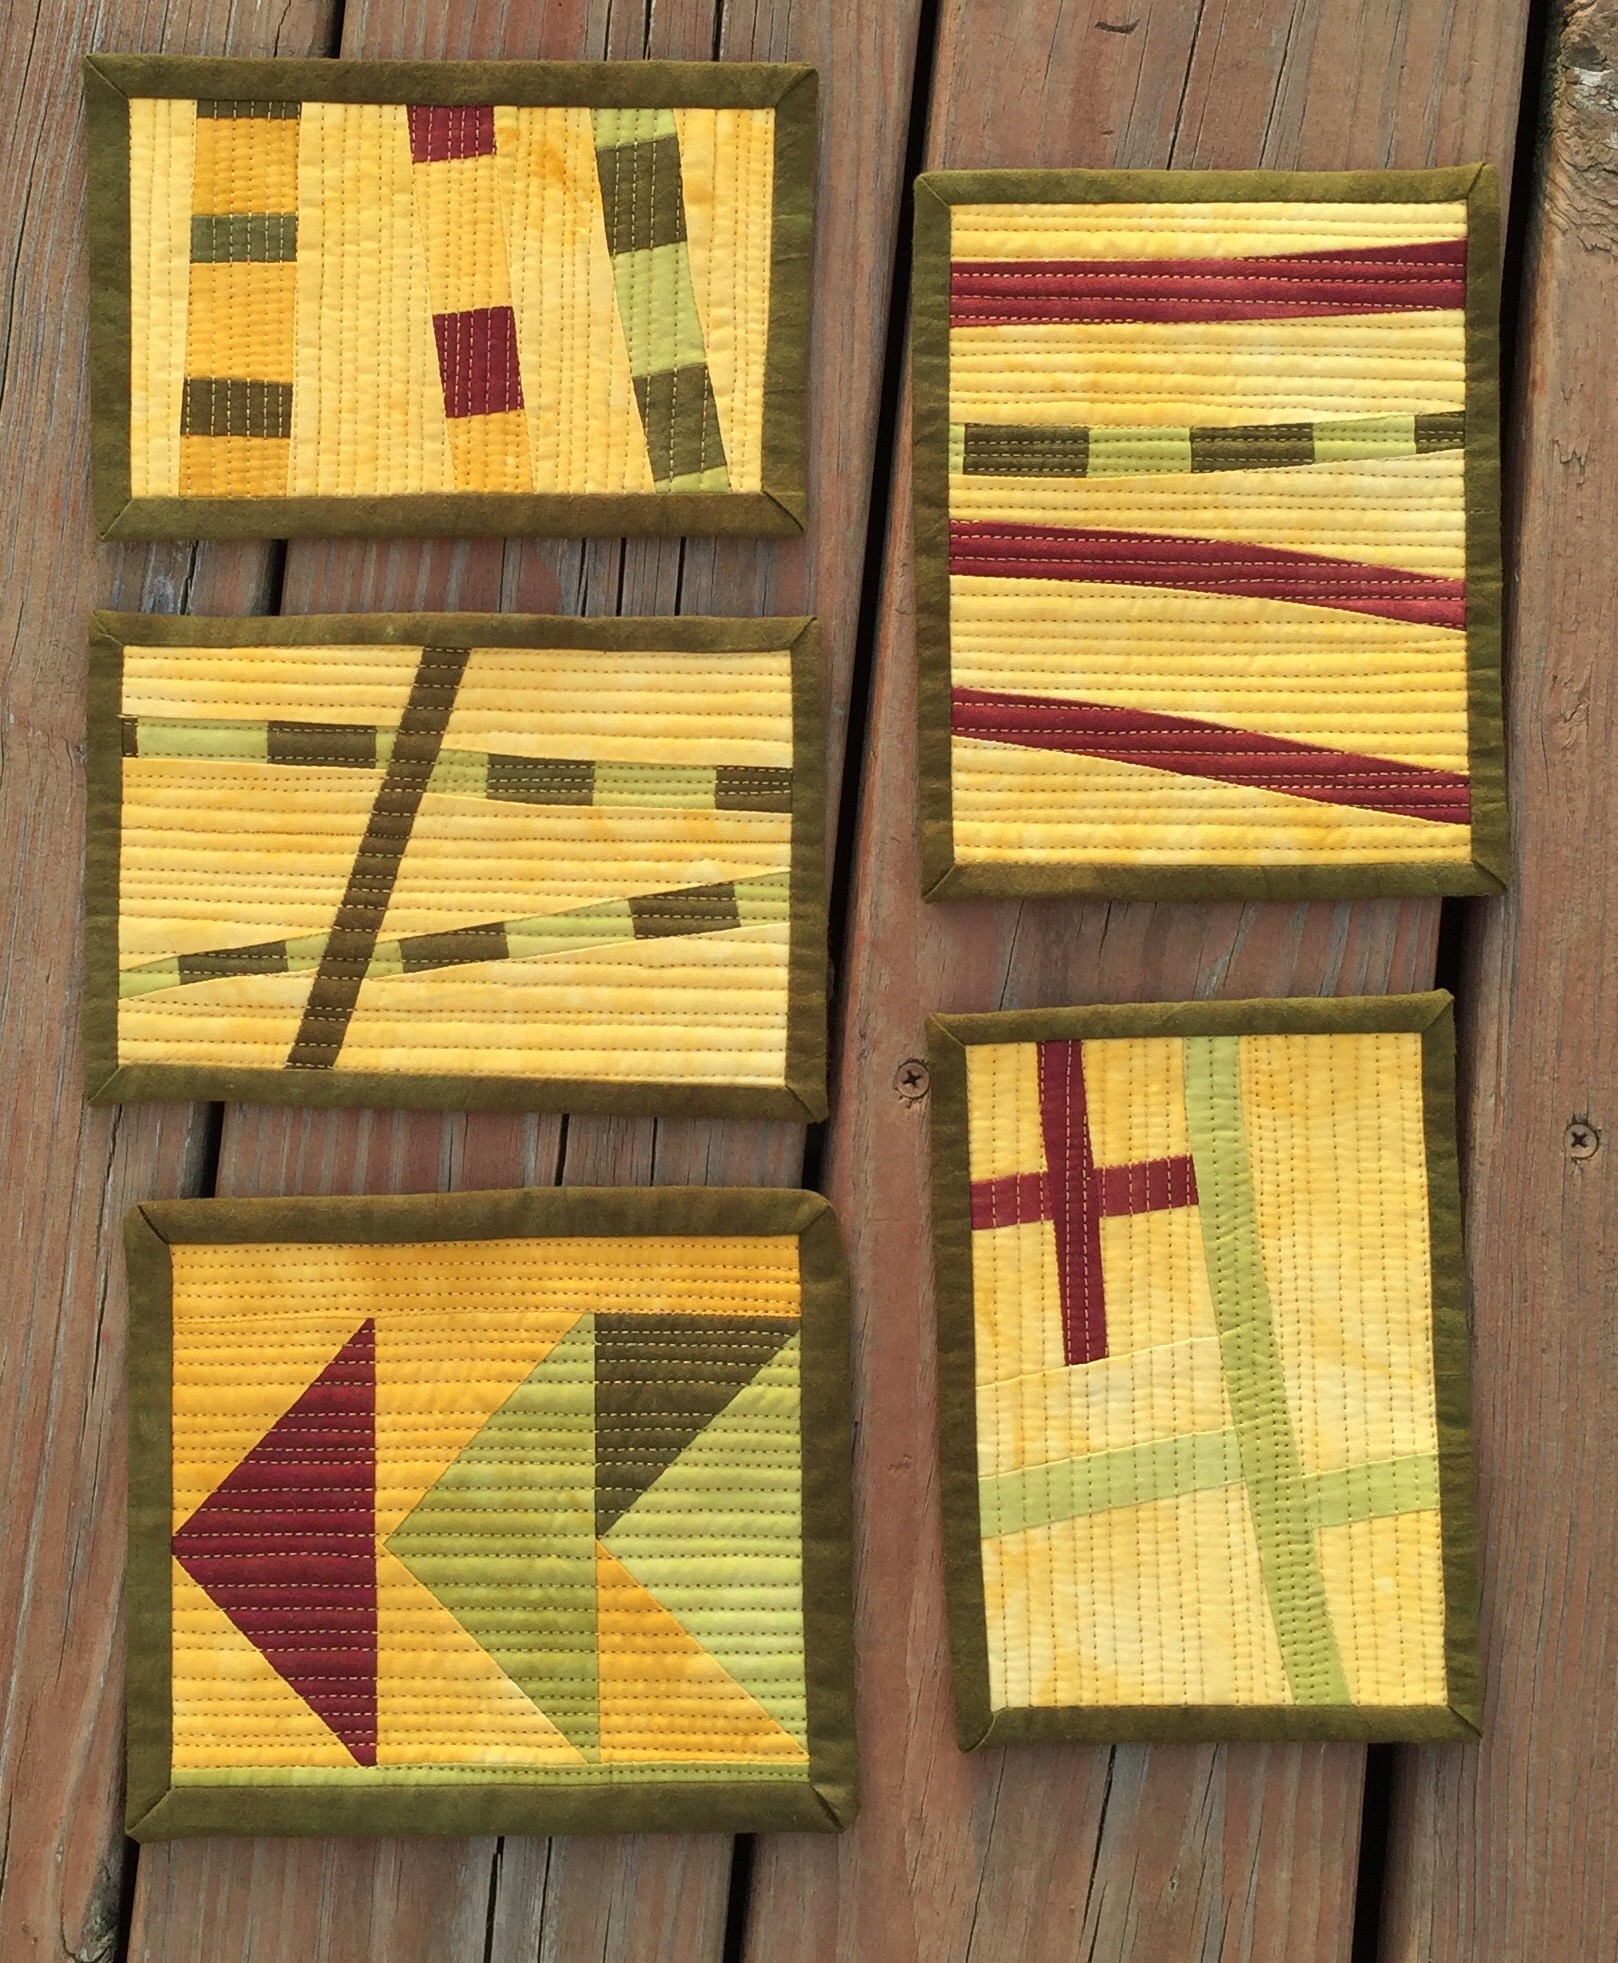
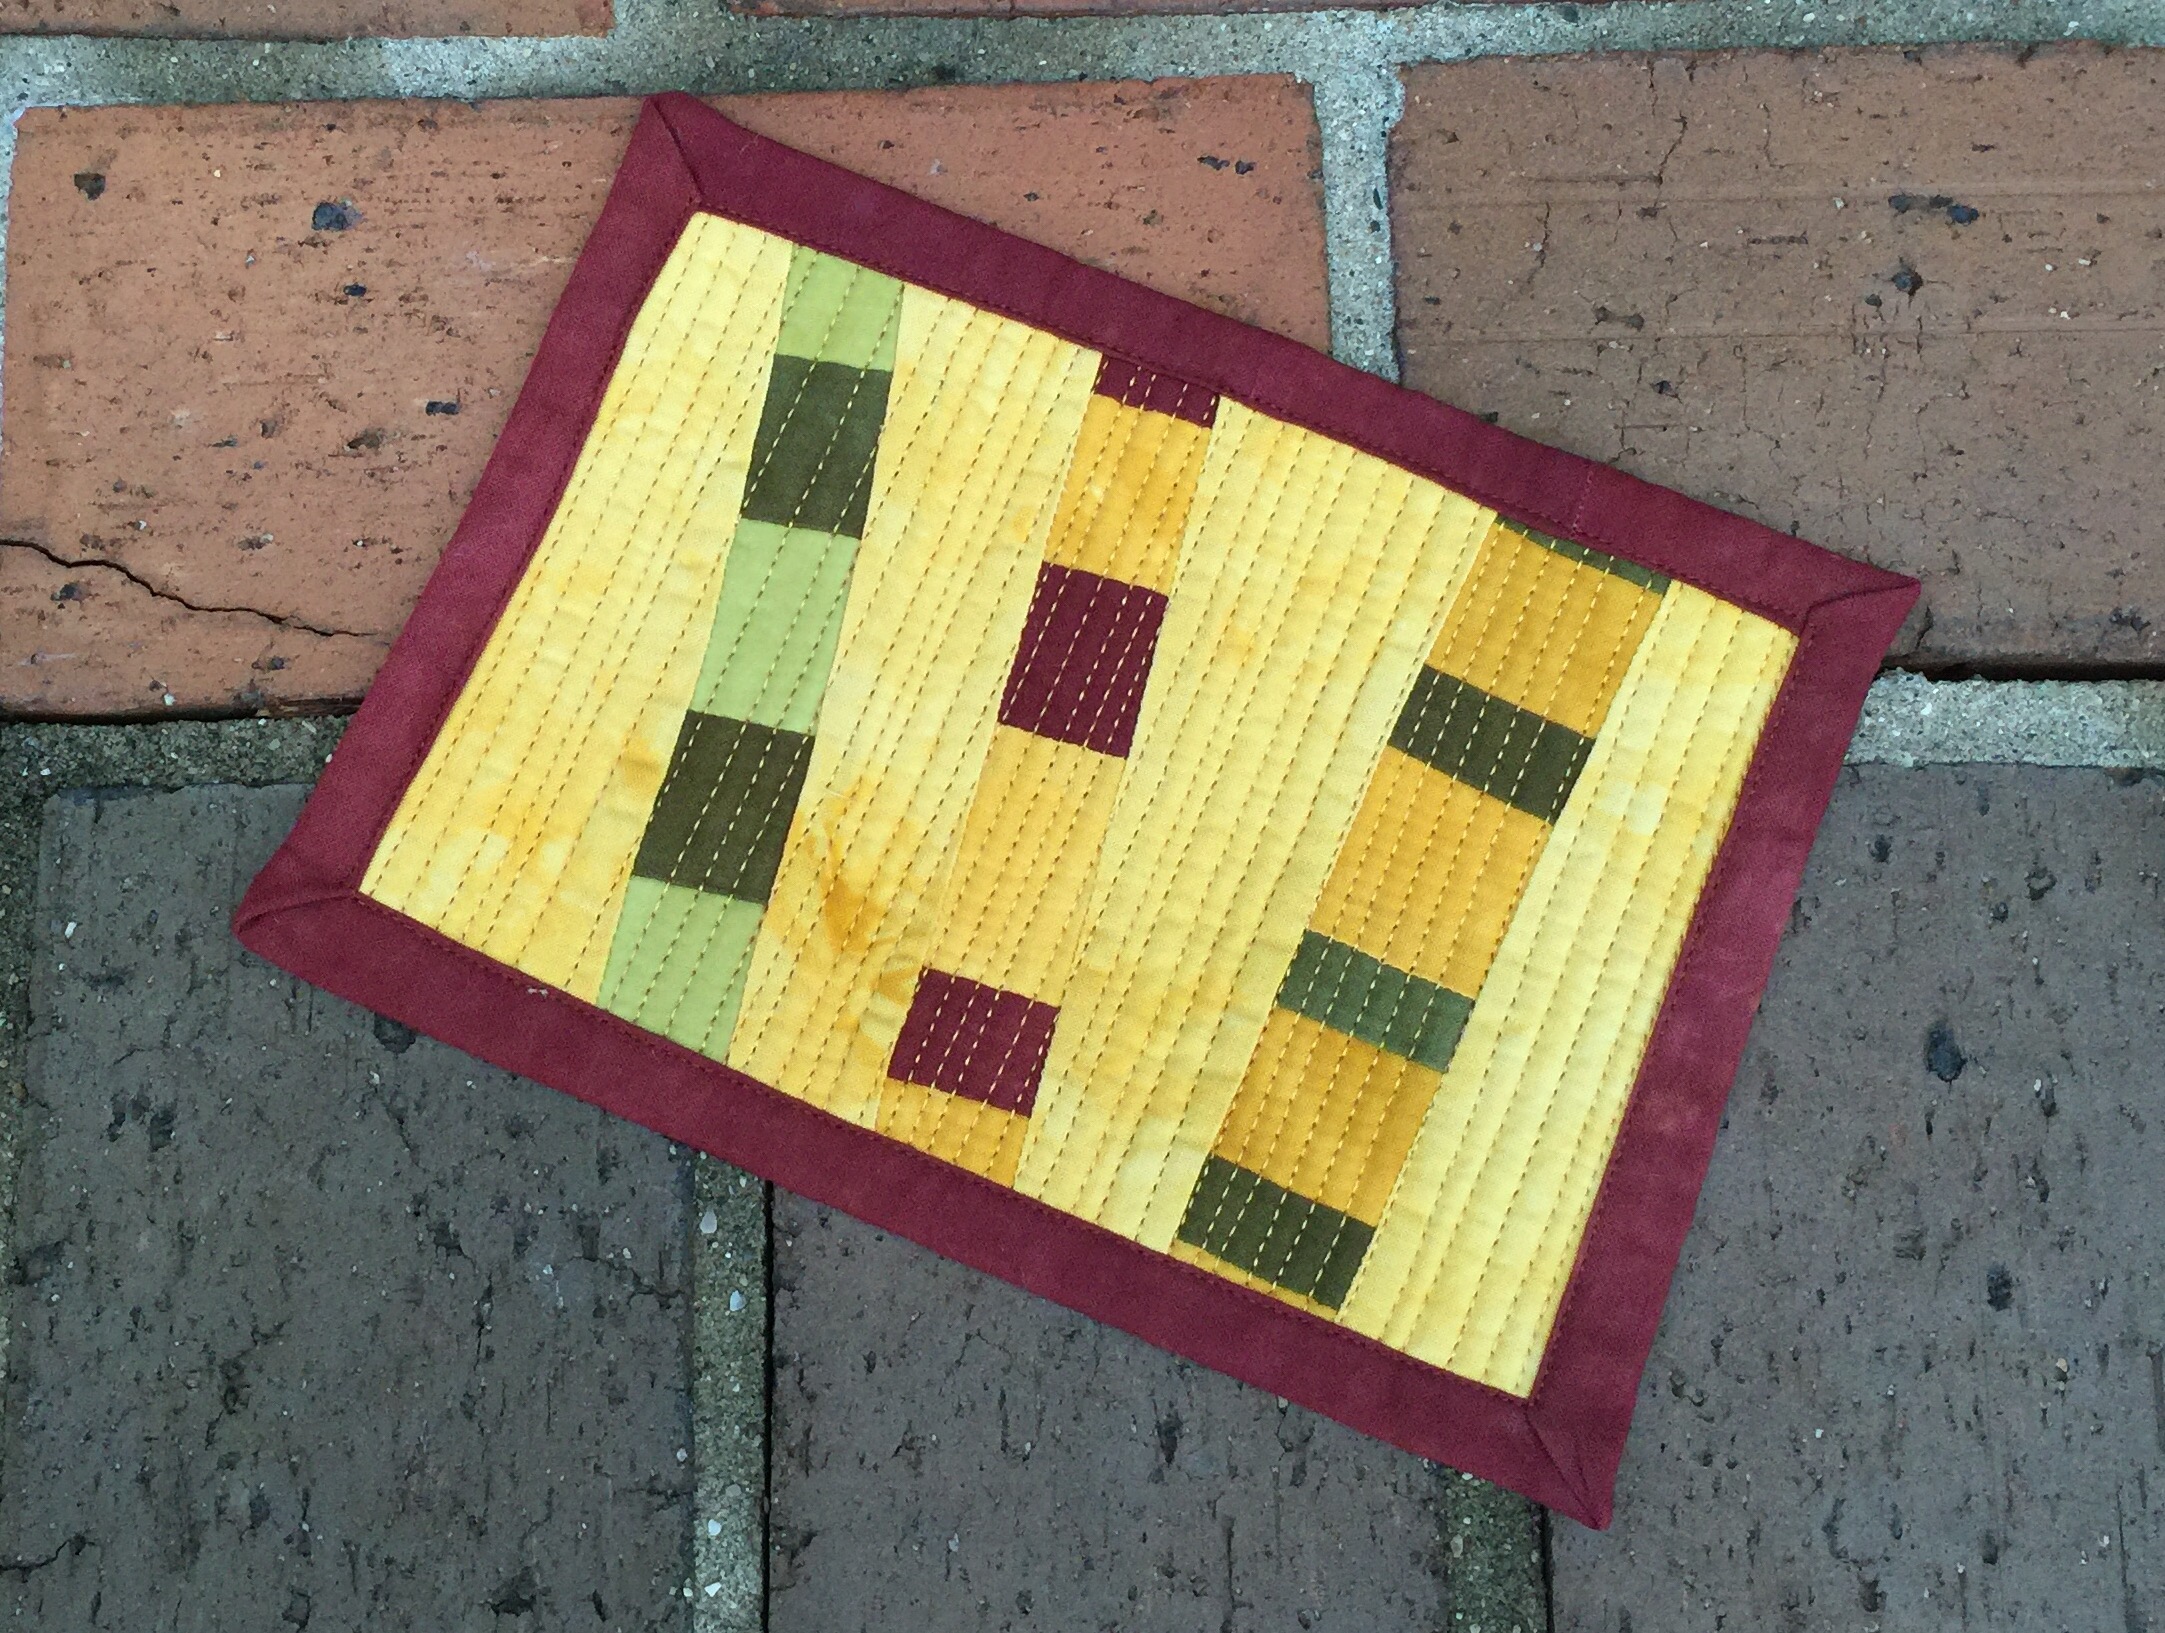
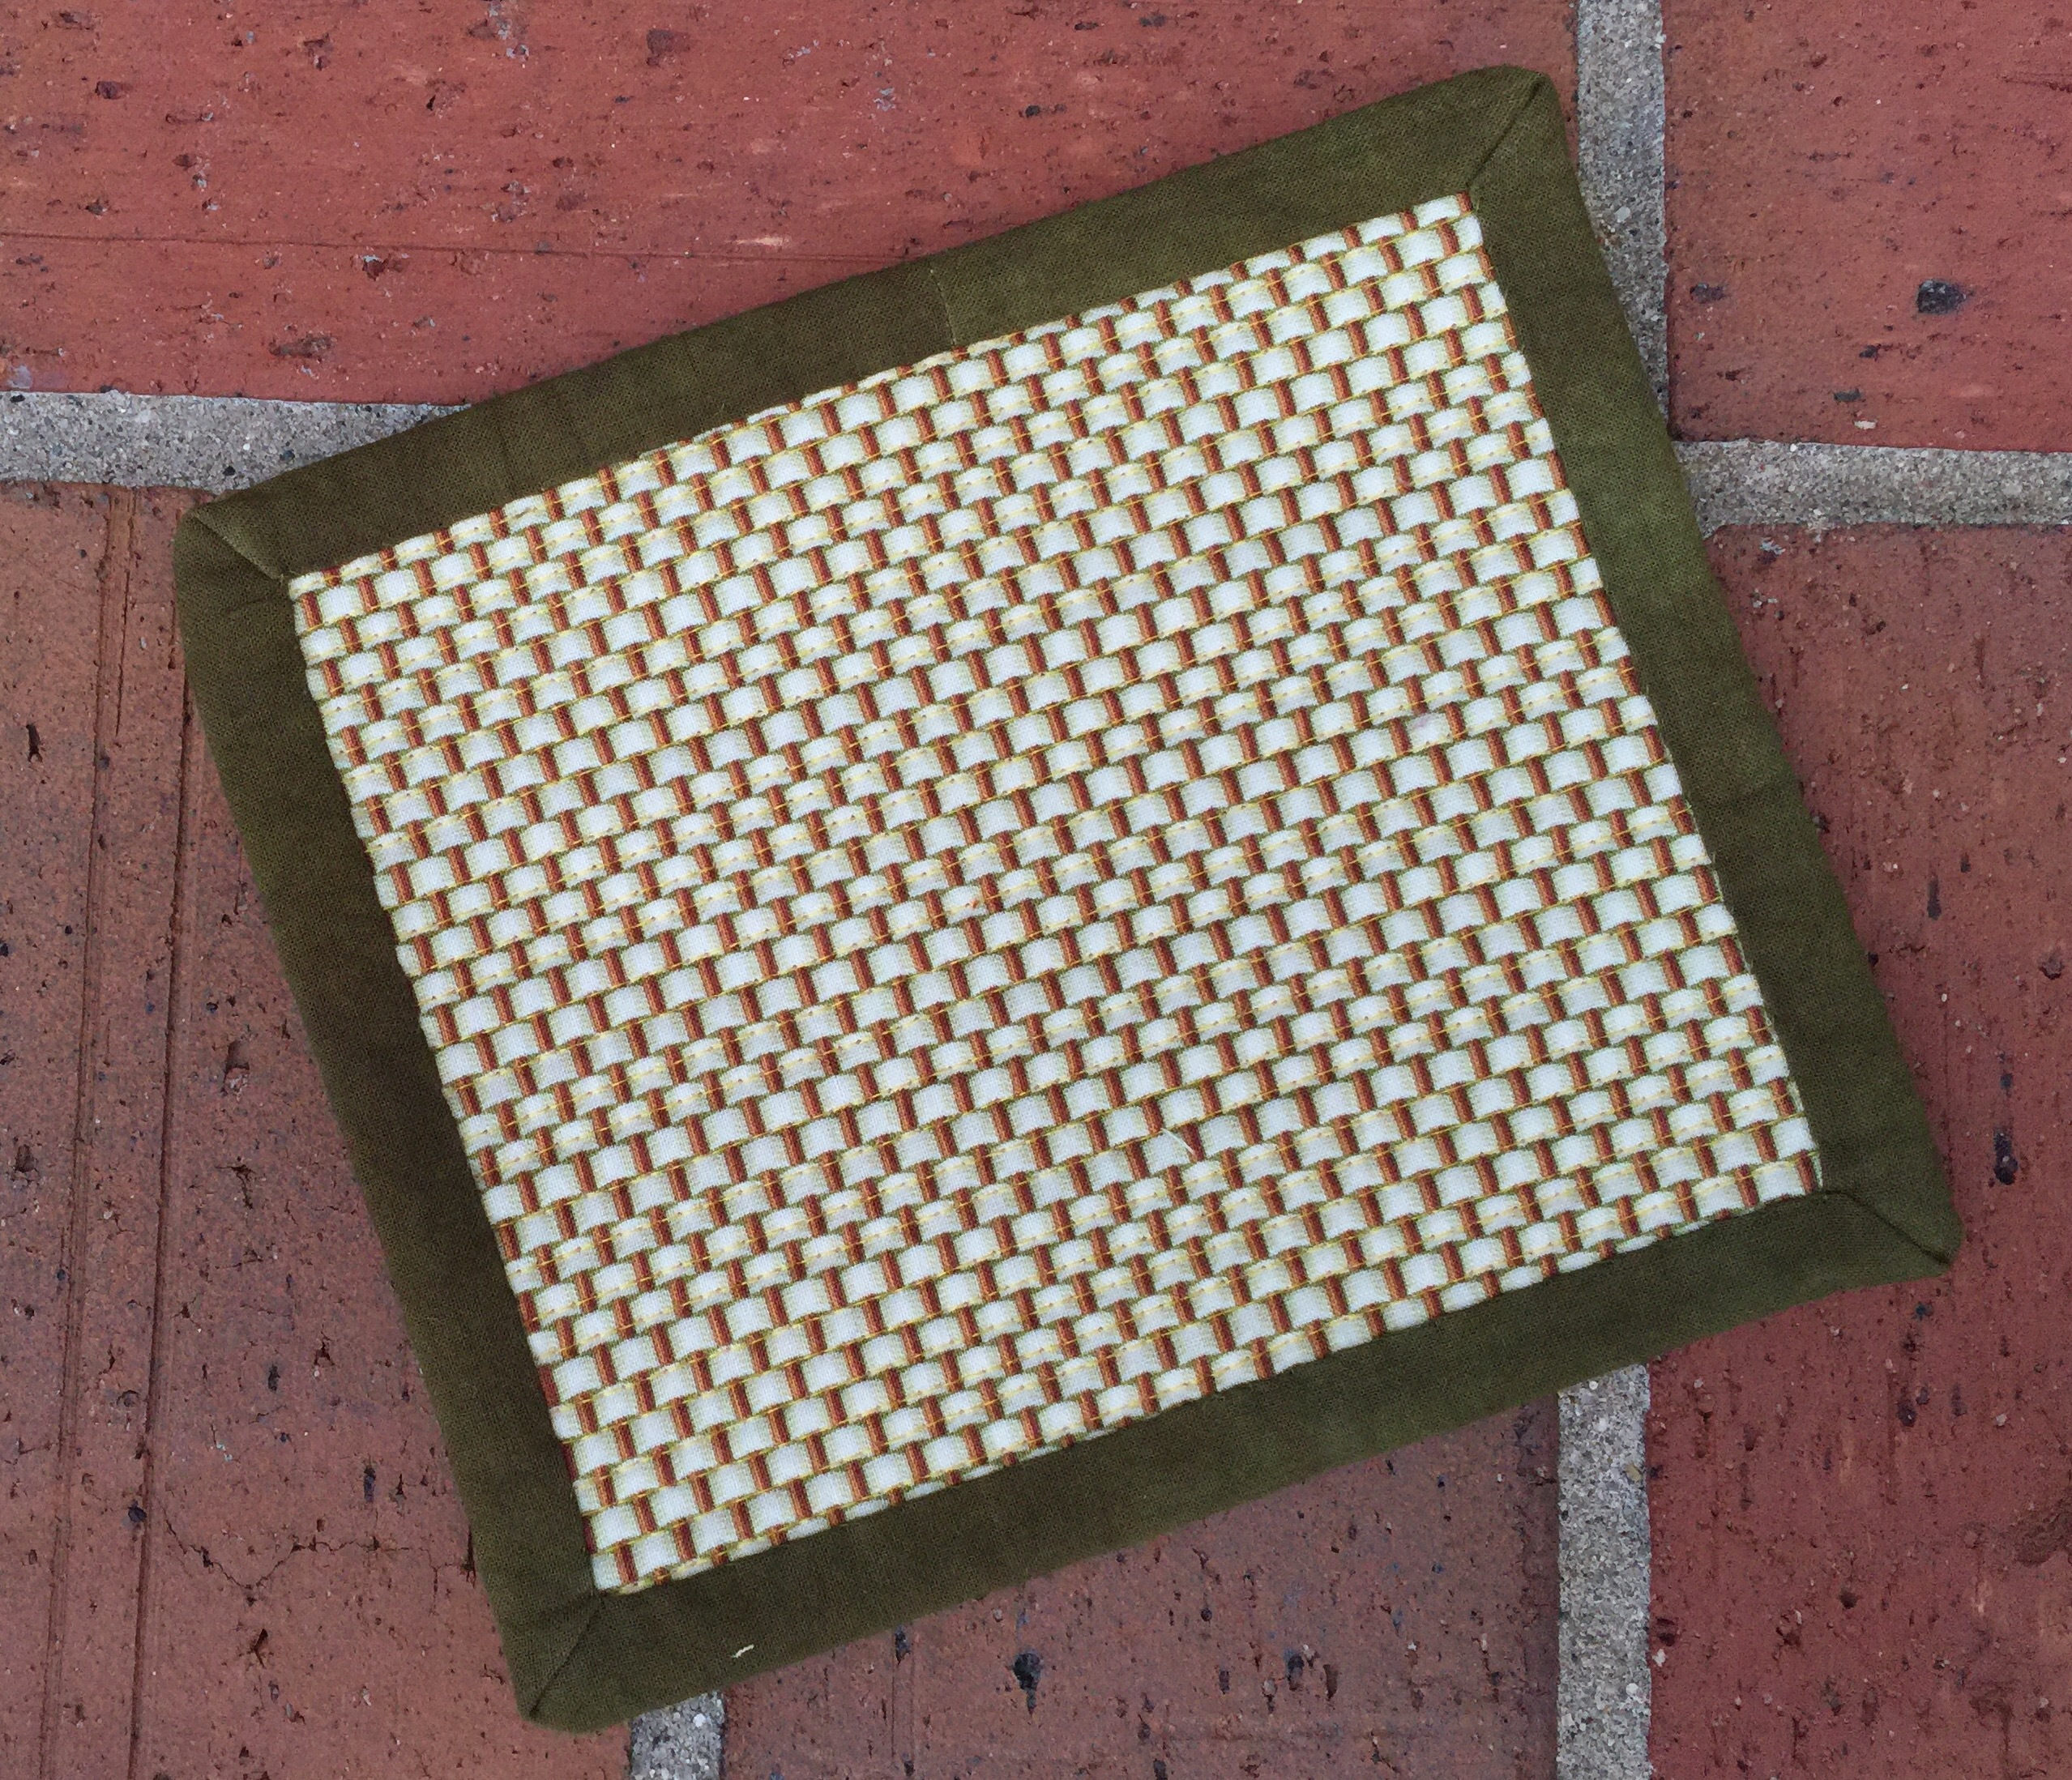
I just couldn’t live with my attempt at machine binding on this yesterday. Here’s a reminder of the yuckiness.
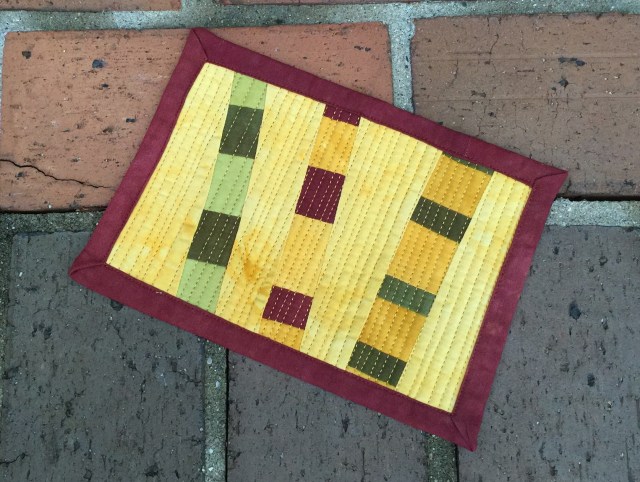
I was not going to pick stitches on this so I just cut the binding off.
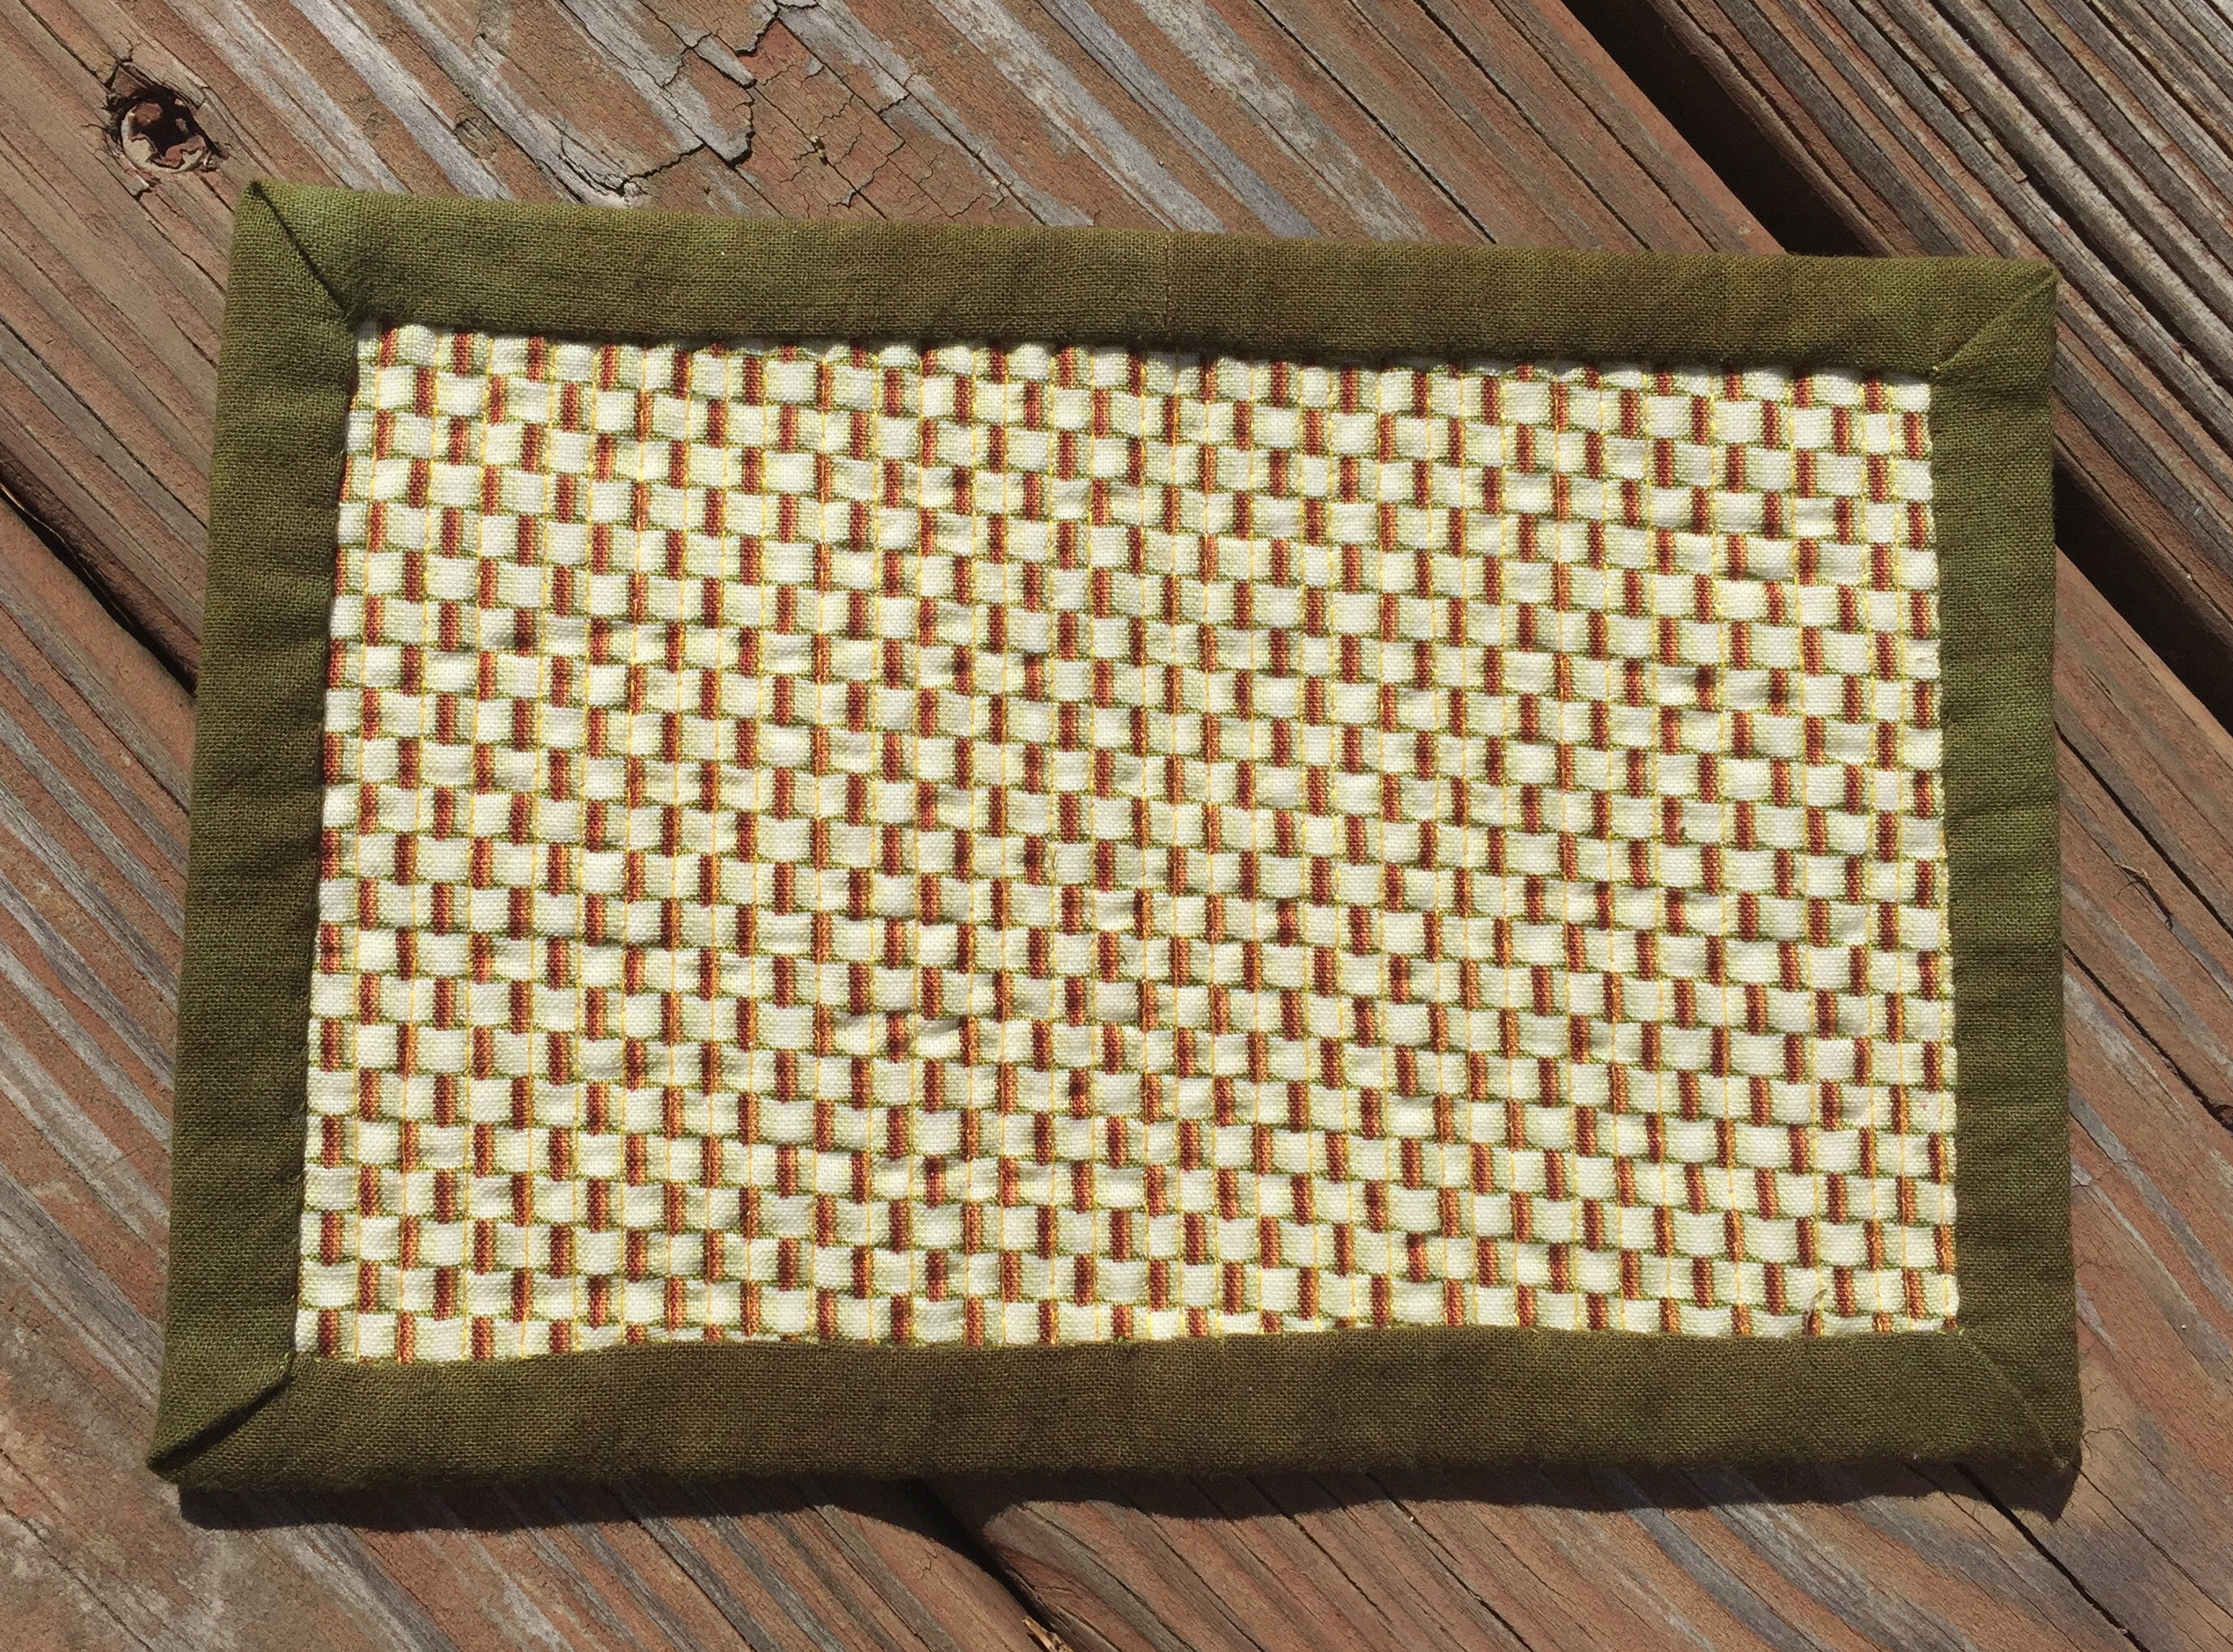
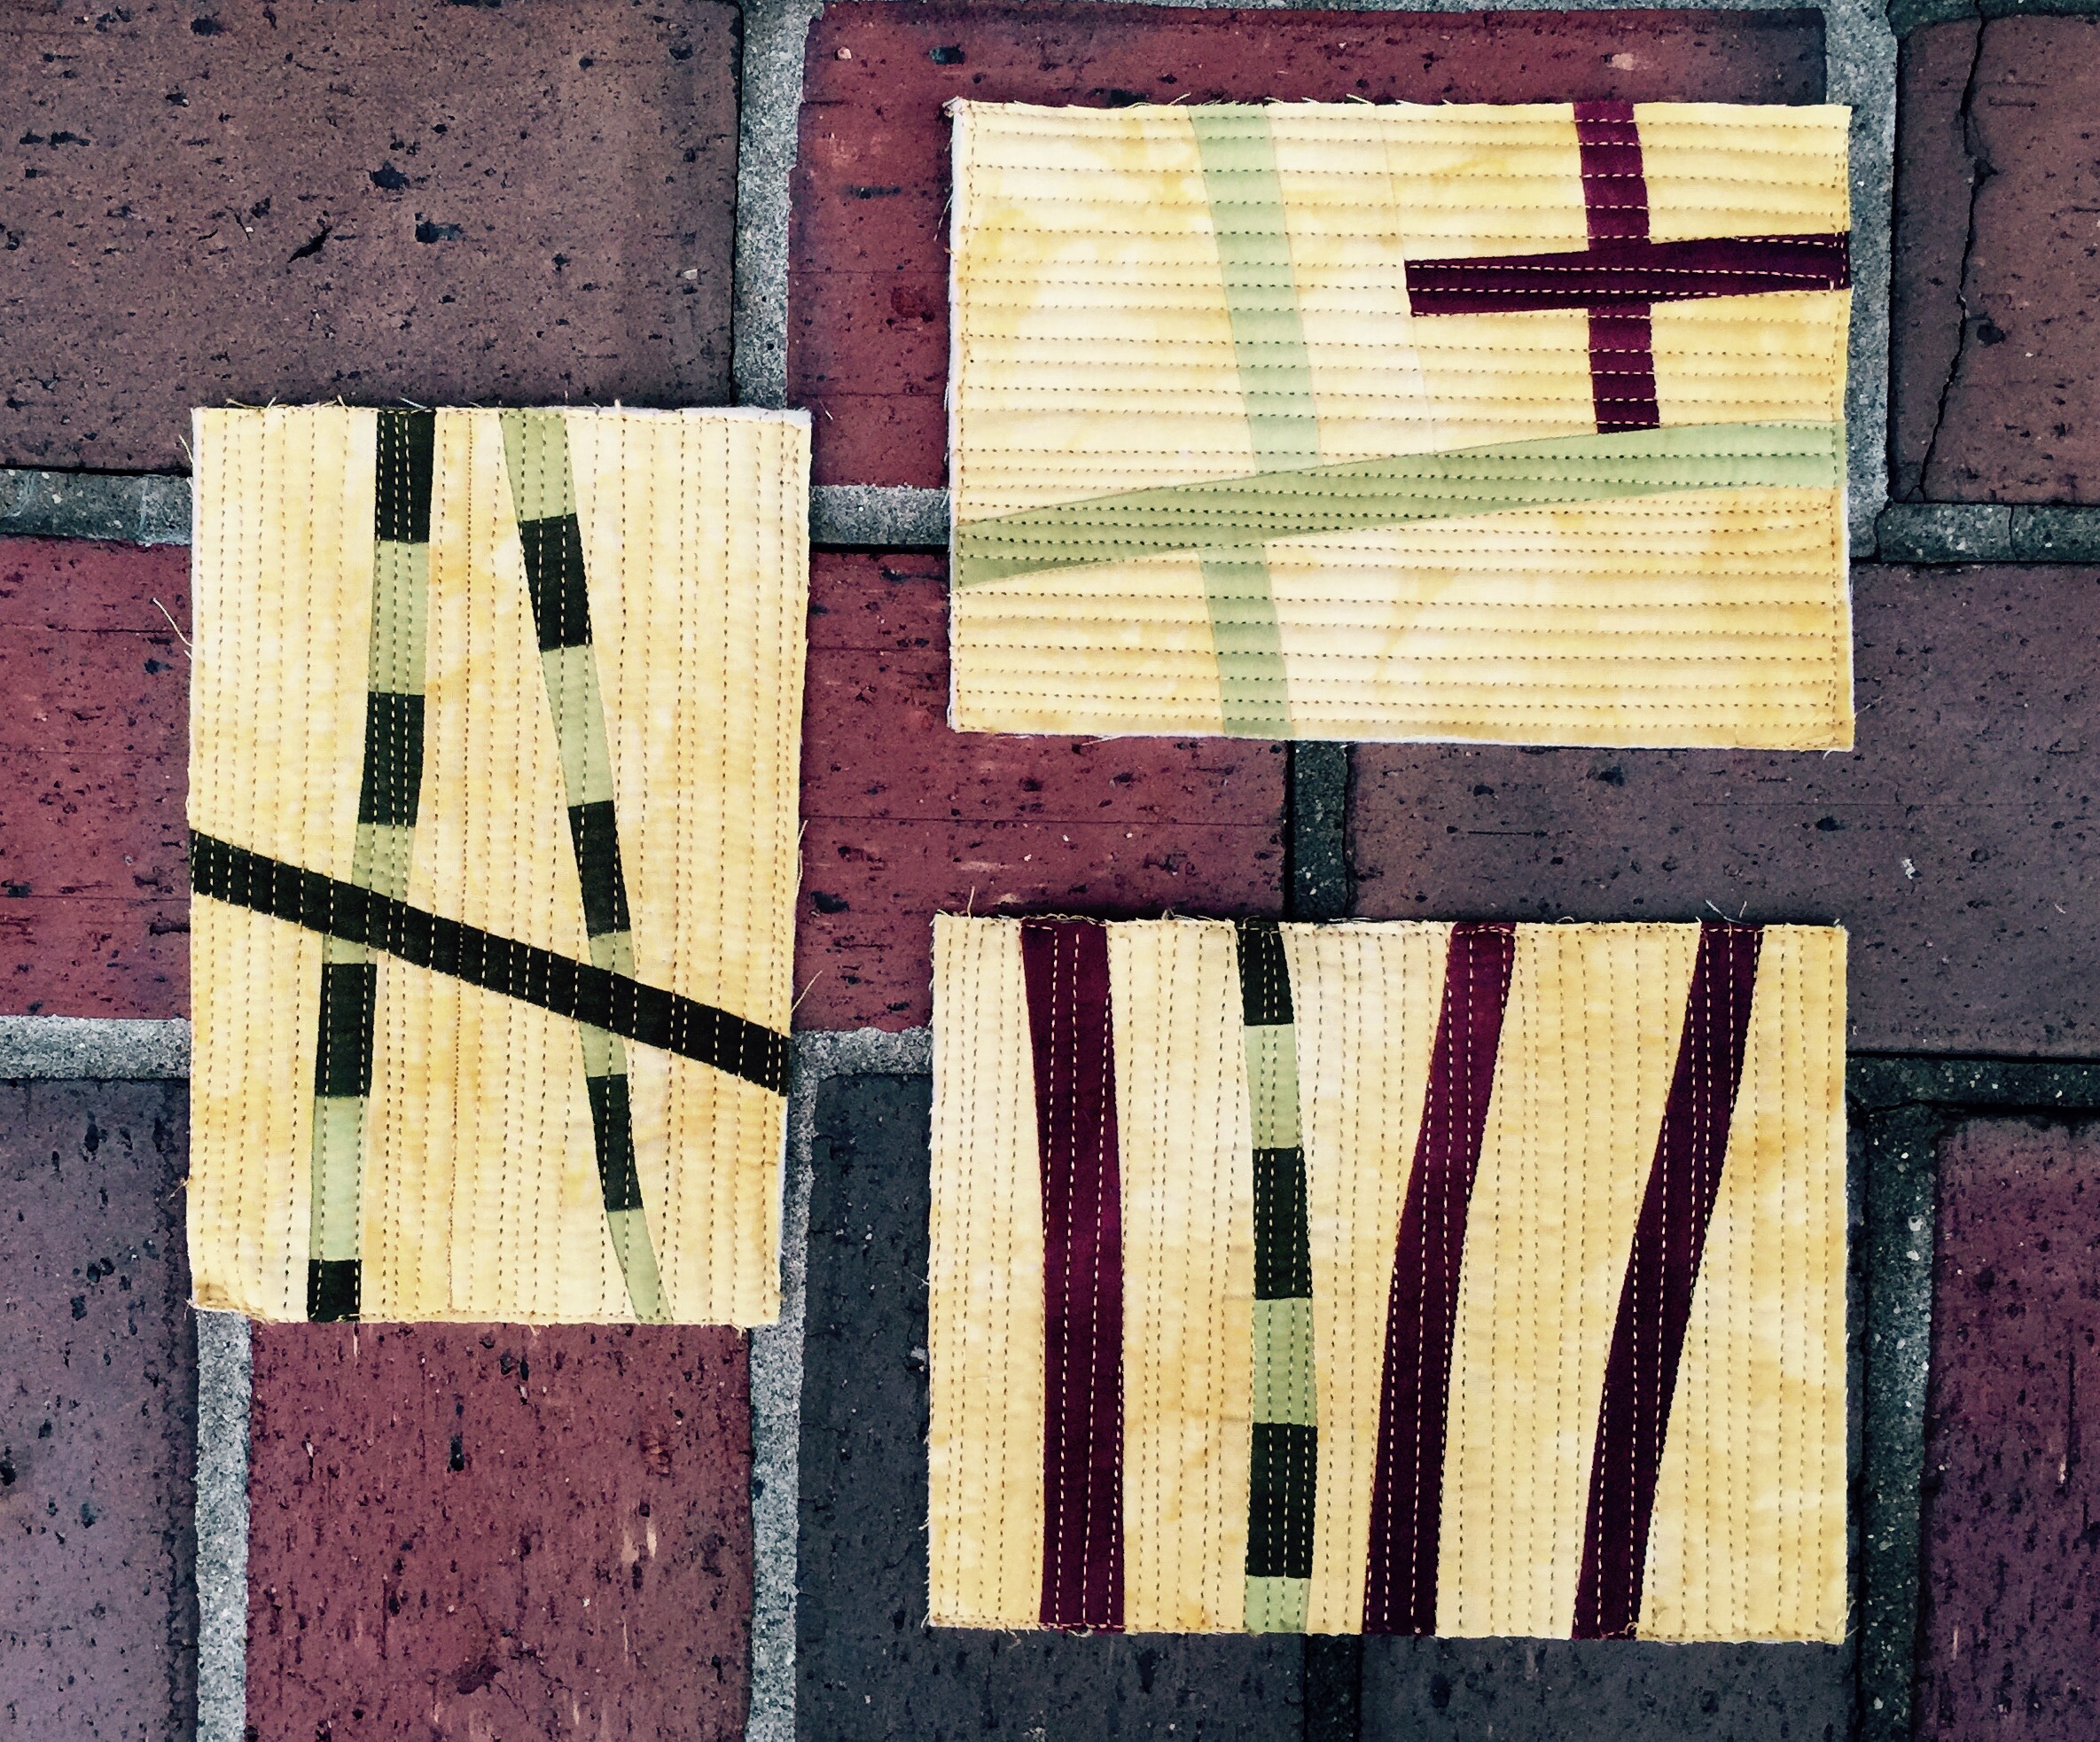
I appreciate everyone’s suggestions for improving my binding on these little bits! And they helped! Thank you all! I think I tried everything on these mug rugs and found what worked and didn’t work for me.
Jayne mentioned that Crazy Mom Quilts has a tutorial for binding small things here. I tried that first. But I didn’t do a good enough job of pinning or something and ended up adjusting the end. See how there was too much fullness? I think I was afraid of cutting it too close!
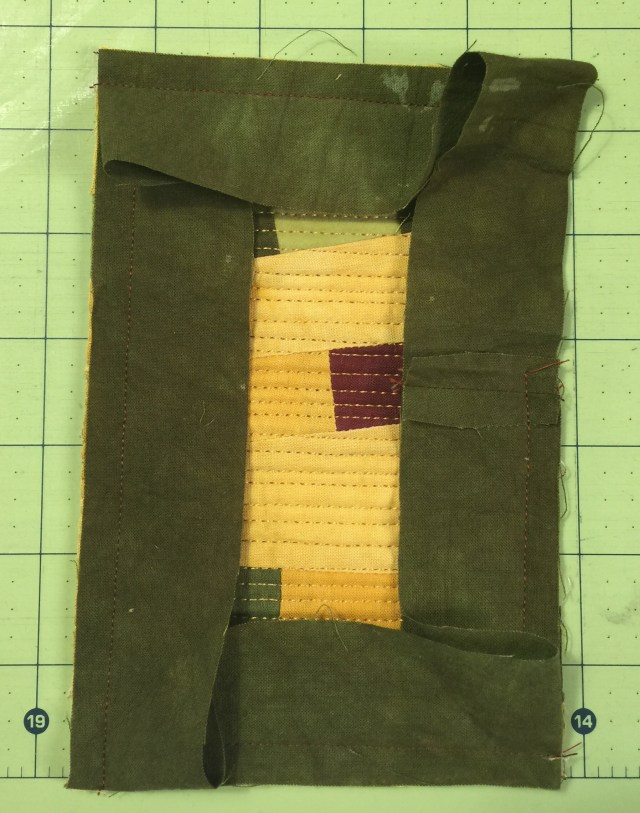
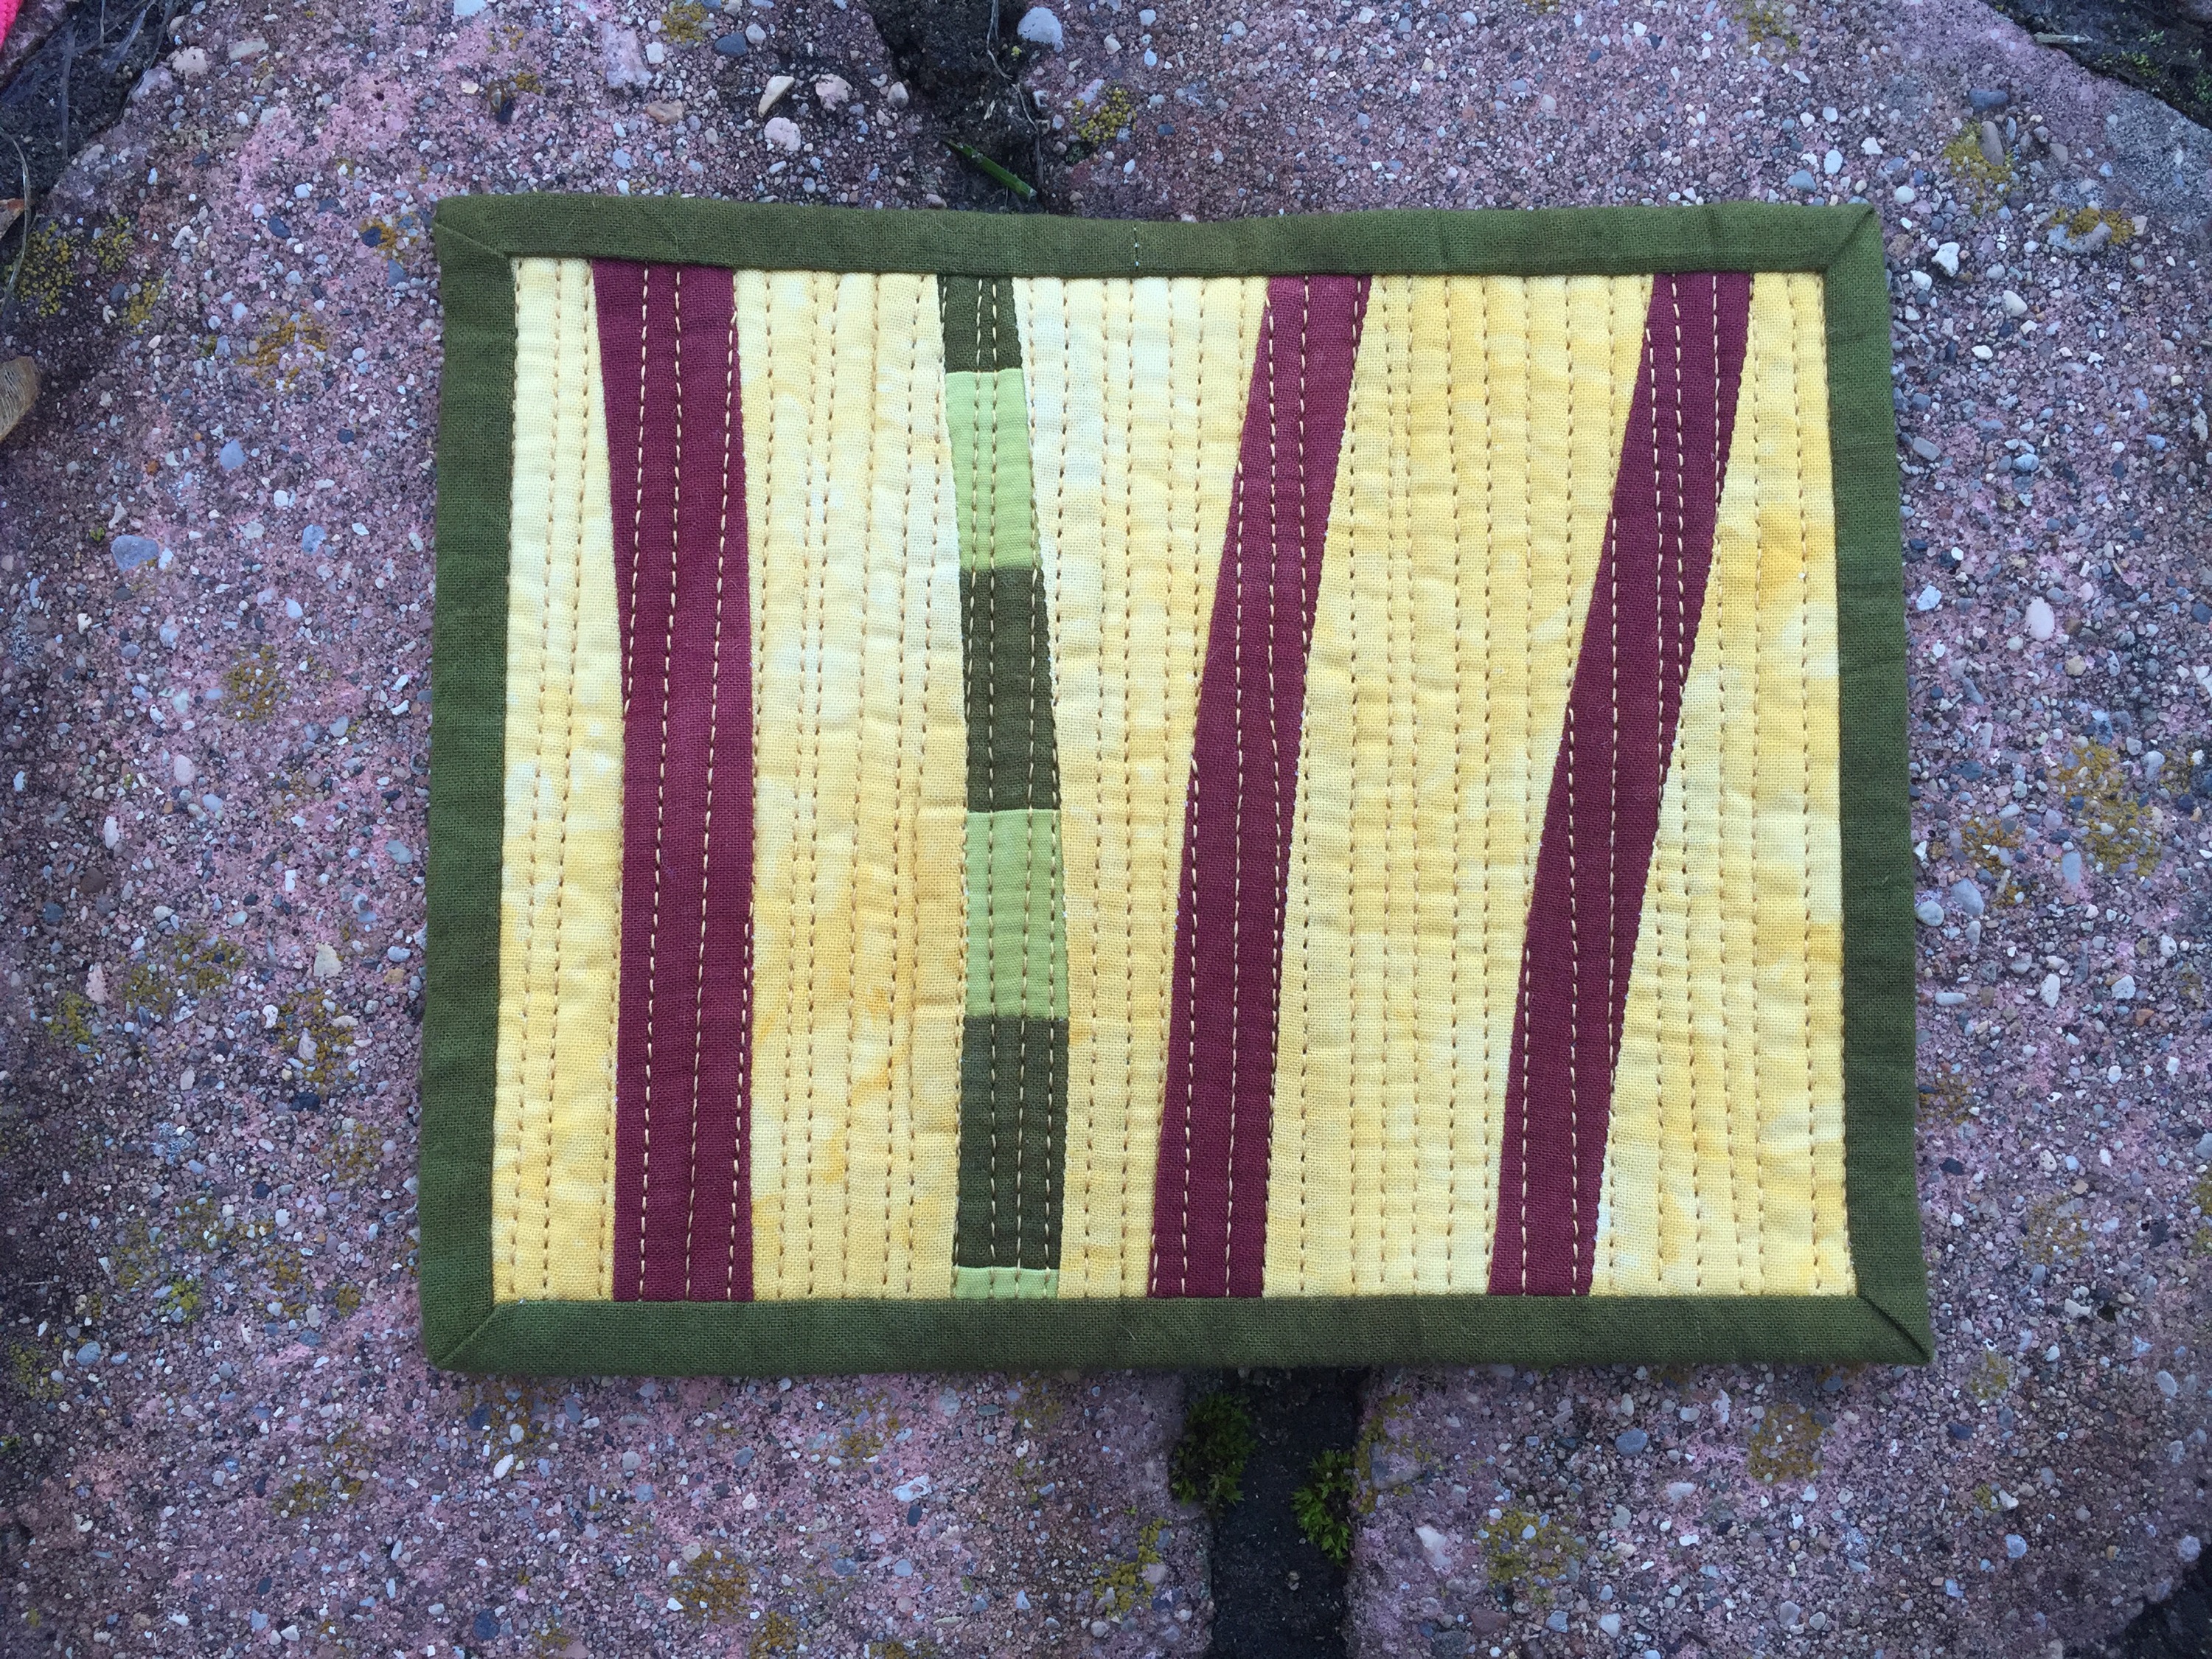
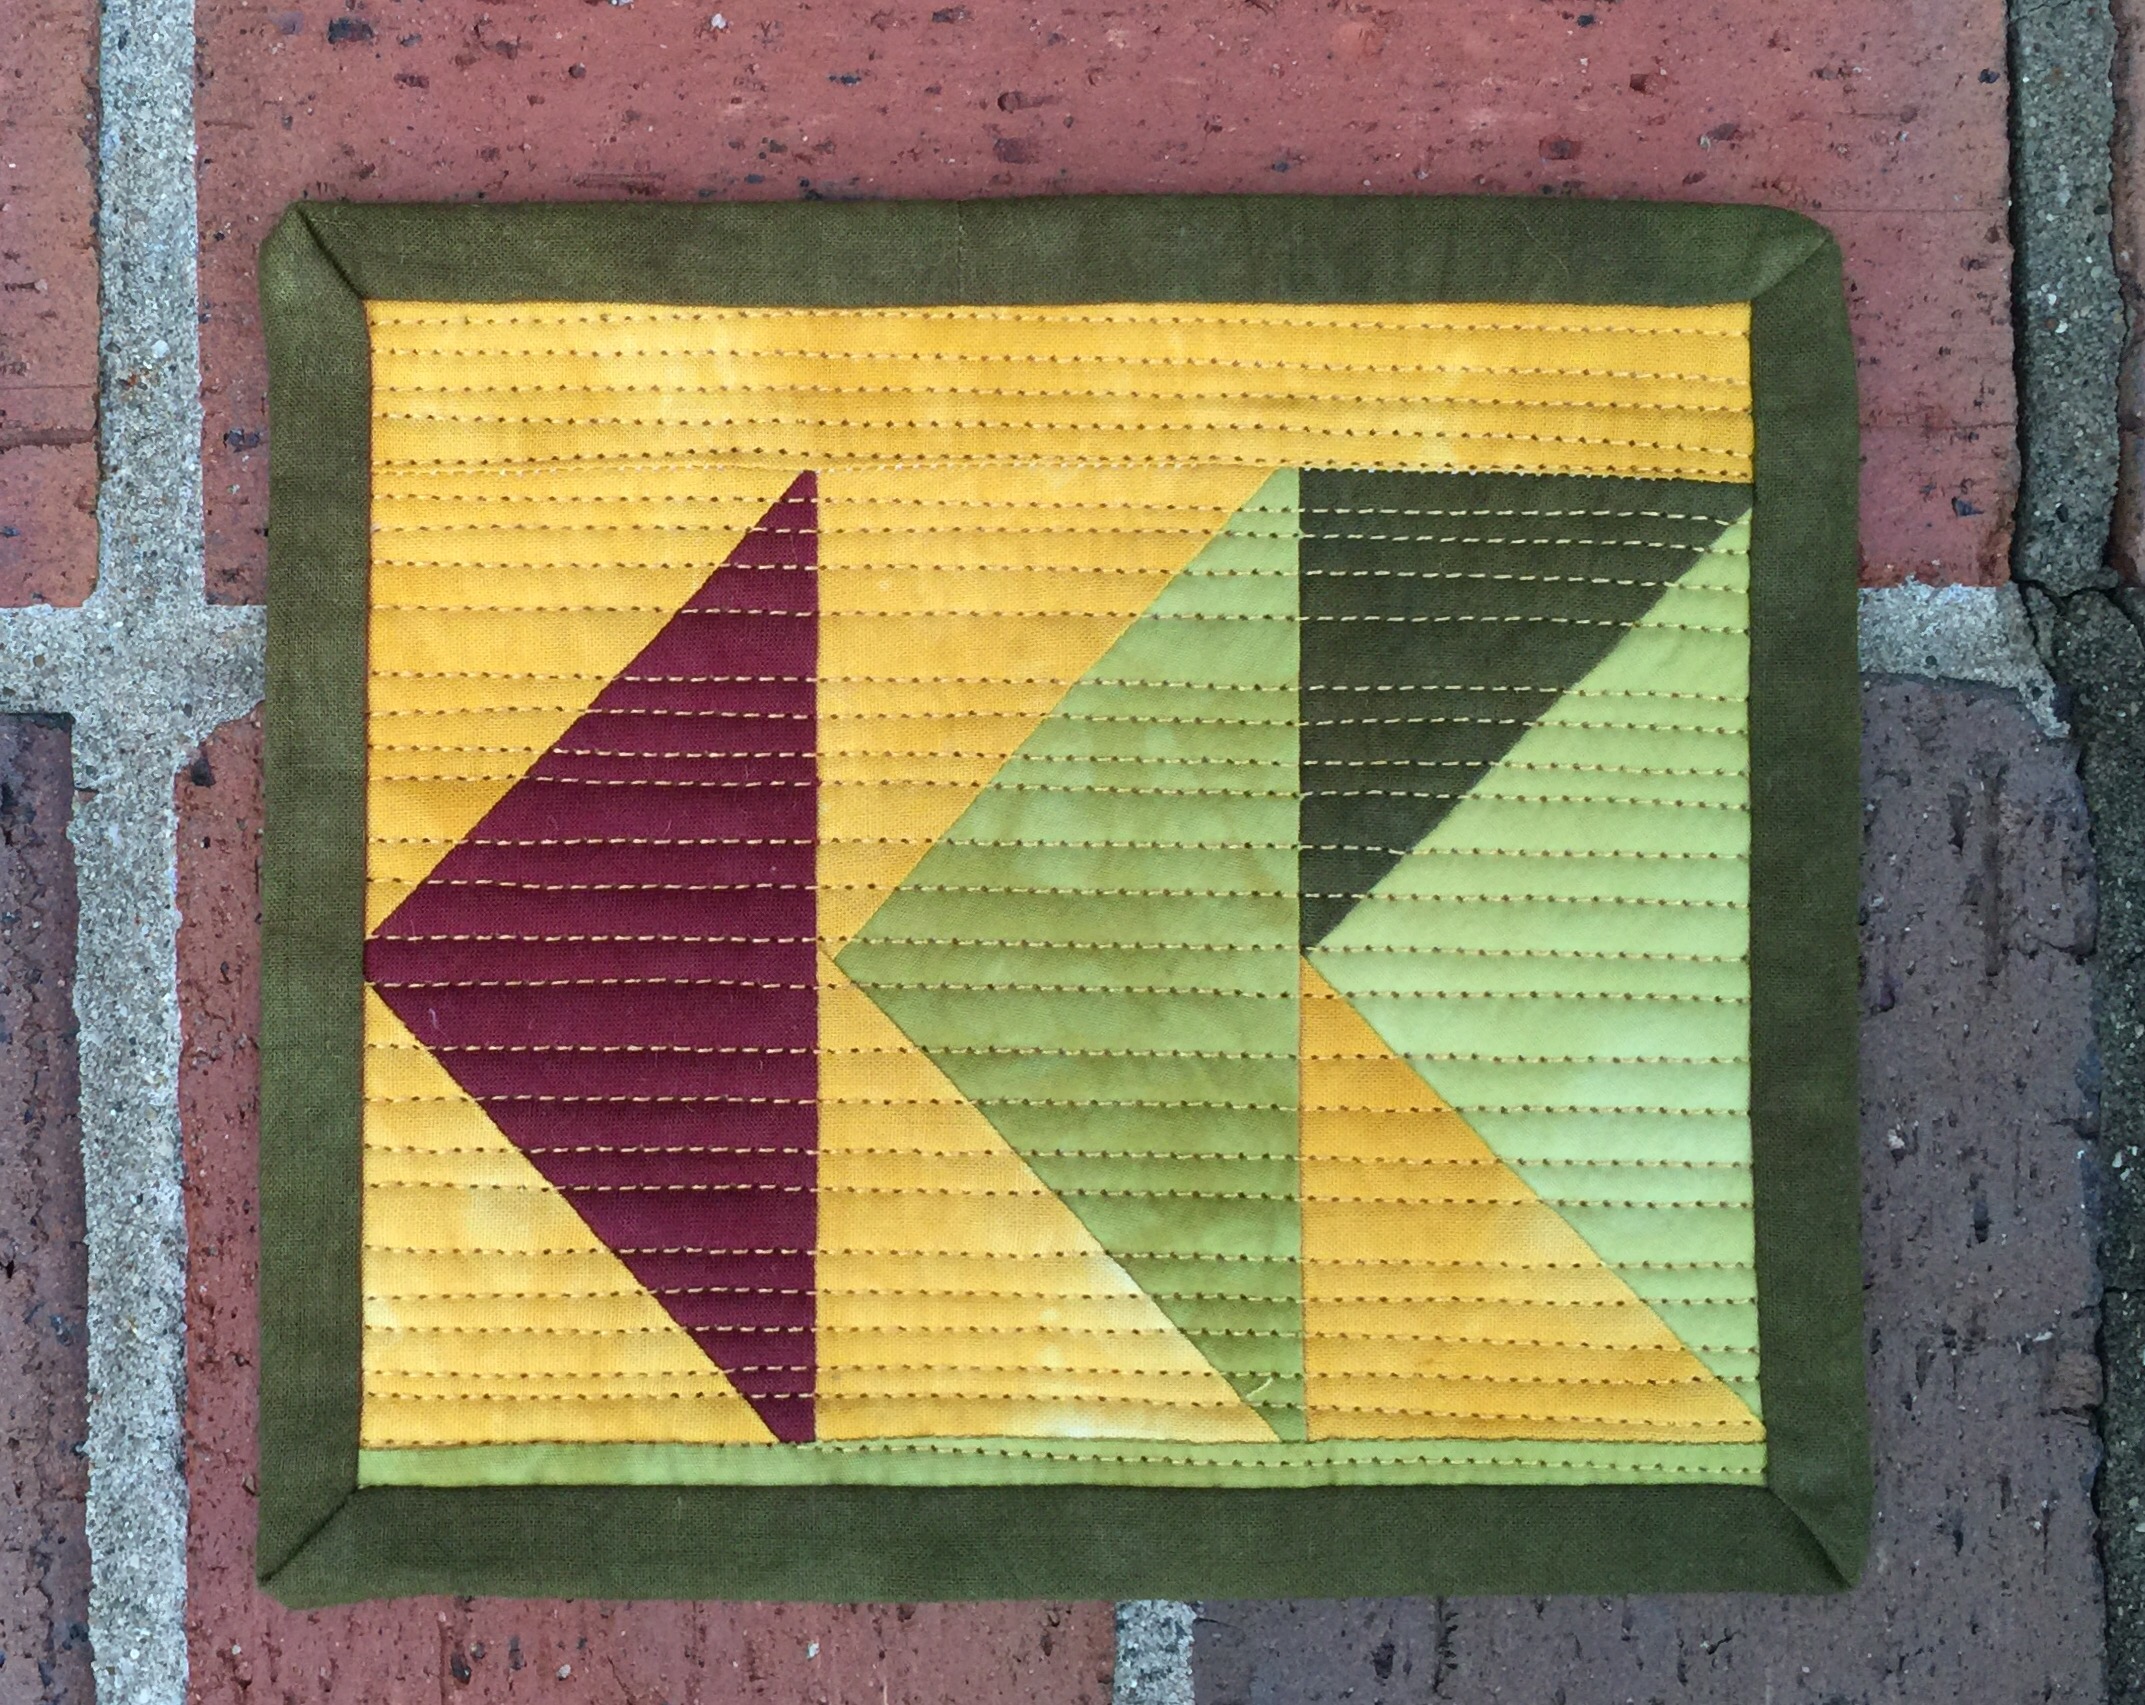
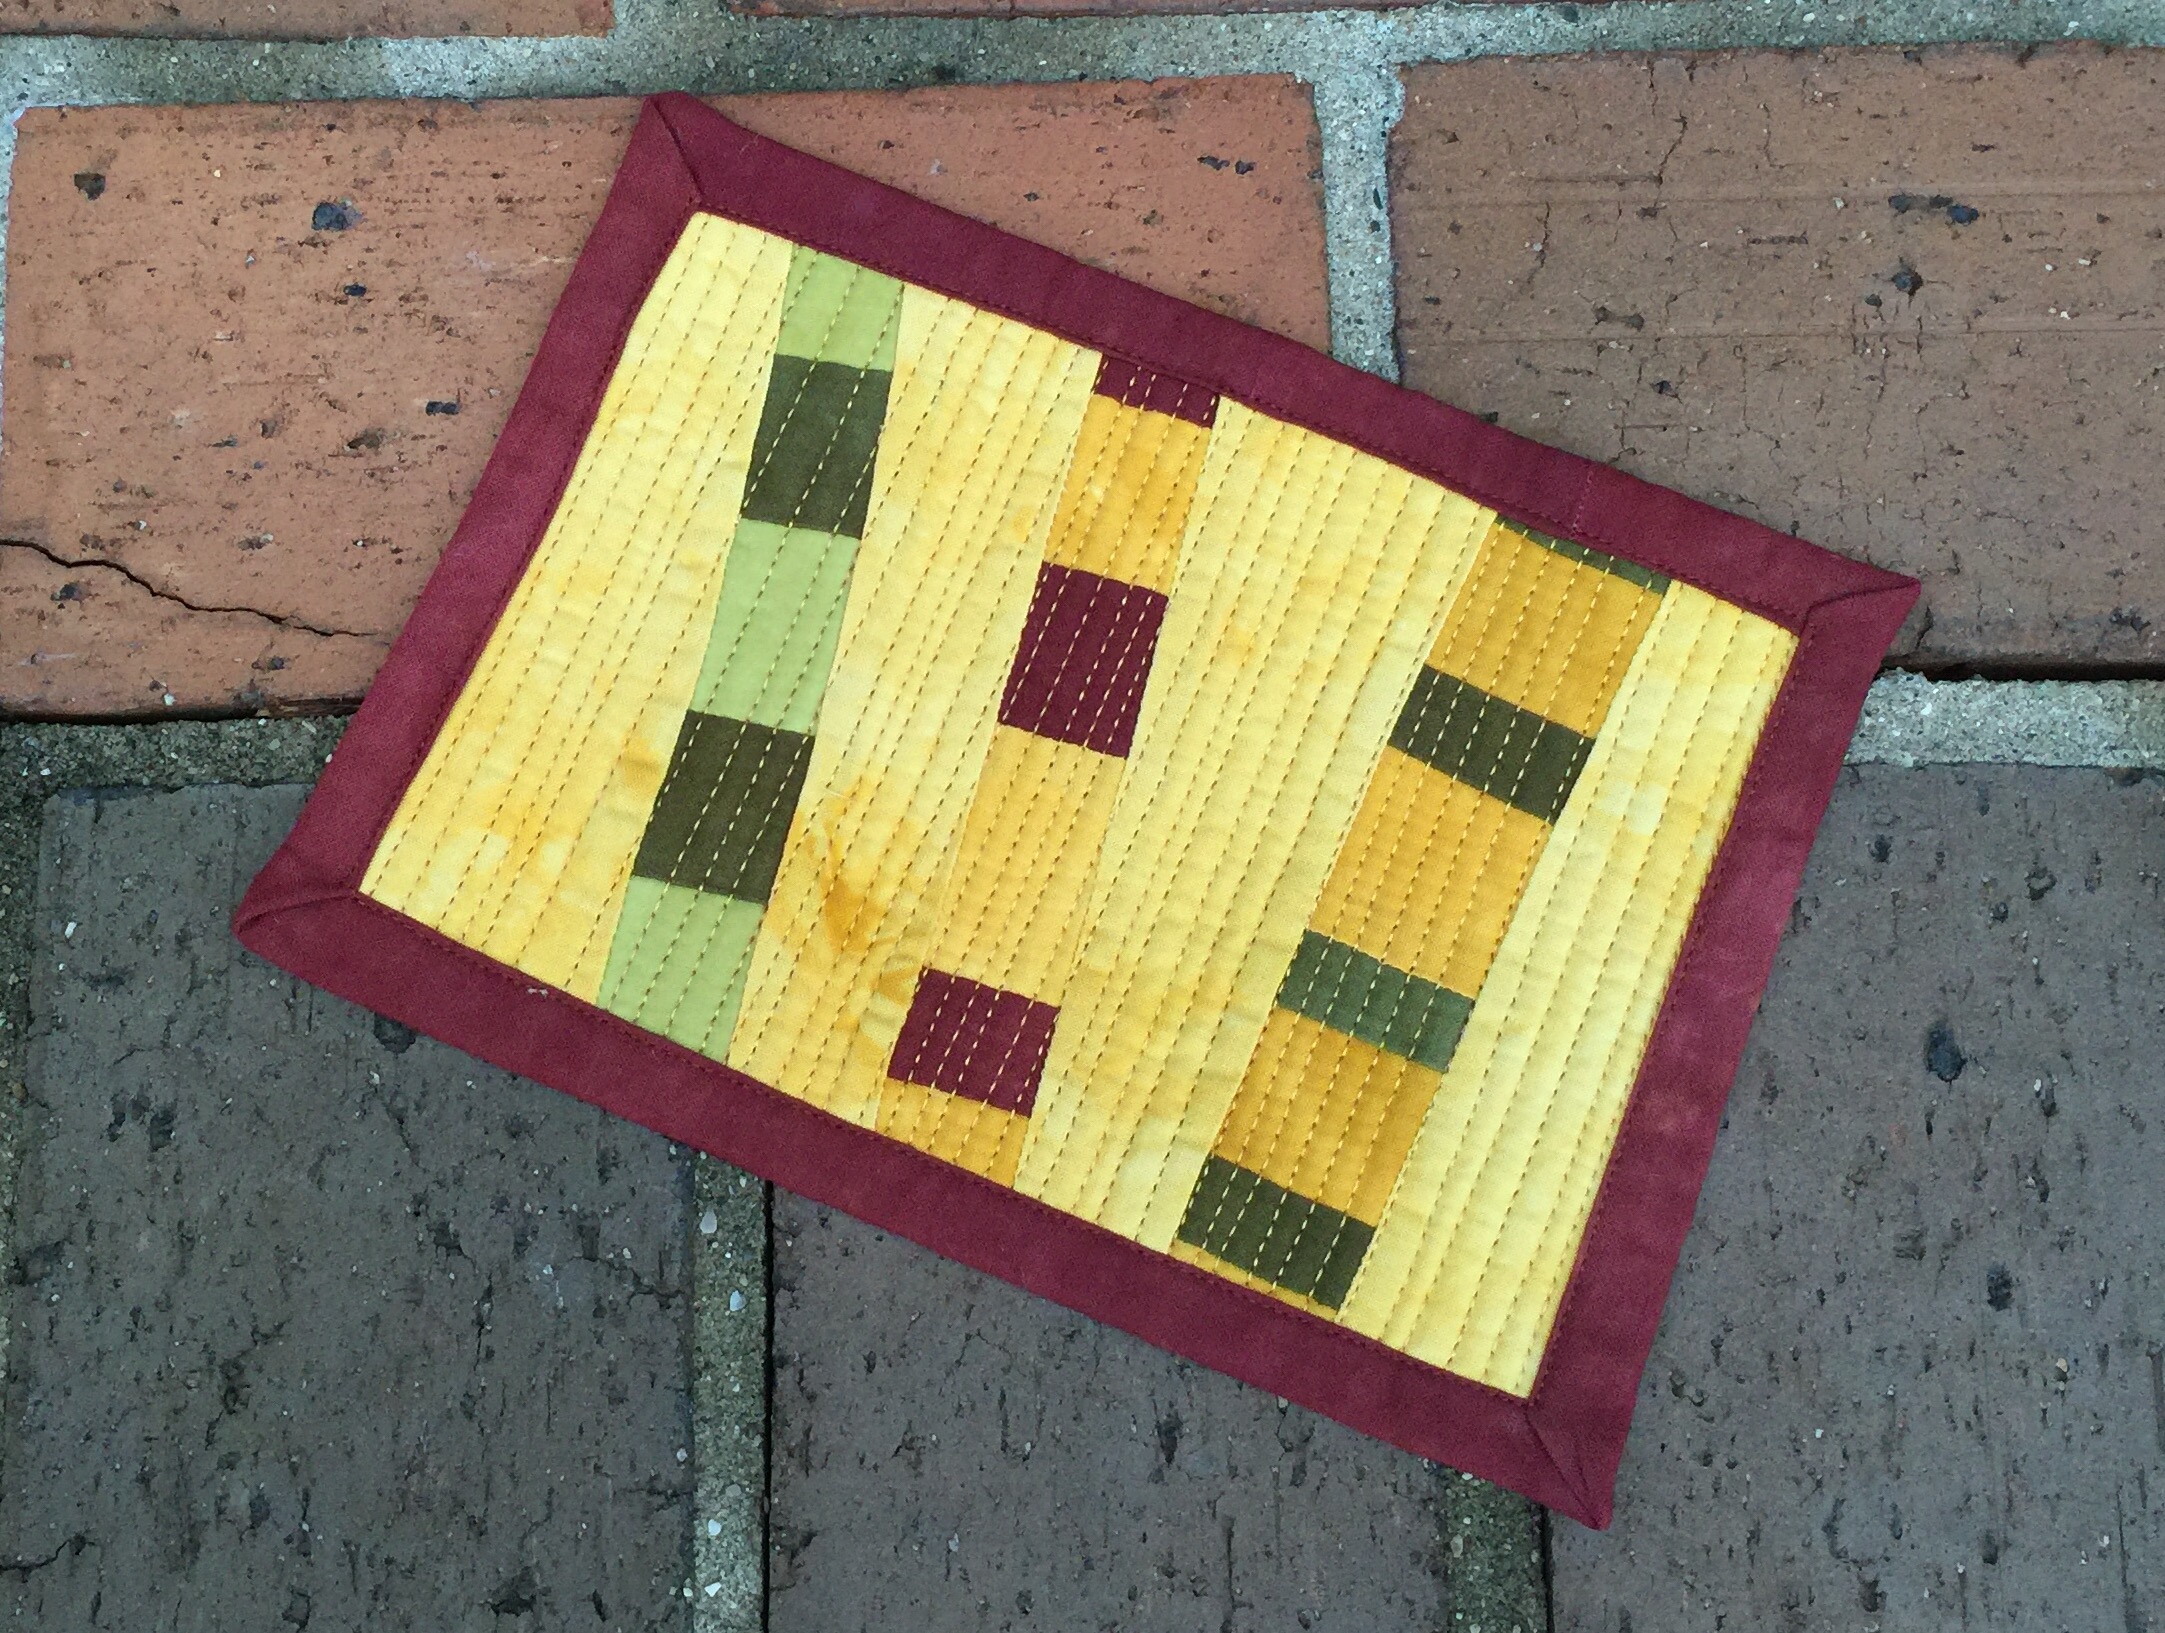
After adjusting and finishing, this is how it turned out.
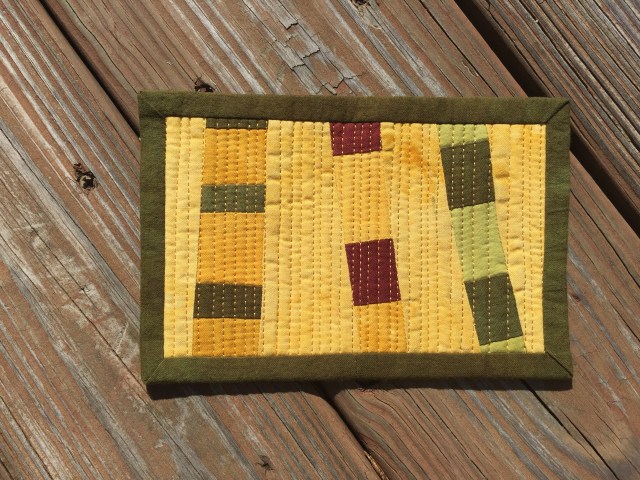
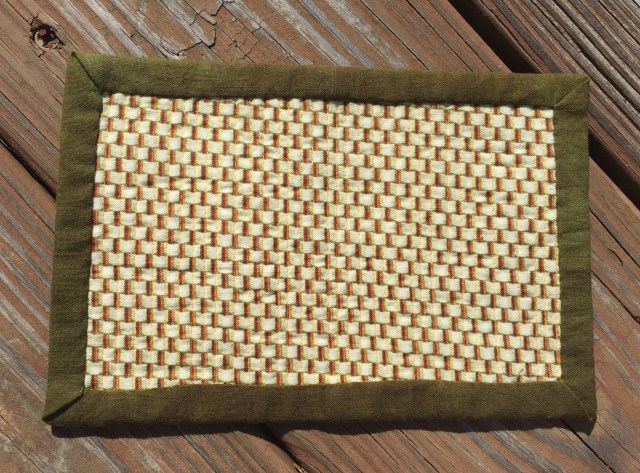
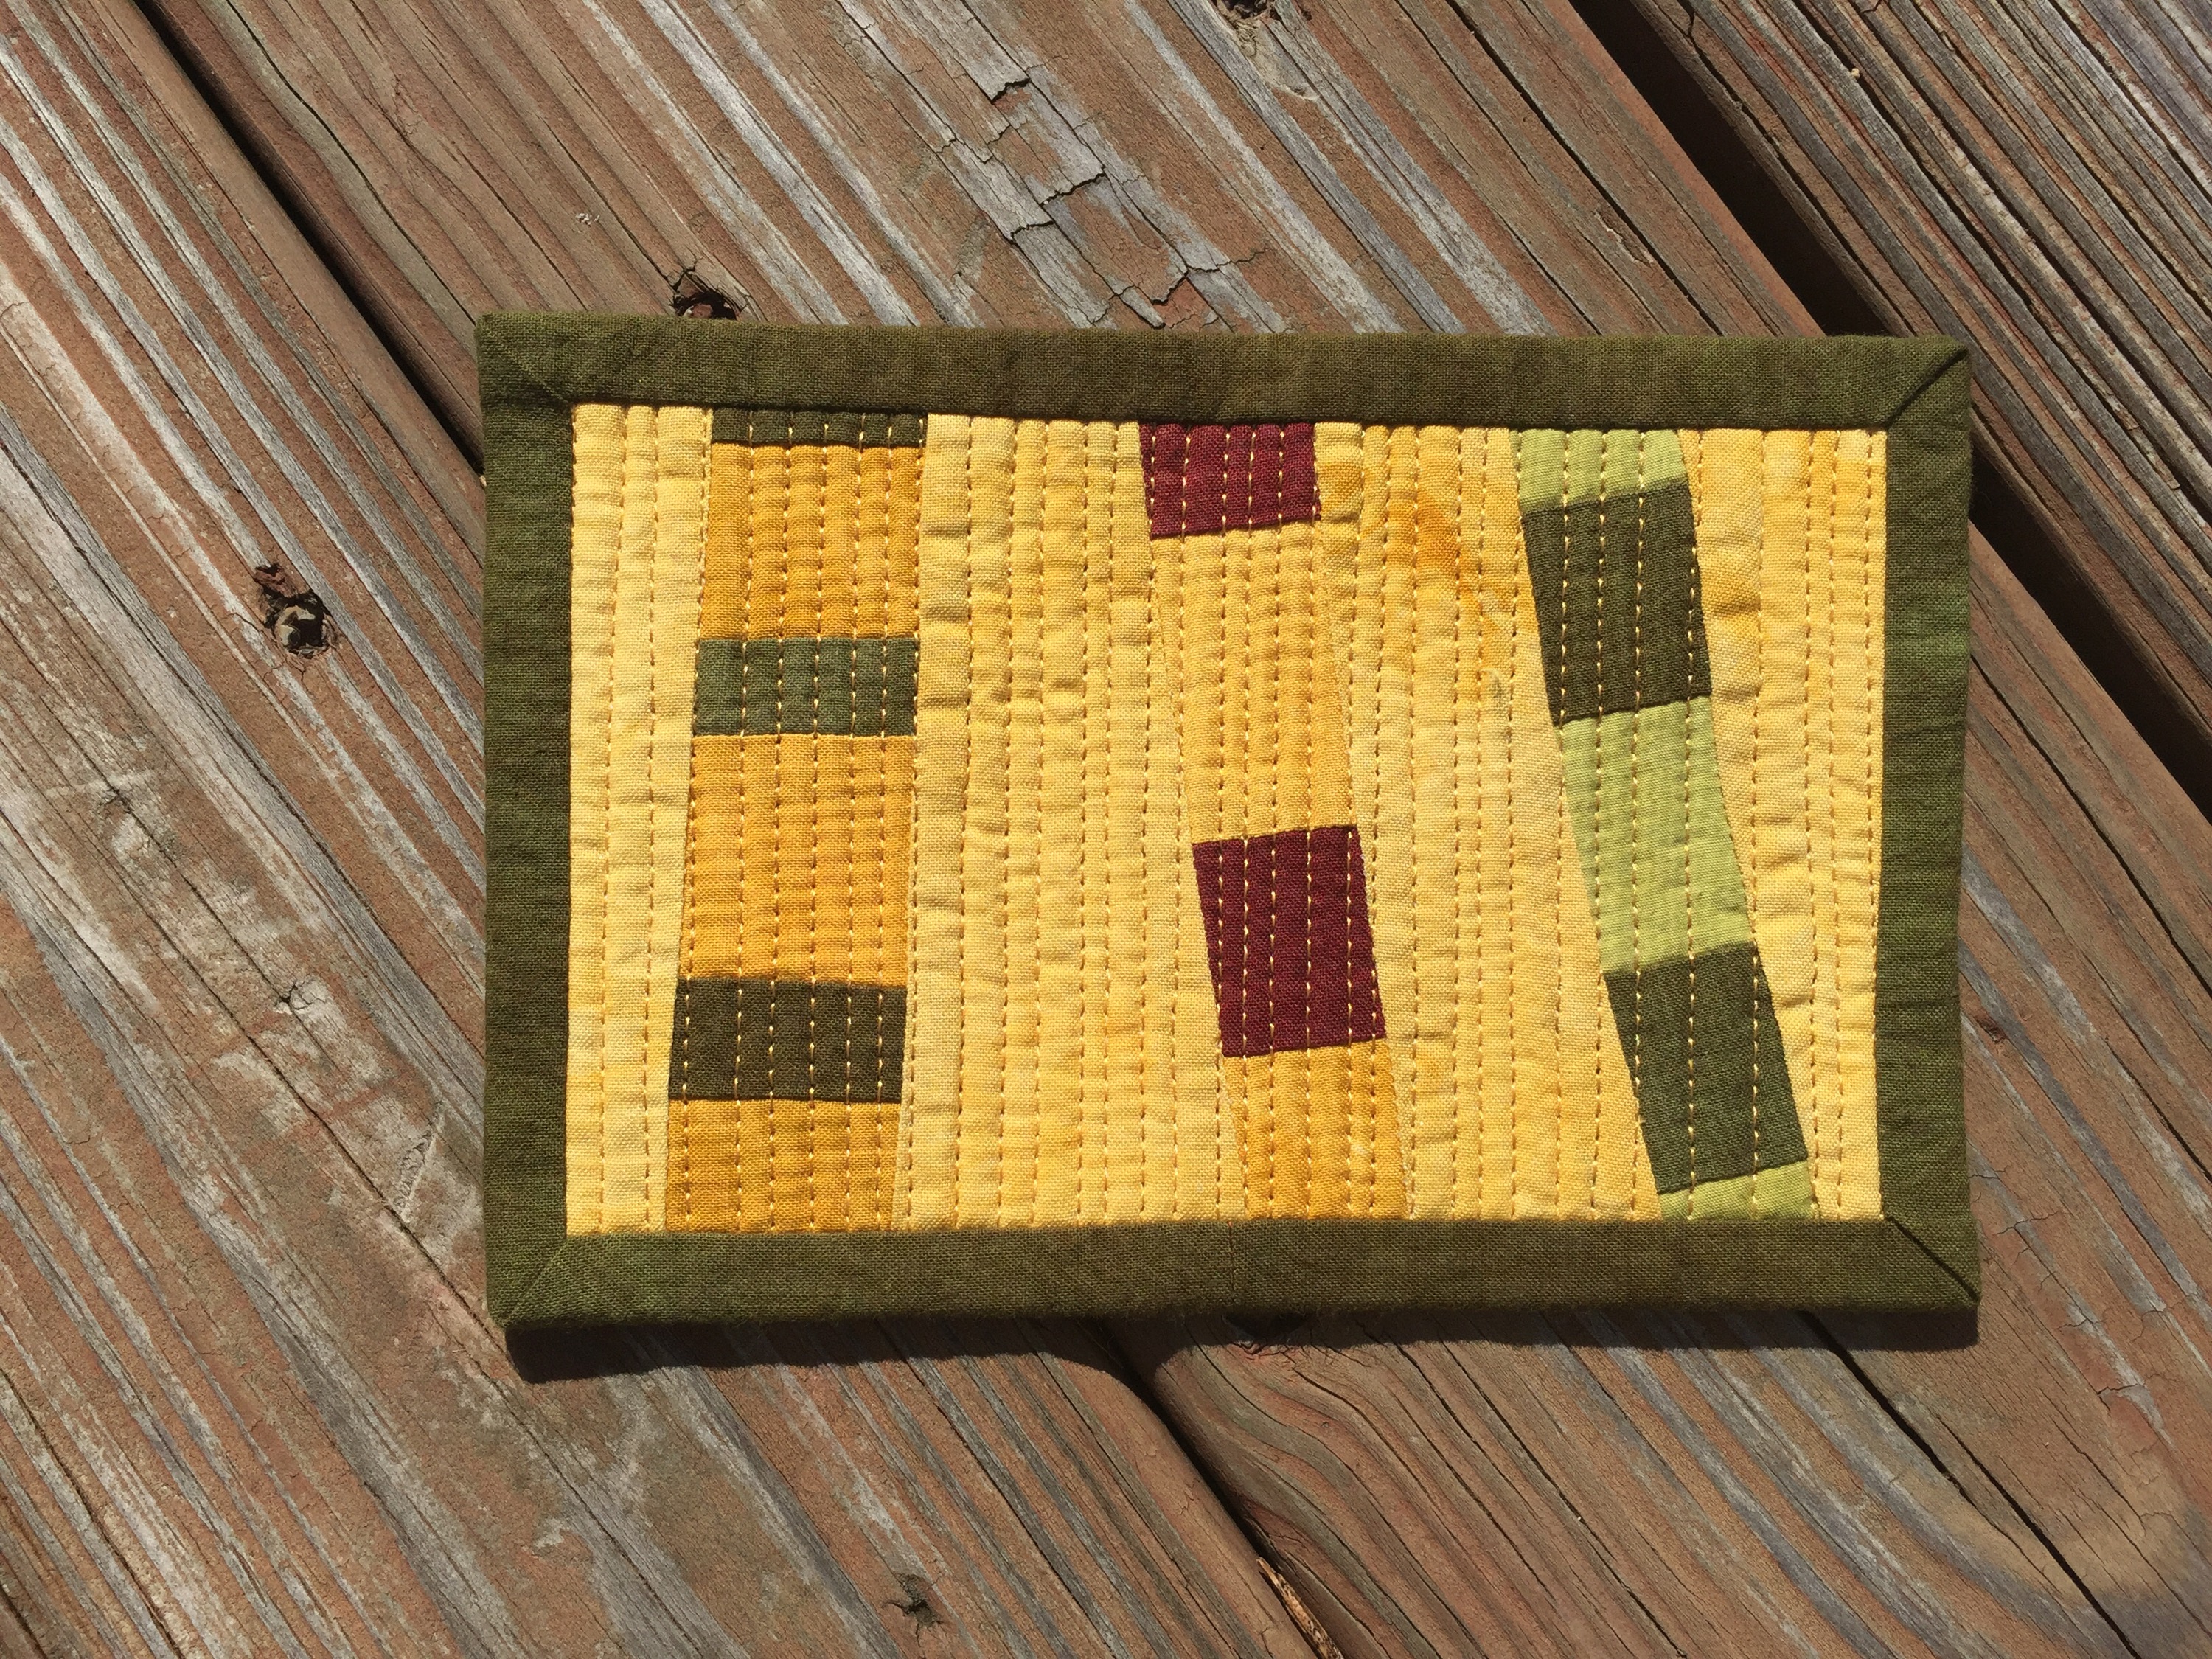
Smaller than when I started but this is so much better! As Janet suggested, the next one I sewed first and figured out the length at the end like I normally do on a big quilt. This is so much easier when using a single layer of binding fabric! I cut my strips at 1 1/4 inch wide per her suggestion. Gina suggested pressing the hem under on the back before hand stitching. This was a great tip as well.
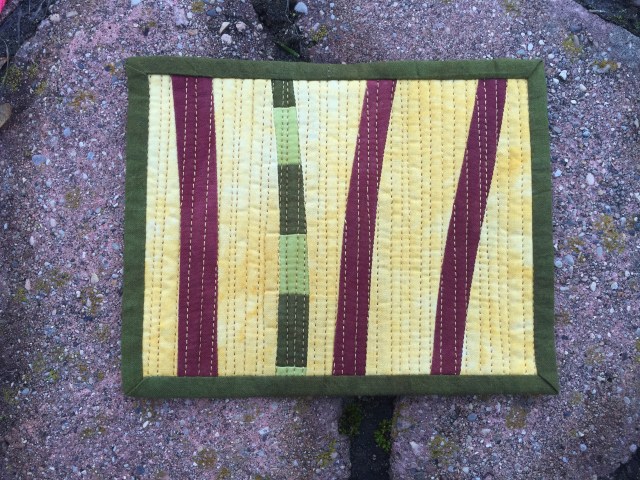
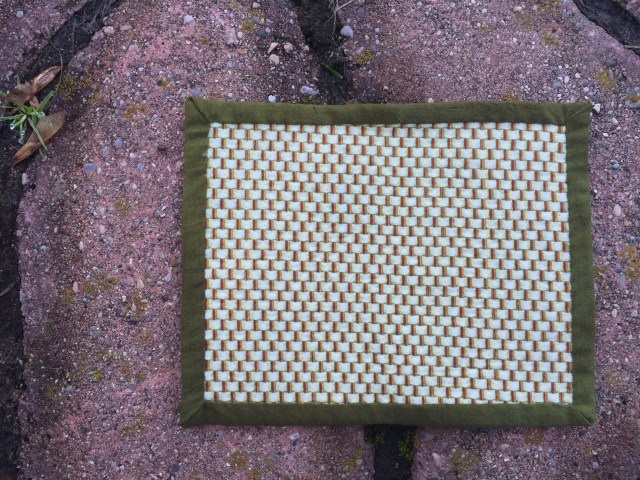
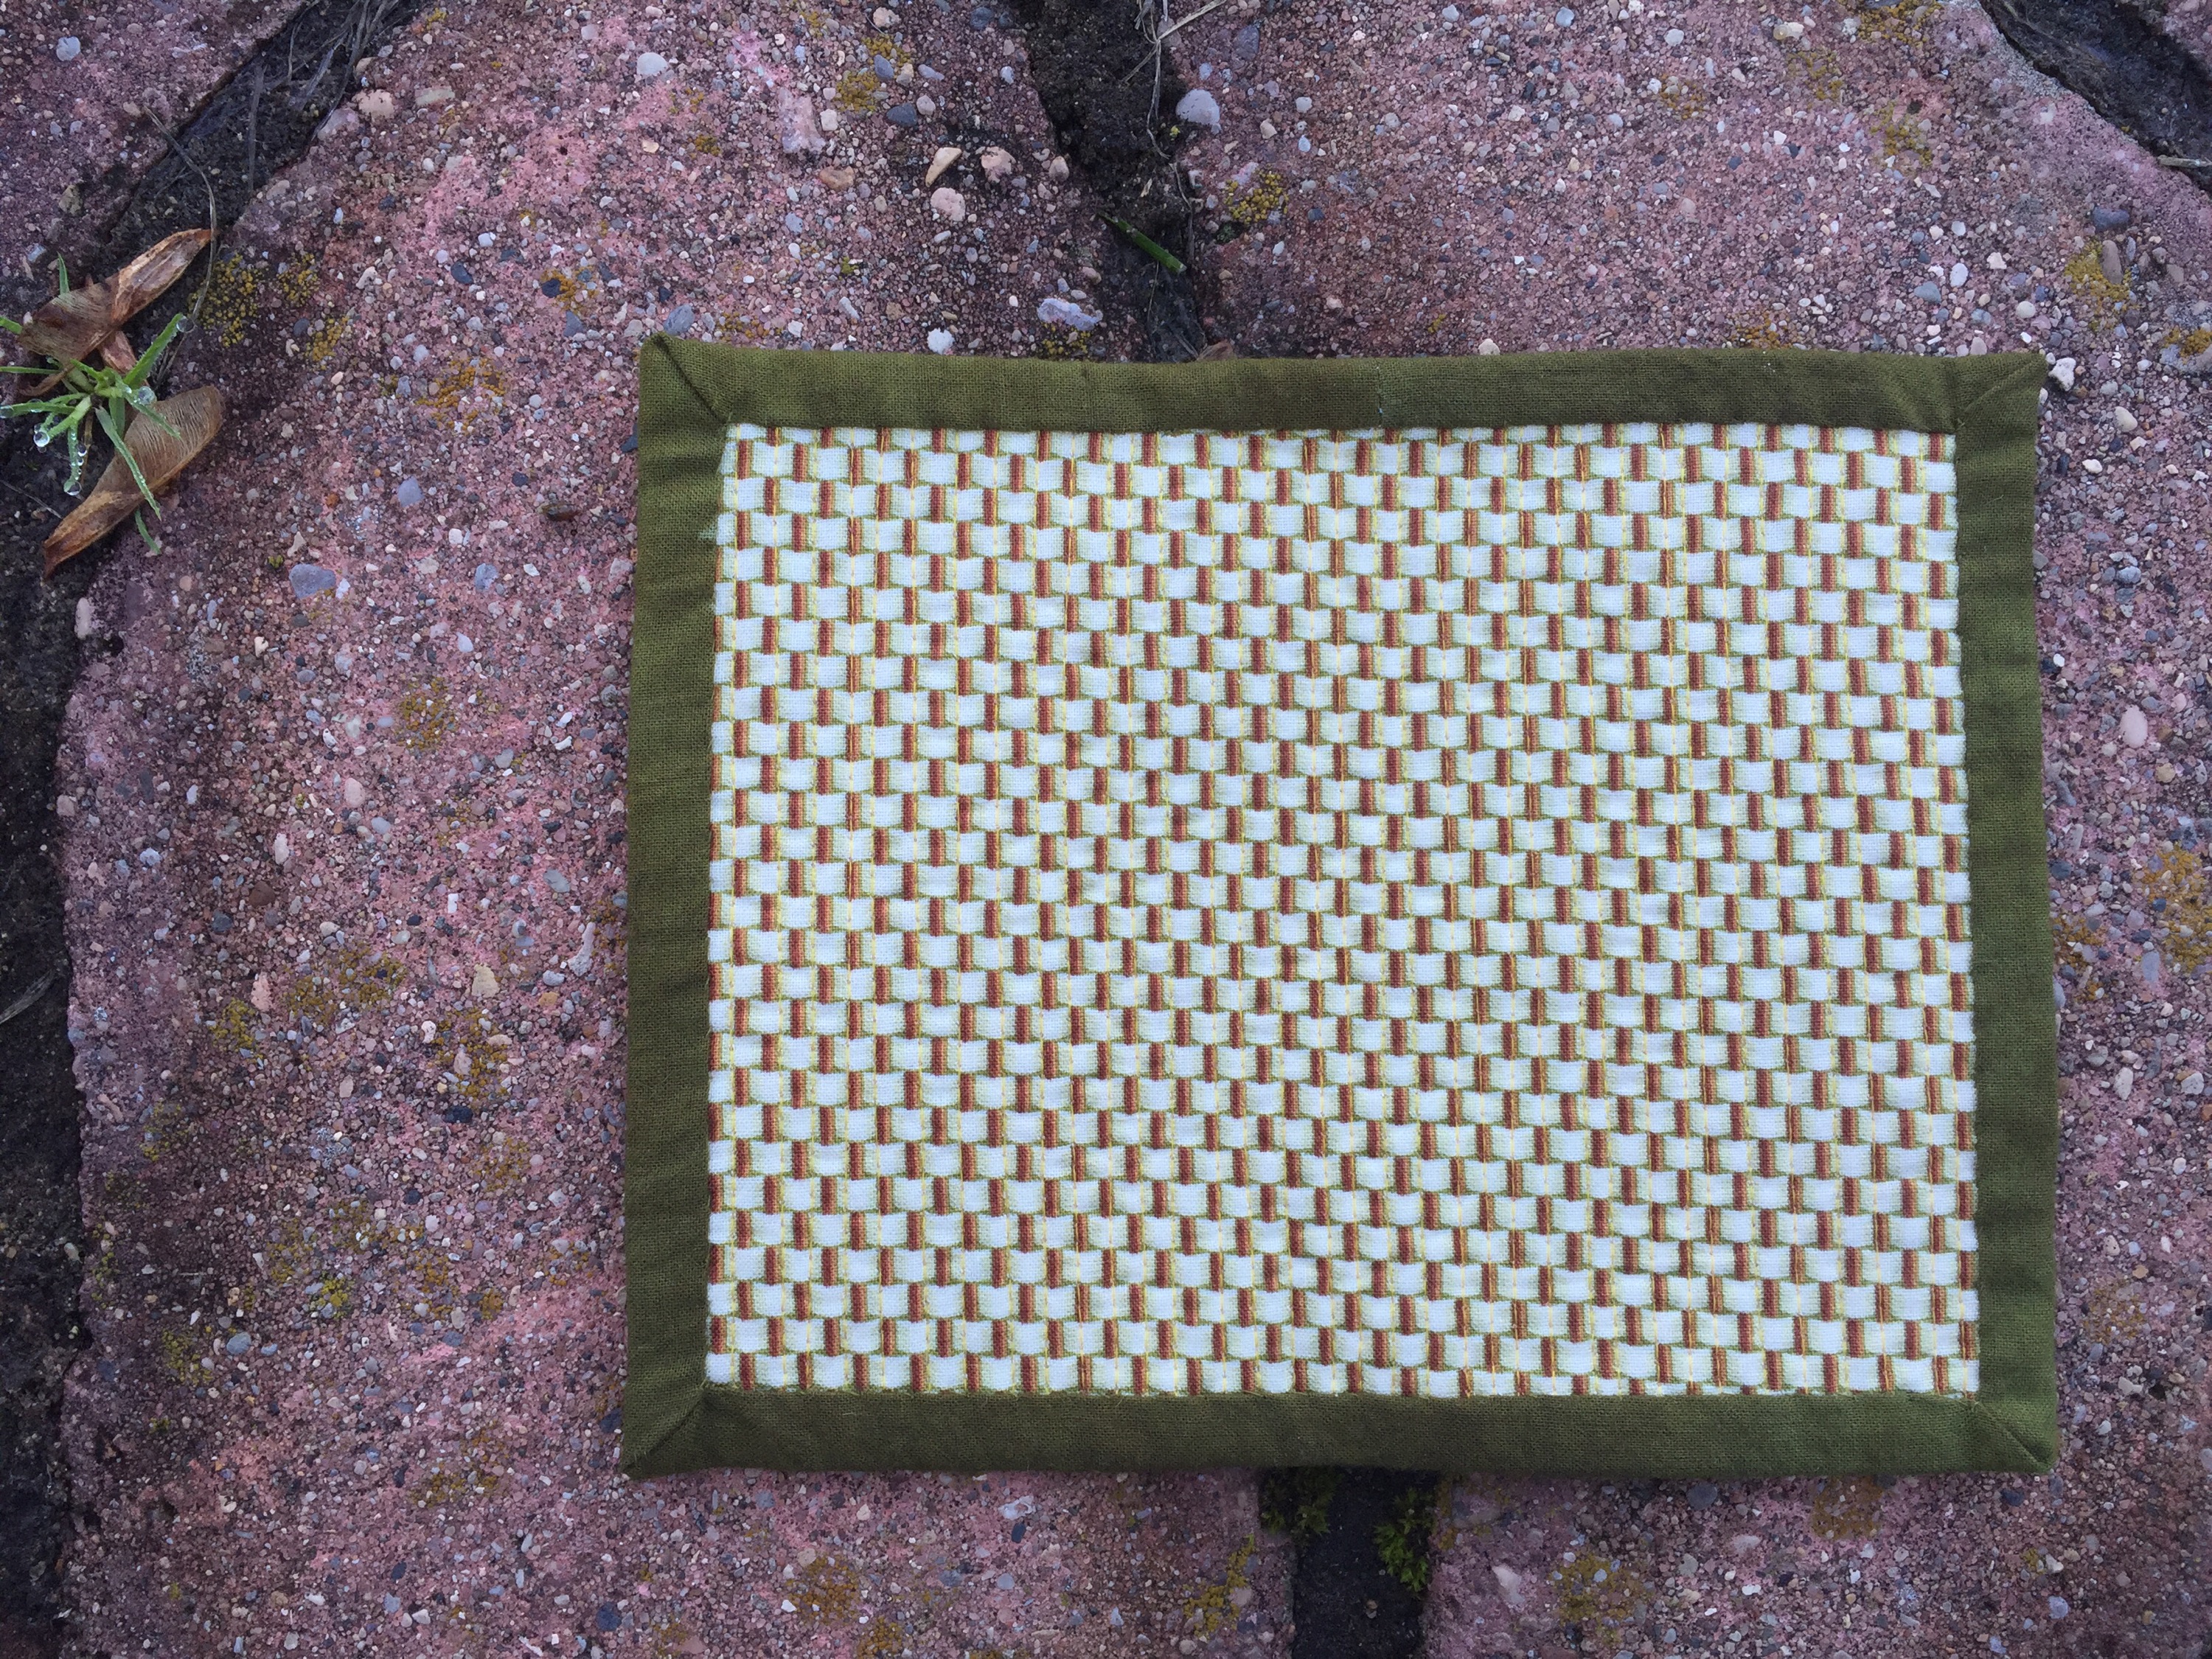
Not perfect but better than the last one!
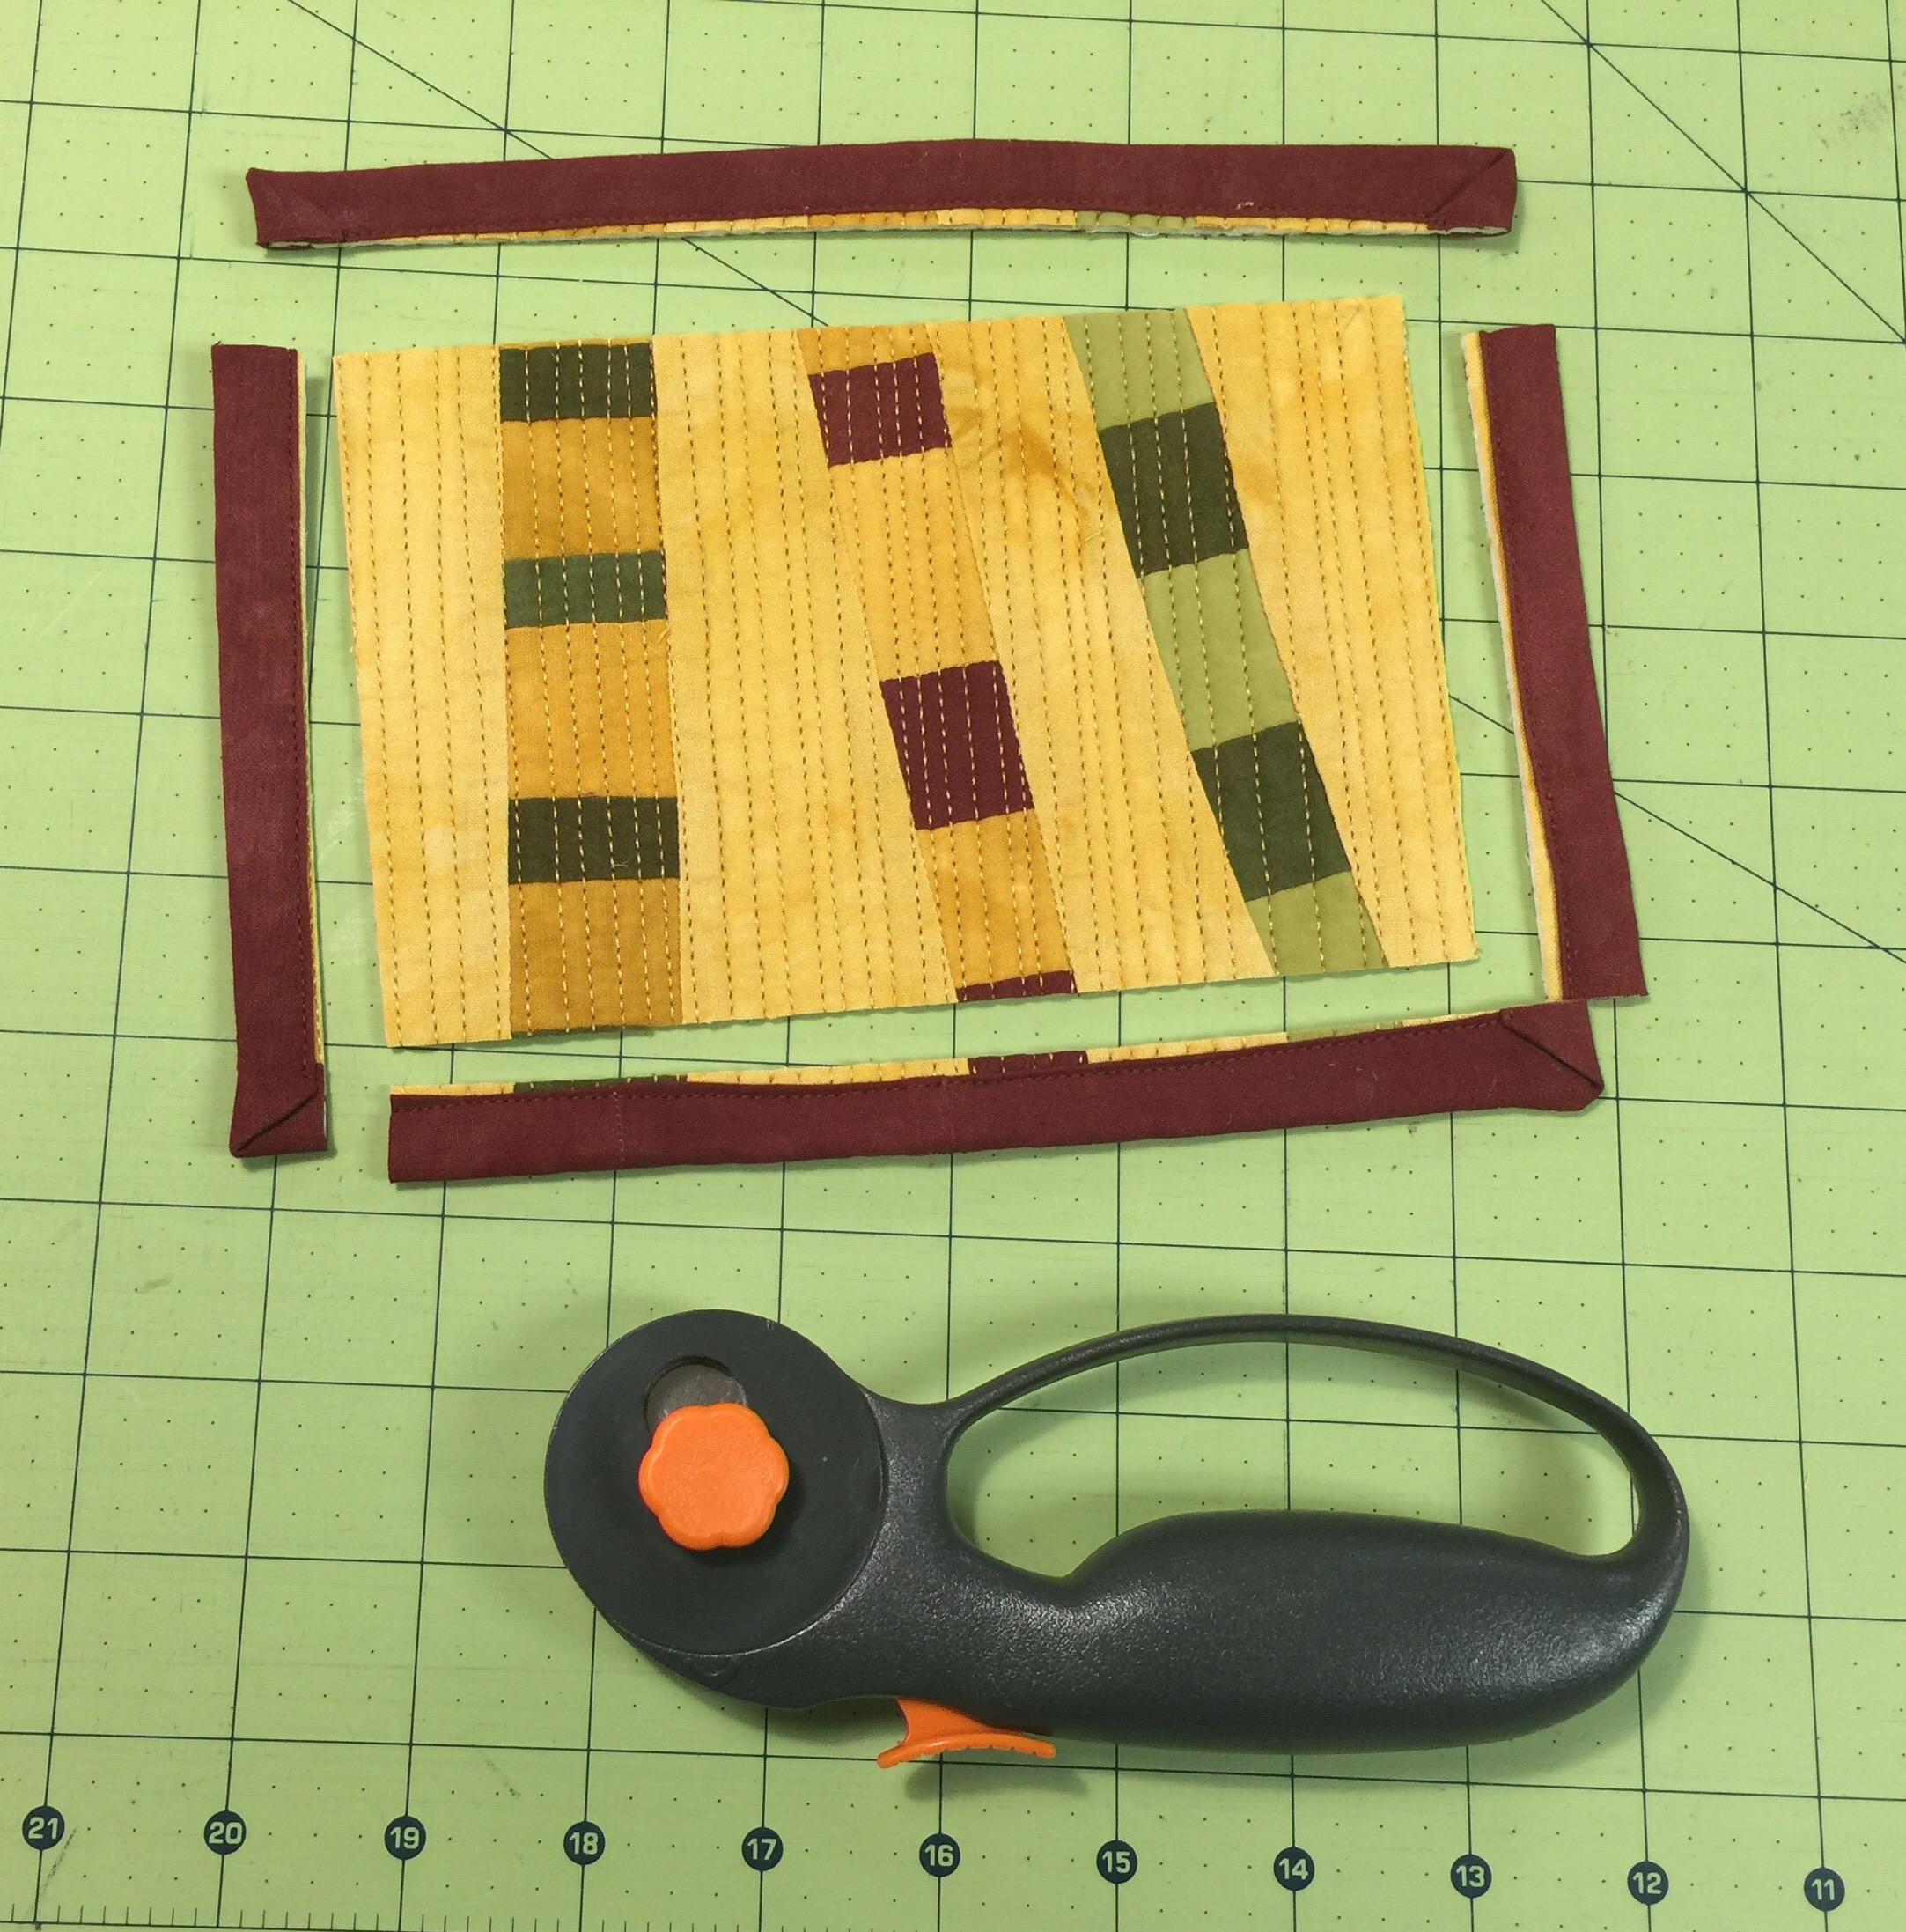
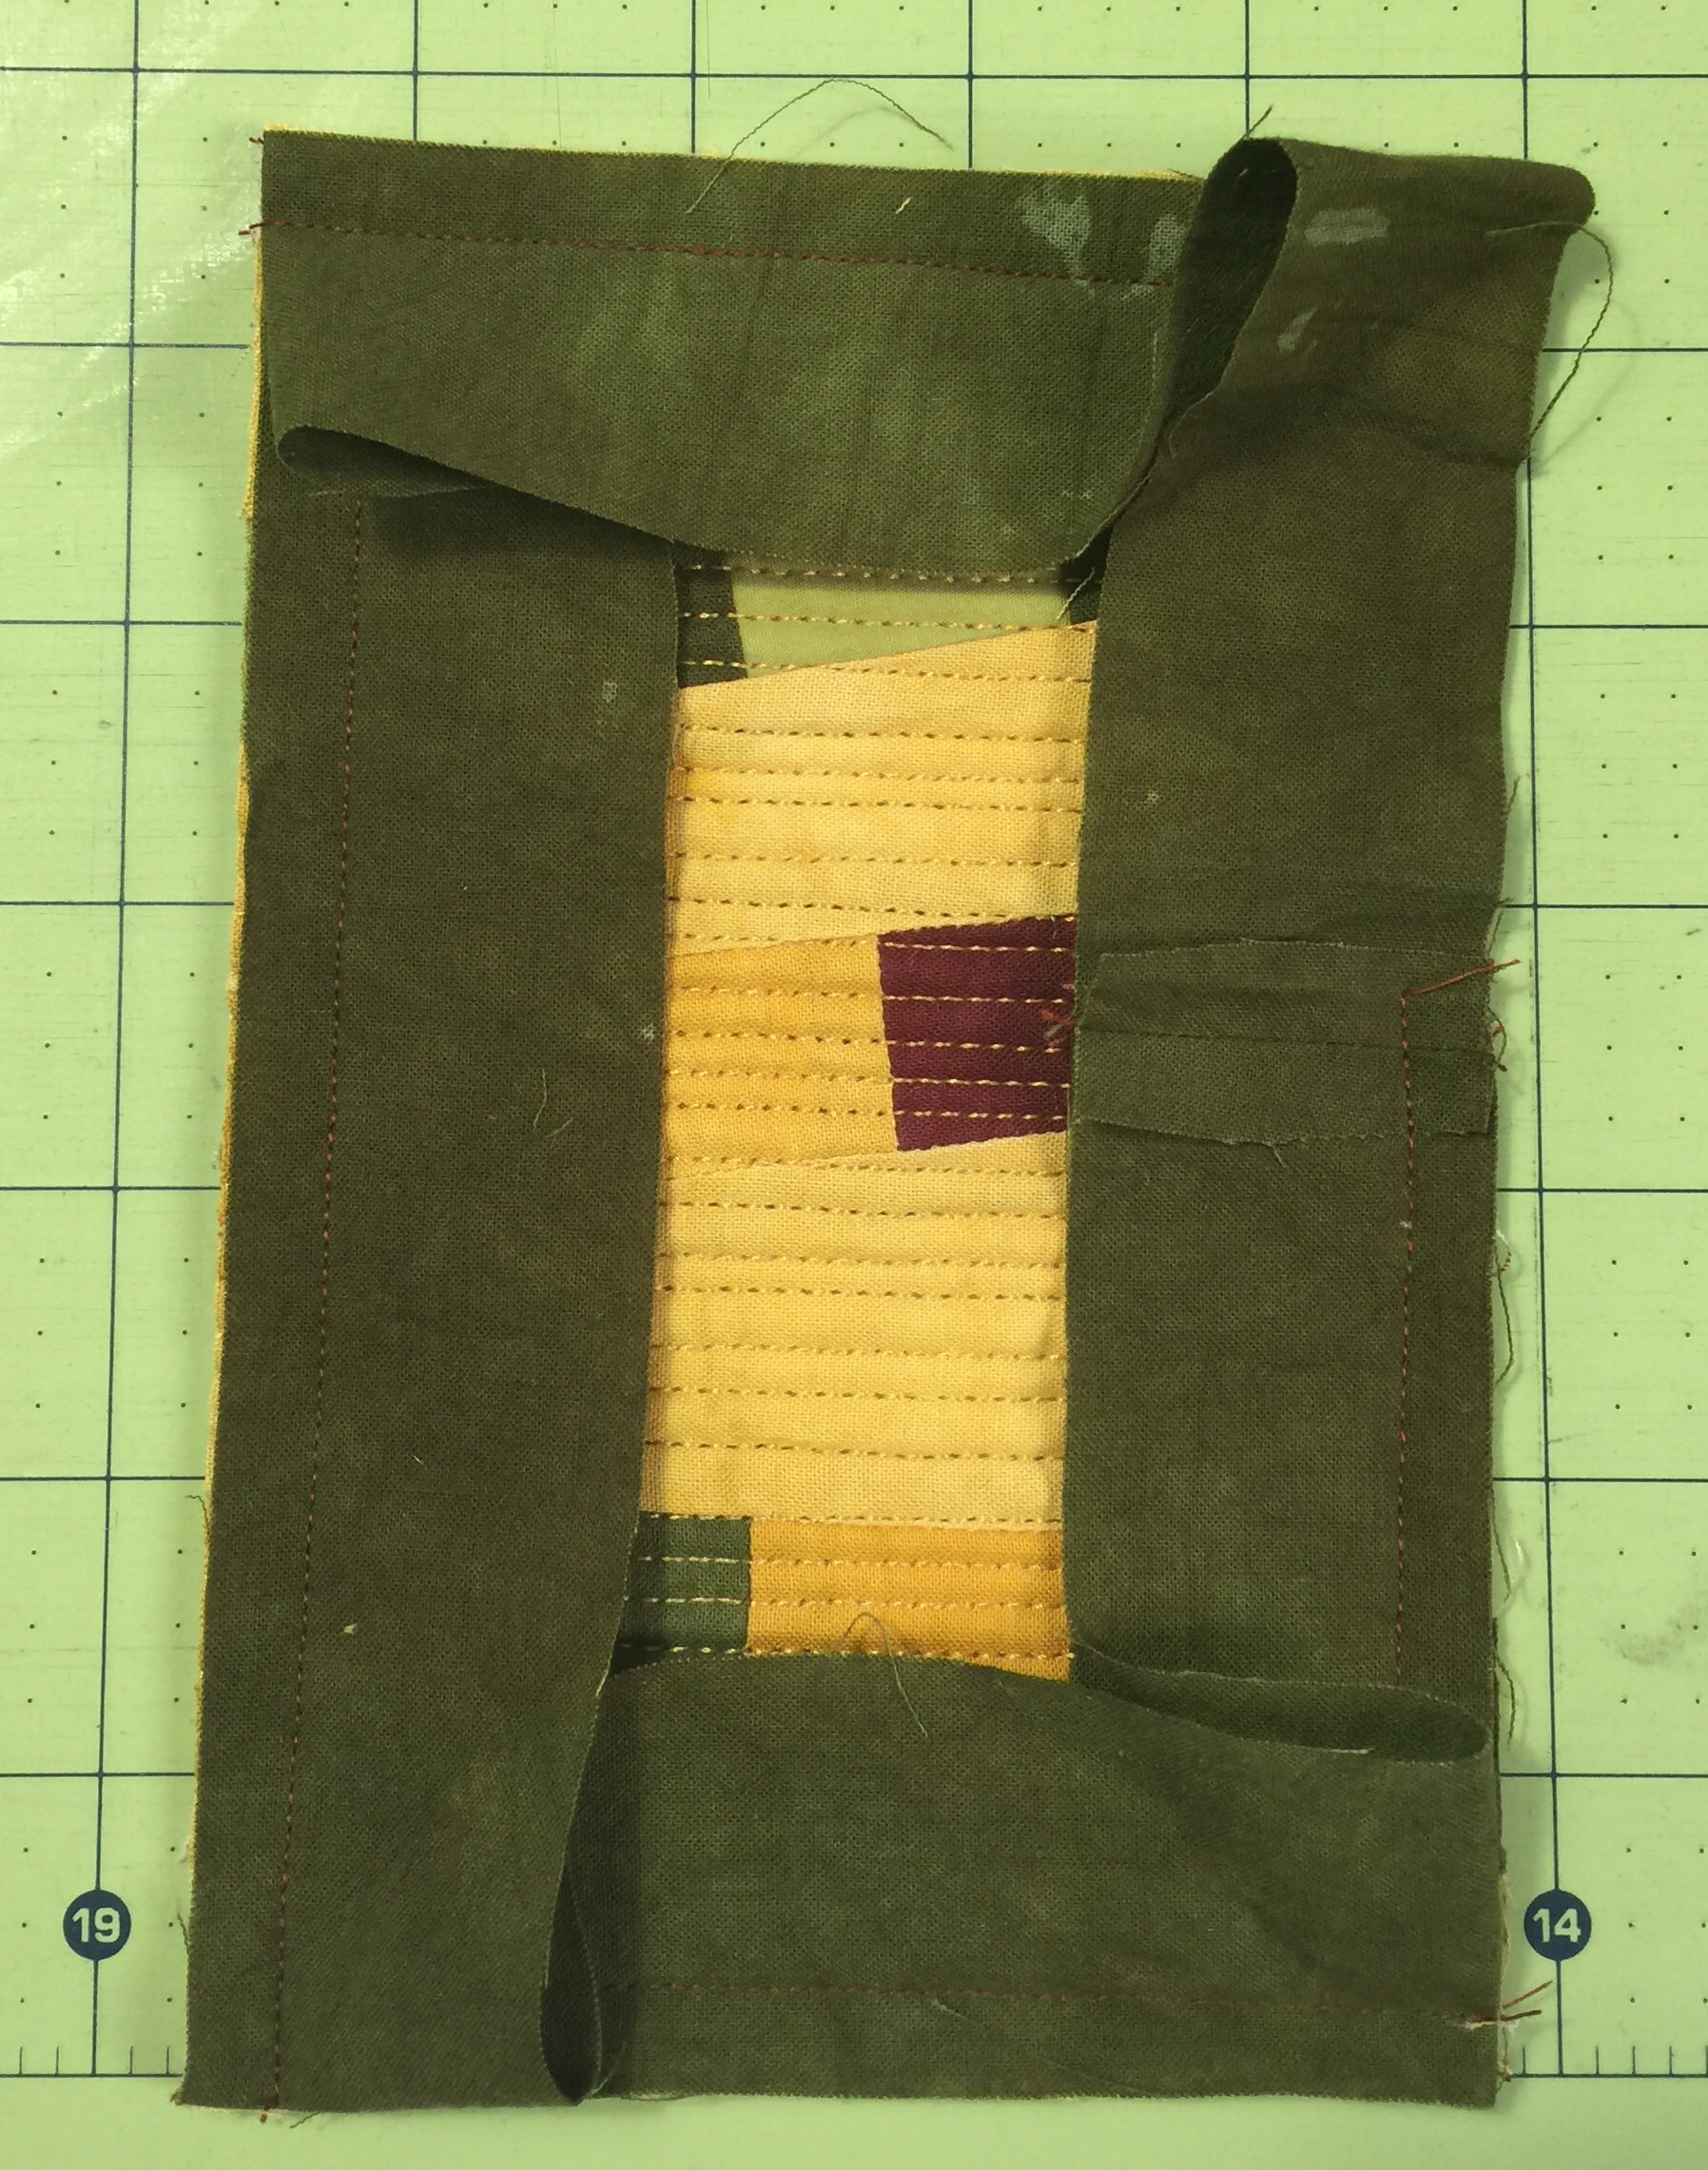
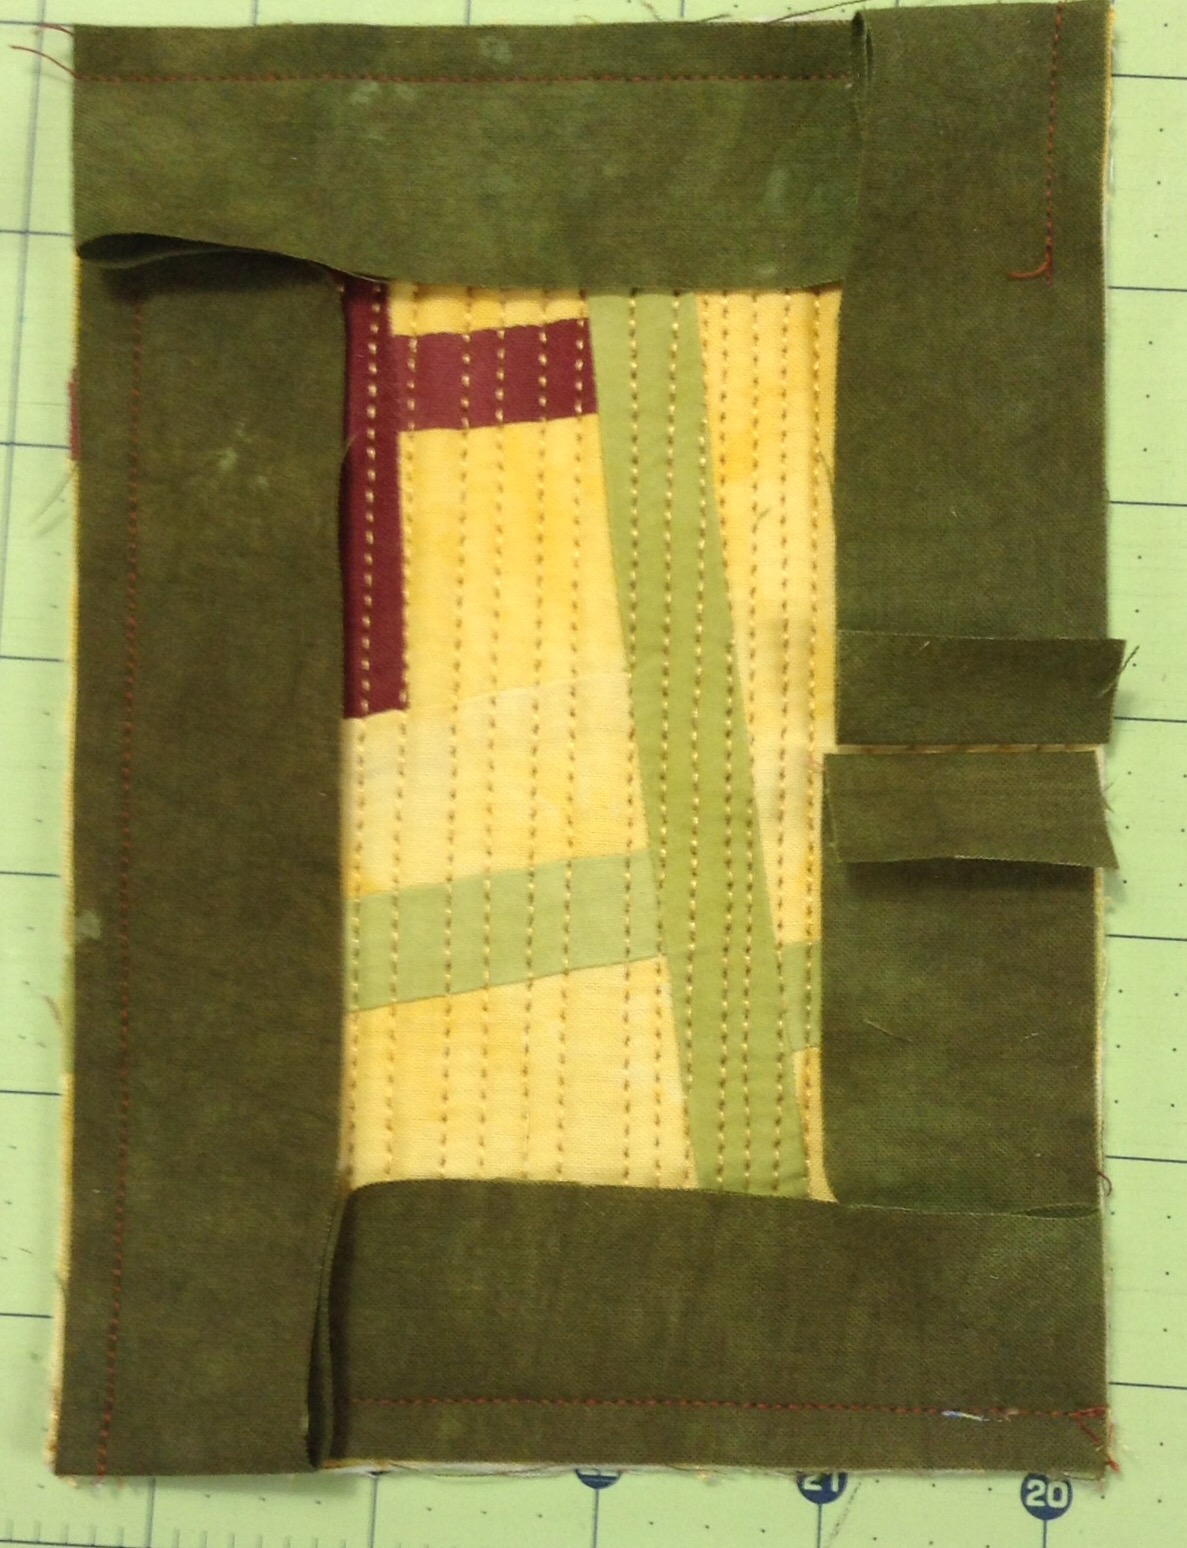
In case you are interested, this is how I figure out where to sew the ends together.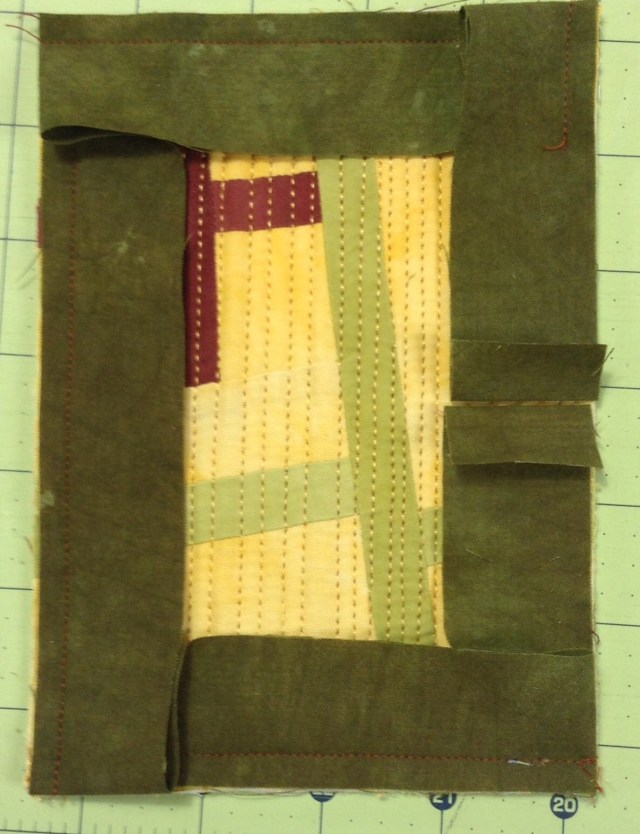
I line up the ends and press a fold, then use that fold as a sewing guide. And yes, I know you are supposed to sew binding strips together on a diagonal. But I don’t. I do press the seams open. The quilt police haven’t hauled me off yet.
If you want to see some adorable mug rugs, check out these made by Gina at Quilts and Cakes. And you have to see the mini mini quilts Jayne made at Twiggy and Opal.
Thanks again for all the help everyone offered! I am feeling much better about my bindings on these small pieces now. Have a lovely Saturday!
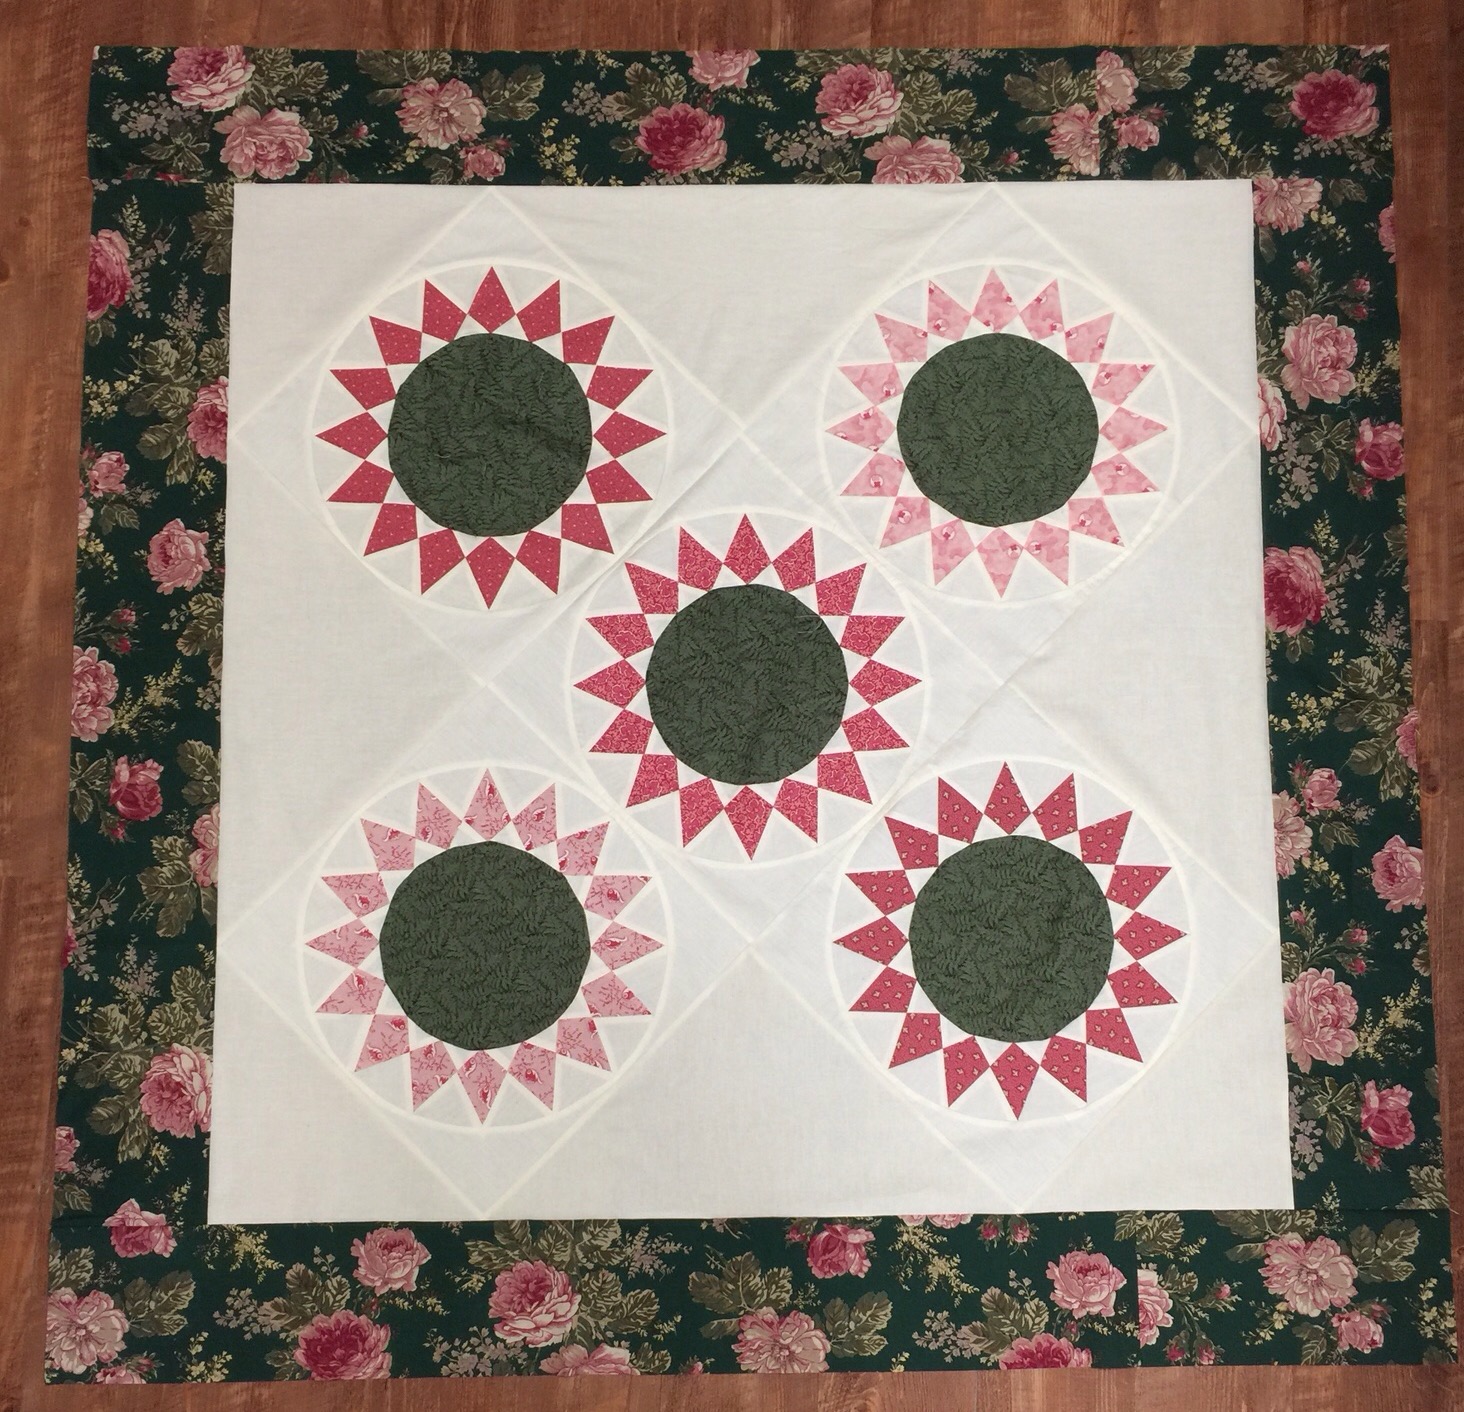
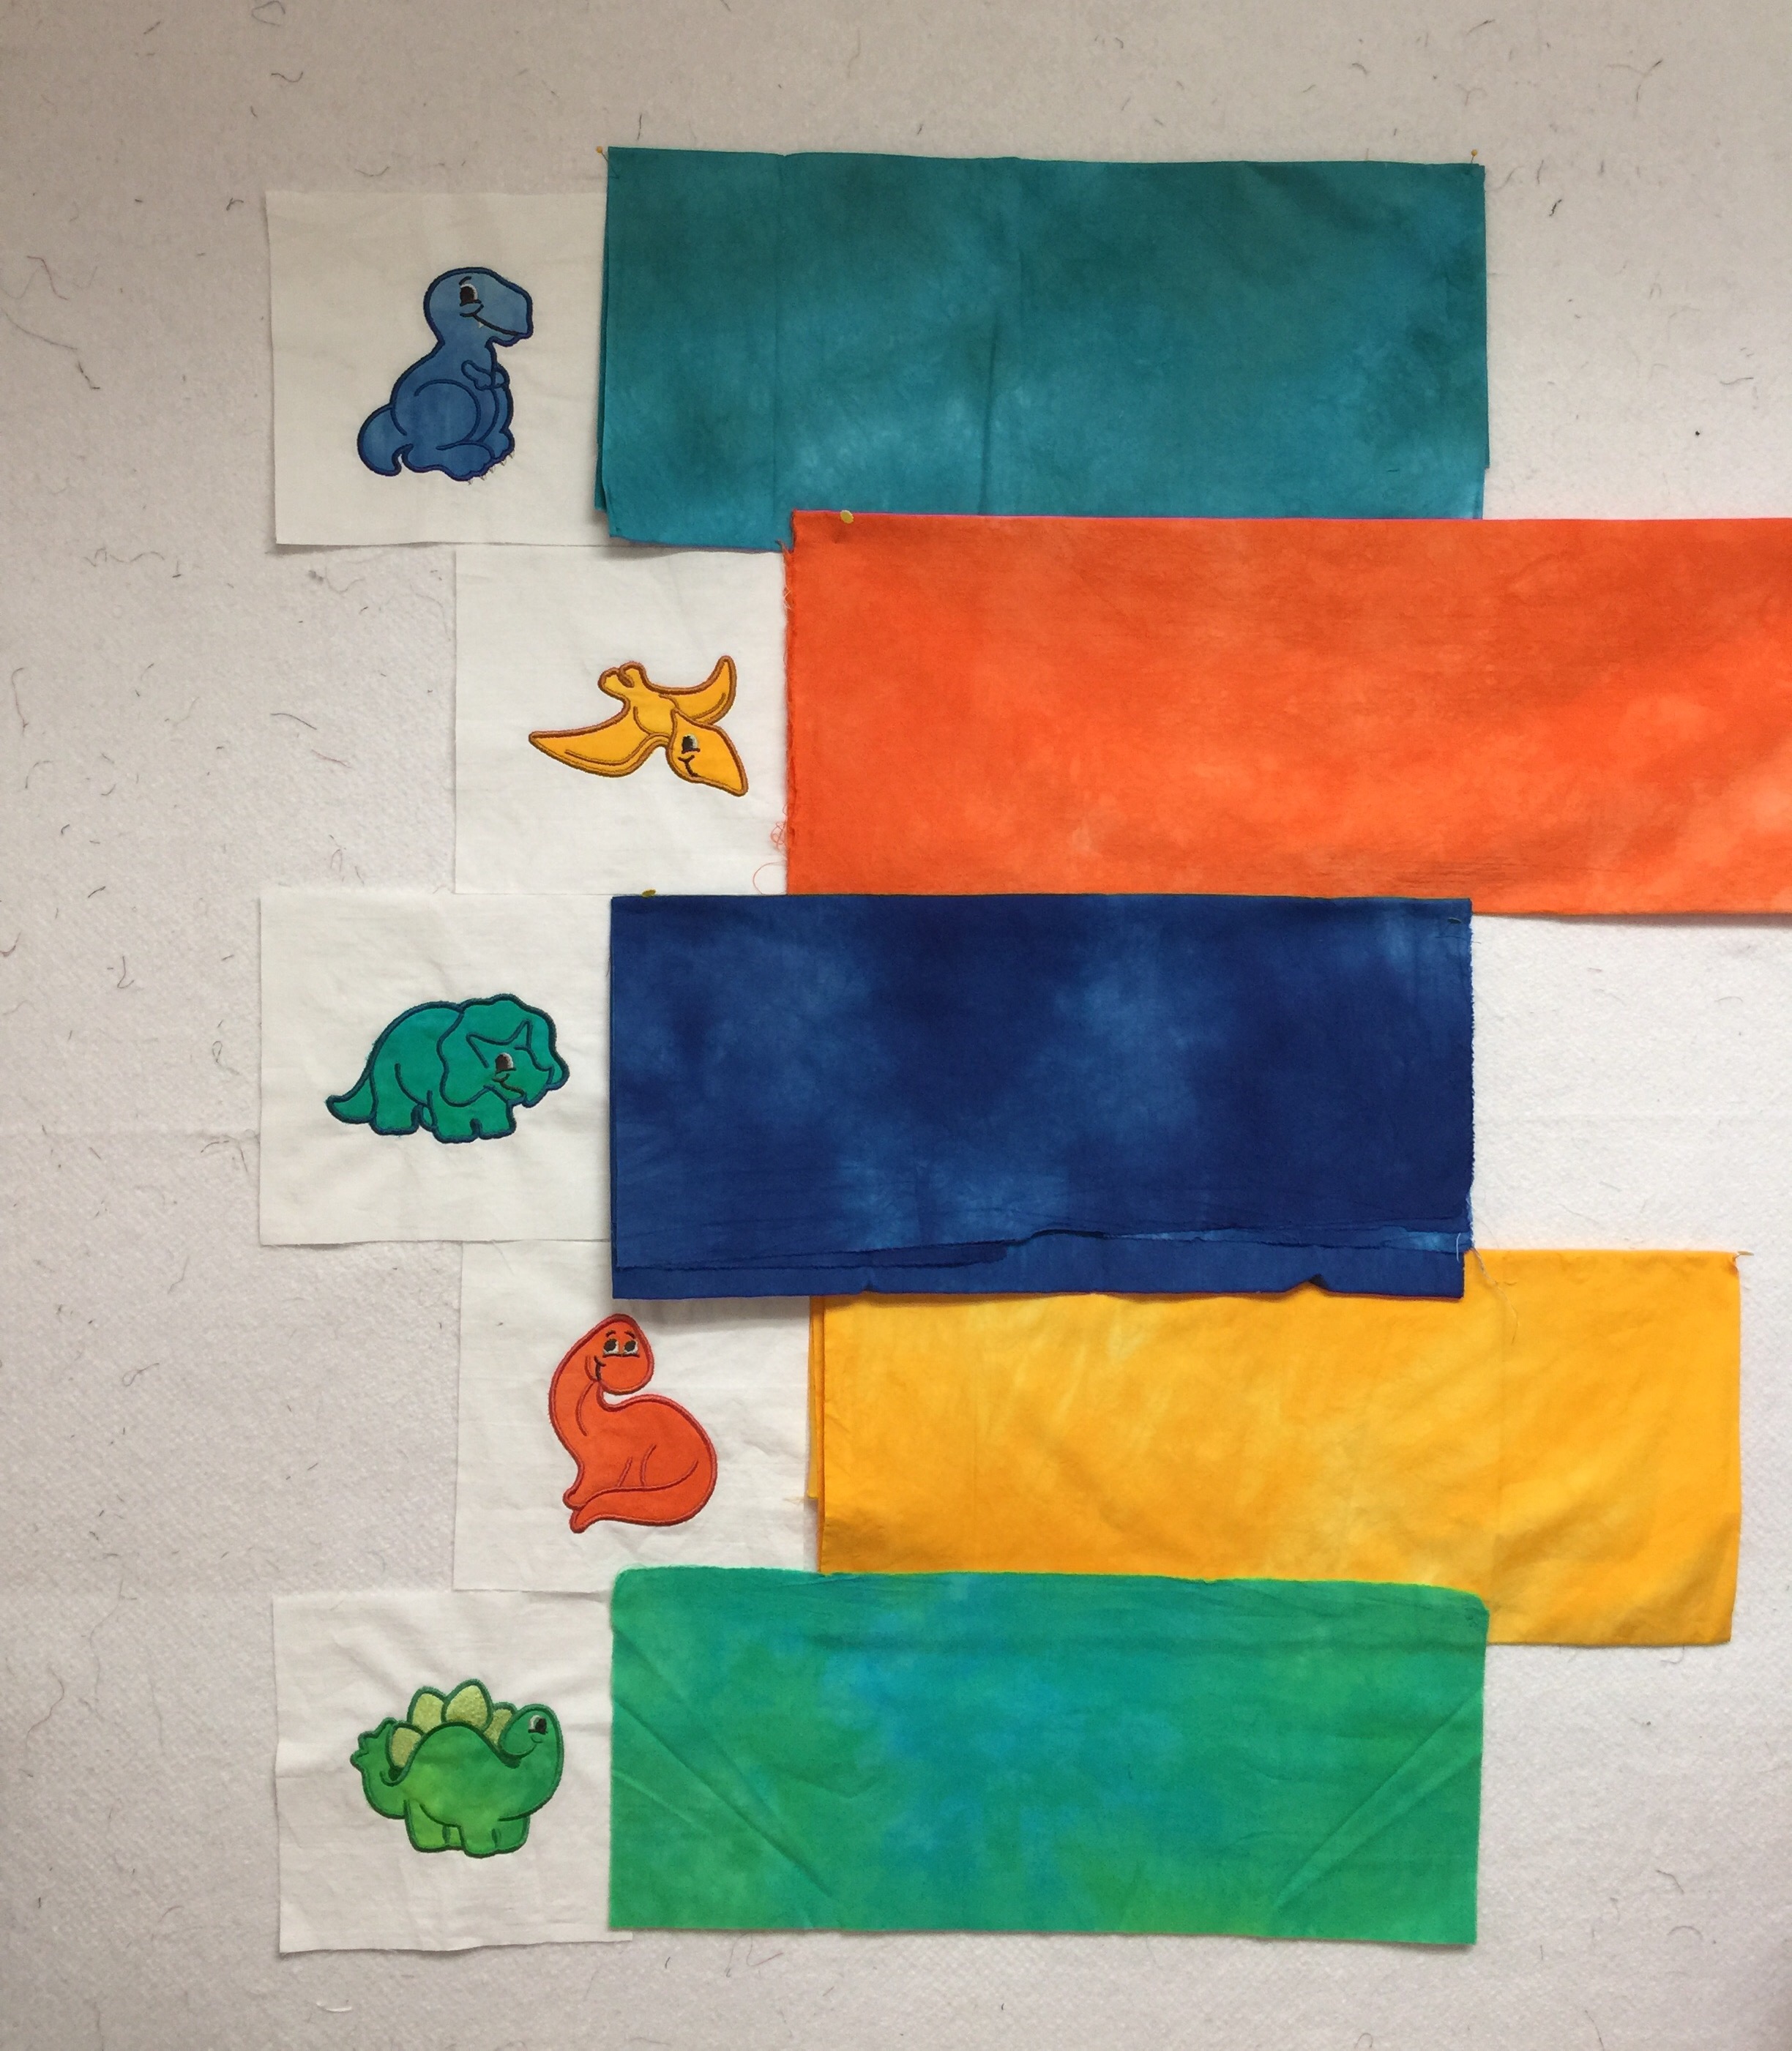
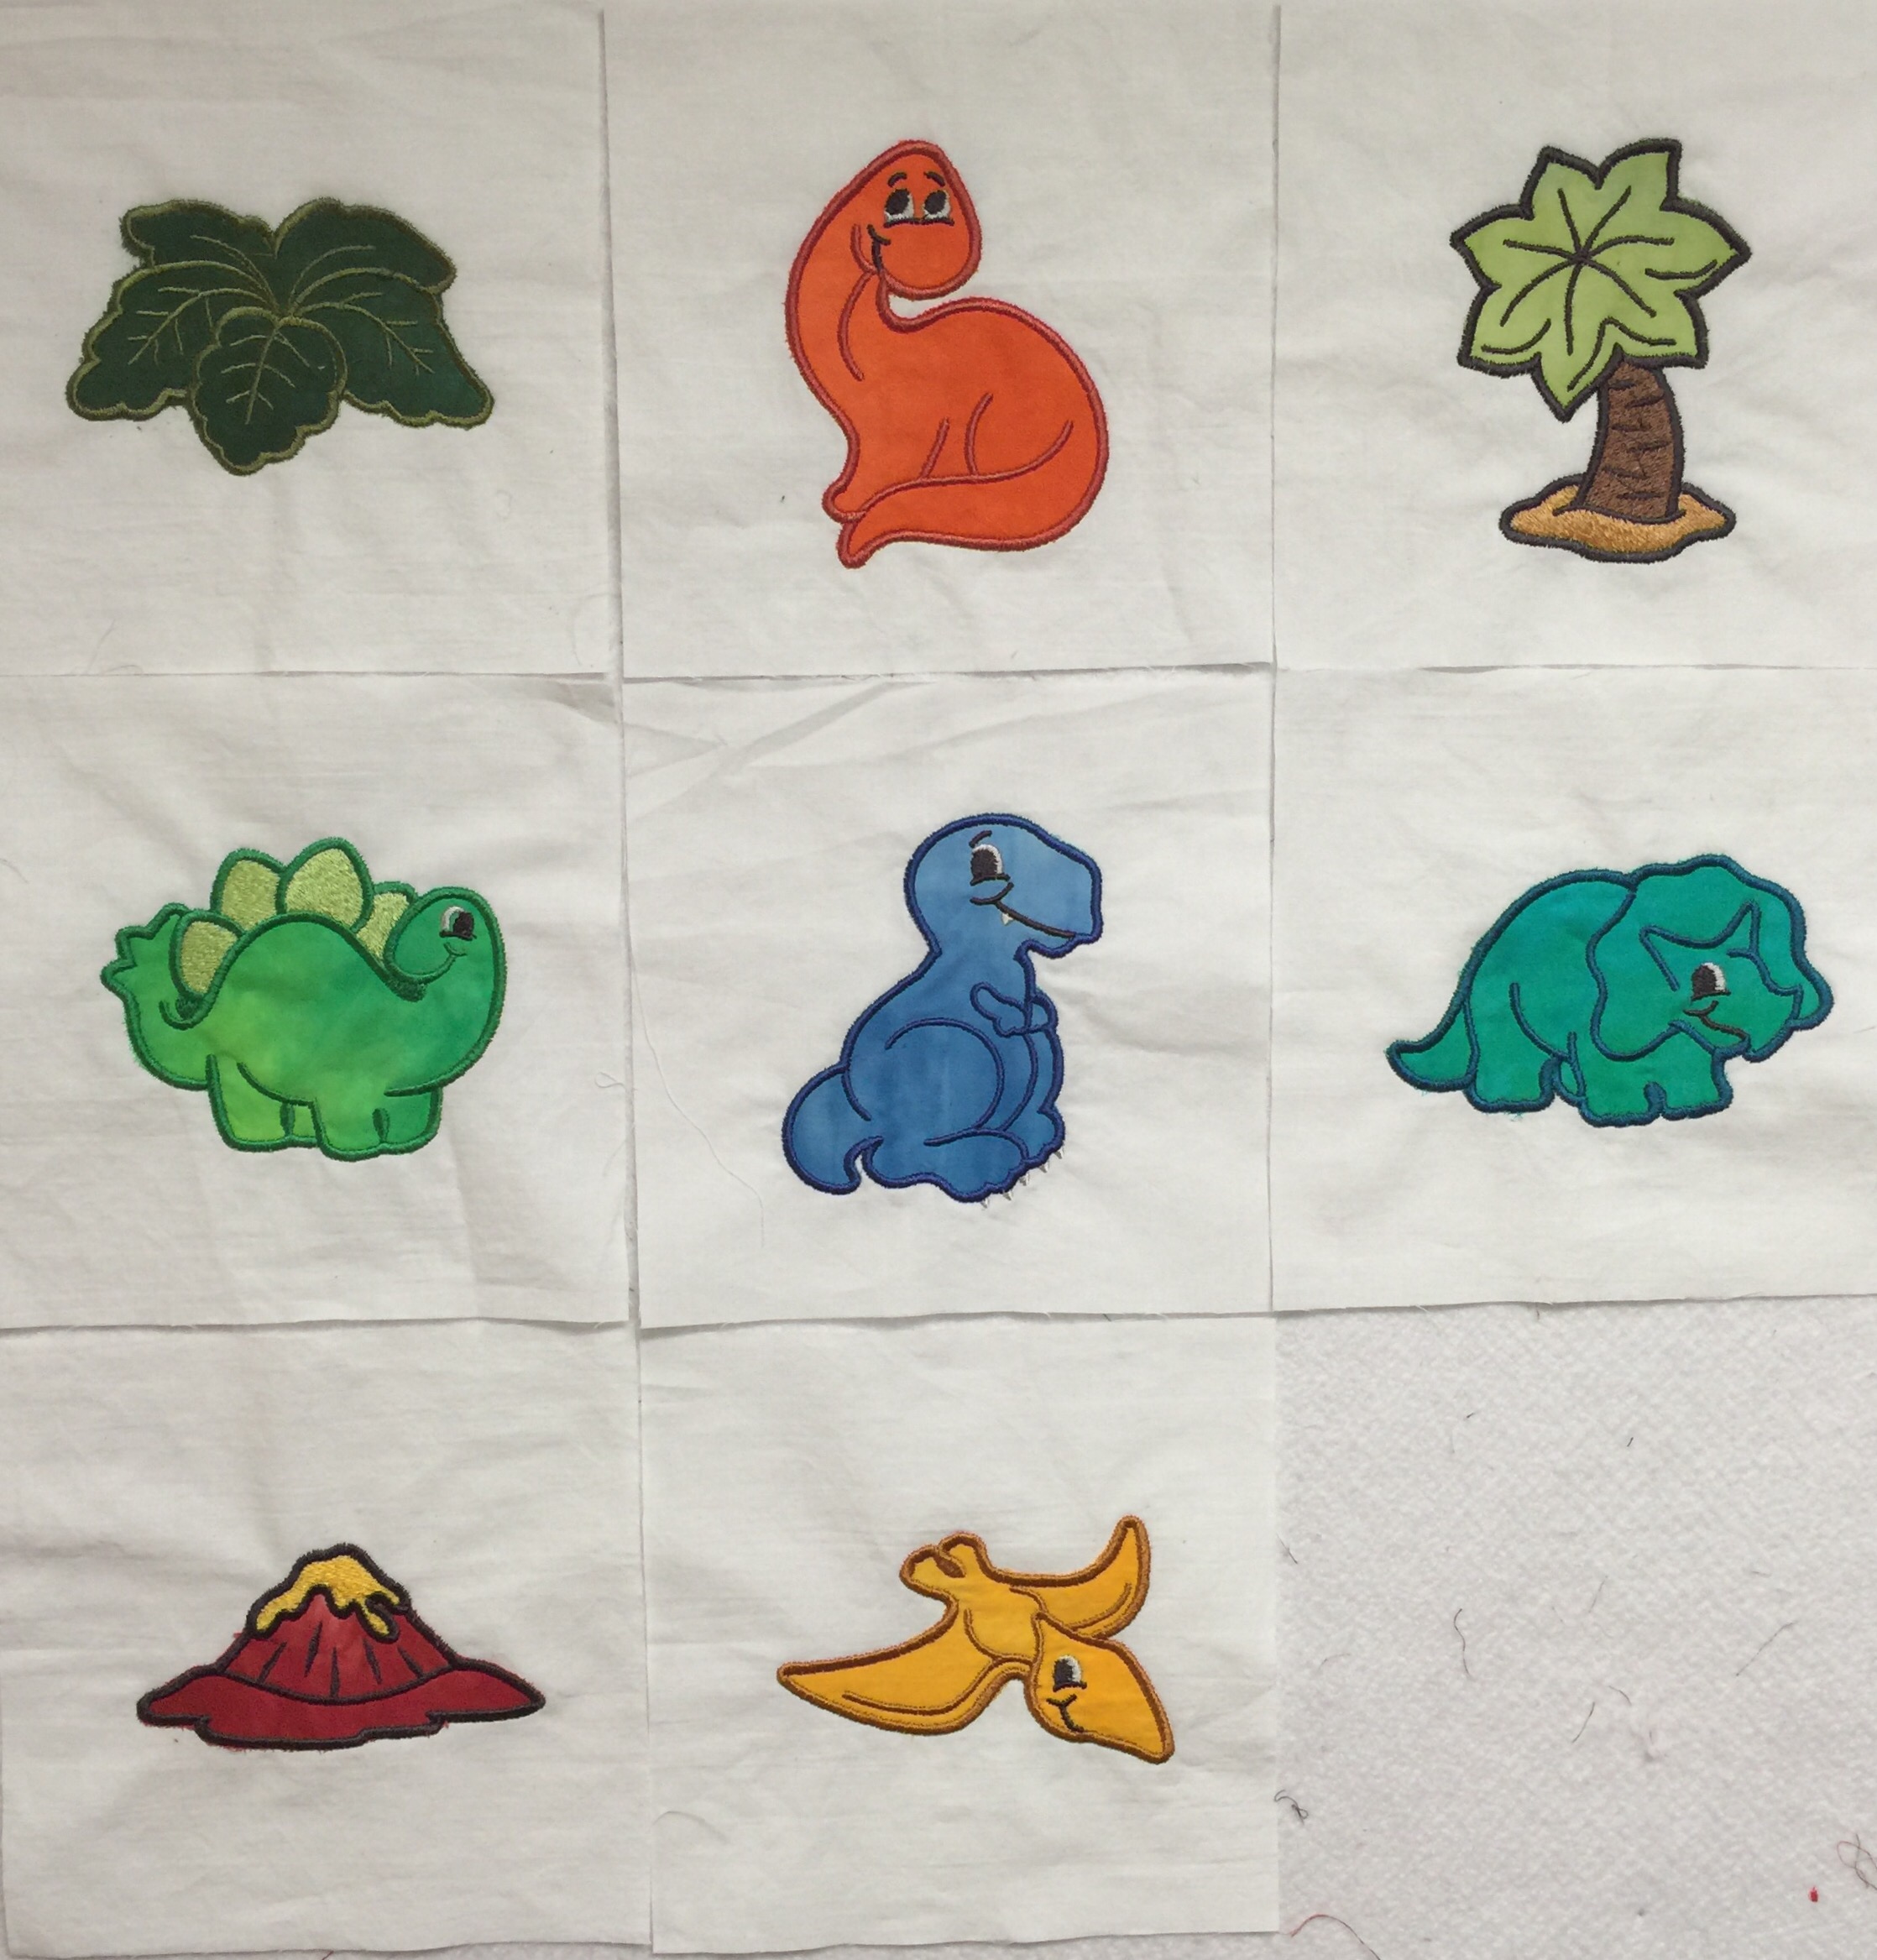
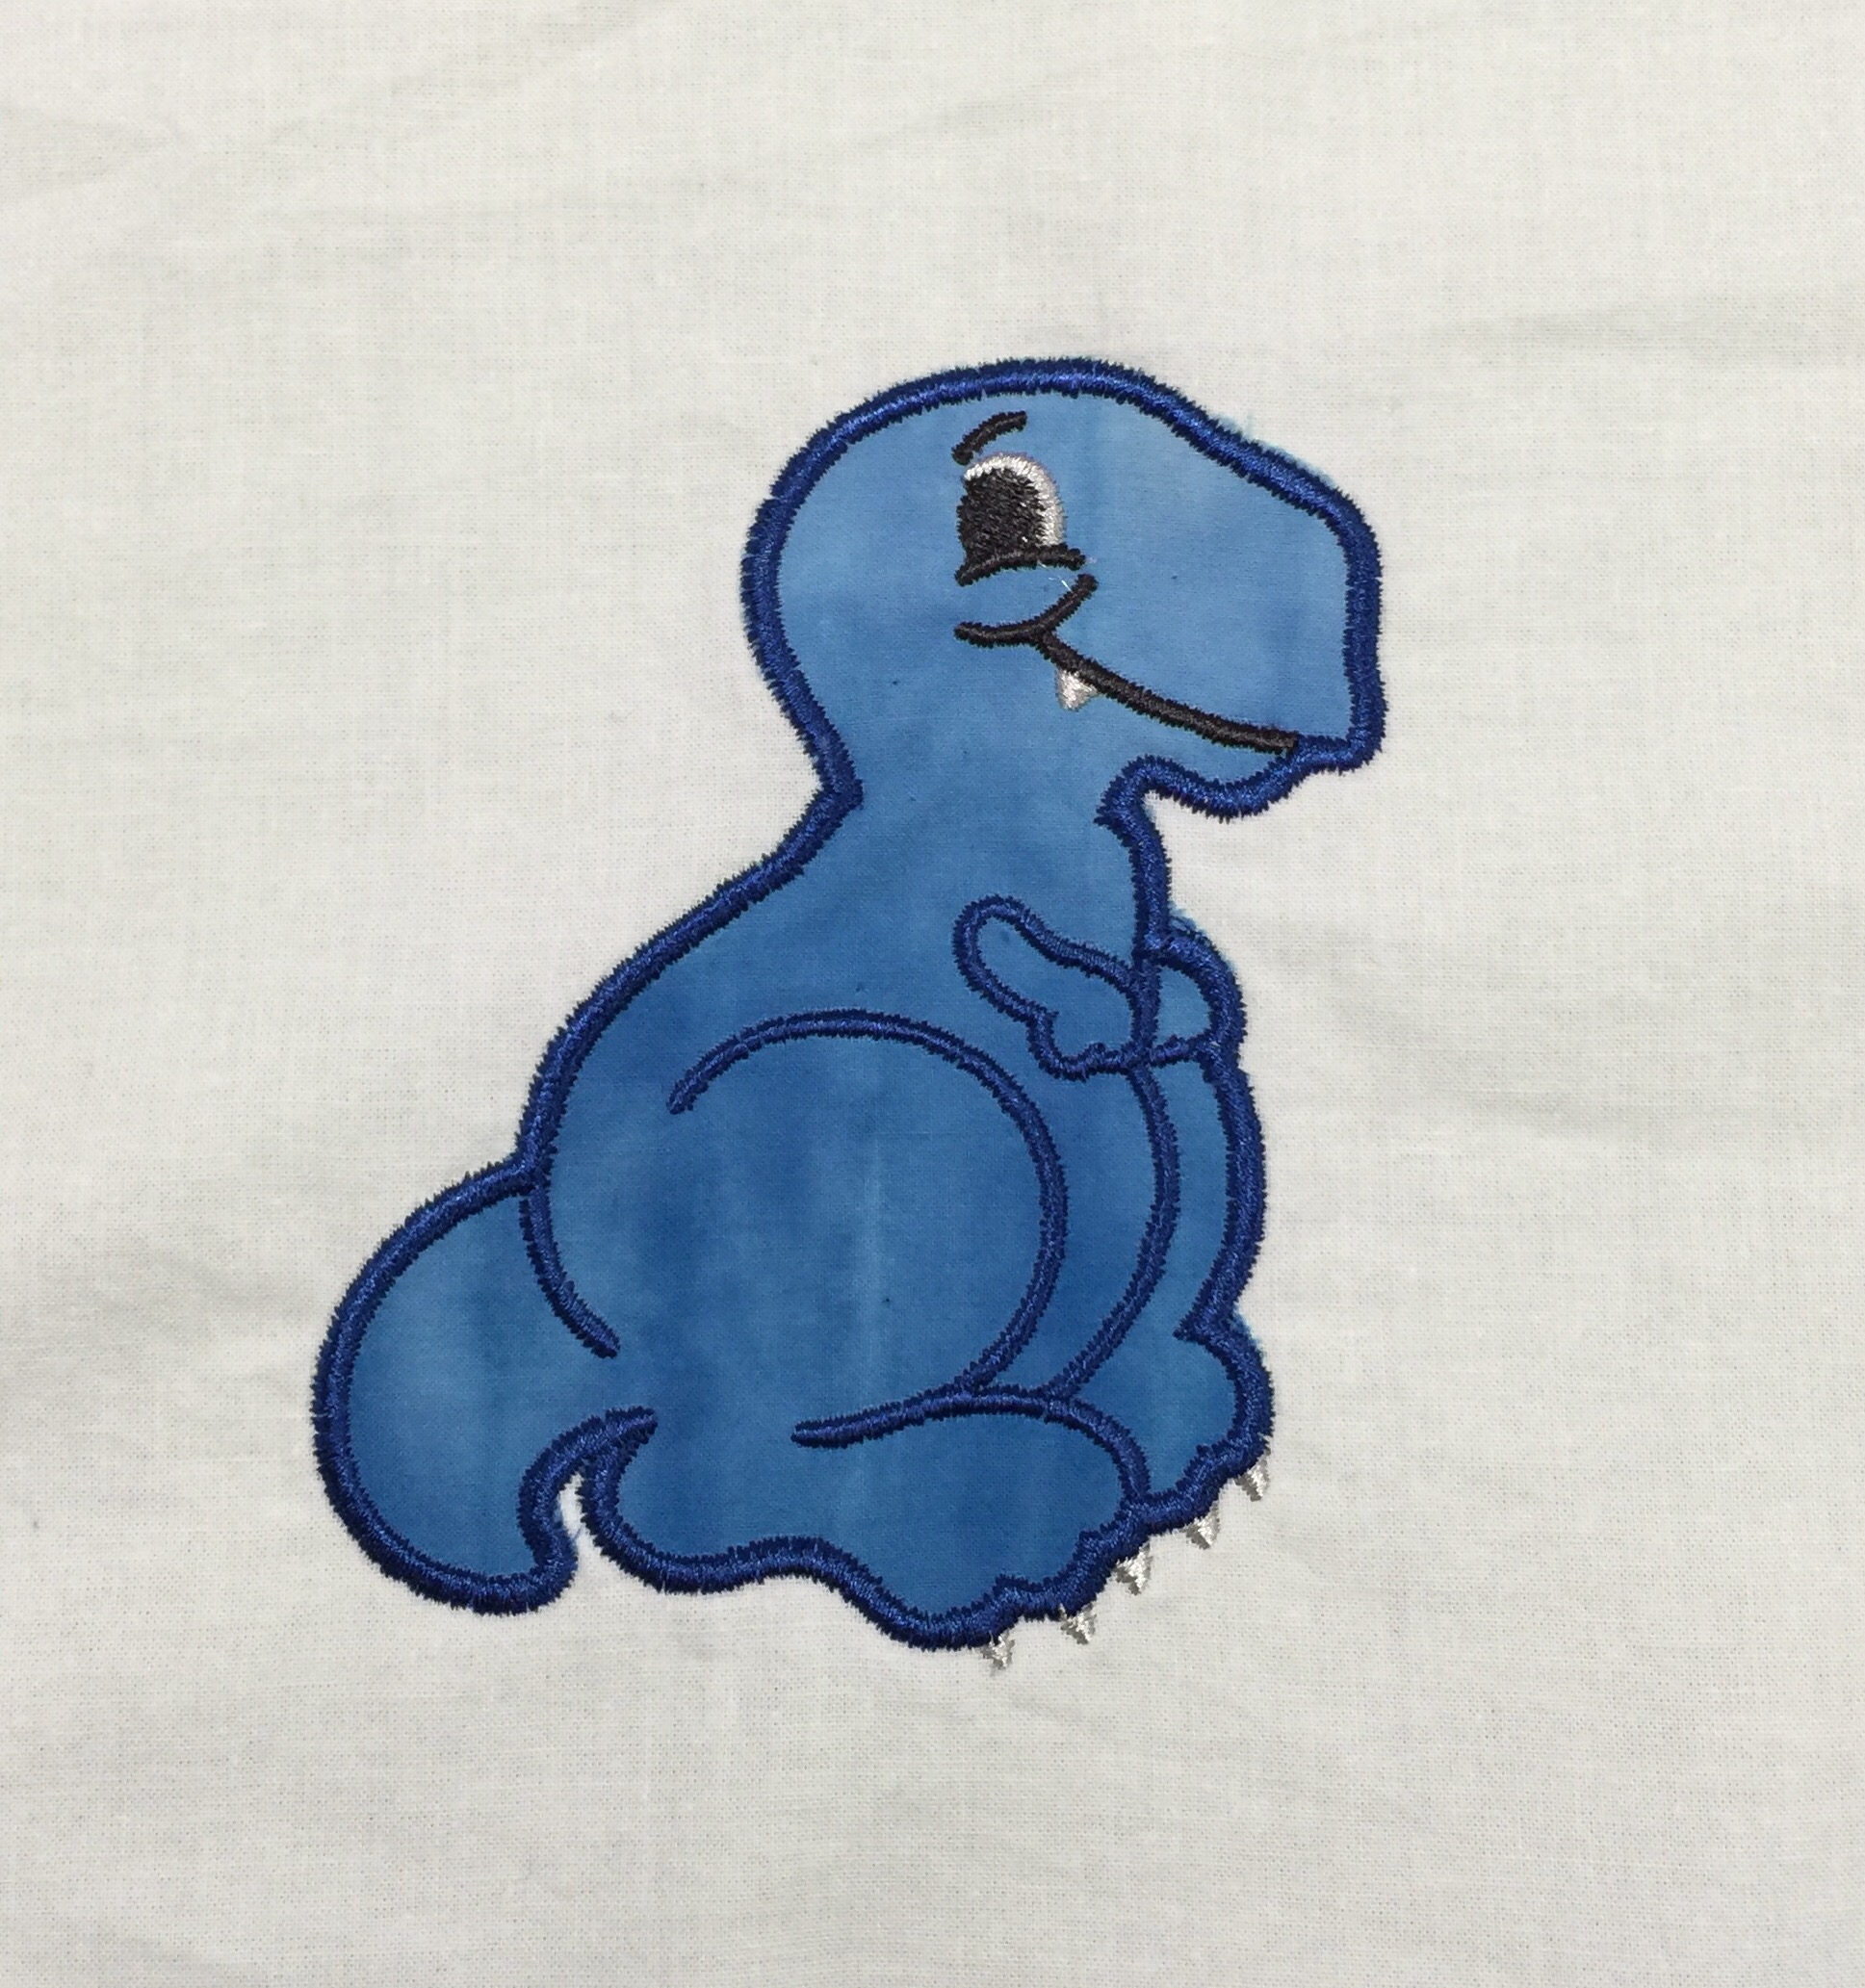
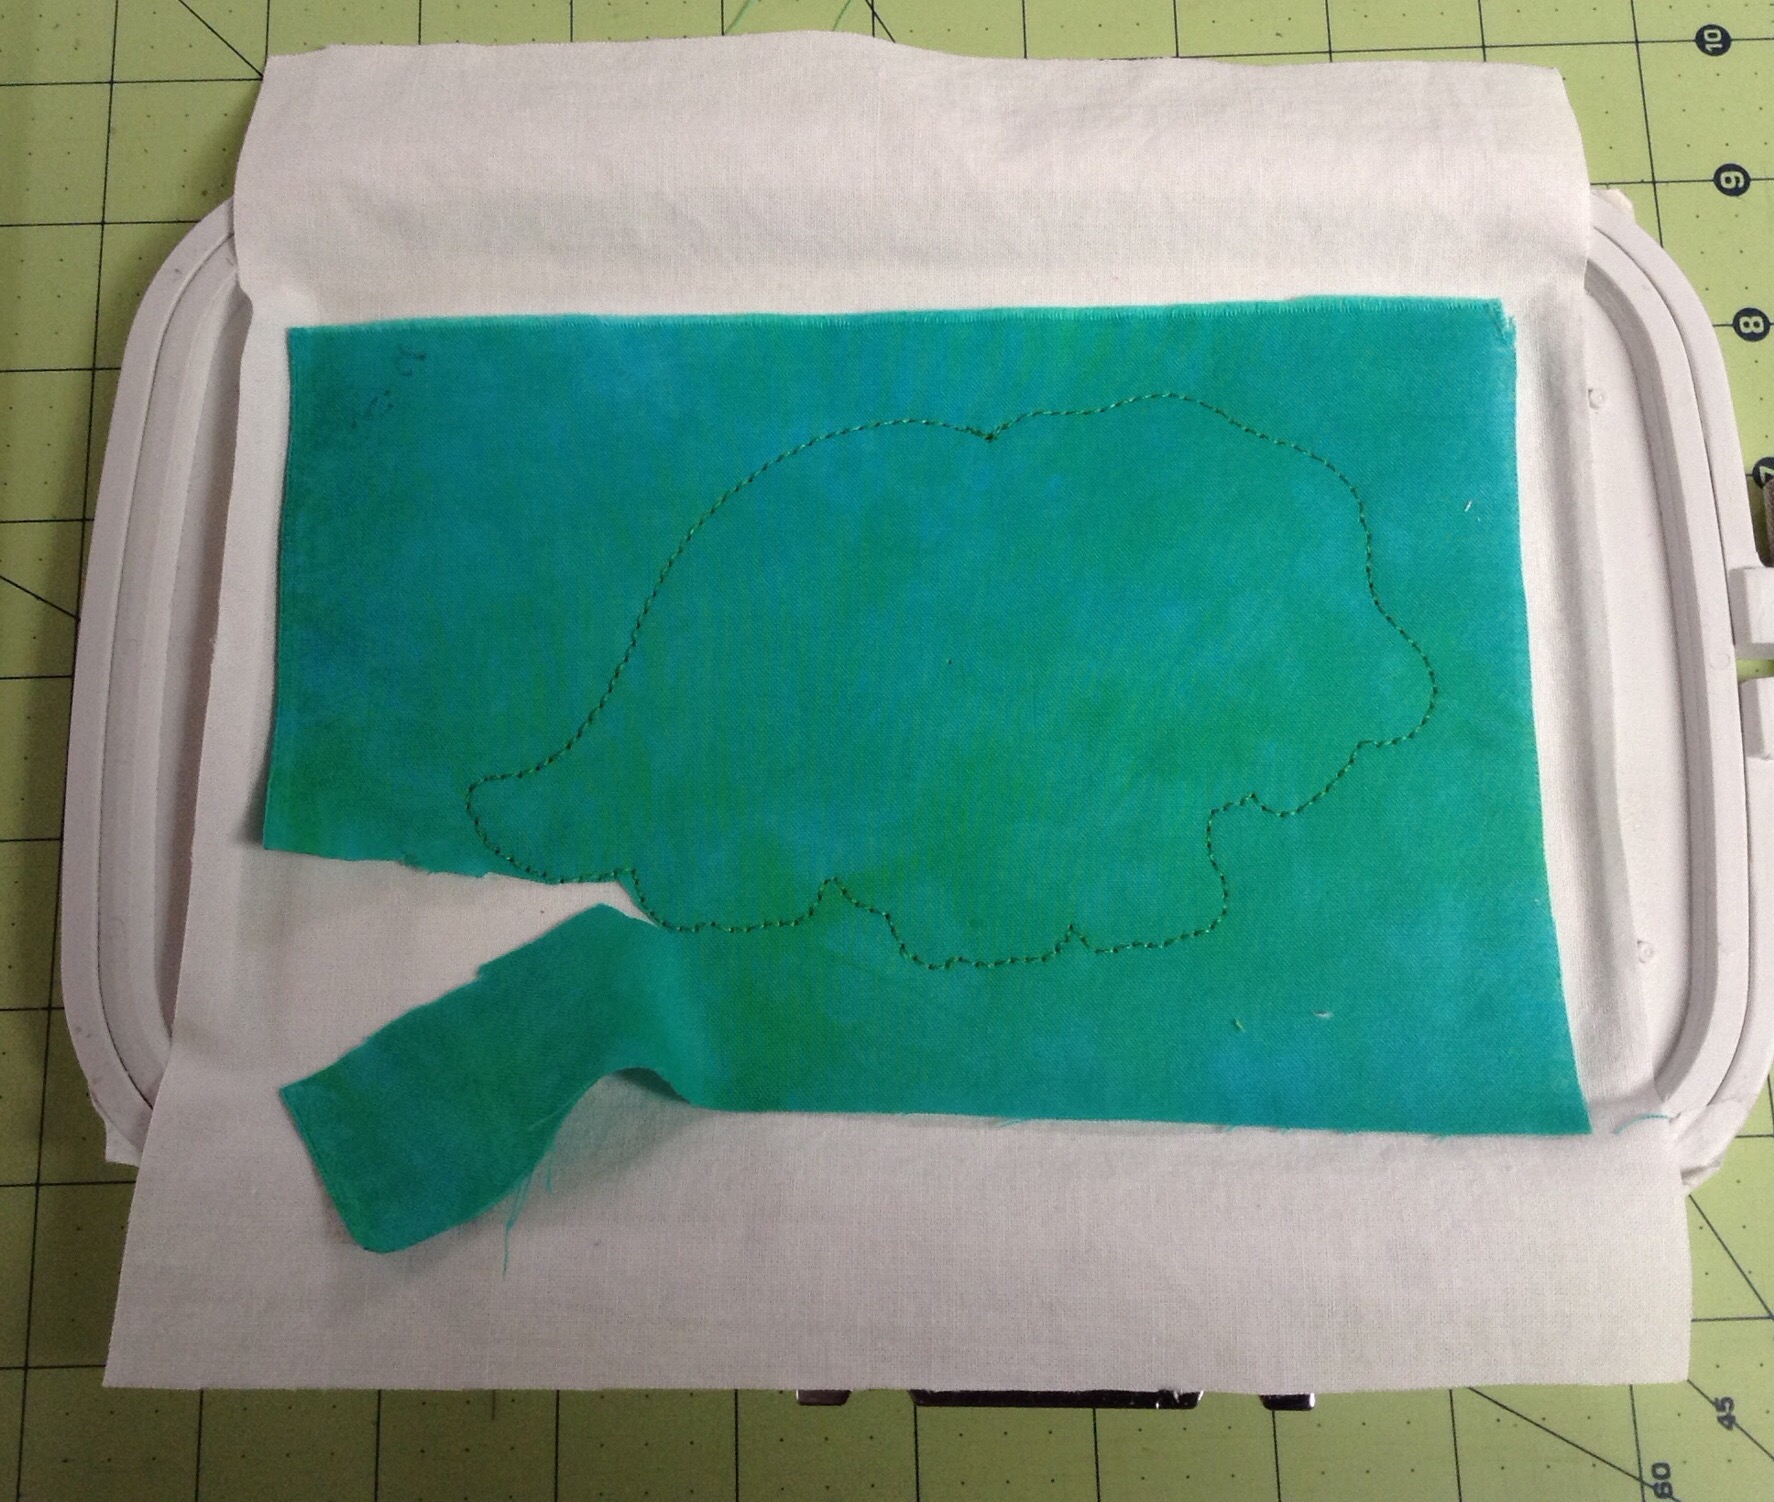
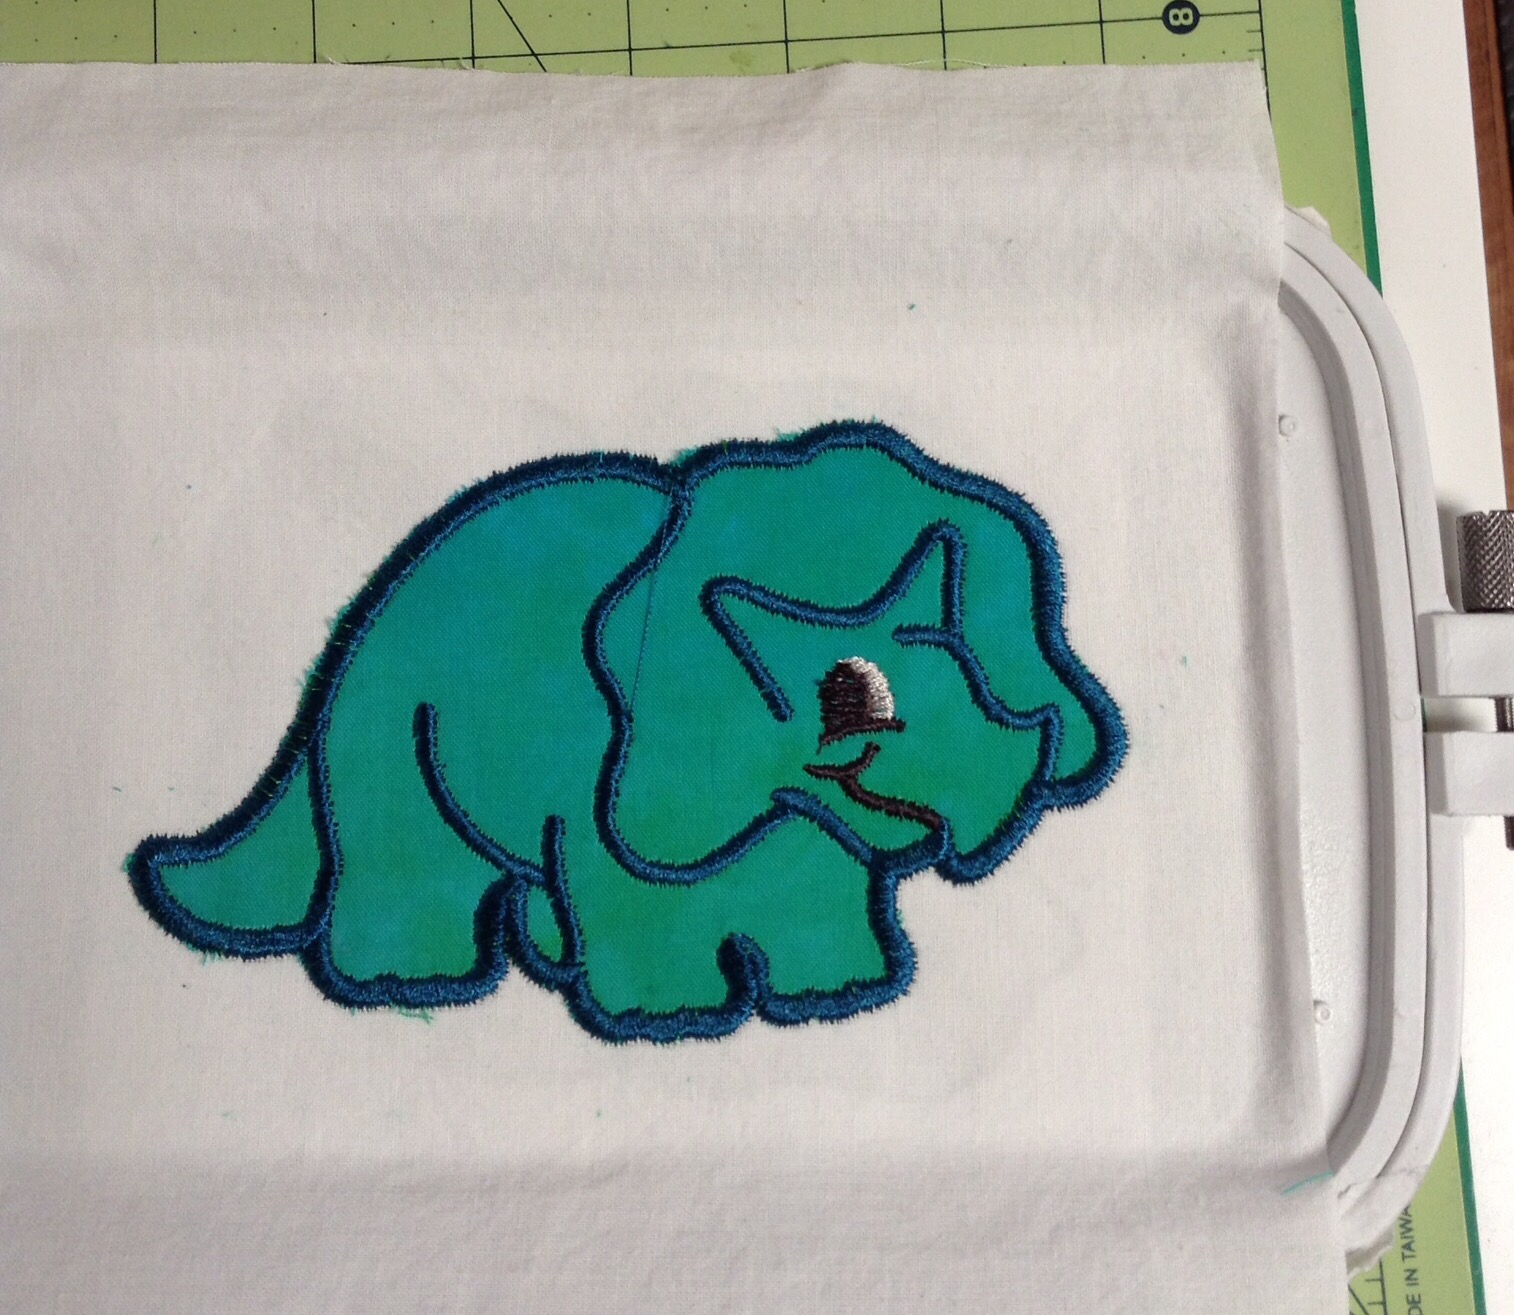
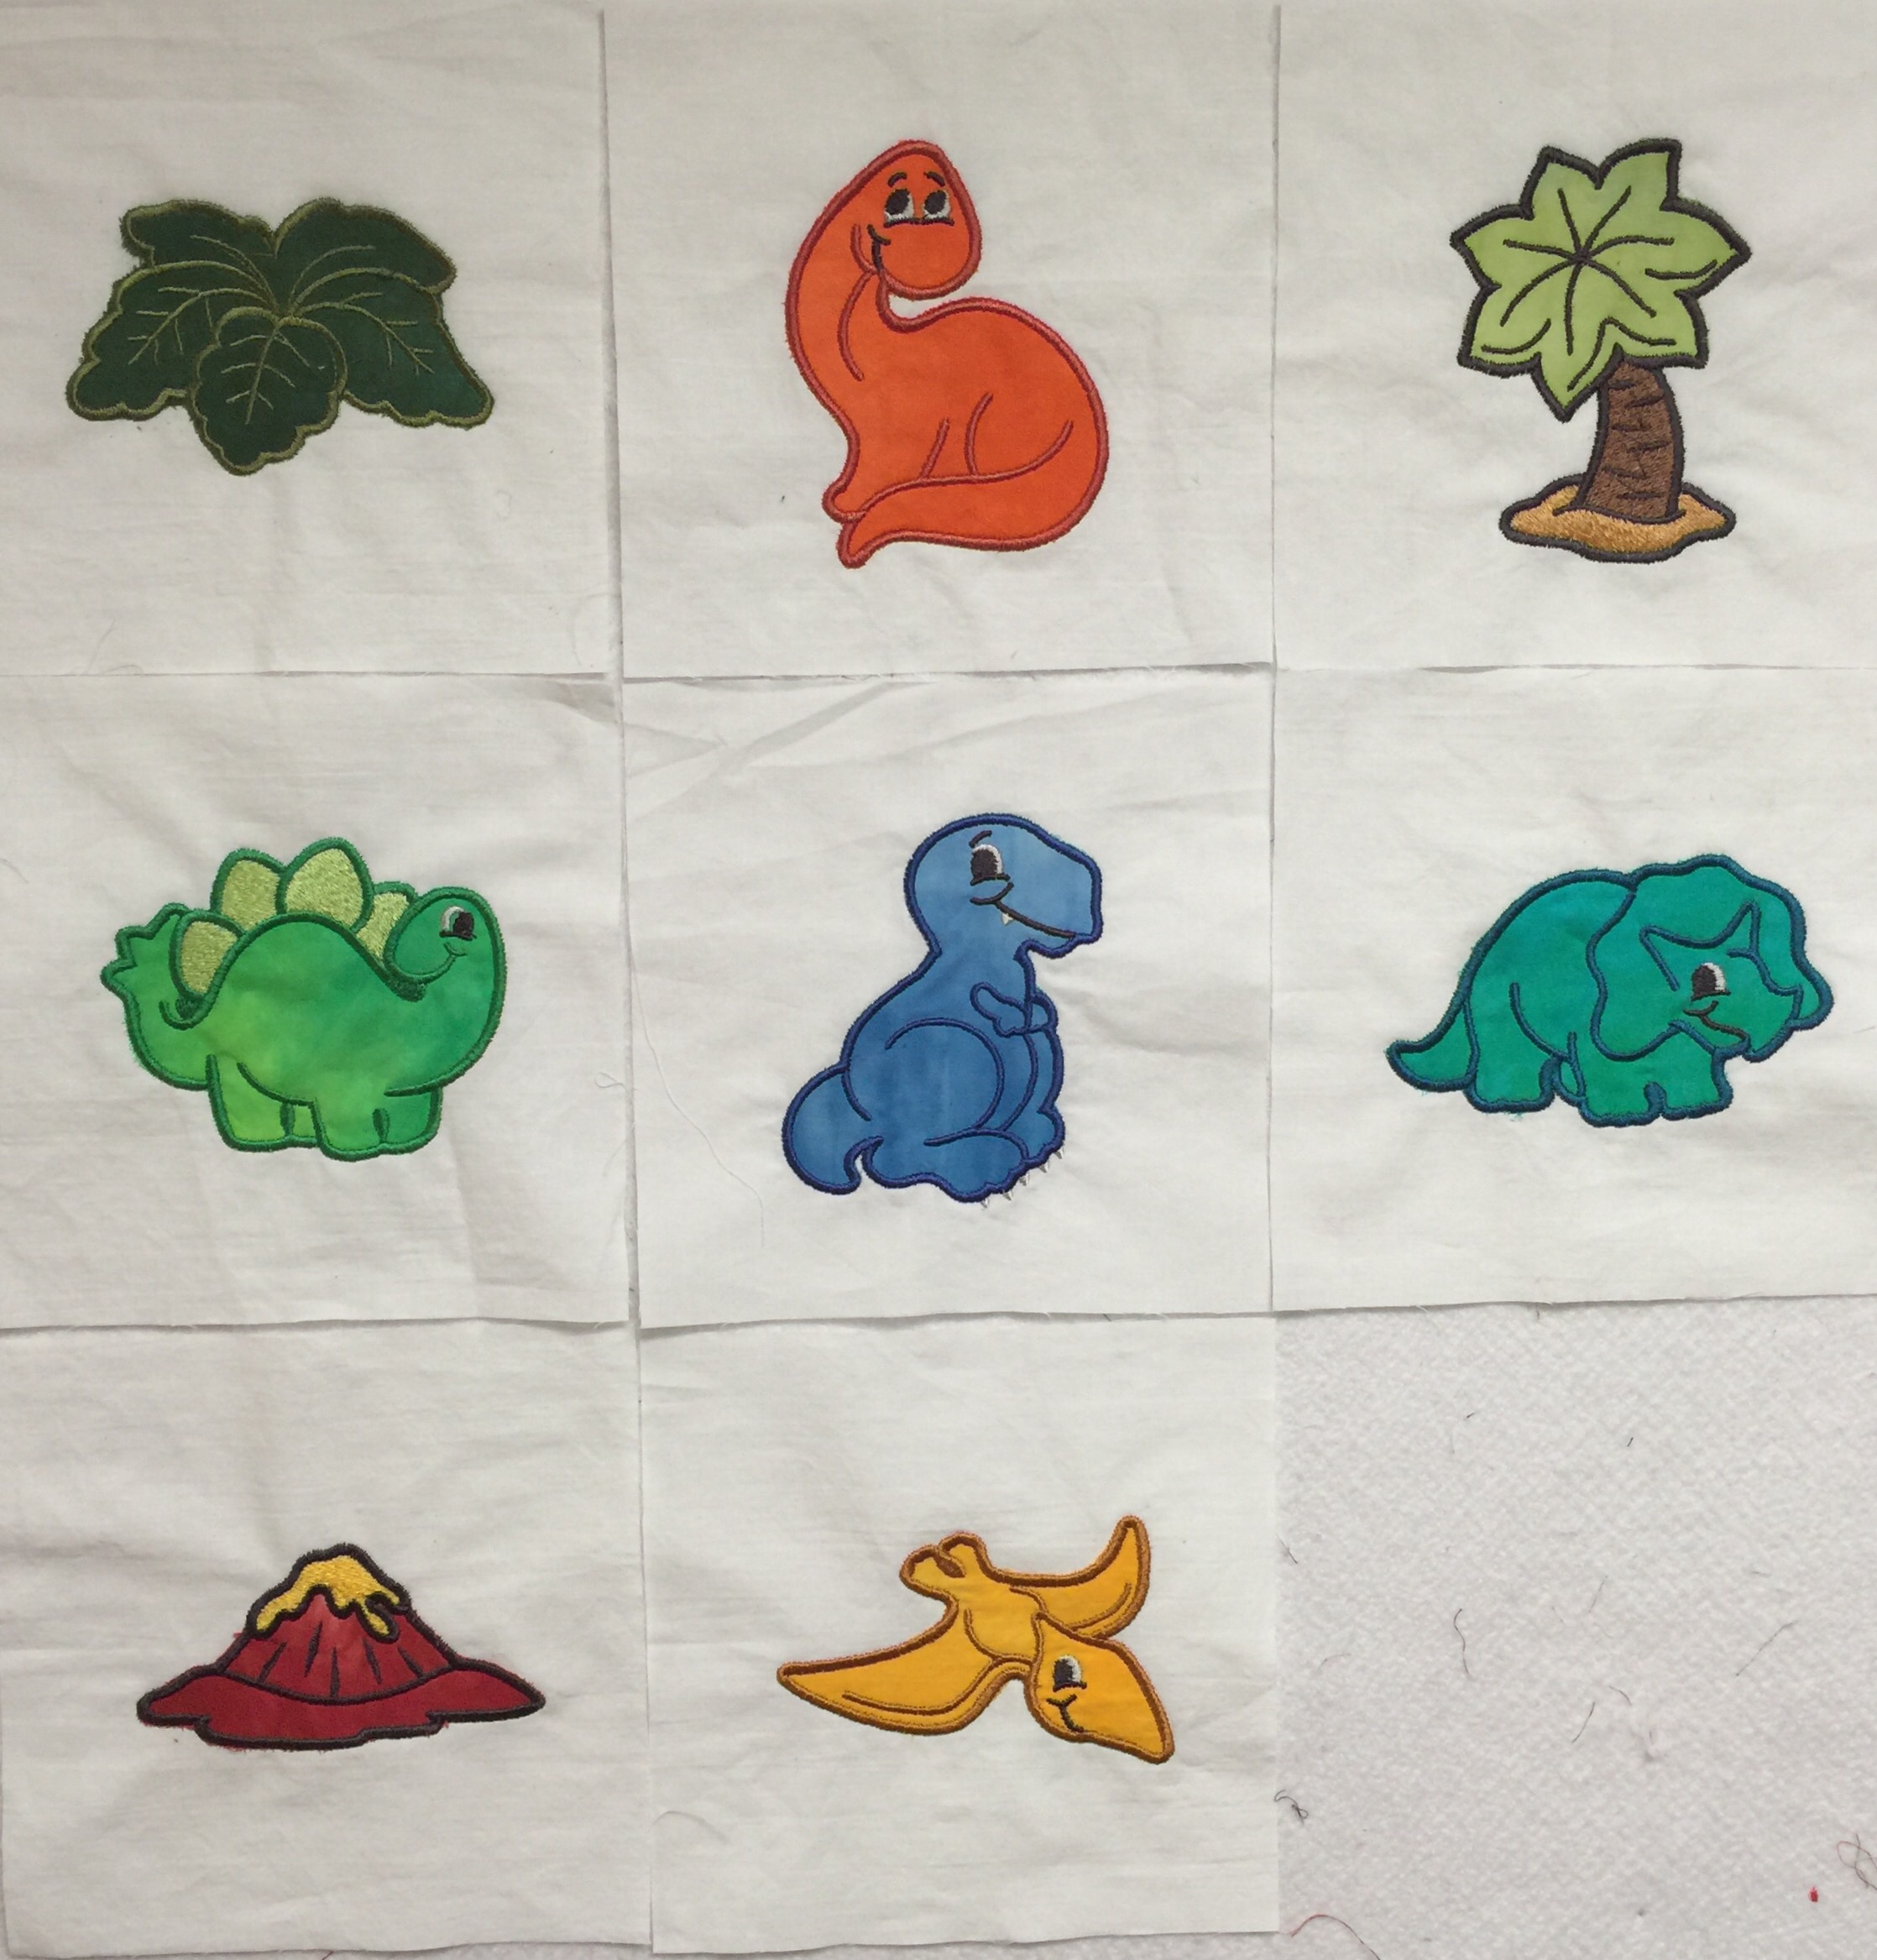
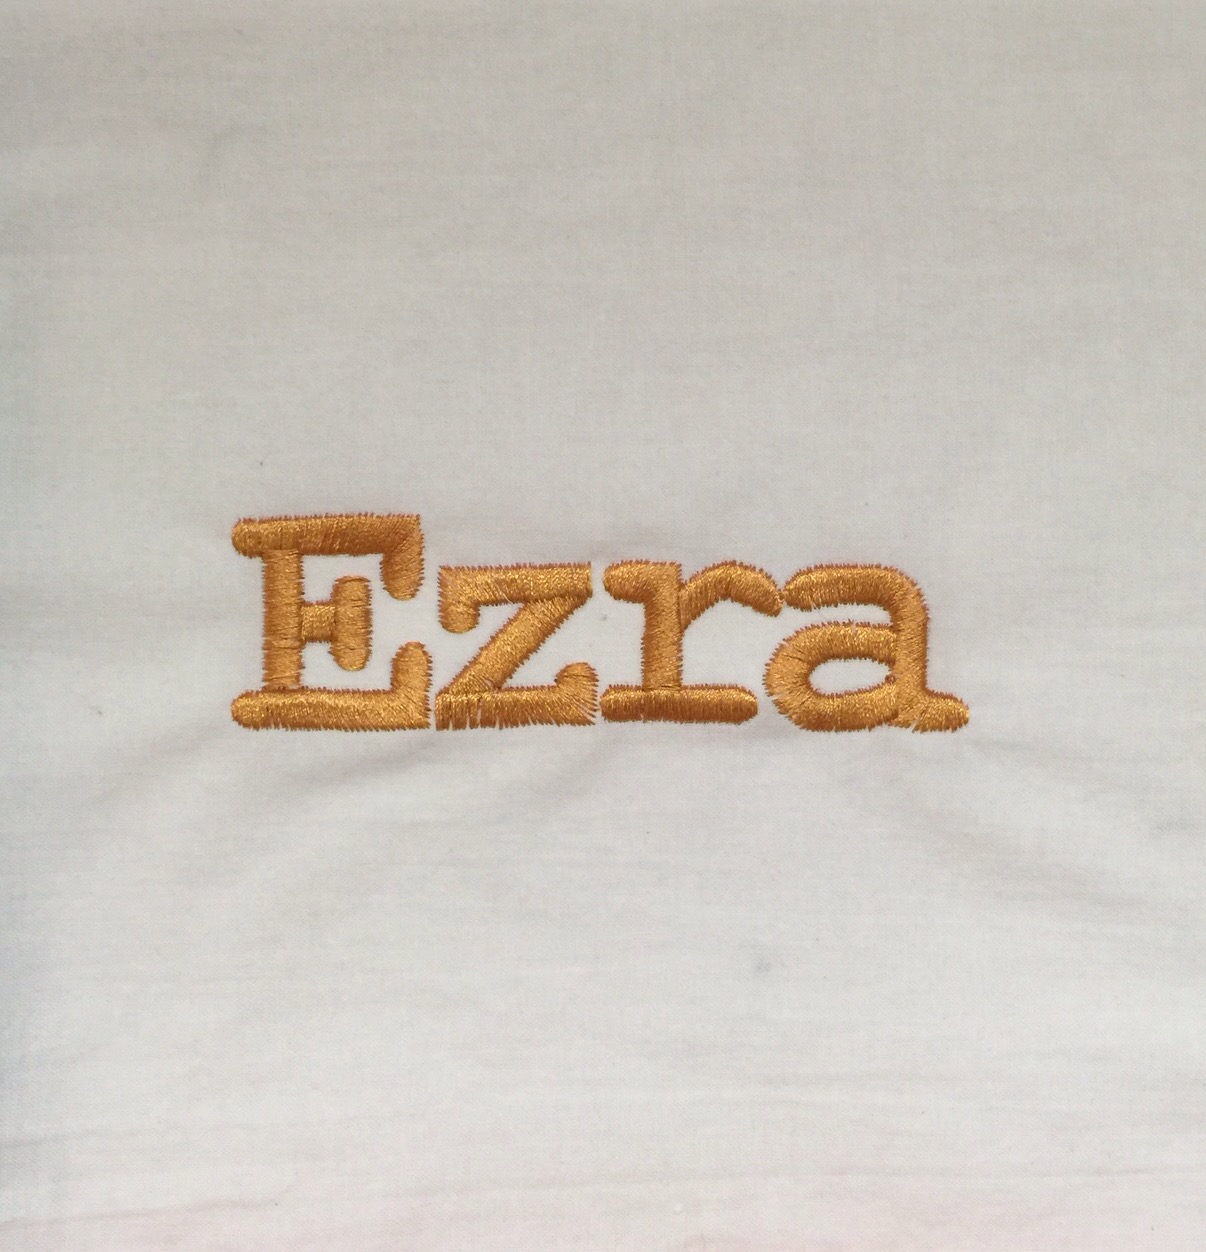
 I did embroider one more block for the Dino quilt with baby’s name.
 Maybe I should play around on EQ7 a bit and maybe that will help me come up with a plan.