I found this little machine on Facebook Marketplace last weekend. That’s about the only thing I use Facebook for. I got a cover for it, but no attachments. I did find a manual online. It sews a lovely stitch!
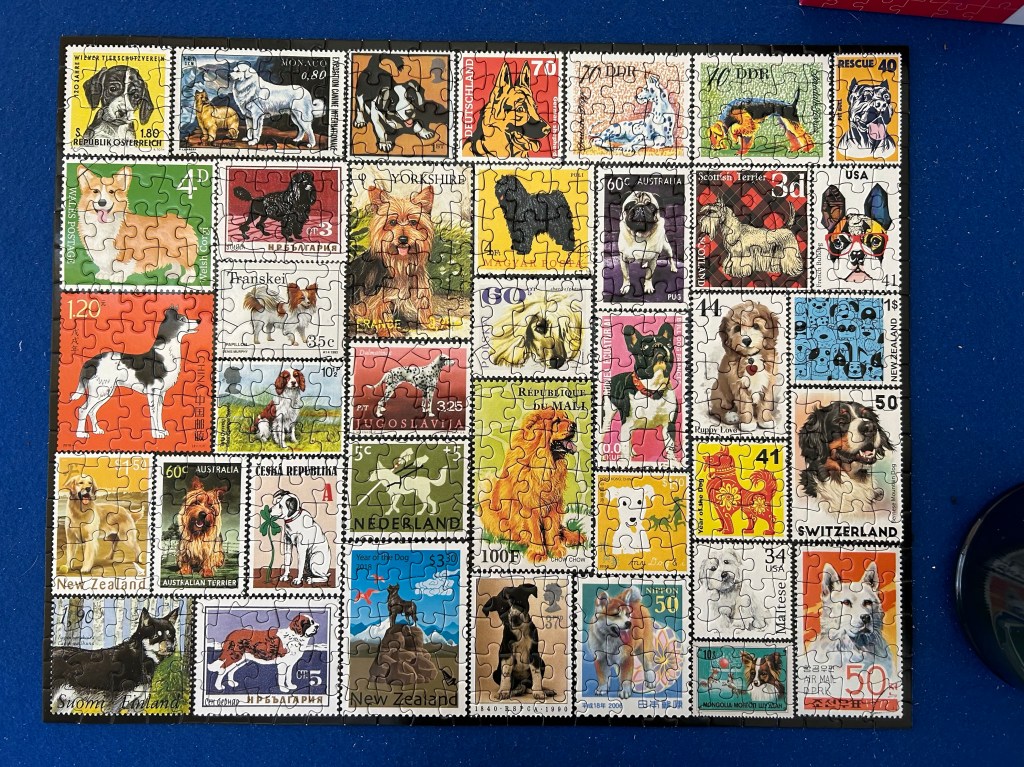
Daughter #2 gave me this. Isn’t it fun?
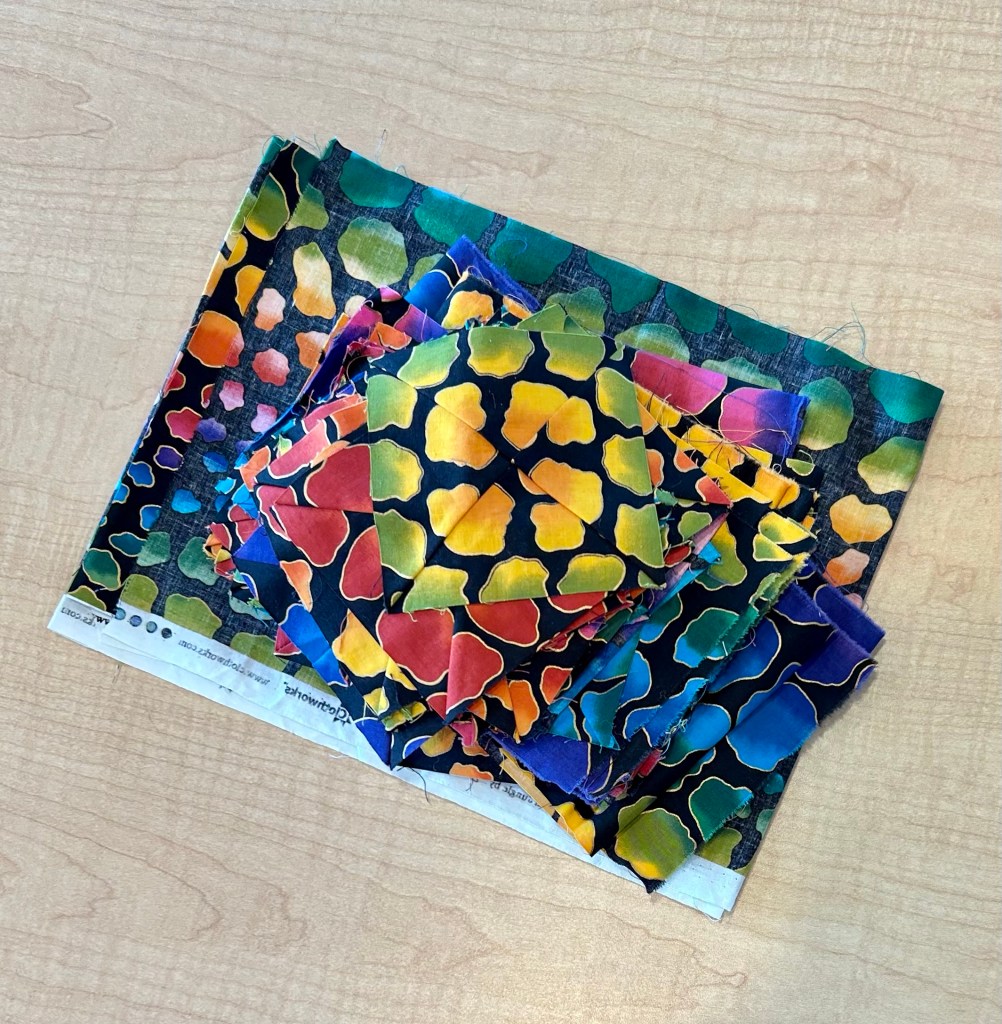
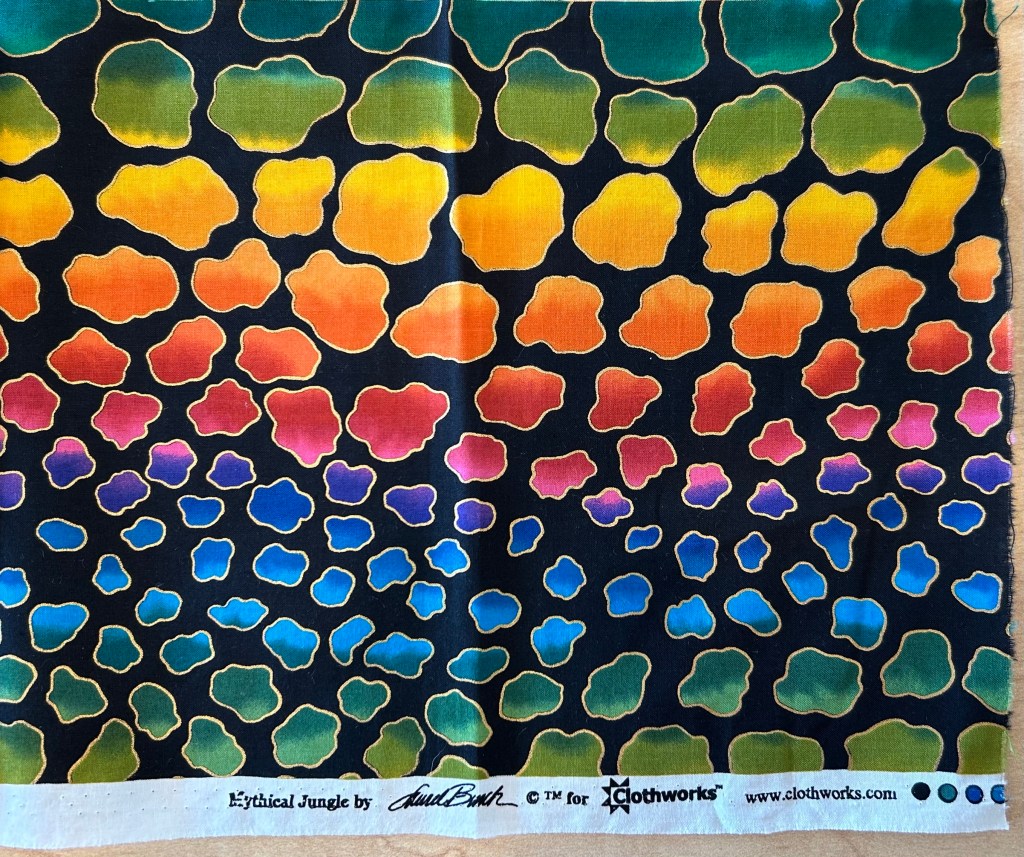
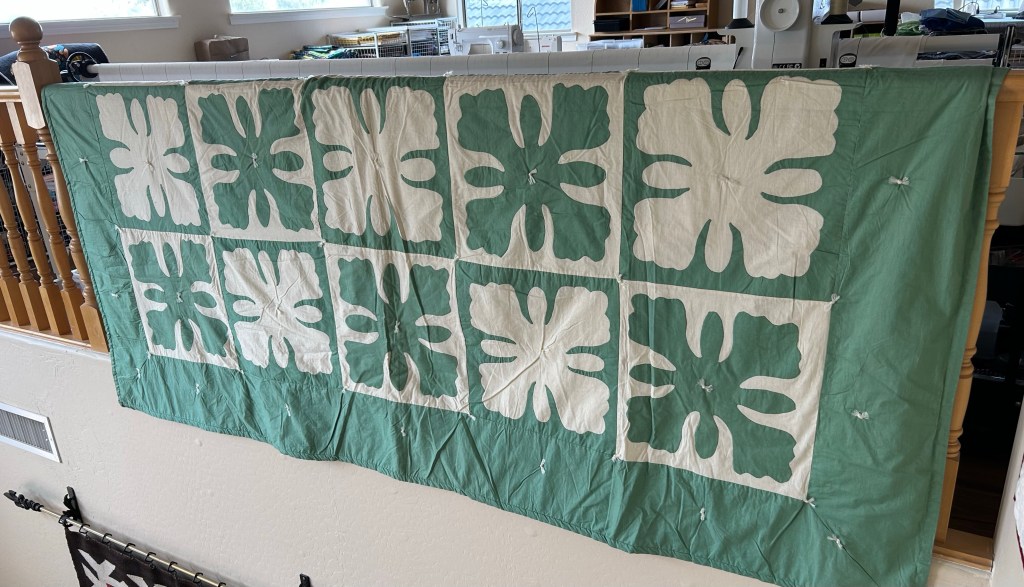
Found this fun fabric at Goodwill. Of course, it had to come home.
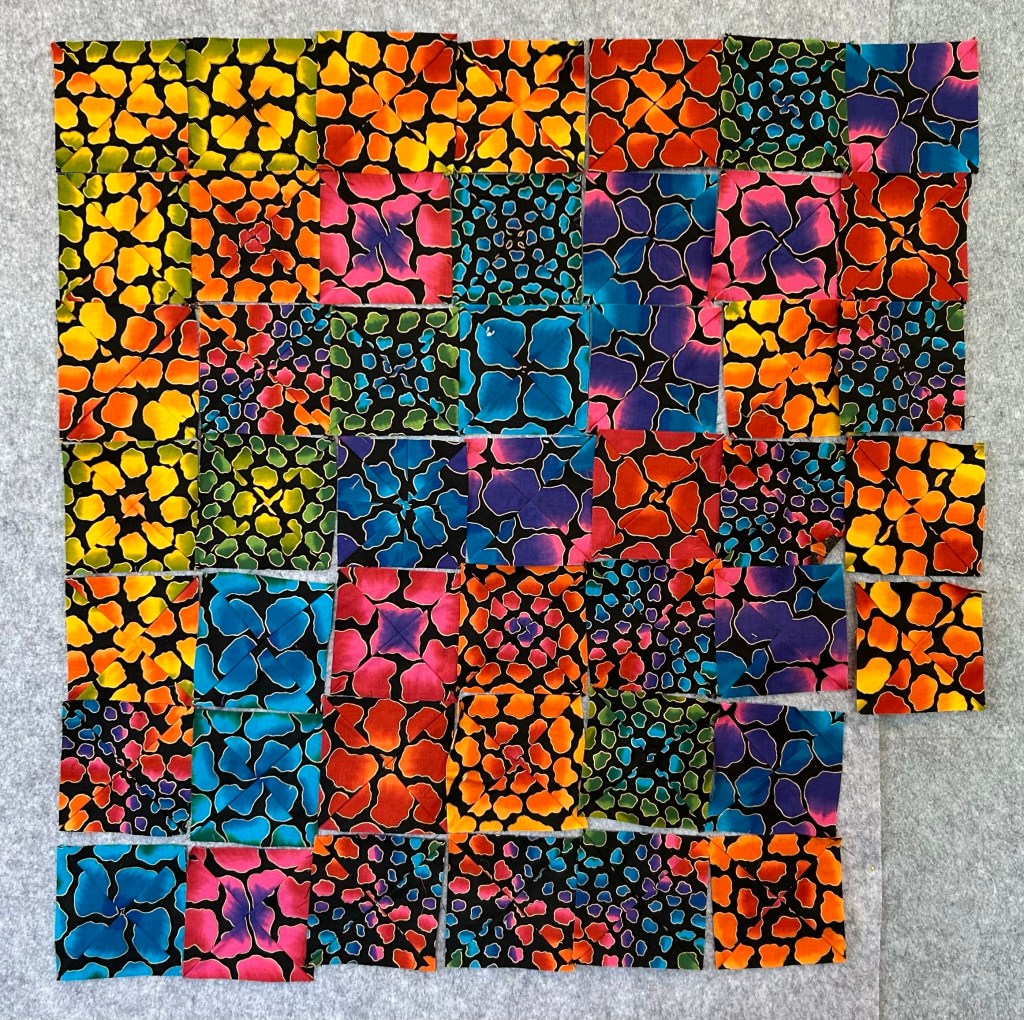
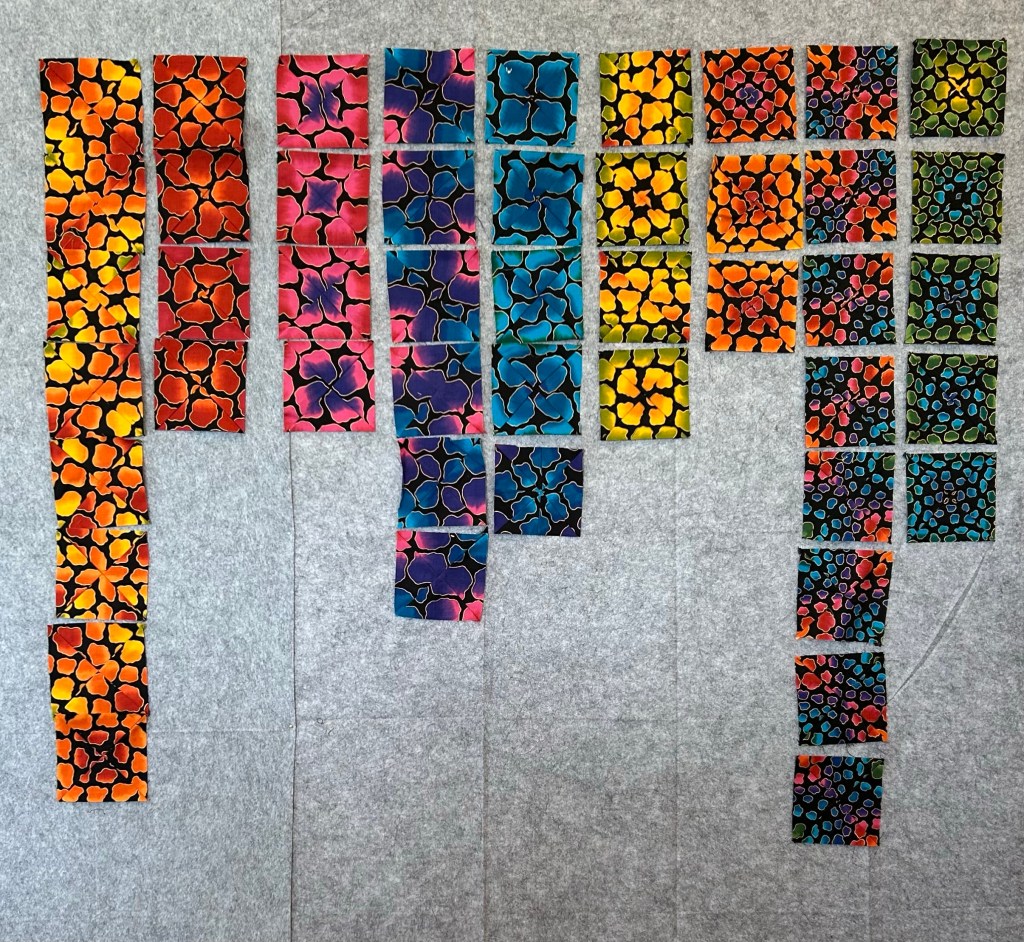
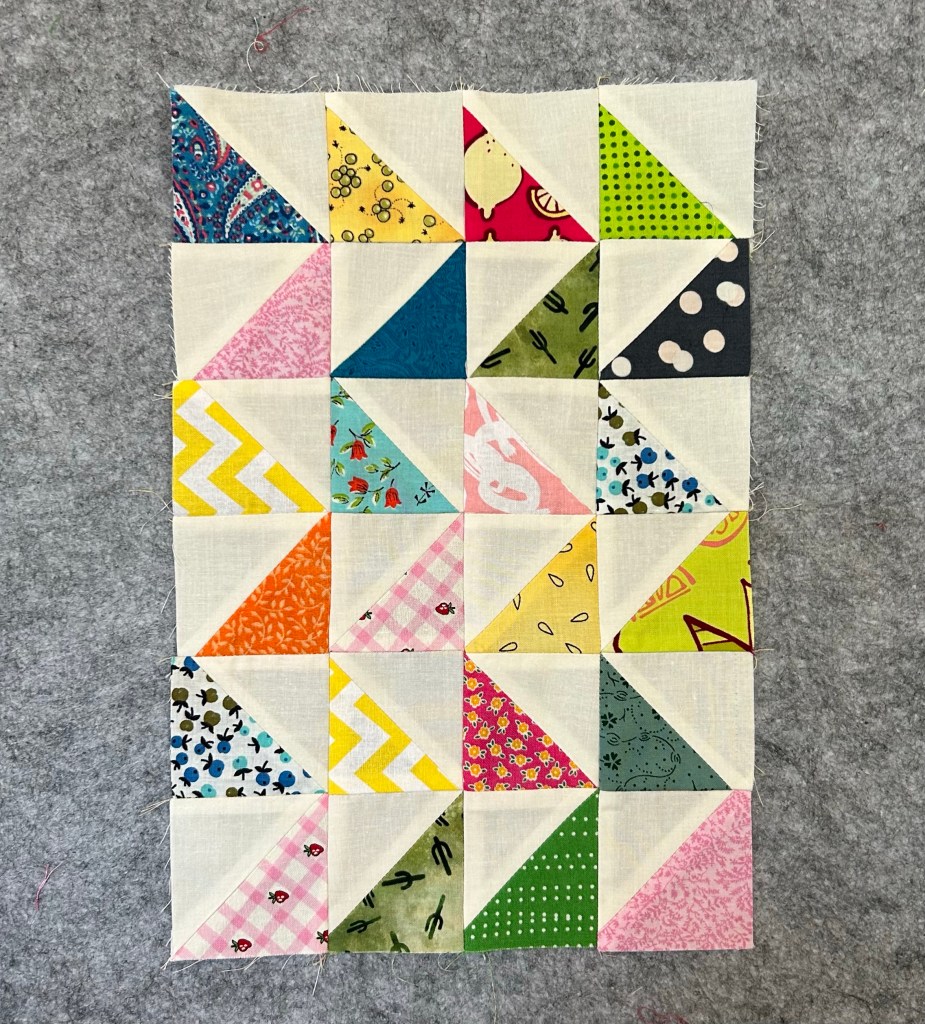
I can finally share some secret sewing that I completed back in January for Fat Quarter Shop . I used this layer cake to make the Layer Cake Loop quilt, from their Short Cut Quilt series.
The free pattern will soon be available from Fat Quarter Shop . This fabric is there now.
This was fast and fun!
I found these fabrics to be so interesting and pretty!
So, I cut oversized triangles to put my star together. It is not perfect. Some of you have asked what size I would cut the settings triangles, the answer to that is that I have no answer. I clearly did t figure correctly so I trimmed it after piecing. Sorry about that!
There is more fullness around the edges than I would like. But I see potential here. And I do like this so far.
I added a narrow green border and I’m trying to decide where to go from here. I rather wanted to make a pieced border, but maybe a wider background border is what is called for.
I’m keeping this little sew along simple. The quilt is easy and most everything you need to know can be found in this post.
I will post suggested “assignments “ each Monday for the next three to four weeks and share my progress for each week.
Ready? Let’s go!
You will need 26 matching pairs of strips for a total of 52 – 2 1/2” by WOF strips. Half should be light and half dark. For my first top (seen here), I started with a jelly roll, but added light strips to that from my stash. This time, I’m using 26 jelly roll strips (13 matching pairs) and 26 solid black strips from stash. I have 2 of each print.
So the assignment for this week, is to choose fabric and prepare your strips. Pair them up so you are ready to sew. Read over this post and let me know if you have any questions.
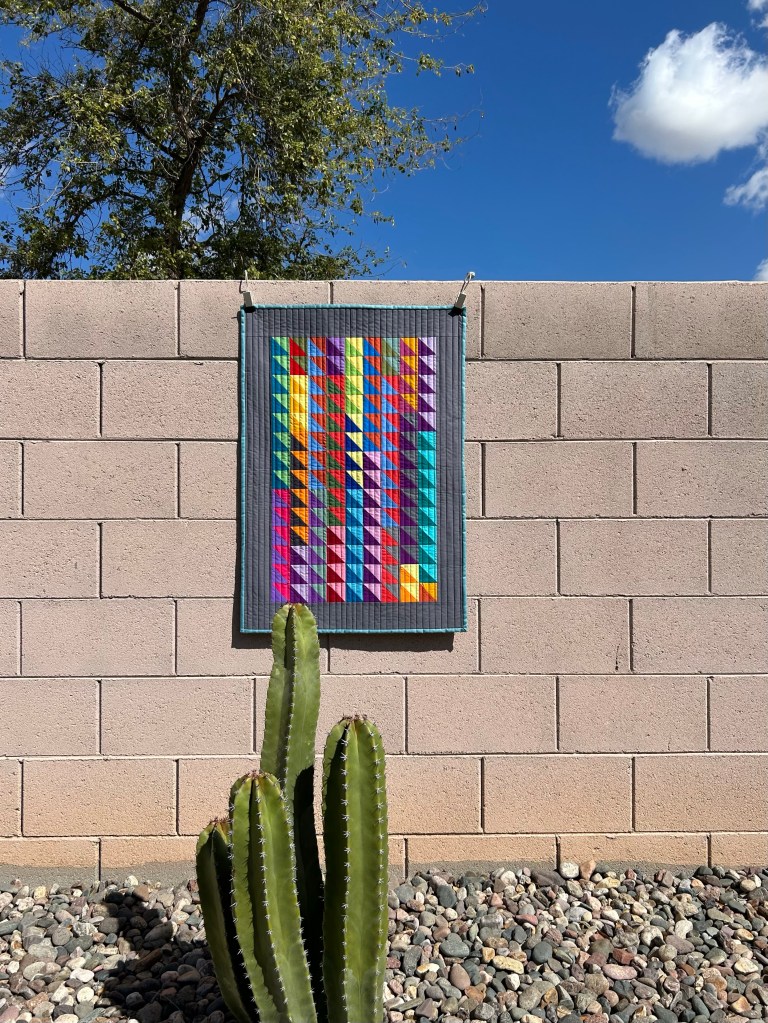
I have a little finish today….but I’m not particularly proud of it. I loved this little top.
I loaded it up to quilt.
And I thought all was going well, until it wasn’t. The stop/start button on the front handles of Harry stopped working. It isn’t easy to start and stop a machine with the switch in the back when you are working at the front. Now I need to figure out how to get this fixed.
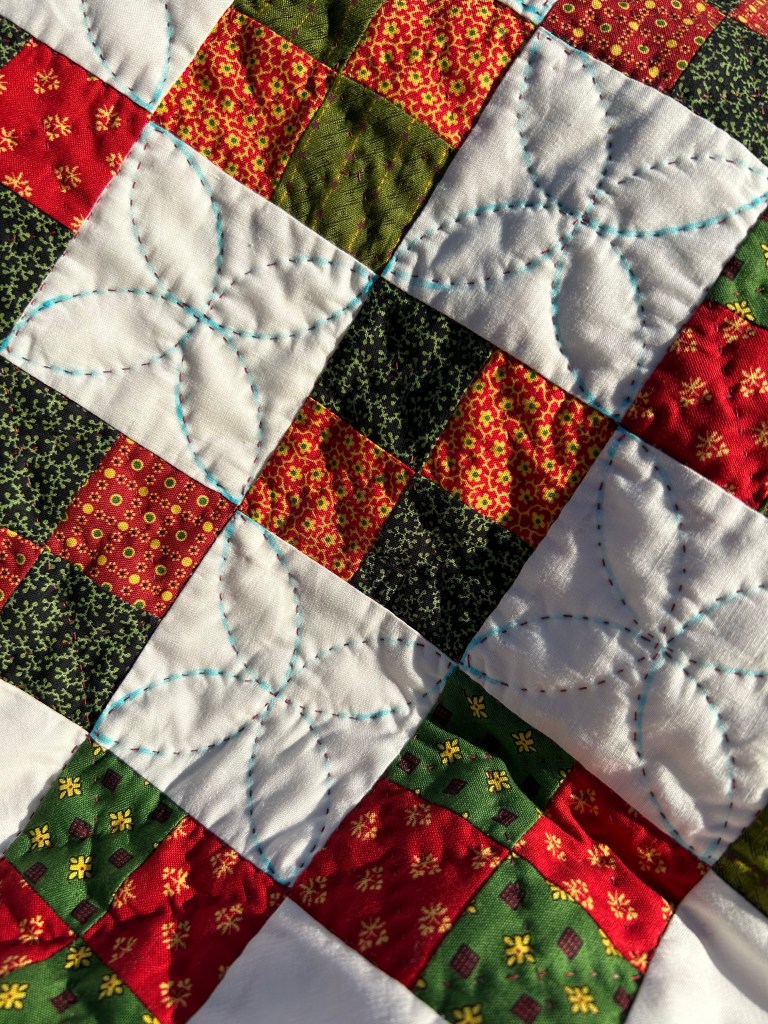
I knew this wasn’t destined to be a masterpiece, but I was a bit shocked when I took it off the frame and turned it over. 🤦🏻♀️ The stitches on the back were positively loathsome. Did I want to rip out all the quilting and start over?
No. No, I did not.
I trimmed the batting. I trimmed the backing an inch larger and brought it to the front for a self binding.
It didn’t merit the work of a full binding. Those freehand feathers are crappy too.
Want to see the back?
Forget it. Not gonna happen. Part of the problem is that I used incompatible thread in the top and bobbin. Did I mention I couldn’t find the cord for my bobbin winder? The batik backing didn’t help. When I started stitching, things looked good, so I never checked again. I know better.
Another humility quilt. At least my little black doxie isn’t complaining.