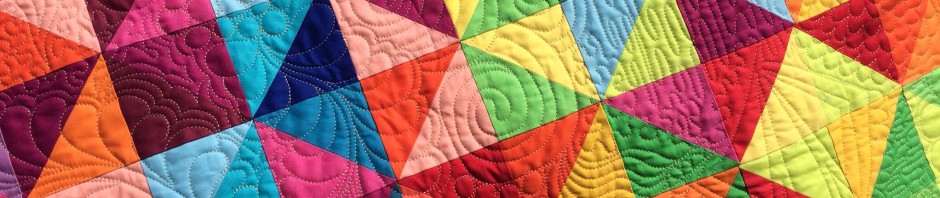
I’ve chosen my fabric for my next project. It all came from stash.

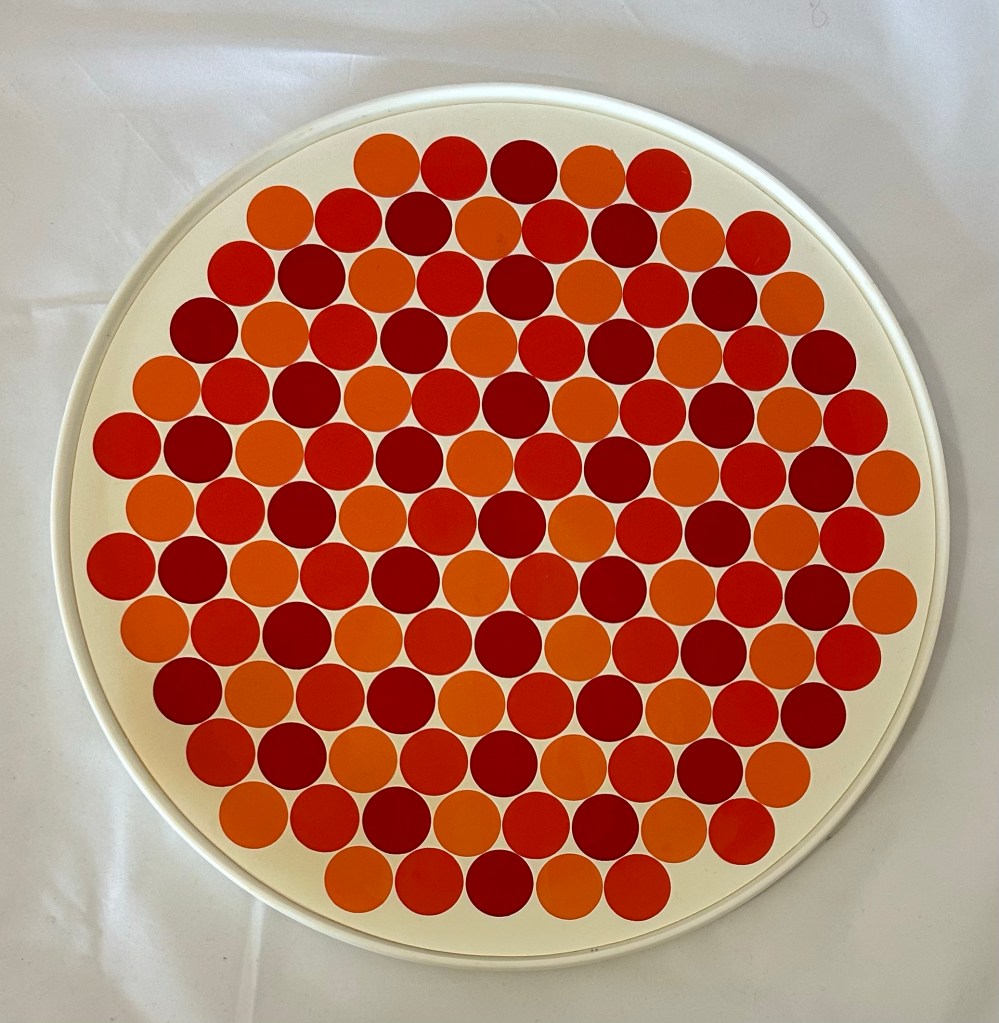
I shared this the other day. It is my inspiration.
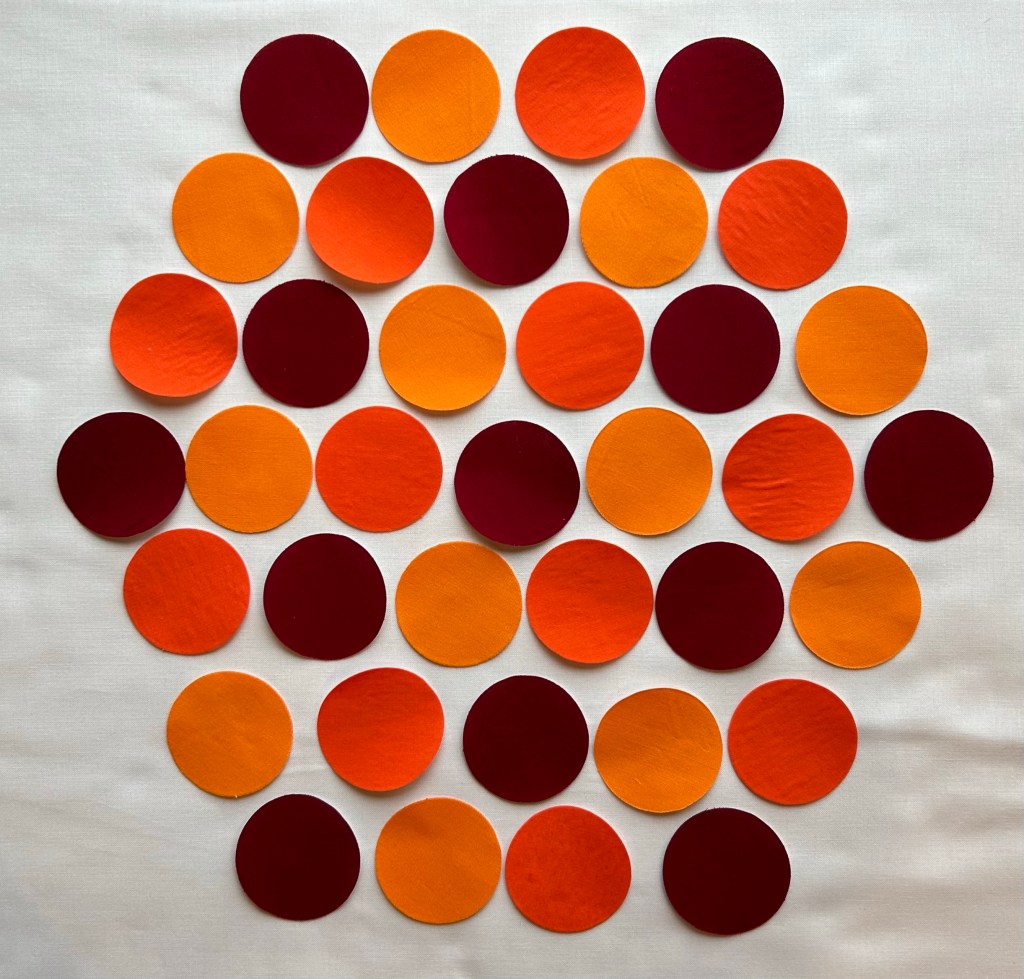
I added fusible web to the back of my strips.

And used this die to cut 2” circles.


Time to play!
Have a great day!
I’ve chosen my fabric for my next project. It all came from stash.
I shared this the other day. It is my inspiration.
I added fusible web to the back of my strips.
And used this die to cut 2” circles.
Time to play!
Have a great day!
I finally started! But my day was interrupted by this and that, so I didn’t finish.

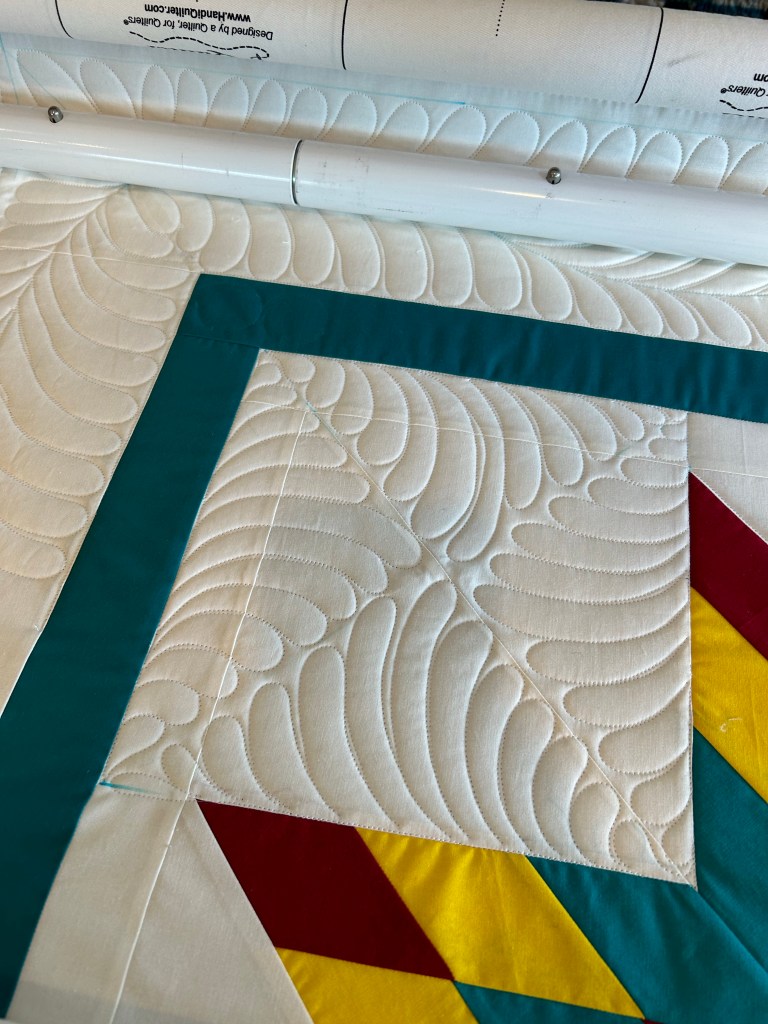
I still have t decided what to do in the green border. I had a great idea while I was out driving. Think I can remember it now? Nope.
Perhaps it will come back to me today.
Have a good one!
I took a day off from sewing yesterday. But that doesn’t mean my brain shut down!
I picked up this 1960s Rubbermaid Lazy Susan at Goodwill. Wouldn’t this make a fantastic quilt? I need to see if I have fabric for this on hand.
I made a few more triangles over the weekend.

I’m not sure how big I want this to be.
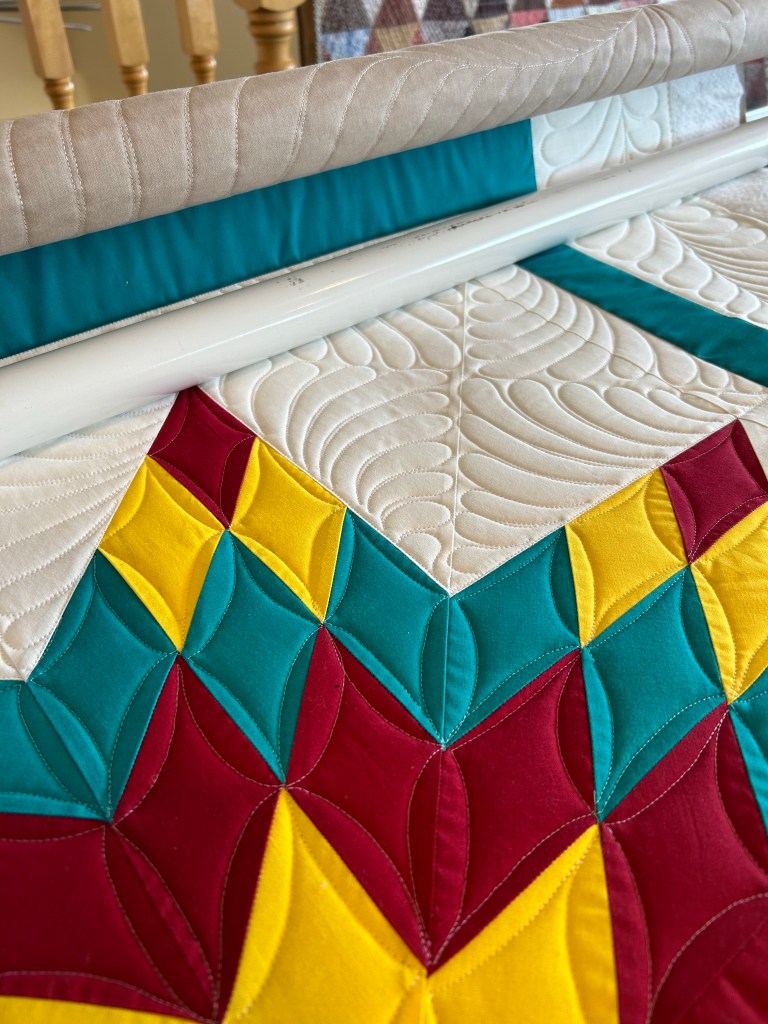
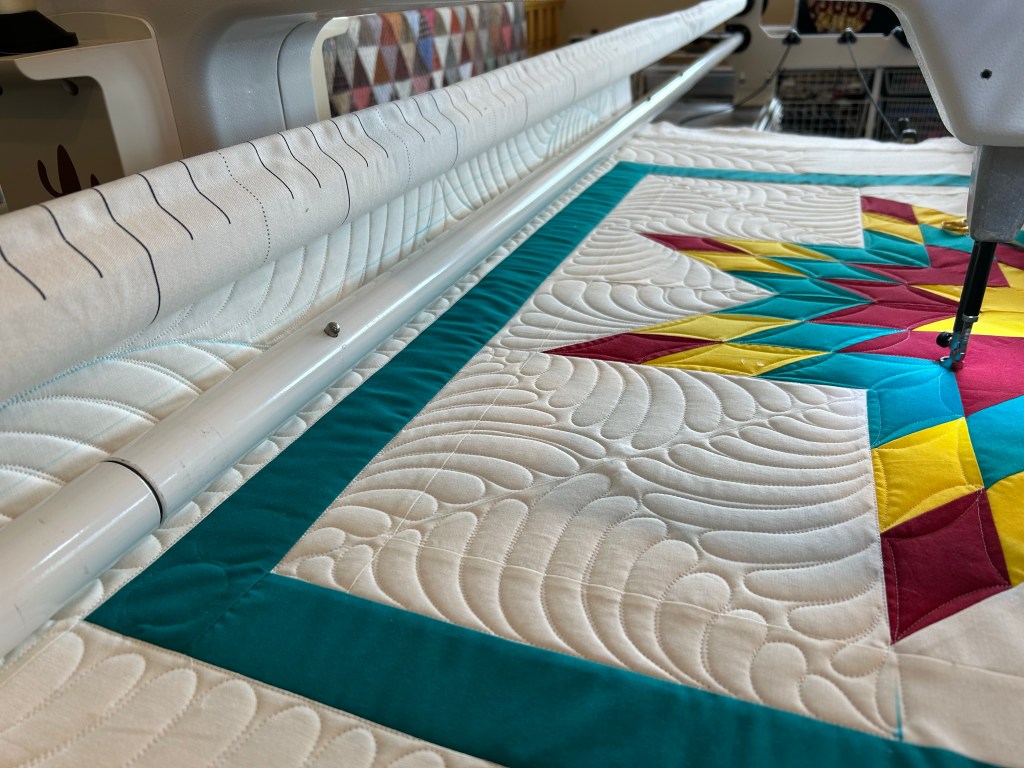
I’m procrastinating on quilting the Star quilt.

Have a great day!
How are you all doing on this? Good?
This week is really more of the same. Make strips sets, then subcut into 2 1/2” strips. Sew them together end to end.
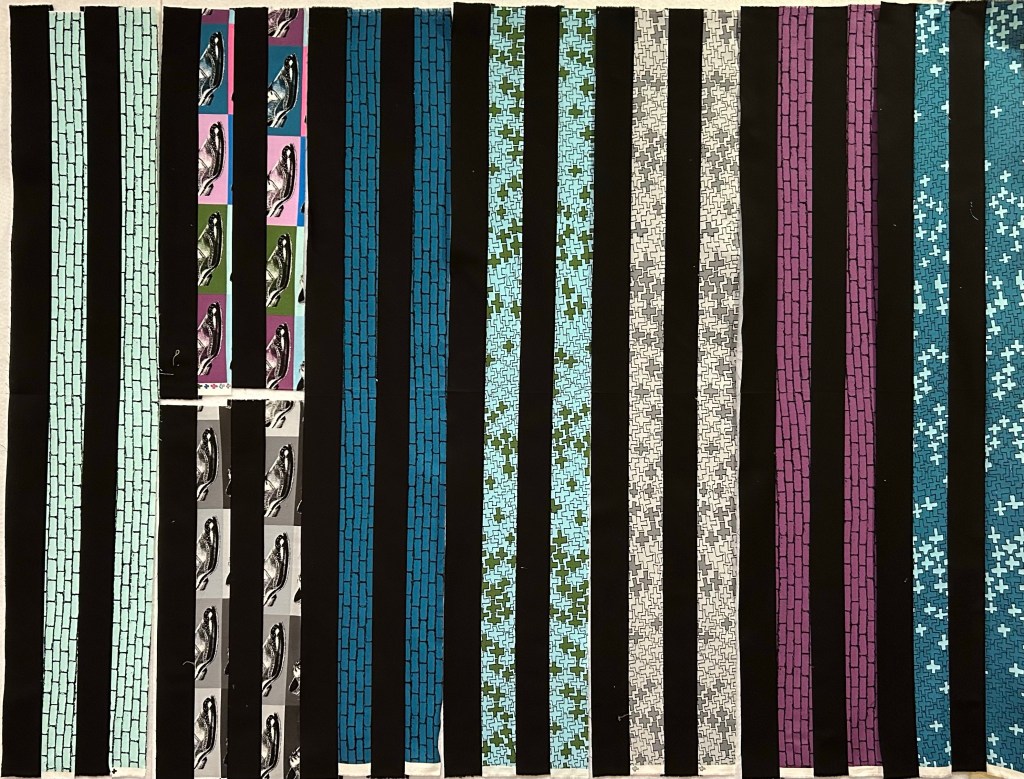
Then sew two long strips together to form checkerboard columns.

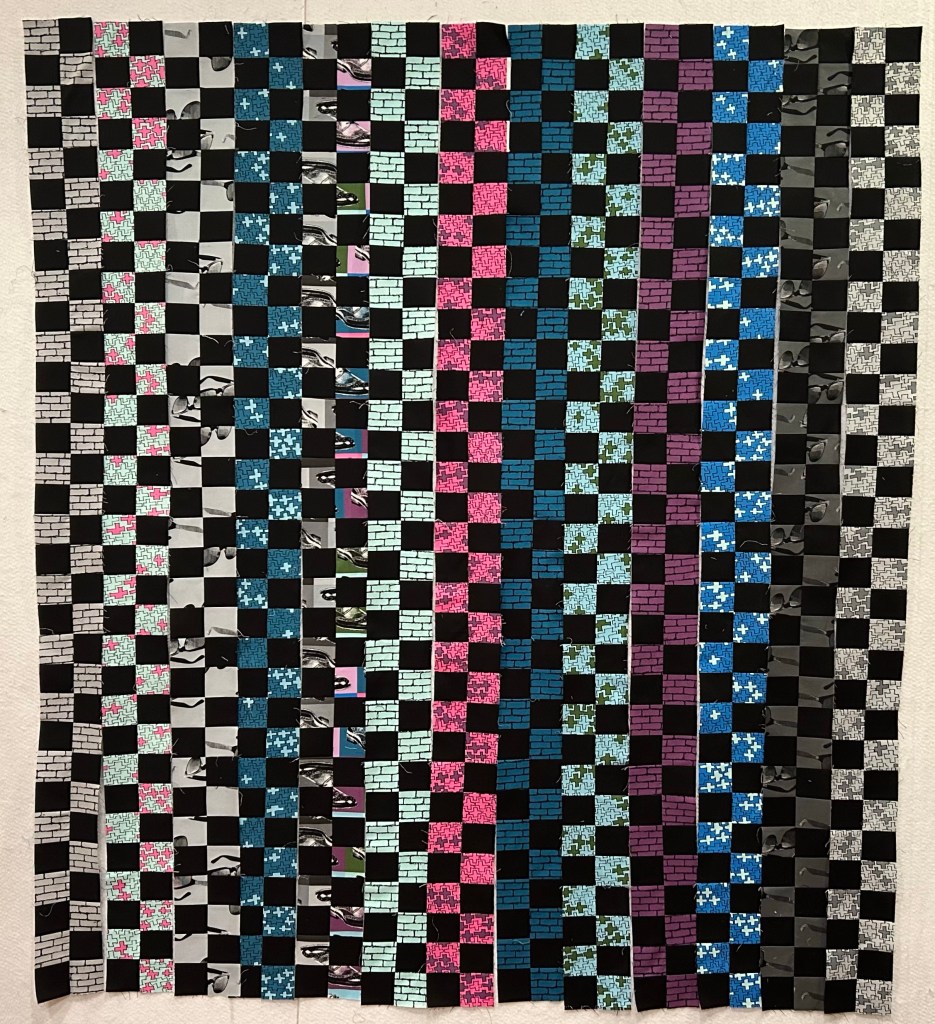
You should have a total of 13 columns. Take time to play around with layouts. I changed mind several times.
Have a great day!
I haven’t forgotten! The top is pieced ( no measurements given because I fudged a lot).

Now I’m trying to figure out how to quilt this.

Here is a big of my chicken scratching.

I have the backing and batting ready to go, so I hope I come up with something soon!
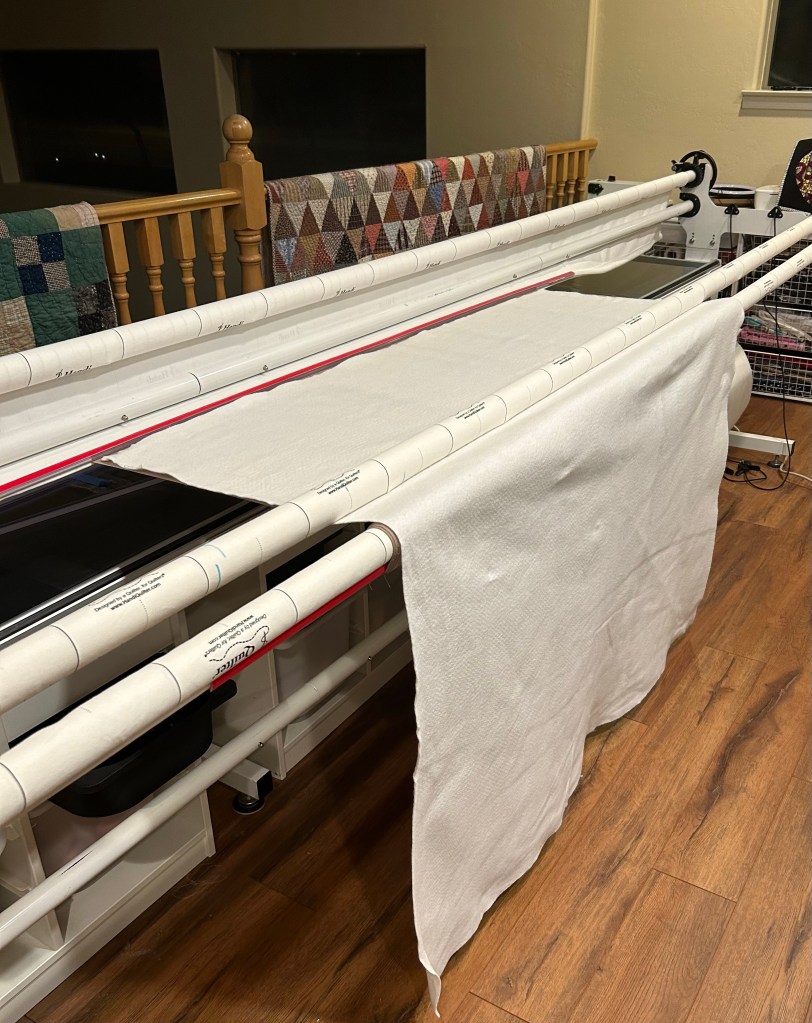
Have a great day!
I still don’t know where I’m headed with this, but I sew a few more triangles here and there.

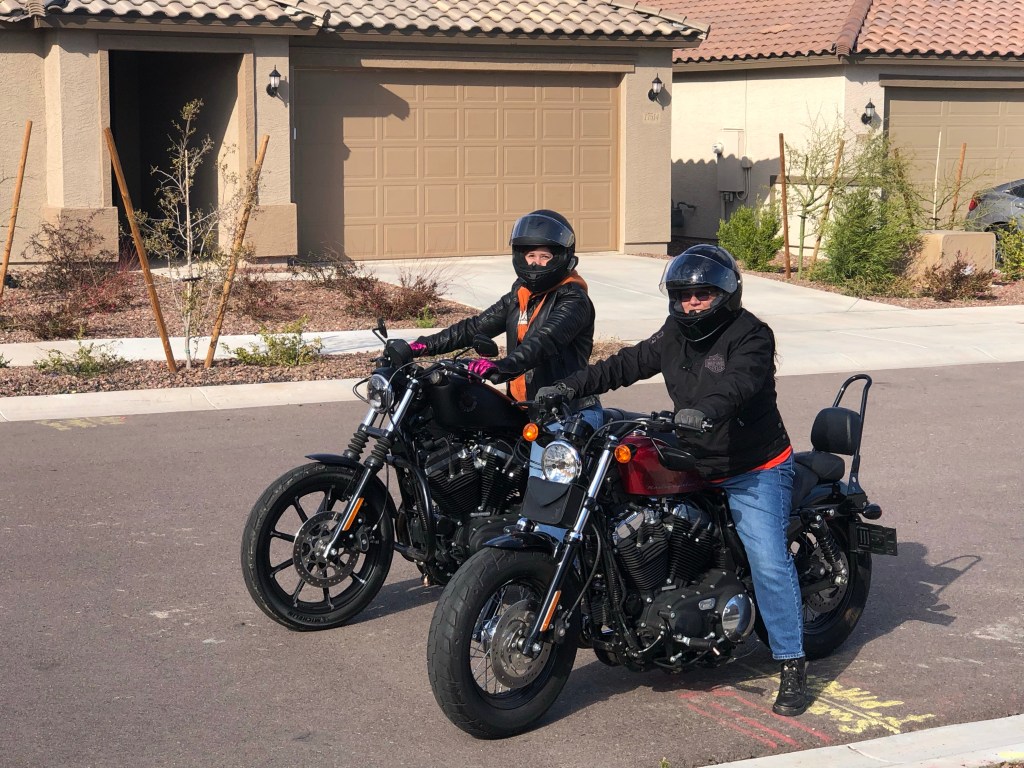
Daughter #2 and I have been doing a fair bit of riding. So fun!
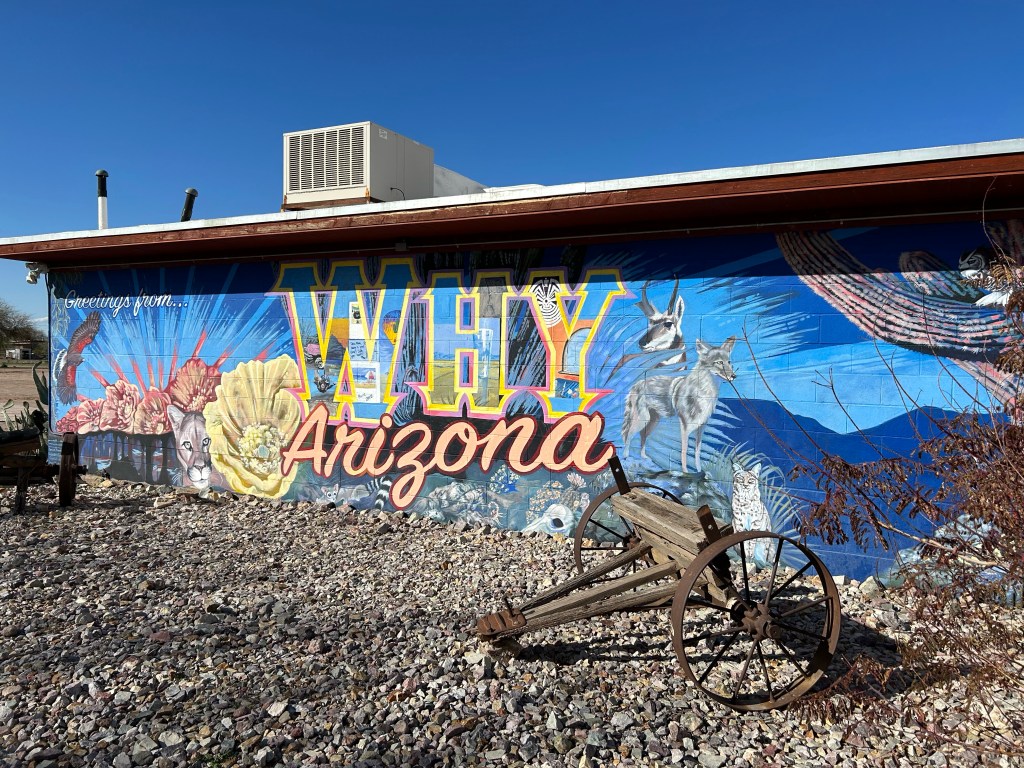
I love the place names here in Arizona. We went through the town of Why, recently.
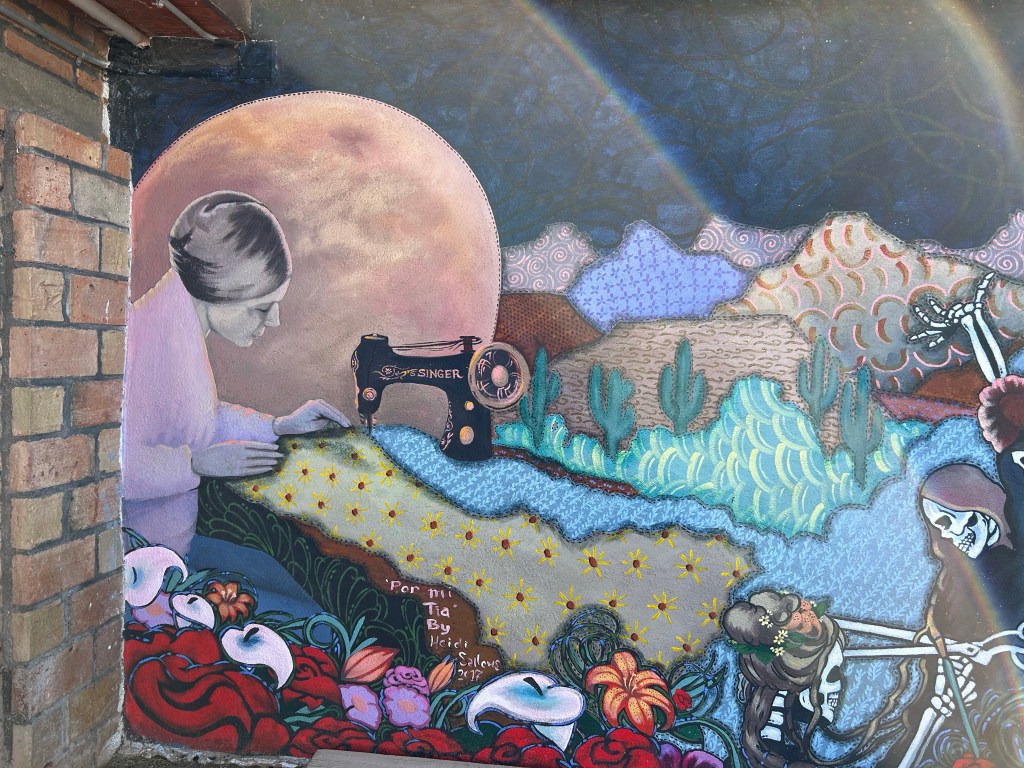
There was another mural with a sewing machine at the same place.
Snow on the mountains near me last week!

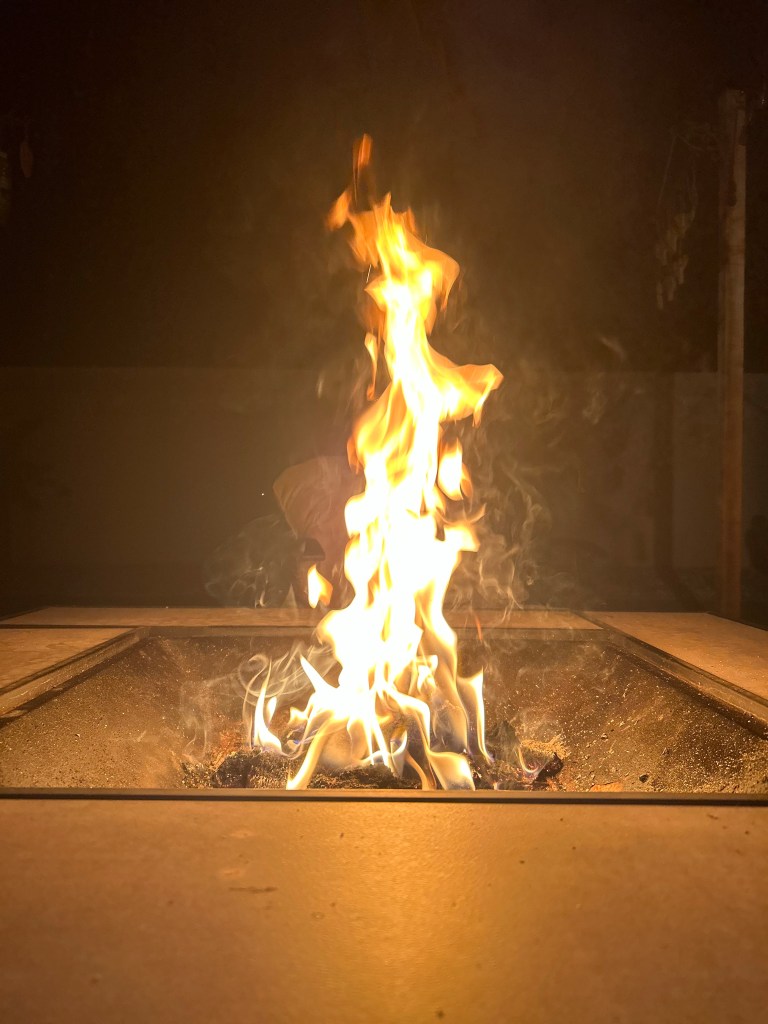
But it is warming up and I’ve been enjoying my fire pit in the evenings.
Have a great day!
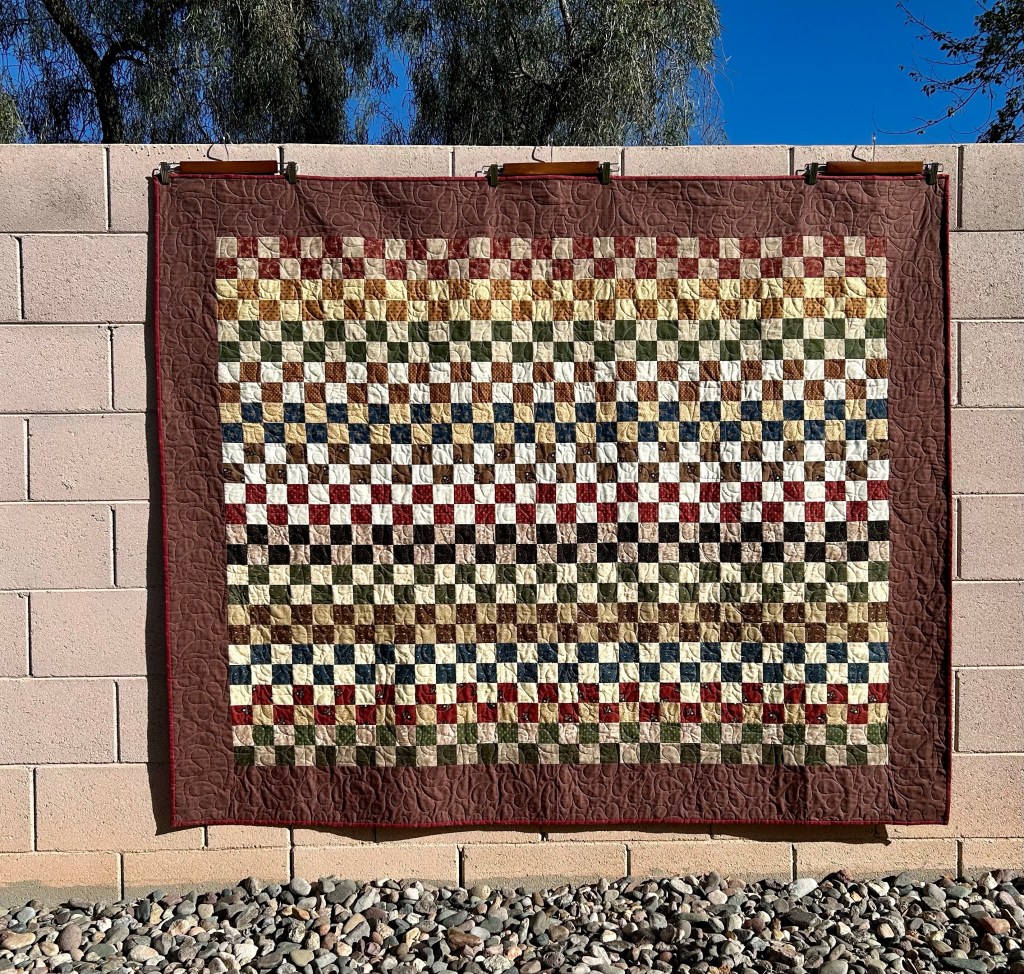
My first jelly roll quilt is done! It might be a bit boring, but I think I’ll call it calming instead. Doesn’t that sound better?
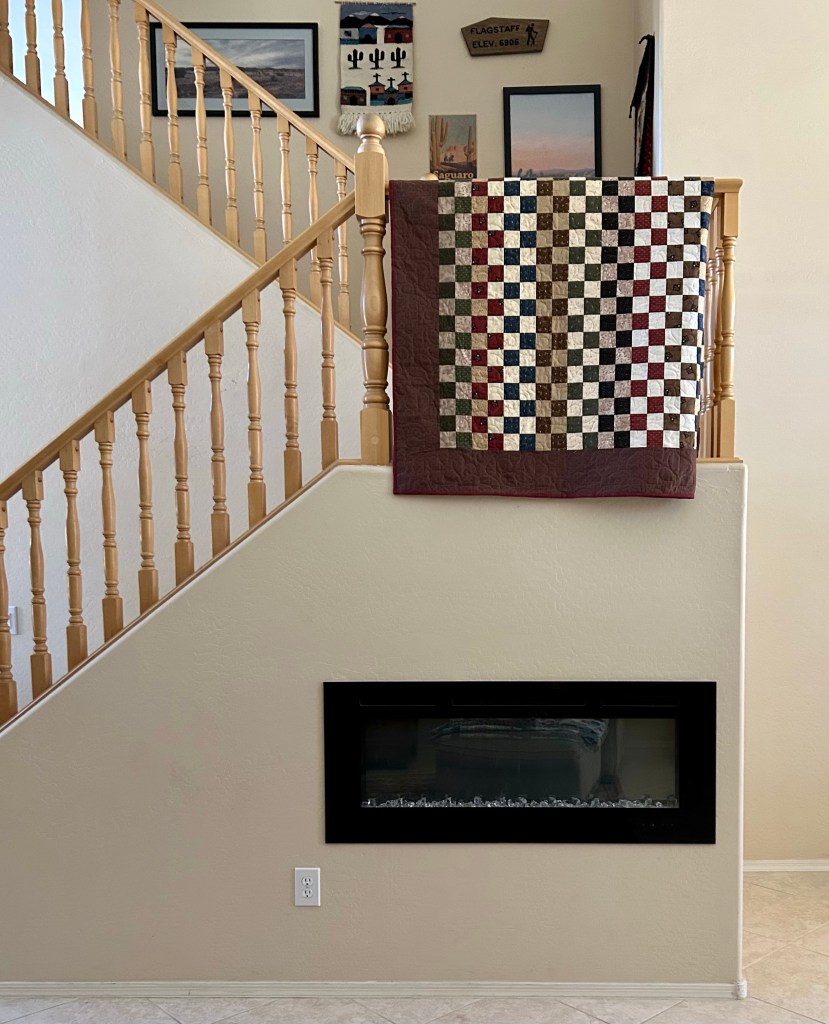
I used a simple feather pantograph for the quilting.
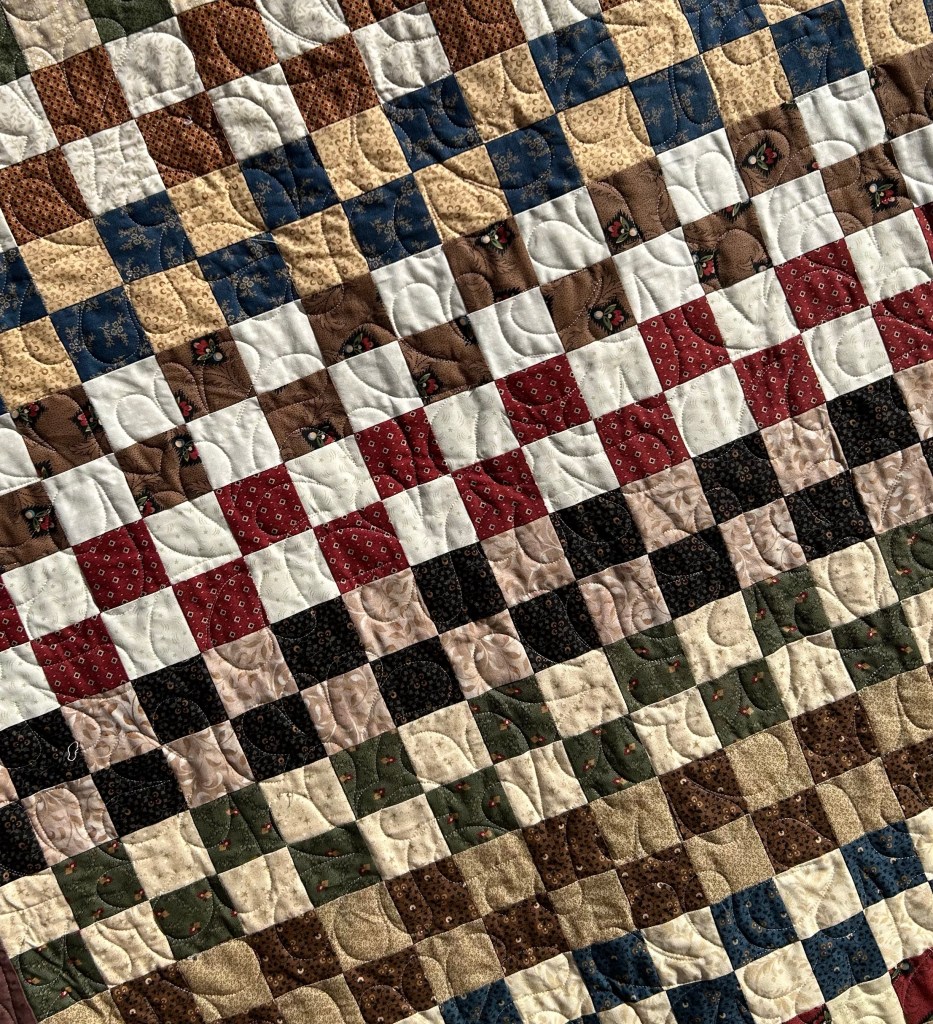
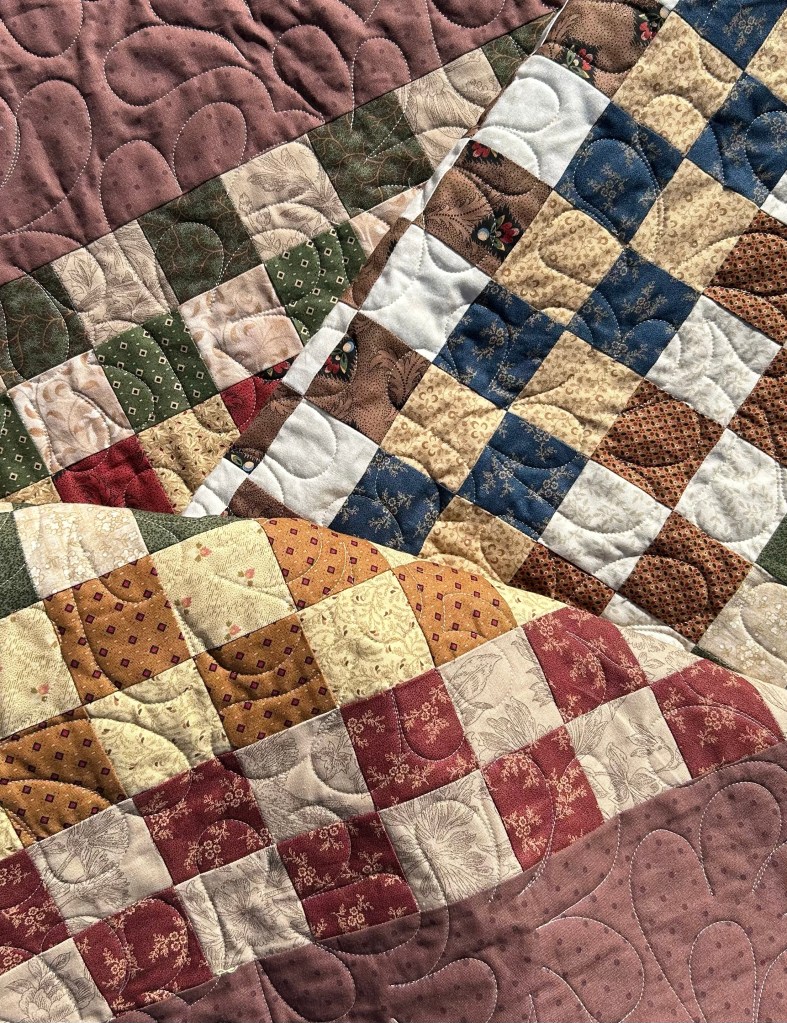
I kept the border and binding simple, so as not to upstage the center.

And I had the perfect backing piece in my stash!

It isn’t too late to join in and make one too. Click here and here for more info.
Have a great day!
I can’t believe I didn’t have a post scheduled ahead for today! That shows how crazy life has been. Lots of secret sewing going on, which means progress has been made on my leader/ender project.
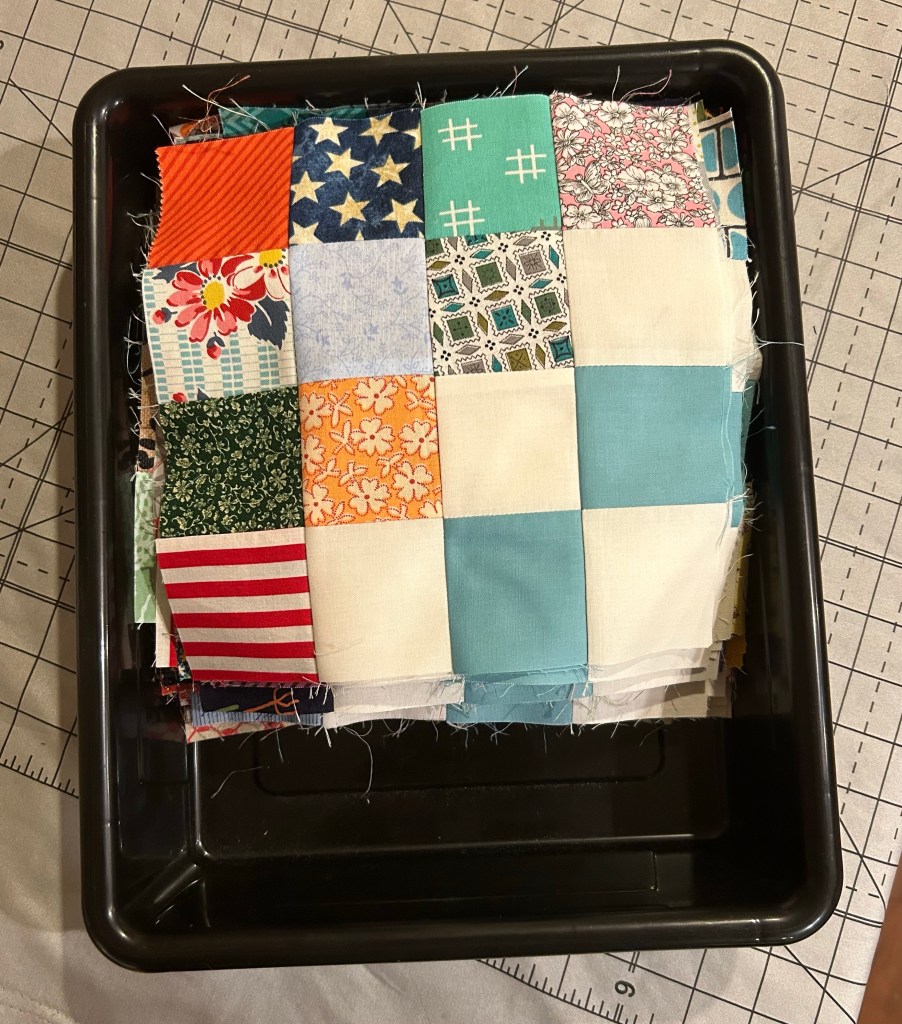
My total number of blocks?
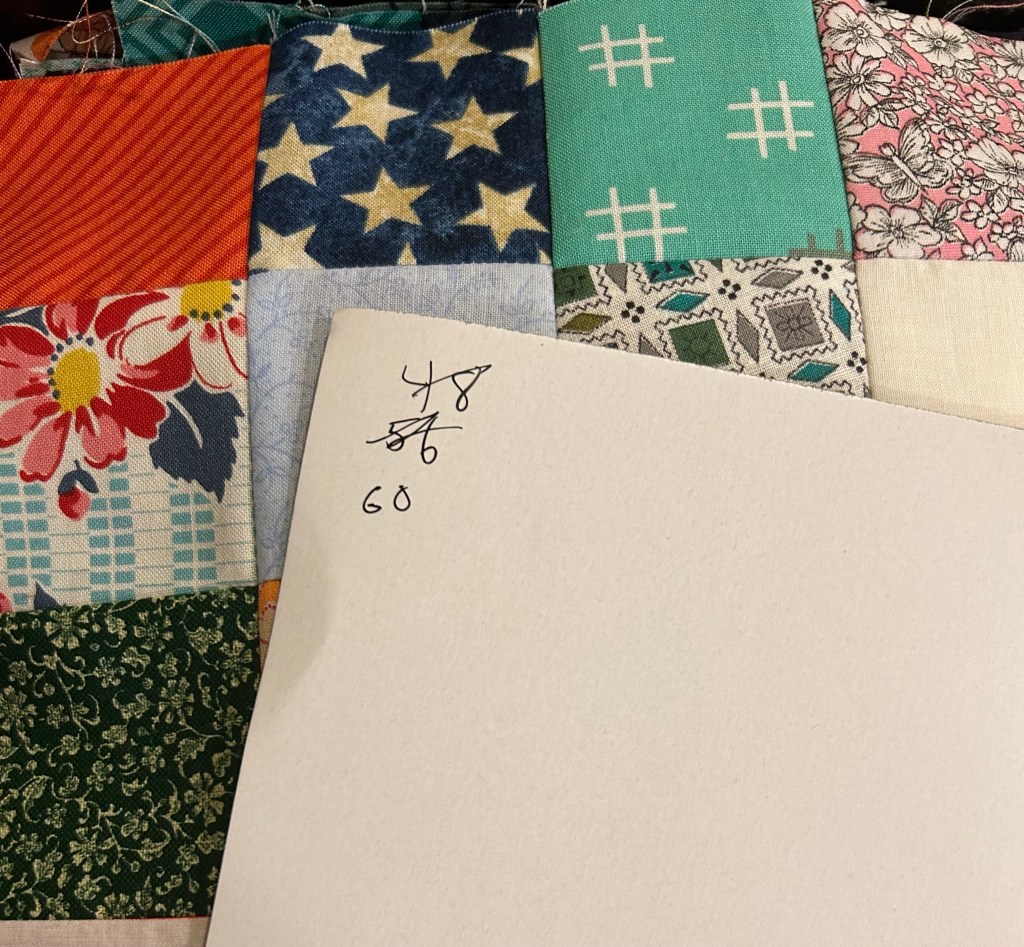
My goal is 80. I’d like this project wrapped up before I go back north. Have a great day!
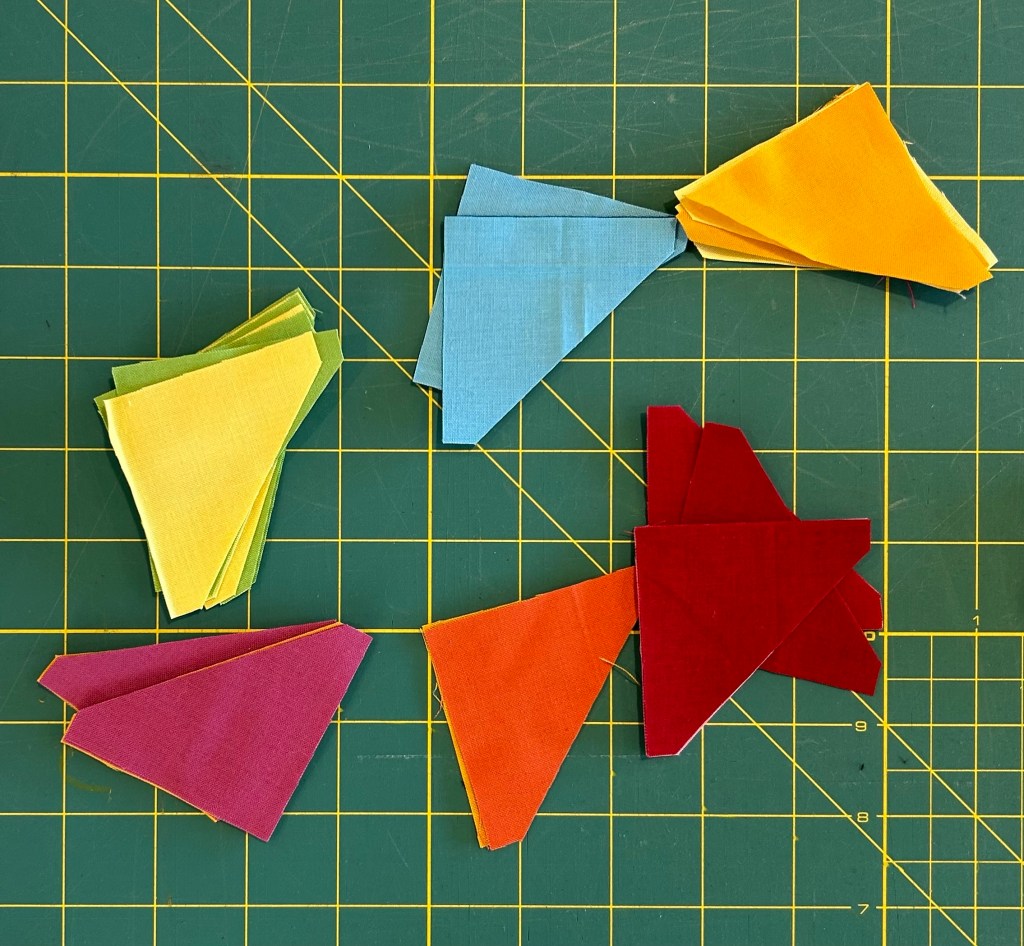
Remember these solid scraps?

I got them all pressed and sorted according to size.
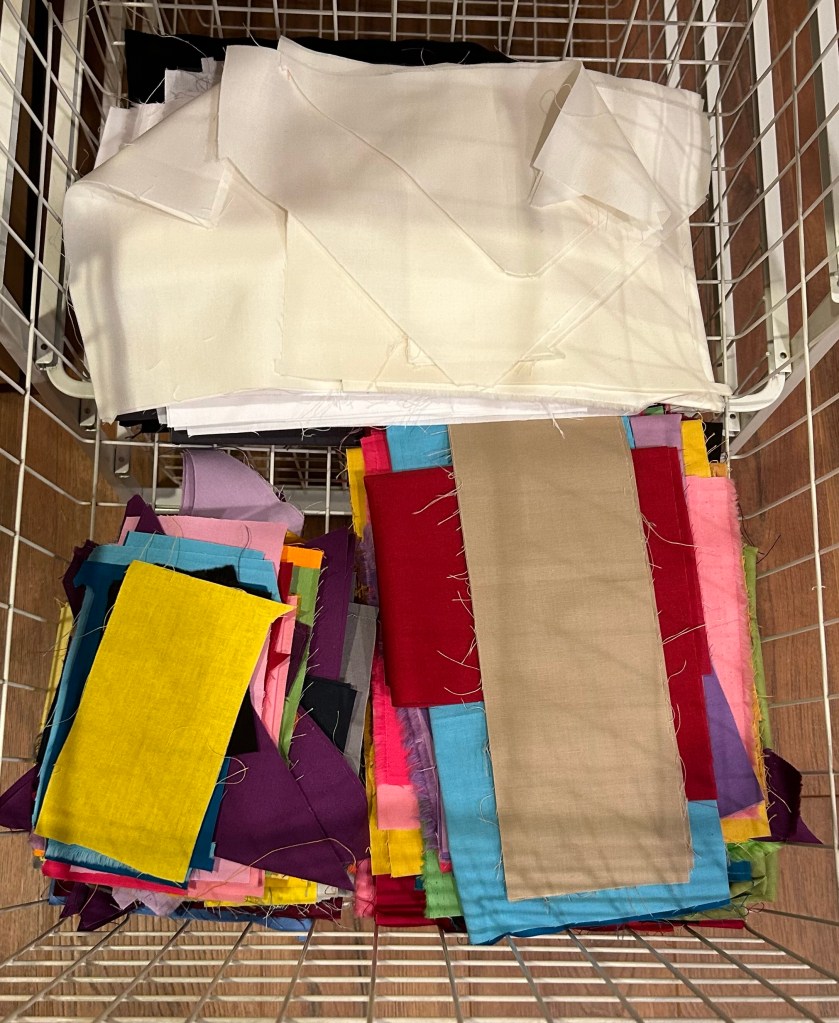
Then I started chopping them up into 2 1/2” HSTs.
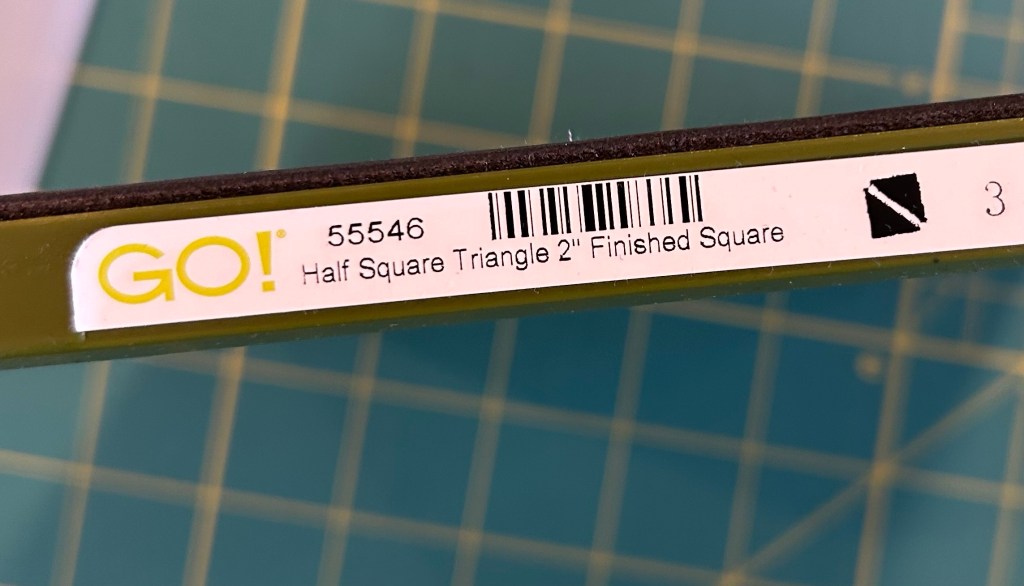
This is the die I’m using.
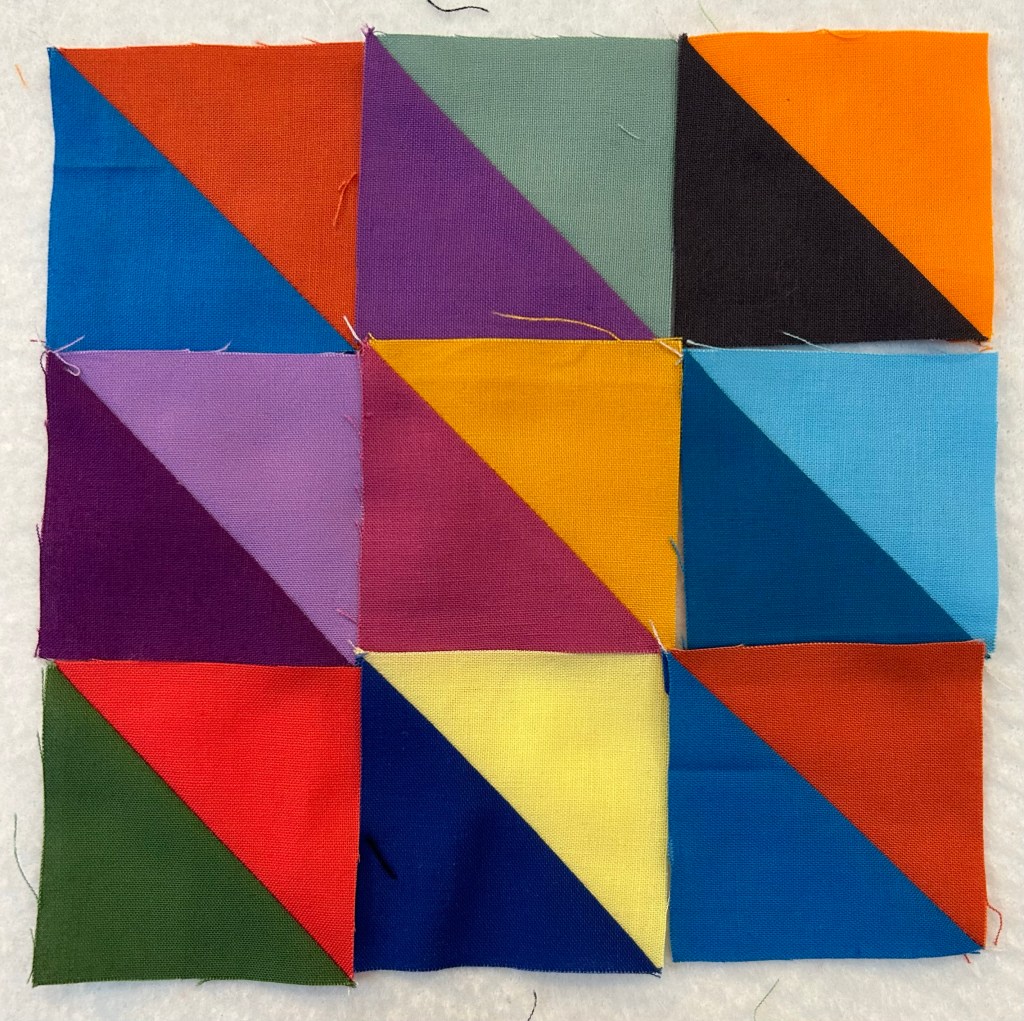
I’m not sure where this is headed, but I have a lot more solid scraps, so I’ll carry on.
Have a great day!
Remember these? A friend sent them to me.

She also sent the cheddar print squares.
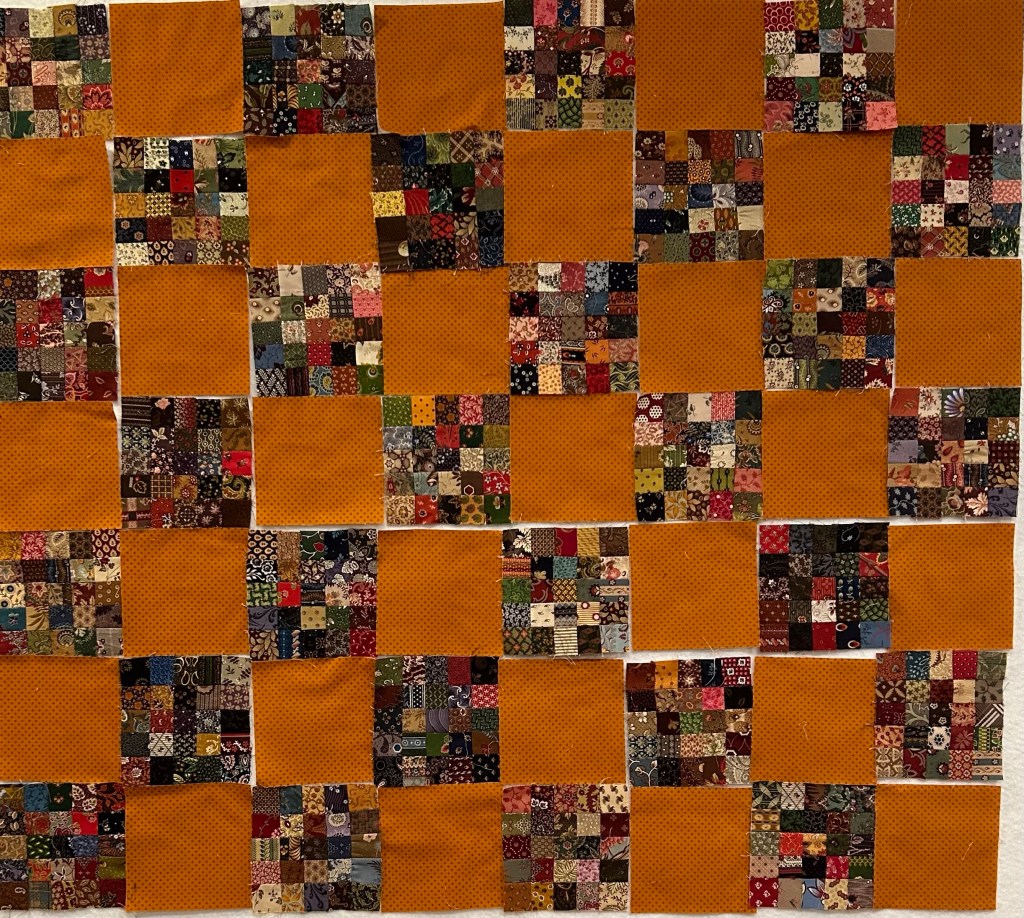
I came across this very old piece in my stash and I love how it looks with the cheddar and scrappy squares.
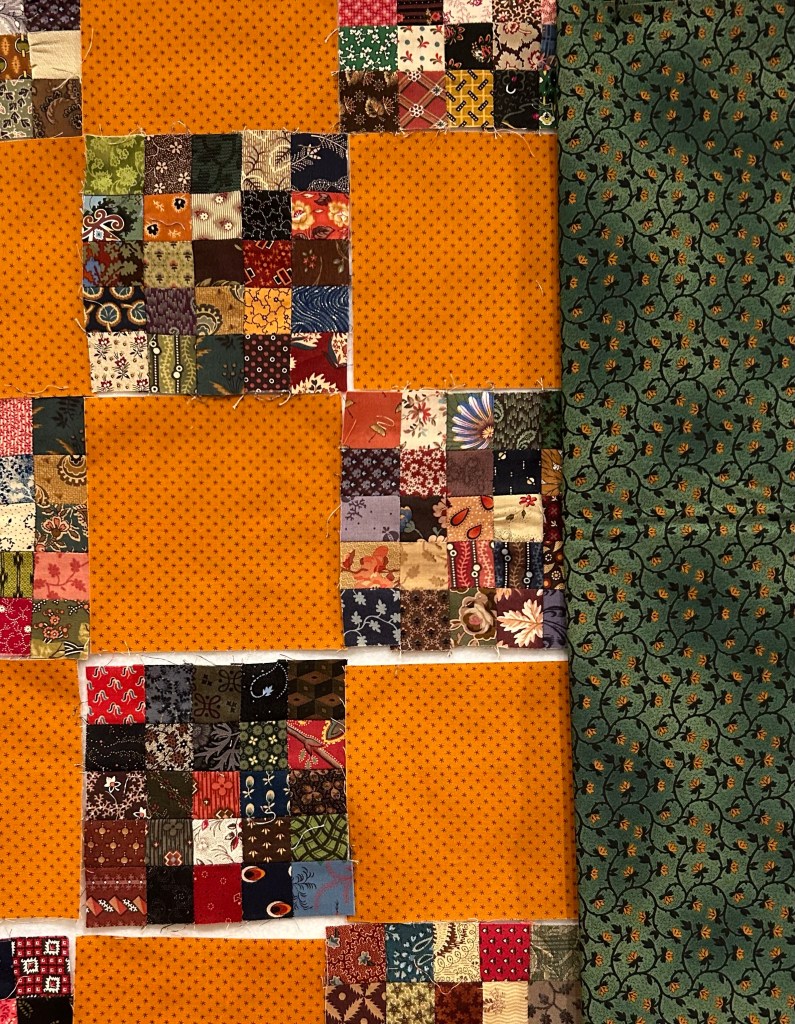
But how can I spice this up a bit? Could it become a medallion? Or be put on point? I need to figure this out. This is one idea I worked on. It has some potential.

Have a great day!


