
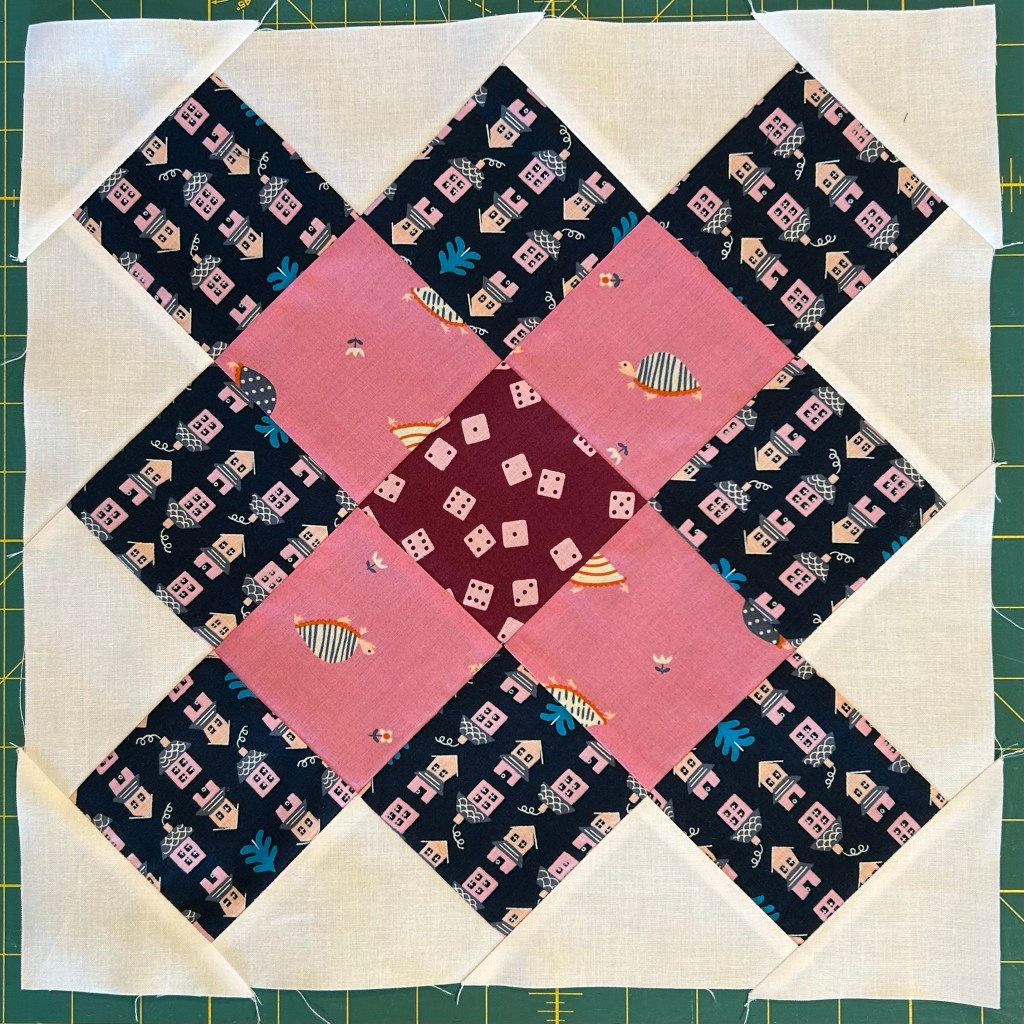
I’ve been sewing! And I love these blocks. I thought today I would show how I approach sewing these blocks. Of course, designing is the first part!
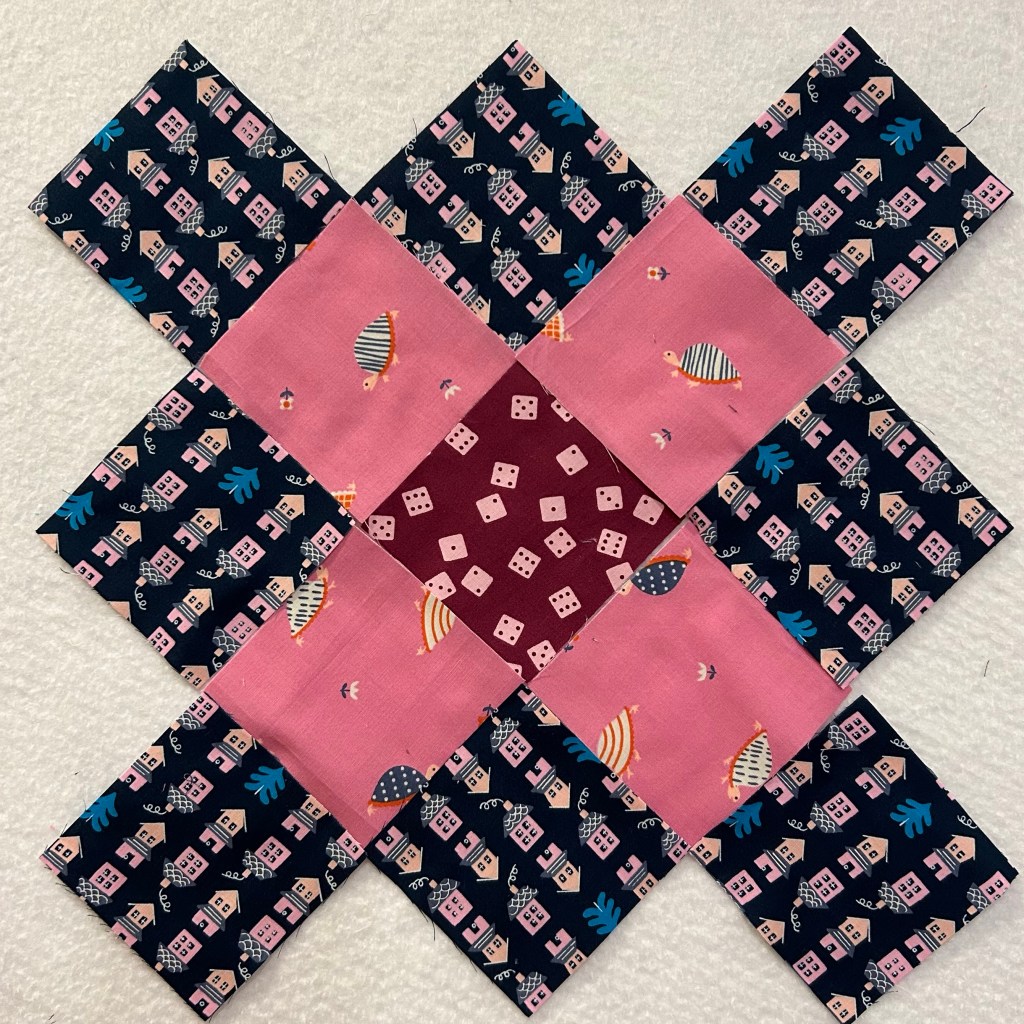
I use a wool mat to transfer pieces to and from the machine and design wall. My squares were cut 3 1/2”. The side triangles are 5 inch QSTs. The corner triangles will be 3 inch finished HSTs.
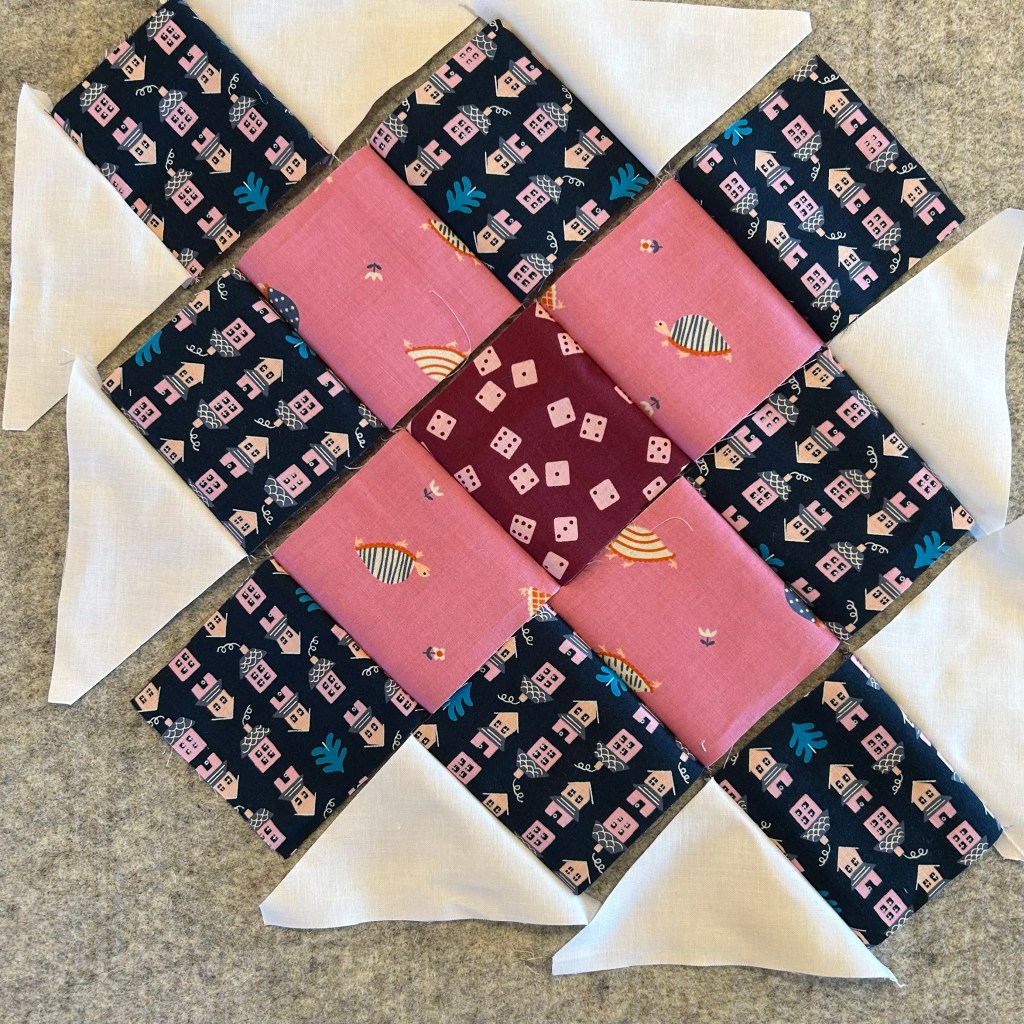
First I sew diagonal rows. You can see that my side triangles are oversized.
I press the rows and trim off the dog ears.
Sew the rows together, press, and trim dog ears.
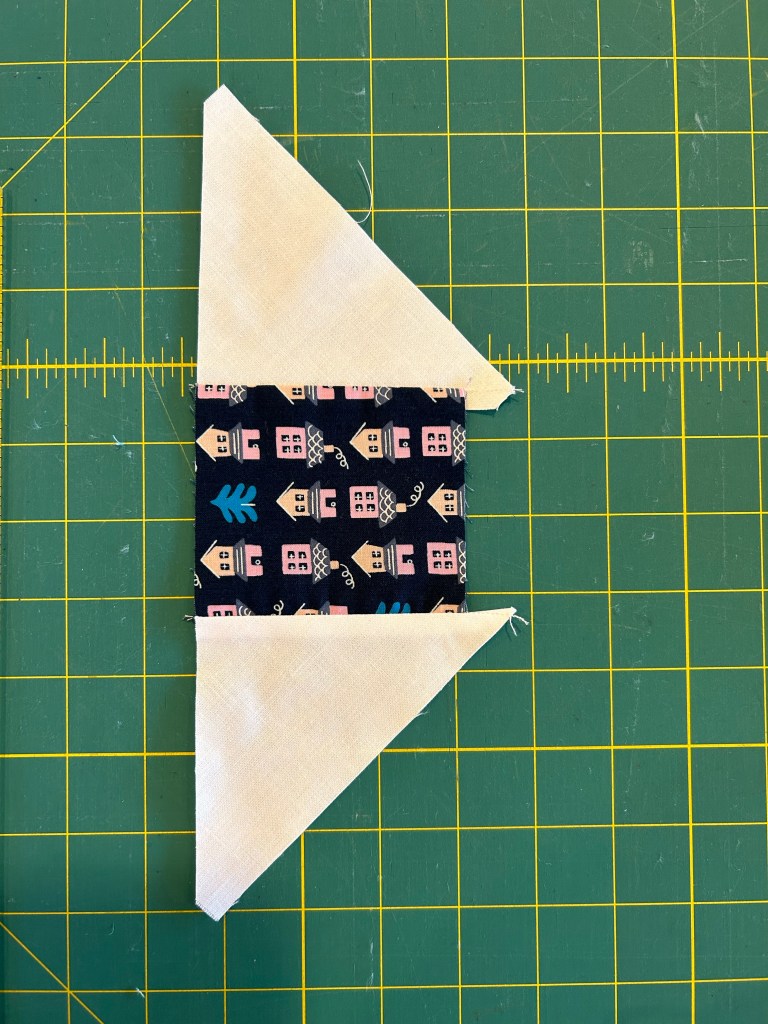
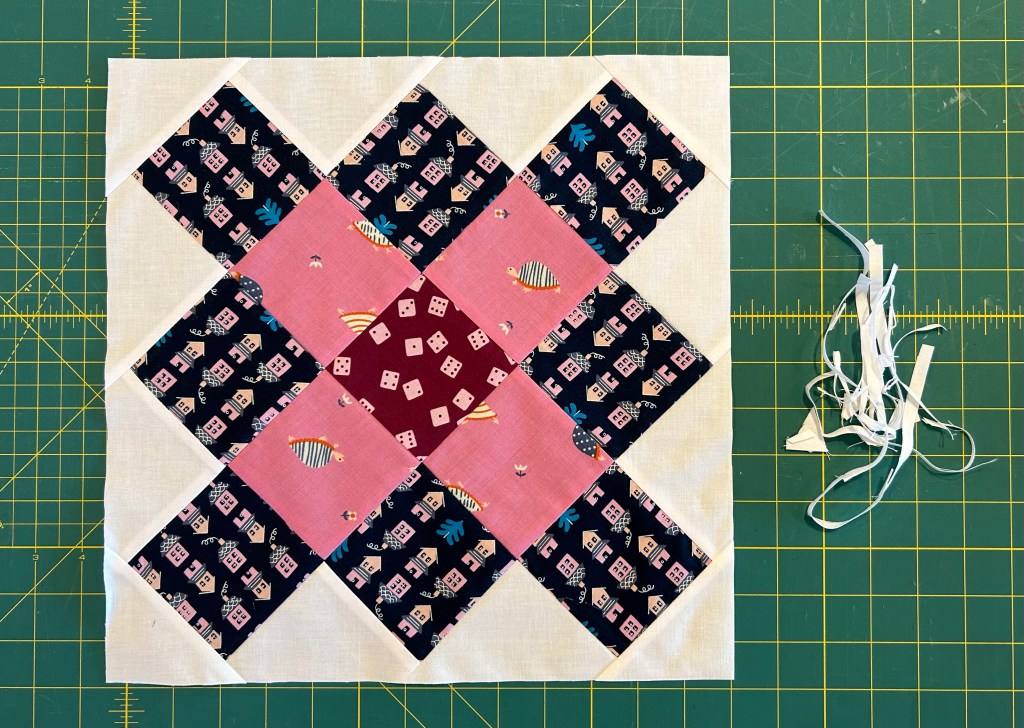
Add the corner triangles.
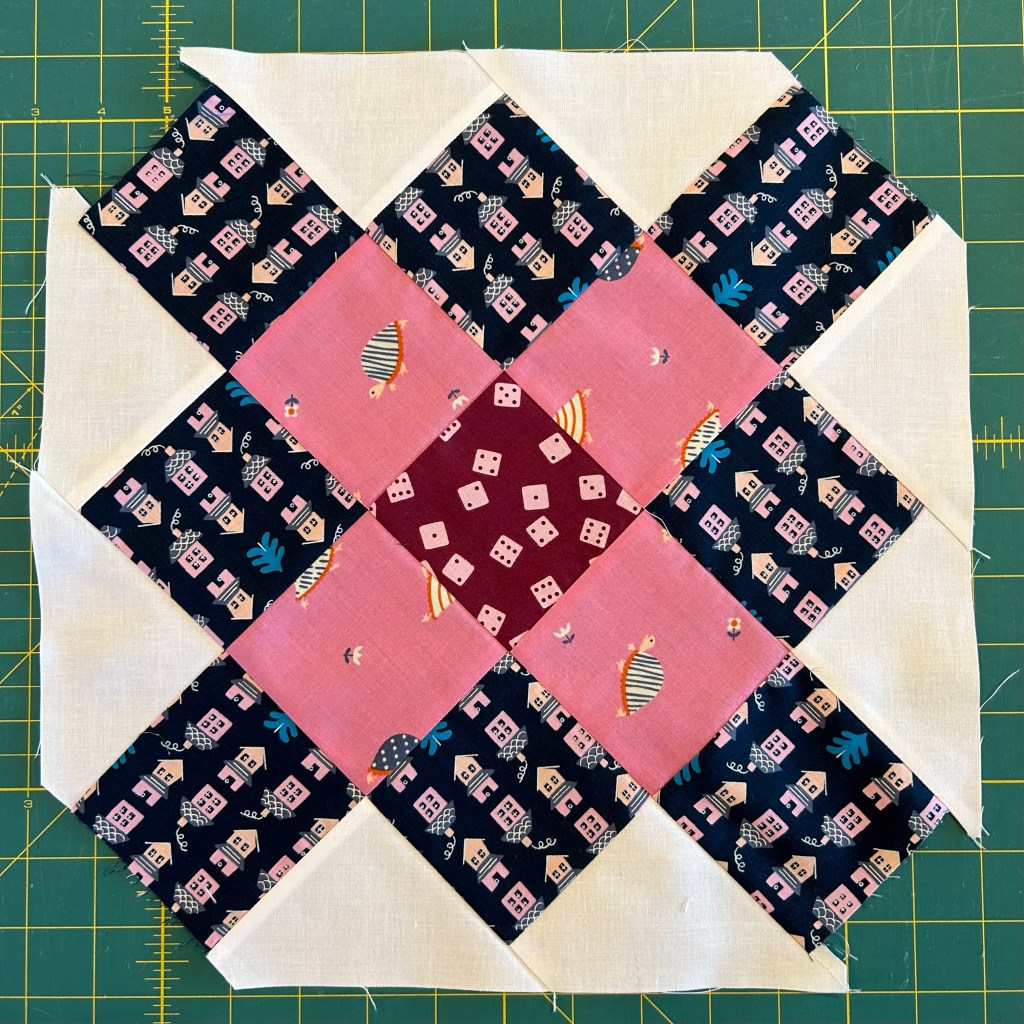
Trim to 13 1/2 inches.
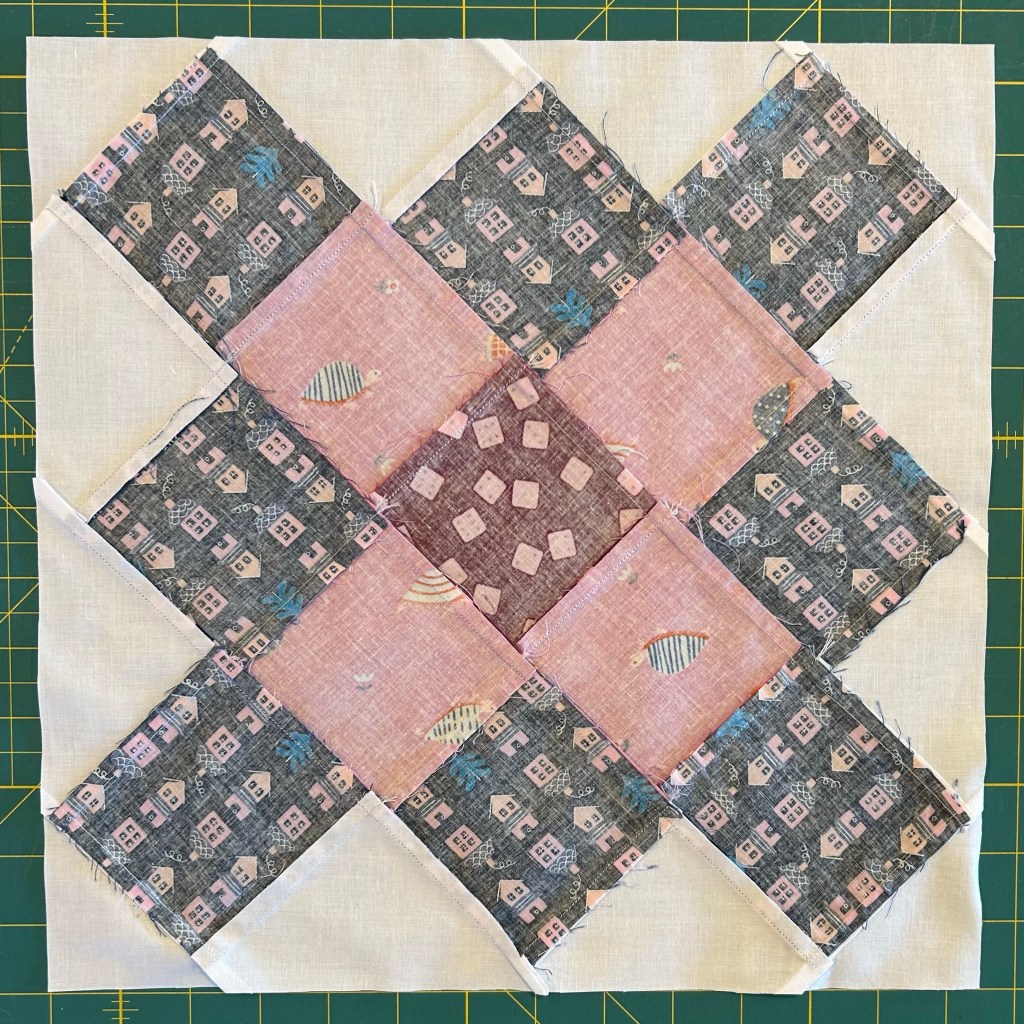
Here you can see how I pressed the seams.
Back to sewing. Have a great day!


I’ve been wanting to make Granny Square blocks but most patterns have bias edges on the side triangles. Yours don’t! Thanks for the tutorial.
Great tutorial. I have been wanting to make this block for years. Thank you.
thanks for the quick tutorial. the fabrics you have chosen are great. i’ve not seen them. can you share designer, fabric line, etc? thanks. patti in florida
oh I just love Granny Square blocks!! I need to add one of these projects to my list 😍