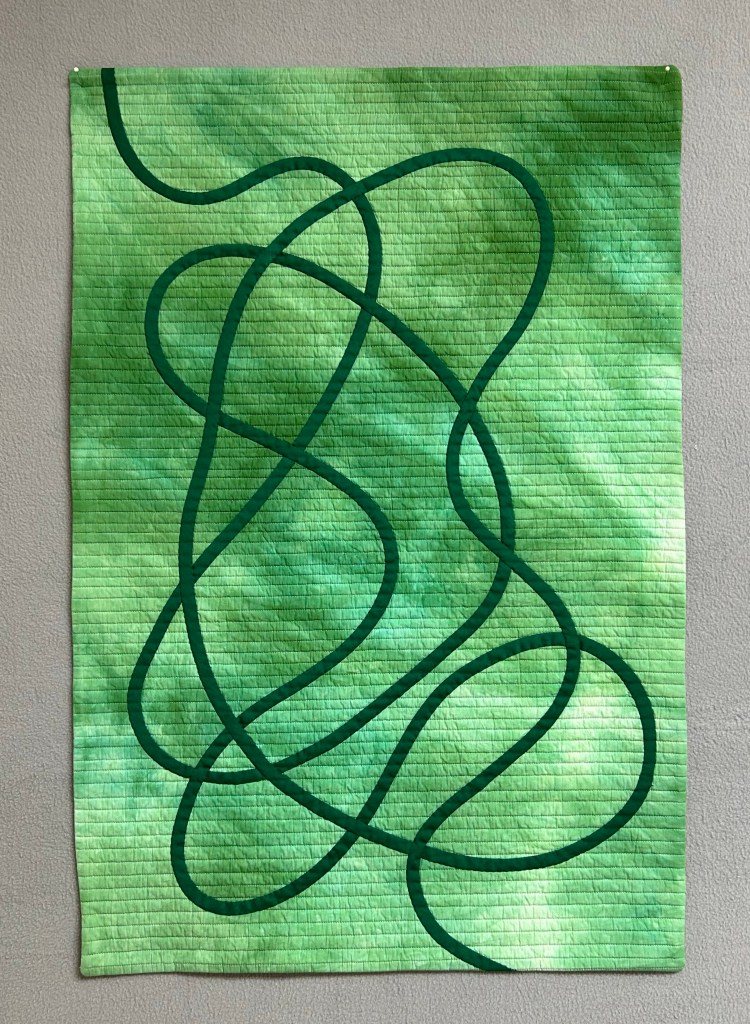
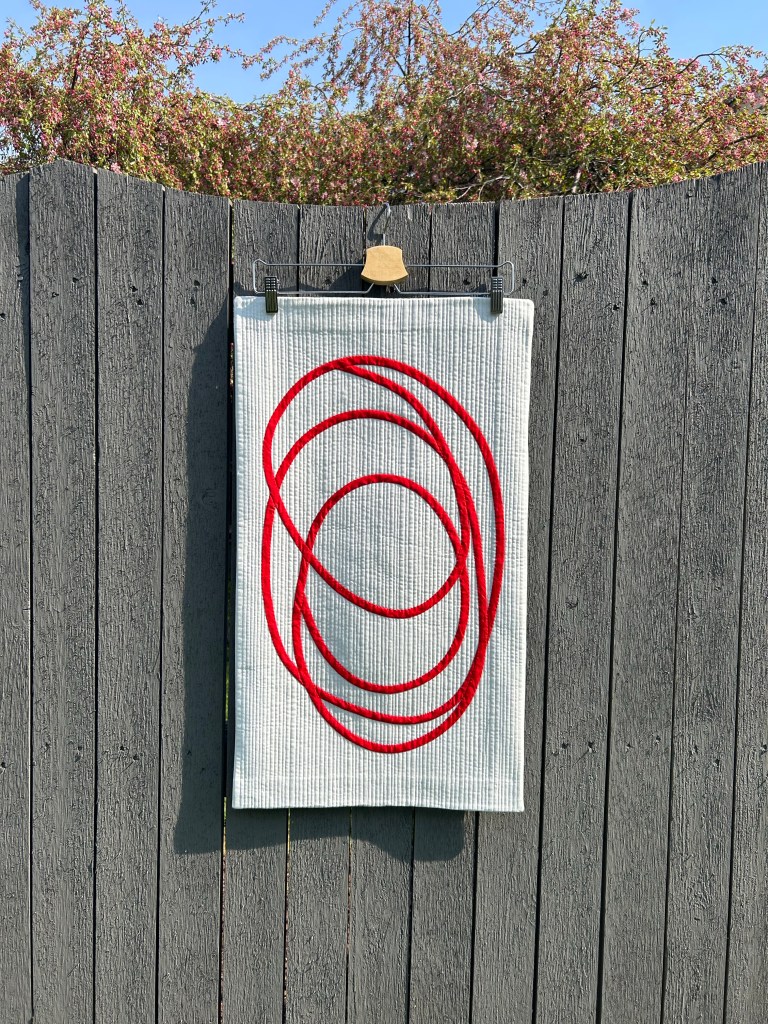
You’ve been seeing glimpses of this, now it is finished, except for the sleeve. I’ll share a post on that soon. It is a bit different for an art show versus a quilt show.
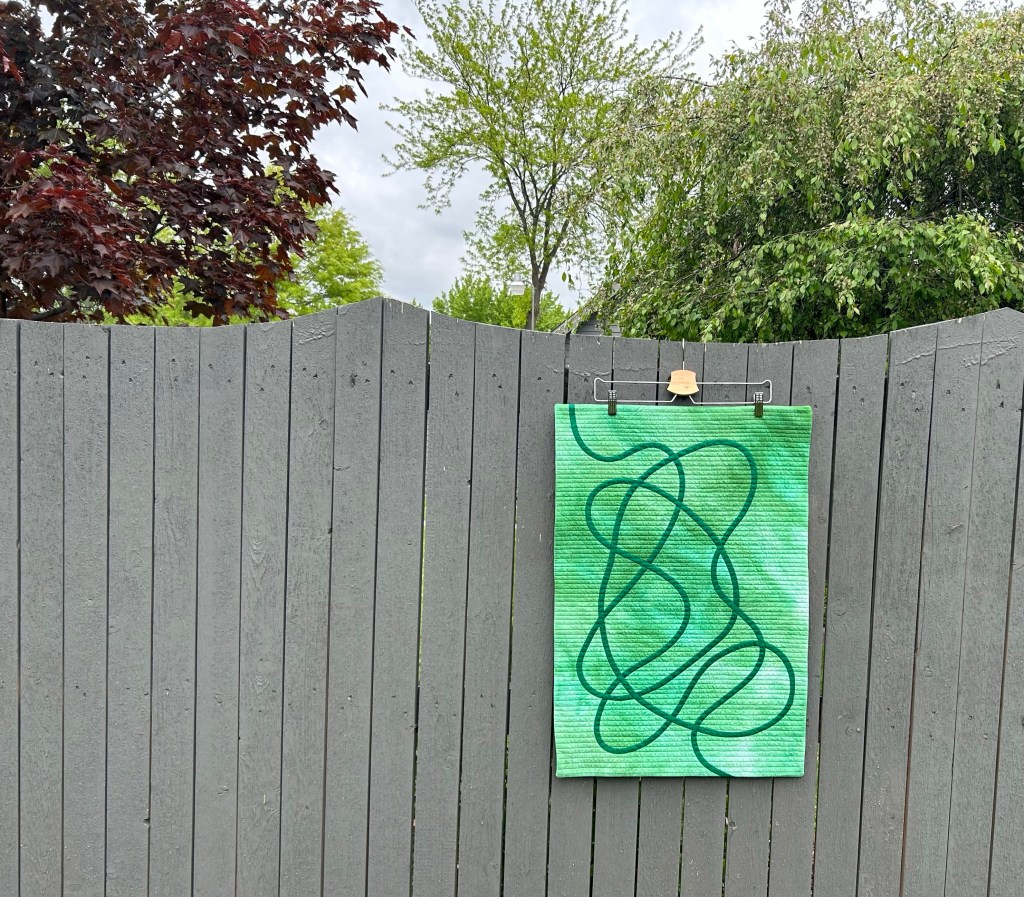
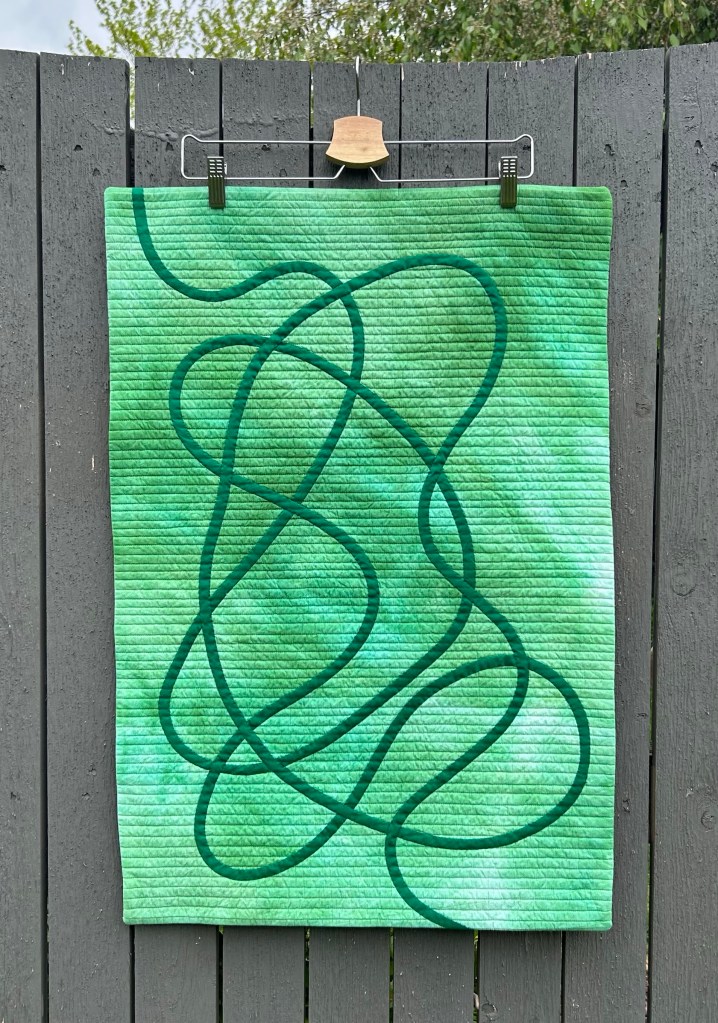
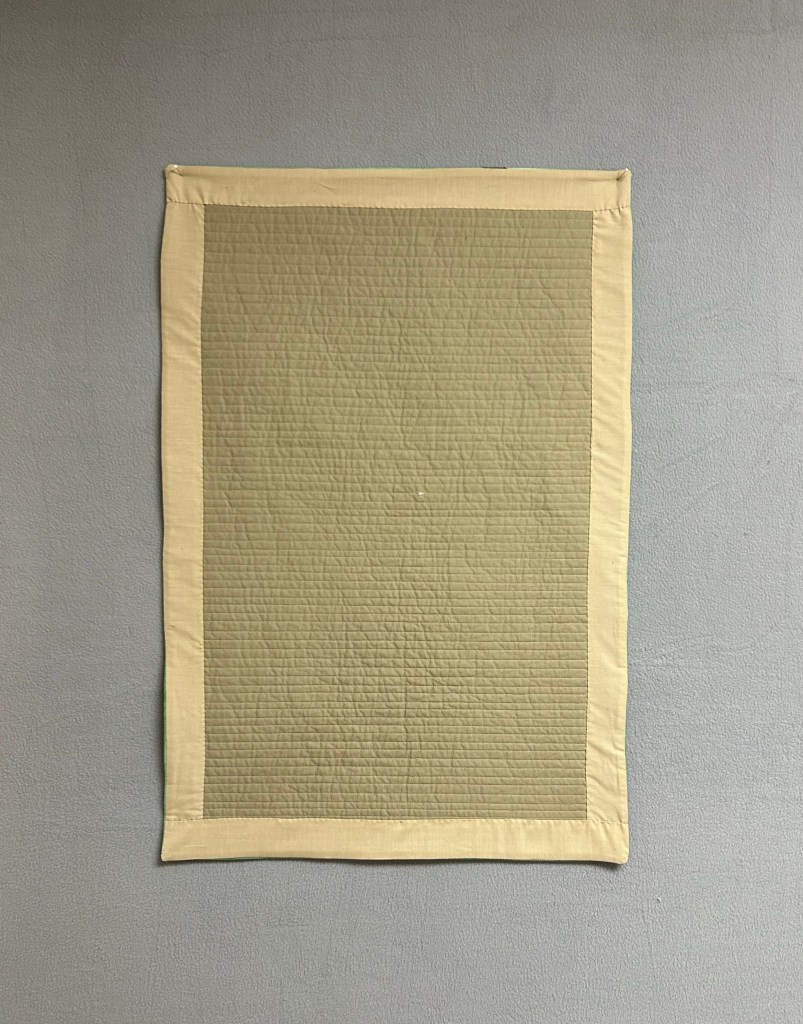
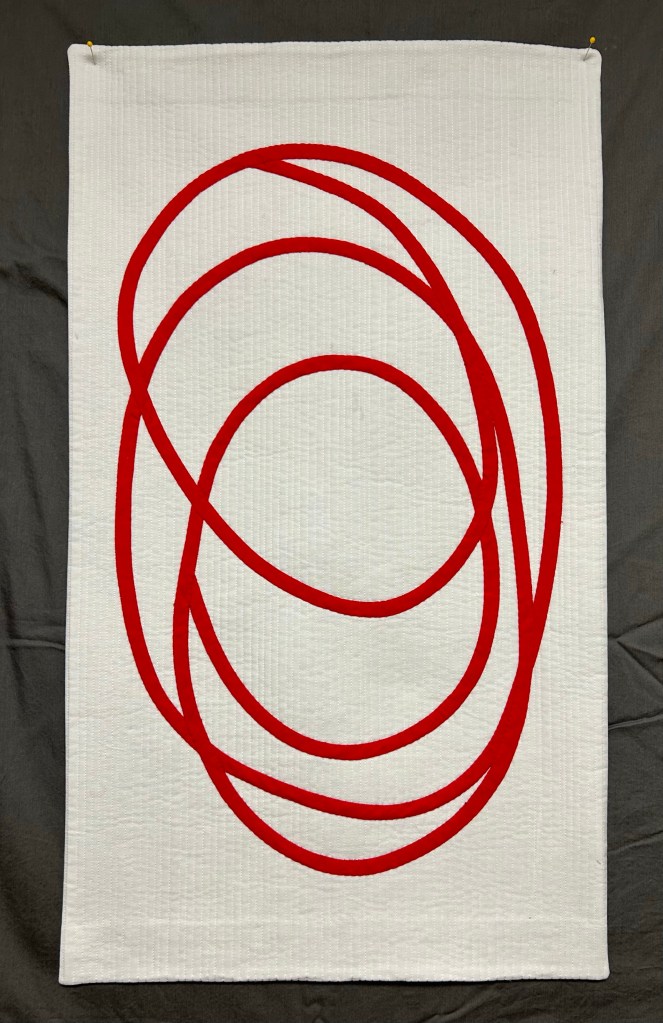
I also have to decide which way is up. This way…..
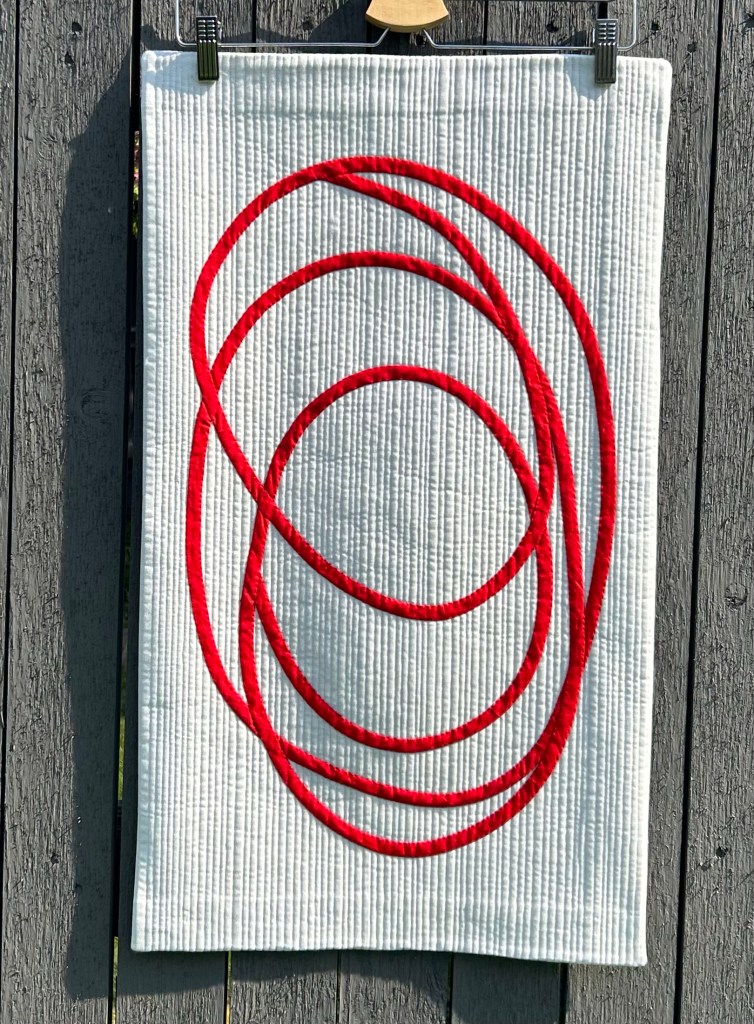
Or this way. What do you think?
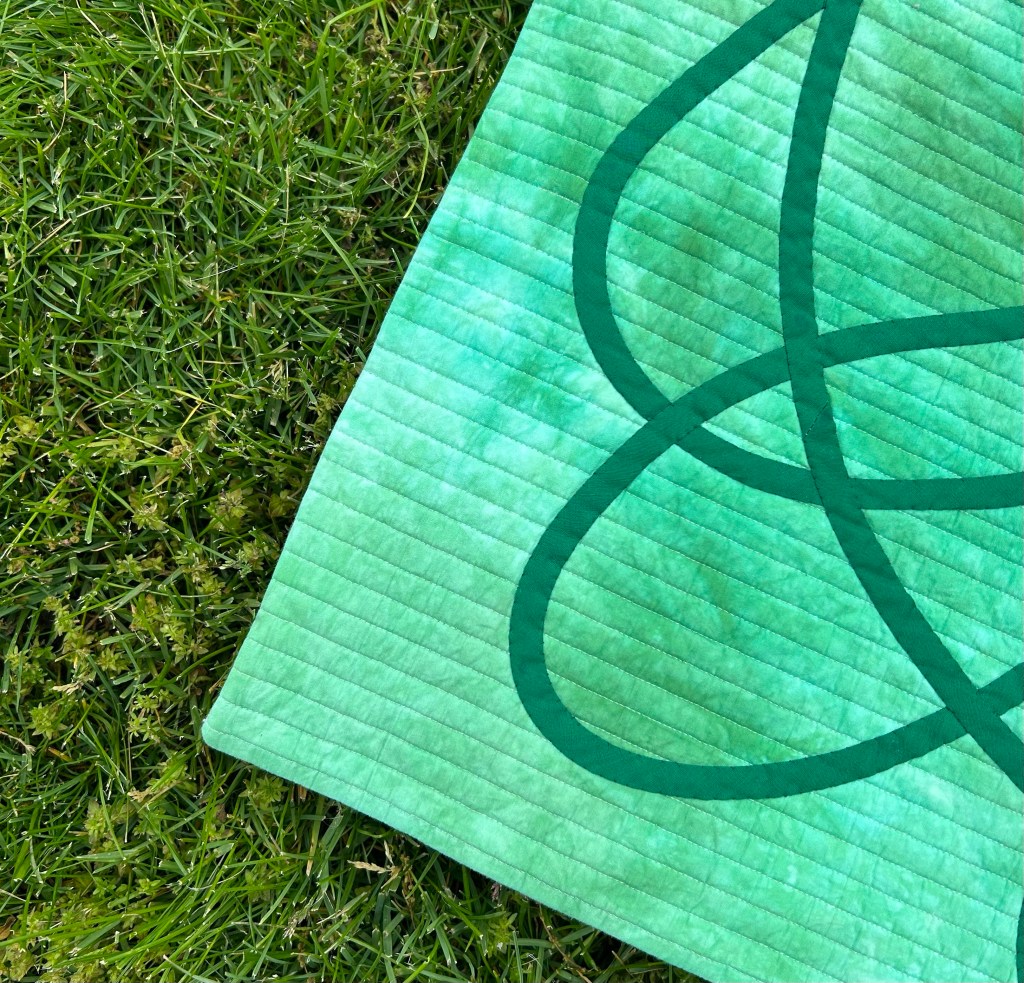
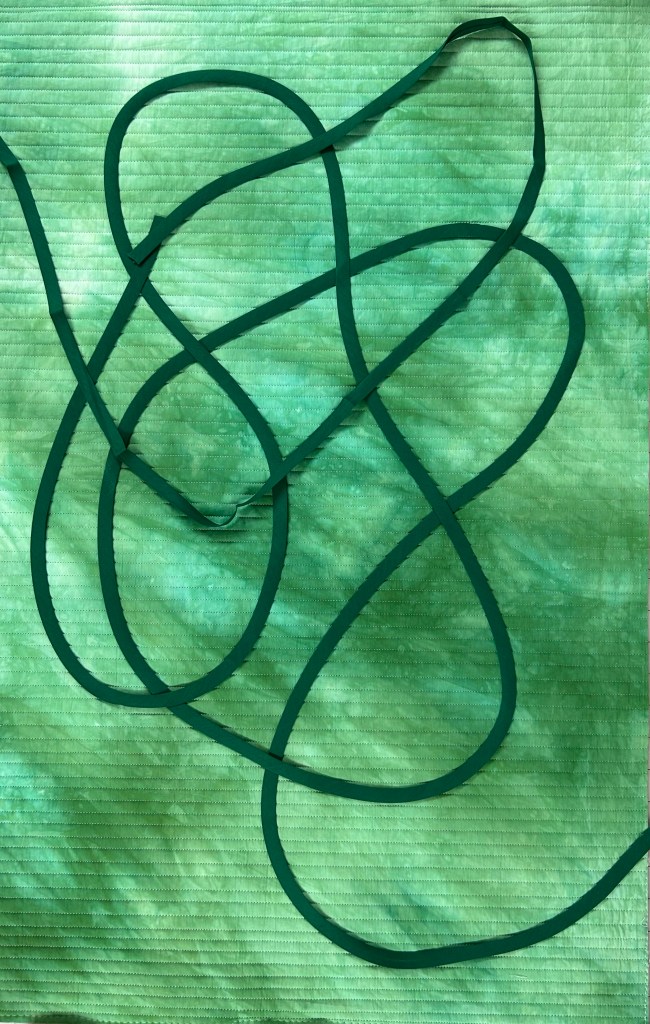
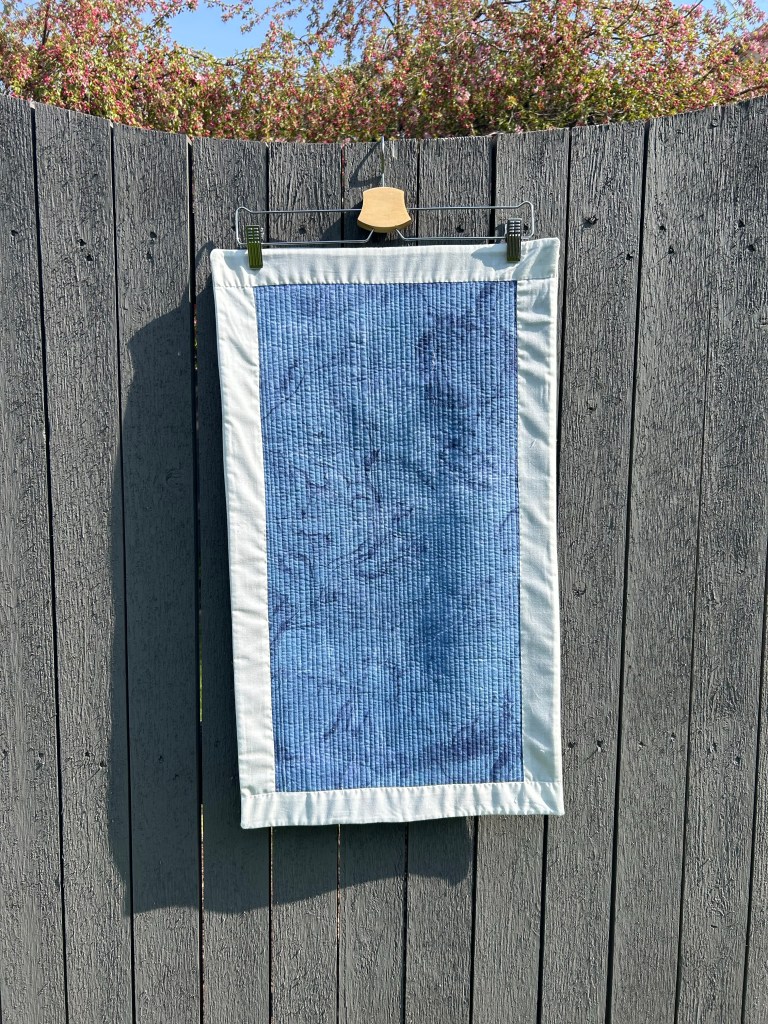
The background is a bit of my own hand dyed fabric. The tangle is commercial single fold bias tape.
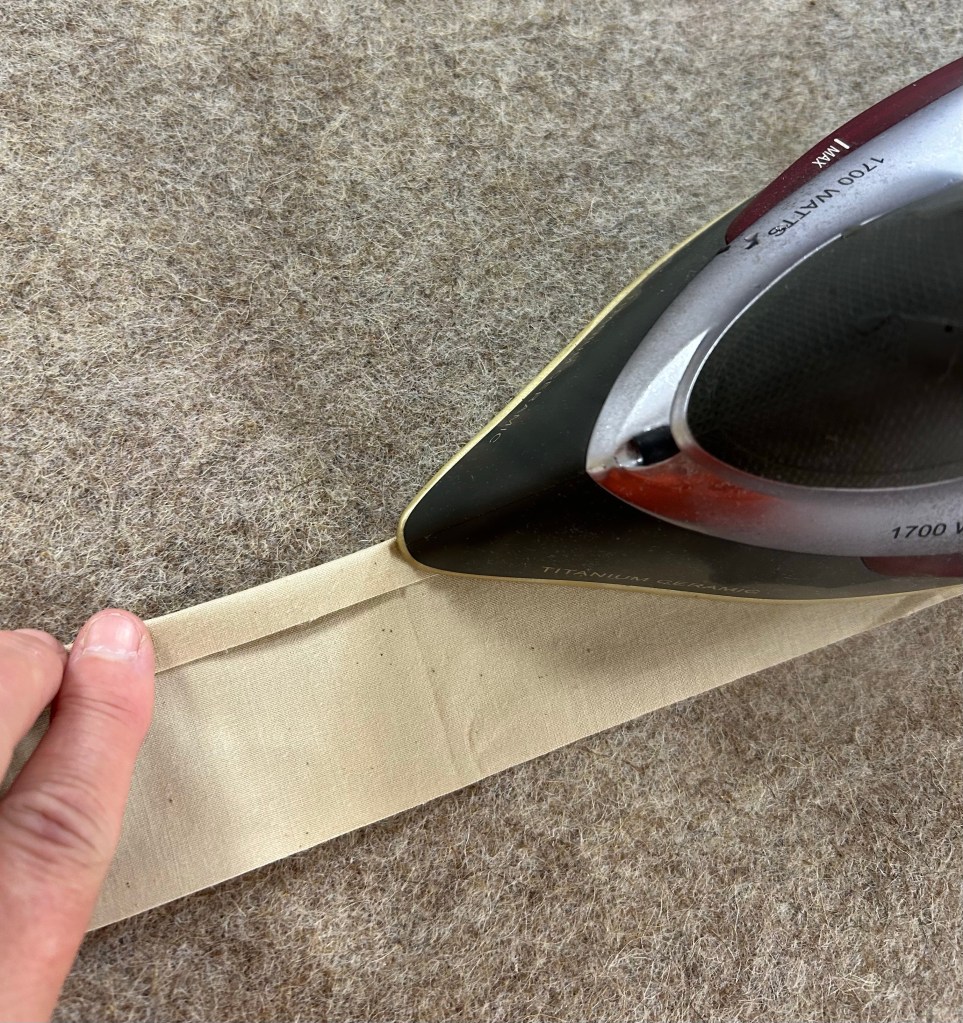
I thought I’d share today how I add facings to a quilt. I prefer a facing to a binding on a modern wall quilt.
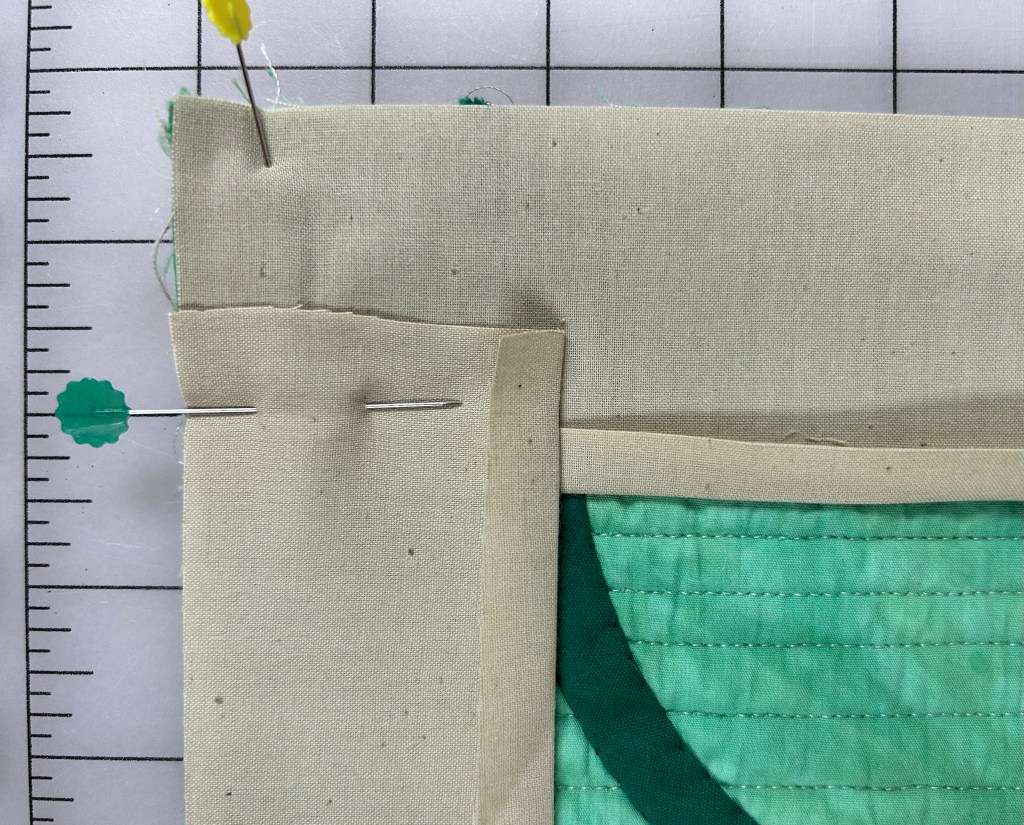
I cut my facing strips 2 1/2” wide. I fold over and press one edge about a quarter inch.
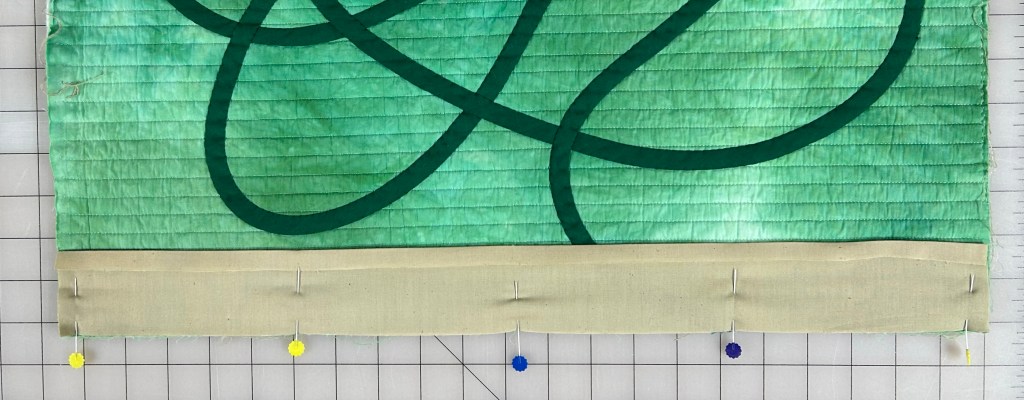
Next I pin pieces to the top and bottom as shown. Tip: cut your facings a quarter to half inch shorter than the width of your quilt and stretch to fit. This helps “encourage “ the edge to roll toward the back when finished. You really don’t want the facing to be seen.
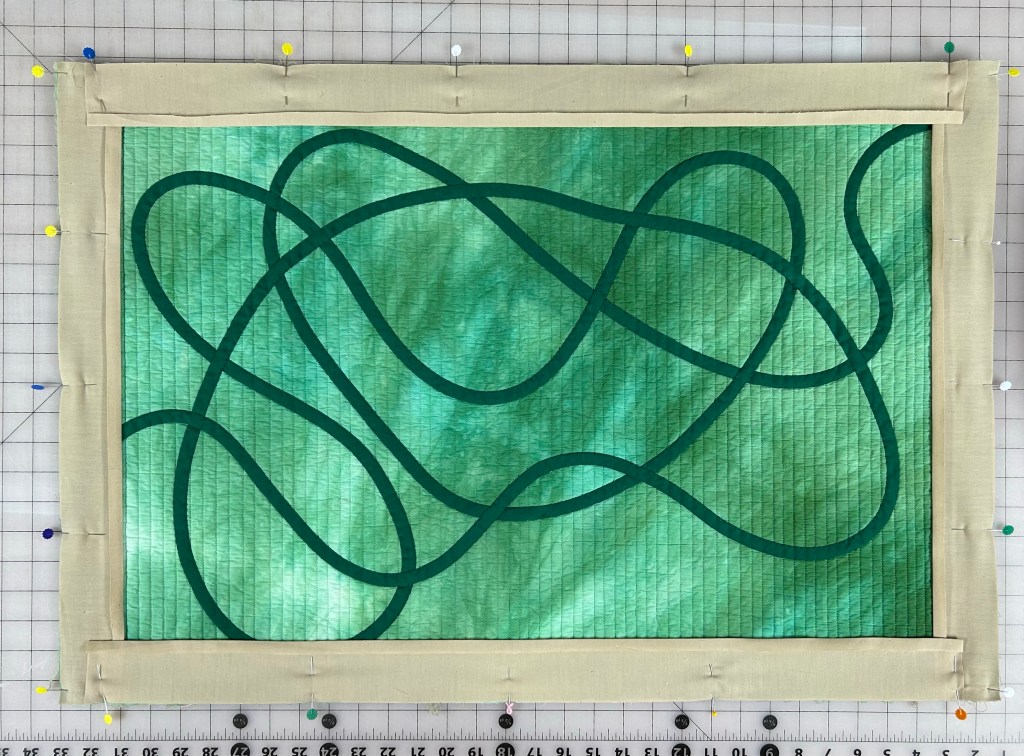
Next add strips to the sides, stretching a bit to fit, and pin.
You’ll notice that these pieces don’t go all the way to the corner. They don’t need to and it reduces bulk at the corners this way.
Sew a quarter inch all around the edge and then clip a tiny bit at each corner.
Turn the facing to the back and press. Take your time with this part.
Lastly, slip stitch to the back.
Stand back and admire your work! I hope this helps if you ever need to do a facing.
I thought I’d share my process of using bias tape with you today. It really is fun to play with.
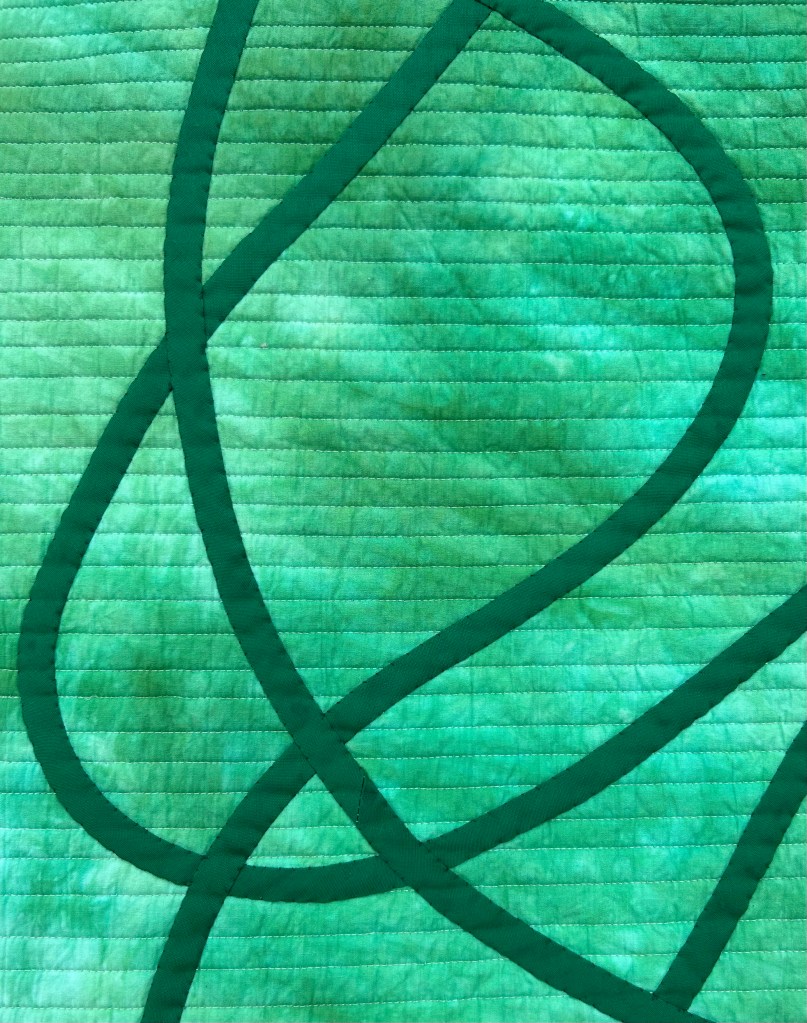
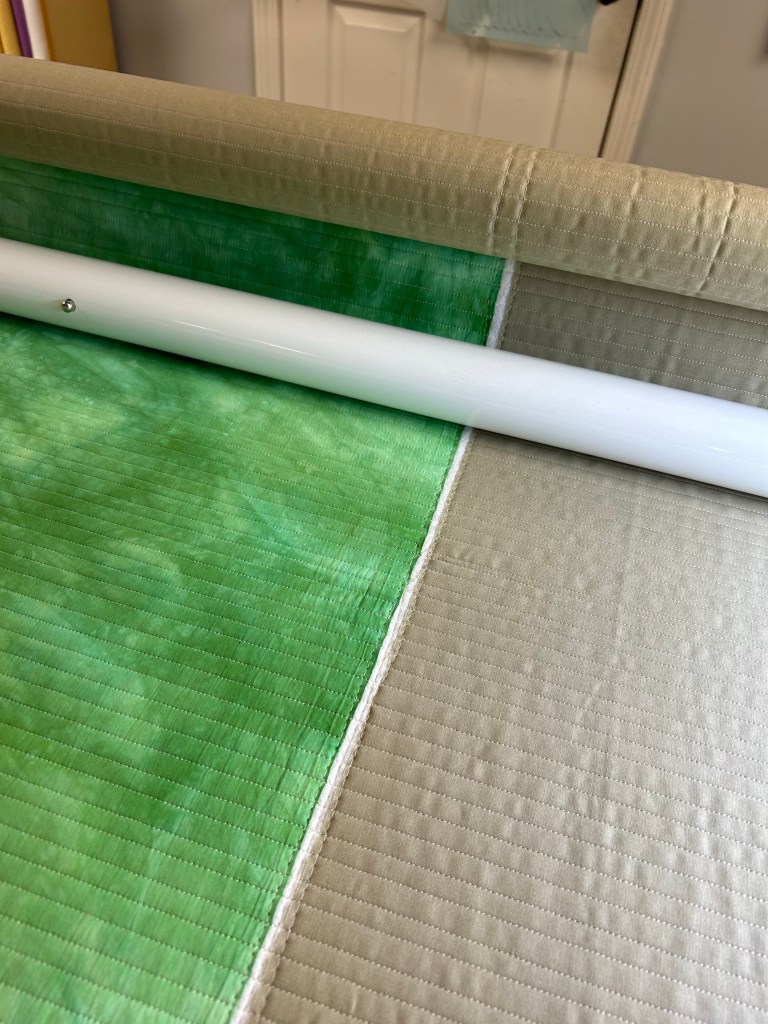
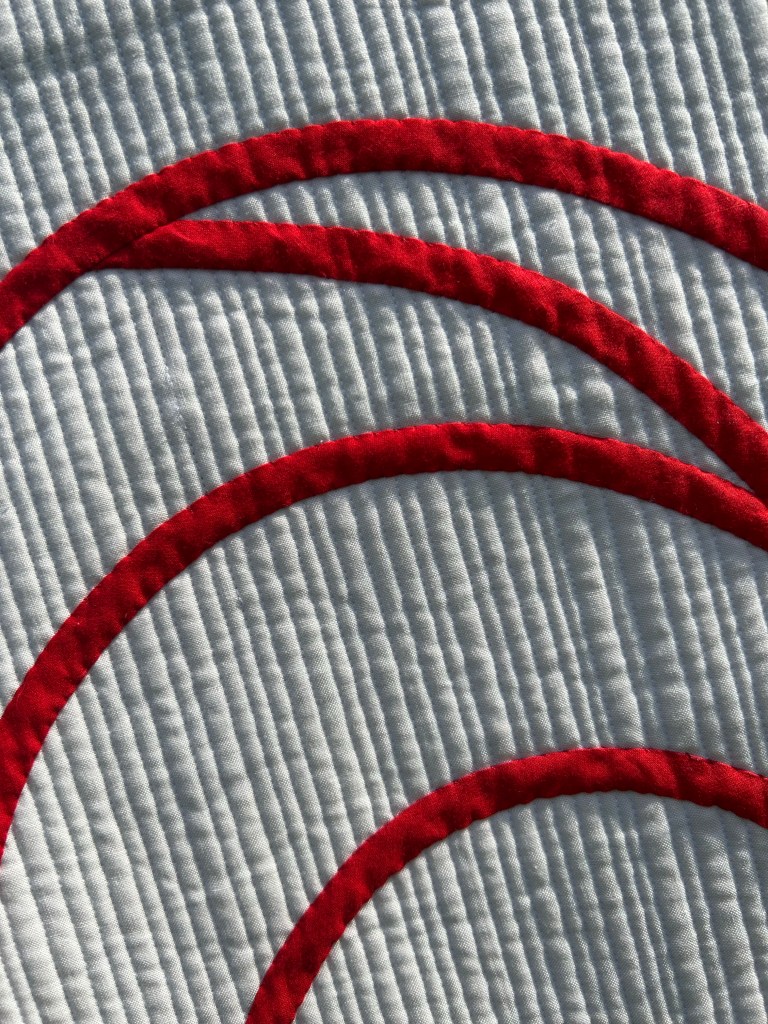
First, I quilt my foundation. I like using parallel lines about a quarter to a half inch apart.
I’ve been using single fold prepackaged bias tape. I’ve had some on hand for ages and was glad to finally use it. Sadly, I’m almost out. Anyway, play around and create a design.
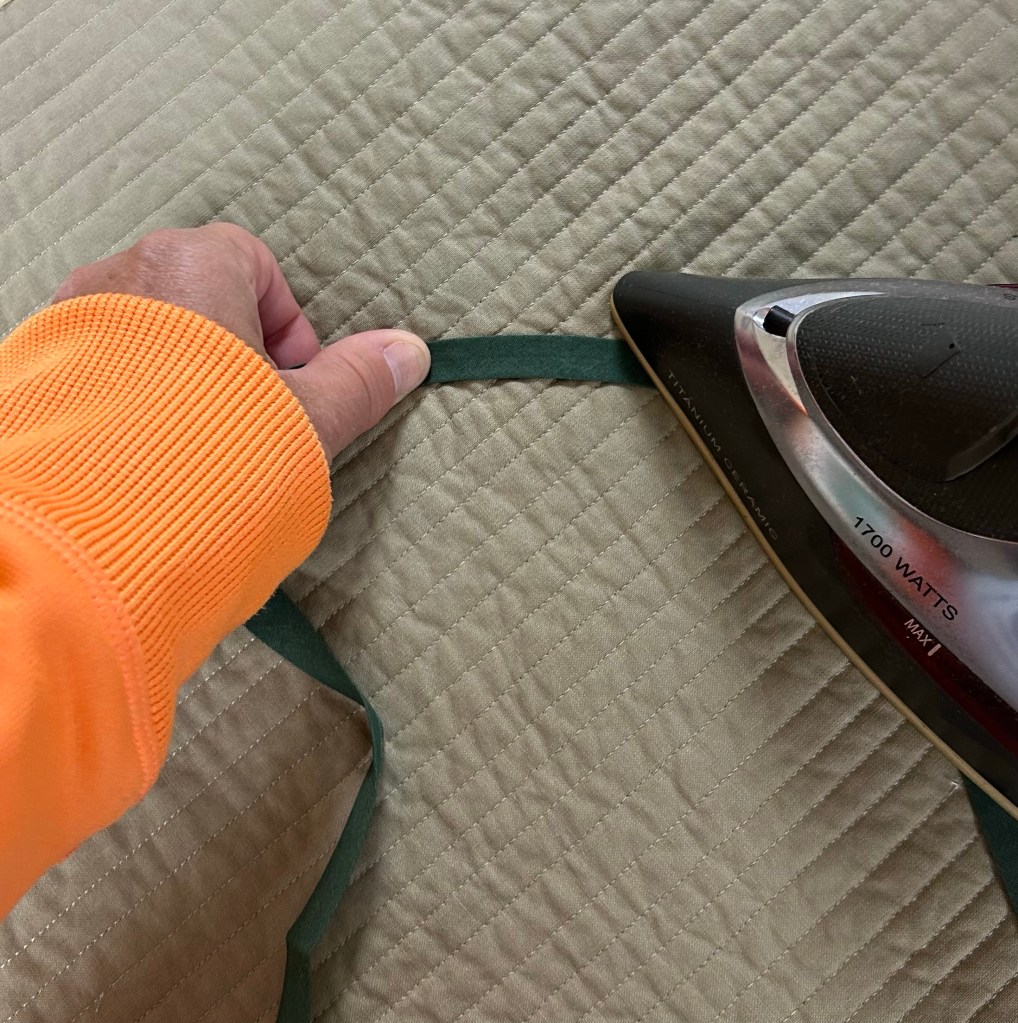
Next, you will use your steam iron to gently press the tape into your desired design. You can see above that some of the tape was pressed, some was not. Just play with it a bit to get the hang of it. It’s easier than you think.
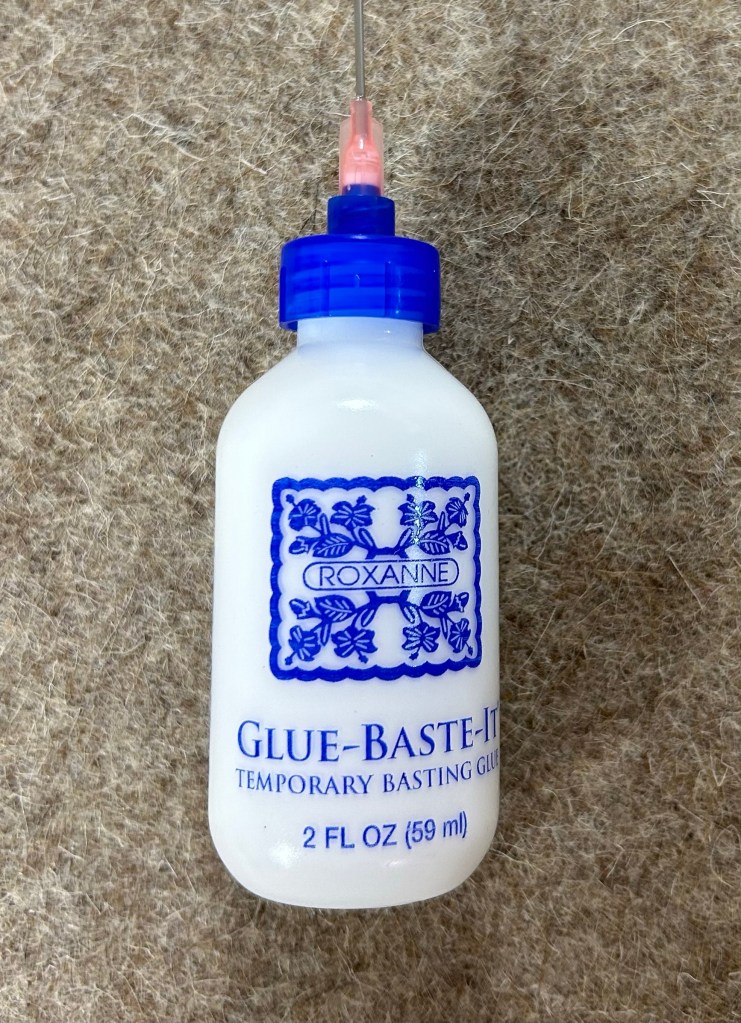
Once I’m happy with my design, I lift up small sections and place tiny drops of glue on the back of the tape.
I lay it back down and press with the iron to set the glue.
After it’s all glued in place, find a good movie and hand appliqué it down.
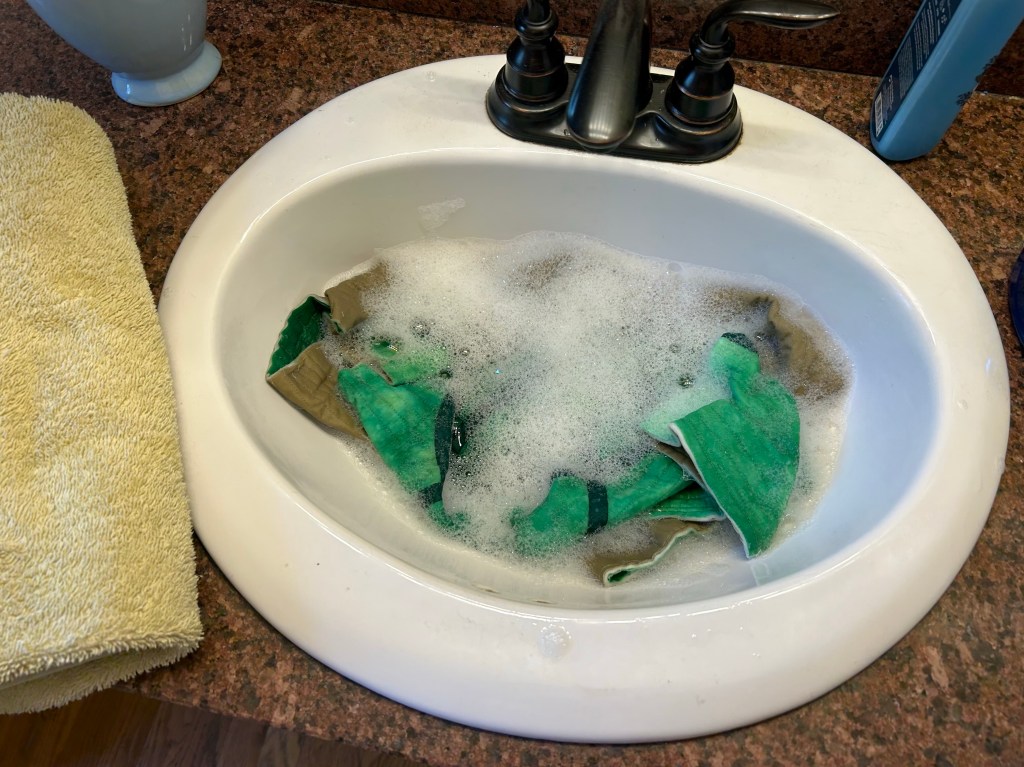
Next I give it a good soak to remove the glue.
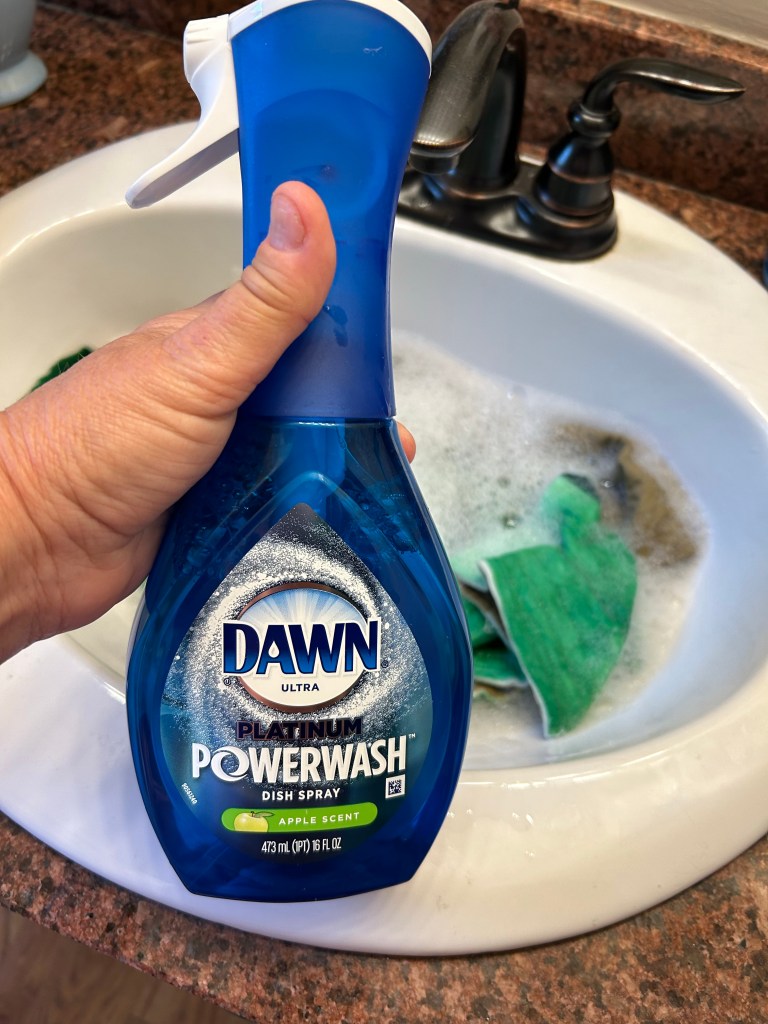
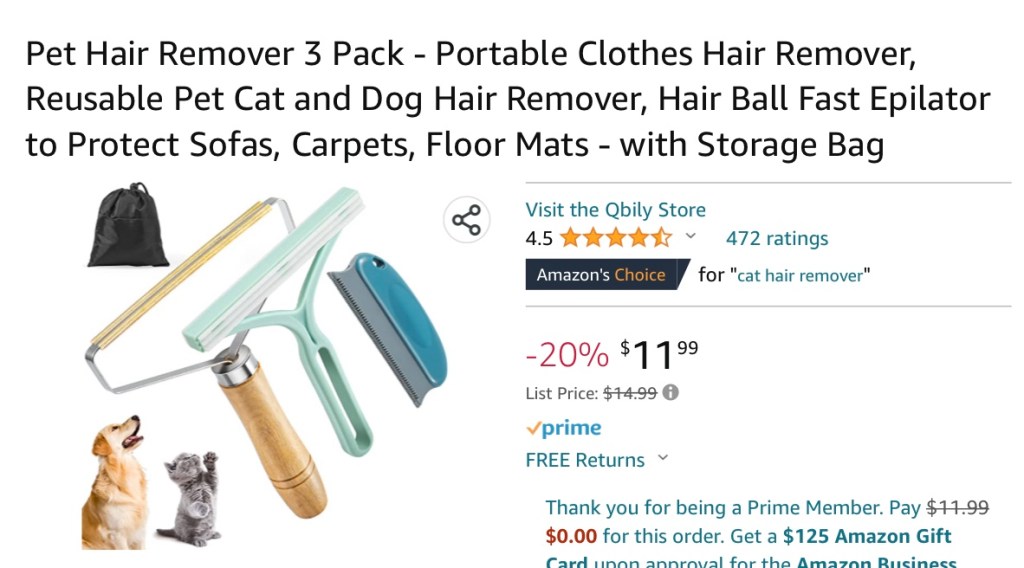
I used a few squirts of this.
A good rinse and dry, and I’m ready to add a facing to the edges! Stay tuned for that tutorial coming soon.
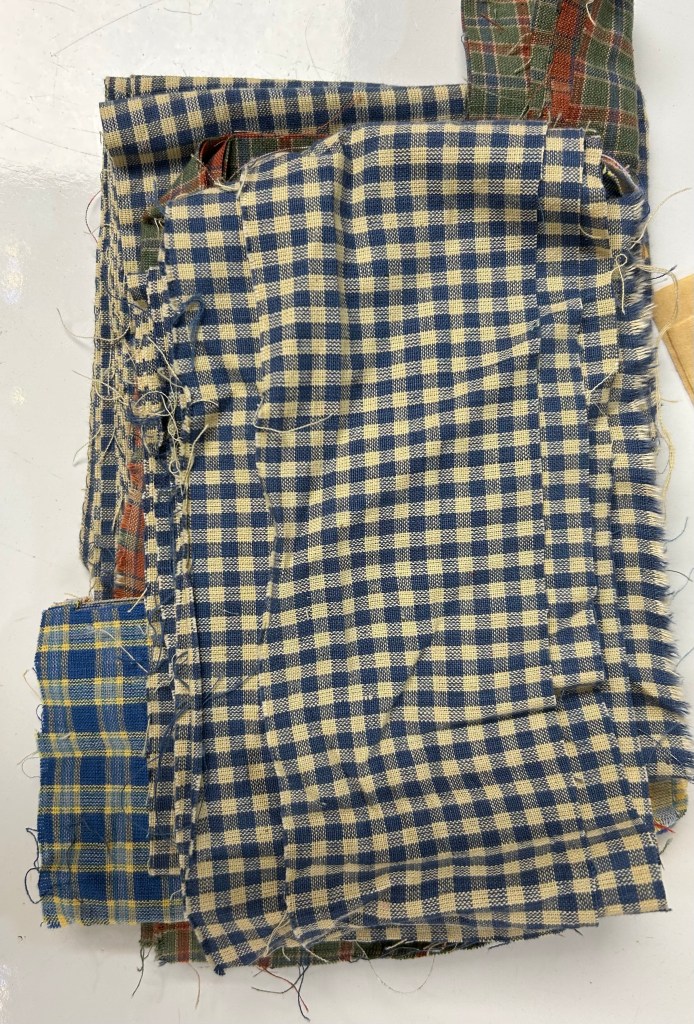
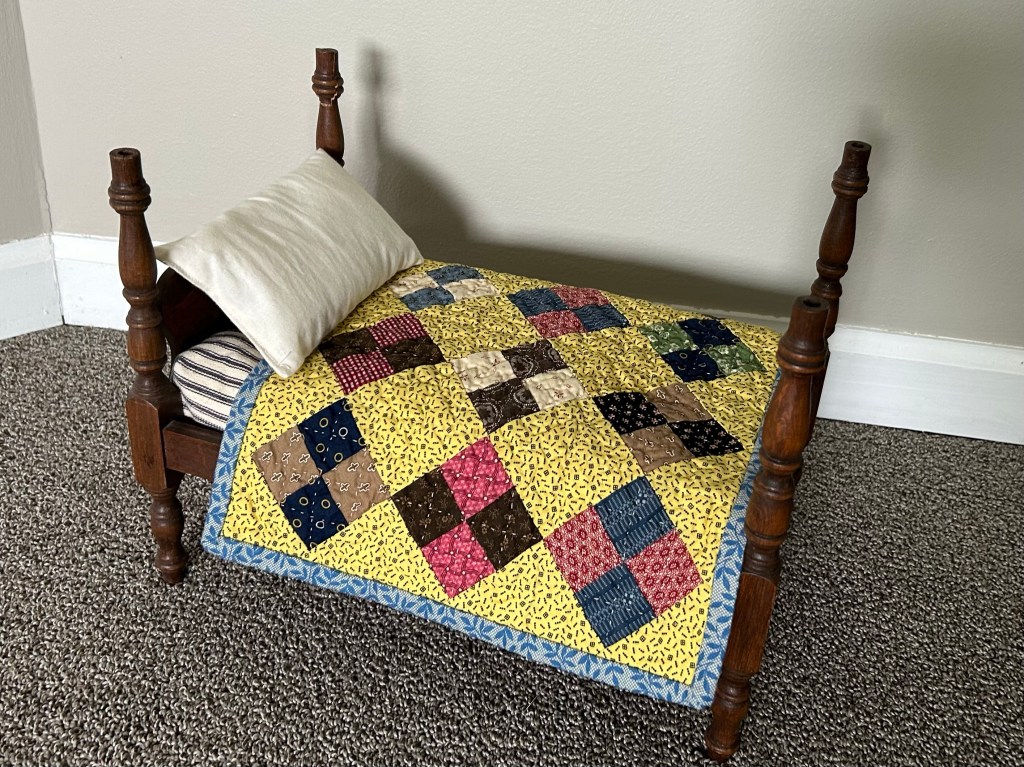
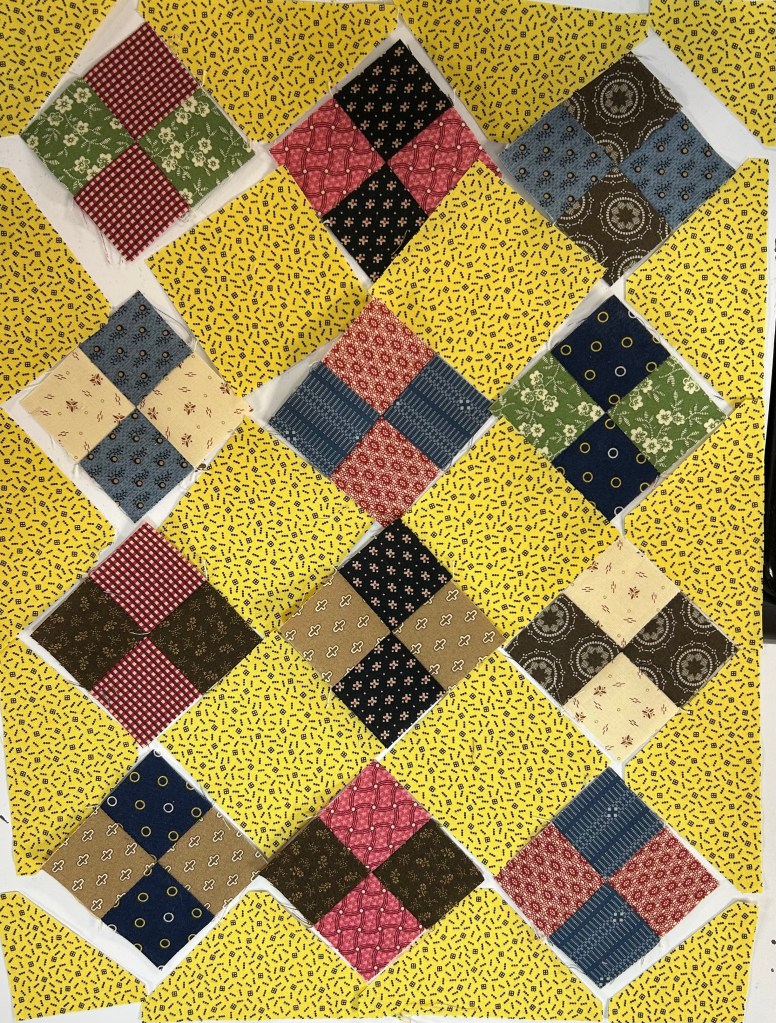
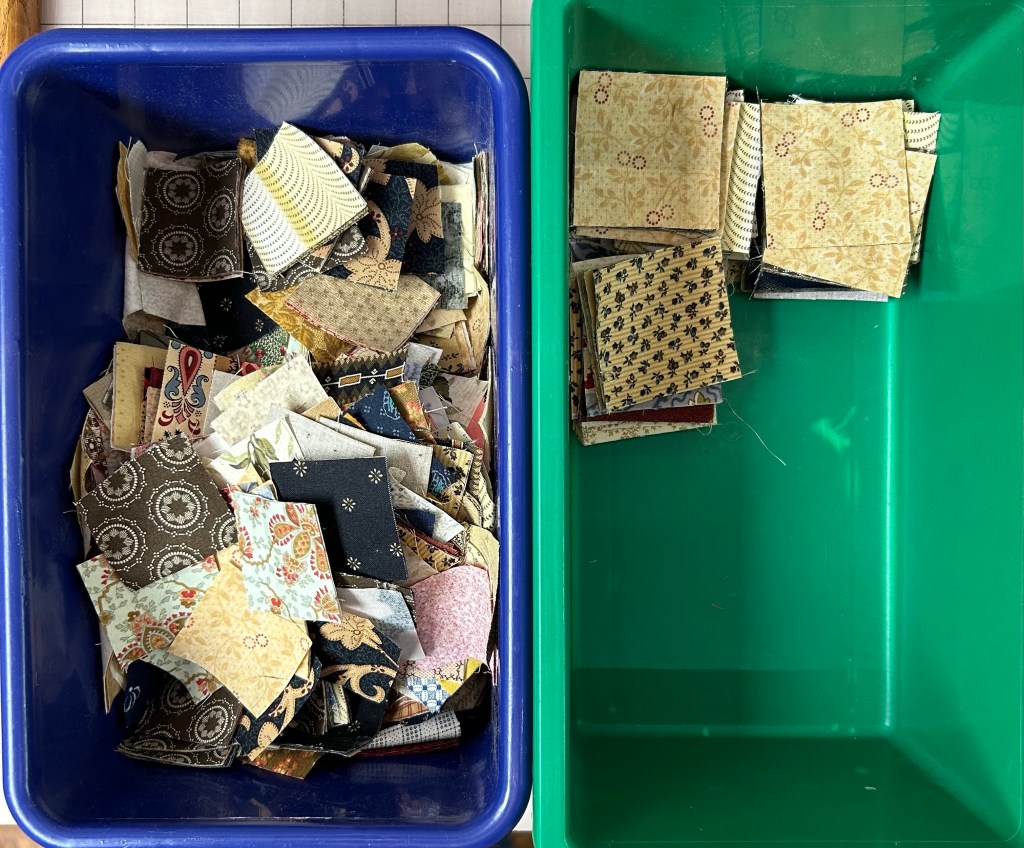
This little mini was just the ticket for a little weekend sewing.
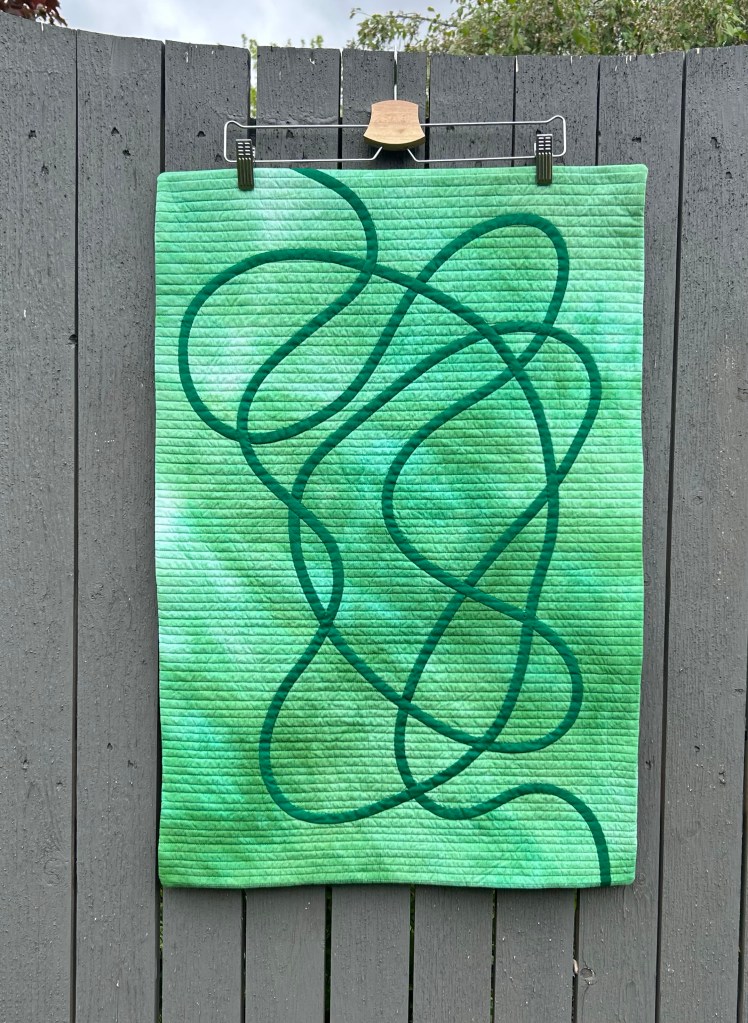
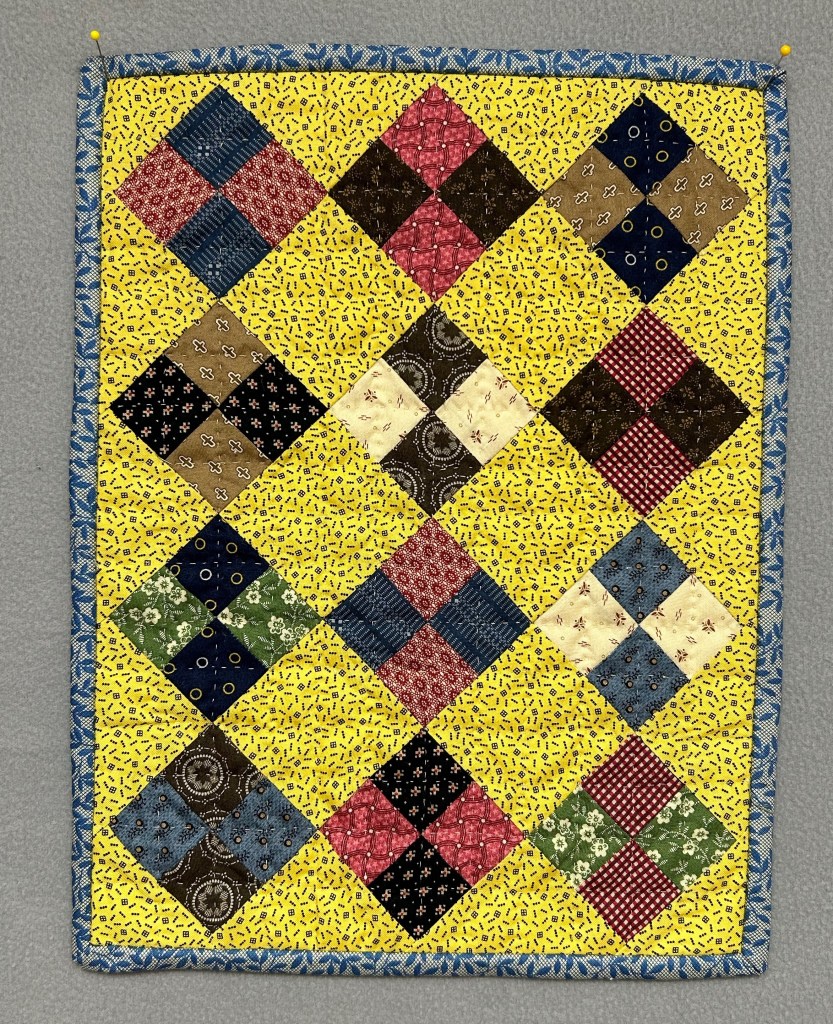
The photo above shows the most accurate colors.
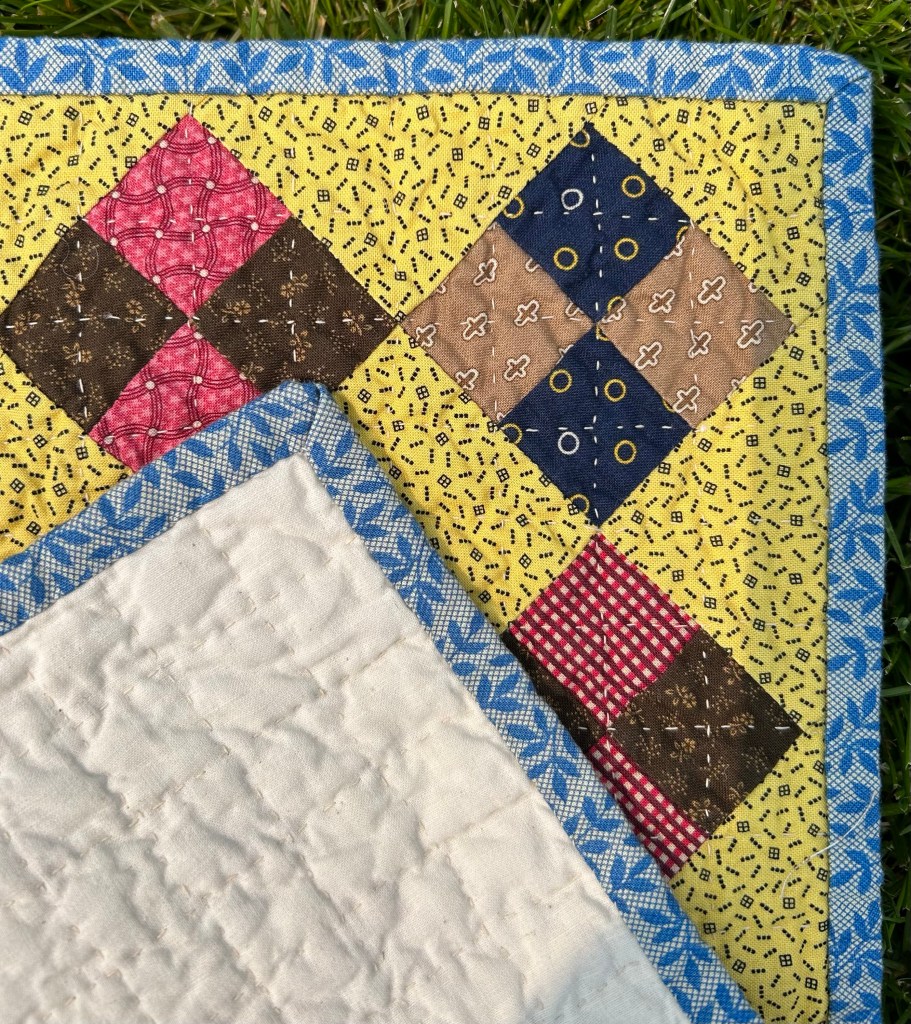
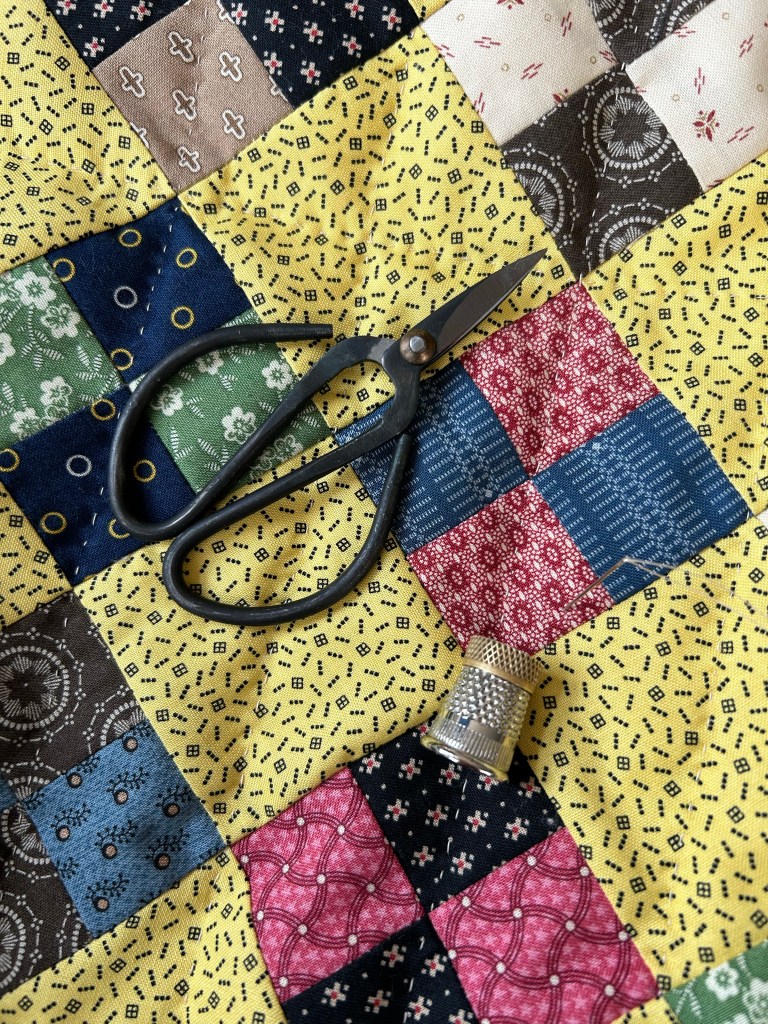
The next photos are after washing. I used a half layer of Mountain Mist BlueRibbon cotton batting. It isn’t made anymore, but if I see it at thrift shops or garage sales, I always grab it for minis.