
I thought I’d share my process of using bias tape with you today. It really is fun to play with.
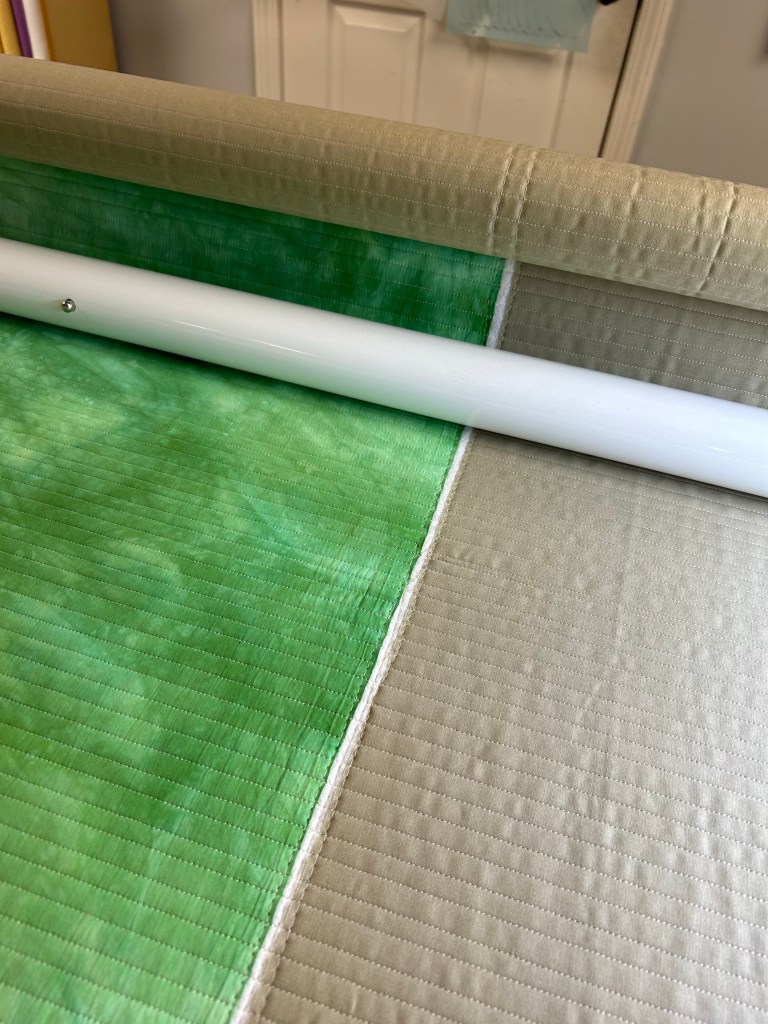
First, I quilt my foundation. I like using parallel lines about a quarter to a half inch apart.
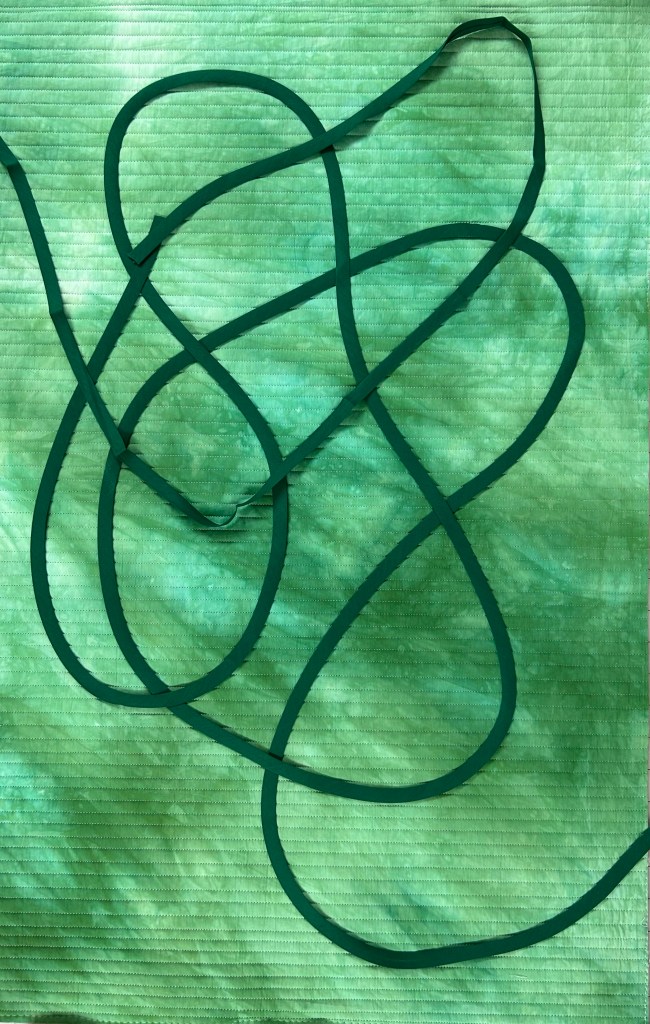
I’ve been using single fold prepackaged bias tape. I’ve had some on hand for ages and was glad to finally use it. Sadly, I’m almost out. Anyway, play around and create a design.
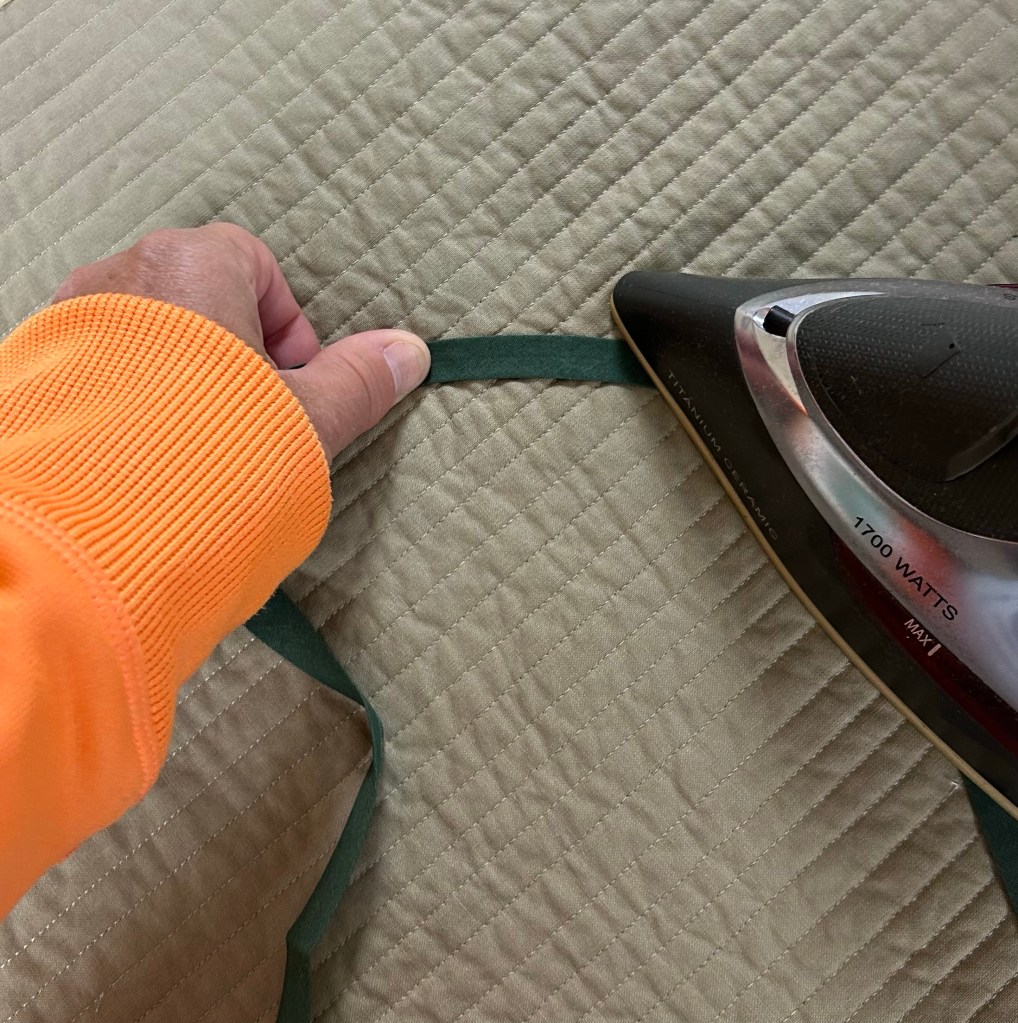
Next, you will use your steam iron to gently press the tape into your desired design. You can see above that some of the tape was pressed, some was not. Just play with it a bit to get the hang of it. It’s easier than you think.
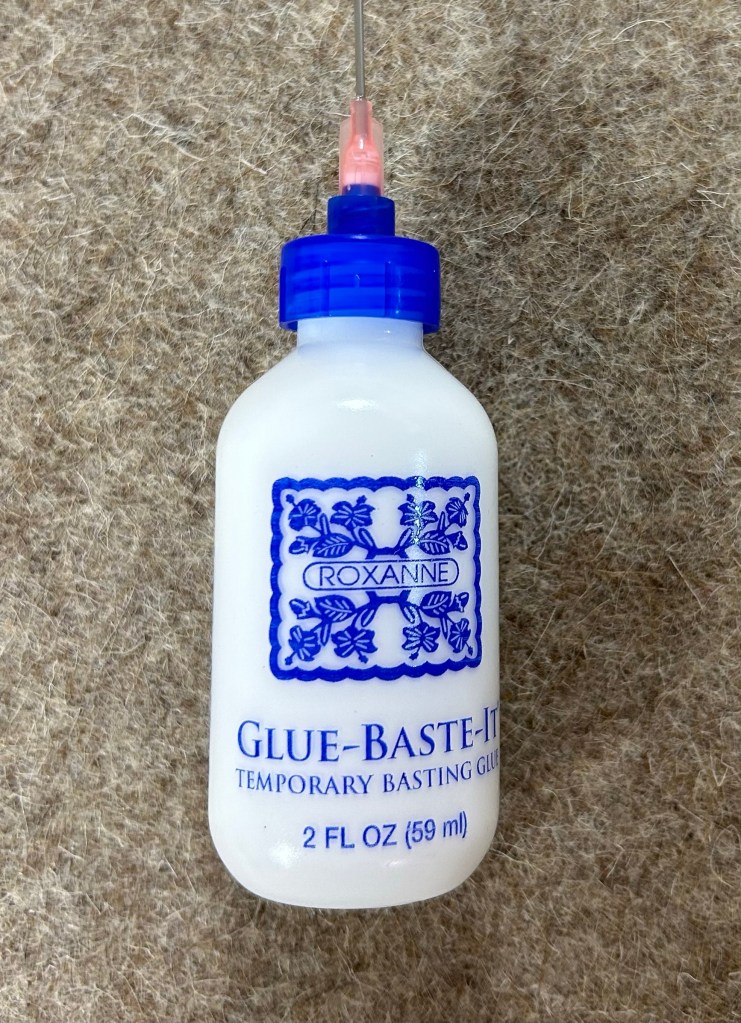
Once I’m happy with my design, I lift up small sections and place tiny drops of glue on the back of the tape.
I lay it back down and press with the iron to set the glue.
After it’s all glued in place, find a good movie and hand appliqué it down.

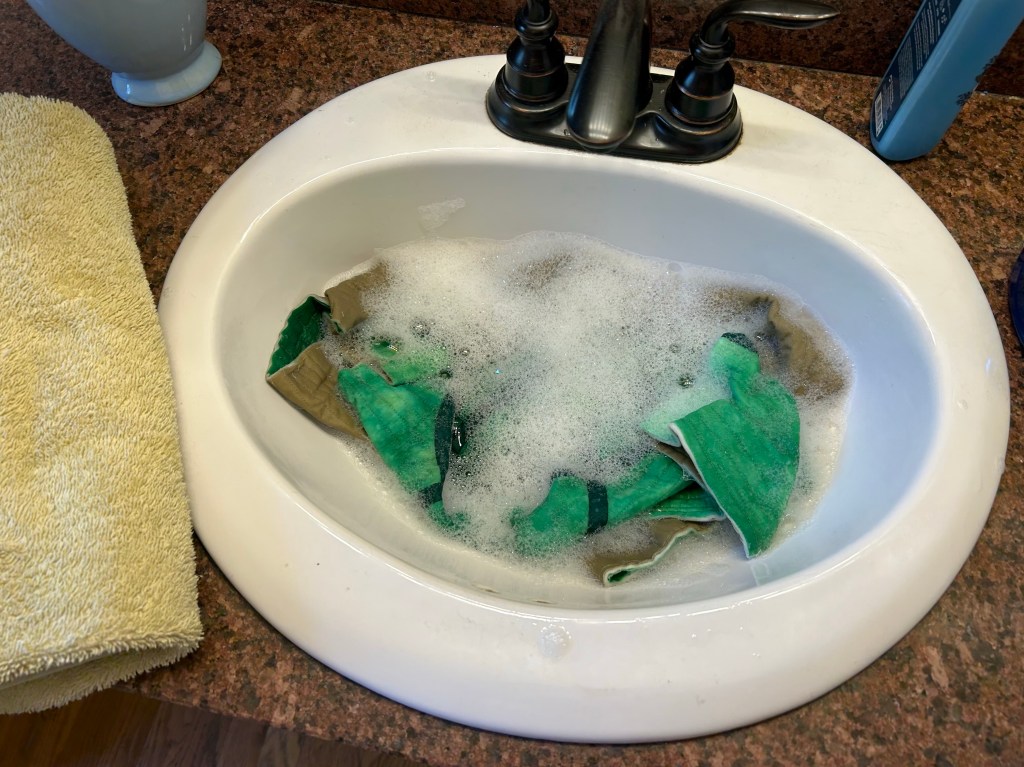
Next I give it a good soak to remove the glue.
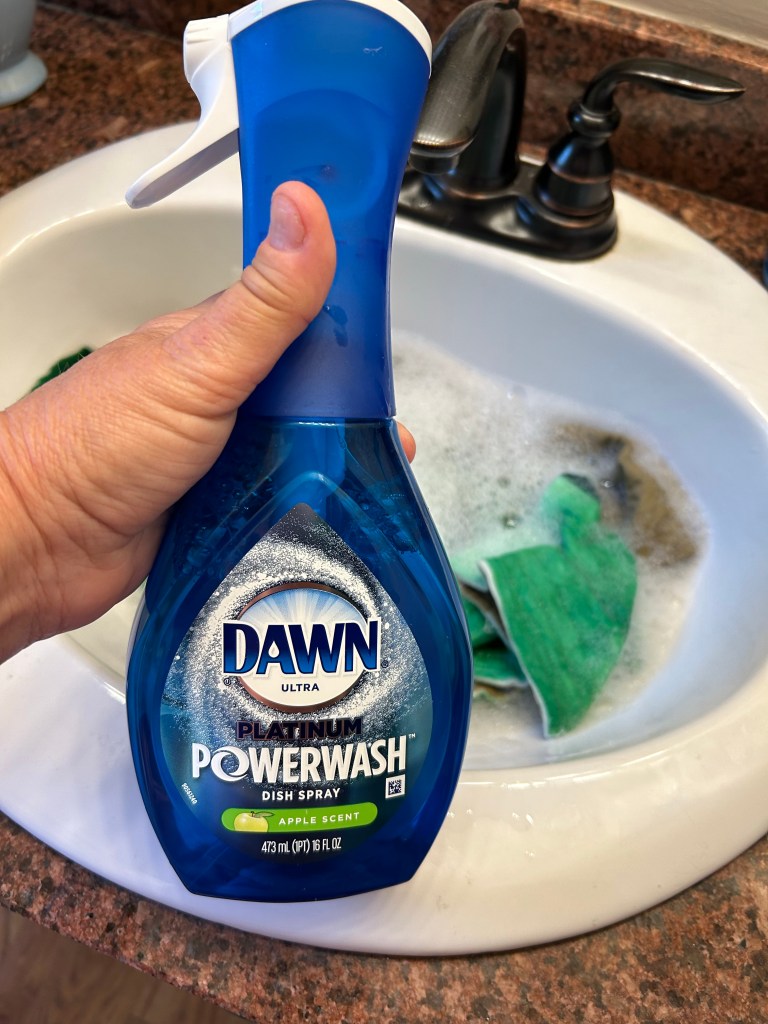
I used a few squirts of this.
A good rinse and dry, and I’m ready to add a facing to the edges! Stay tuned for that tutorial coming soon.
Have a great day!

