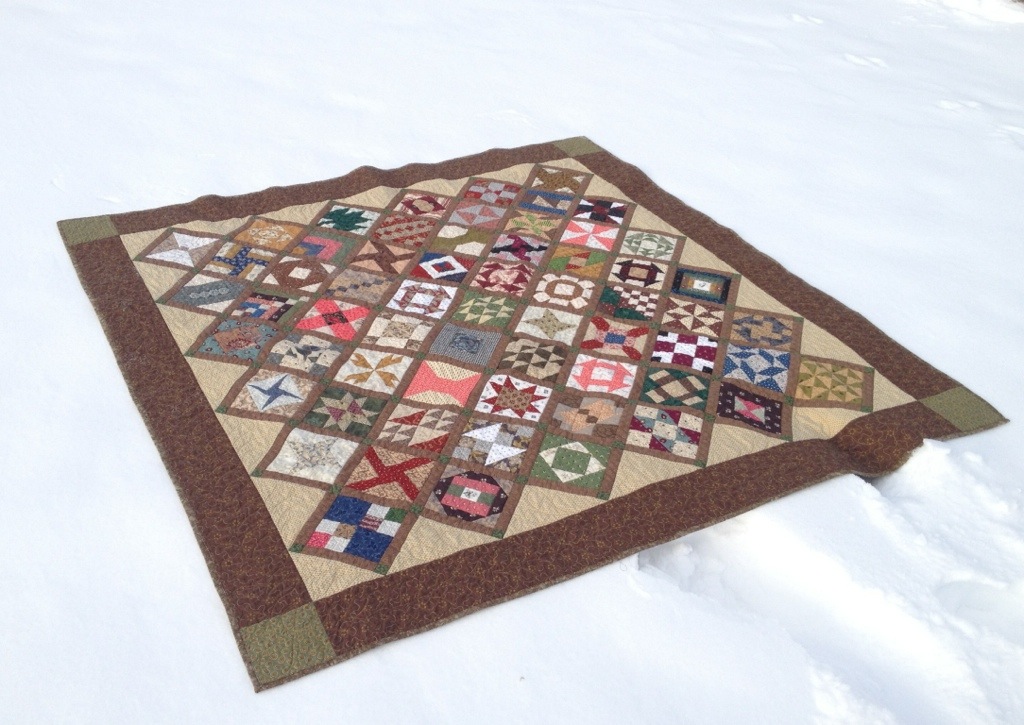
I had so many questions about my hexagon quilt that I showed Monday, that I decided to do a quick tutorial to answer them.

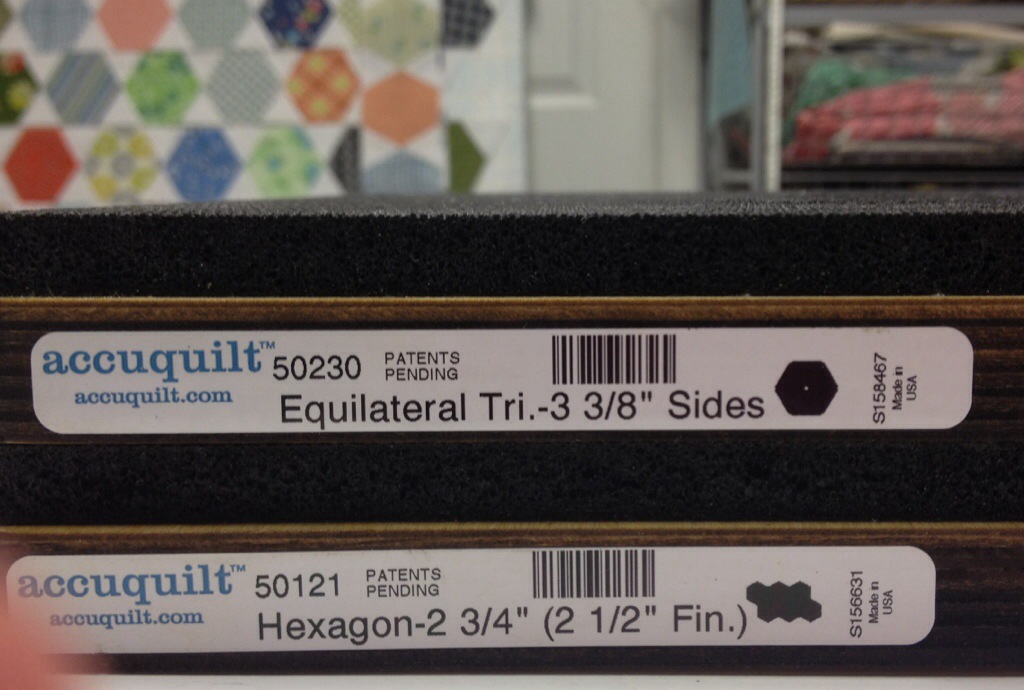
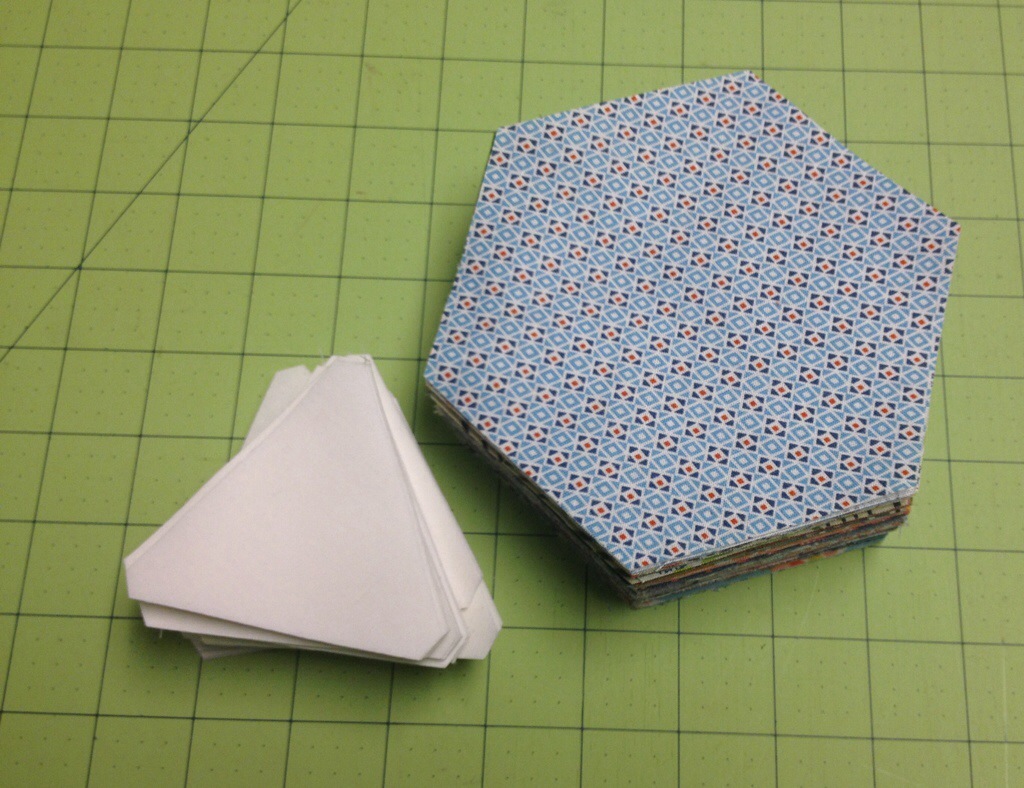
First , here are the dies I used.

I know, they look like they don’t go together, but they do. The hexagons have 2 1/2″ FINISHED sides. The triangles do too but the measurement listed here is UNFINISHED. Why did Accuquilt do this? I have no earthly idea. Trust me, they work. (ETA: I knew they were compatible because Accuquilt will list compatible dies in the product info.)
Start by cutting a bazillion hexies and two bazillion triangles. Seriously, you need two triangles for every hexie.

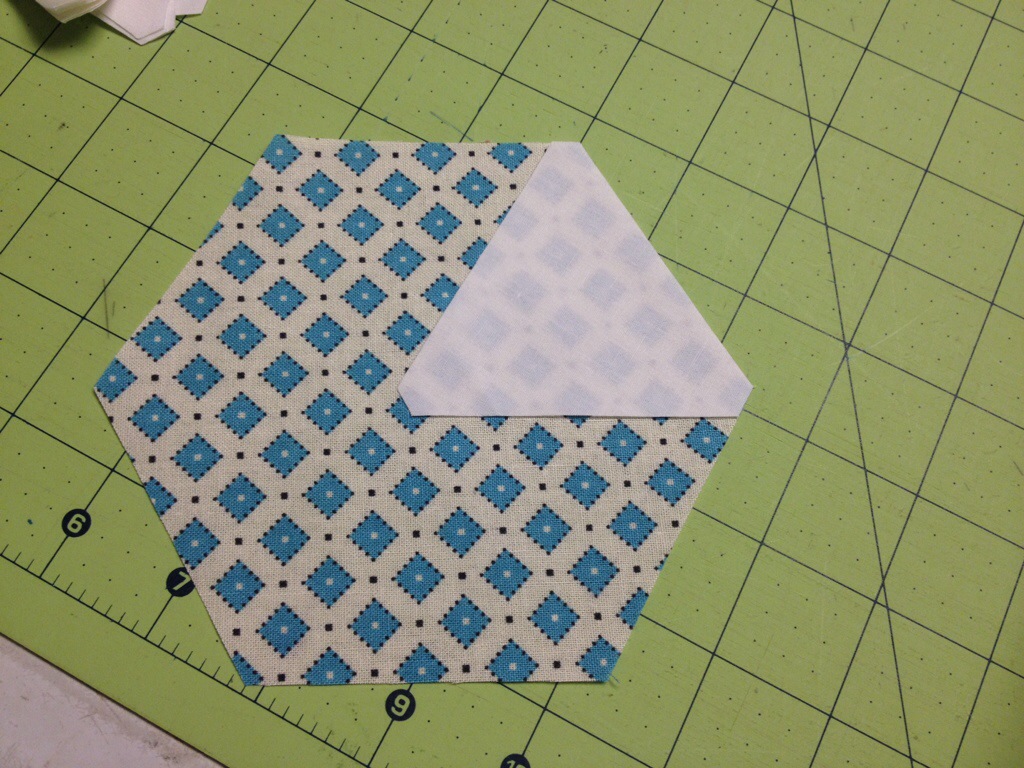
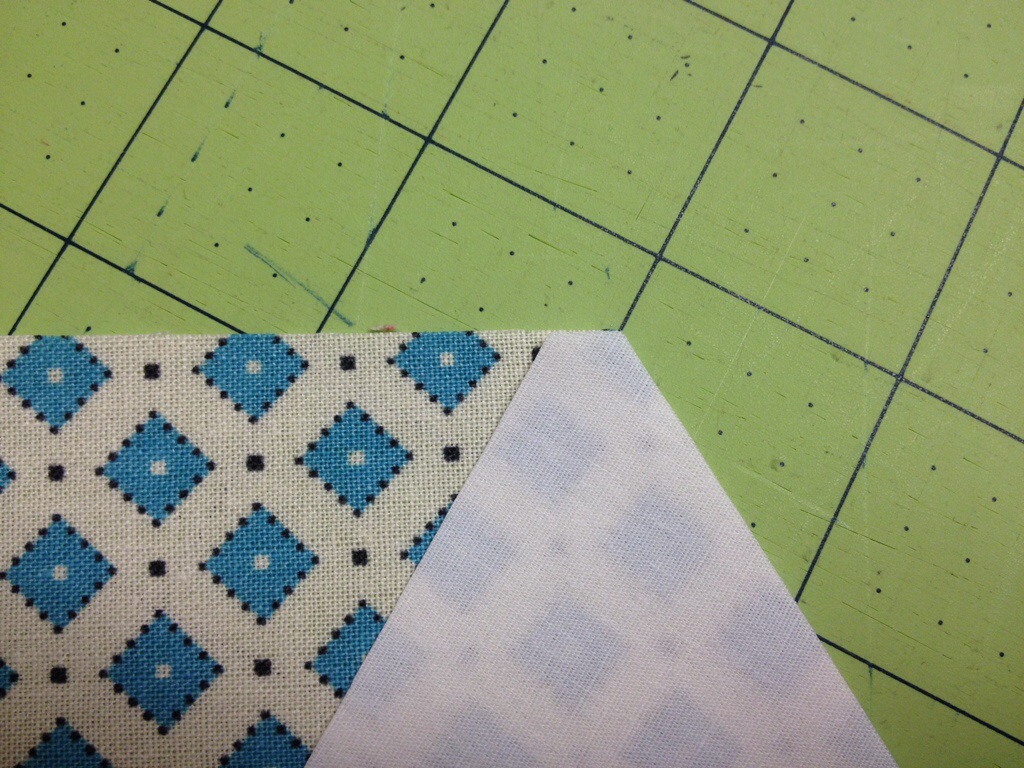
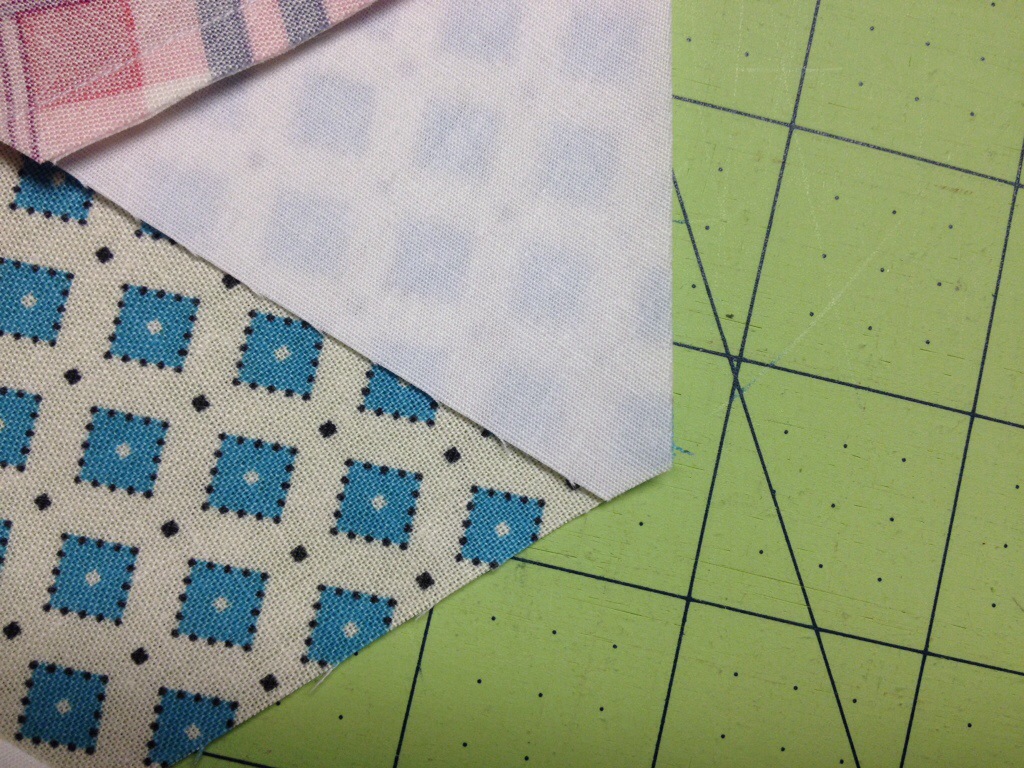
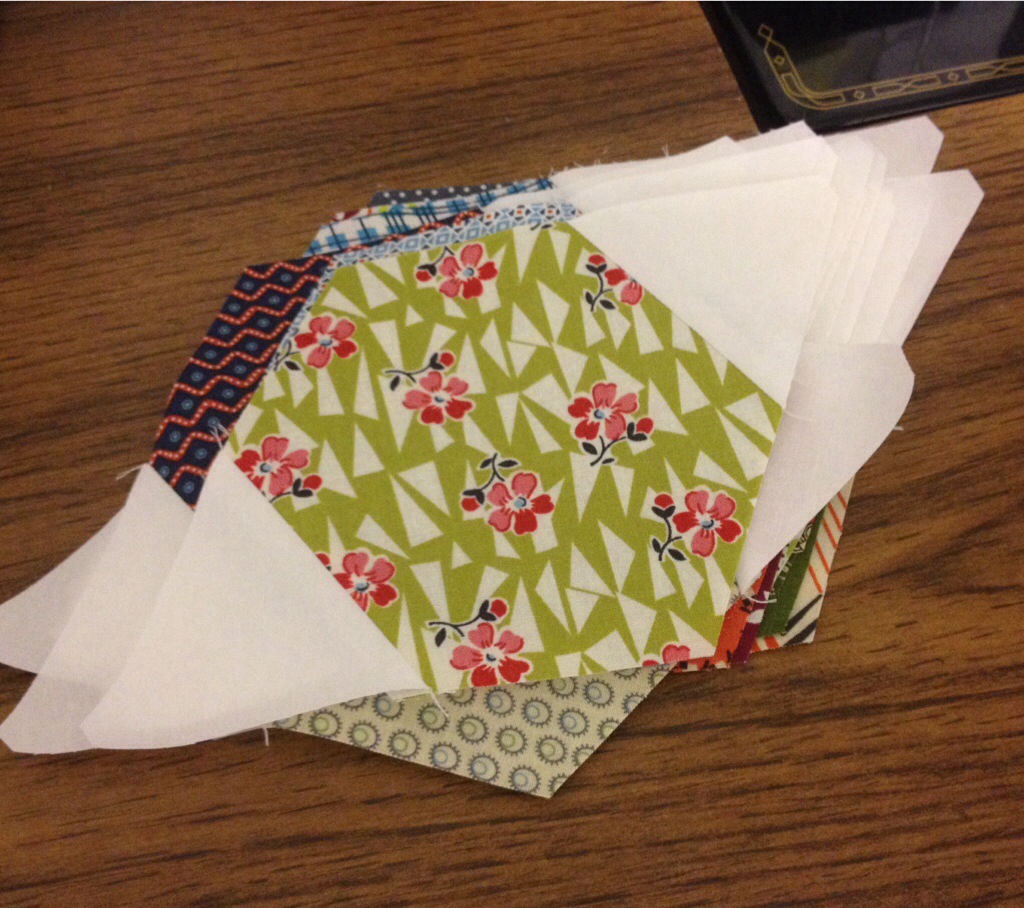
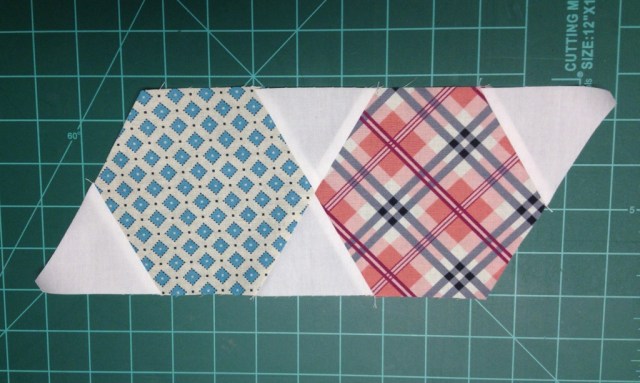
The dies cut the points off the triangles so they line up nicely with the hexagons when you are ready to sew.

See? They really do fit!

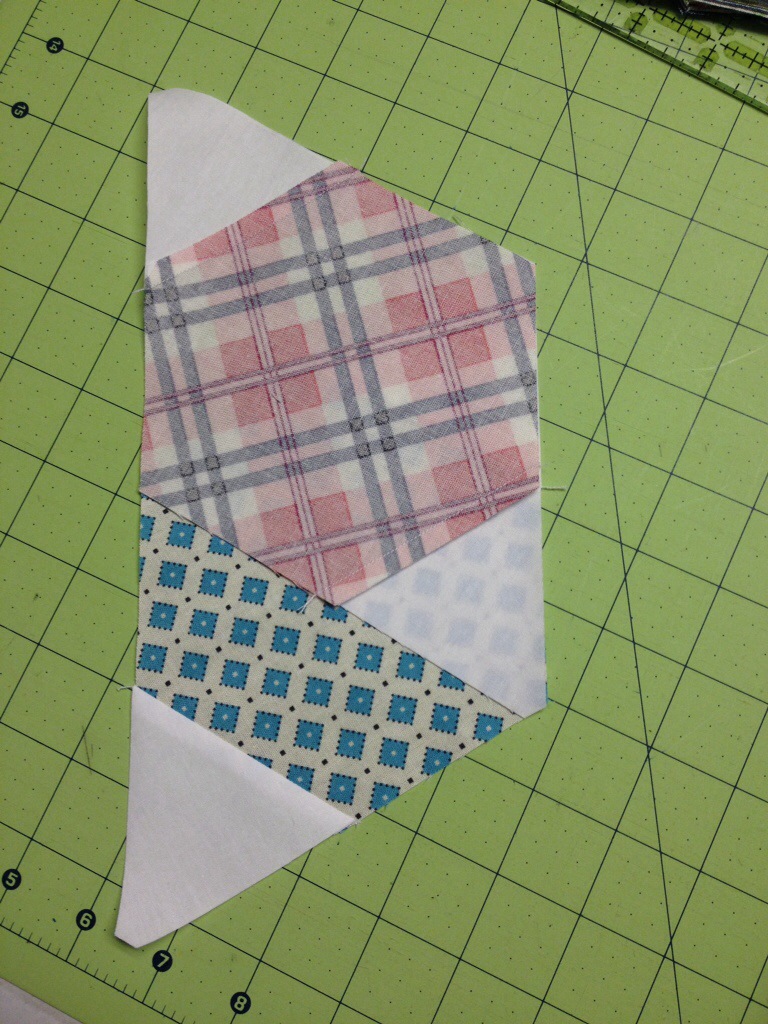
Sew one triangle to two opposite sides of each hexie.


Press seams toward the triangles.

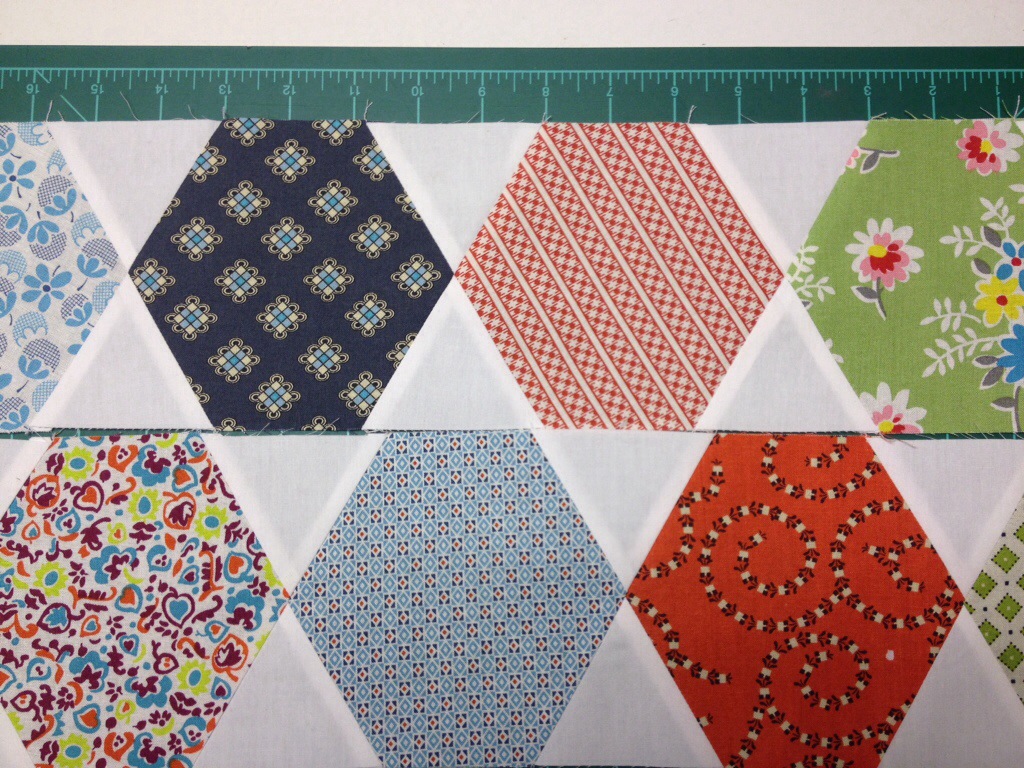
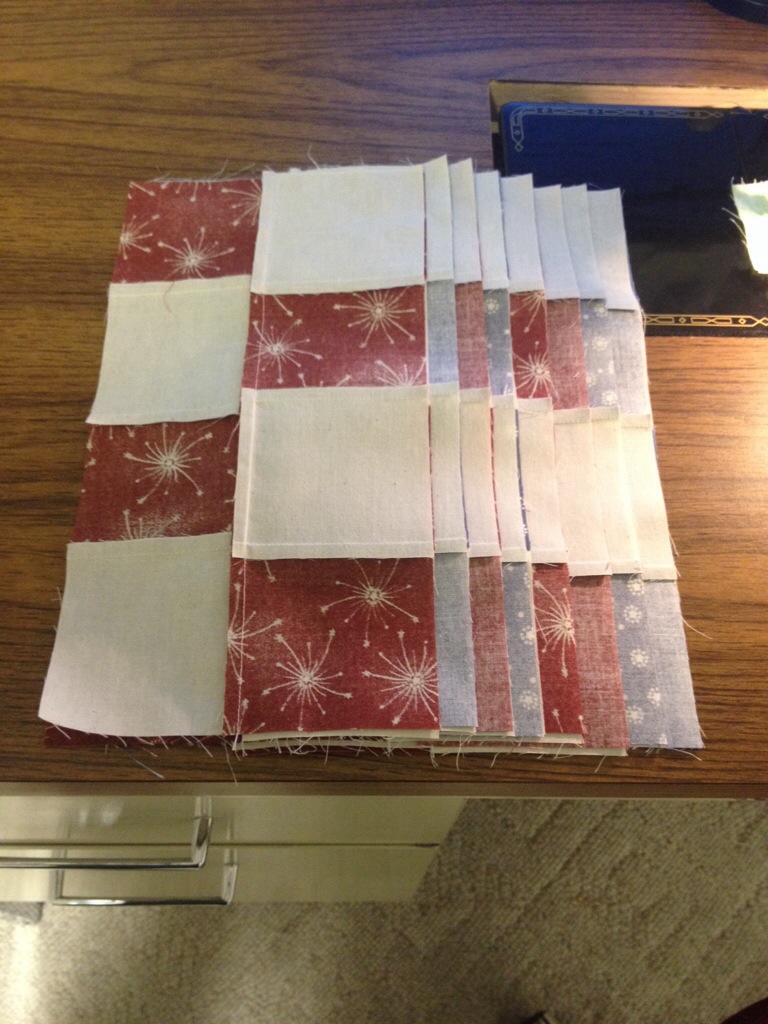
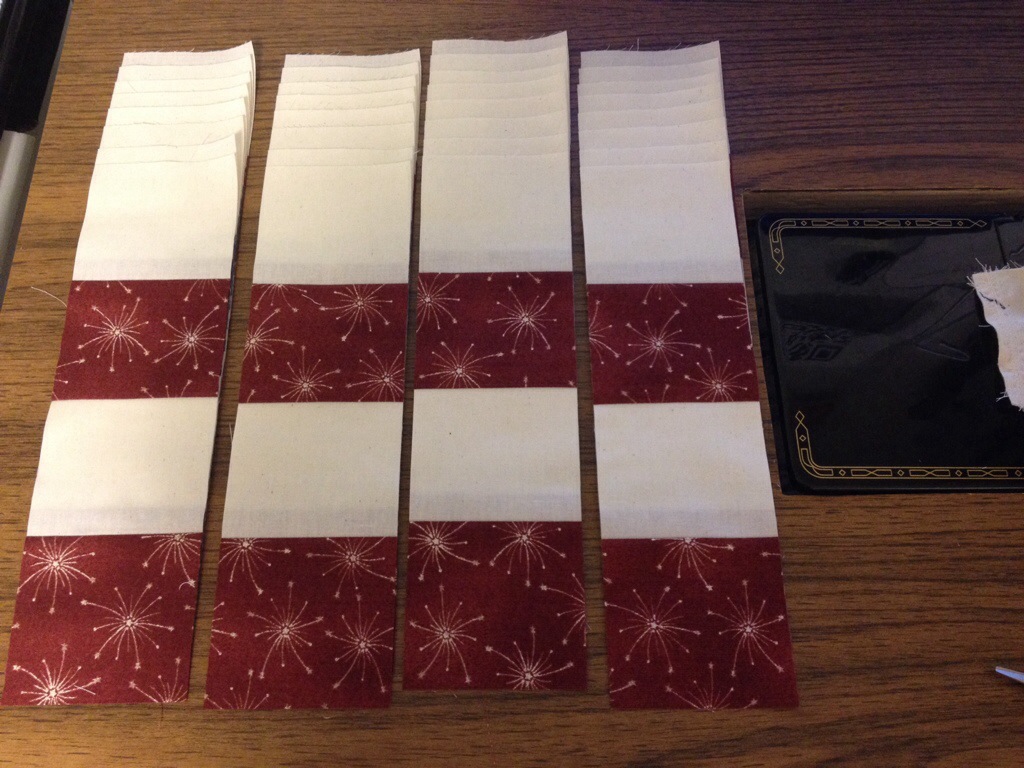
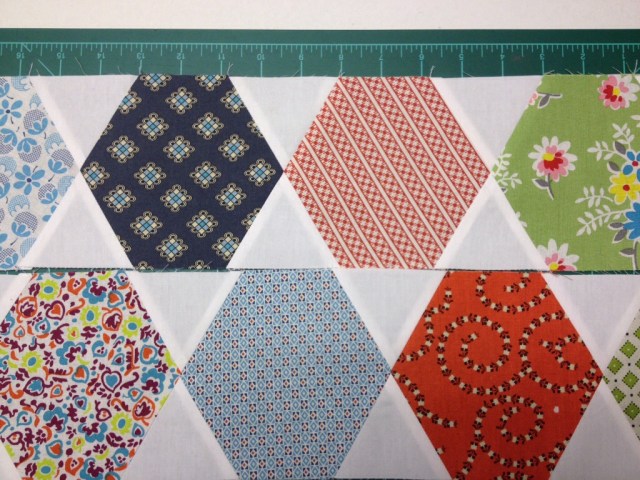
Arrange your pieces into rows.


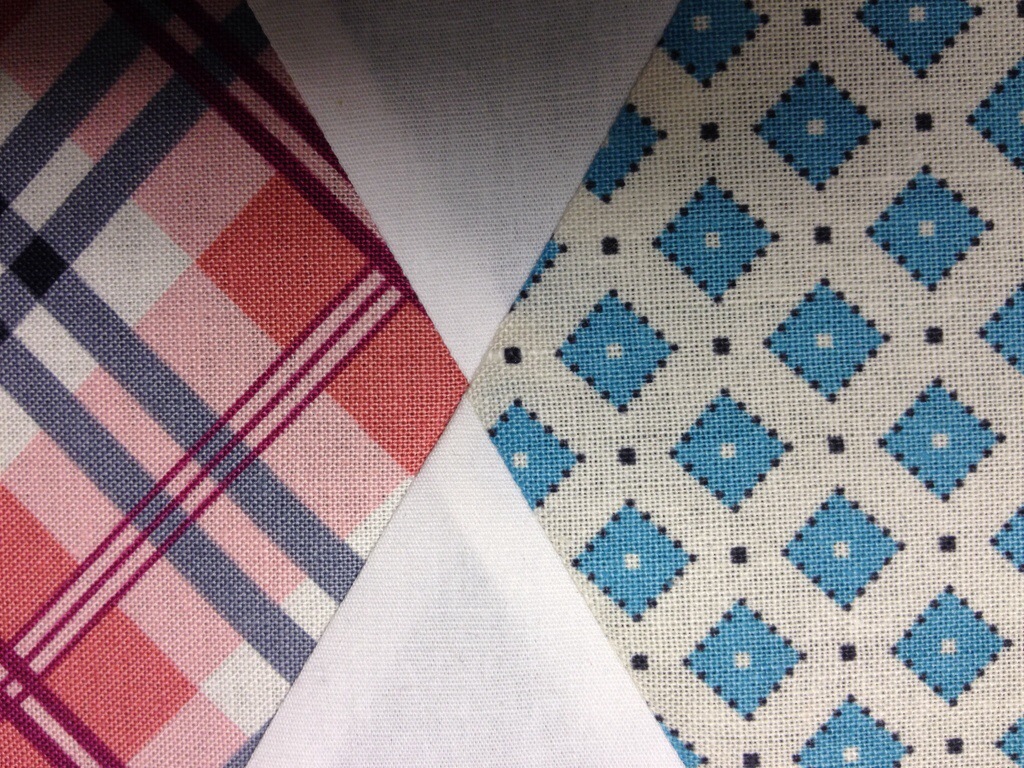
Take care when placing them right sides together. It will look weird, but those nipped corners will help you line things up.

I don’t use pins. And my points are close enough for me.

I actually wait to press the seams in my rows until I have them all pieced. That way I can press rows in opposite directions so my seams nest.
When your rows are long enough, cut strips as wide as your hexies and cut at a 60 degree angle with a rotary cutter and ruler.

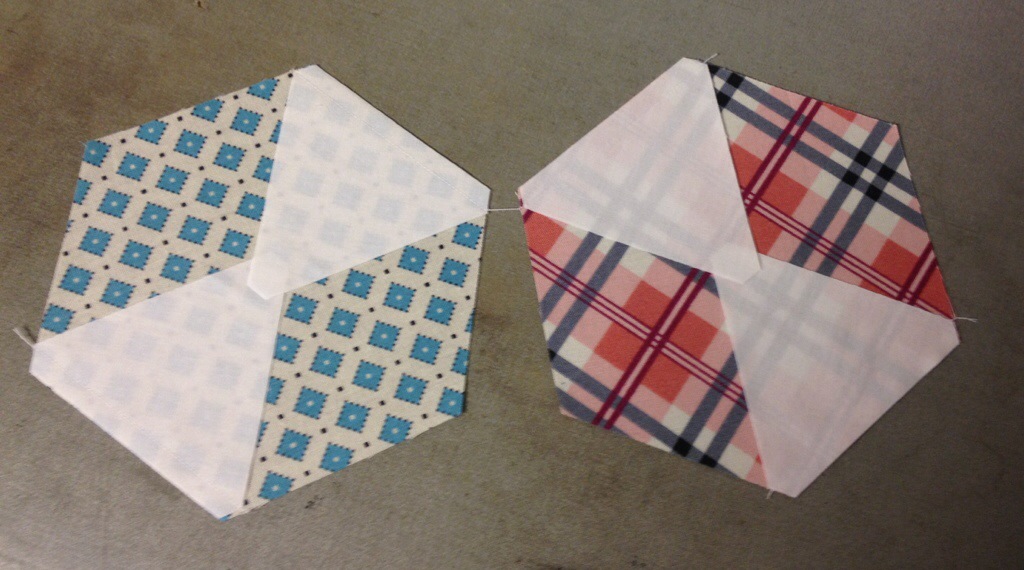
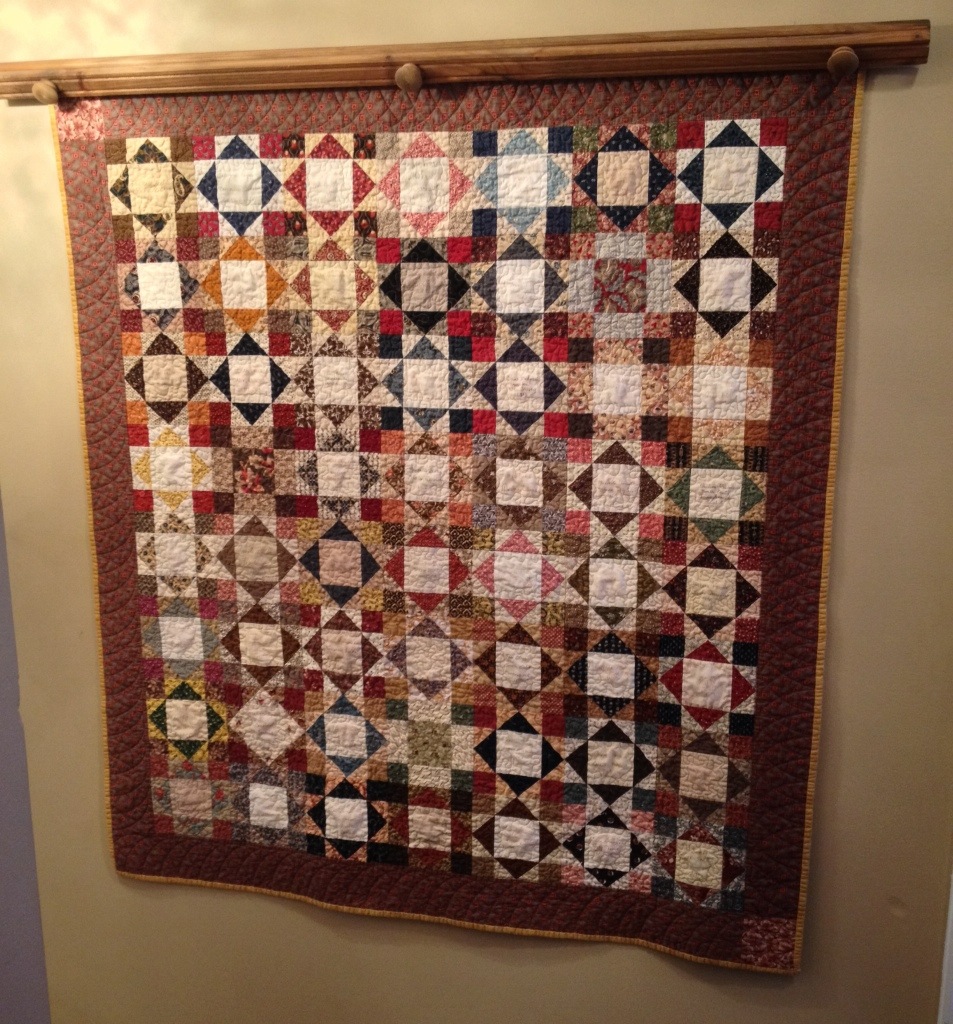
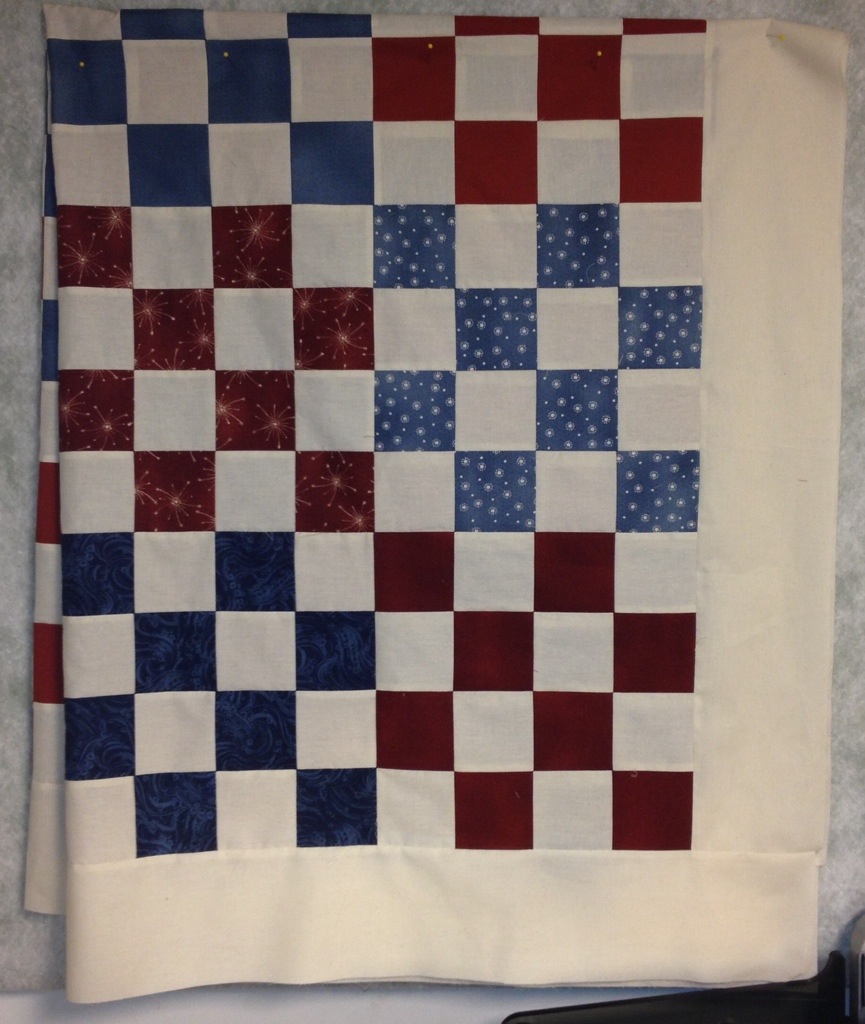
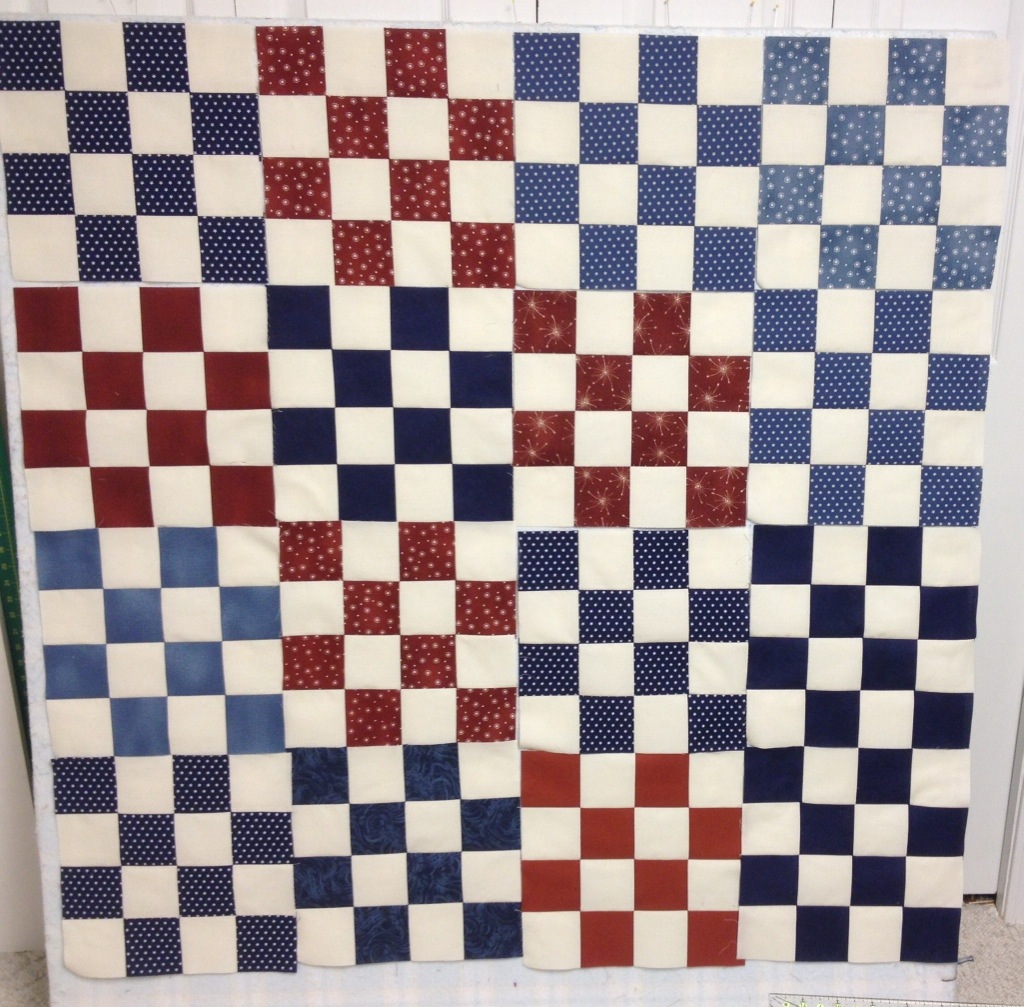
This is how you straighten out your rows. There are two different ways you can piece your rows together. I did mine like this and got white 6 pointed stars.
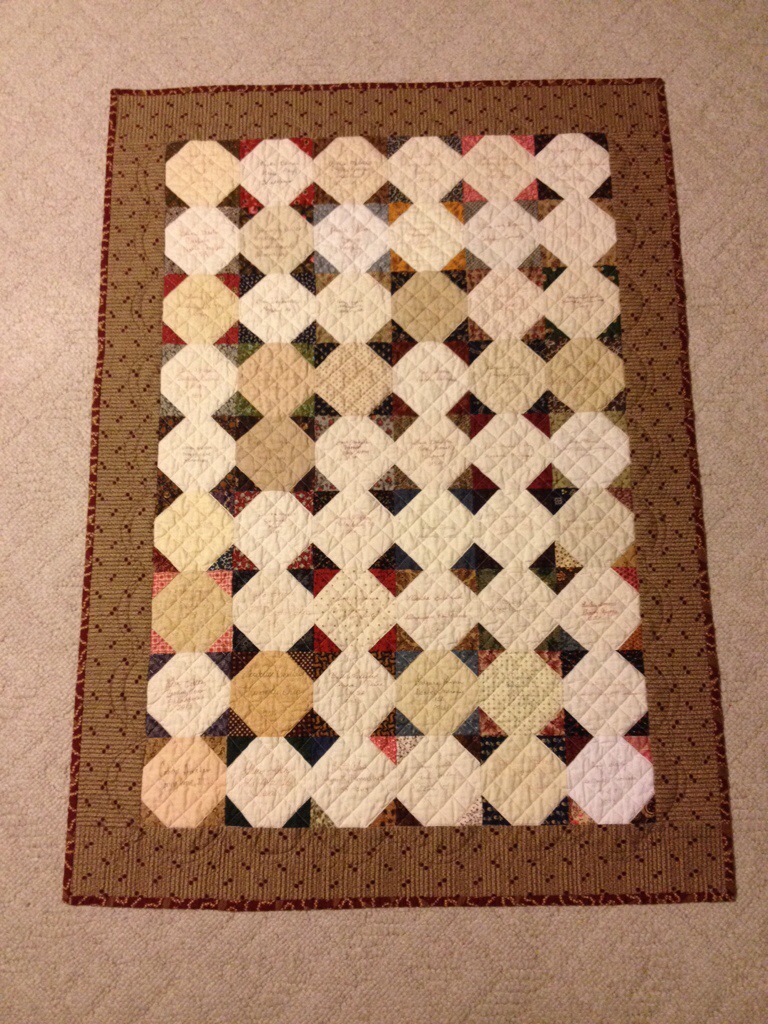
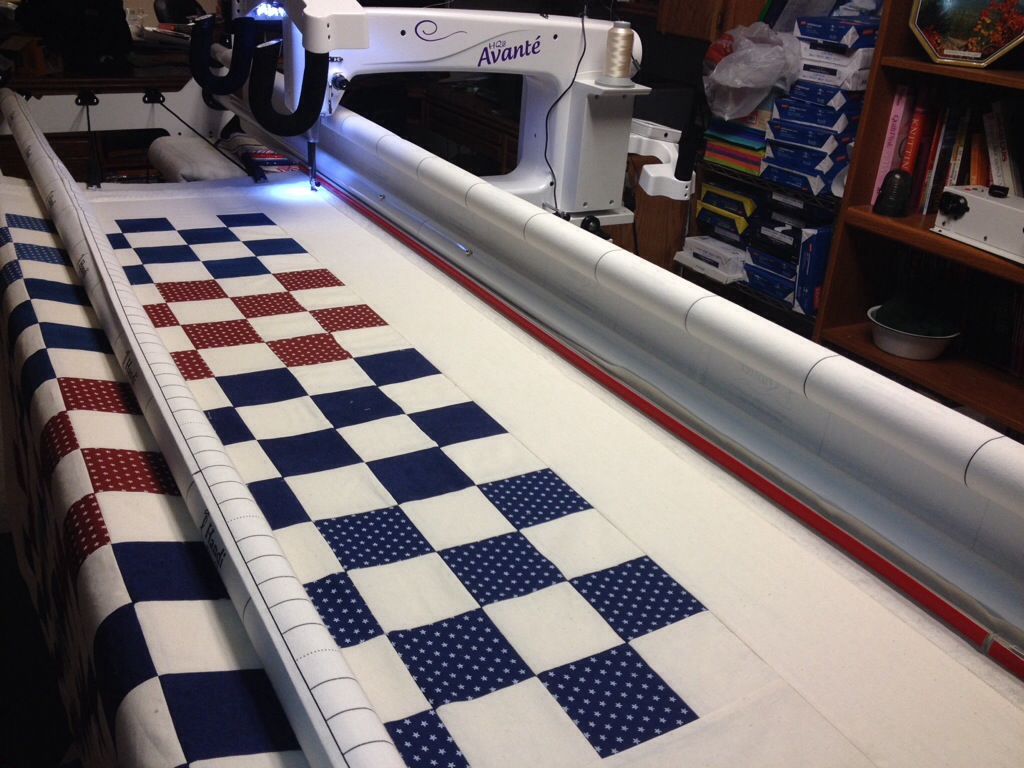
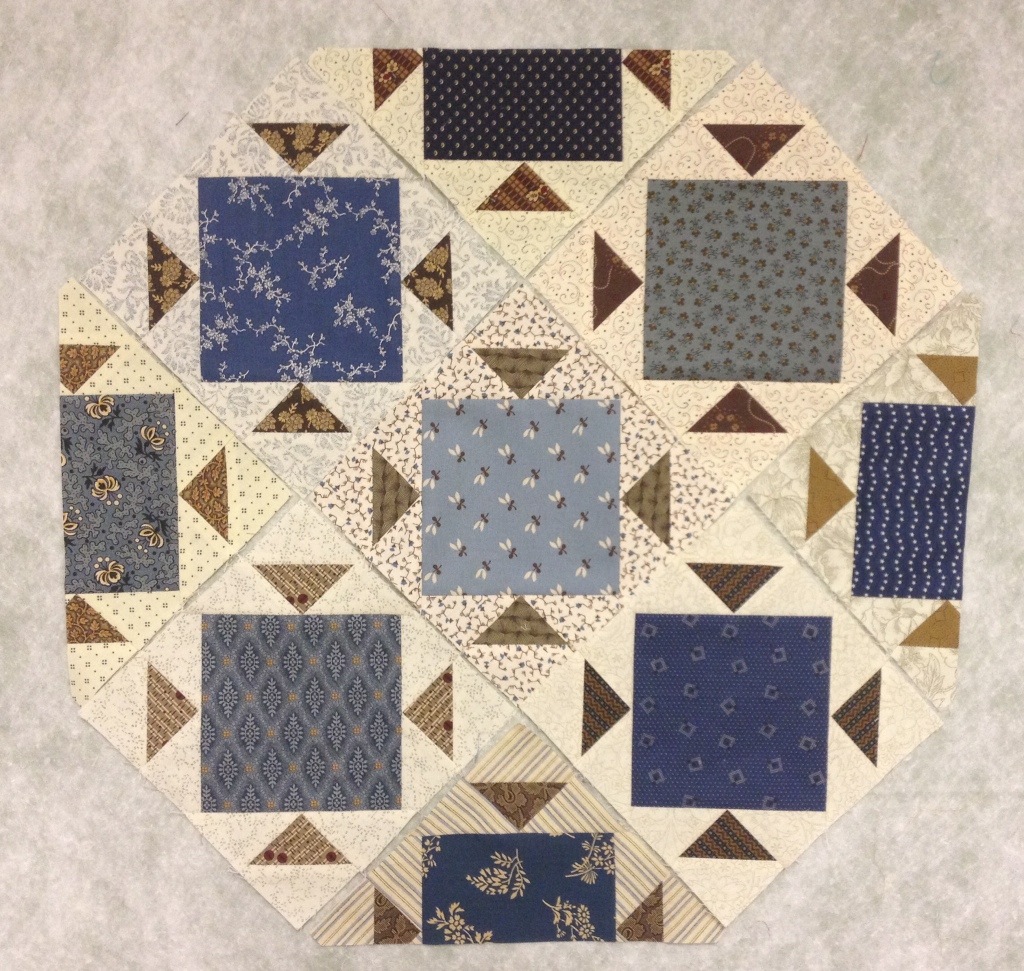
You can also line up your hexies and get white diamonds like this:

I hope you found this helpful. Hexies are great fun and not at all hard to machine piece with the added triangles. The key is accuracy in cutting.
I am linking up with Lee at Freshly Pieced for WIP Wednesday.