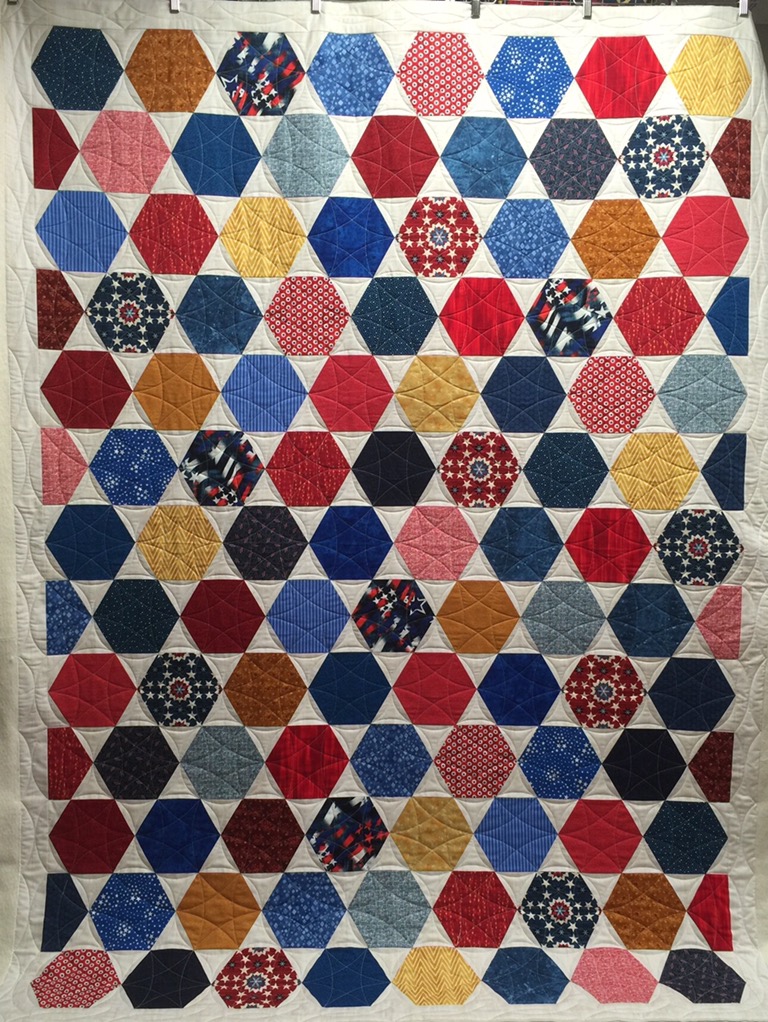
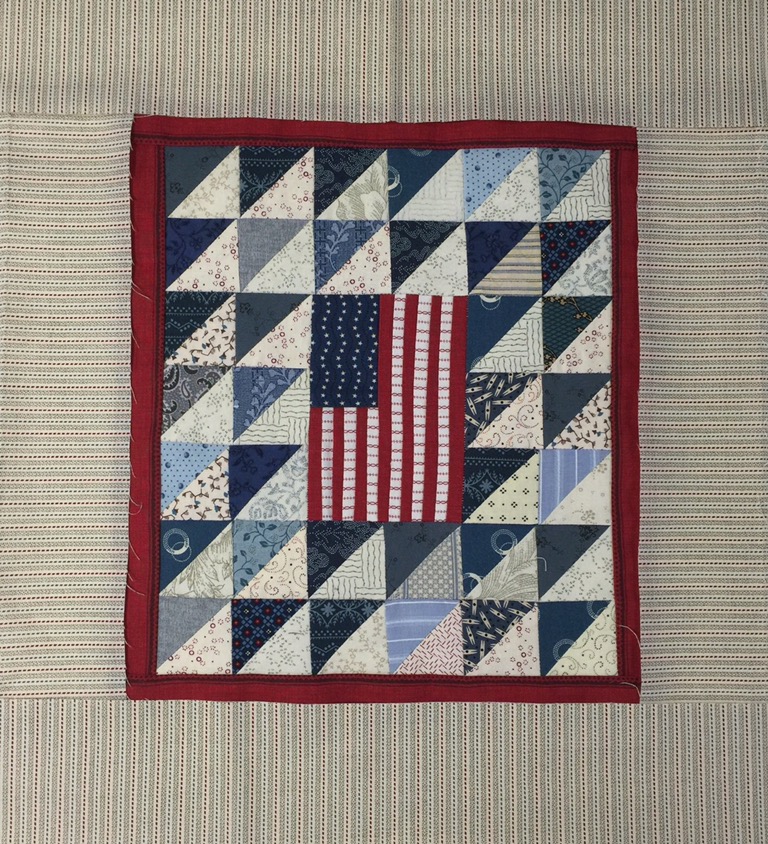
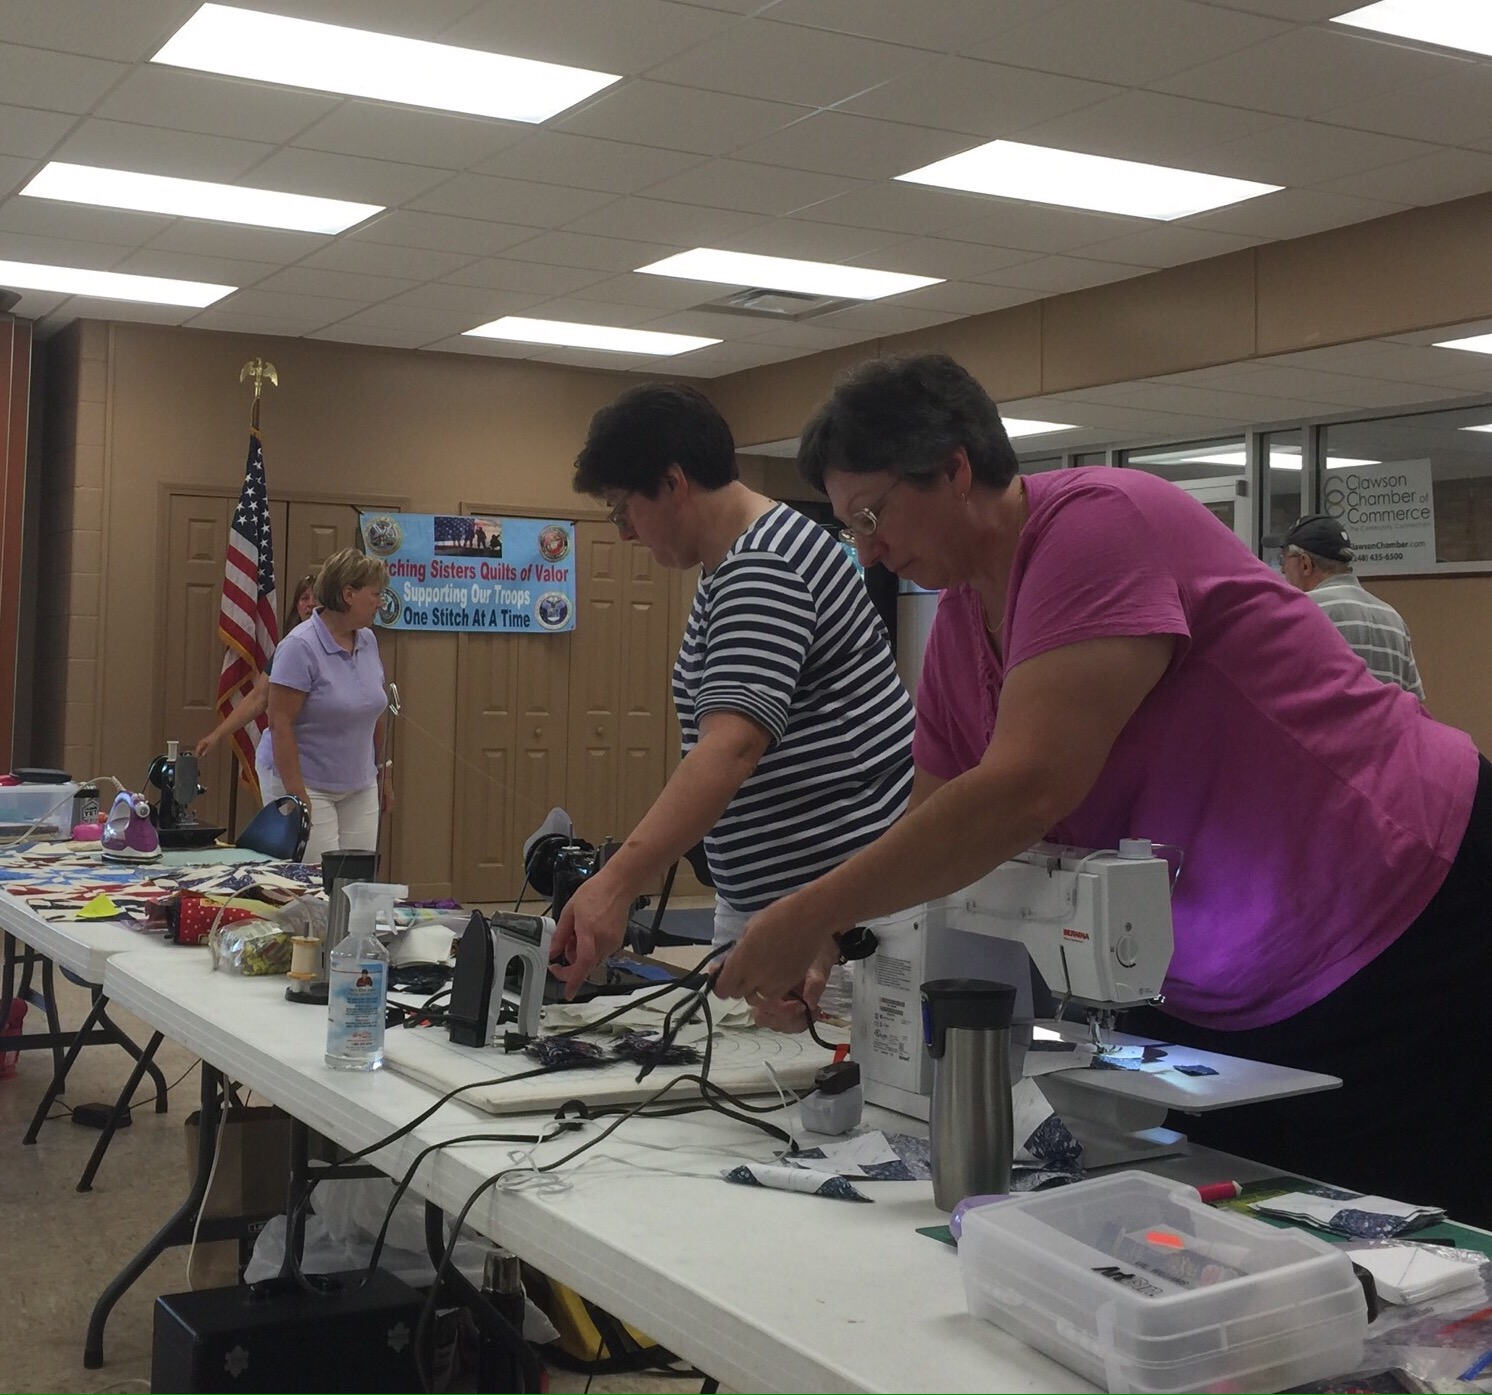
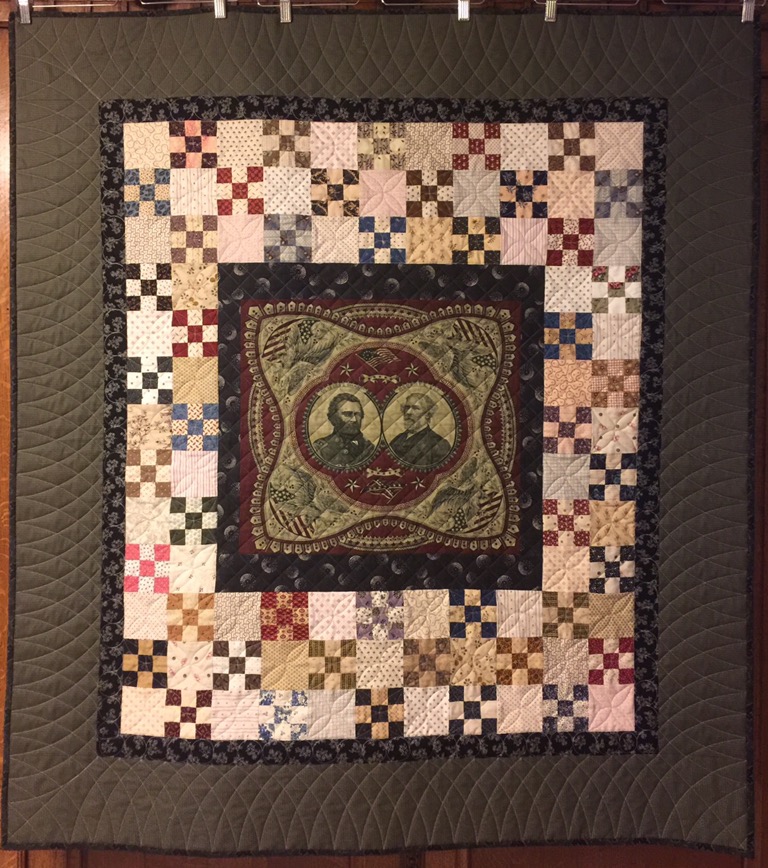
Someone recently asked me how I line up my pantographs for quilting. It’s a bit hard to explain, so I thought I would do a tutorial here. This beautiful top was made by Kathy from our Stitching Sisters QOV group. She also took part in the Mystery Quilts 4 Military that Alycia hosted. I love her top!
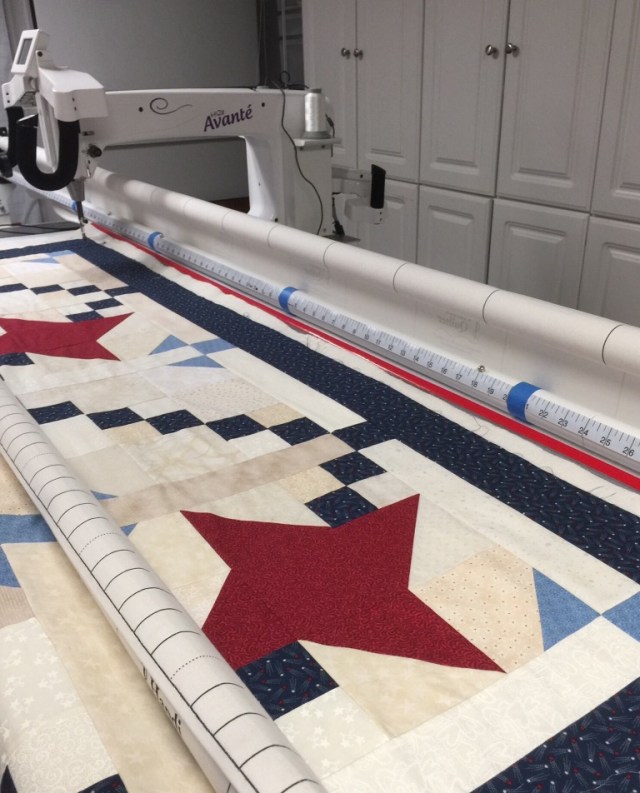
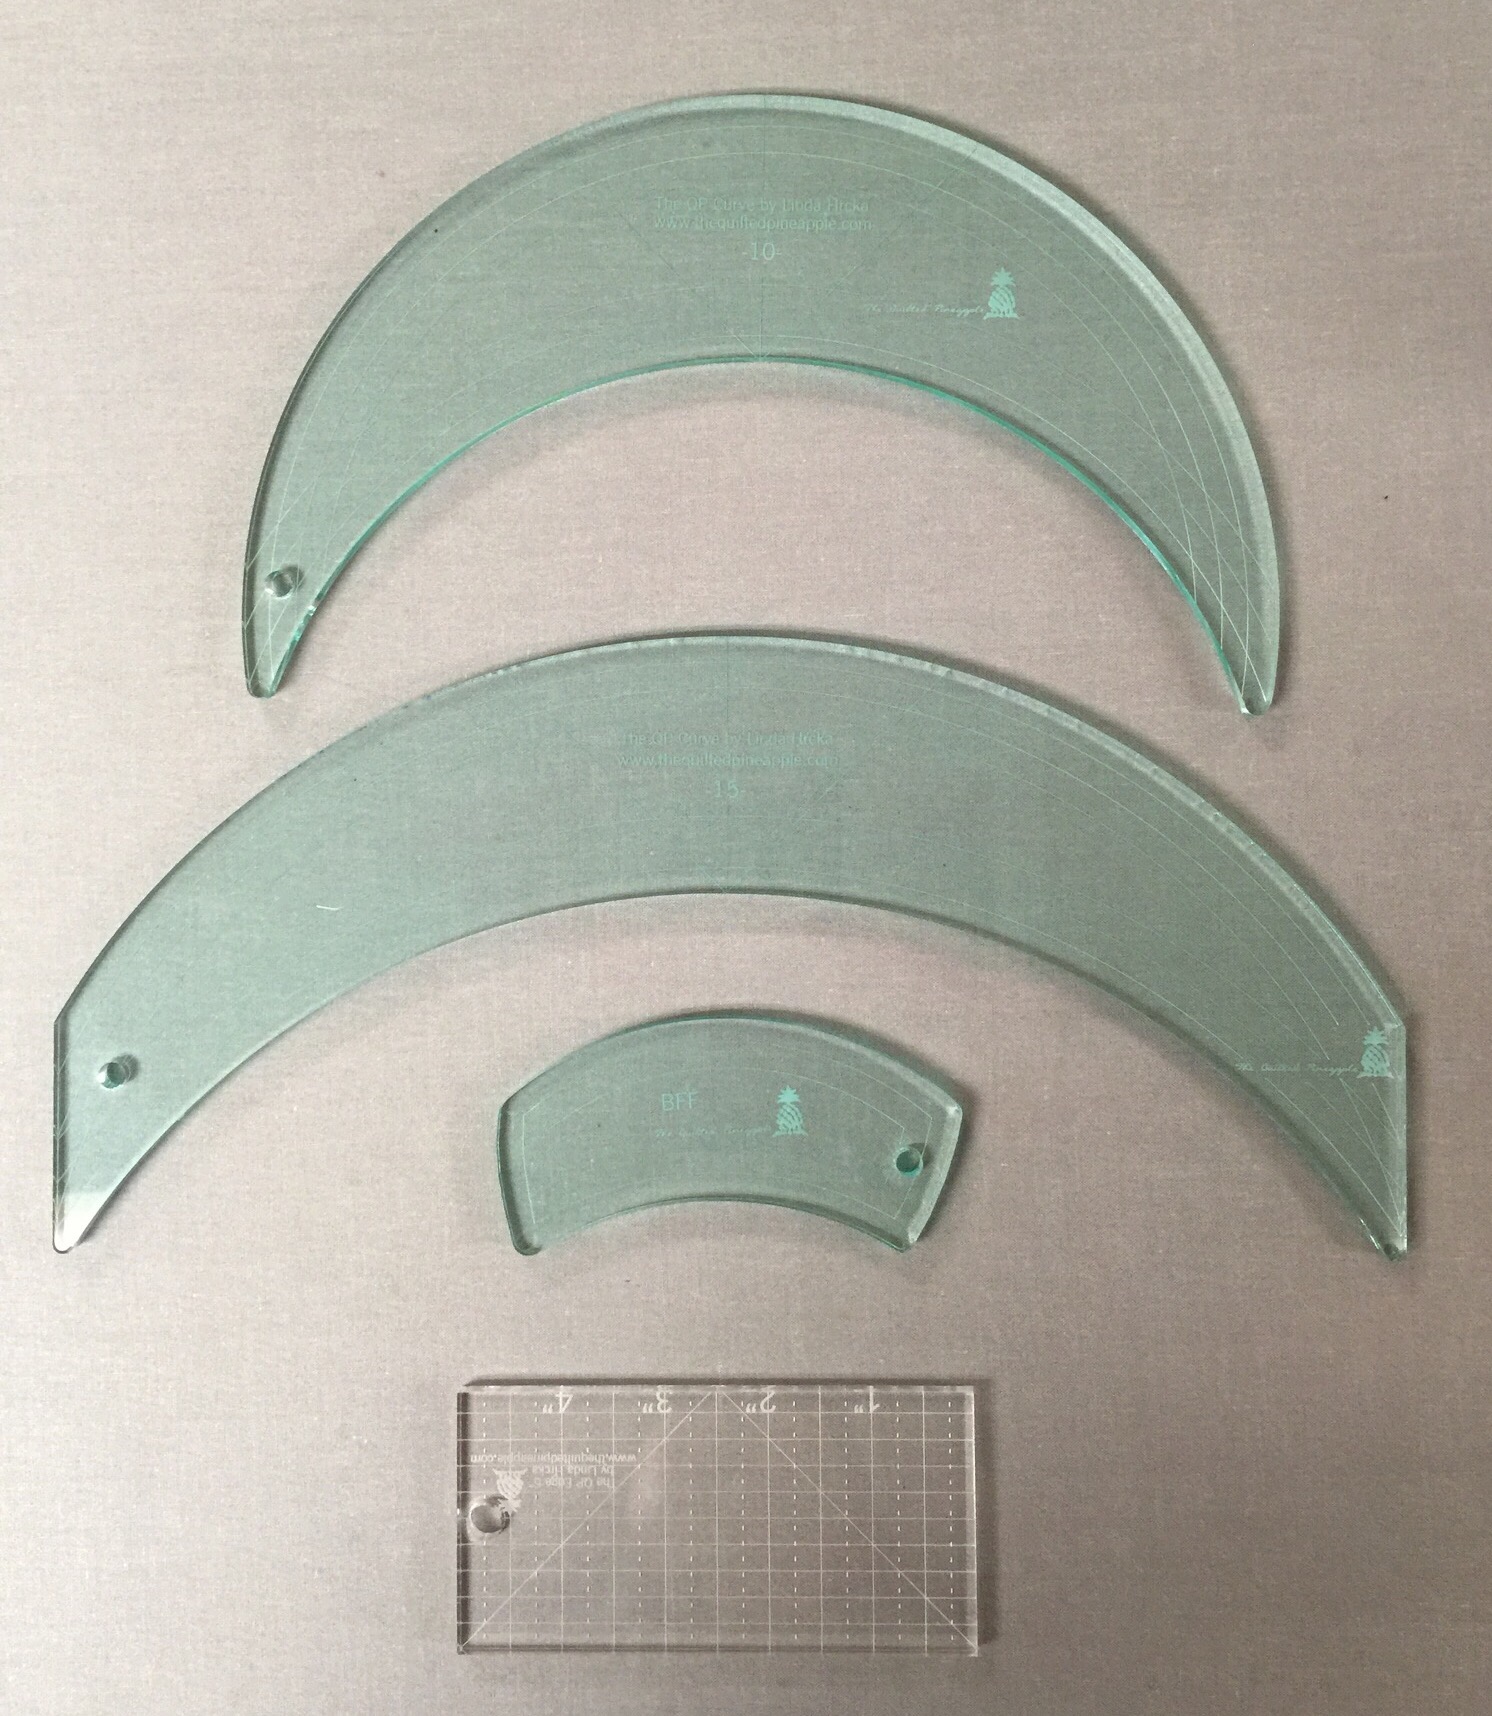
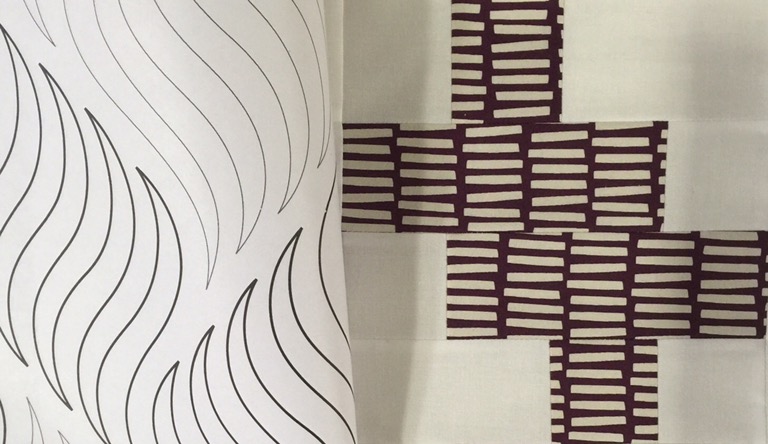
This is the panto I am using.

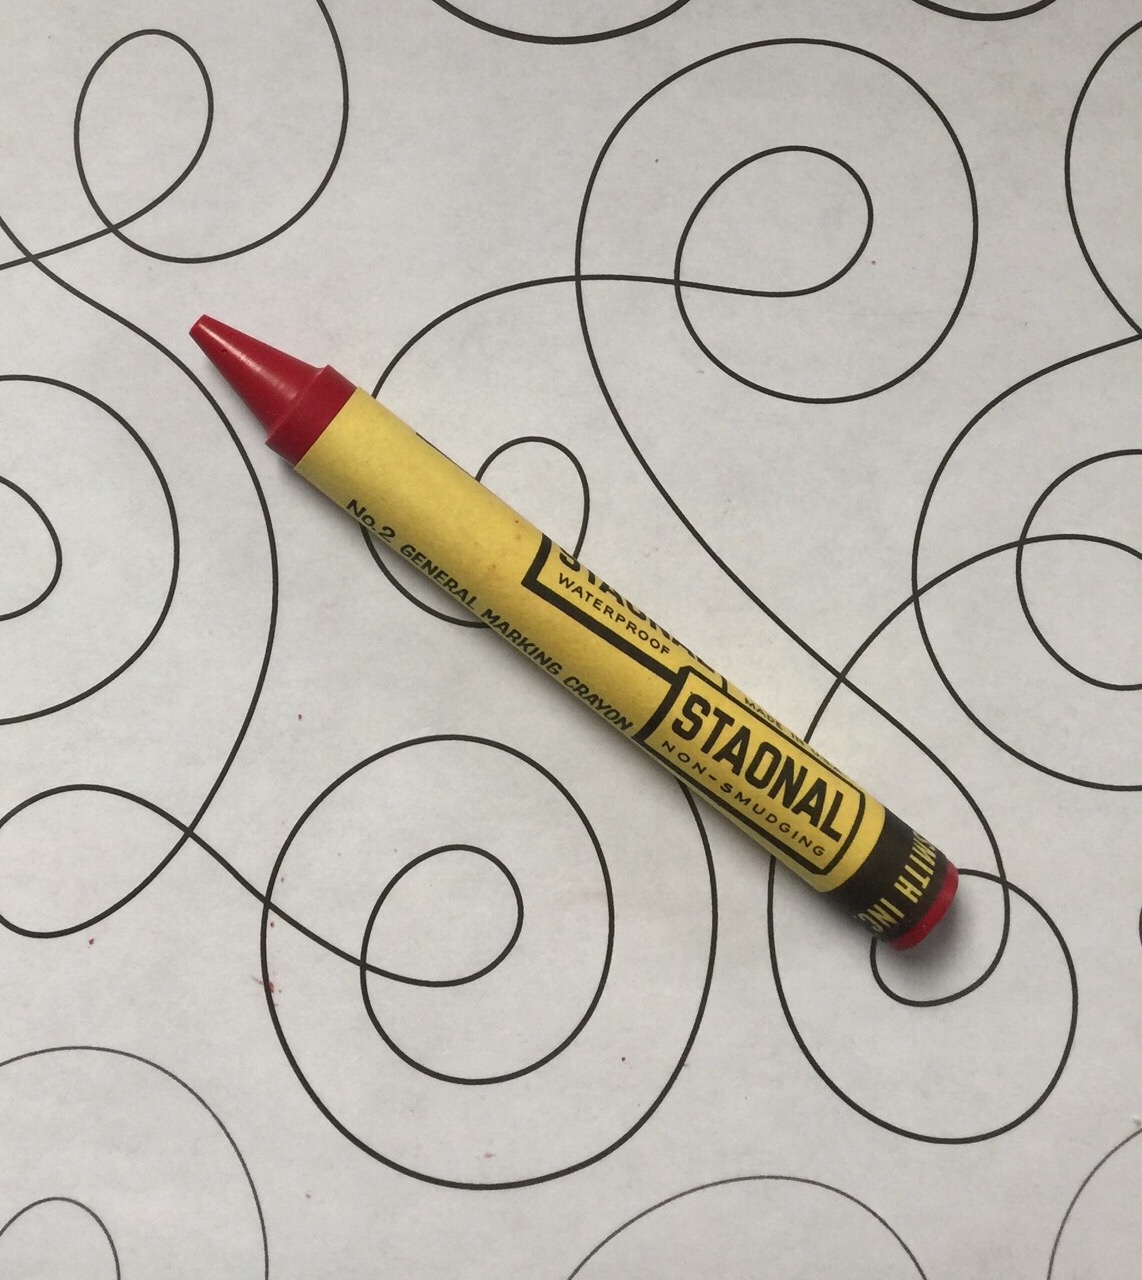
And this crayon is a tool I couldn’t do without when I am quilting with pantographs. I have a plastic covering on the table of my frame and I slide my pantos underneath that. It keeps them flat and I can use this crayon to mark them up. It wipes off with a dry rag when I am done.

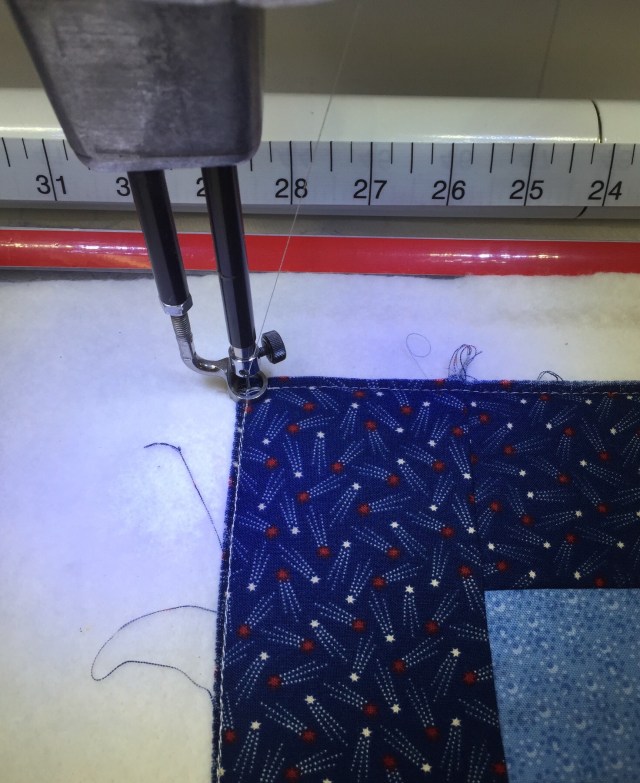
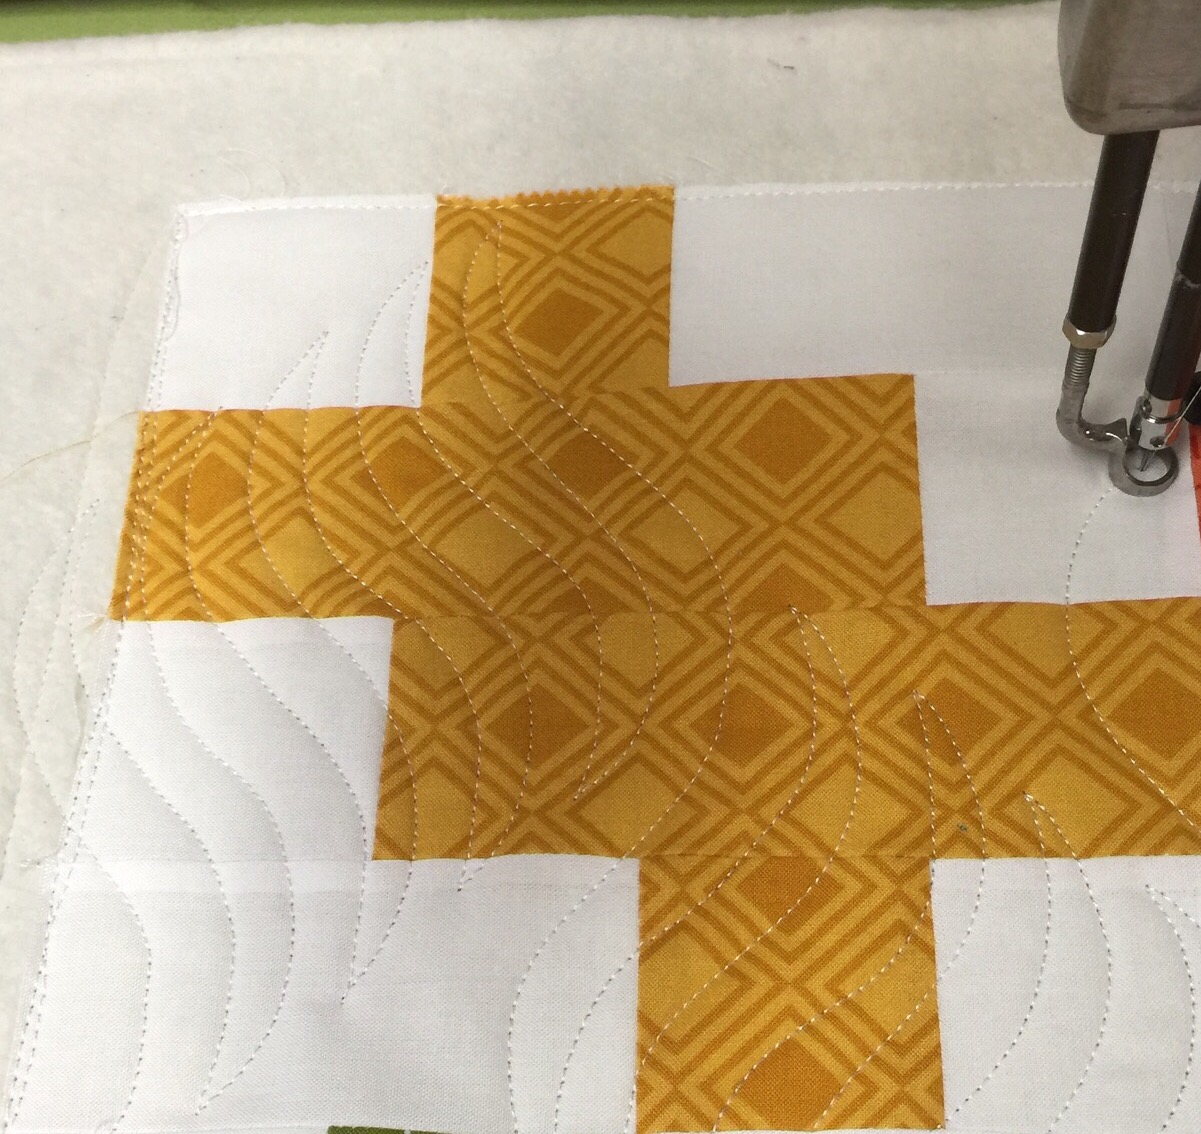
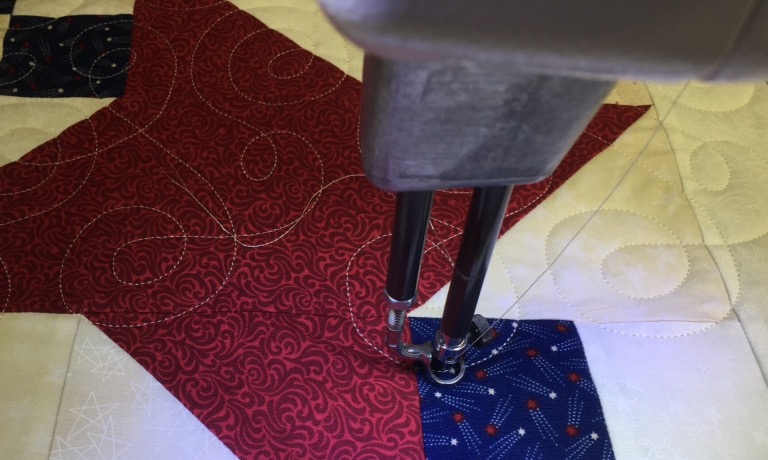
The first thing I do, is drop my needle at the corner of my loaded quilt.
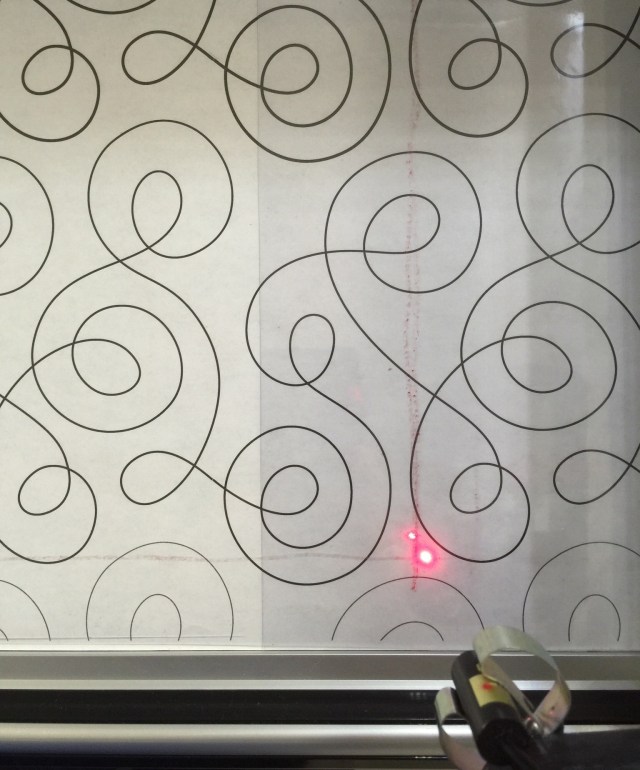
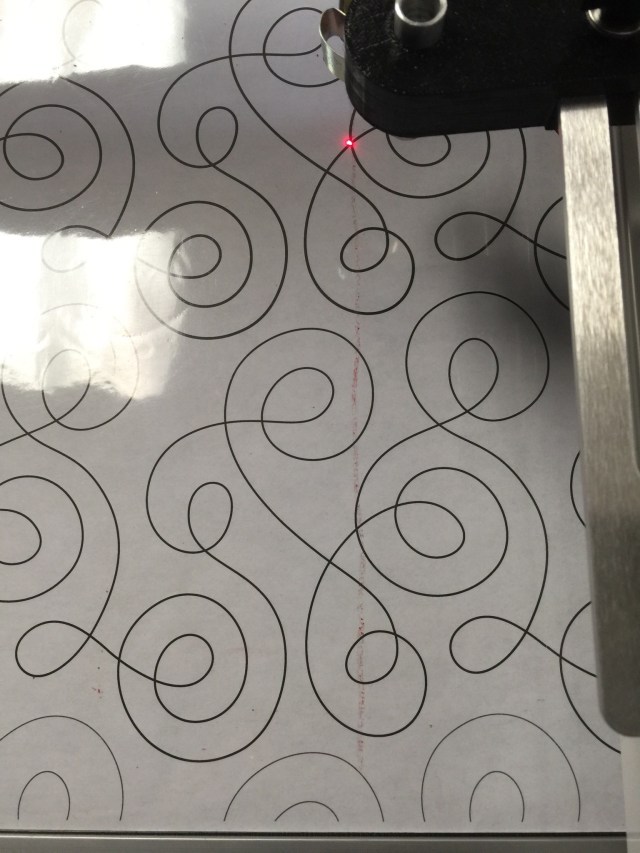
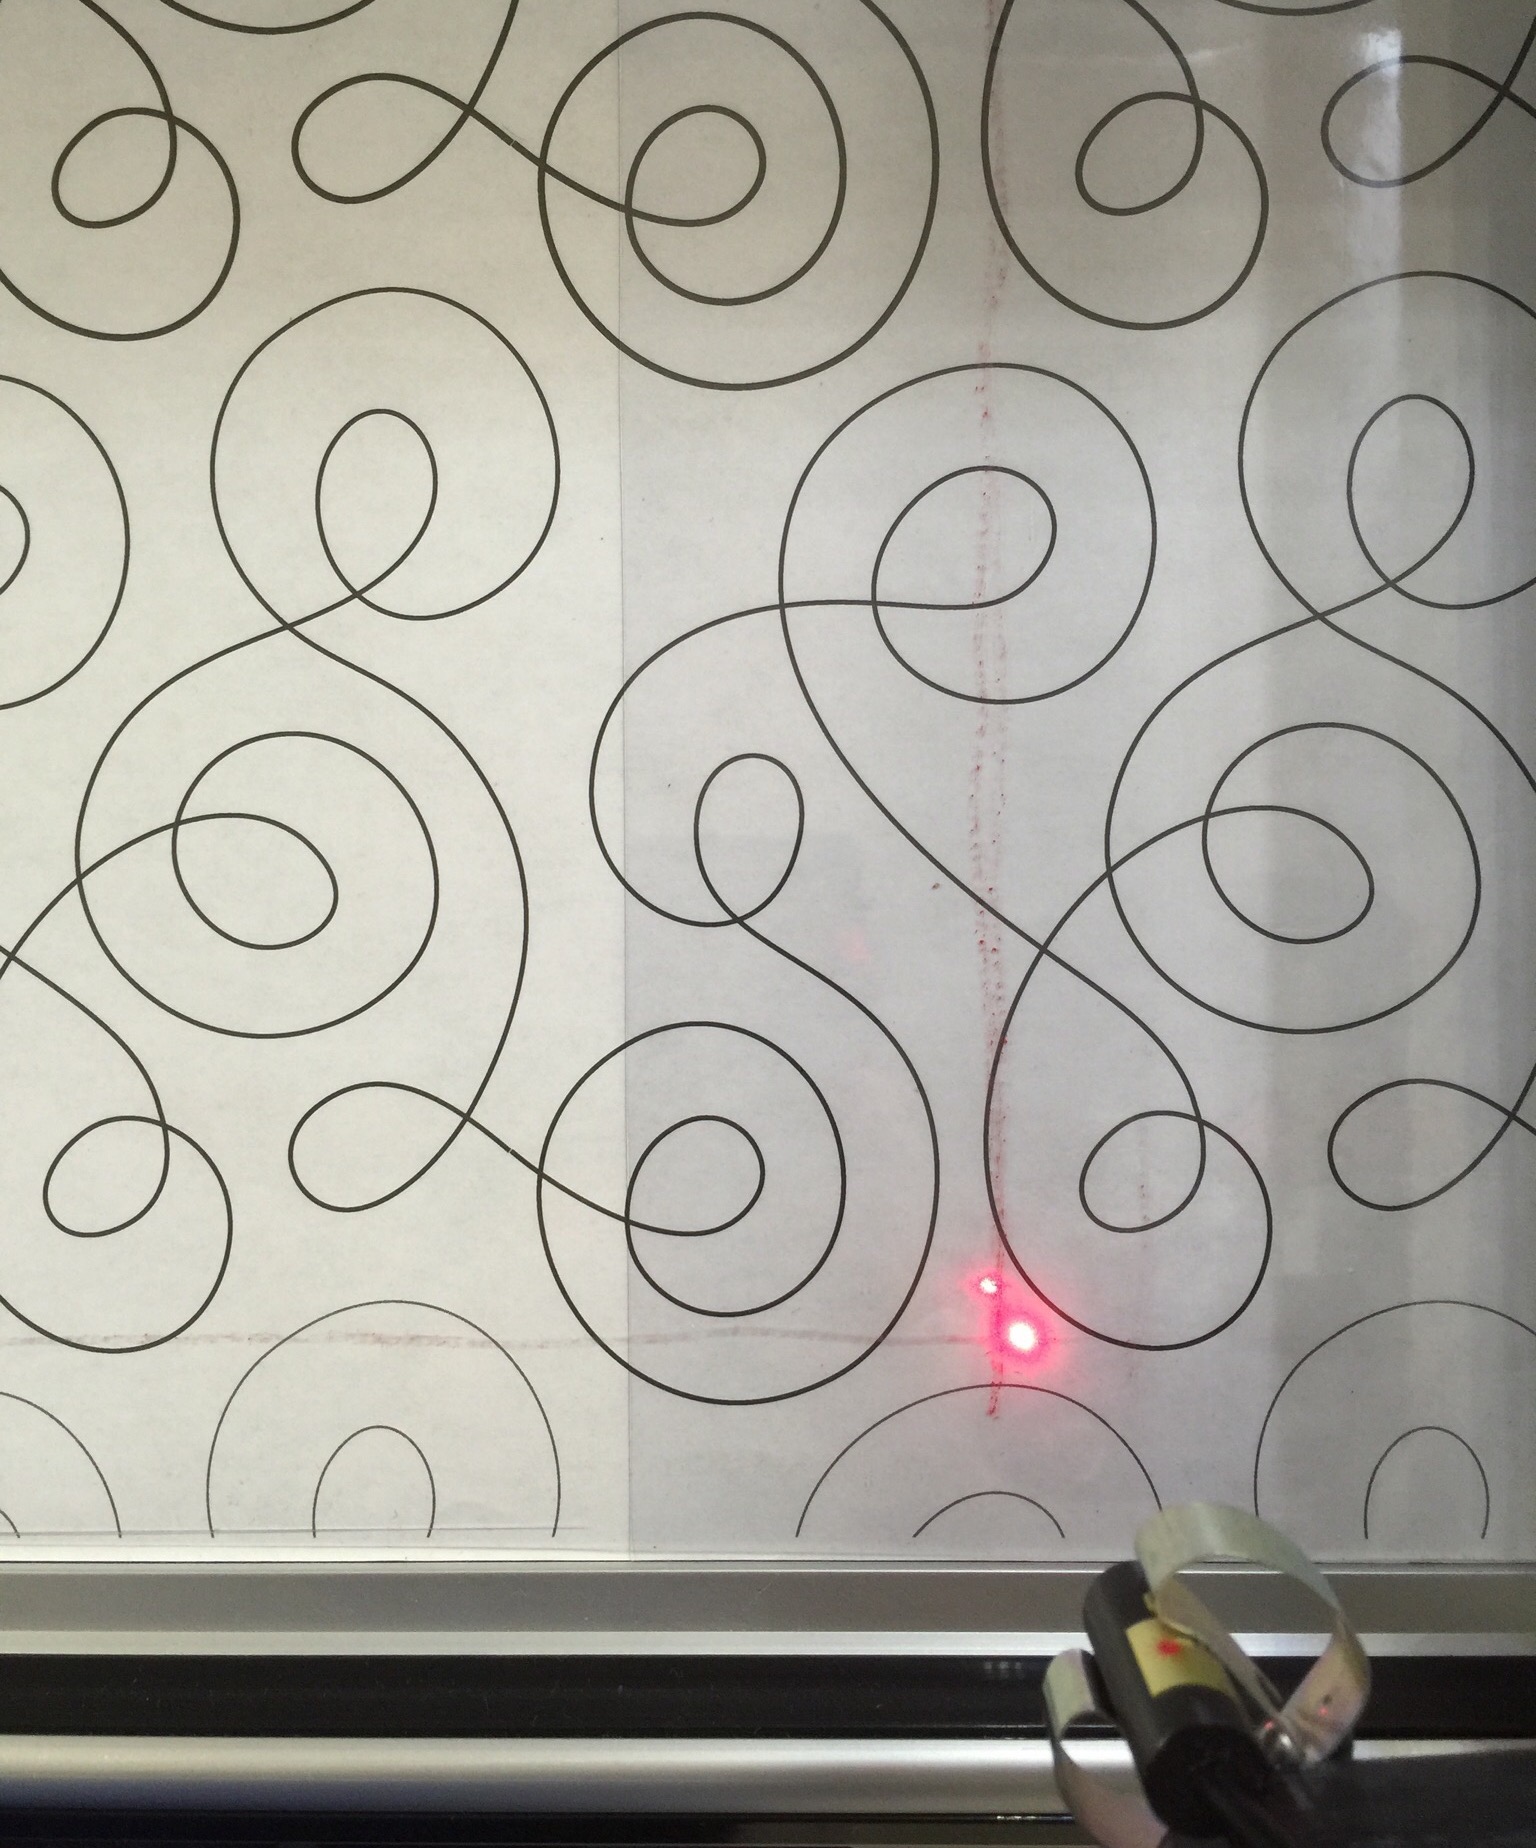
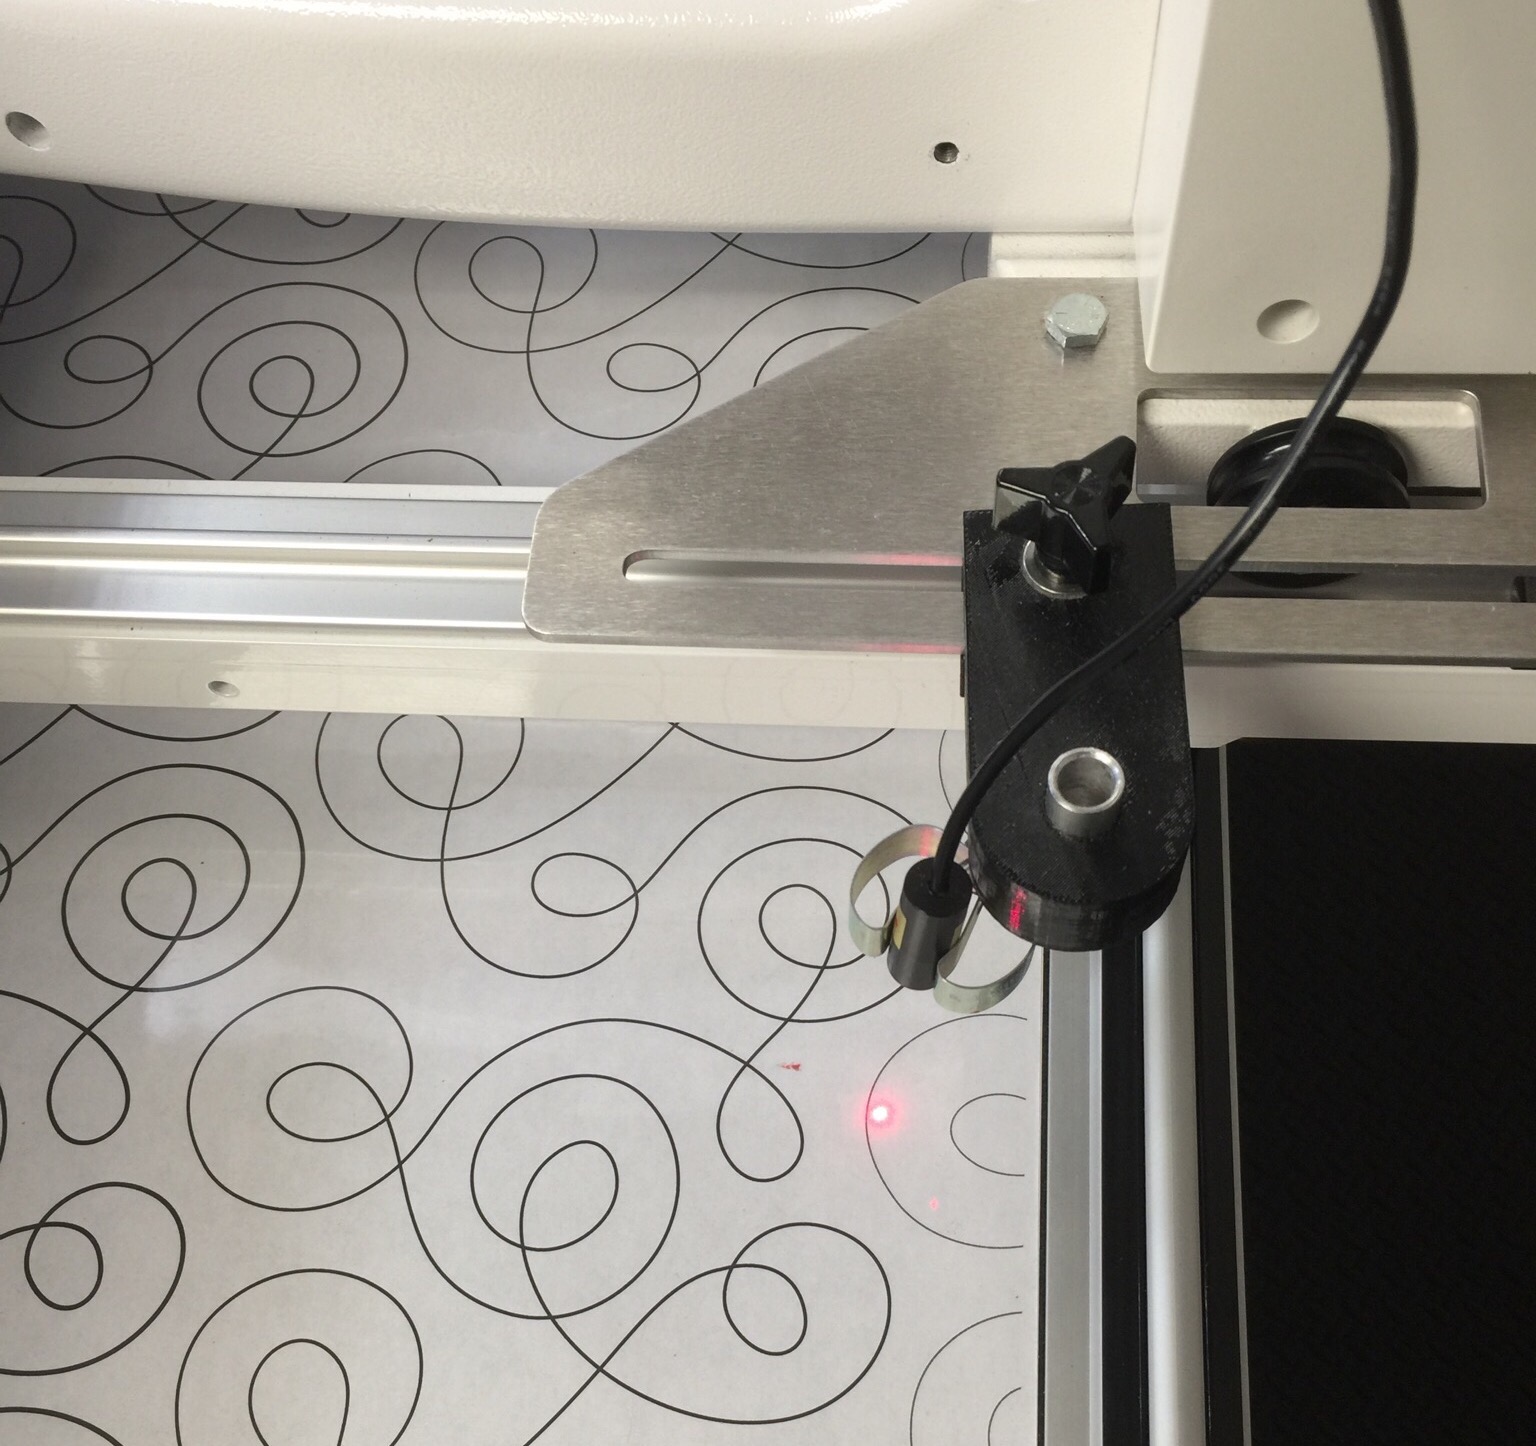
This is the view if you are standing at the back of the machine. That red dot is my laser light and it’s position directly corresponds with the needle on the quilt top. I have used the crayon to draw in a vertical line representing the side of the quilt and a horizontal line representing the top of the quilt. The line is at the bottom of the picture because you are standing at the back of the frame and the top of the quilt is closest to you. Hope that makes sense!
I could slide my panto to the right or left under the plastic to get a convenient part of the pattern to start on.
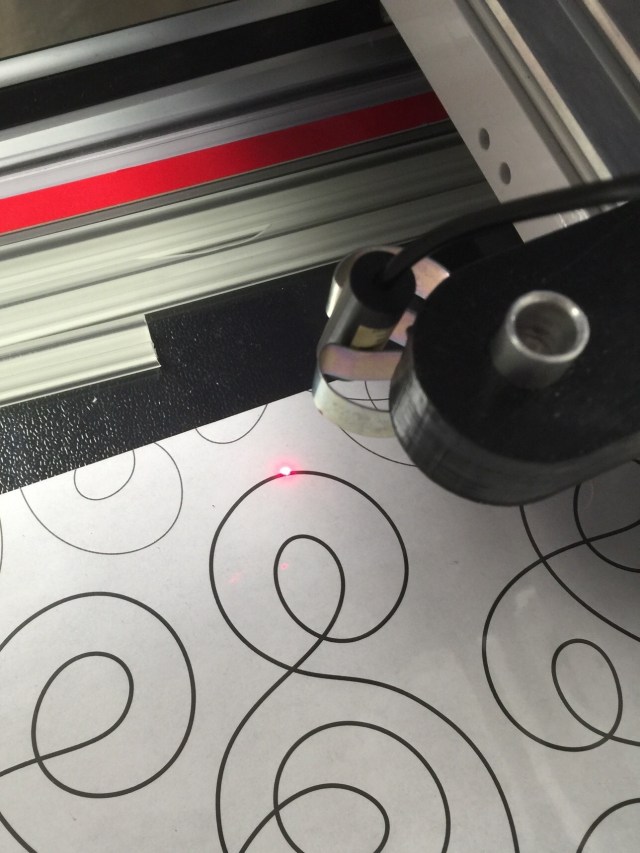
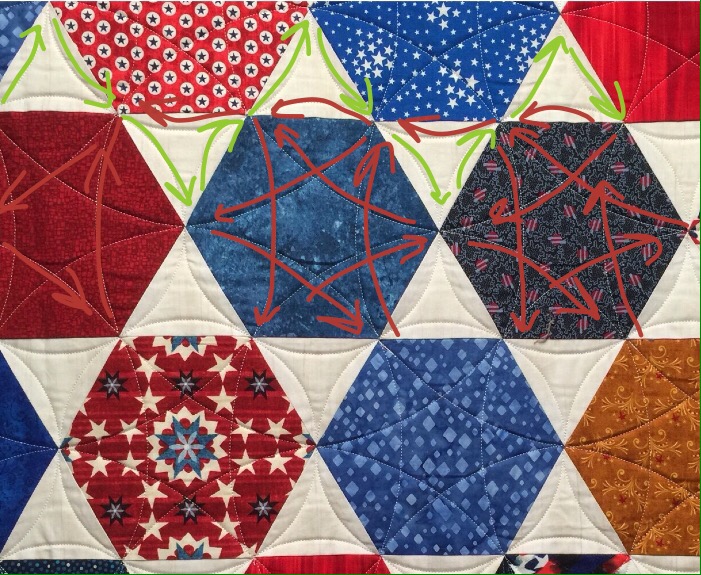
The lighter gray lines toward the bottom represent a previous row. Since we are just starting, there isn’t one stitched on the top yet. The darker lines correspond to our working row. Nothing below the red horizontal line will appear on the top and nothing to the right of the red line will appear on the top. You will notice that I don’t start at the very beginning edge of the pantograph. This is so the design is completely filled in on the quilt top without any blank spaces. This is the beginning of my first row.
I have also drawn a vertical line representing the left edge of my quilt. Nothing to the right of this line will be on the top so I don’t need to stitch beyond that. It is my stopping point.
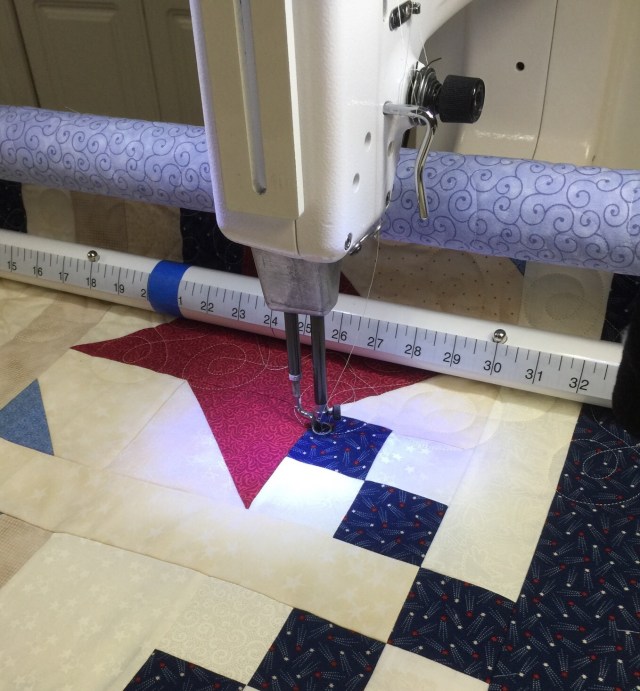
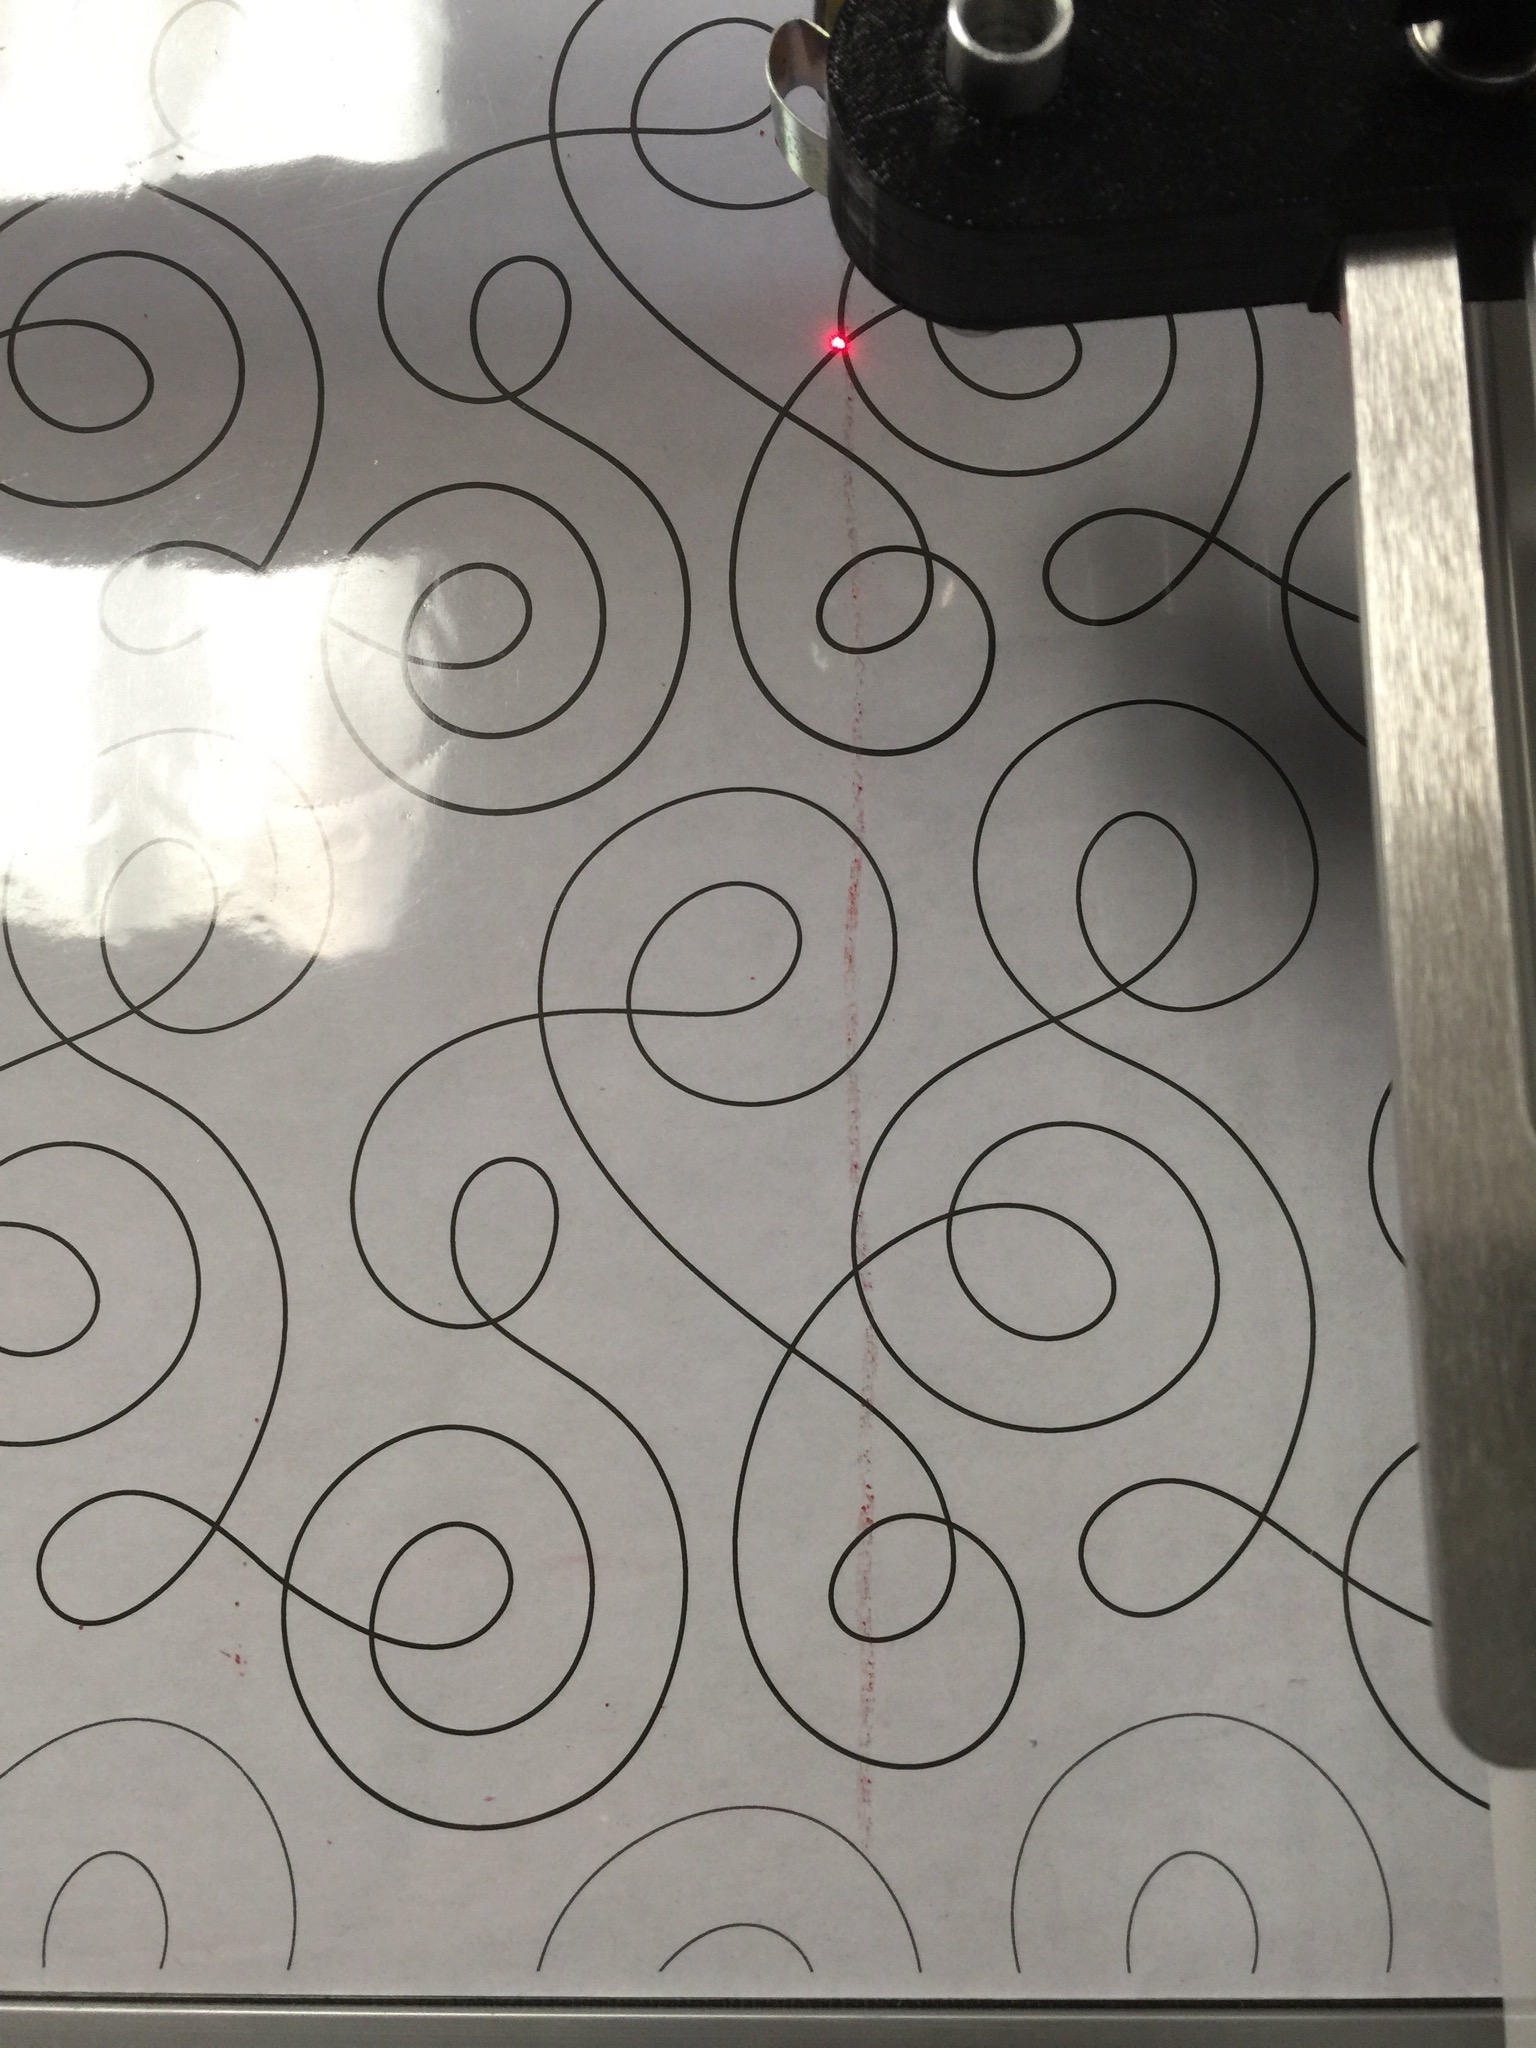
When I finish a row and am ready to advance the quilt in the frame, I drop the needle at the very top of the design like this:

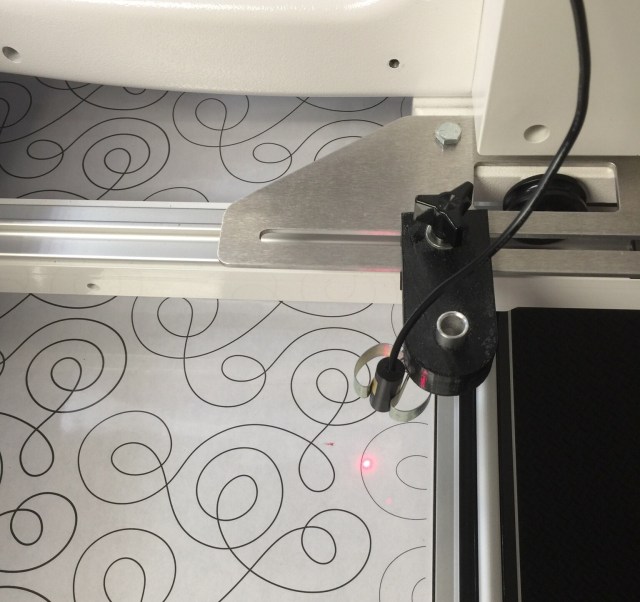
You can see that the laser light is in the corresponding position on the pantograph.
Leaving the needle down, I advance the quilt and the machine moves with it.
I will continue advancing the quilt until the laser light reaches the top of the “row below” on the pantograph. Now you can see that the partial rows at the top and bottom are for lining up with panto. This keeps all the rows perfectly spaced without any gaps in the quilting across the surface.
Now I am ready to start quilting the next row!
I hope this makes sense! Please ask questions. I will do a follow up post if necessary.
Have a great day!

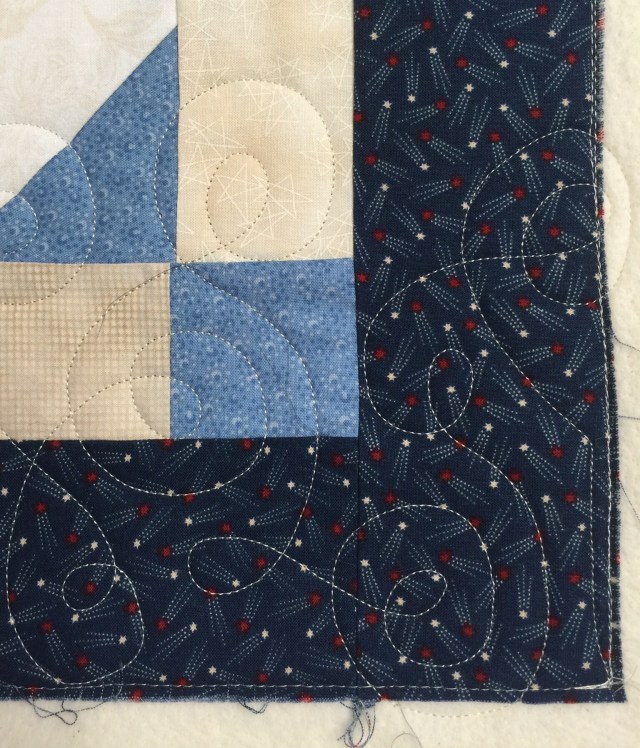
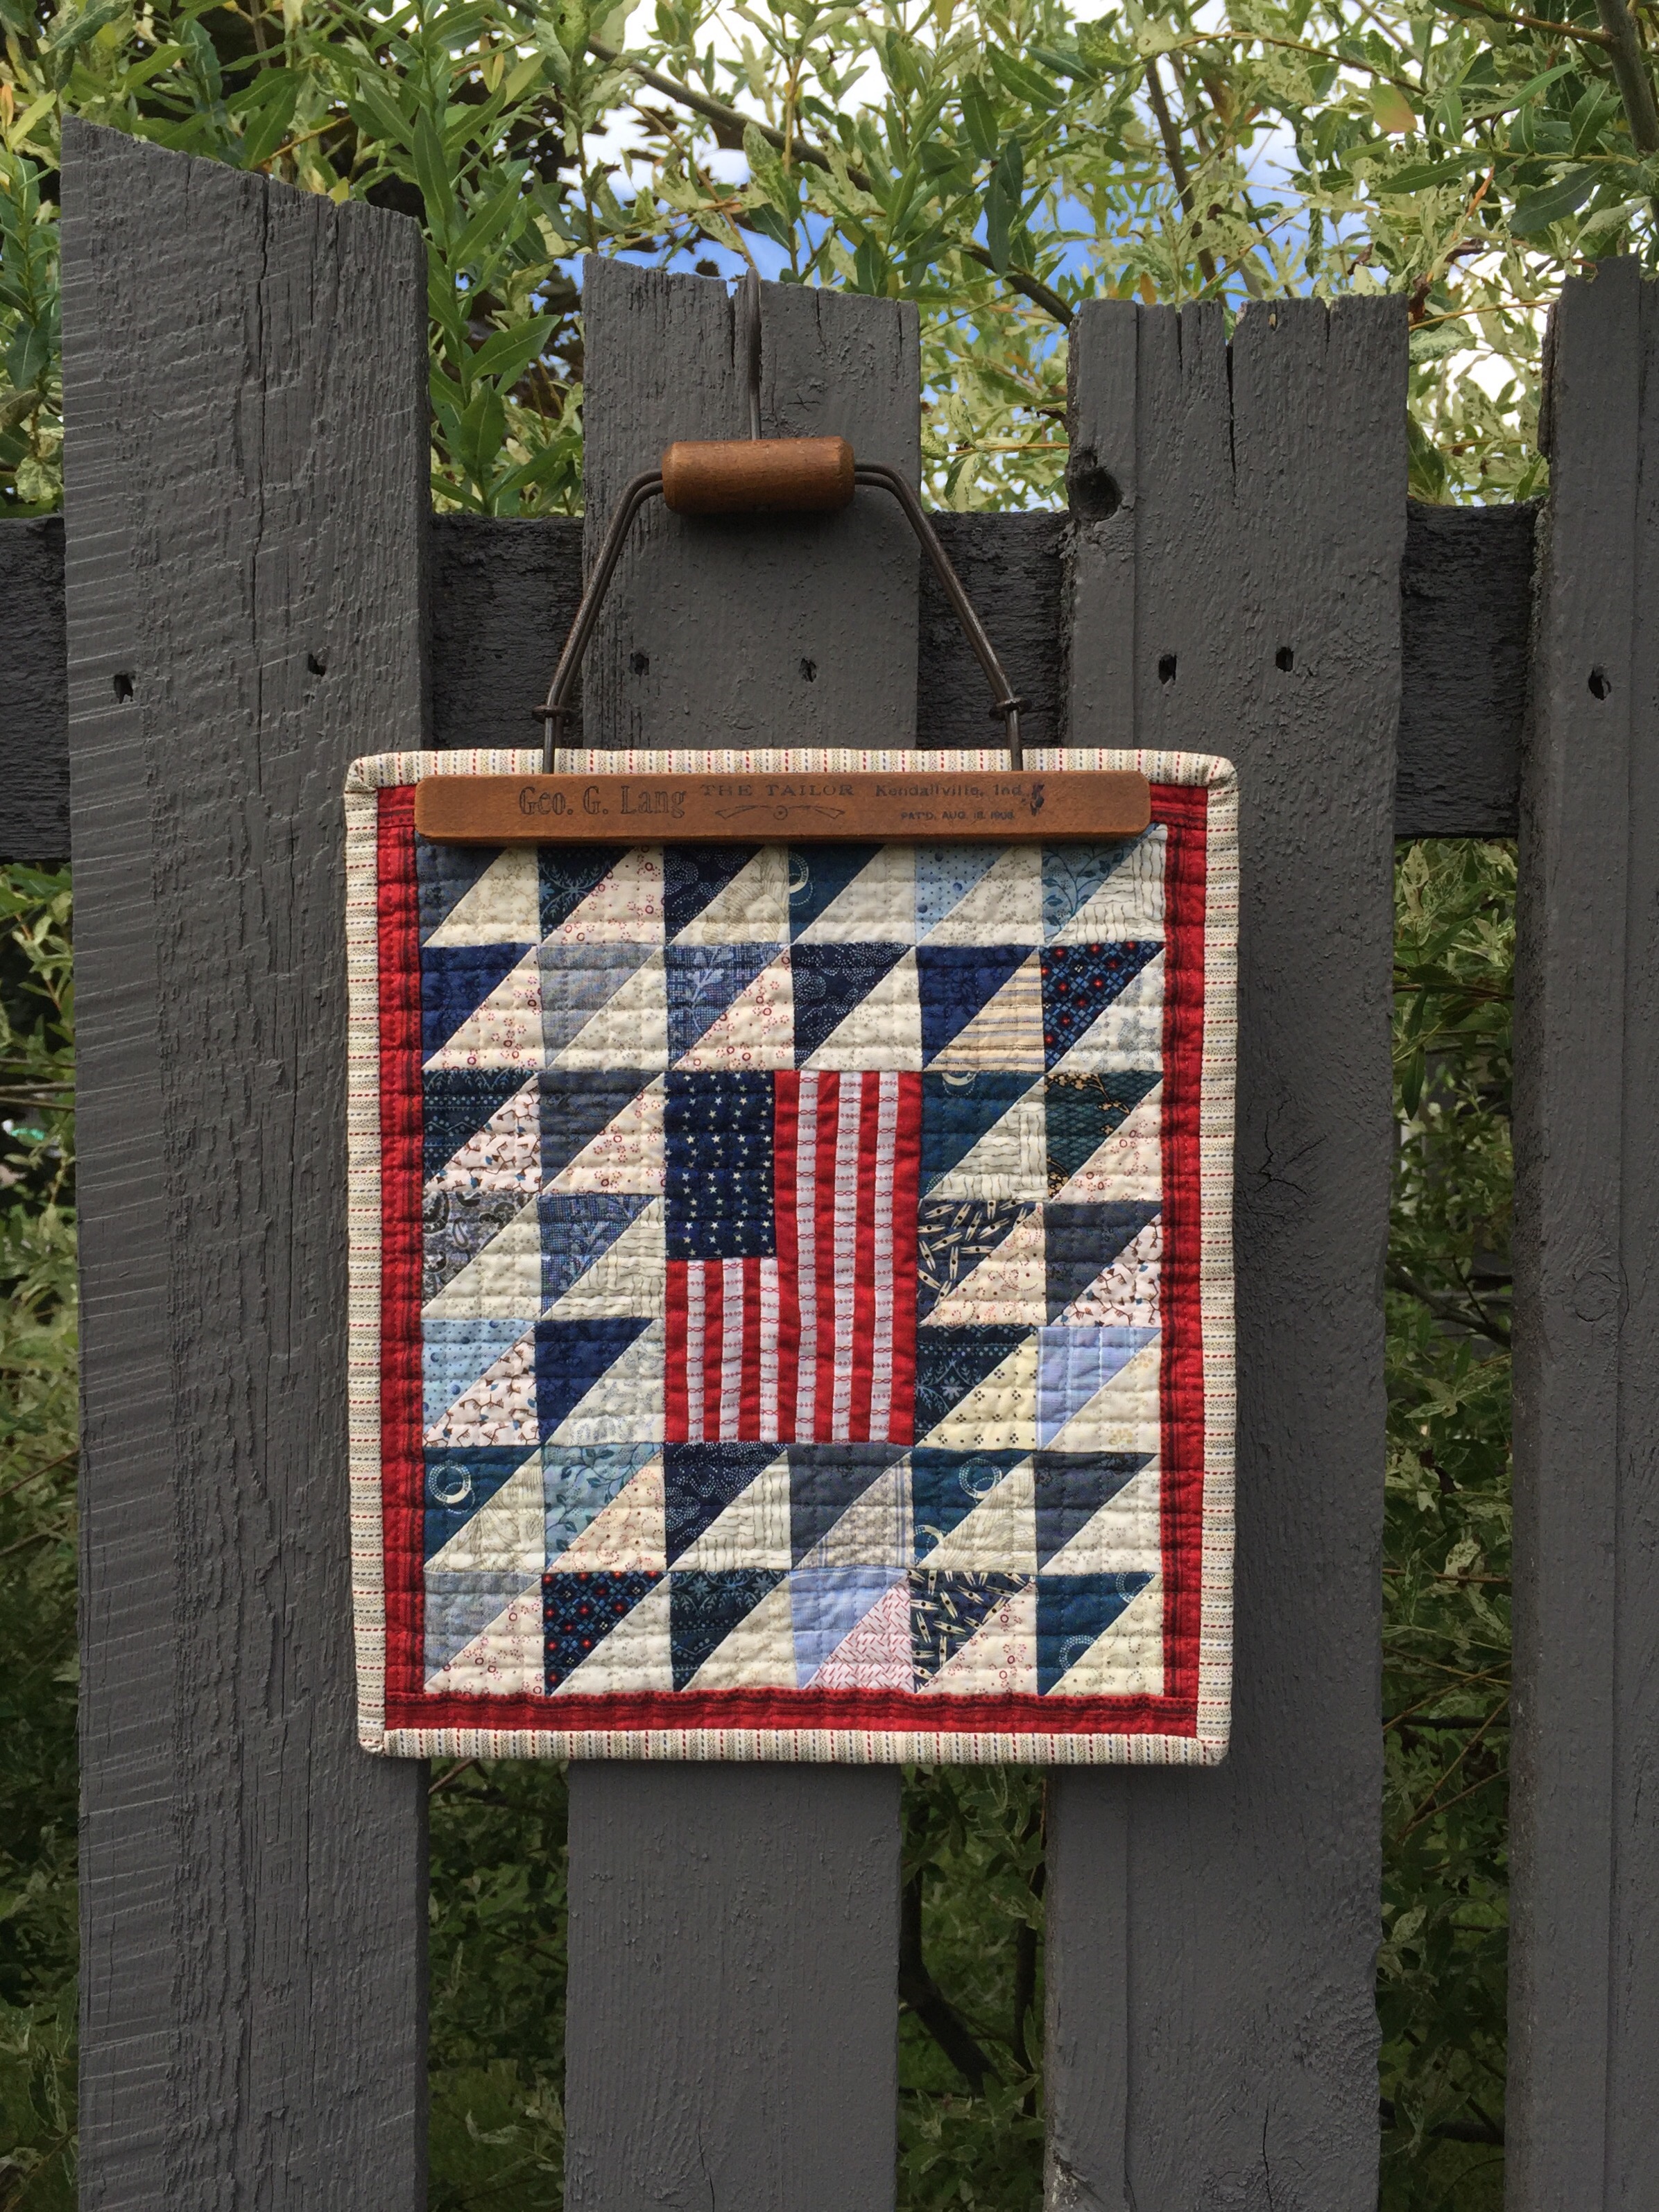
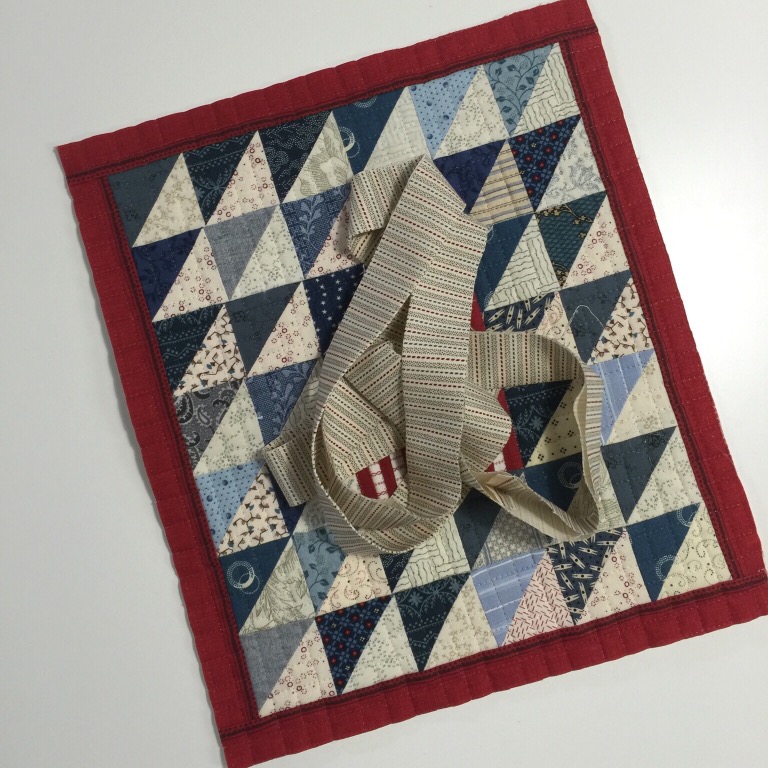
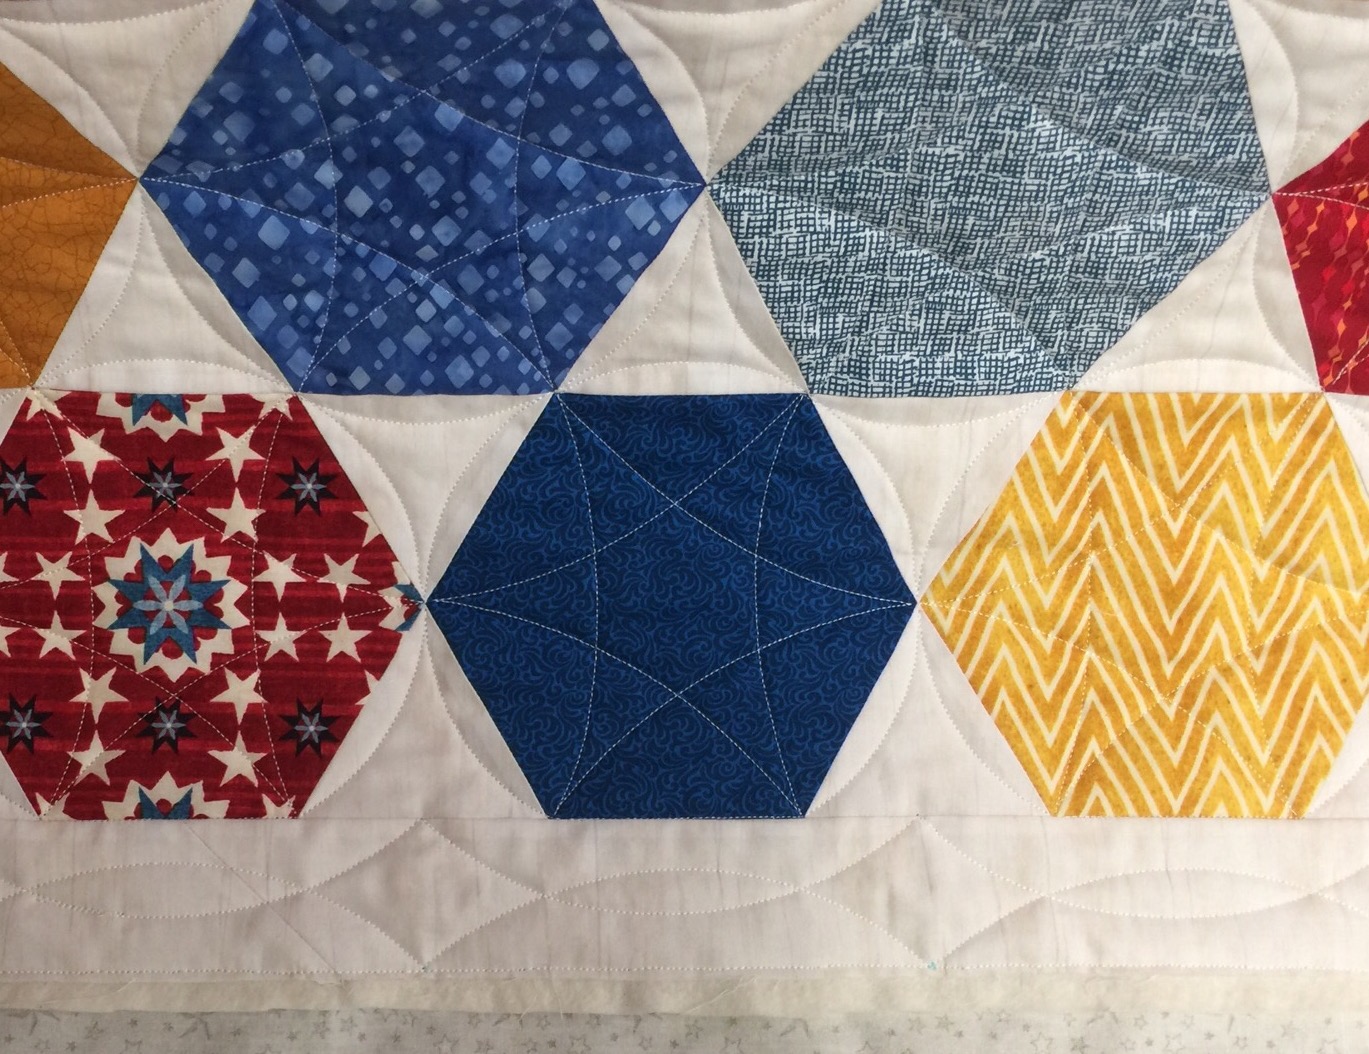
 Here is a look at the back.


