DWMonday

I recently received this charm pack as a freebie from Missouri Star. I thought it would make a cute baby girl quilt. And I need yet another for a gift.

So I used my 5 inch square die from Accuquilt and cut an equal number of plain white squares.

Then I threw them up on the wall.

Hmmmm….maybe a little more order is needed.

Better, but maybe not done yet. Anyway, this will finish at 37 by 45 inches. I may or may not add a narrow white border. Sometimes simple is best.

Have a great day!

This post contains affiliate links.

Posted in Baby Quilts, Design Wall Monday, Uncategorized | 5 Comments

Sunday Slow Stitching 

I’m still working on my vintage pyramids top. The center is done and I just have the side borders left.

I decided to just stitch parallel diagonal lines on the borders. I’m not marking anything.

I love the back!

Have a good one!

Linking up with Kathy’s Quilts

Posted in Uncategorized | 8 Comments

Jeep Dog!

This is Pierre, our Bichon Frise. He’s 15 1/2 years old now and despite some health issues, he’s still hanging in there. He got groomed this week and I thought I’d make him a new bandana.

He doesn’t mind riding in the Jeep. It seems that lots of Jeepers have dogs that ride with them. I don’t see Pierre actually hitting the trails anytime soon though.

I fired up the embroidery machine and purchased a digitized design to make this.

I make these so the collar slides into a sleeve in the bandana. 

I couldn’t stop with one, my two grand doggies needed them too!

So these are for Bambi and Winnie.

After all, it was driving Daughter #2’s Jeep in AZ all last winter that made me want one! This pic is me with her beautiful Rubicon in Sedona.

Have a great day!

Posted in Machine Embroidery, Uncategorized | 4 Comments

Topographical Quilting 

I loaded this baby quilt on the fame and then had to figure out how to quilt it.

I wanted to do something freehand and decided that quilting it rather like a topographical map would look good. I’ve done this before, but it’s been a while. So first I played a bit on my white board.

I think I quilt better than I draw, but this helps to get in the flow of things.

This kind of quilting is really fun! If you haven’t tried it, you should!

By the way, if you’ve been wanting the GO! Big electric die cutter, it is on sale through October 16th! Click here to learn more. Here is one of many reasons I love my die cutter:


Yep, carpal tunnel. But I can crank  the pieces through with my left hand and everything ends up perfectly cut. It would be even easier with the GO! Big since there is no cranking at all! I won’t quit quilting, but this saves some wear and tear on my hands. Also, there are some new free patterns on the Accuquilt site here. You don’t necessarily have to have the dies and cutter to use the patterns. 

Have a great day!

This post contains affiliate links.

Posted in Baby Quilts, Free Motion Quilting, Fresh Modern Quilts, HQ Avante, Uncategorized | 3 Comments

Block Tutorial

I made 12 more blocks from bright solids and sewed this top together.

I thought you might want to see how I made these blocks. I was inspired by Bonnie Hunter’s Scrappy Mountain Majesty pattern that is free on her web site.

I started with 10 inch squares and made them into large HSTs as I showed in this post.

I trimmed these to 8 1/2 inch blocks as also explained in the above linked post. Then I placed them on my 2 1/2 inch strip die allowing an equal amount tohang over each edge as shown below.

I layered multiple blocks as shown, making sure the seam allowances were not on top of one another.

For this quilt, I placed all of my HST blocks on the strip die the same way. You could make mirror image blocks for a different layout. As you can see, I had just a bit of waste here.

I ended up with three different stacks.

Then I repositioned these stacks and sewed them altogether.

Easy peasy!

This resulted in blocks that finish at 6 by 8 inches. I could have used a 2 inch strip cutter die and gotten a block that looked more like Bonnie’s. For this quilt, I like my version just as well. Time to pick out a backing and quilt this baby!

I love finding new ways to use my Accuquilt cutter.

Have a great day!

Linking up with Sew Fresh QuiltsQuilt Fabrication

This post contains affiliate links.

Posted in Accuquilt, Accuquilt Studio Cutter, Tutorials, Uncategorized | 10 Comments

QOV #3

This lovely top was made by Lynda from the Stitching Sisters group. She did such a great job working with this center panel!

Here are a couple detail shots.

Here is the back.

This is the panto I used.

Have a great day!

Posted in Finishes, Pantographs, Quilt of Valor, Uncategorized | 3 Comments

DWMonday ~ Playing with Blocks

There seems to be a baby boom at church lately and I can’t keep up! I need a boy quilt asap. I had an idea for a block that could be made from two ten inch squares and I tried out my idea last week. I ended up with 18 blocks. Now I’m playing with layouts. 


The blank spaces in the layouts above would be filled in with plain blocks. I wish I had more of this dotted fabric. I really need more blocks. Maybe some solids would work. 

Back to the design wall.

Have a great day!

Linking up with Love Laugh QuiltCooking Up QuiltsSmall Quilts and Doll Quilts

Posted in Uncategorized | 11 Comments

 Palmeteer Point 

The last clue for this little mystery QAL came out last Monday. I forced myself to get some other things done before playing with this! According to Lori’s directions, this is the layout. Clearly  some arranging of four patches was needed. 

You might remember that I made extra pieces. I had almost enough for a layout like this.

But I hated my 4 patches. Really hated them. So I took them off the wall to rework them. The problem with precuts is that you can end up with a quilt that is too matchy matchy. When I took them off, I was left with this. And I loved it! 


I decided to ditch my 4 patches. I knew they would make a quilt I wouldn’t like or use. I started thinking about what I would use and what would go with the green. I decided it could make a nice Christmas quilt for my table. I don’t like seasonal fabrics, but I love red and green quilts…..

Much better! Now to add a bit of gold.

Ahhhhh…..yes! Not at all scrappy, but I love this! It will go on my table at Christmas.  Time to start the quilting!

Now head over to  Humble Quilts to see everyone else’s version of a Palmeteer Point!

Have a great day!

Posted in Uncategorized | 19 Comments

Finish It Up Friday ~ Another QOV 

Here is the second in this batch of Quilts of Valor for the Stitching Sisters group. As usual, I am just quilting these lovely tops so I do not have any pattern info available.

I kept the quilting simple on this one so as to not compete with the beautiful scrappy piecing.

Here is a peek at the back. I used navy thread on this one.

Have a great day!

Linking up with Confessions of a Fabric AddictBusy Hands QuiltsCrazy Mom QuiltsAnja Quilts

Posted in Finishes, Quilt of Valor | 9 Comments

Trimming HSTs with a Die Cutter~ Tutorial

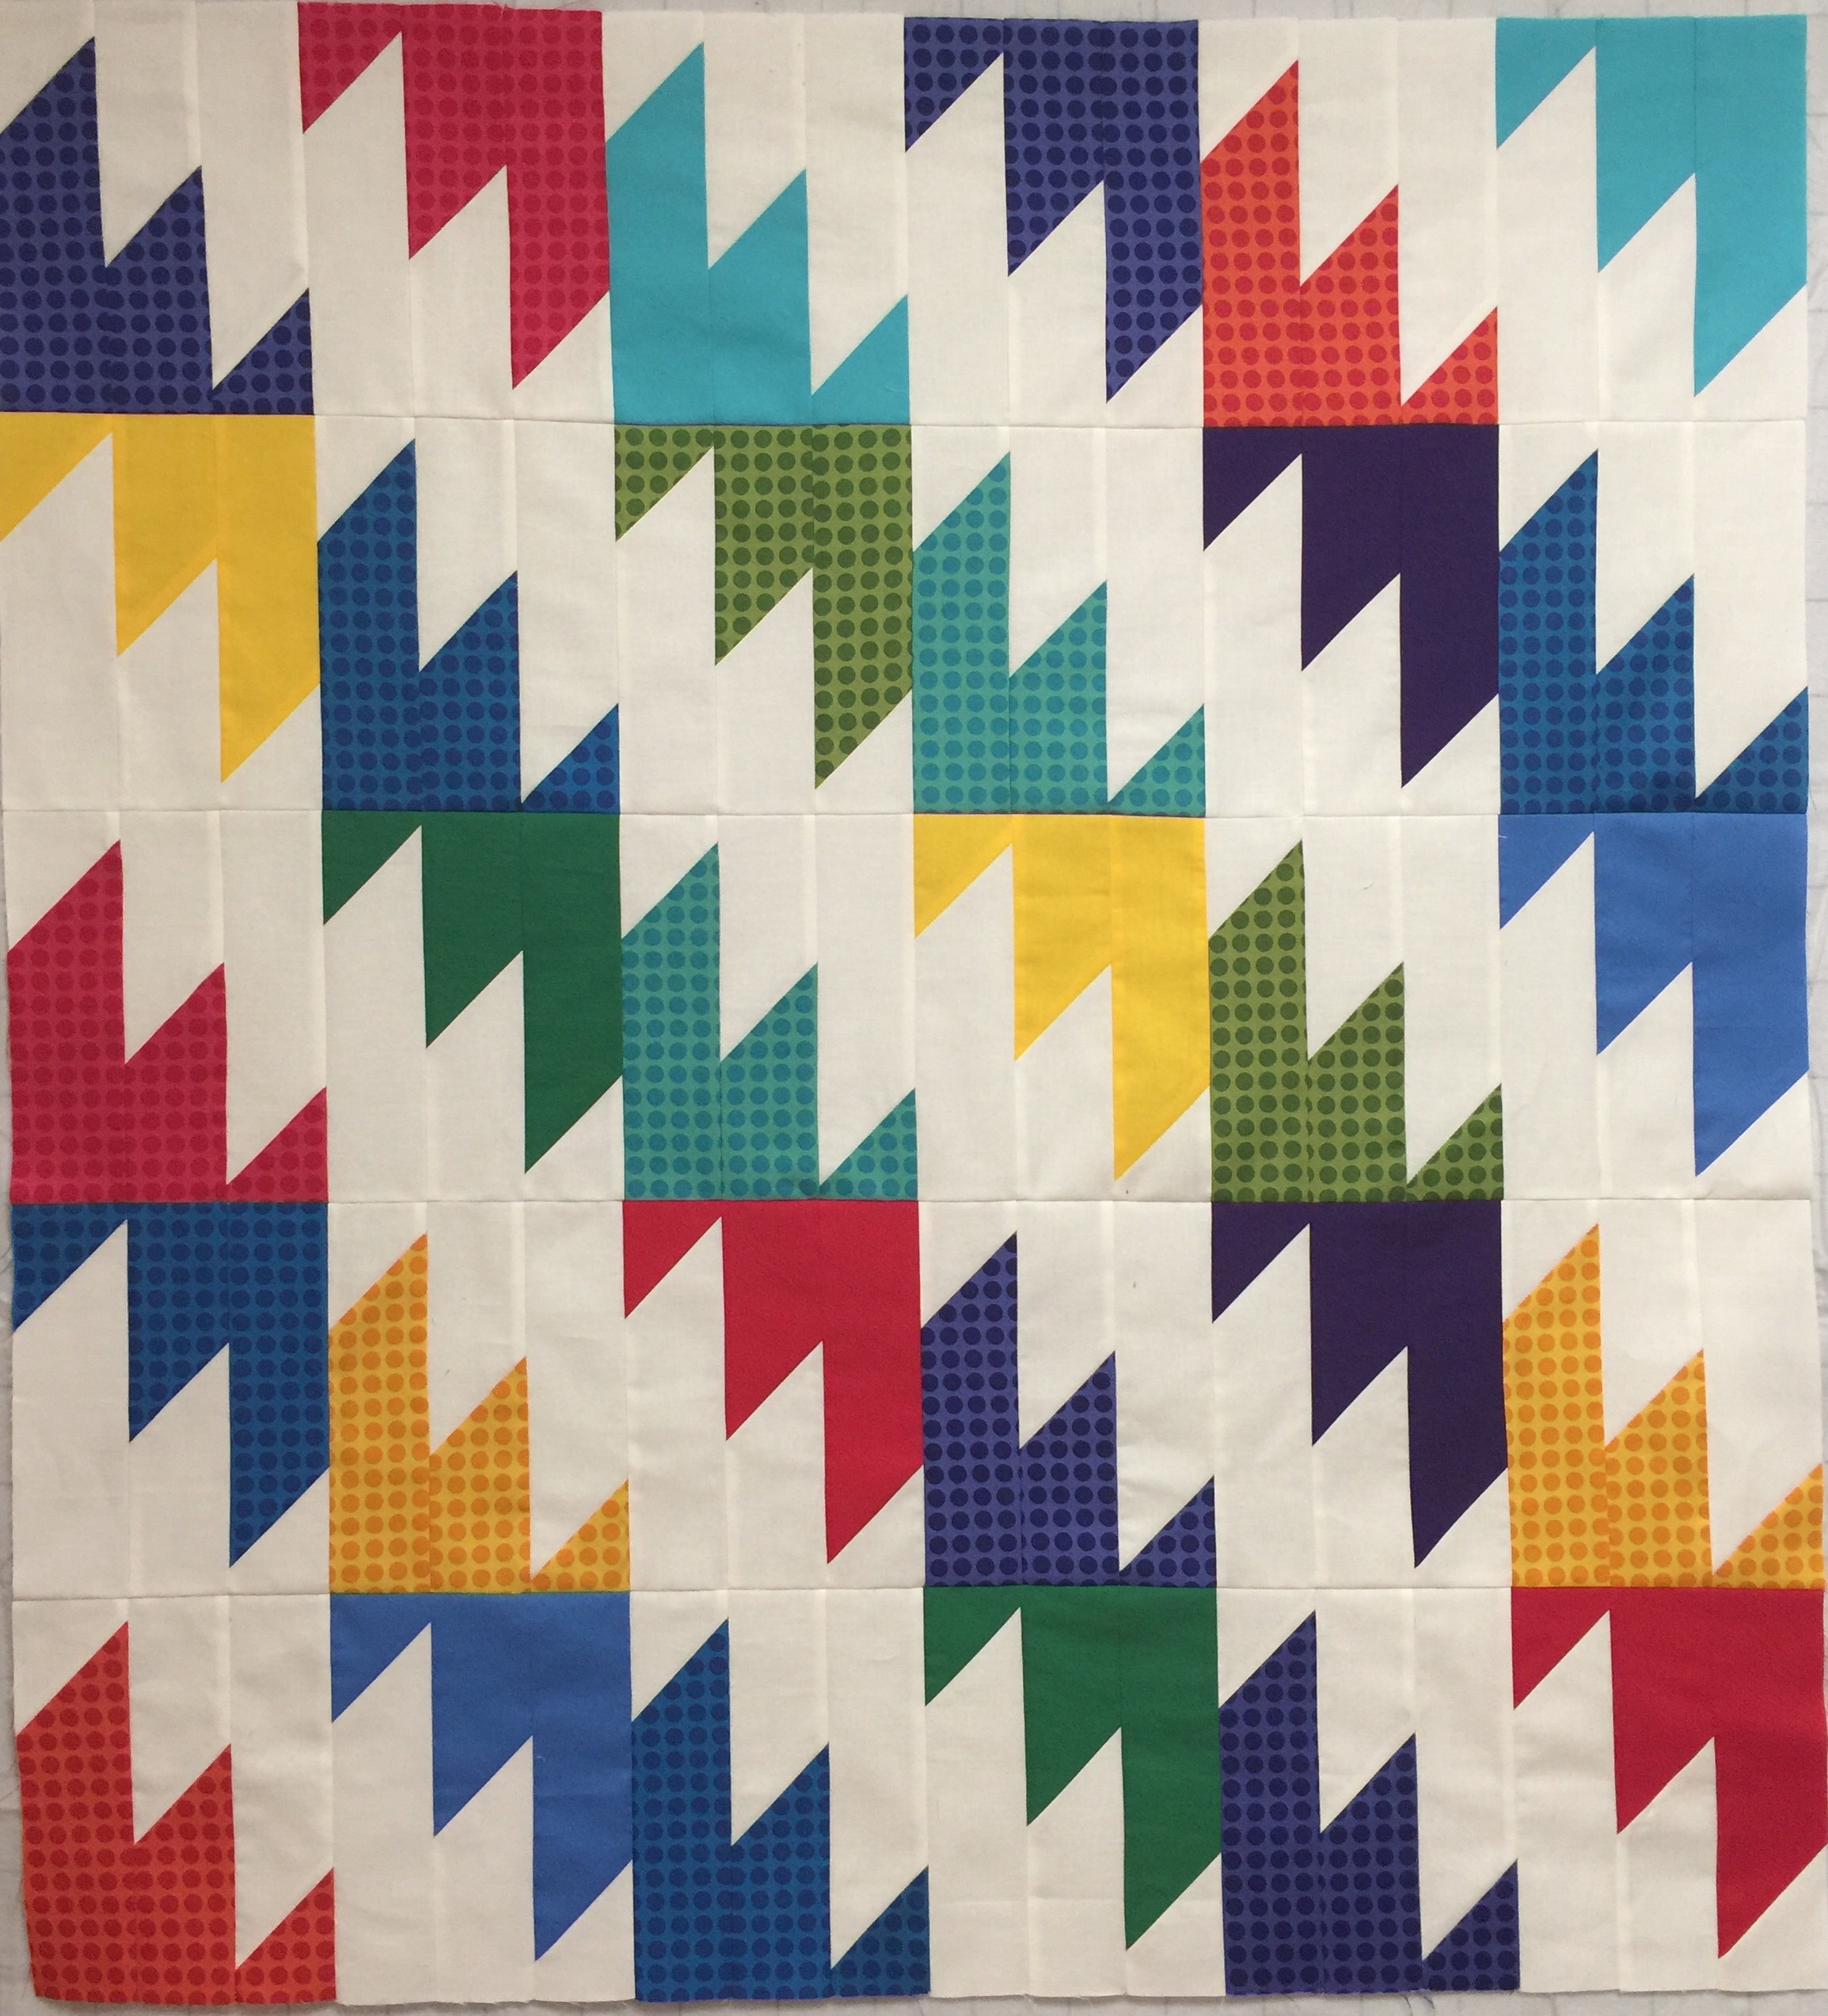
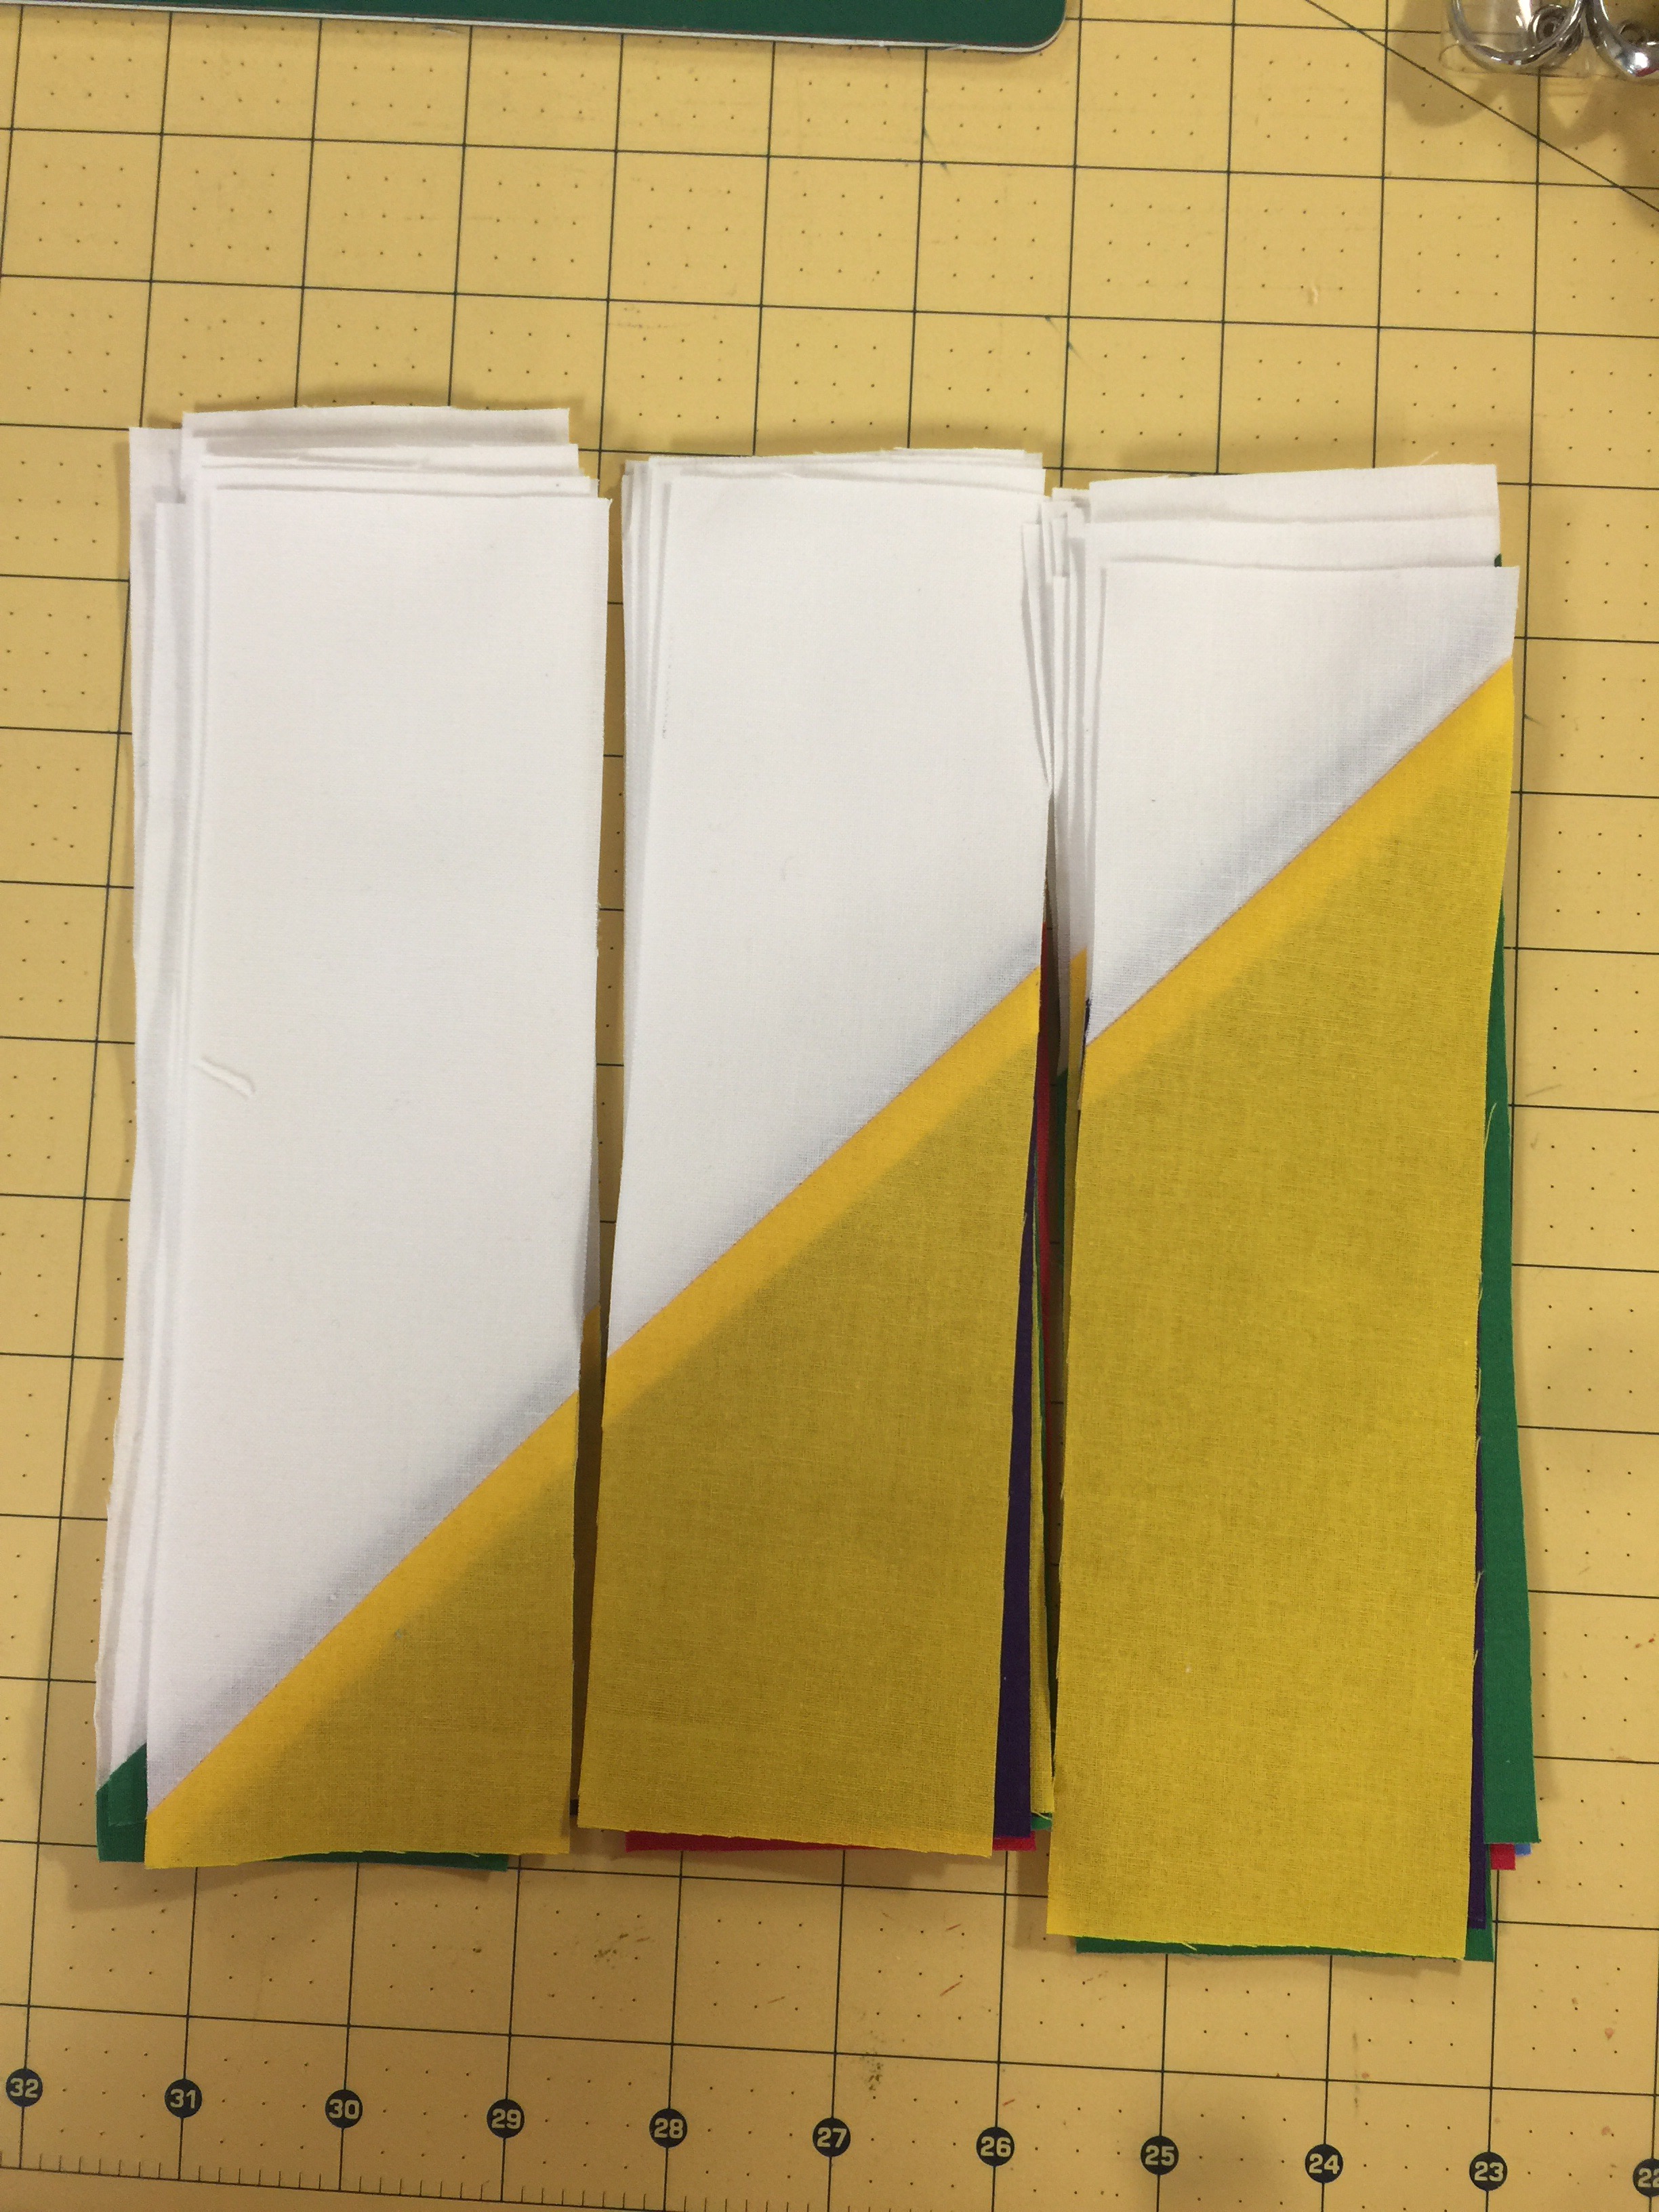
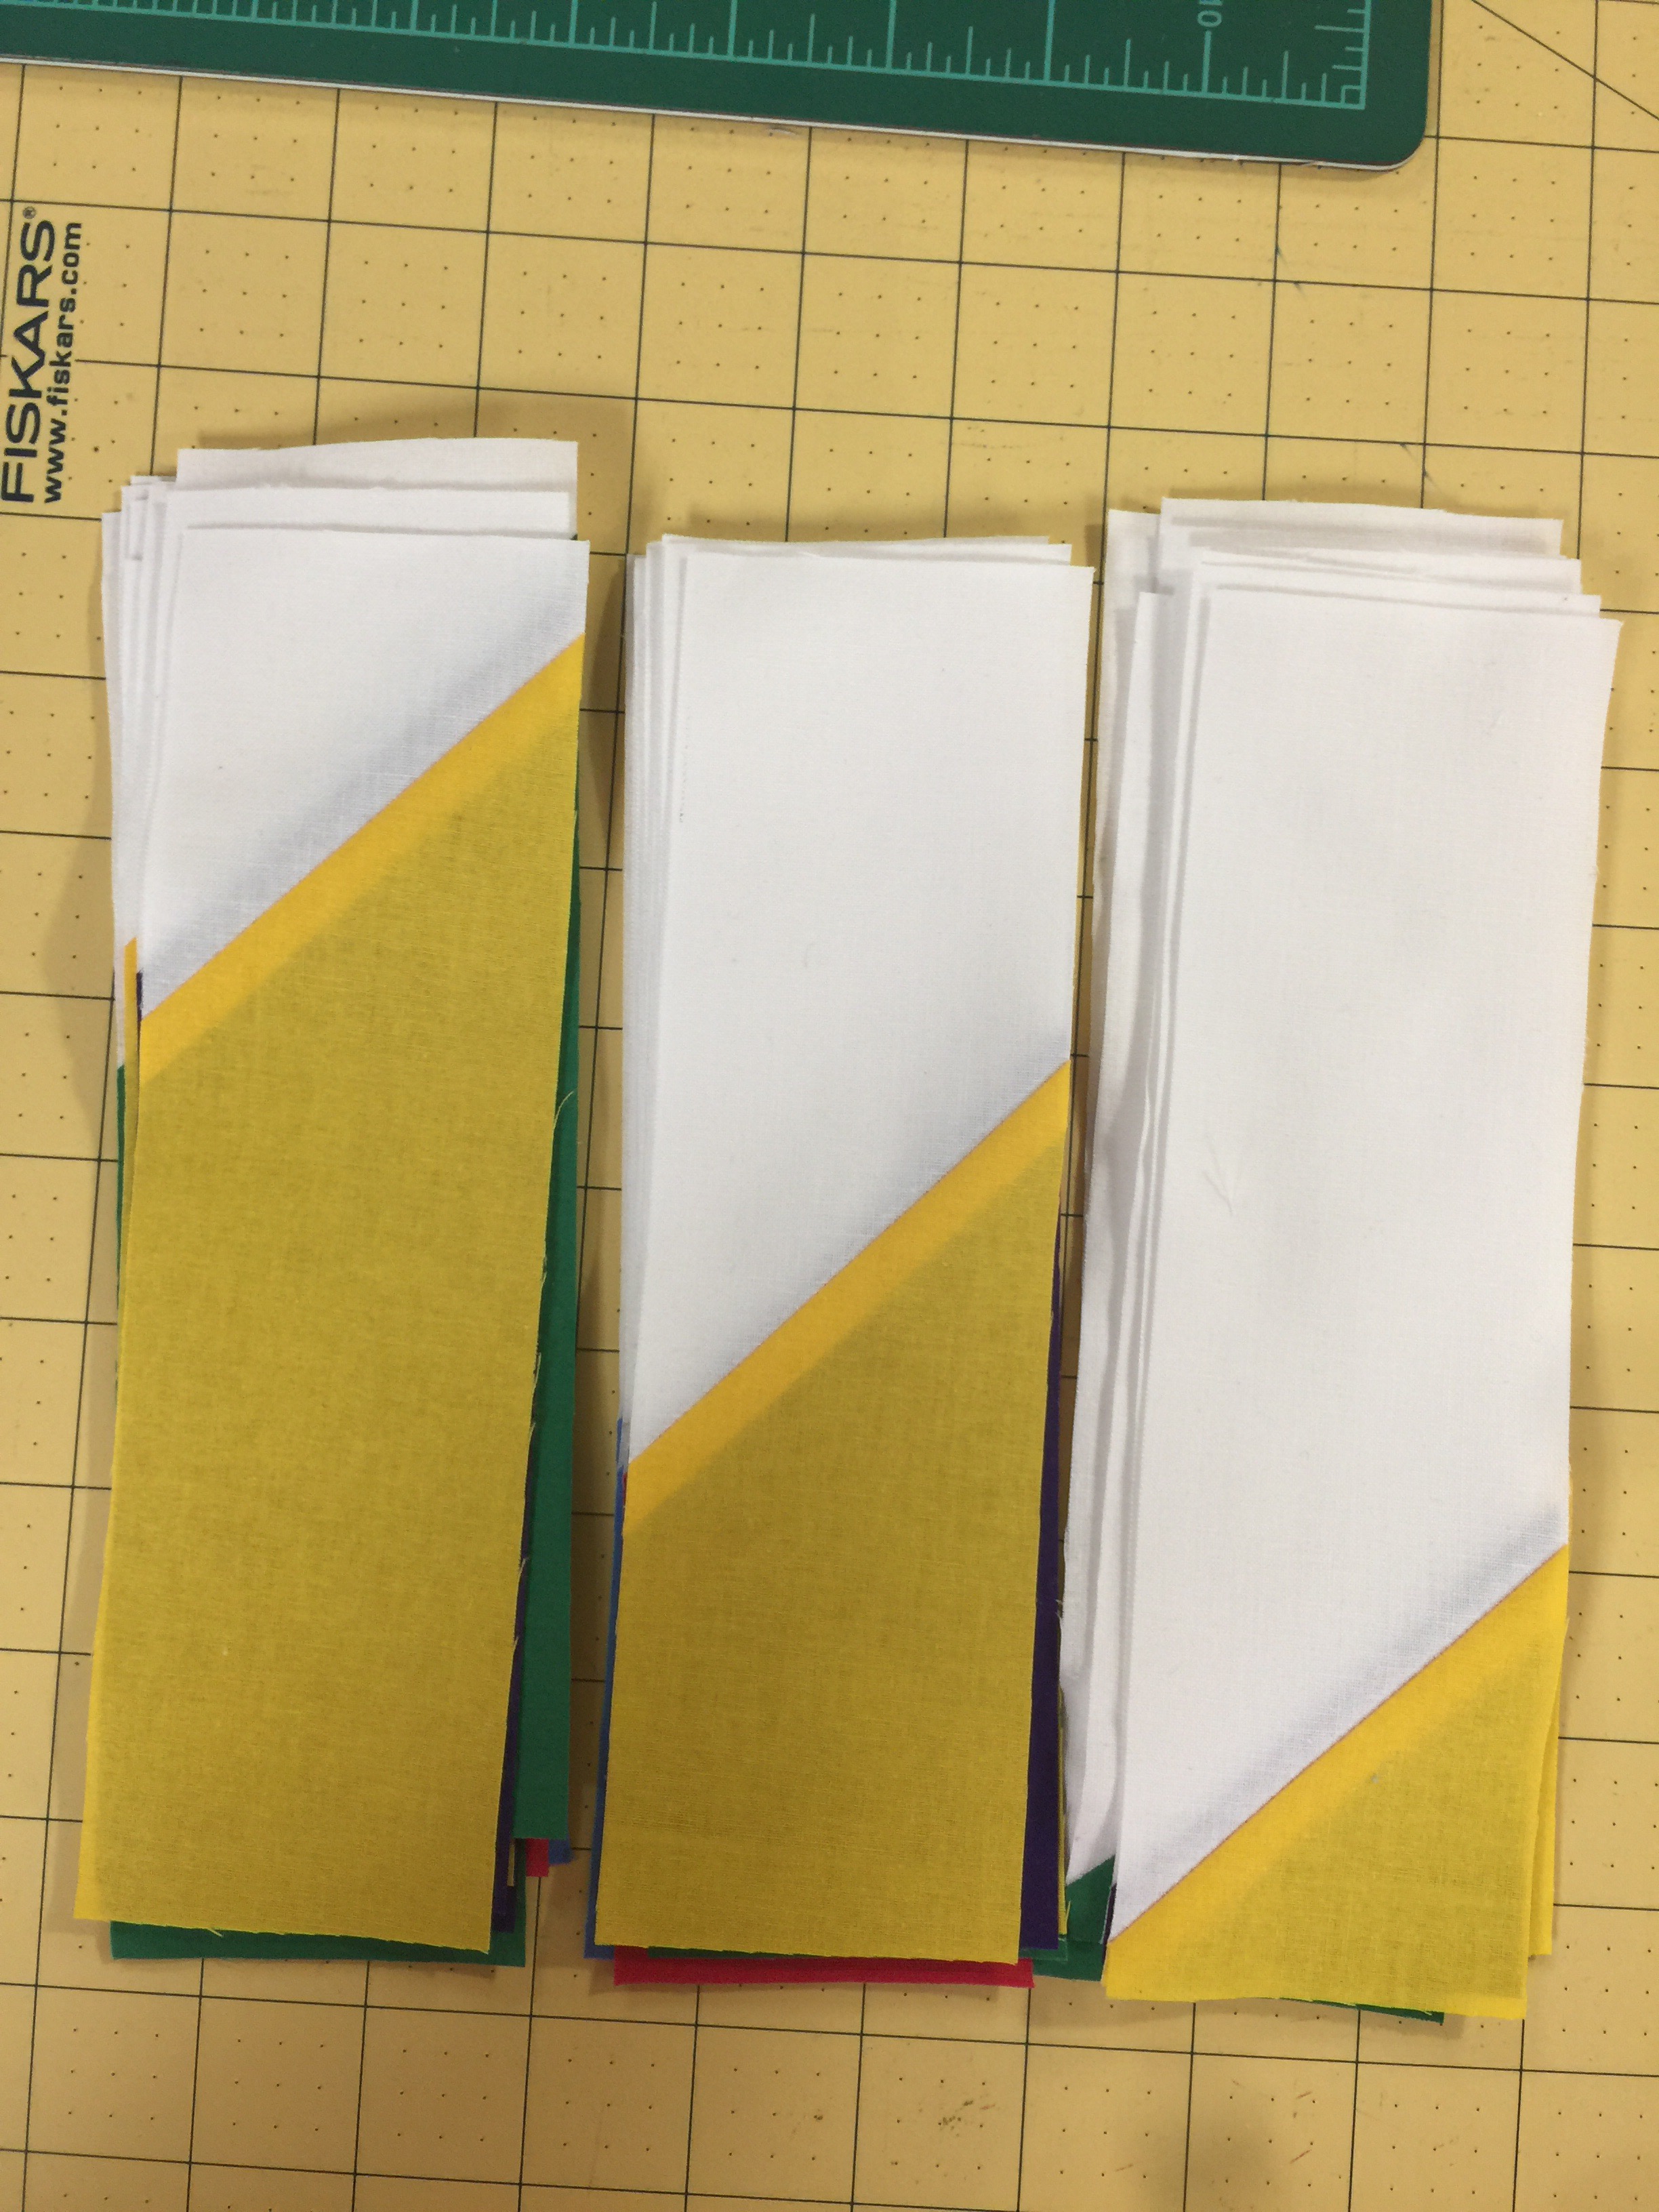
There are a million ways to make half square triangles. Well, maybe not a million, but a lot. Many involve trimming as a final step. I hate trimming. It’s one reason I love my Accuquilt die cutter. But every now and again, I find myself in a situation where trimming is necessary. So this is how I do it.


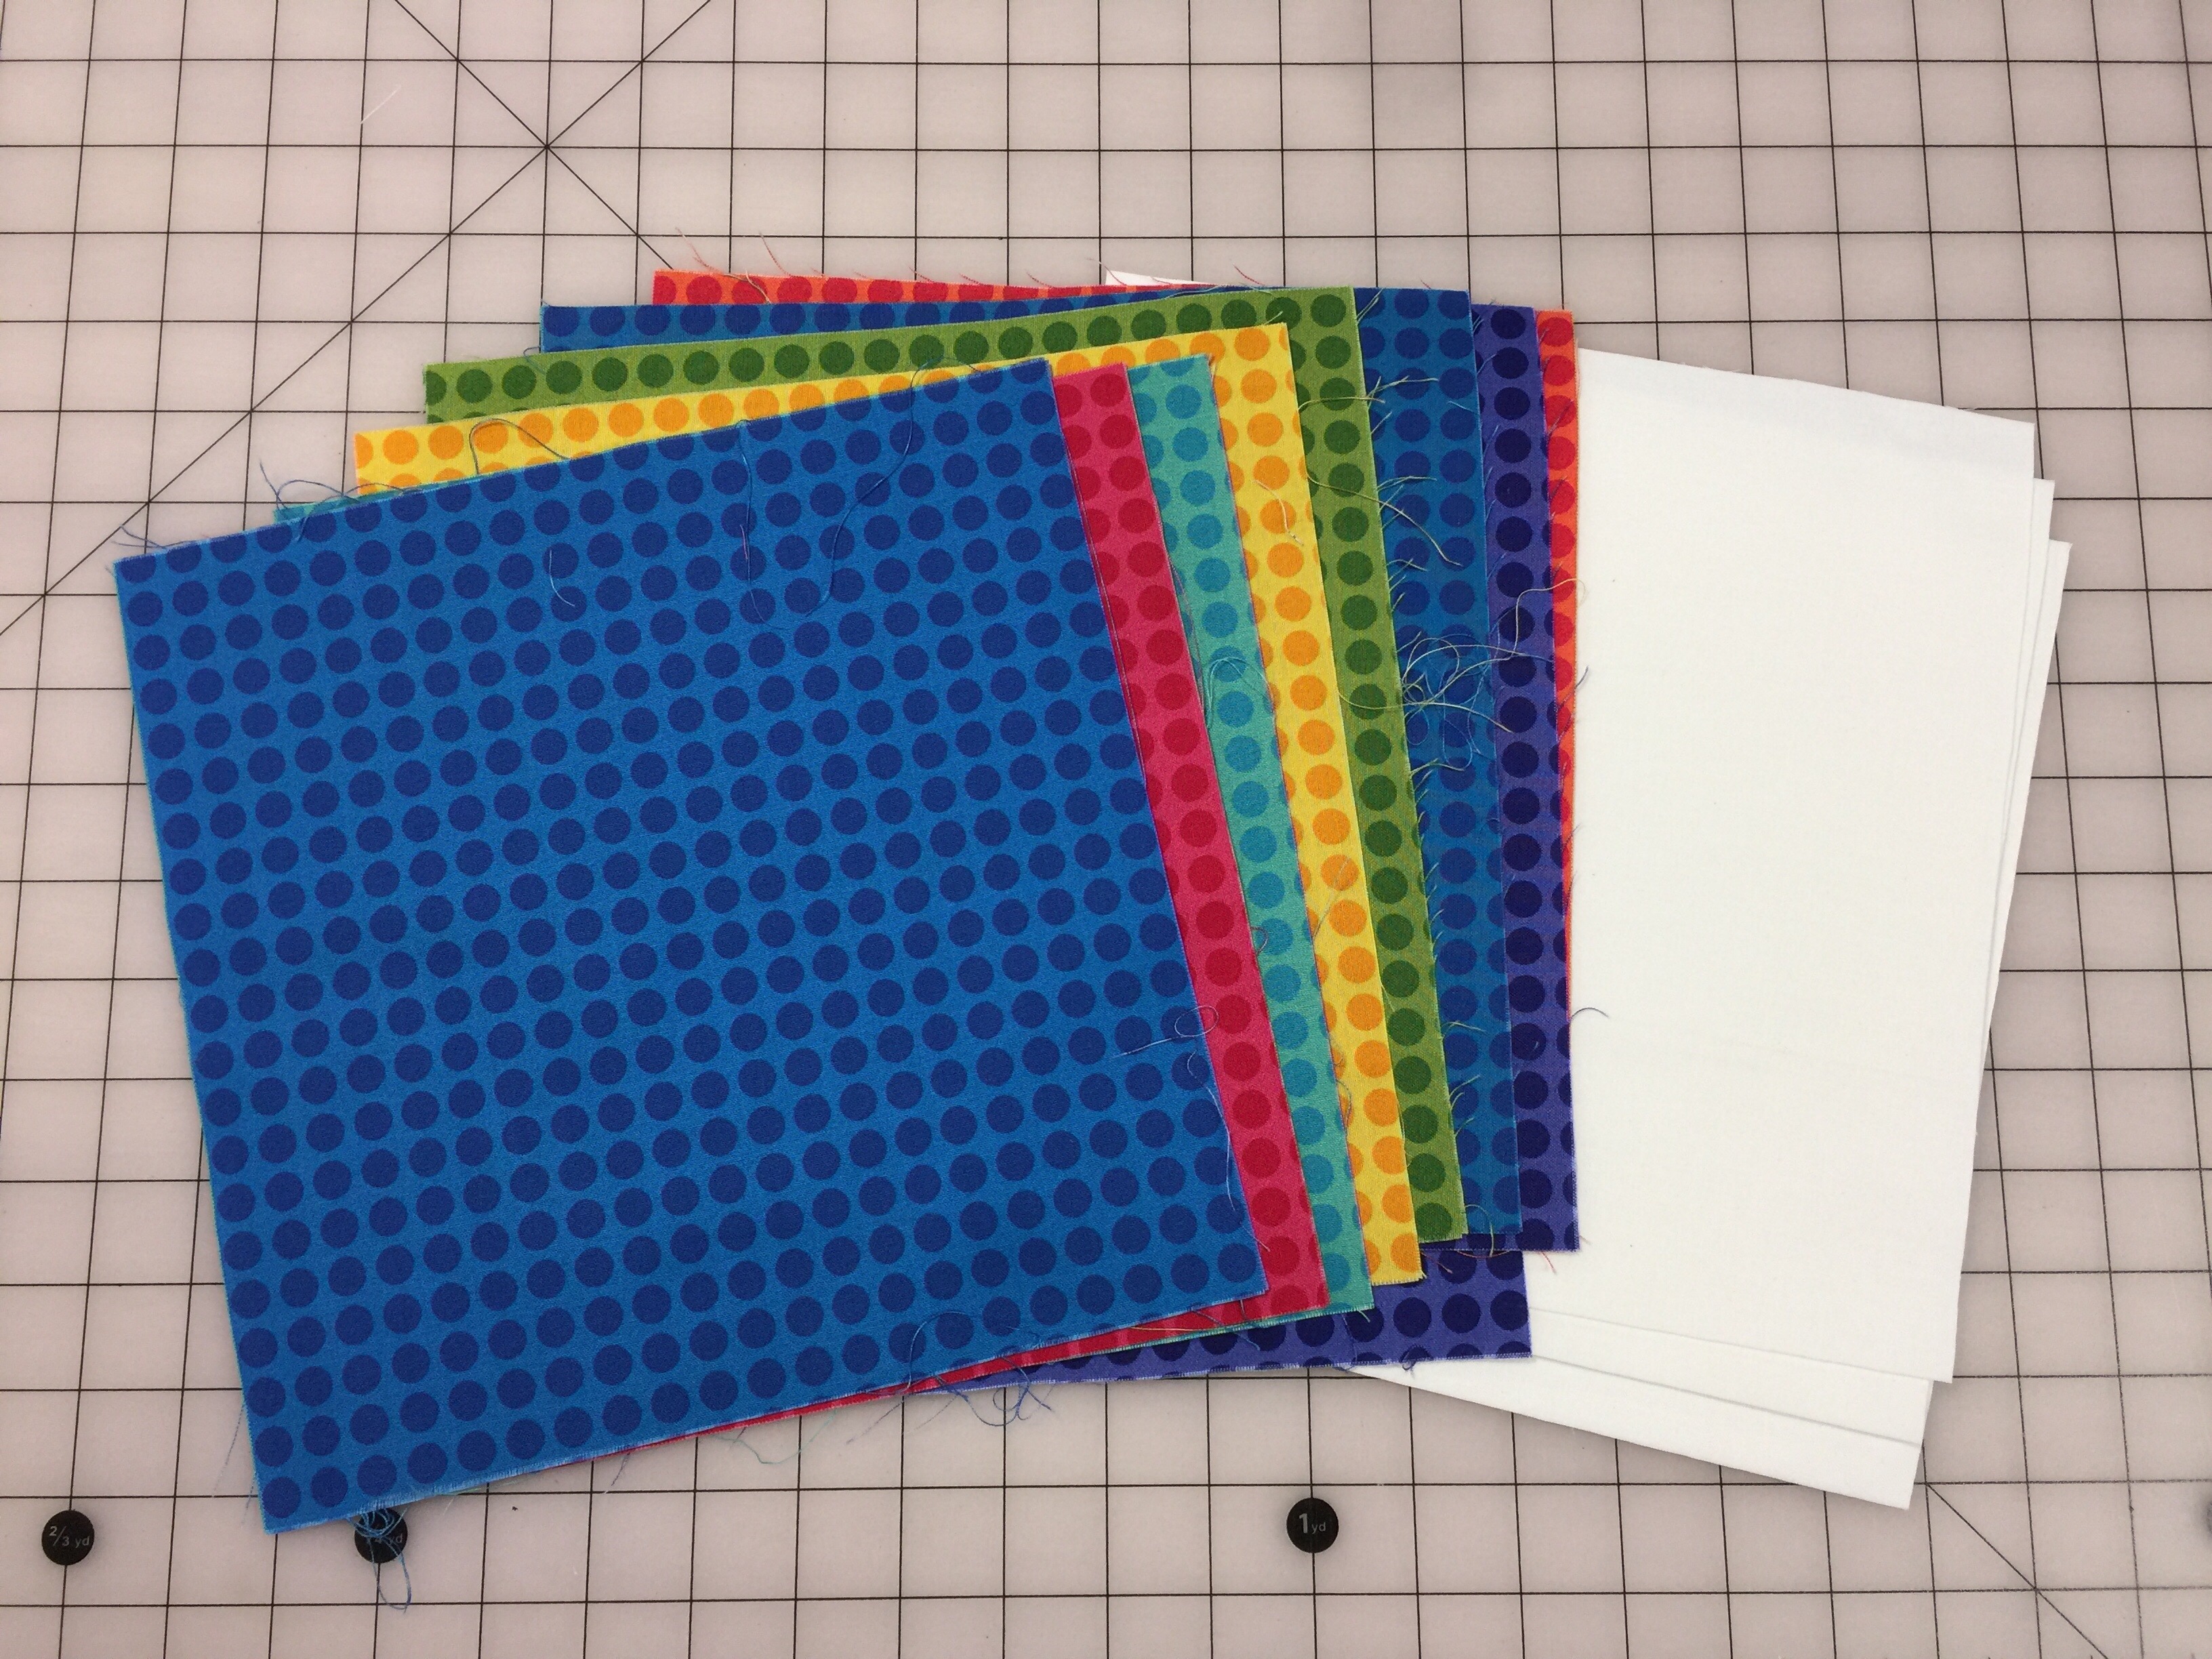
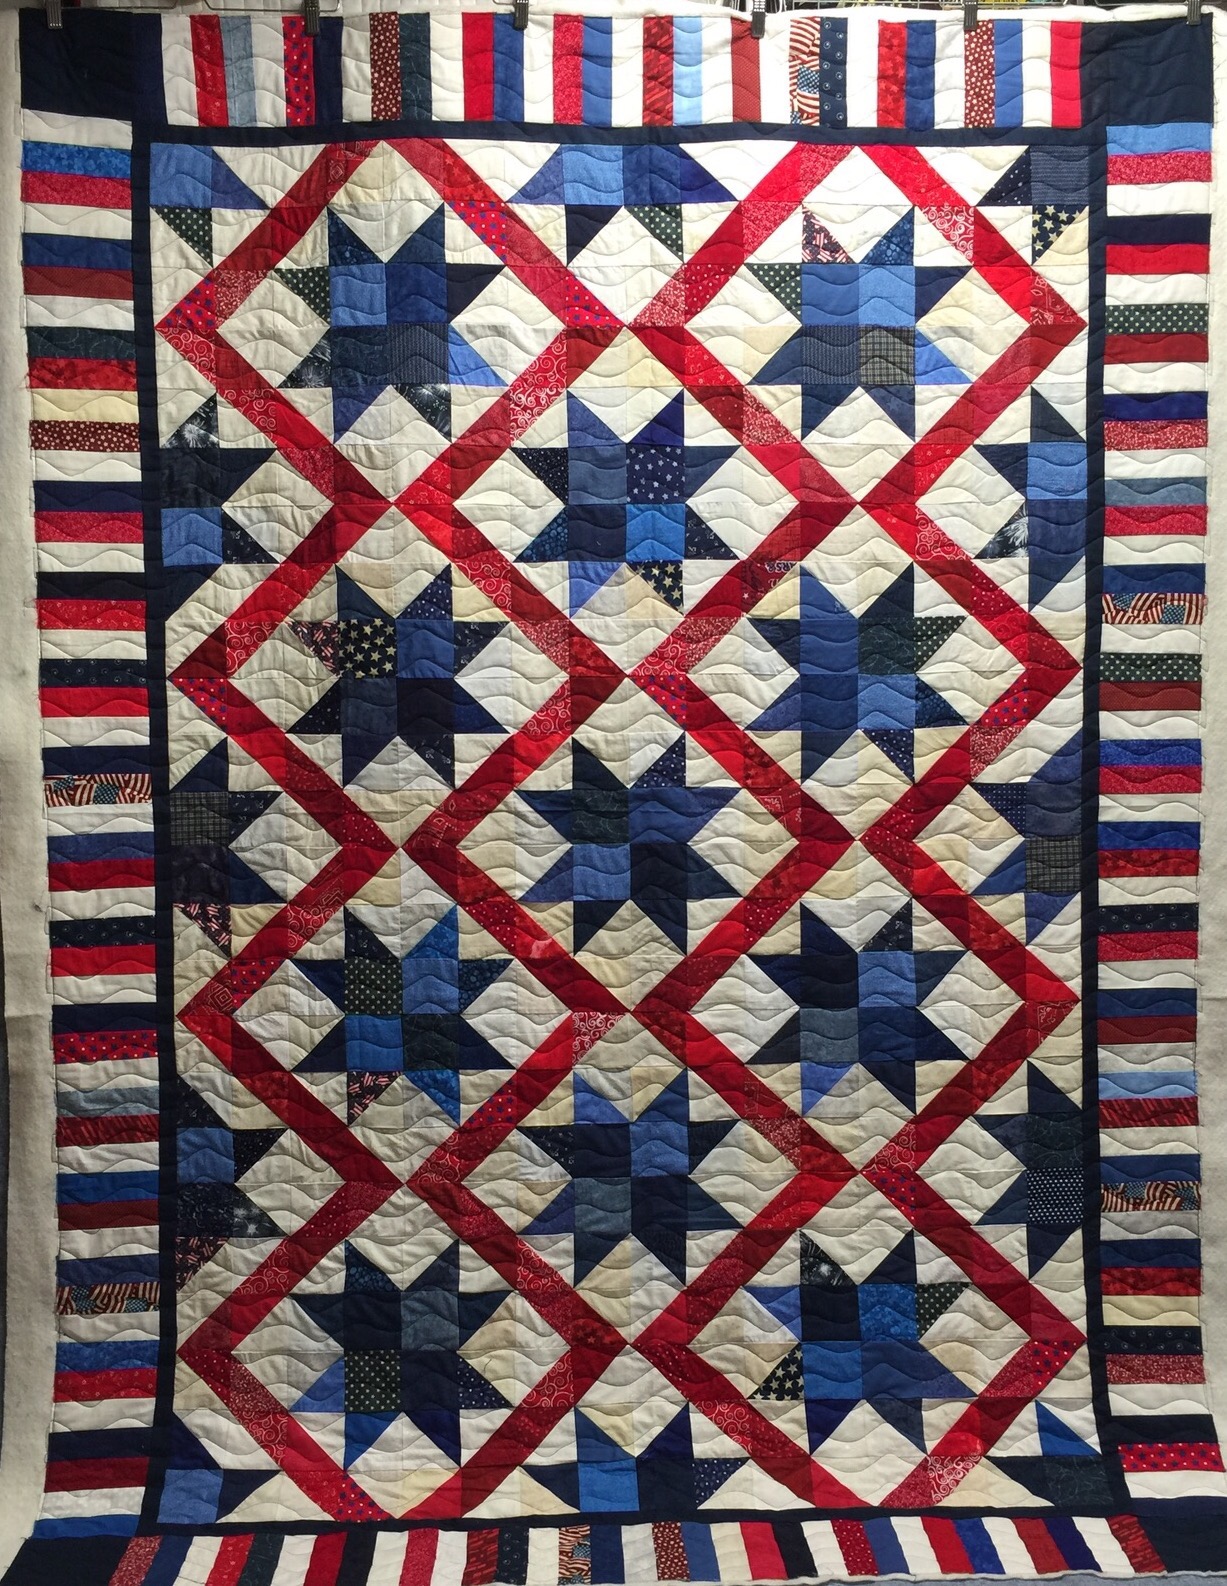
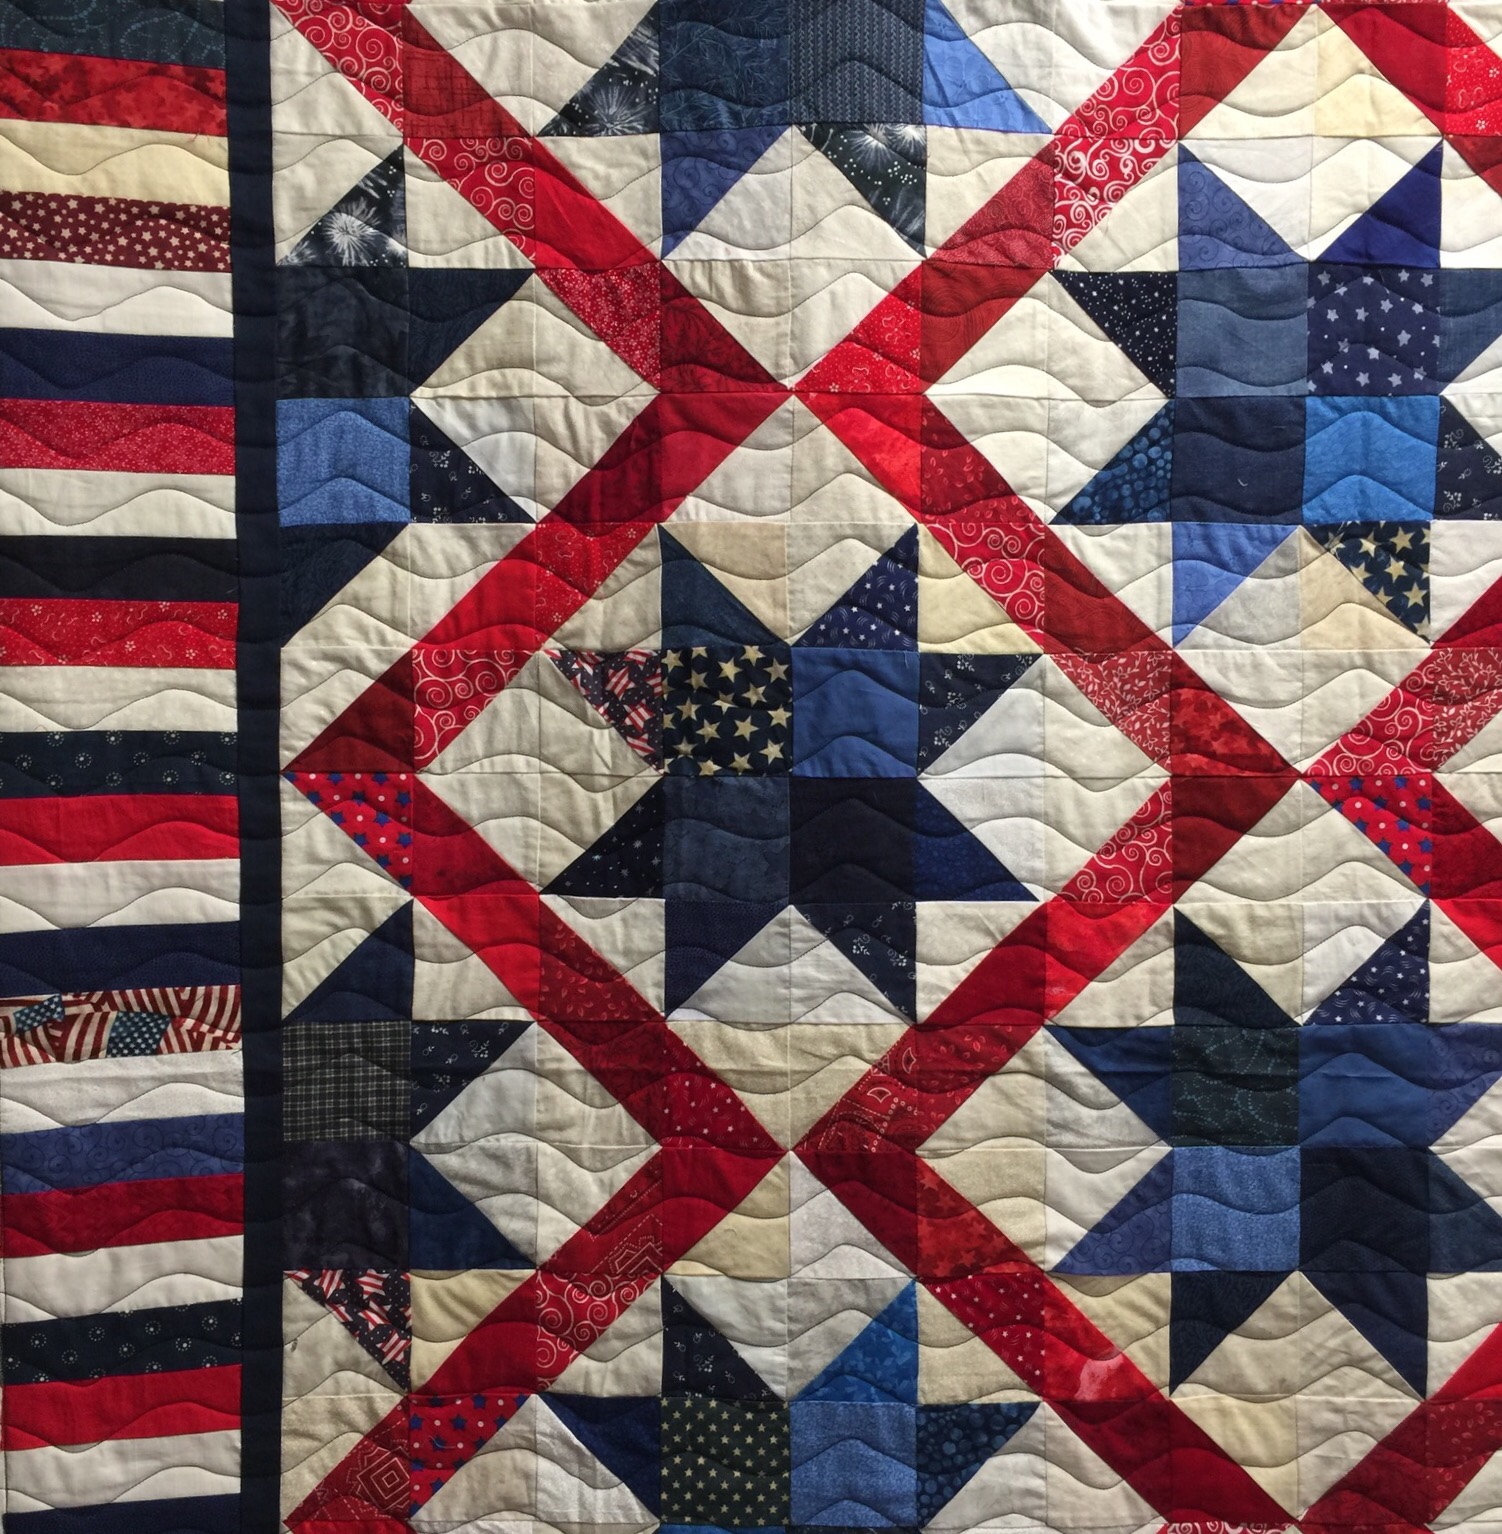
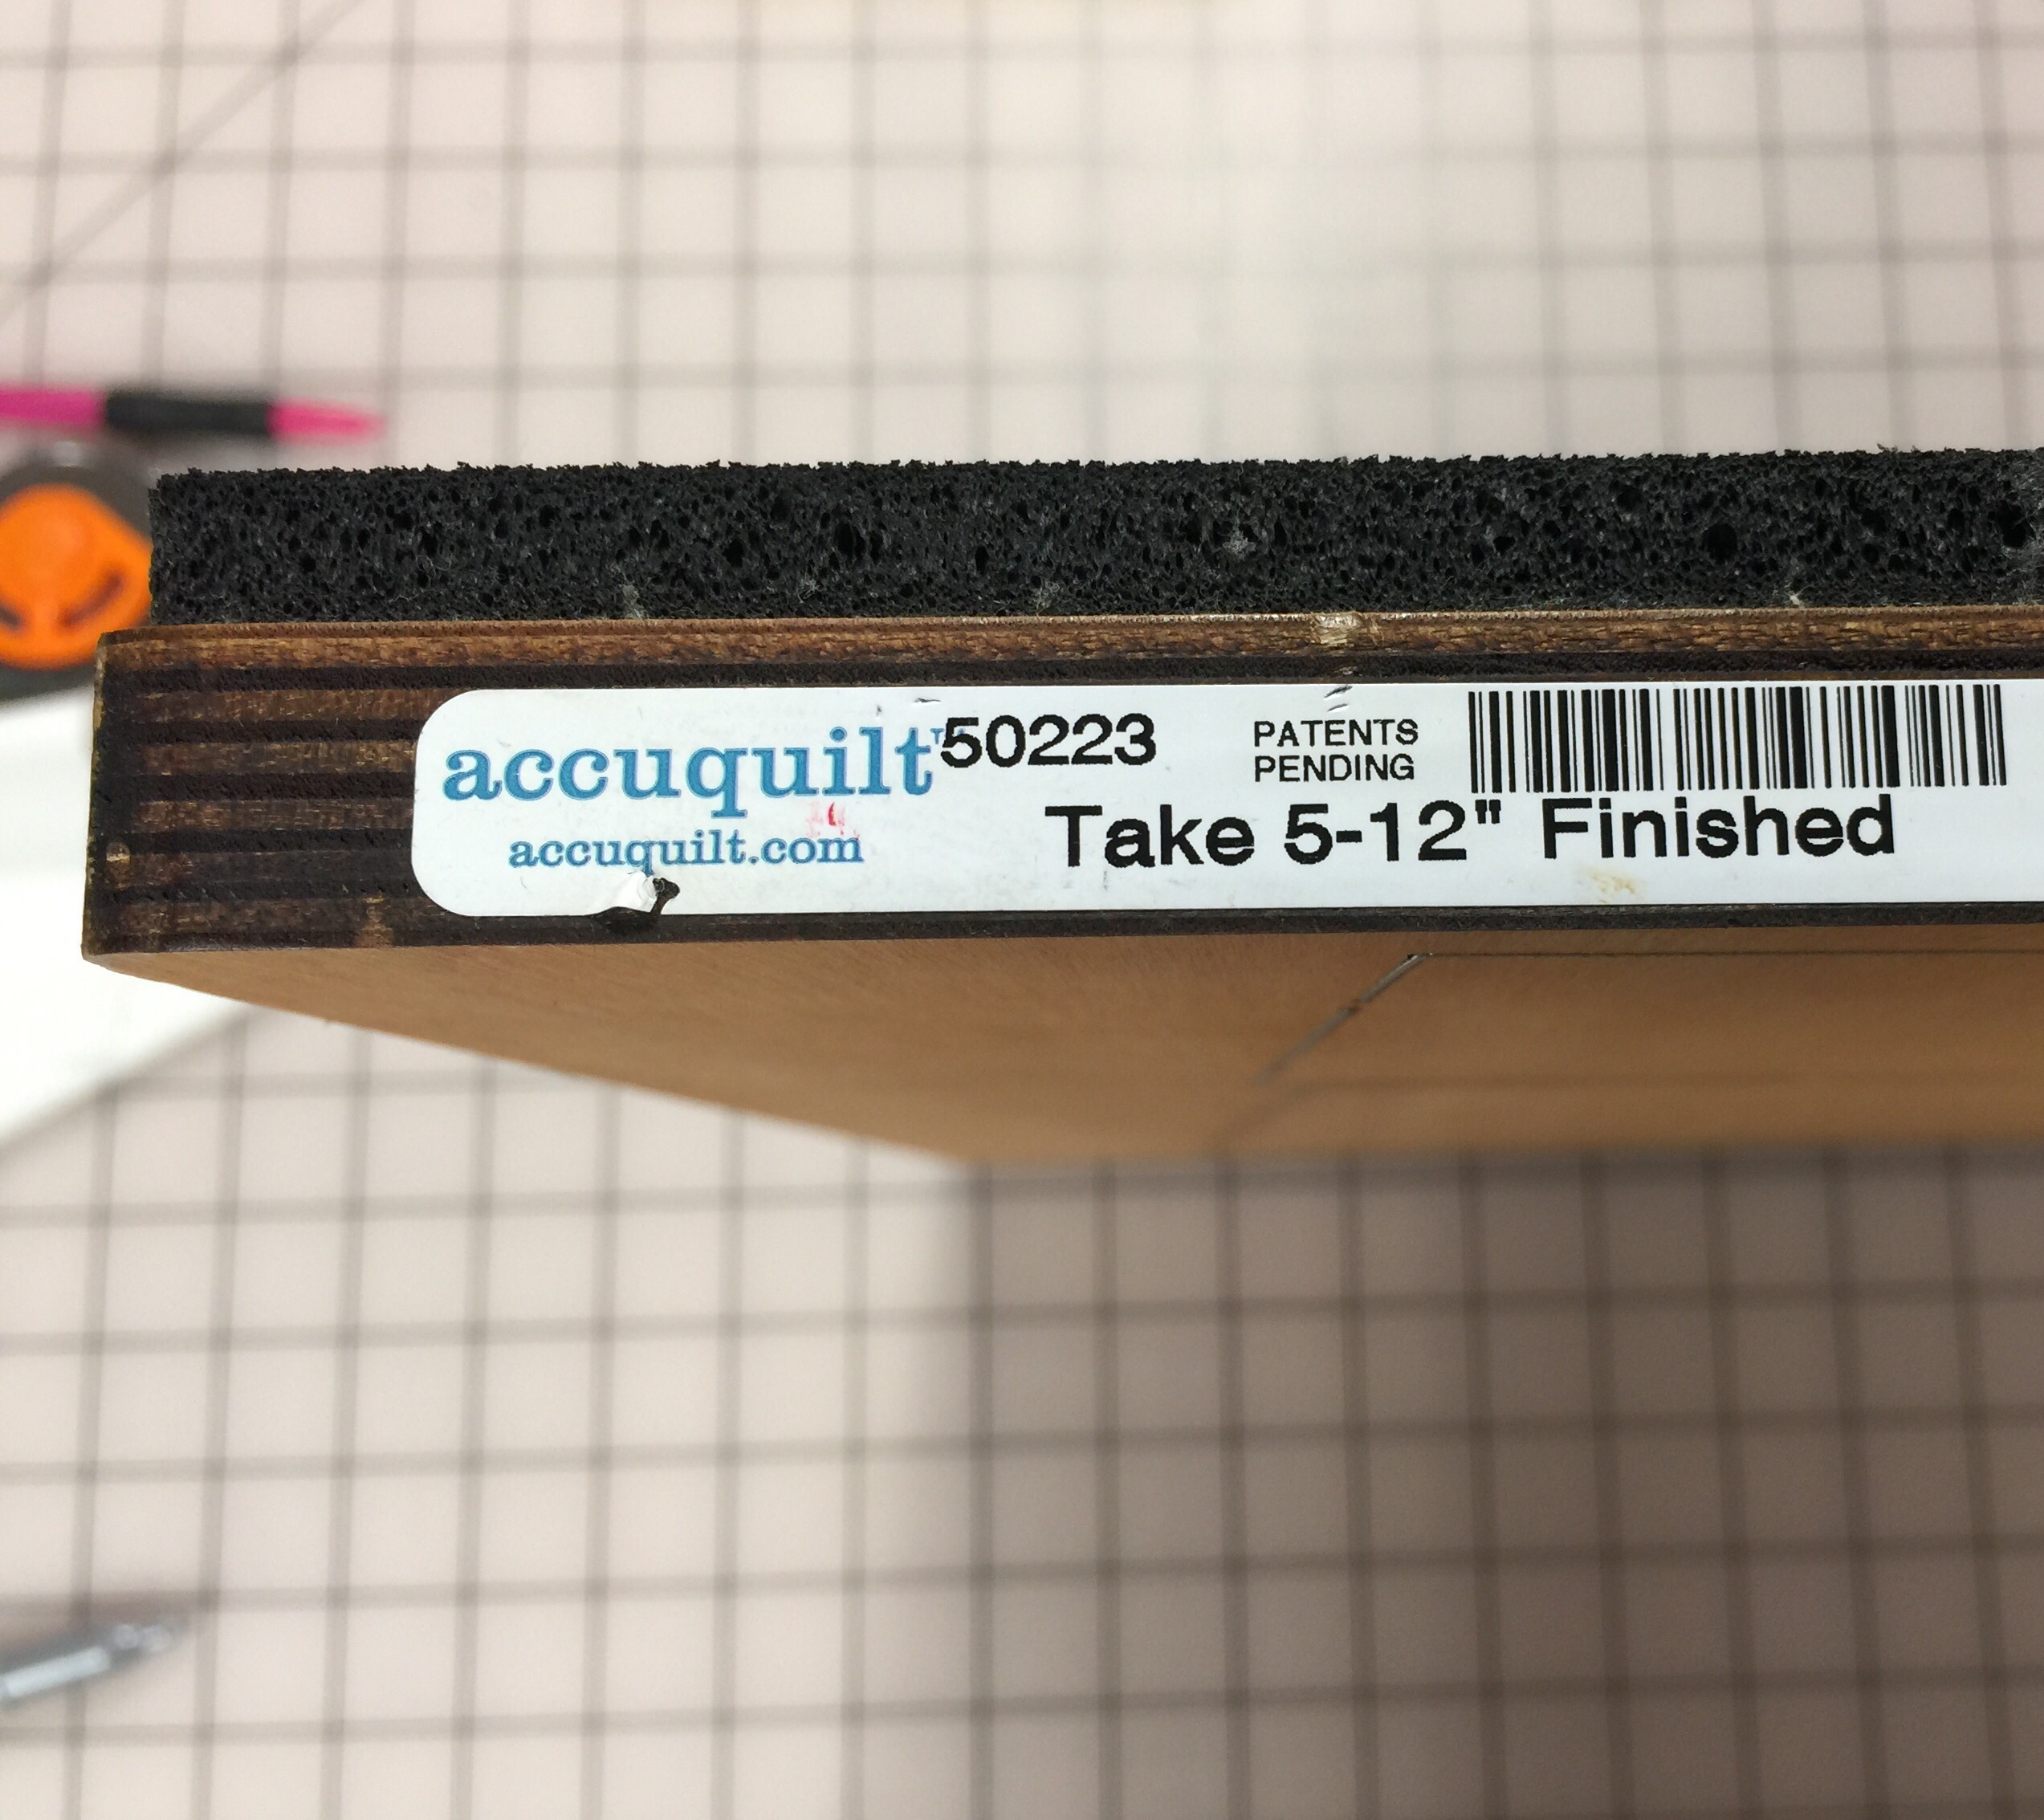
These HSTs were made from a layer cake. I wanted to cut them down to 8 1/2 inches. So I pulled out this die.


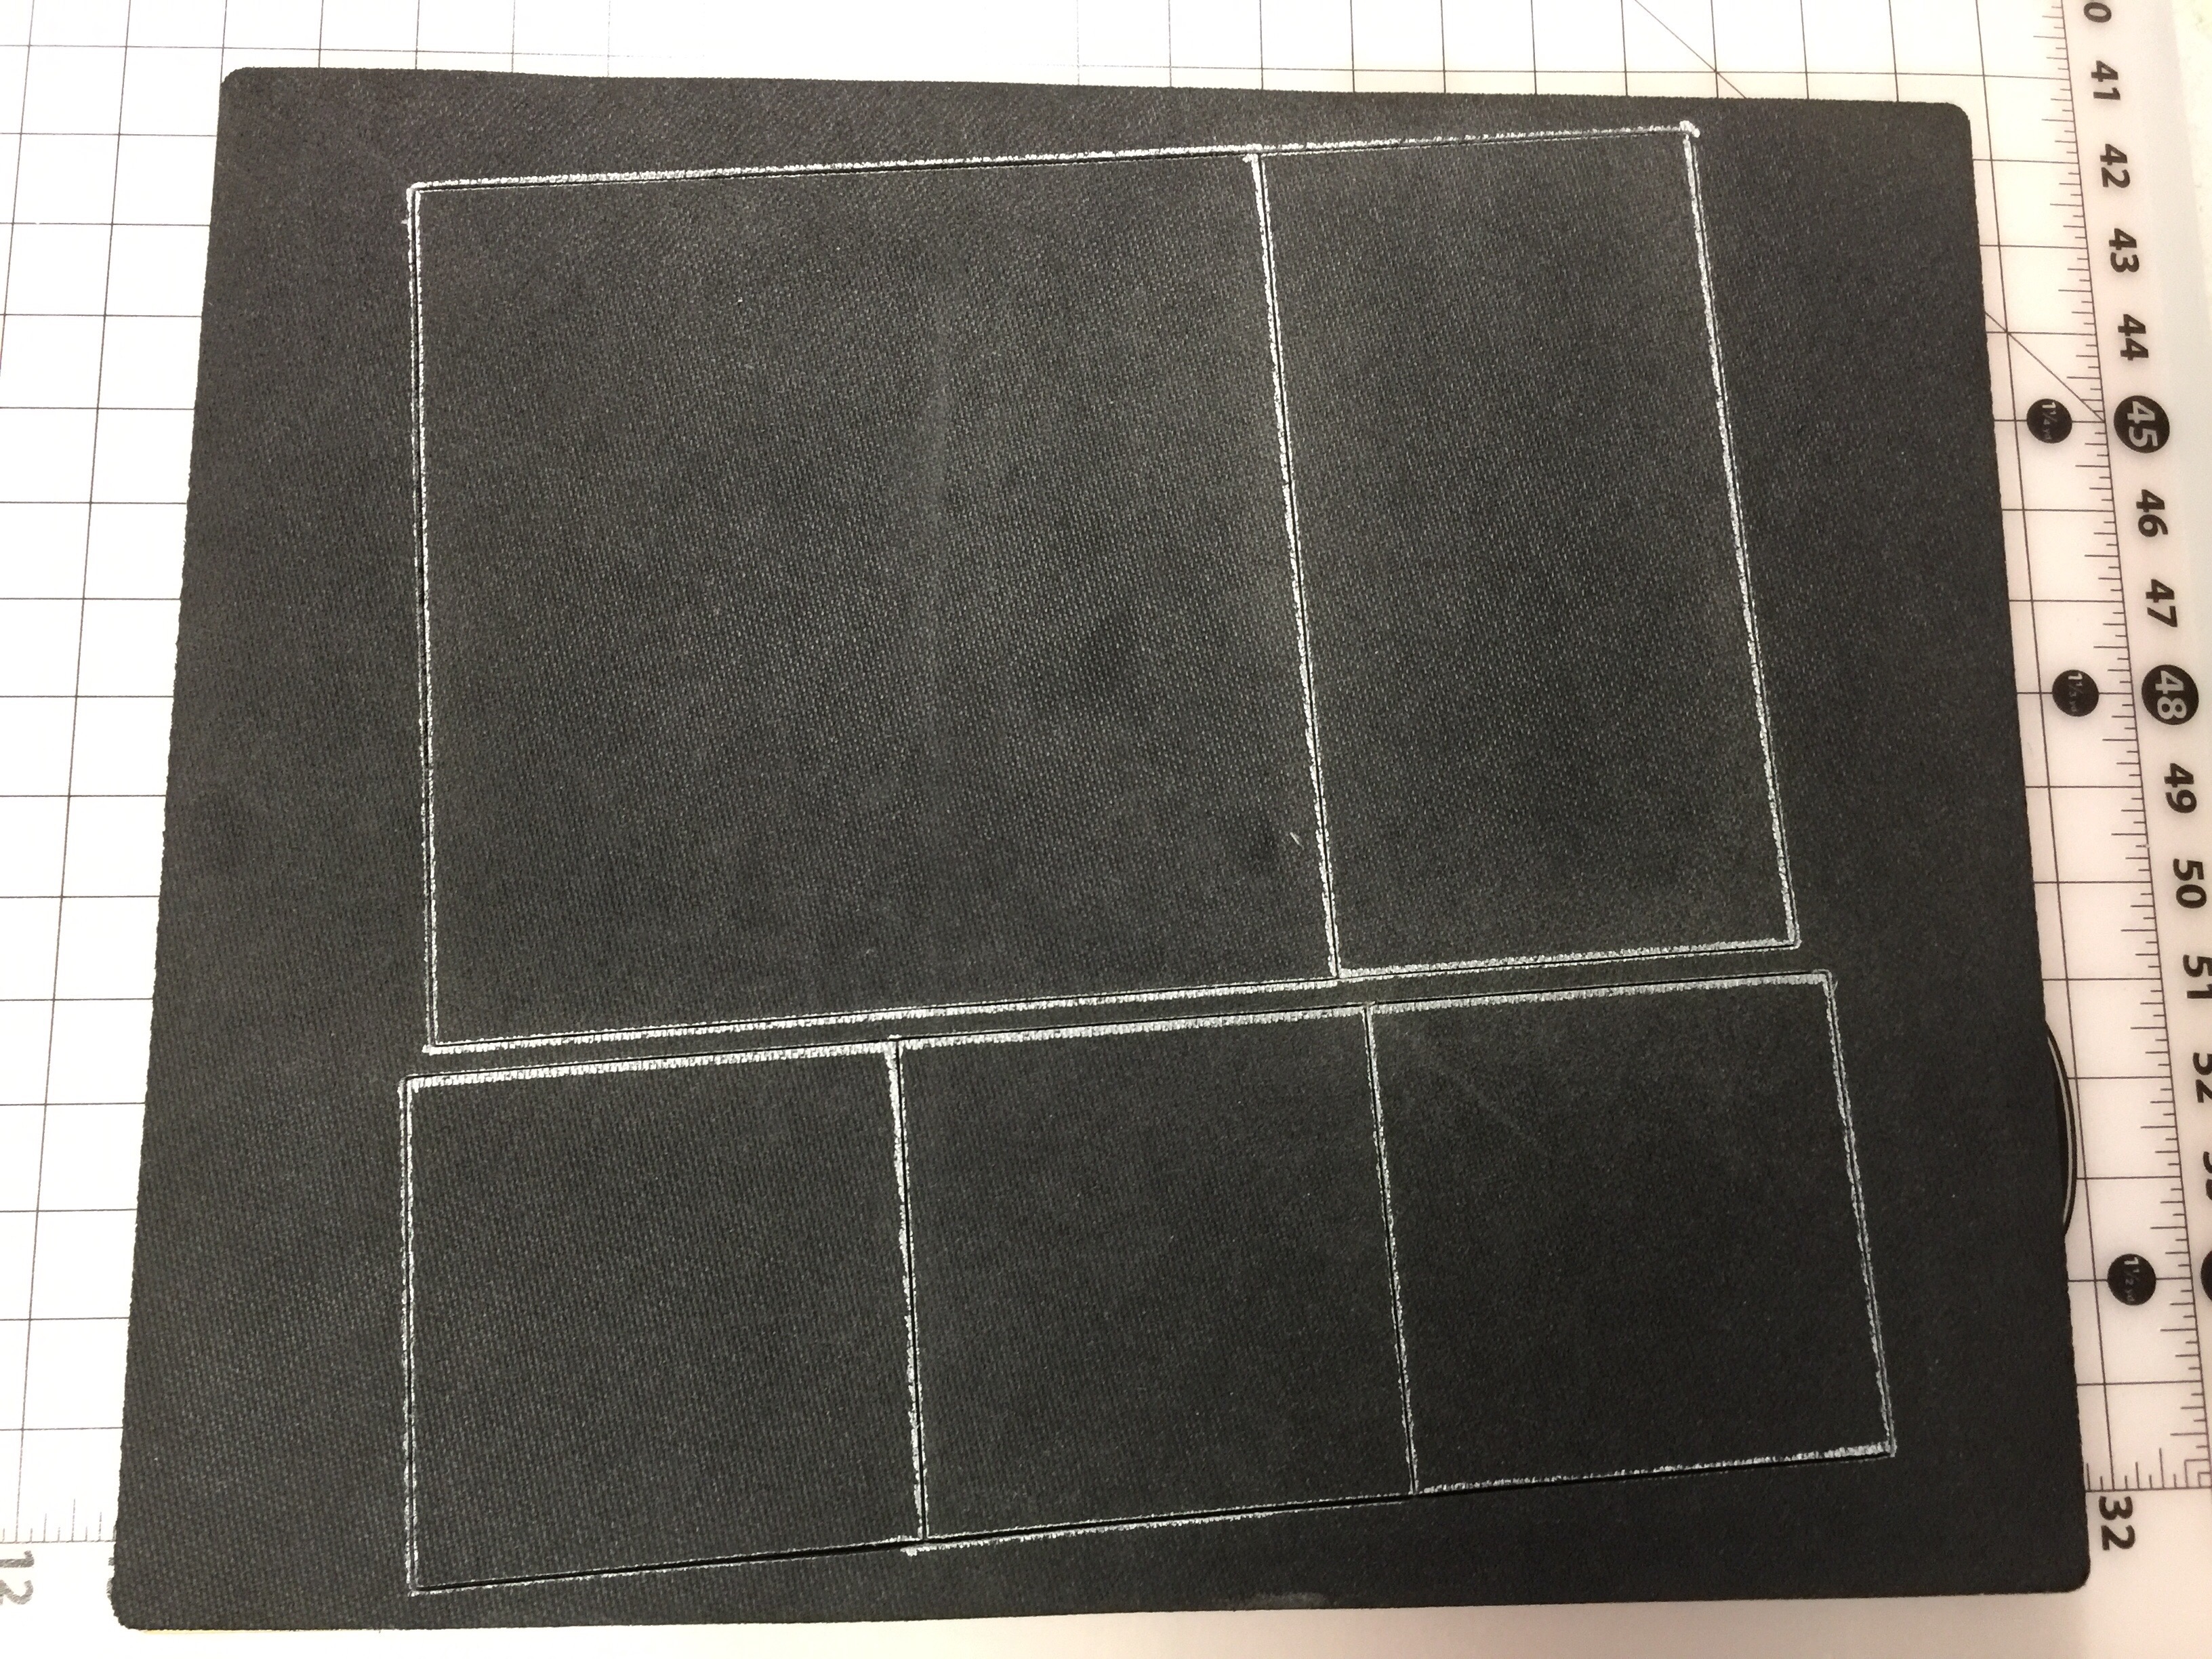
This die has one 8 1/2 inch square, one 4 1/2 by 8 1/2 inch rectangle, and three 4 1/2 inch squares all on the same die board.  You can see a quilt I made with the Take 5 pattern here. This is a great die for so many things beyond the Take 5 pattern though. Today I used just the 8 1/2  inch square part of the die.

First, I used a silver Sharpie marker to make guidelines on my die like this.


See those diagonal lines? They go directly out from the corners of the square.


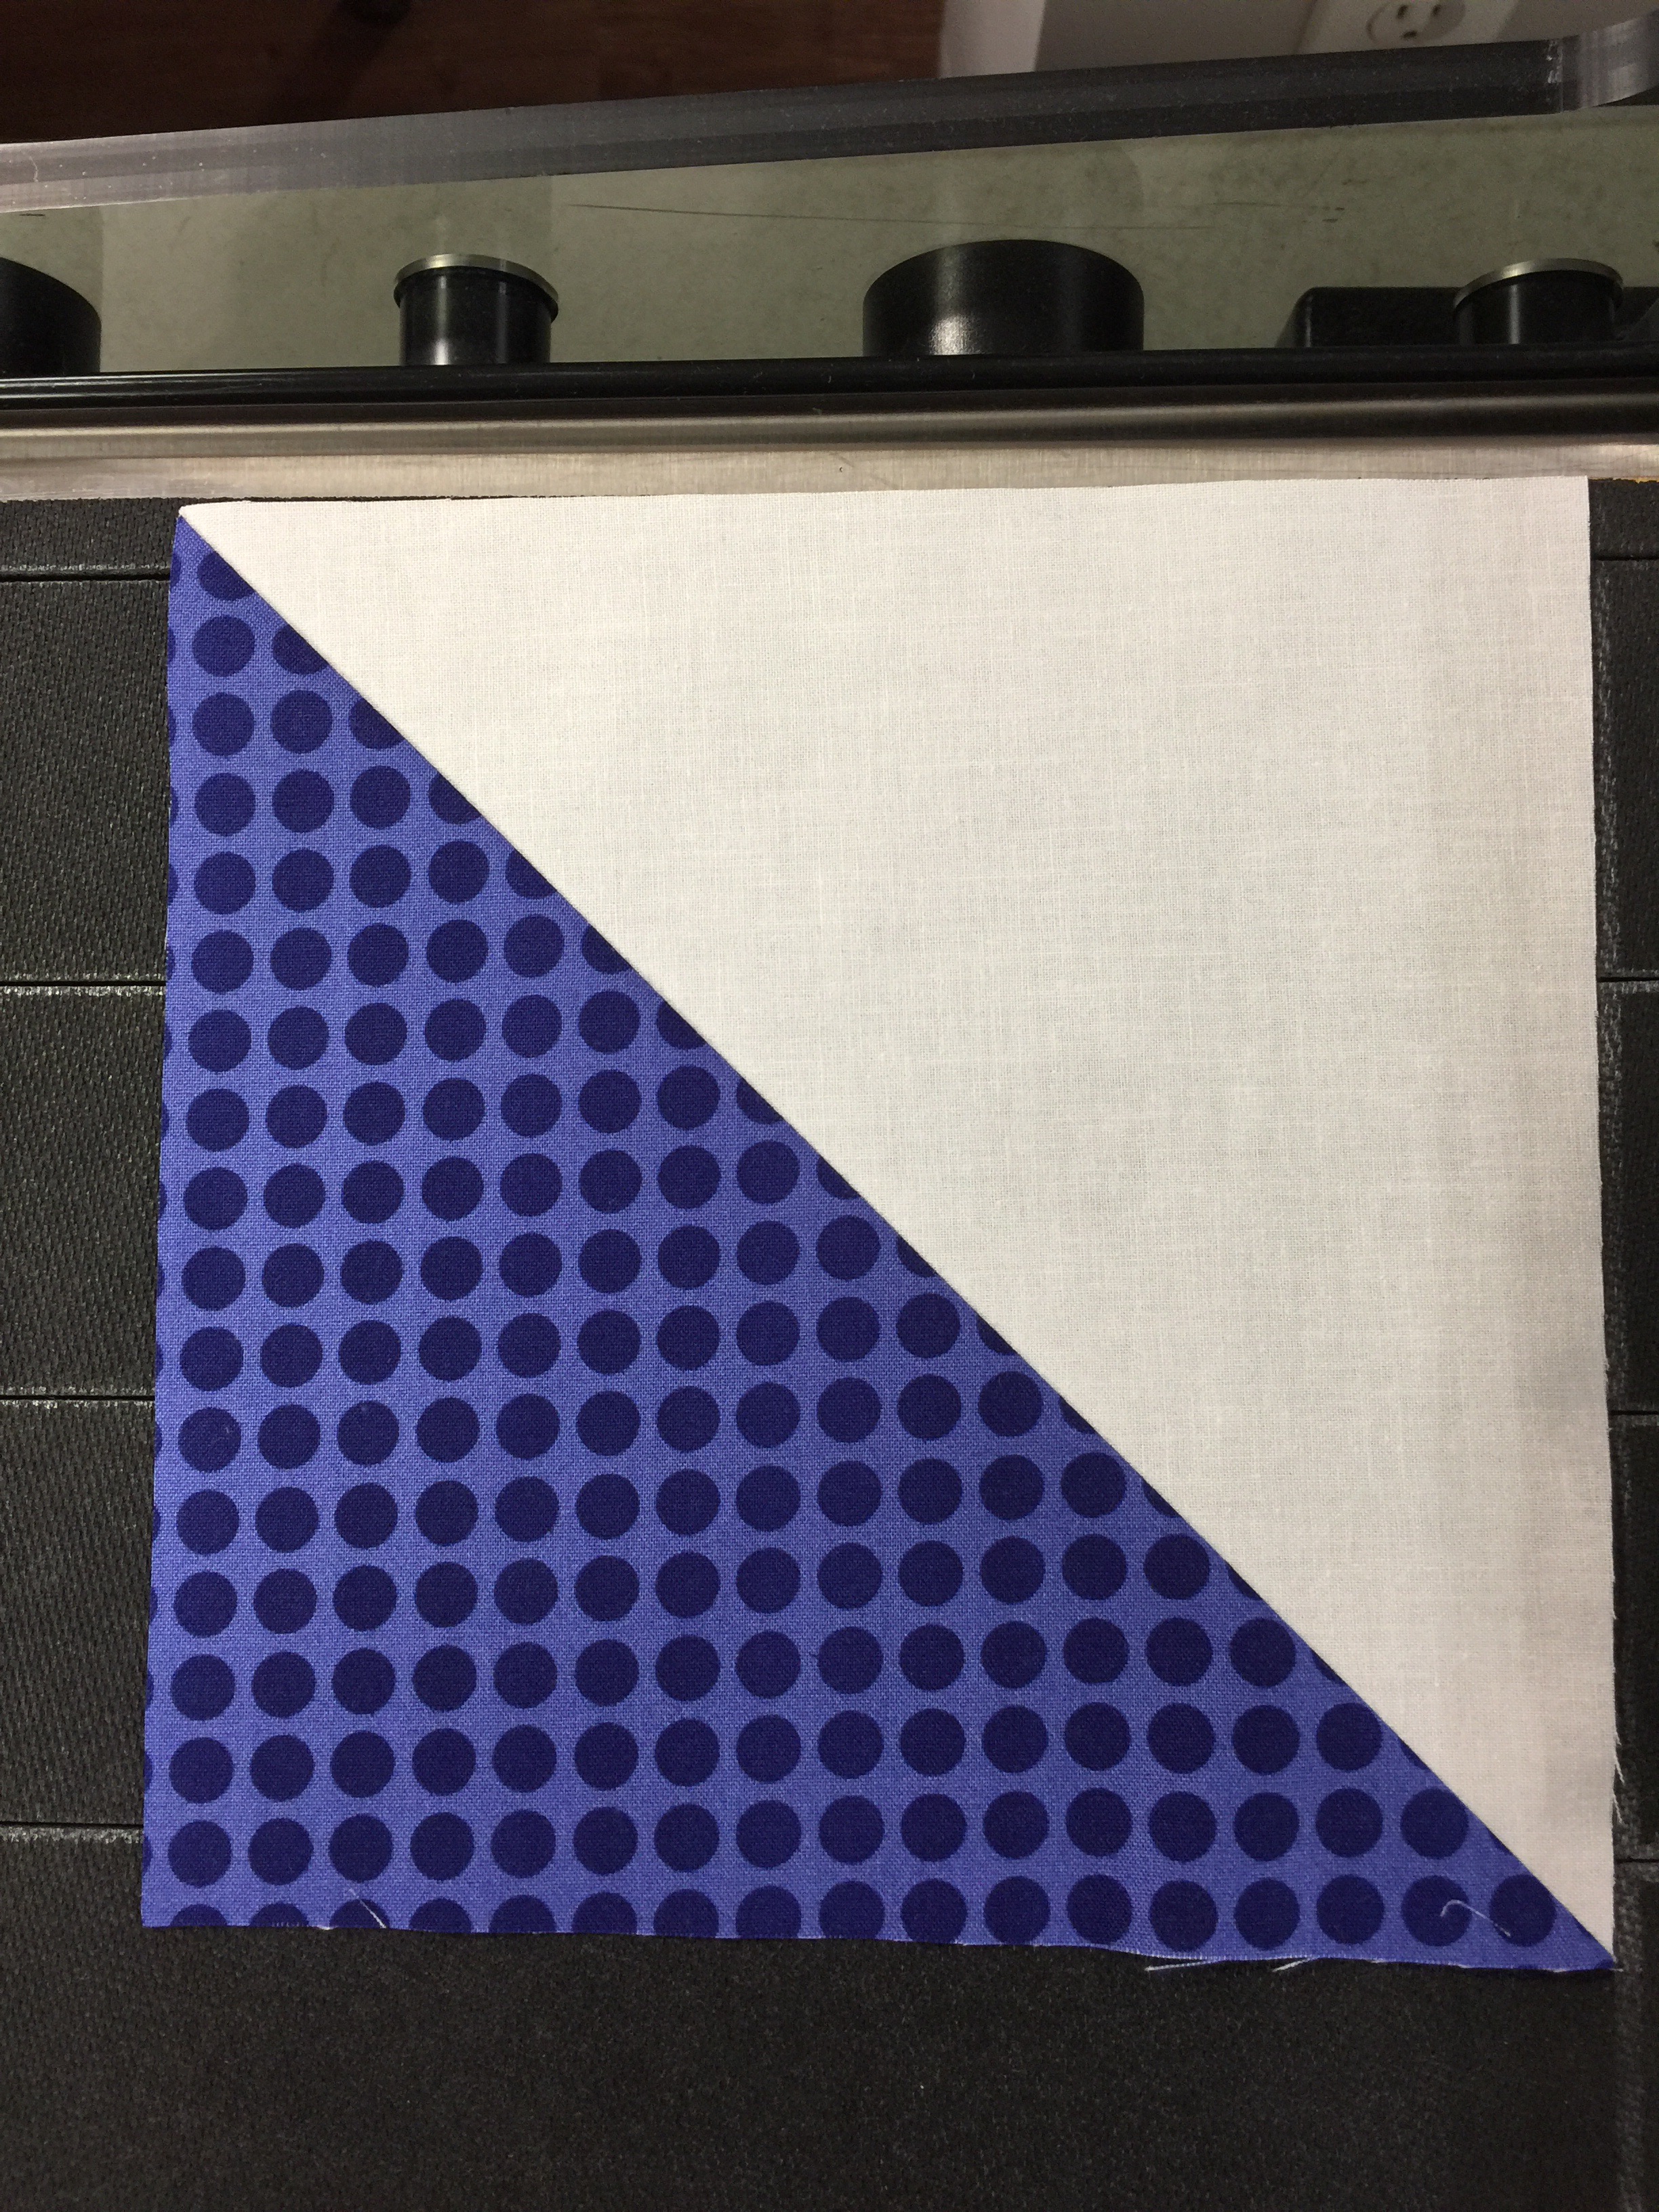
I just used a ruler and Sharpie to mark this. Next, I lay my HST block on top, lining up the seam line with the marks on the die.


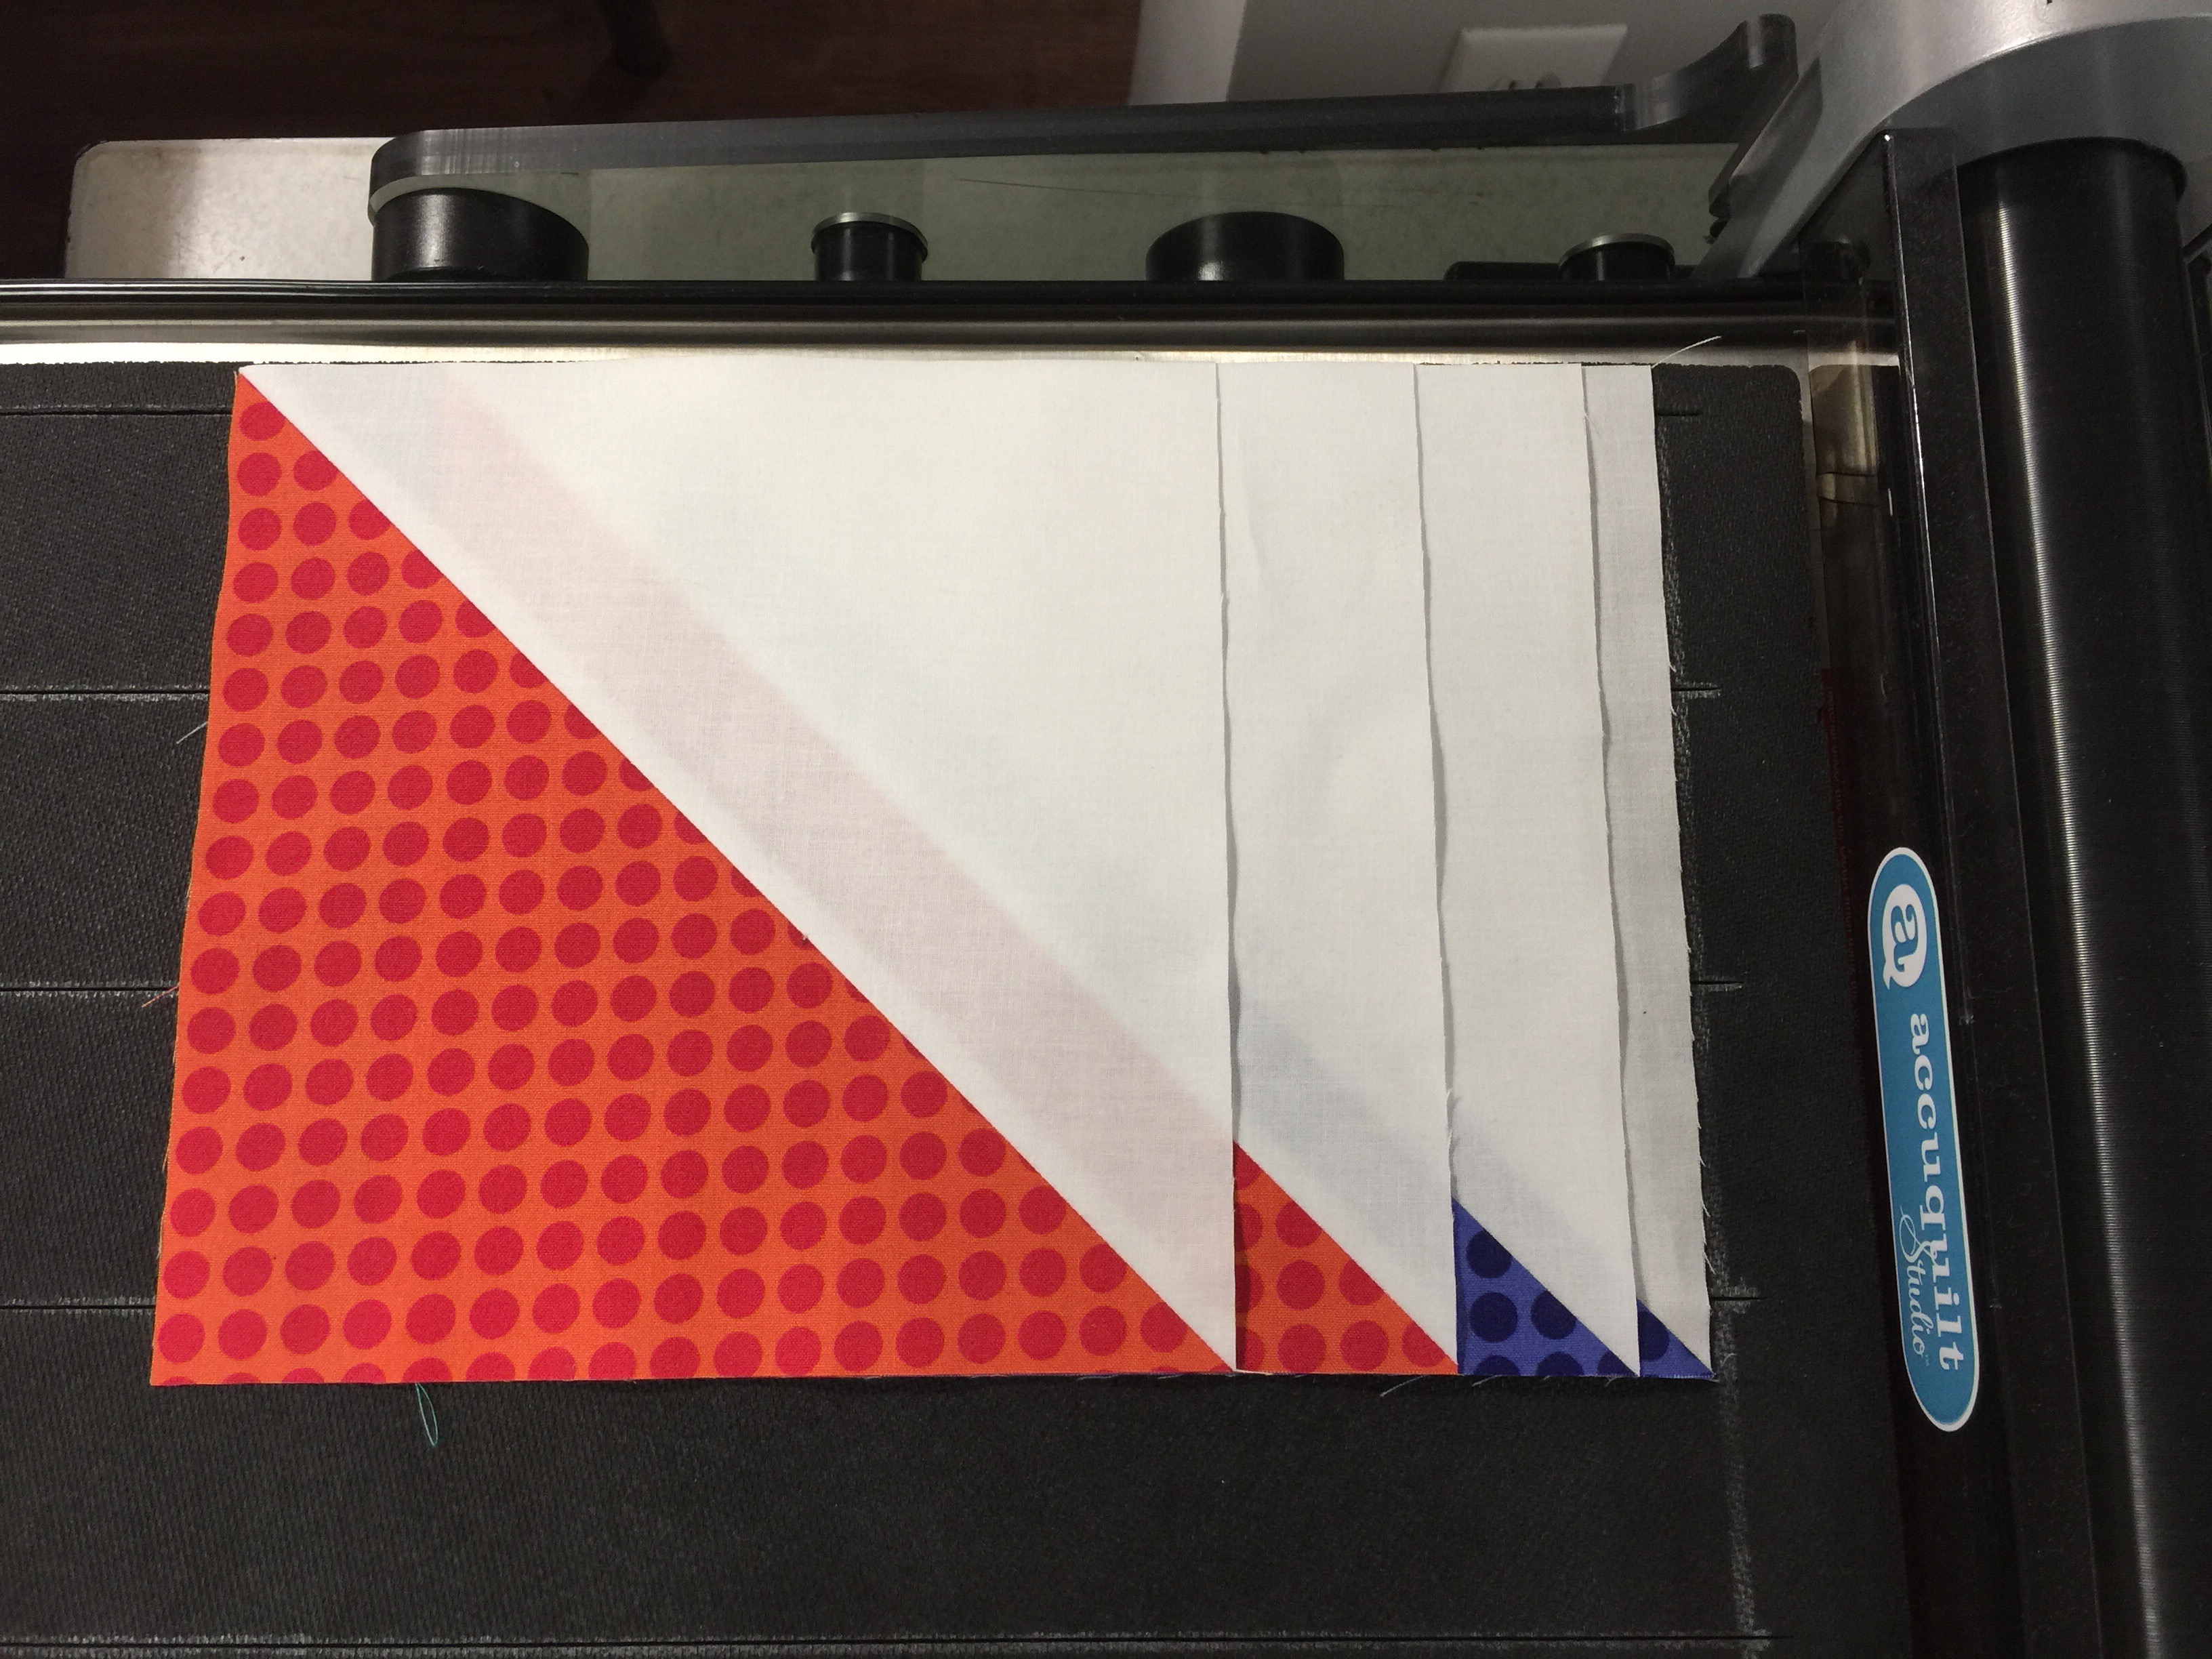
You might want to use a finer Sharpie, but I wanted you to be able to see what I’m doing. Next I run it through my studio cutter.


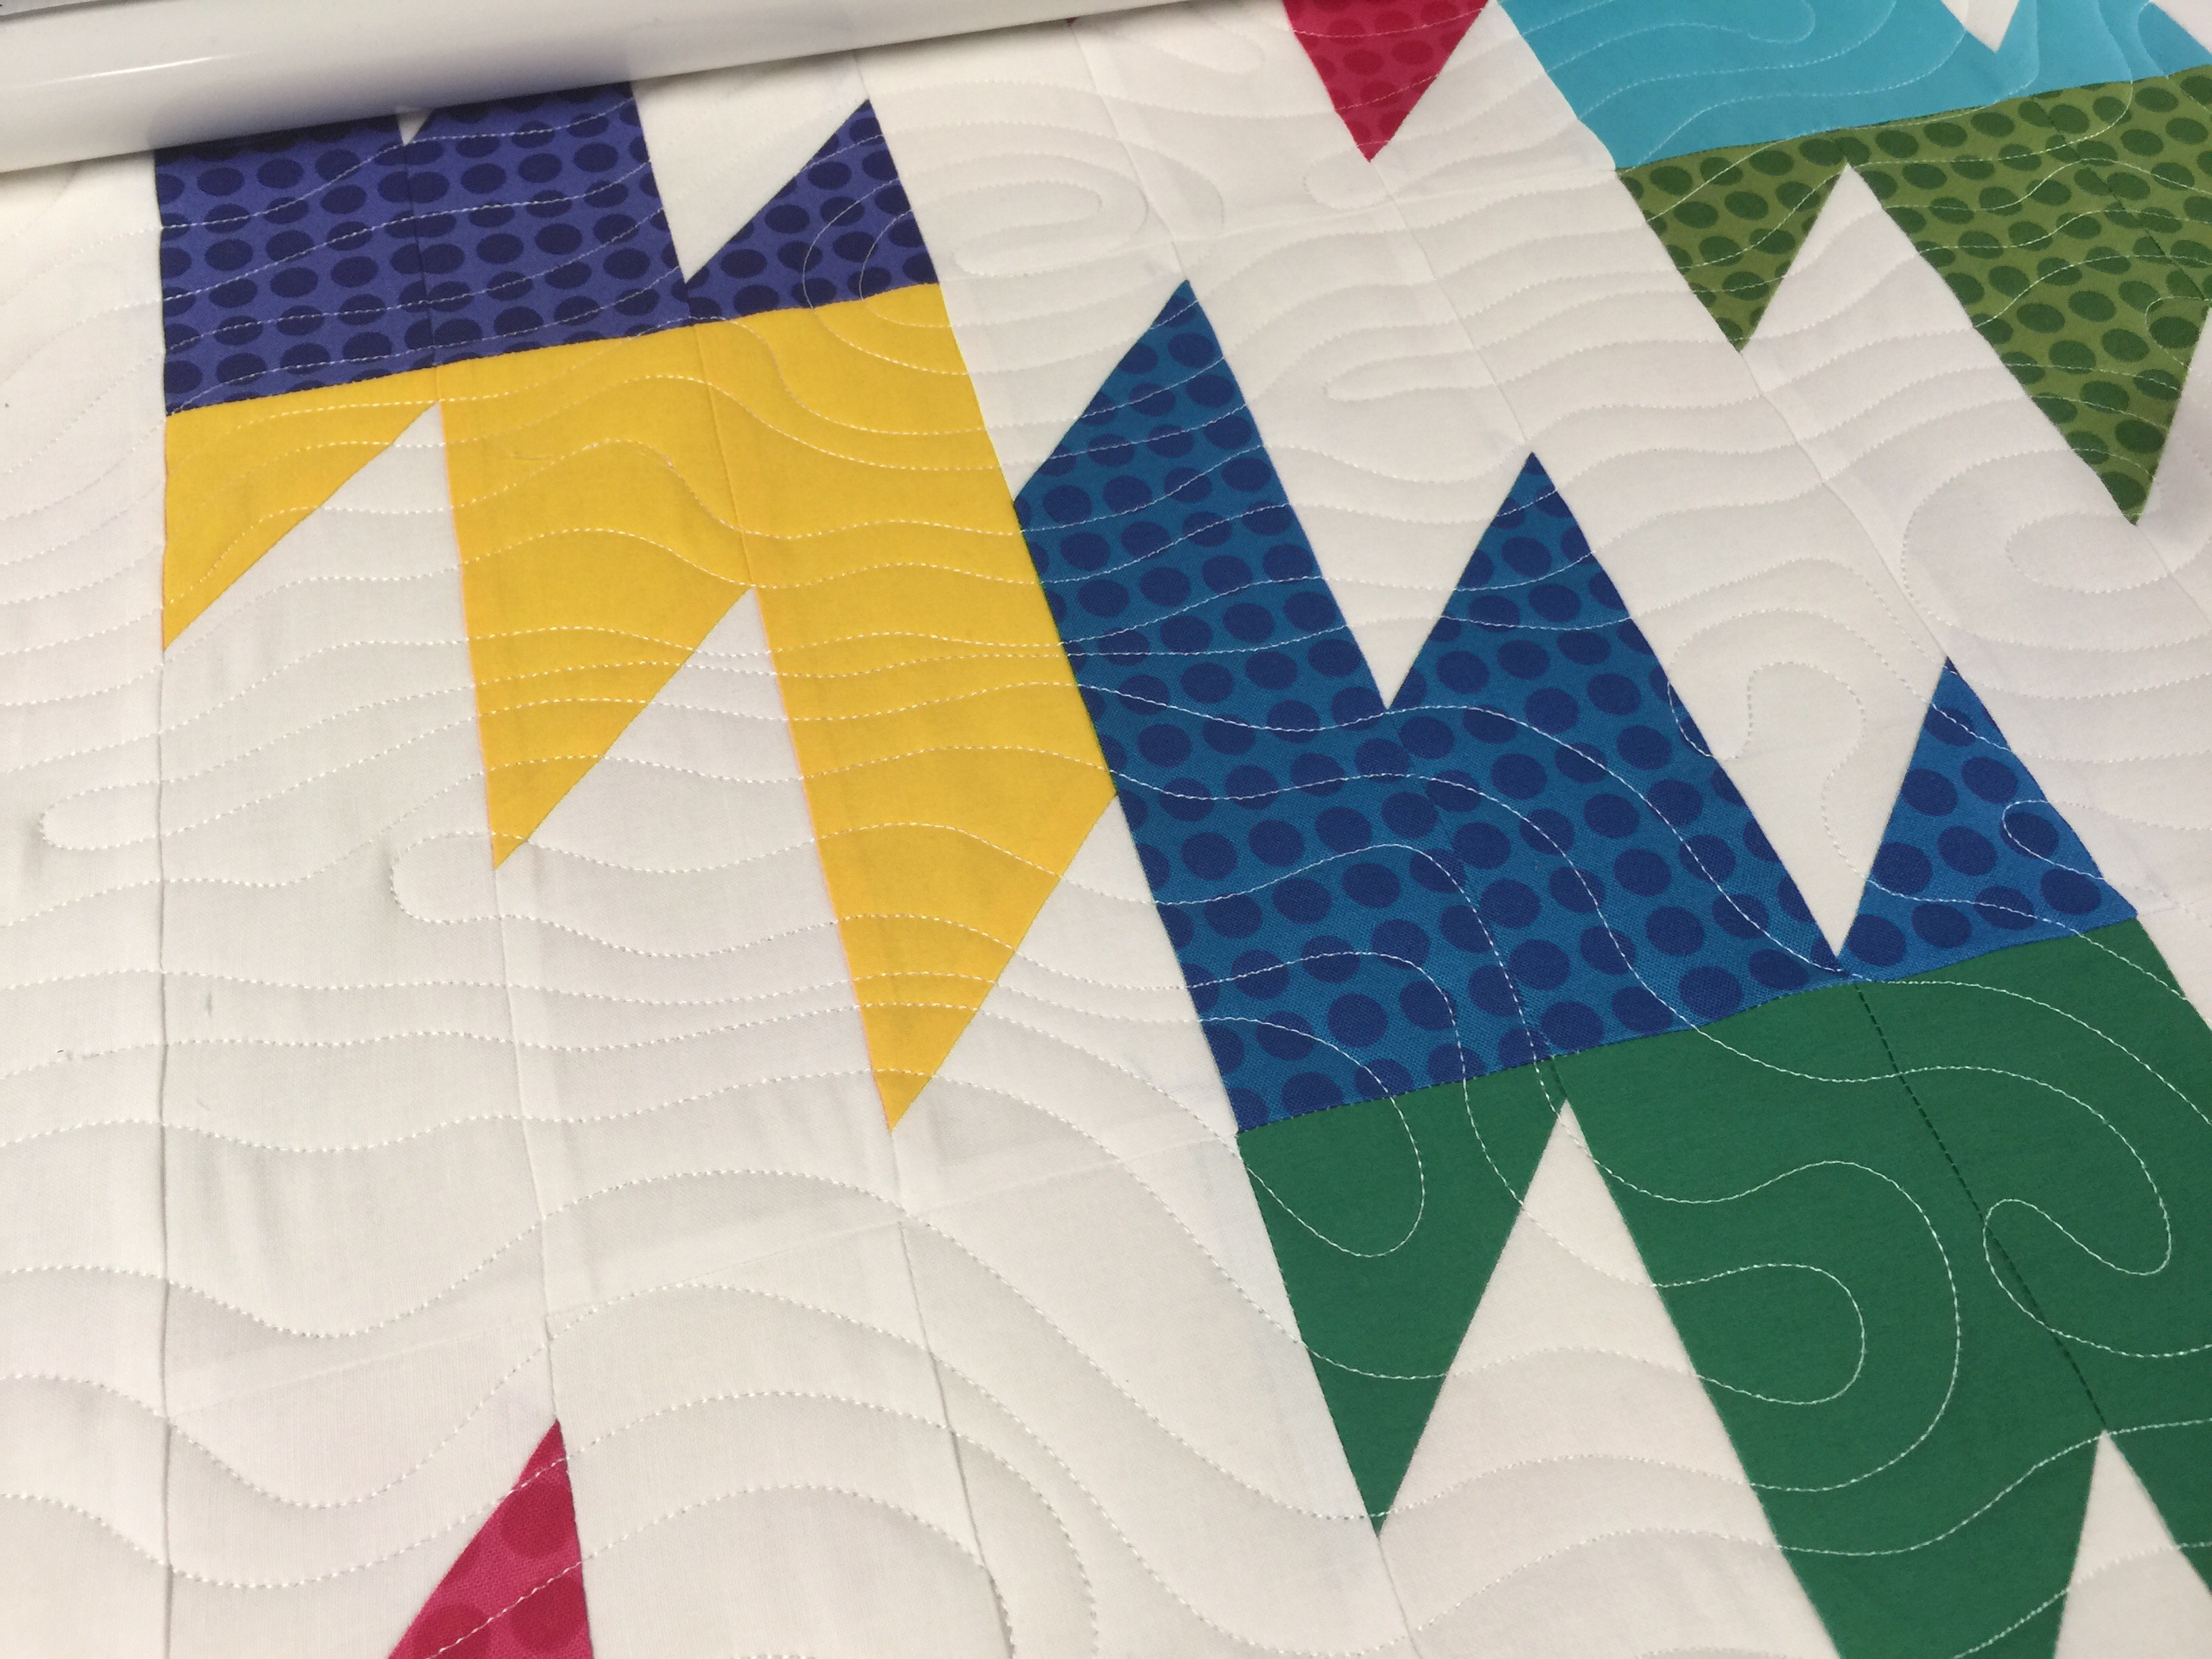
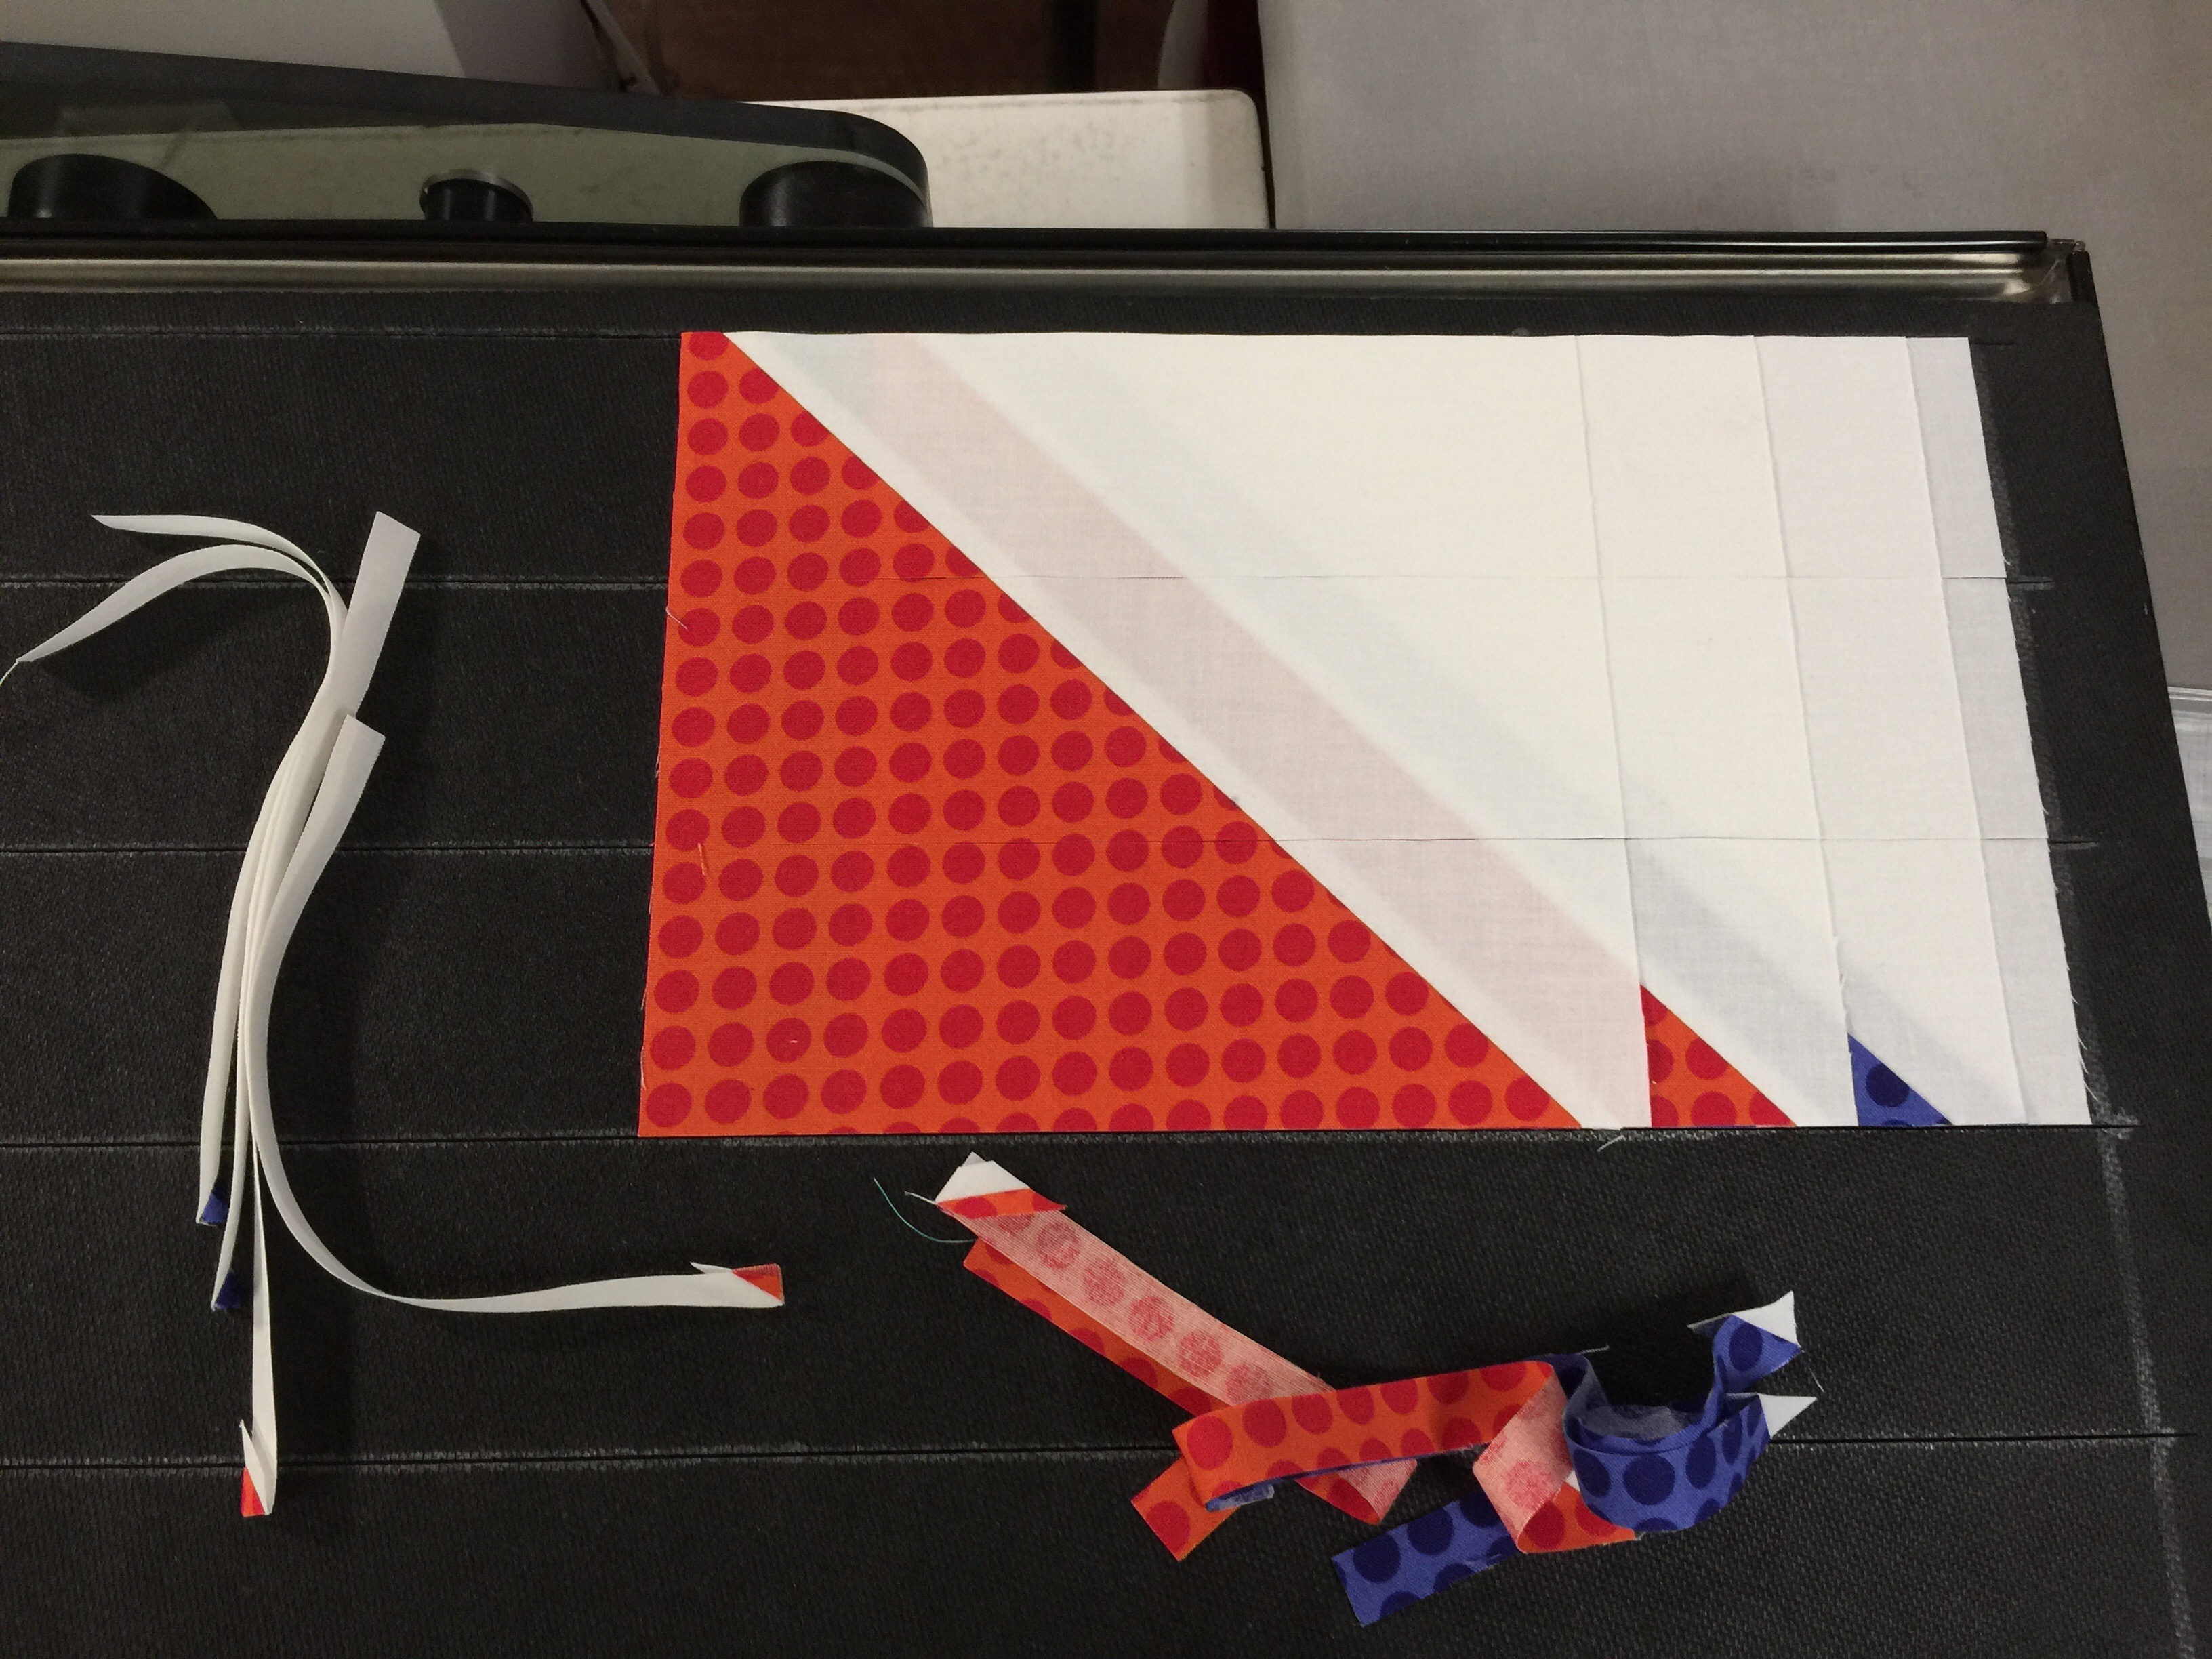
Voila! A perfectly trimmed HST block! I only trim one block at a time for accuracy’s sake, but this beats squaring up with a rotary cutter and ruler any time! 

And any square die can be used for trimming HSTs this way.

I hope you found this little tutorial helpful. Accuquilt Studio dies and die cutters are on sale until October 9th. The dies are 40% off! You can find specific details here

Have a great day!

This post contains affiliate links, and I receive a small compensation for any purchases made through them. Thank you for your support!

Posted in Accuquilt, Accuquilt Studio Cutter, Tutorials, Uncategorized | 8 Comments