Tumbler Tutorial

Good Morning! It has been a while since I have done a tutorial on the blog and this seemed like a good project. Tumblers are not difficult to work with  but the shape can be a bit intimidating.

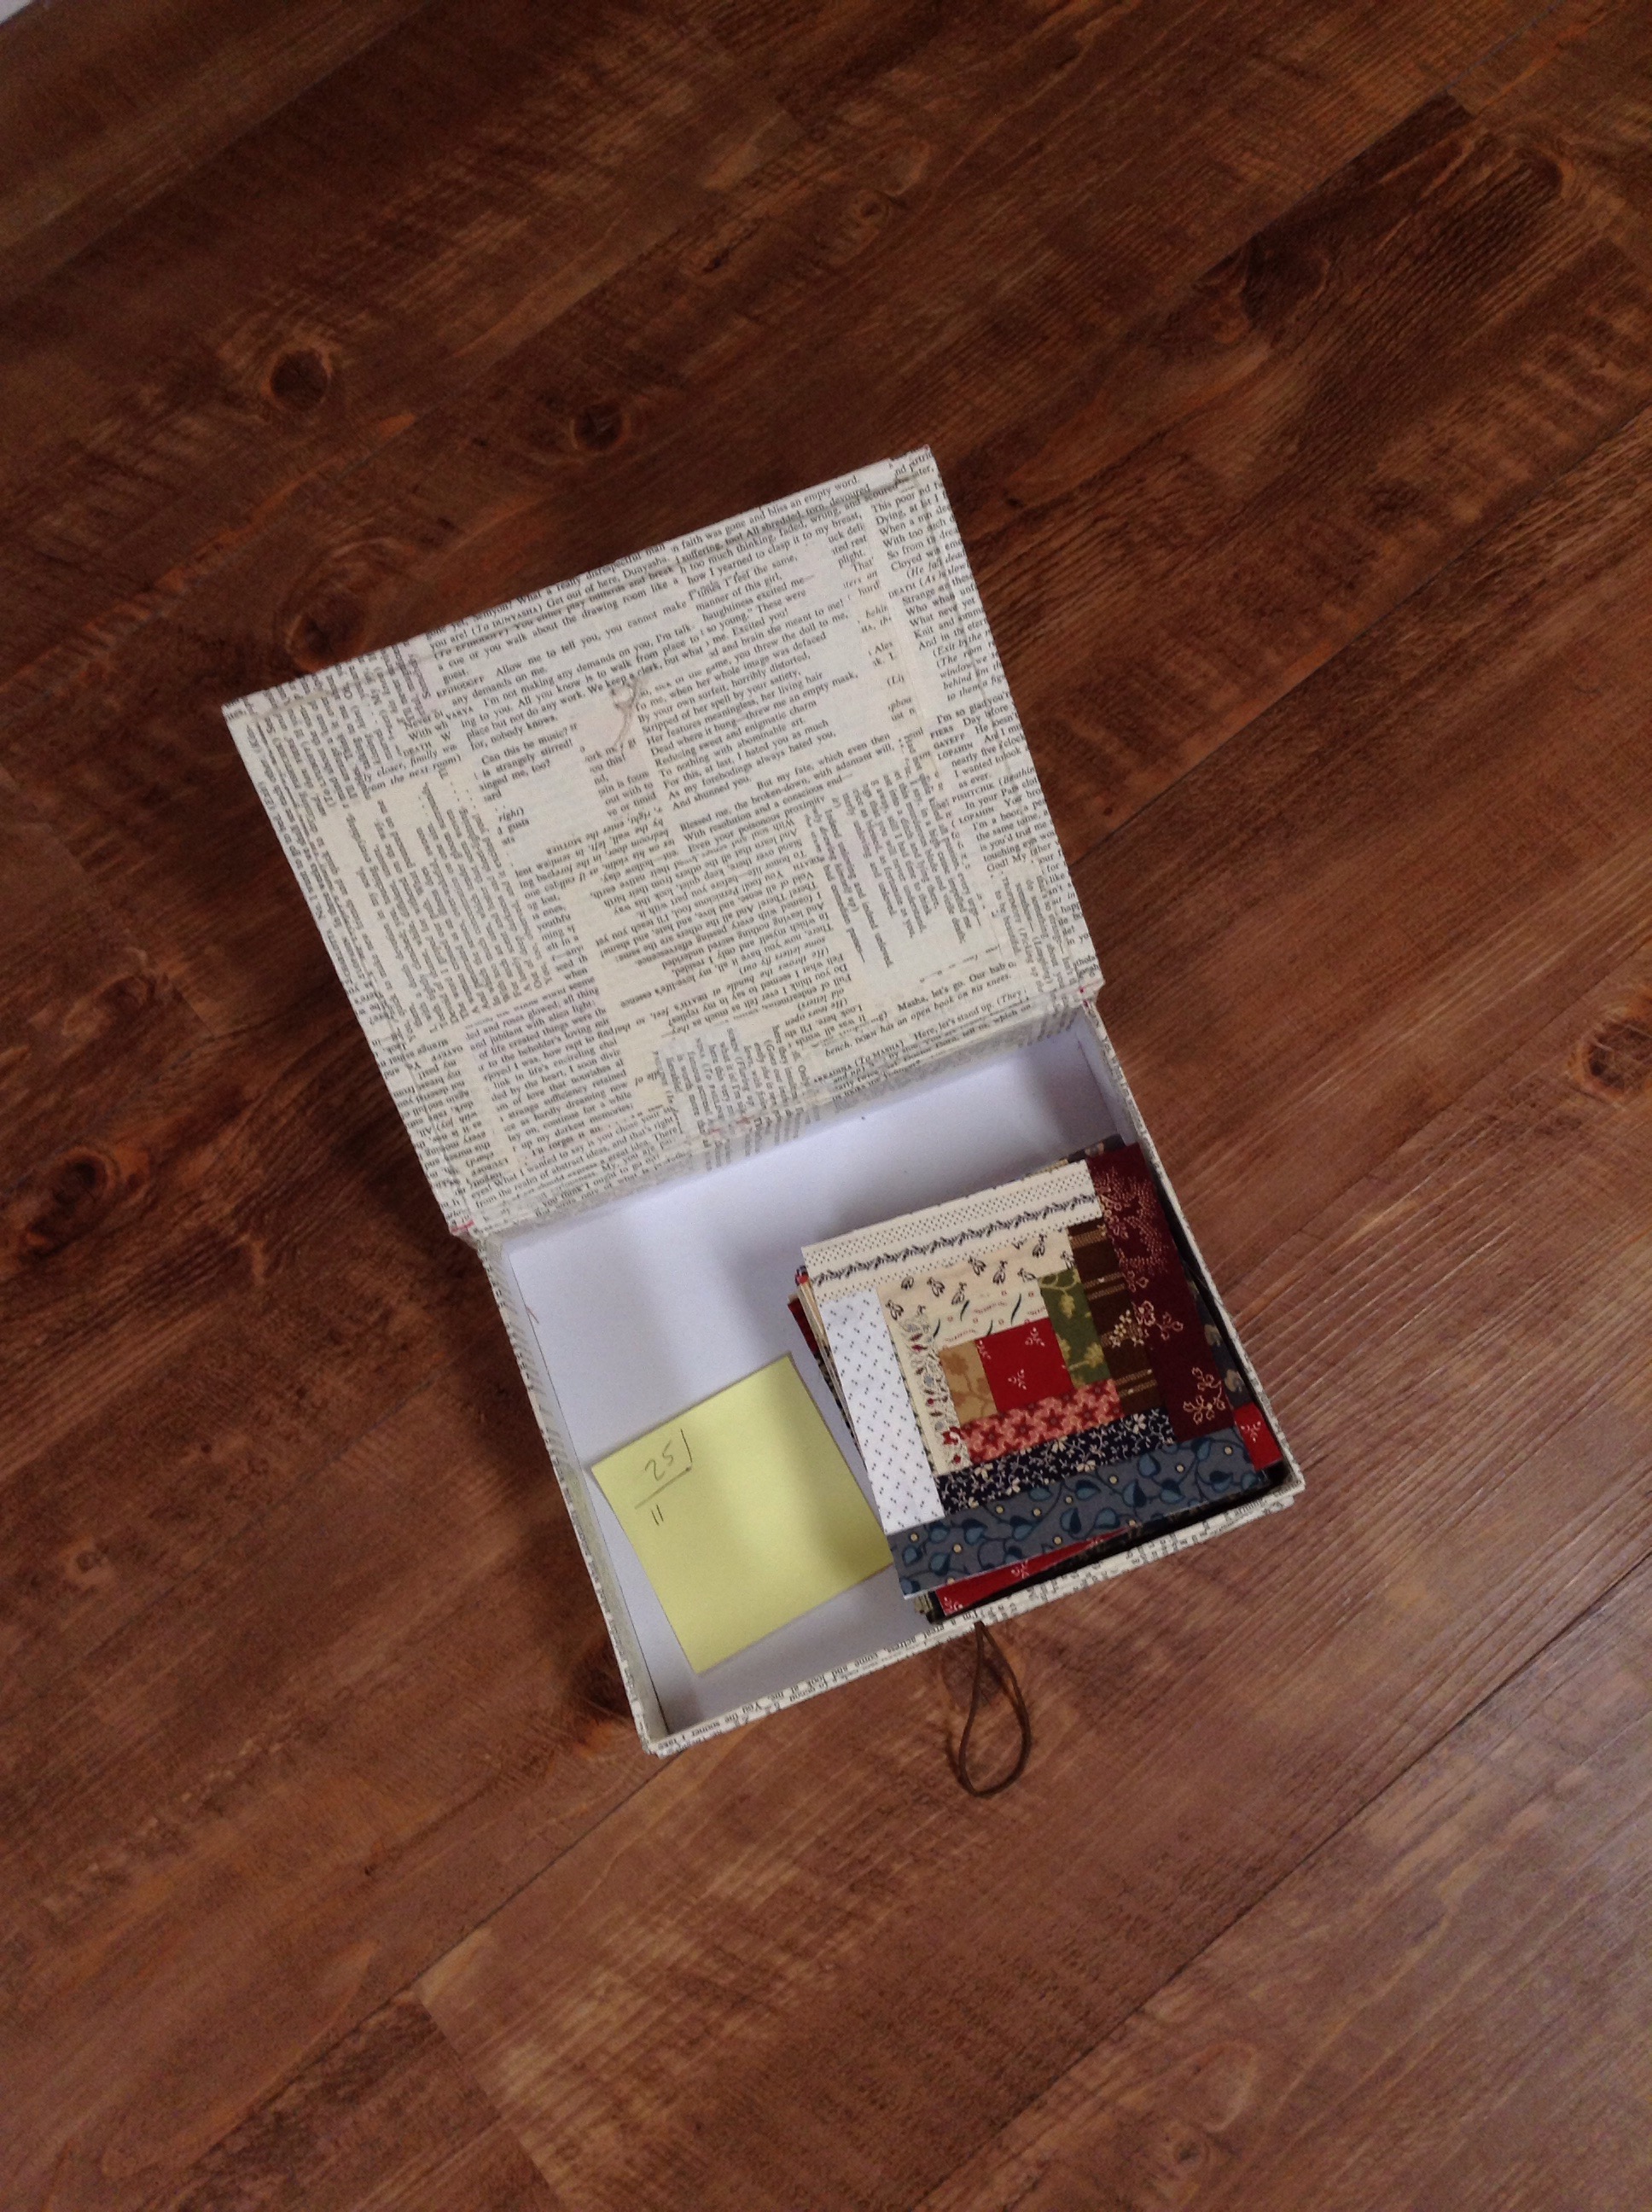
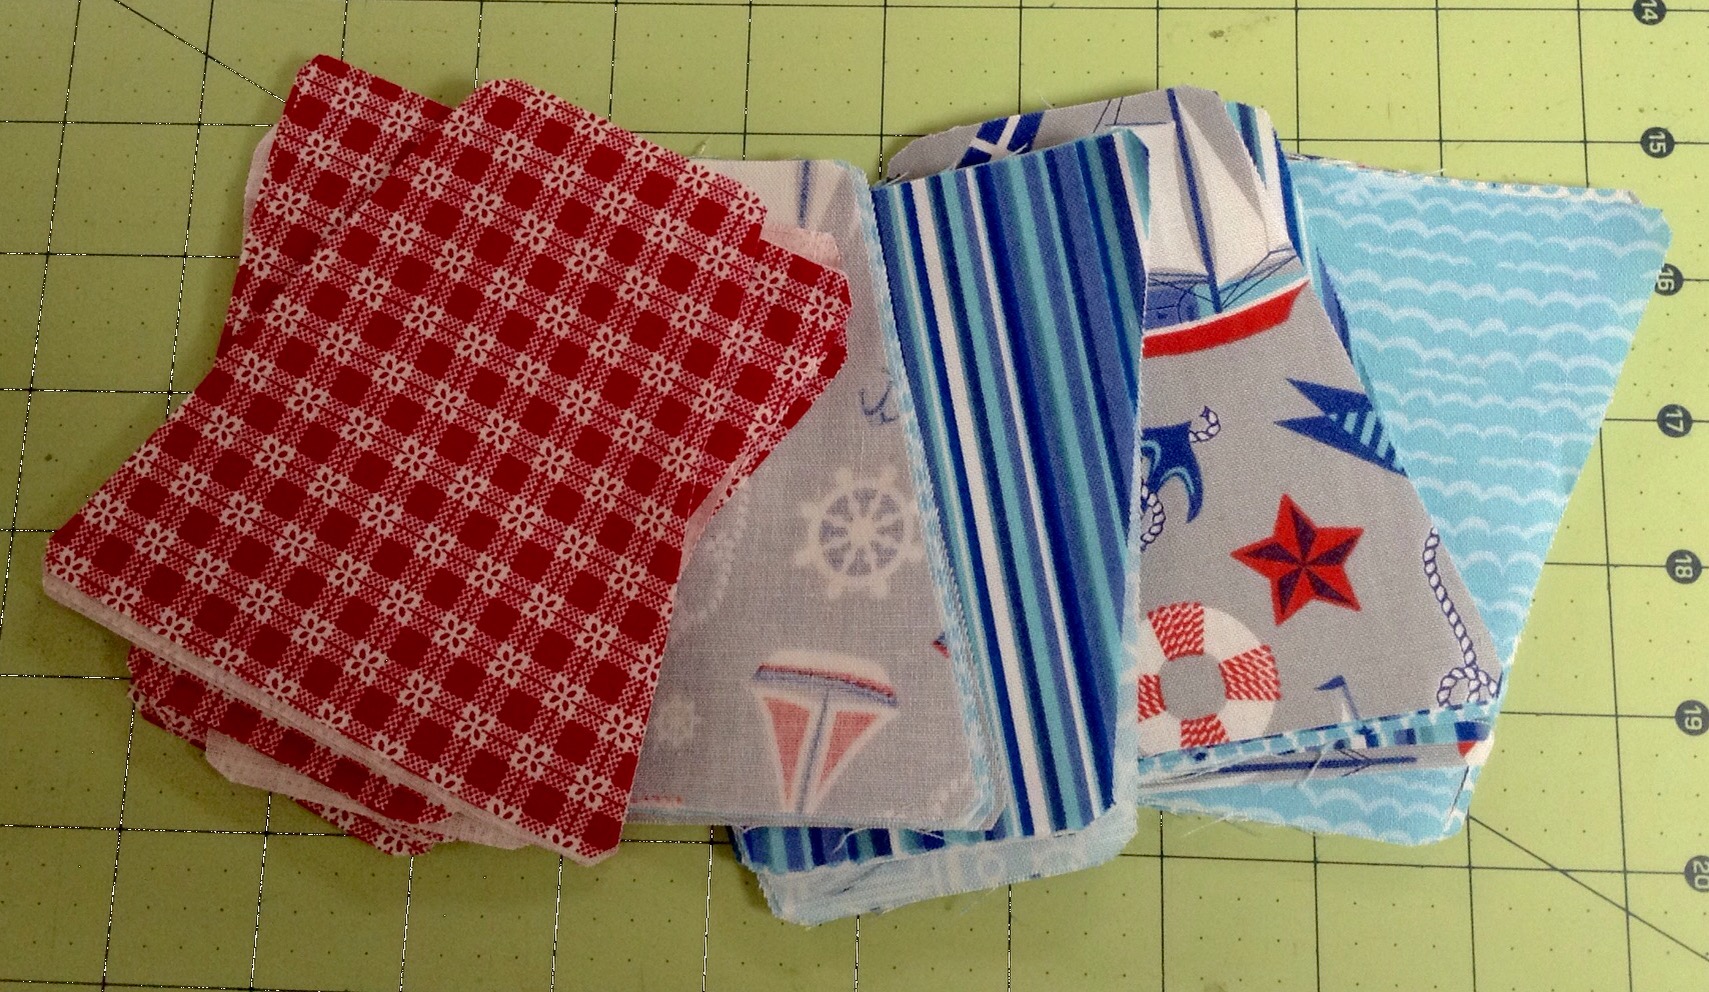
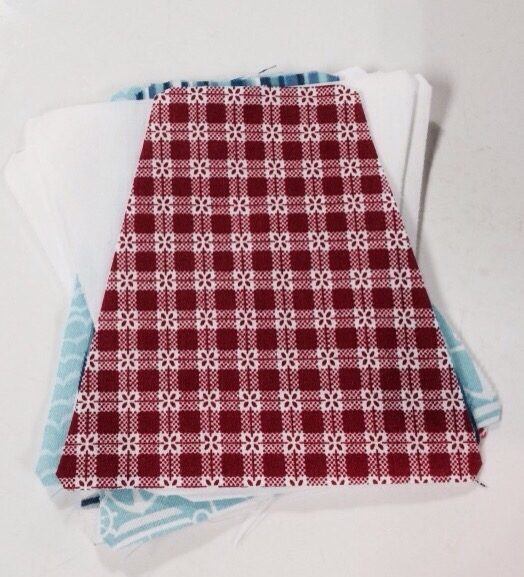
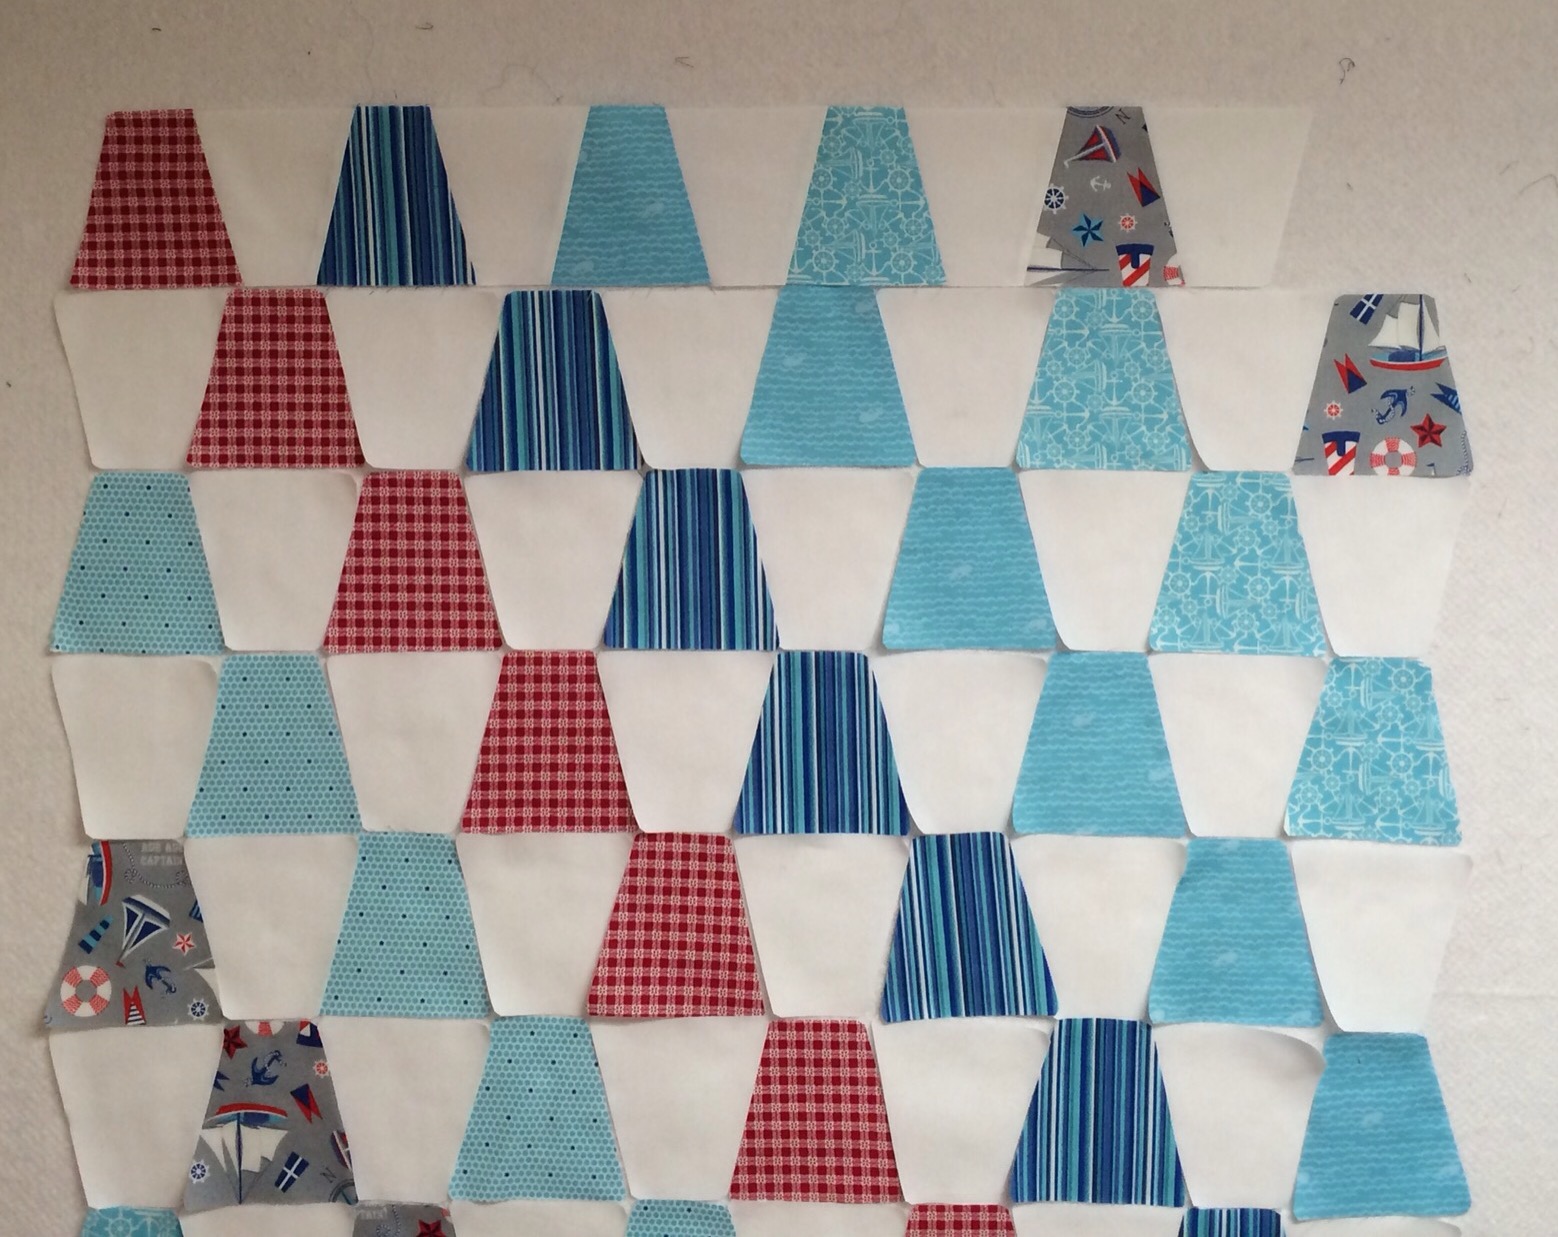
Remember these leftover tumblers? I was in need of a baby boy quilt and these were perfect.

/home/wpcom/public_html/wp-content/blogs.dir/003/5689332/files/2014/12/img_1662.jpg

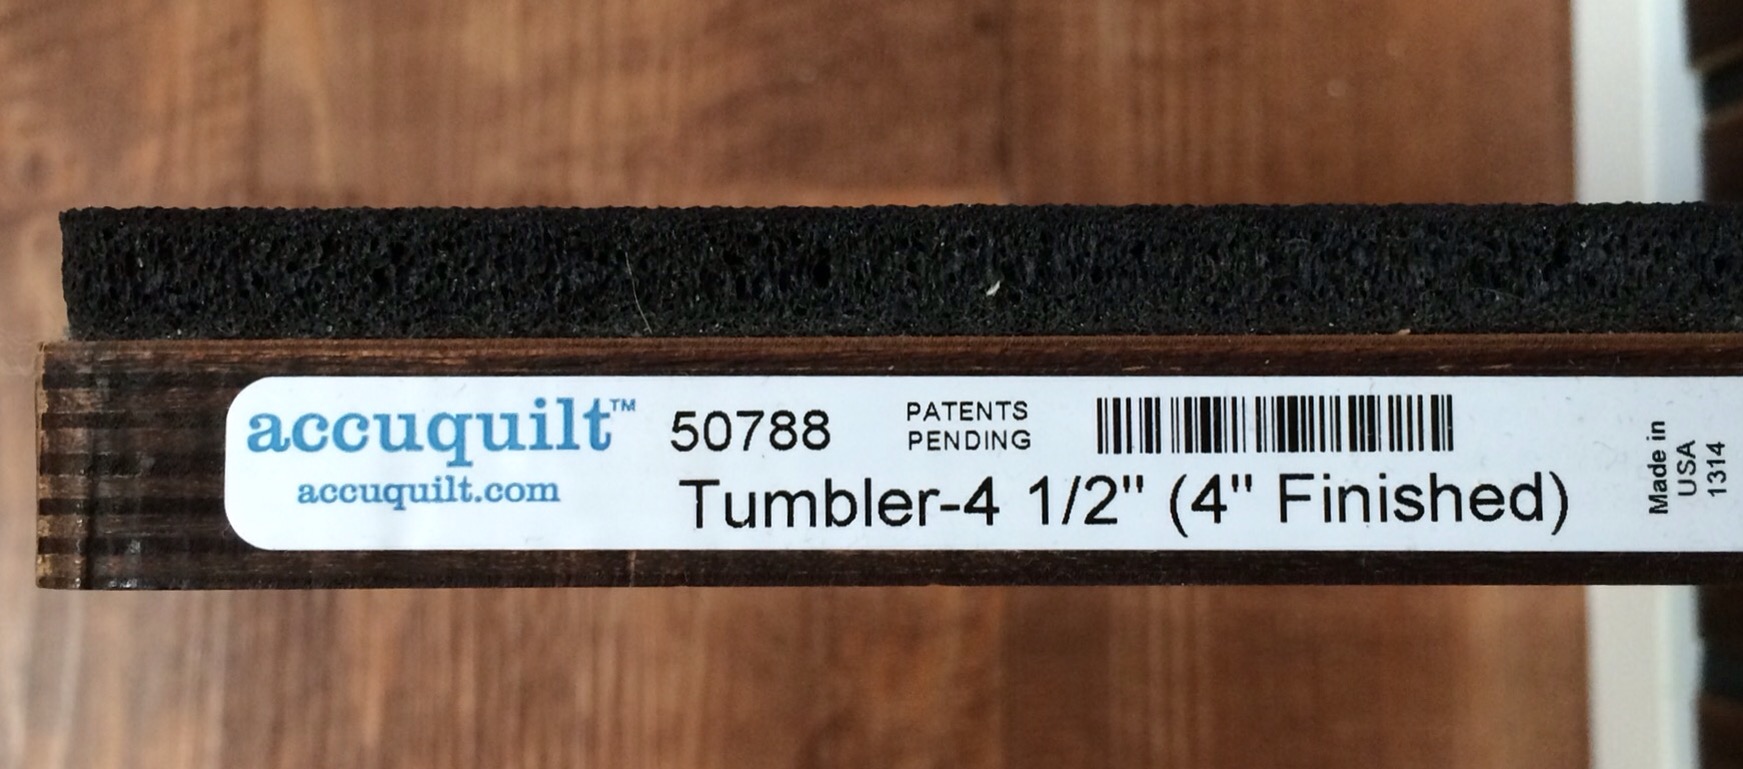
This is the die I used to cut the tumblers.

/home/wpcom/public_html/wp-content/blogs.dir/003/5689332/files/2014/12/img_1663.jpg

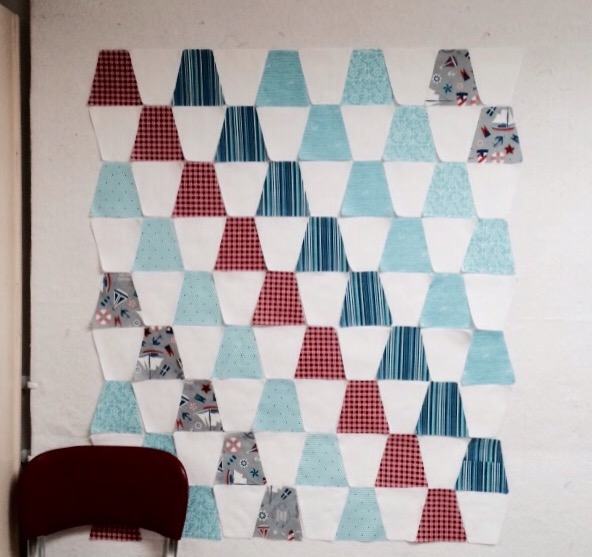
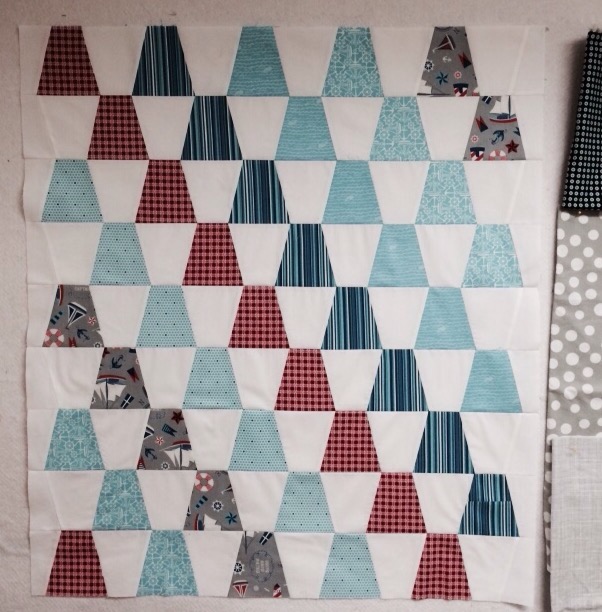
I also had a bunch of white tumblers cut so the first thing was to lay them all out on the design wall.

/home/wpcom/public_html/wp-content/blogs.dir/003/5689332/files/2014/12/img_1664.jpg

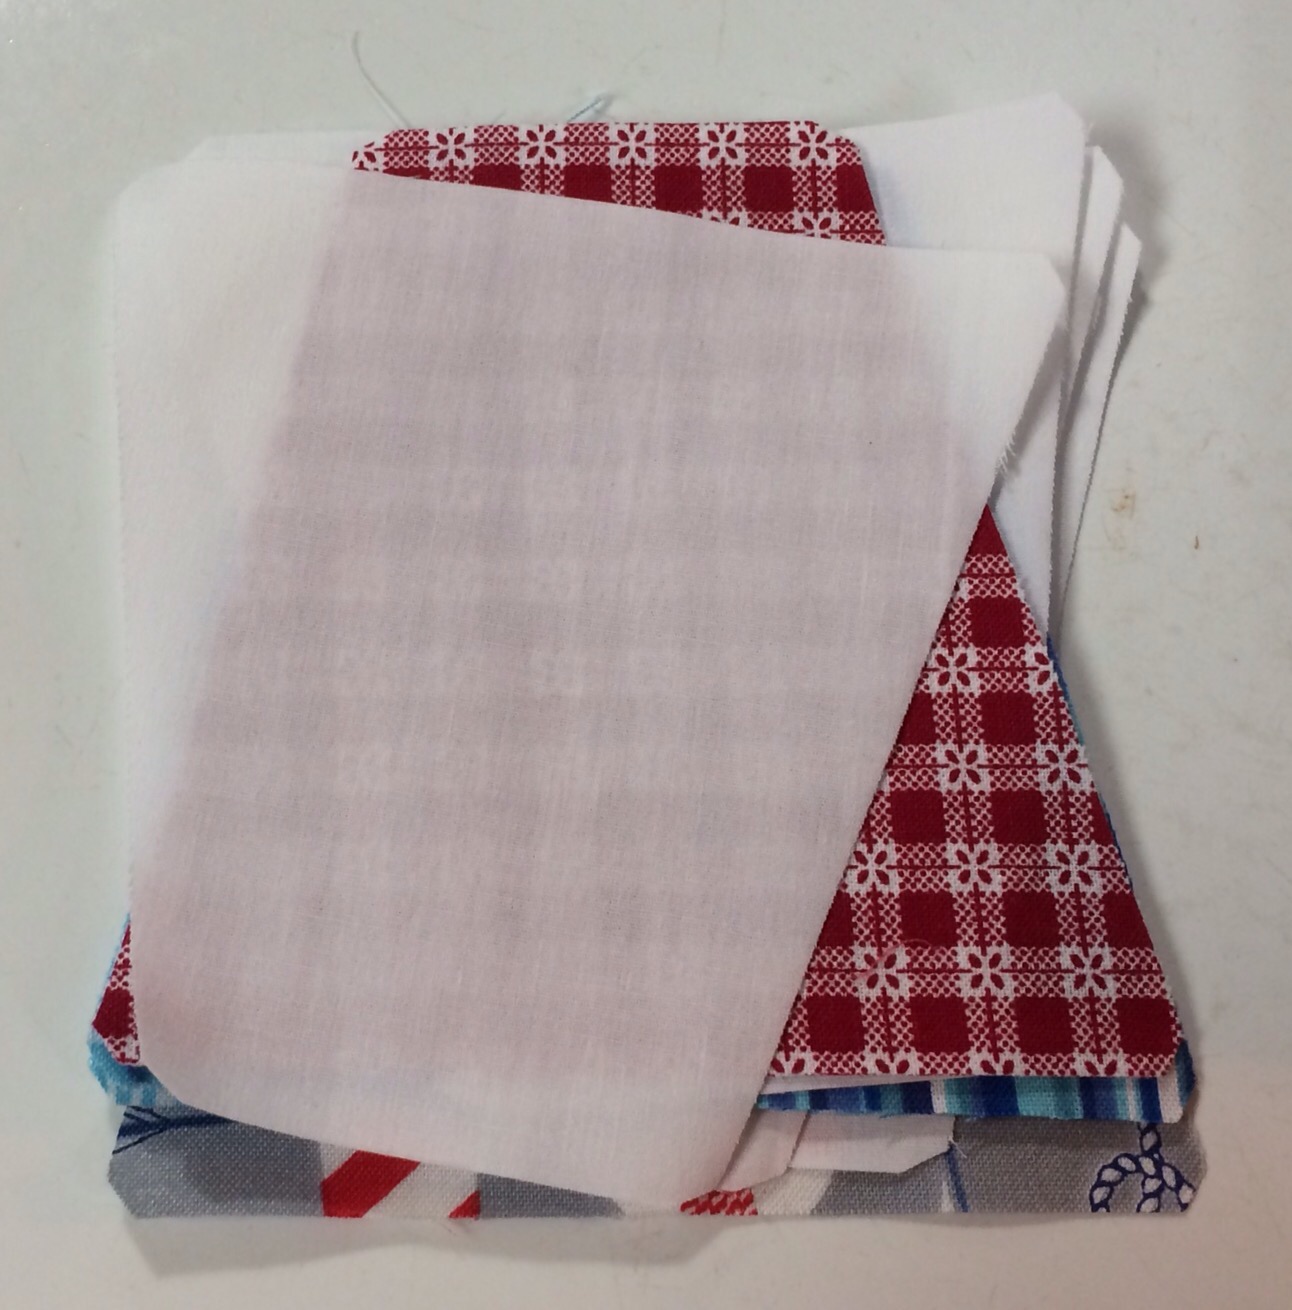
To begin sewing, I start on the left and pick up each tumbler in order so that the left most tumbler is on the top of my stack and the right most tumbler is on the bottom. It is easy to get mixed up if you don’t choose a method and stick to it.

/home/wpcom/public_html/wp-content/blogs.dir/003/5689332/files/2014/12/img_1665.jpg

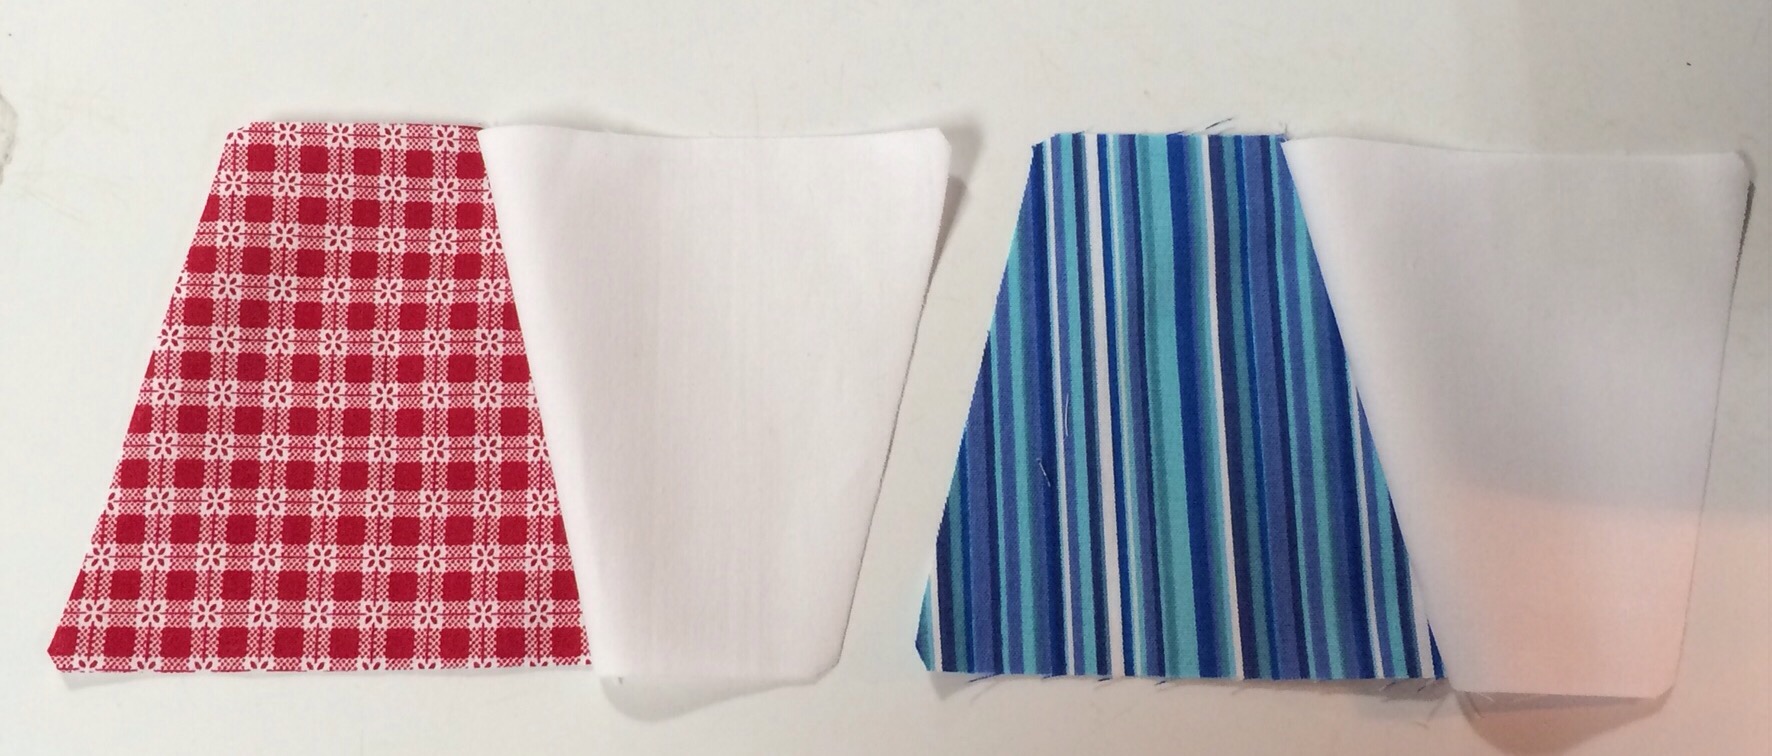
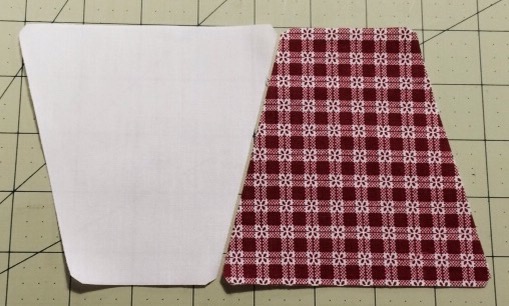
I take the top two tumblers and lay them out as they appear in the row.

/home/wpcom/public_html/wp-content/blogs.dir/003/5689332/files/2014/12/img_1666.jpg

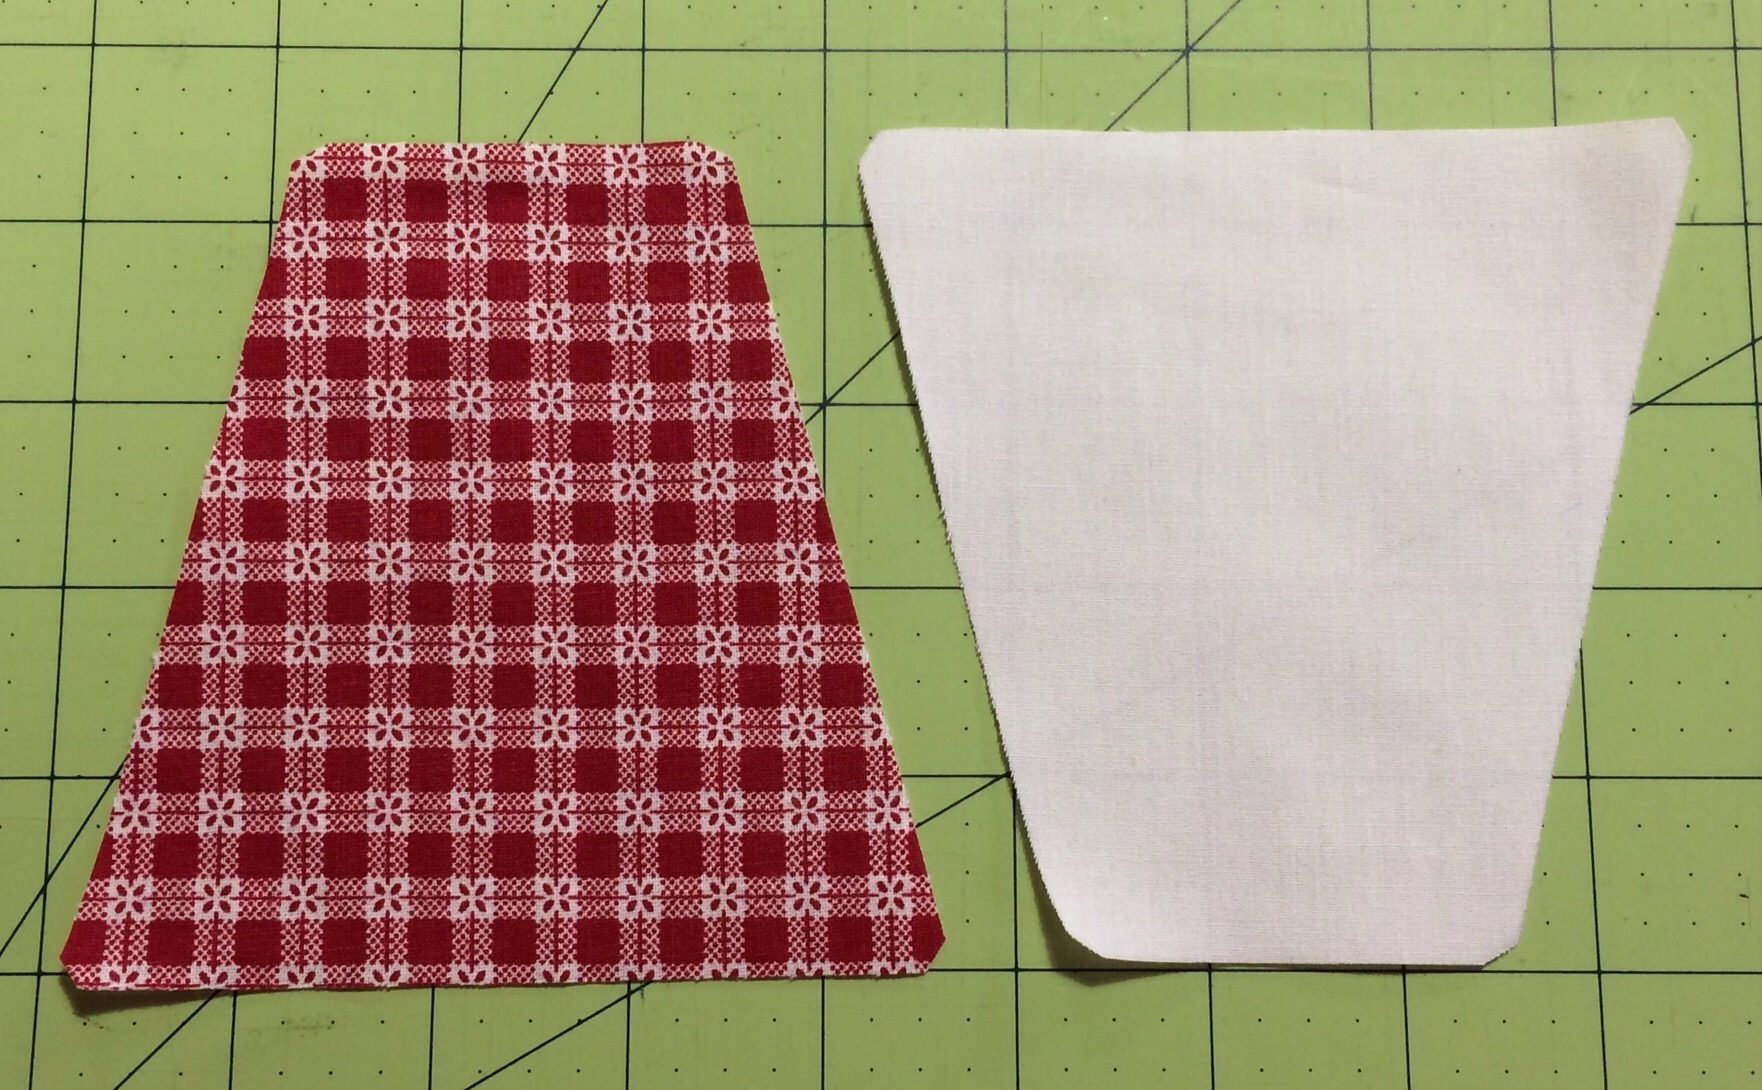
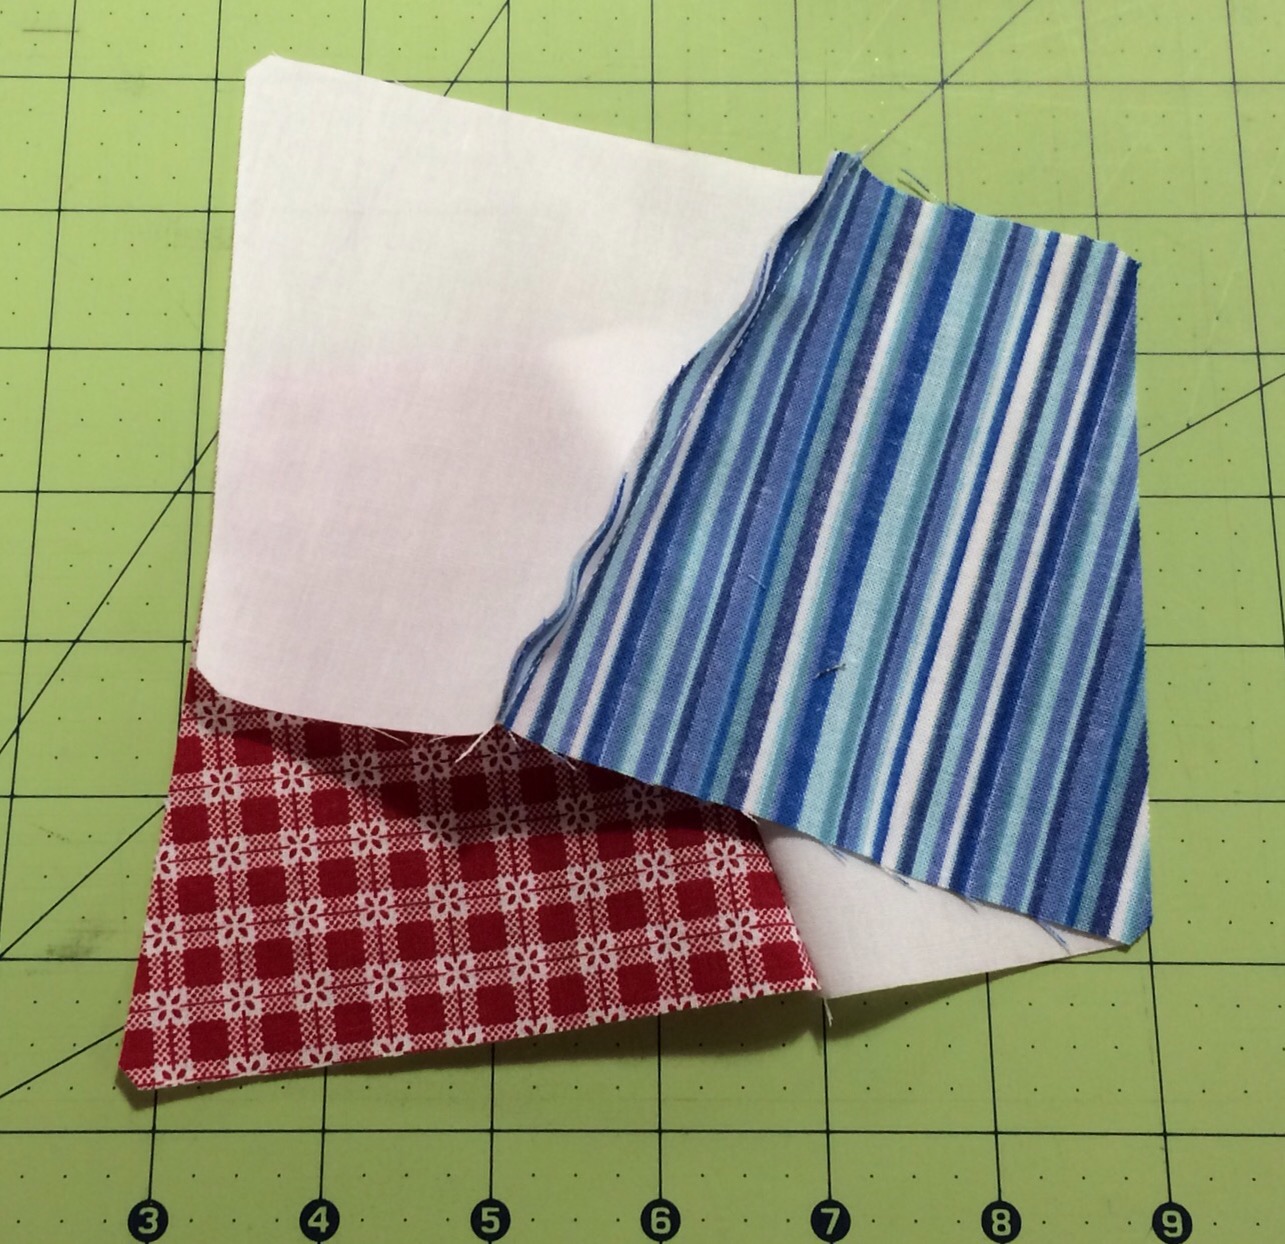
Take the right one and lay it on top of the left tumbler, right sides together. Looks pretty strange, doesn’t it?

/home/wpcom/public_html/wp-content/blogs.dir/003/5689332/files/2014/12/img_1667.jpg

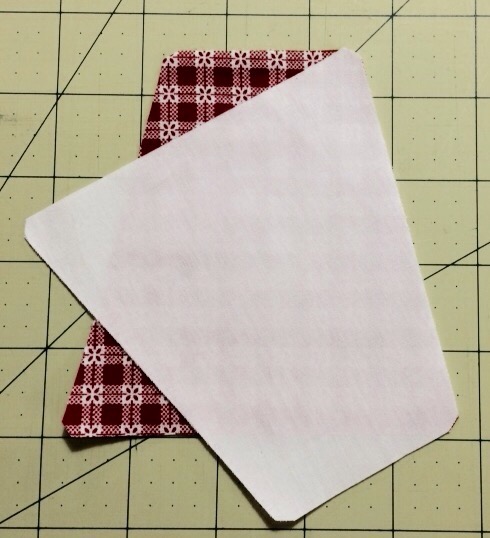
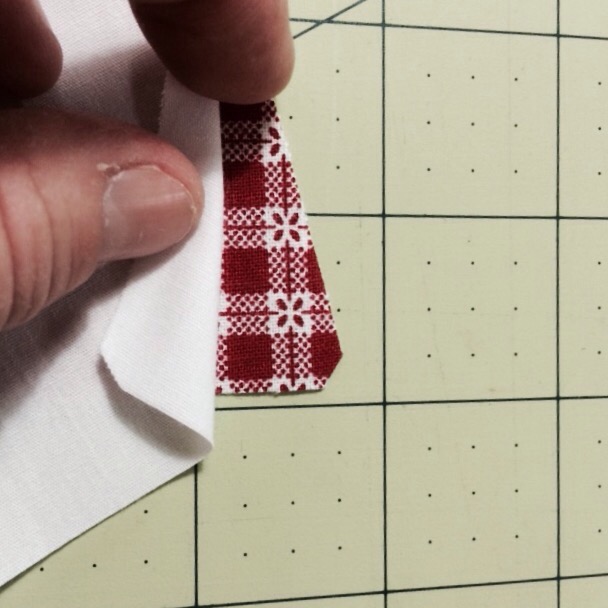
My die cutter nips the corners off in such a way that if these are lined up, your pieces should stitch out perfectly.

/home/wpcom/public_html/wp-content/blogs.dir/003/5689332/files/2014/12/img_1668.jpg

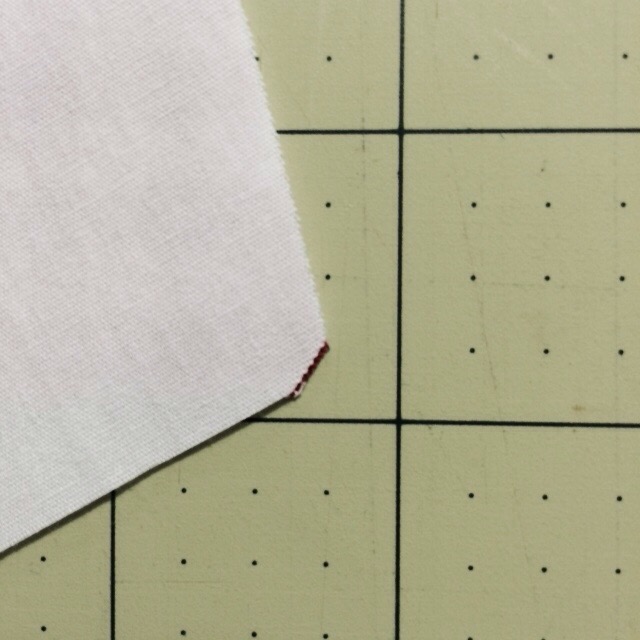
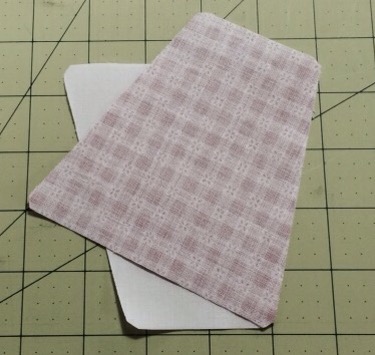
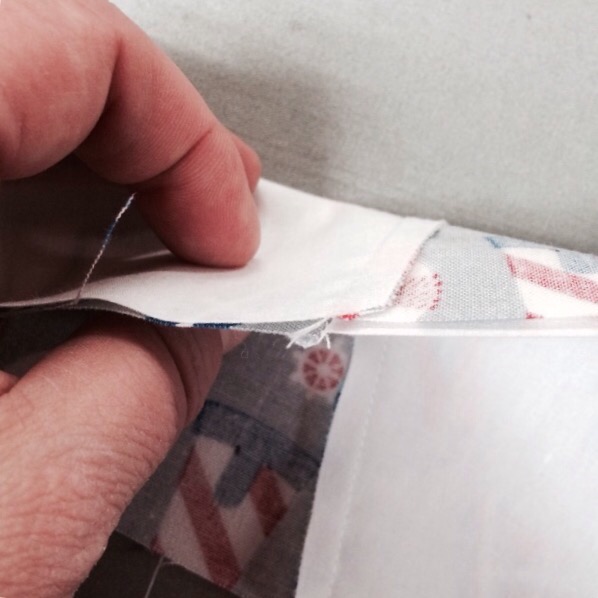
This is how it looks when I fold back the corner of the top tumbler.

/home/wpcom/public_html/wp-content/blogs.dir/003/5689332/files/2014/12/img_1669.jpg

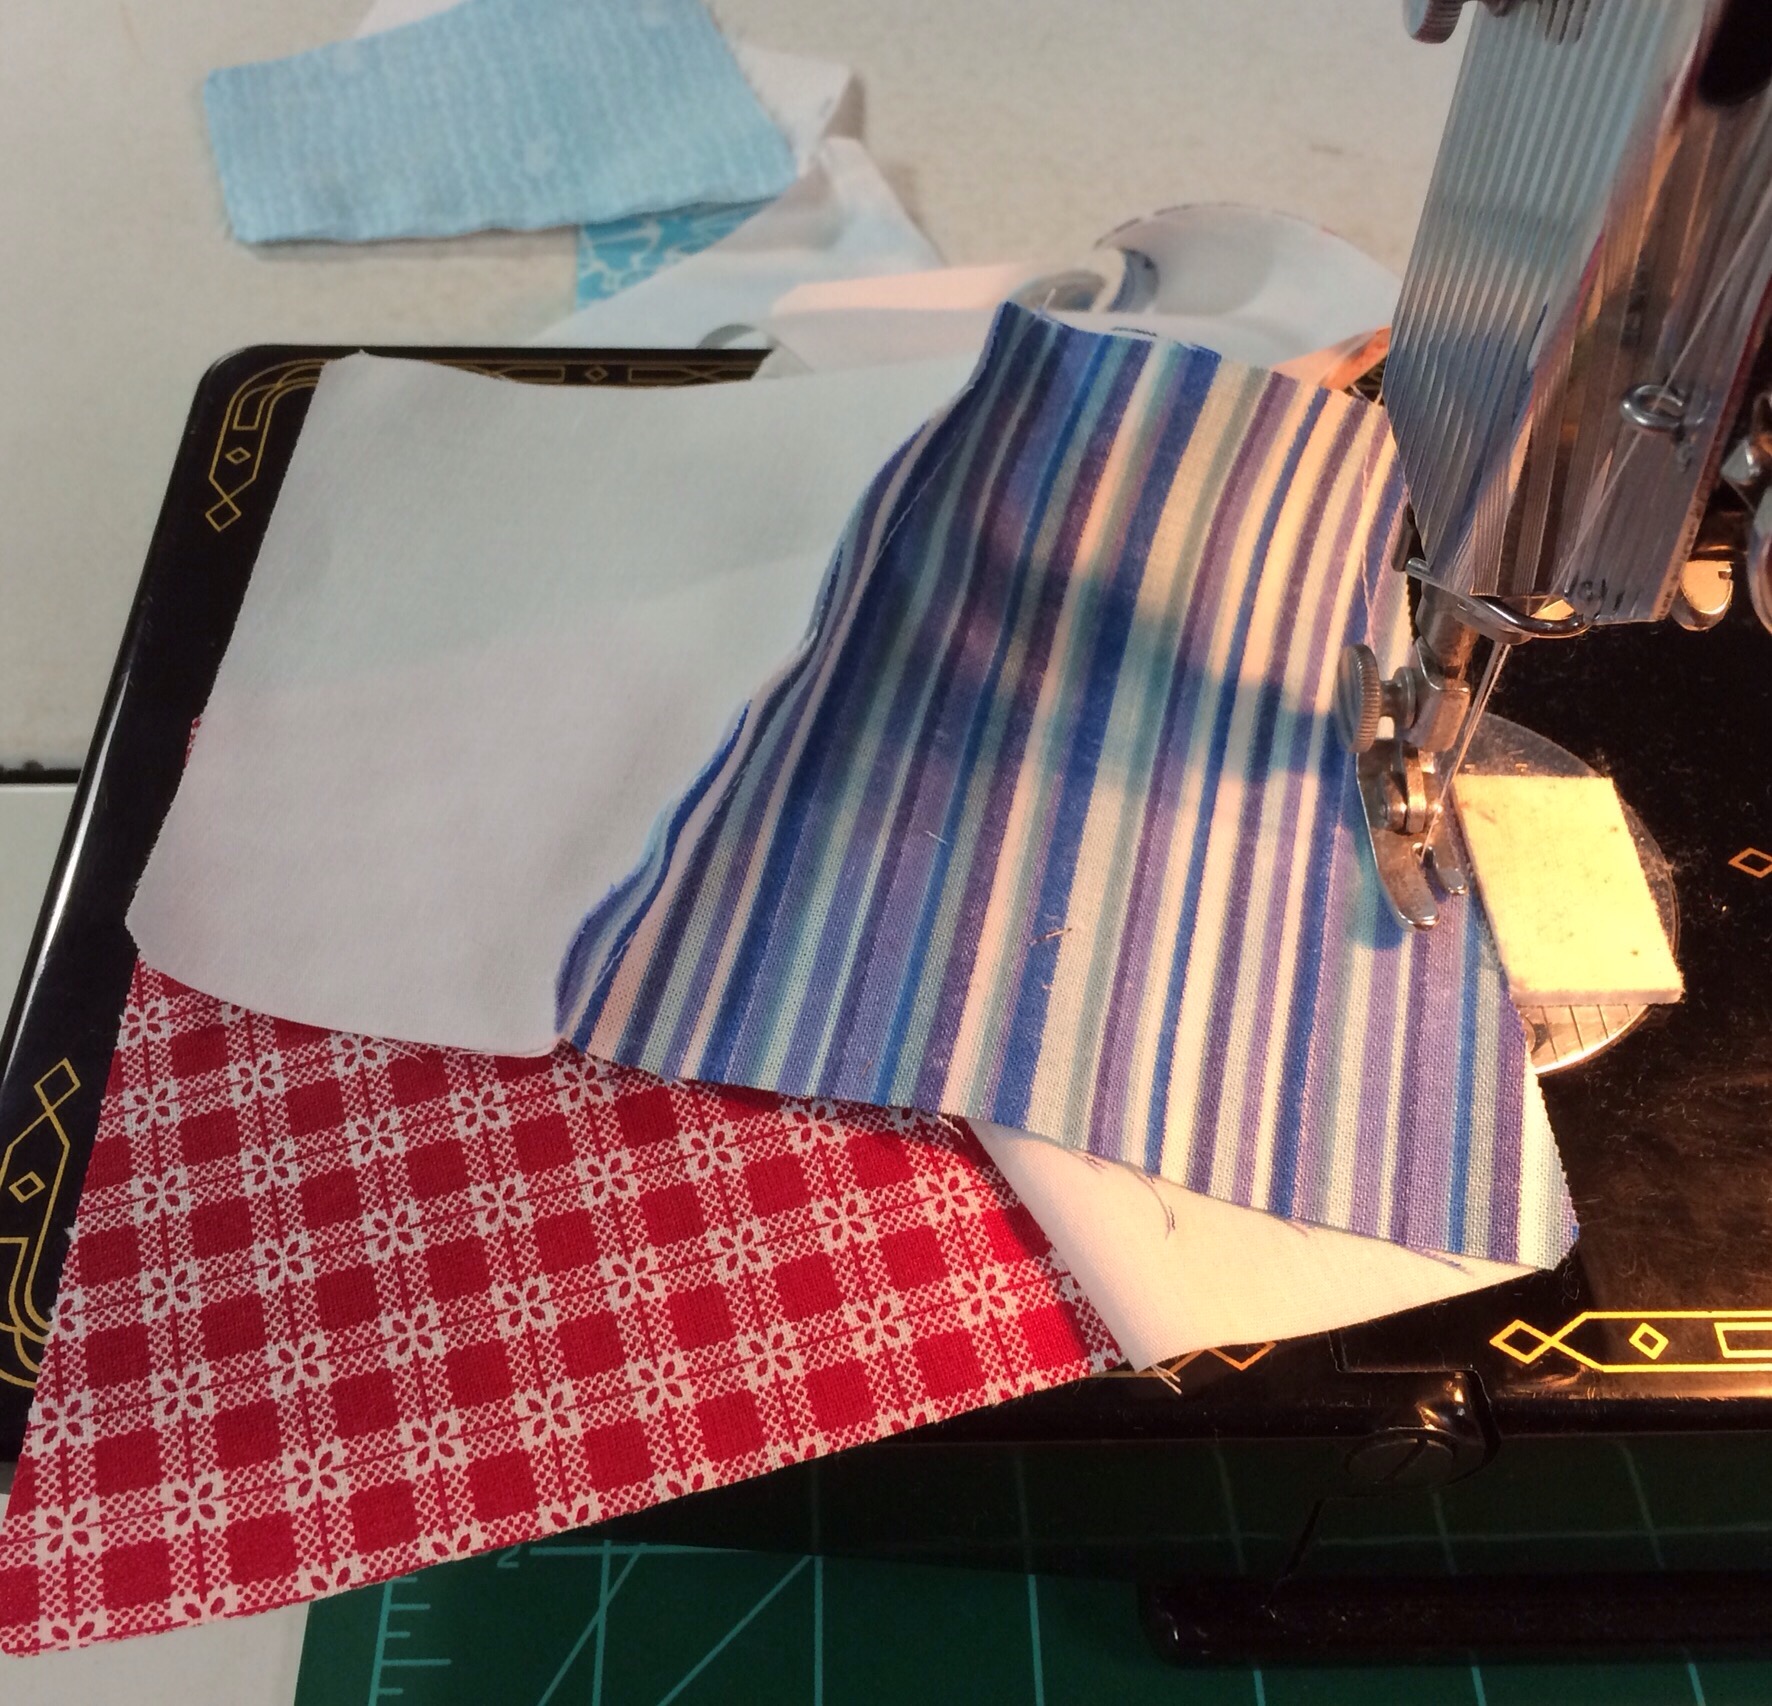
Then I just chain stitch through the machine in pairs.

/home/wpcom/public_html/wp-content/blogs.dir/003/5689332/files/2014/12/img_1670.jpg

The first two sets clipped from my string will now go together so they are set side by side and opened up.

/home/wpcom/public_html/wp-content/blogs.dir/003/5689332/files/2014/12/img_1671.jpg

/home/wpcom/public_html/wp-content/blogs.dir/003/5689332/files/2014/12/img_1672.jpg

I lay the right hand piece on top of the left, right sides together and line up the notches again. Note: I do not press anything until the whole row is done.

/home/wpcom/public_html/wp-content/blogs.dir/003/5689332/files/2014/12/img_1673.jpg

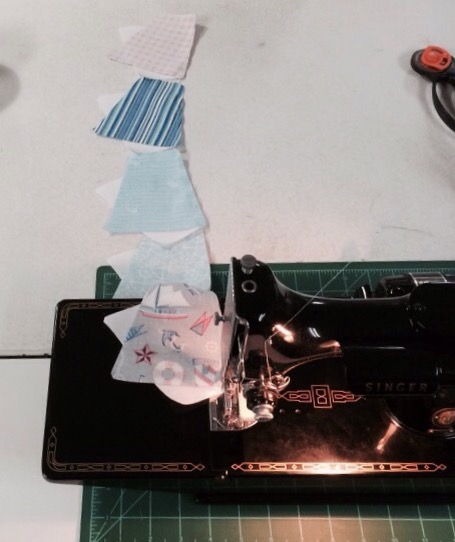
Time to feed these through!

/home/wpcom/public_html/wp-content/blogs.dir/003/5689332/files/2014/12/img_1674.jpg

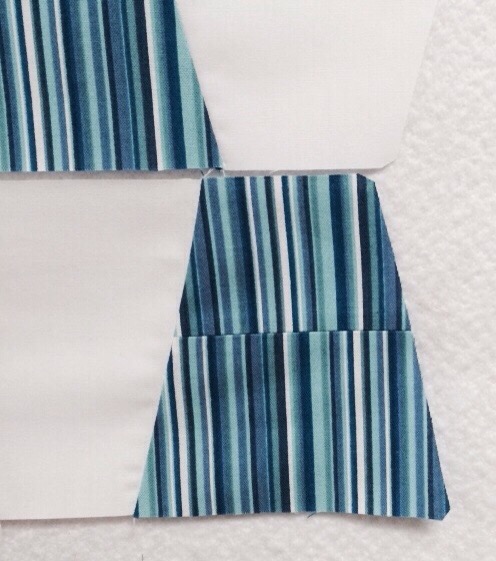
The next picture shows the entire first row pieced.  See how much smaller it is after sewing?

/home/wpcom/public_html/wp-content/blogs.dir/003/5689332/files/2014/12/img_1675.jpg

Here is my pile for the second row.

/home/wpcom/public_html/wp-content/blogs.dir/003/5689332/files/2014/12/img_1676.jpg

Same process except it looks a little different. That is because for the first row, I started with an upside down tumbler and for this row, the first one is right side up. Take the top two and lay them side by side.

/home/wpcom/public_html/wp-content/blogs.dir/003/5689332/files/2014/12/img_1677.jpg

Now place them right sides together and you are ready to sew!

/home/wpcom/public_html/wp-content/blogs.dir/003/5689332/files/2014/12/img_1678.jpg

Another chain is formed with row two parts.

/home/wpcom/public_html/wp-content/blogs.dir/003/5689332/files/2014/12/img_1679.jpg

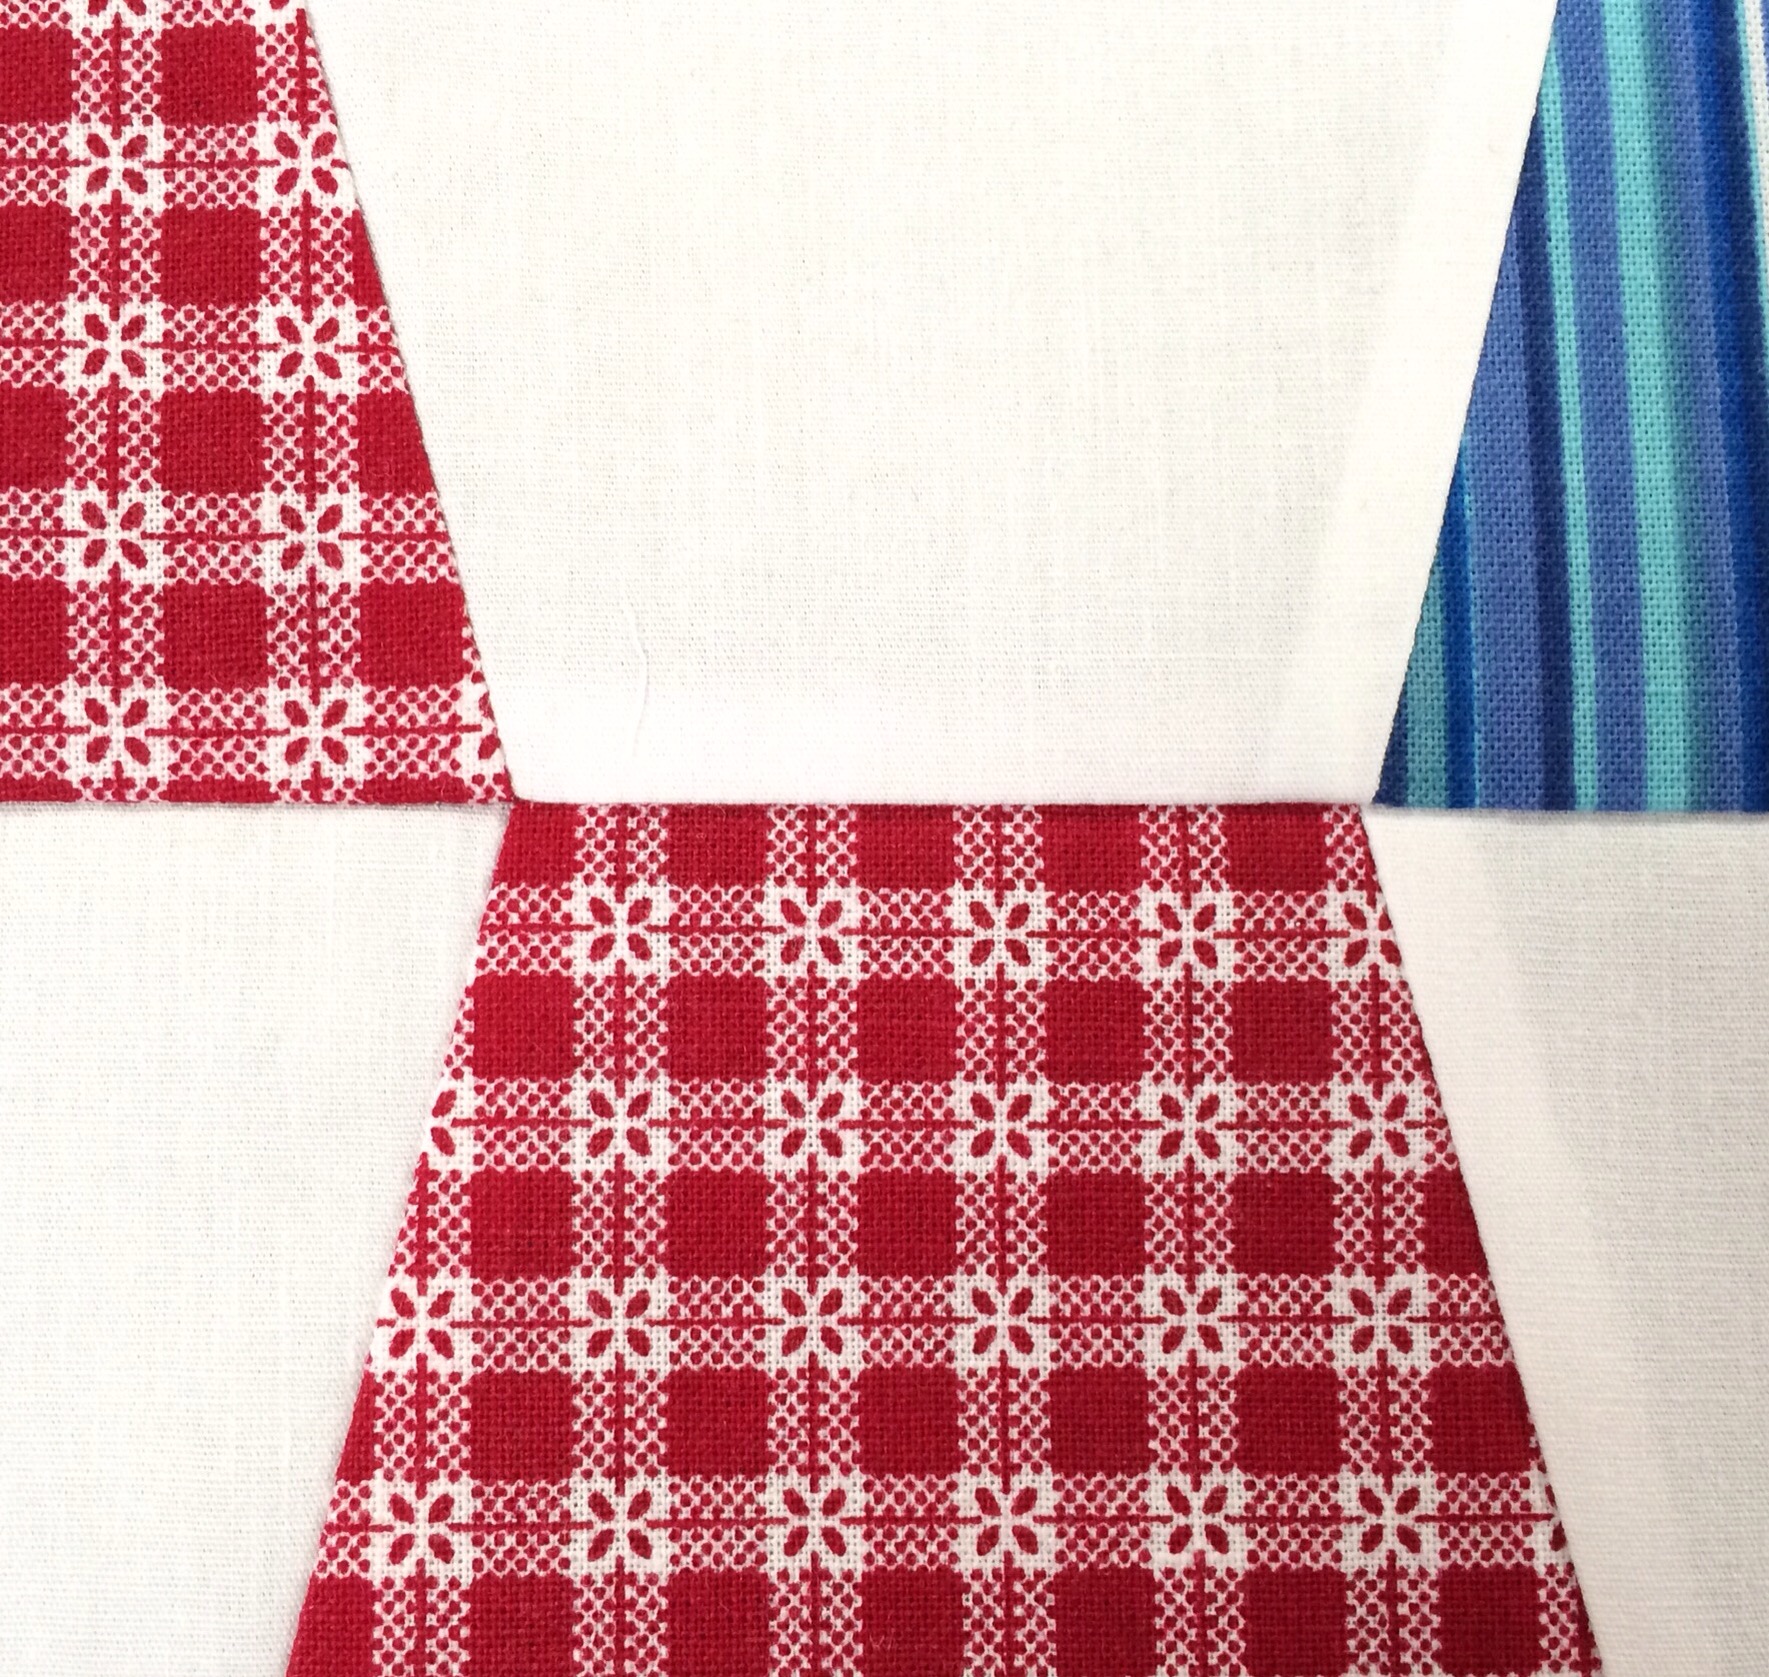
Here are my first two rows sewn together. I want to show you how easily the rows fit together if you have pressed the seam allowances correctly. Here they are pressed.

/home/wpcom/public_html/wp-content/blogs.dir/003/5689332/files/2014/12/img_1680.jpg

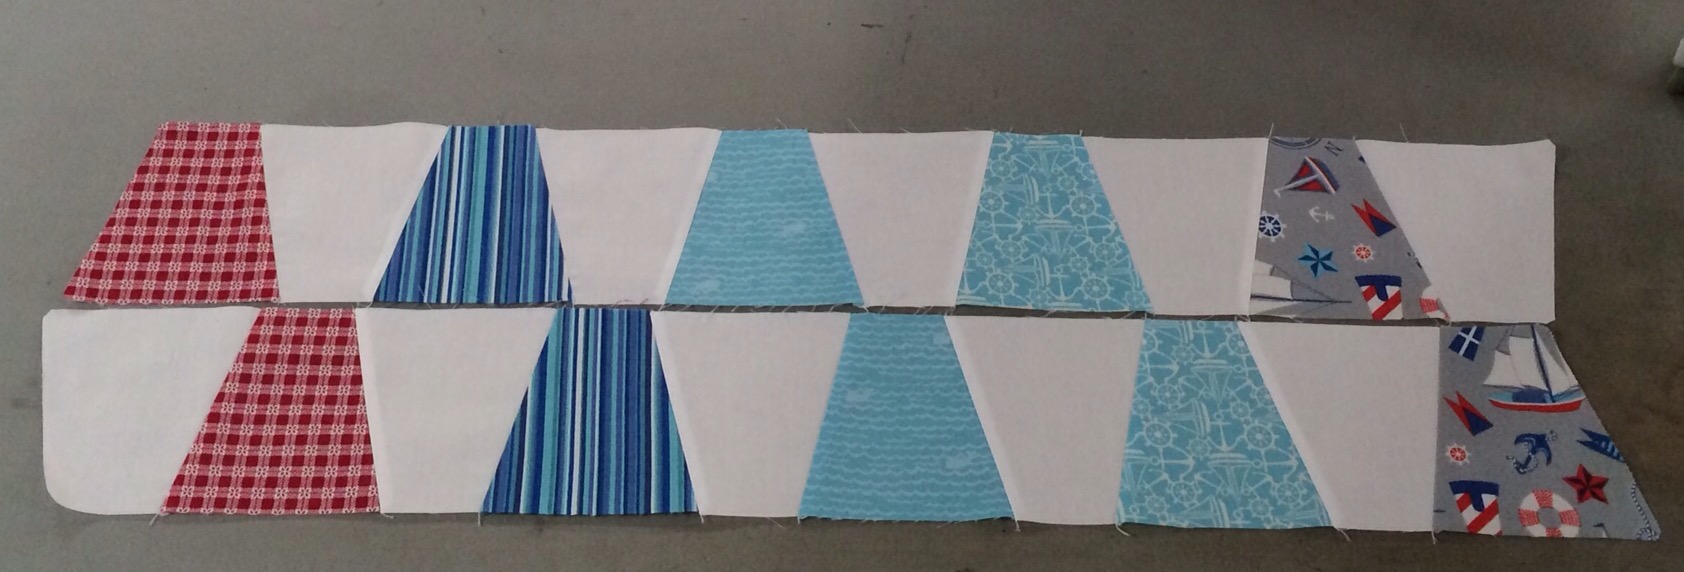
Here, I have turned them over so you can see that I have pressed the seams for each row in opposite directions. This is very important.

/home/wpcom/public_html/wp-content/blogs.dir/003/5689332/files/2014/12/img_1681.jpg

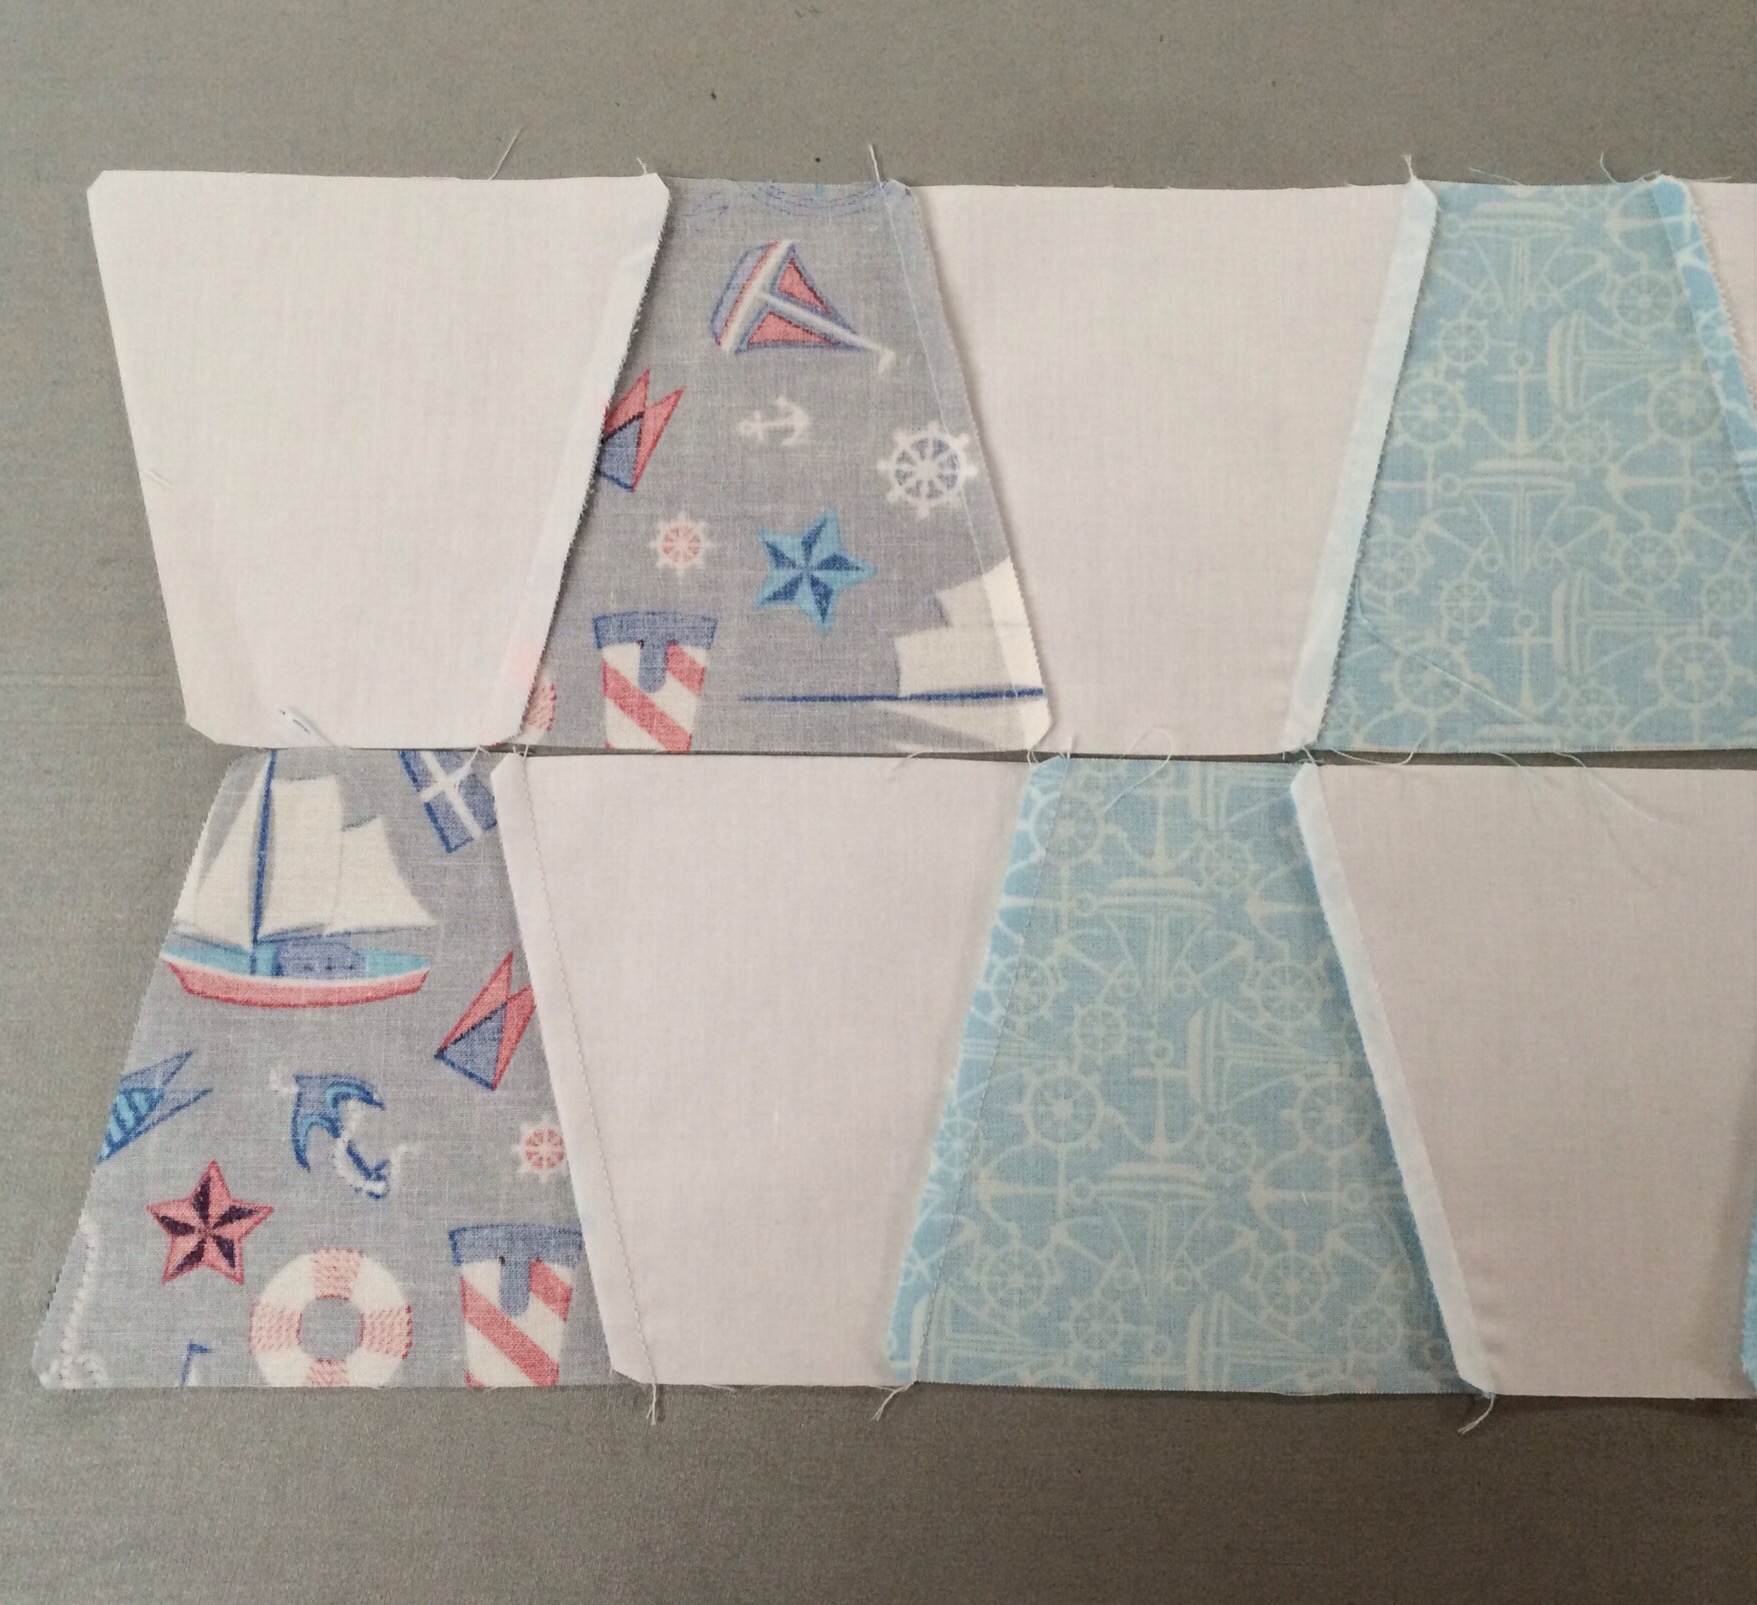
When I put the rows together, all the seam allowances will nest together as you can, hopefully, see here.

/home/wpcom/public_html/wp-content/blogs.dir/003/5689332/files/2014/12/img_1682.jpg

See how nicely they come together?IMG_1683IMG_1684

You can see here that I ran out of this fabric and needed one more tumbler to complete the pattern. No matter, I just pieced my scraps and cut another.

/home/wpcom/public_html/wp-content/blogs.dir/003/5689332/files/2014/12/img_1685.jpg

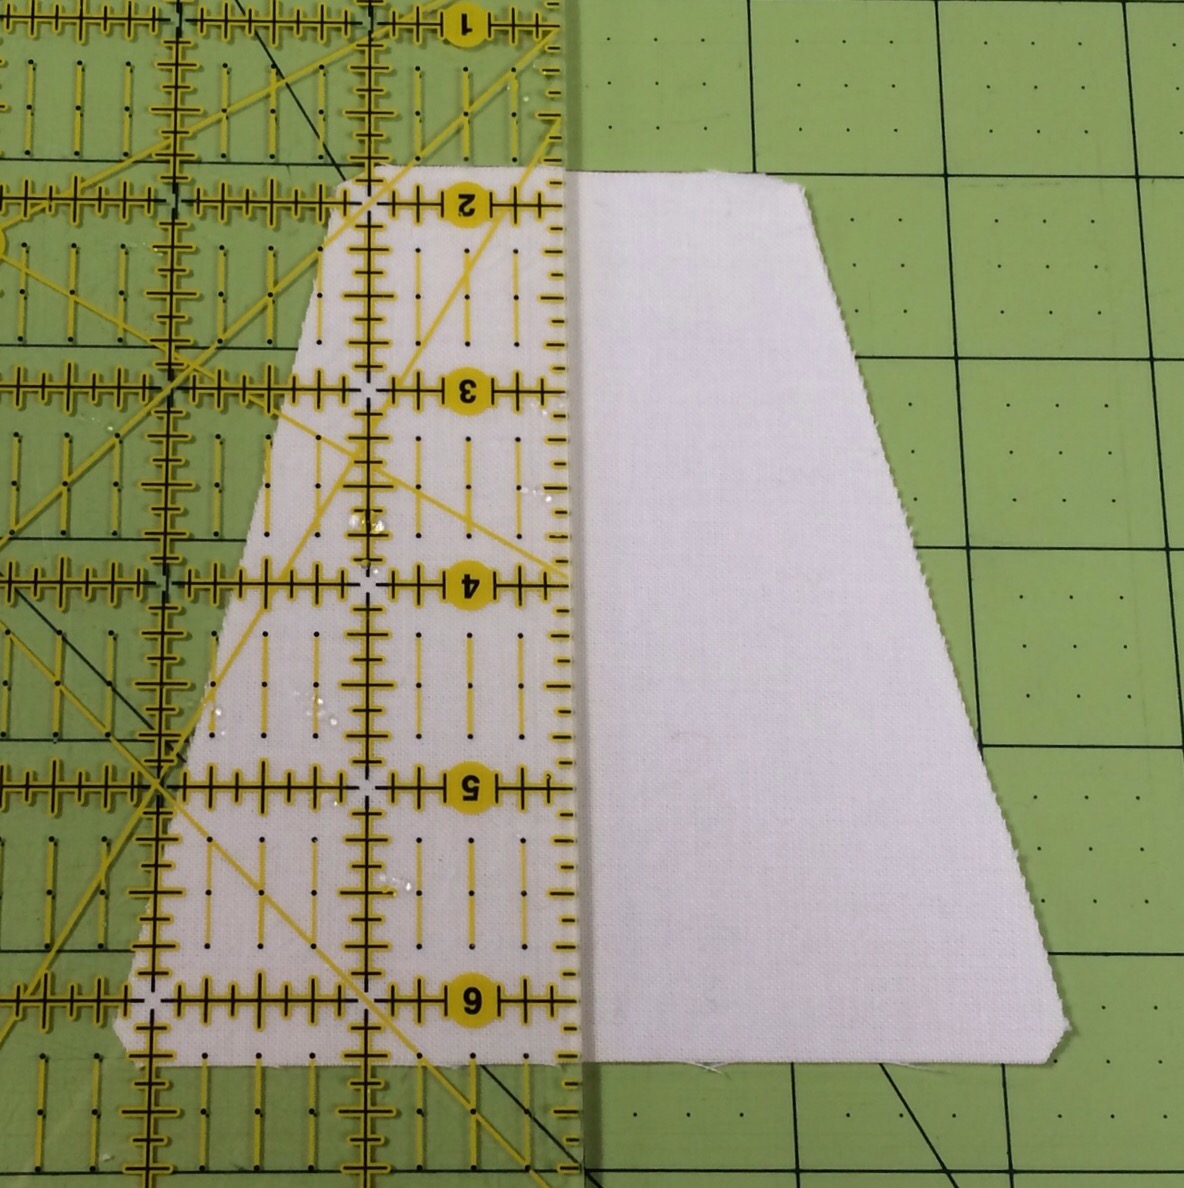
I decided that I didn’t want to cut my print tumblers in order to straighten the edge of my quilt top. So I took some of the leftover white tumblers and cut them in half like this.

/home/wpcom/public_html/wp-content/blogs.dir/003/5689332/files/2014/12/img_1686.jpg

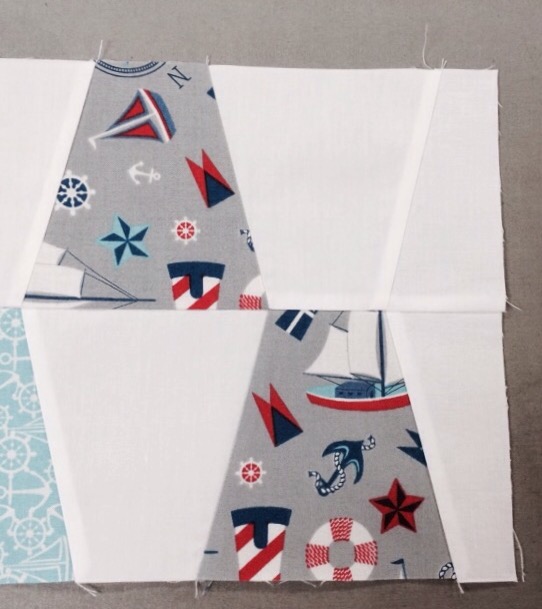
I had to do a bit of unsewing to add these to the ends of the rows I had already sewn together. but this is what it looked like after adding the half tumblers and sewing the rows.

/home/wpcom/public_html/wp-content/blogs.dir/003/5689332/files/2014/12/img_1687.jpg

/home/wpcom/public_html/wp-content/blogs.dir/003/5689332/files/2014/12/img_1688.jpg

I added a 2 inch strip to the top and bottom and then added 5 inch borders al the way around. I don’t like skimpy baby quilts!

/home/wpcom/public_html/wp-content/blogs.dir/003/5689332/files/2014/12/img_1689.jpg

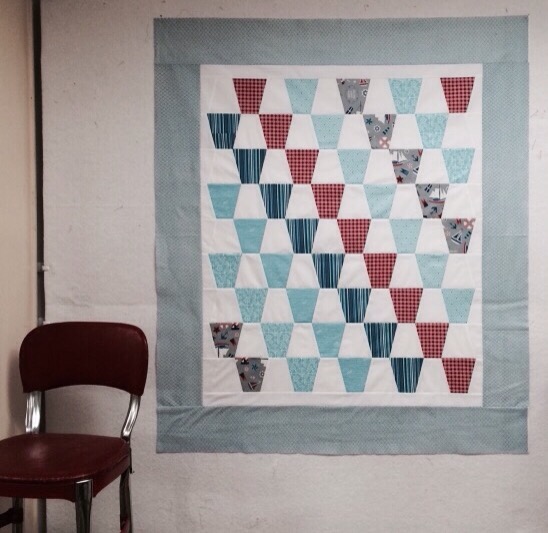
This was a quick and easy baby quilt top and I love that I was able to stretch these leftovers into a whole baby quilt by adding the white and the border fabric.

I hope this was helpful. The process is the same no matter what size tumblers you use. If you do not have a template or die with the nipped corners for alignment, you can still make this! There is just one slight difference in aligning your pieces when sewing your tumblers together.

I will try to add a few pictures showing this  difference in the piecing if there is interest.

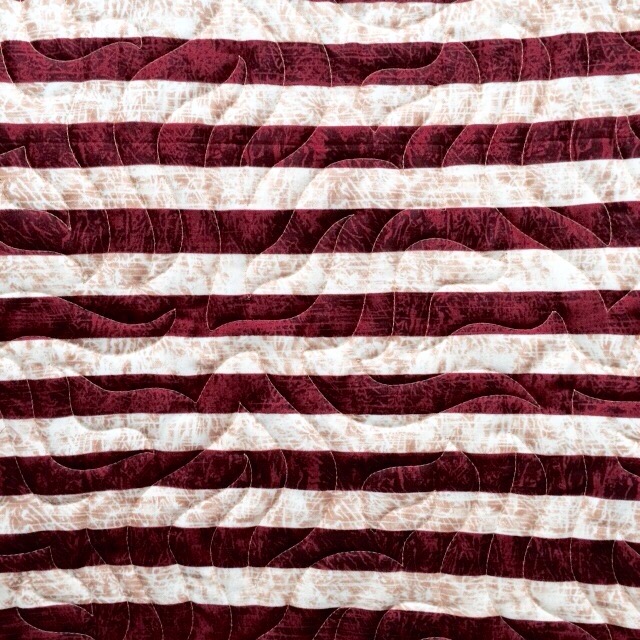
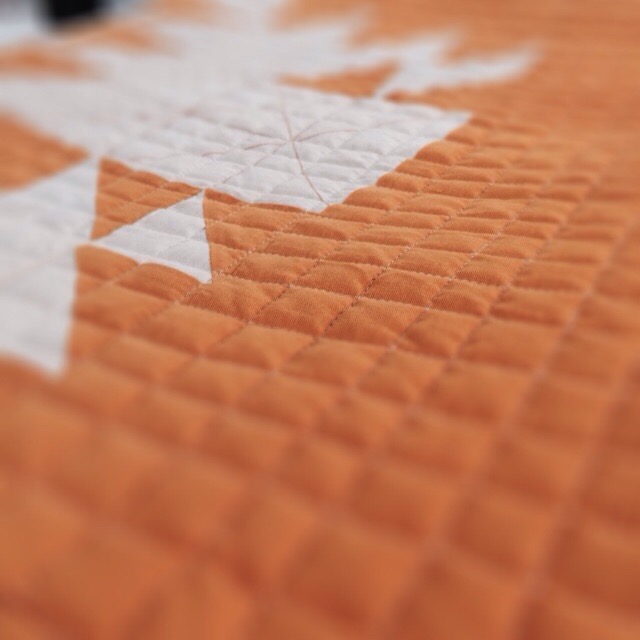
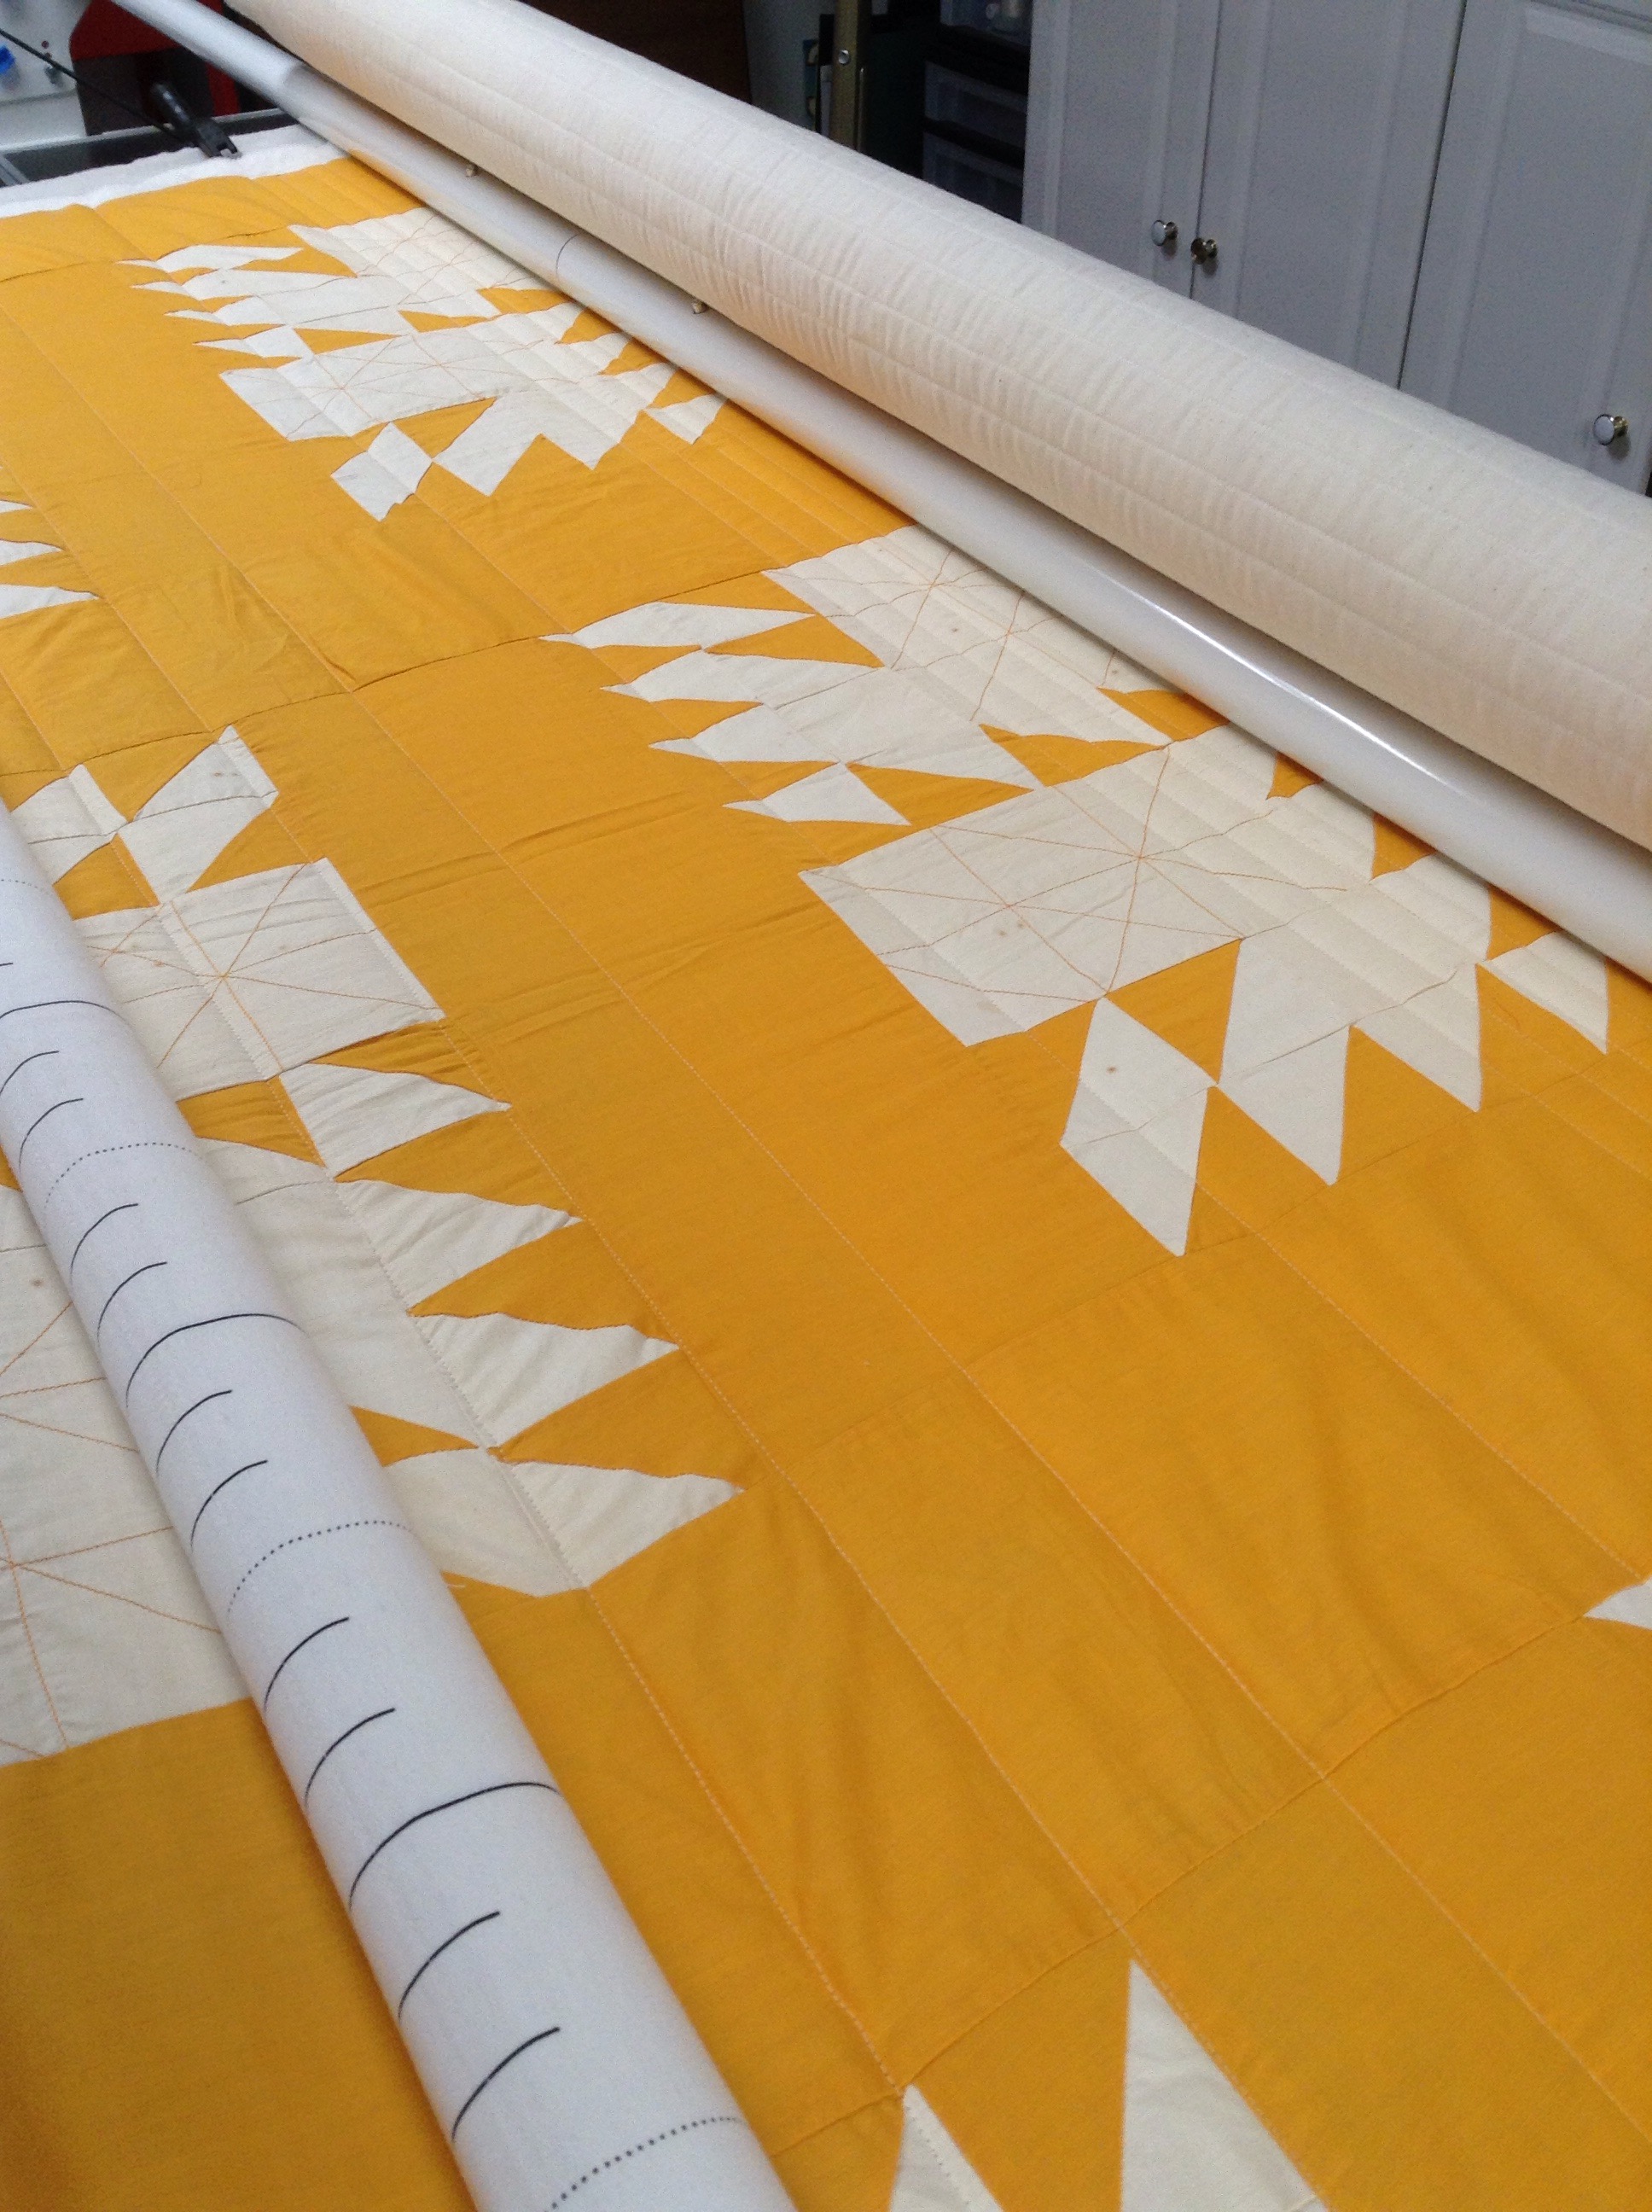
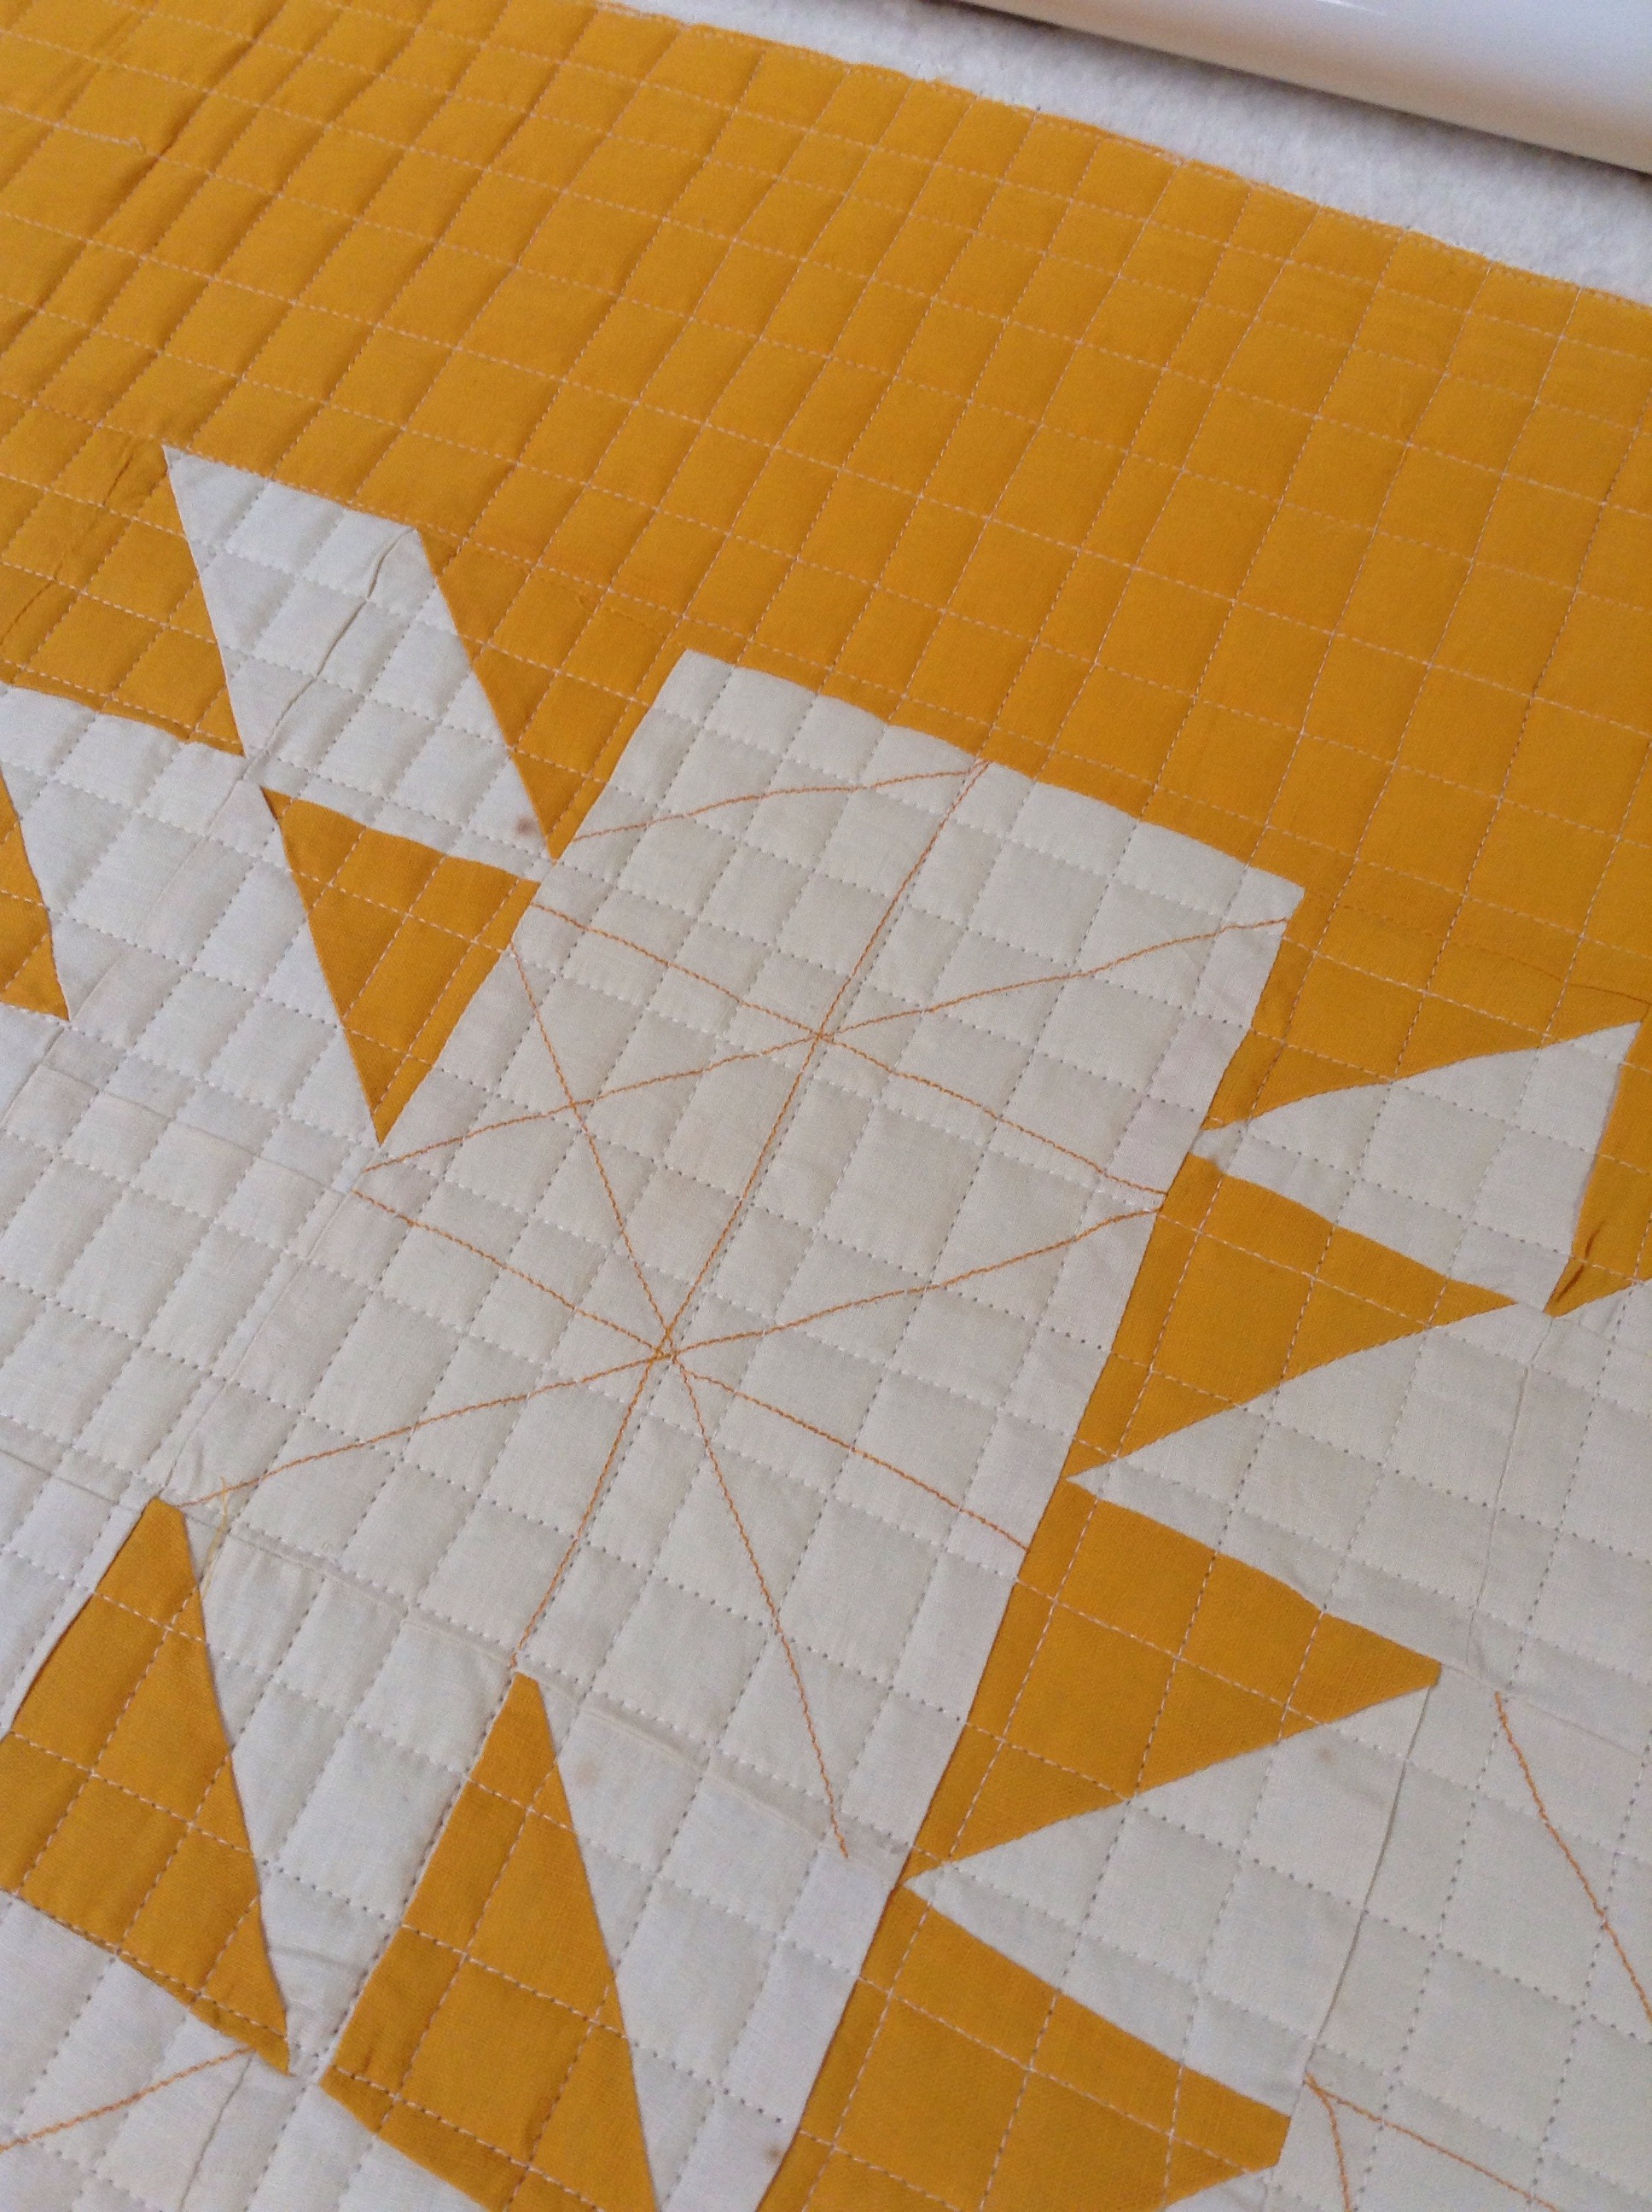
Tomorrow, I will show you pictures of the quilting in progress.

Posted in Accuquilt Studio Cutter, Baby Quilts, Tutorials | 11 Comments

Tuesday

Here is my block for today.

/home/wpcom/public_html/wp-content/blogs.dir/003/5689332/files/2014/12/img_1660.jpg
Are you sick of these yet? LOL

I enjoyed a glorious day of sewing yesterday. I took pictures as I went and will share a tutorial with you tomorrow.

Happy Tuesday!

Posted in Uncategorized | 4 Comments

Design Wall Monday

I finished the binding in the cheddar quilt but I will save that to share on Friday. I have managed to keep up with my block a day plan. As of this morning, I am up to 9.

/home/wpcom/public_html/wp-content/blogs.dir/003/5689332/files/2014/12/img_1653.jpg
I hope I keep up with this! I love these little blocks but they aren’t my favorite thing to make. I sorted my scraps into lights and darks and that helped.

I got another Quilt of Valor quilted yesterday for our Stitching Sisters QOV group.

/home/wpcom/public_html/wp-content/blogs.dir/003/5689332/files/2014/12/img_1652.jpg

/home/wpcom/public_html/wp-content/blogs.dir/003/5689332/files/2014/12/img_1651.jpg

/home/wpcom/public_html/wp-content/blogs.dir/003/5689332/files/2014/12/img_1650.jpg
The colors are not true here. I took these pictures late at night in my sewing room.

Linking up with Patchwork Times for DWMonday.

Posted in Quilt of Valor | 7 Comments

Slow Stitching Sunday

I got the binding on the cheddar quilt yesterday and started the handwork..

/home/wpcom/public_html/wp-content/blogs.dir/003/5689332/files/2014/12/img_1626.jpg

I really enjoy the handwork of binding while watching TV. Hubby found a great movie for us to watch last night also. It was called Marvellous and starred Toby Jones. It is the true story of a learning impaired man and his adventures. It was produced by BBC. You can read more about it here. I think he got the movie from Redbox.

I just love how quilting adds the beautiful texture to a quilt!

/home/wpcom/public_html/wp-content/blogs.dir/003/5689332/files/2014/12/img_1620.jpg

/home/wpcom/public_html/wp-content/blogs.dir/003/5689332/files/2014/12/img_1625.jpg

This vintage top has quite a few age spots on it. It is a bit risky, but I will probably wash it when I am done. That should add to the texture as well.

One of my goals for December, was to make 12 more sawtooth star blocks. I finished up the last of those yesterday.

/home/wpcom/public_html/wp-content/blogs.dir/003/5689332/files/2014/12/img_1627.jpg

Linking up with Kathy for Slow Stitching Sunday.

Posted in Uncategorized | 9 Comments

Finally some sewing…

We had a lovely Christmas with family. I admit though, that I was ready for some stitching yesterday! Remember this vintage top?

/home/wpcom/public_html/wp-content/blogs.dir/003/5689332/files/2014/12/img_14171.jpg
I got it loaded on the frame and started stitching. I kept with the idea of a rather random, wonky grid. If it was perfectly straight, it would have emphasized the far less than perfect piecing. I used a device that locks the wheels on m machine carriage to make a few straight lines and then filled in with freehand lines in between. I didn’t measure anything.

/home/wpcom/public_html/wp-content/blogs.dir/003/5689332/files/2014/12/img_1610.jpg
This is how it looked after doing all the rows in one direction.

/home/wpcom/public_html/wp-content/blogs.dir/003/5689332/files/2014/12/img_1611.jpg
After I did all the lines one way, I took the quilt off the frame, turned it 90 degrees and reloaded it. The I started stitching lines the other way to compete the grid.

/home/wpcom/public_html/wp-content/blogs.dir/003/5689332/files/2014/12/img_1613.jpg
I got the quilting finished and trimmed. Today I hope to get binding made and the machine sewing done. But that will have to wait until after work.

Have a great Saturday, everyone!

Posted in Uncategorized | 9 Comments

Finish it up Friday

The finish I am sharing today is not my own. I am as proud as can be though. This is Daughter #3’s big finish!

2

1
She made this large nap quilt for her sweetheart and gave it to him Christmas Eve. He looks pretty pleased, don’t you think?

3

4
She got the idea from Pinterest. The “M” and the colors are for the University of Michigan, his Alma Mater.

/home/wpcom/public_html/wp-content/blogs.dir/003/5689332/files/2014/12/img_1570.jpg
It was an ambitious project given her work/school schedule. She did such a great job!

Linking up with Crazy Mom Quilts for Finish it up Friday, Confessions of a Fabric Addict for Can I Get a Whoop Whoop? , Richard and Tanya Quilts for LAFF.

Posted in Uncategorized | 14 Comments

Merry Christmas!

/home/wpcom/public_html/wp-content/blogs.dir/003/5689332/files/2014/12/img_1608.jpg

For there is born to you this day in the city of David a Saviour, which is Christ the Lord. Luke 2:11

Posted in Uncategorized | 1 Comment

My Christmas Quilts

Bonnie at Quiltville is hosting a link up today of Christmas quilts. I have a few to share with you today. I will go from gorgeous to horror so you’ve been warned!

First is this lovely antique quilt I purchased at an estate sale last summer.

/home/wpcom/public_html/wp-content/blogs.dir/003/5689332/files/2014/12/img_1601.jpg
At some point, it was rebound in an unfortunate orange red. Someday I would like to redo that but it is low on the priority list. Here are some closeups.

/home/wpcom/public_html/wp-content/blogs.dir/003/5689332/files/2014/12/img_1602.jpg

/home/wpcom/public_html/wp-content/blogs.dir/003/5689332/files/2014/12/img_1603.jpg

/home/wpcom/public_html/wp-content/blogs.dir/003/5689332/files/2014/12/img_1604.jpg
This next quilt was one of the first that I quilted on my first long arm machine. I don’t remember the fabric line but this started life as a fat quarter bundle that Mr. Wonderful bought for me. I love that it is Christmas without being in your face Santa stuff.

/home/wpcom/public_html/wp-content/blogs.dir/003/5689332/files/2014/12/img_1599.jpg

/home/wpcom/public_html/wp-content/blogs.dir/003/5689332/files/2014/12/img_1600.jpg

This last one was made a long time ago, as in nearly 20 years ago. It is pretty scary from a technique standpoint. It is one in my series of PMS quilts. The blocks themselves are not bad (they came from a guild block exchange) but I was clearly having a bad day when I pieced it.

/home/wpcom/public_html/wp-content/blogs.dir/003/5689332/files/2014/12/img_1605.jpg
You may think it is a poor photo causing this hot mess to look crooked. Actually, it is the miracle of photography making it look this good. I think it is a good 2″ longer on one side. These rows run downhill at such a slant, it is a wonder they haven’t slid right off the quilt. I remember the frustration and hormonal cloud during the piecing. I whacked things off to make them fit. I added pieces where things looked too short. I just wanted a finish, you know? Anyway, my kids loved it and every year, this bit of humility hangs in my bathroom during the Christmas season. No closeups on this one. I wouldn’t do that to you.

Check out all the other Christmas quilts over at Quiltville.

Posted in Uncategorized | 10 Comments

The Eve of Christmas Eve

Daughter #3 finished that last Christmas gift last night. But then I remembered one other unfinished item. So knitting it will be tonight after work!

I did get my little log cabin for the Block a Day done this morning.

/home/wpcom/public_html/wp-content/blogs.dir/003/5689332/files/2014/12/img_1573.jpg
And I haven’t forgotten that I need to make 3 more sawtooth star bucks to meet my December goal. So I set out the pieces in anticipation of a few minutes to sew tomorrow.

I got this top back out.

/home/wpcom/public_html/wp-content/blogs.dir/003/5689332/files/2014/12/img_1578.jpg
I have decided to patch the hole. It is part of the history of this top. I won’t let it bother me. I love it and want to get it quilted. I plan to use unbleached muslin for the back and binding.

I also pulled out these leftover tumblers.

/home/wpcom/public_html/wp-content/blogs.dir/003/5689332/files/2014/12/img_1579.jpg
I need to make a baby boy quilt for a little guy that has already arrived.

Not a lot of sewing here but I sure am thinking a lot!

Linking up with Connie at Free Motion by the River for Linky Tuesday.

Posted in Uncategorized | 2 Comments

Design Wall Monday

Our company is gone. Sniff, sniff…. I miss them already! Now, I am gearing up for Christmas again, a low key version this time as the gifts have all been distributed.

Have you seen Aunt Marti’s Quilt Block a Day? She just started a new round for winter. She is making one Log Cabin block a day. I decided to jump on this wagon since my own log cabin project has been stalled out for a long time. My blocks are 4″ finished and I am paper piecing them from Civil War Repro scraps.

/home/wpcom/public_html/wp-content/blogs.dir/003/5689332/files/2014/12/img_1568.jpg
Above are the two I have completed since the QAL started yesterday. I already have a pile of these done but it takes a lot of 4″ blocks to make even a small quilt.

/home/wpcom/public_html/wp-content/blogs.dir/003/5689332/files/2014/12/img_1569.jpg
If I keep up with one a day, I will have 90 more by the time spring officially rolls around. Not sure I want that many but I hope to keep up with this for a while anyway.

Linking up with Patchwork a Times for DWMonday.

Posted in Civil War Repro Quilts, Scraps, Uncategorized | 3 Comments