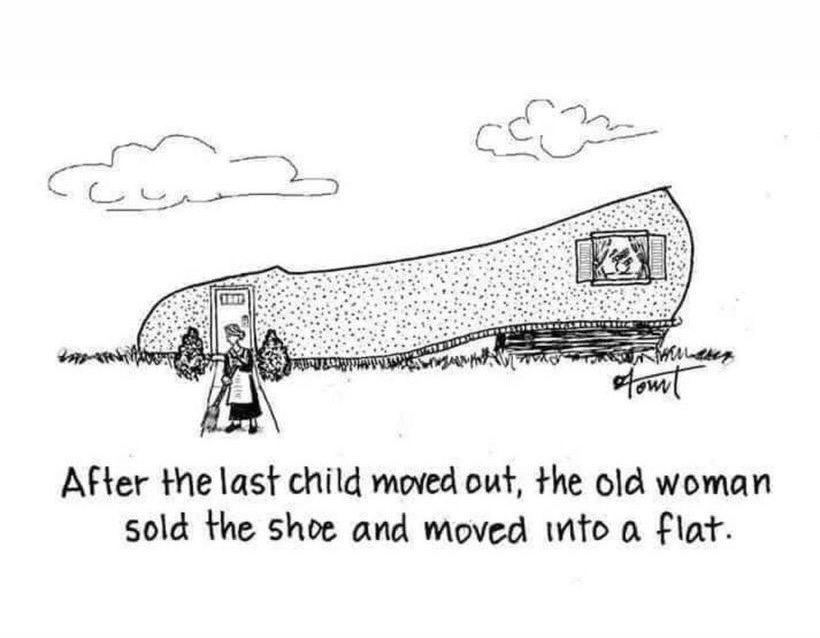
I mentioned that Mr. Wonderful and I have been working on donating, selling, painting, giving away, cleaning, sorting, laying carpet, renovations etc. in preparation for eventually downsizing. Daughter #1 sent me this cartoon. I laughed way too hard at this!
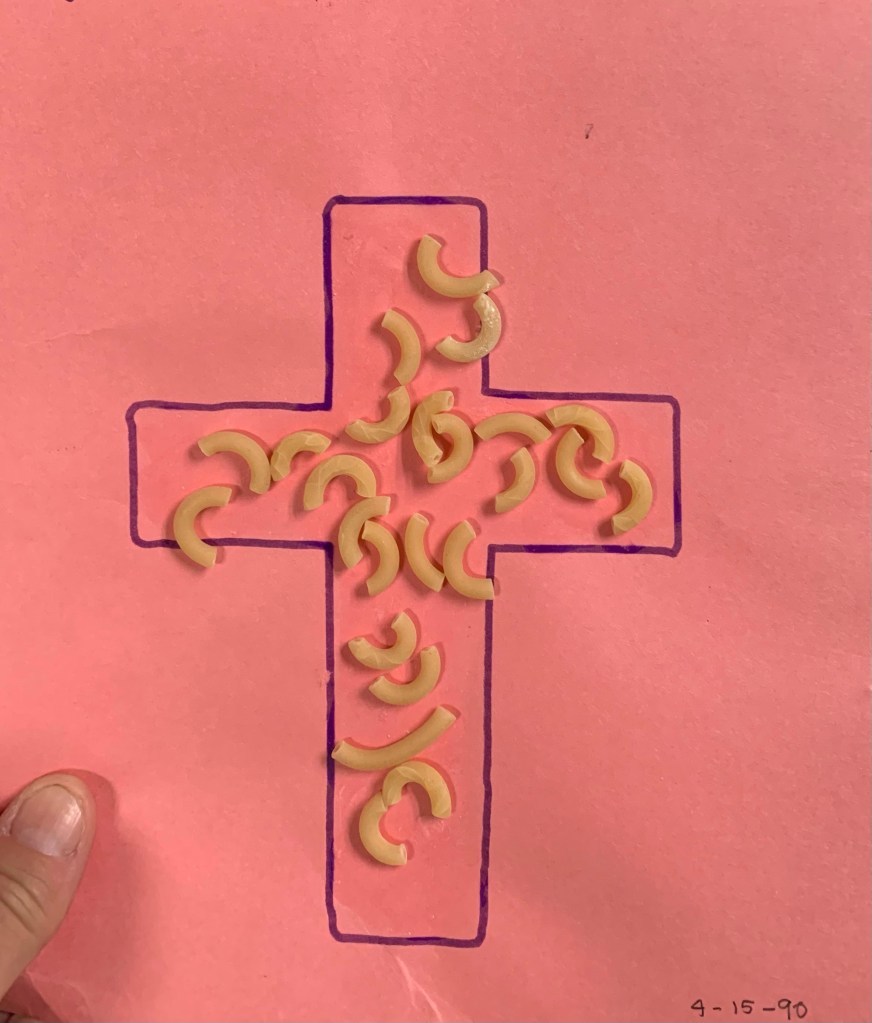
I have found some real treasures while cleaning out! This was made by my son.
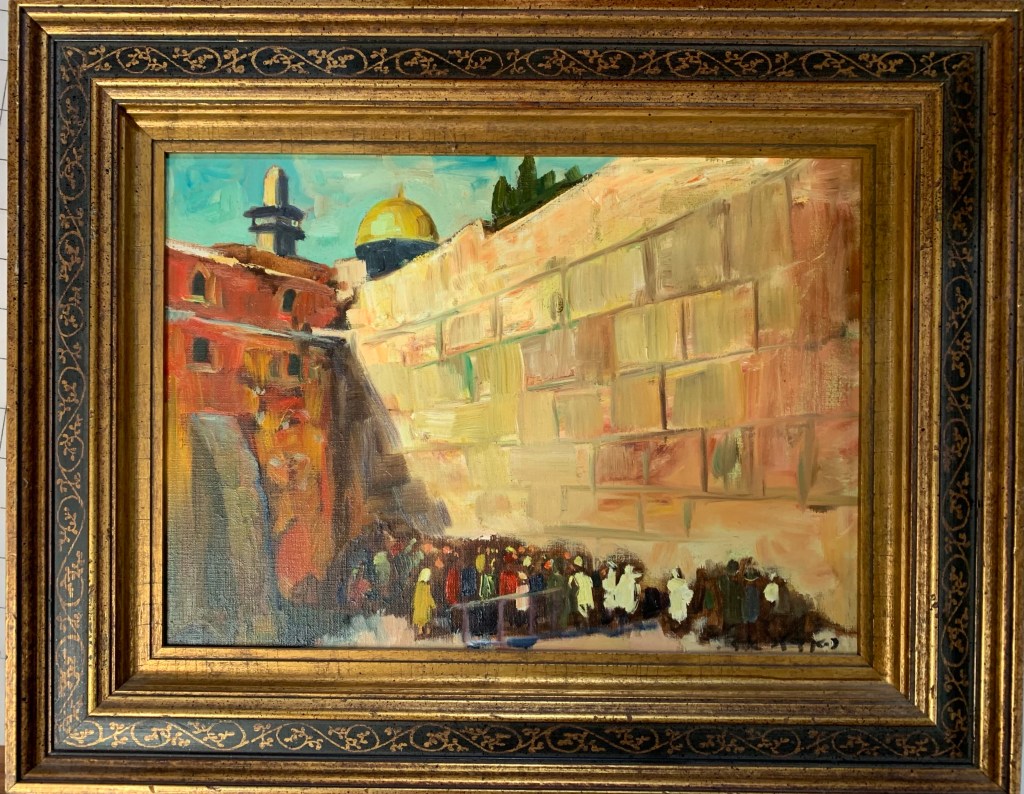
Speaking of treasures, I picked up this painting about 20 years ago at a garage sale for $2.50. I found it in a closet while cleaning.
I could never decipher the signature, but now it looked familiar. Daughter #3 just acquired a painting by the same artist. The signature is in Hebrew. The artist is Adolph Adler. Turns out my painting is semi valuable.
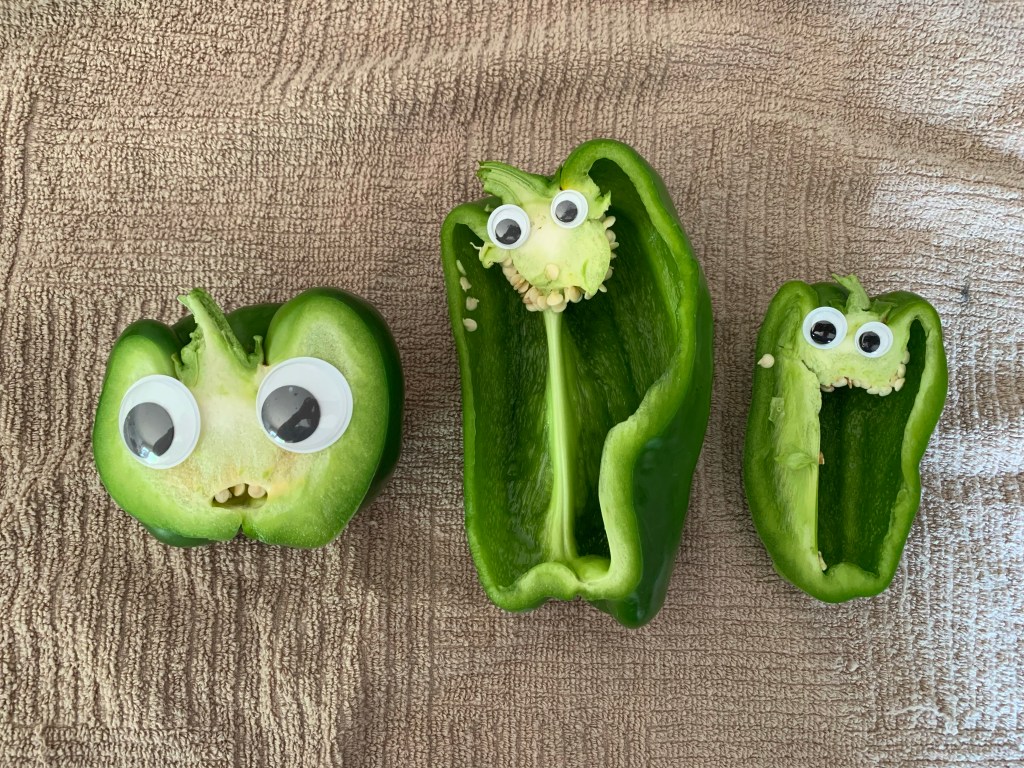
I also found some googly eyes and had to play a bit while making dinner the other night.
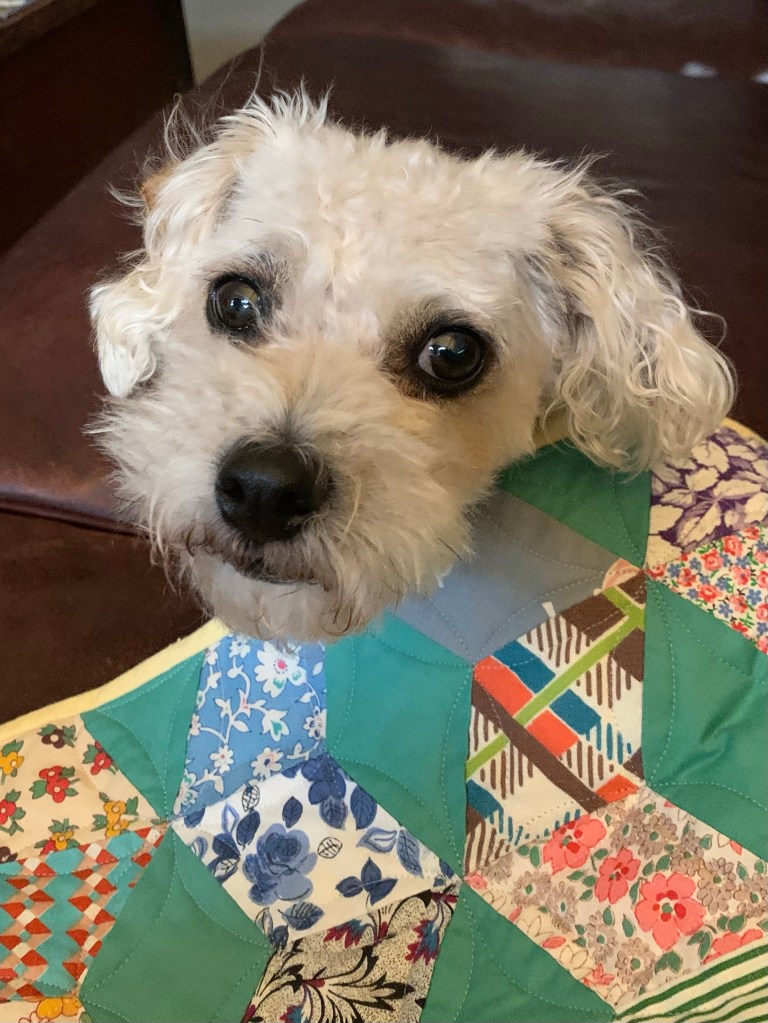
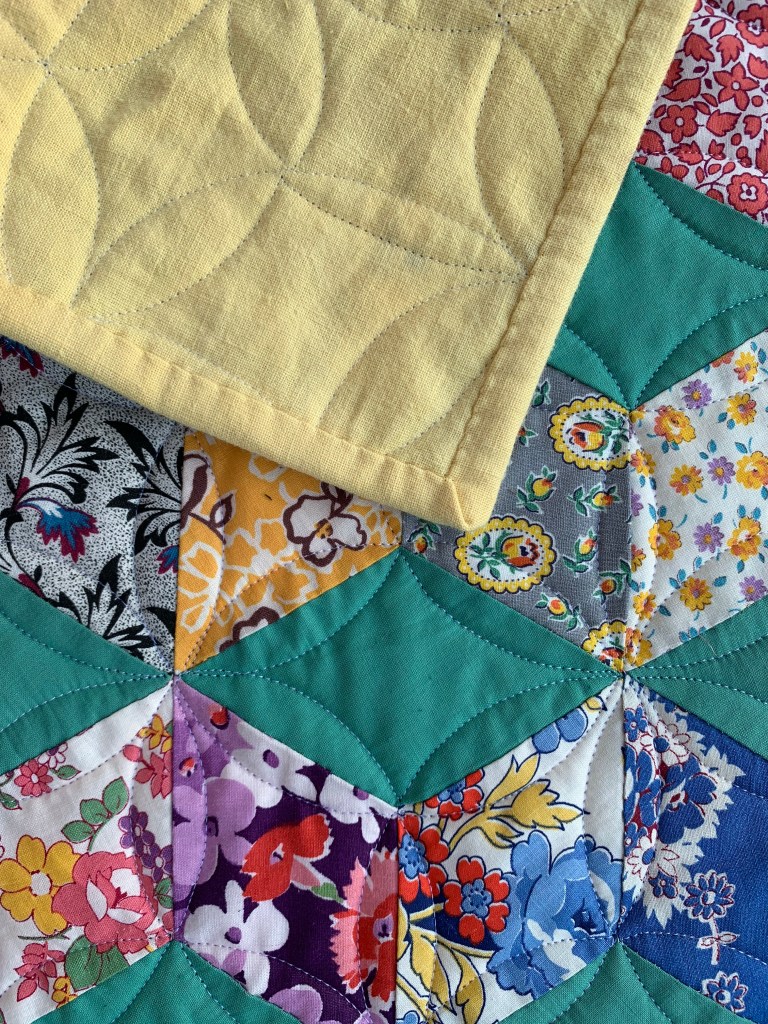
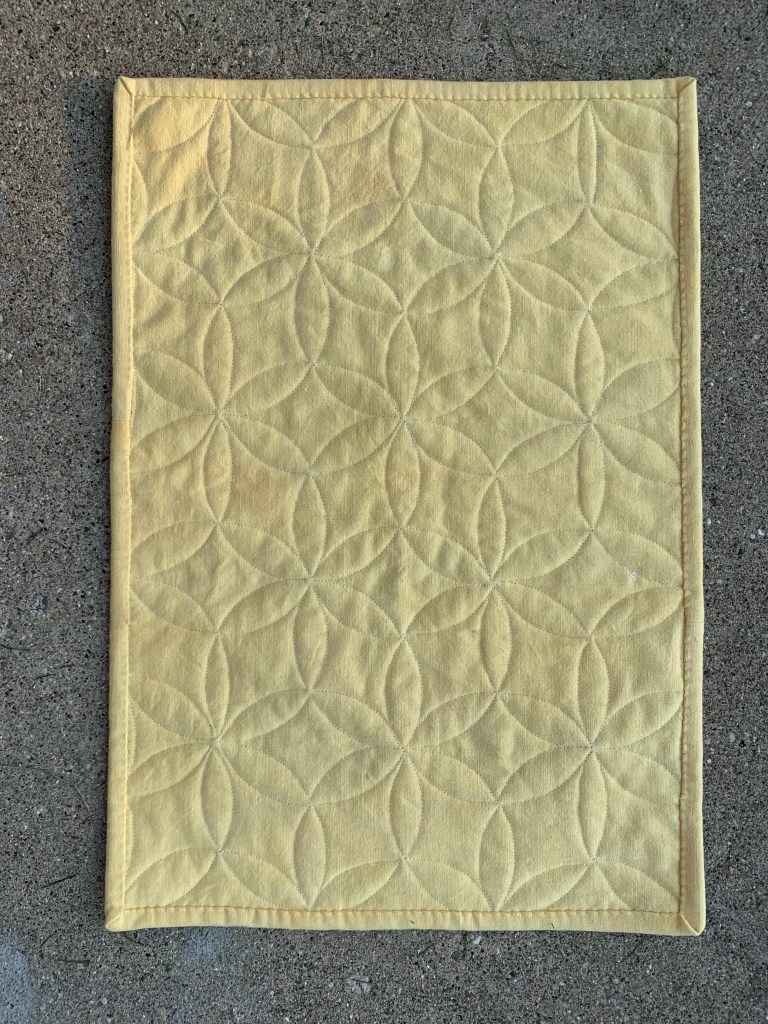
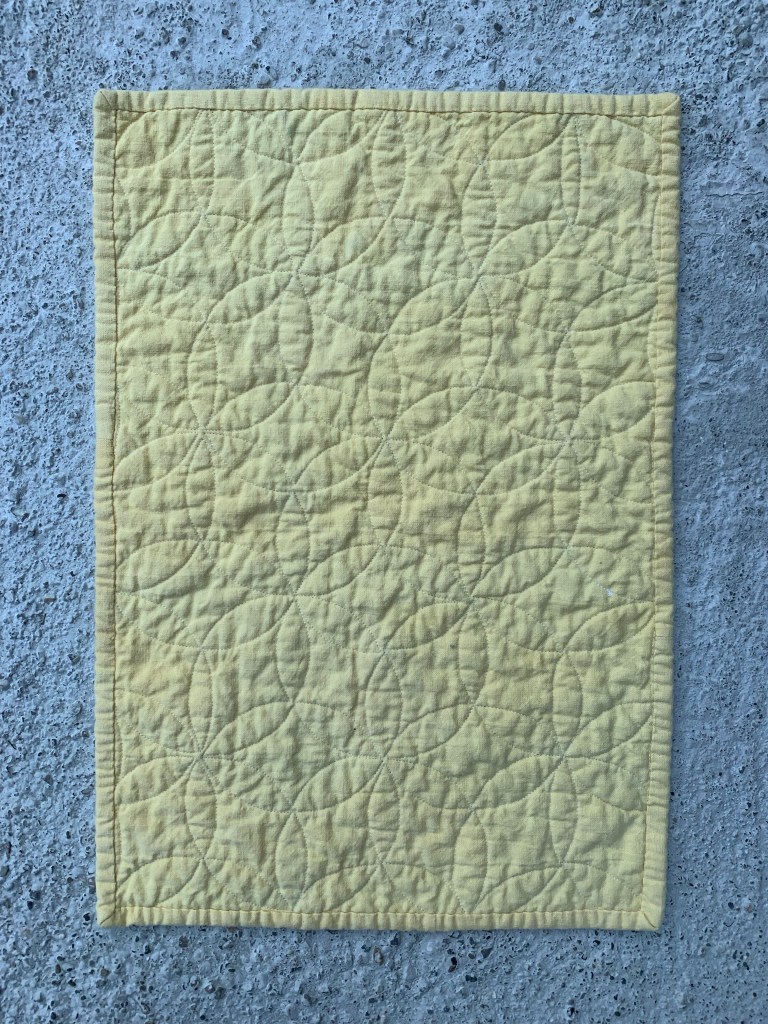
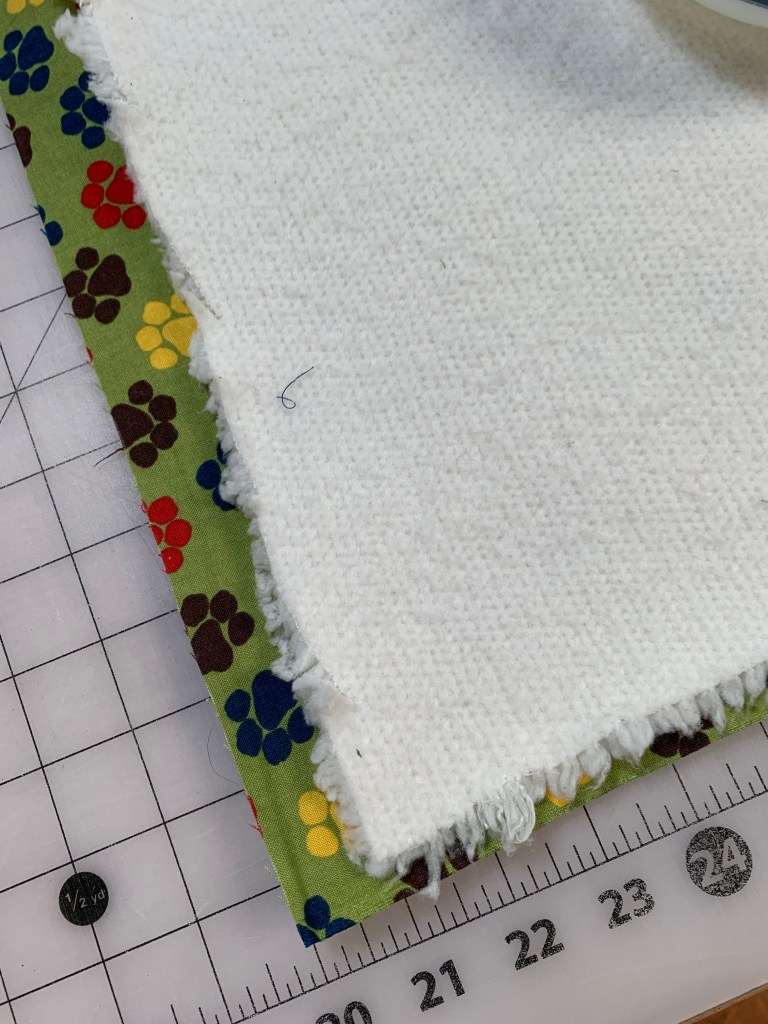
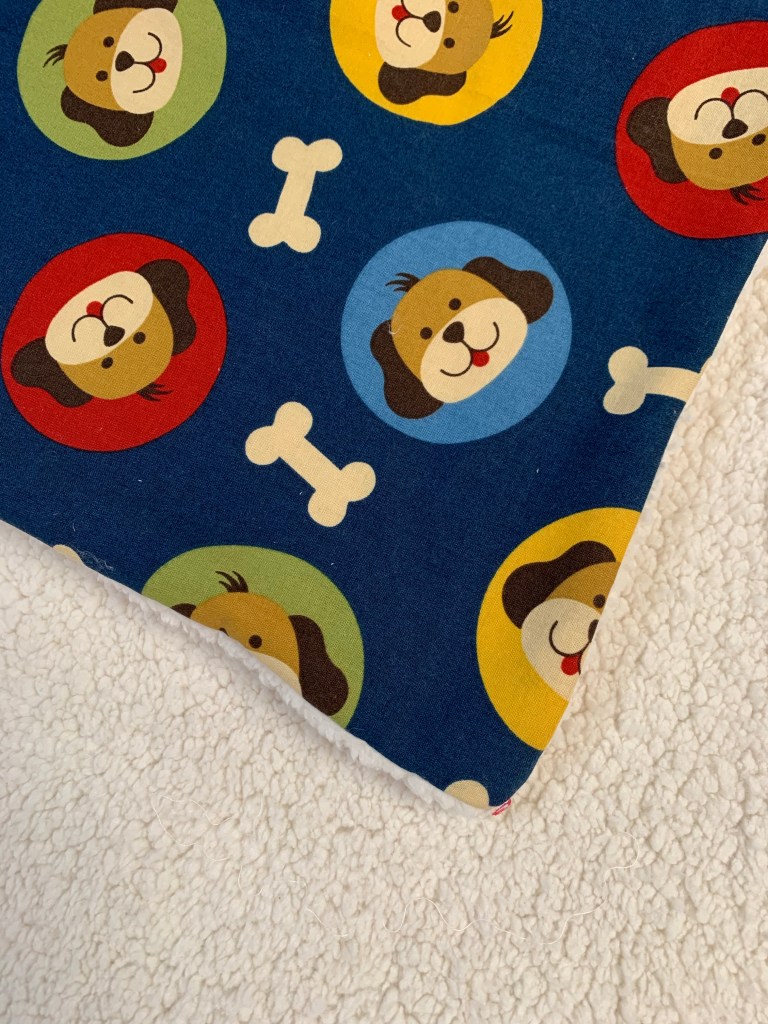
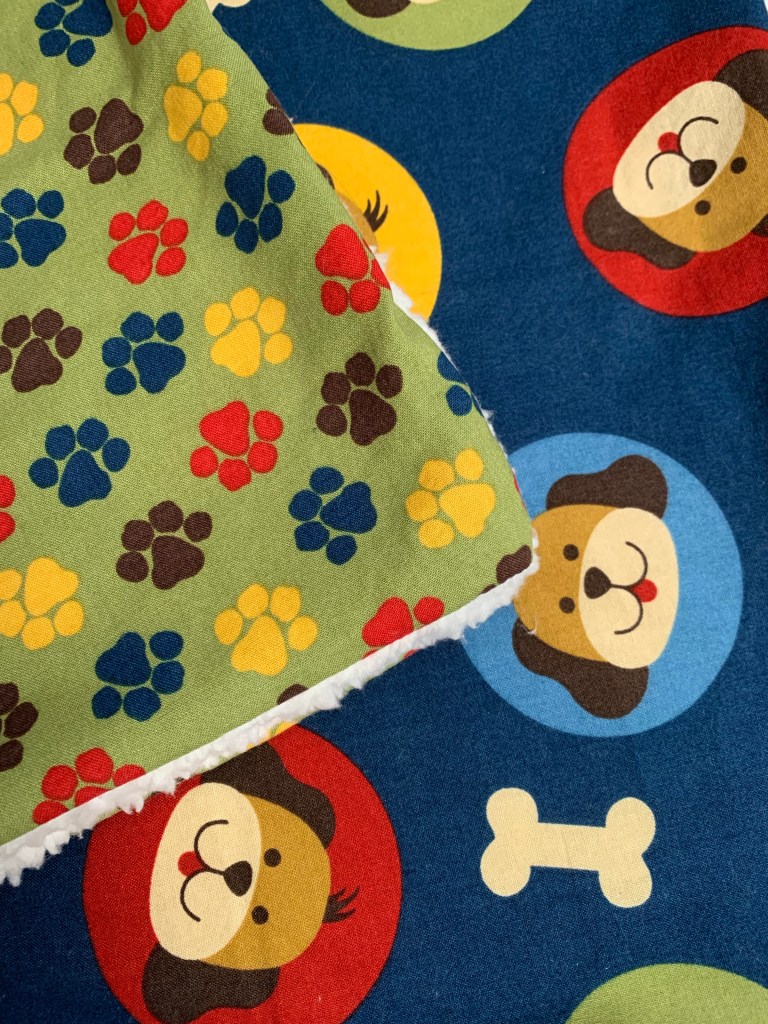
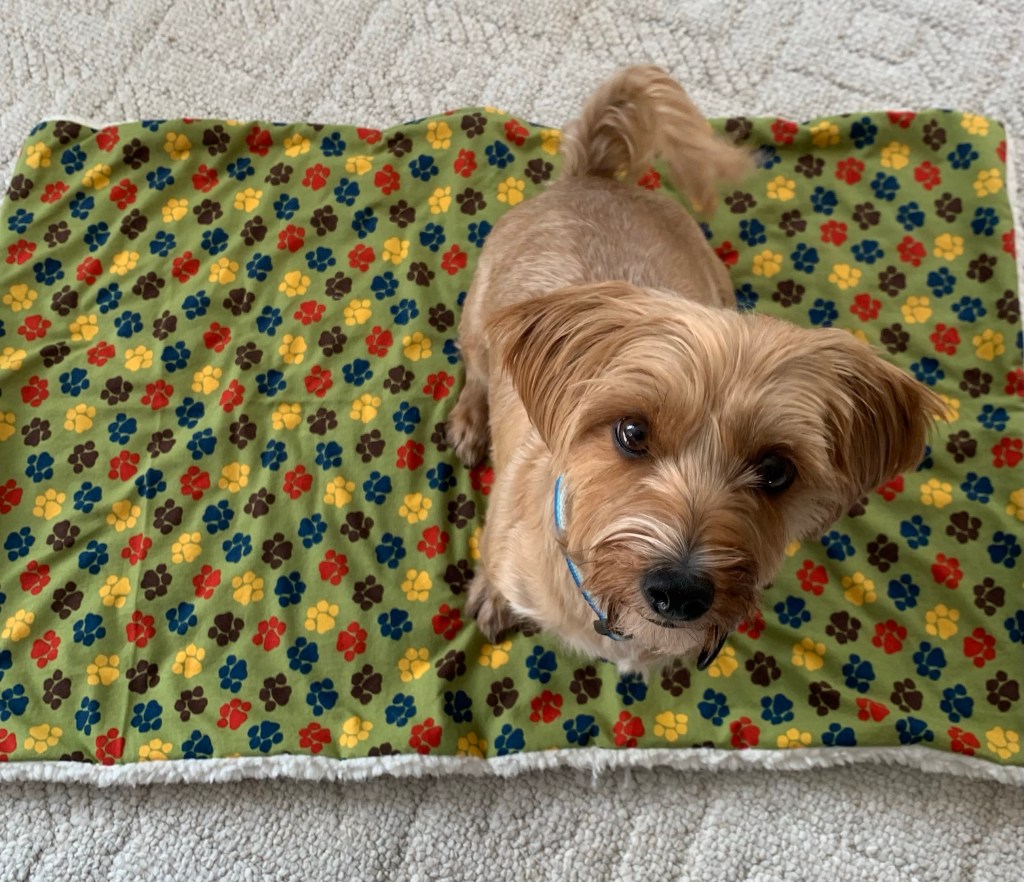
I most certainly cannot ignore a holiday for celebrating dogs, could I? I made blankets for my babies to celebrate the day.
I had these puppy print fabrics for a long time. While sorting fabric I found a piece of this soft, fuzzy stuff. It was just the right size for two small blankets. I just layered the pieces right sides together and sewed around the edges, leaving an opening for turning.
Then I topstitched the opening closed.
Also, today my very first post as a GO! Getter on the Accuquilt Blog is going live!
I hope you’ll stop by and check out some of the secret sewing I’ve been working on.
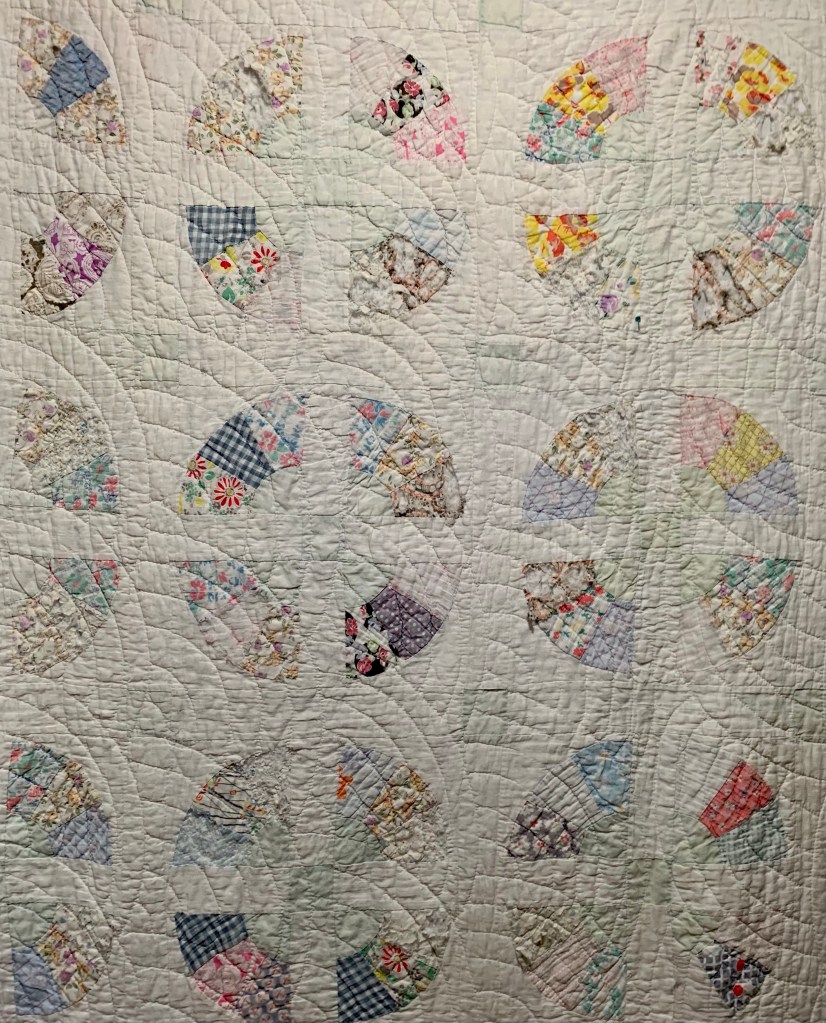
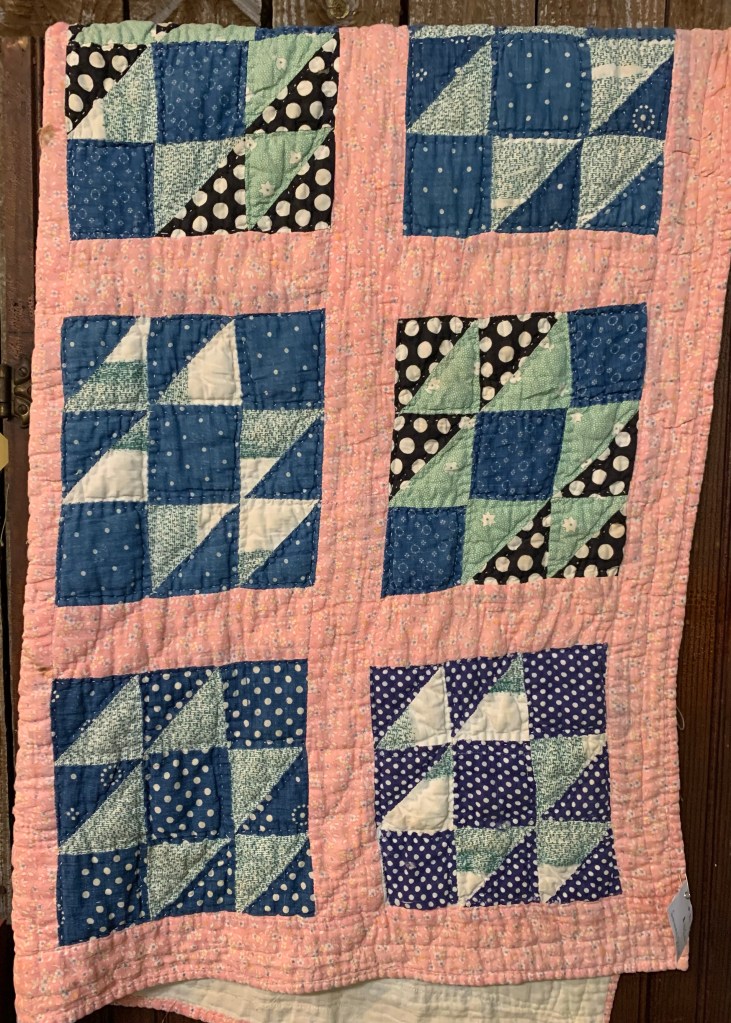
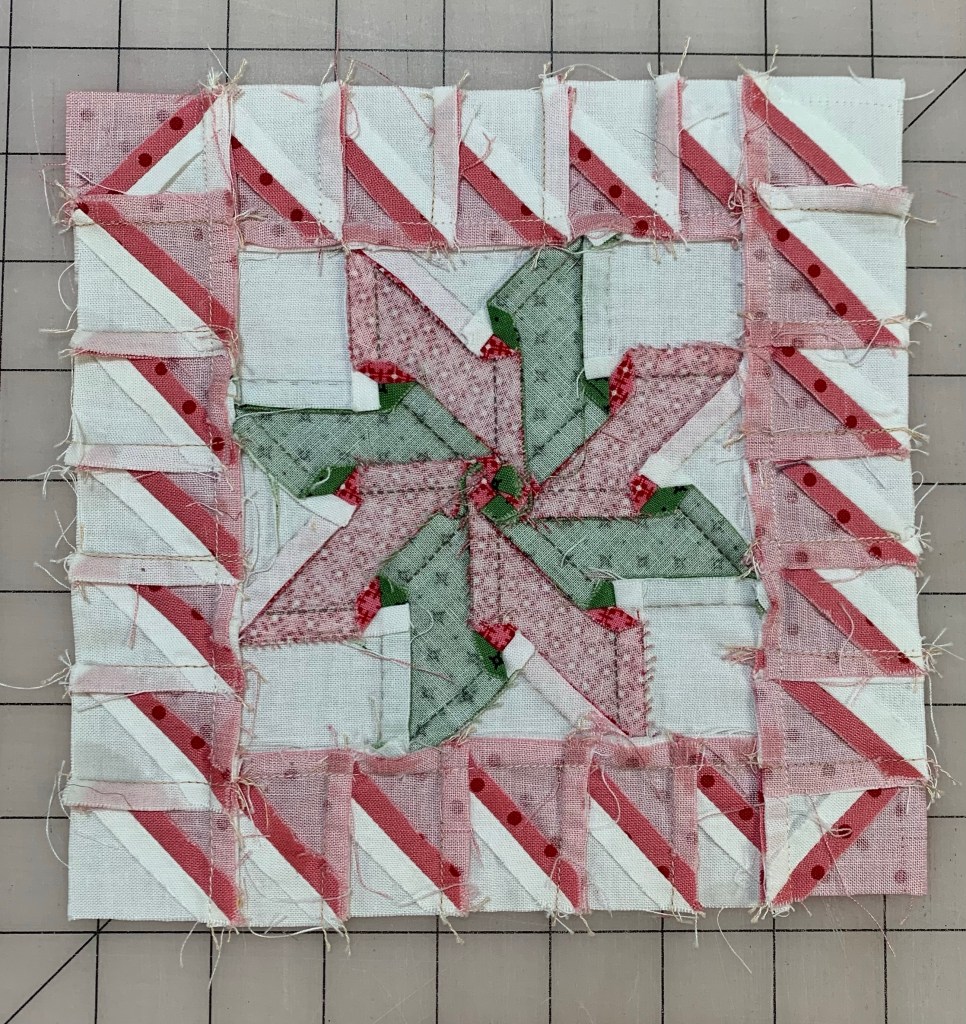
Mr. Wonderful and I went wandering through an antique mall last weekend. I didn’t buy anything, but it’s always fun to look. Here are the quilts and things that caught my eye.
Quilt TopInteresting basket handles!
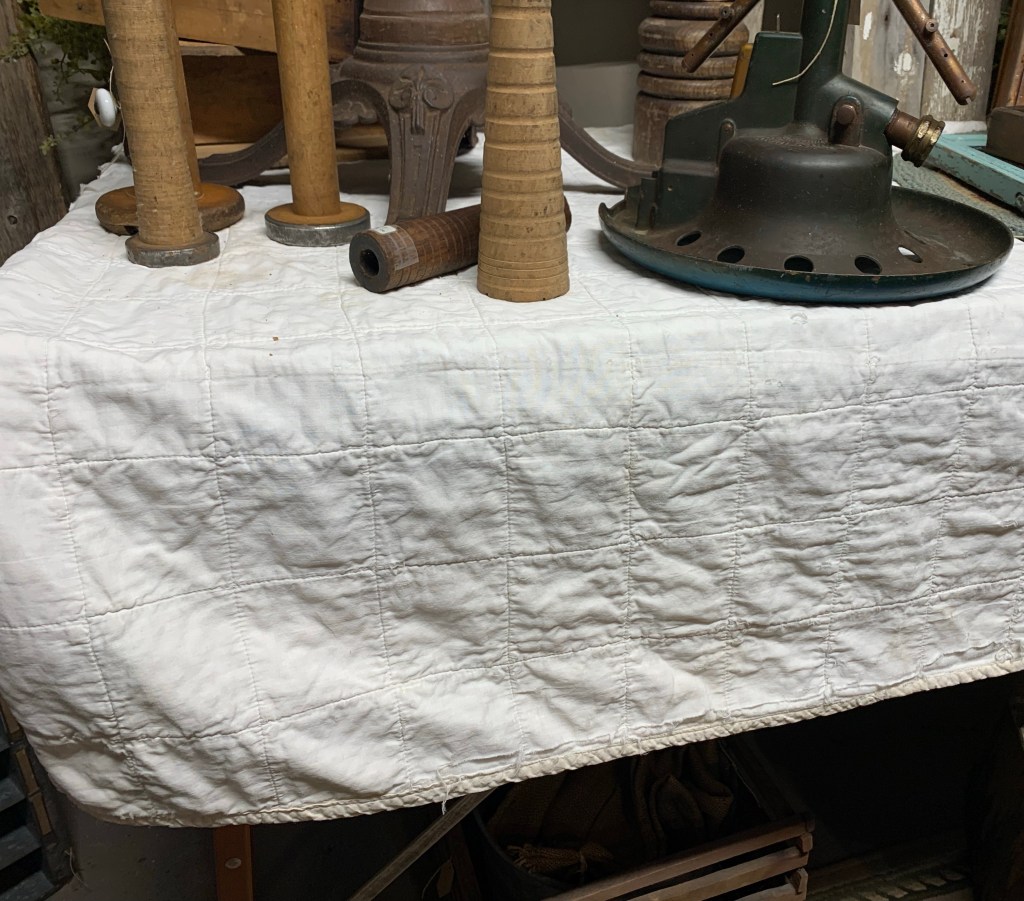
I saw the quilt above and had to get a look at the other side. Here it is.
Darling!BlocksWell loved.
I just love these old quilts! I always wonder about the person that made them.
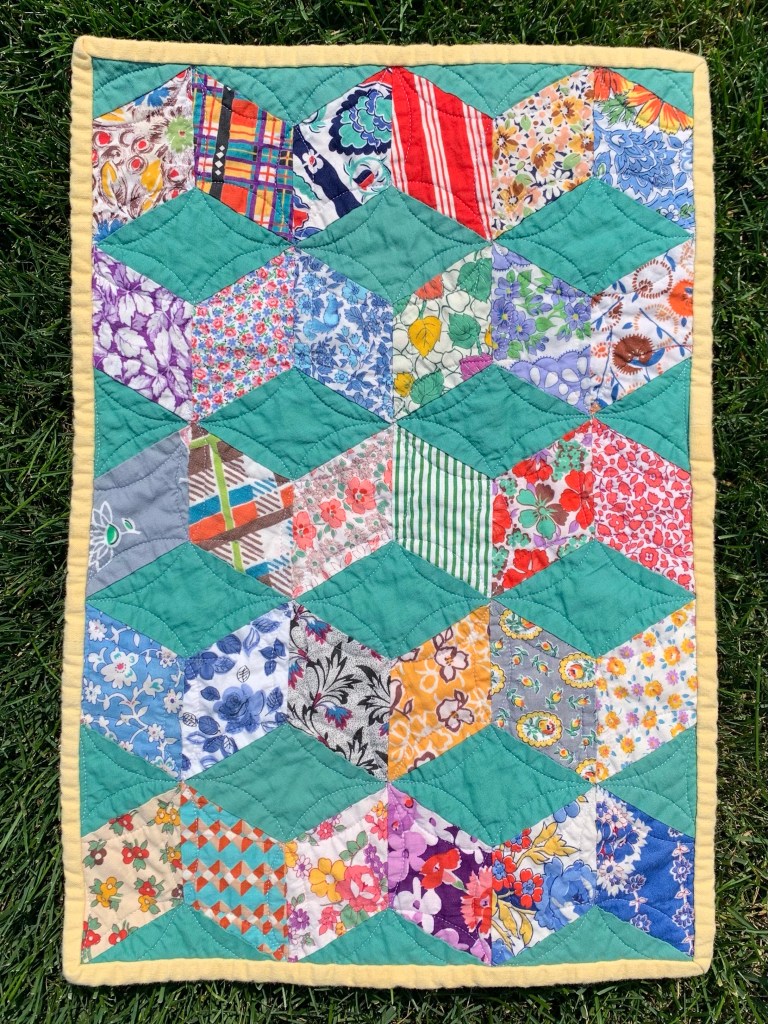
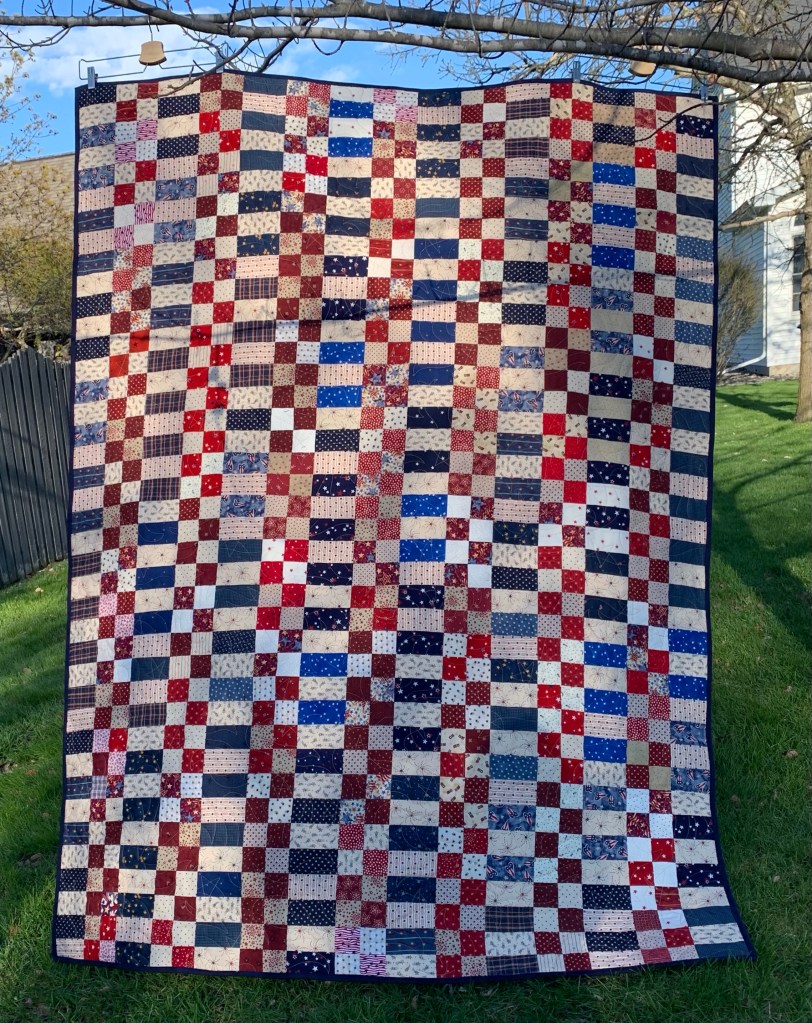
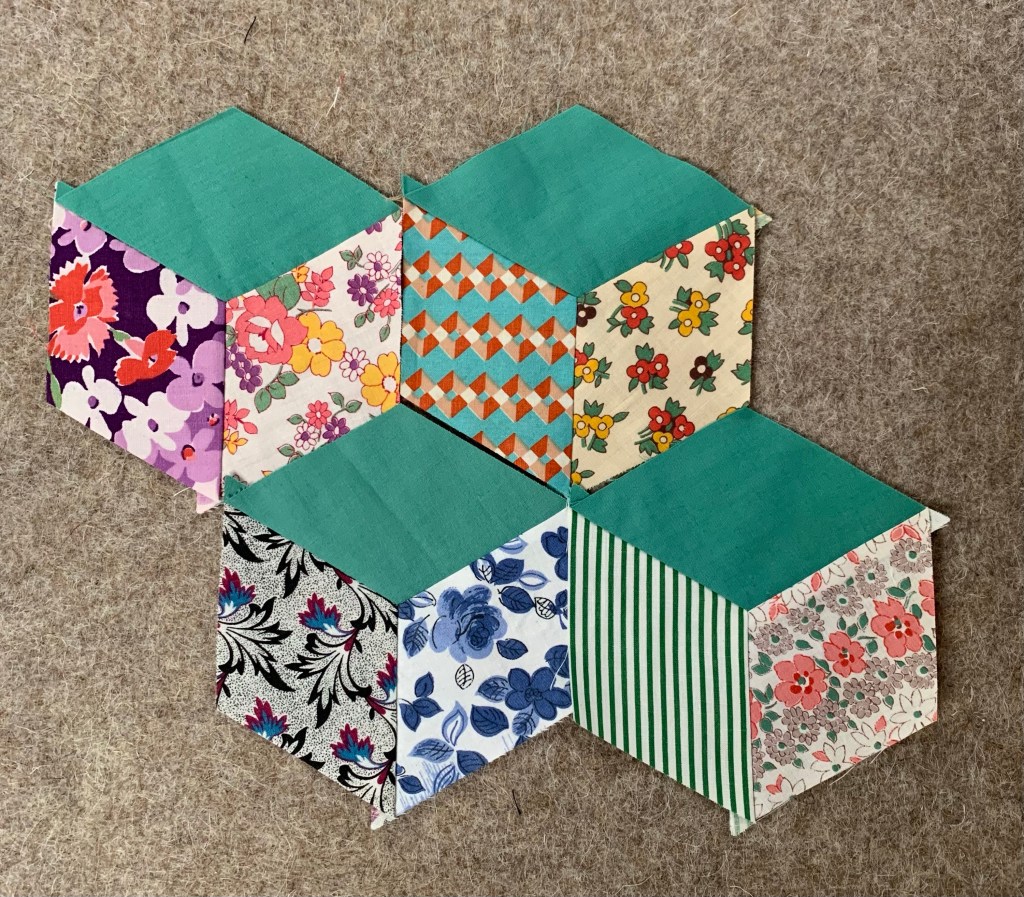
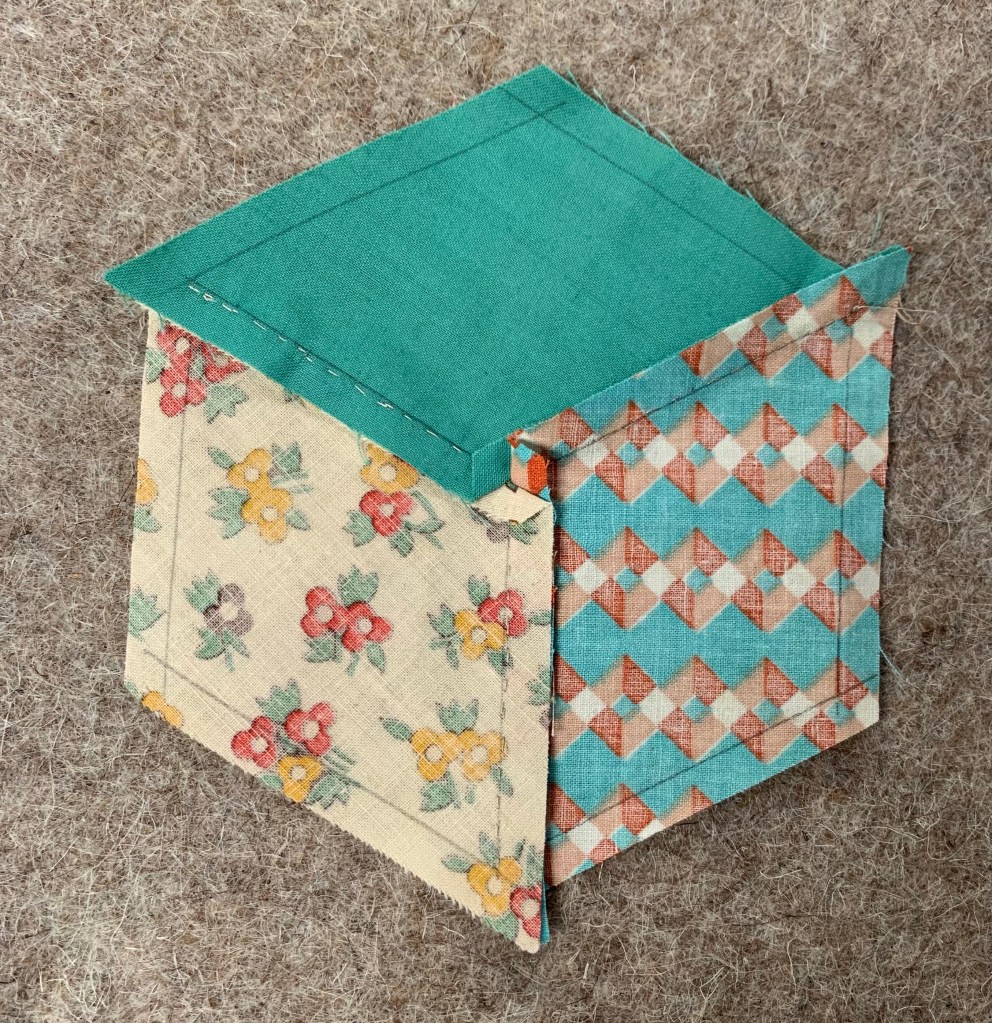
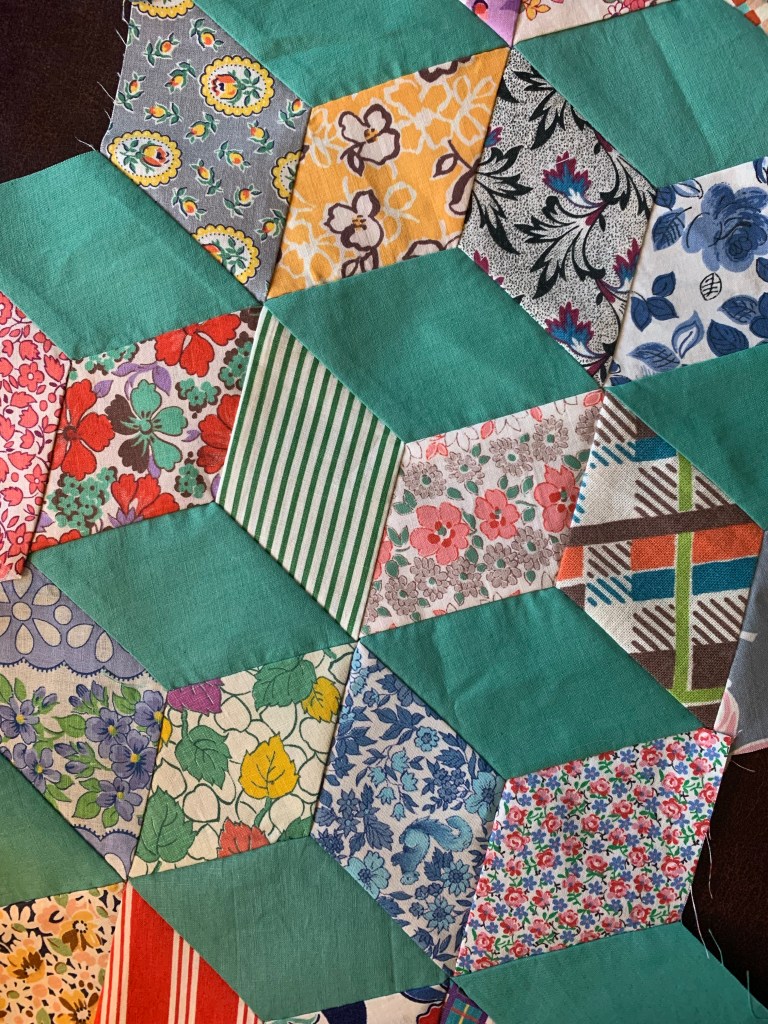
Are you ready to get started on our Quilt Along? I sure am!
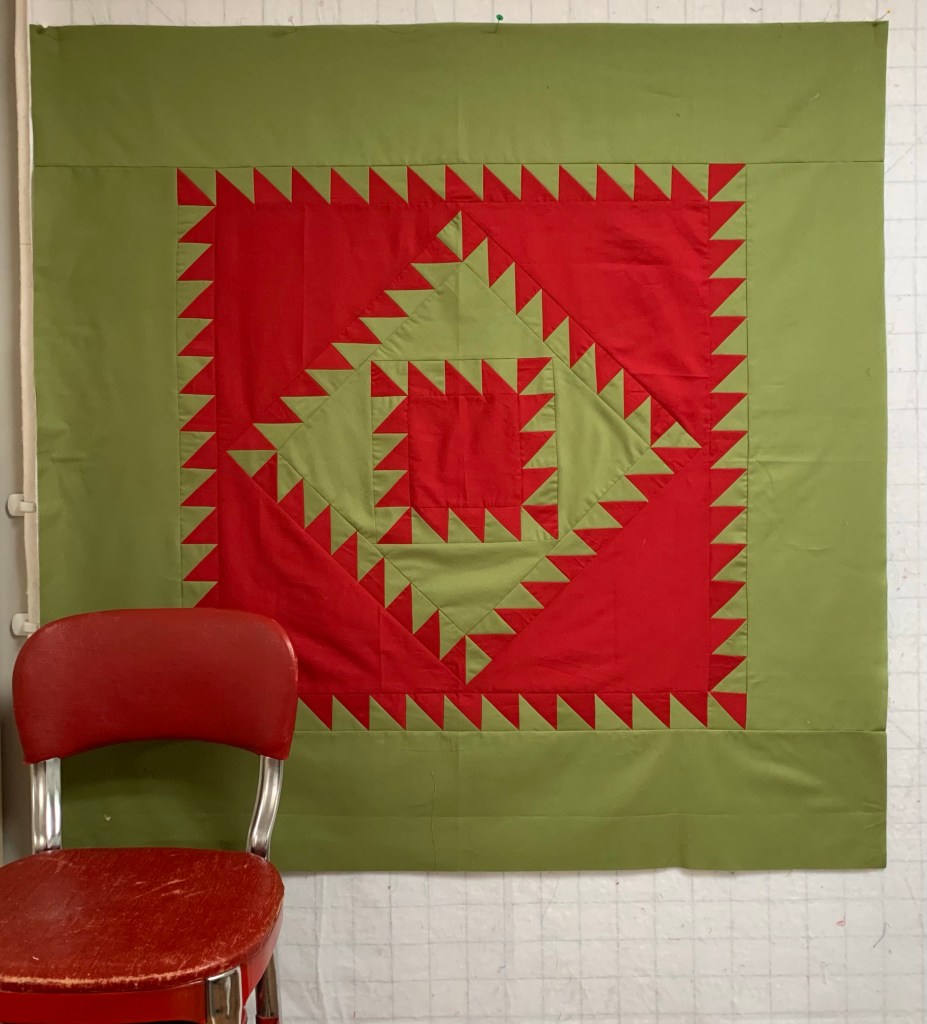
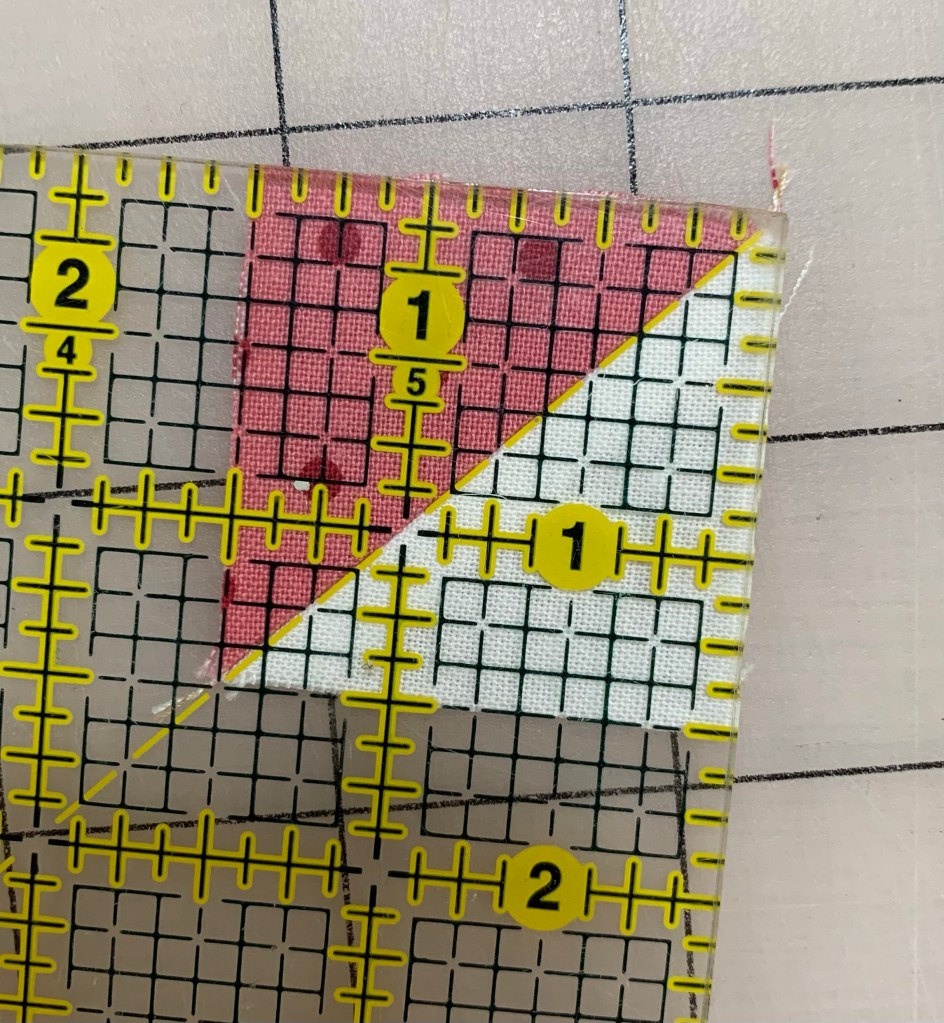
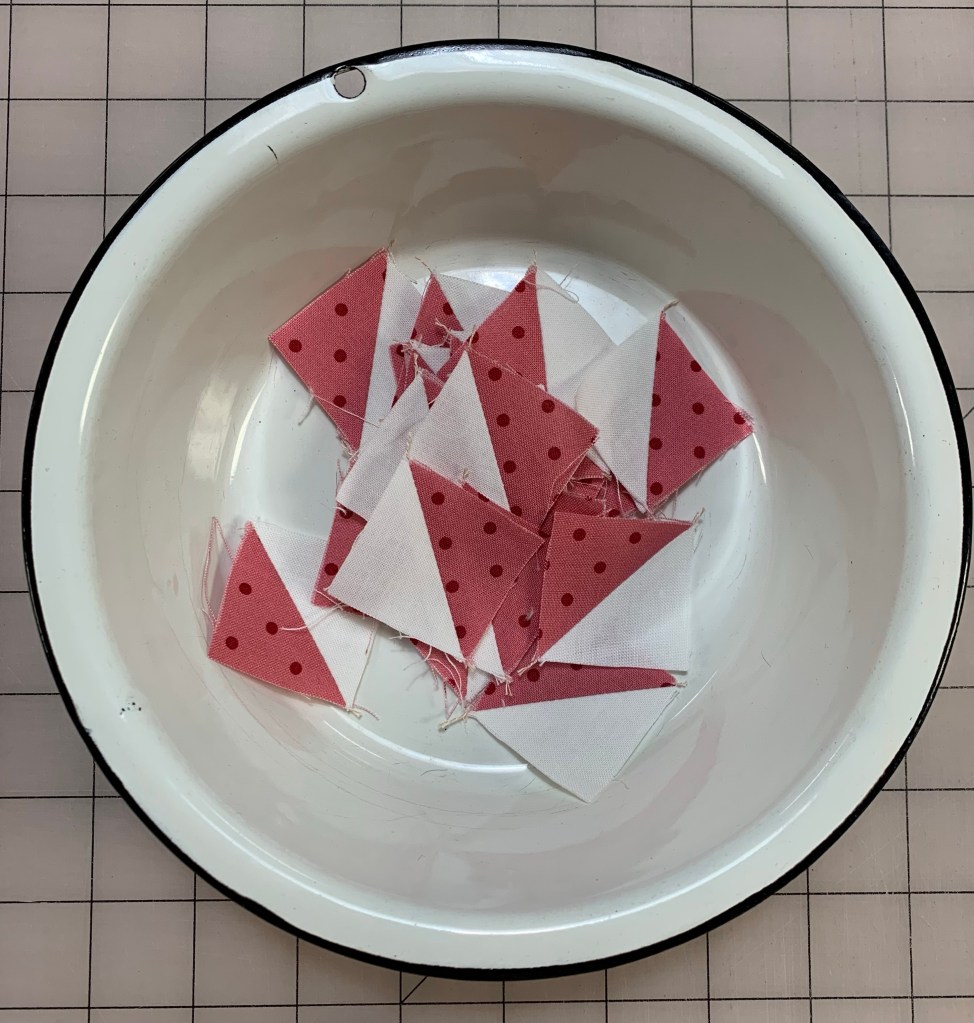
Today I’m giving instructions for cutting your scraps. If you recall, you need half lights and half darks. Also, I’m giving directions for the quilt with larger pieces and Deanna has directions for the quilt with smaller pieces on her blog, Wedding Dress Blue. The quilt shown above was made with the smaller pieces.
Let’s start with squares.
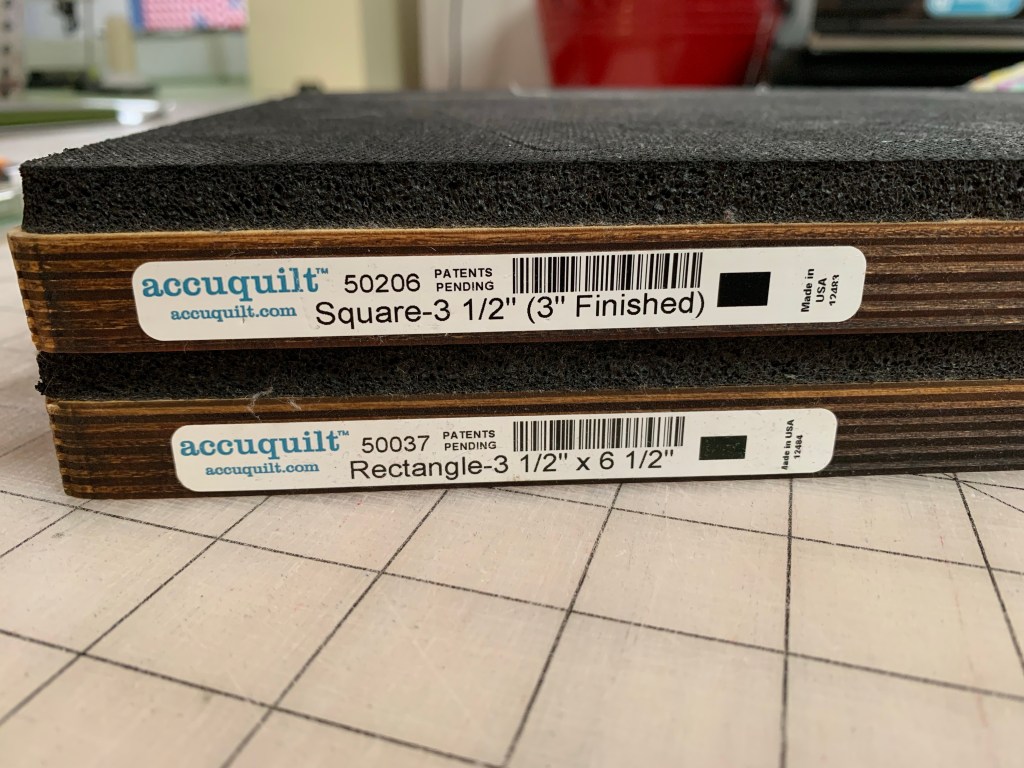
You will need to cut 130 light squares at 3 1/2 inches. You also need 130 dark squares cut 3 1/2 inches. Easy peasy!
Next up, rectangles! Cut 78 light rectangles that measure 3 1/2 inches by 6 1/2 inches and 78 dark rectangles in the same size.
I used my Accuquilt studio die cutter and these dies, but a rotary cutter and ruler will get the job done as well. If you have an Accuquilt GO!, you can use dies 2 and 8 from the 12 inch Qube.
You may notice in the quilt above, that I used red squares and neutral squares. My rectangles are all blues and neutrals. For the one I’m making for the QAL, I’m sticking with red, blue and neutrals, but I’m cutting squares and rectangles out of each.
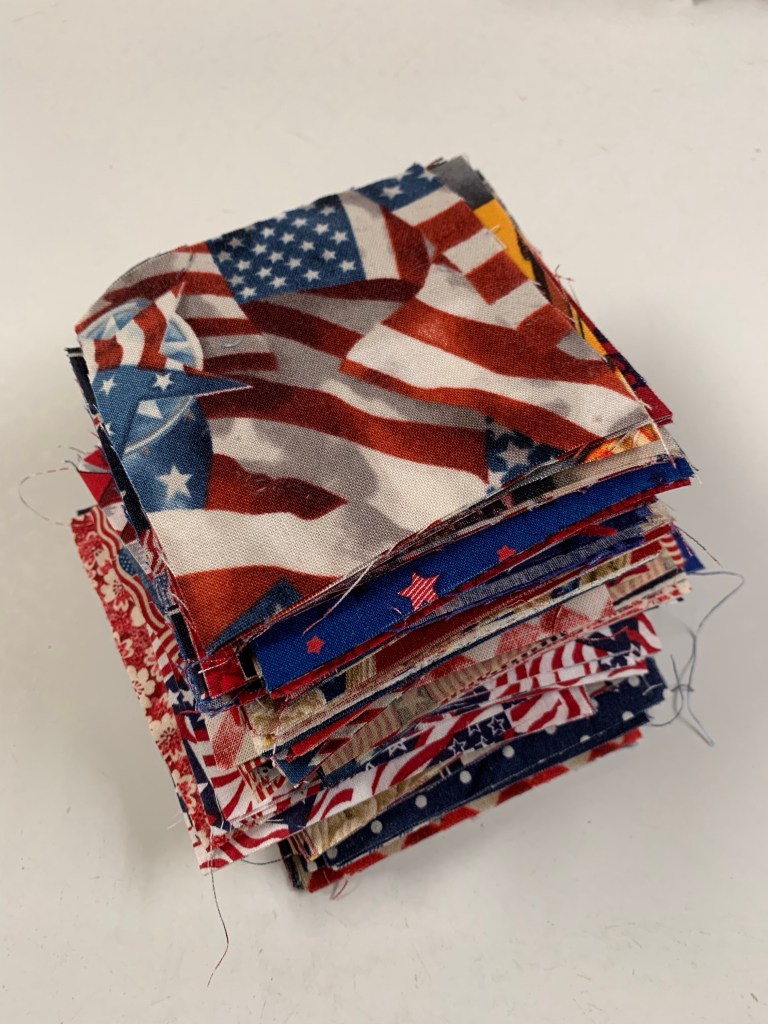
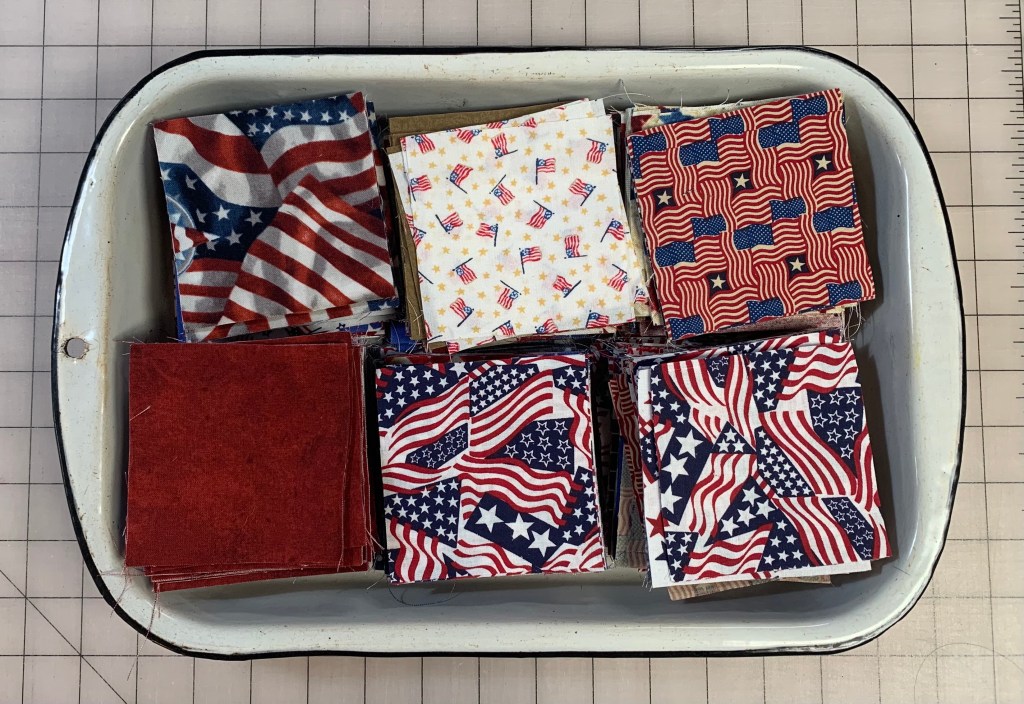
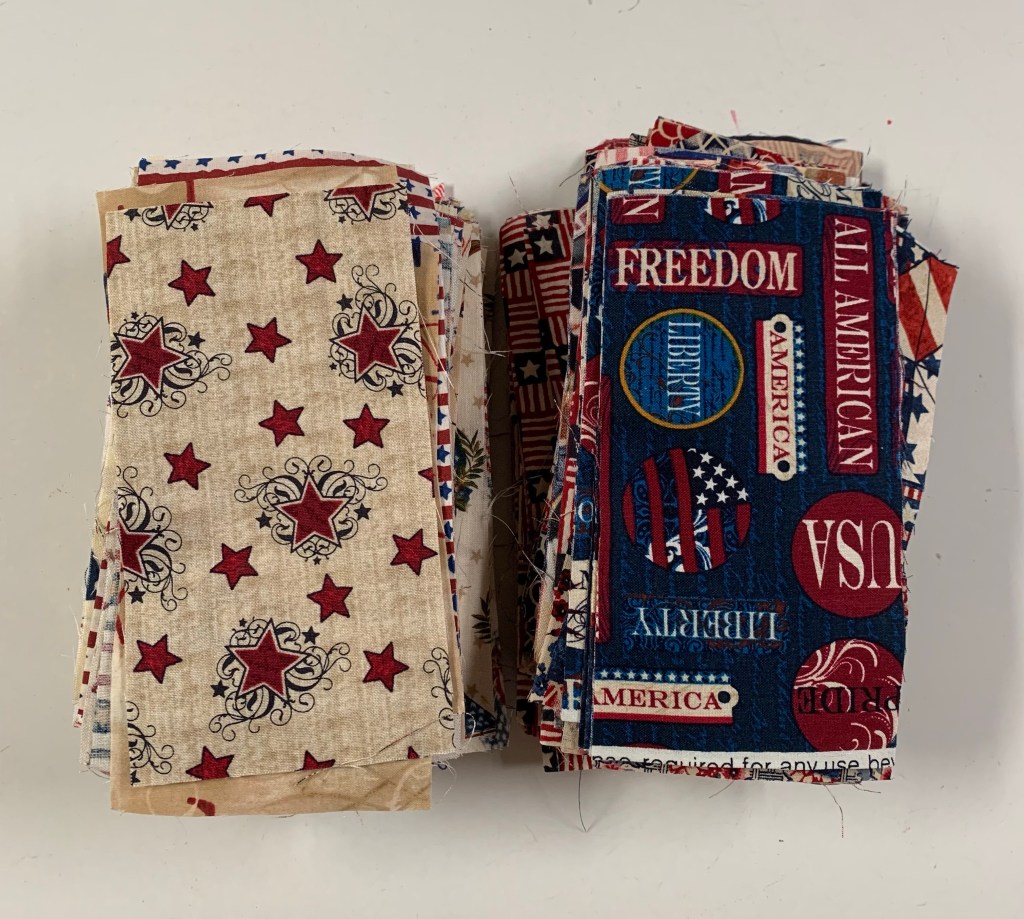
If you had tons of blue scraps, the whole thing could be blues and neutrals. Or make the entire thing out of multicolored scraps! Your quilt, your choice. Brights, Civil War or 30s repros, let’s clean out those scrap buckets!
Someone asked if I planned to keep all my neutrals in the cream or white families. Someone more orderly might choose one or the other. I’m throwing them altogether in mine. You do you!
You have two weeks to get your cutting done. We will pick up on September 7th with your first sewing instructions.
Have a great day!
PS Just a quick reminder that this is your last chance to register for the Accuquilt Live Mix and Match event today at 12 PM Central Time. Also, you can get 25% off your order when you purchase a GO! Die with the code, DIES25, and free standard shipping on orders over $100. Just click here. See you soon!
I pieced this top last winter in Arizona. I love it! Which is exactly why it is not yet quilted.
I’m afraid of ruining it. I want curling feathers in the borders. Perfect, formal feathers. I’ve never done this. But I think I’m finally ready to try. I’m doing some marking. I’m using this to mark.
I’ve always been very happy with this. It marks nicely and washes out easily.
I pulled out my circle templates to mark my border.
I ended up marking my spine with the four inch circle.
Now I’m stuck on what to do in the triangles. I’m going to study these tonight and see if I can come up with something.
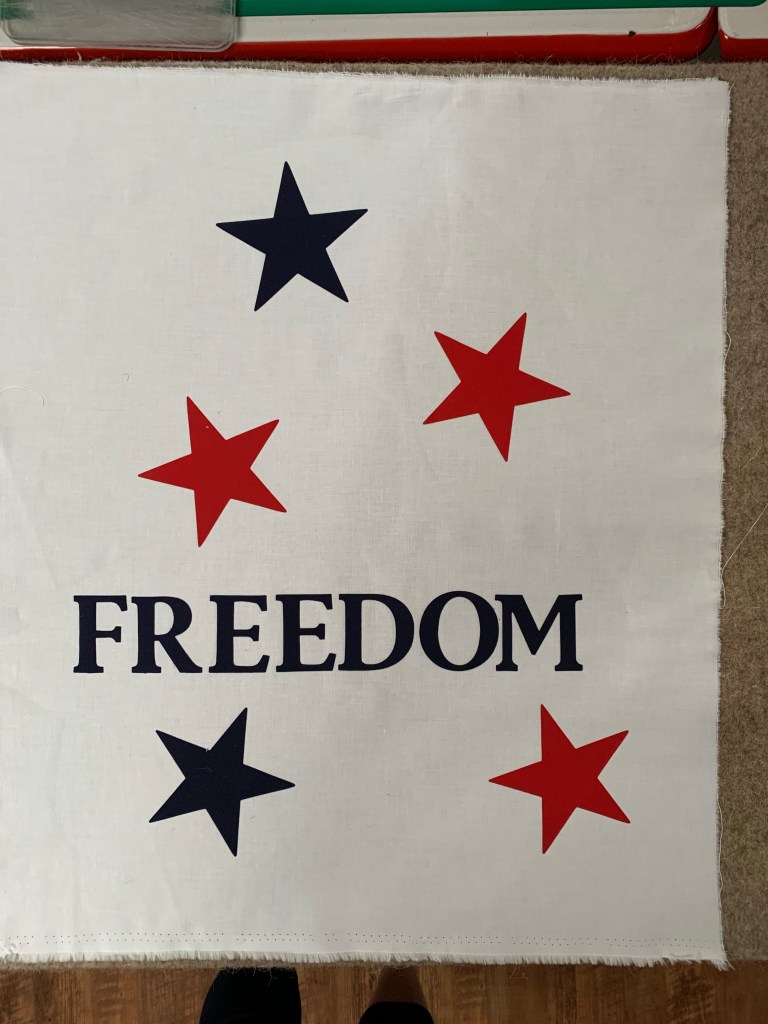
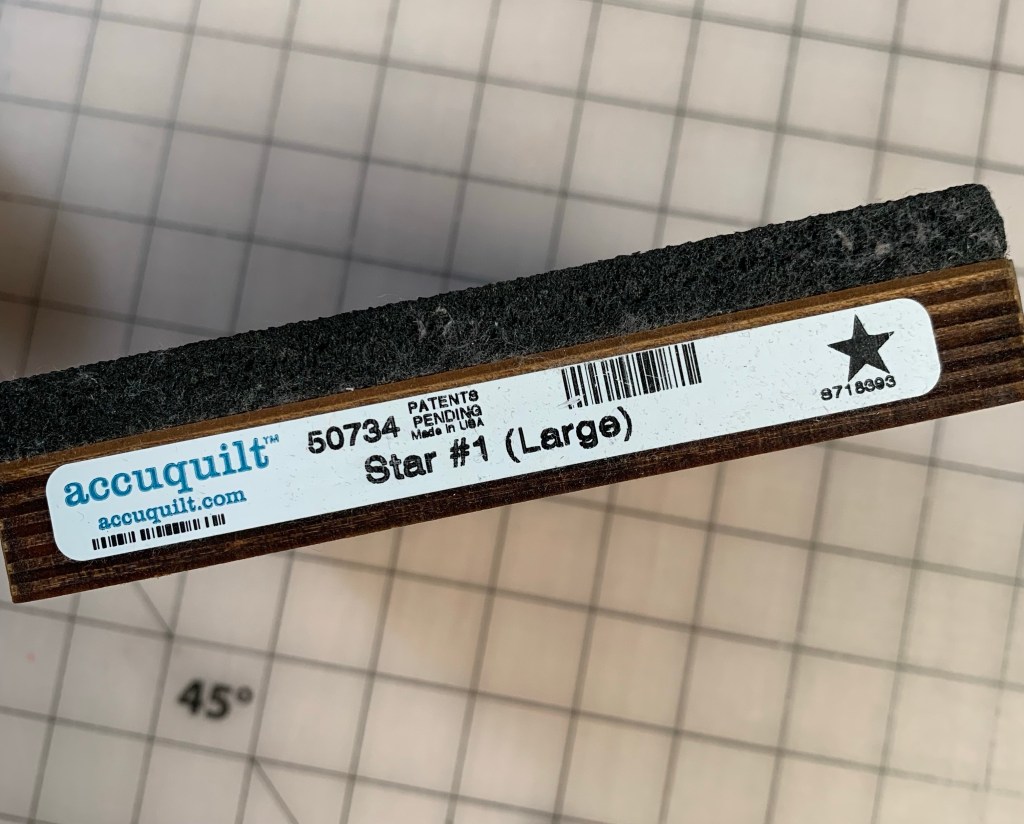
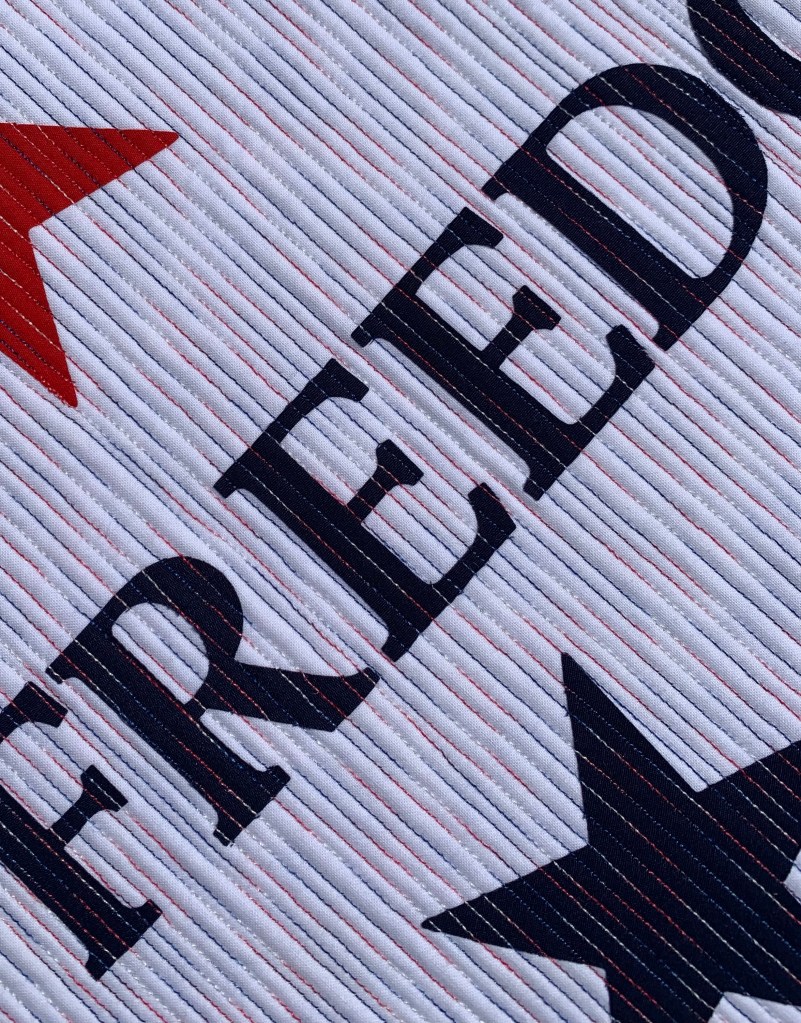
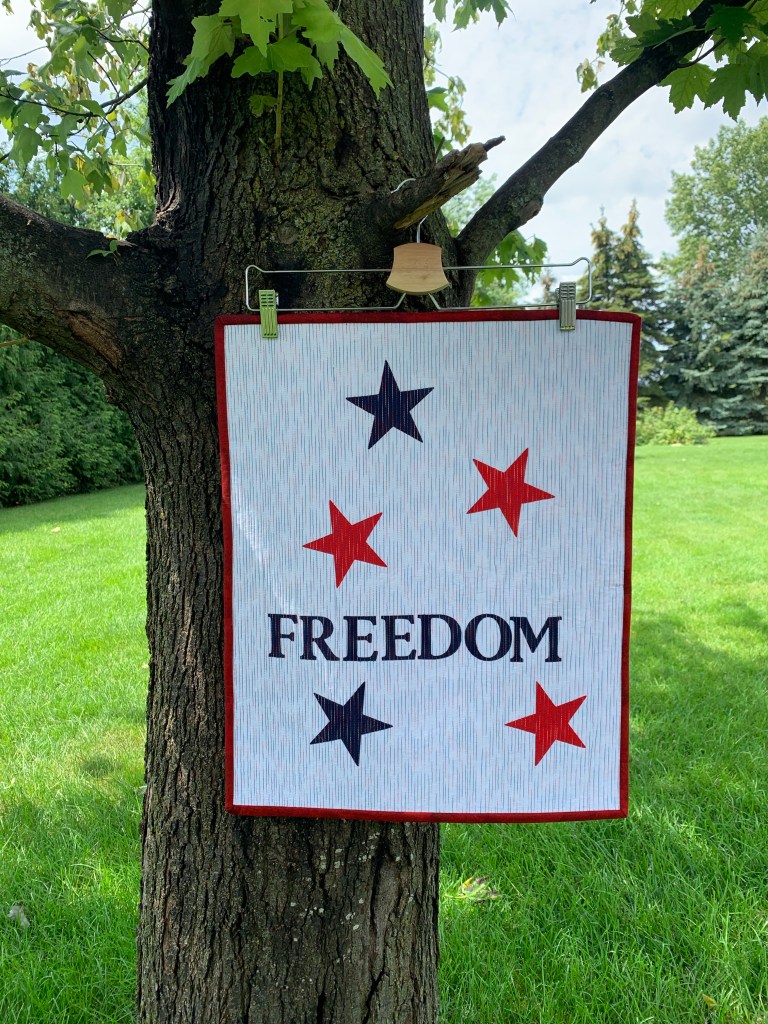
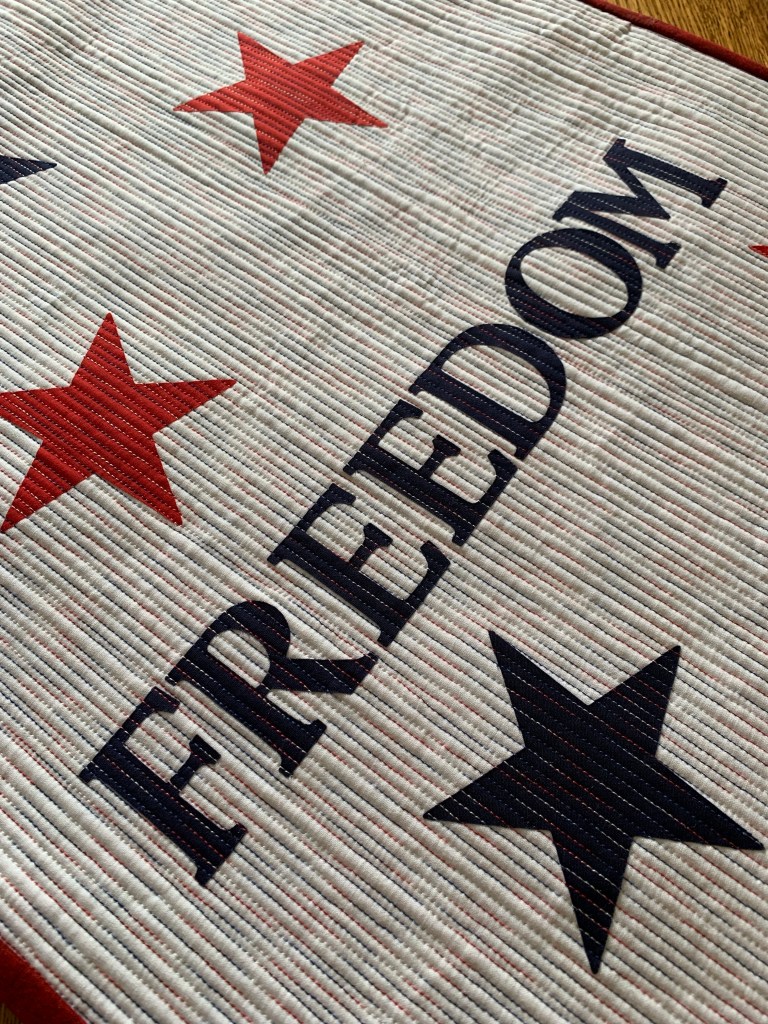
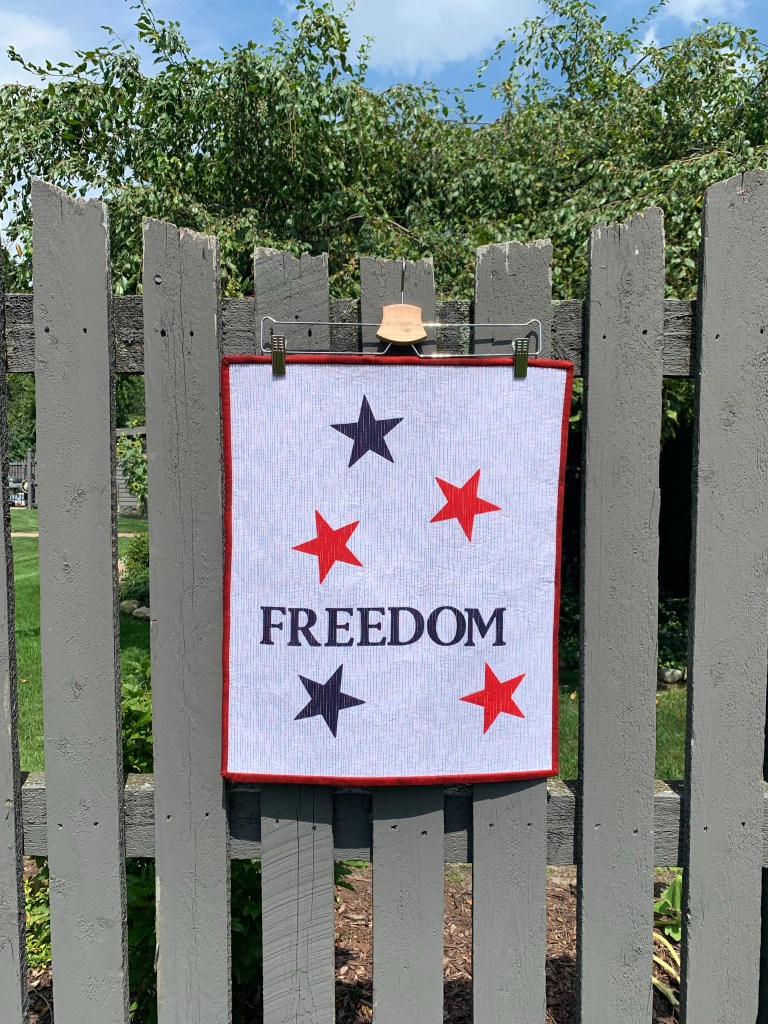
I used this Accuquilt studio die to cut my stars. They also have star dies to fit the Accuquilt GO!
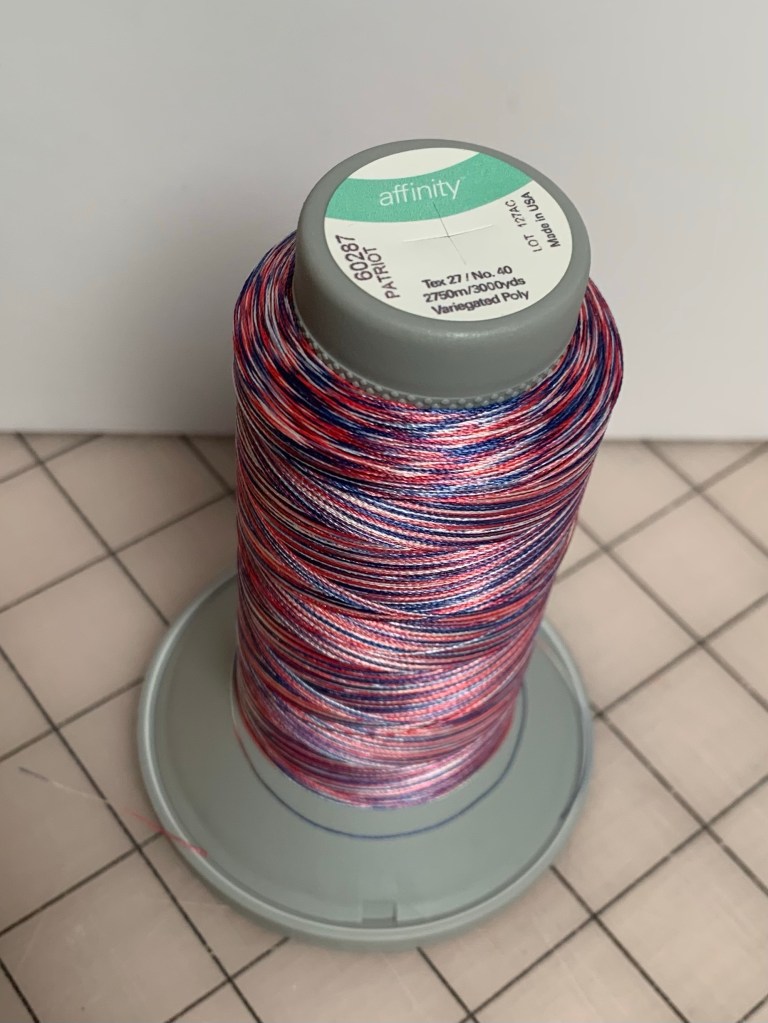
I originally wanted a print background, but I couldn’t find anything in my stash that I was happy with. Then I remembered I had this variegated thread.
I decided to use that to break up the white background. I used this American flag print for the backing.
I love the effect of the variegated thread!
Accuquilt has free embroidery files that you can download to finish the edges of these shapes with an embroidery machine. I decided to just fuse the shapes down and then quilt closely to hold them in place.
Love the texture!
“Freedom is never more than one generation away from extinction. We didn’t pass it to our children in the bloodstream. It must be fought for, protected, and handed on for them to do the same, or one day we will spend our sunset years telling our children and our children’s children what it was once like in the United States where men were free.” ~ Ronald Reagan