Buckeye Progress

Thanks for all the great advice regarding EQ8. I’ve decided to go for it. I’m also looking into the classes suggested by several of you to get the most out of this investment. If you are interested in a great video preview, click here.

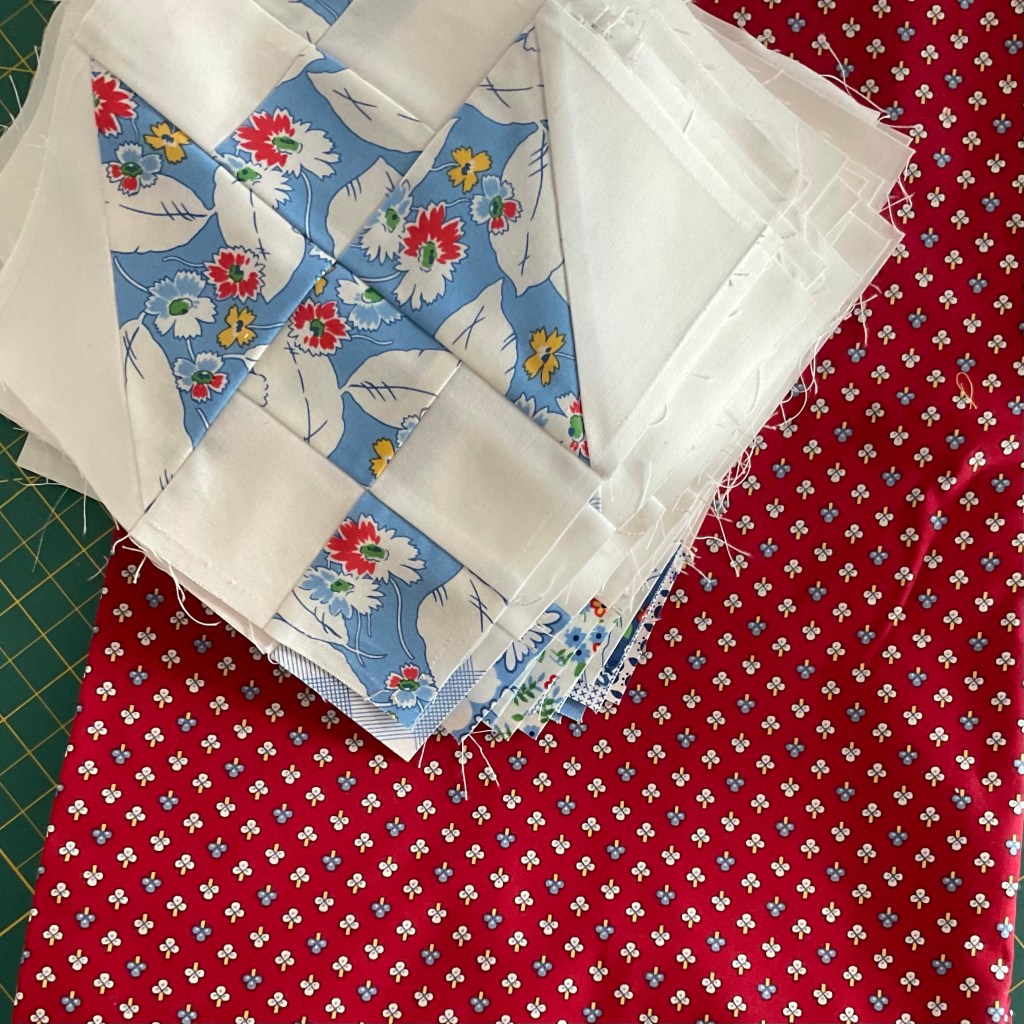
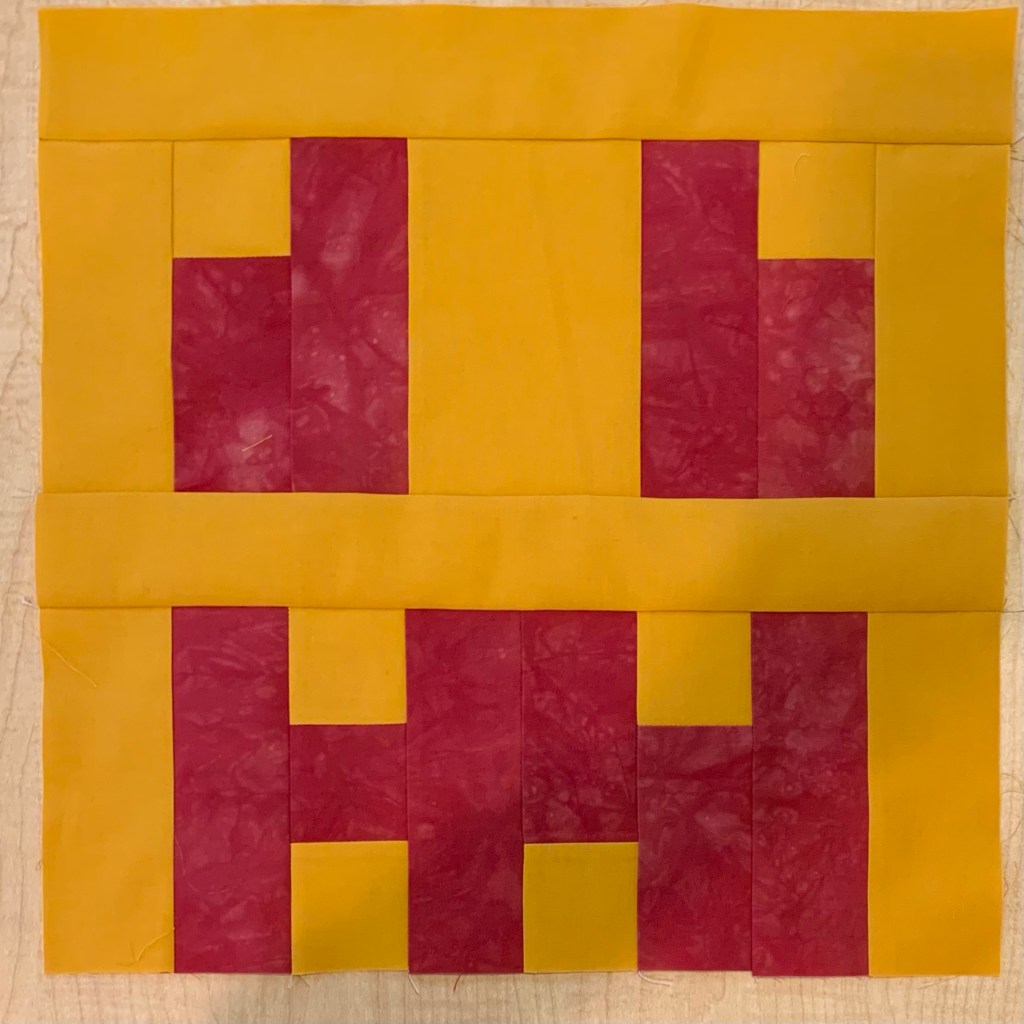
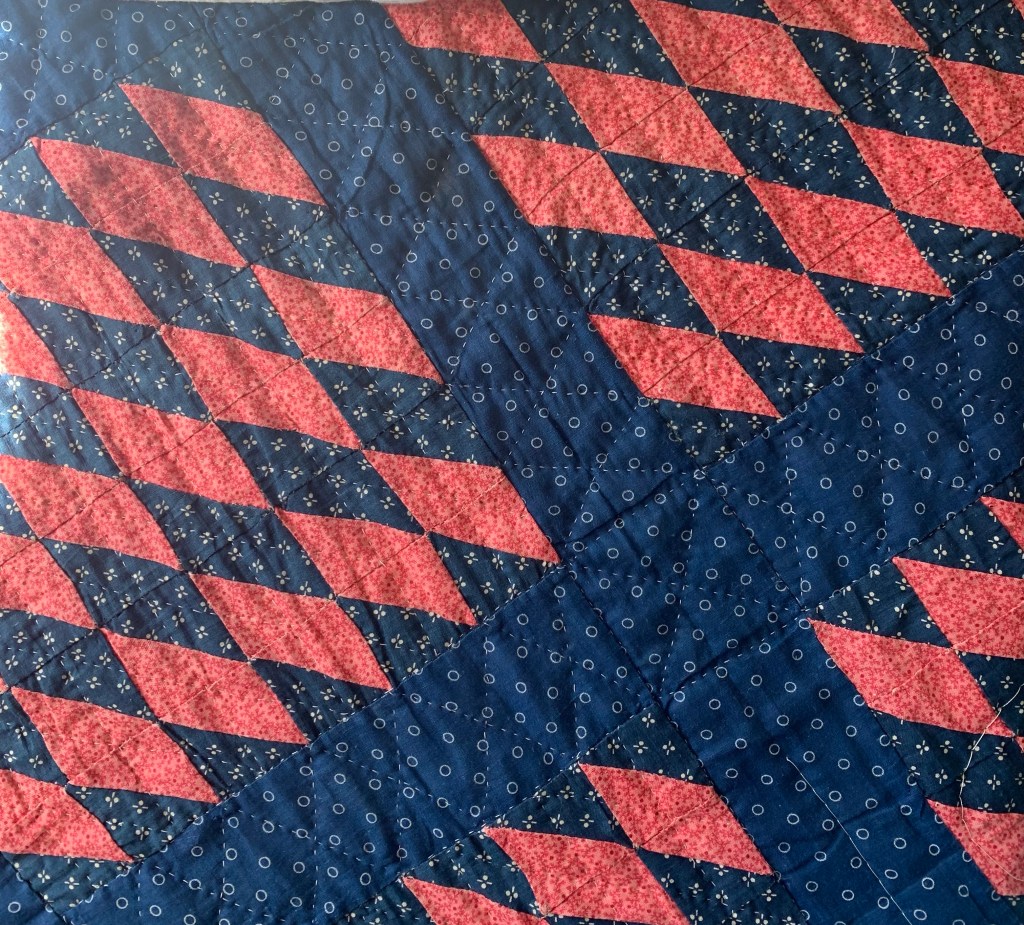
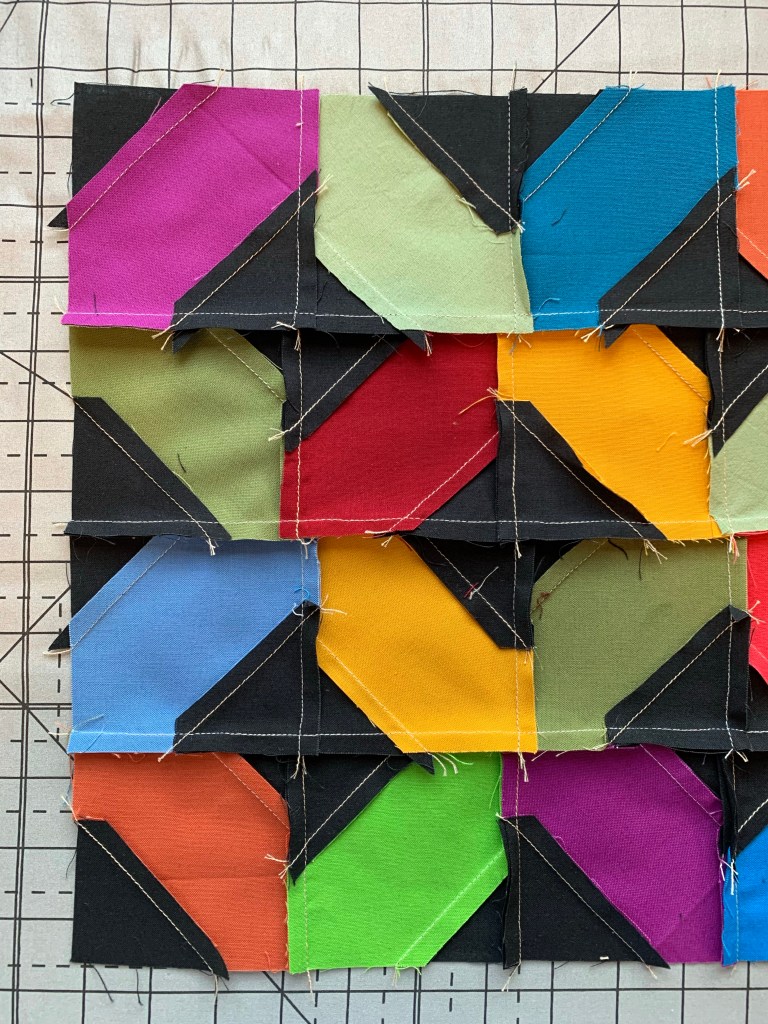
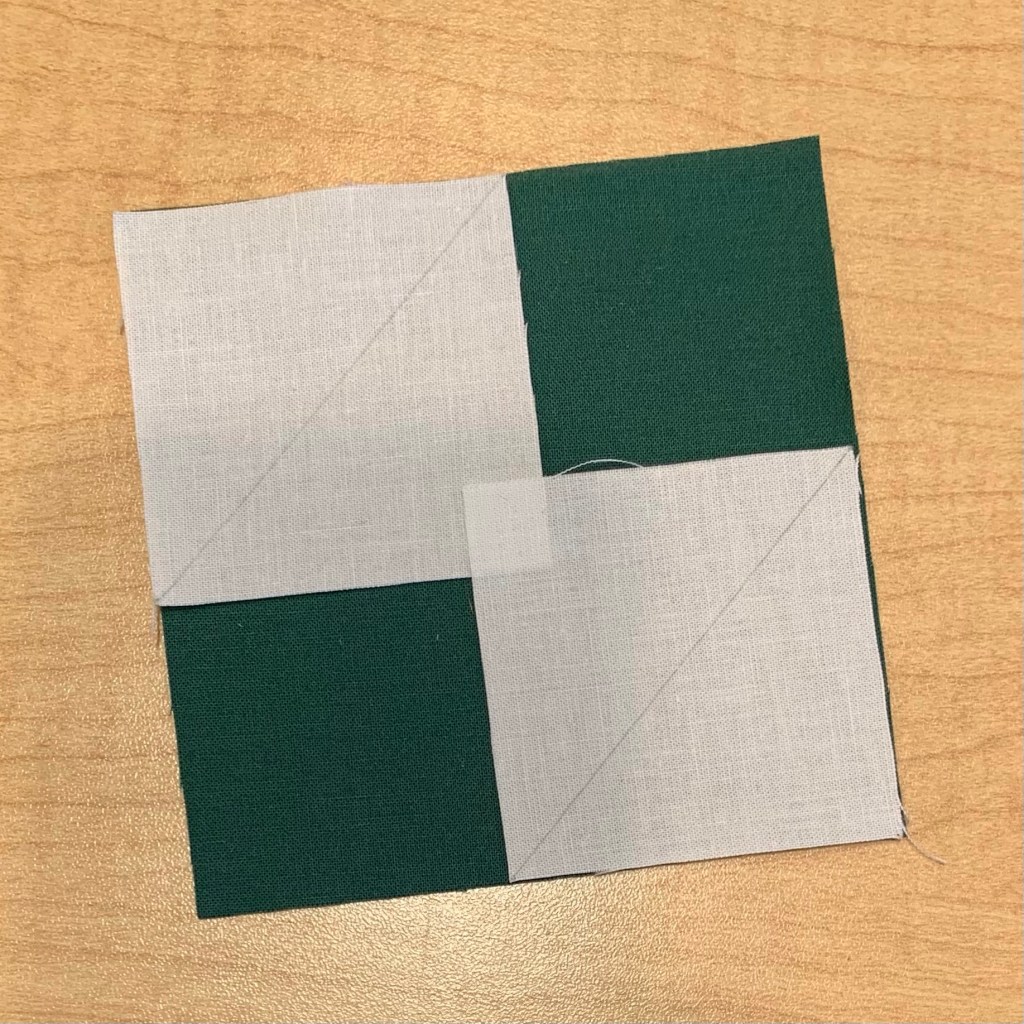
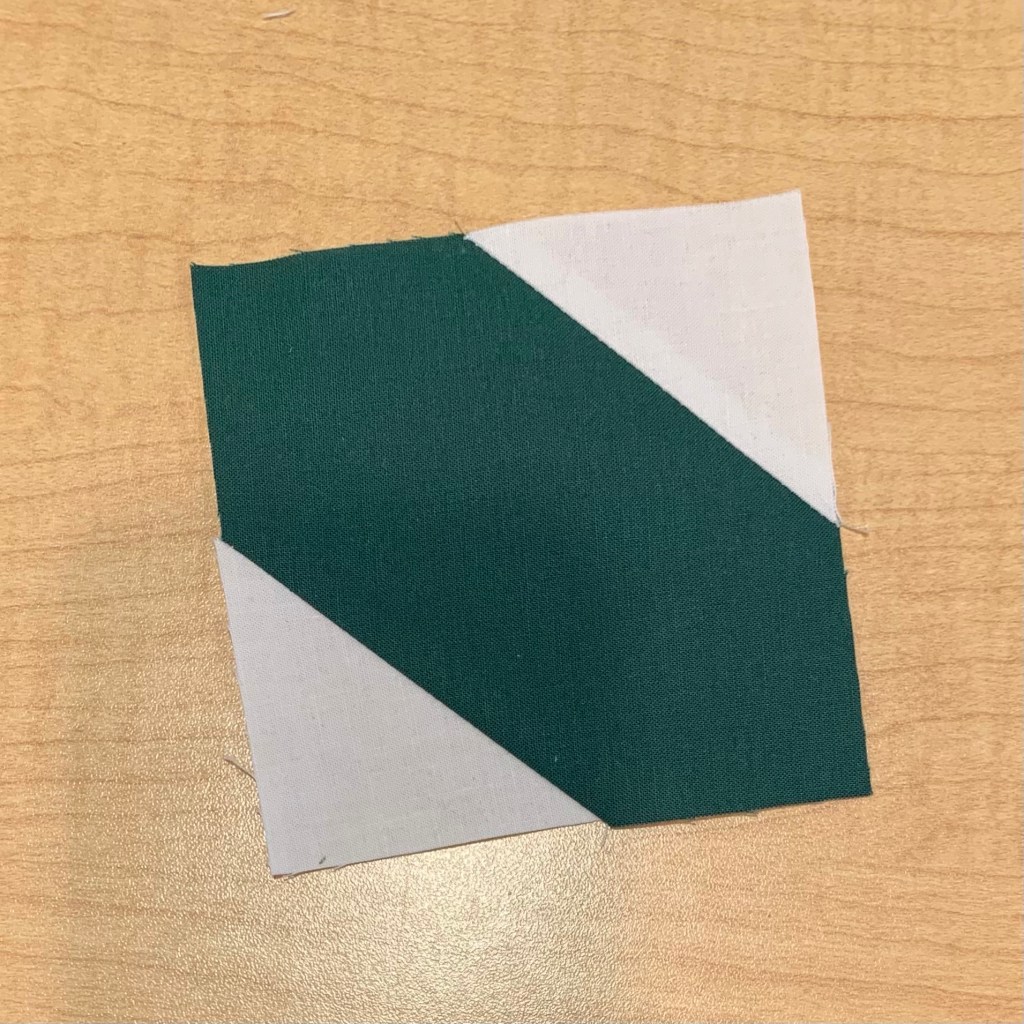
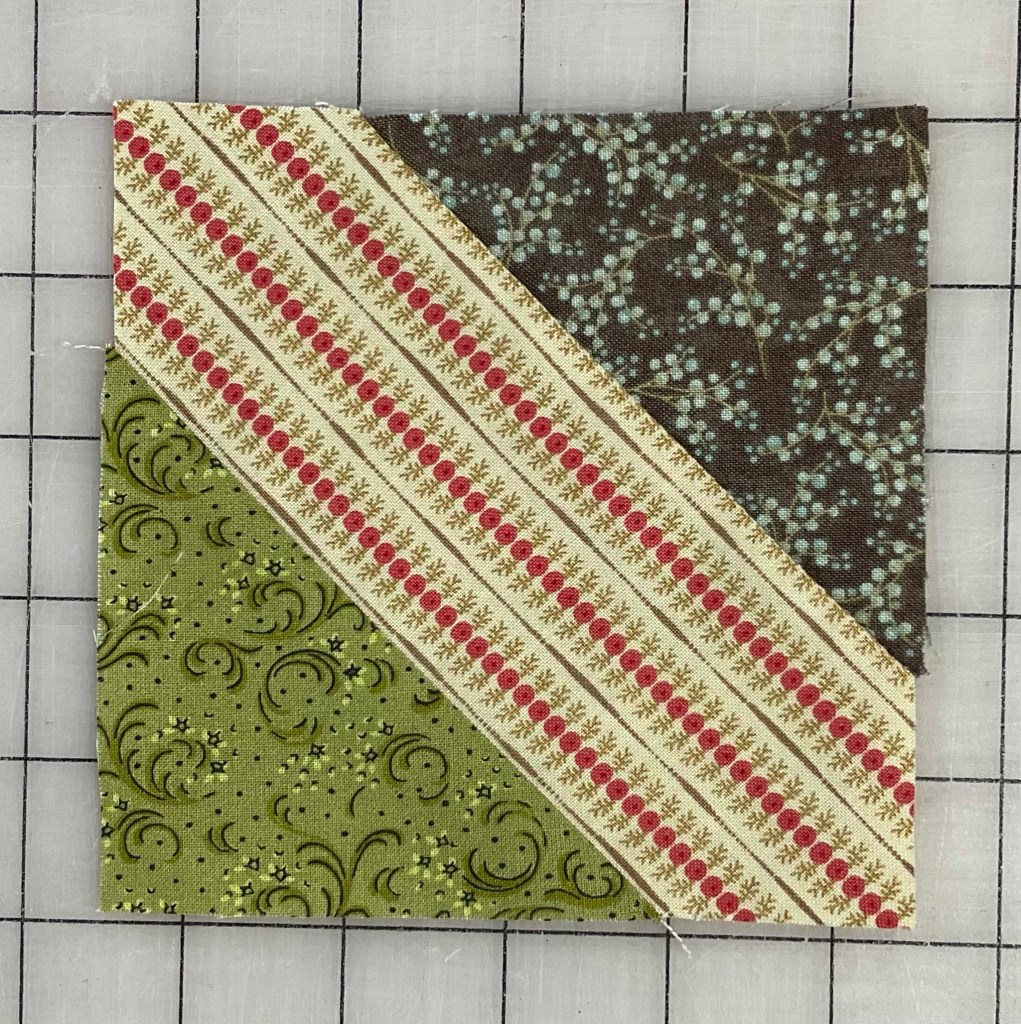
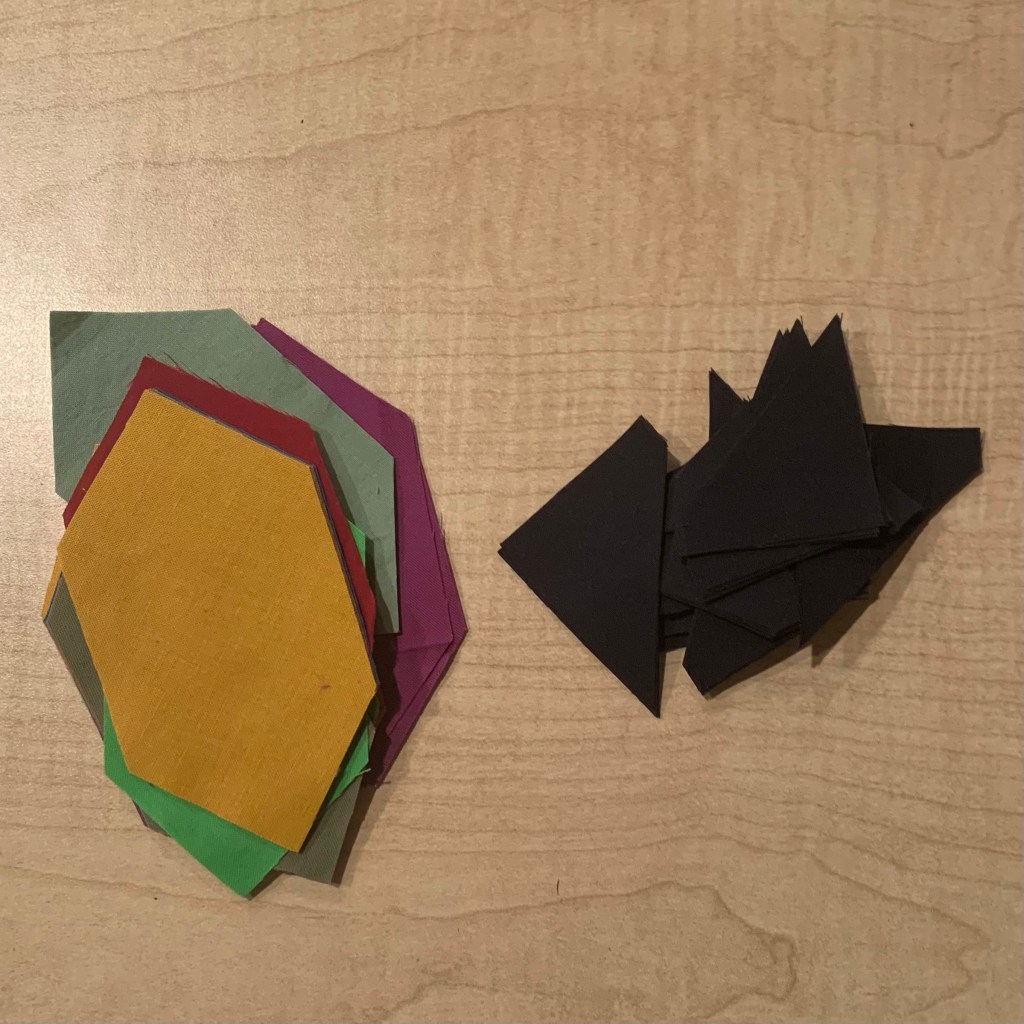
Moving on, there has been progress on the Buckeye blocks.

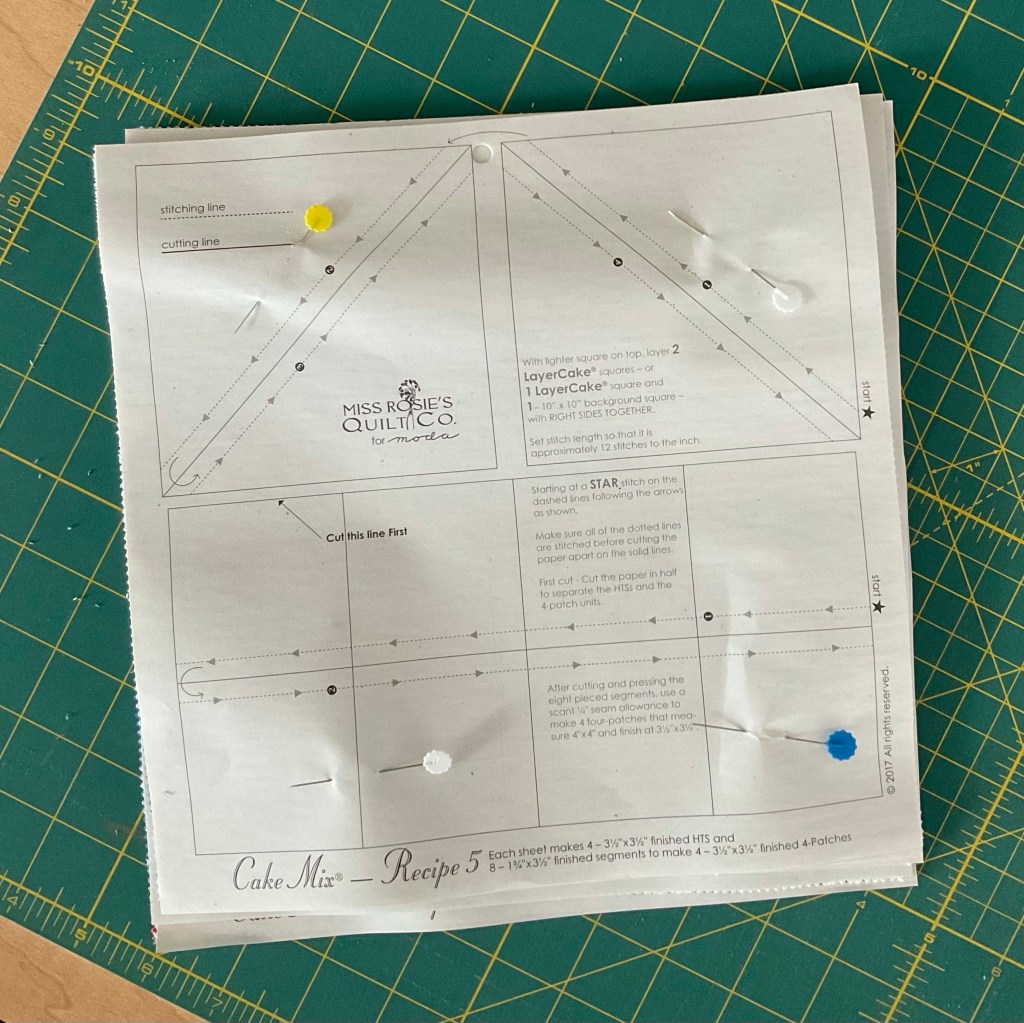
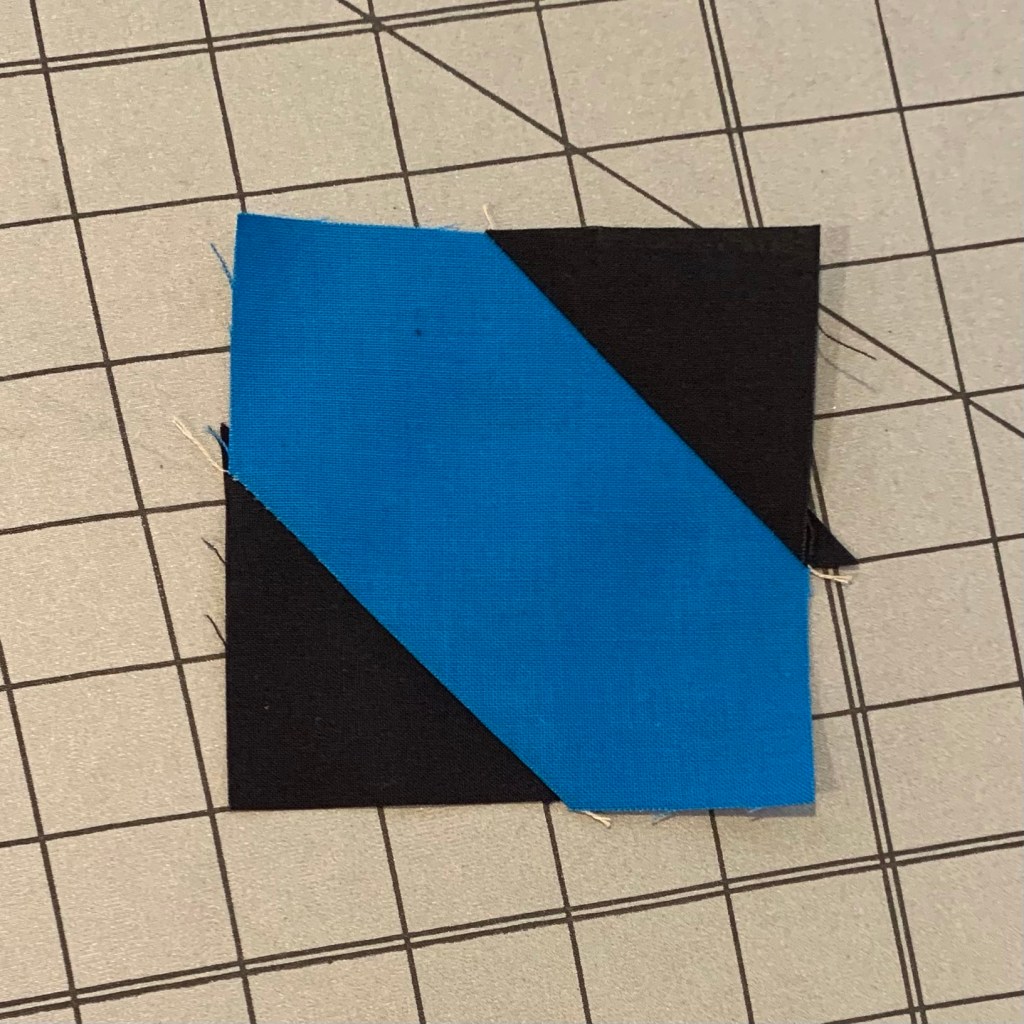
The blocks are nearly done. There will be a total of 84. I’ve been working on these in between a whole bunch of secret sewing projects that I won’t be able to share for several months.

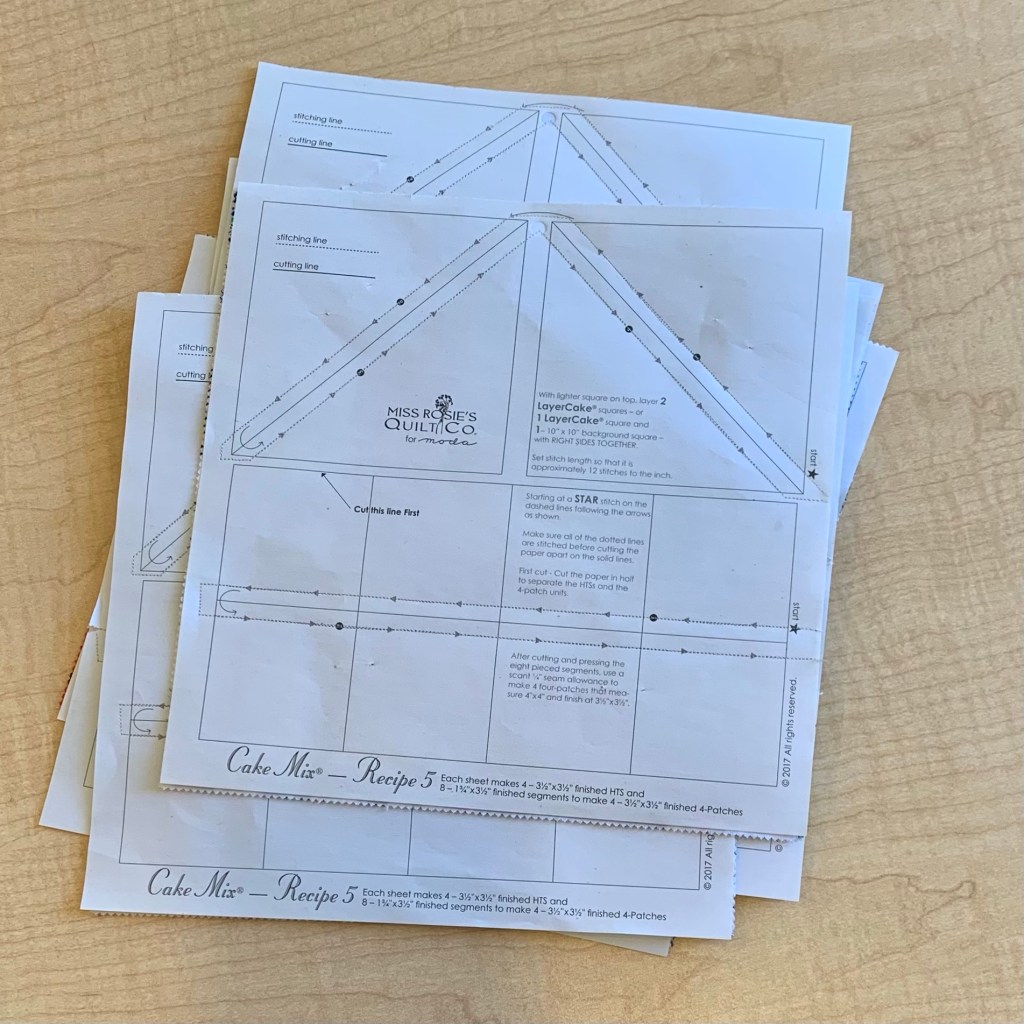
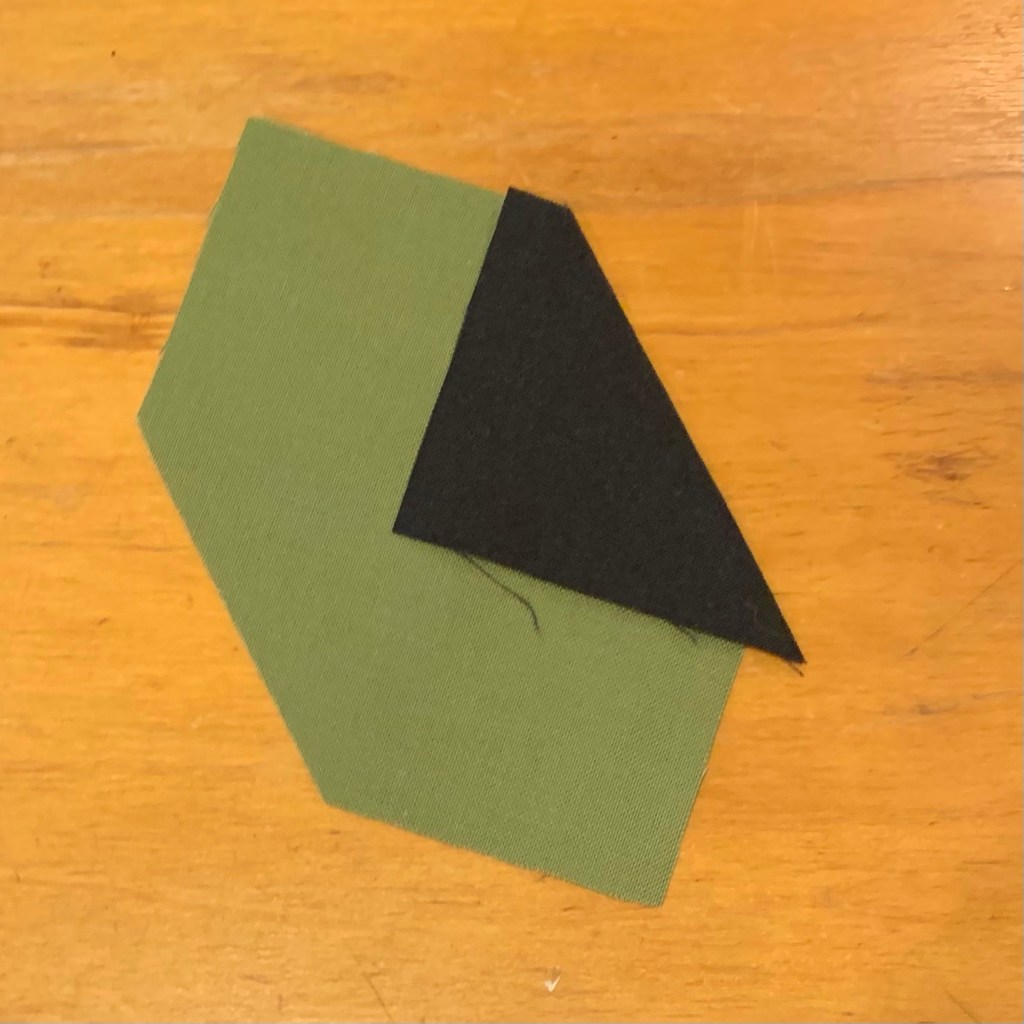
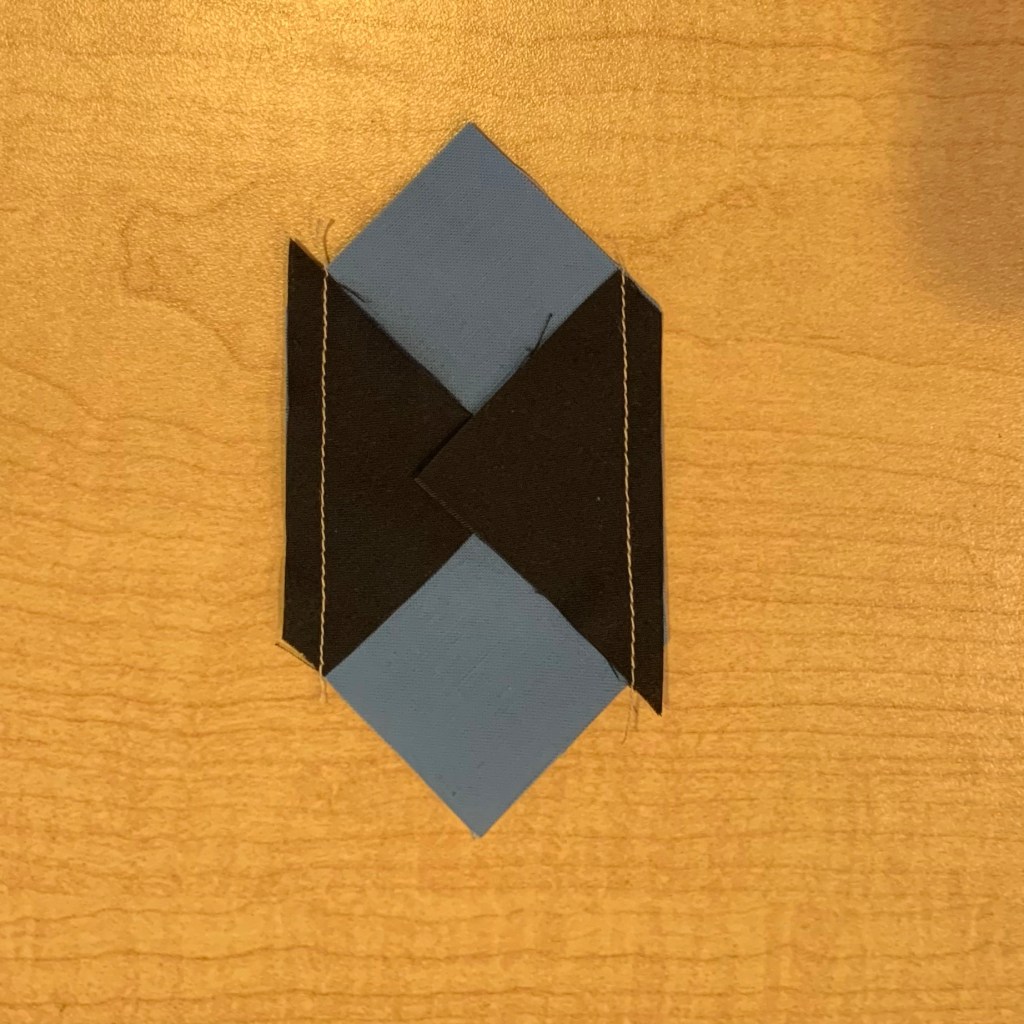
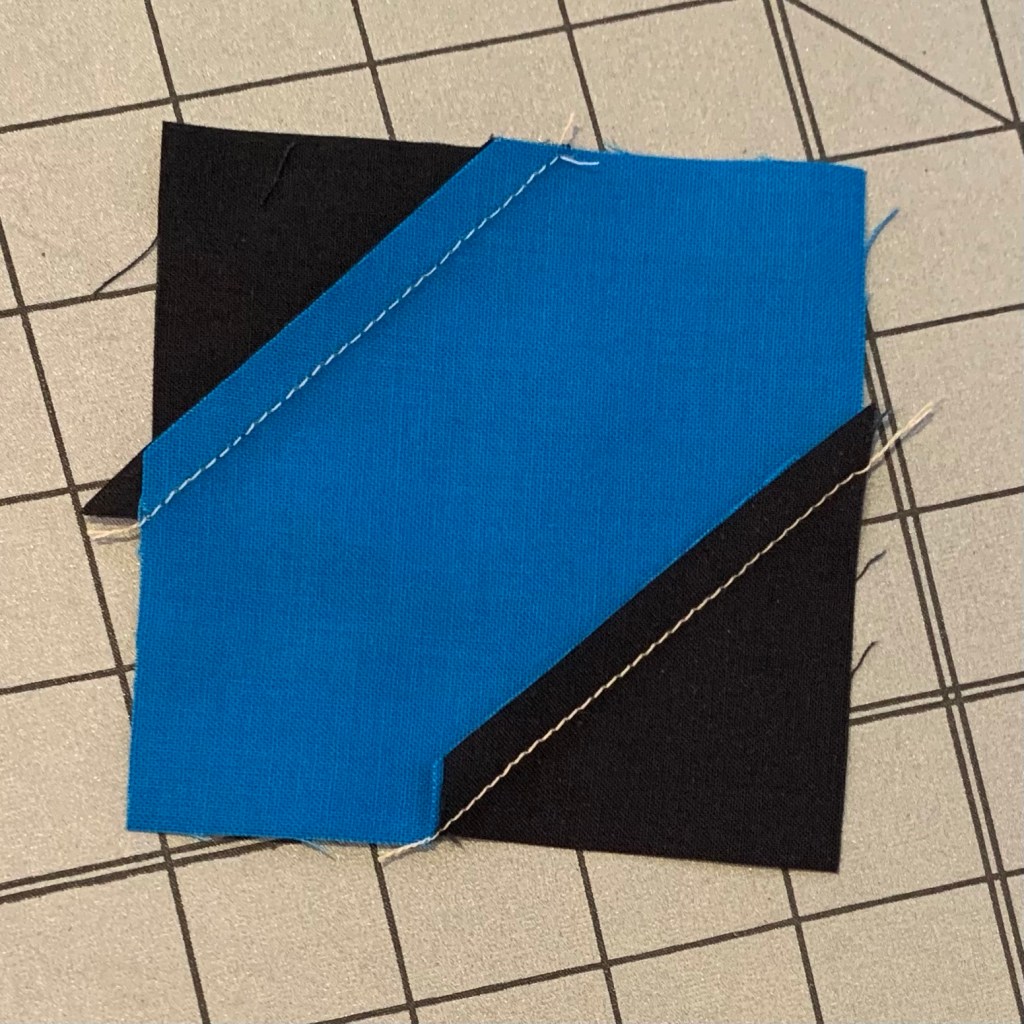
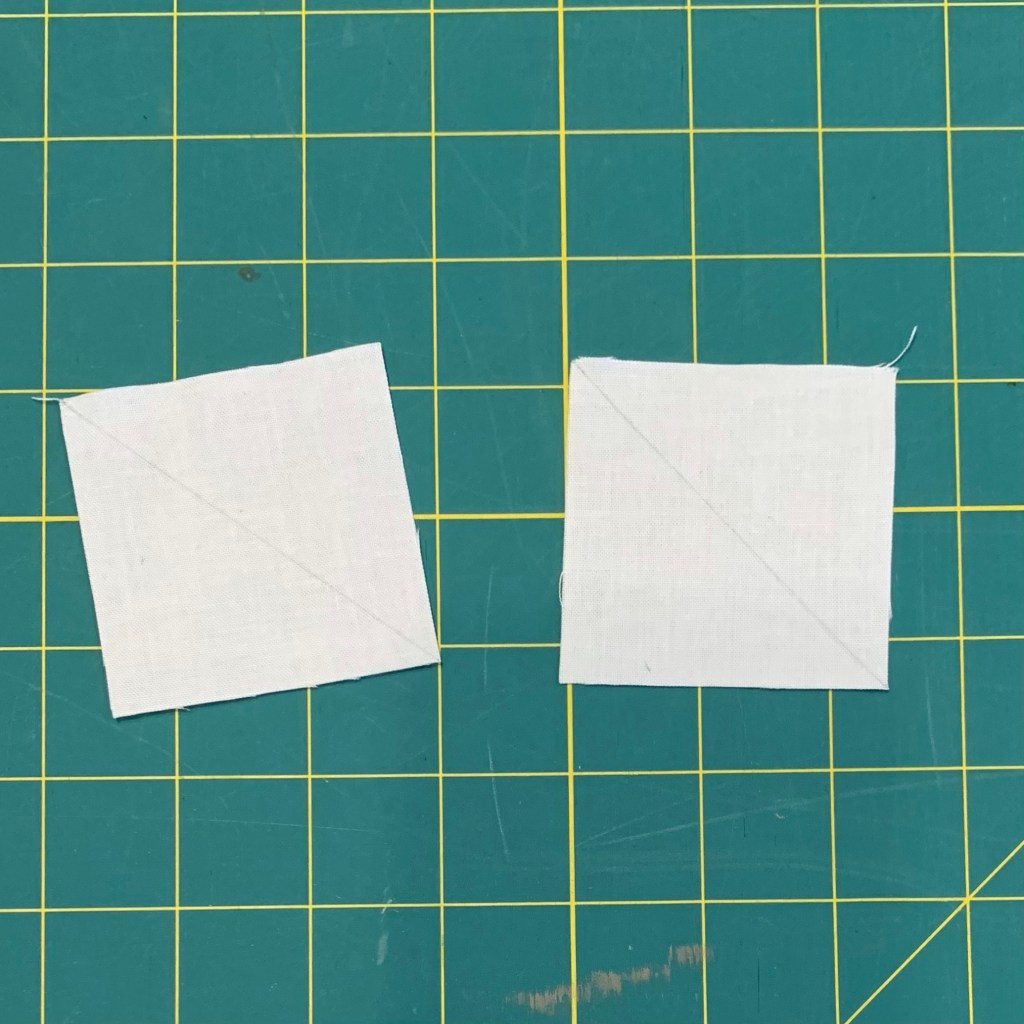
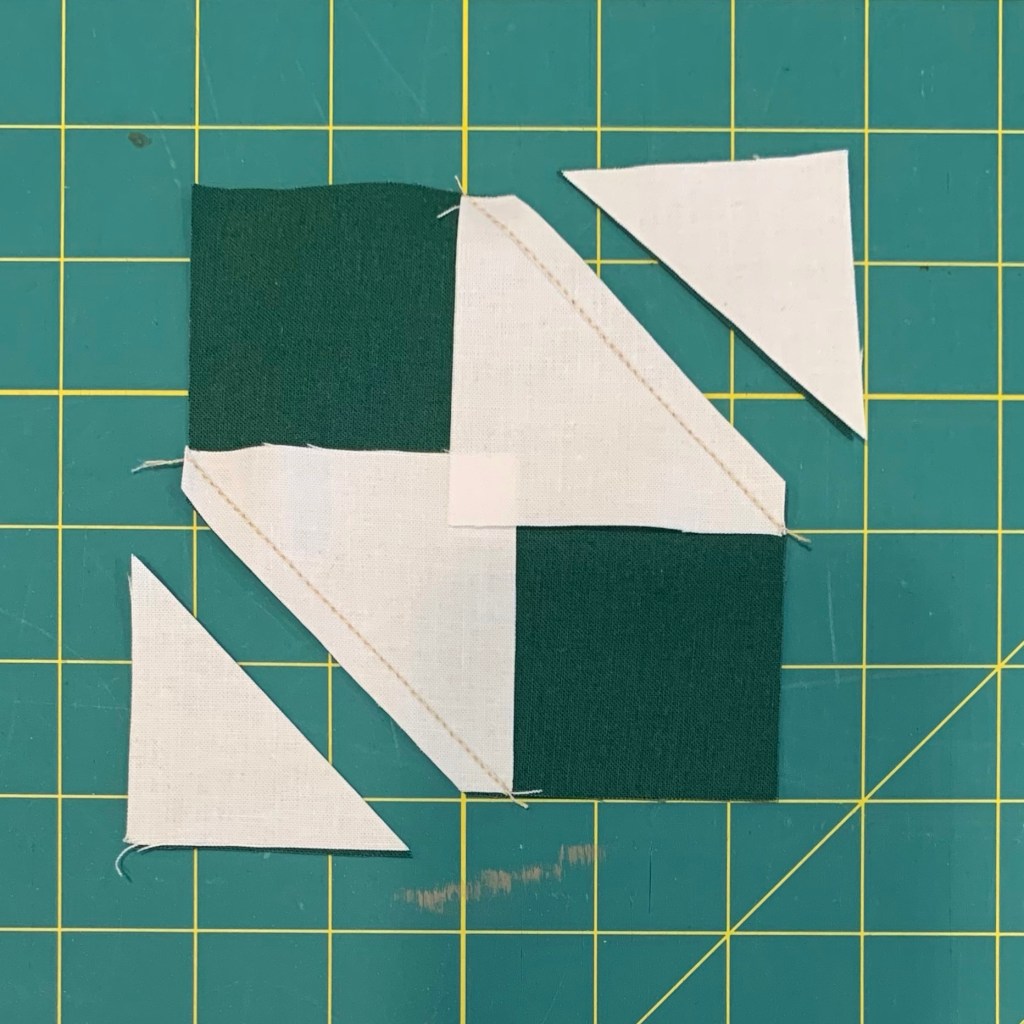
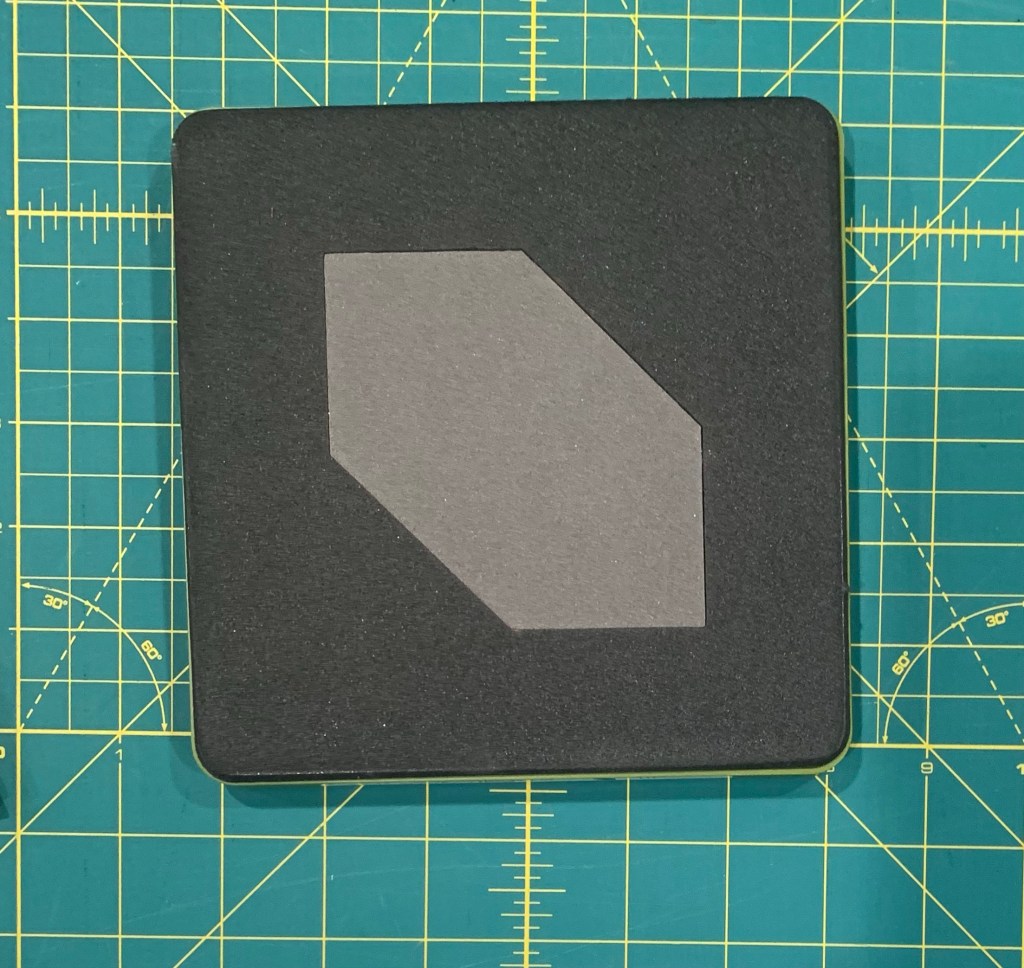
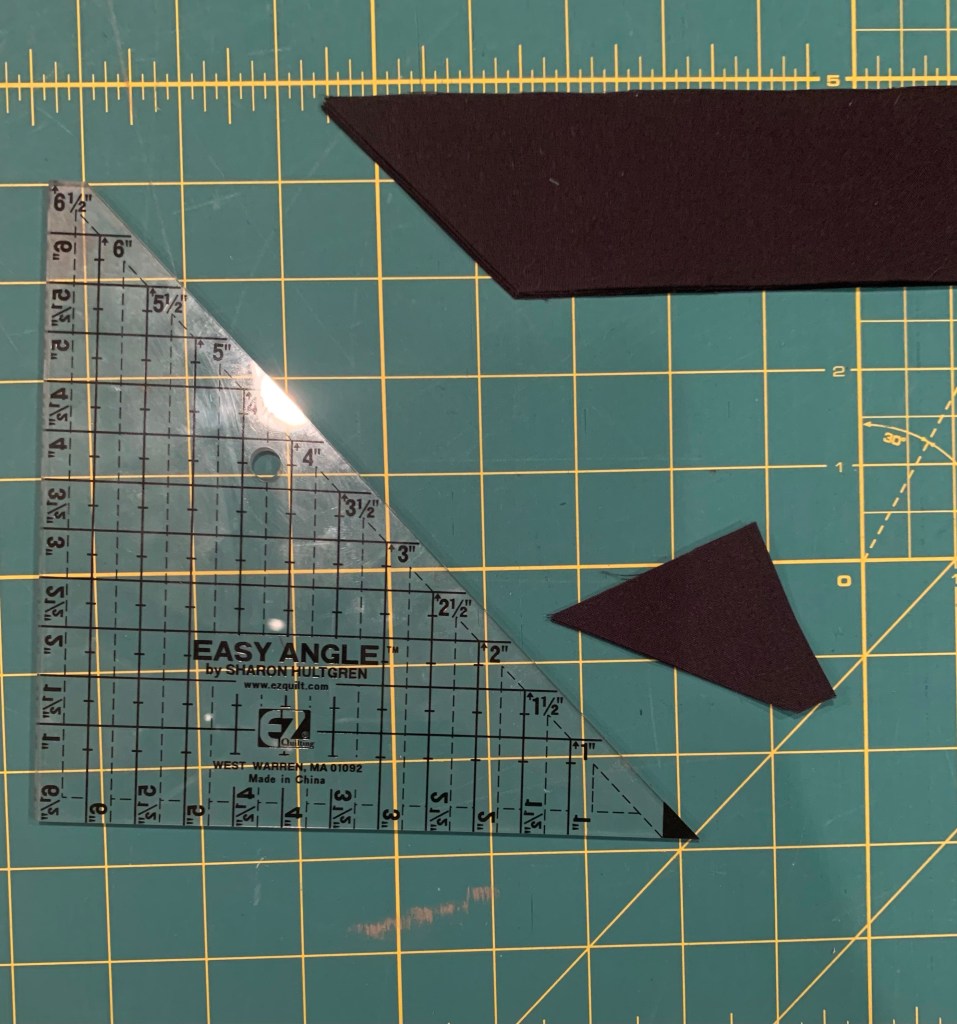
I sew a few papers, then work on secret sewing, then cut a few apart….

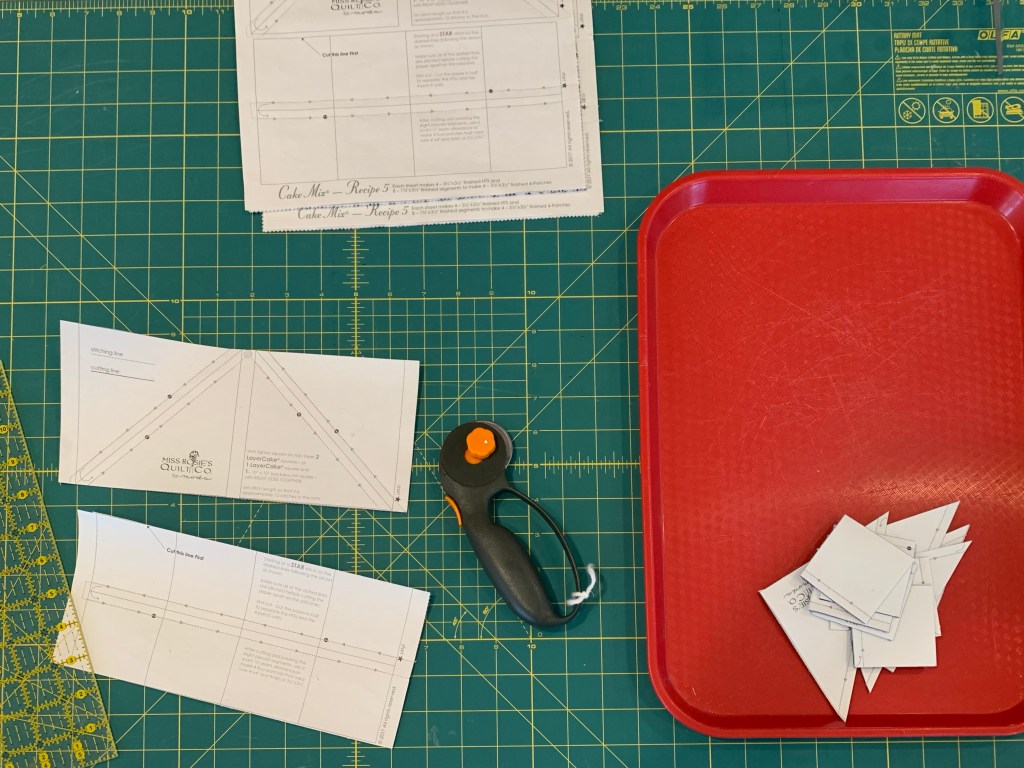
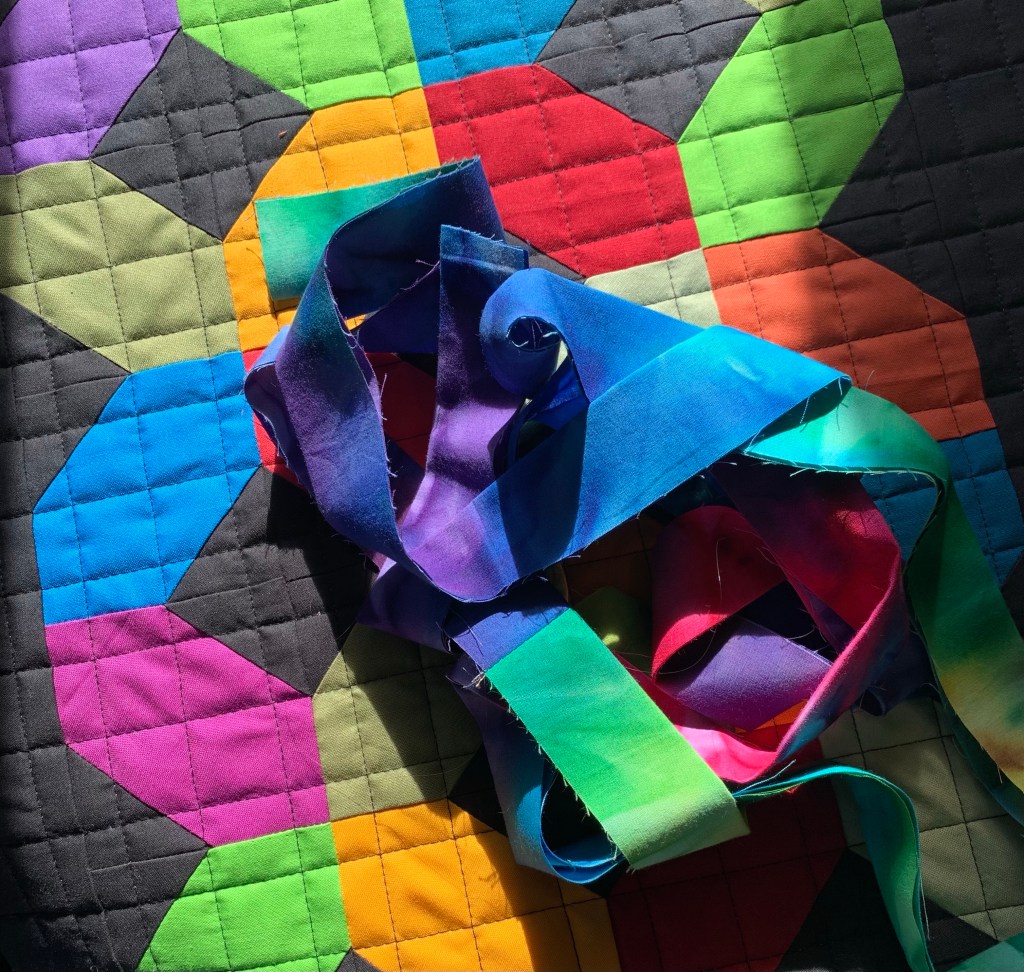
This cutting apart really hurts my shoulder. I press down on the ruler really hard to keep it from slipping when I need to cut exactly on a line. Ouch. I’m so happy this cutting is all done.

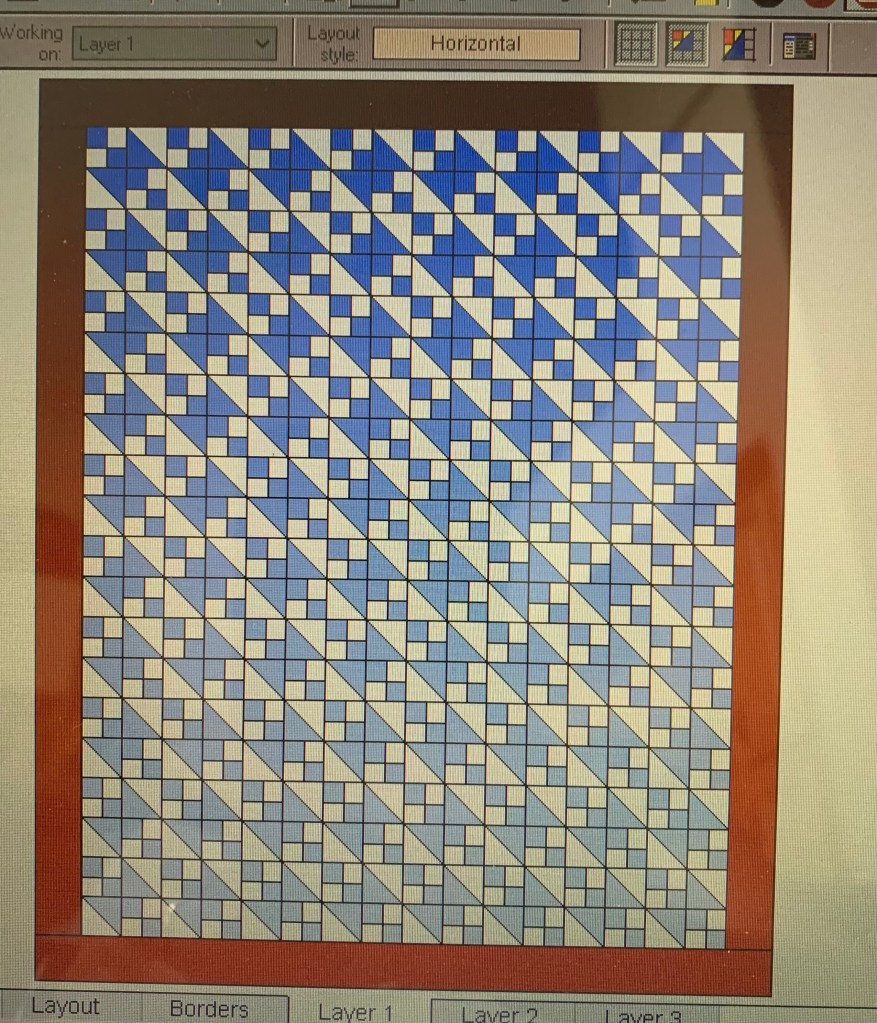
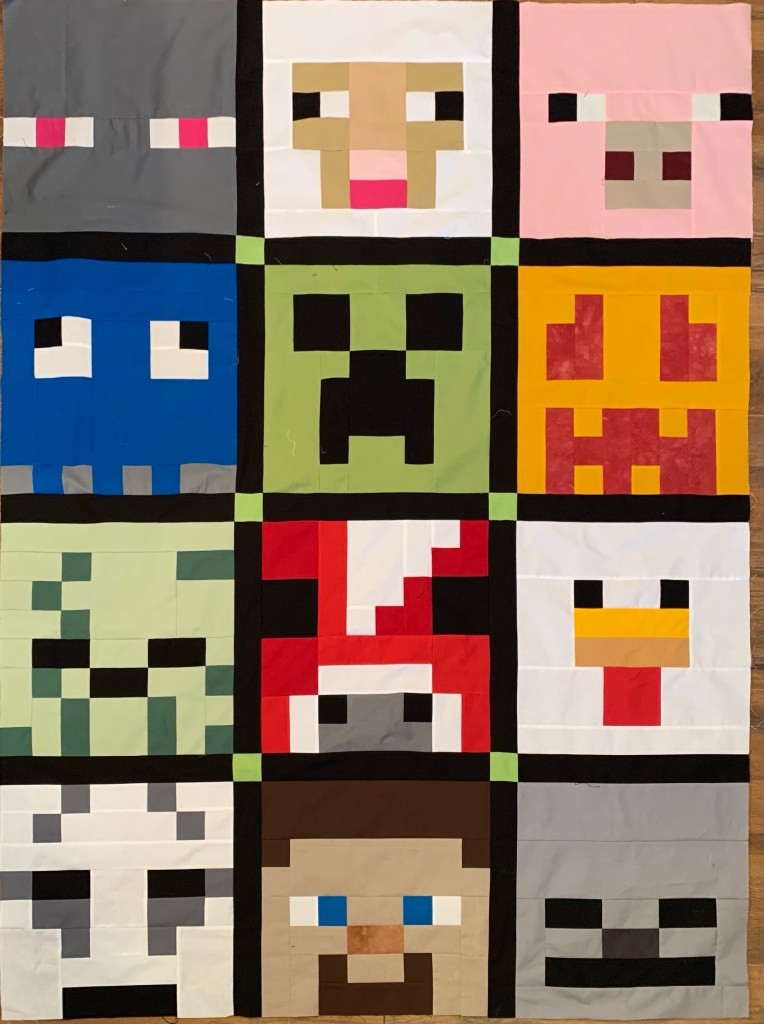
I have played around a bit in EQ7 with ideas for these blocks.

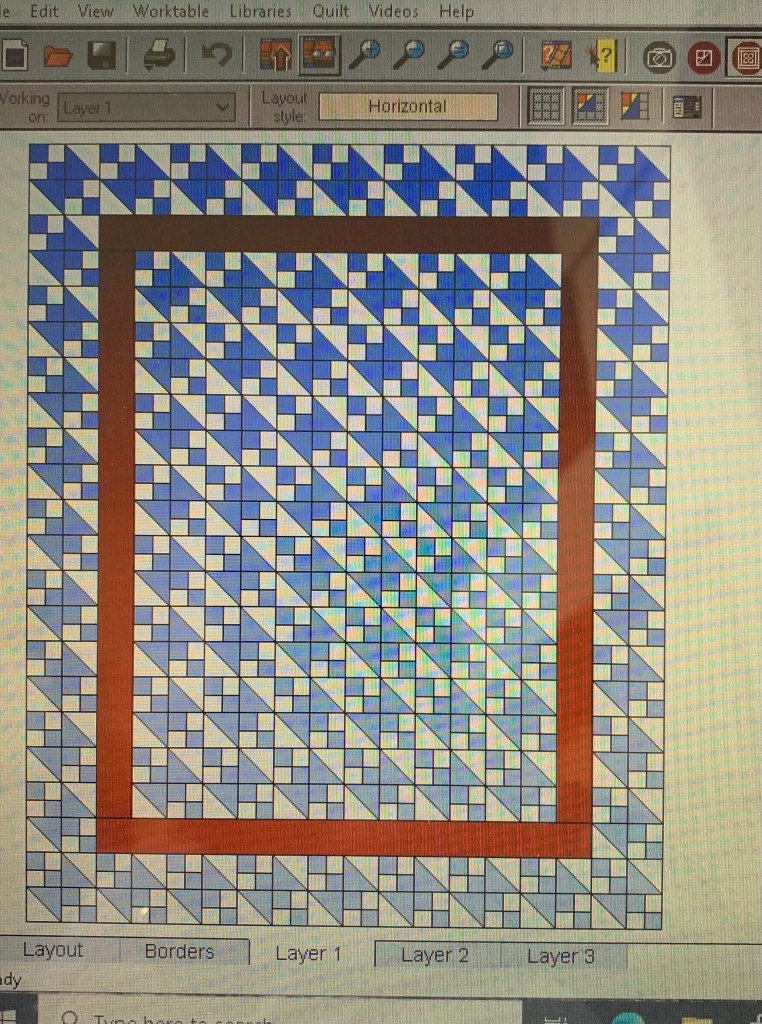
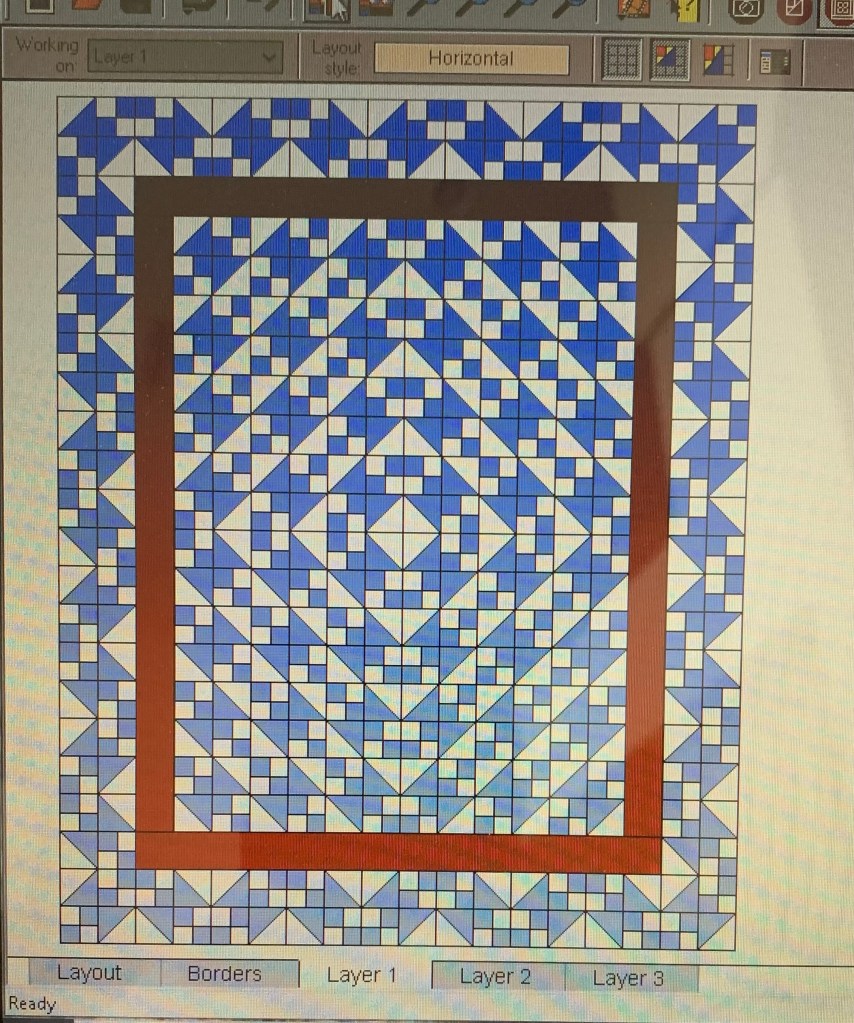
I have no destination for this quilt so there is no rush to finish it.

Have a great day!

Posted in Uncategorized | 5 Comments

Do You EQ?

I had EQ5 and later upgraded to EQ7. I never used either to their full potential. I’ve started using it again after a long break and now I’m thinking about getting EQ8.

Have any of you used these? Is there a big difference between 7 and 8? Do any of you use this for designing patterns?

So many questions, I know! I’d love to hear your thoughts and advice. Thanks!

Posted in Uncategorized | 10 Comments

Buckeye Beauty Blocks

I started making these blocks last spring before we headed back to Michigan. I just counted and I have 30 made so far.

I won a layer cake of the white Moda Solid and one of the blue prints as well as the layer cake papers from Moda several years ago.

I found the red Aunt Grace print in a thrift shop recently and I thought it might go with these blocks.

I’ll be honest, this is not my favorite way to make blocks. It’s a very clever idea, very accurate, and there is very little fabric waste. But it takes forever and this much rotary cutting bothers my shoulder. I’d rather use my Accuquilt dies. You can read about how these Cake Mix papers work here.

Each “page” makes two blocks. I’m going to try to do a few blocks each day until they are done. Or maybe I’ll binge and do them all at once……

Have a great day!

PS Today only, get an extra 16% off your Accuquilt order with the code, SHINE16! That’s 16% off on top of all the other current deals, including 30% off GO! And GO! Big cutters and all dies, Qubes, and Bundles!

This post contains affiliate links.

Posted in Uncategorized | 2 Comments

Deal Alerts!

Is it just me, or does it seem like the Black Friday deals are starting early this year? Anyway, here are a few I wanted to let you know about.

First of all, Connecting Threads will have a new deal each day this week. Today, you can get a free thread set!

Fat Quarter Shop has a new flash sale every day. This is what they have on offer today. They always have amazing specials at the end of November. I’ll keep you posted on that!

Of course, Accuquilt has great things going on!

I’ll keep an eye out so you don’t miss anything. 😁

These are affiliate links, so if you do purchase anything after clicking through from one of my links, I make a small commission. This helps offset the cost of the blog. I truly appreciate your support!

Have a great day!

Posted in Uncategorized | 1 Comment

Mine Crack

I finished the last few blocks for E2’s Mine Crack (Minecraft) quilt.

Then I got the top together, minus the borders.

I will probably just add black borders to match the sashing. I thought I’d bought enough to do that, but apparently not. Time to shop.

Have a great day!

PS Register now for this exciting Accuquilt Live event!

Posted in Uncategorized | Leave a comment

Slow Stitching Sunday

Thankful for another Sunday! Today I’ll be stitching this binding.

And hopefully, I’ll get back to hand quilting this. It’s a small quilt and should have been done by now.

Have a great day!

Posted in Uncategorized | 3 Comments

Signature Block – Part 3

Last post! Here are my finished blocks.

Time to lay them out. I didn’t think too hard on this.

This is how the back looks. By pressing both block seams in the same direction, the seams nest nicely when putting the blocks together.

Here is my little top.

I should be able to share this finish soon. I hope this was helpful.

Have a great day!

Posted in Uncategorized | 3 Comments

Finish It Up Friday ~ Scrappy Star

I recently participated in an online workshop by Emily at Aunt Em’s Quilts. I finished my top and even quilted it before heading out west.

I finally finished the binding this week.

I tried to get creative with the quilting, but there are some areas that bother me. Live and learn.

This next photo isn’t great, but it definitely shows the texture. I’m still learning about the best places in my back yard and the best times of day to take photos.

Here is the back..

Have a great day!

Posted in Finishes 2021, Small Quilts, Solids, Uncategorized | 7 Comments

Signature Block Tutorial – Part 2

Where were we? Oh, yes, piecing the block. This is how my pieces lined up.

This is what it looks like with both triangles added. Those little dog ears make it look odd.

This is how I press my blocks. It will be important later.

Looks a bit wonky!

And here is the alternative method I promised to share. I cut two background squares and one big square of the other fabric. For 3 inch finished blocks, cut the big square 3 1/2” and the two smaller squares 2 inches. Draw a line from corner to corner on the smaller squares with a pencil.

Lay the smaller squares on top as shown and sew along each line.

Trim a quarter inch away from the seam.

Ta daaaa!

Press both seams to the same direction.

To be continued….

Have a great day!

Posted in Uncategorized | 1 Comment

Signature Block Tutorial – Part 1

Recently, I made this table runner for my mom. I was asked if I had a pattern for it. I don’t, but thought I could do a quick tutorial on how to make the block.

I made 48 of these blocks to create the runner. The blocks finish at 4 1/2 inches. I used my Accuquilt studio cutter and these dies.

This is what one Signature block looks like.

My studio cutter is back in Michigan, but I bought this smaller die a while back and it works in my Accuquilt GO! Cutter. The proportions are slightly different, but the method is the same. So I thought I’d use this for my tutorial and make a small quilt instead of another runner.

You can find this die in the Accuquilt GO! Qube Companion Set – Corners. This die creates a 3” finished block. I have the 6” Accuquilt Qube on order. It contains the triangle die I need to complete the block.

Not one to give up easily, I pulled out this old ruler.

It is used to make half square triangles from strips. Guess what? I’m totally spoiled rotten by my die cutters. I hated this. One corner is blunted, but I’m used to both corners being nipped for easy placement. I know, I know, first world, spoiled quilter problems!

My pieces are cut. Come back tomorrow to see about the piecing. and in case you don’t have a die cutter, I’ll share an alternative method.

Have a great day!

This post contains affiliate links.

Posted in Accuquilt, Tutorials, Uncategorized | 3 Comments