
Where were we? Oh, yes, piecing the block. This is how my pieces lined up.
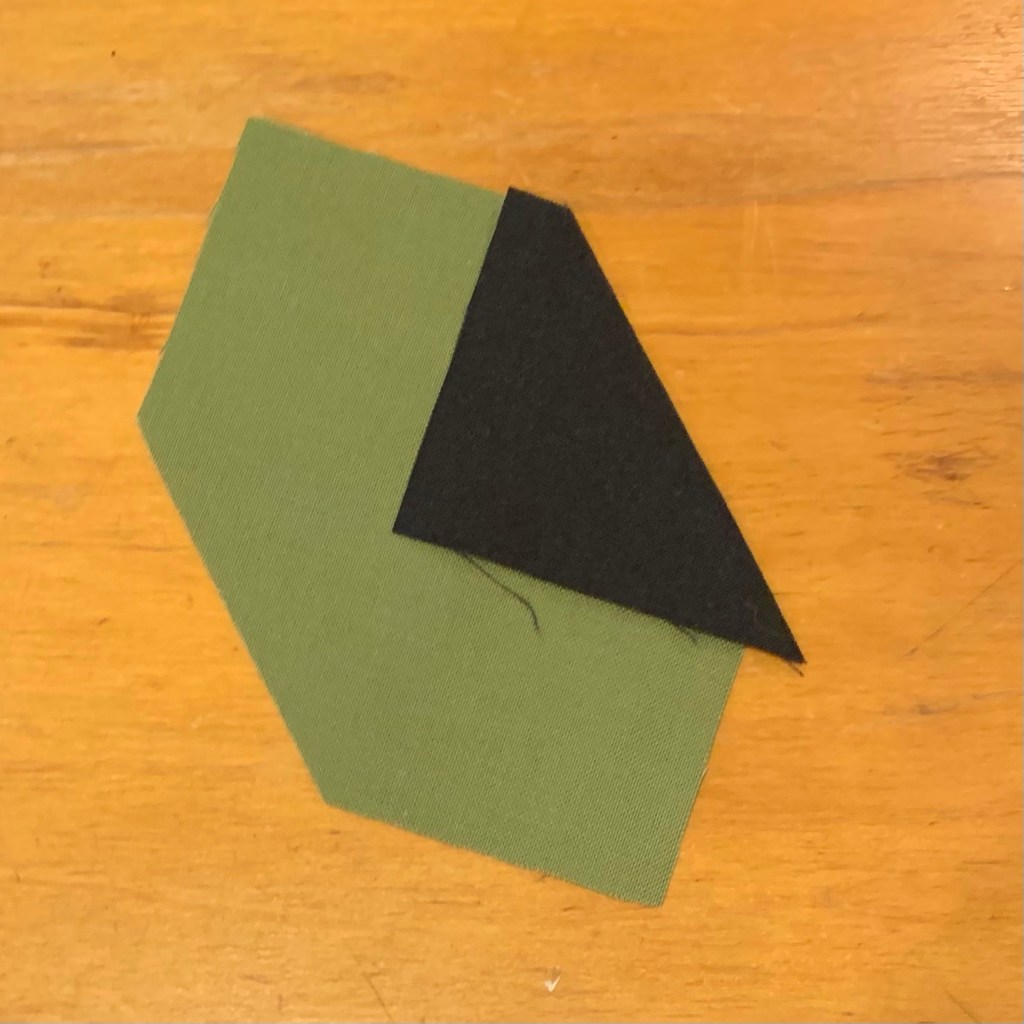
This is what it looks like with both triangles added. Those little dog ears make it look odd.
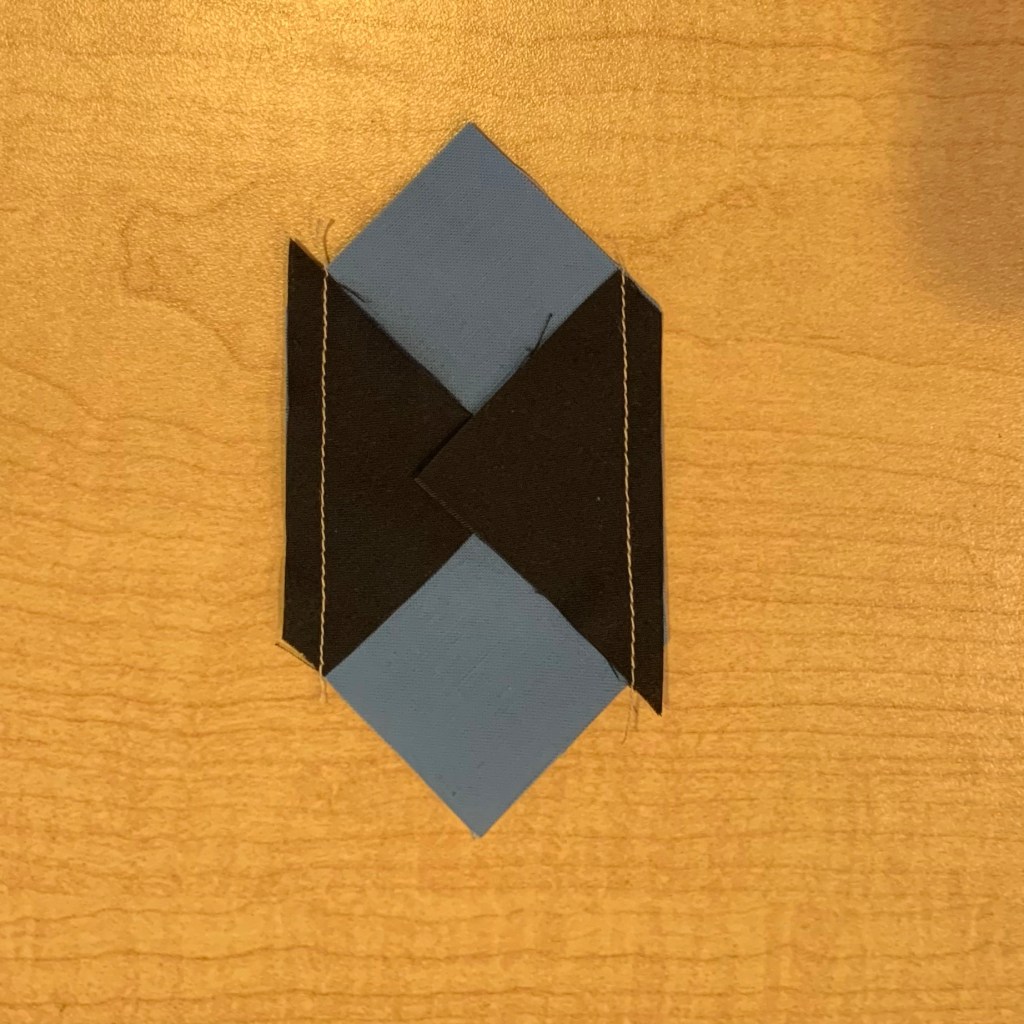
This is how I press my blocks. It will be important later.
Looks a bit wonky!
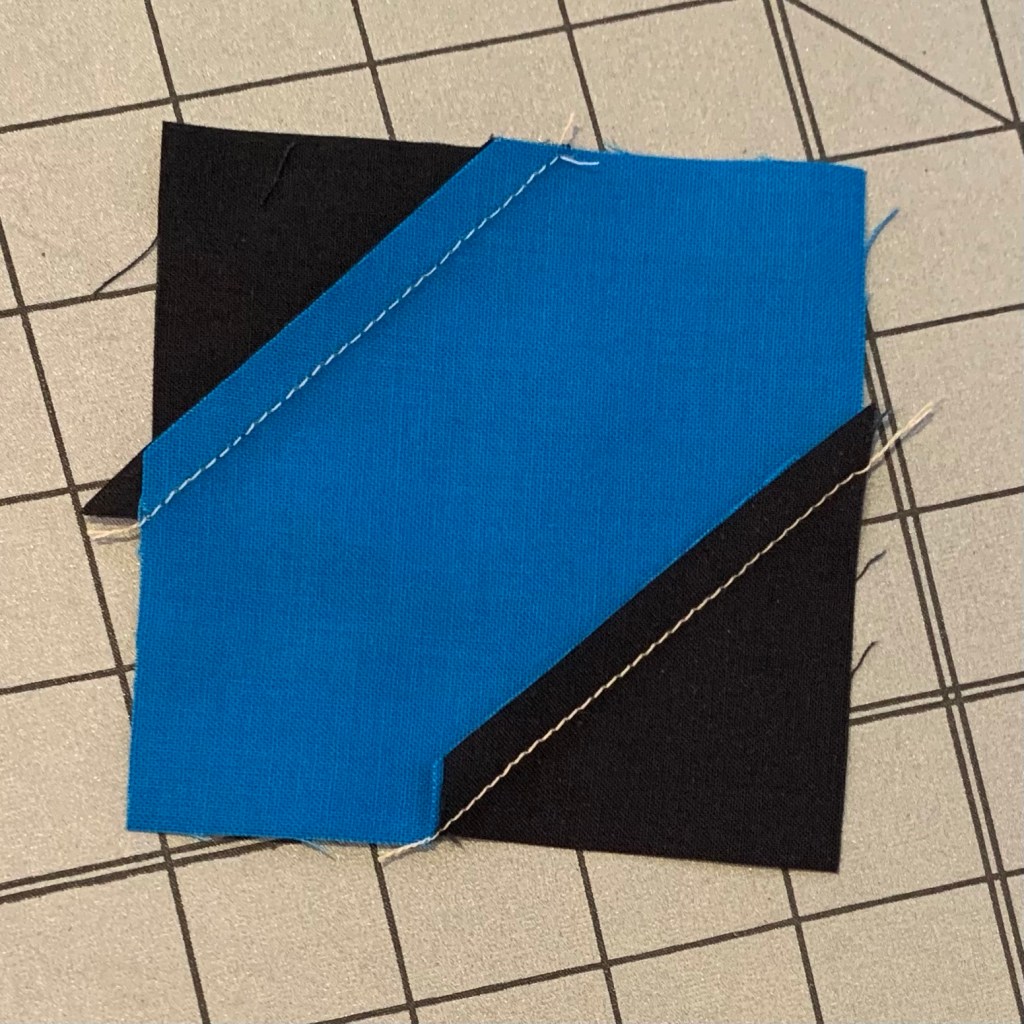
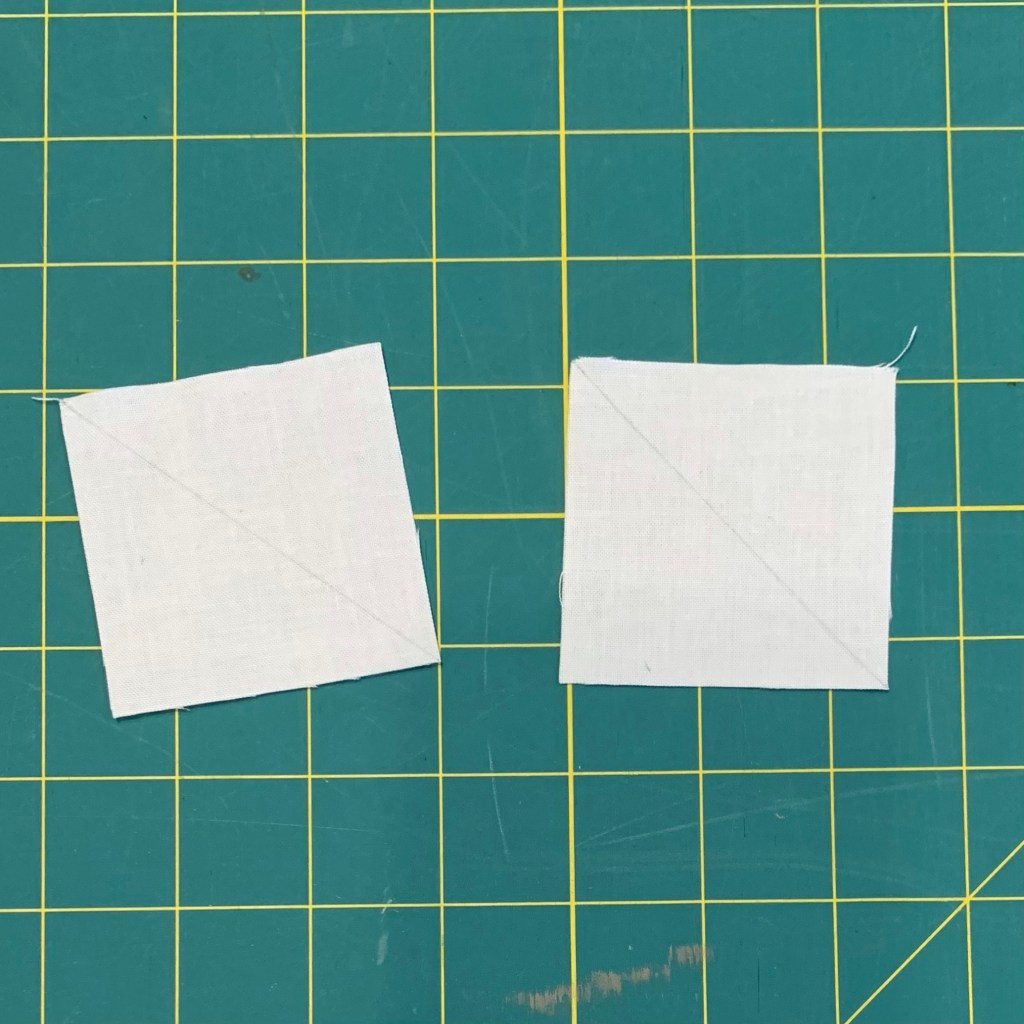
And here is the alternative method I promised to share. I cut two background squares and one big square of the other fabric. For 3 inch finished blocks, cut the big square 3 1/2” and the two smaller squares 2 inches. Draw a line from corner to corner on the smaller squares with a pencil.
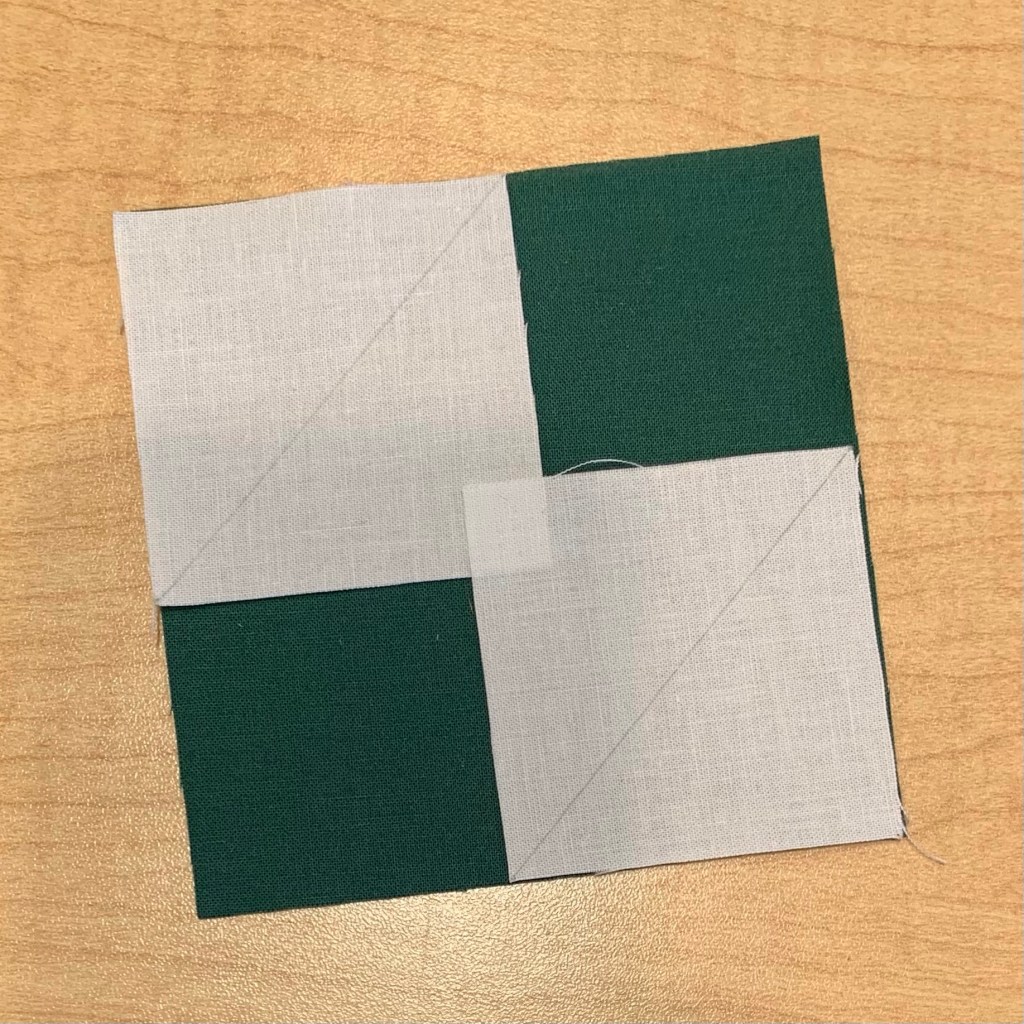
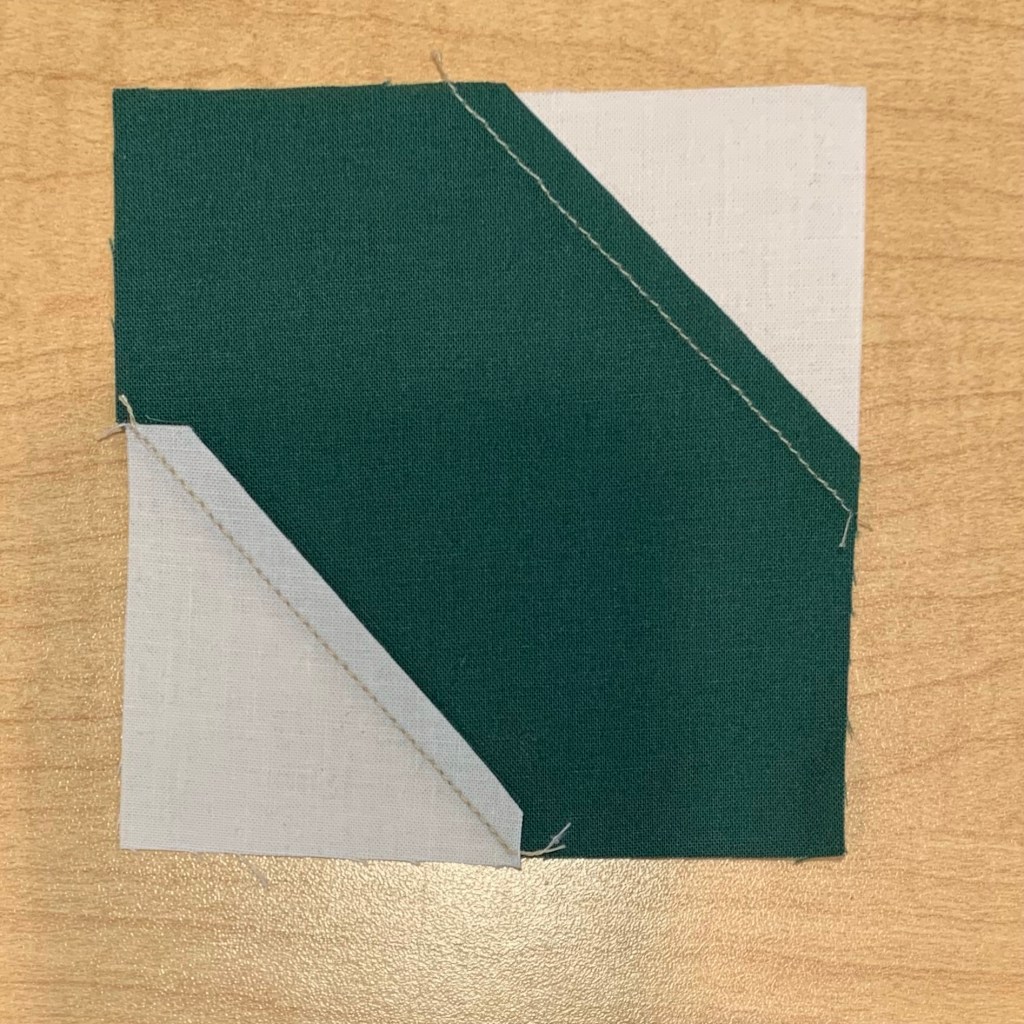
Lay the smaller squares on top as shown and sew along each line.
Trim a quarter inch away from the seam.
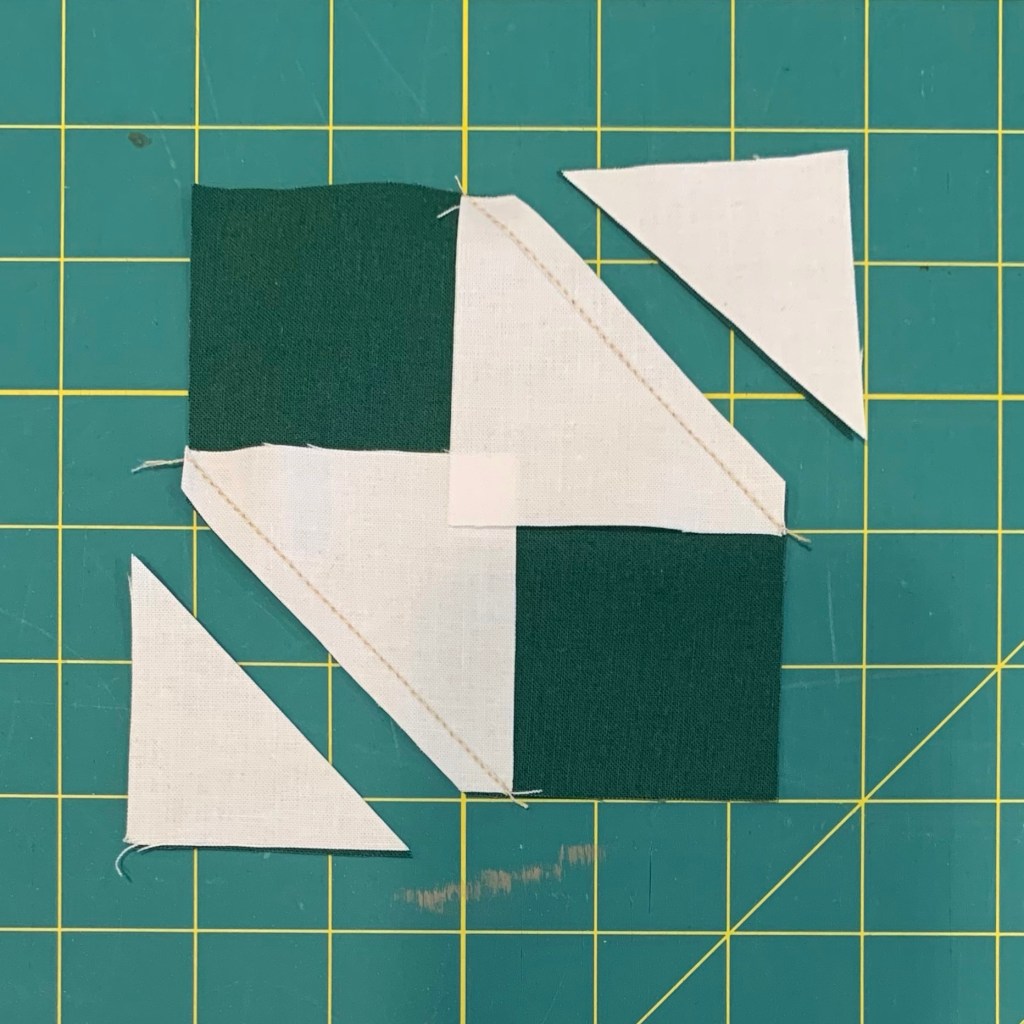
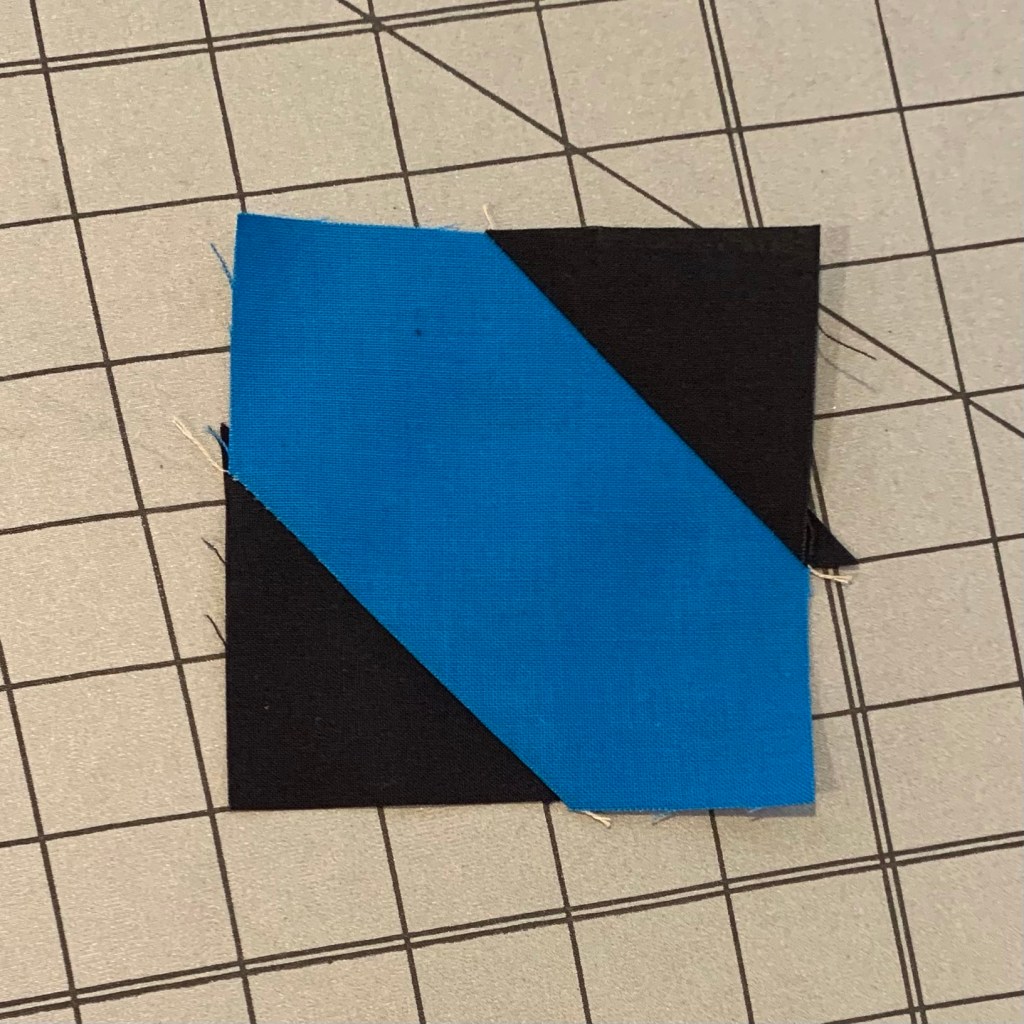
Ta daaaa!
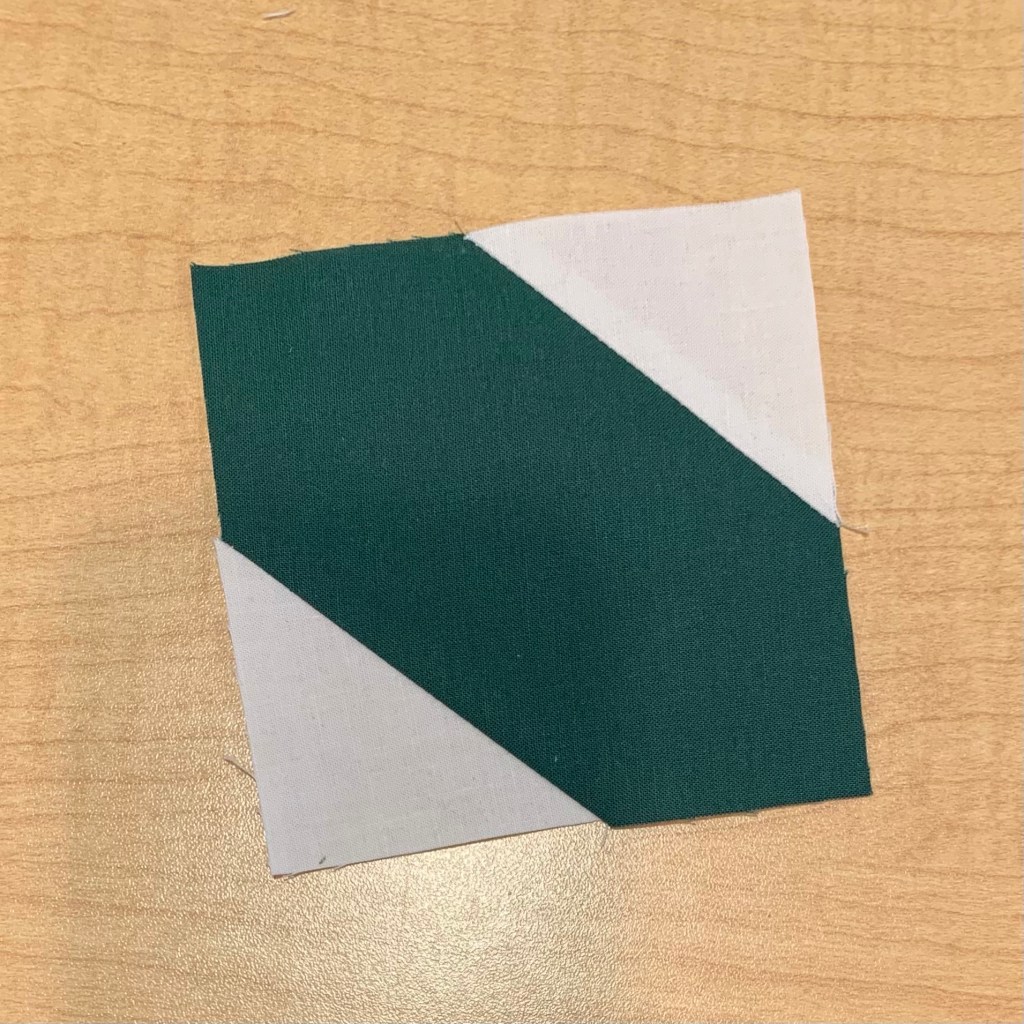
Press both seams to the same direction.
To be continued….
Have a great day!


Thanks, Katy! That’s how I make my autograph blocks, although I don’t press them that way. I am intrigued to find out why! Hmm. Happy Thursday! ~smile~ Roseanne