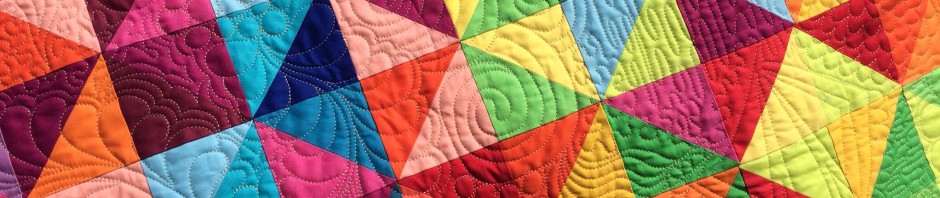
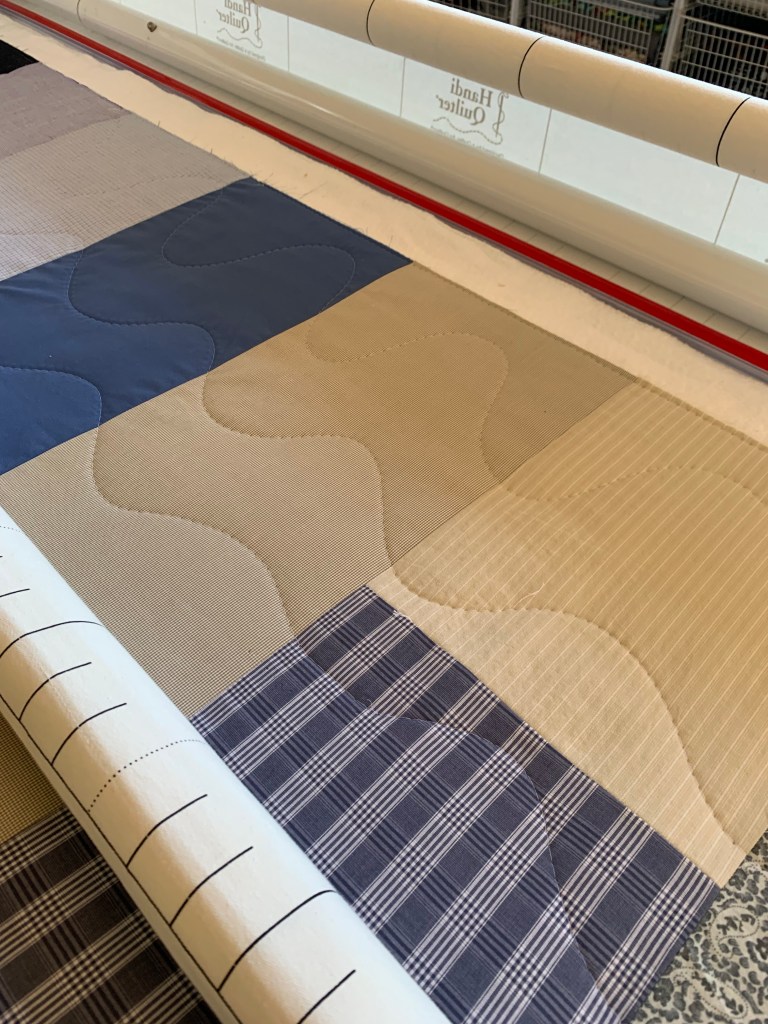
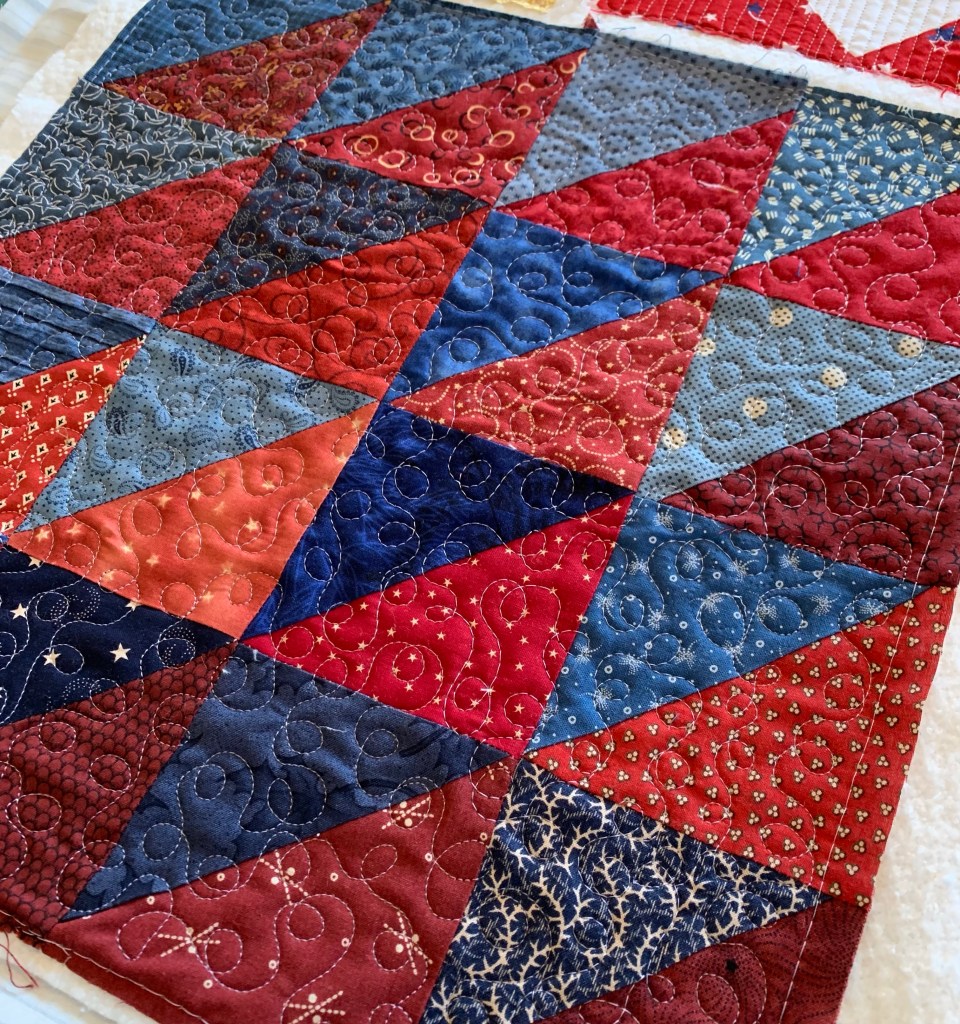
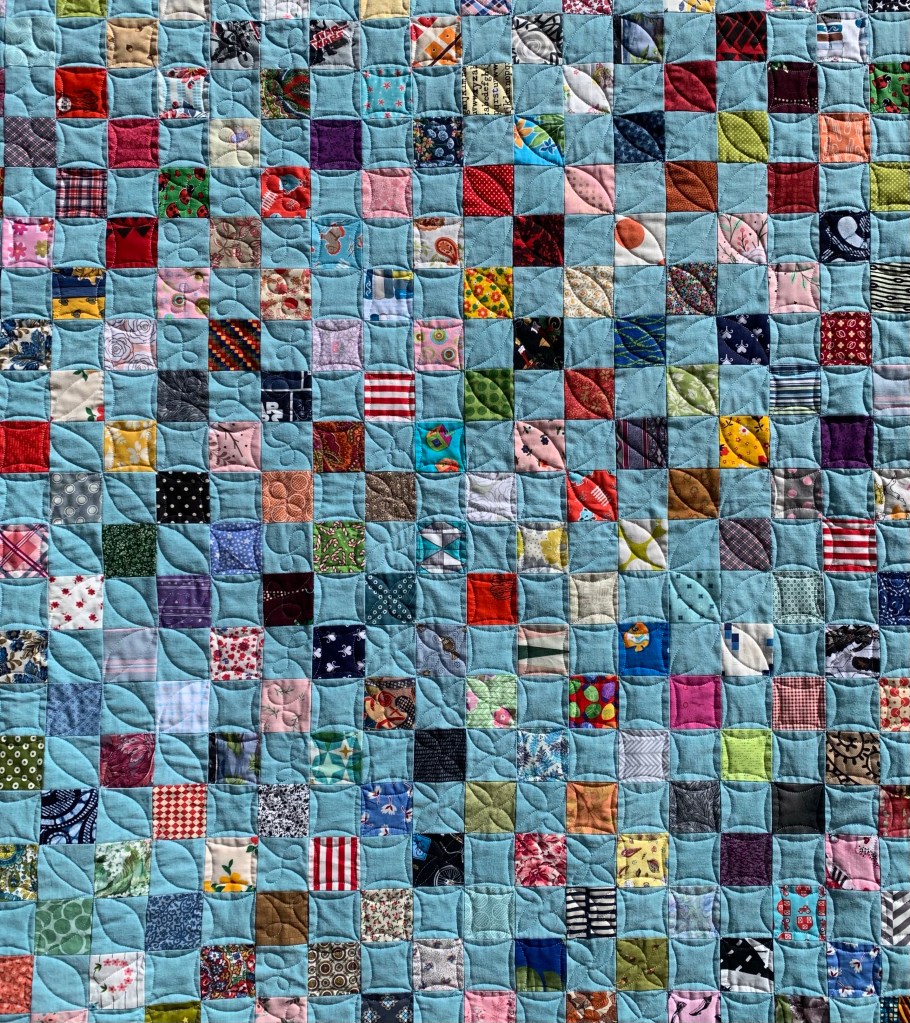
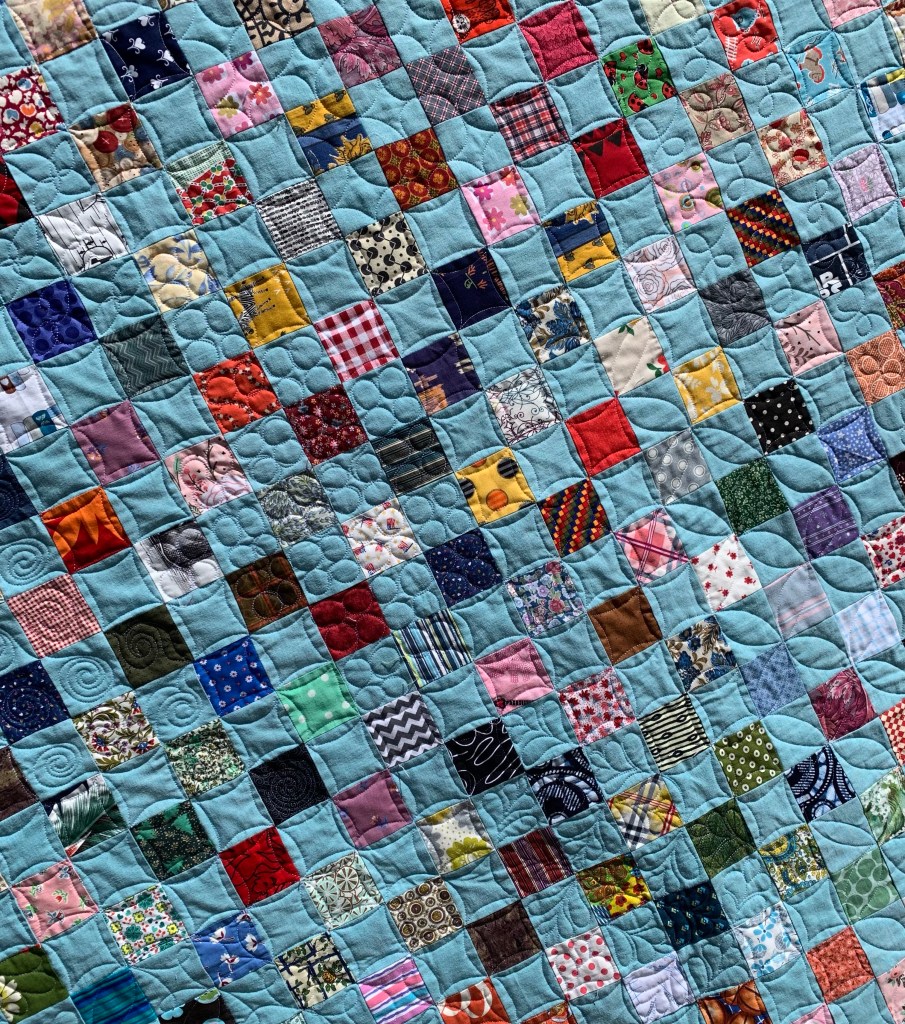
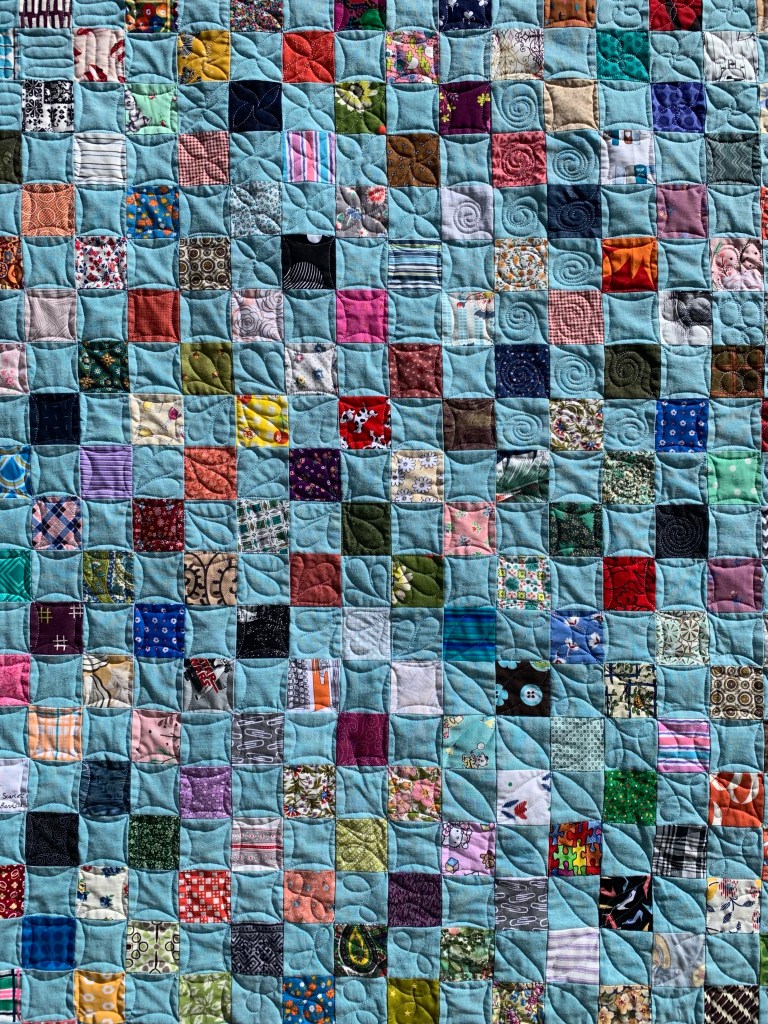
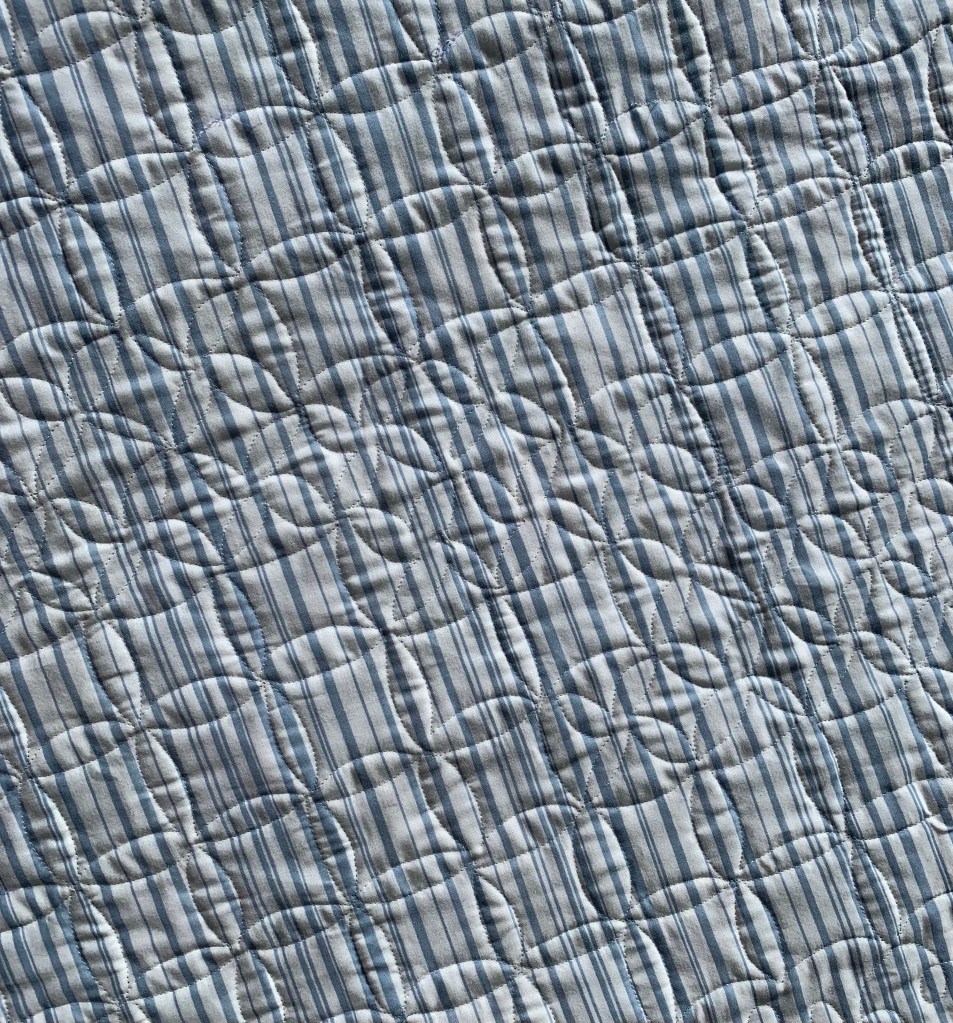
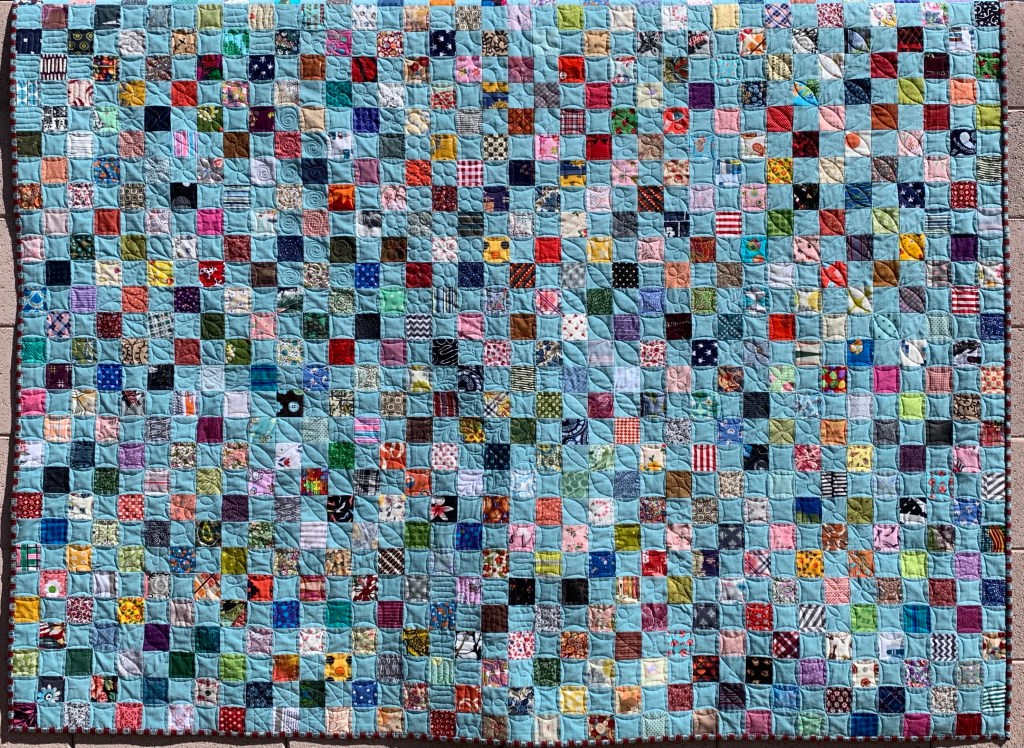
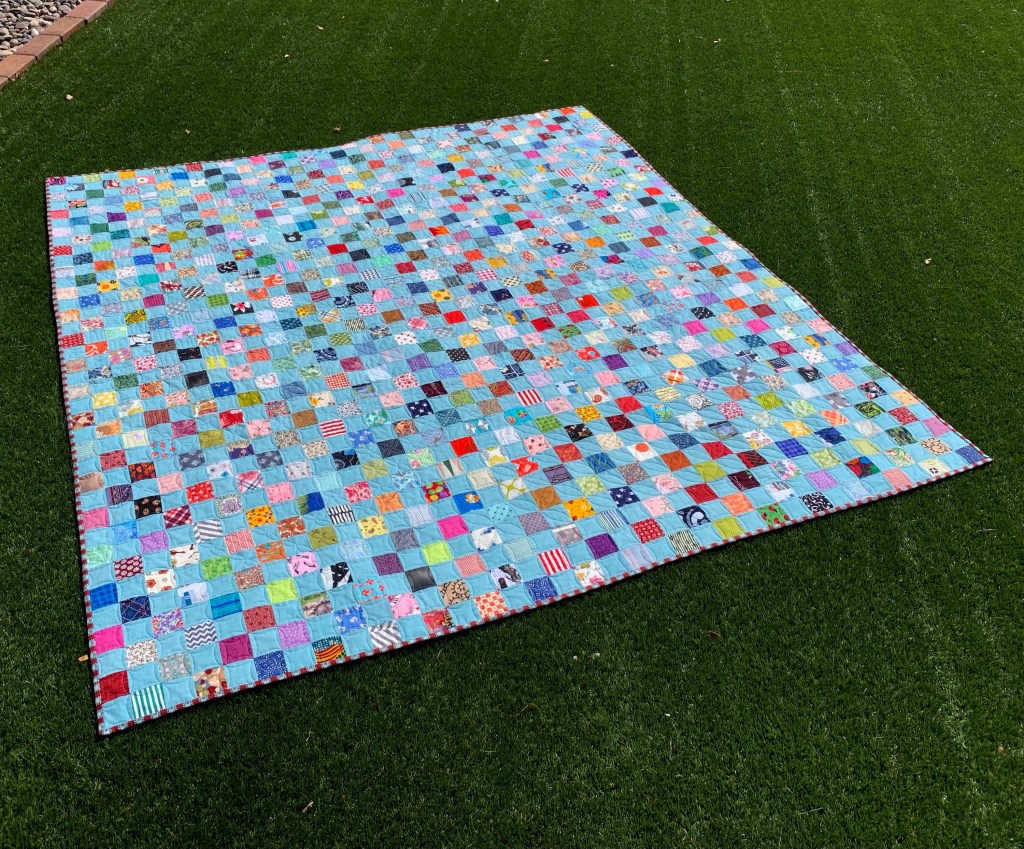
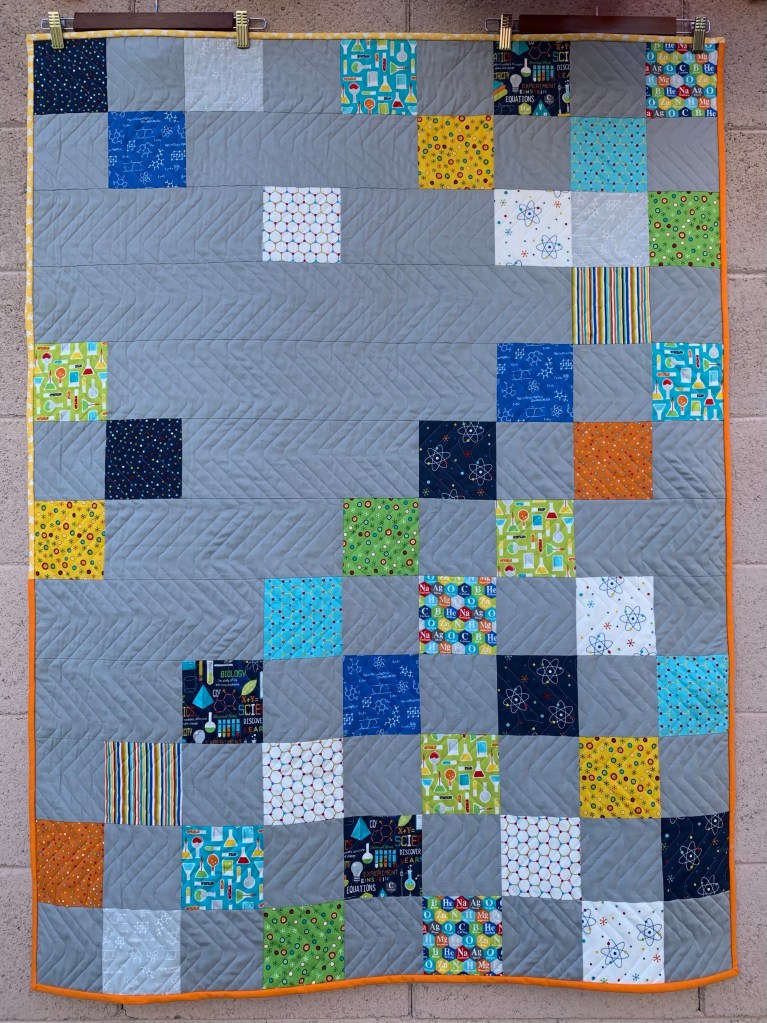
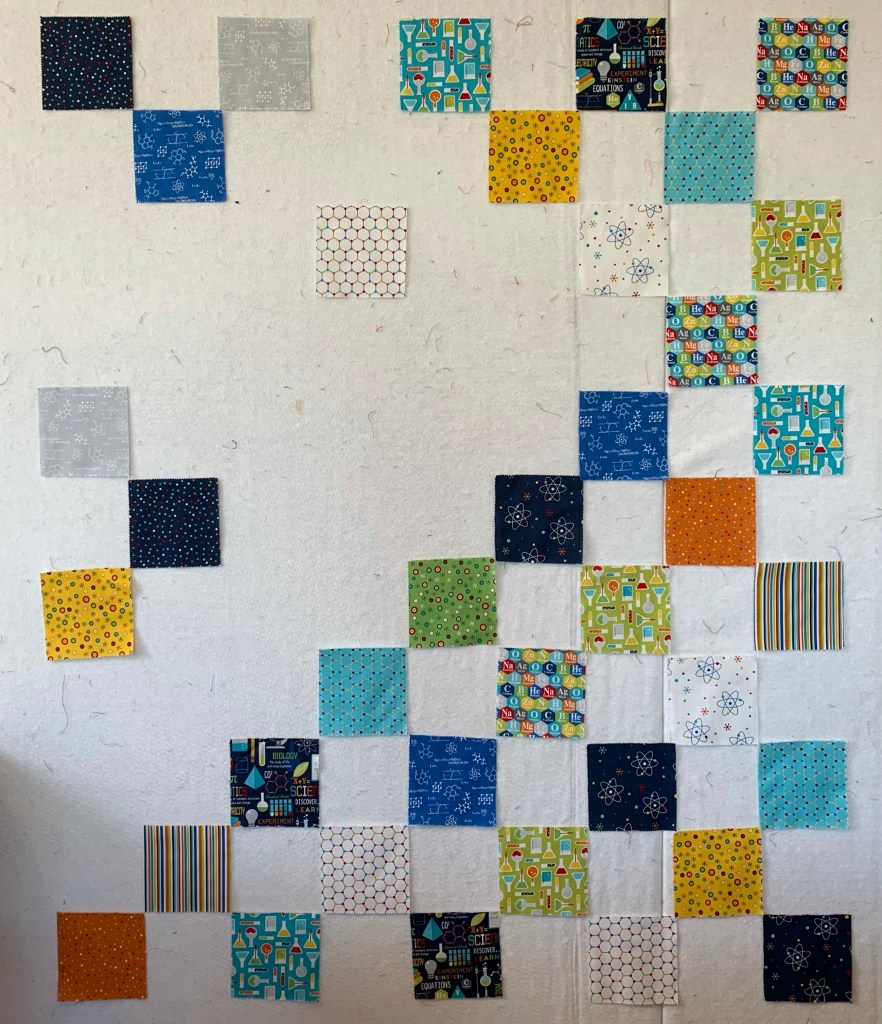
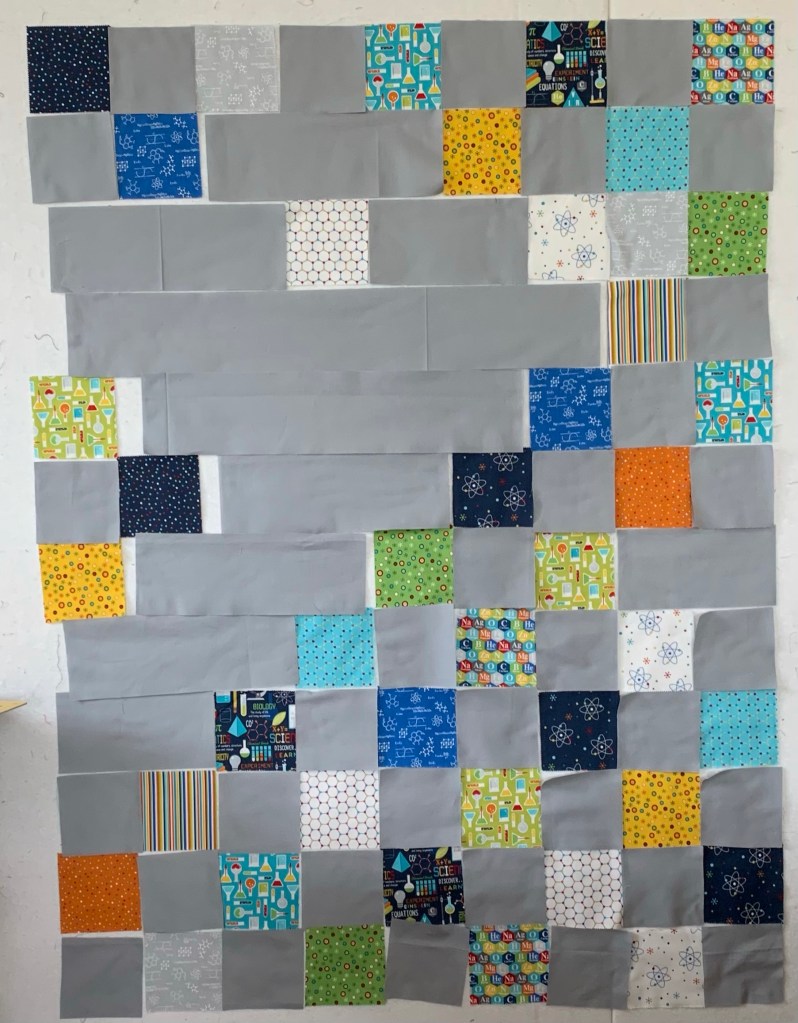
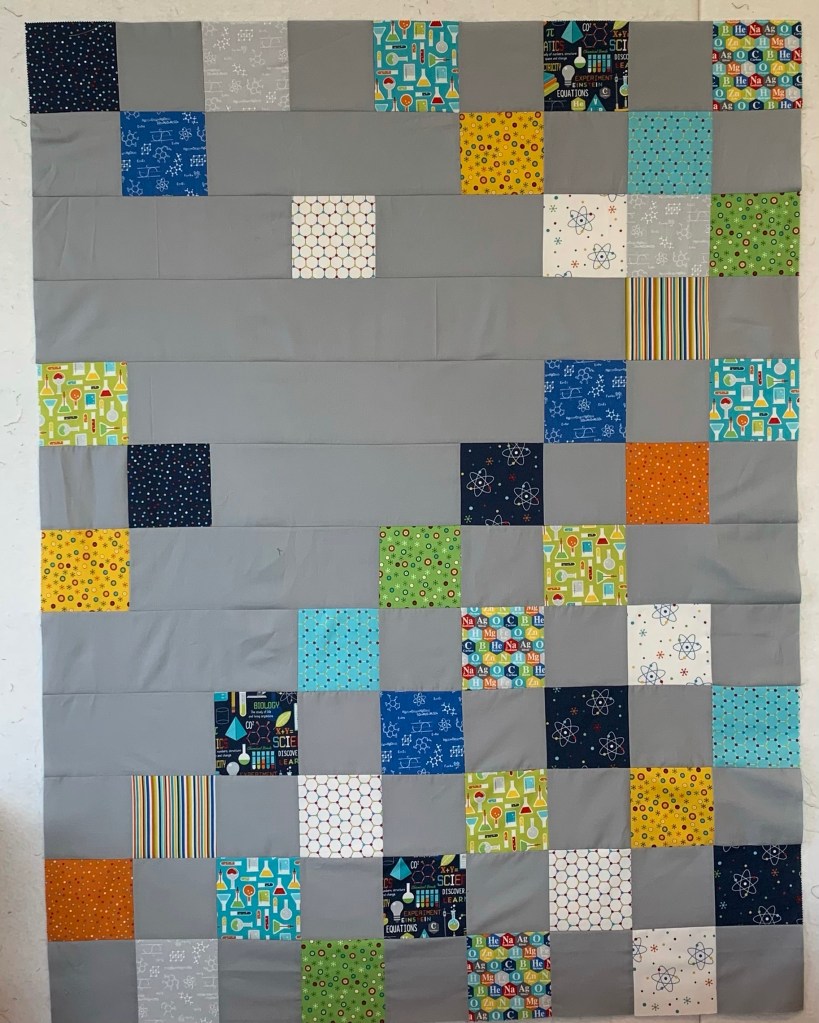
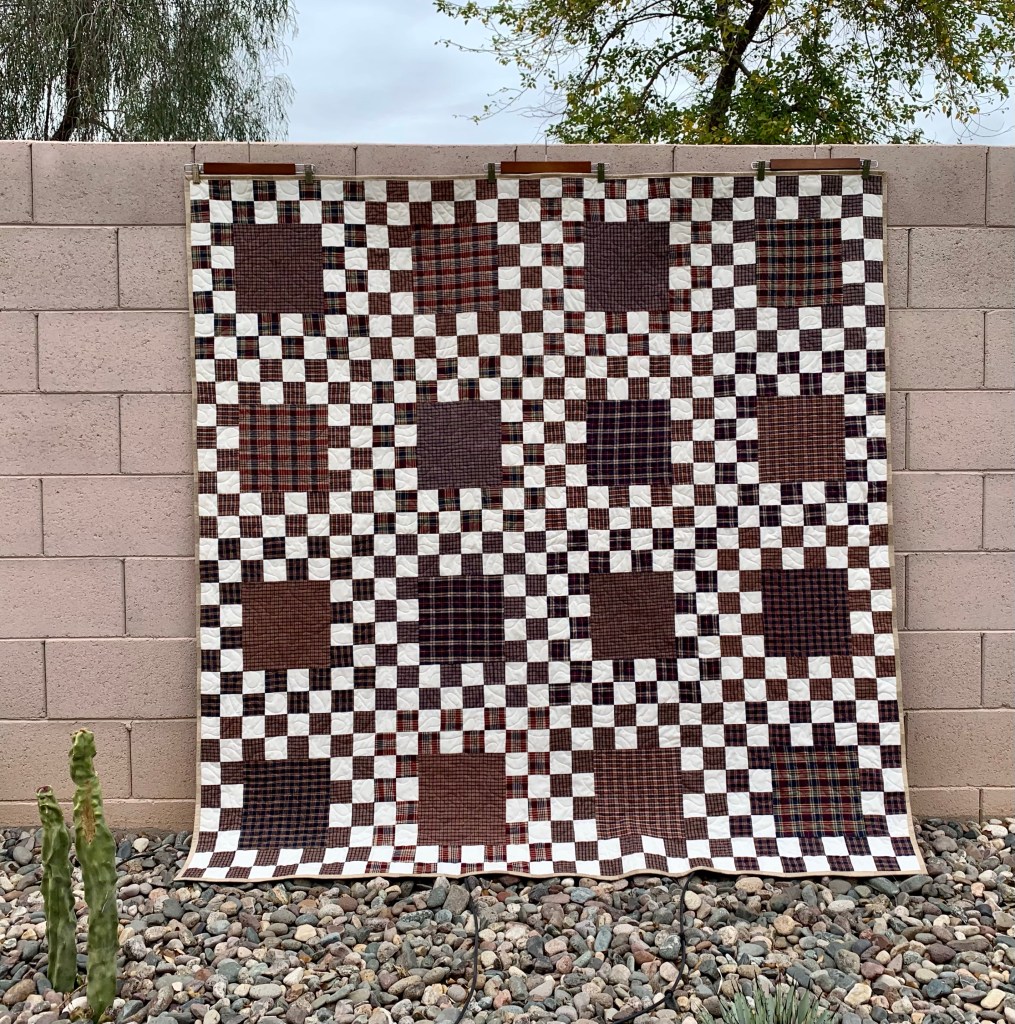
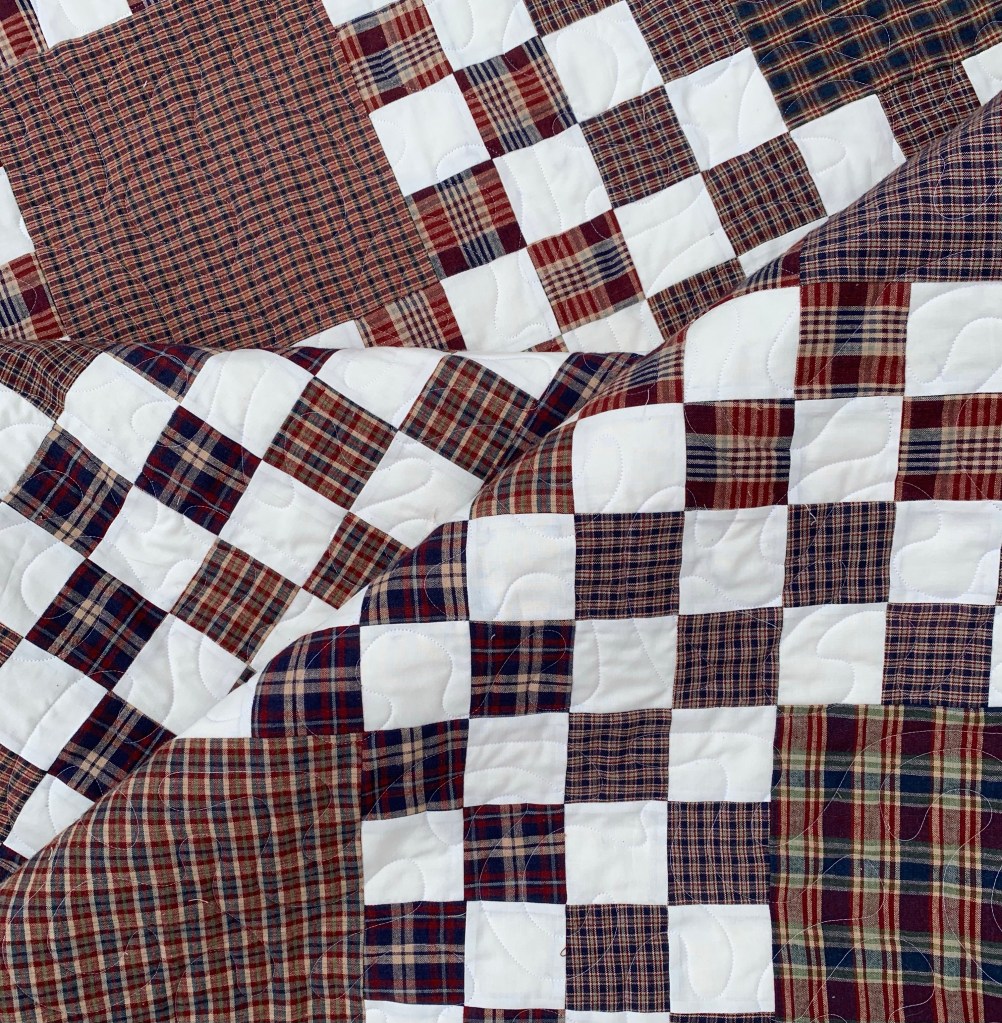
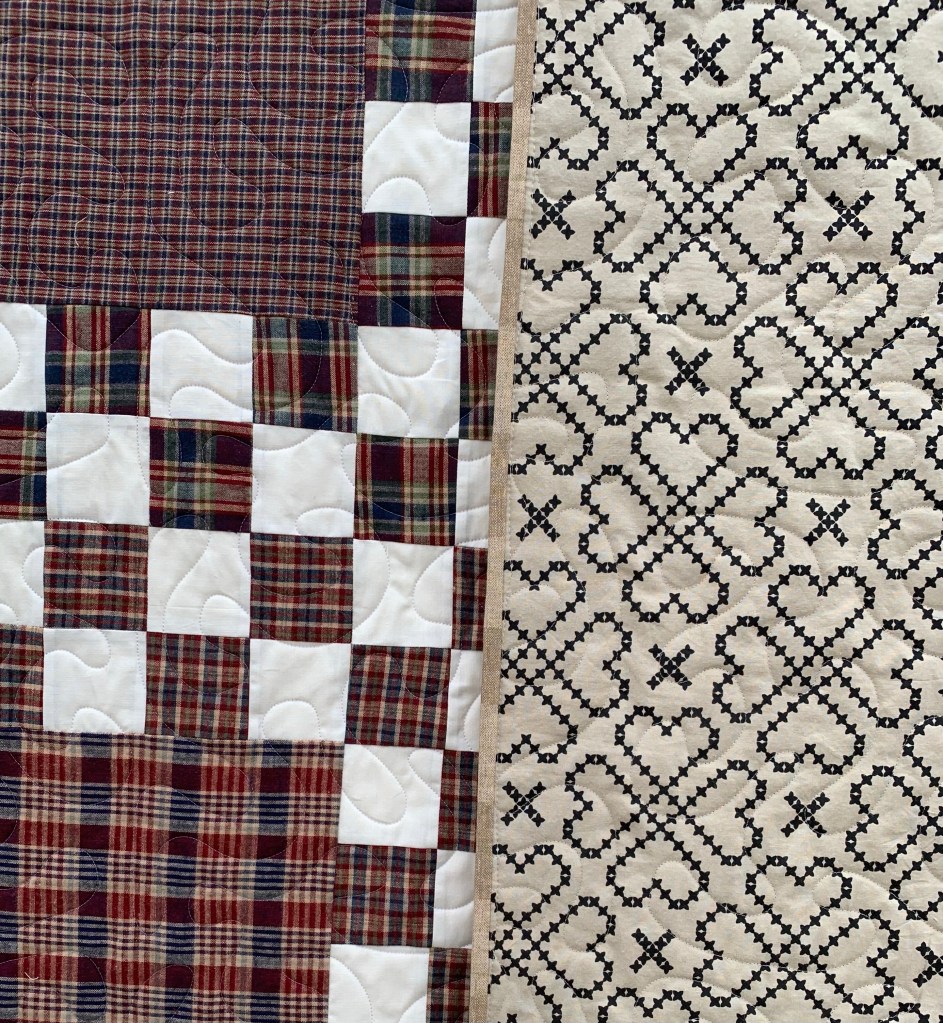
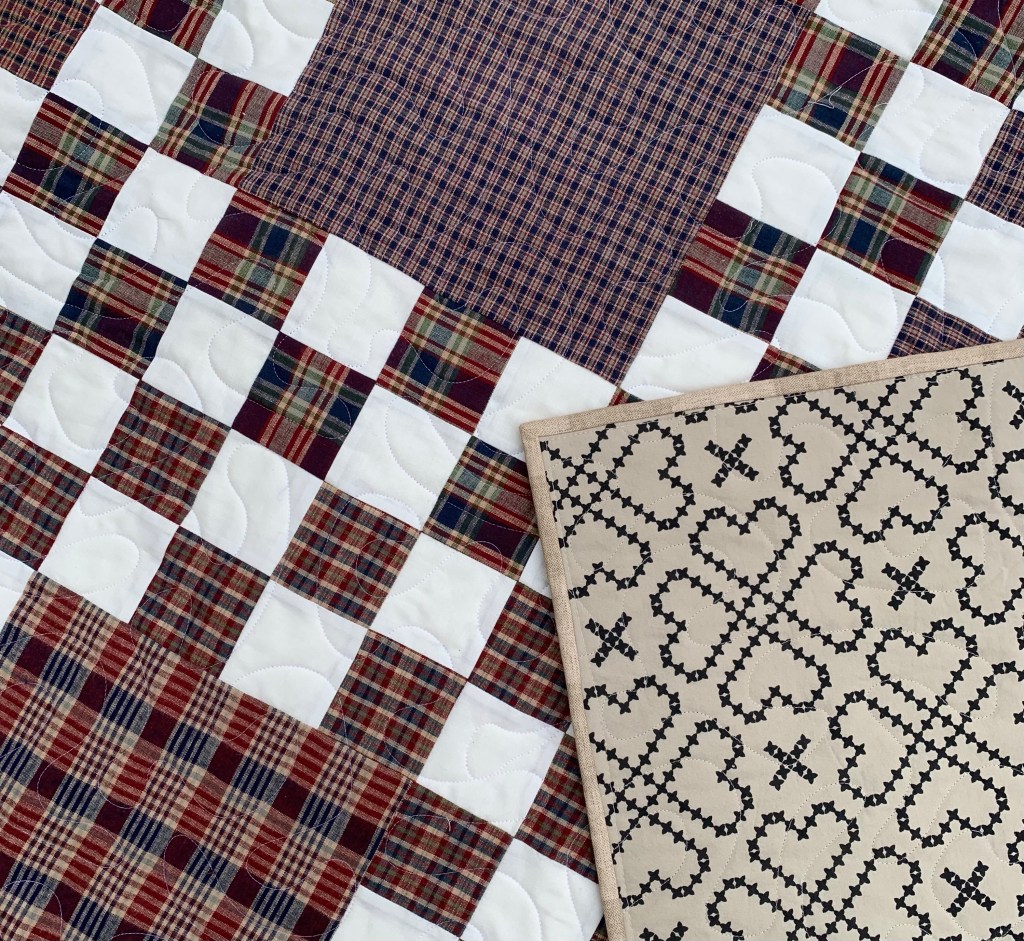
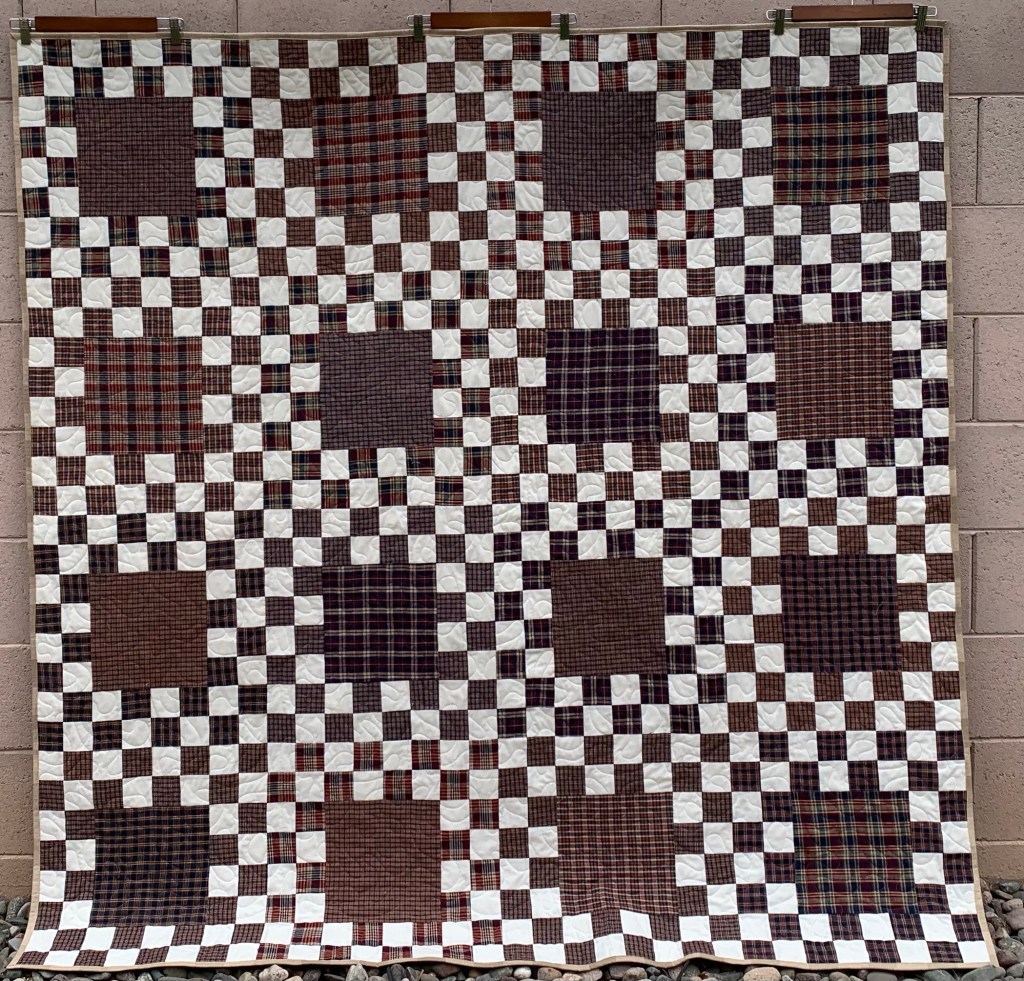
I was getting down to the wire getting ready to head back to Michigan, and I still didn’t have a travel project ready to go! I grabbed a bin of shirts from Mr. Wonderful and a few treasured scraps and whipped up this top.
Time to baste!
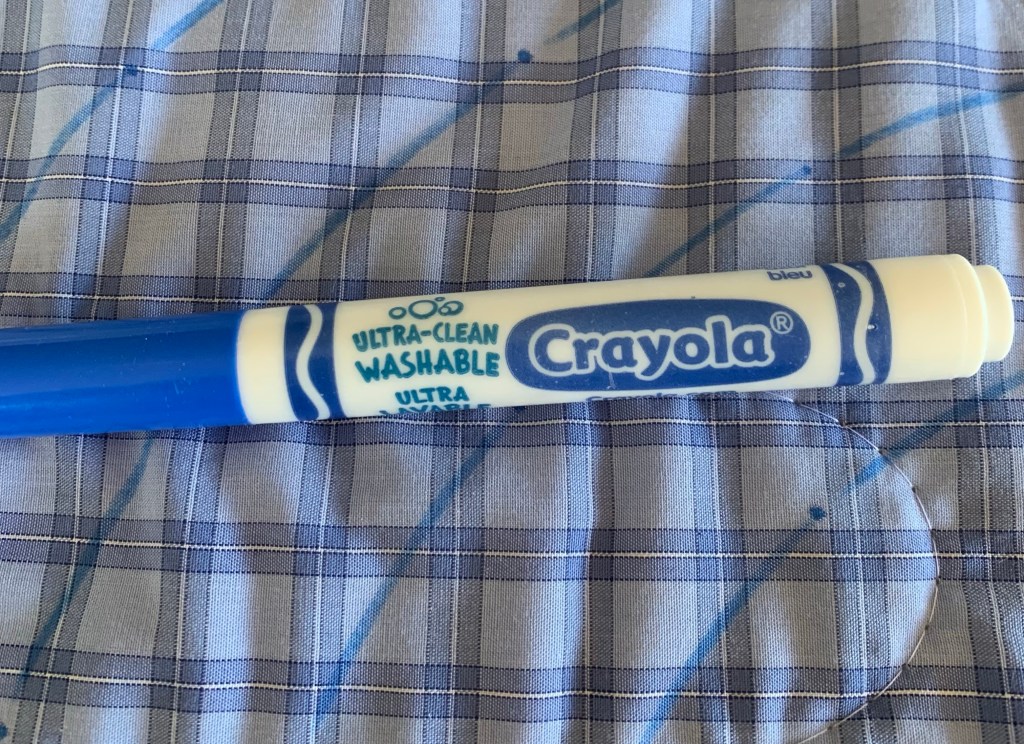
I did a bit of marking.
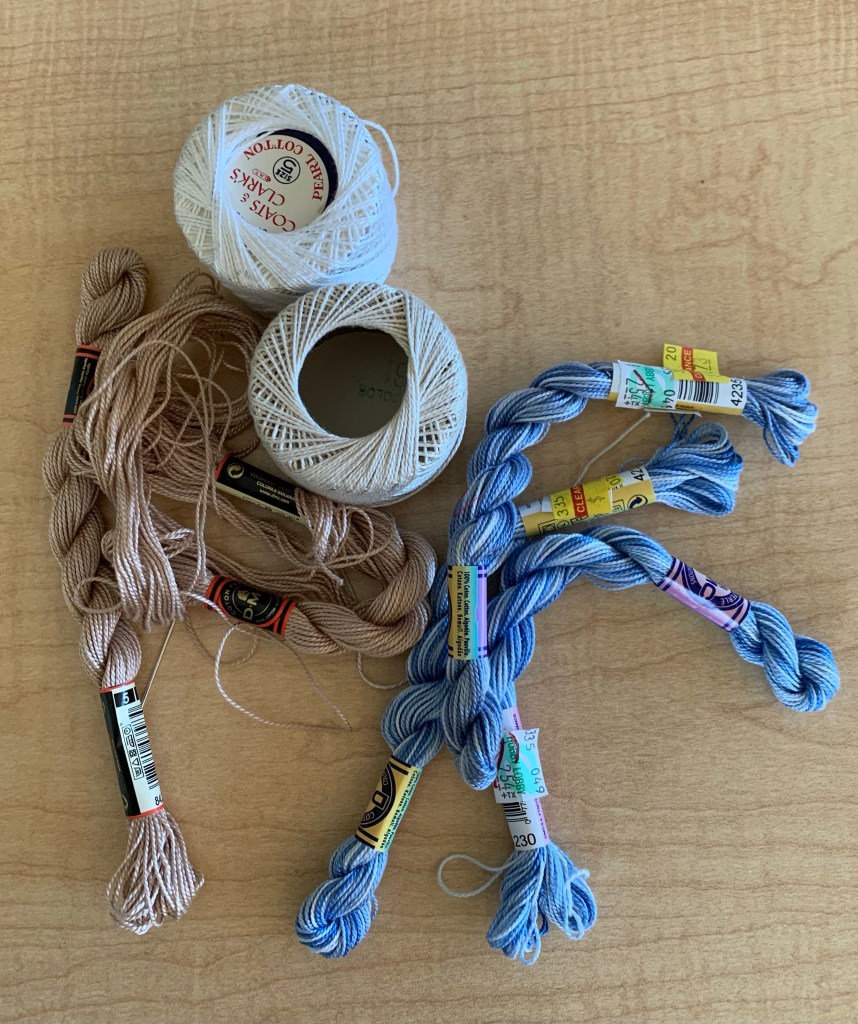
This is what I’m using, based on a recommendation by Bonnie Hunter.
As I was getting ready to button up the sewing room to head back to Michigan, I came across a few orphan blocks.
They sparked an idea and I quilted them up!
I cut some hearts out of freezing paper and ironed them down on my quilted bits.
Then I used pinking shears to cut out hearts. I really need to buy a heat shaped AccuQuilt die before I do any more of these. I ended up with blisters. Ugh.
I ended up with quite a few!
These could easily be made into tree ornaments, fridge magnets , or garland.
I decided to use them to share a bit of love on the way back to Michigan. Click here for more info.
Before I go, I’ve been having a terrible time with my blog reader, Bloglovin’ the last few weeks. If you have too, you can always click on the link in the sidebar to follow my blog by e-mail. Personally, I’m trying out Feedly to keep up with the blogs I love.
Gotta love a quick finish! This definitely fit the bill.
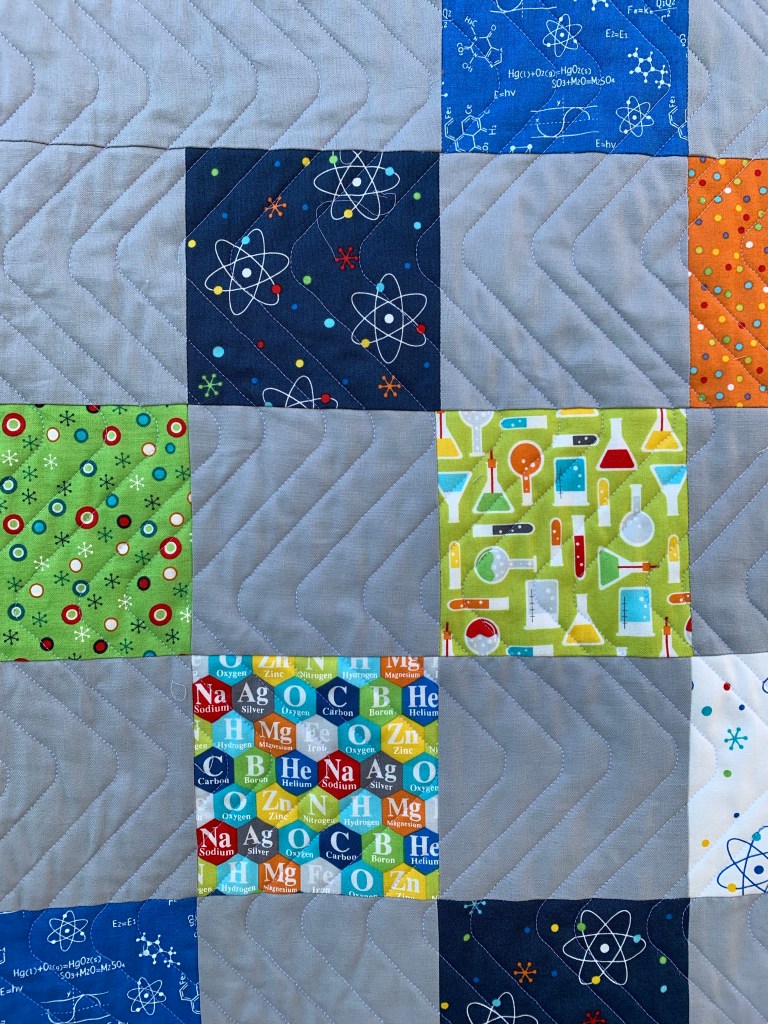
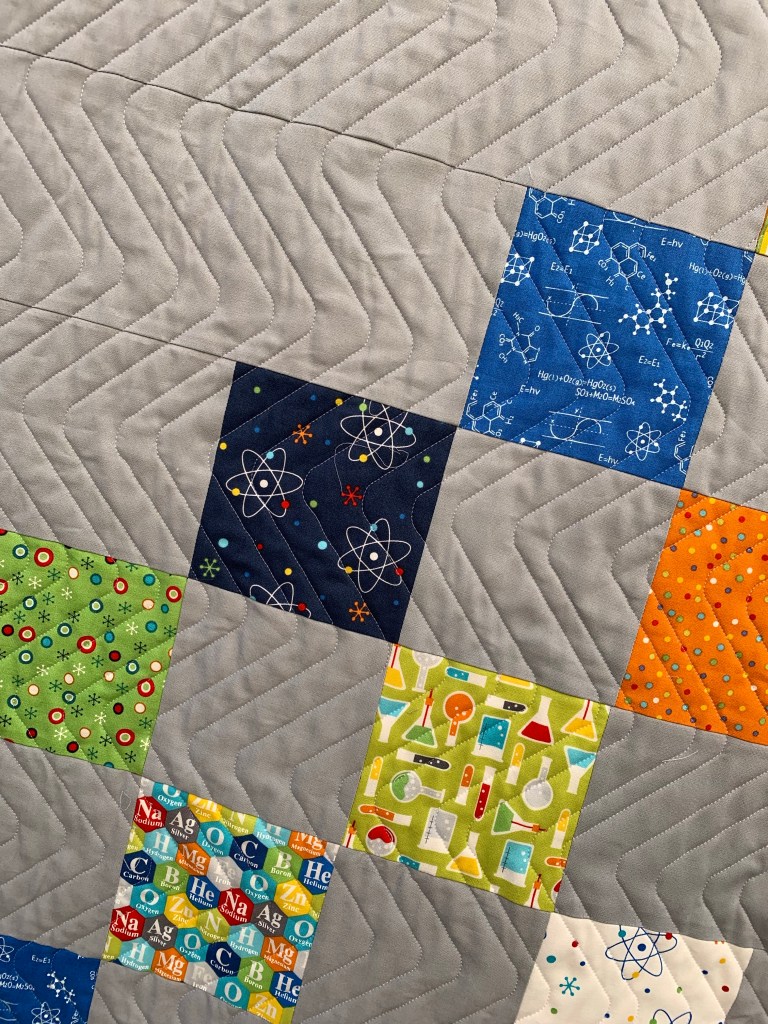
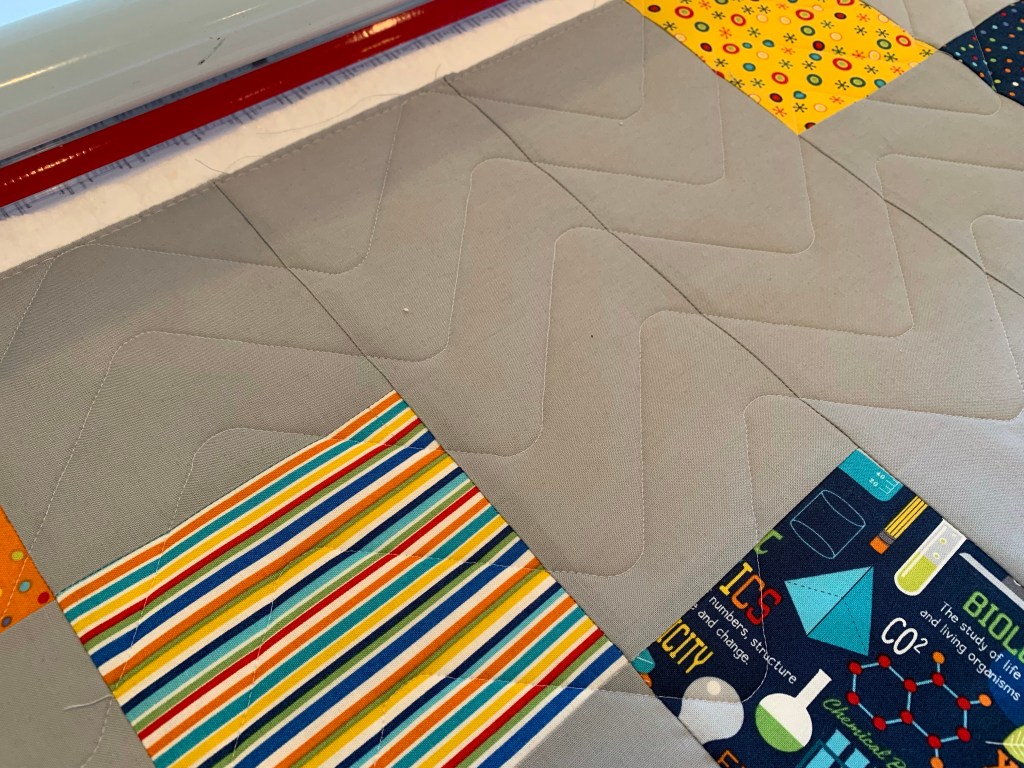
Did you guess that I was doubling up on the quilting? In the next photo, you can see the difference.
Even though they are not evenly spaced, they give glorious texture!
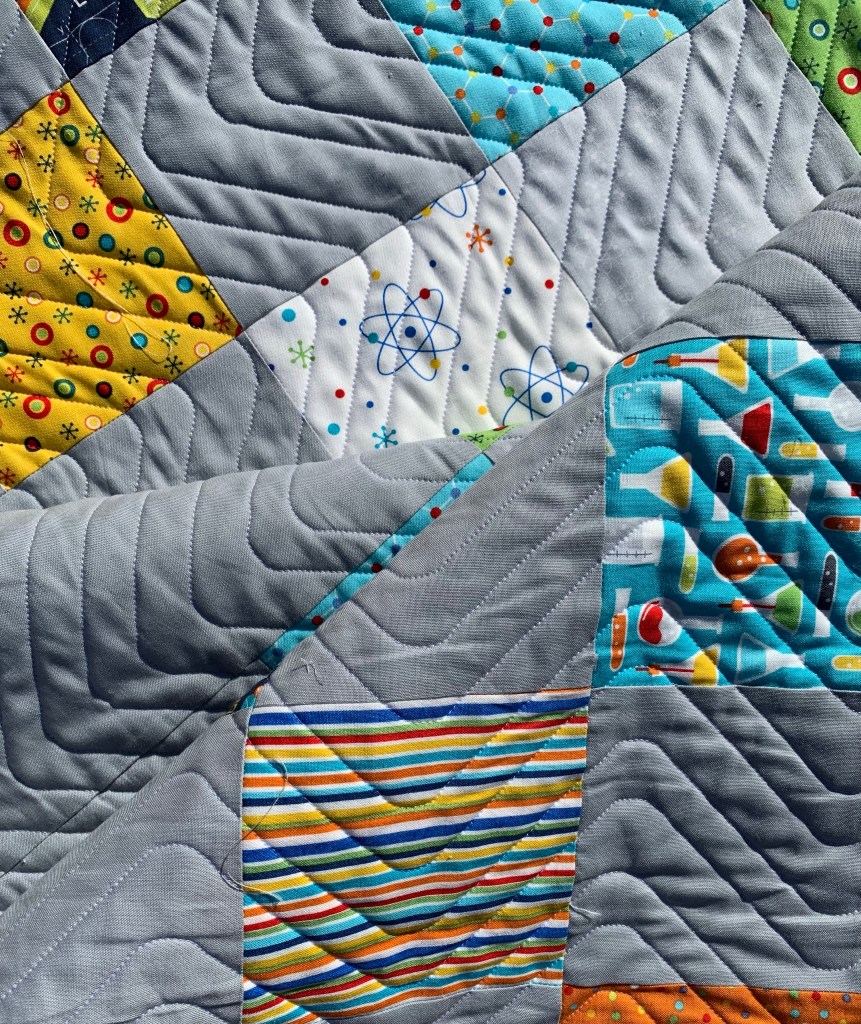
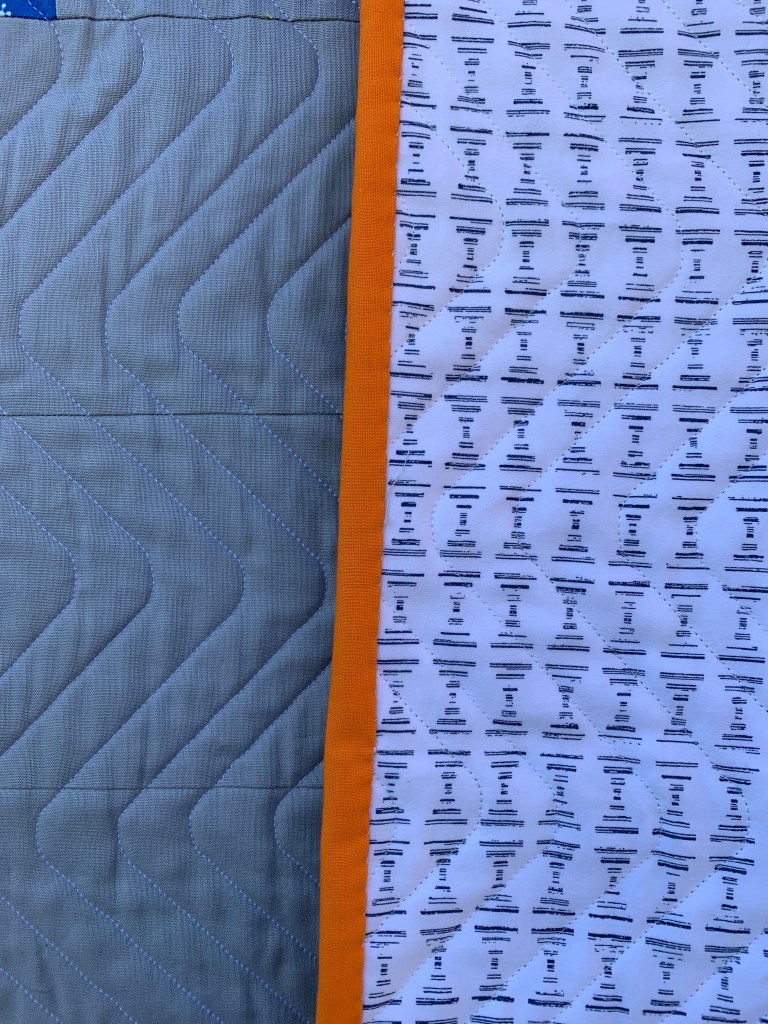
And I love that I can use my design boards for quilting more than one design. The next photo shows the backing and a bit of the binding. I didn’t have enough of the orange left over, but a bit of yellow was just the ticket to complete it.
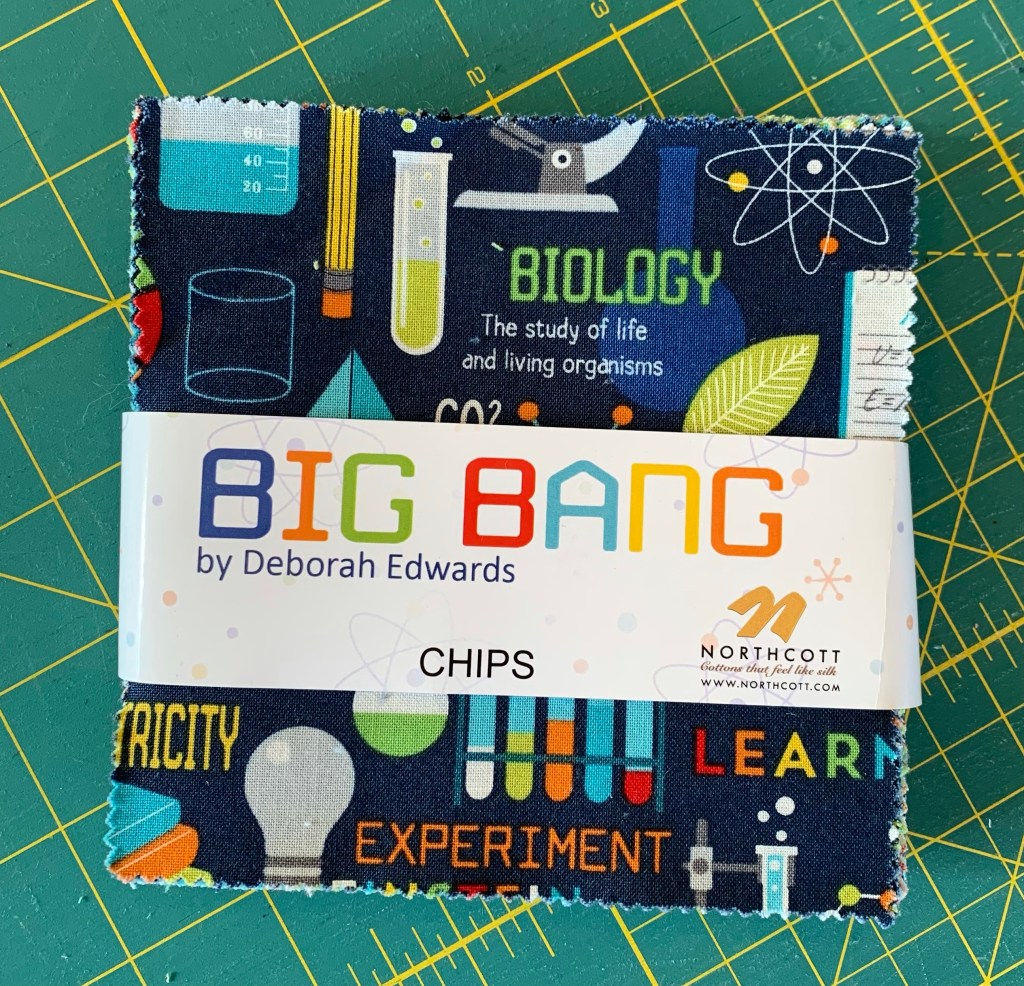
Being a chemistry nerd, I love these prints!
I loved making this! No pressure, no perfection. I’ll definitely make something similar again soon. BTW, the finished size is 41 by 54 inches.
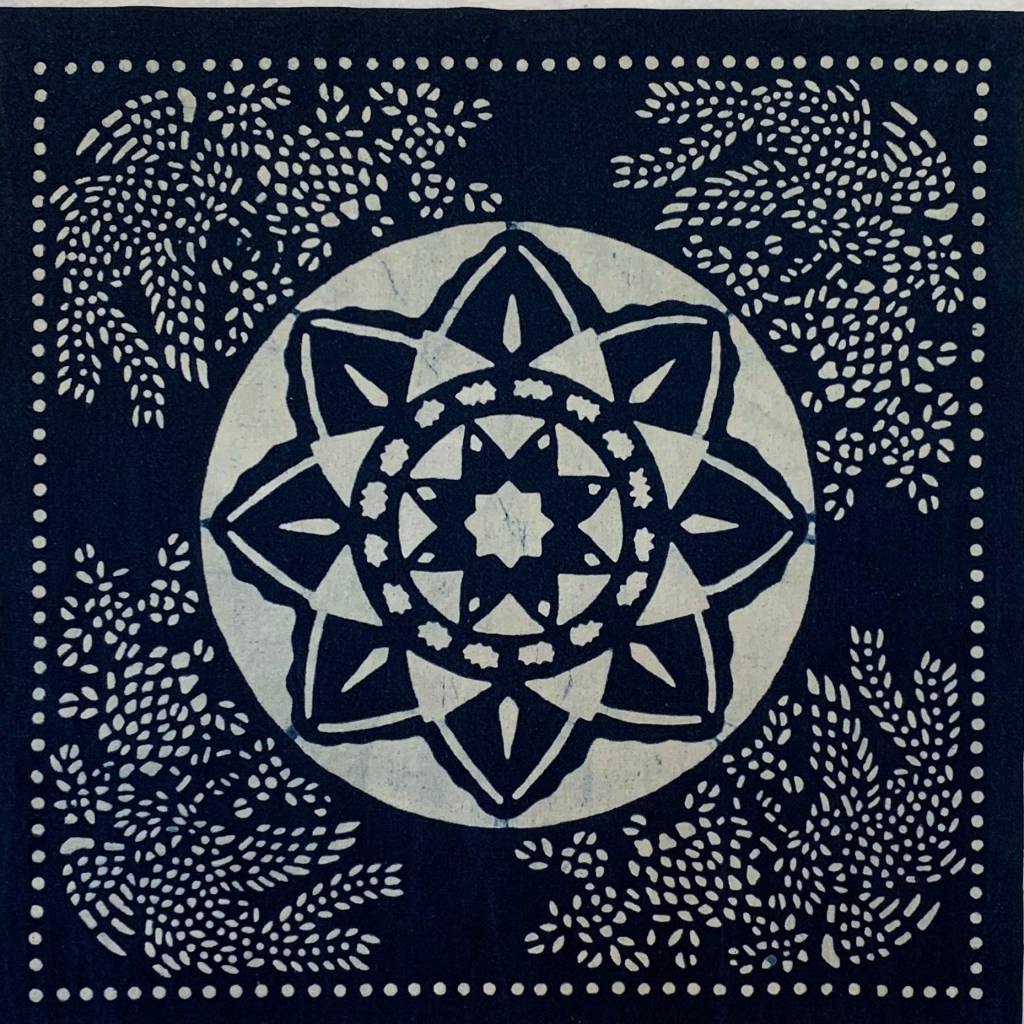
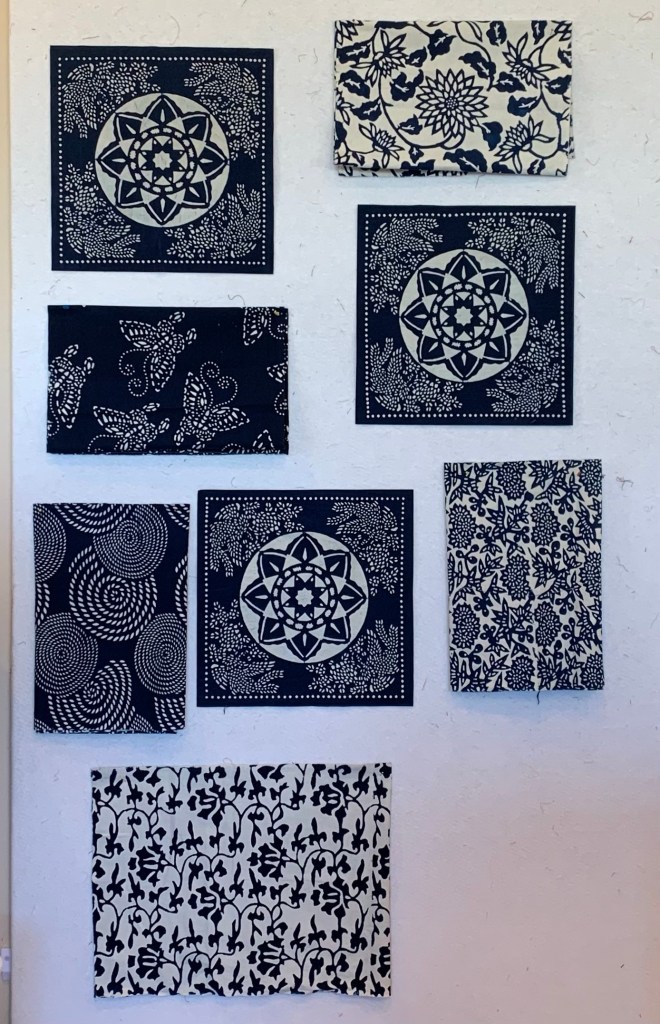
On one of Mr. Wonderful’s trips to China, he brought back Nankeen fabric for me. You can read about it here.
They are such special fabrics, that it is hard to cut into them. Each of the six pieces were about 15 by 45 inches. I cut one piece with medallions into three parts. I know I don’t want to cut these any smaller.
The other bits are folded. I started playing with them like this. I’m hoping I will come up with a simple design to show them off.
It’s going to take some looking to find the right sashing fabric. A bright white won’t do it, but something creamy won’t either.
Who taught the sun Where to stand in the morning And who told the ocean You can only come this far And who showed the moon Where to hide till evening Whose words alone can Catch a falling star
Well I know my Redeemer lives I know my Redeemer lives All of creation testifies This life within me cries I know my Redeemer lives Yeah
The very same God That spins things in orbit Runs to the weary The worn and the weak And the same gentle hands That hold me when I’m broken They conquer death to bring me victory
Now I know my Redeemer lives I know my Redeemer lives Let all creation testify Let this life within me cry I know my Redeemer
He lives to take away my shame And He lives forever I’ll proclaim That the payment for my sin Was the precious life He gave But now He’s alive and there’s an empty grave
And I know my Redeemer, He lives I know my Redeemer lives Let all creation testify Let this life within me cry
I know my Redeemer I know my Redeemer lives I know my Redeemer lives I know that, I know that, I know that, I know that, I know I know my Redeemer lives (Because He lives I can face tomorrow) He lives, I know, I know, I know. He lives (I spoke with Him this morning.)
He lives. (The tomb is empty) He lives. (I’ve got to tell everybody)
It’s decision time. I have to figure out what projects go back to Michigan with me and what stays in Arizona. What this really means, is that I have a legitimate reason to procrastinate! 🤣
So, what is staying? Martha is staying.
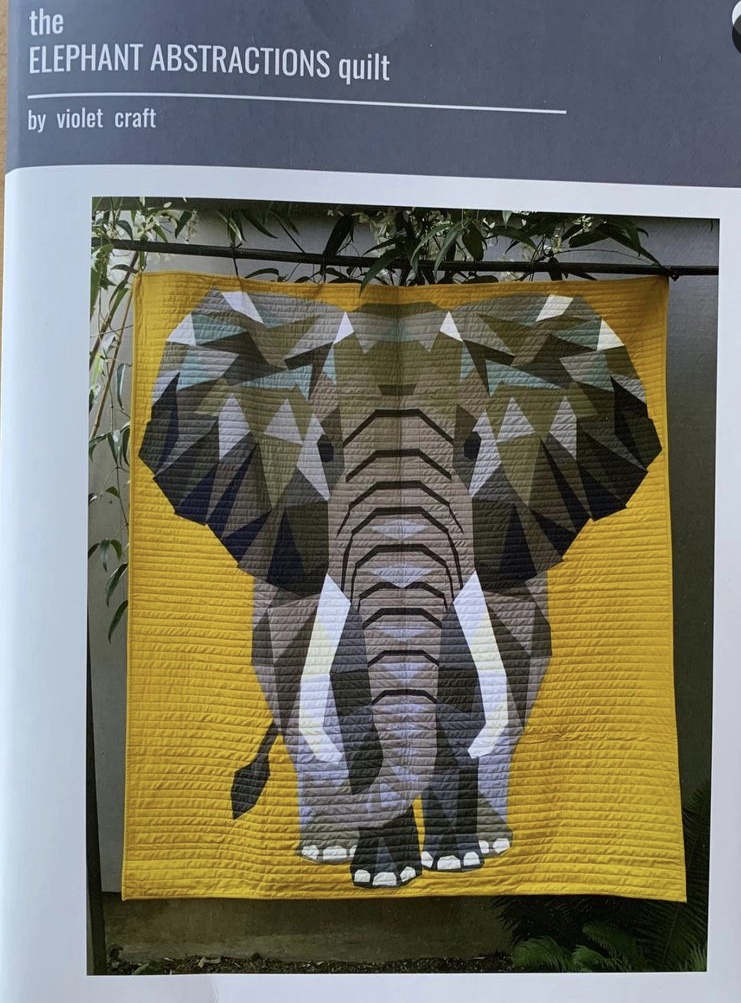
The elephant is staying.
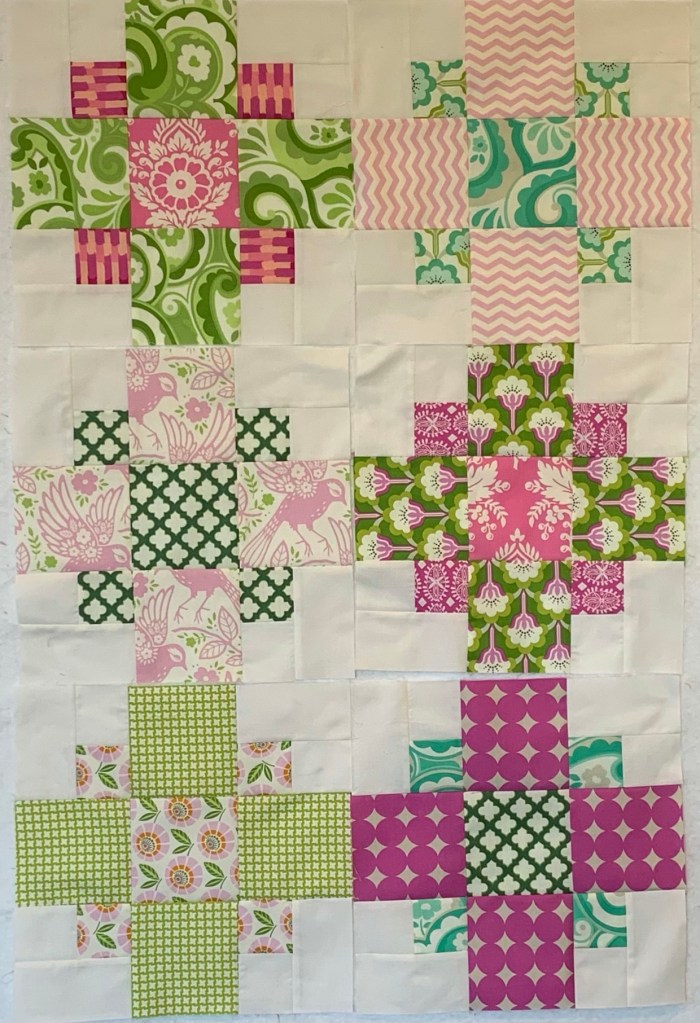
These are staying. They are fun to make and will be a great project to ease back into in the fall.
I’ve built up more of a stash here this winter, so I’m not taking so much fabric back and forth.
The harder decisions will be which dies to take or leave.