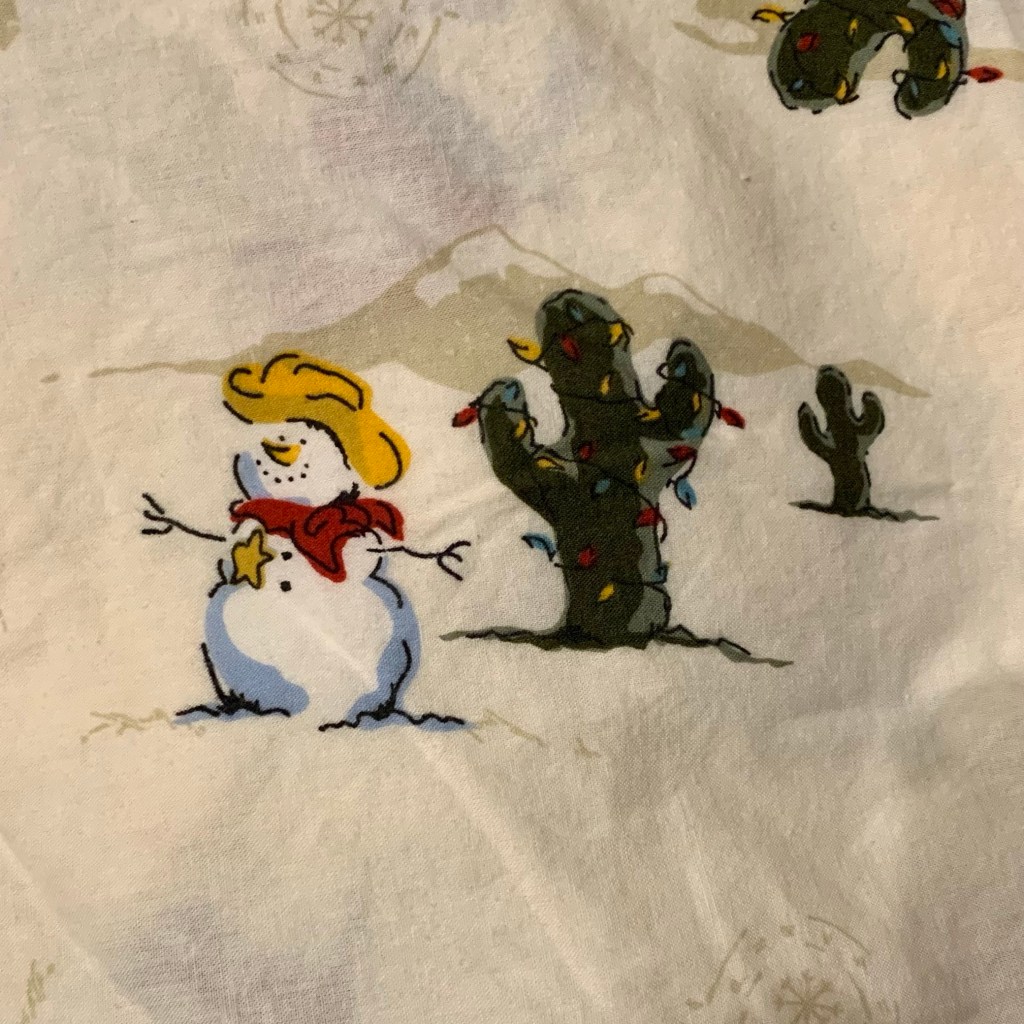
I found the best tablecloth at Goodwill this week. How cute is this?
I also worked on washing some windows this week. I have quite a way to go with that project.
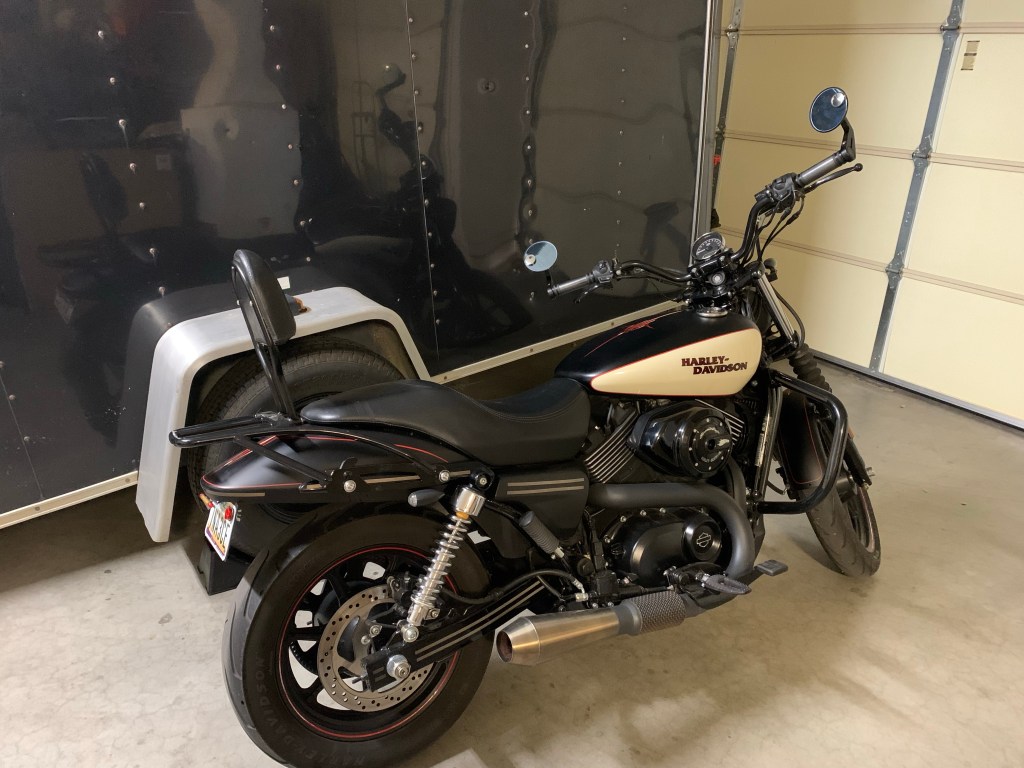
I’ve been riding my bike a few times a week. I’m still very much a beginner, but I rode it to my Bible study on Tuesday.
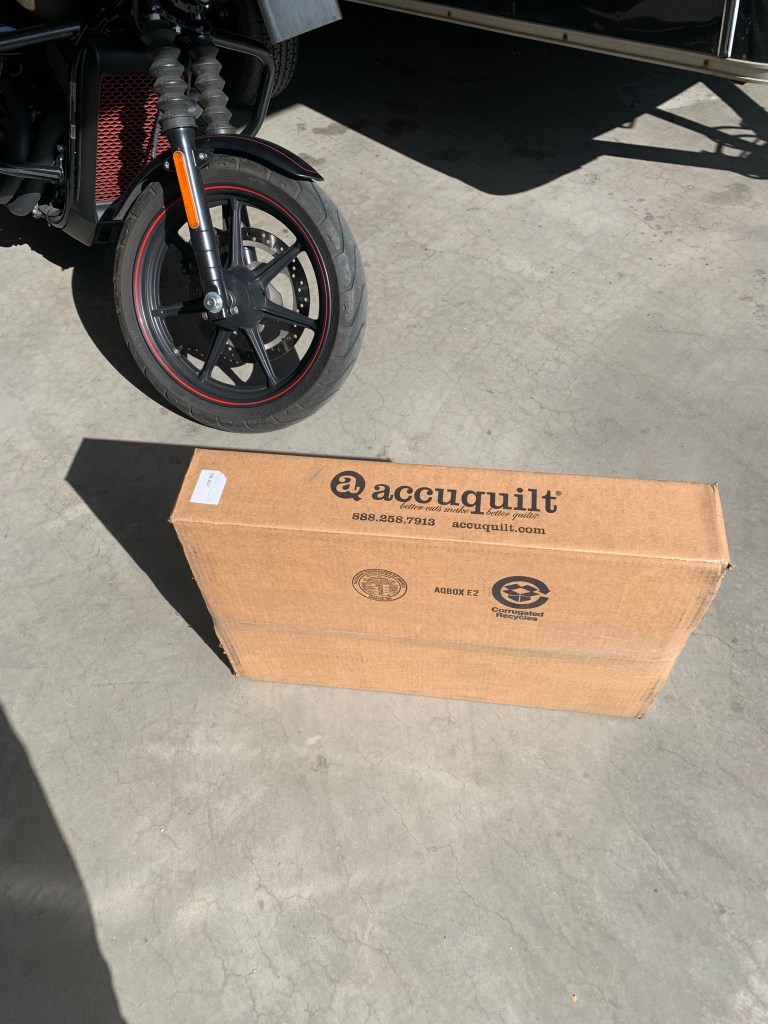
I had a couple of these boxes show up wth is week. So fun!
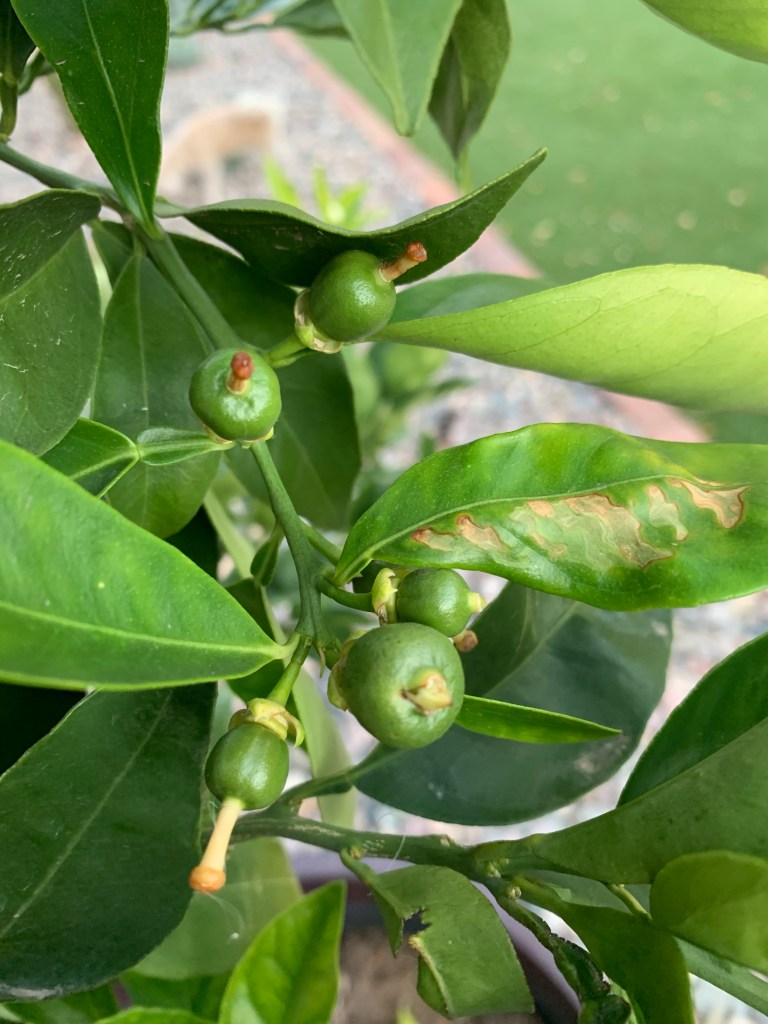
We have oranges! Well, they are still pretty tiny…
And isn’t this beautiful?
I love driving through the older neighborhoods in Sun City. They have such great cacti! I did see two coyotes run past me in one though. It was 10:30 in the morning! Crazy. I was too stunned to take a picture.
I’ve decided to bring back Throwback Thursdays. I’ve written thousands of posts here, so I thought it might be fun to share some of my older favorites with newer readers. Below is a post from February 2018, as written then. Have a great day!
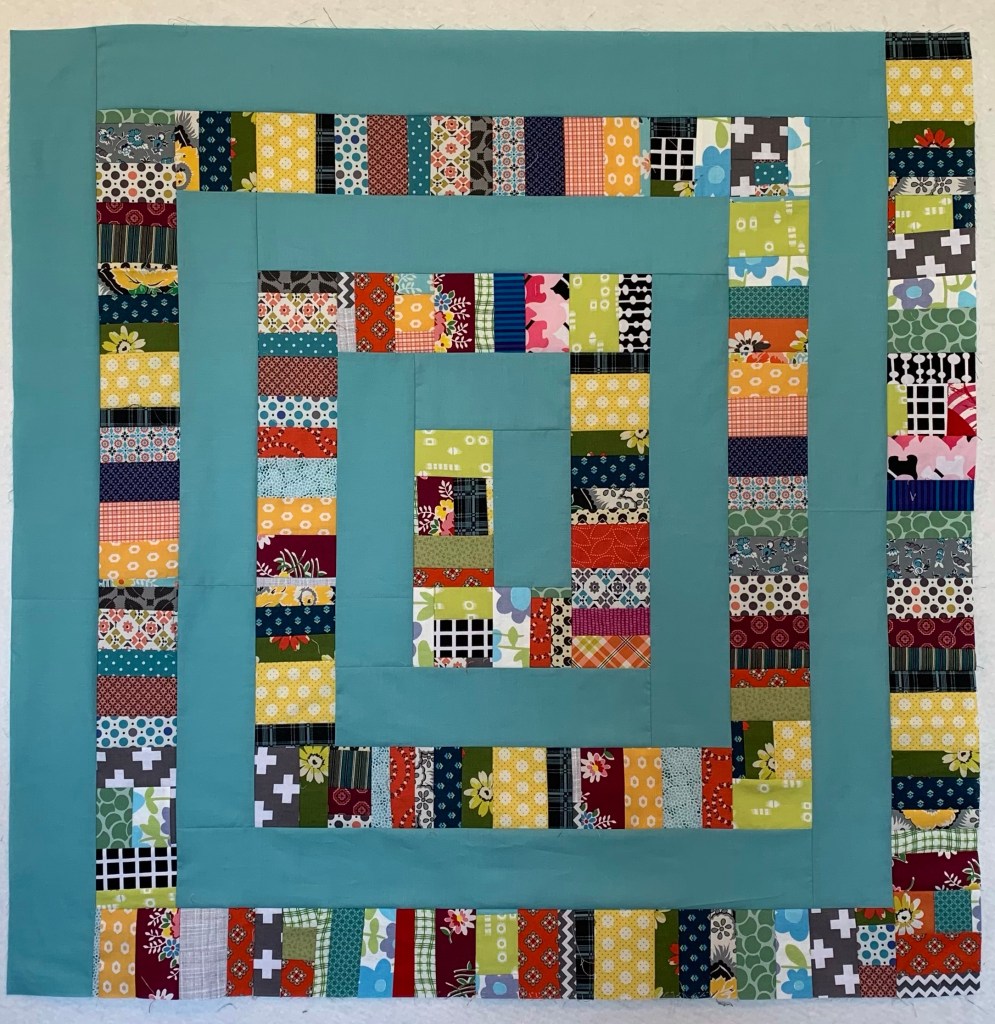
It’s done! I started piecing this top back in 2013. It is mostly hand pieced, but I did machine sew a few seams.
It isn’t a true charm quilt as there are repeated fabrics.
Here’s a look at the backing fabric. It’s a Robyn Pandolph print I had in my stash.
I kept the quilting pretty simple, just freehand continuous curves in the hexies, and a Gothic arch border.
I rather wish that I had quilted it more closely, but it is what it is.
Many people use The English Paper Piecing method to piece hexies. I’m not a fan of EPP. These are hand pieced the traditional way, by marking seam lines on the back of each piece.
This is where I’m displaying it for now. It finished at about 55 by 70 inches.
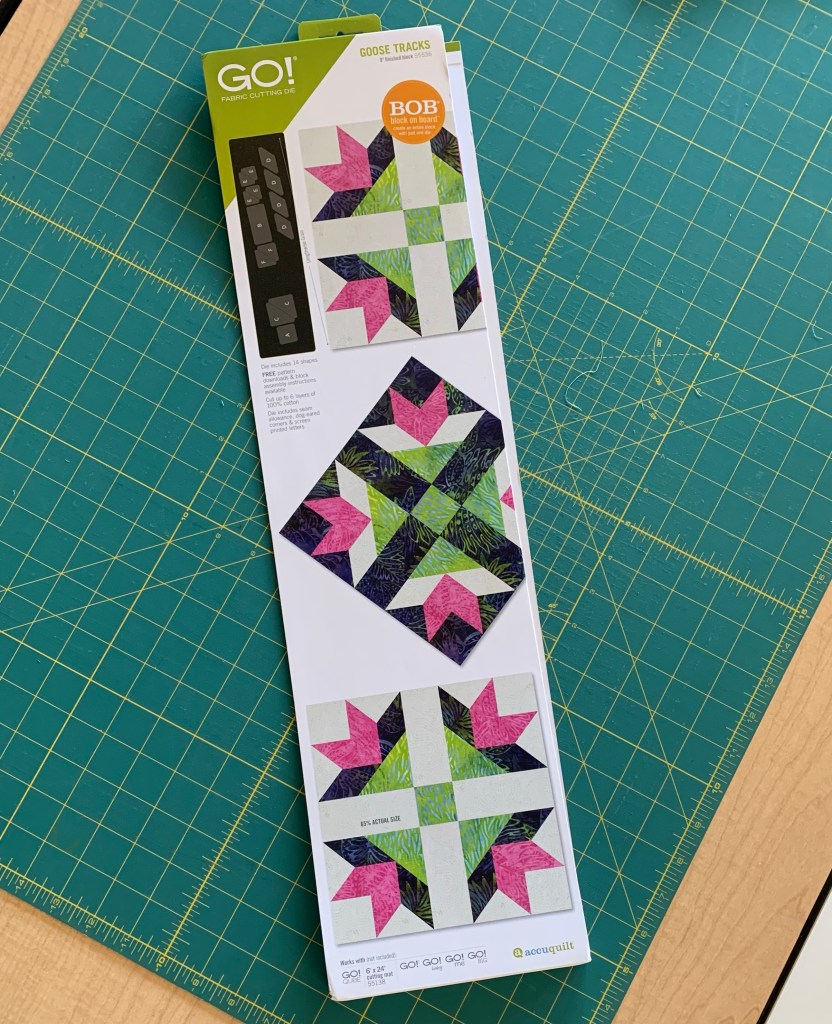
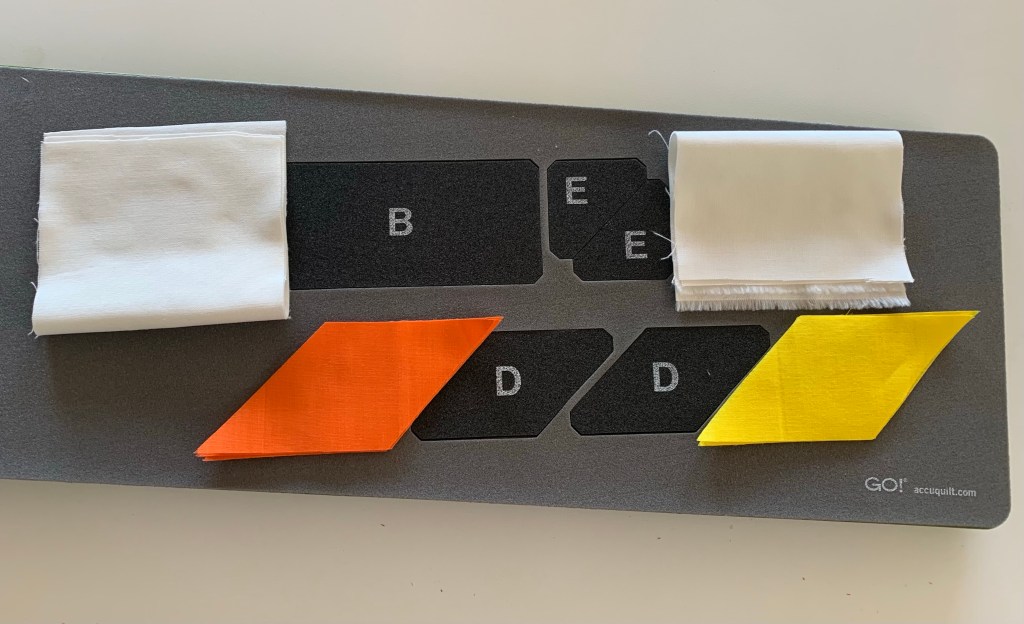
I got a new AccuQuilt die in the mail! Of course, I had to play with it. 😁
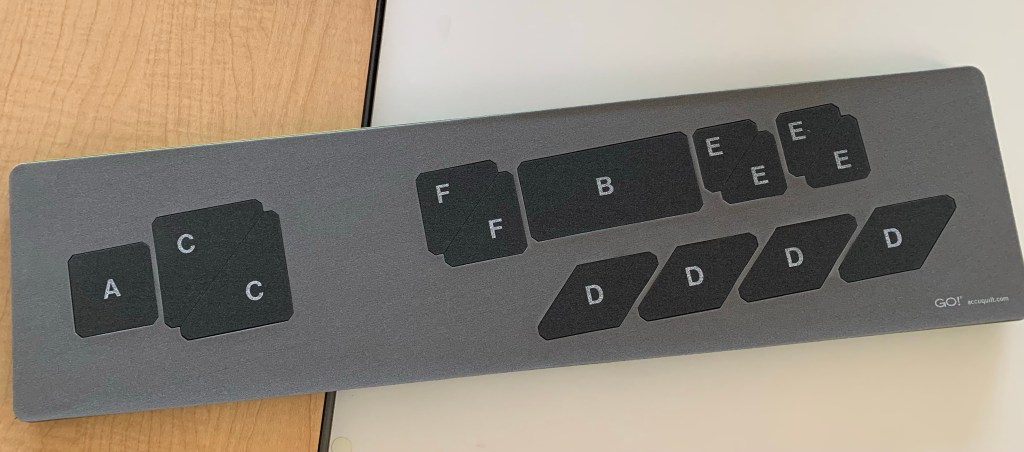
I really like how they screen printed the letters on the die.
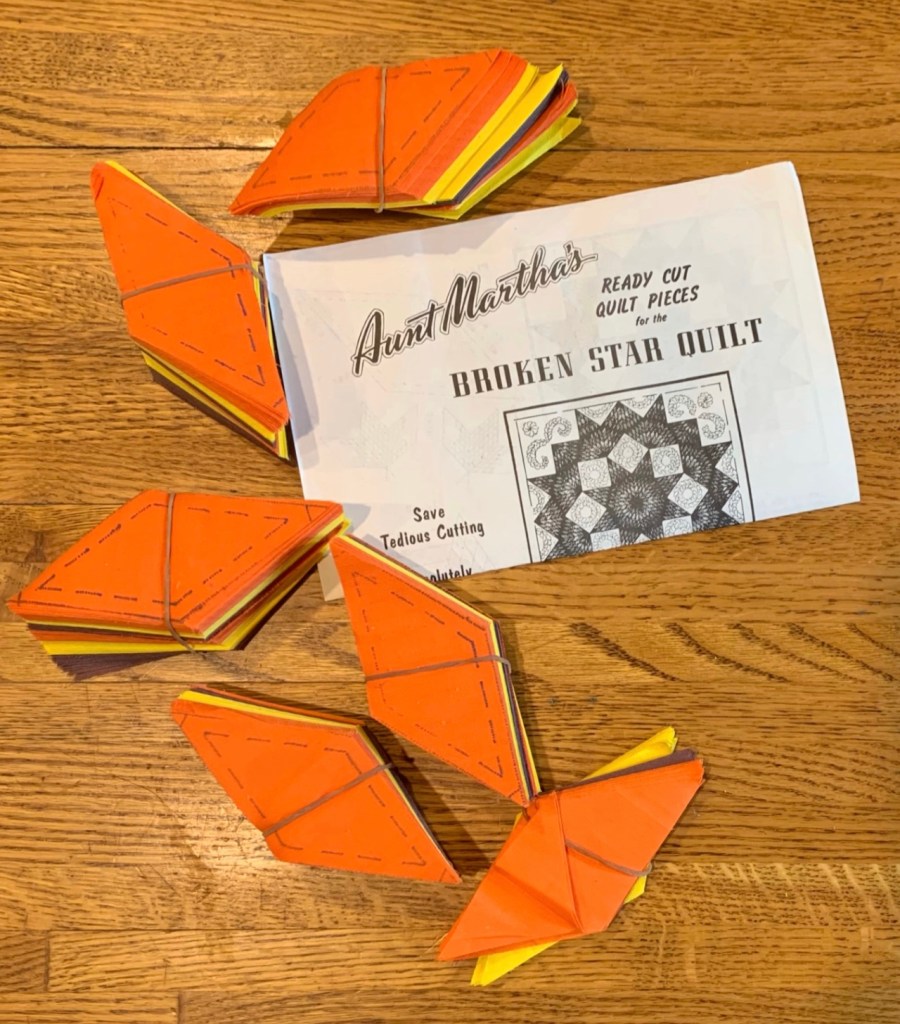
Remember this?
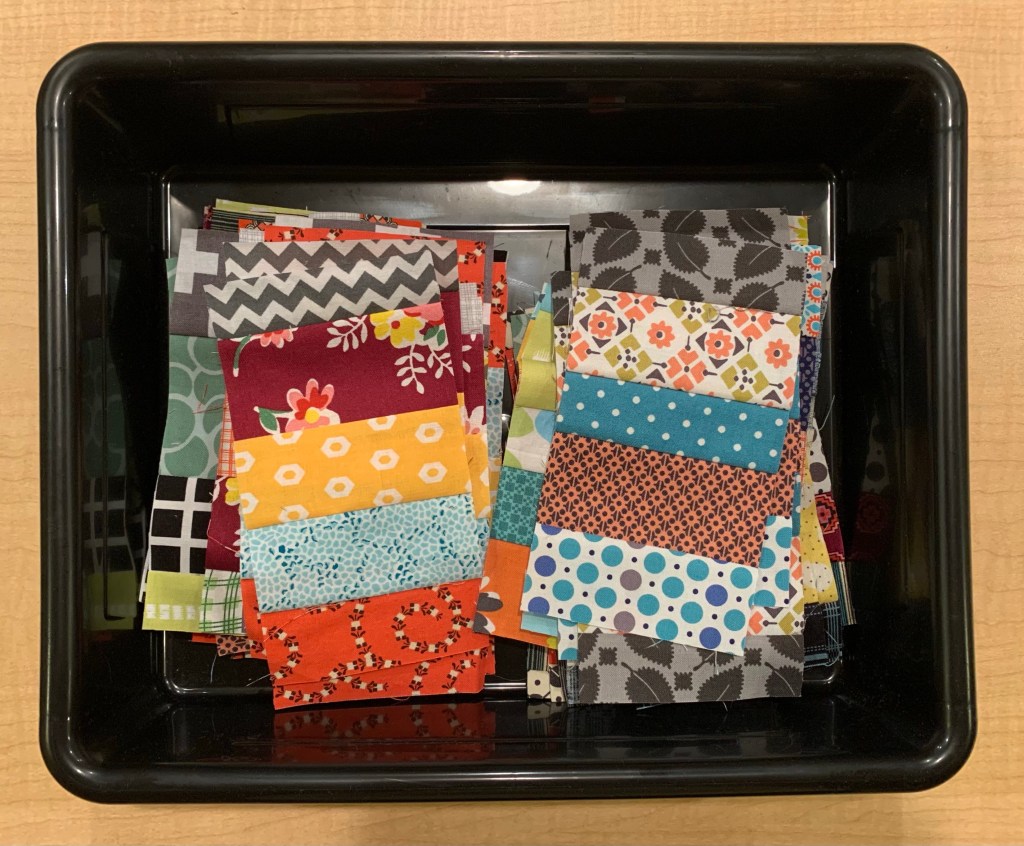
I can’t leave these kits behind when I see them for sale cheap. Even though I know they are not accurately cut. Enter this die!
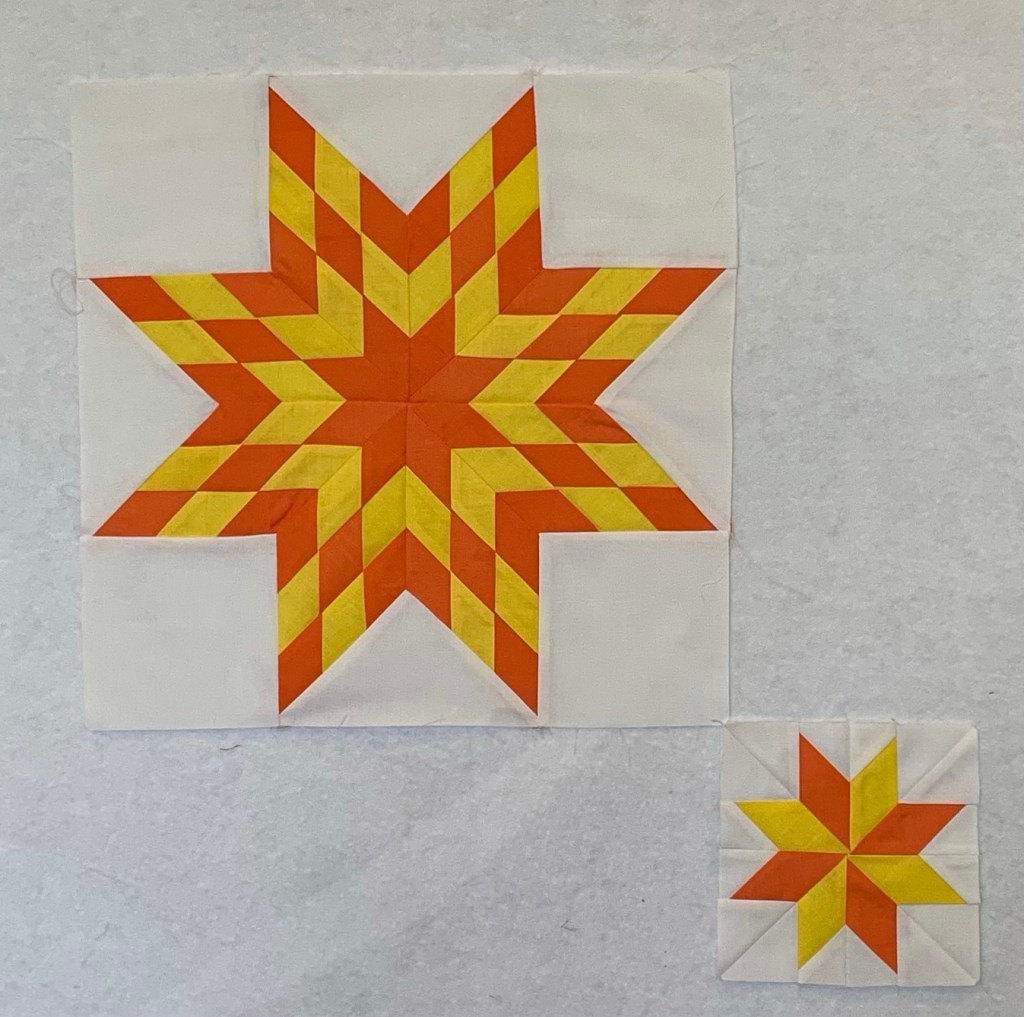
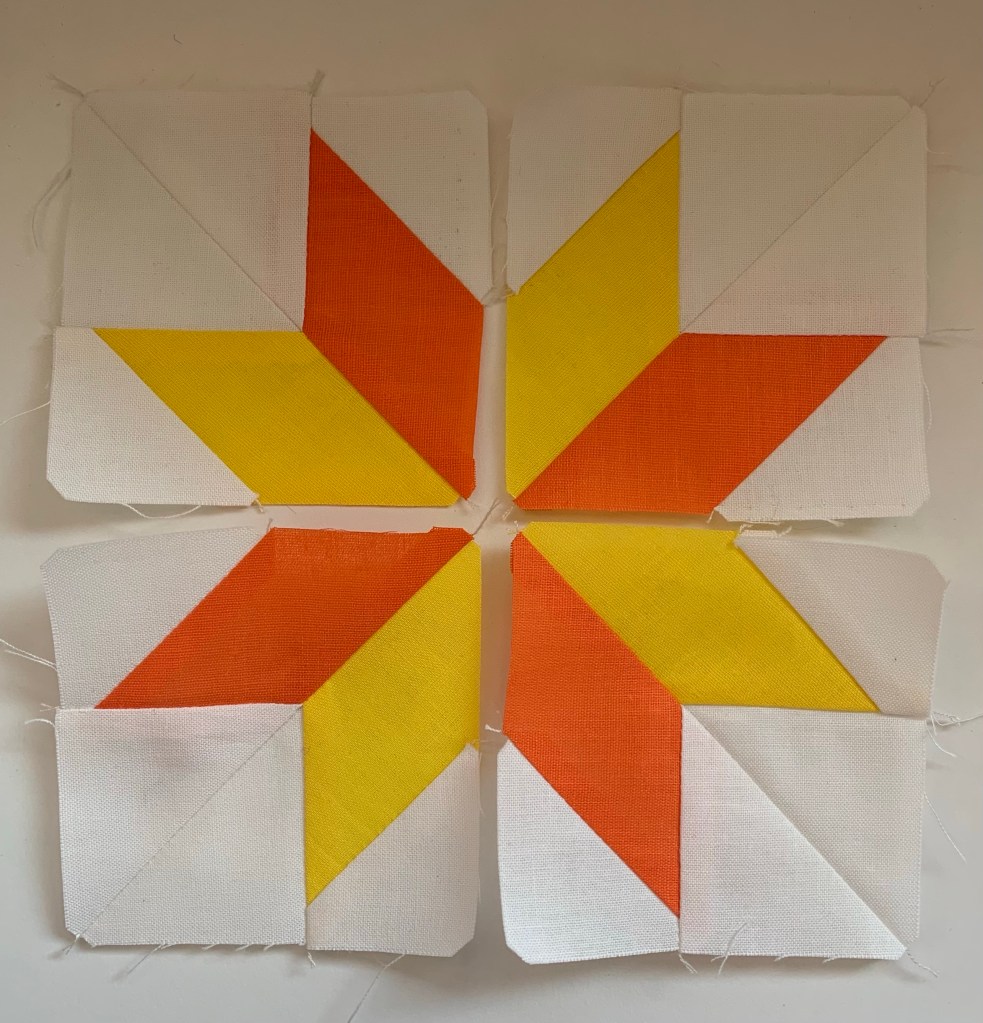
I knew I could use this die to make little Lemoyne Stars.
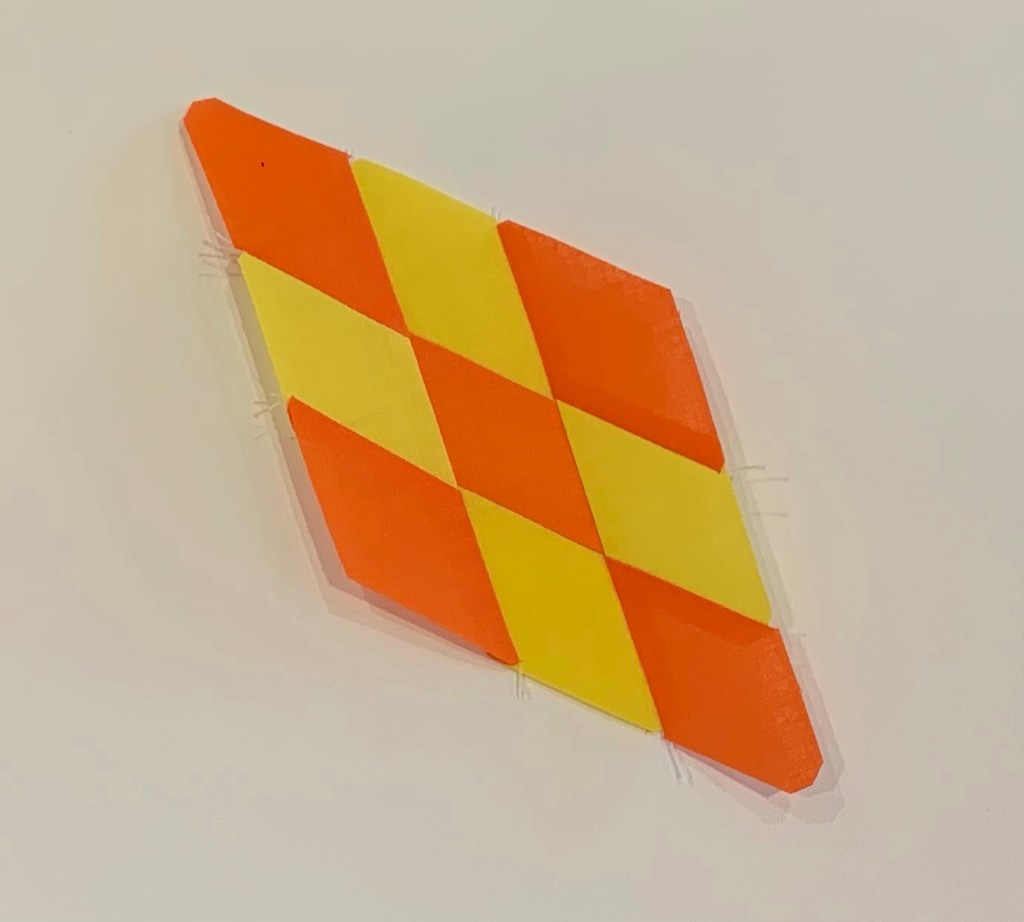
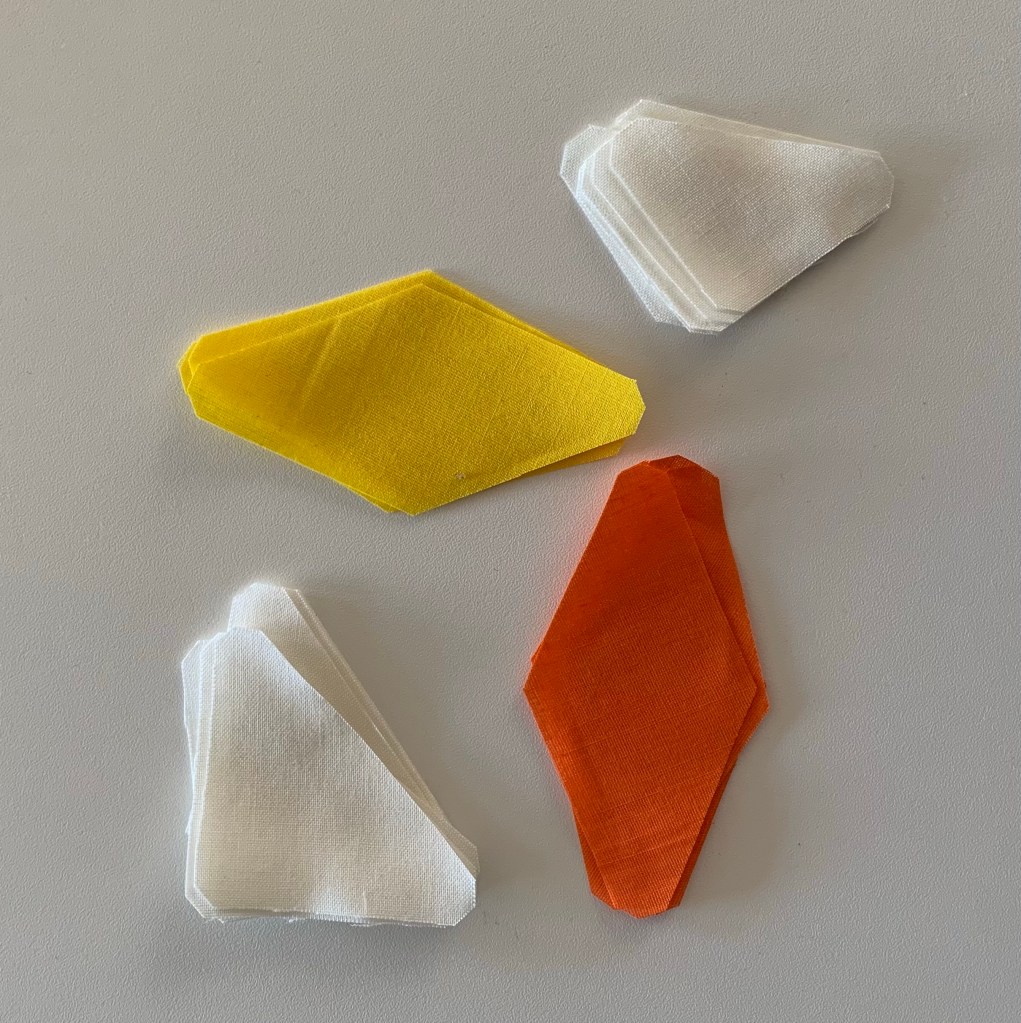
You gotta love how these bits match up!
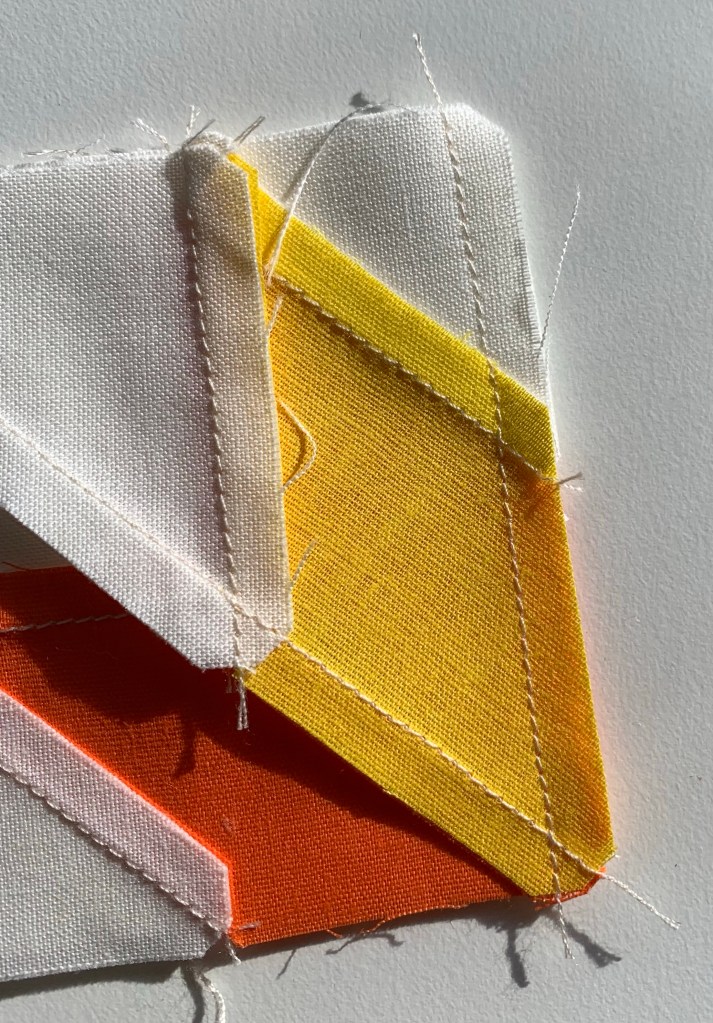
With this method, there are no set in pieces. However, you do have to make half your pieces in mirror image as shown below.
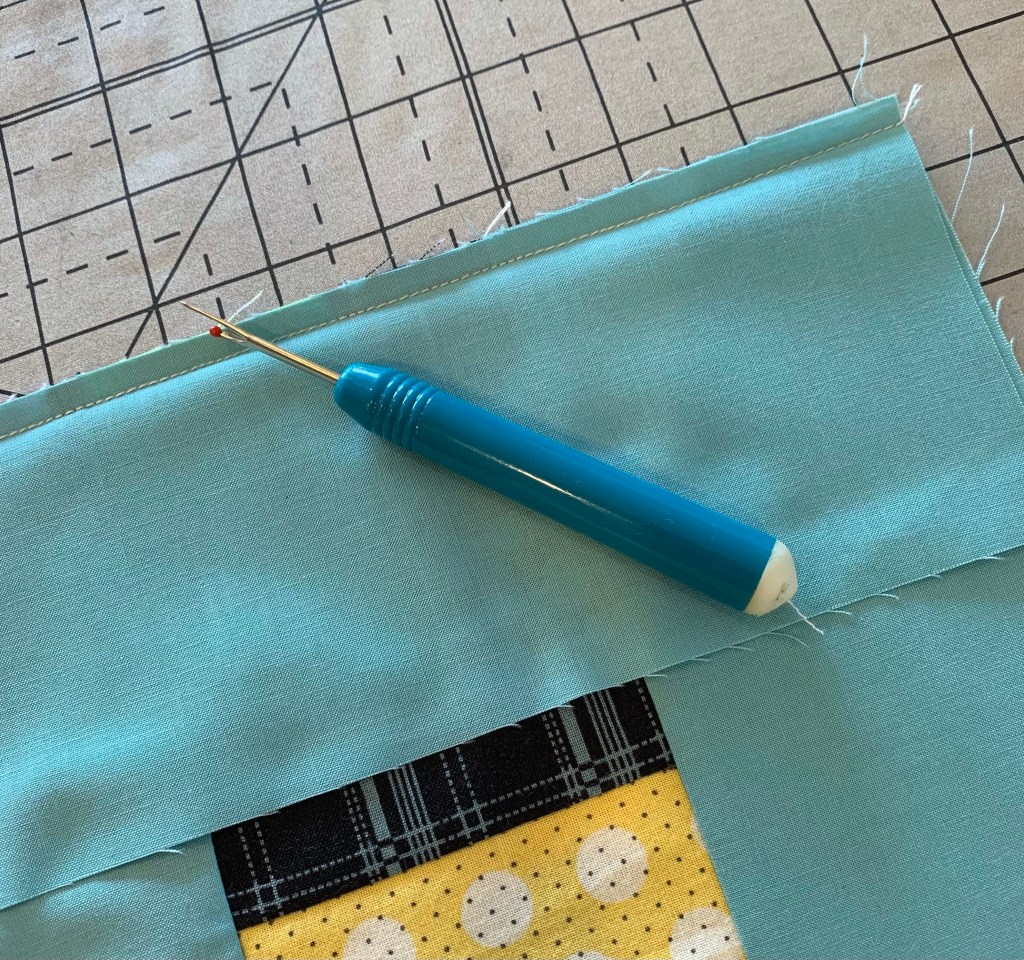
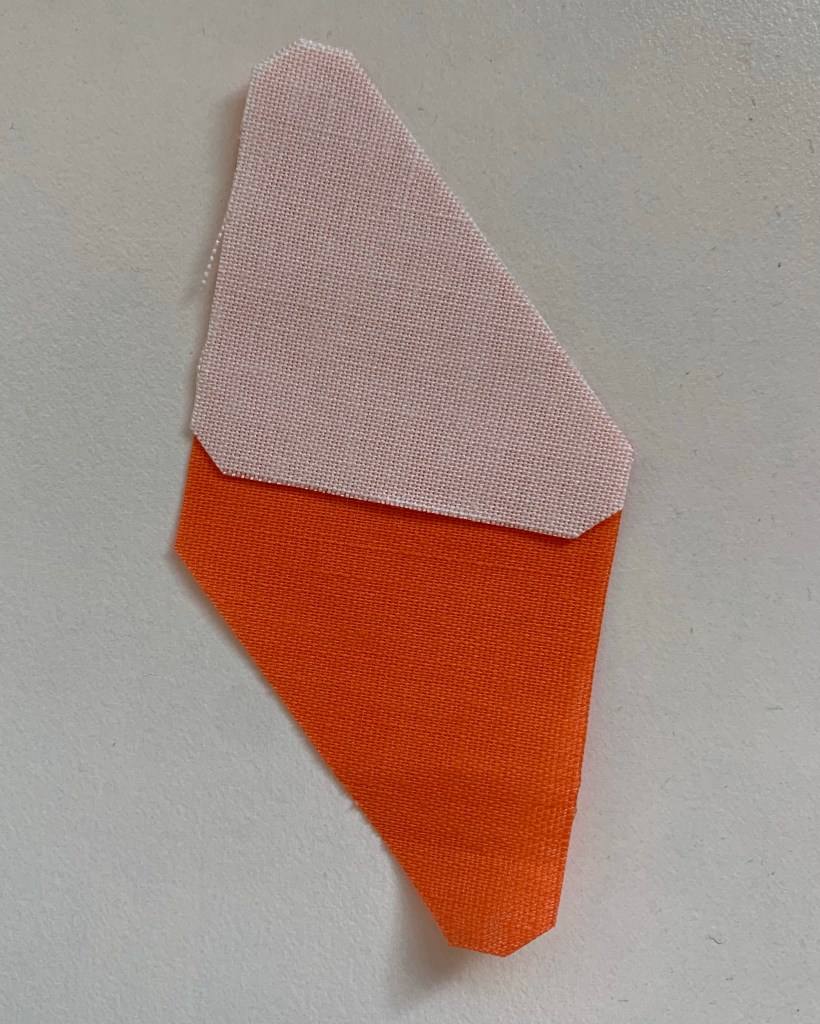
It didn’t take long at all to get this far.
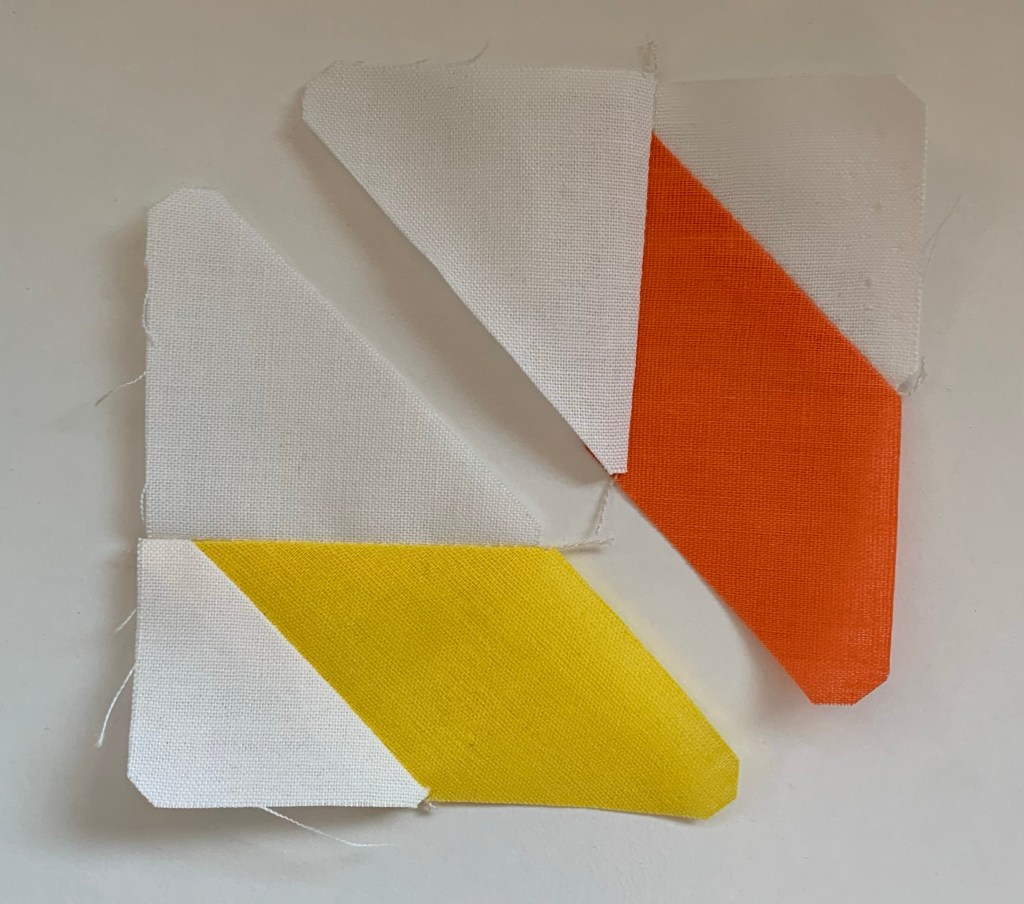
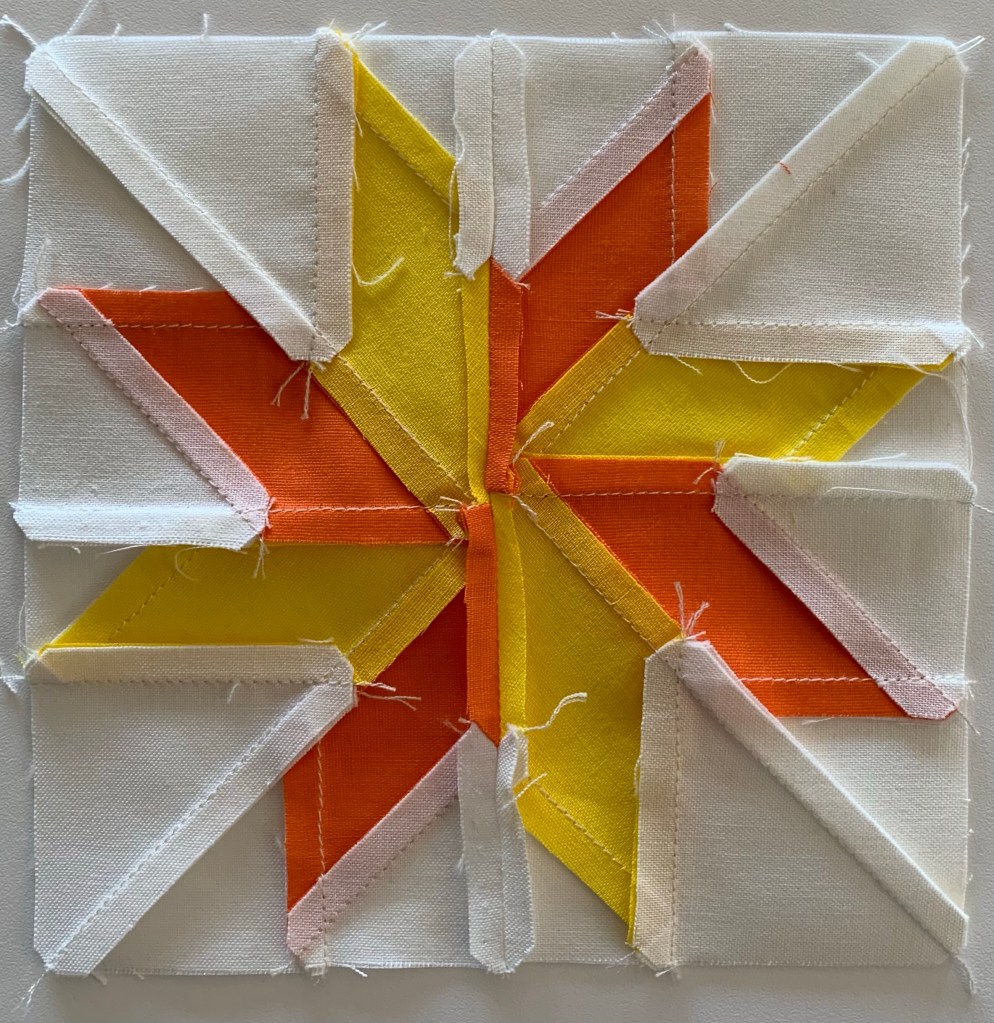
This next photo shows how I pressed. I would pin next time, as you can see, I didn’t get my center intersection quite on.
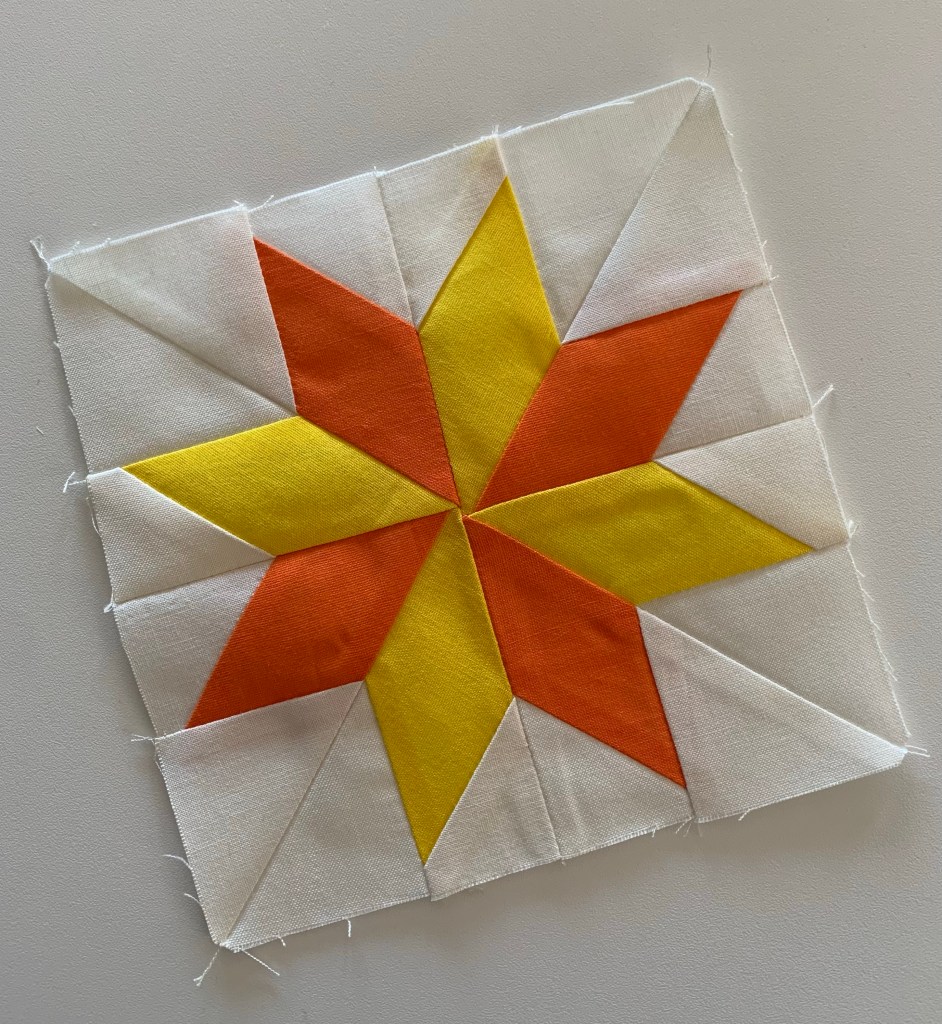
I’m still quite happy with this first little star. It will finish at 5 1/4 inches. That’s a bit of an odd size, but quite perfect for me. I was able to trim down the diamonds with very little waste and use a die intended for a totally different block.
I’m not sure where this project is headed yet, but I’m thrilled to know I WILL be able to use these pieces.
Lastly, there will be a fun AccuQuilt Live tomorrow, complete with prize drawings. Click here to register.
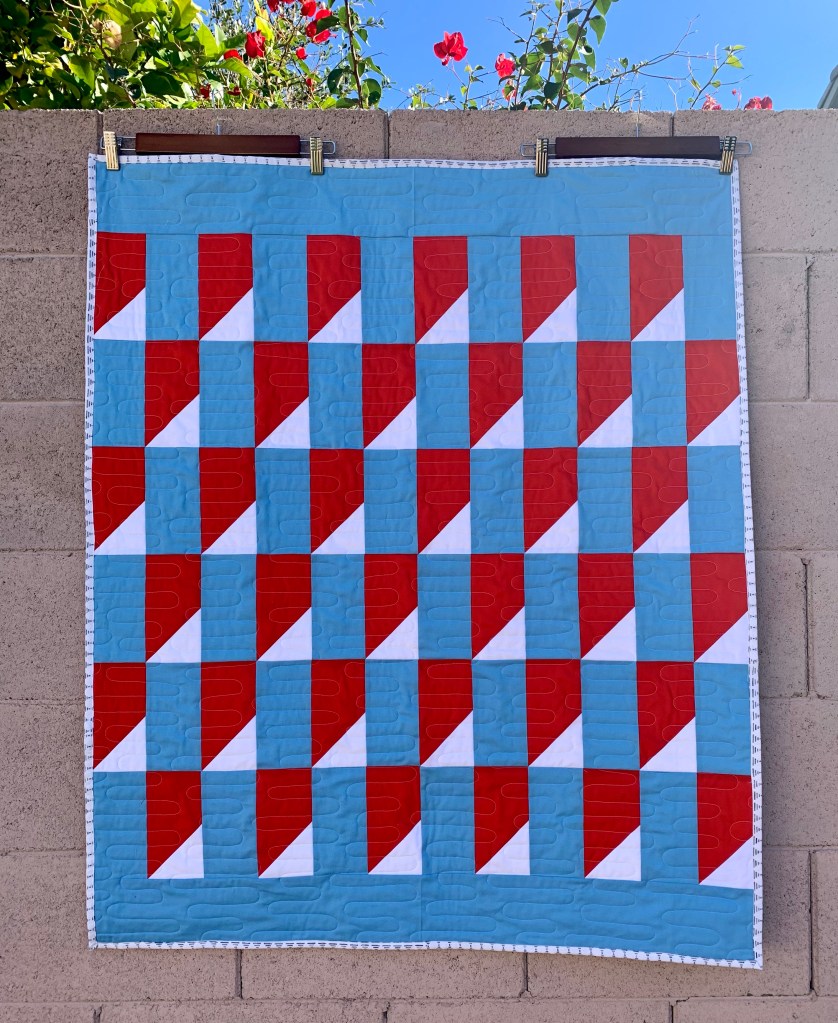
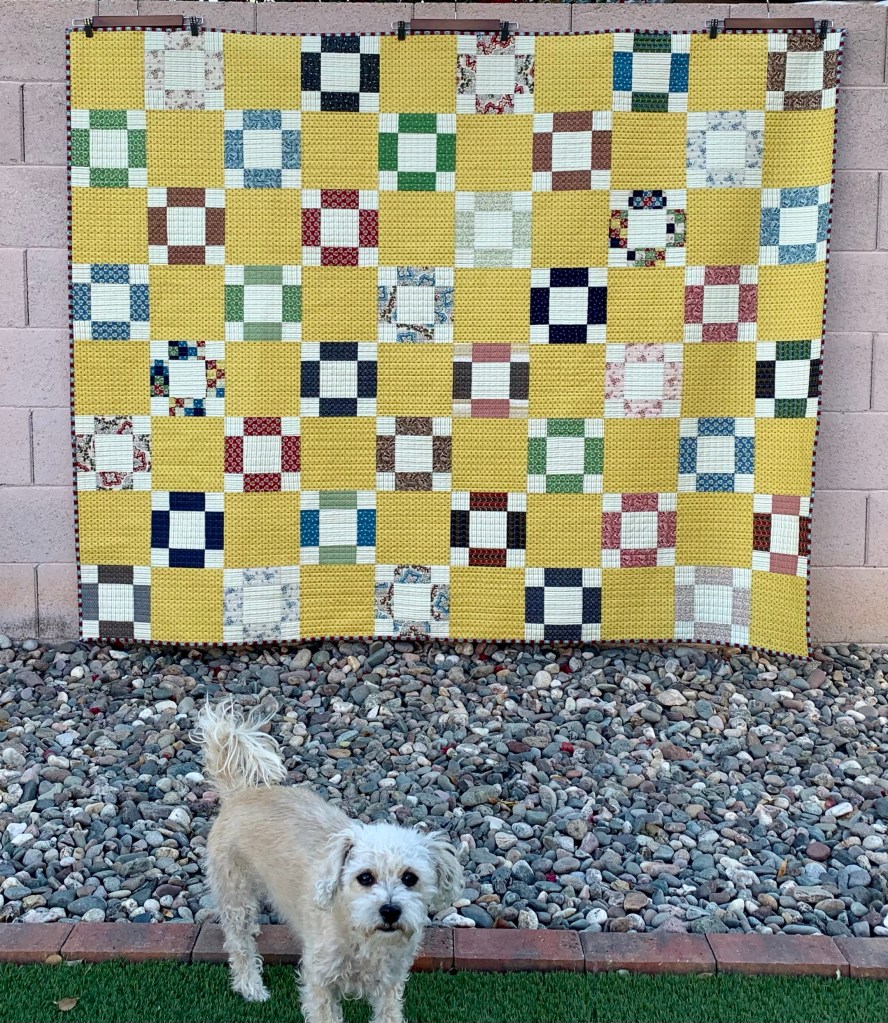
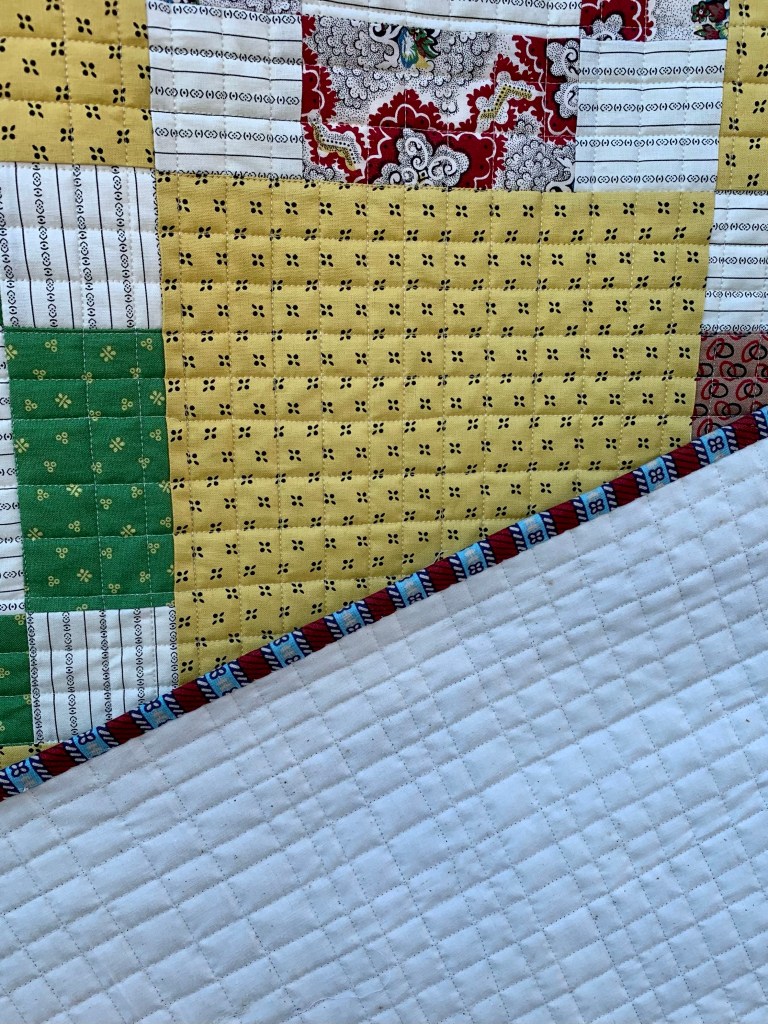
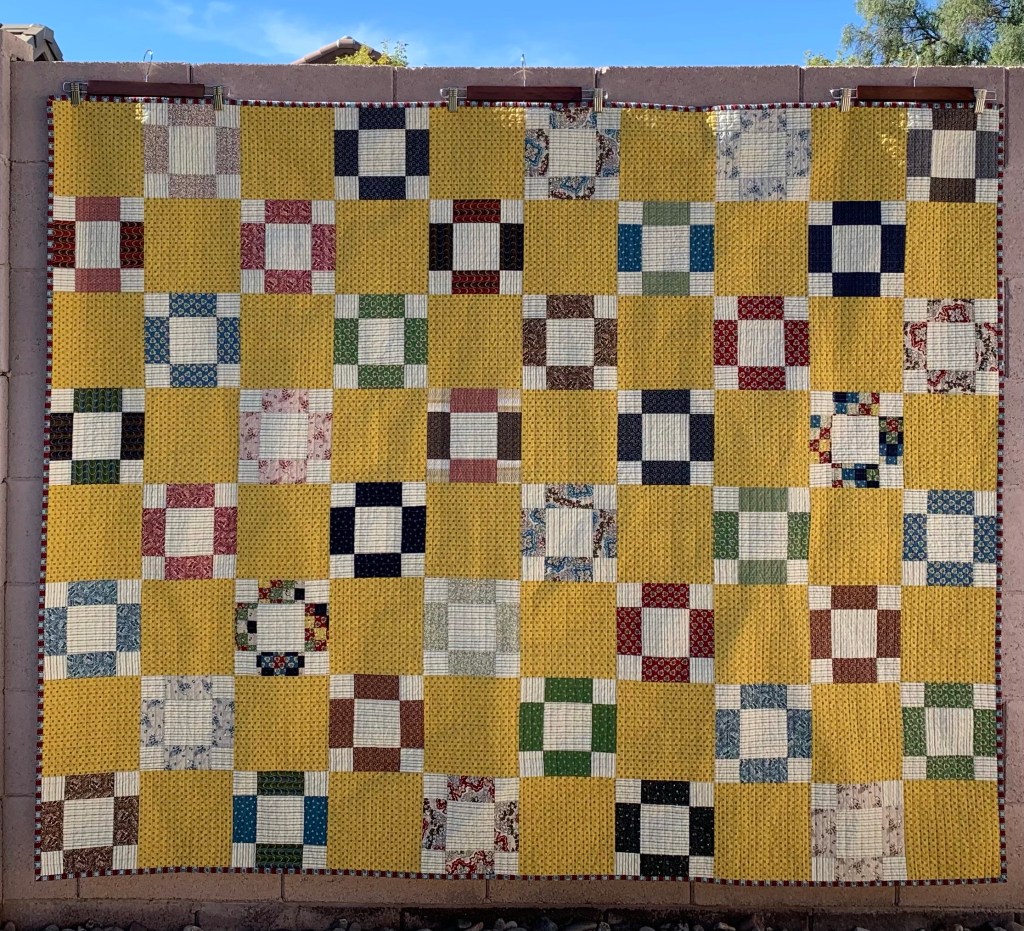
It’s done! The quilting seemed to take forever, but I’m thankful to share a finished quilt with you today, instead of a finished top.
Of course, my little photo bomber showed up.
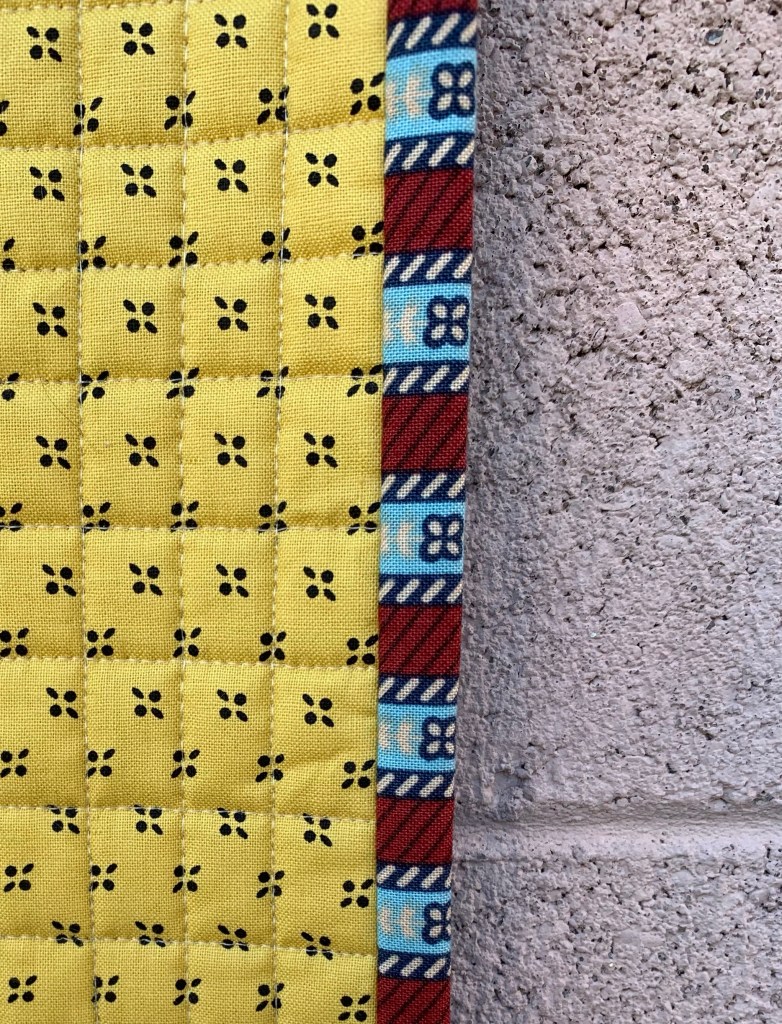
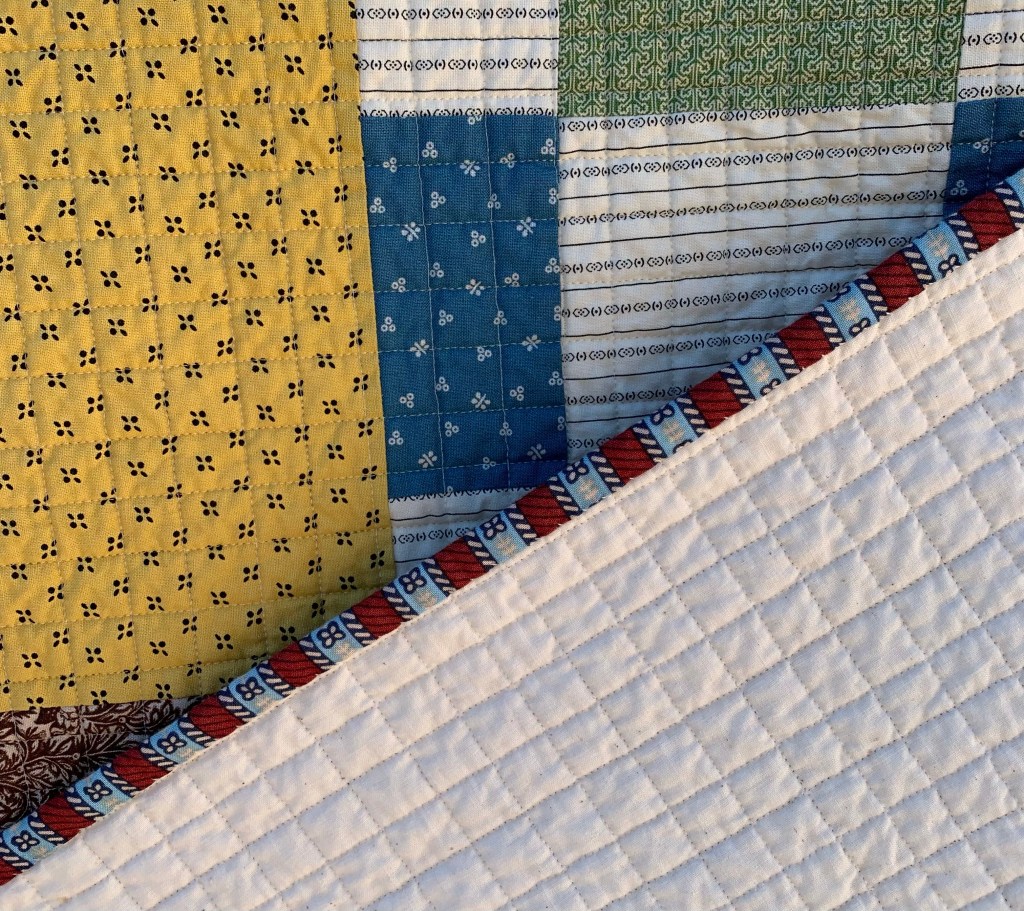
I love this stripe I used for the binding.
I used muslin on the back. I found it at Goodwill and it was two lengths already seamed together to the perfect size.
I knew the crosshatch quilting would give a fantastic texture after washing. And I was right!
How yummy is that?
All the quilting imperfections are darn near invisible now.
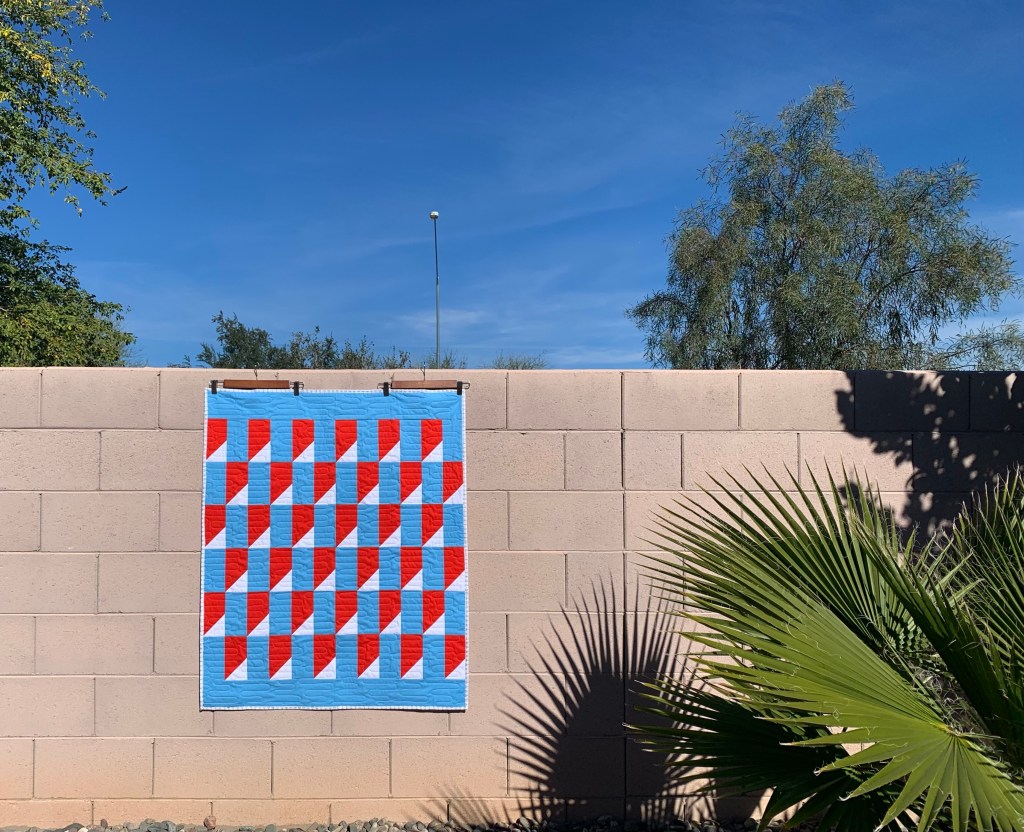
I was so worried that the blocks were too chunky, but I love the result. Eventually, I’ll use this for a couch quilt. But it’s decorating my railing for now so I can look up and admire it.
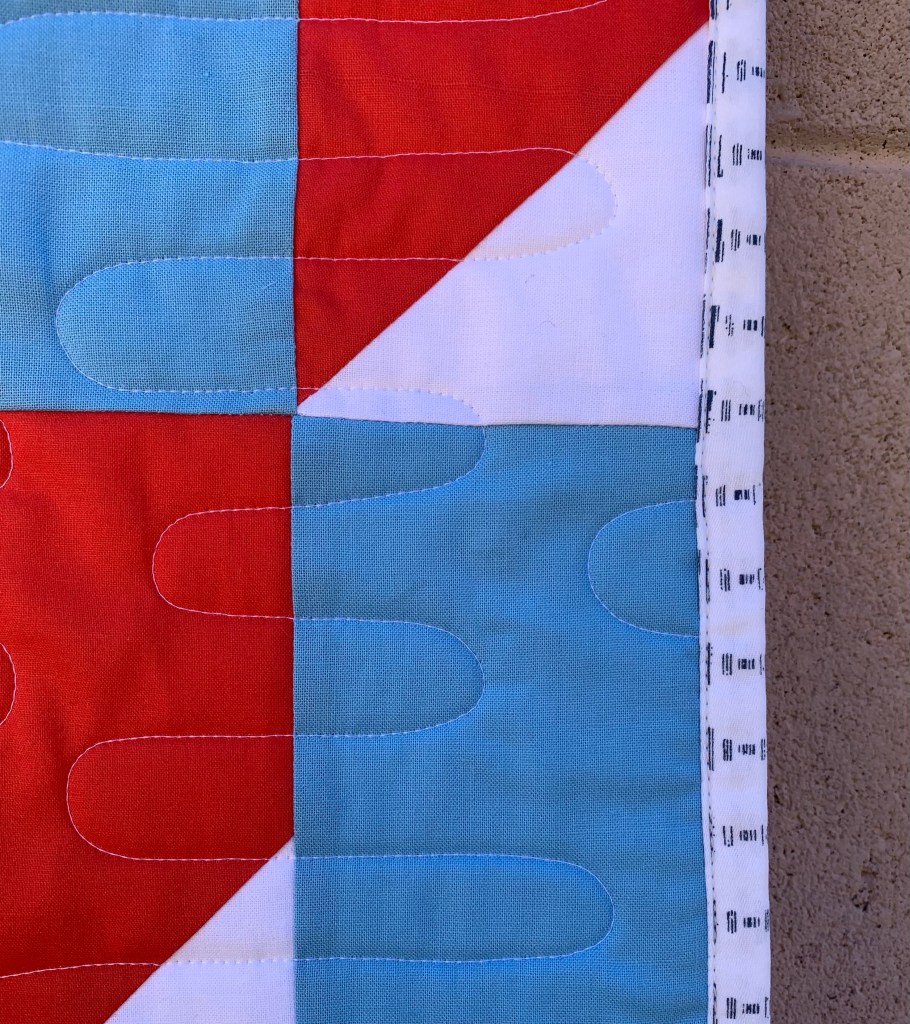
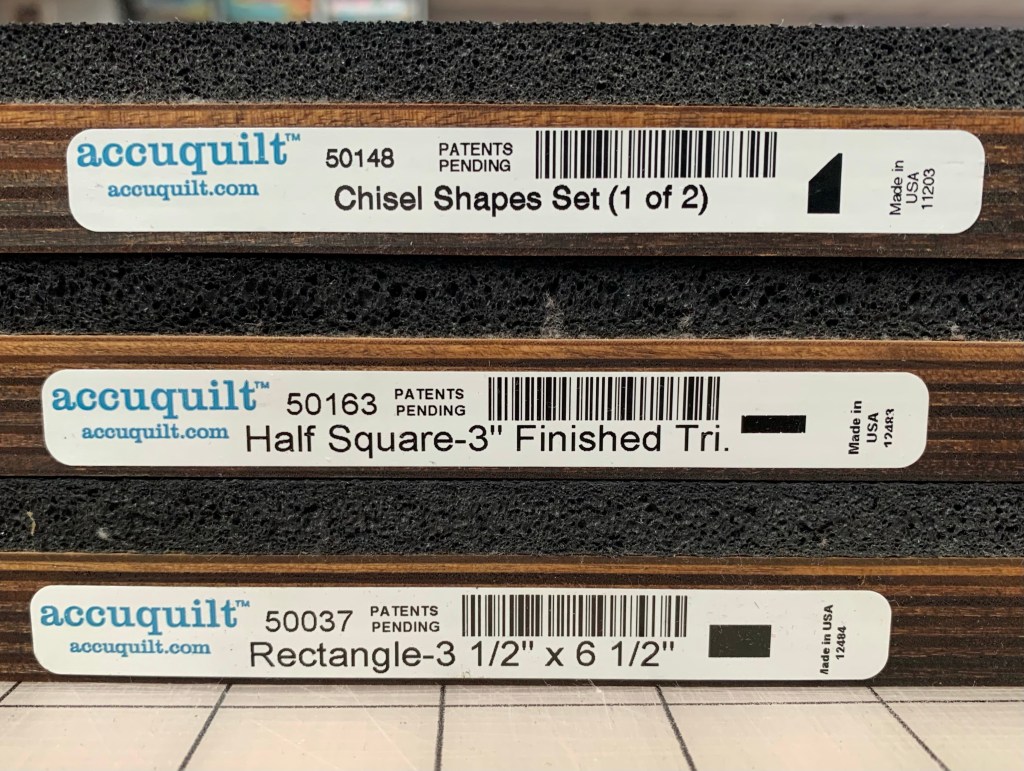
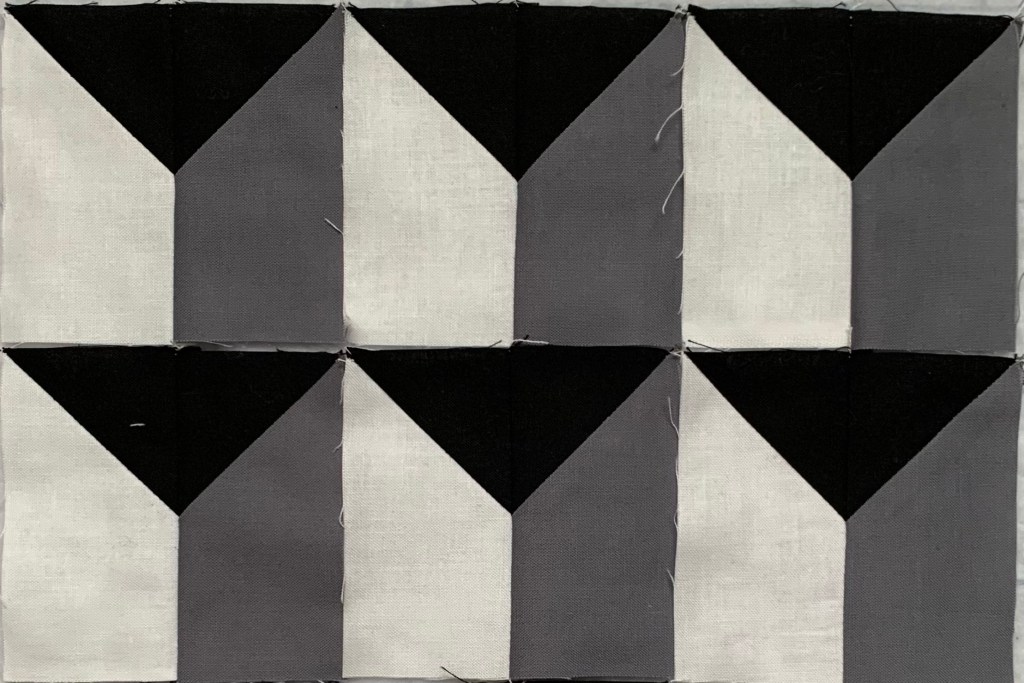
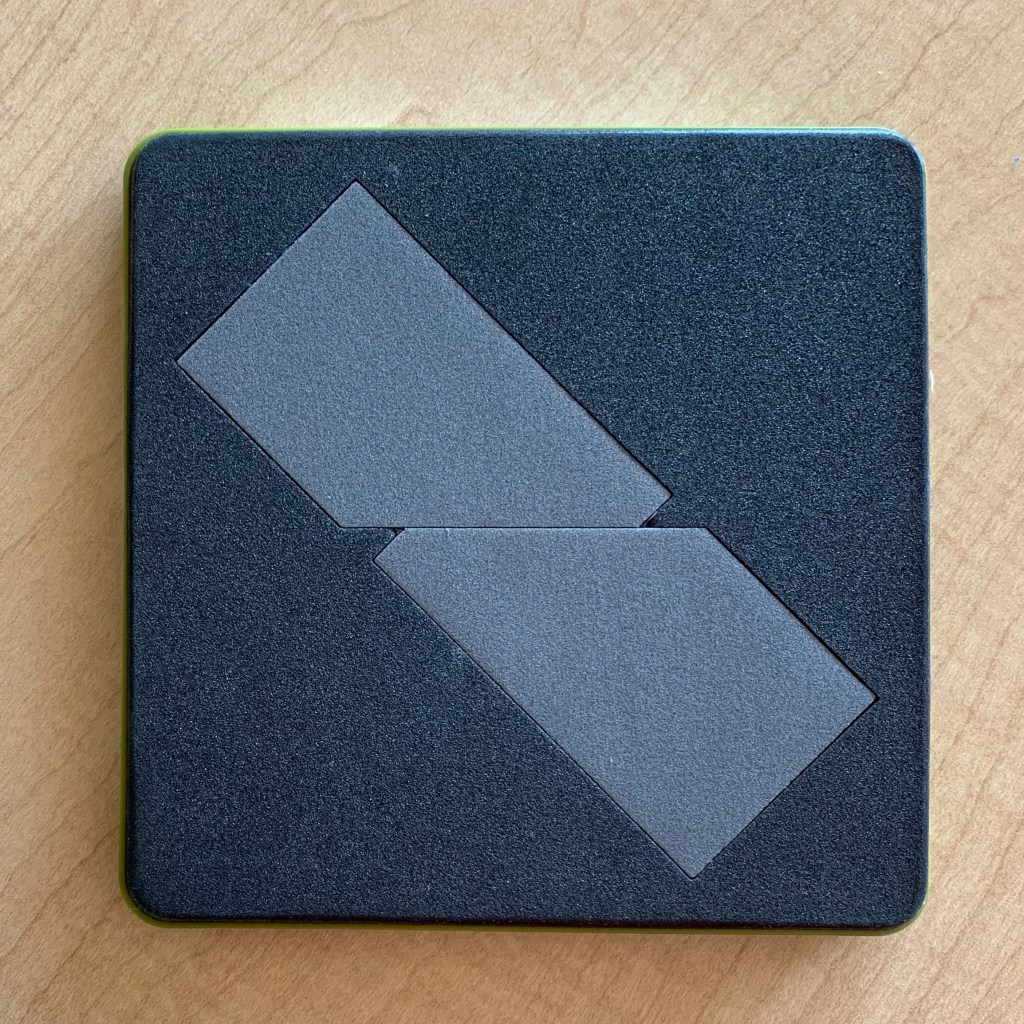
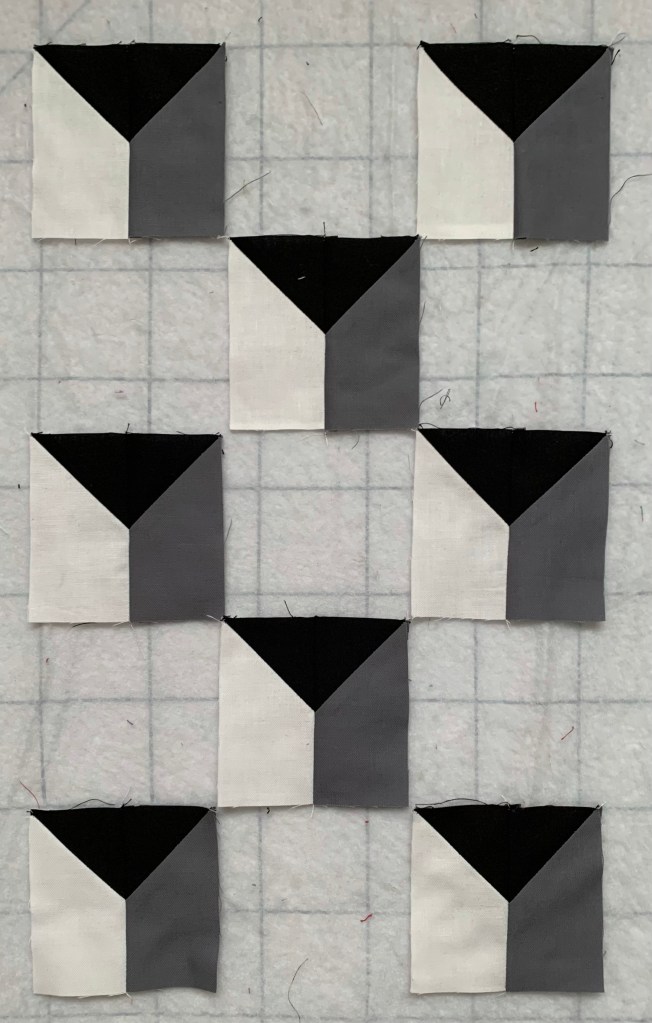
I’ve been messing around with my AccuQuilt chisel die and I’ve found that you can create some really cool 3D effects with it.
Doesn’t that look like the corners of buildings jutting out? This is what the die looks like.
It is included in the AccuQuilt 6” Qube Companion Corner set. It is used with the triangle die, shape 5, from the 6” Qube.
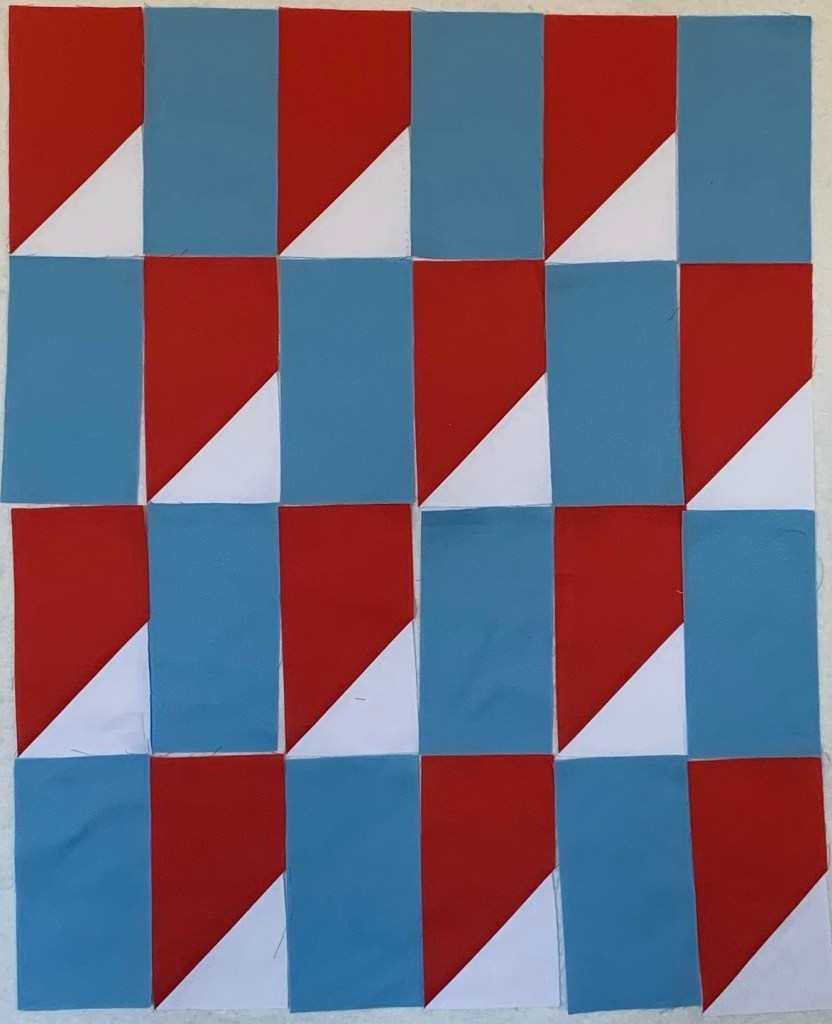
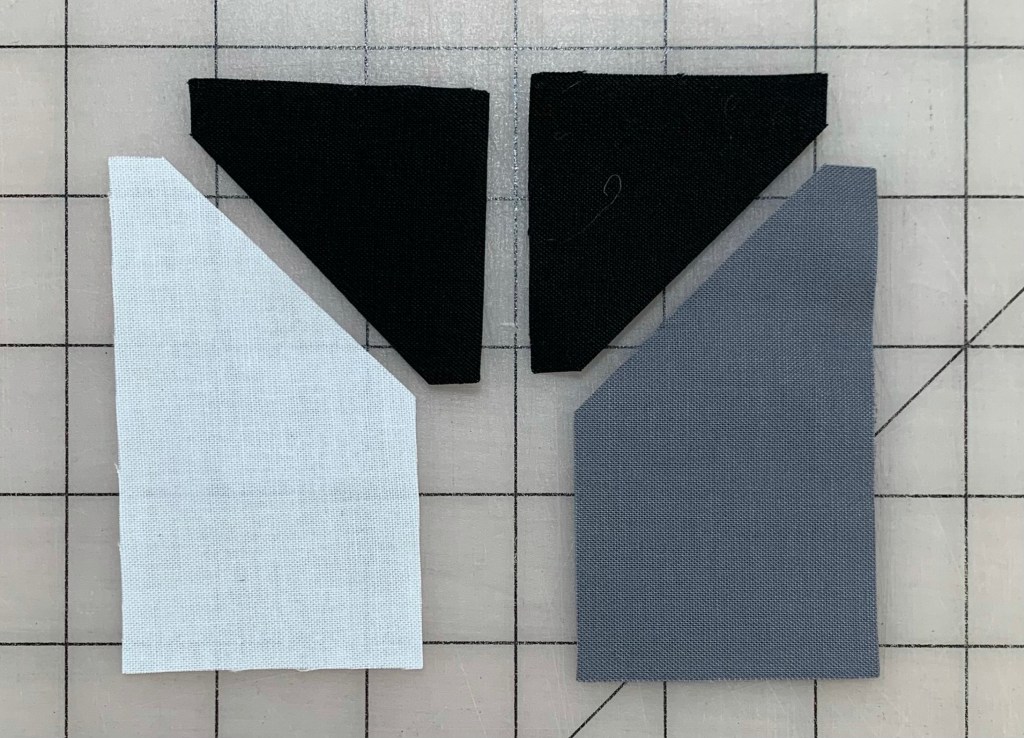
This is a directional die, so if you are working with fabric that has a “right” side, you’ll need to pay attention . If you want all your pieces the same, you’ll need to place them on the die all with right sides up, or right sides down, depending on what direction you need. you also need to pay attention when sewing. For the blocks I played with, I wanted one going in each direction. Obviously, solids are the same on both sides, so they are good for playing with.
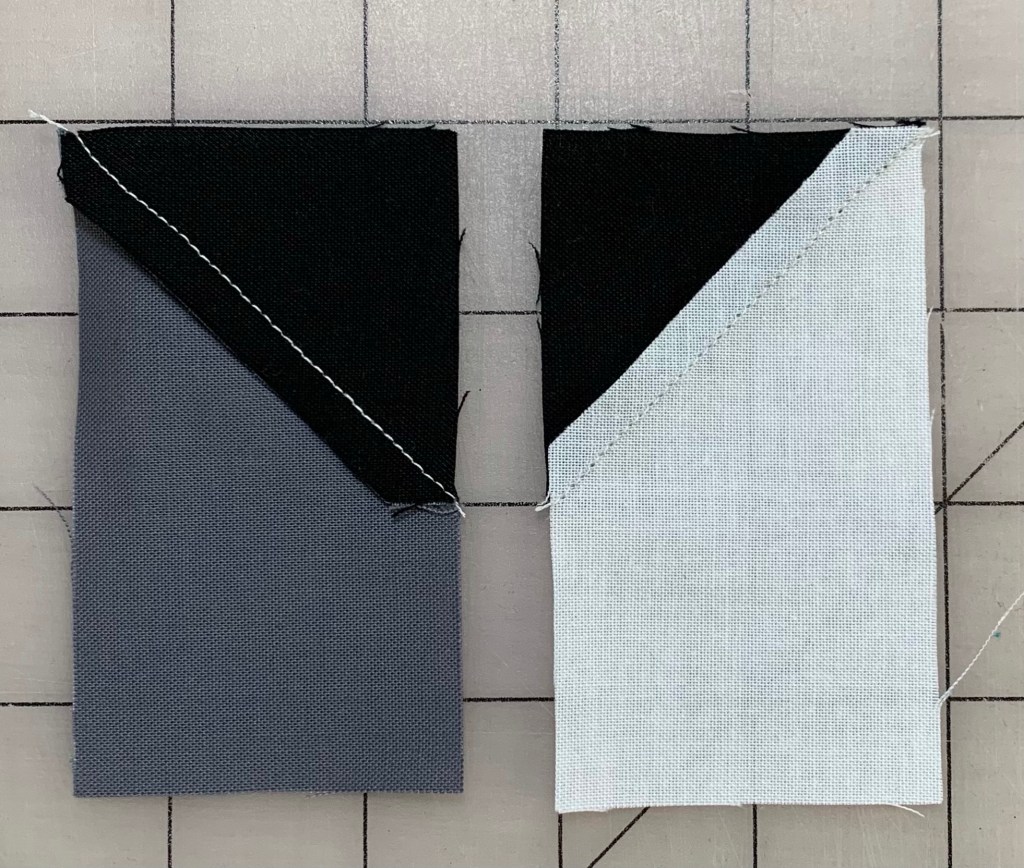
This is how I pressed my seams so that they nest.
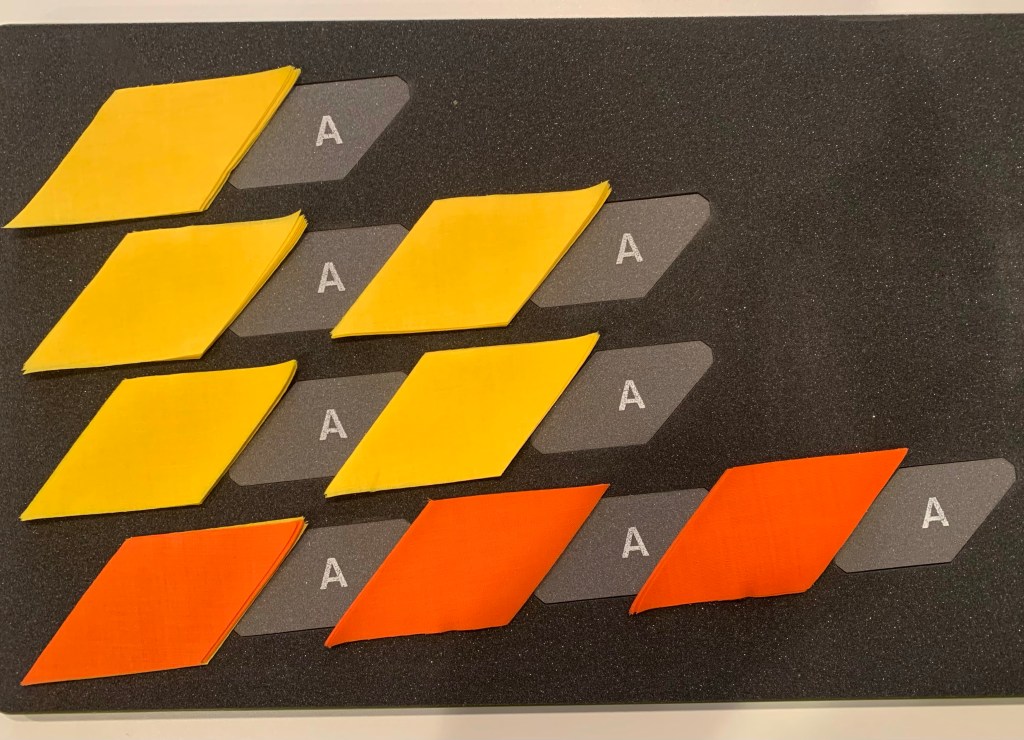
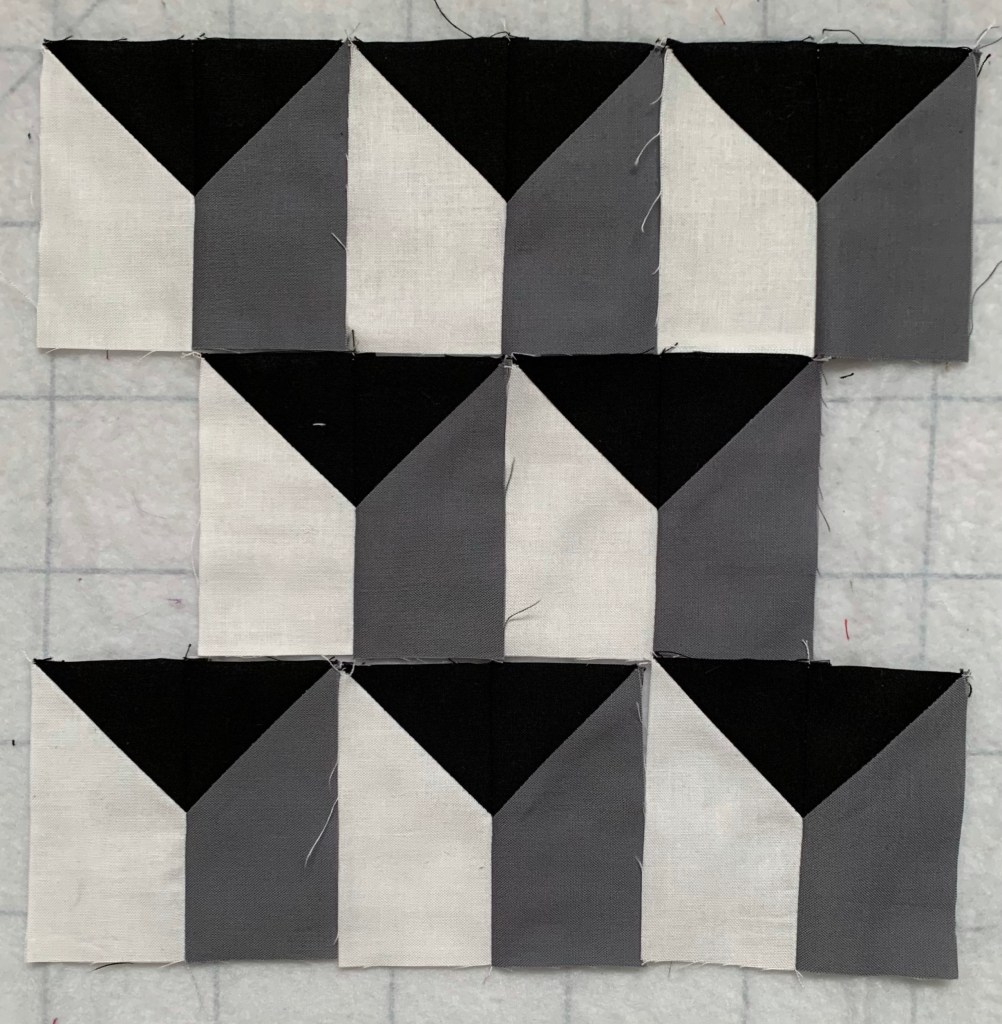
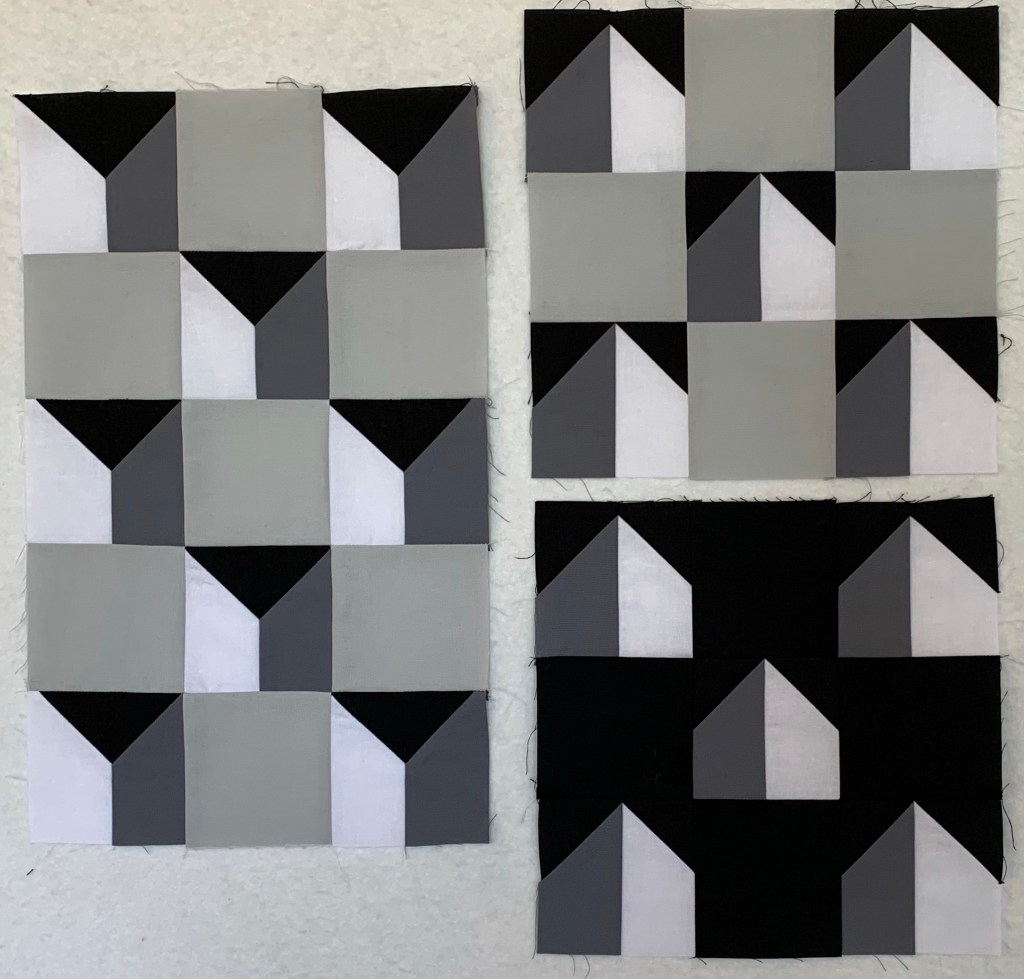
As I mentioned, with solids, it doesn’t matter which way they are cut, but the piecing does matter. Here are some of my play time ideas.
These end up as 3” blocks. In the photo below, I added some 3” plain squares in between. I’m not sure what, if anything, I will do with these. They were a great size for playing at the design wall.
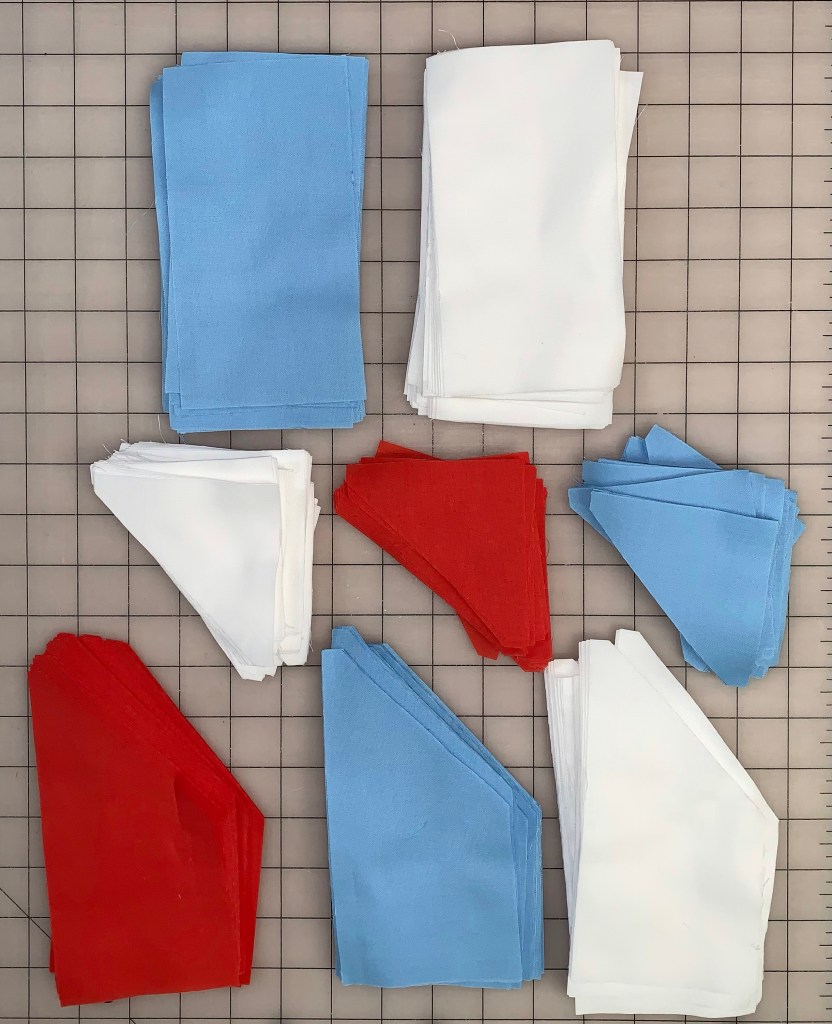
I have a 3” by 6” chisel die as well for my AccuQuilt studio cutter. I cut a bunch of pieces out of red, white, and blue solids when I was back in Michigan. I need to pull those out and play some more.