I’m keeping this little sew along simple. The quilt is easy and most everything you need to know can be found in this post.
I will post suggested “assignments “ each Monday for the next three to four weeks and share my progress for each week.
Ready? Let’s go!
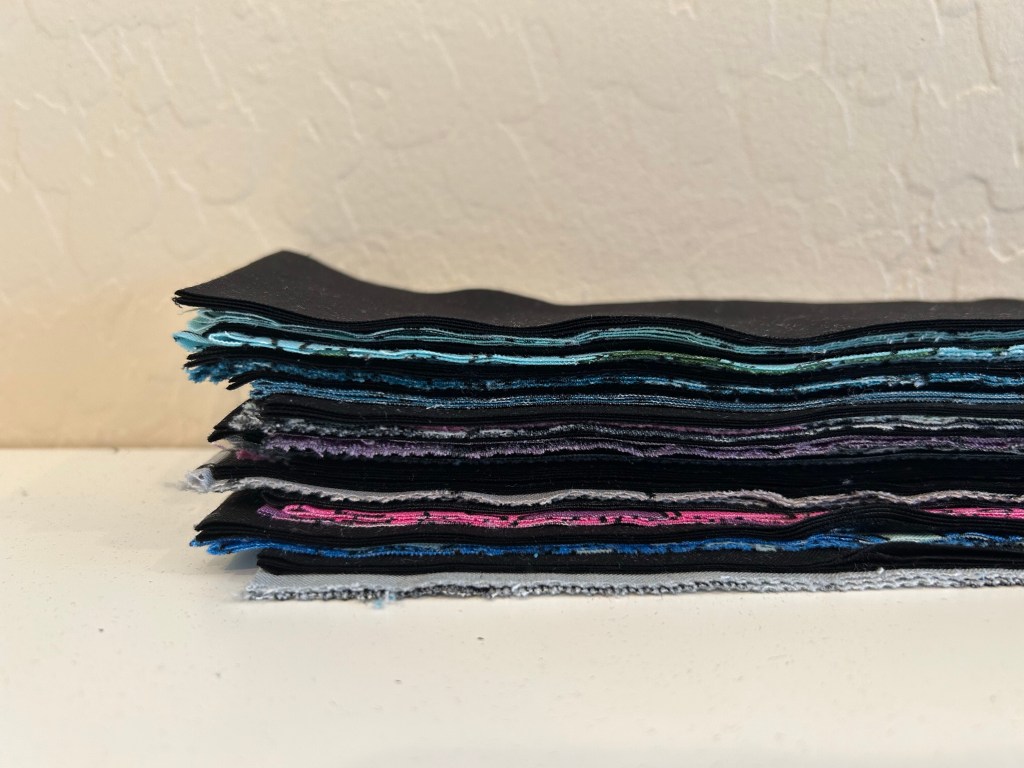
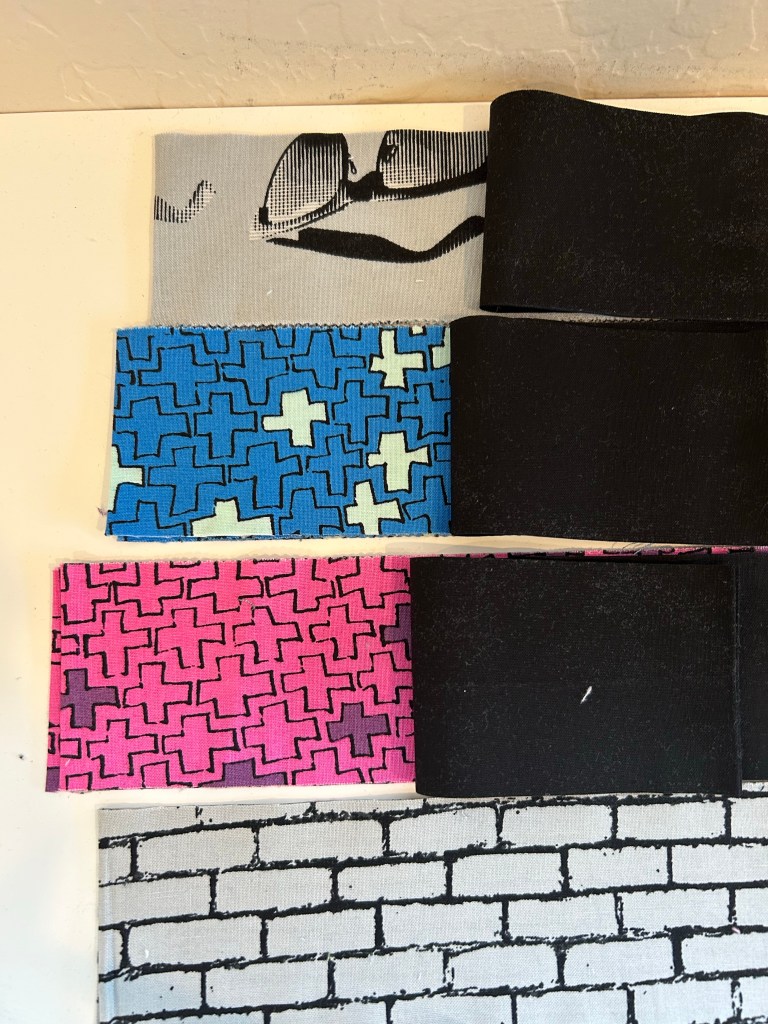
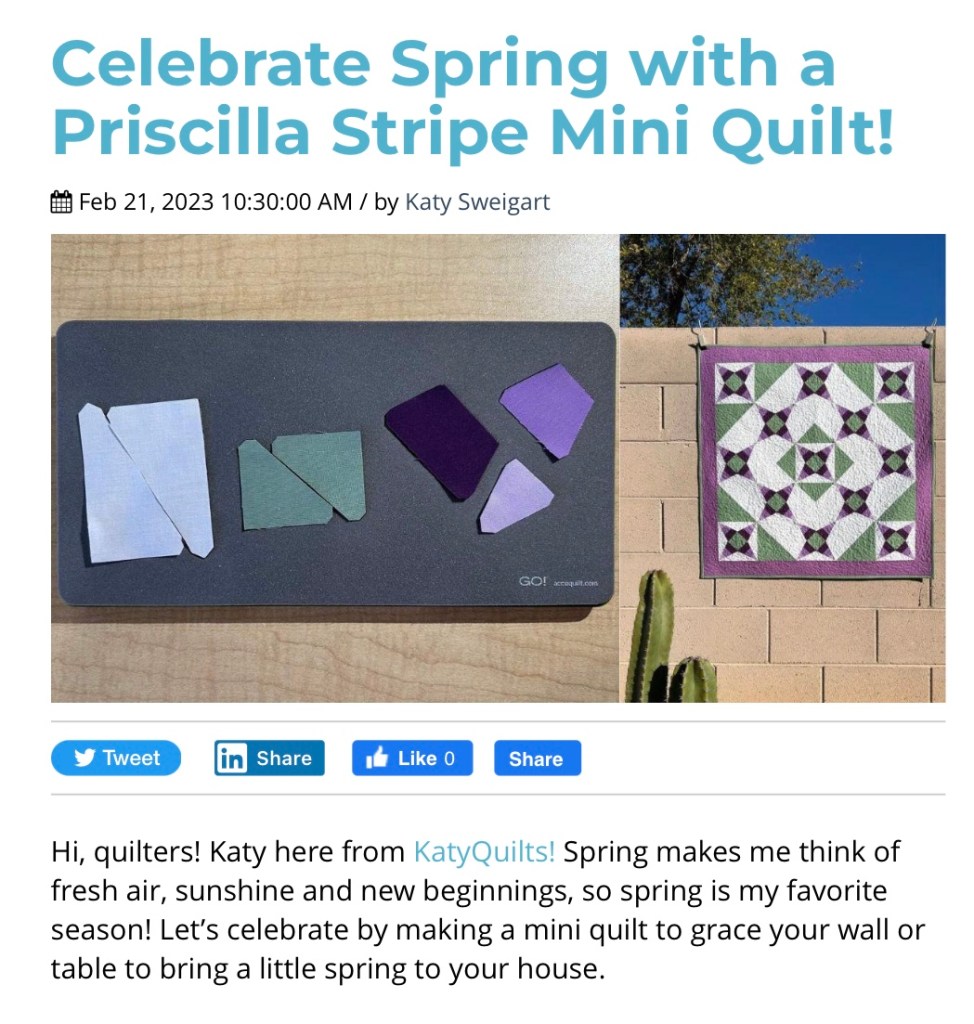
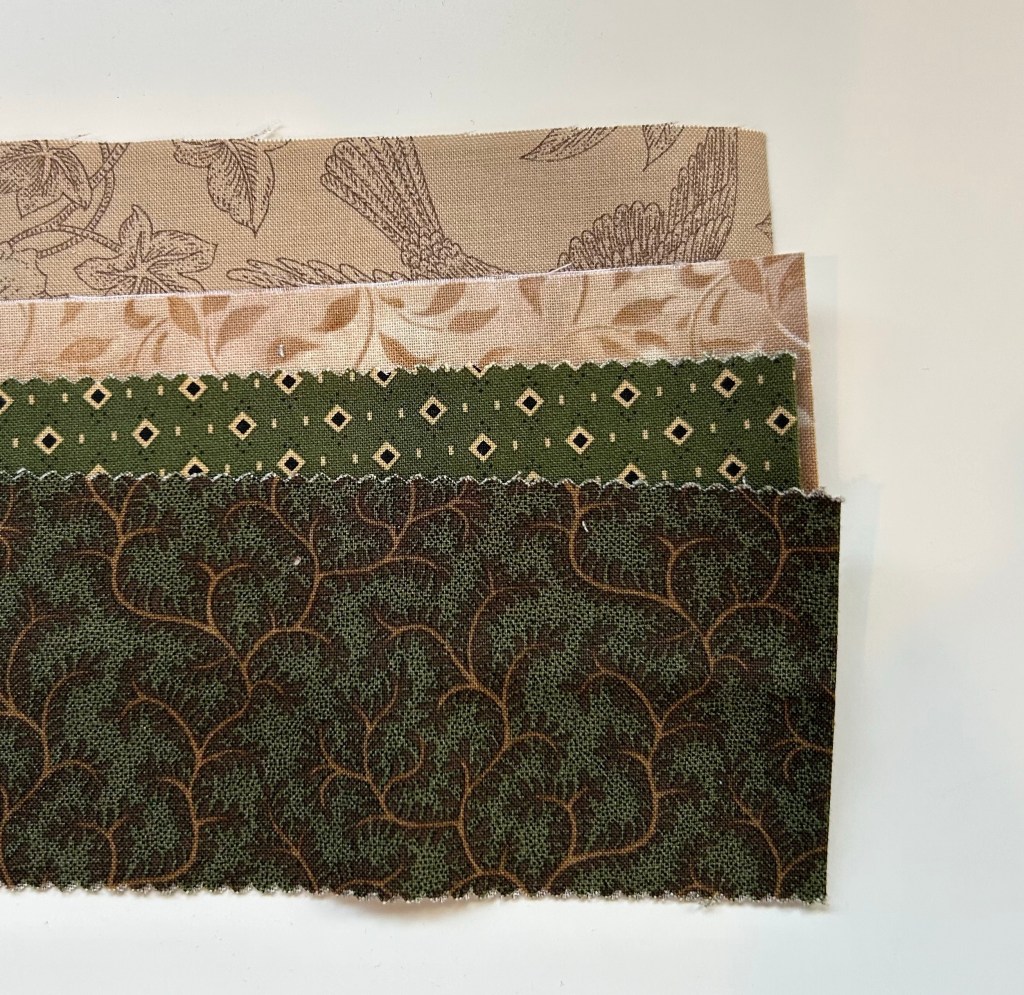
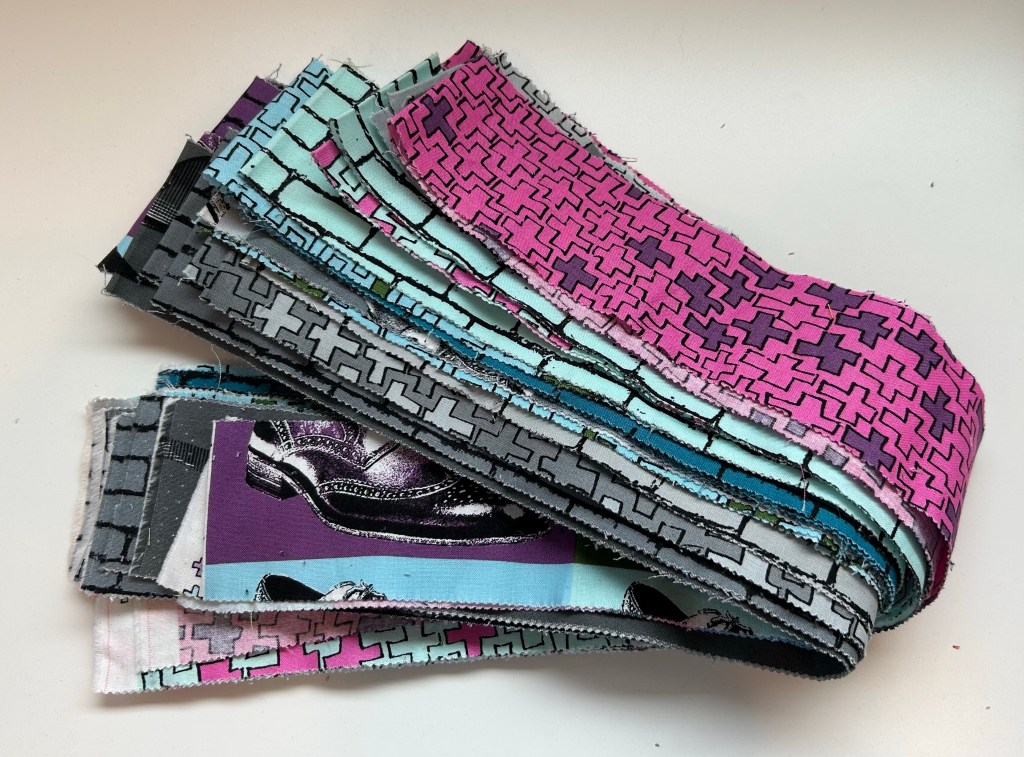
You will need 26 matching pairs of strips for a total of 52 – 2 1/2” by WOF strips. Half should be light and half dark. For my first top (seen here), I started with a jelly roll, but added light strips to that from my stash. This time, I’m using 26 jelly roll strips (13 matching pairs) and 26 solid black strips from stash. I have 2 of each print.
So the assignment for this week, is to choose fabric and prepare your strips. Pair them up so you are ready to sew. Read over this post and let me know if you have any questions.
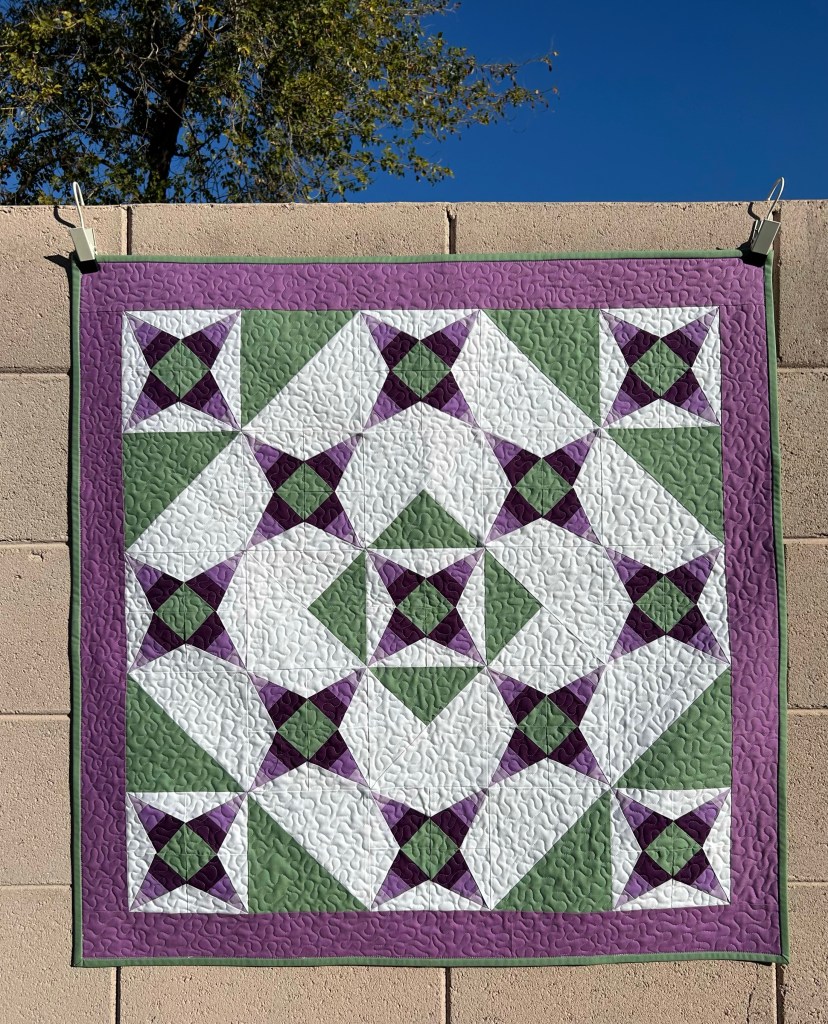
I have a little finish today….but I’m not particularly proud of it. I loved this little top.
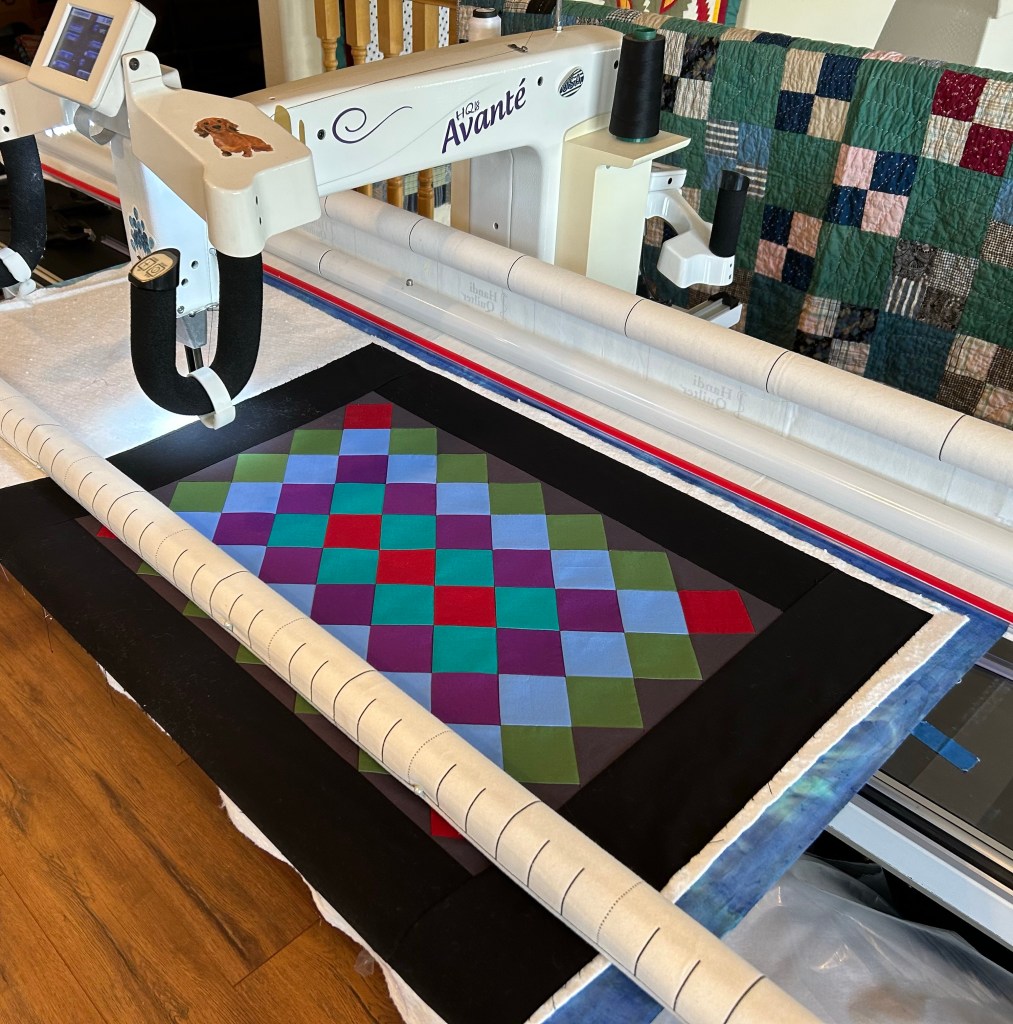
I loaded it up to quilt.
And I thought all was going well, until it wasn’t. The stop/start button on the front handles of Harry stopped working. It isn’t easy to start and stop a machine with the switch in the back when you are working at the front. Now I need to figure out how to get this fixed.
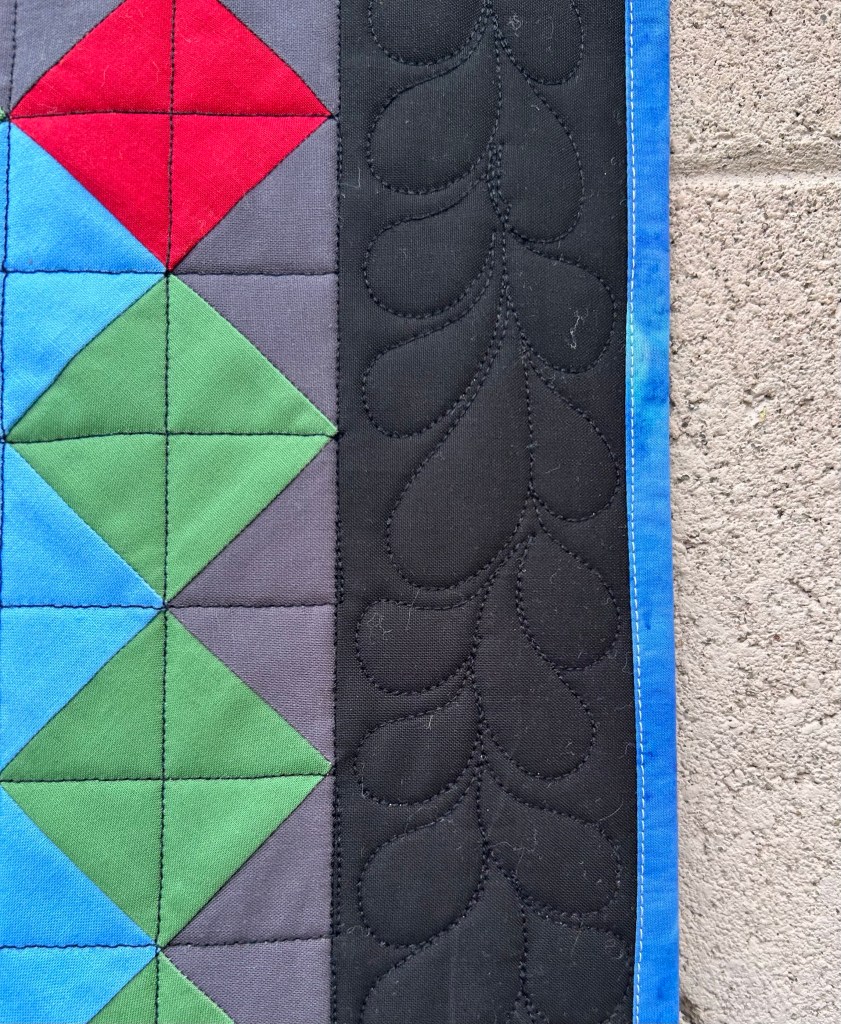
I knew this wasn’t destined to be a masterpiece, but I was a bit shocked when I took it off the frame and turned it over. 🤦🏻♀️ The stitches on the back were positively loathsome. Did I want to rip out all the quilting and start over?
No. No, I did not.
I trimmed the batting. I trimmed the backing an inch larger and brought it to the front for a self binding.
It didn’t merit the work of a full binding. Those freehand feathers are crappy too.
Want to see the back?
Forget it. Not gonna happen. Part of the problem is that I used incompatible thread in the top and bobbin. Did I mention I couldn’t find the cord for my bobbin winder? The batik backing didn’t help. When I started stitching, things looked good, so I never checked again. I know better.
Another humility quilt. At least my little black doxie isn’t complaining.
Sandi left a comment after Monday’s post, saying she like to make this with me. What a fun idea!
So today, I’m sharing a quick tutorial so you can make your own. I have one more column to add to my top, so I can show you how I did it.
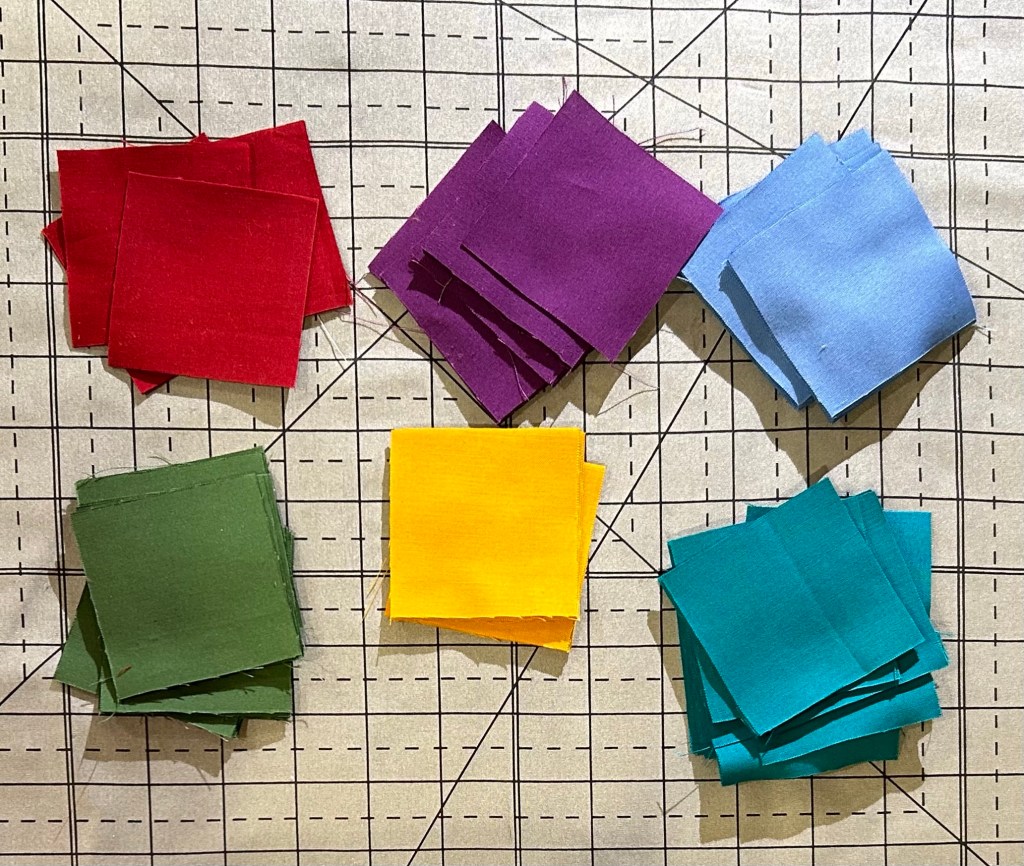
I started with a jelly roll, but I added 2 1/2” strips from my stash for a total of 52 strips, half light and half dark.
Each column requires two light and two dark strips. But they don’t have to match exactly. My jelly roll had two strips of most dark prints. But I’m at the end and don’t have matching strips left. No worries! This is what I’m using for the last column.
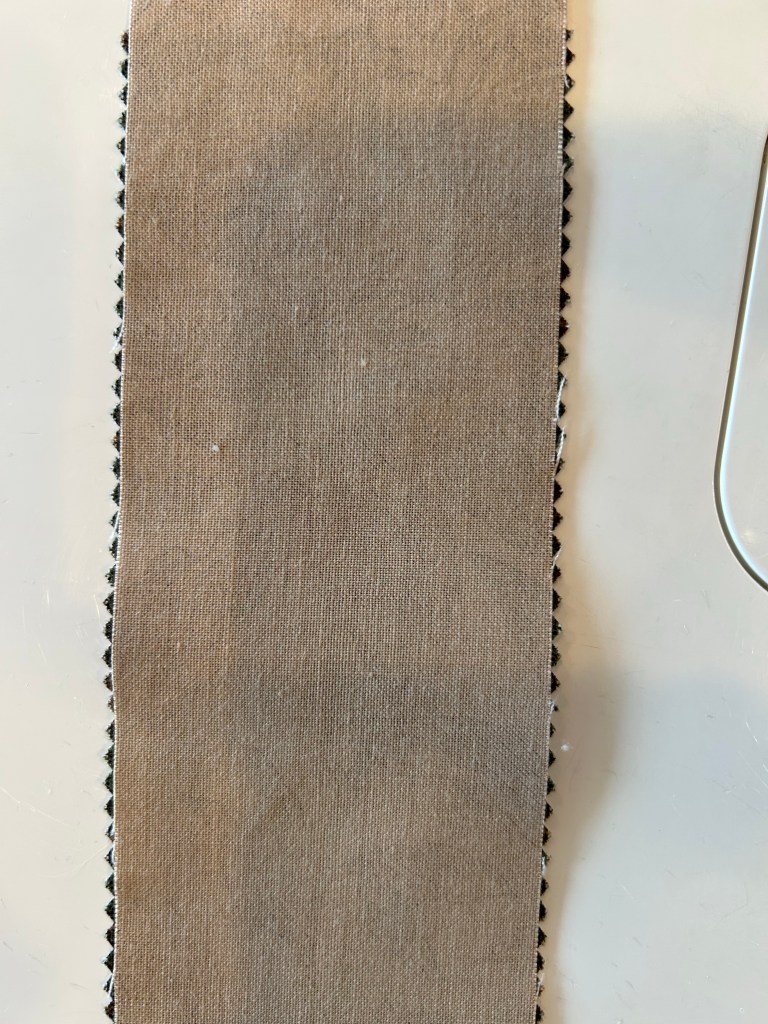
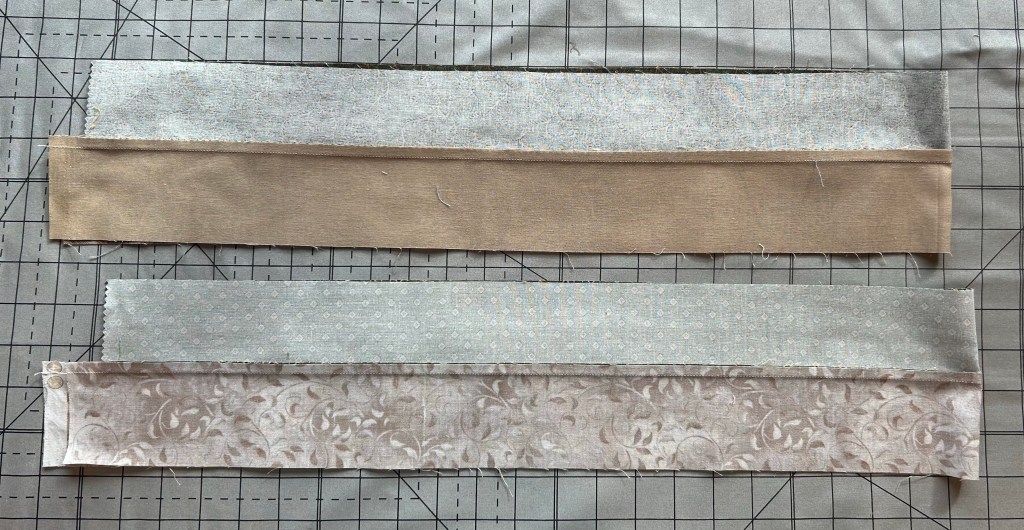
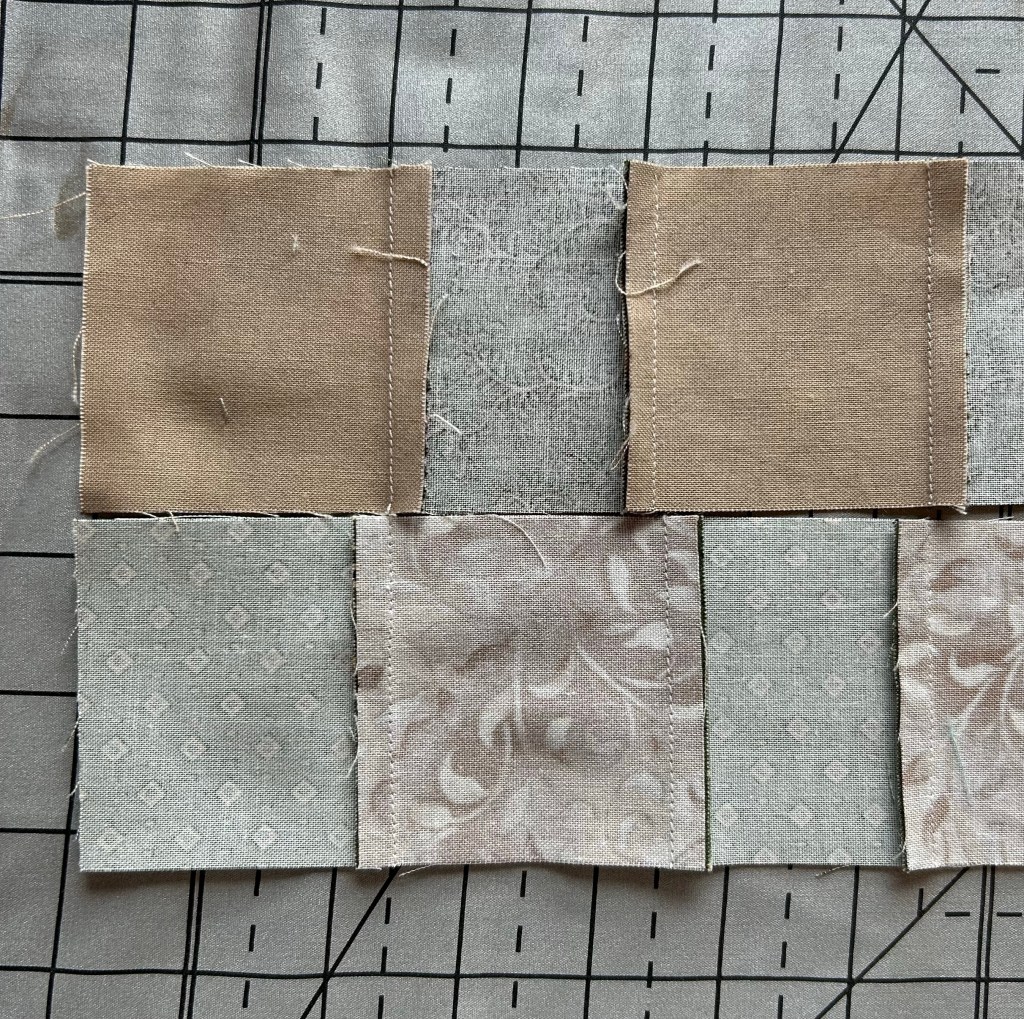
Sew one light and one dark strip together. Press to the dark.
Fold step sets in half.
Cut on the fold.
Sew back together. Keep like strips together. Again, press toward the dark.
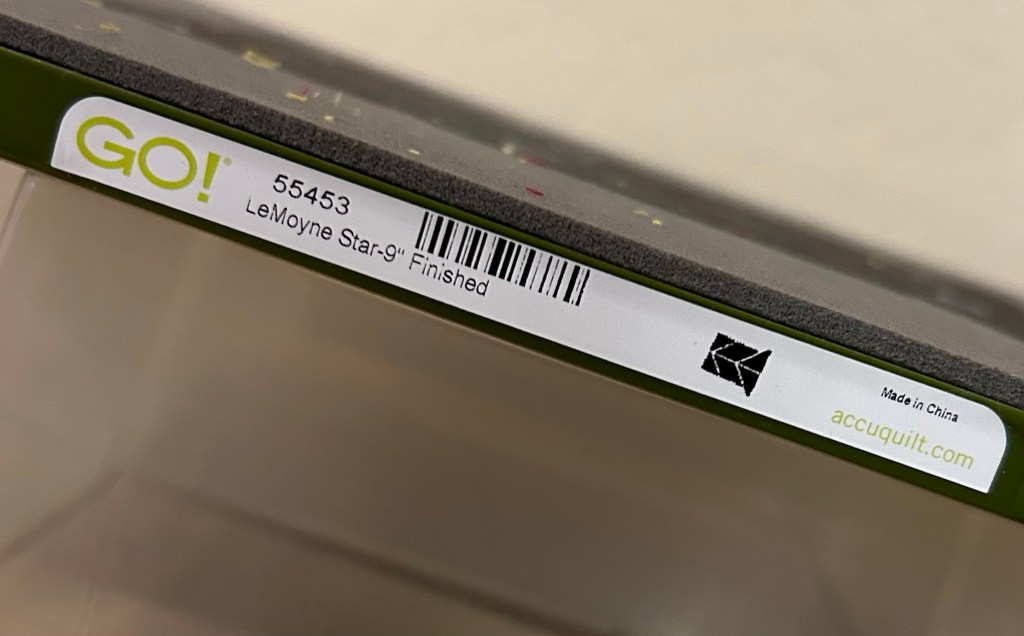
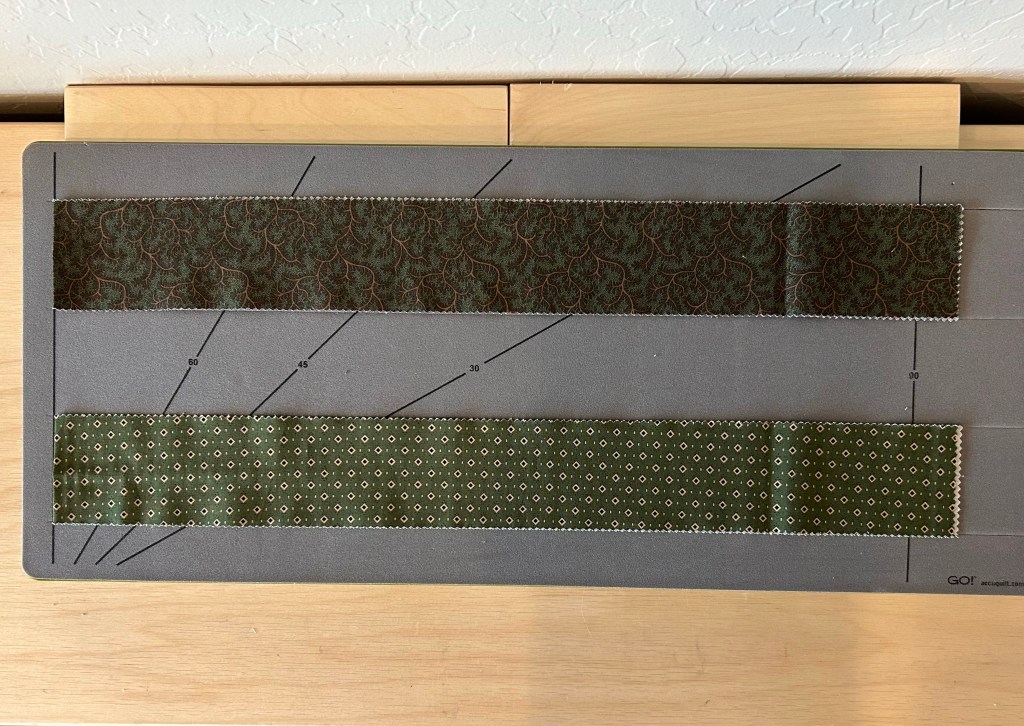
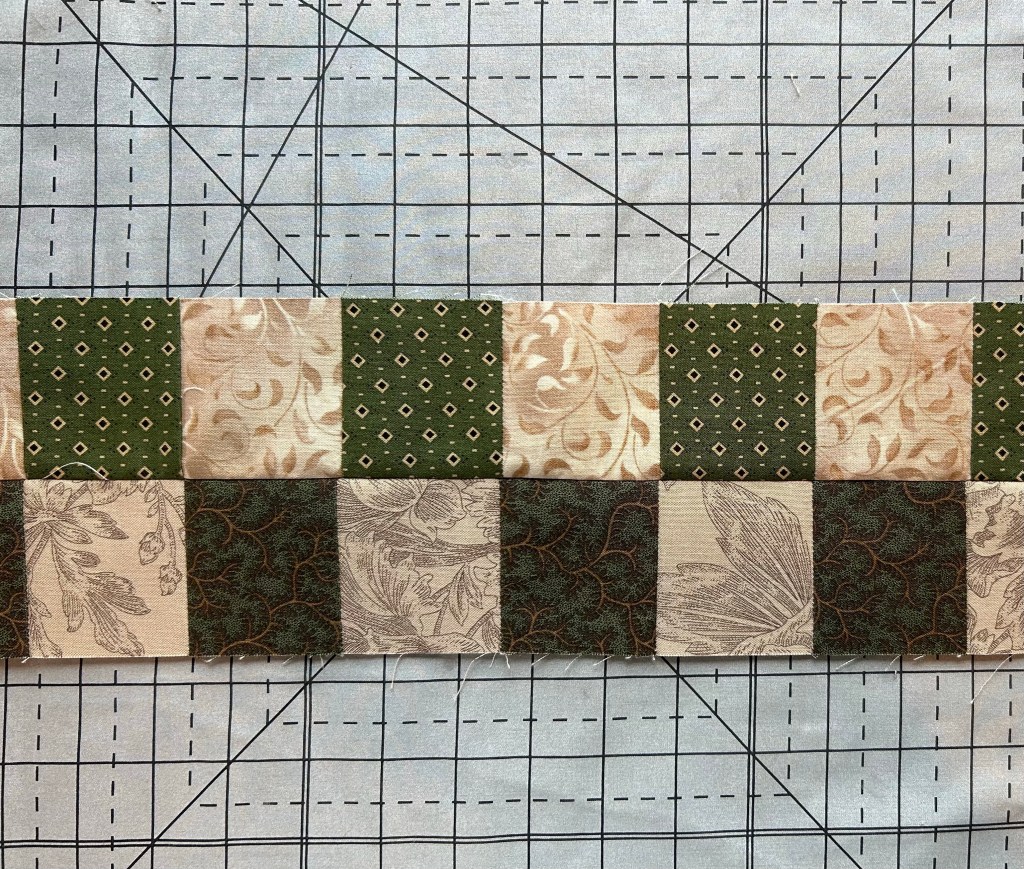
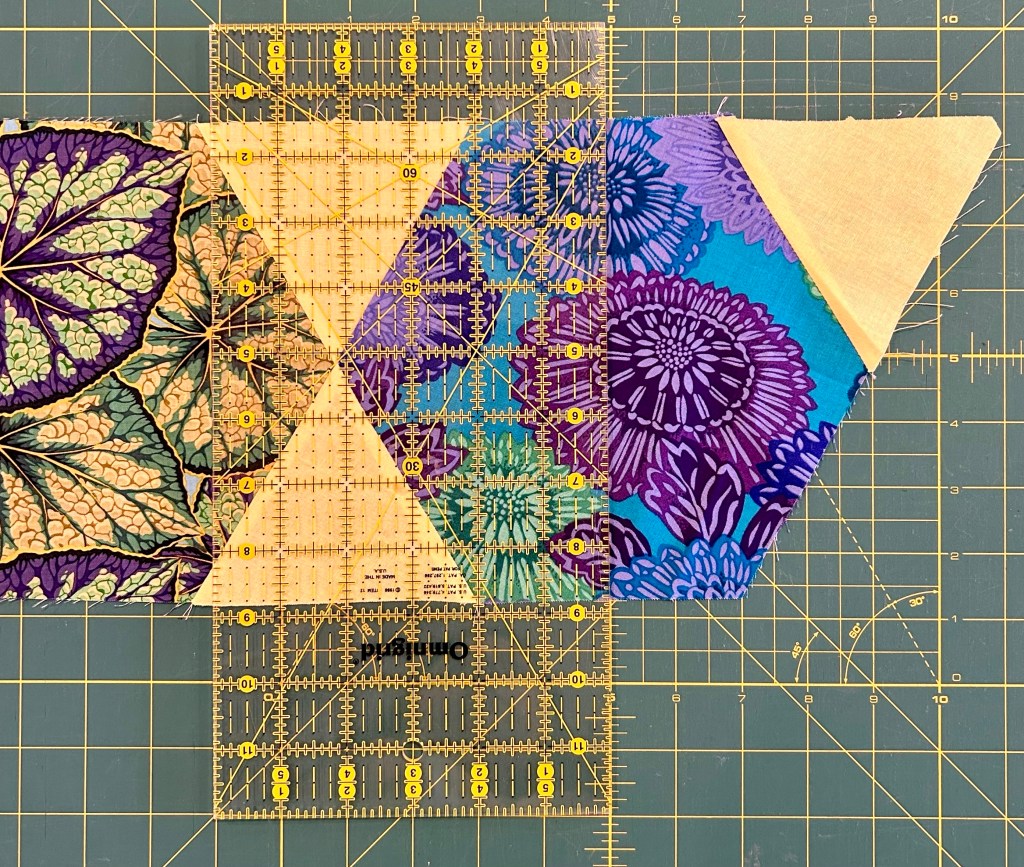
Fold strip sets in half again and subcut into 2 1/2” strips. I like to use my AccuQuilt die cutter for this., but you can certainly use a rotary cutter and ruler.
So easy!
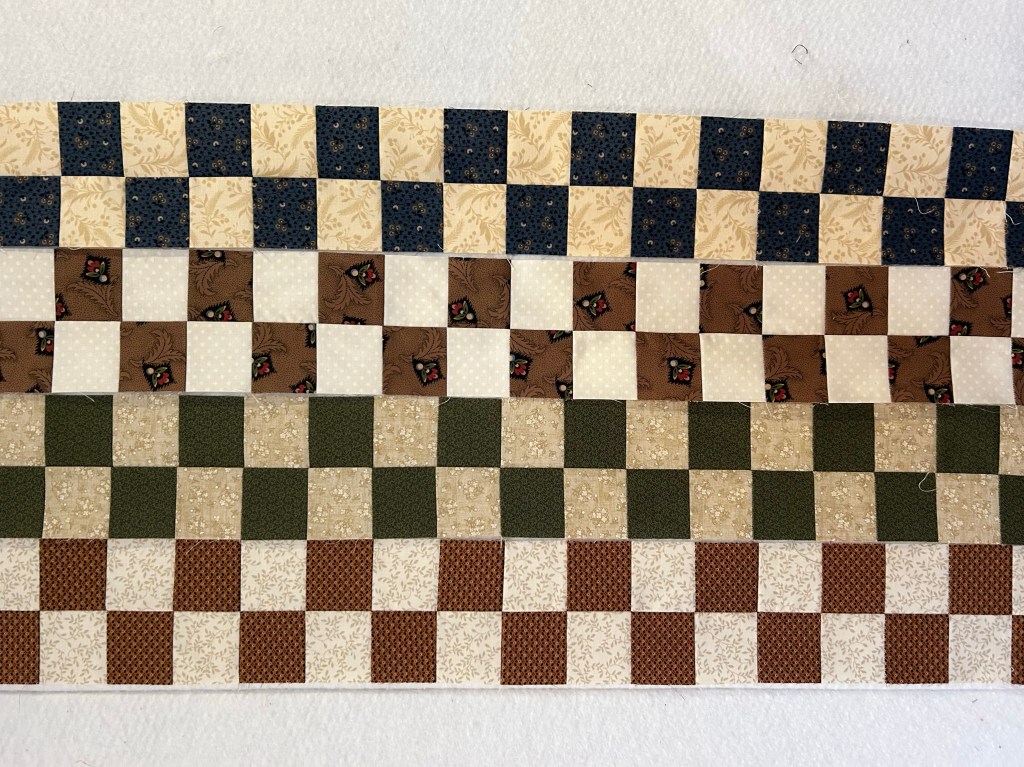
Now just stitch your strip sets end to end to create two long strips with 32 pieces in each. Press toward the dark!
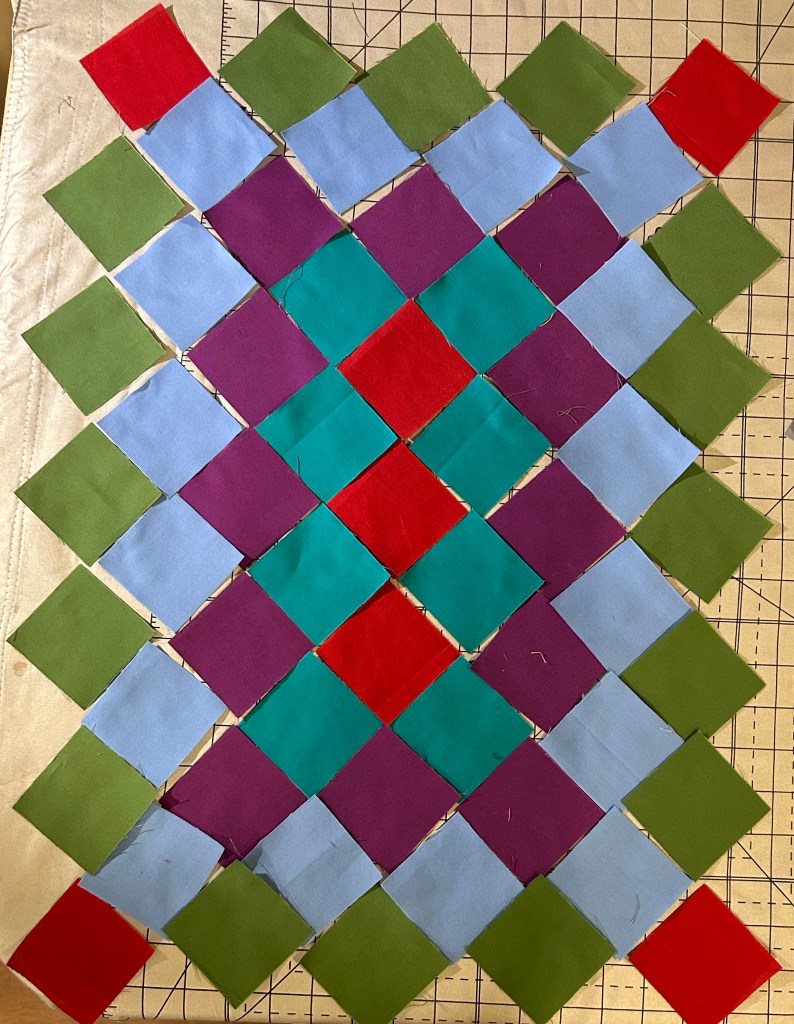
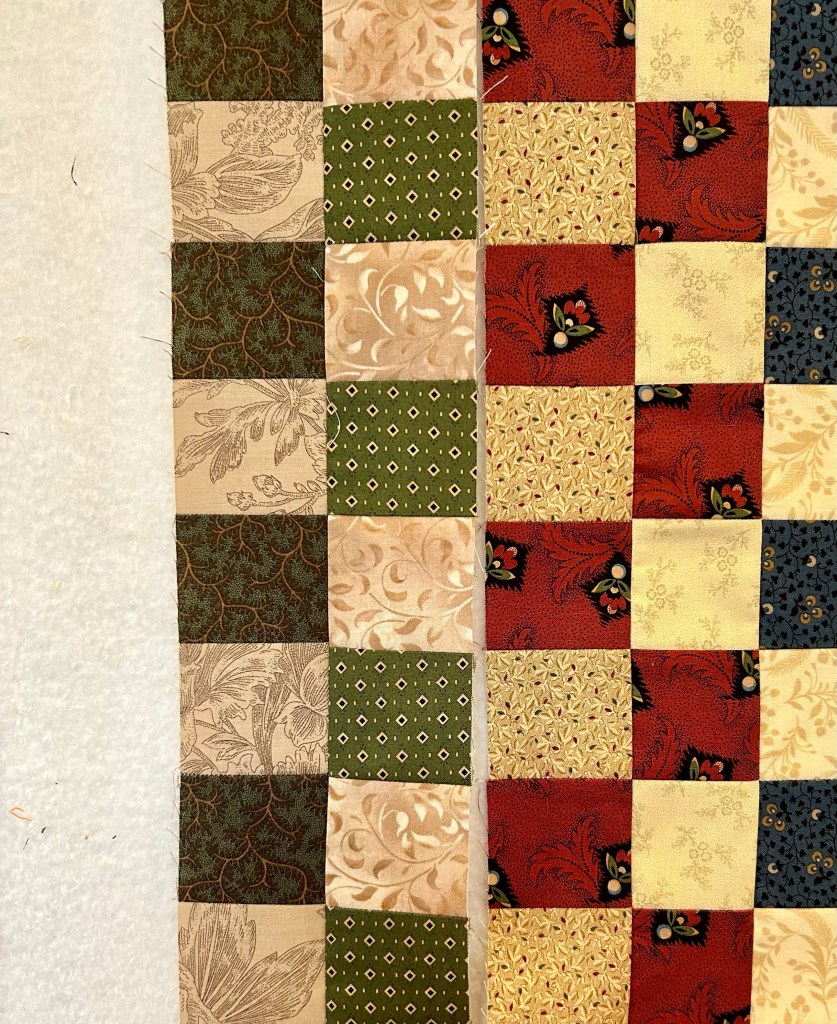
Ready to sew those strips together? If you consistently pressed to the dark, all your seams will nest. This is one reason why I make strip sets instead of making and sewing four patches together.
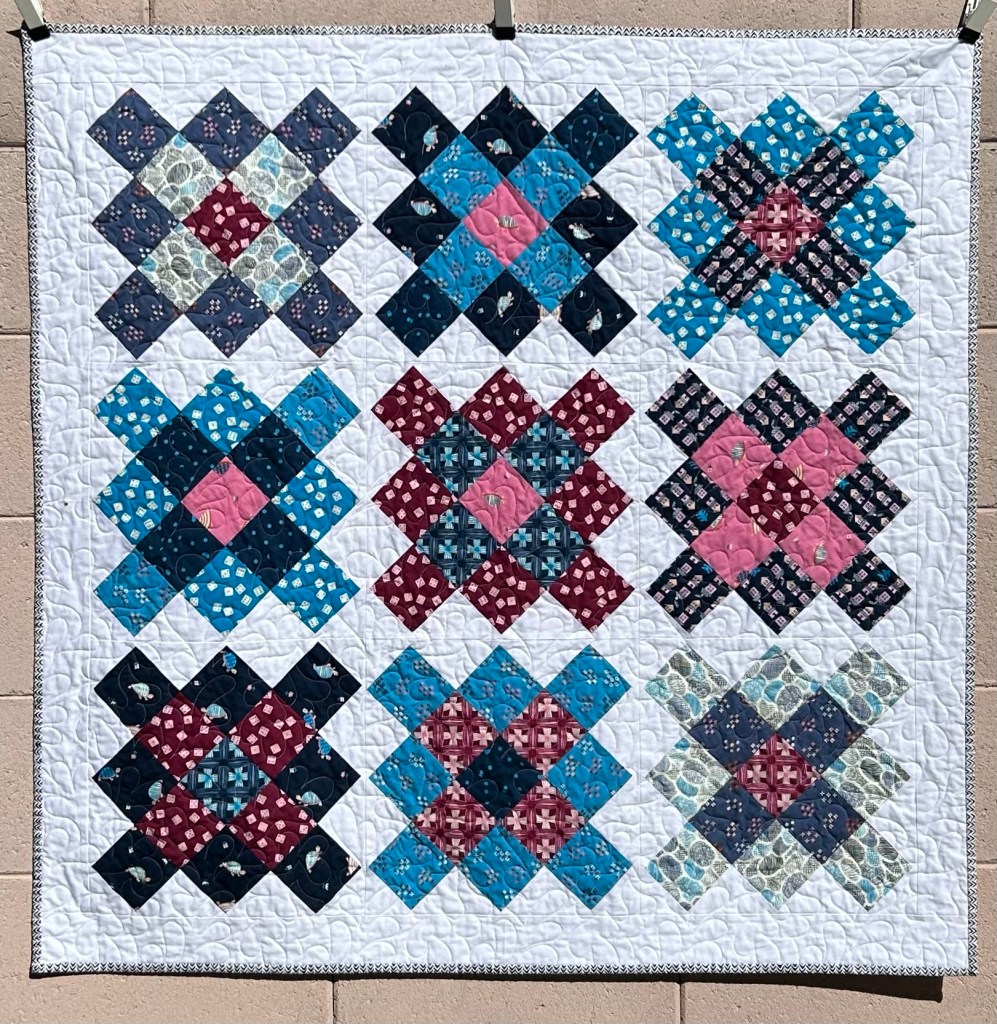
Ta daaa!
Time to add that last column.
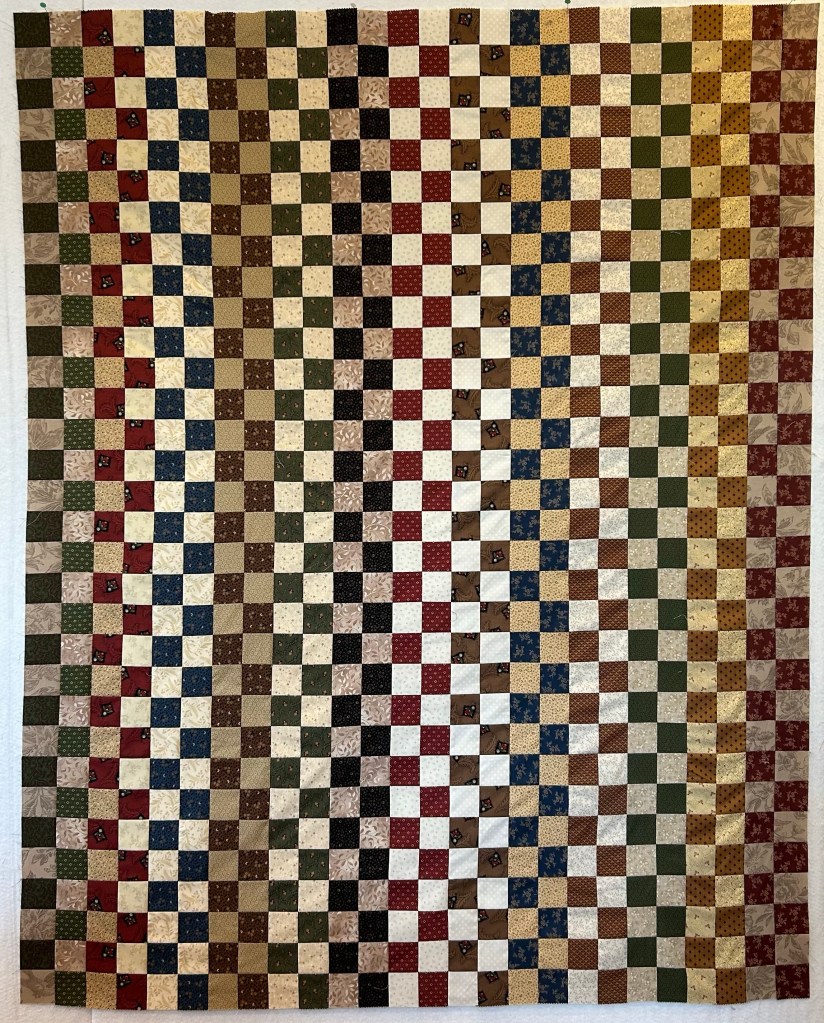
And my top is finished…..unless I add borders. At this point, it measures 52 by 64 inches.
Will you sew along with us? I have my next jelly roll ready to go! Leave a comment letting me know if you are going to join in.
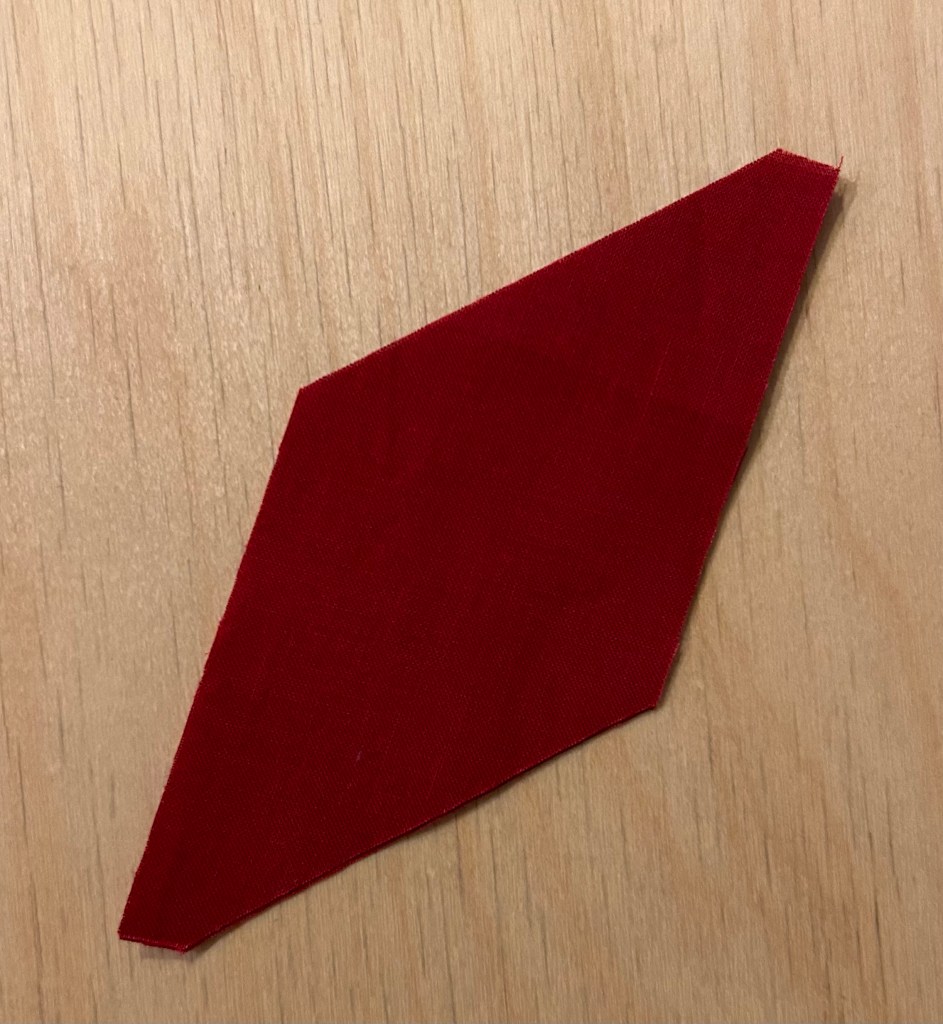
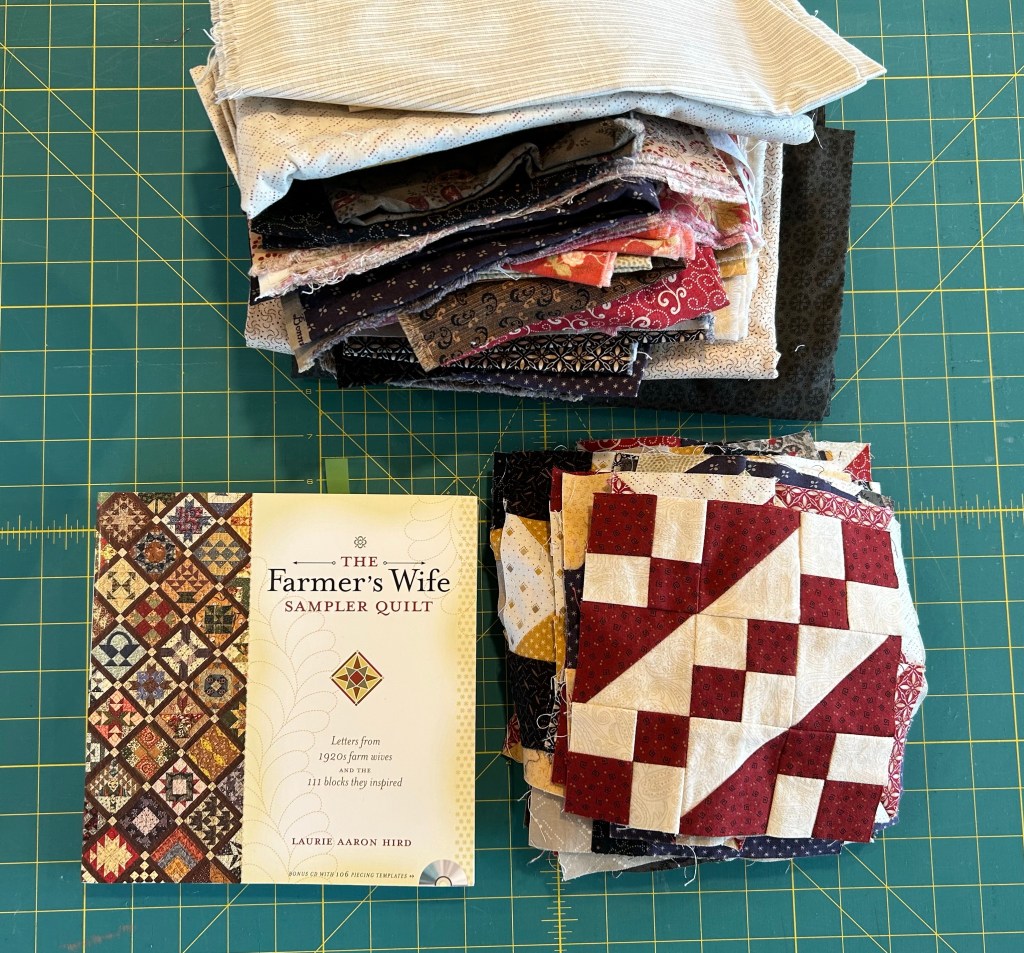
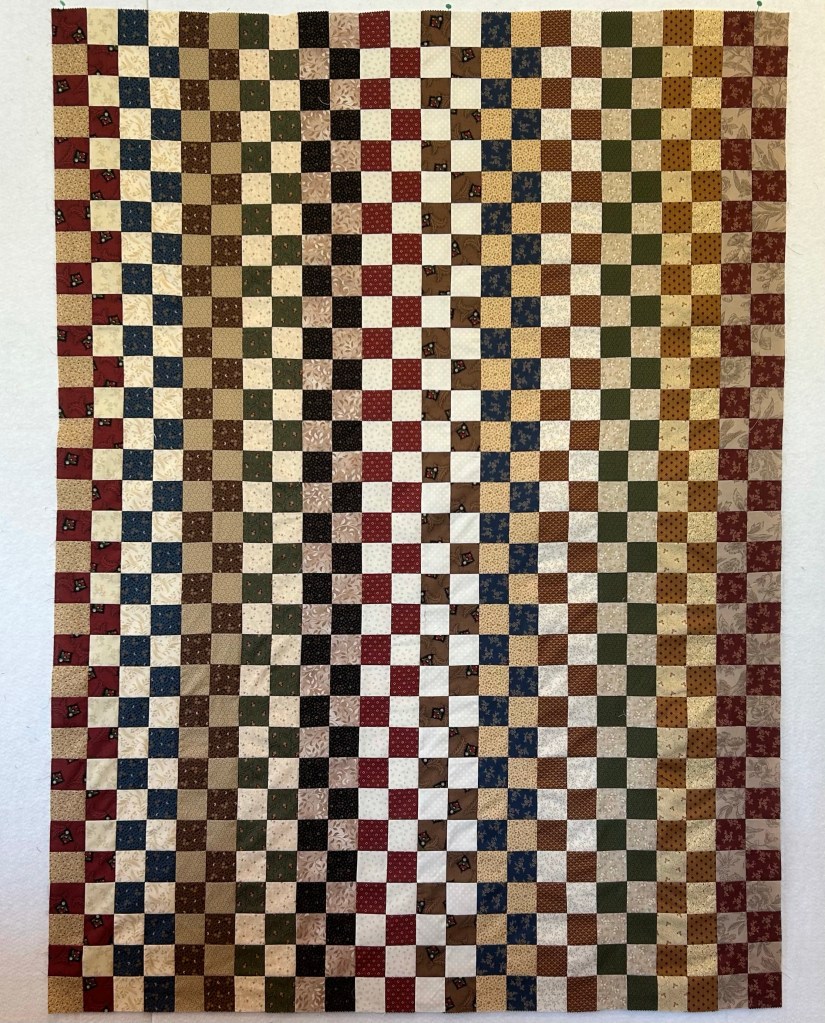
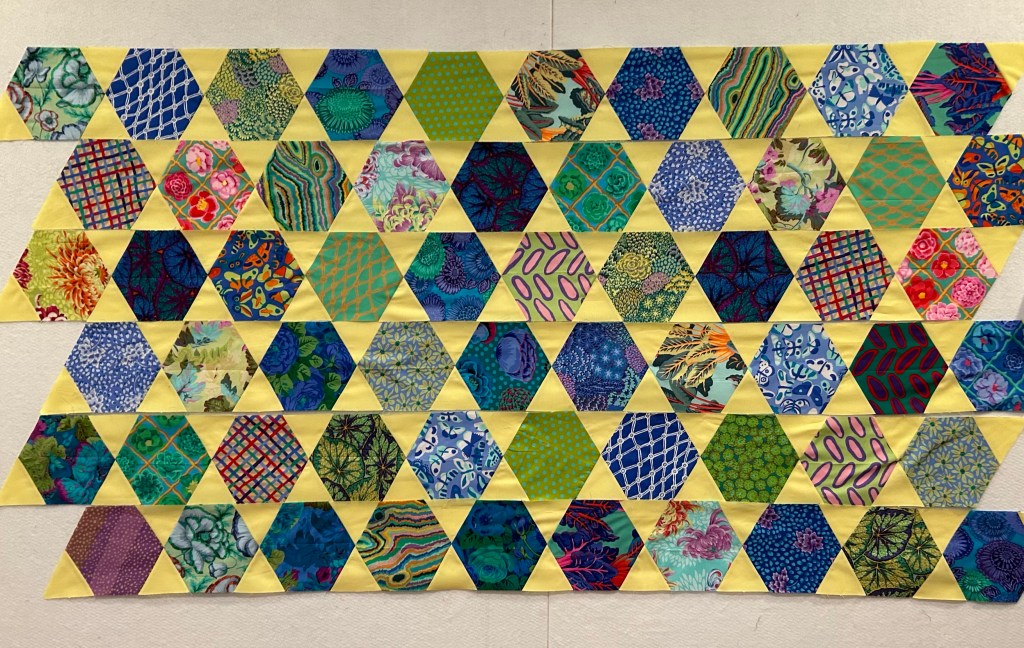
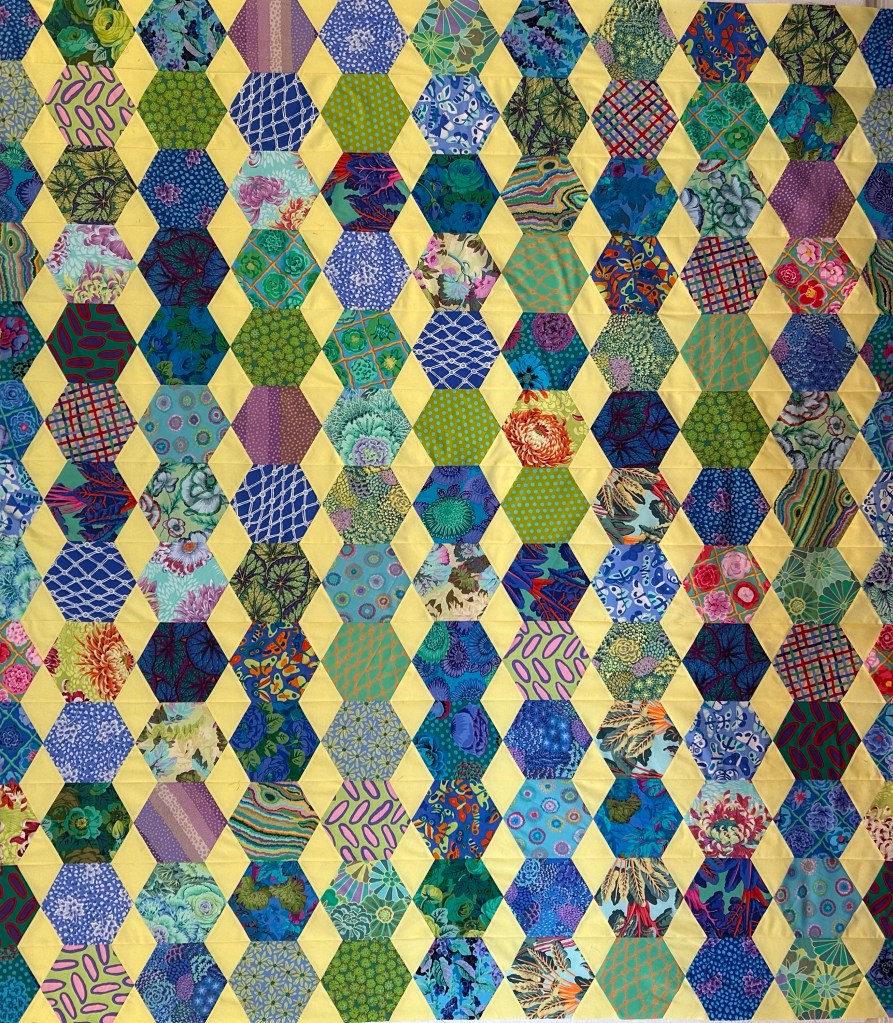
I haven’t forgotten these. I have procrastinated greatly, but finally got the rows together.
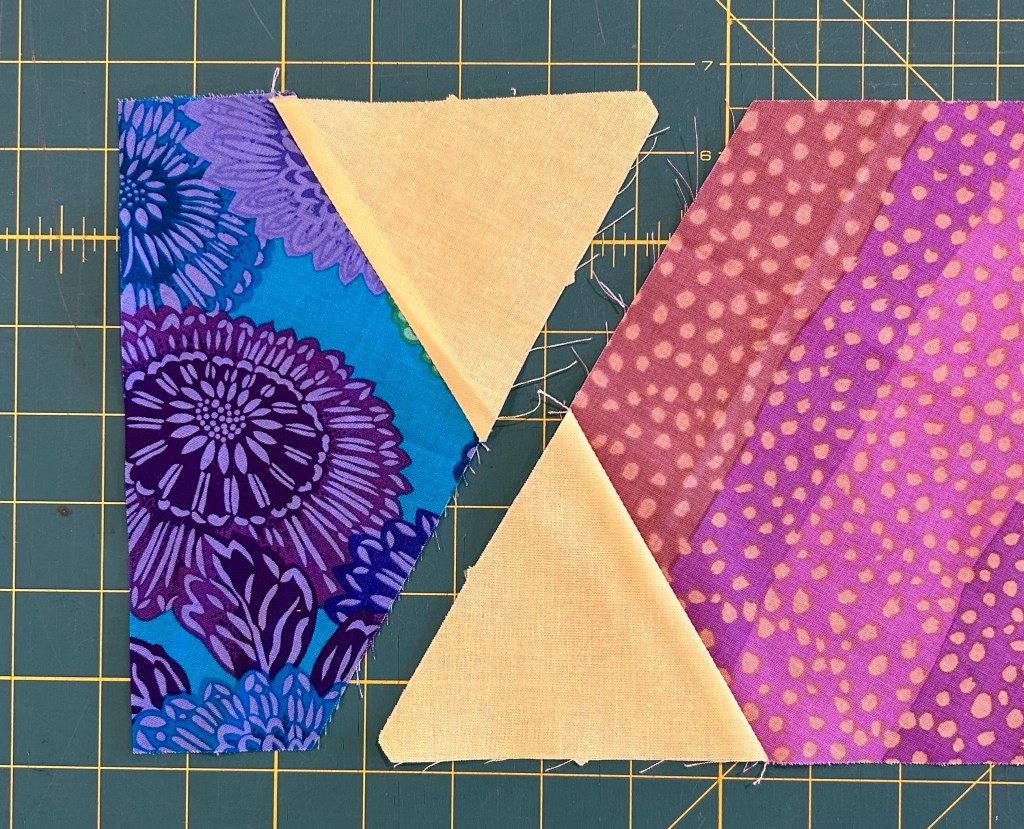
Then I got stopped again because I ran out of that yellow fabric. That necessitated a change in layout.
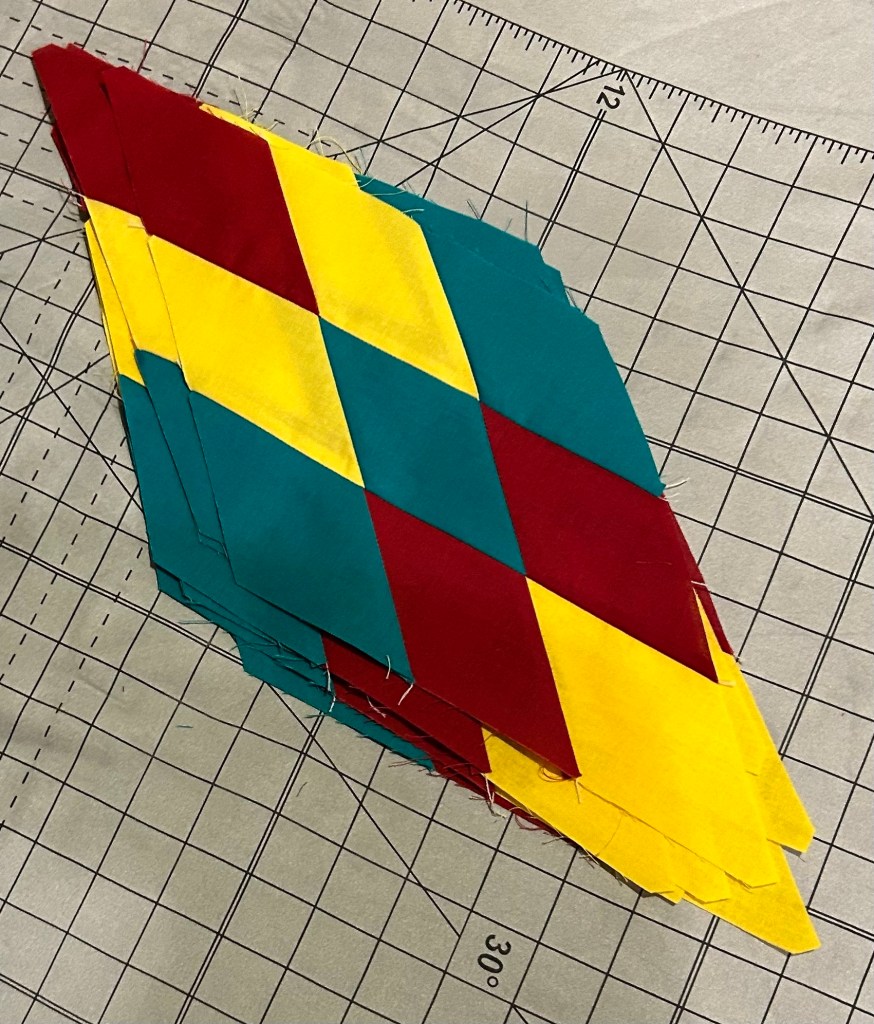
I needed to straighten the ends of the rows a different way. So I lopped off the end of each row.
And added it back at the beginning.
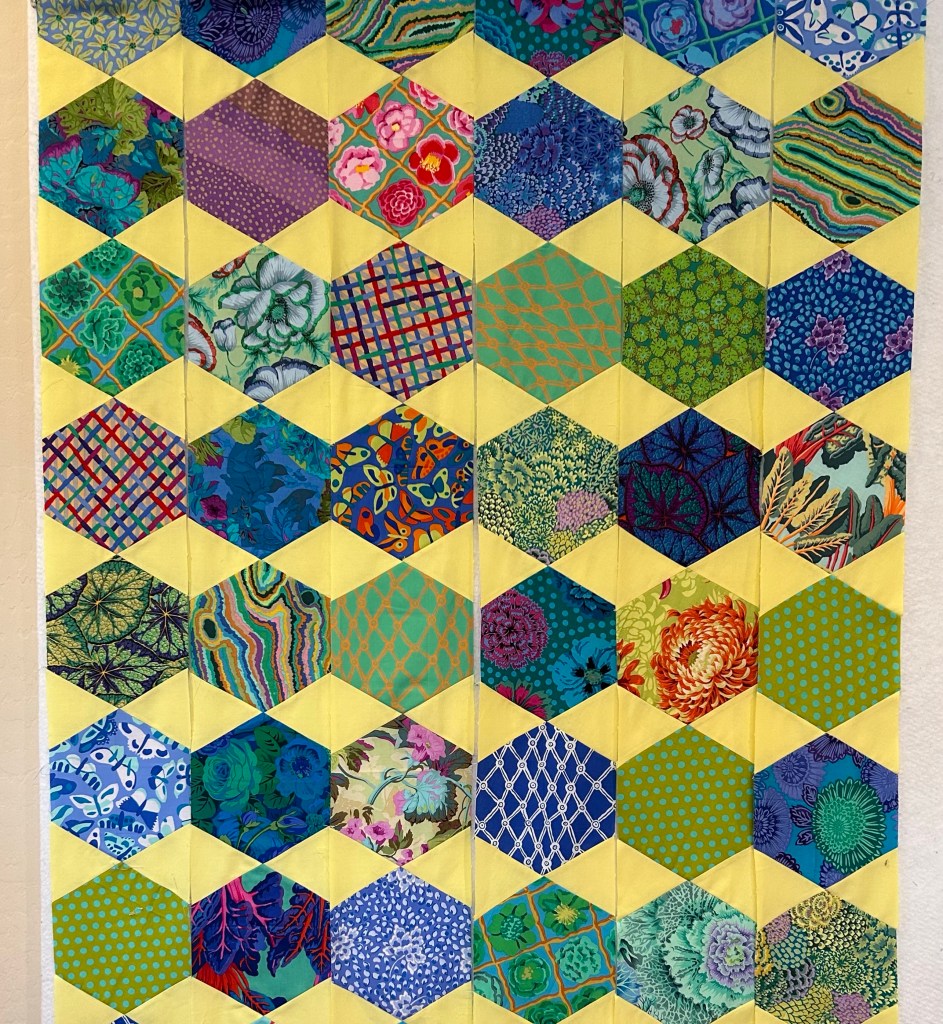
And this is what I have now. All rows are sewn together. It is 80” by 90”.
I’m not sure where to go from here. I want it to end up a generous queen size. I don’t have any appropriate fabric here for borders and I don’t feel like shopping. So I guess this one will do closet time.
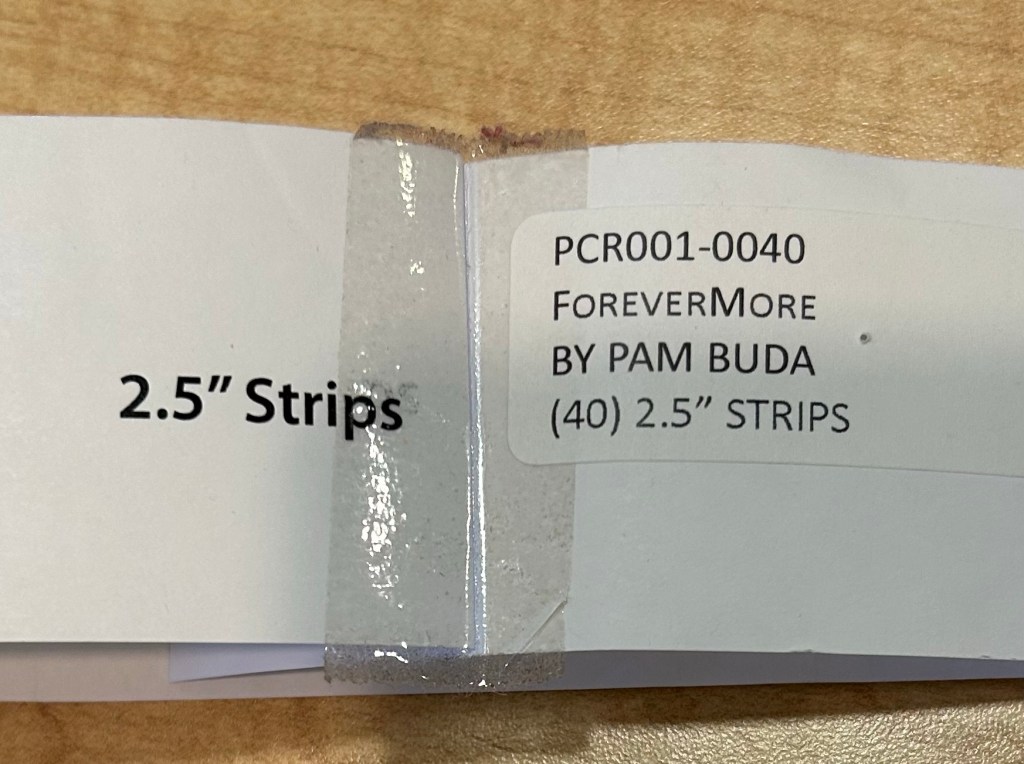
I’ve had this jelly roll for quite a while. It seems my fabric needs to age a bit before I use it. But I’ve come up with a plan. Well, at least the start of a plan.
I did have to cut some extra neutral strips as there weren’t enough lights in the roll.