
What a response to this WIP this past week! I am making forward progress on this. On my last post, I had my squares fused to the grid.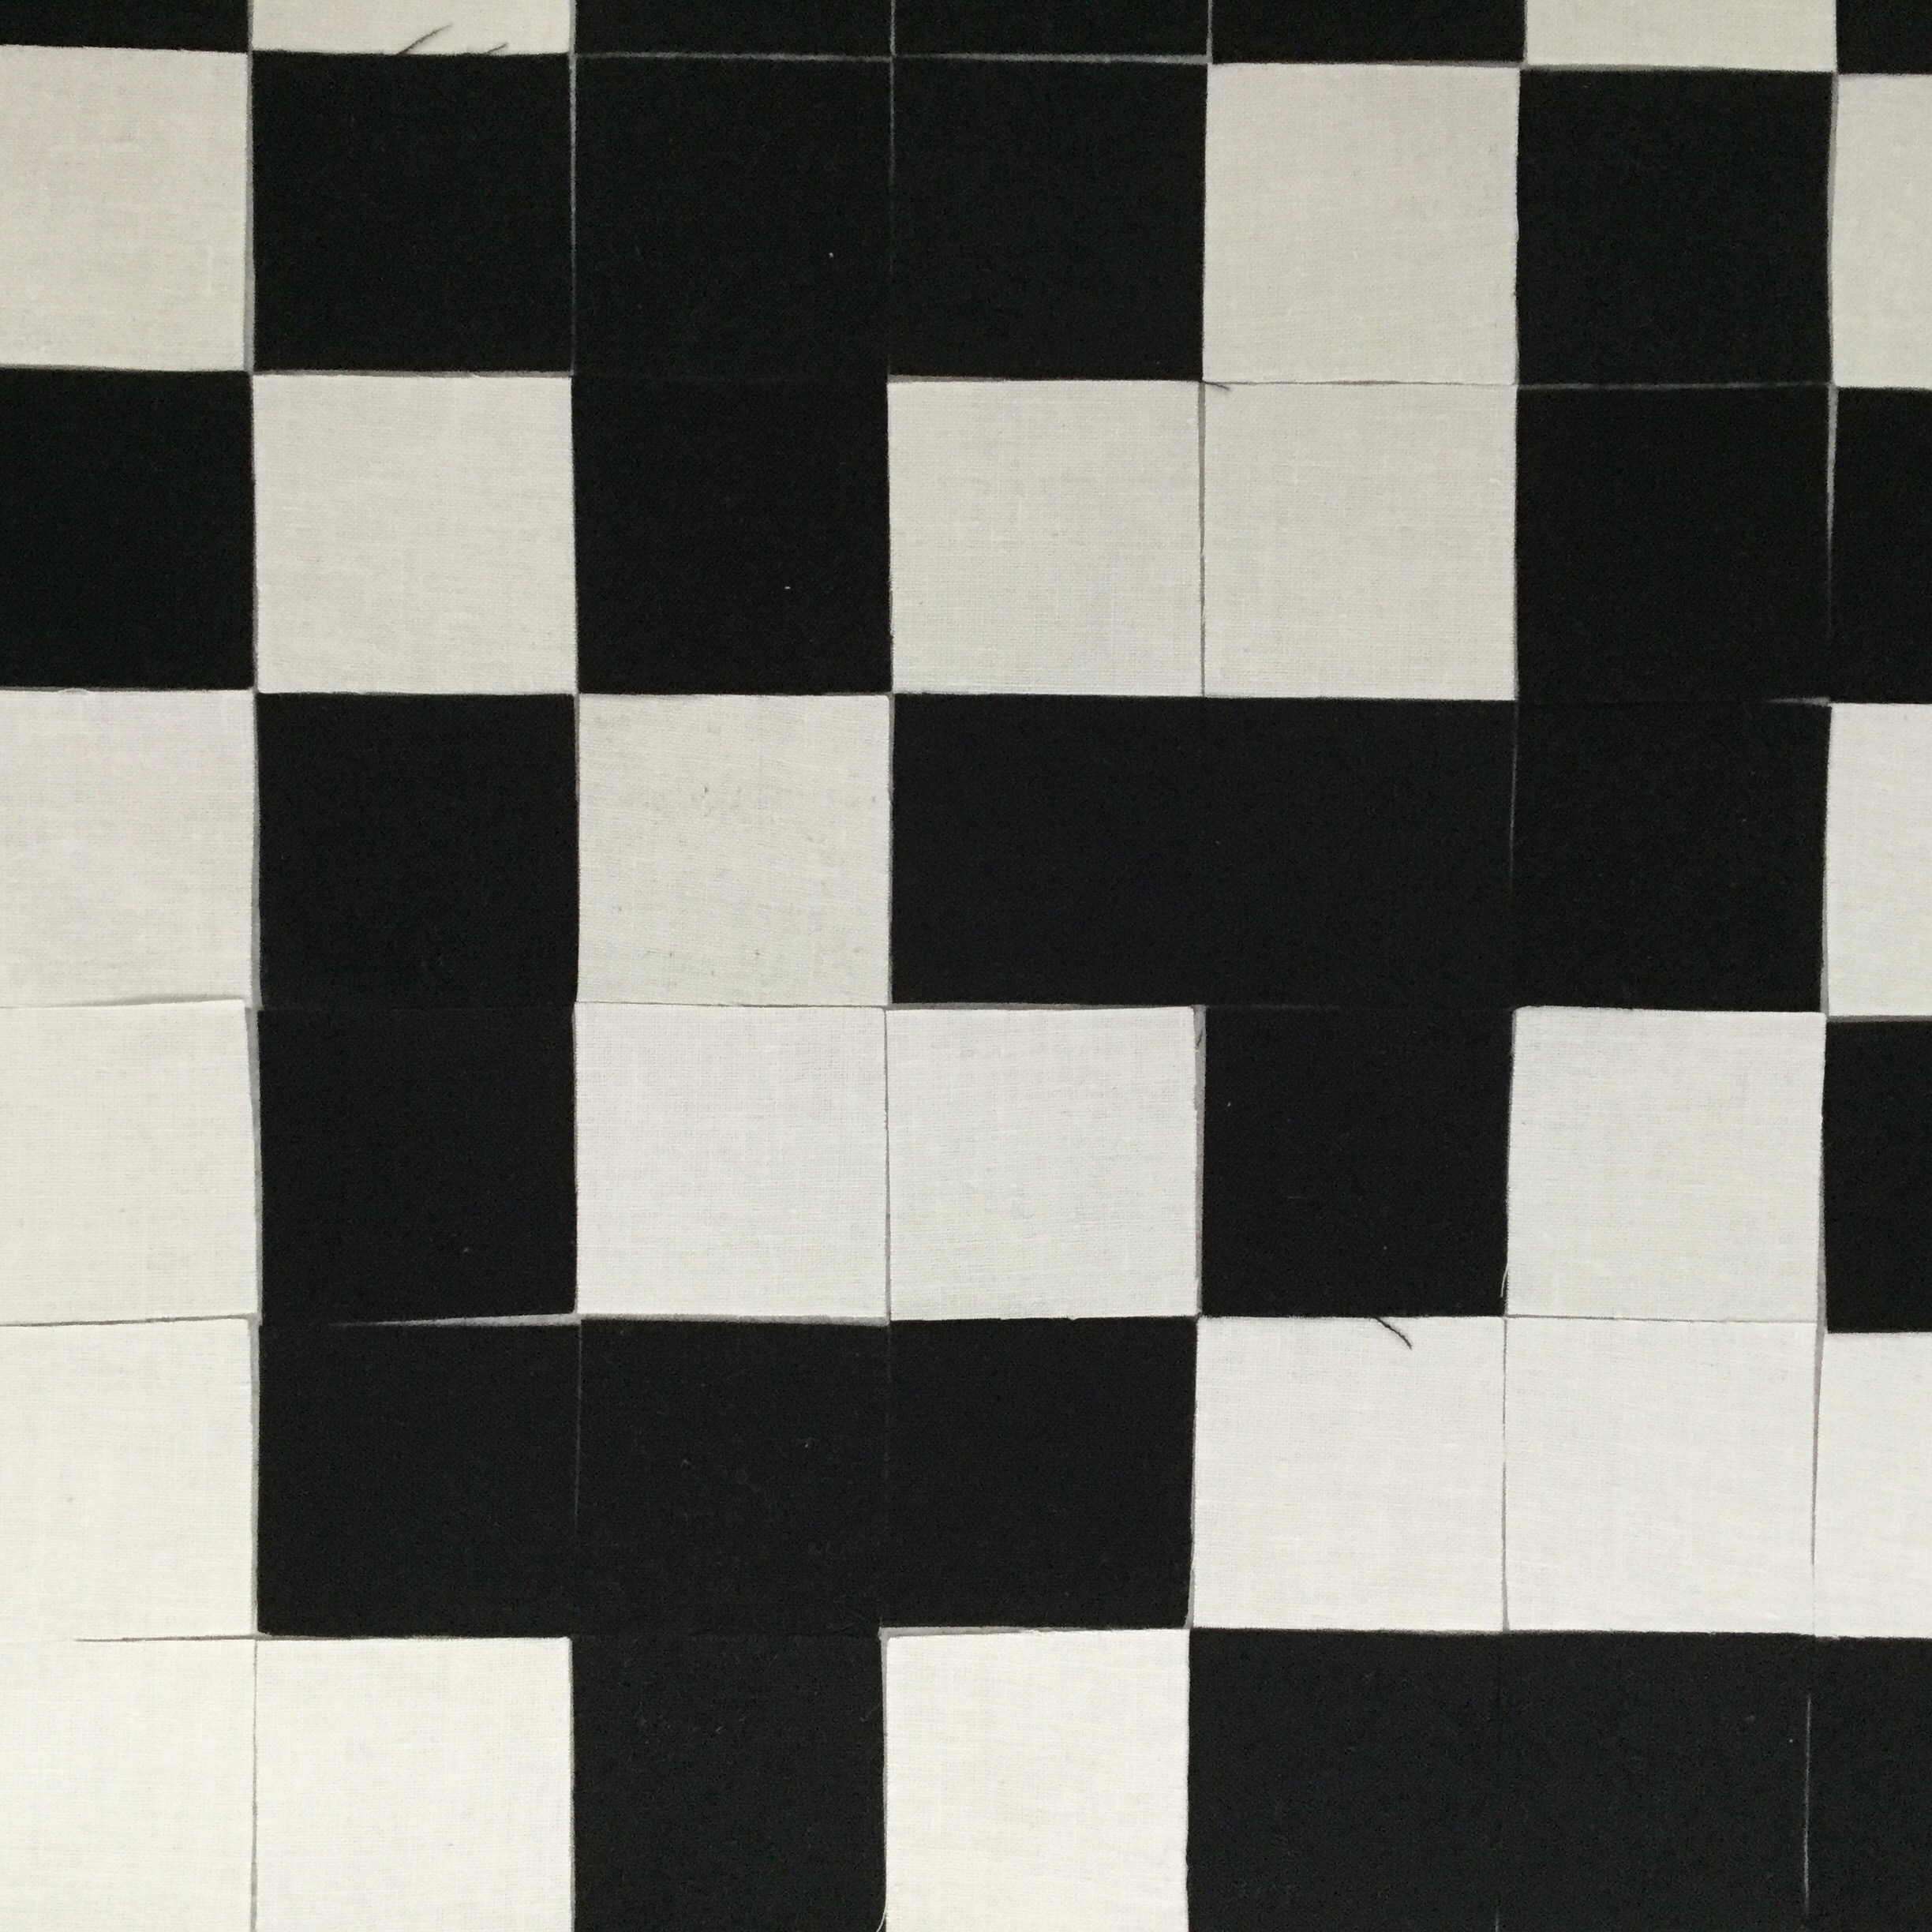 Time to sew! I folded one row at a time on the line “between” pieces and pressed.
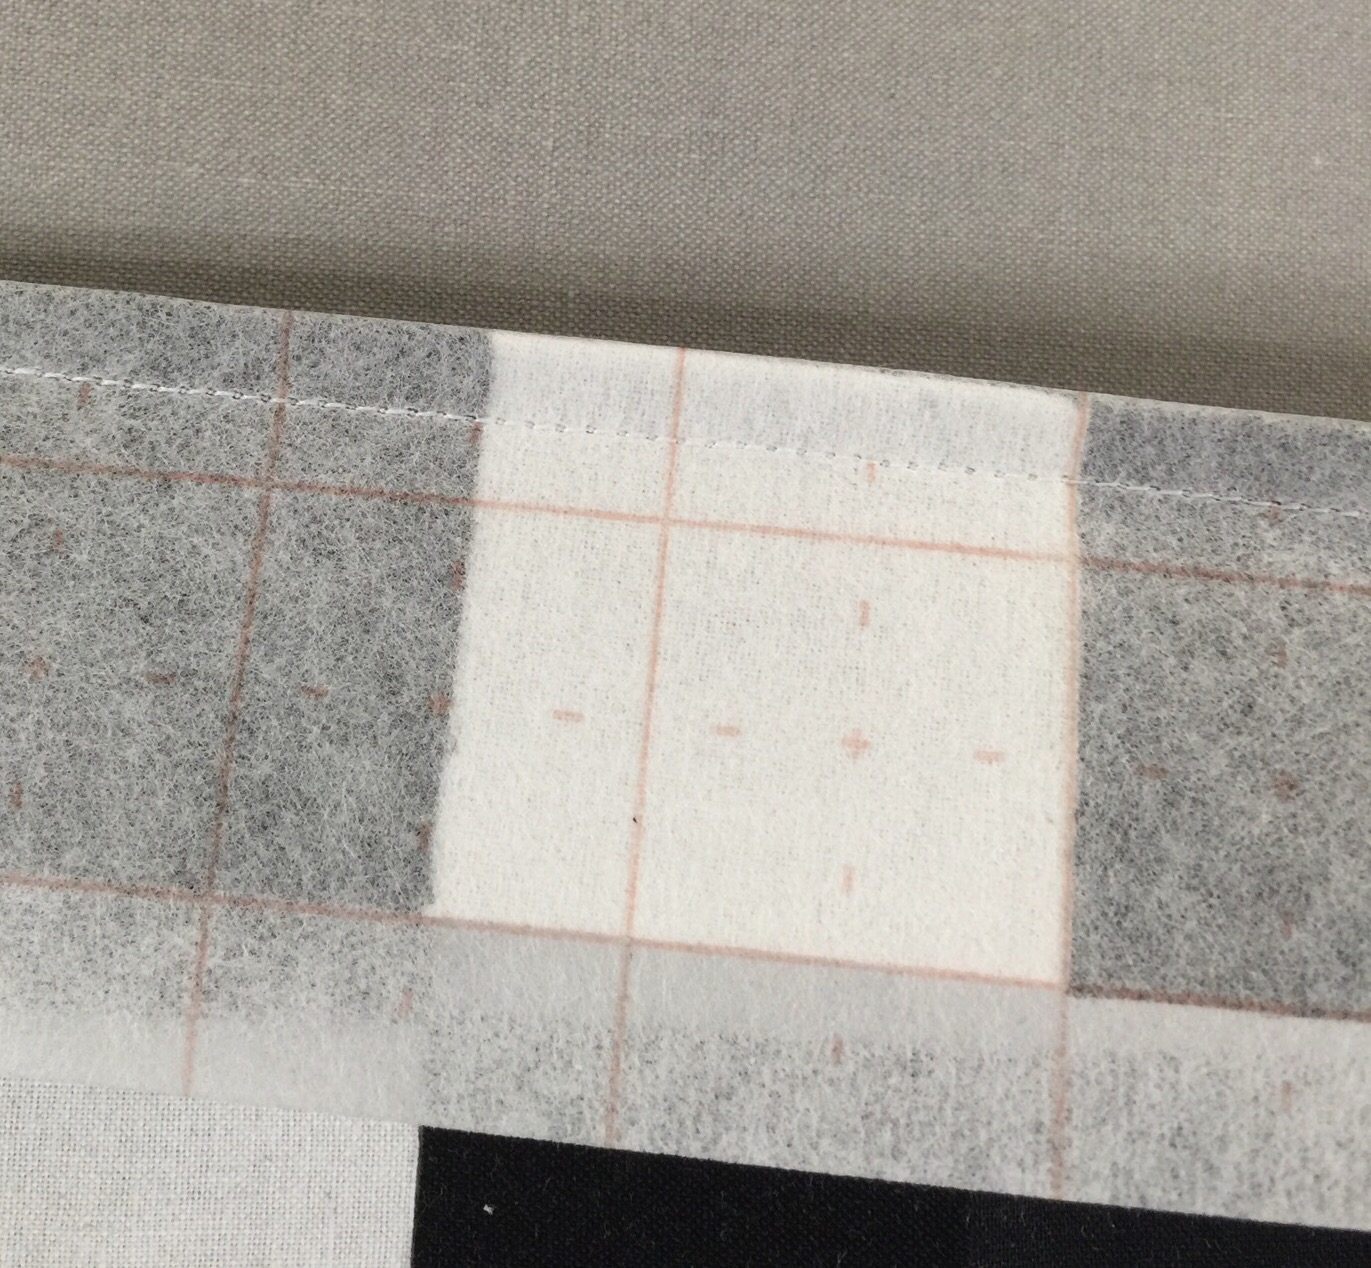
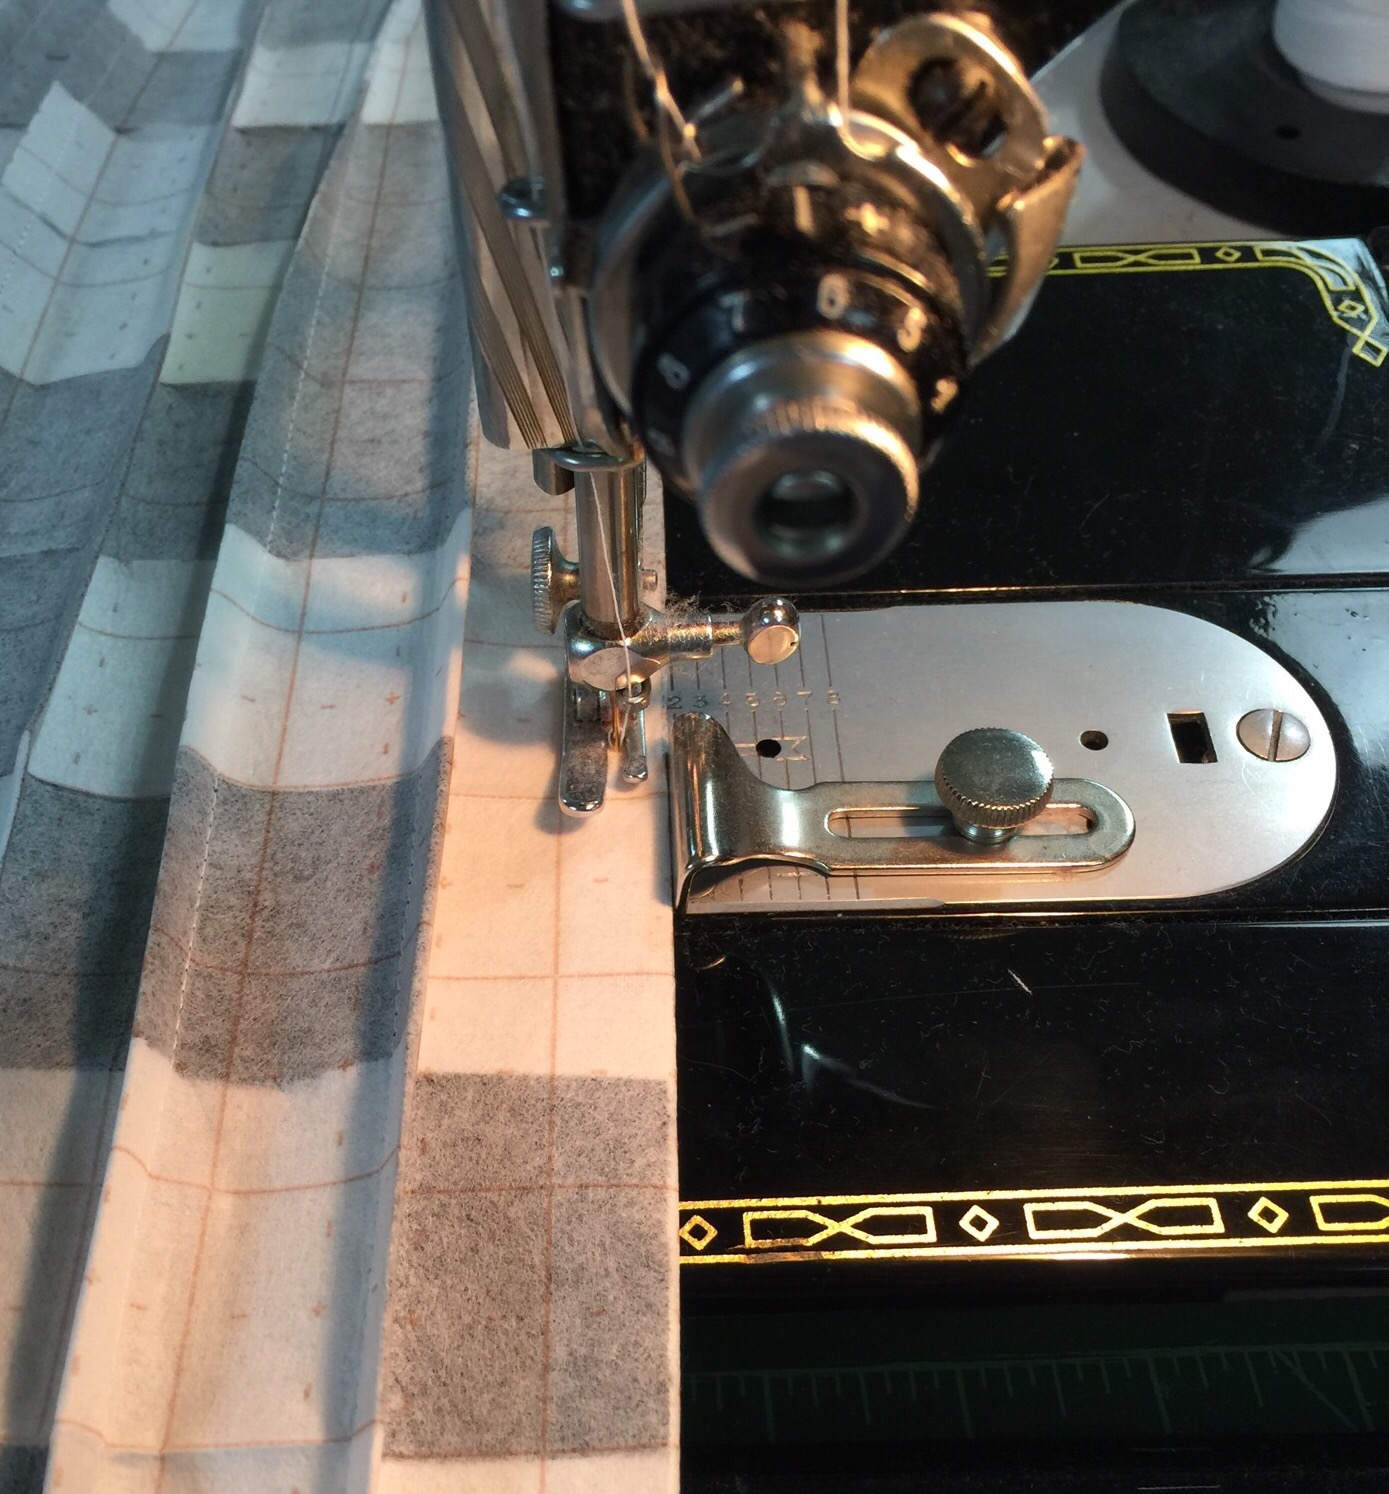
Then I took the whole thing to the machine to sew. I had my seam guide set for 1/4 inch. I pressed each seam before sewing.
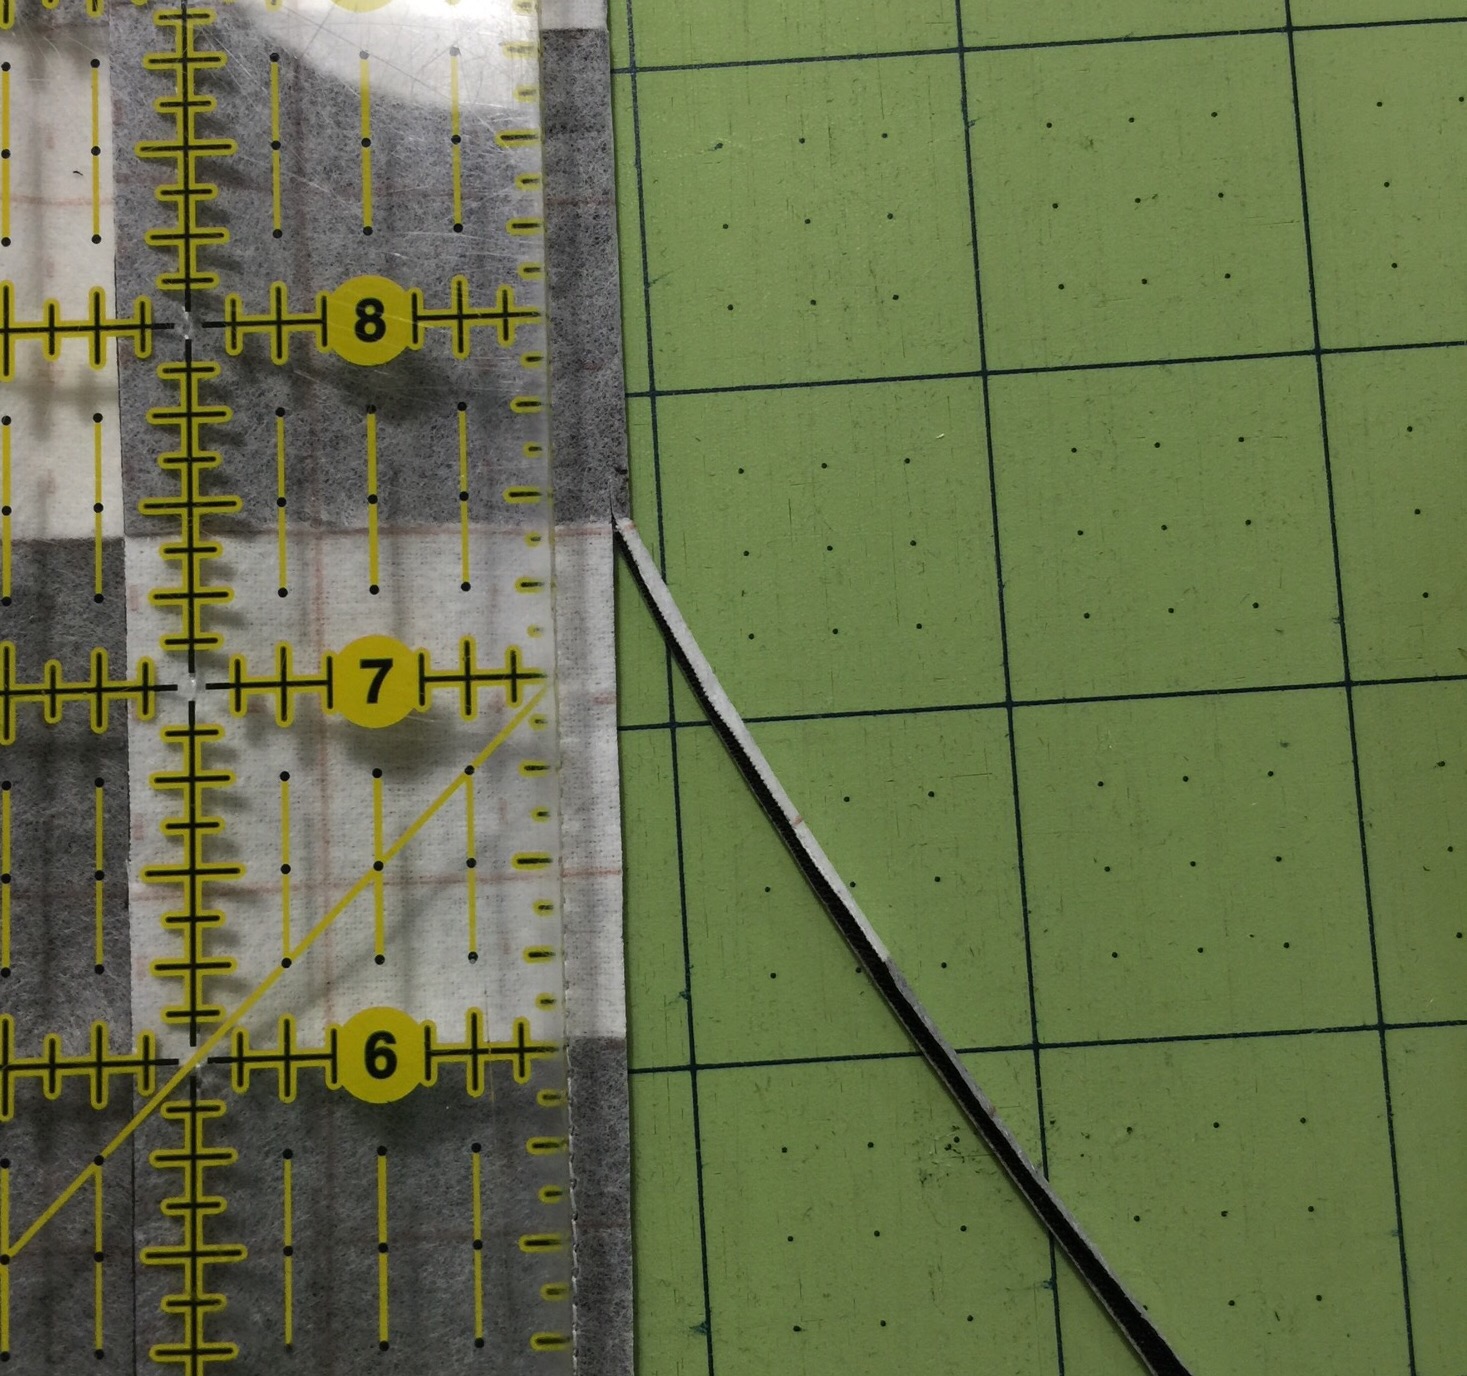
After I had all the seams in one direction sewn, I very carefully used my rotary cutter to remove just a sliver of the fold.
Then I pressed these seams open. This took a long time. 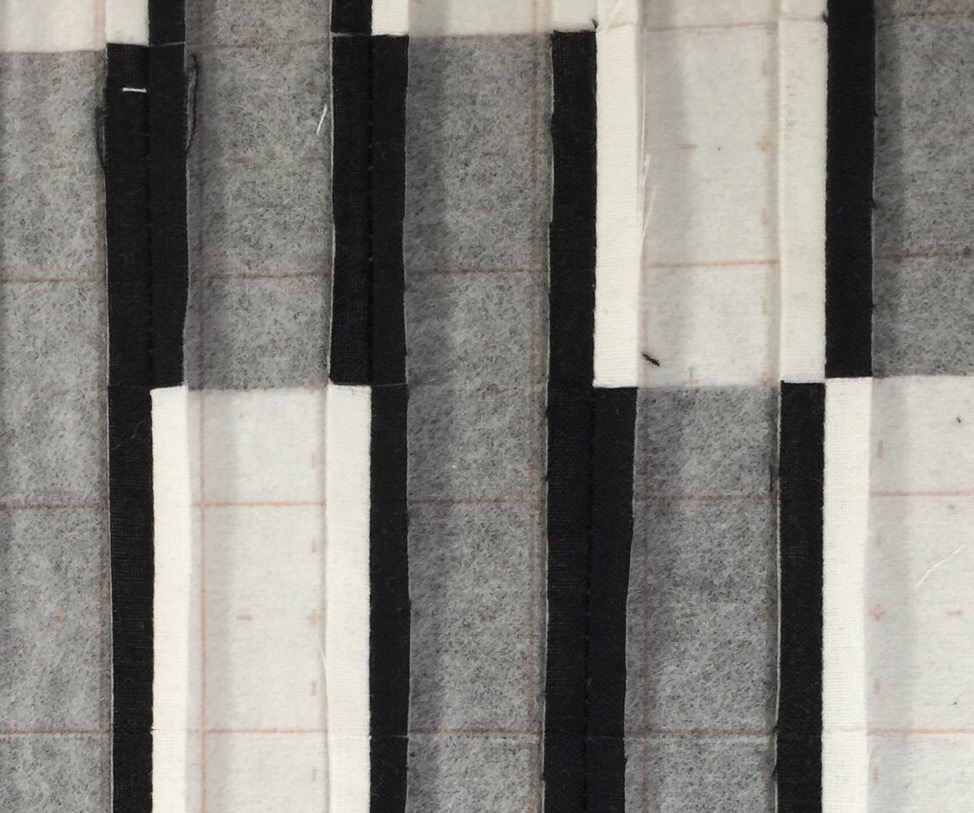
Time to sew the other way! Again, I folded on the line and pressed before sewing each seam.
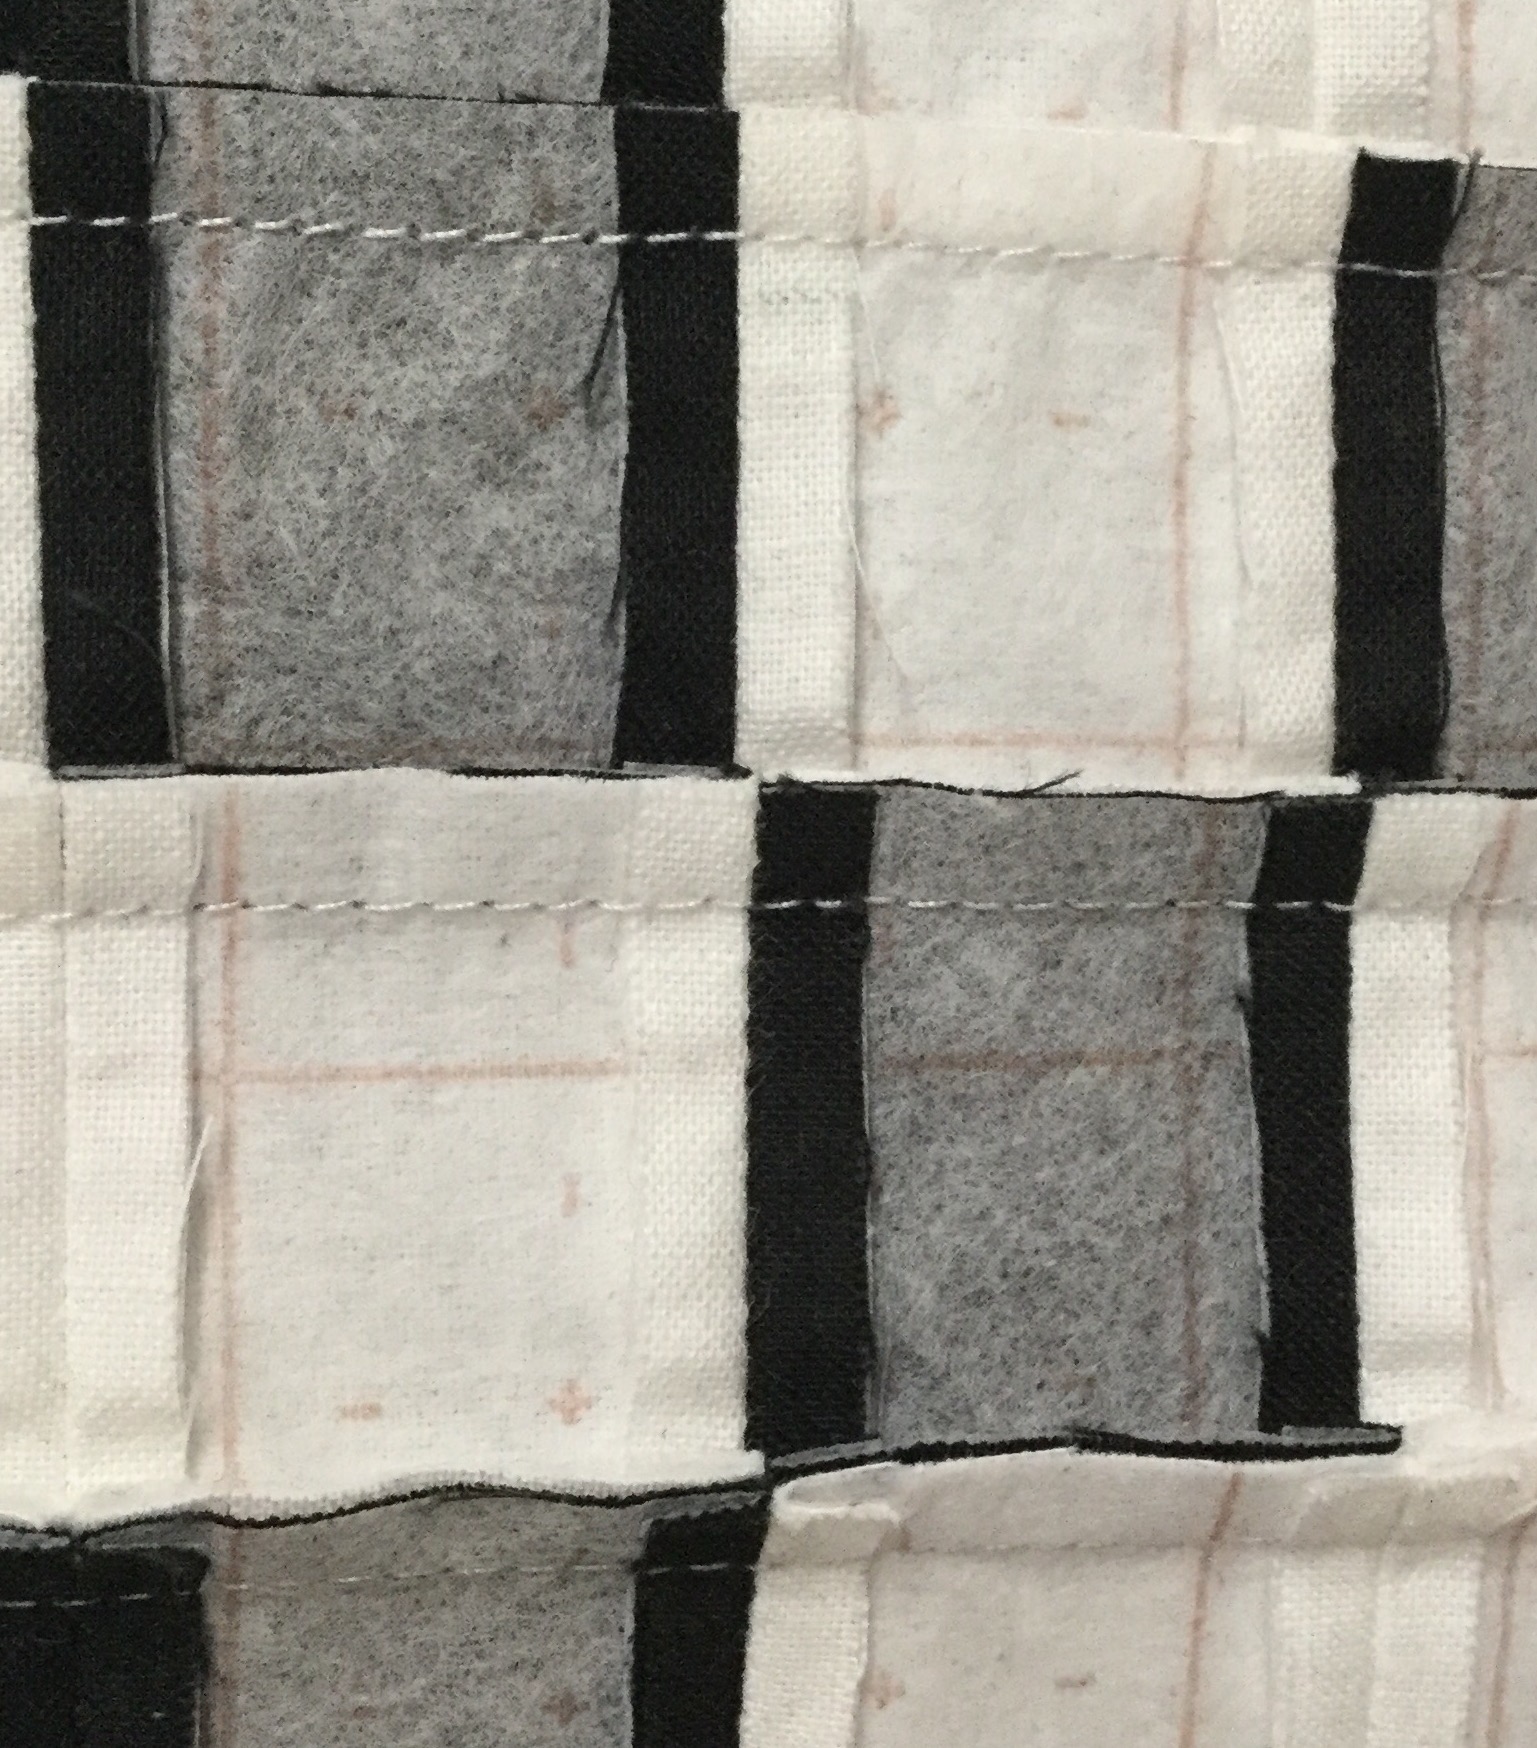
I trimmed the seam folds again, but this time I pressed to one direction. I think I was losing patience!
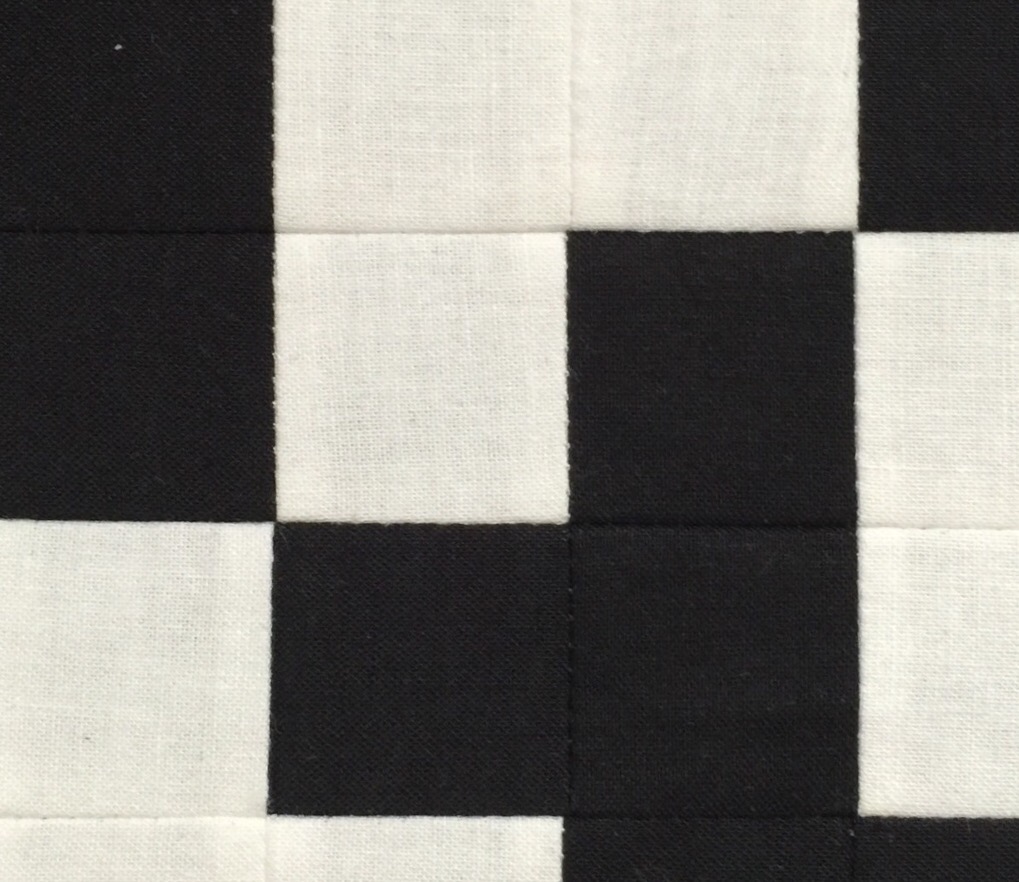
This is kind of a pain, but the results made it so very worth it! Not every intersection turned out perfectly, but most were quite nice.
Again, this kind of sewing can get a bit tedious. This helped:
I listened to 4 tracks while doing the sewing on this small top. Time to think about borders and quilting. Not sure how that will go with this fusible grid on the back. We shall see!


I used this technique for 2 of my quilts. I don’t think I would do it any other way even if it can be a bit tedious
Looking good!! I have seen the fusible grid, but never used it….and your step by step instructions are great….
Cannot wait to see where this is all going to end up!!
I hope you have a great holiday weekend!
I really like how your B&W is coming together. Thanks for sharing how to use the fusible w/grids. I admit I’ve been intrigued with it. Looks like it might be worth the tediousness. And I too am interested how it turns out when adding non-fused borders.
Hi–I ALWAYS end up pressing my seams open to reduce bulk —and if you pin the intersections “diagonally” with one pin they are easier to sew so they match. It does take longer, but I like my results better. I also pre-open seams with either my fingernail or my little wooden pressing stick (if I can find it!!) …this is looking so lovely–I think your intersections are fine…hugs, Julierose
Interesting. I will be interested in seeing how it comes together. Wondering if the fuse-able will be “thicker” than the borders and how that will work out. I does seem a bit time-consuming, but do love the matching points!
I’ve seen this technique on Pinterest but wondered how it would really work. I can see that the fuse-able with grids would help a lot. I can’t wait to see a picture of the entire top!