God is SO good! Our house was on the market for five days and we received multiple offers. The inspection went well and we are now just two weeks out from closing.
We are working away at disposing of the last of our furniture and belongings. It is definitely bittersweet. However, the fact that God has displayed His guidance and grace in every step has made it more joyful than sad. We know it was time and look forward to all He has for us in the future.
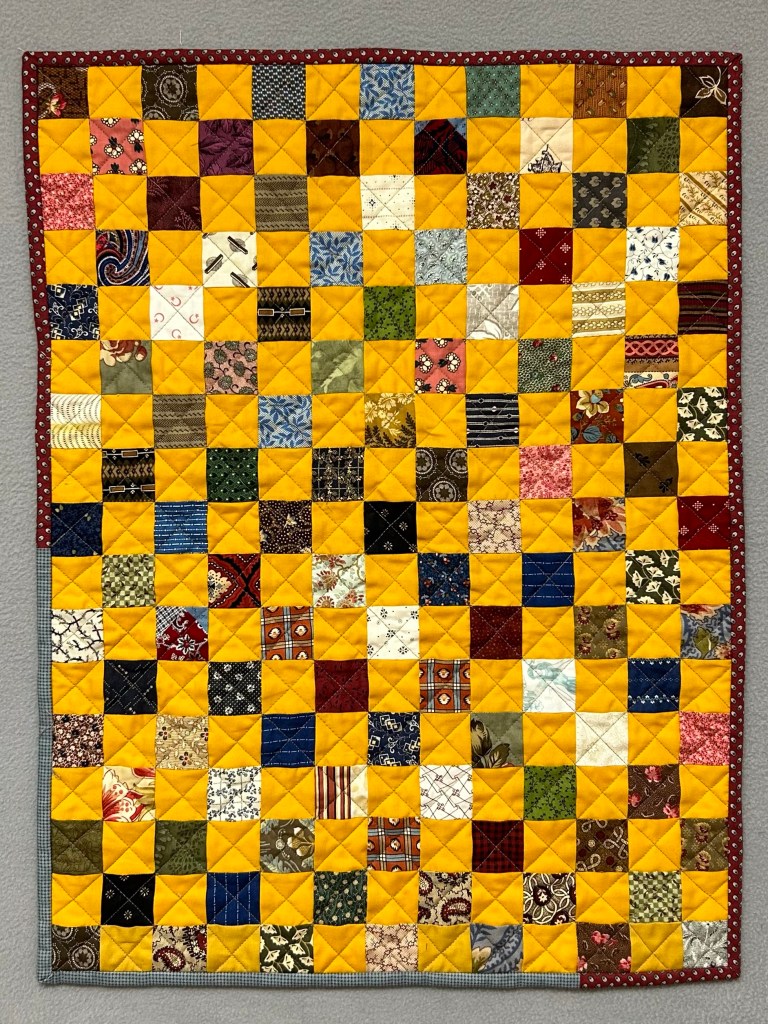
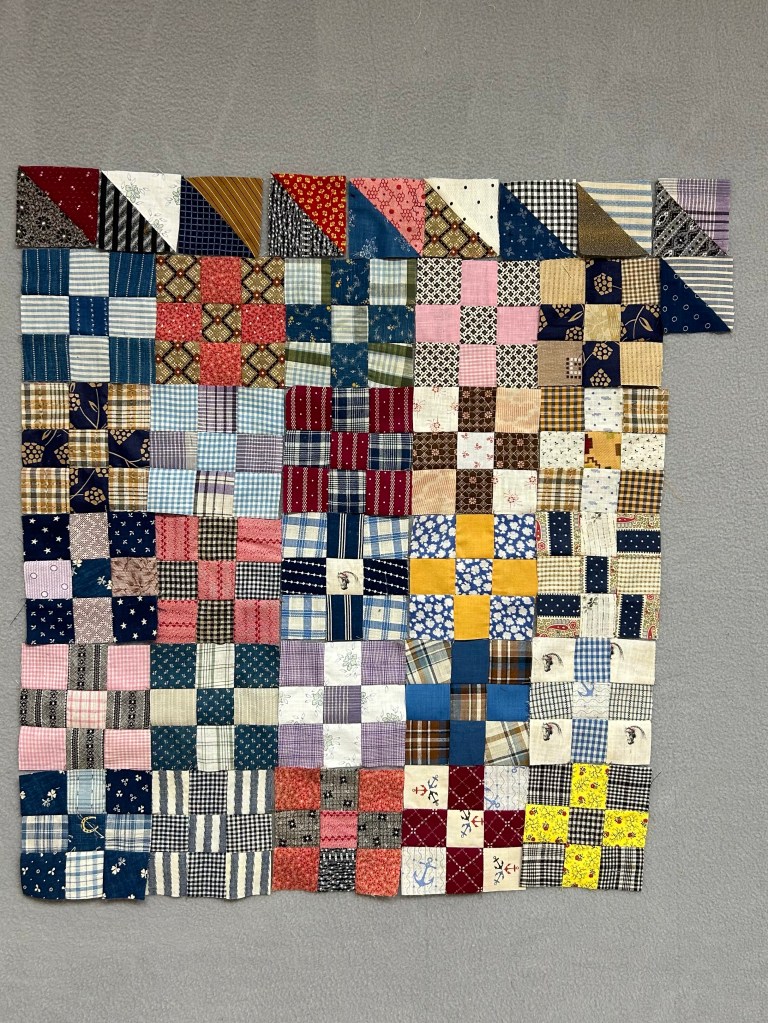
I’m back with another Throwback Thursday post! I still love this older quilt. I look at it as a way of enjoying and preserving so many pieces of my favorite fabrics. I should have kept track of all the miles it traveled while I was piecing it. Enjoy!
It’s done! I started piecing this top back in 2013. It is mostly hand pieced, but I did machine sew a few seams.
It isn’t a true charm quilt as there are repeated fabrics.
Here’s a look at the backing fabric. It’s a Robyn Pandolph print I had in my stash.
I kept the quilting pretty simple, just freehand continuous curves in the hexies, and a Gothic arch border.
I rather wish that I had quilted it more closely, but it is what it is.
Many people use The English Paper Piecing method to piece hexies. I’m not a fan of EPP. These are hand pieced the traditional way, by marking seam lines on the back of each piece.
This is where I’m displaying it for now. It finished at about 55 by 70 inches.
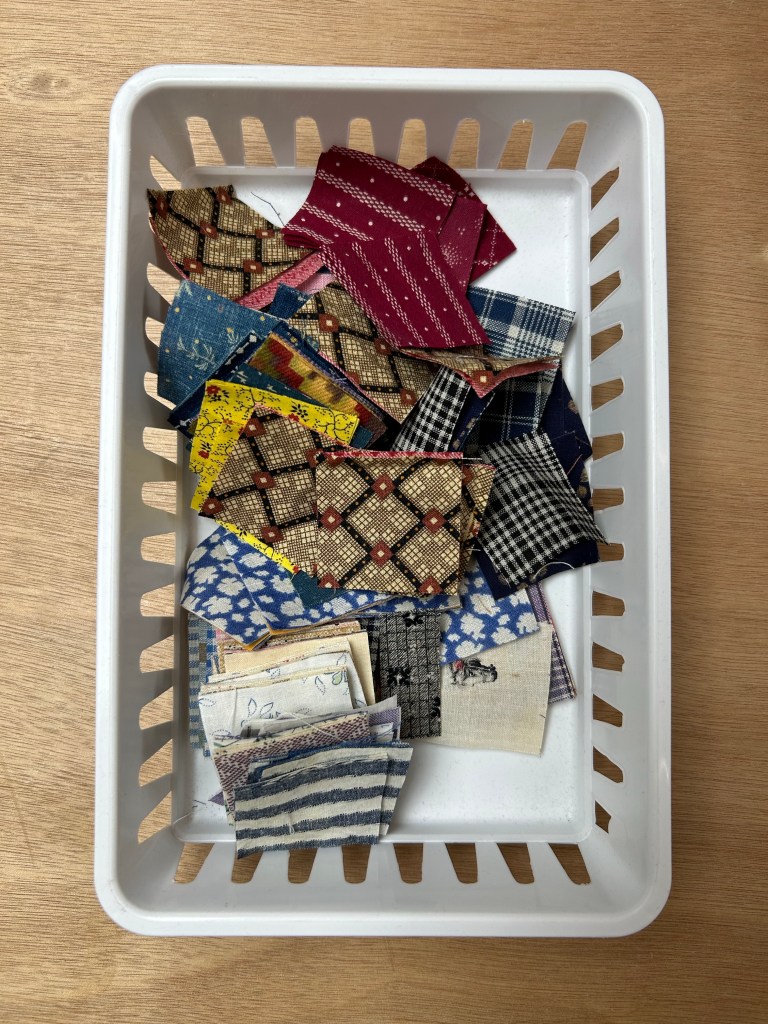
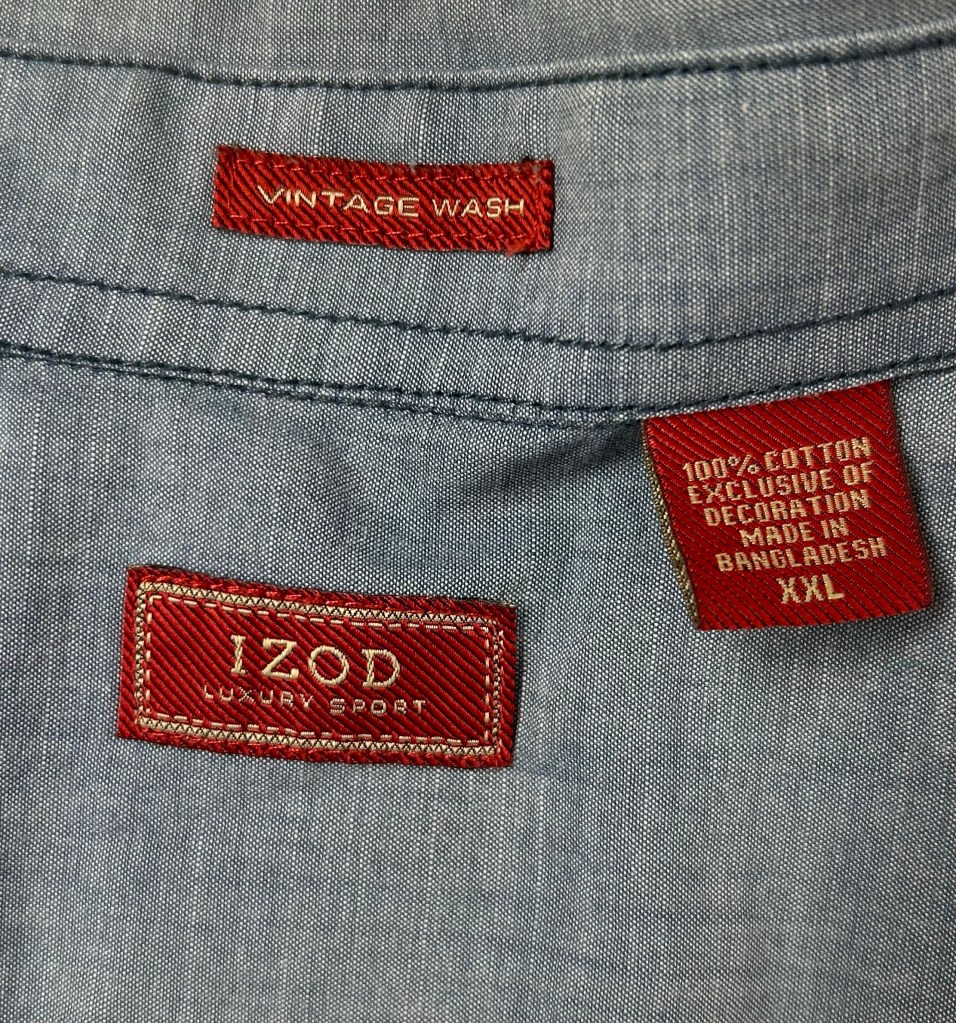
I took a trip to Goodwill and picked up this shirt.
I paid $3 for it.
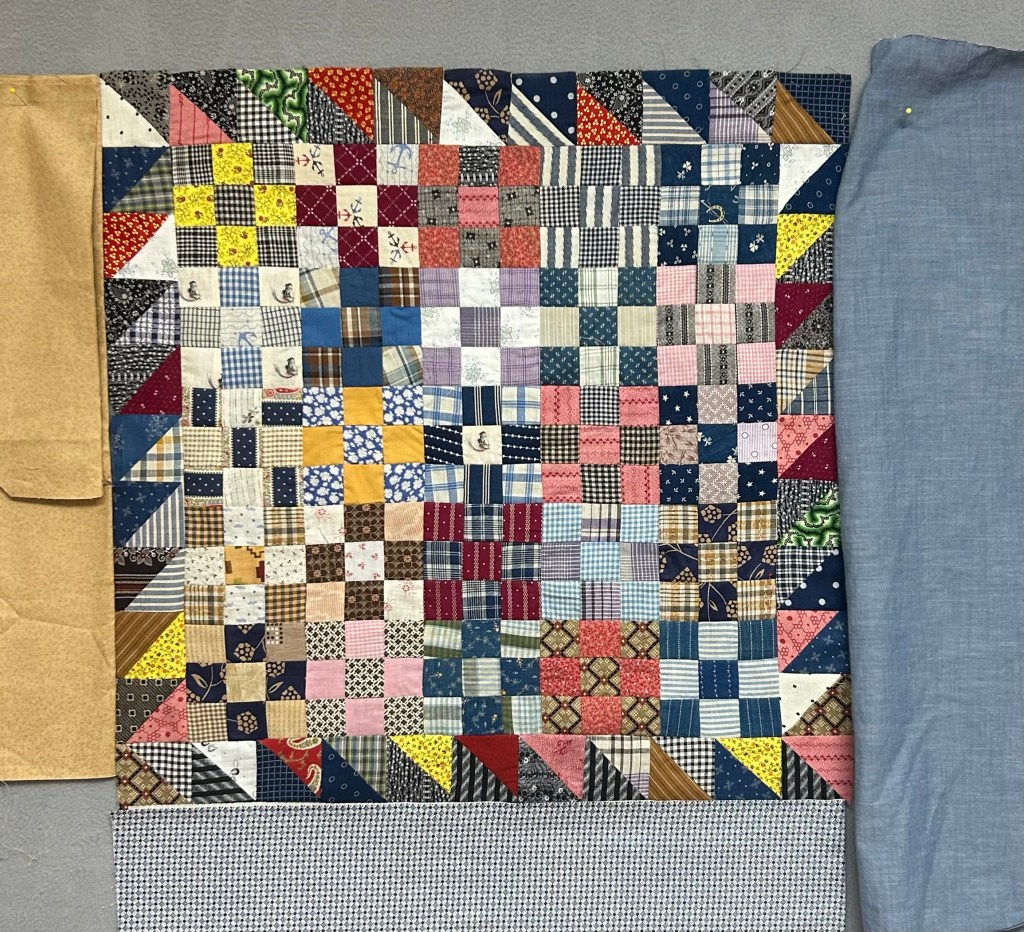
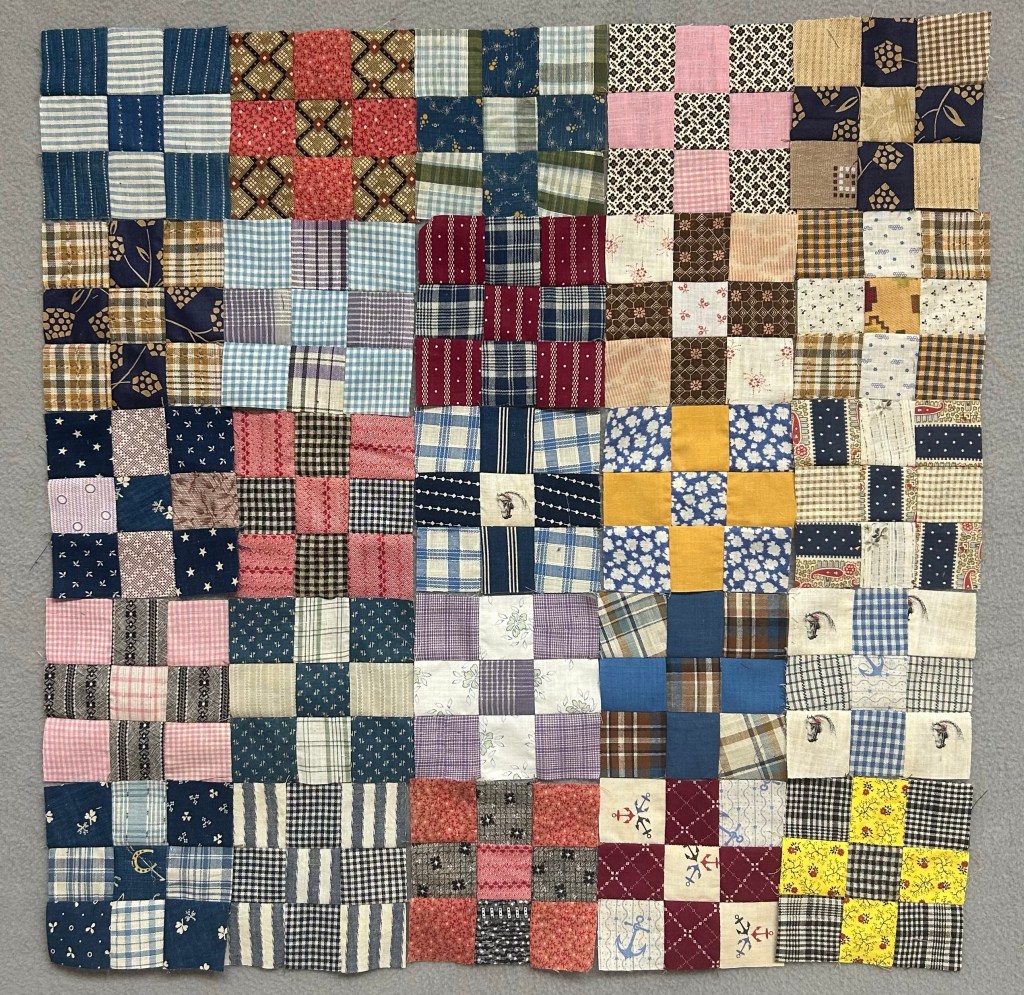
I thought it looked perfect for a border for my vintage 9 patch! The color is most true in the photo below. It has just enough of a worn look to fit in well with the blocks.
Now it’s all basted and ready for hand quilting! Woo hoo!
Have you seen this movie? I read the book several years ago, but the mister and I watched the movie this week. It was written by JD Vance, Trump’s running mate. The movie is heartbreaking and moving. Warning: there is strong language. We highly recommend it , even so.
We took the three Es out to lunch. They wanted to go to Sam’s Club. 😂 It was a cheap date!
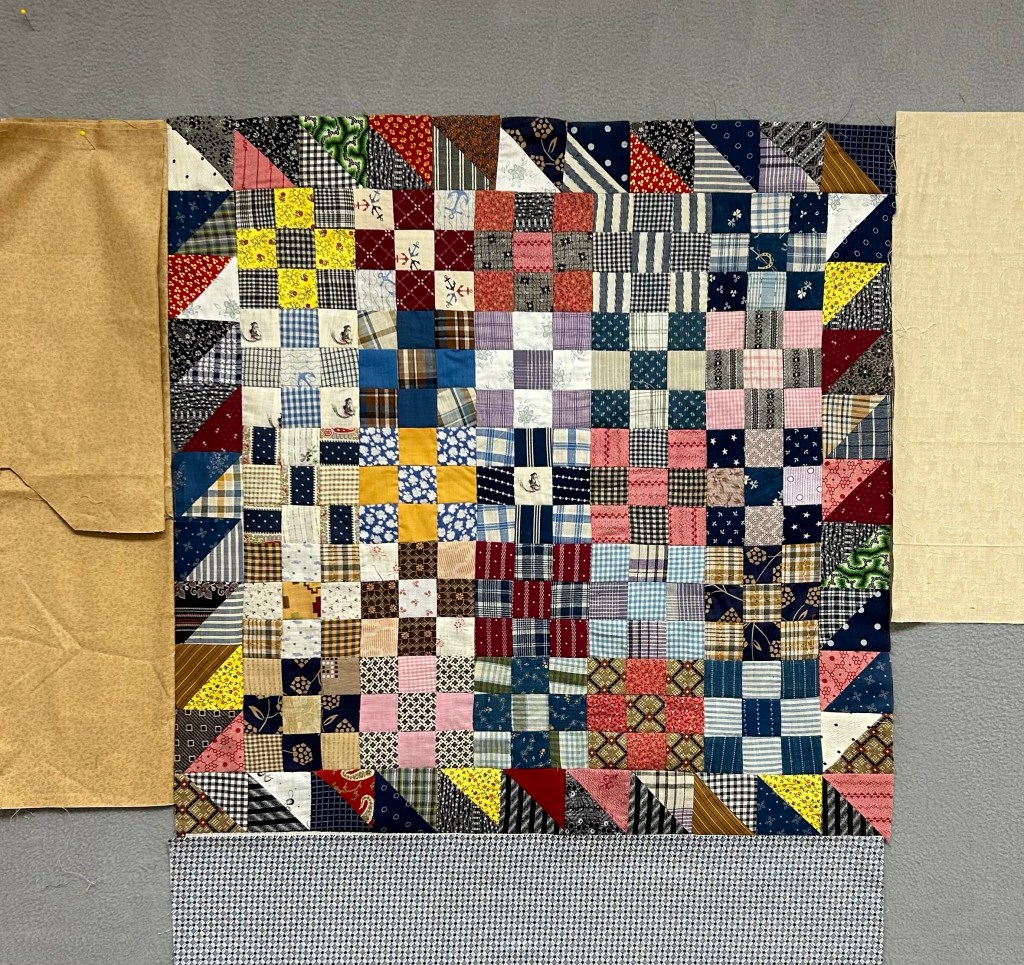
My little top is done for now. It is approximately 44 inches square.
The border on the inspiration quilt was an off white solid. I don’t have anything hanging around that really works. I did try these.
None are terrible, but I’m not certain I have enough of any of these to work anyway.
I like this little bit too much to just slap anything on there, so I’ll wait until I find the right thing. I might go shopping in Mr. Wonderful’s closet. Ssshhhhh! Don’t tell him!
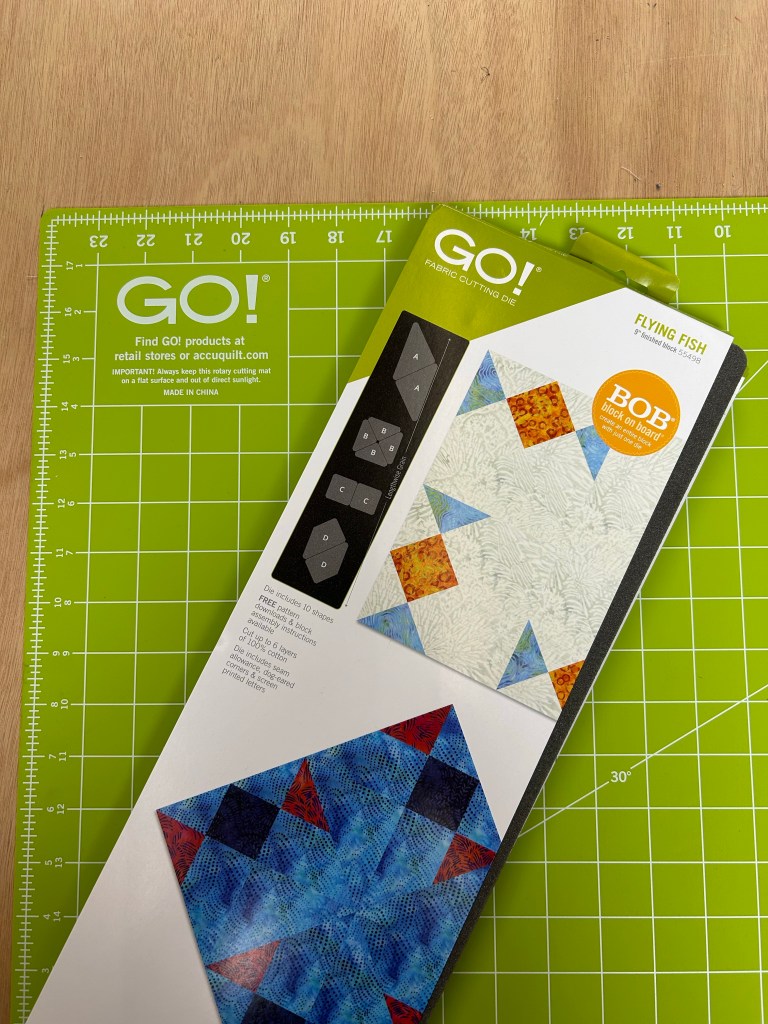
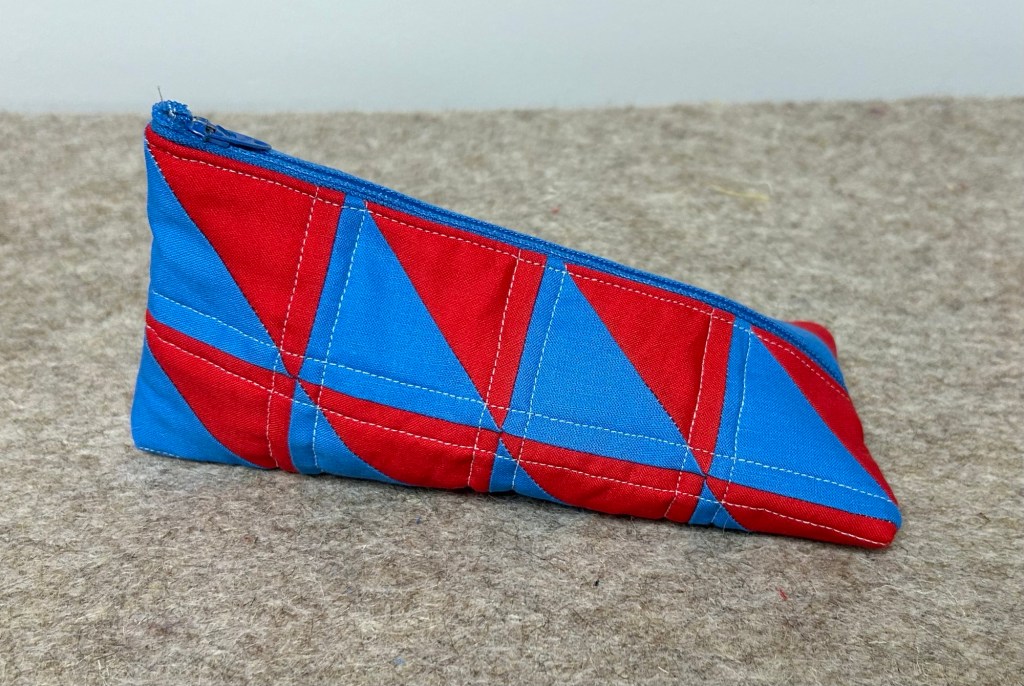
I recently shared the little tetrahedral pouch I made using the AccuQuilt Flying Fish die. I was asked to do a tutorial on how to make that little zipper bag. So, here it is!
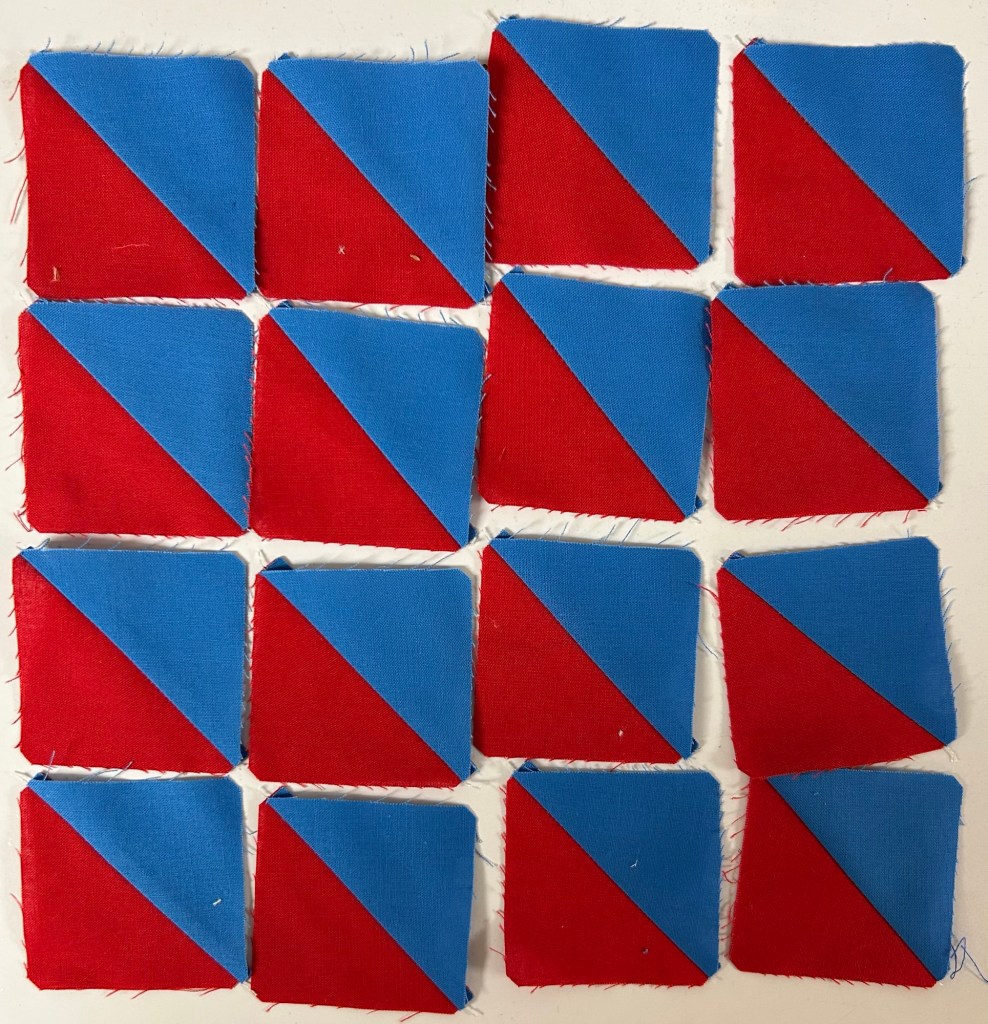
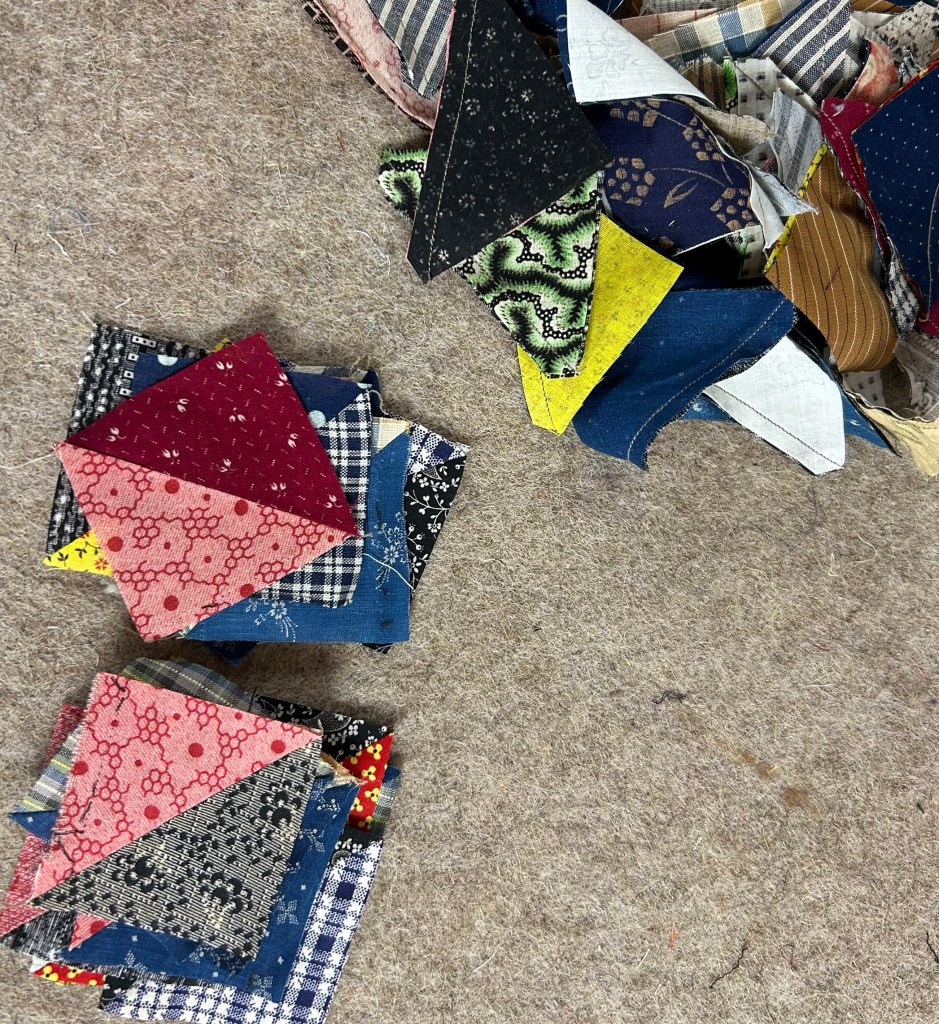
First, I grabbed these HSTs from the scrap bin.
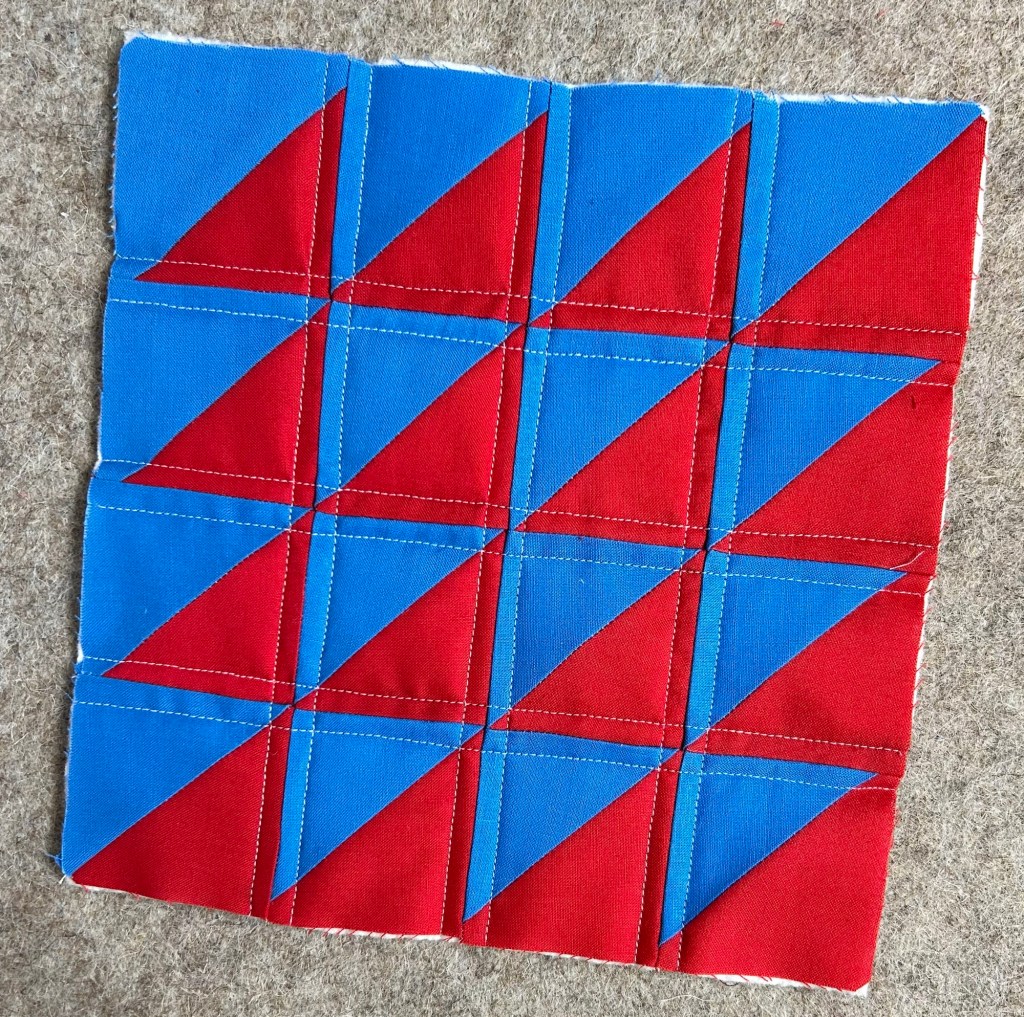
I stitched them together and quilted the block. This measures 9 1/2 inches, but you can really use any size square or even a rectangle. I’ve made both big and tiny pouches. This one is somewhere in between.
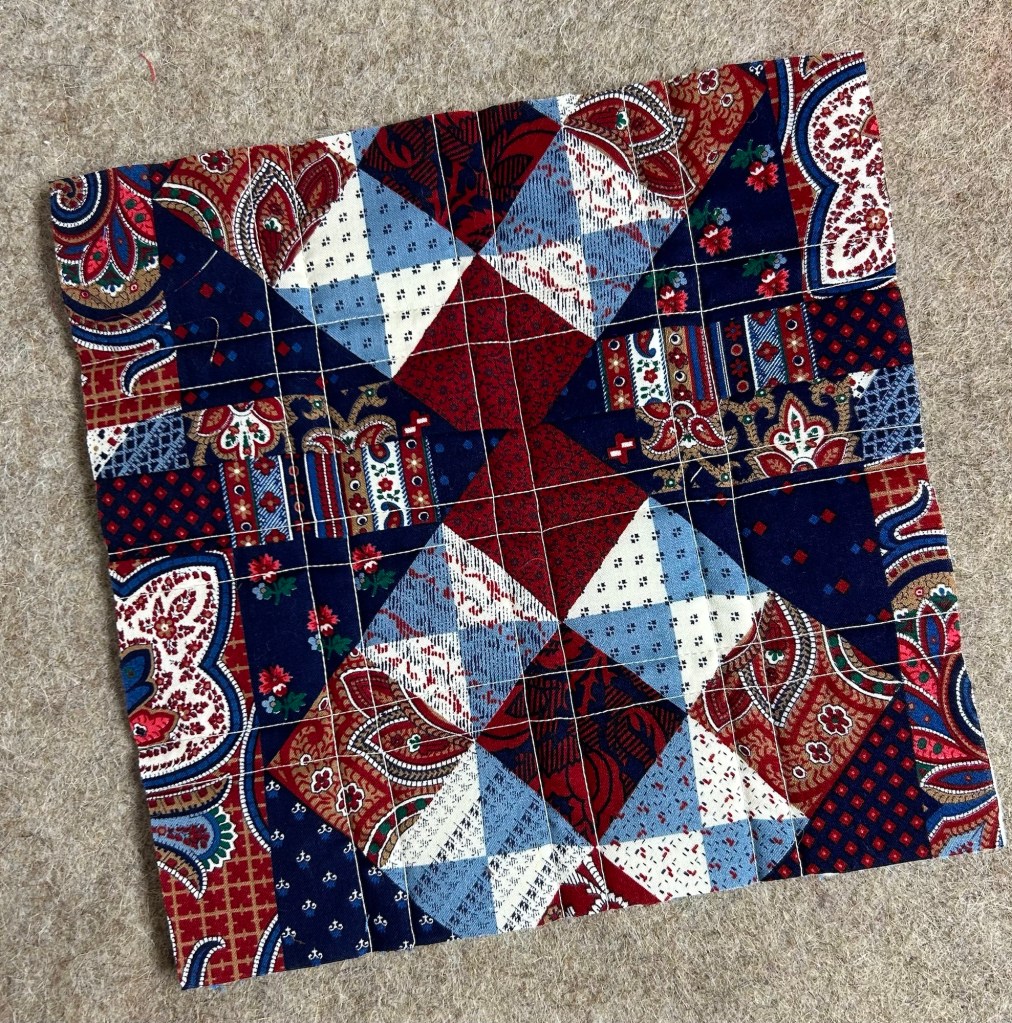
Here is the back.
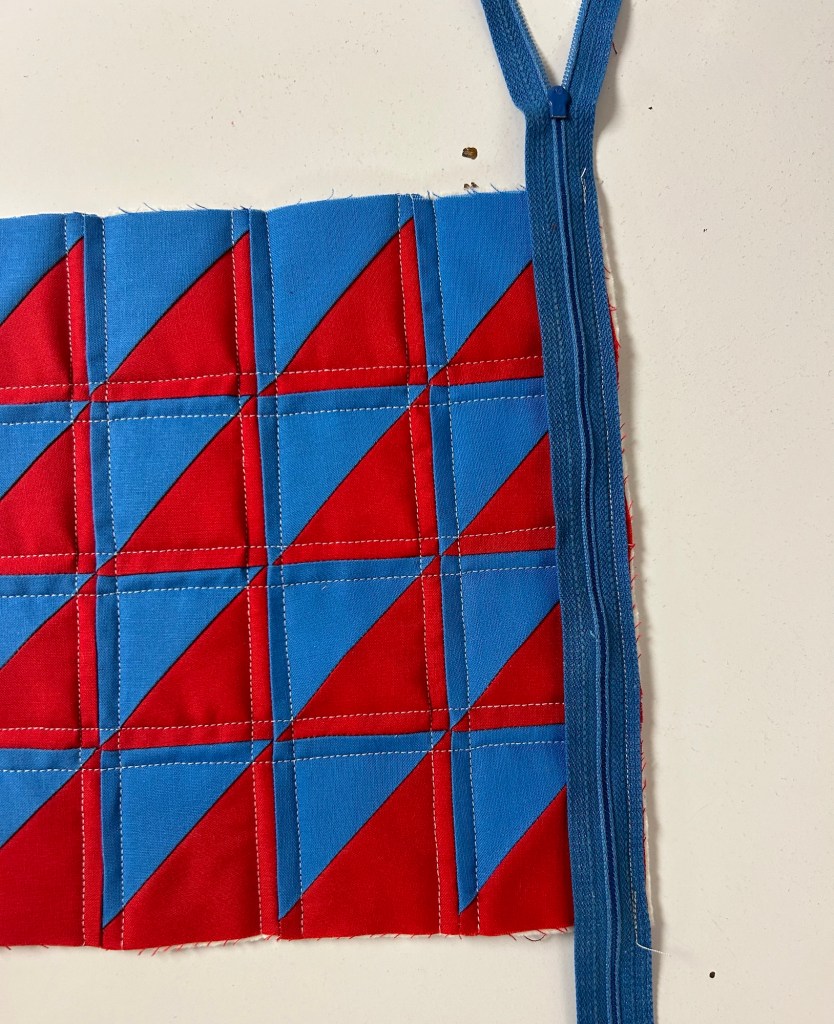
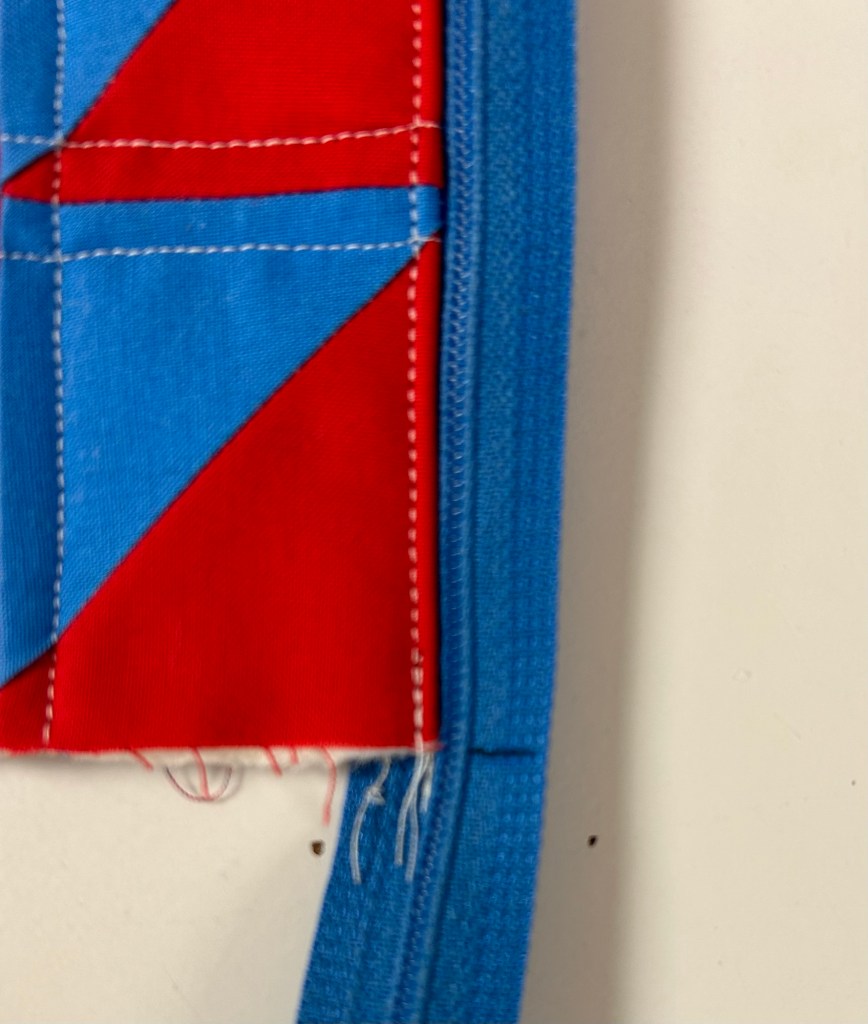
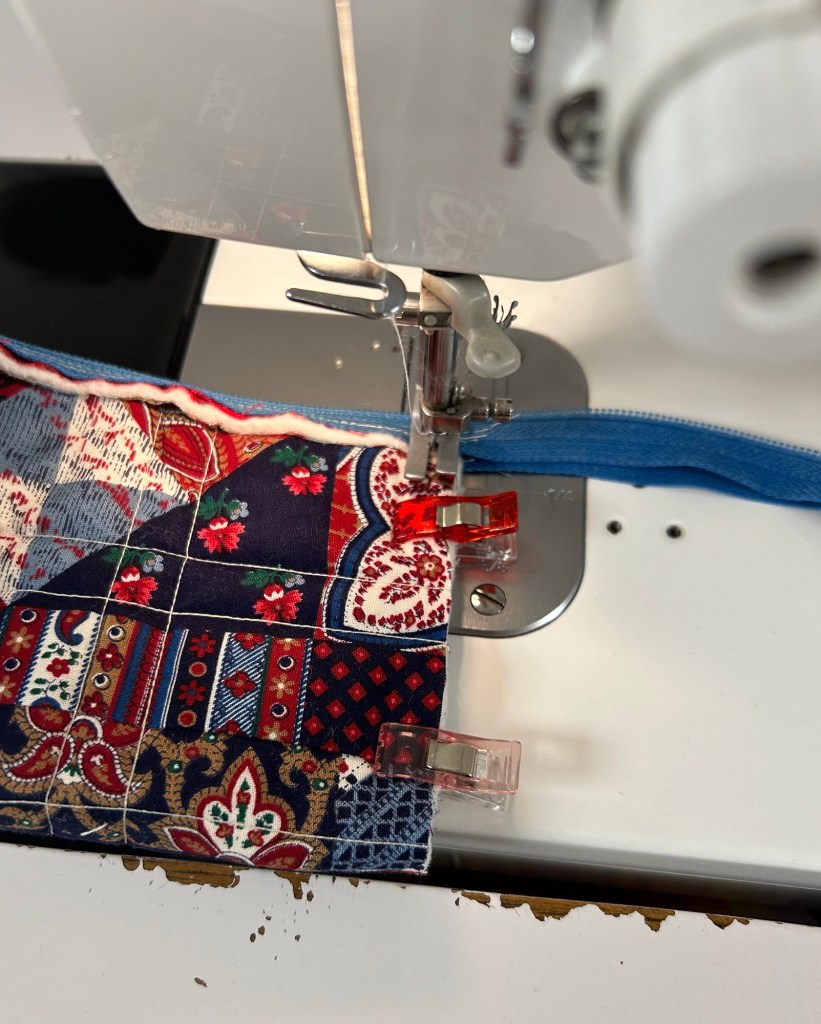
I like using extra long zippers. I find them easier to work with. Place the zipper face down along one edge and stitch.
Fold it back and top stitch.
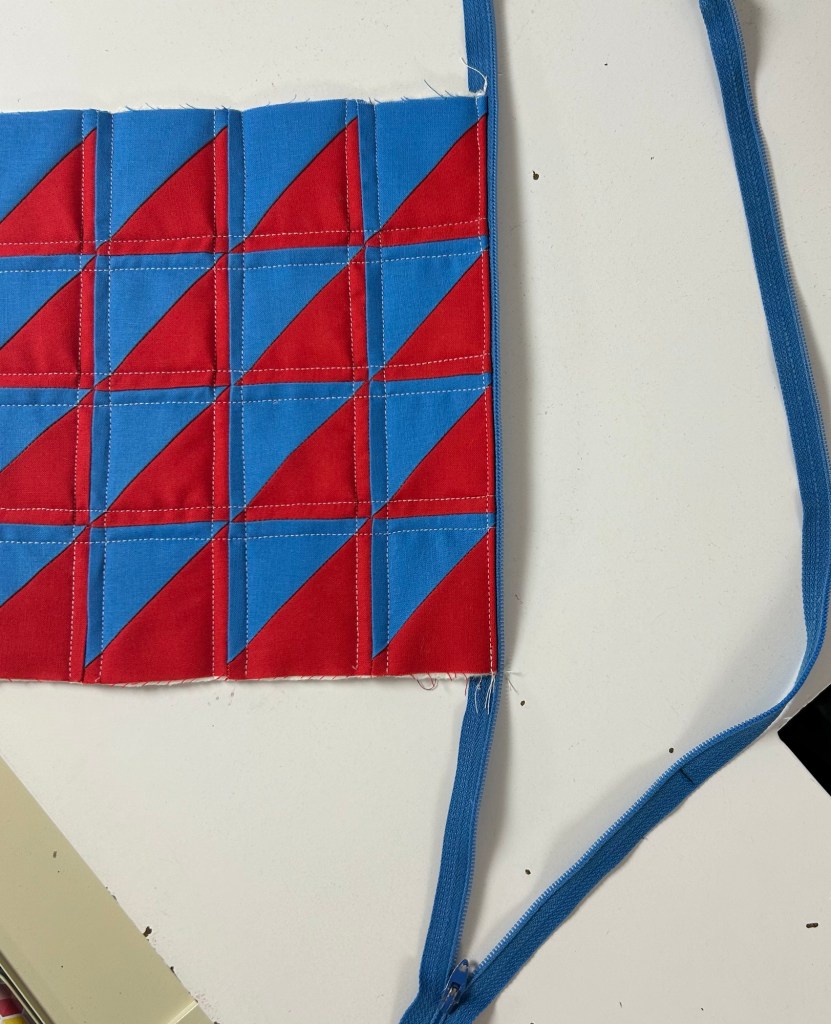
This next part is important! Mark on the other side of the zipper where it should match to the quilted piece! I do this on both ends.
Now open the zipper.
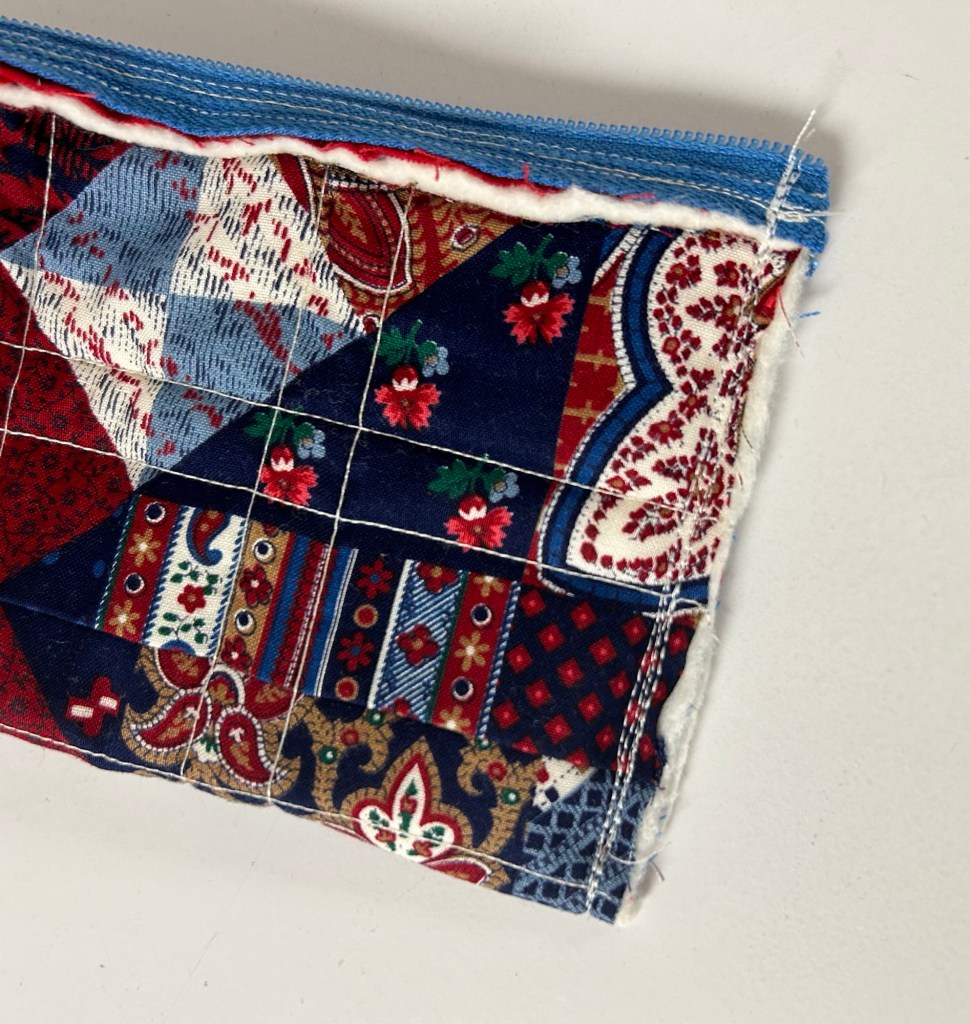
Use those marks to line up the remaining zipper half to the other side of the block. Stitch and top stitch just like you did on the first side. Be careful not to get the zipper twisted during this step.
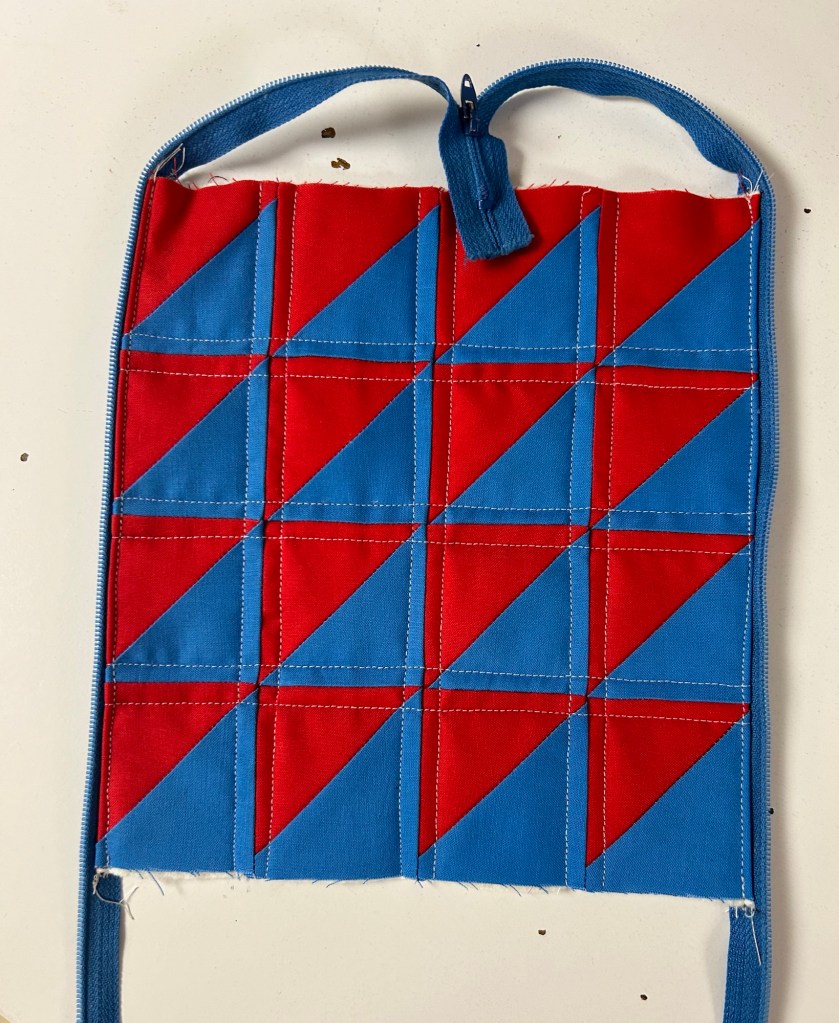
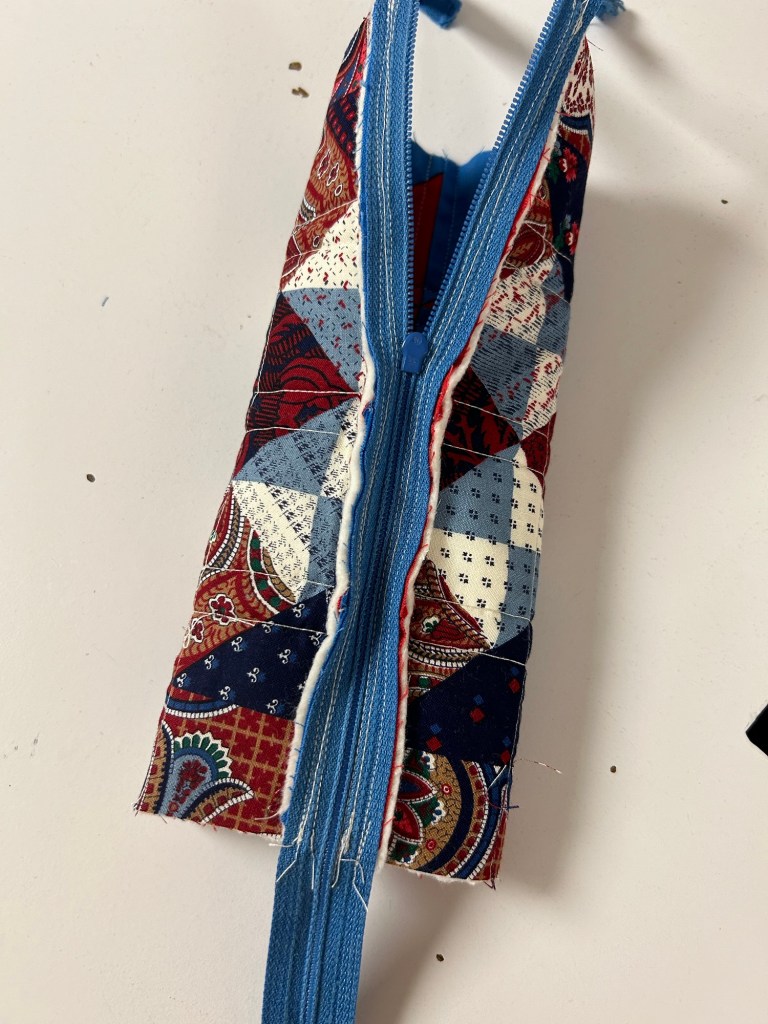
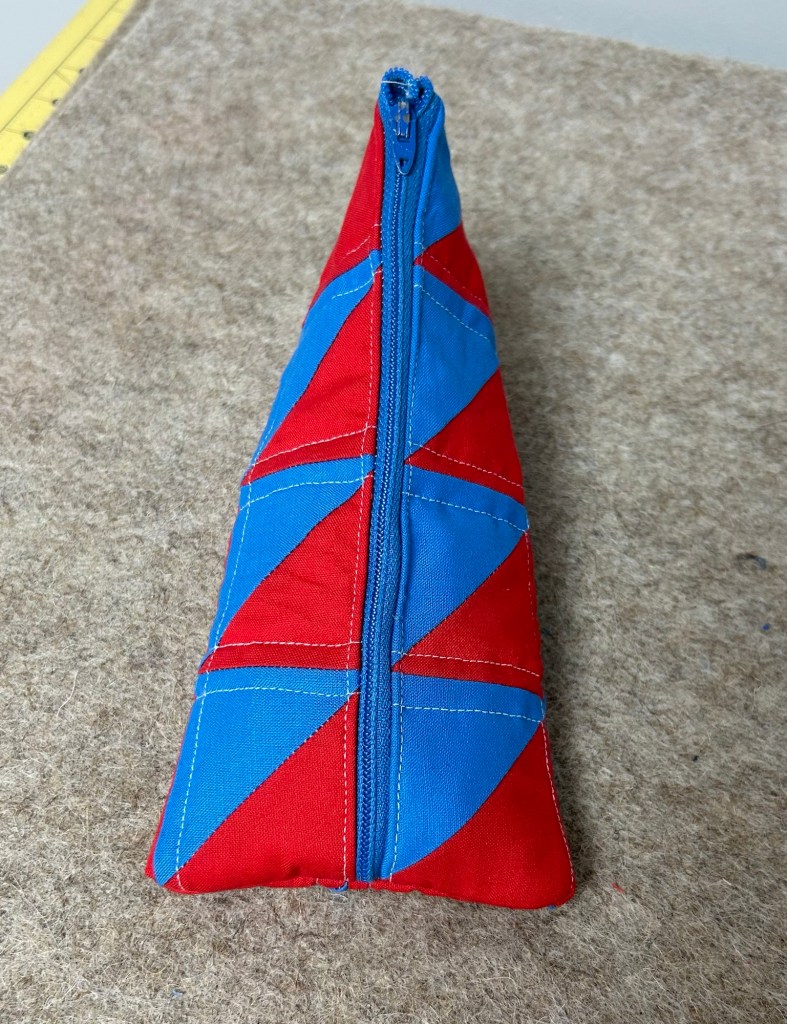
Zip it up and it should look like this, a tube with open ends.
Turn it inside out and open the zipper halfway.
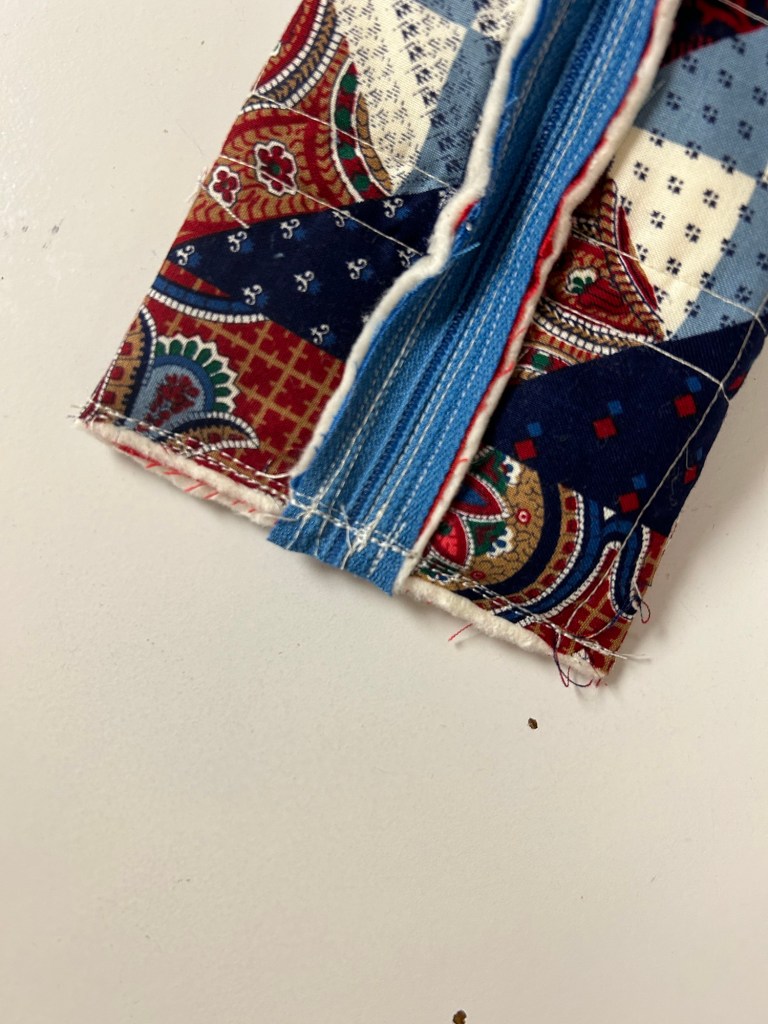
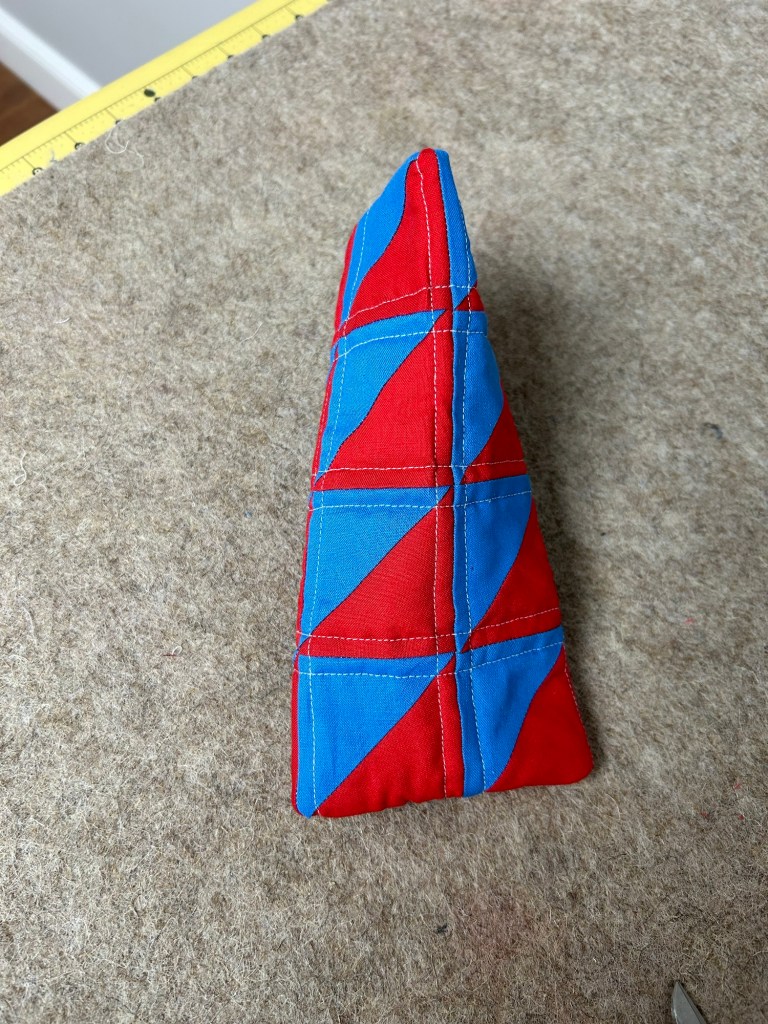
Center the zipper on the bottom end and stitch across. I like to stitch it several times and backstitch. Then cut off the excess zipper.
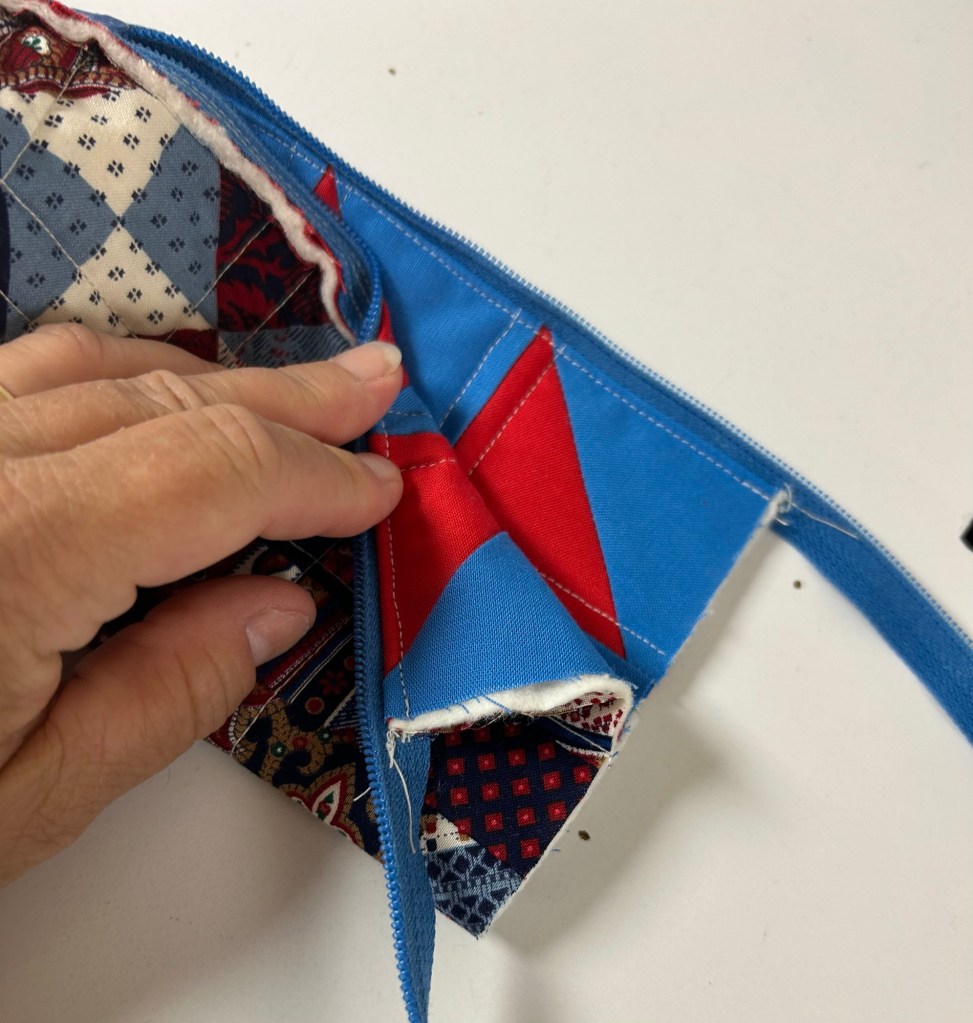
At the other end, fold the pouch in half so that the zipper parts are to one side.
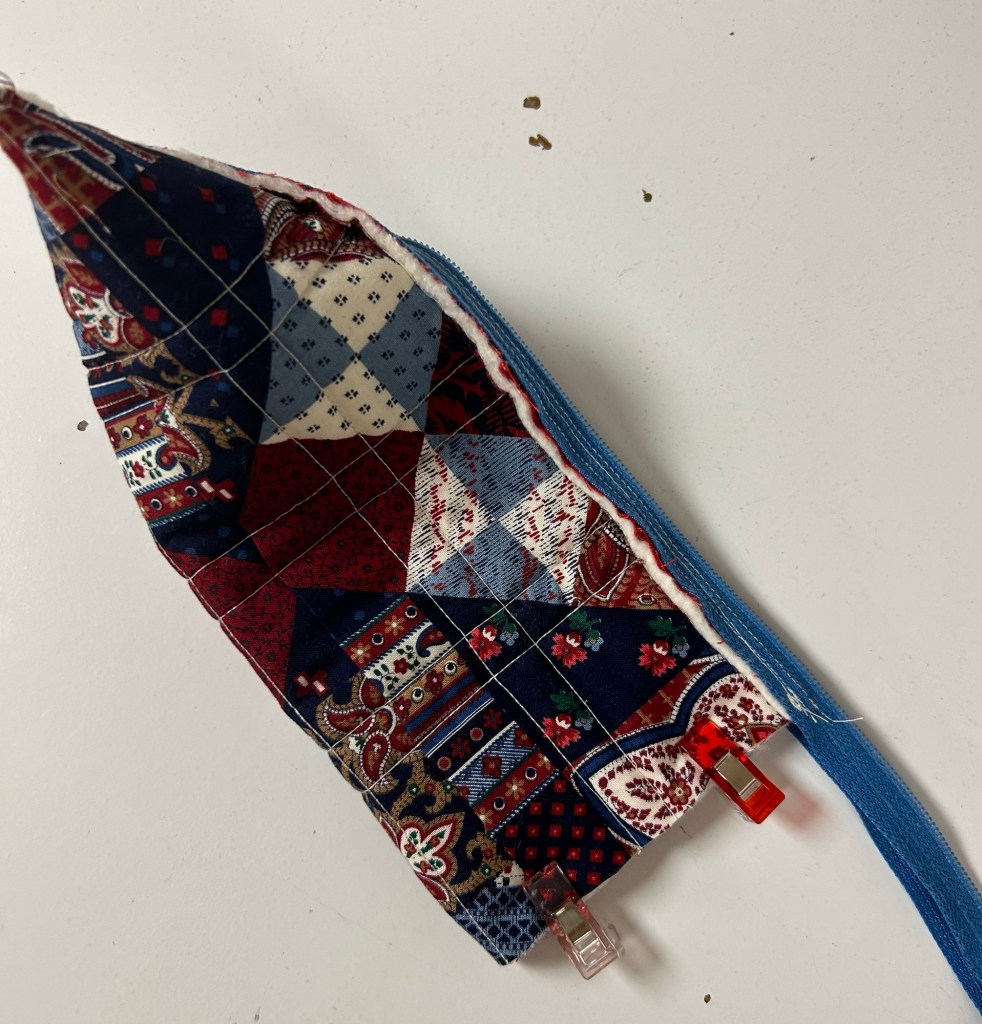
I like to use these clips at this point. Make sure your zipper is NOT closed.
Sew across the end multiple times, backstitching for strength.
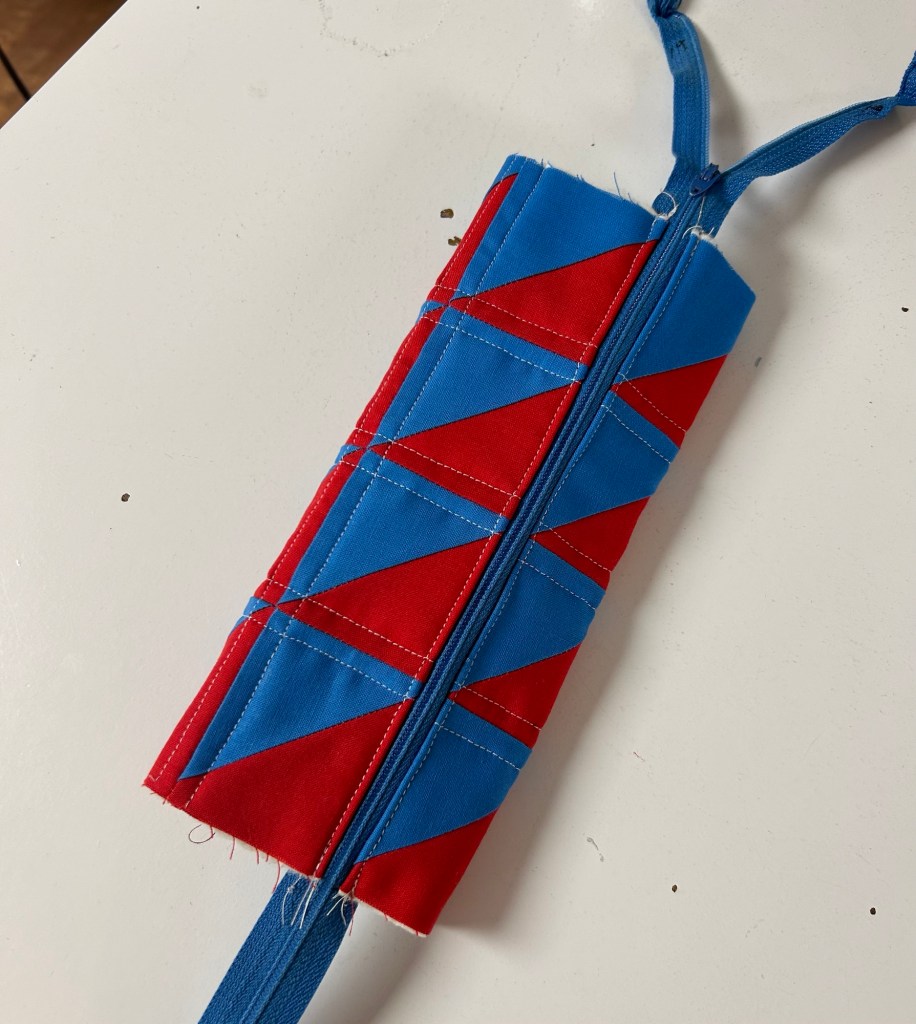
It should look like this.
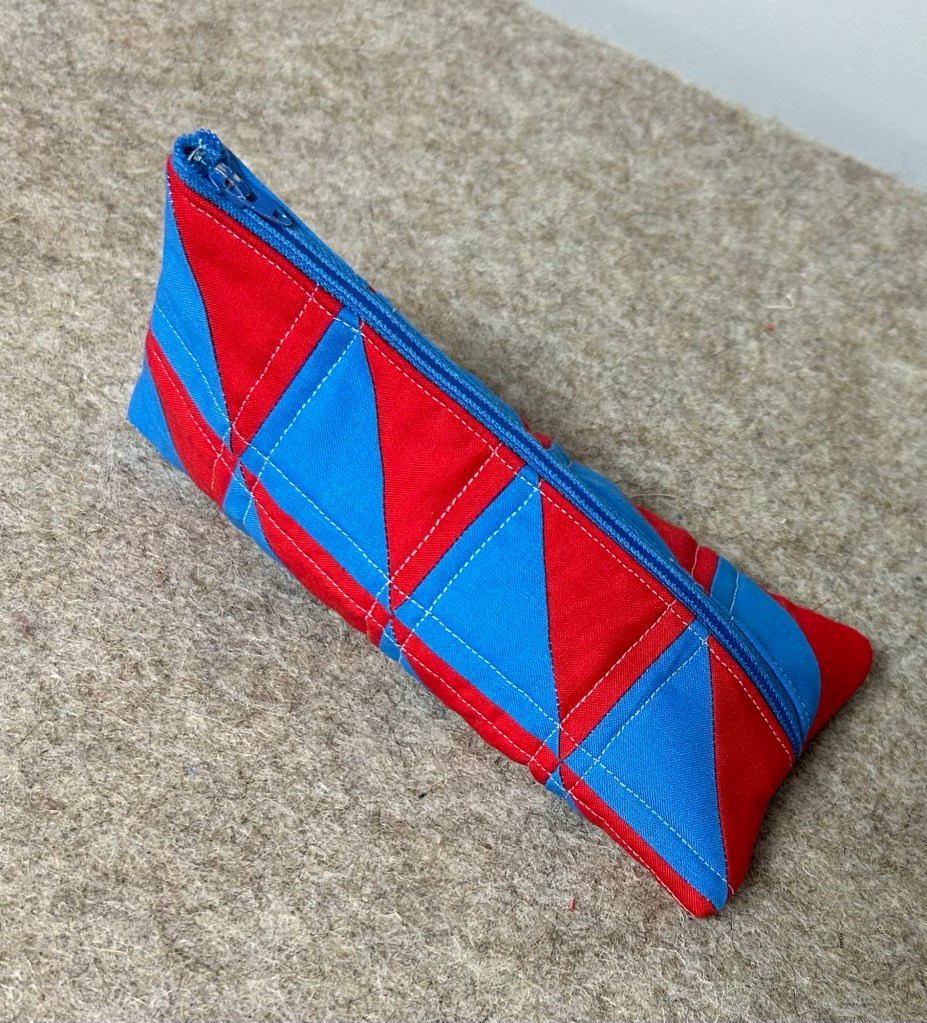
Turn it right side out and zip it up!
You could tuck in a loop of ribbon etc. before sewing that last seam to make a carrying handle. I didn’t bother with this one as I’ll be using it as a pencil case.
How fun is that! I’ve made dozens of these over the years.