It’s been a productive month for me. Here’s a look back at my goals.
1. I want to decide on and finish a doll quilt for the swap. Done! I decided to use one of my little bow tie quilts for it.

2. I have a quilt kitted up out of Lotta Jansdottir fabric I’d like to piece. Not done. But it is started.

3. I’d like to get two rows of hand quilting done on my vintage triangle top. Not done. I did hand quilt several small quilts though.
4. Start on a Civil War quilt that I have kitted up. Done!

5. Finish my Itty Bitty Bow Tie. Done!
What else did I do?
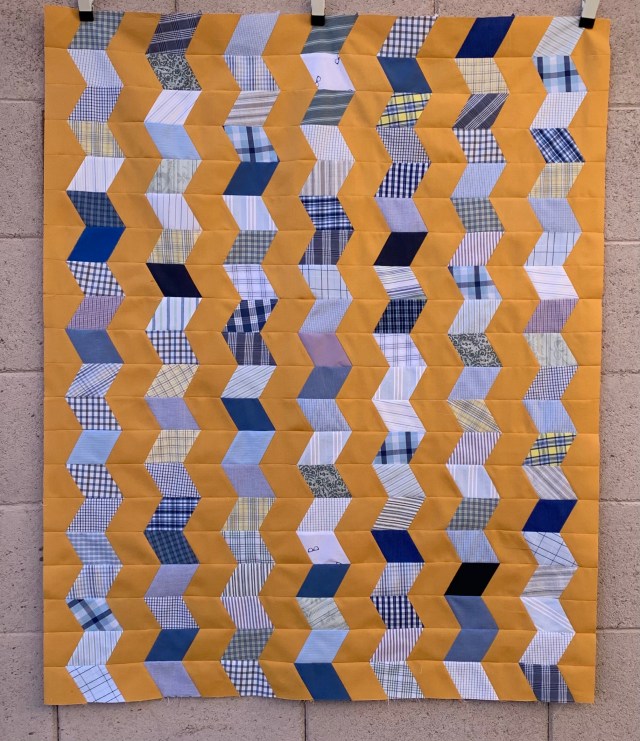
I finished up this small top. I kitted it up before I left Michigan
Ah what can I say….I gave this little thing away. I never want to see it again.

I love this QOV made from my neighbor’s scraps!

I also worked on a bit of improv this month.


Looking ahead to March. I would like to:
1. Get back to hand quilting my vintage triangle top.
2. Finish the Lotta Triangles top.
3. Make another small quilt top, kitted up out of shirt scraps.
4. Spend as much time as possible with my kids and get ready to head back east.
This winter has flown by like none other!
Have a great day!


