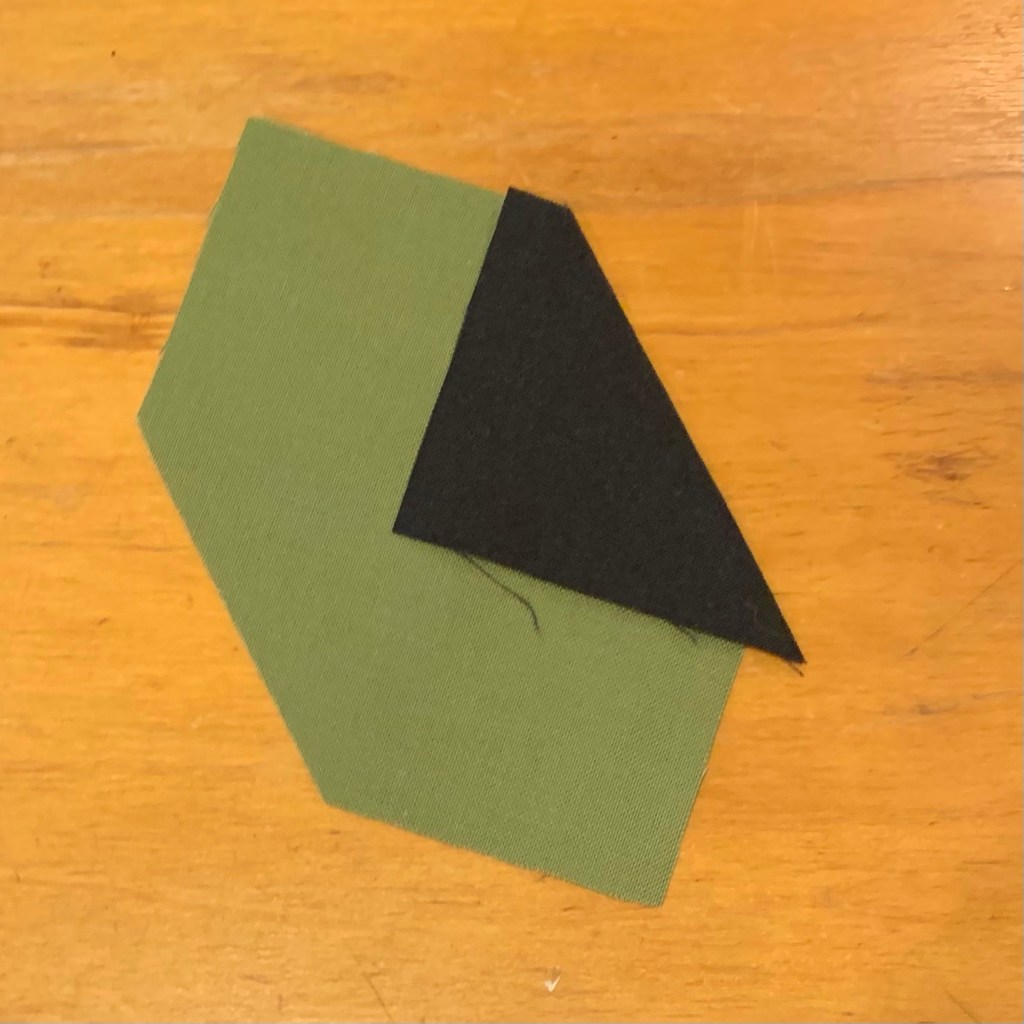
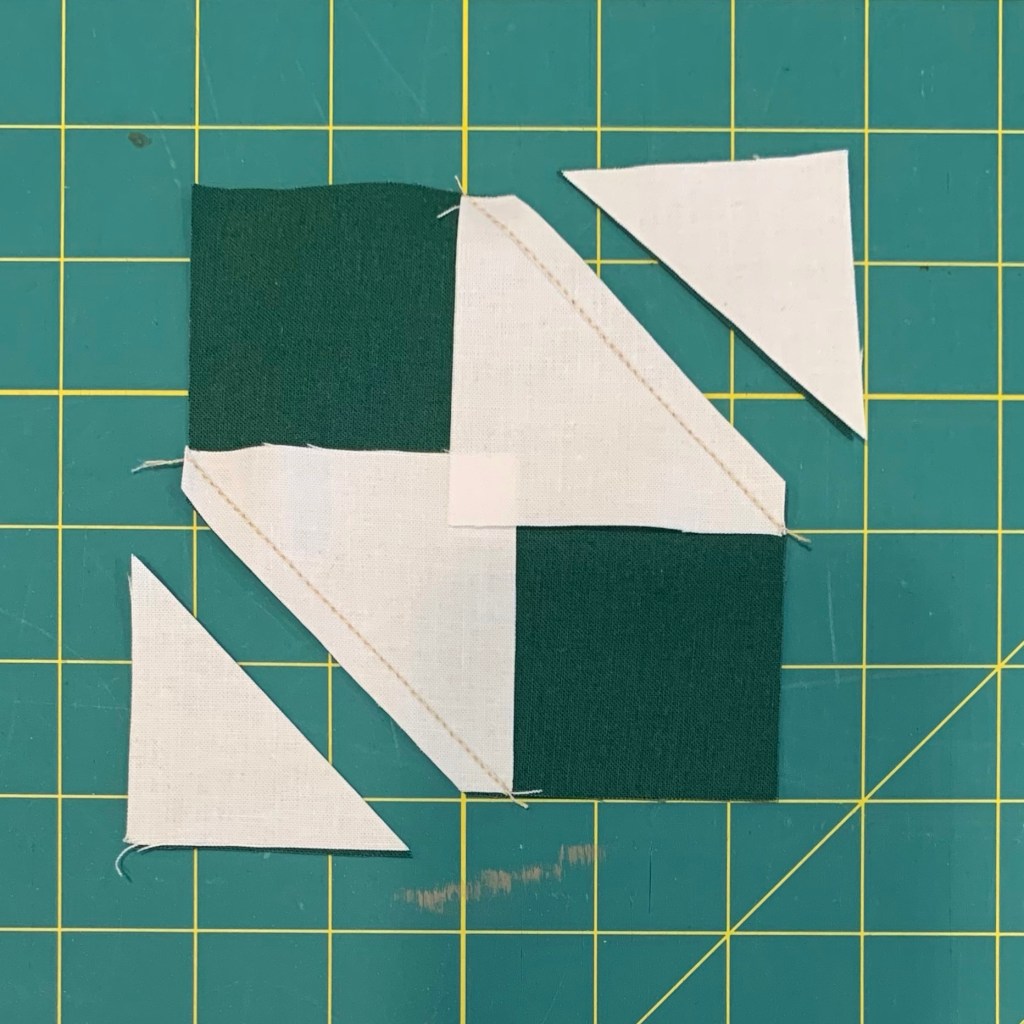
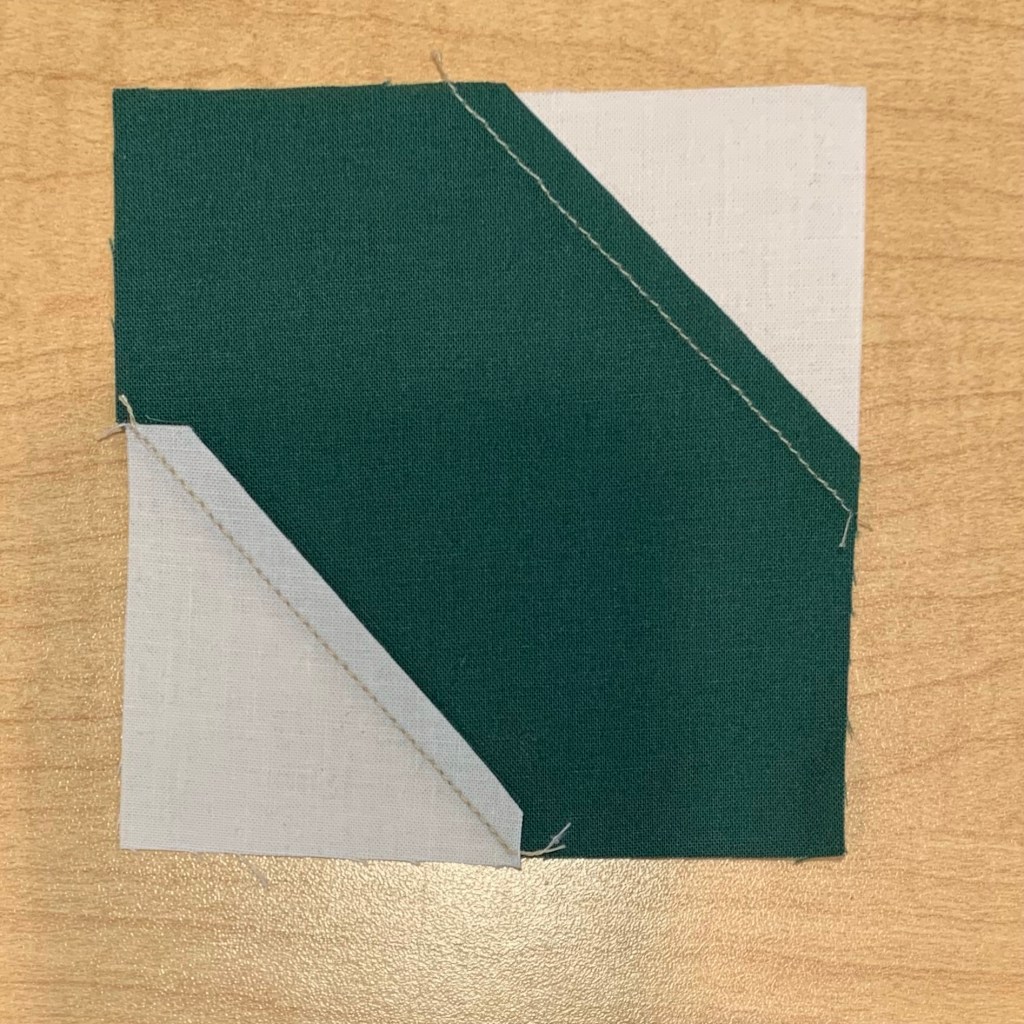
Where were we? Oh, yes, piecing the block. This is how my pieces lined up.
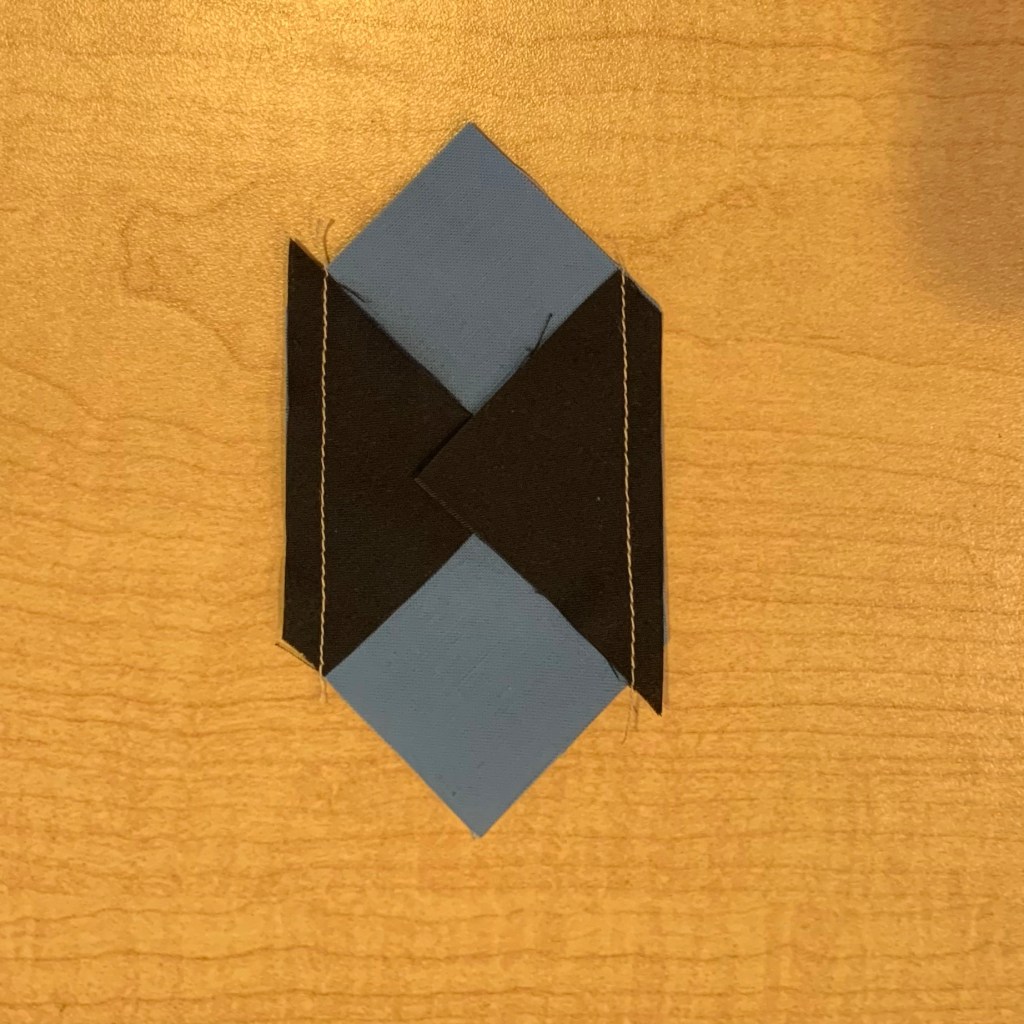
This is what it looks like with both triangles added. Those little dog ears make it look odd.
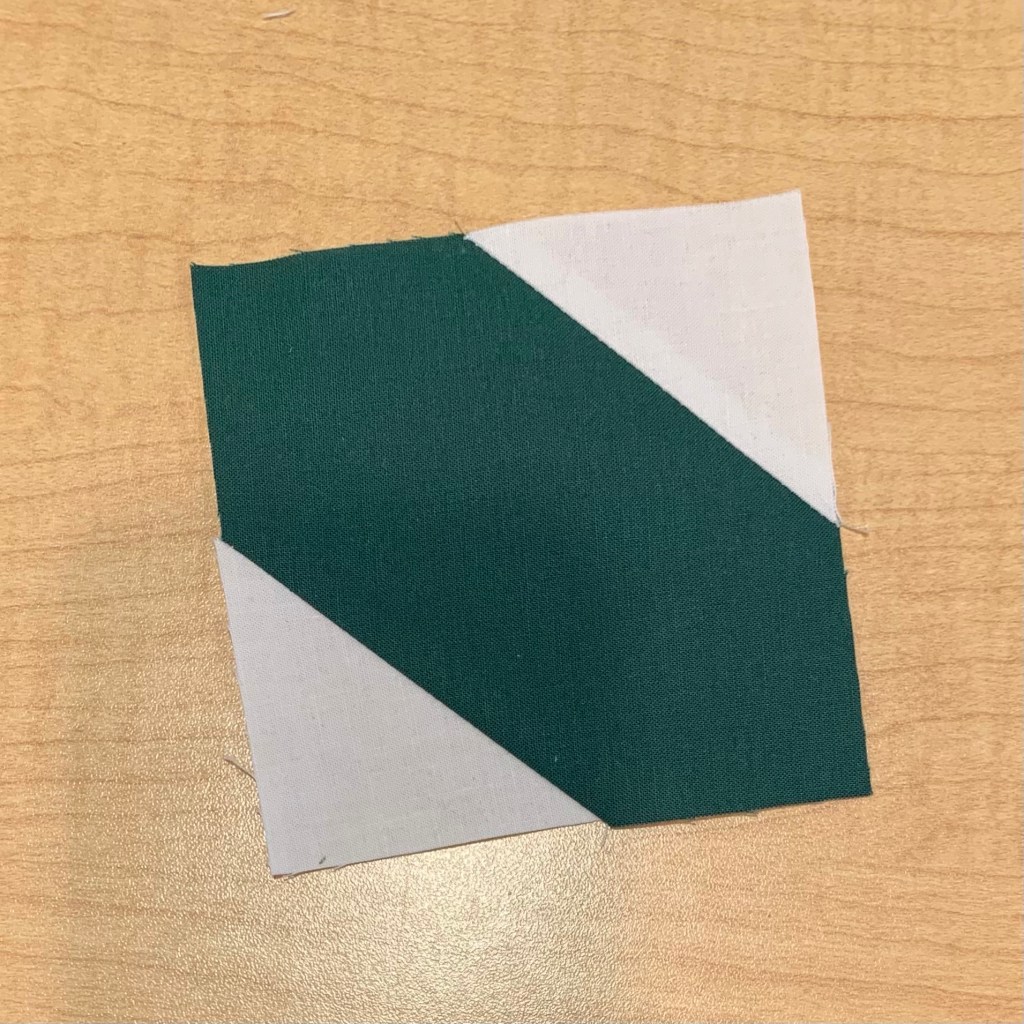
This is how I press my blocks. It will be important later.
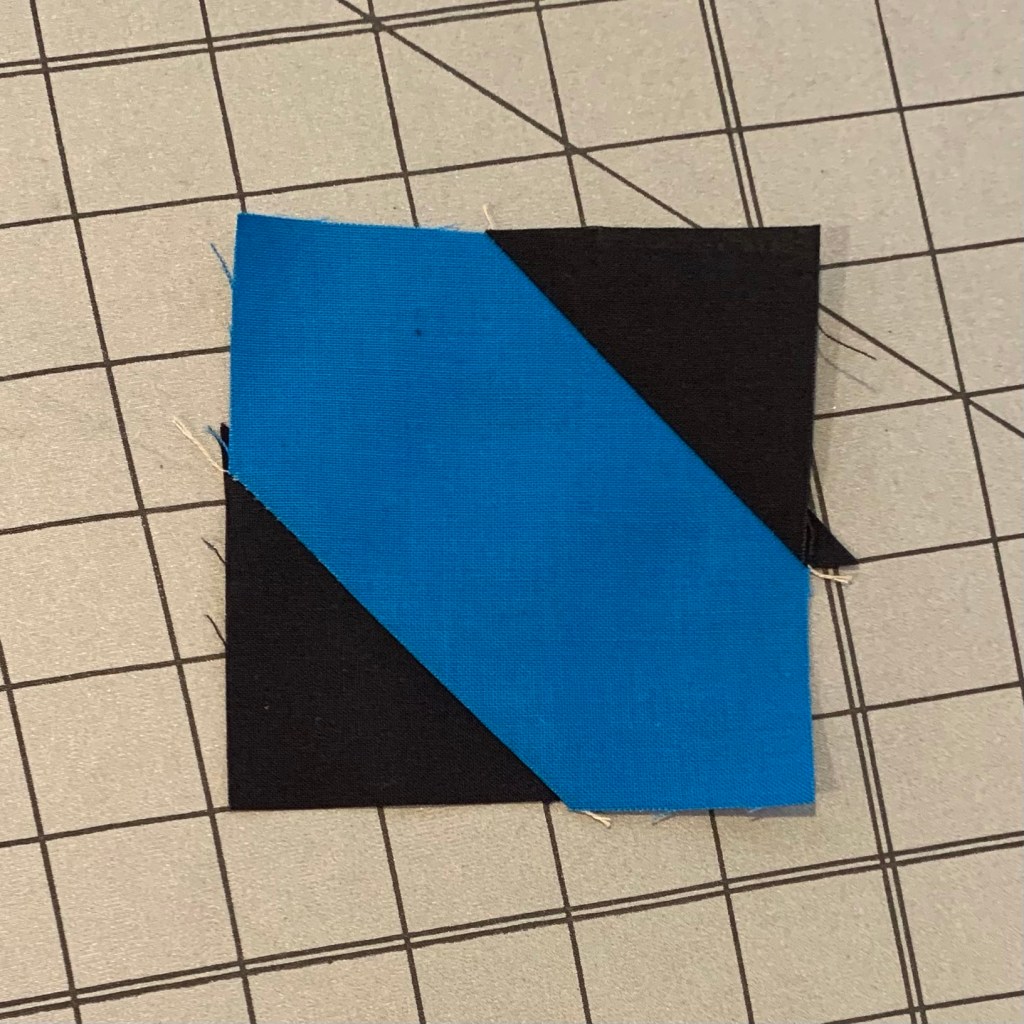
Looks a bit wonky!
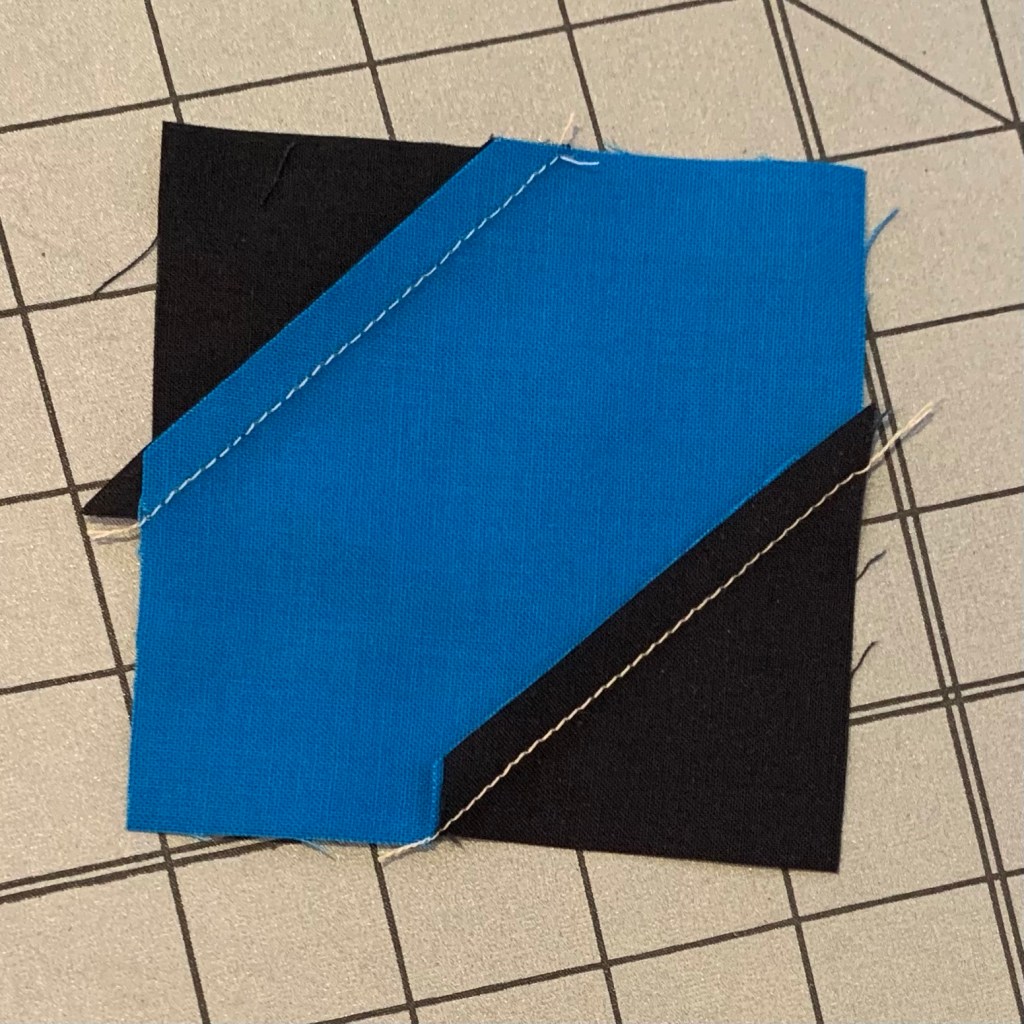
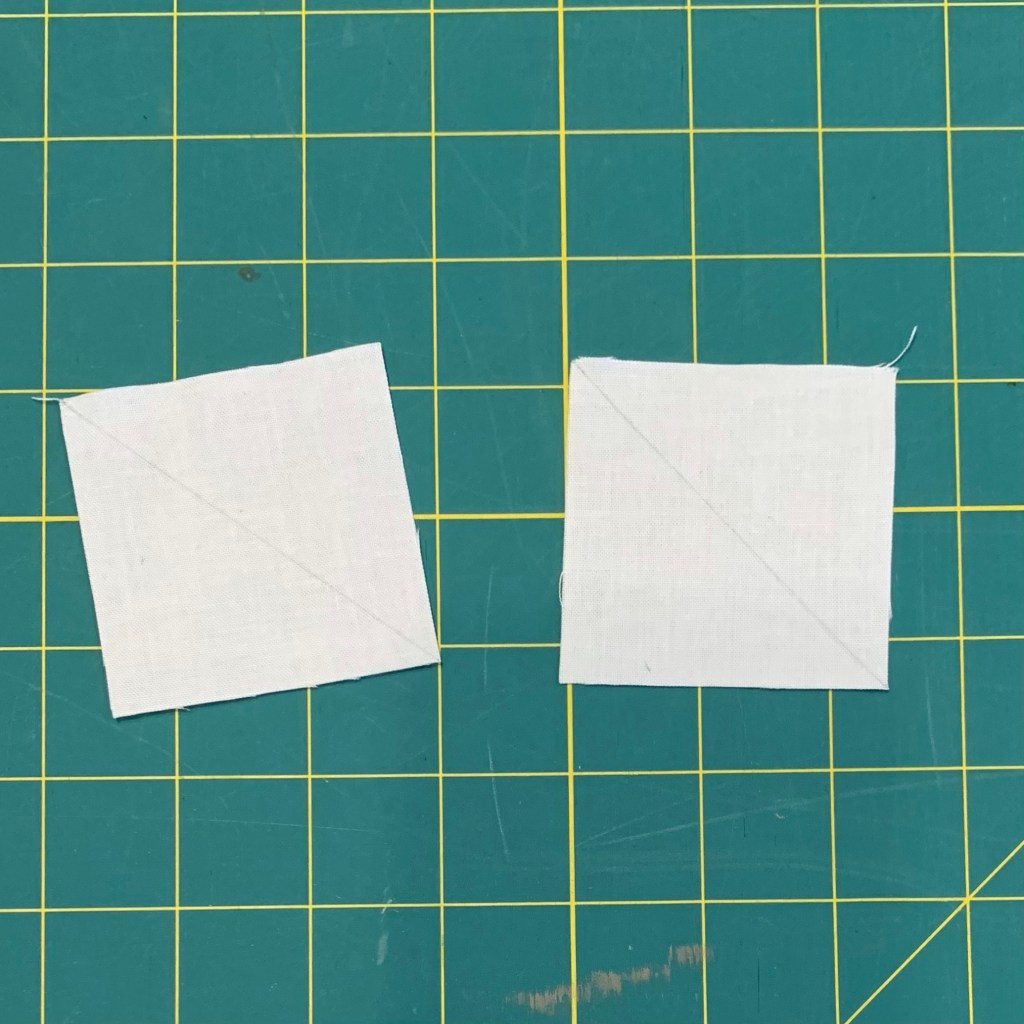
And here is the alternative method I promised to share. I cut two background squares and one big square of the other fabric. For 3 inch finished blocks, cut the big square 3 1/2” and the two smaller squares 2 inches. Draw a line from corner to corner on the smaller squares with a pencil.
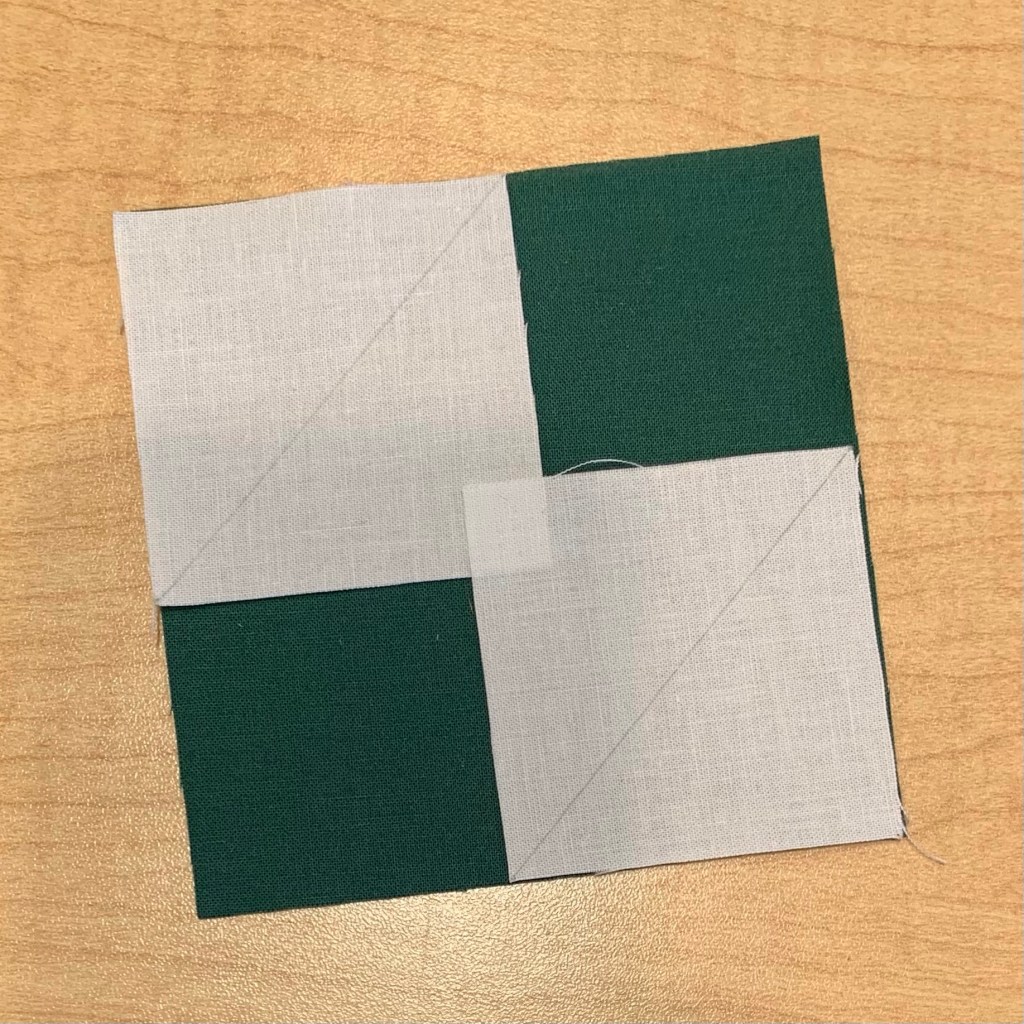
Lay the smaller squares on top as shown and sew along each line.
Recently, I made this table runner for my mom. I was asked if I had a pattern for it. I don’t, but thought I could do a quick tutorial on how to make the block.
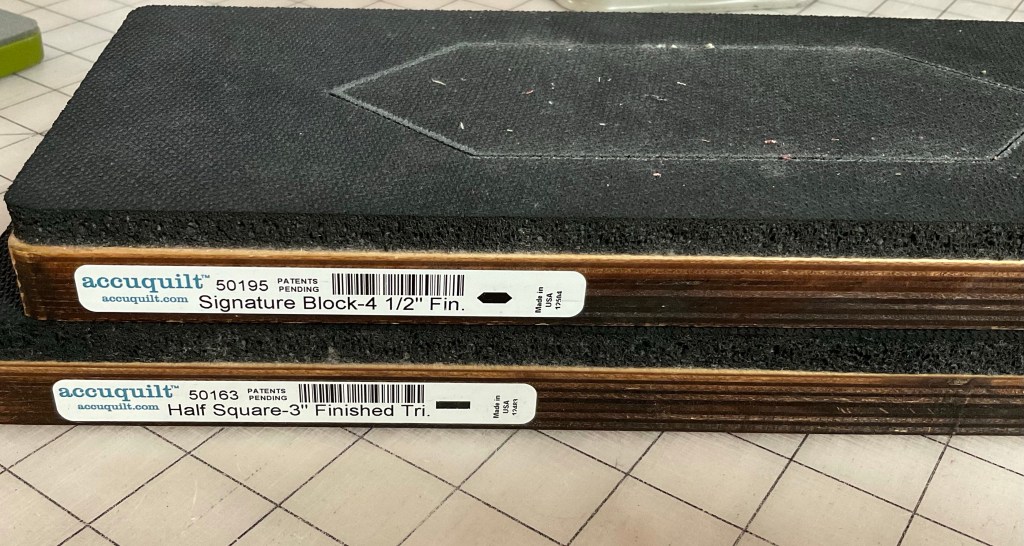
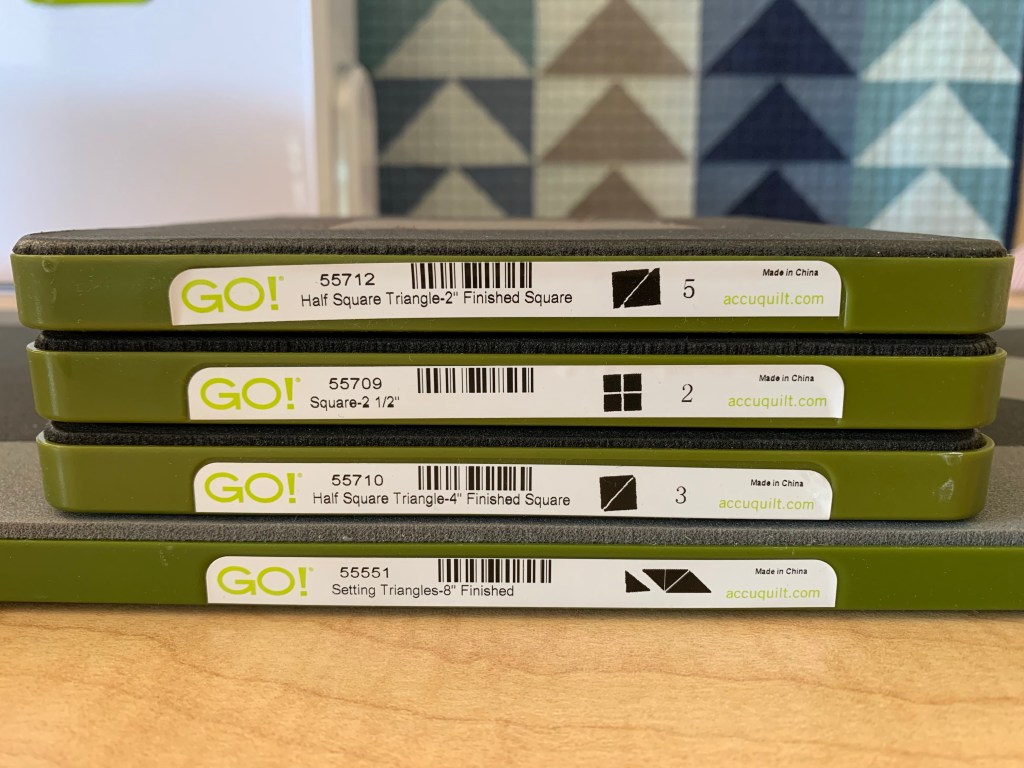
I made 48 of these blocks to create the runner. The blocks finish at 4 1/2 inches. I used my Accuquilt studio cutter and these dies.
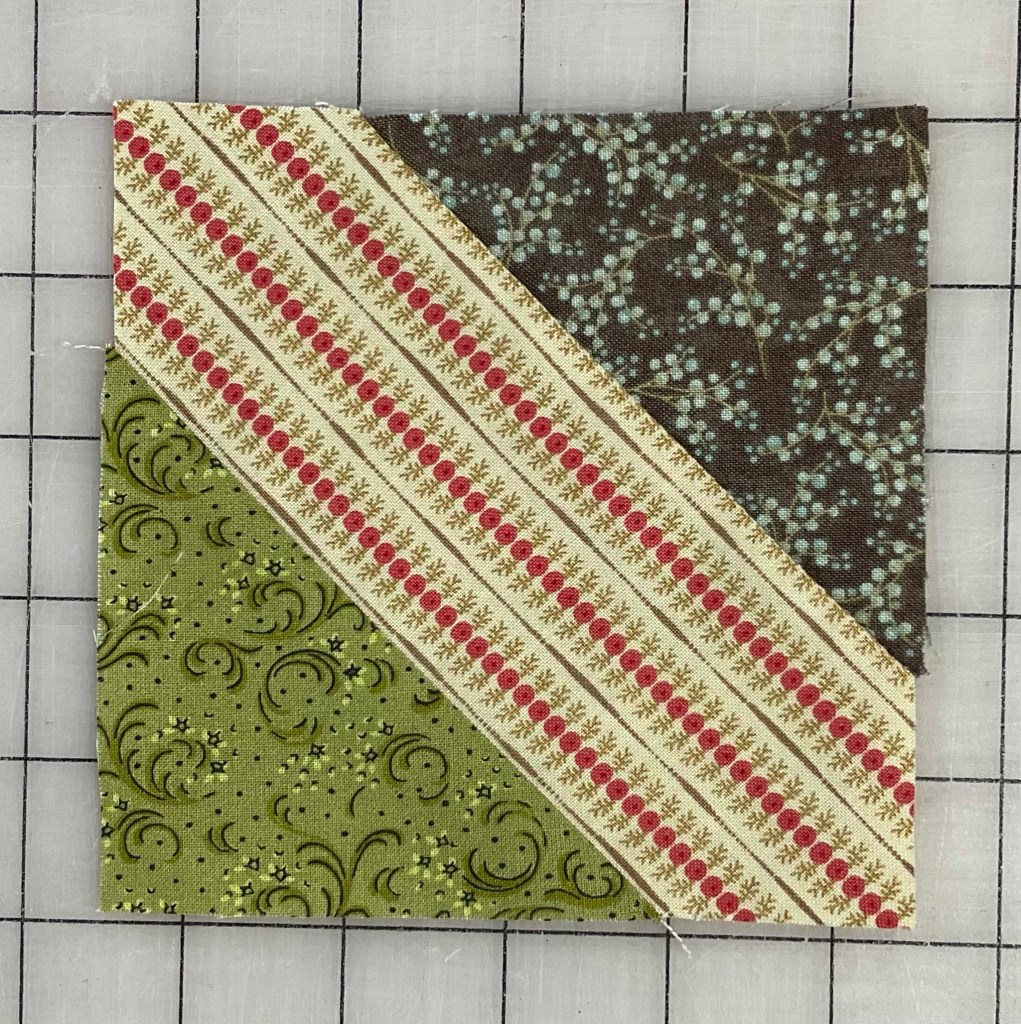
This is what one Signature block looks like.
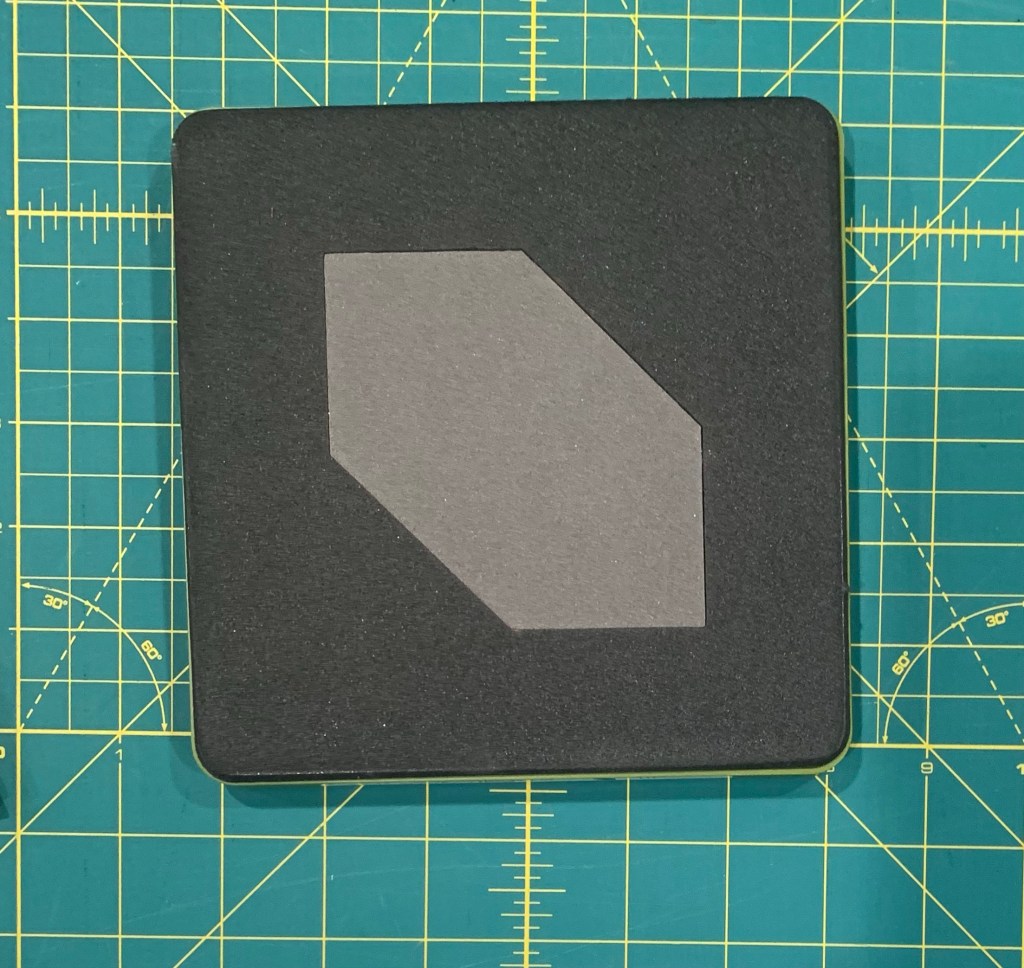
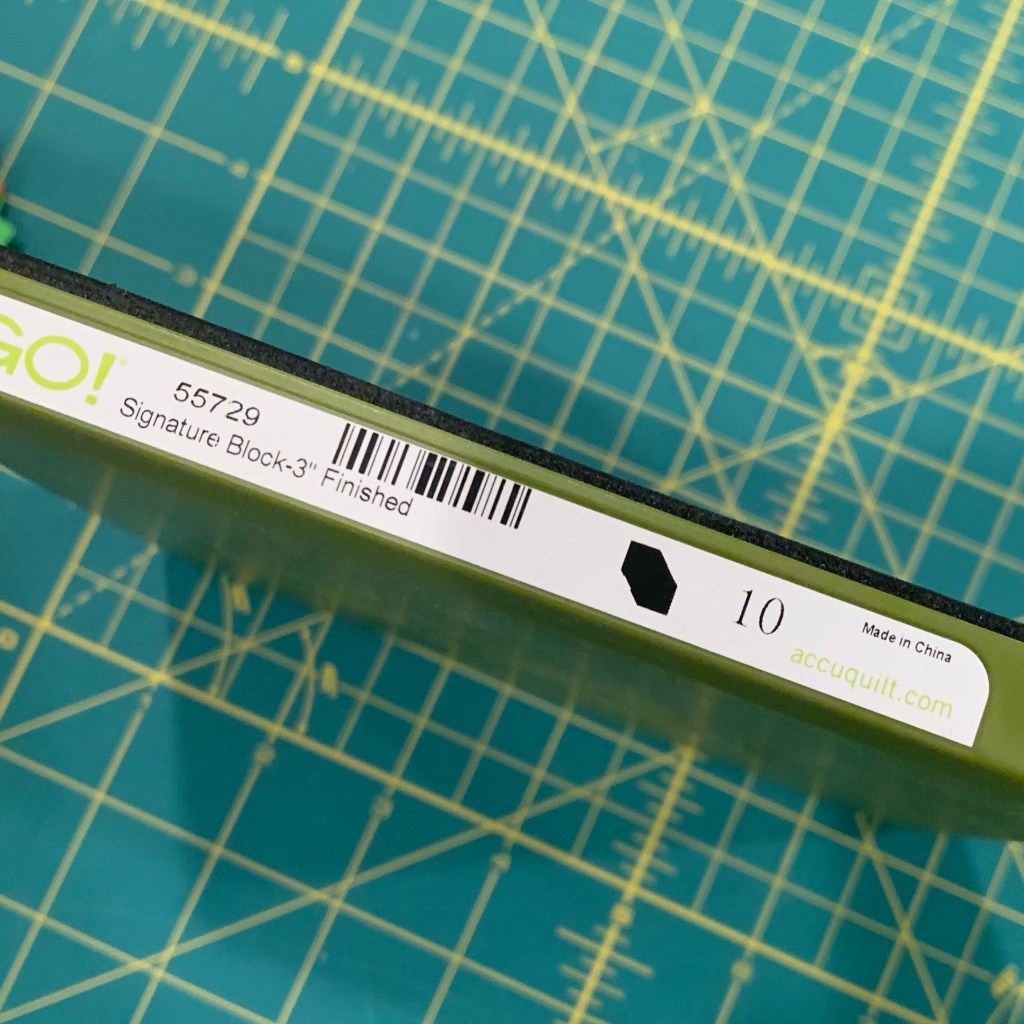
My studio cutter is back in Michigan, but I bought this smaller die a while back and it works in my Accuquilt GO! Cutter. The proportions are slightly different, but the method is the same. So I thought I’d use this for my tutorial and make a small quilt instead of another runner.
You can find this die in the Accuquilt GO! Qube Companion Set – Corners. This die creates a 3” finished block. I have the 6” Accuquilt Qube on order. It contains the triangle die I need to complete the block.
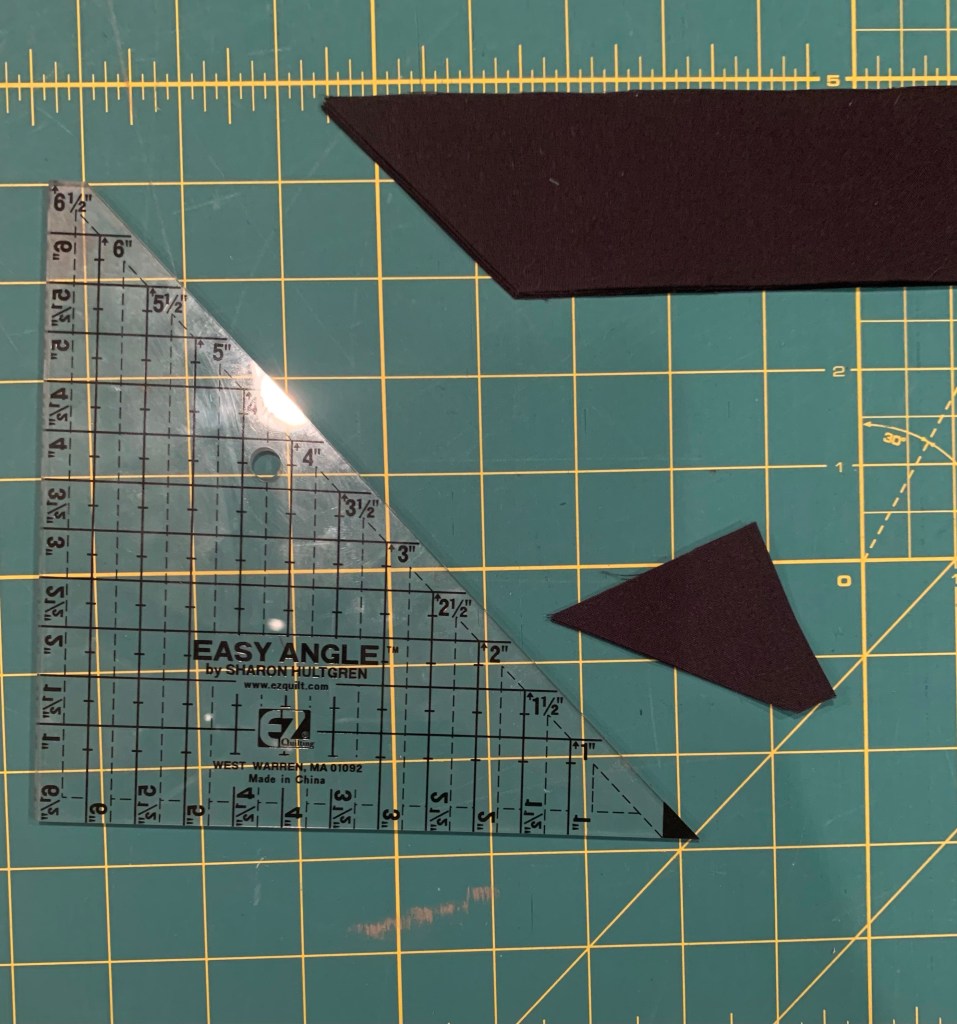
Not one to give up easily, I pulled out this old ruler.
It is used to make half square triangles from strips. Guess what? I’m totally spoiled rotten by my die cutters. I hated this. One corner is blunted, but I’m used to both corners being nipped for easy placement. I know, I know, first world, spoiled quilter problems!
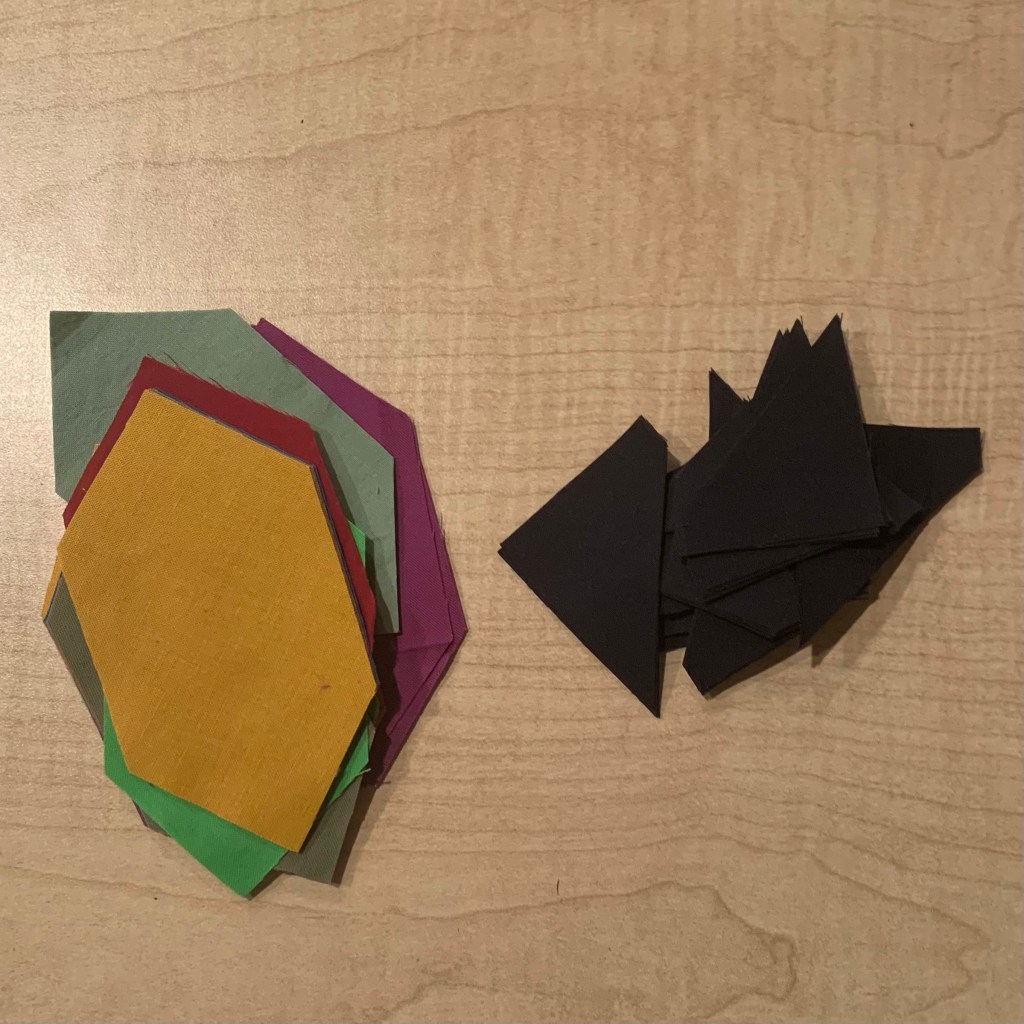
My pieces are cut. Come back tomorrow to see about the piecing. and in case you don’t have a die cutter, I’ll share an alternative method.
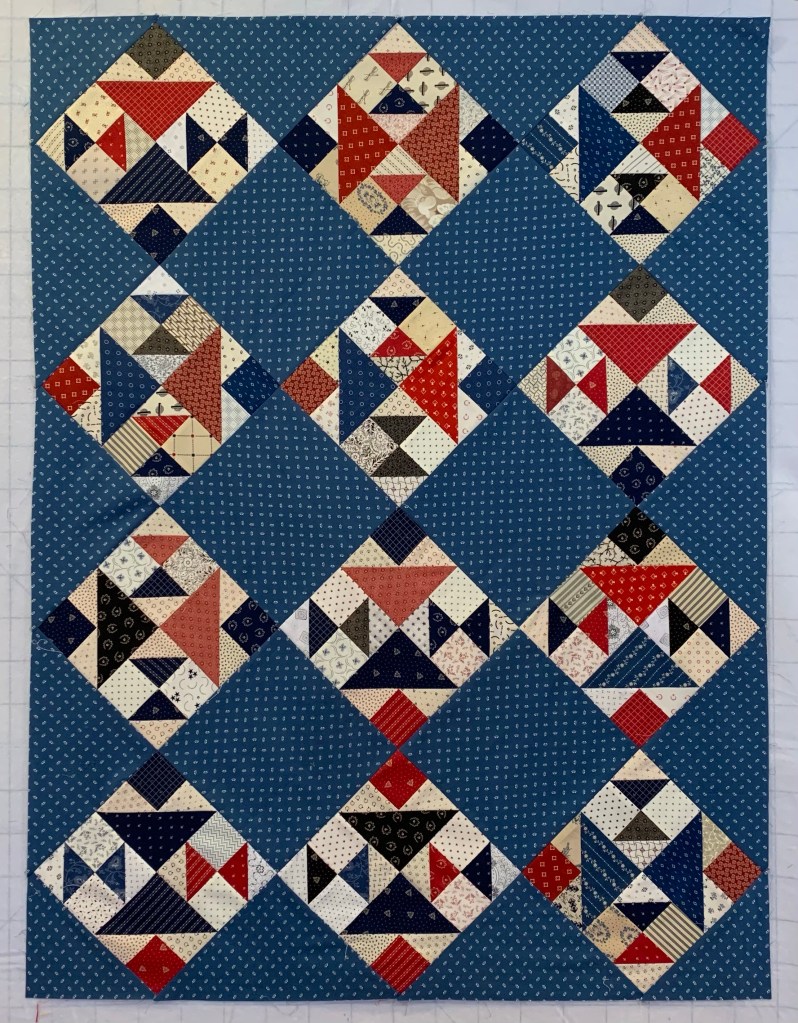
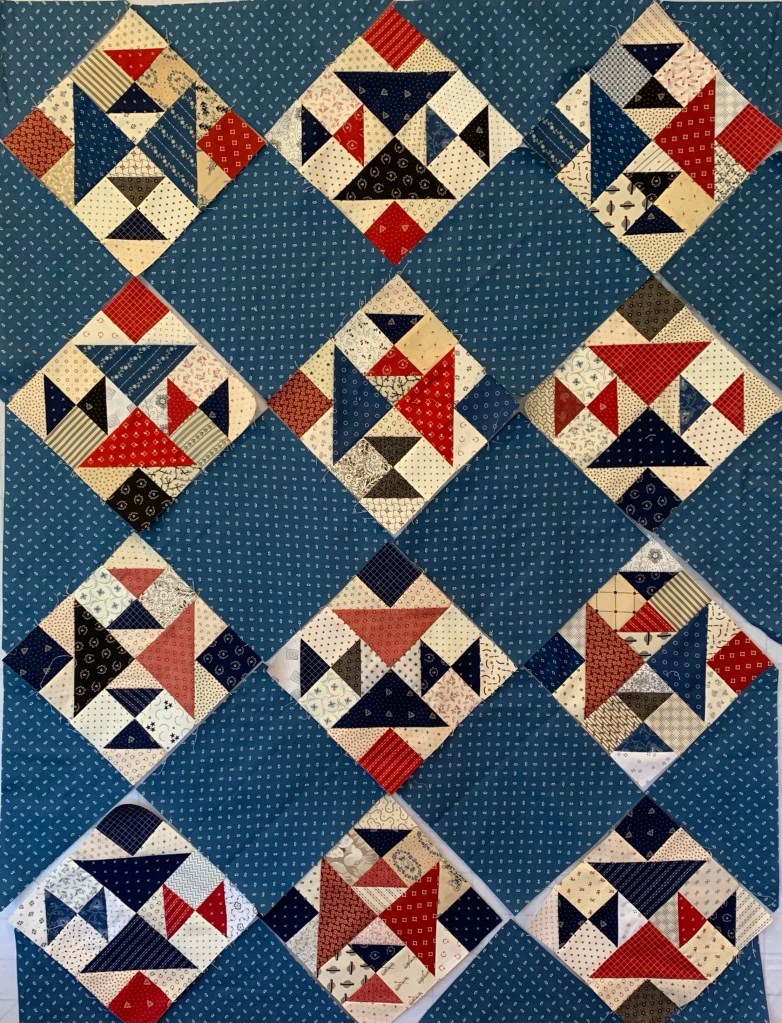
Lori at Humble Quilts recently hosted a quilt along called, Land That I Love. I made mine bigger than hers because I loved it so much! Here is my finished top.
Notice anything wrong here? Um yeah. Kind of got things a bit jumbled. The layout was supposed to look like this.
It’s been a crazy week around here and I was so glad to have gotten this top together. It might just stay this way. I do love this block.
Head over to Lori’s blog to see all the other quilts made for the QAL. Have a great day!
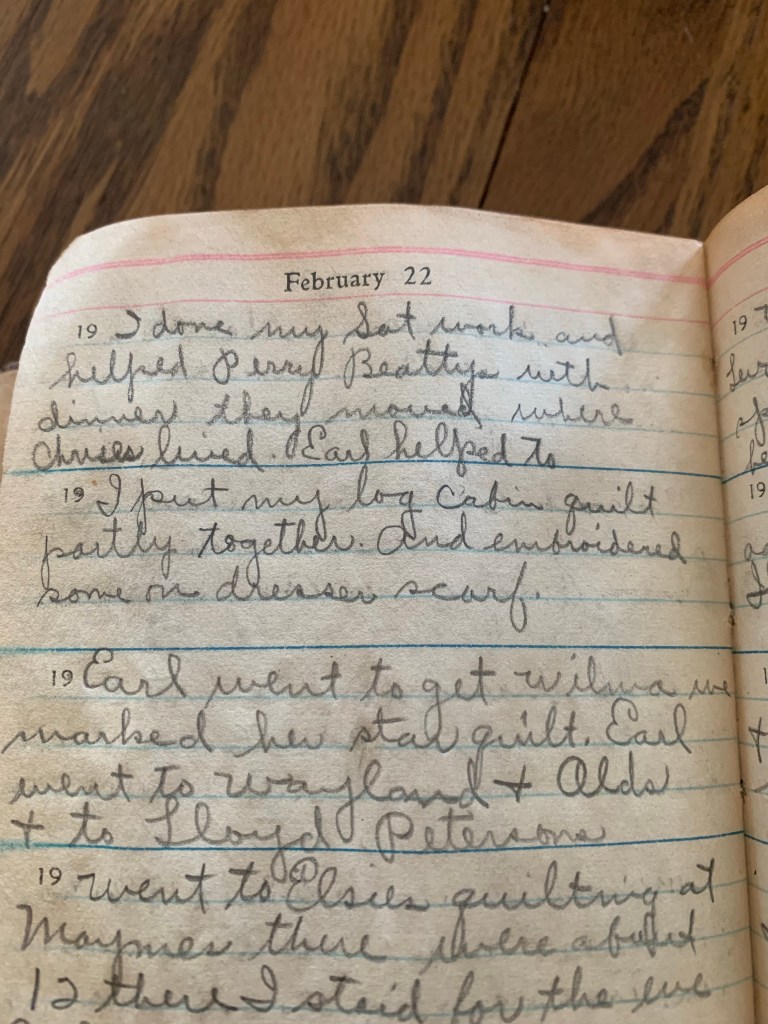
Thanks so much for all of the sweet comments on yesterday’s post. That diary is a true treasure!
Life has been a bit crazy around our house this past week, so I apologize for not responding to individual comments. I’ve been swamped and exhausted. But today is Sunday, God is good, and I’m ready for a new week!
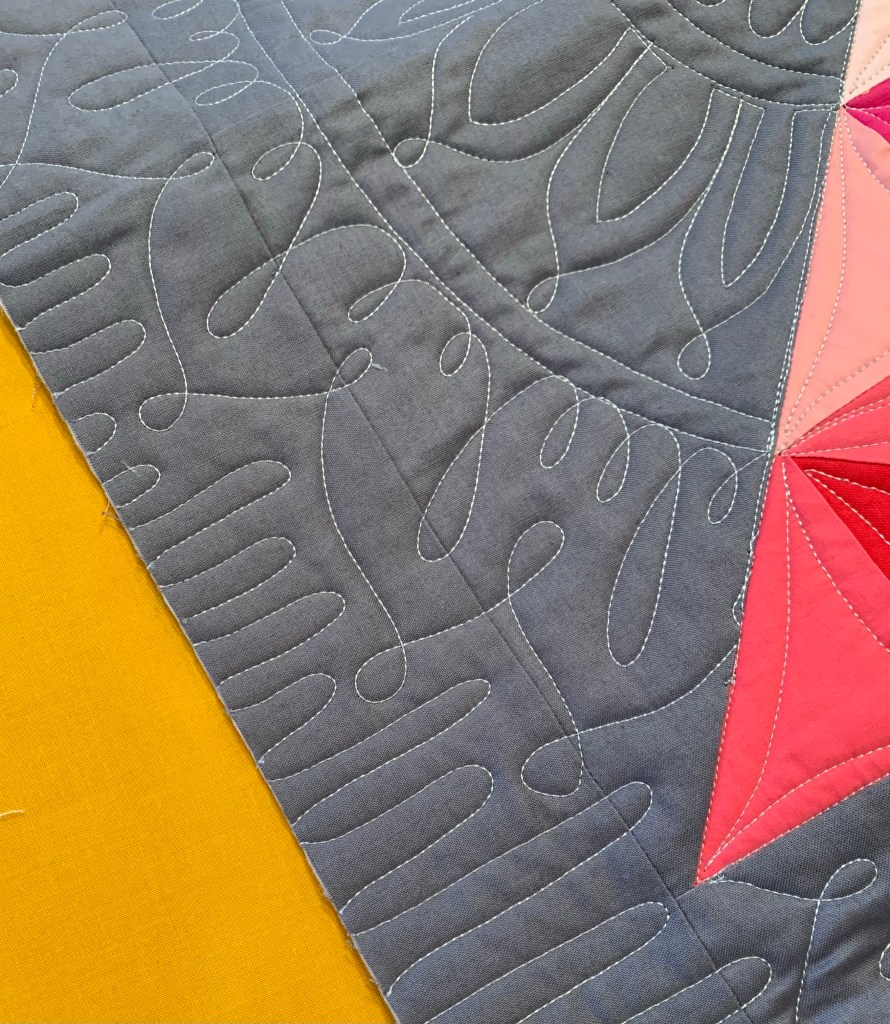
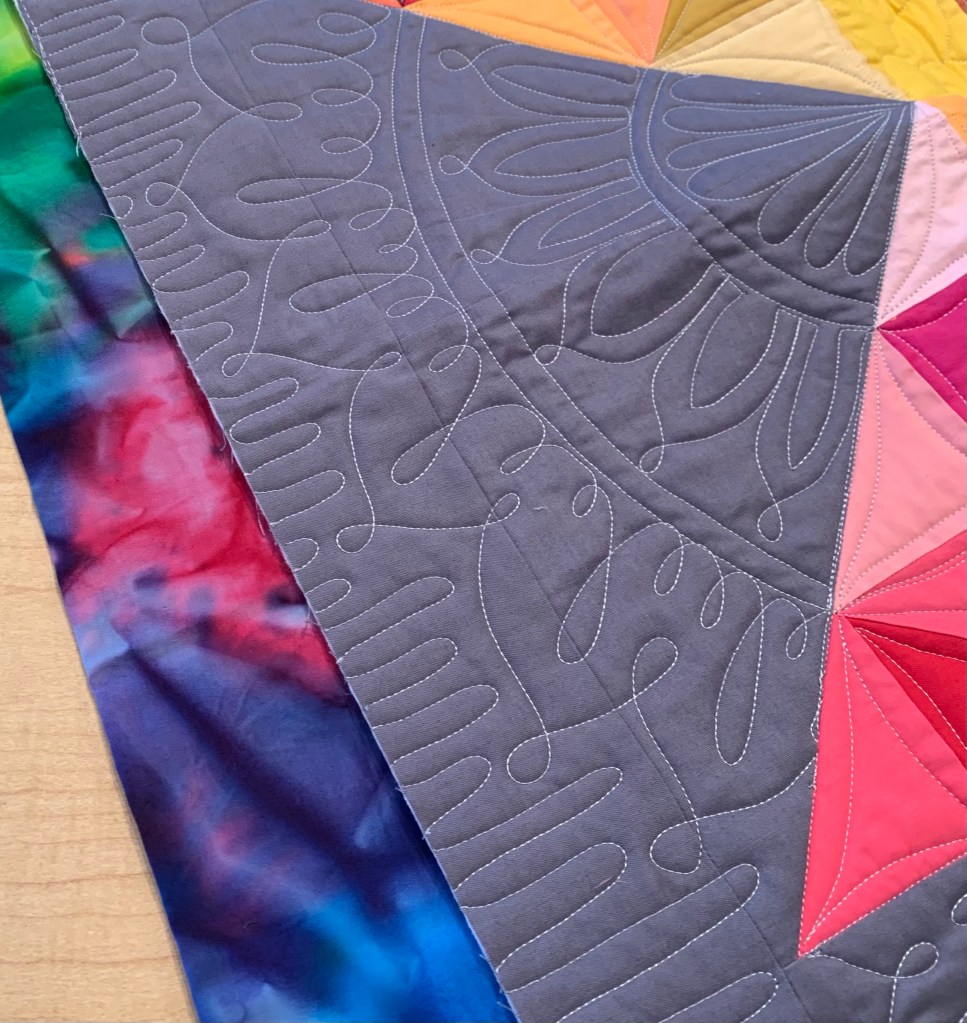
I finished quilting this before I left Michigan, but didn’t have time to bind it. I had intended to use this yellow.
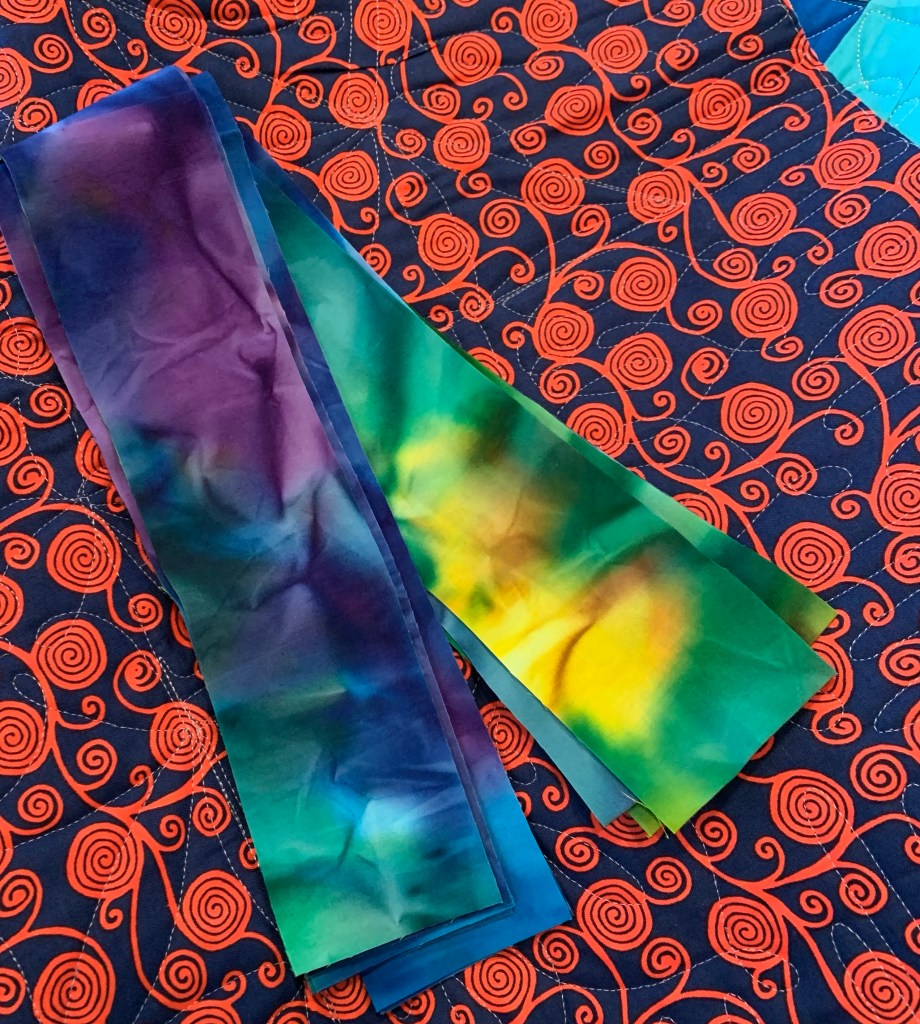
But then I found this.
It doesn’t go with the back very well.
But I love it with the front, so I’m going for it. Hopefully, I can finish this up today.
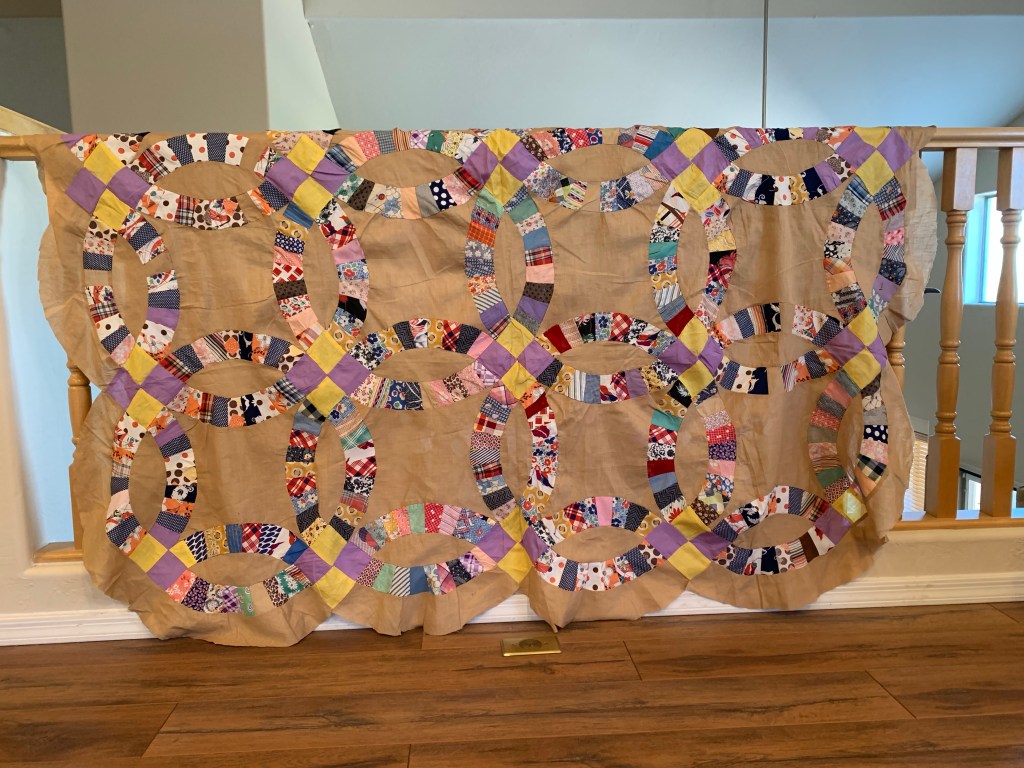
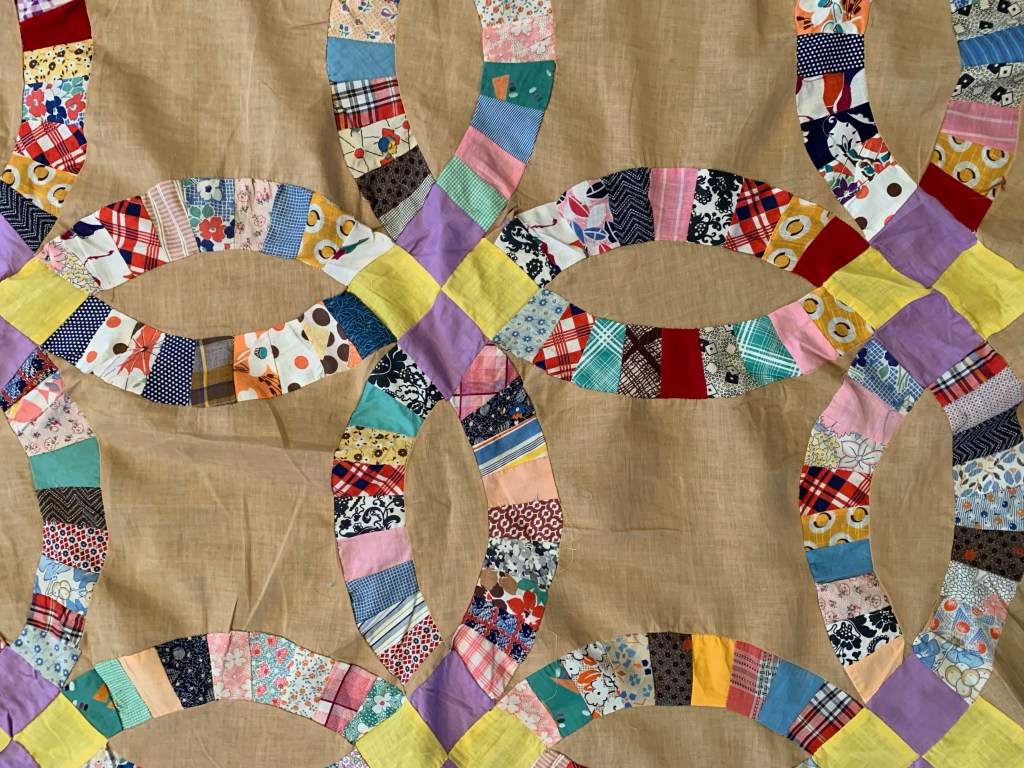
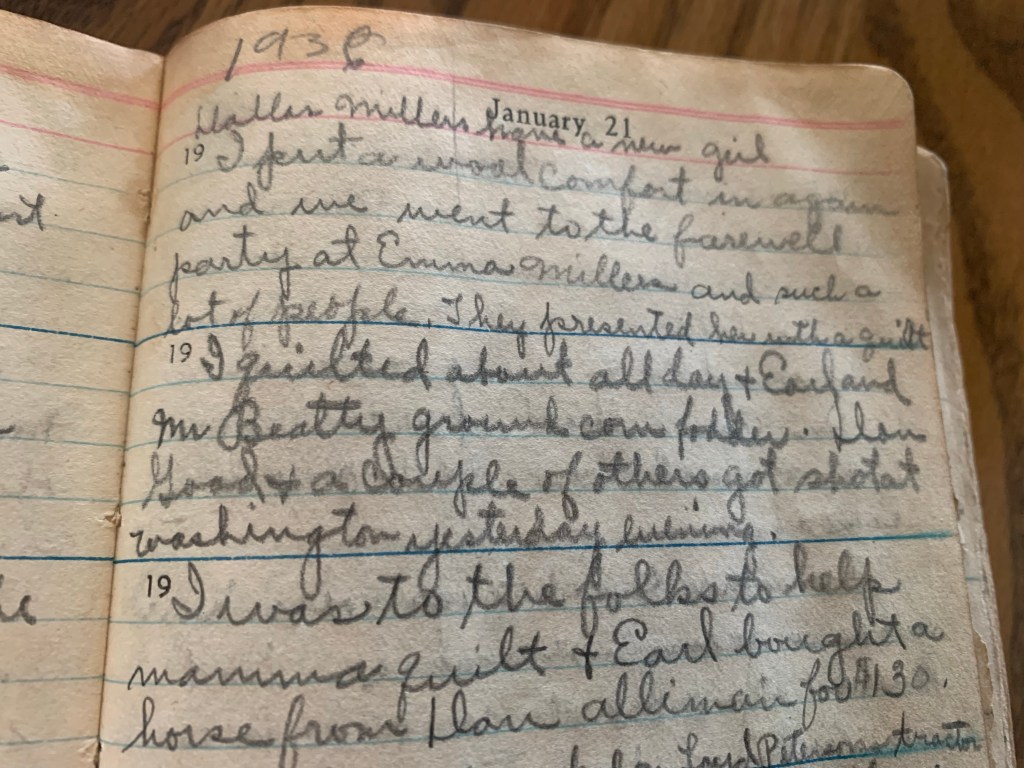
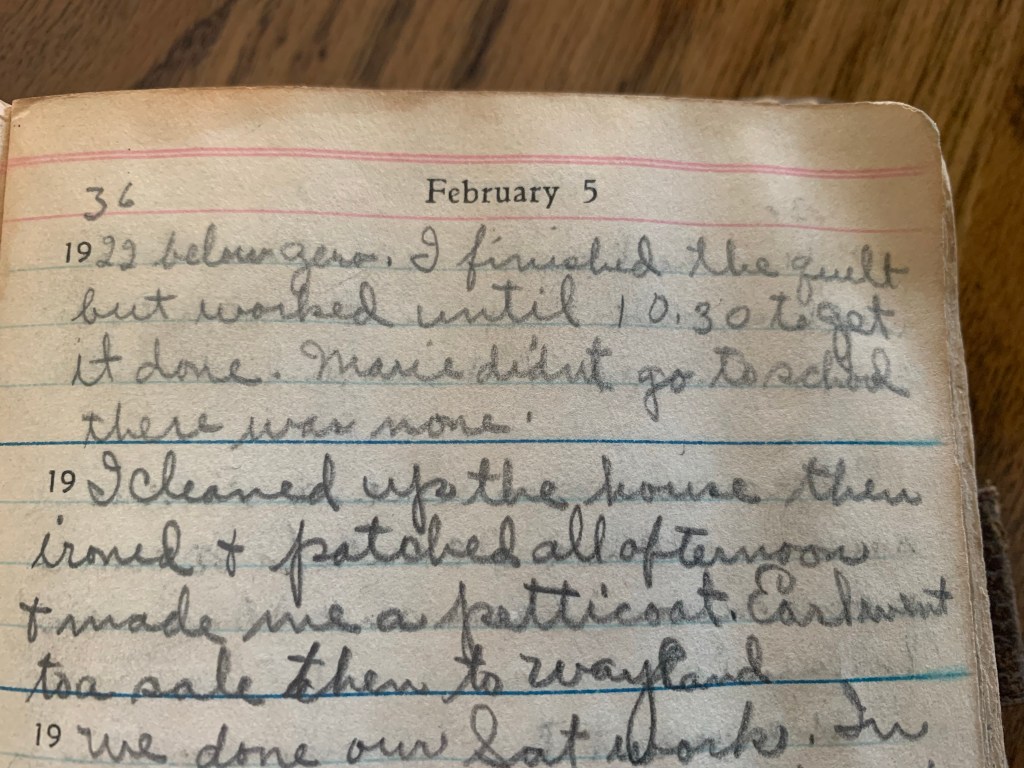
We recently visited my sweet mother in love. I asked her if I could read her mom’s diary again. She was a prolific quilter and a woman I loved dearly. I love these glimpses into her daily life in the late 1930s. I thought you would as well.
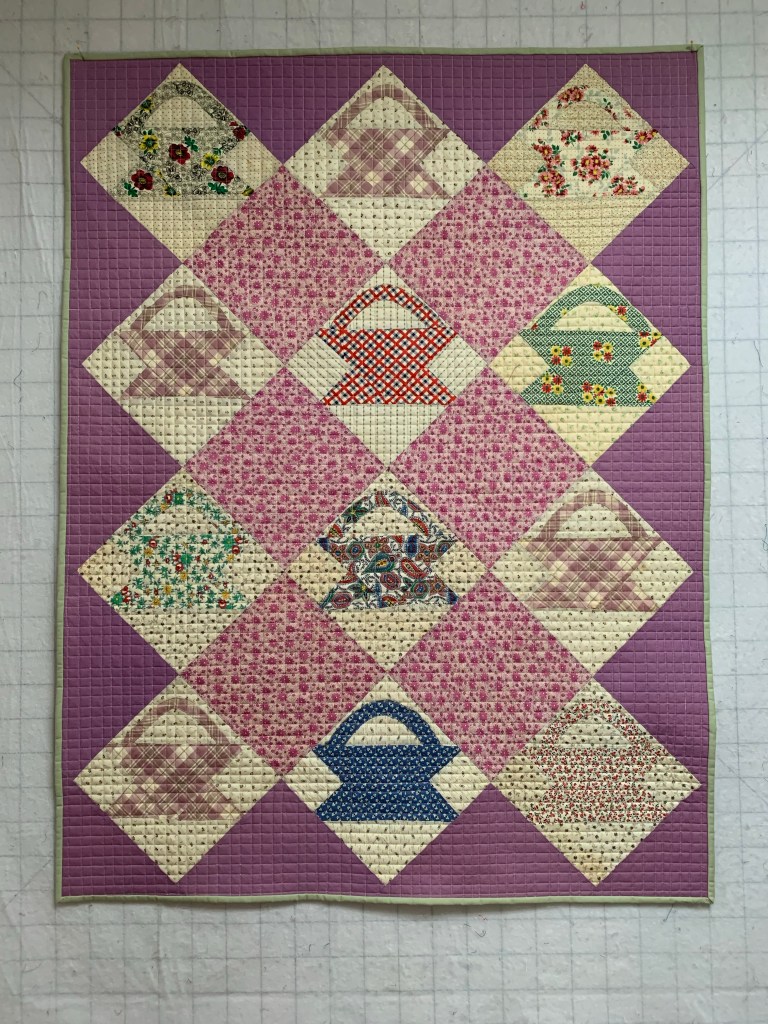
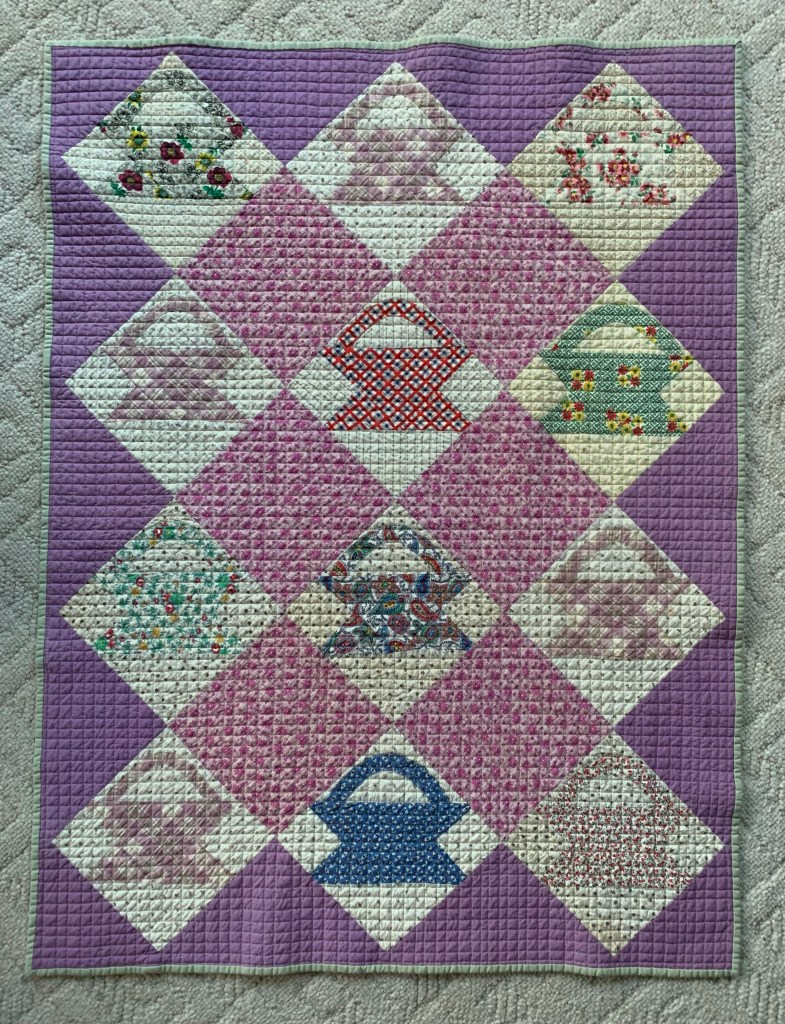
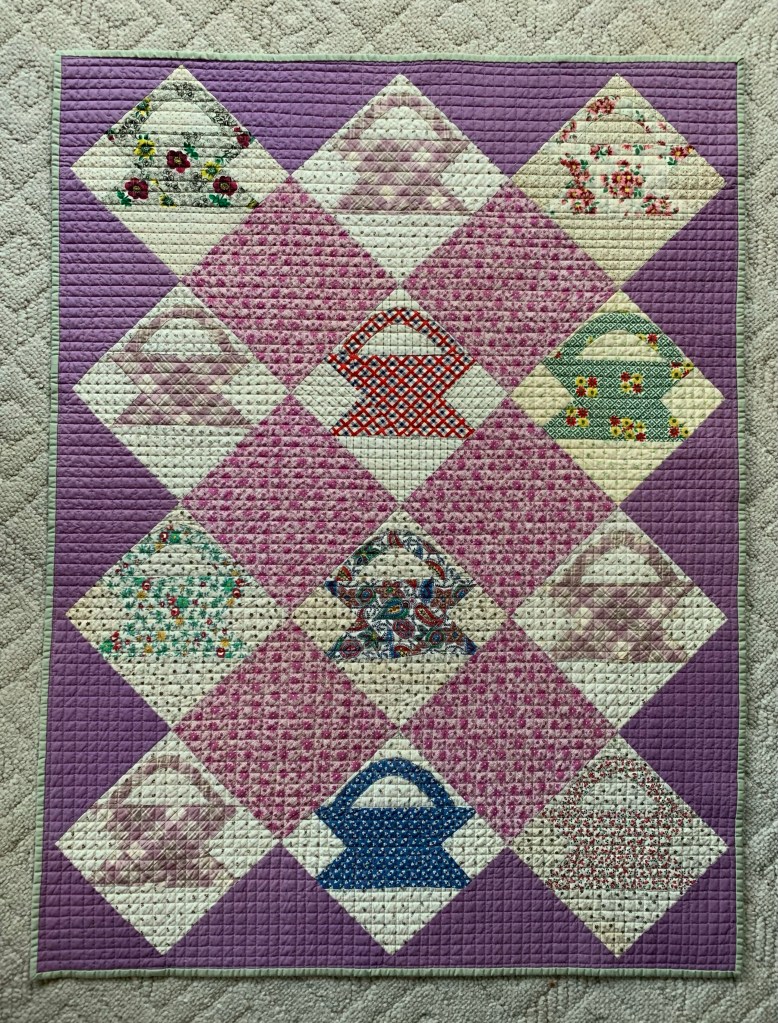
Done! I’m glad these blocks didn’t sell after all! The grid quilting gives great texture. The first photos were taken before washing.
I used unbleached muslin for the backing.
Love this green for the binding, I’ll be so sad when it’s gone from my stash!
After I took these photos, I threw it in the wash.
Wa wa waaaaaa! I was very unhappy with that ruffled edge. I was about to redo the binding, but decided to try my iron trick first. That means, I ironed the quilt from the back using lots of steam.
Much better! Now, I quite love this little quilt, wonky though it may be. it has one more quirk that won’t be fixed. See that dark line on the back?
When I pieced batting scraps, I was using up bobbins. The green thread showed through. Doesn’t bother me. It isn’t exactly a ribbon winner.
The age stains in the blocks are better, but not totally gone. That’s okay too.
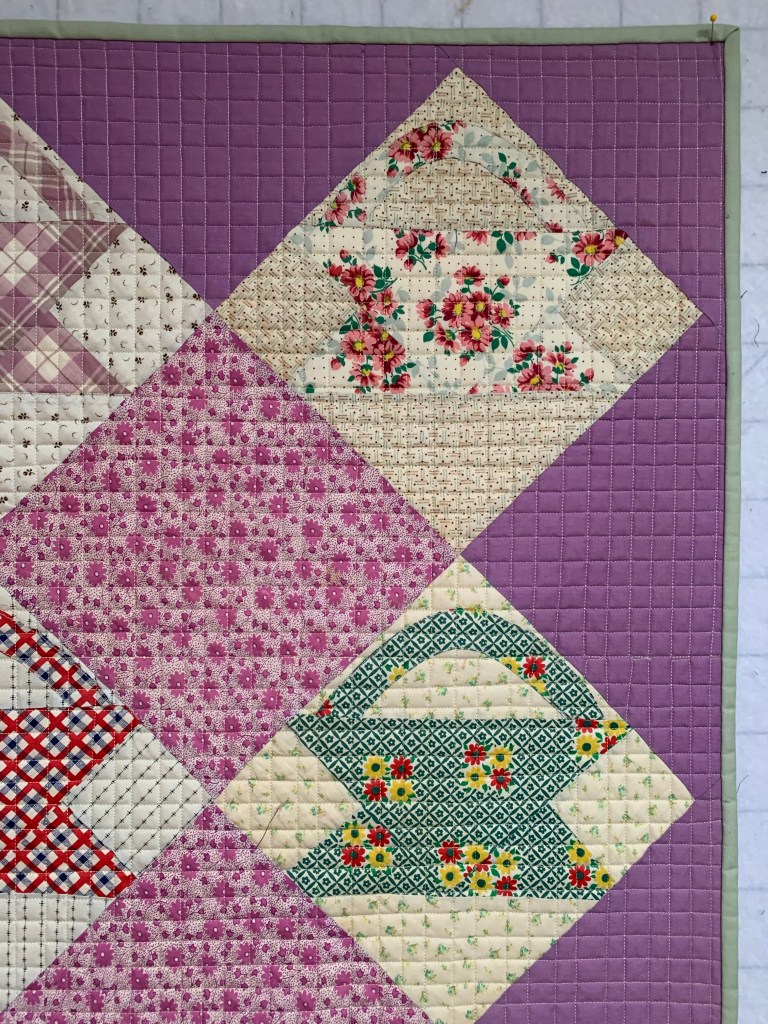
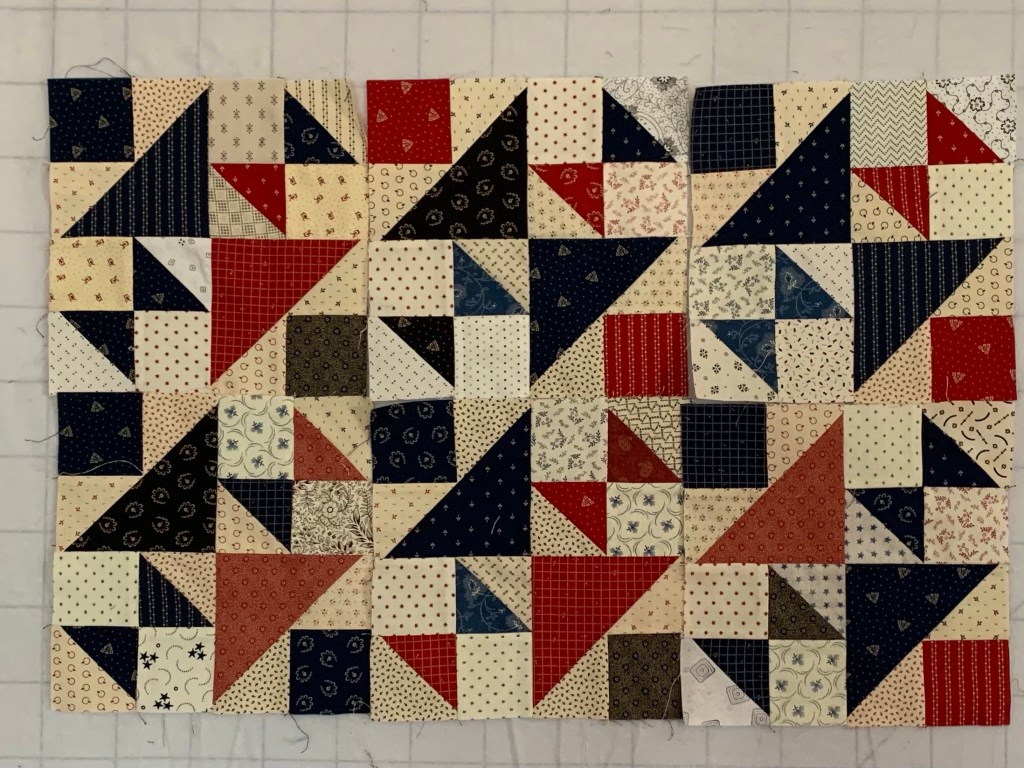
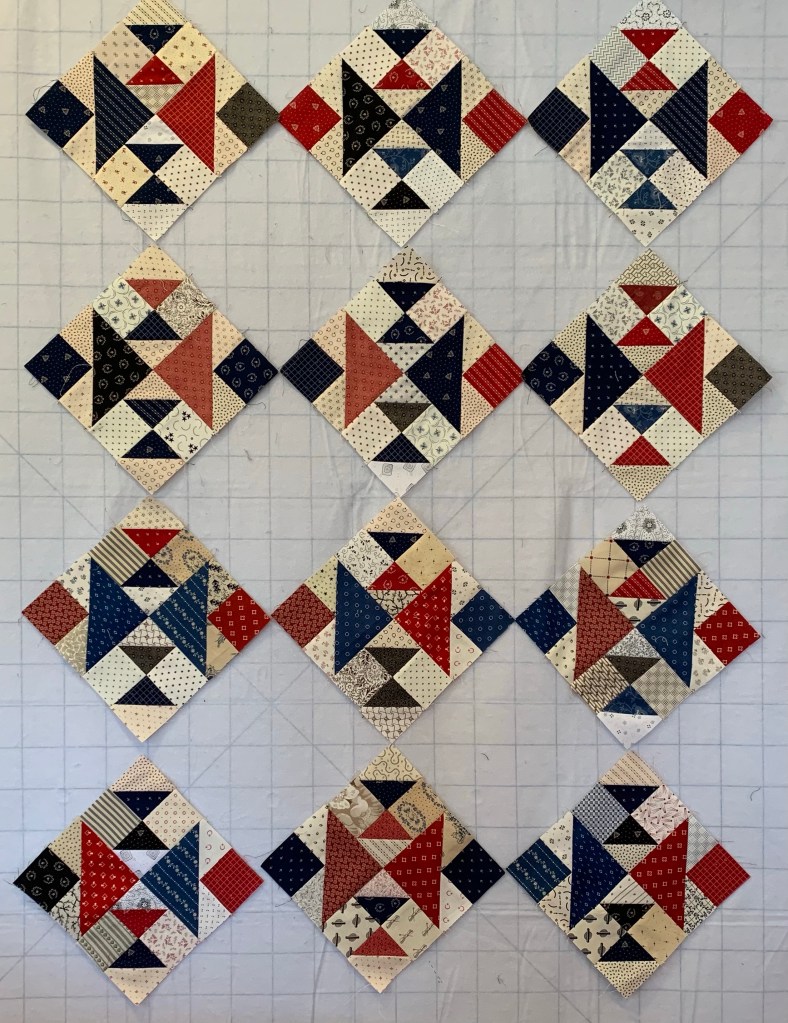
Last month, Lori at Humble Quilts hosted her annual Quilt Along. This one was called Land that I Love. It called for 6 blocks that finish at 6 inches. I made mine 8 inches and loved the quilt so much, I decided to make more blocks.
I made the blocks above in Michigan and cut more pieces to make more here in AZ.
These are the Accuquilt dies I used for my blocks.
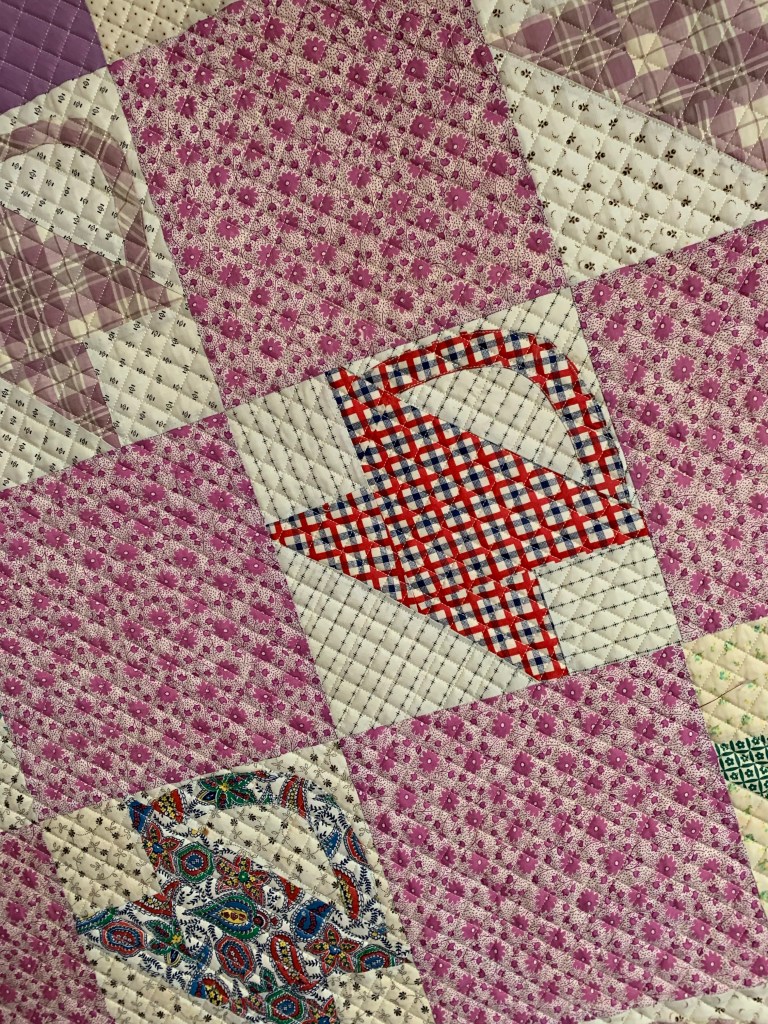
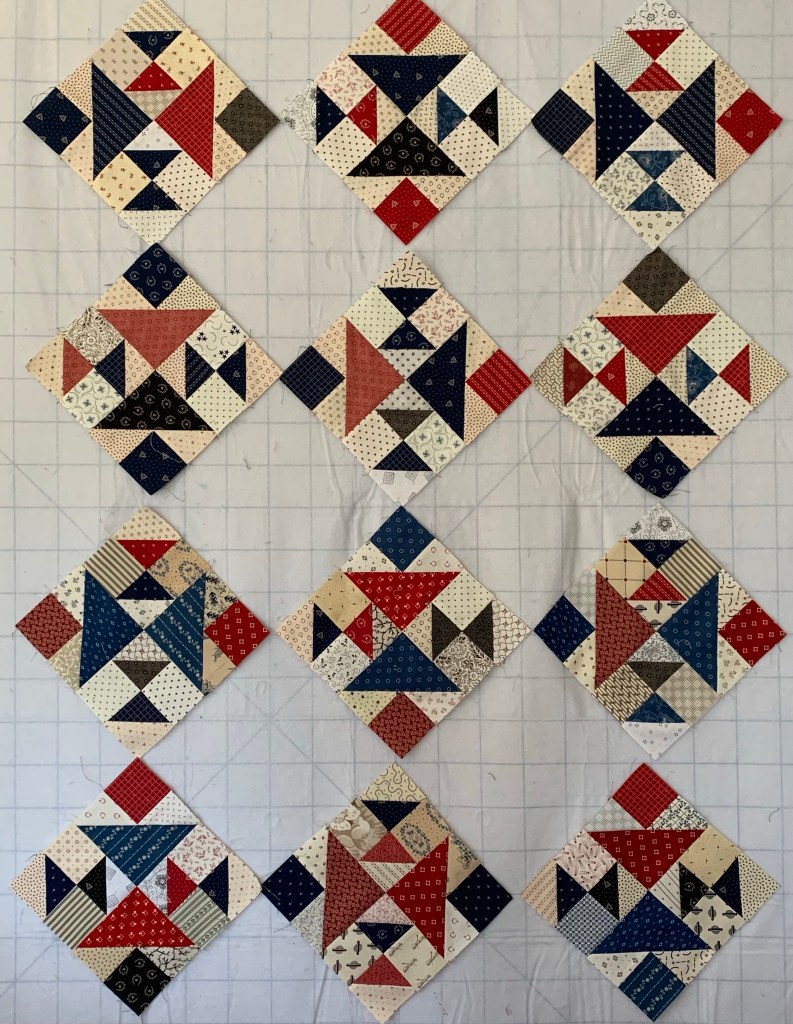
I tried to be more random this time. The blocks will be set on point.
I think I like them better with every other one turned.
Time to cut my alternate blocks and setting triangles and get sewing.
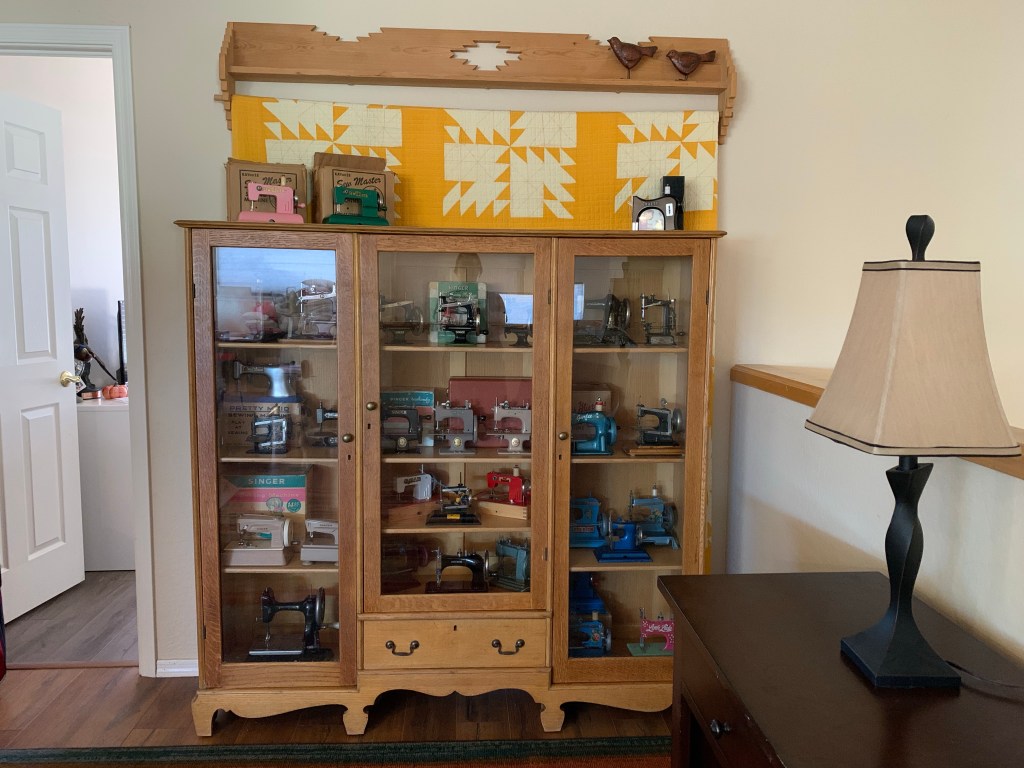
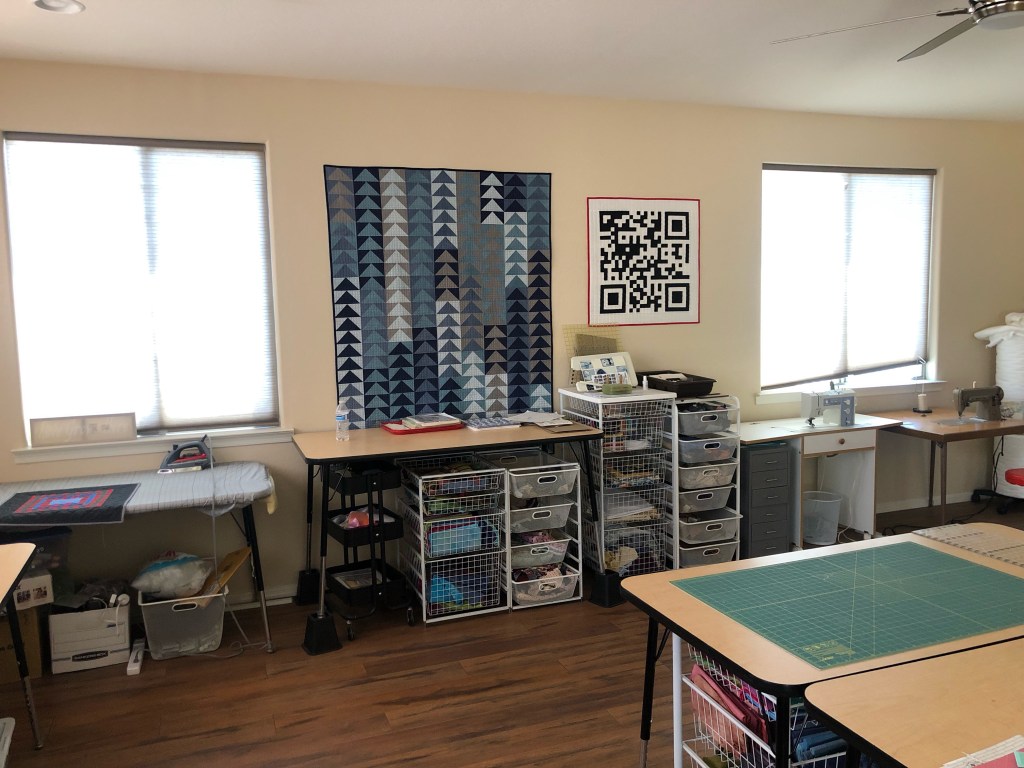
I asked a few weeks ago for people to share their sewing rooms, but I never got around to announcing the winner of the accompanying giveaway. The winner was, Wendy, from Pieceful Thoughts. Your prize is coming, Wendy!
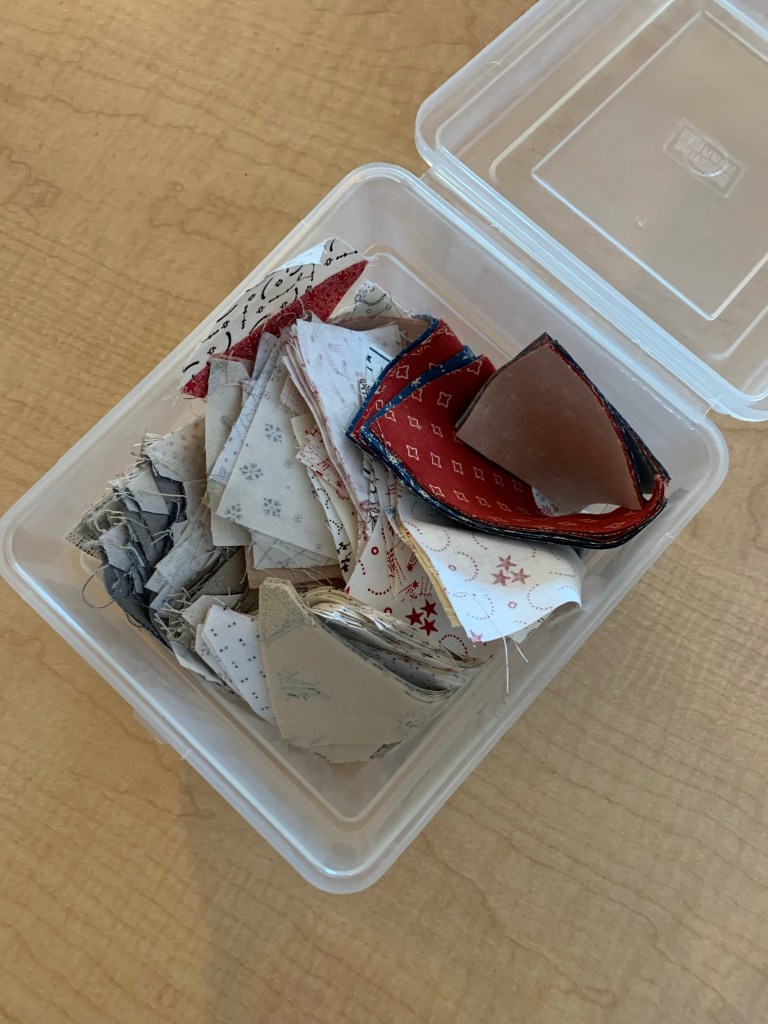
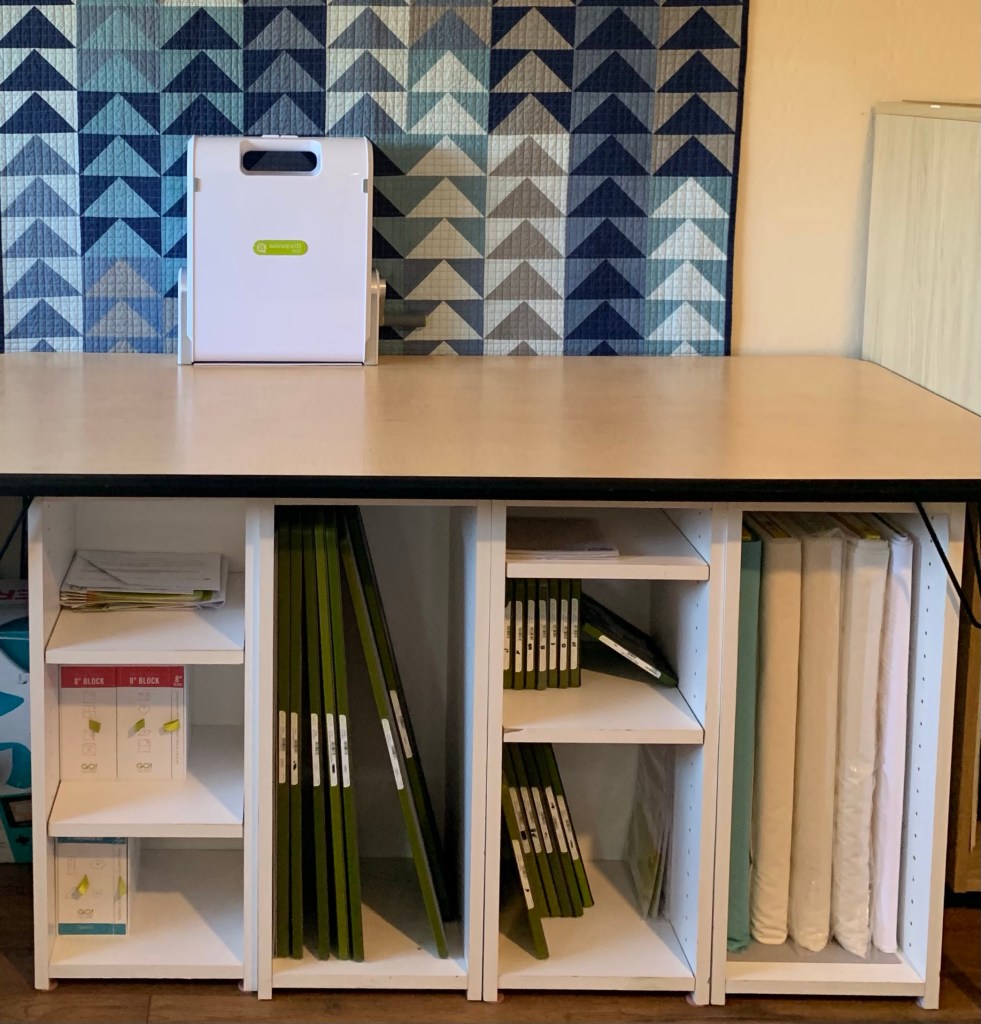
I’ve made a few changes so far, most notably, this storage set up for my Accuquilt GO! Dies. I’d been looking for a good storage solution, when I realize I already had the perfect thing! These four little units were left behind in our garage by the previous homeowner.
Mr. Wonderful shortened them by an inch so they would fit under my table. I even had an extra to hold a few bolts of fabric. This is what it looked like before. I love clean table tops!
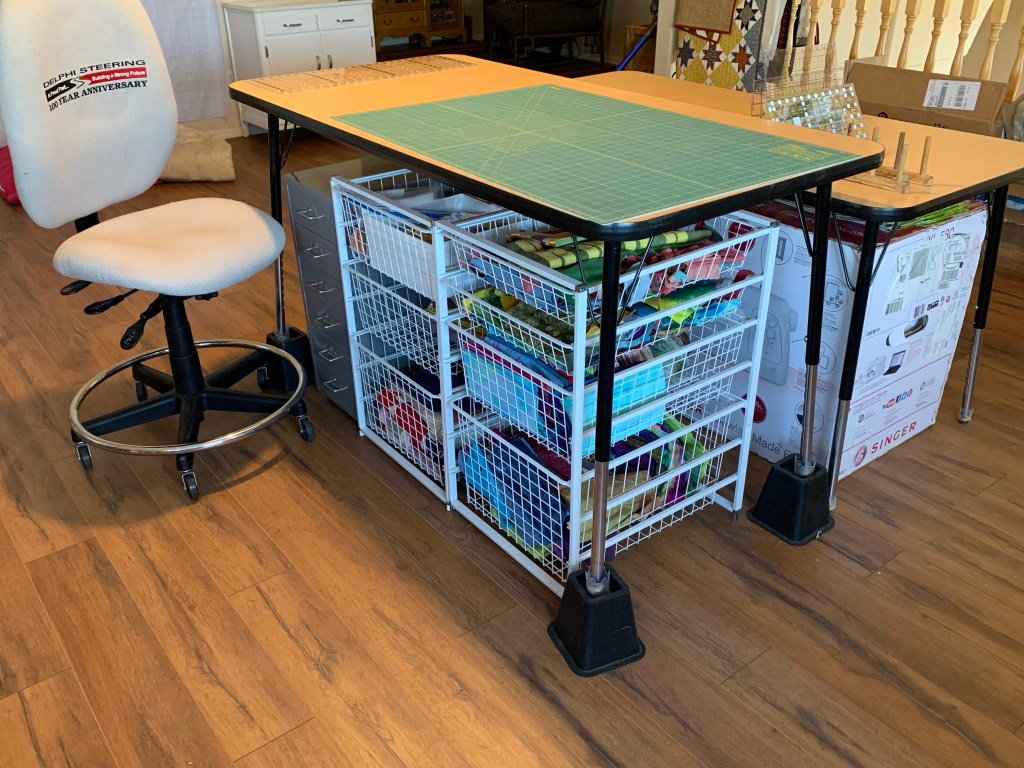
I purchased this IKEA Galant book shelf on FB Marketplace. I specifically looked for this line when I found out the shelves were a perfect size for my project bins.
I put half of my work table/island on bed risers and will do the other side as soon as I get another set. I brought this tall work chair from Michigan and have enjoyed using it at this table.
I have a long way to go, but it feels good to start. I have been working on a secret sewing project that I hope to finish up today and then I’ll get back to one of my own sewing projects here.
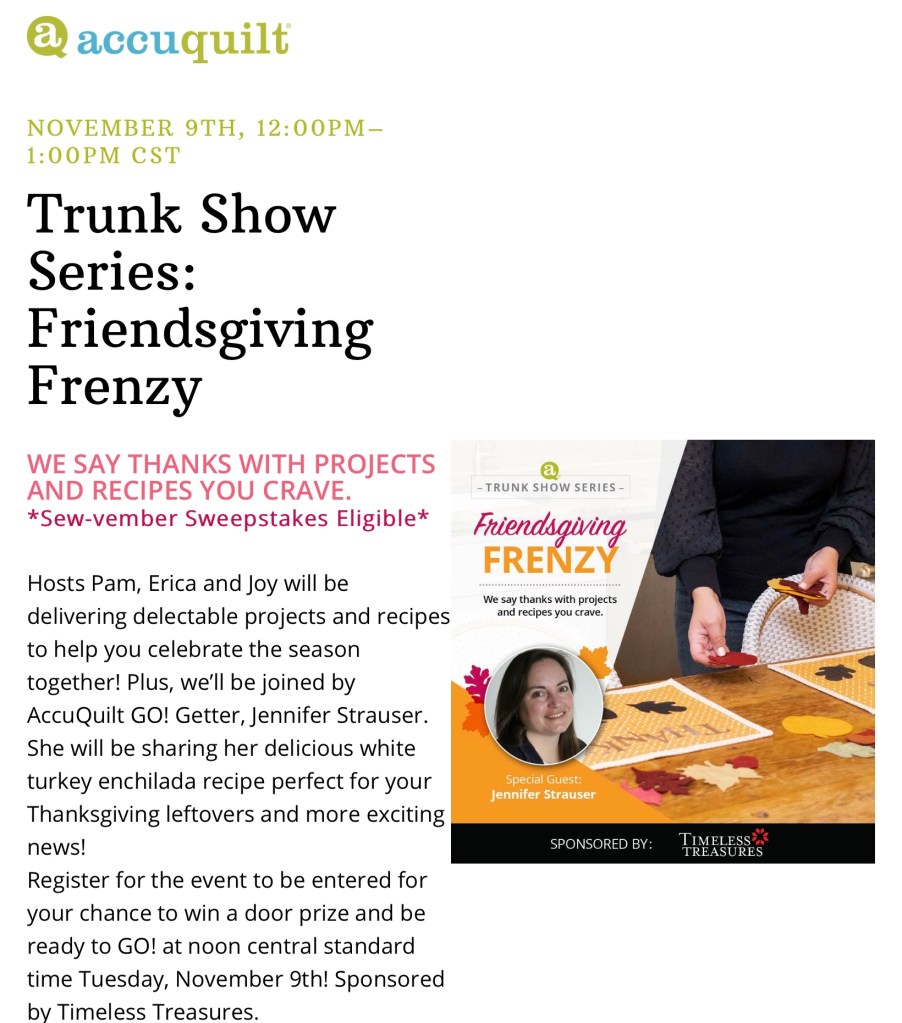
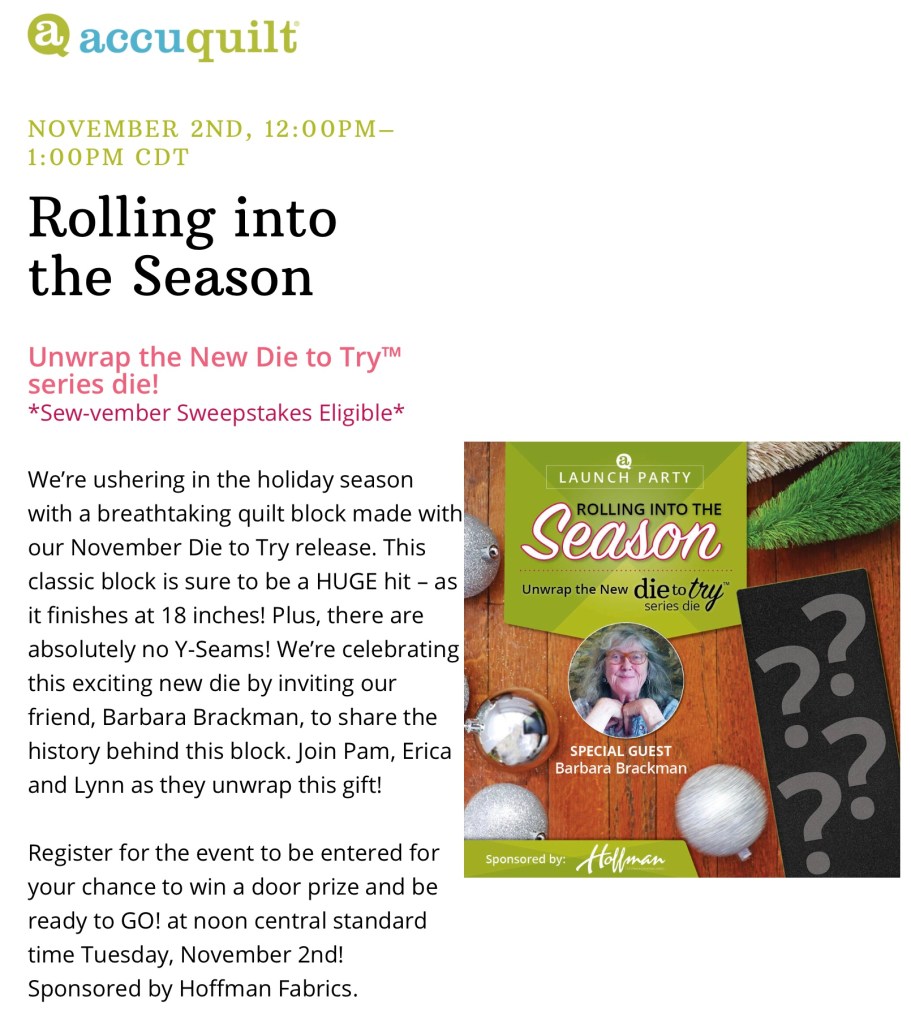
Before I go, I wanted to let you know about the Accuquilt Live program today, featuring Barbara Brackman!
Also, Accuquilt has a number of great deals going on right now, including this one.
Today only, you can use the code MY10MORE to get an additional 10% off your order!