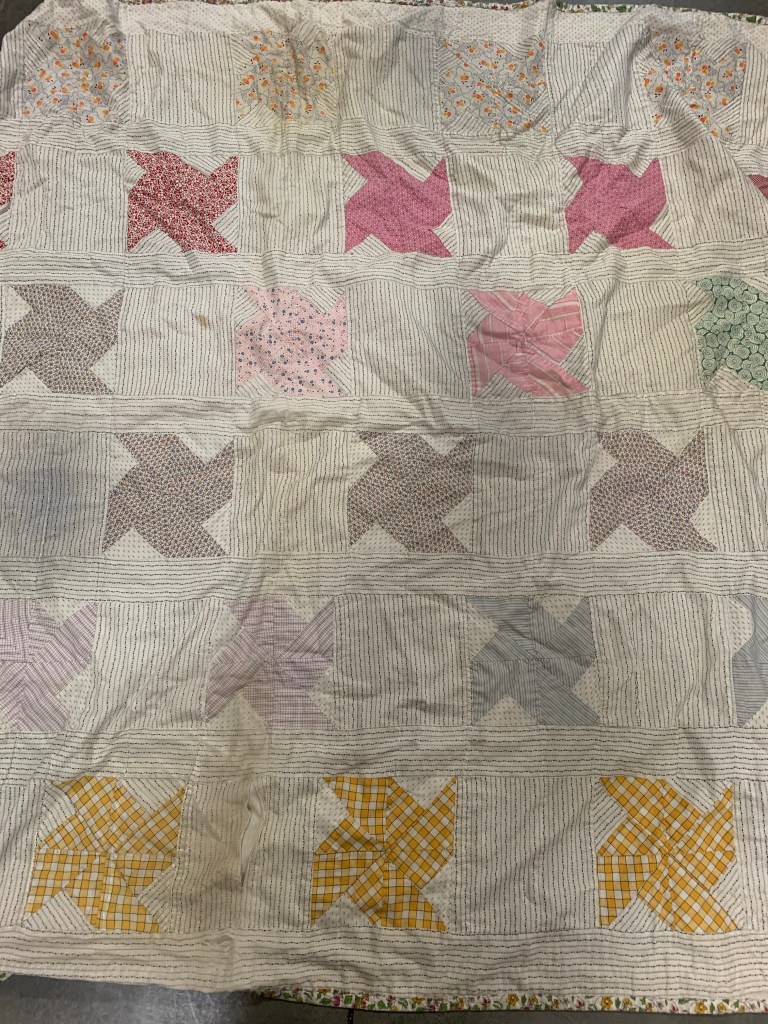
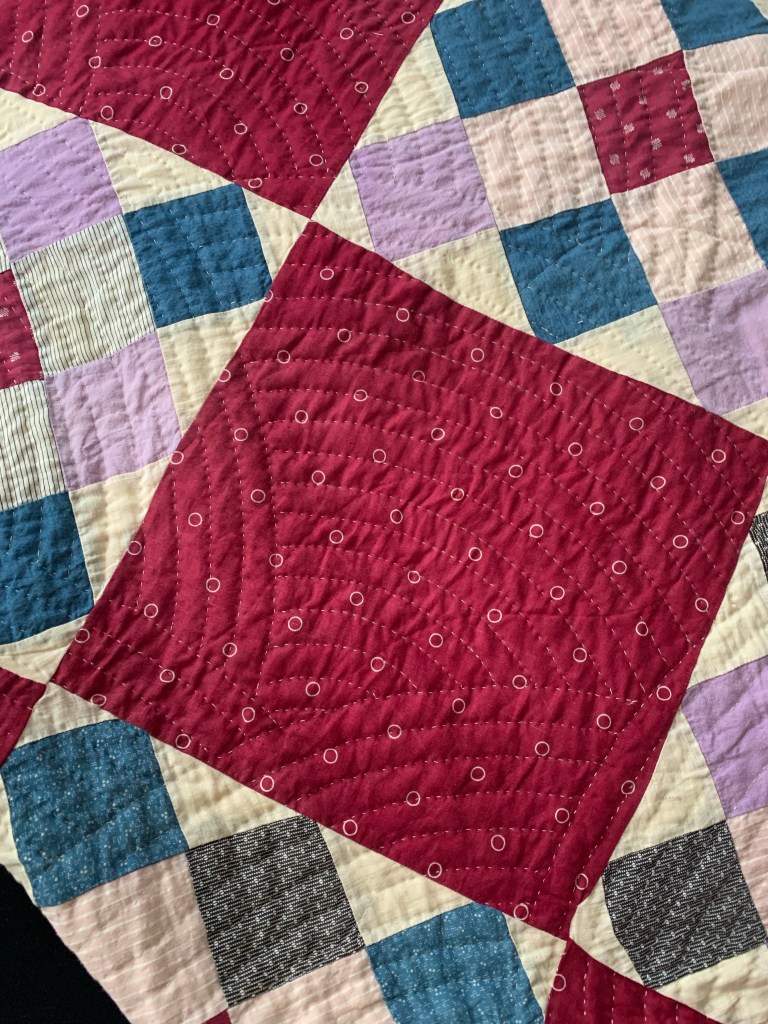
Here are more quilts that I saw at the antique mall. The blocks in this first one appear older than the sashing. I suspect from the feel of it, that there was an older quilt used for batting.
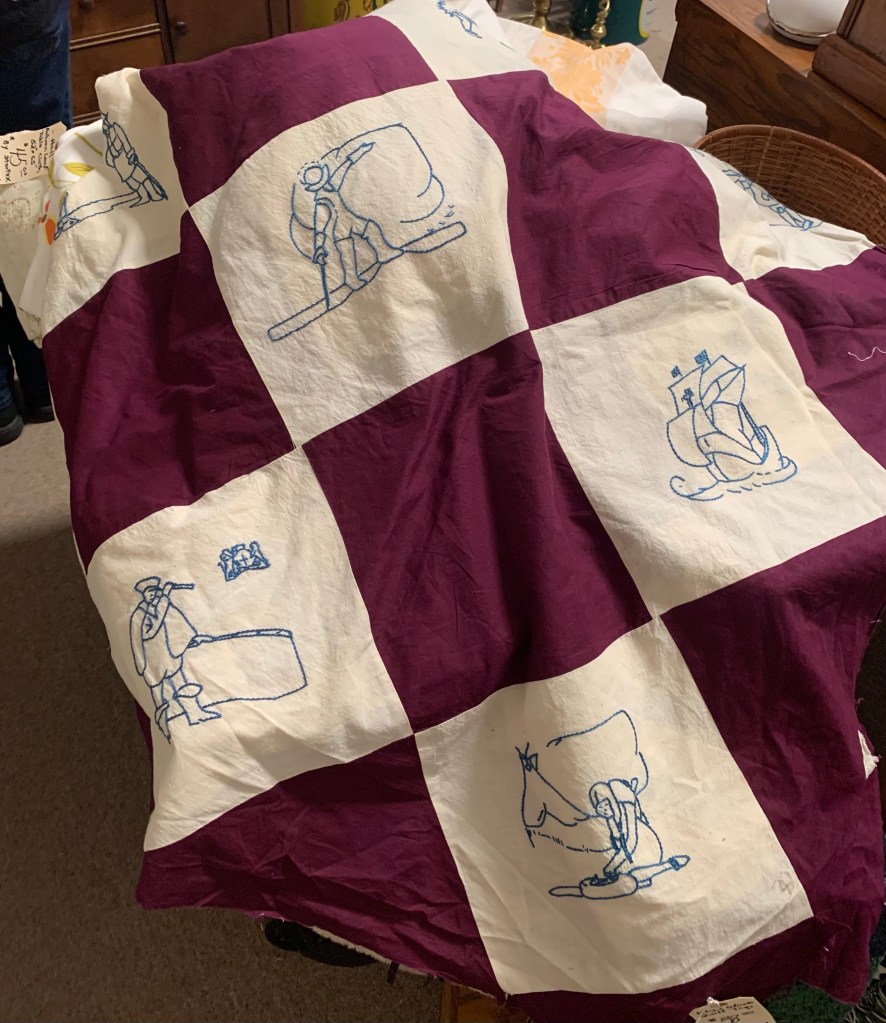
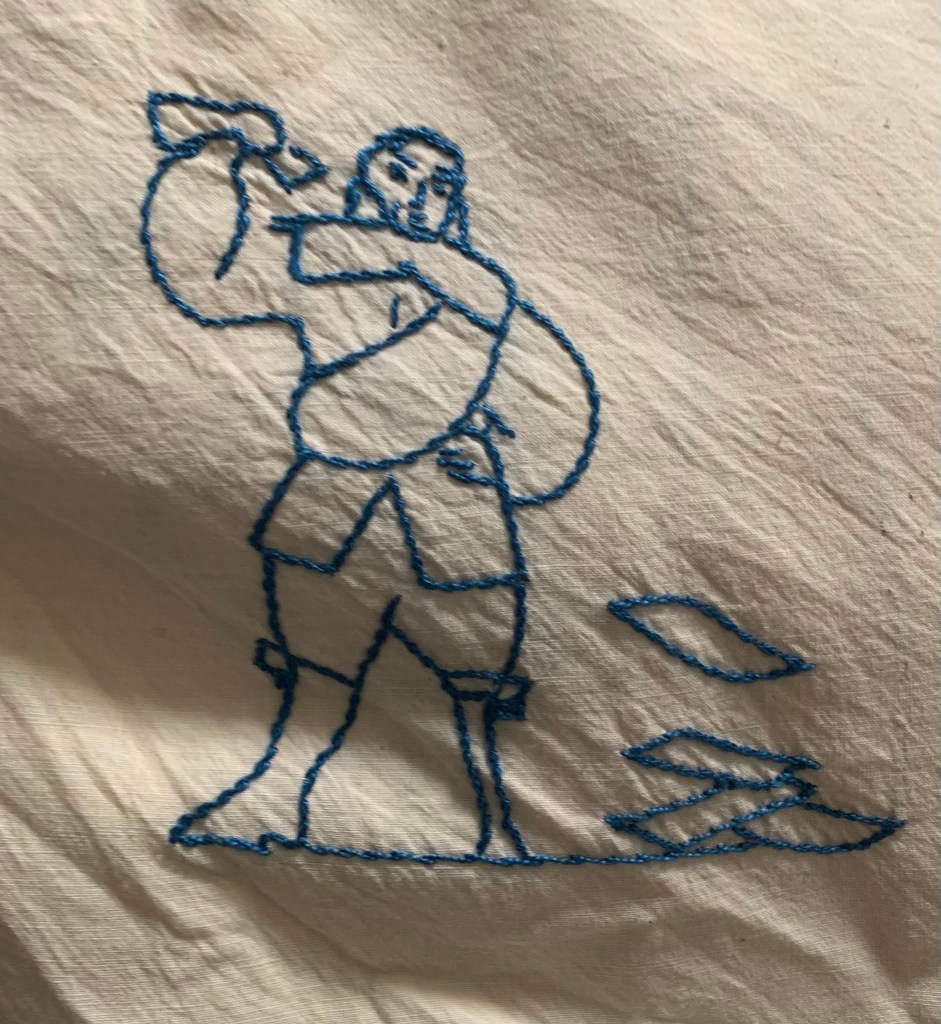
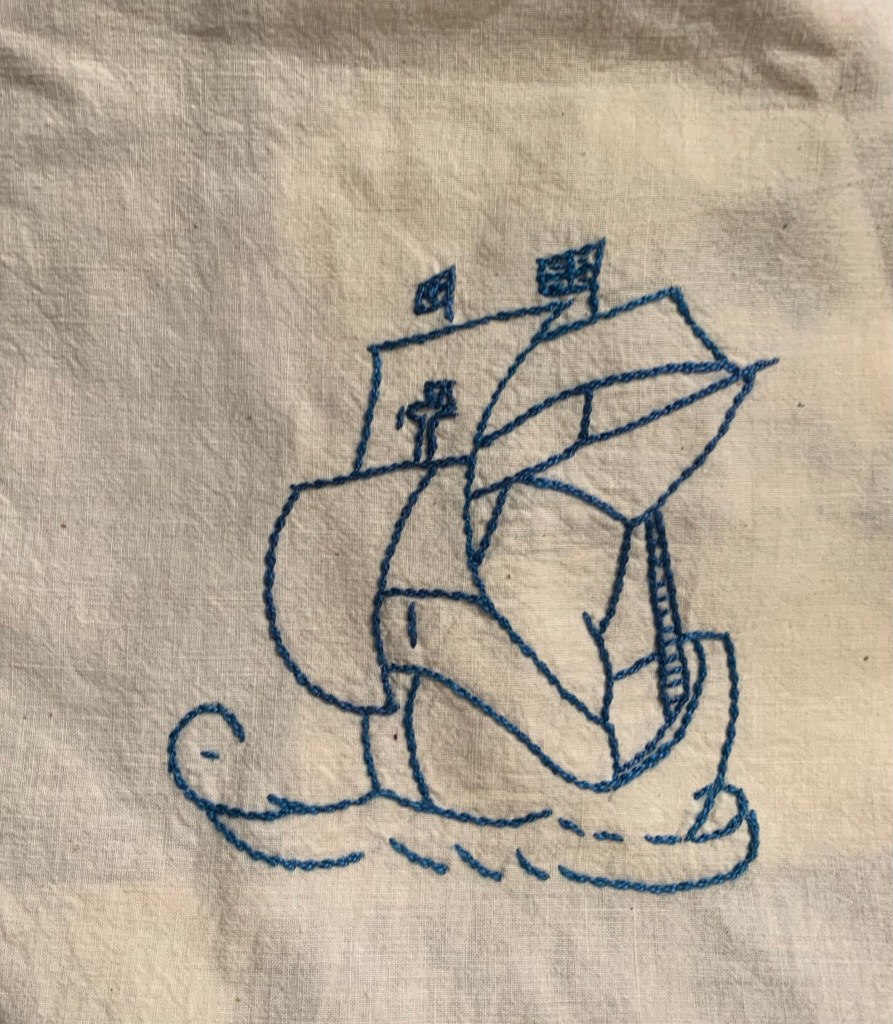
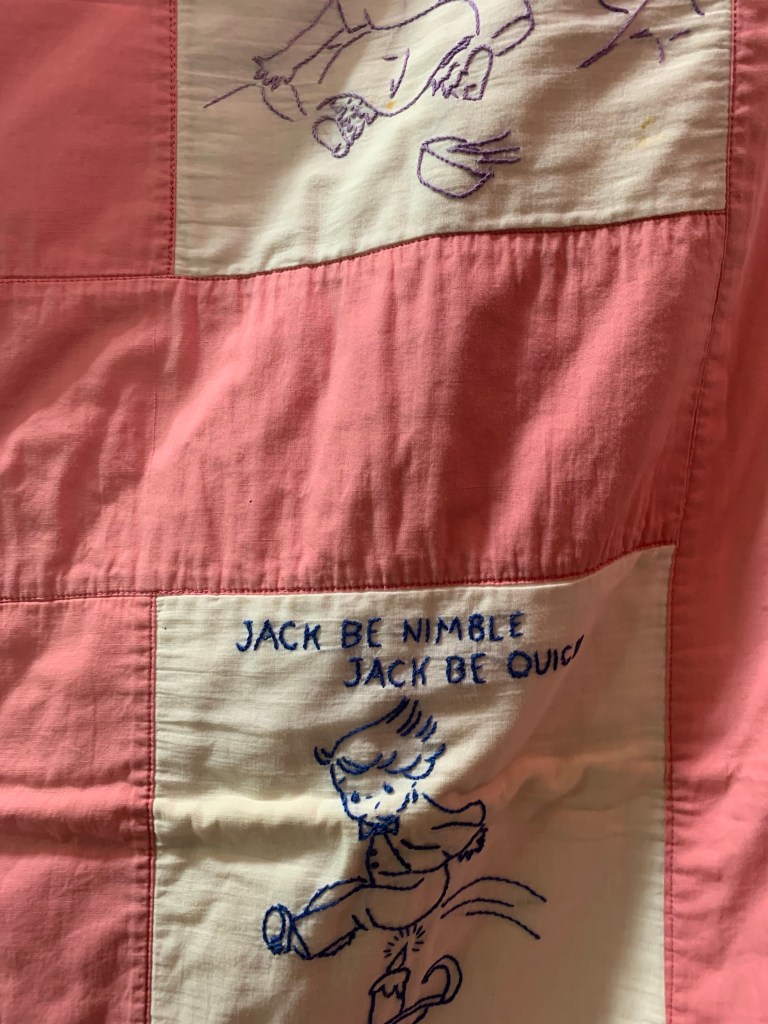
This top really intrigued me! The embroidery was beautifully done.
I’m not really sure I understand some of these blocks though. What is this guy doing?
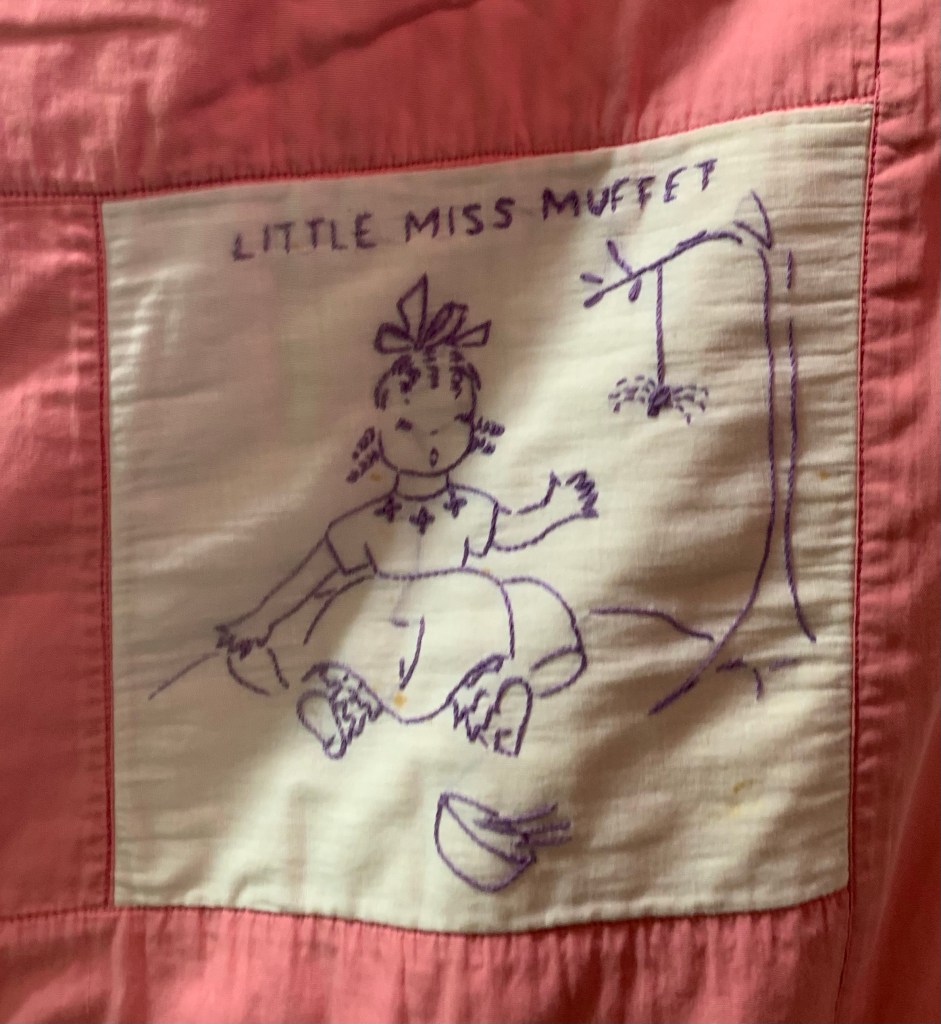
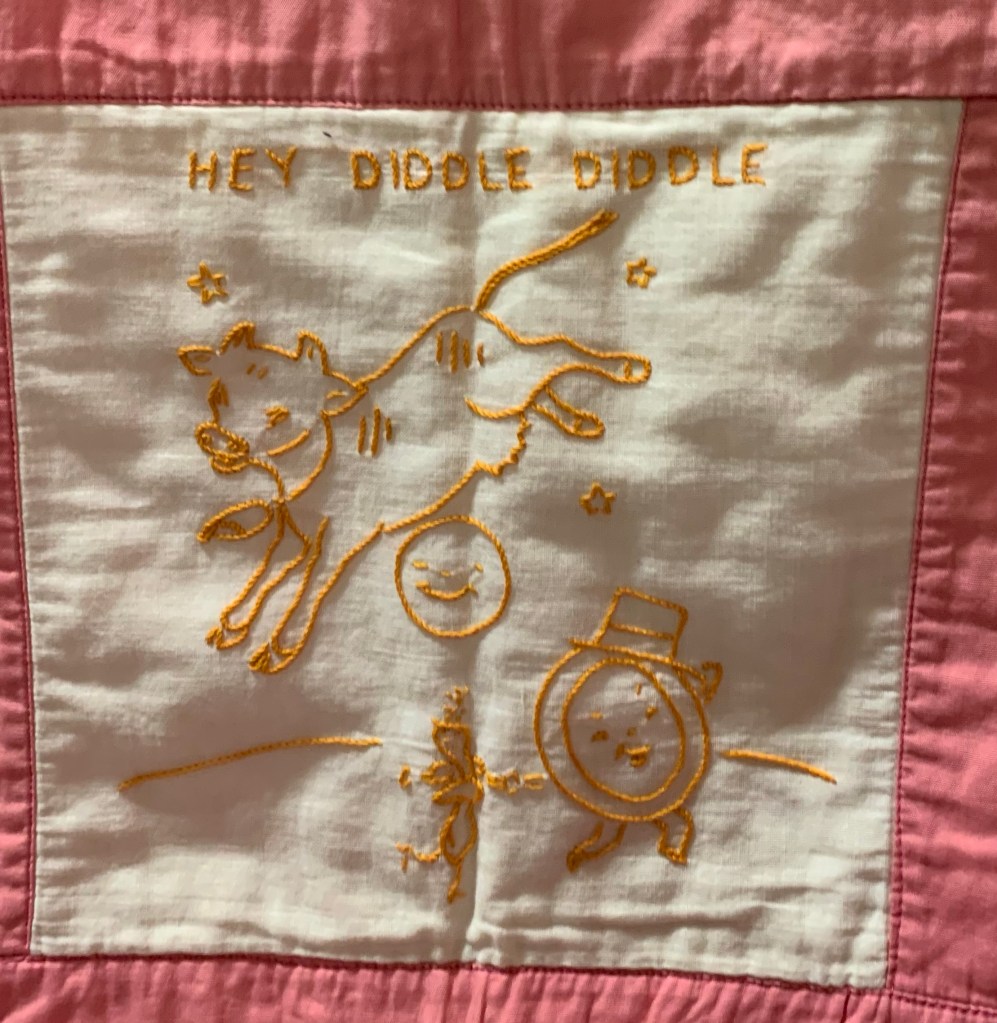
This one reminded me of a redwork crib quilt I made for my youngest.
It had some of the same blocks!
I wish I had yards of the shirting fabric used in this one!
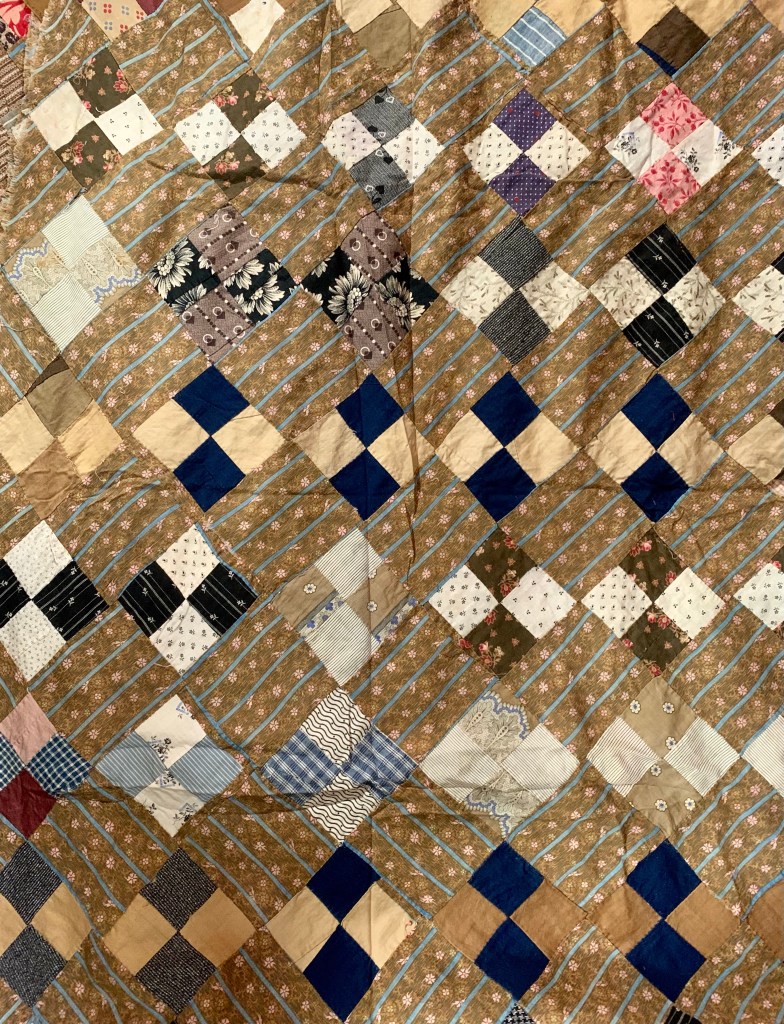
Mr. Wonderful and I rode our bikes to the antique mall last weekend. I saw so many quilts and tops, that I’ll be sharing several posts this week about them. Isn’t this one gorgeous?
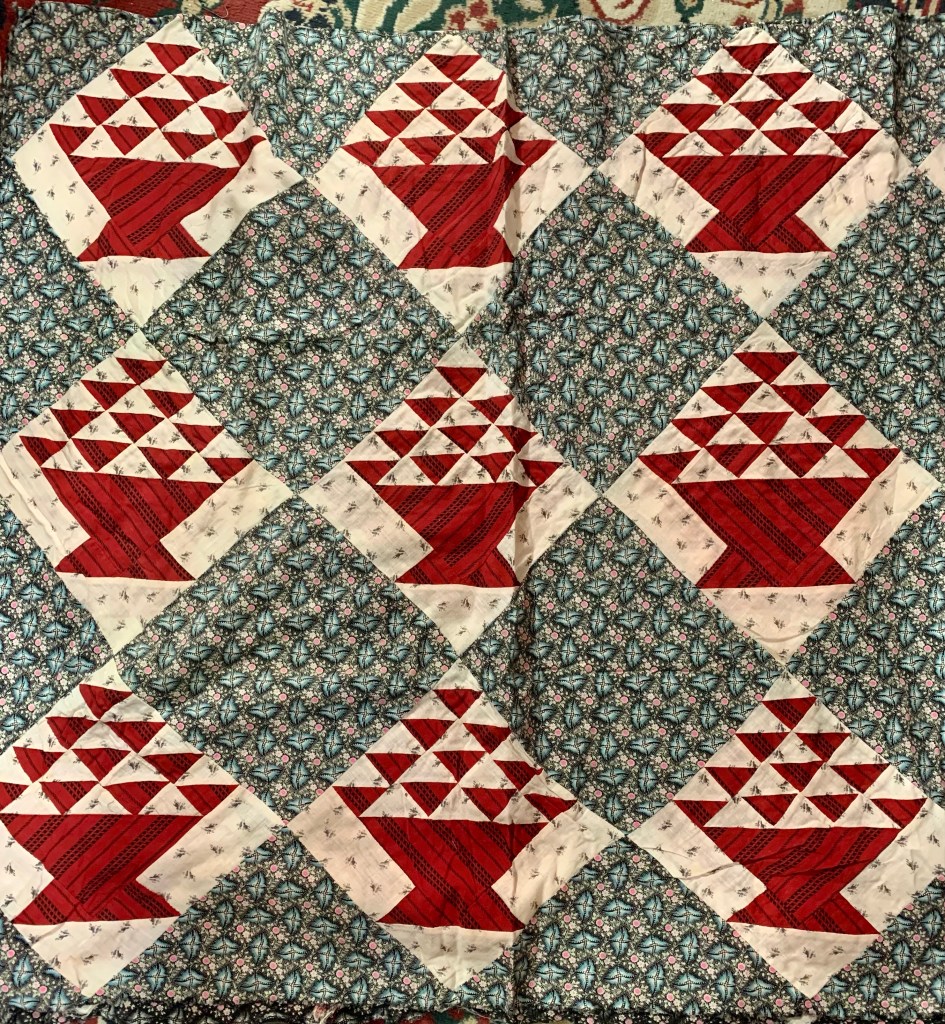
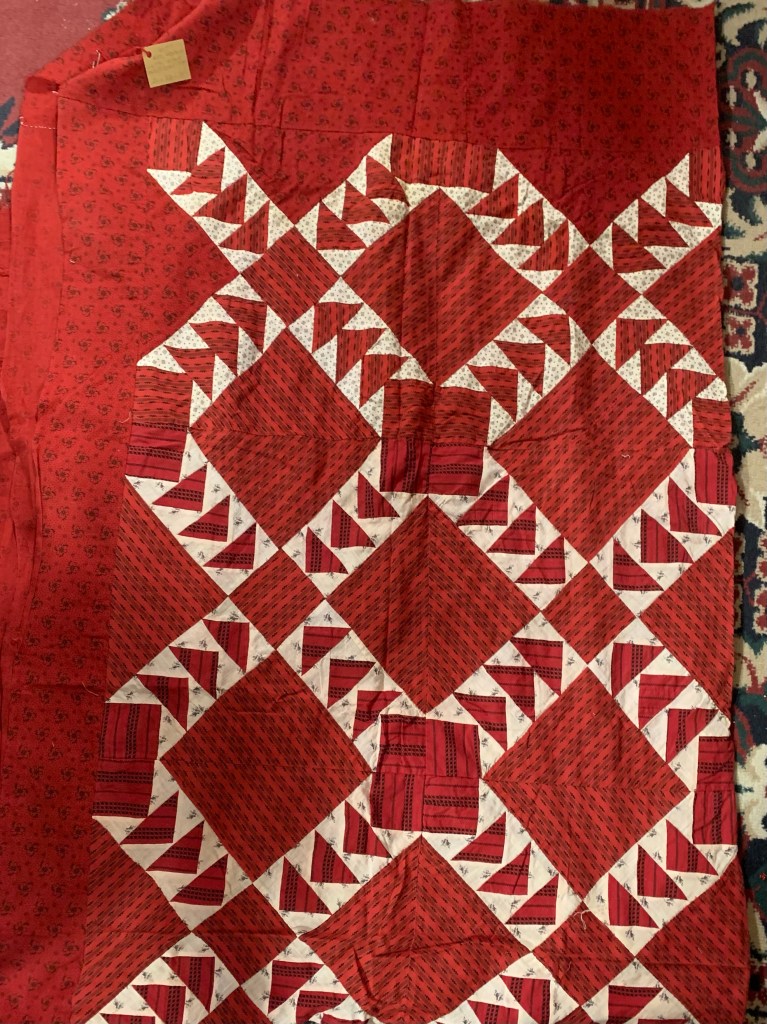
This is only a quarter of the top since there wasn’t room to lay it all out. I was sorely tempted to bring this home, but it had definite bleeding issues.
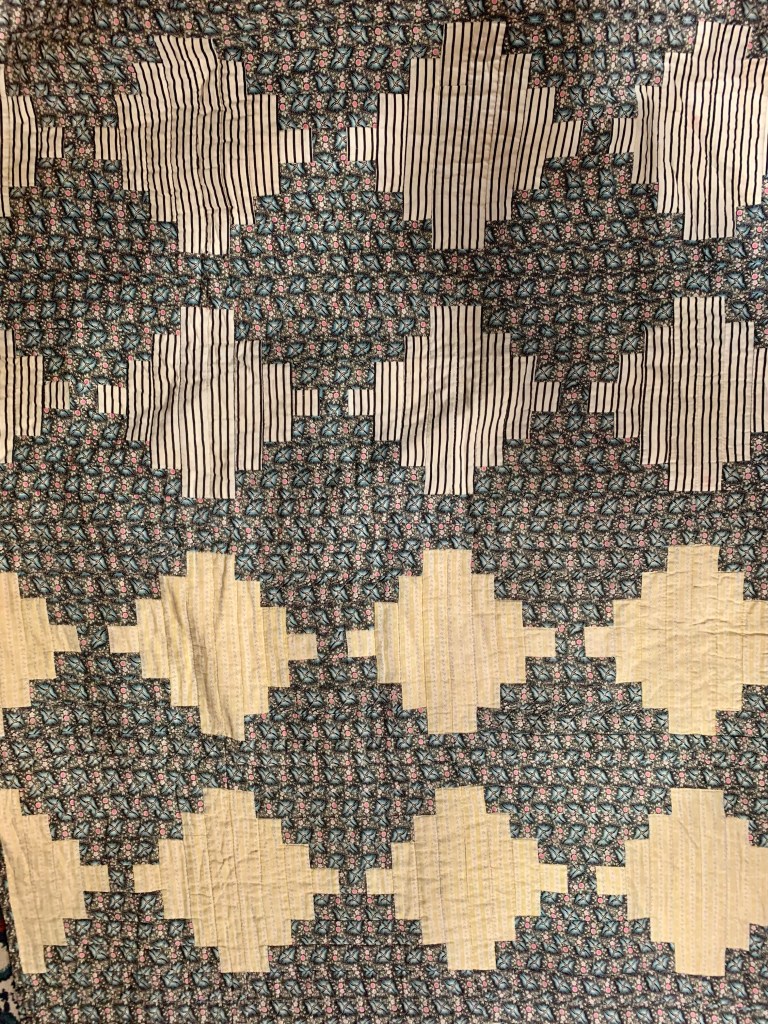
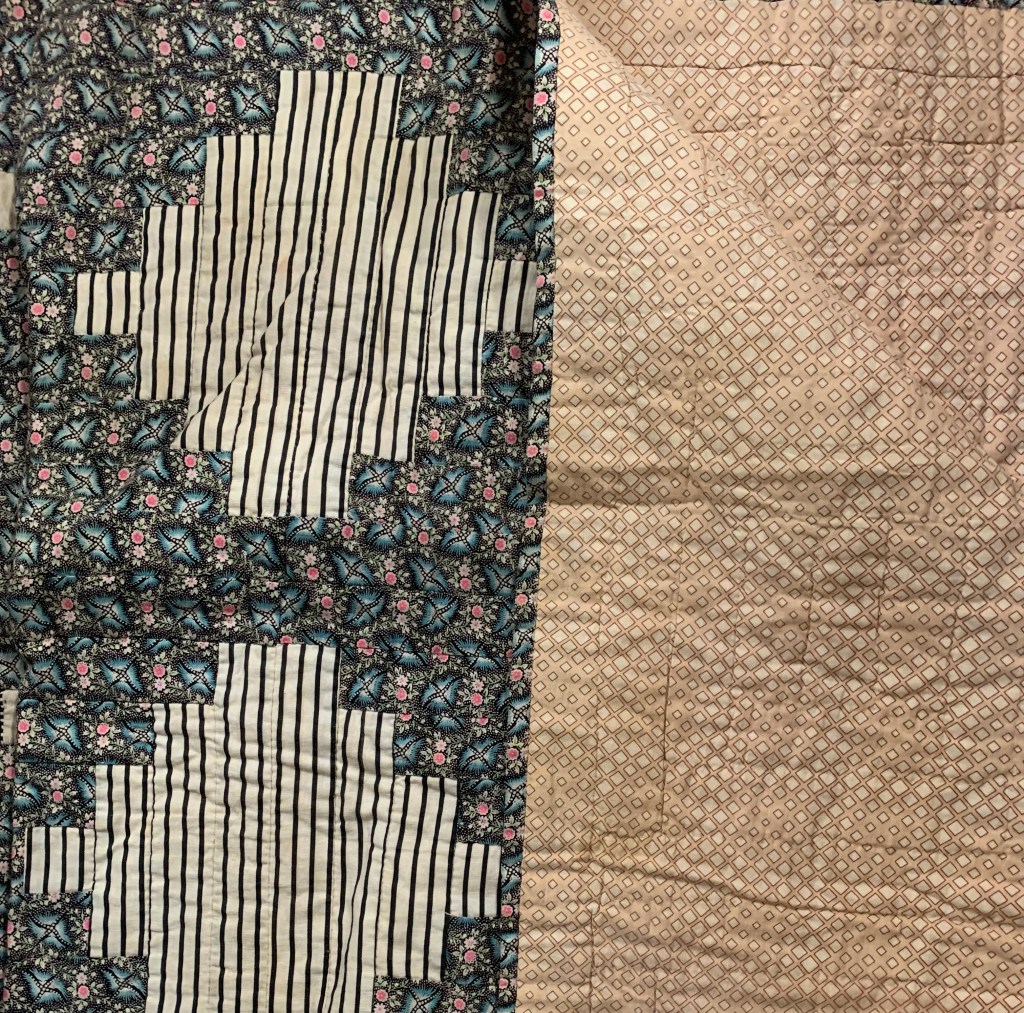
The fabric in the alternate blocks was amazing! And this quilter must have had a lot of it as she also used it in this Courthouse Steps quilt.
This was the only finished quilt in this booth, but they all shared fabrics, so they must have come from the same family.
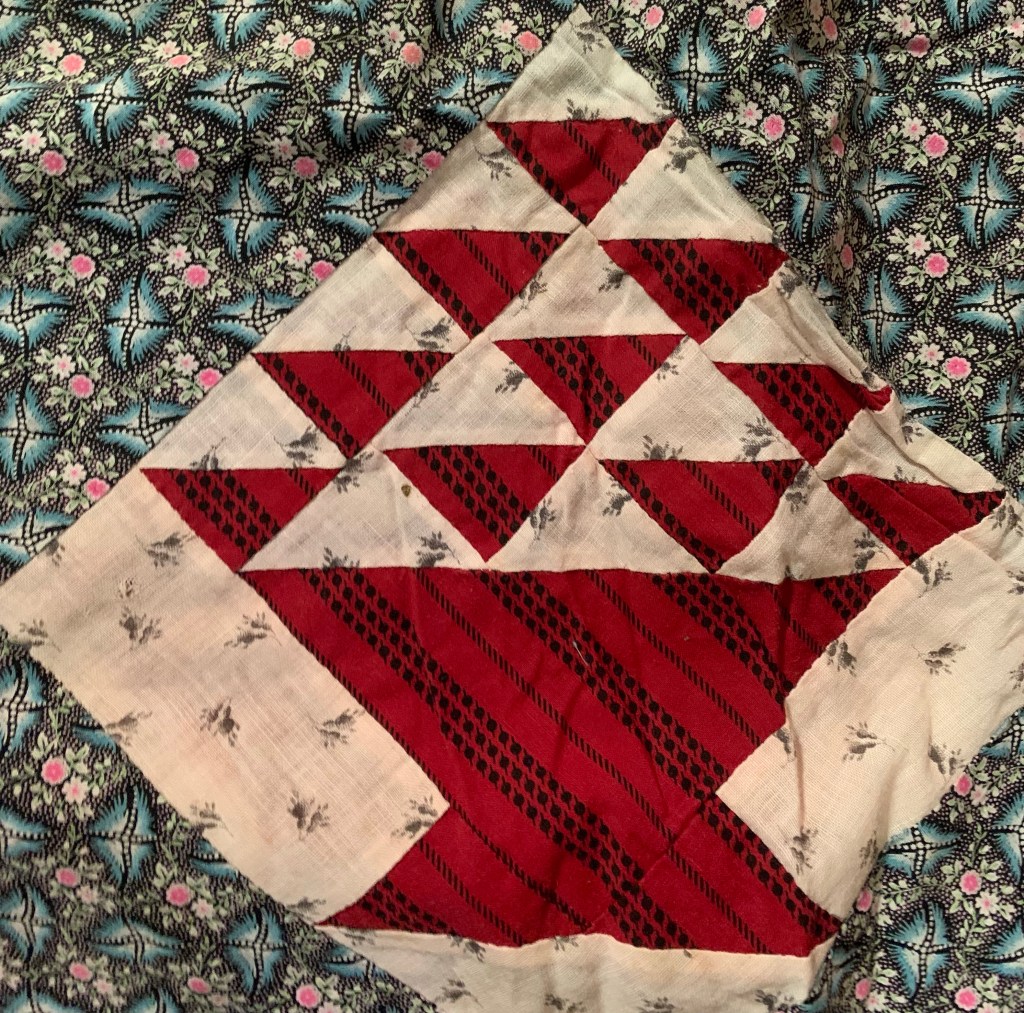
This top has the same reds as in the basket quilt.
This top was also in the group.
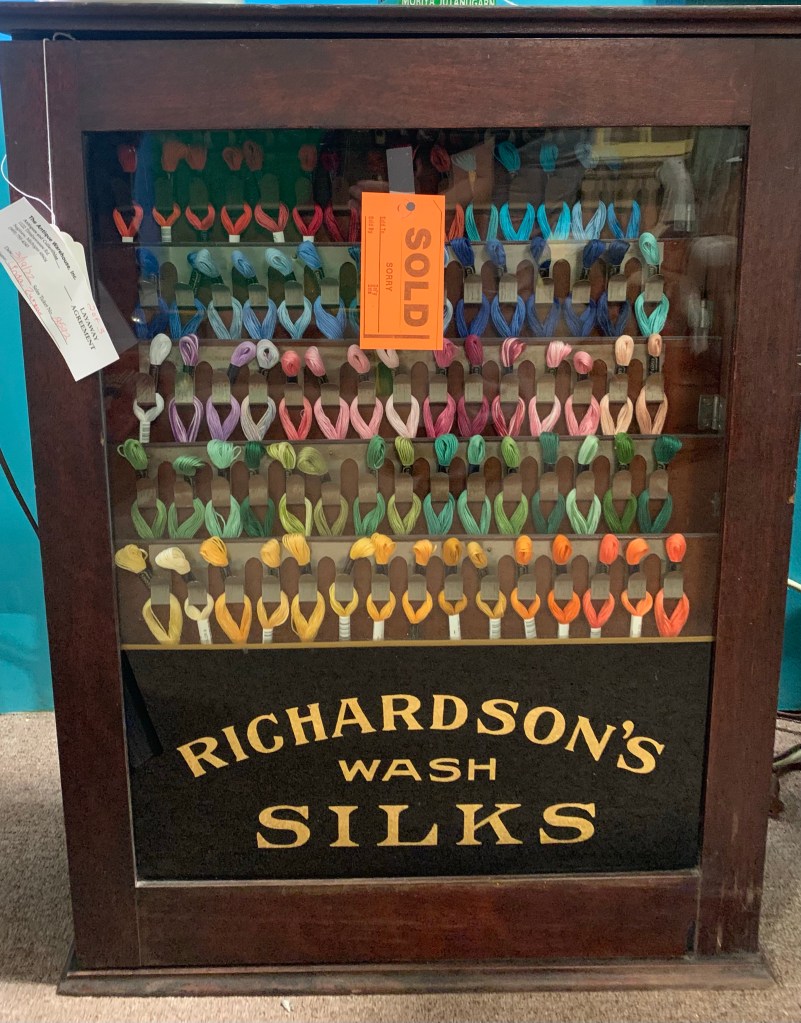
This cabinet was not with the quilts, but isn’t it gorgeous? I wanted to open it up and get a better look at that silk! Someone will be enjoying this, just not me. 🤣
More to come!
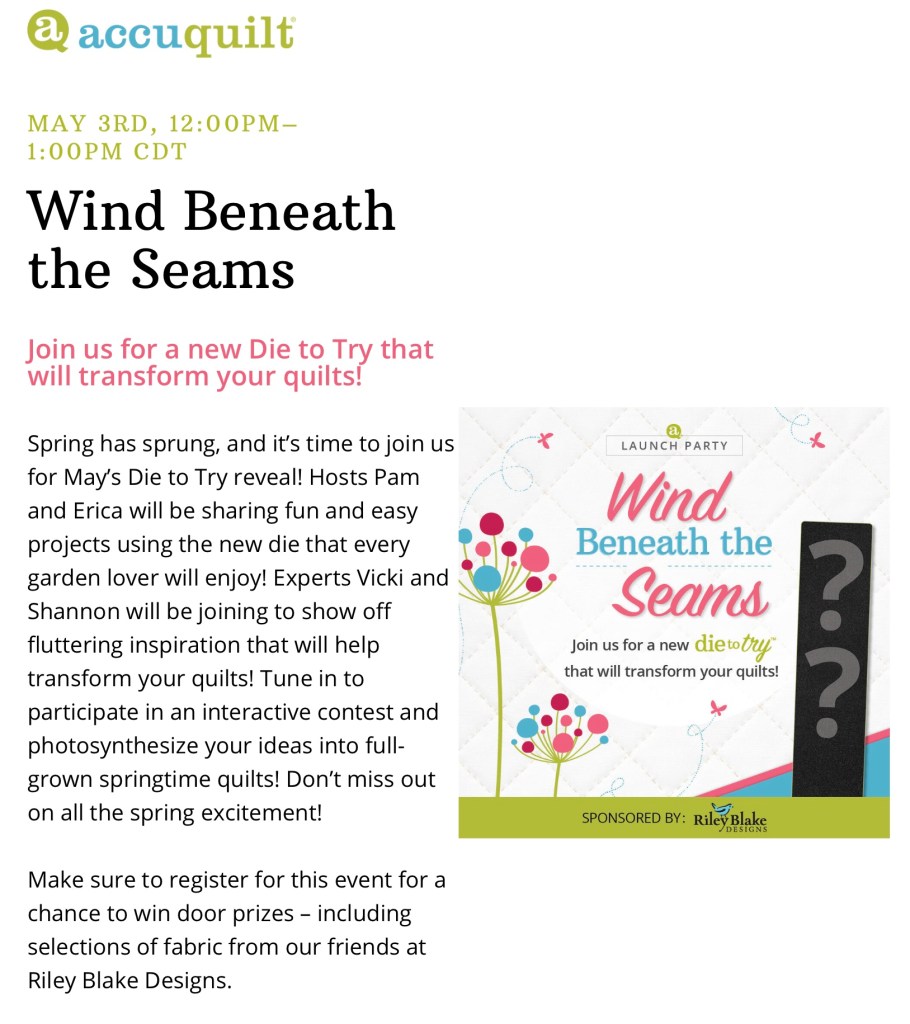
Also a reminder that today is AccuQuilt Live day! Click the link to register for the drawings.
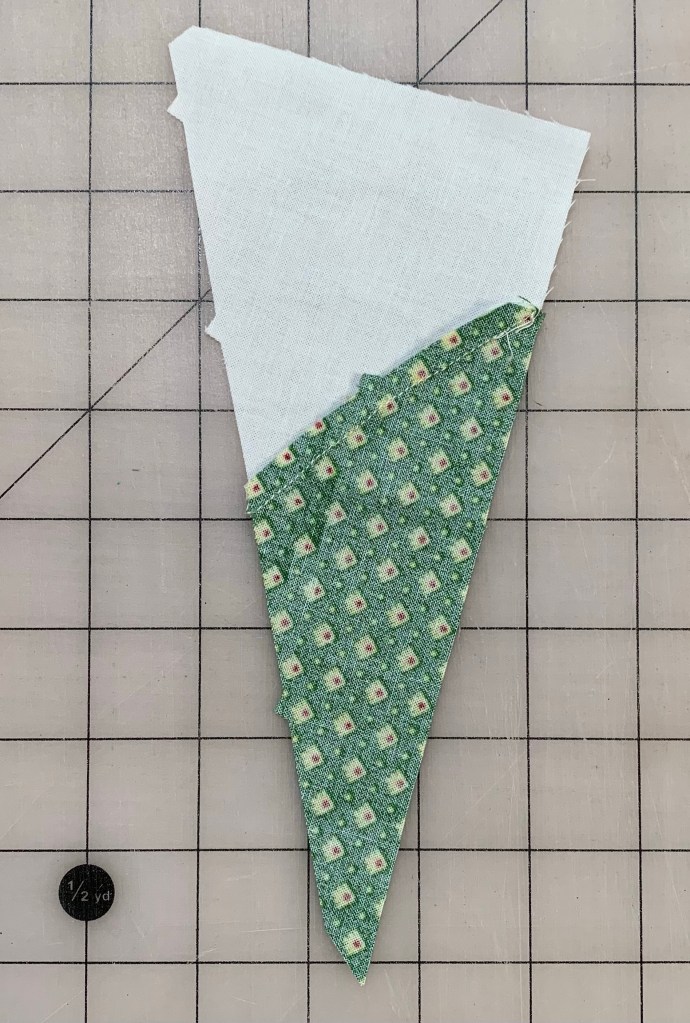
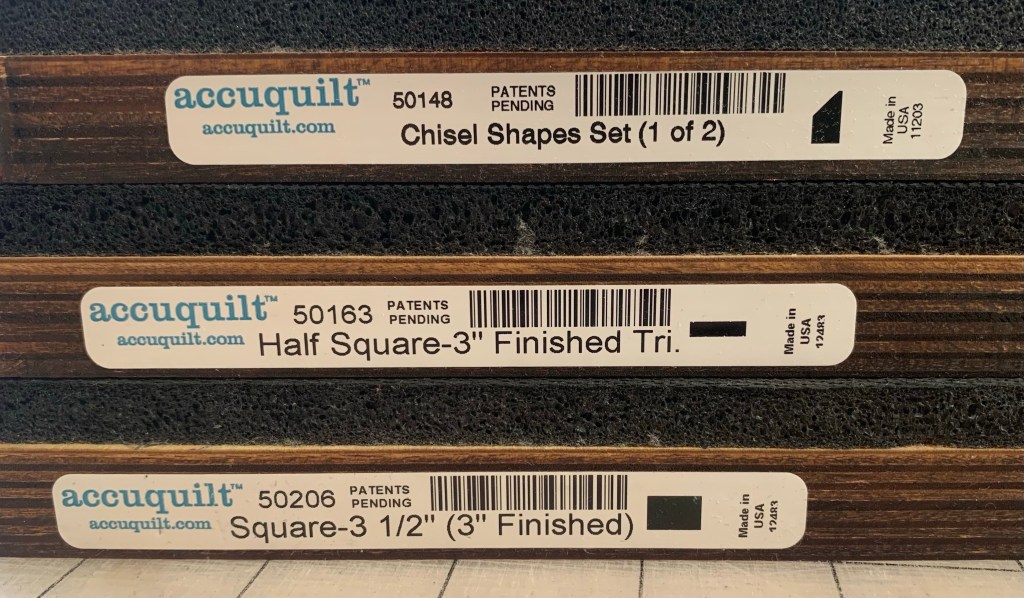
I bought some new AccuQuilt Dies recently. I’m working on some secret sewing lately and making a sample block of this was my reward for getting one of those projects done.
This is called Cleopatra’s Fan. This was not on my wishlist initially. I loved the block, but curves? No, thank you.
Then I watched this video showing how to sew the block together. Suddenly, I thought, I can do that! So in my cart, the die went.
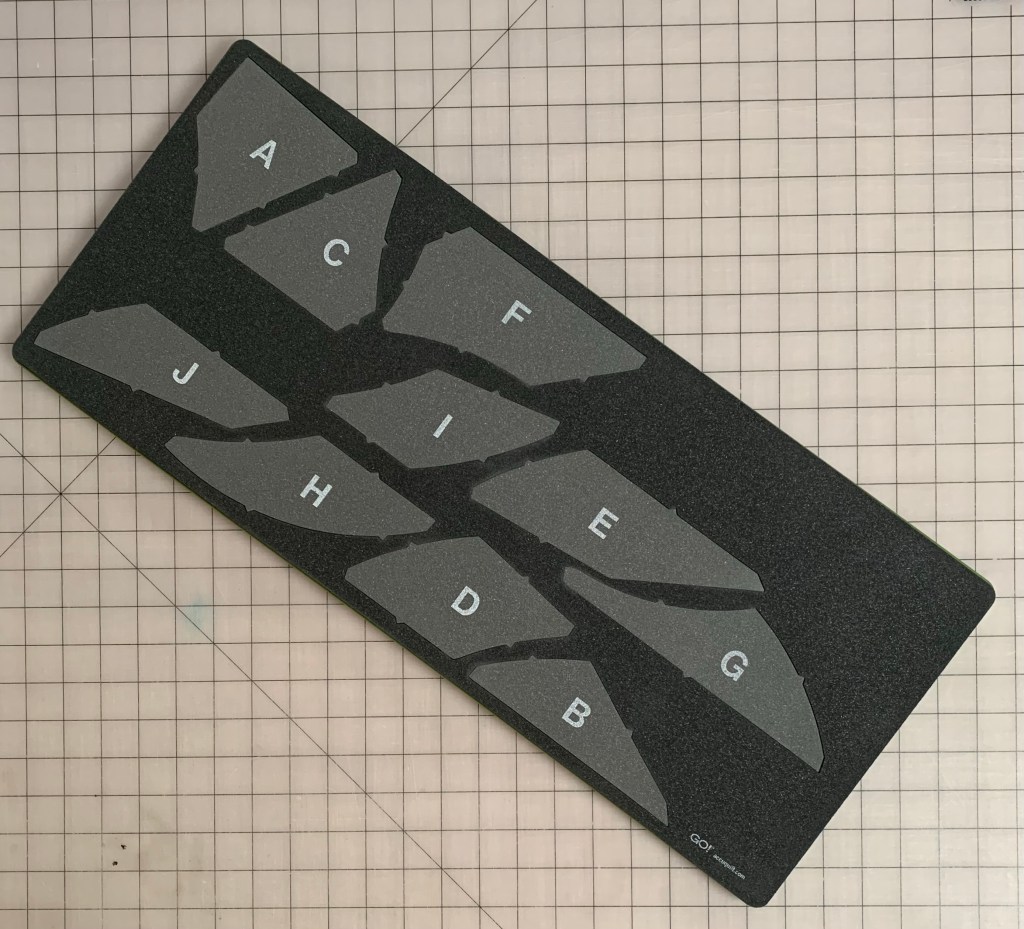
They have grouped the pieces to be cut out of the same fabrics together on the die board. Very handy! I also love that AccuQuilt screen prints the letters of the pieces on the dies.
One tip given in the video, was to leave your pieces on the die board after cutting so you can remember what’s what.
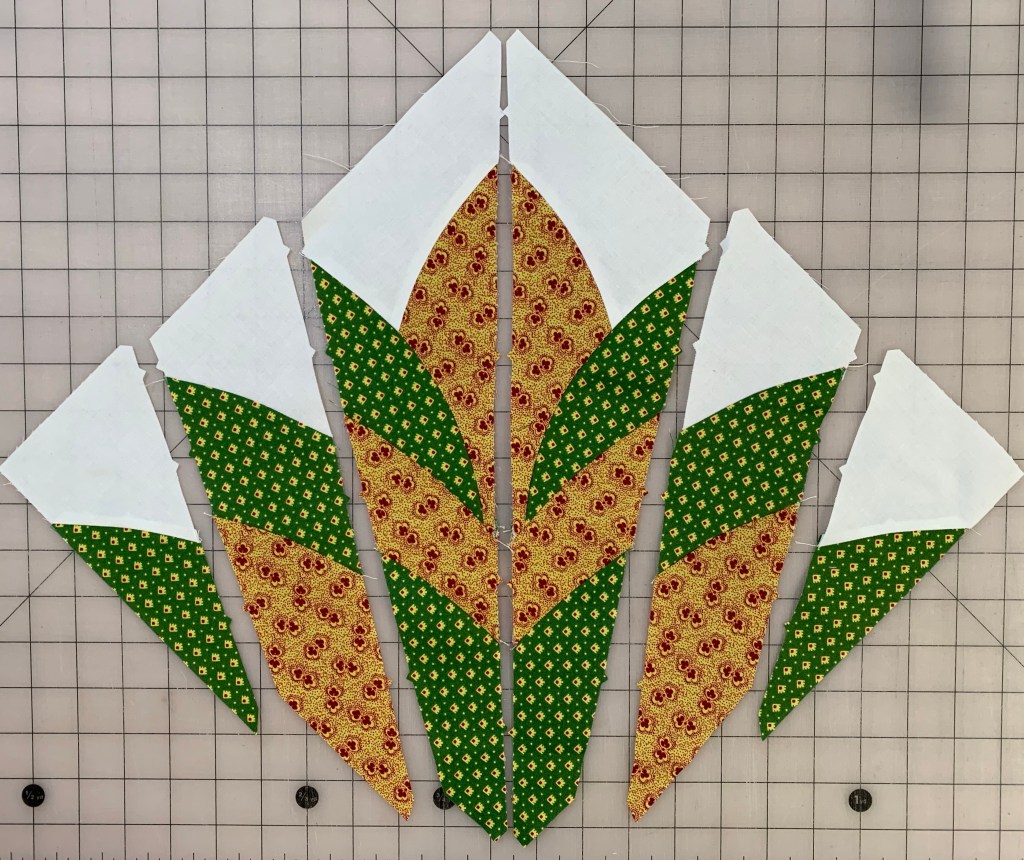
The curves are gentle and there are notches to help line things up. I pinned at the notch for the first few pieces, but I quickly abandoned the pins. I just didn’t need them. I lined up the beginning of the seam, sewed a few stitches and then matched to the notch. I sewed to the notch, then matched to the end of the seam.
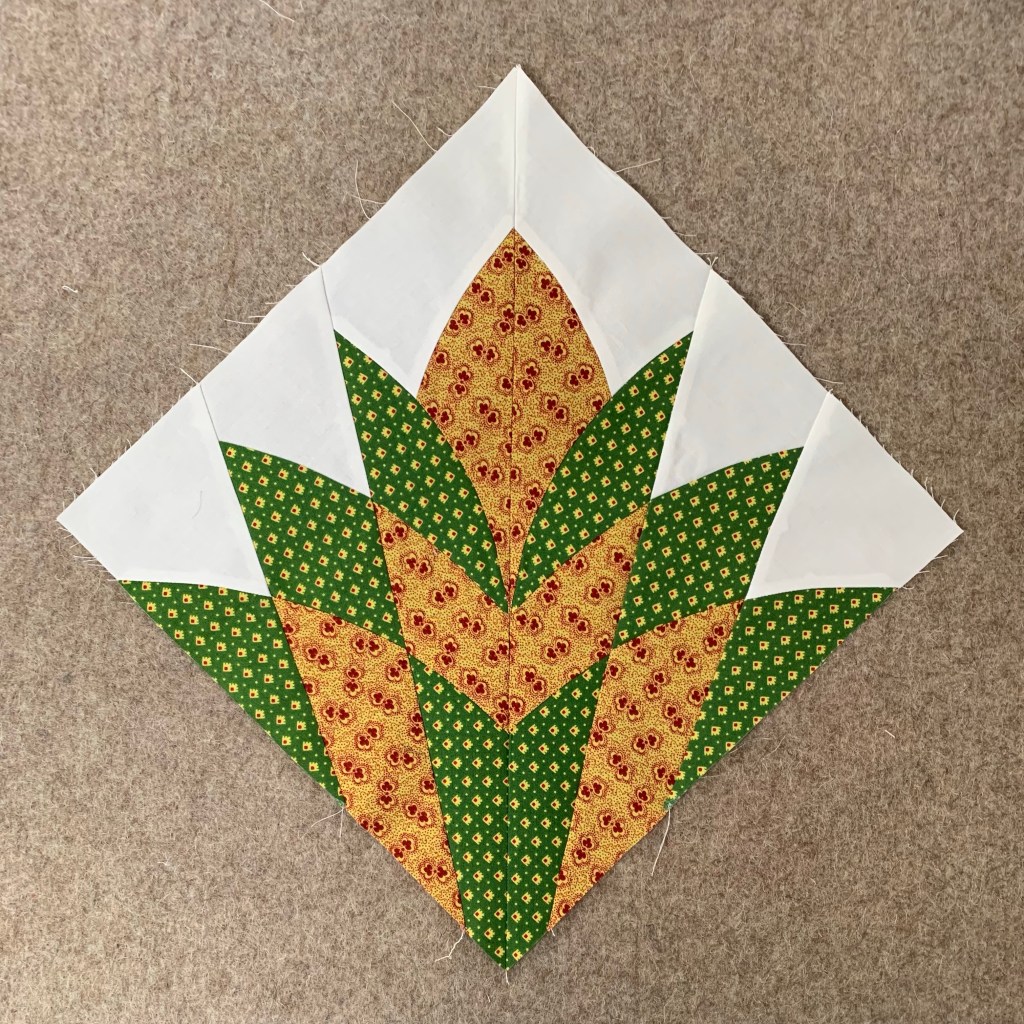
Ta daaa!
There are pressing directions on the package and I did not follow them. Oops! It worked out okay.
The moment of truth, will these bits fit together?
Yes! I’m so pleased with this block! You need to take your time, but the effort is well worth it.
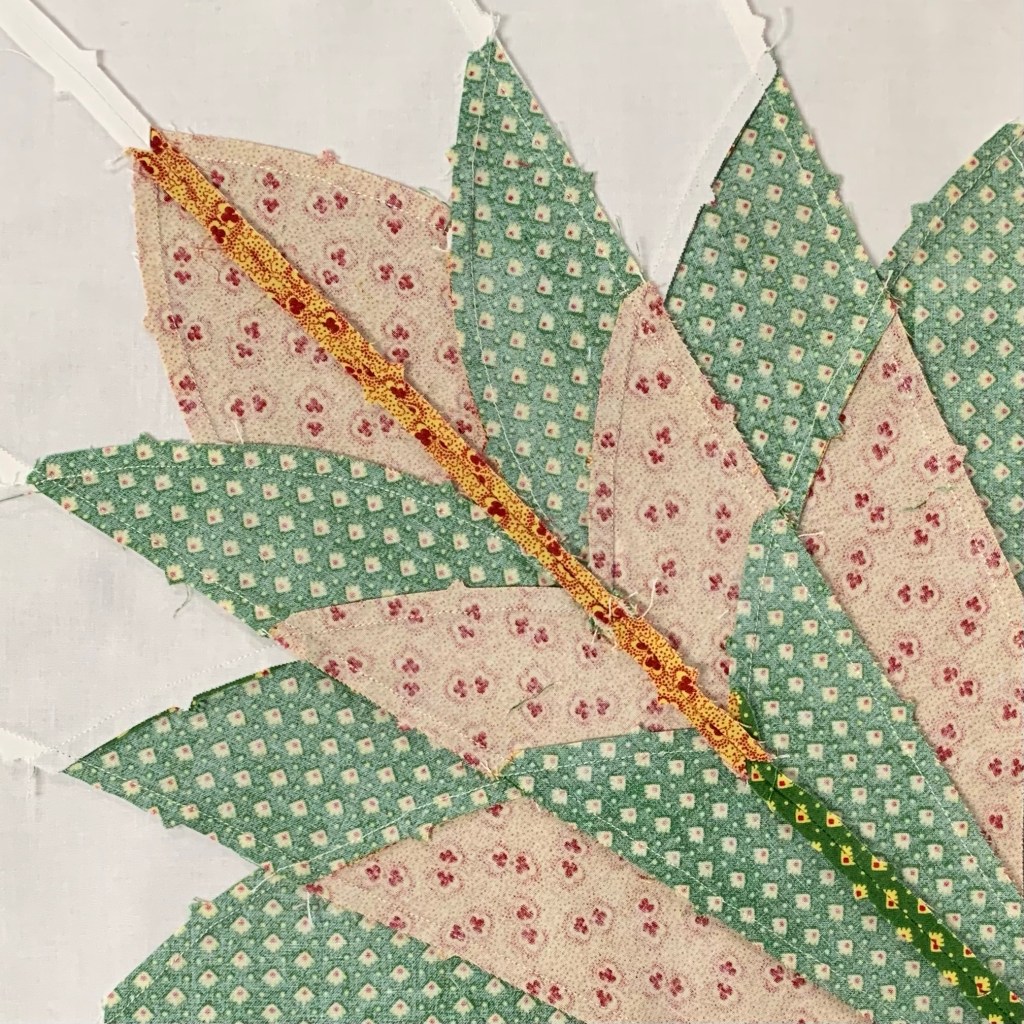
Here is the back. I would have had less bulk if I had followed the pressing directions.
And through the wonders of layout apps, this is what four blocks together could look like.
There are so many possibilities with this block. Wouldn’t it be fun in rainbow colors? Four would make s great center for a medallion quilt. I’m really glad I grabbed this one.
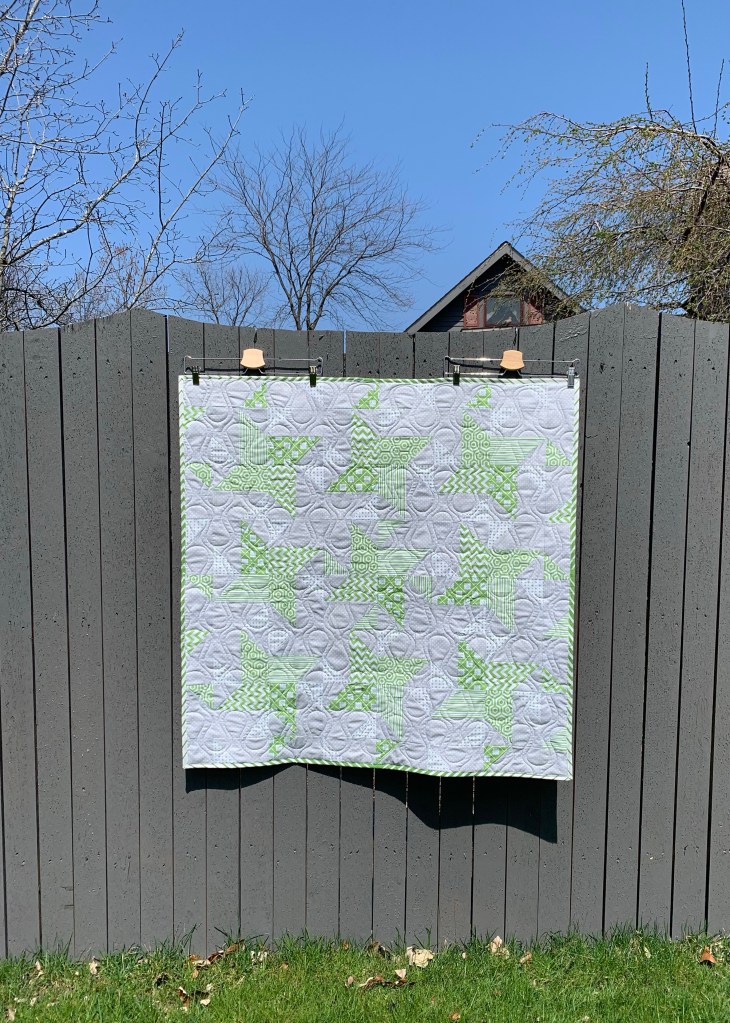
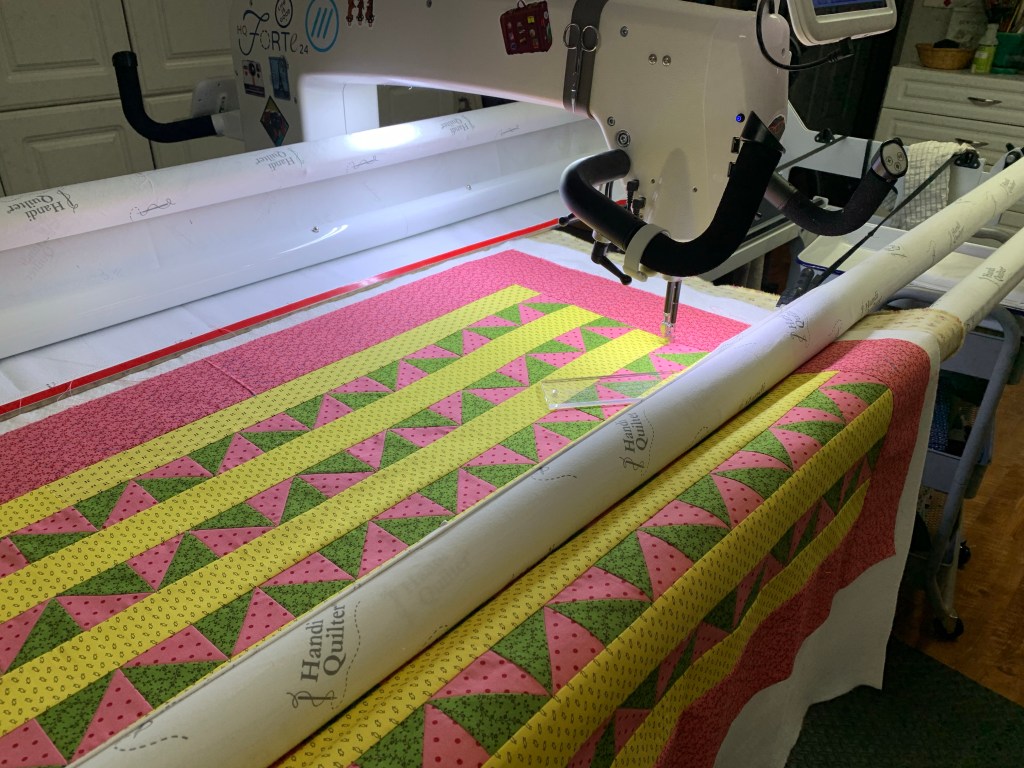
I’ve made some great progress on this over the last week.
I have all the fans around the outside edge quilted, so I was able to get the binding on. The center still needs to be quilted, but because the edges are done, I can do the binding now.
I ended up going with this older Minnick and Simpson print.
I marked the border with a cable and decided to do this in the strips.
I’m really happy with the strips. I’m not so sure about the cables. I’m not sure I can do them well.
A messy cable would be worse than no cable at all. So I’m at a standstill until I can figure out what to do here. I really like this little bit, so I want to get it right.
Before I get into today’s post, I want to comment on comments! WordPress has changed the emails I get when someone comments and I’m having trouble responding because the commenter’s email is no longer included. I’m not ignoring anyone, I’m still trying to figure this out. If I already have your email in my address book, it usually isn’t a problem…but sometimes it is. Especially if I know more than one person with the same name! Ugh. Moving onto more interesting things…
I had originally planned to make 12 blocks, but my cutting mistake affected my mojo. I stopped after 9.
I used up as many pieces as I could in a pieced border. I still gave these bits.
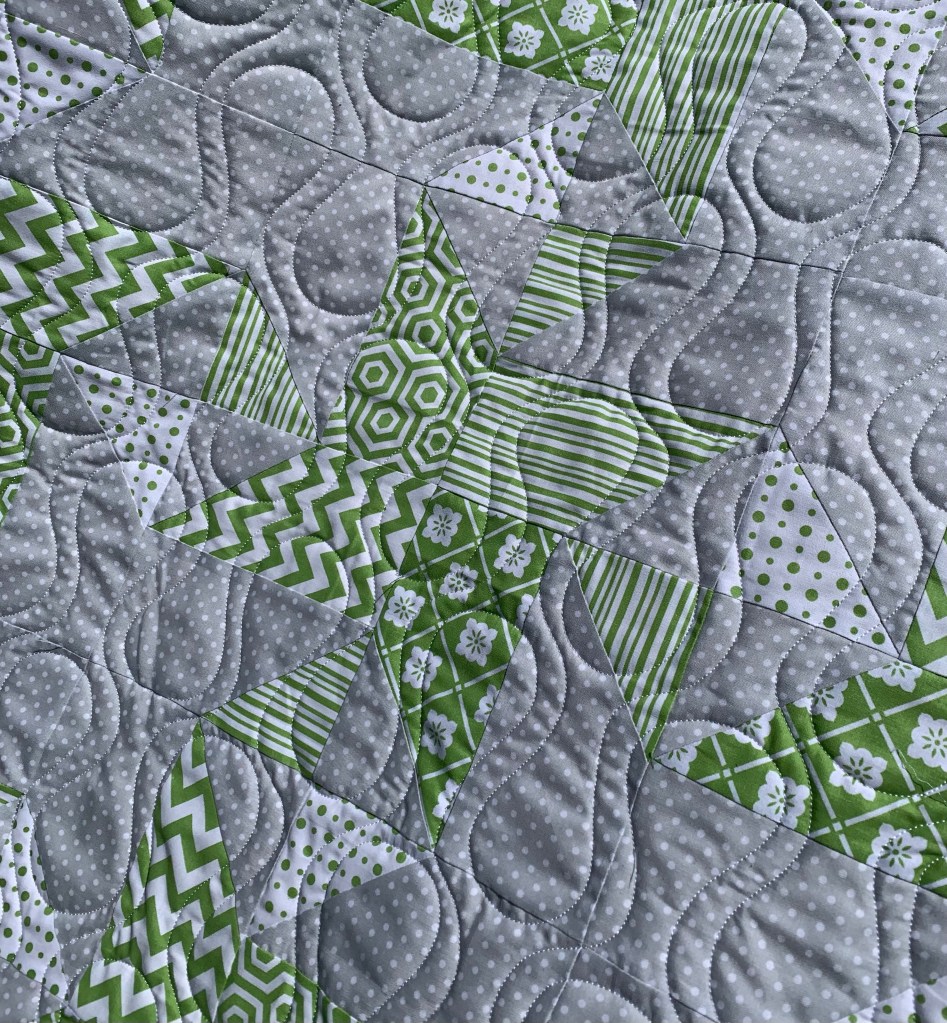
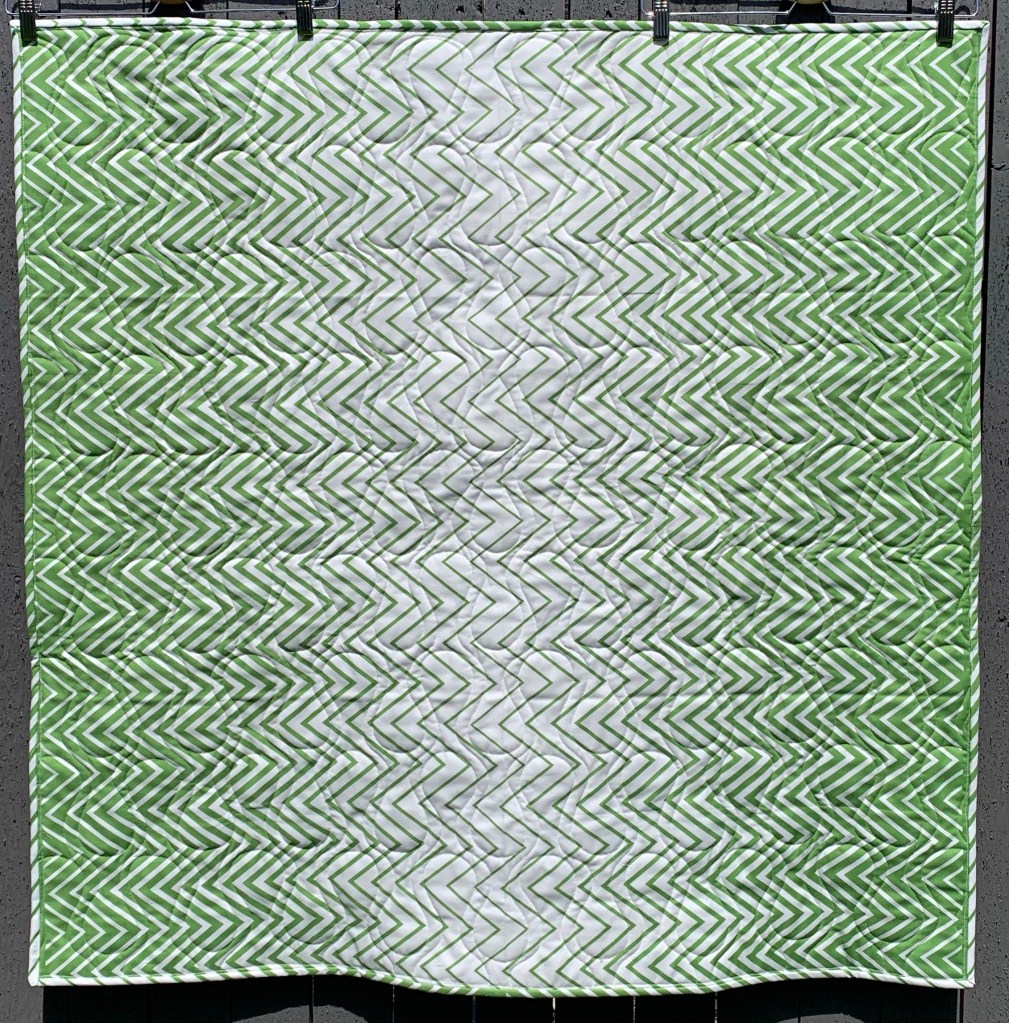
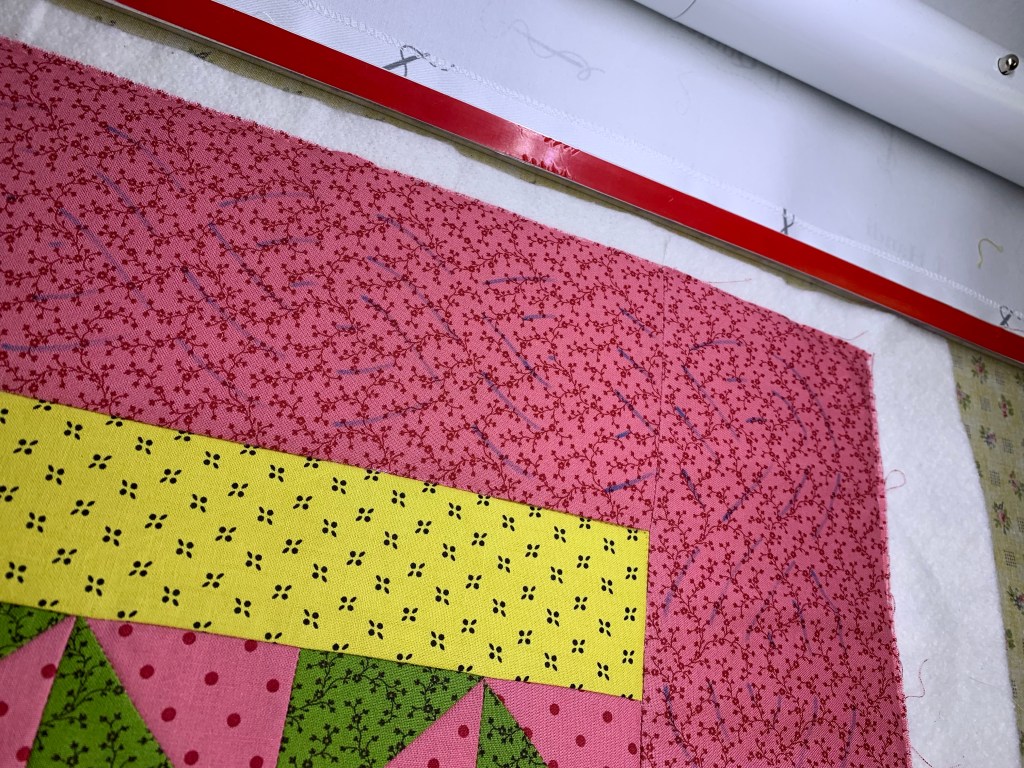
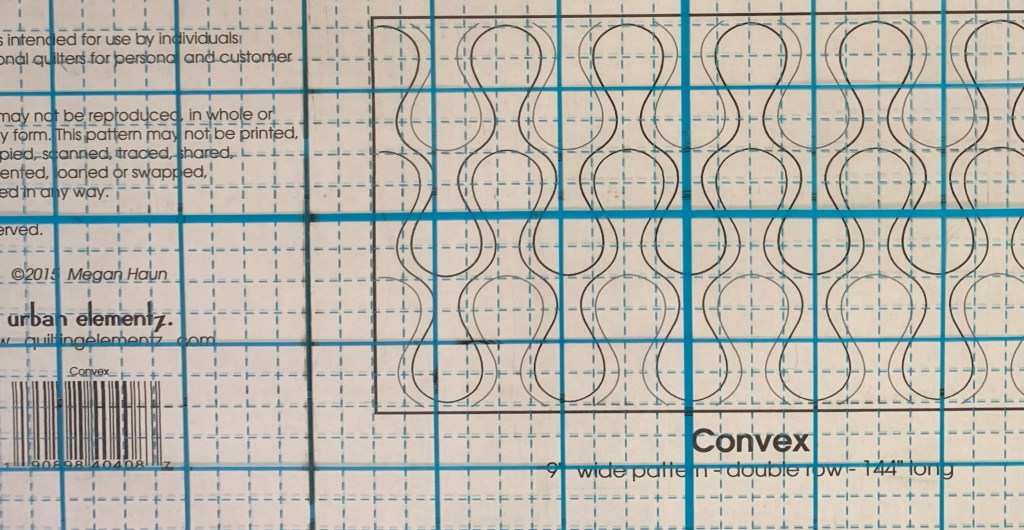
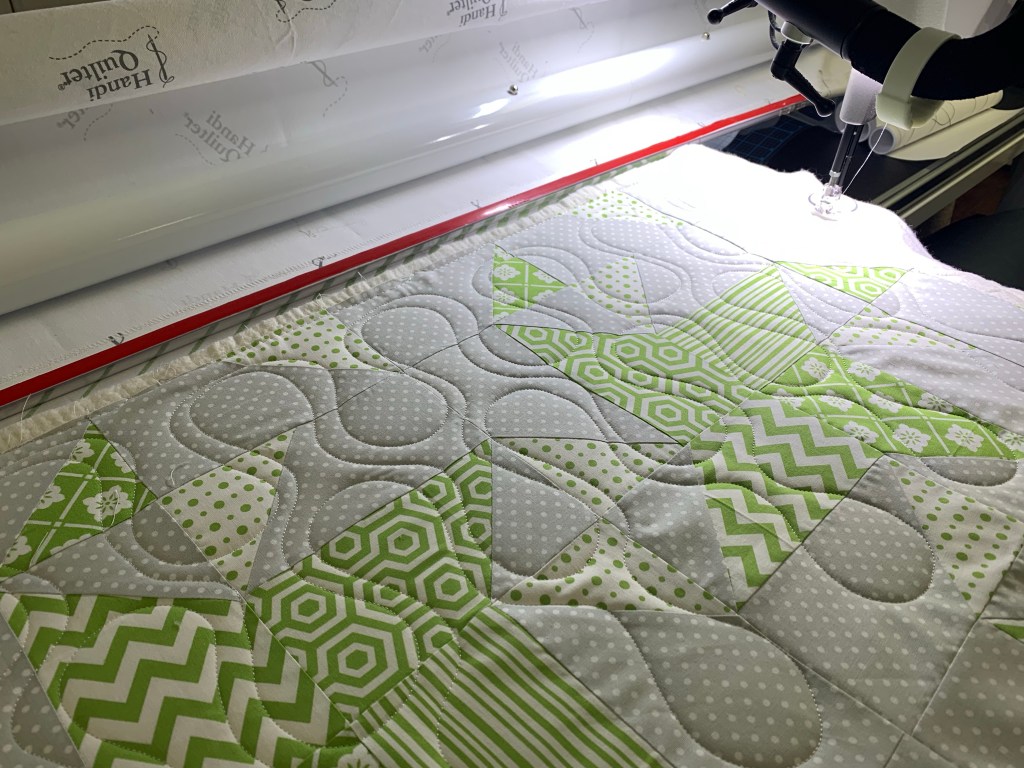
This is a new panto for me. It’s trickier than it looks, because all wiggles show.
I do like how this is looking so far.
Come back Friday for the finish. Have a great day!
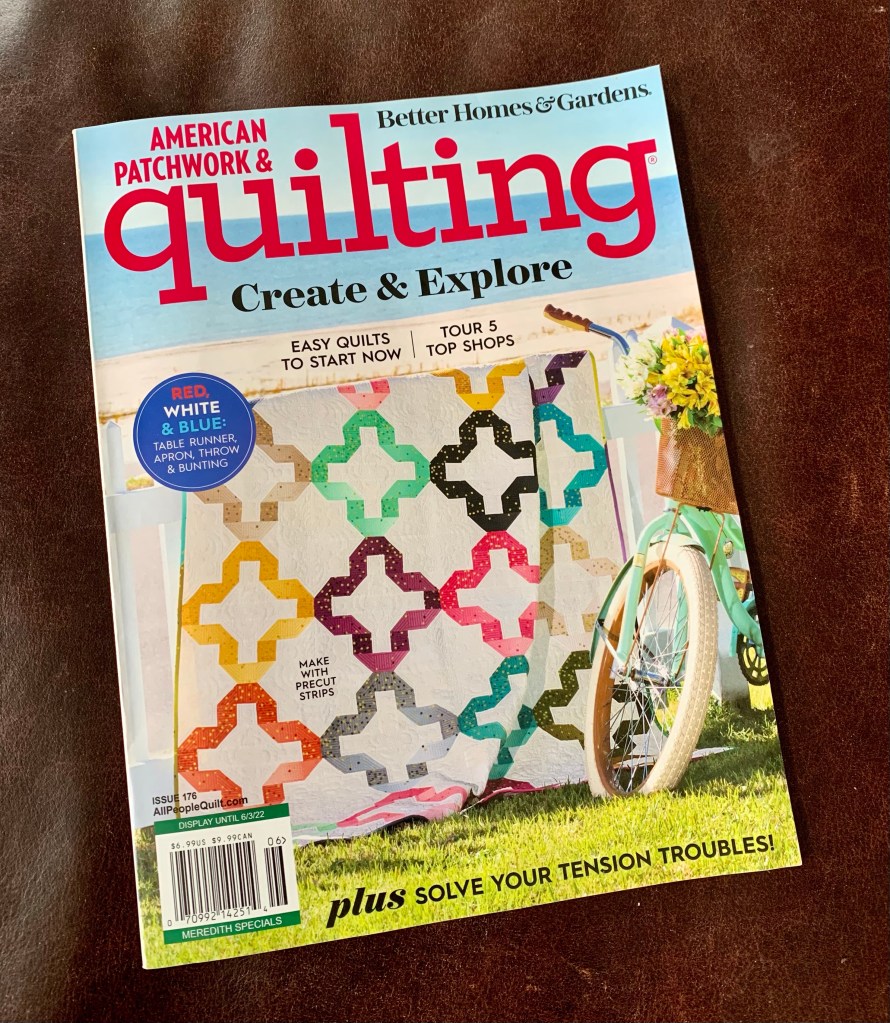
I’d been planning to buy it for a class being offered via Zoom by Lori from Humble Quilts. She has this lovely quilt patterned inside.
Before I picked it up, I got a text from my friend, Kelly, asking if I knew one of mine was inside. I did NOT know, but you can bet I ran right to Sam’s Club to get my copy! (The news stand price for this is $6.99; it cost $4.86 at Sam’s.)
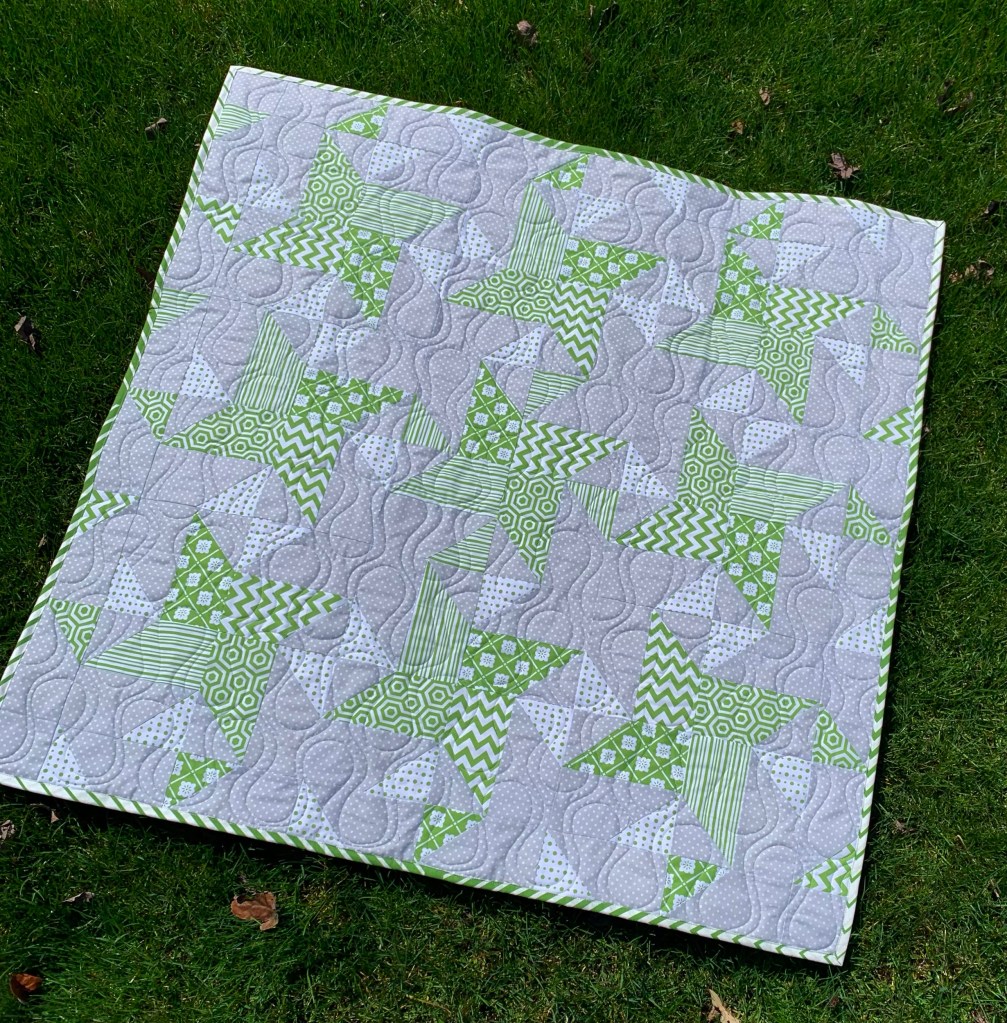
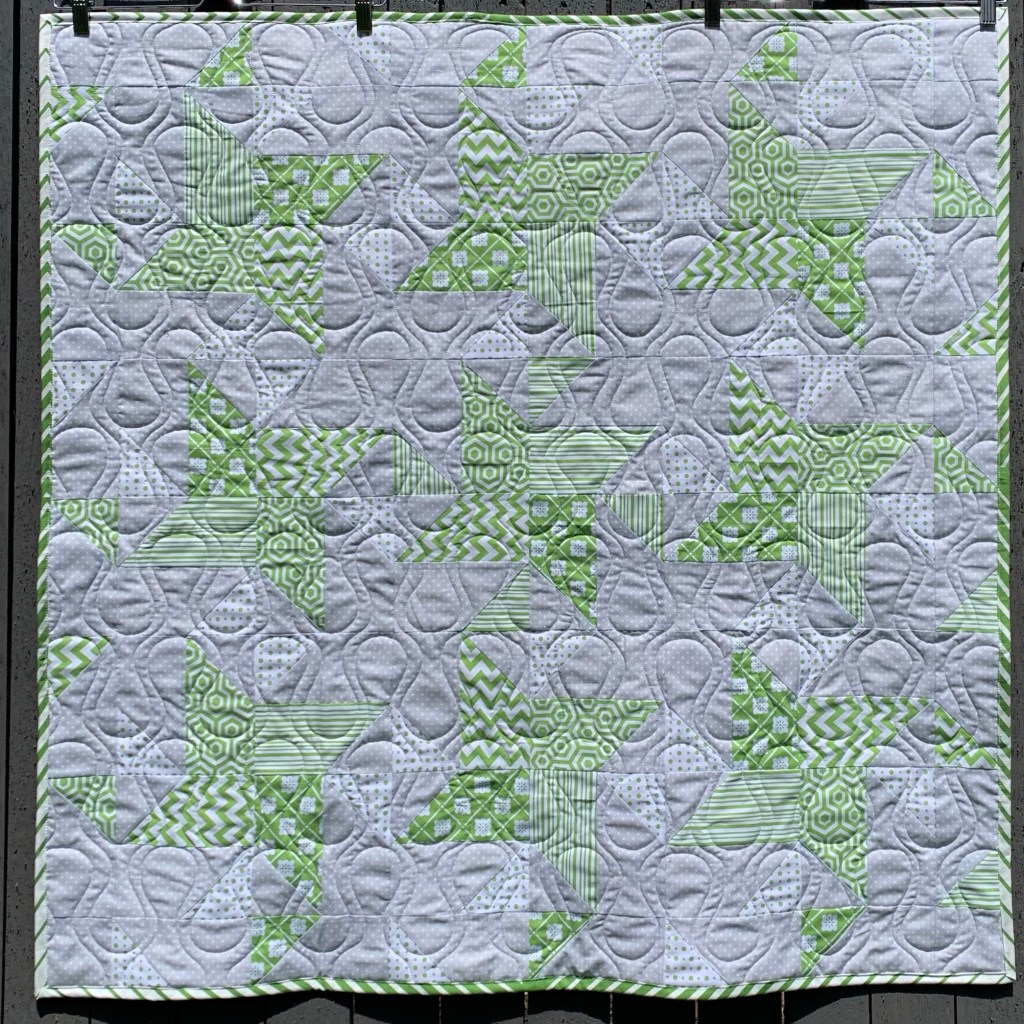
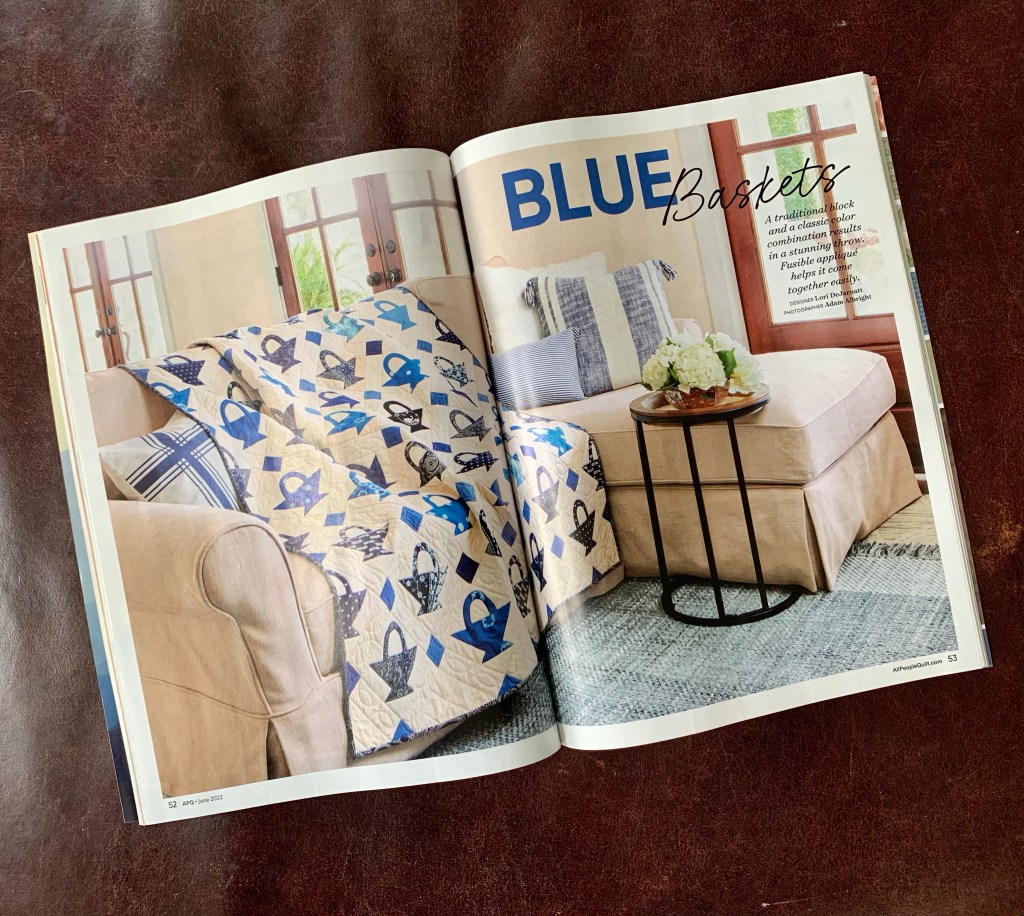
How fun is that? I made this little quilt for AccuQuilt (affiliate link).
Years ago, I used to have quilts published in QUILT magazine. They went out of business quite a long time ago now. It’s still a thrill to see something you made in print!
BTW, click here to register for today’s AccuQuilt Live program. They are launching another new die!
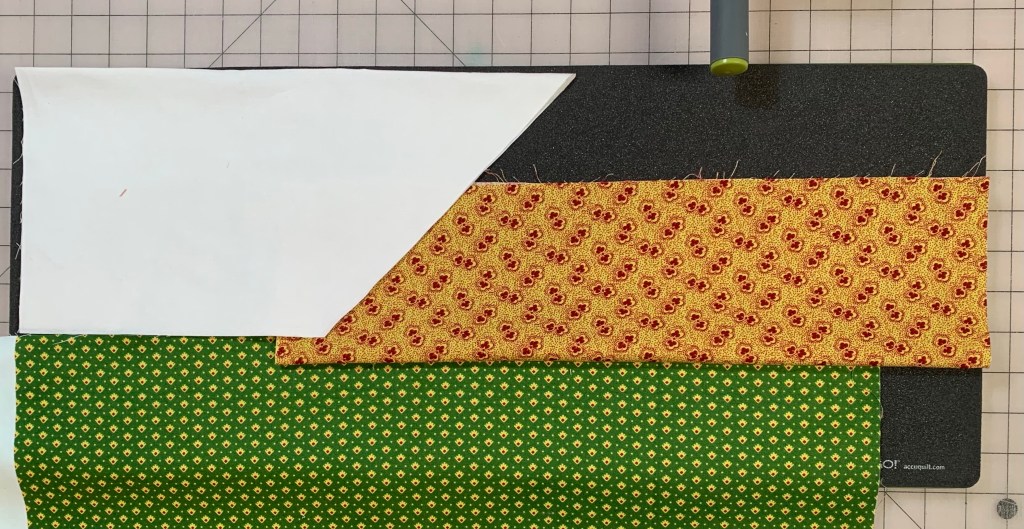
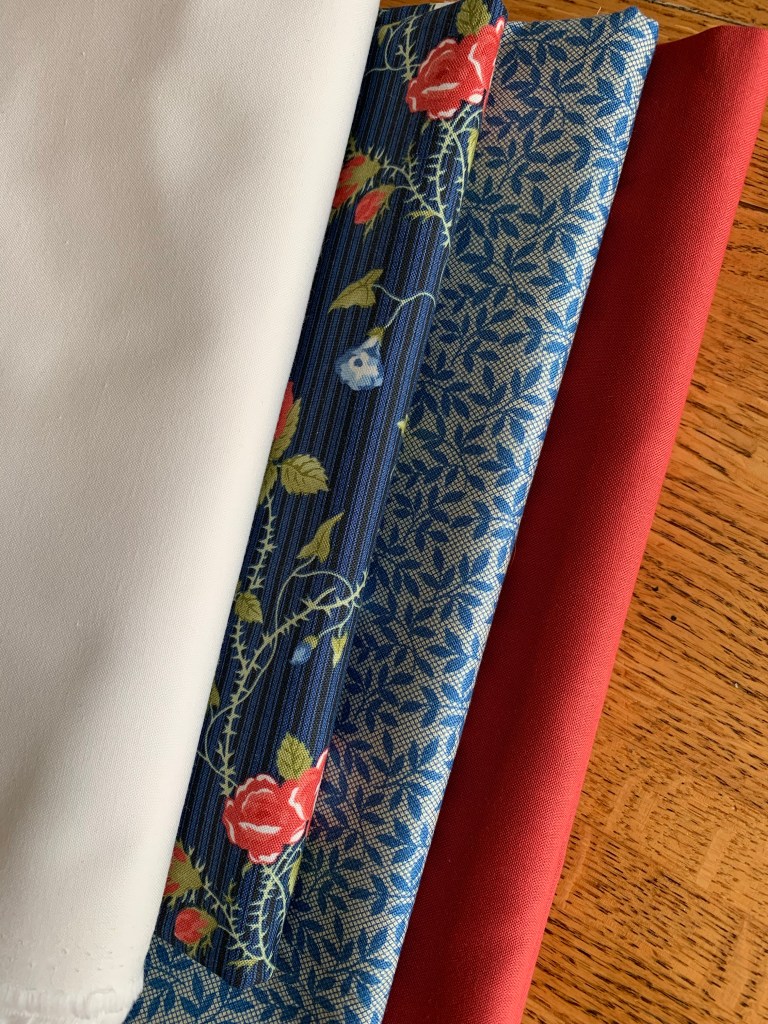
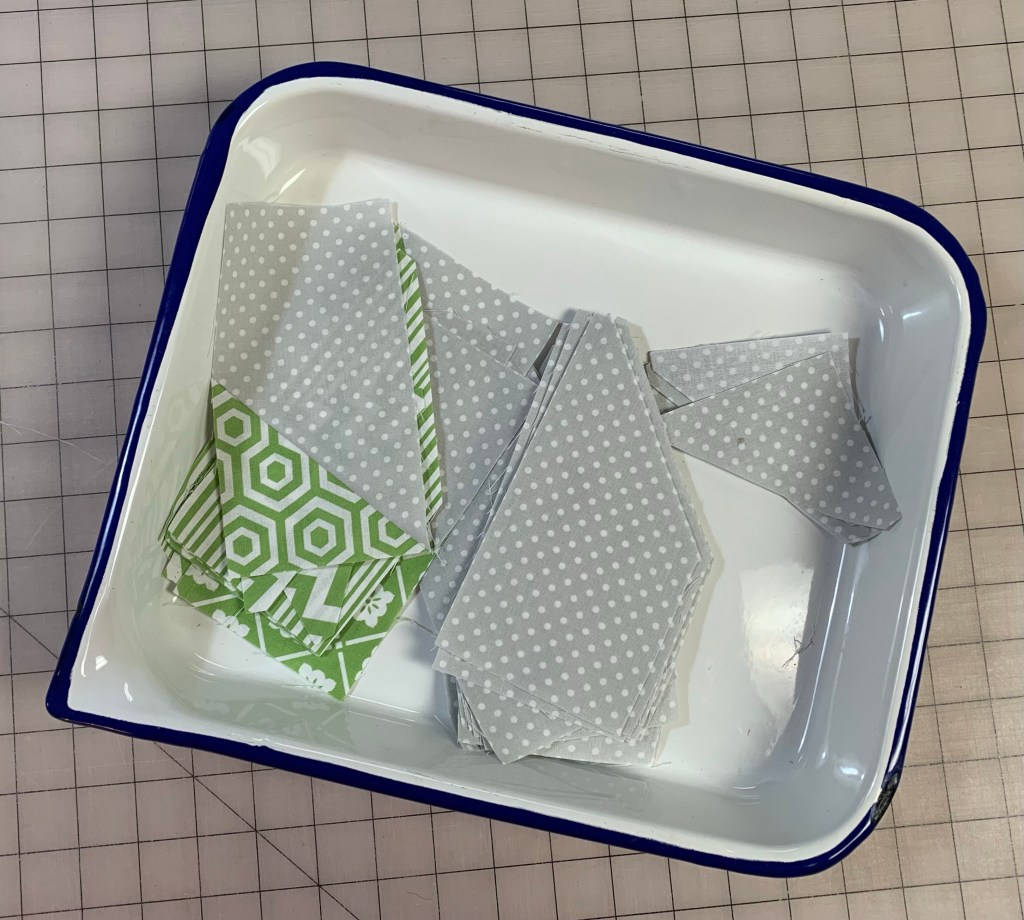
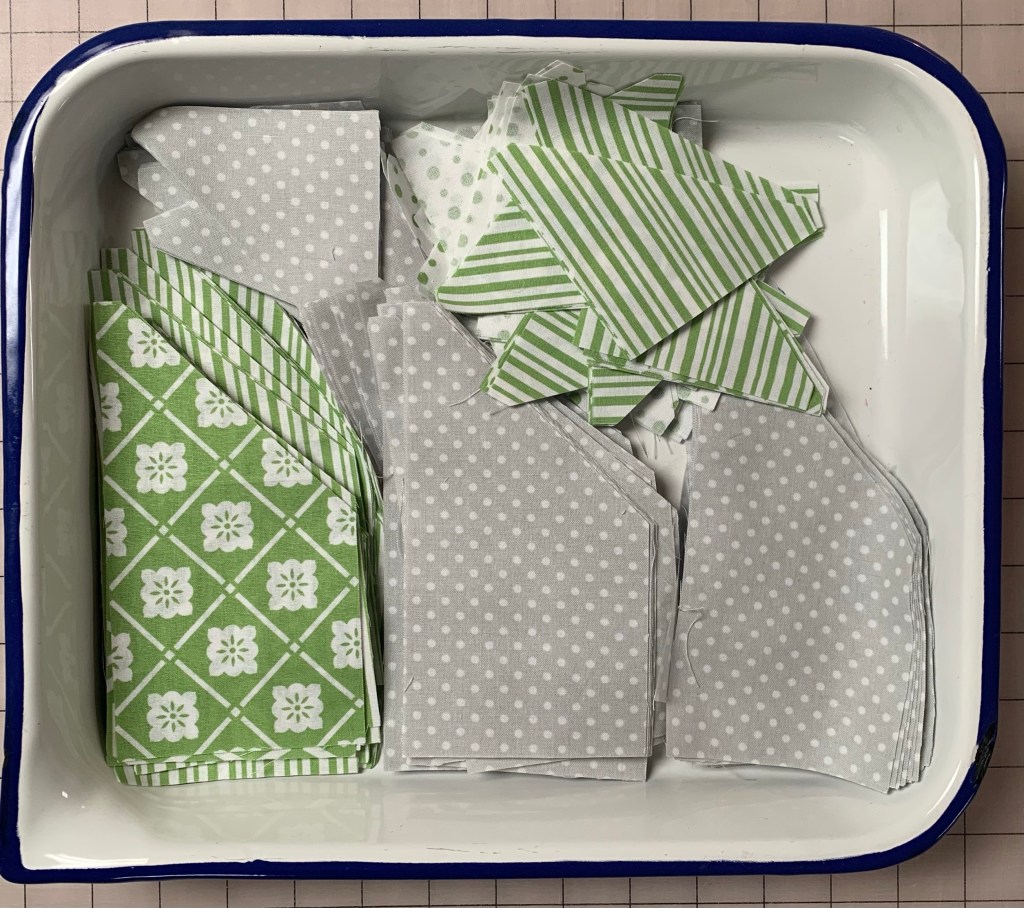
After spending too much time, aimlessly wandering around my sewing room, I finally grabbed these dies and a little bundle of five fat quarters.
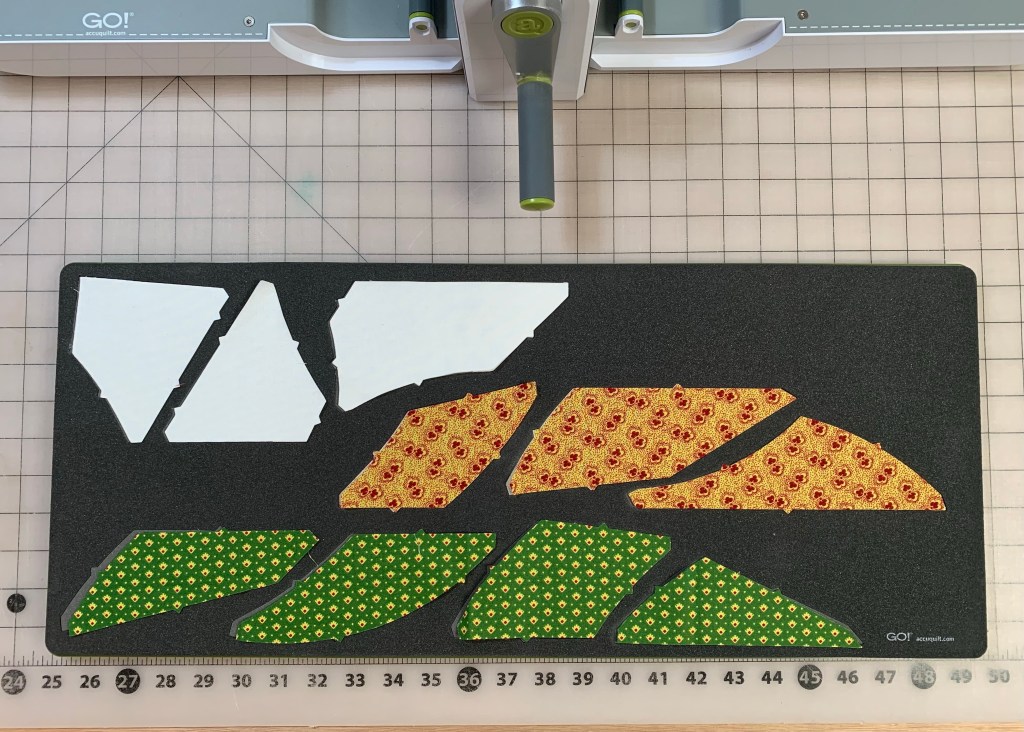
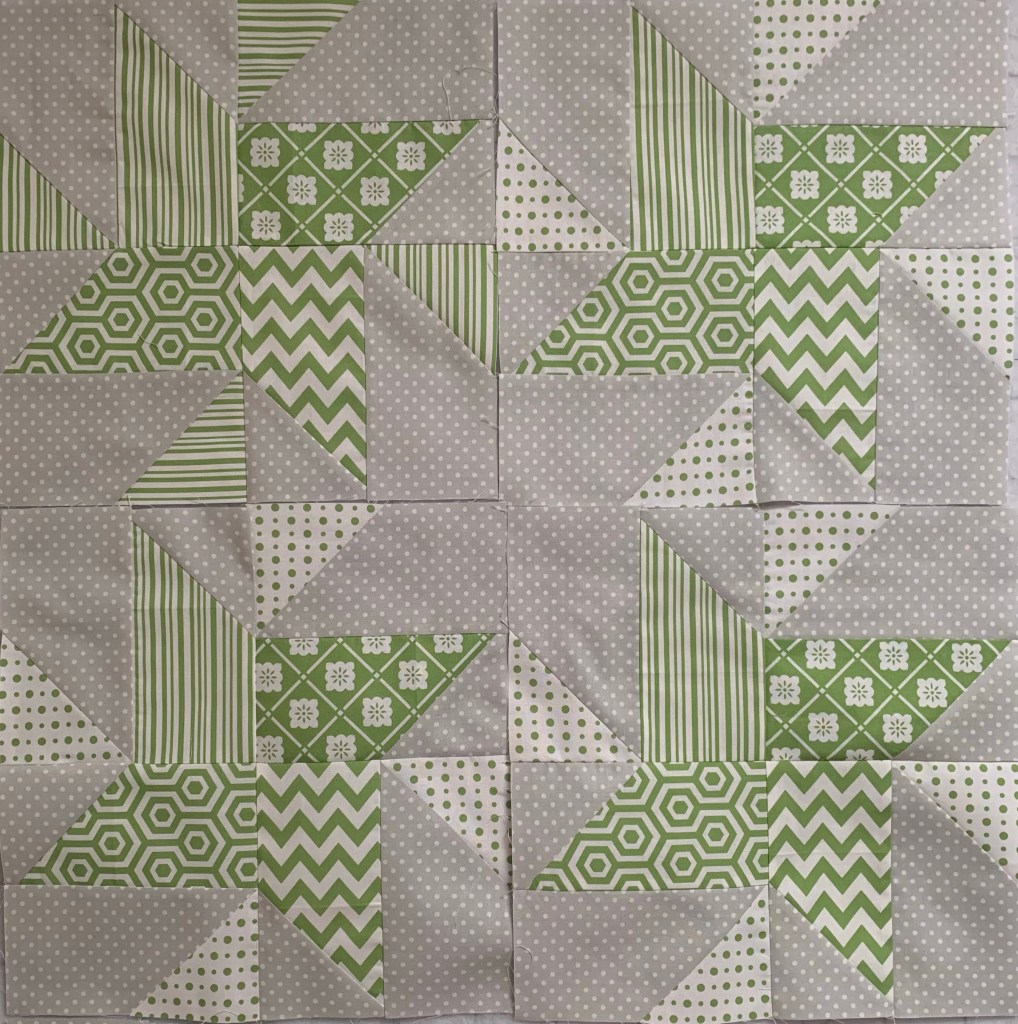
I didn’t have any white for the background, so I decided to use this gray. Cutting is so fast! But that means you can quickly cut things wrong….I’ll blame it in my head cold.
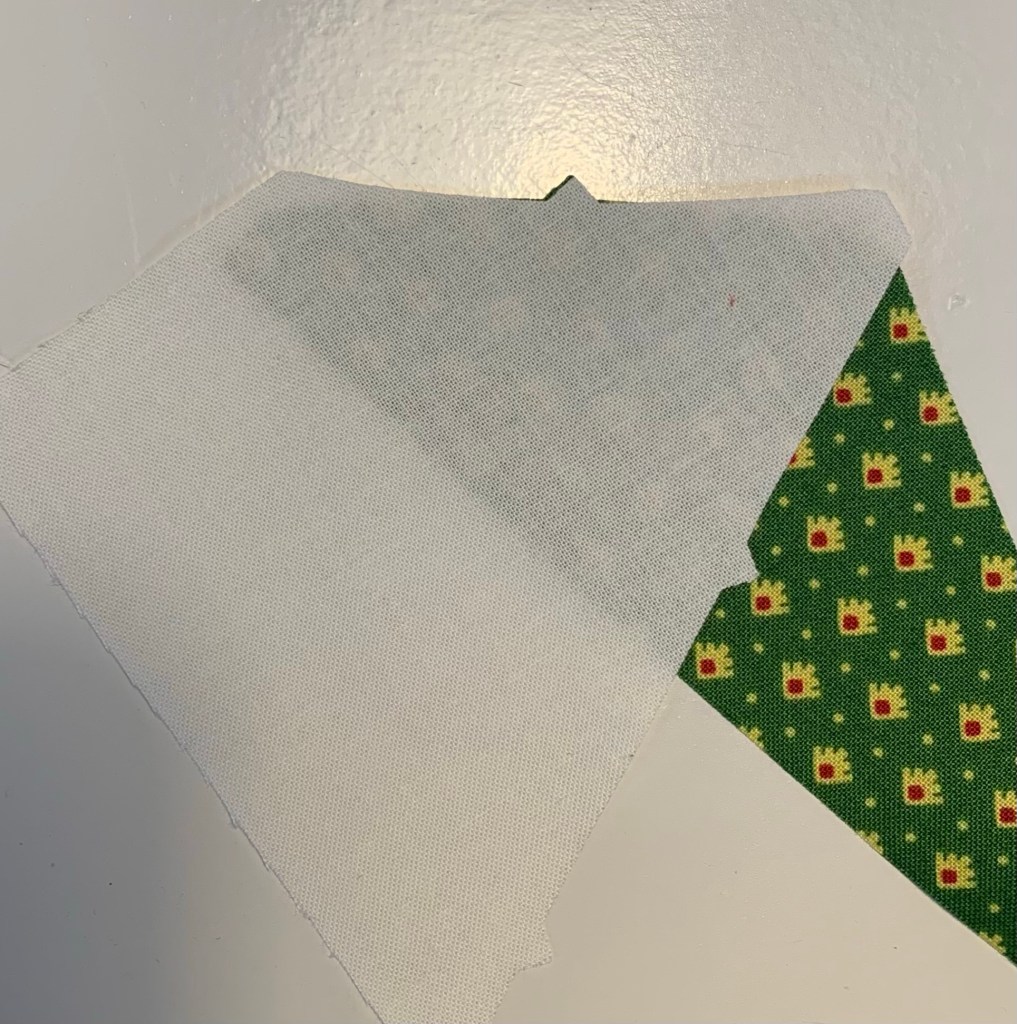
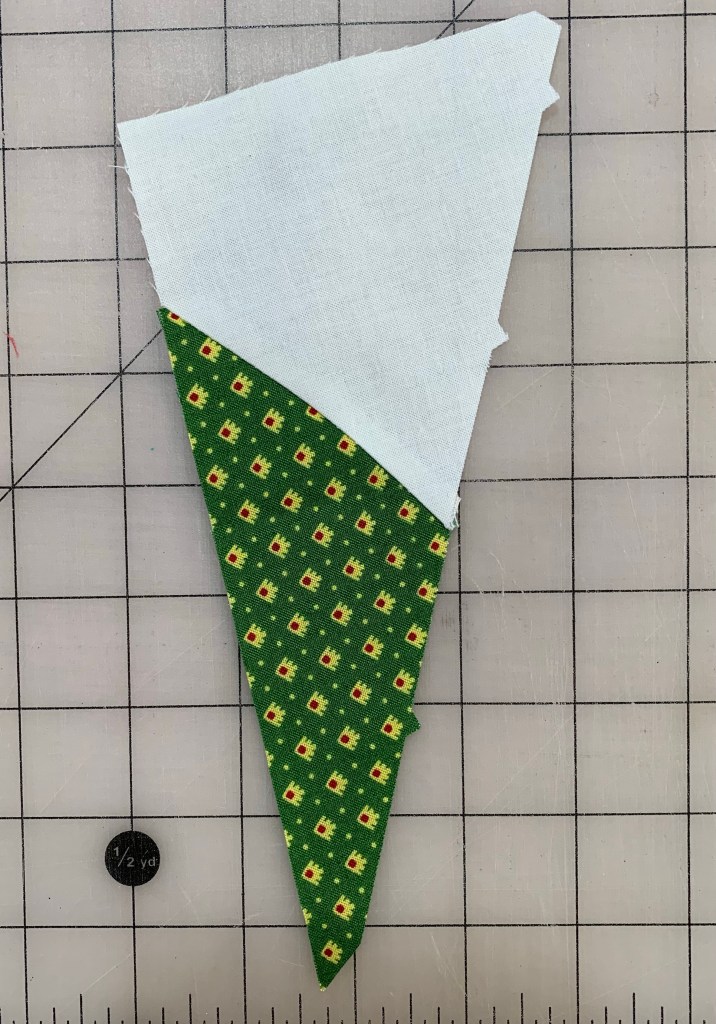
The chisel die is not symmetrical, so you have to pay attention or you might end up with the mirror image of the shape you want. 🤦🏻♀️
I still like this block, but it wasn’t what I had in mind. Oh well, we are going to make it work.