Mama Said There’d Be Days Like This….

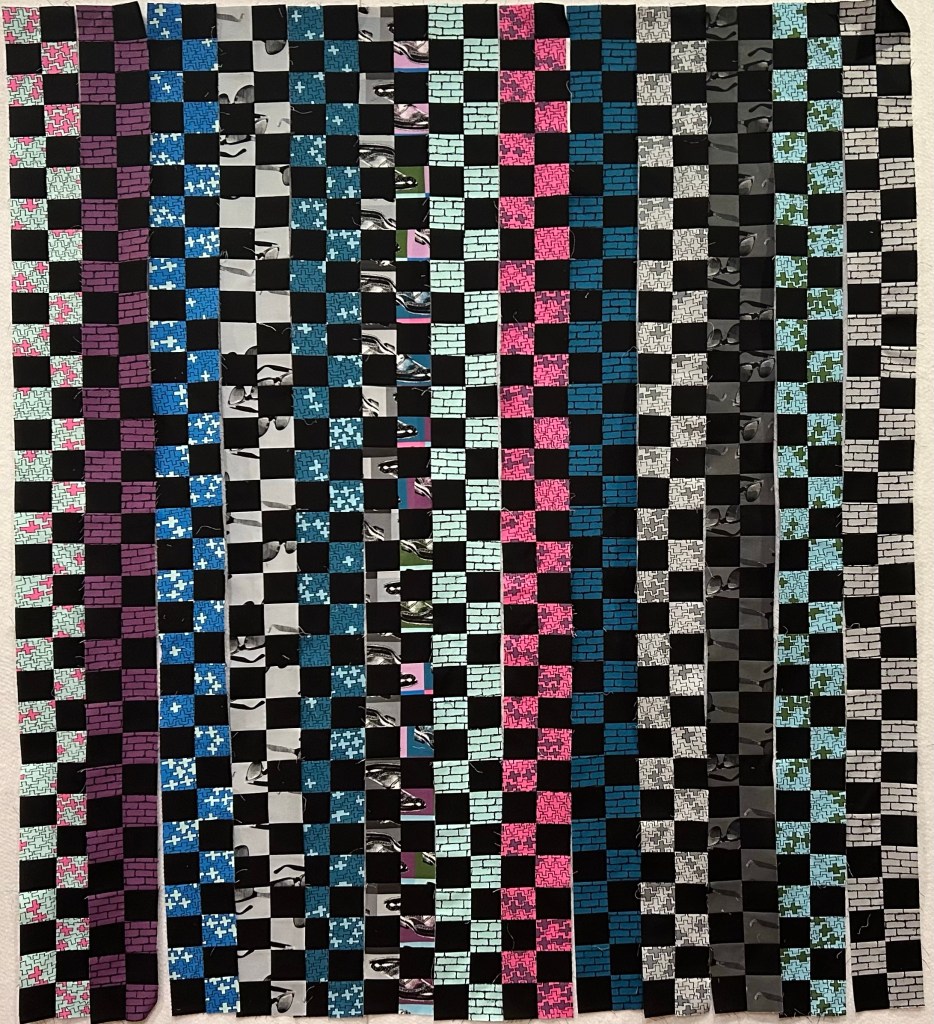
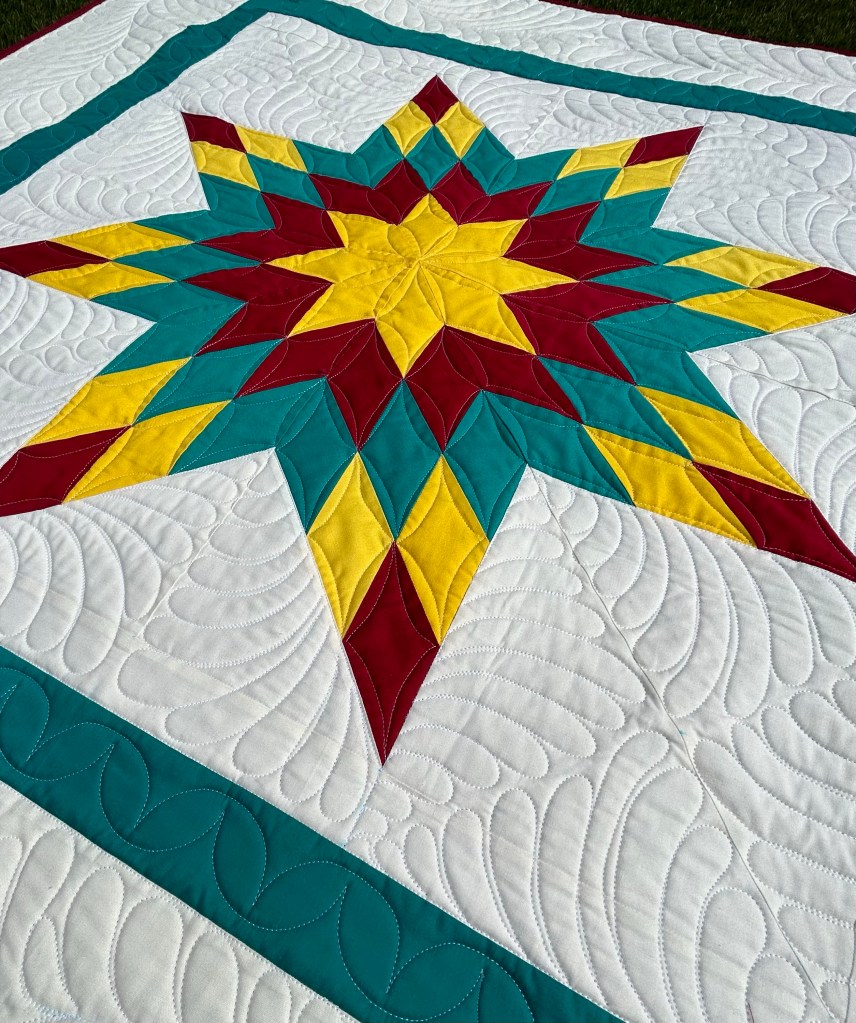
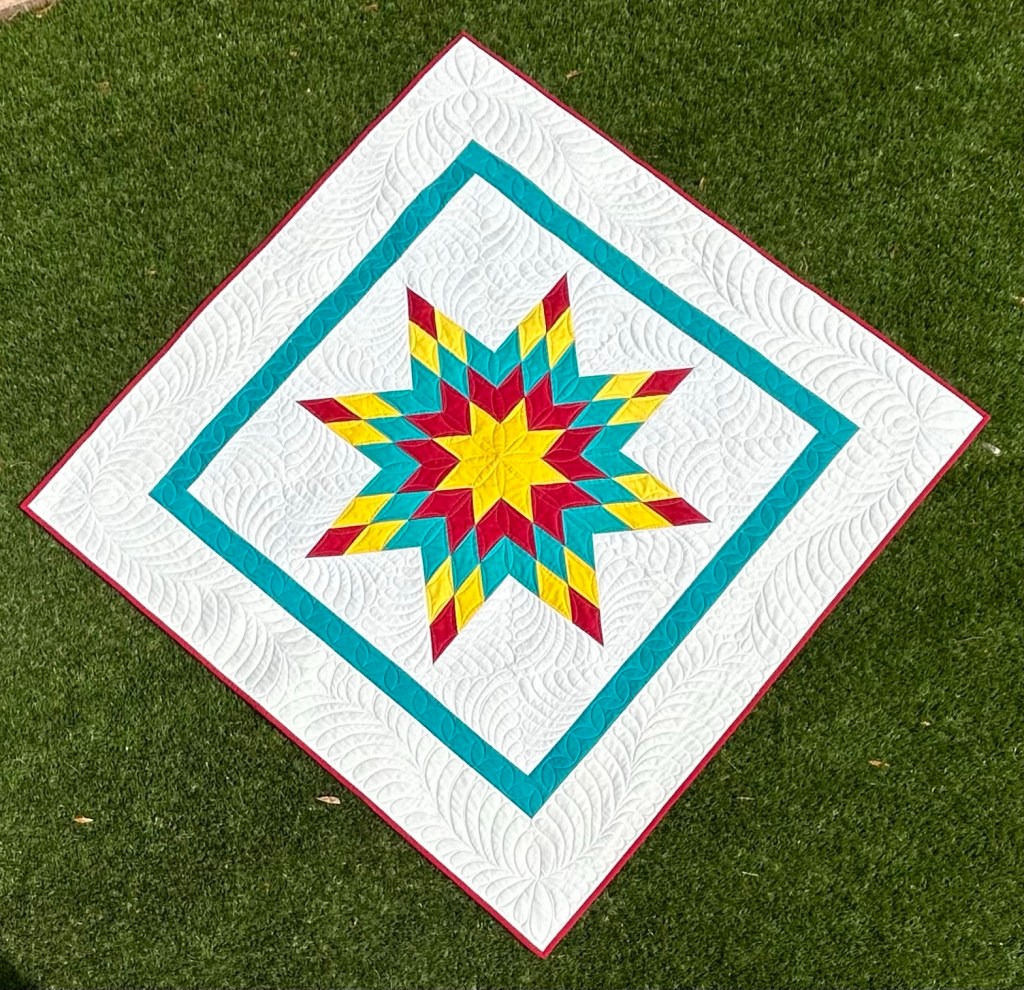
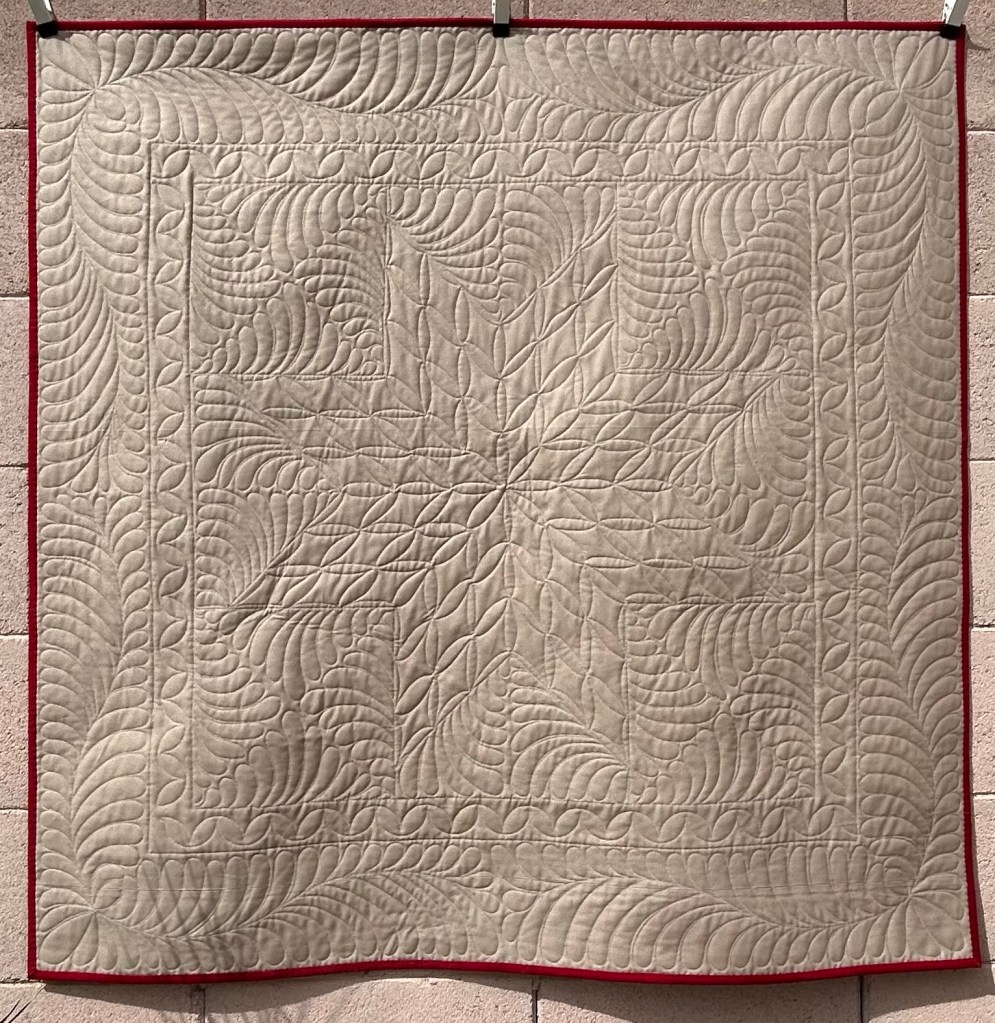
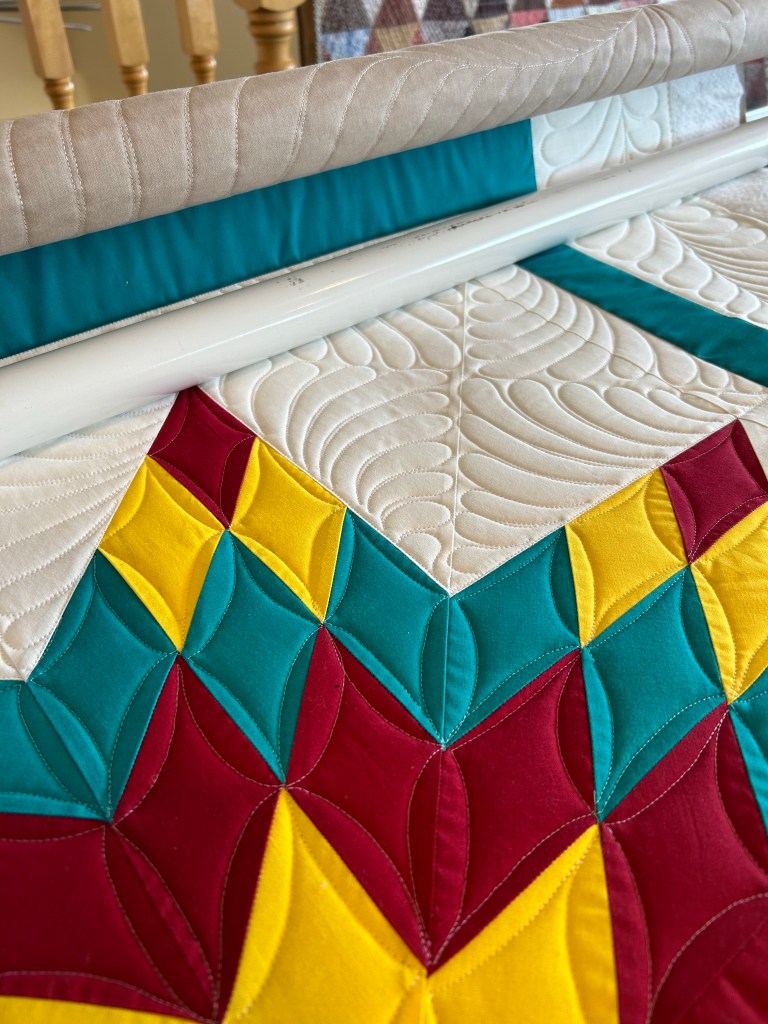
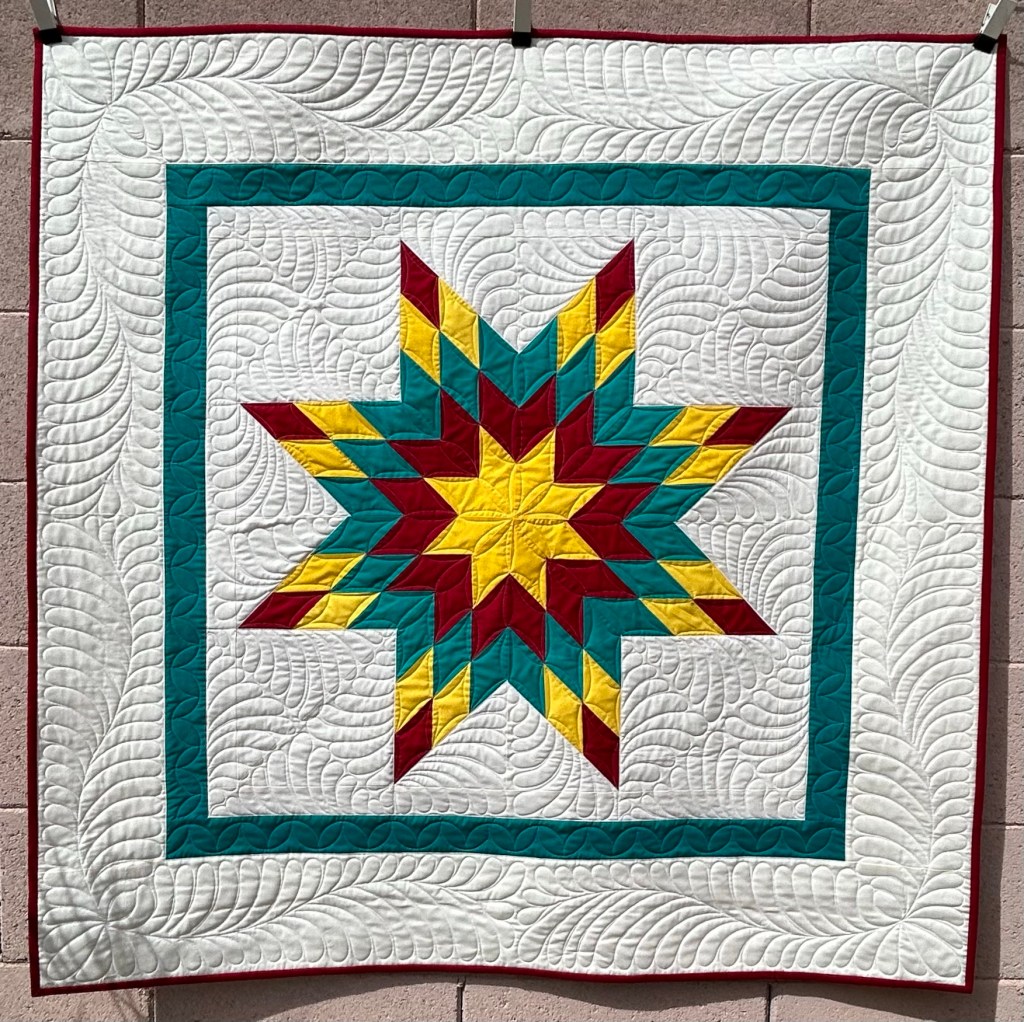
I have a little finish today….but I’m not particularly proud of it. I loved this little top.

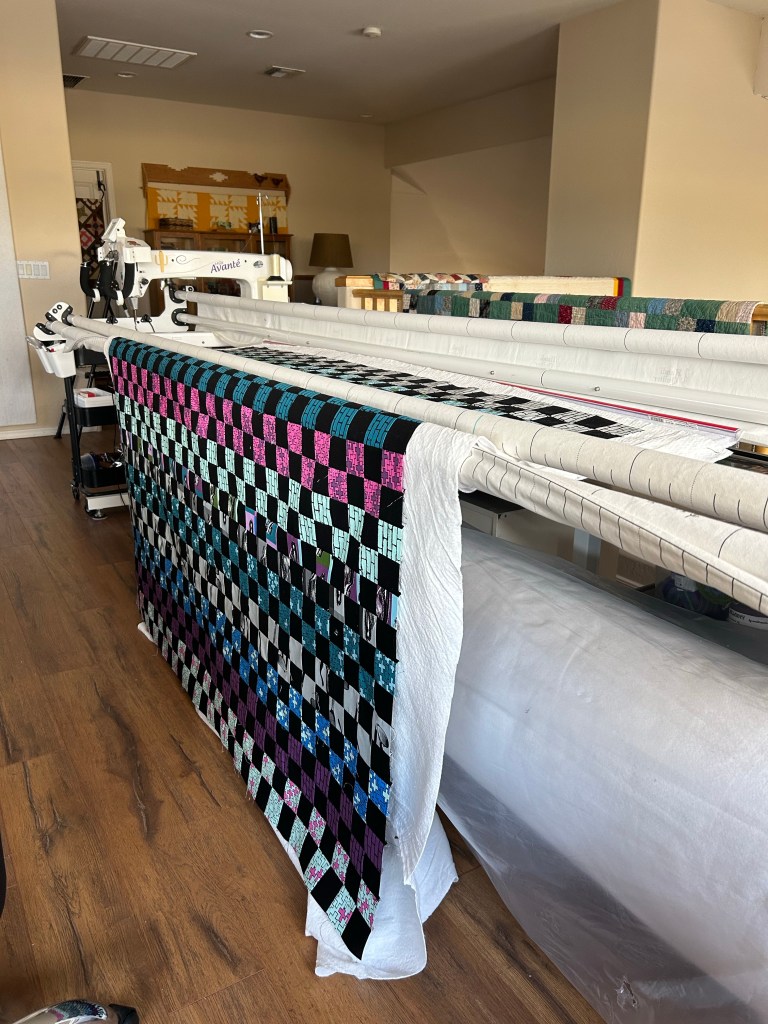
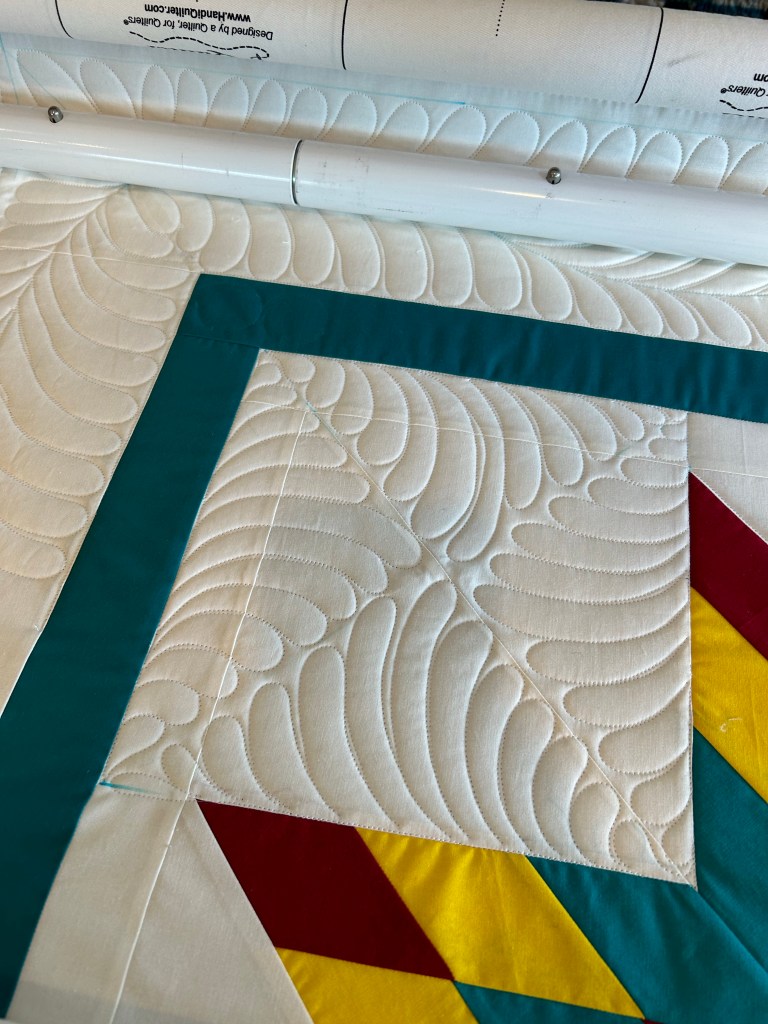
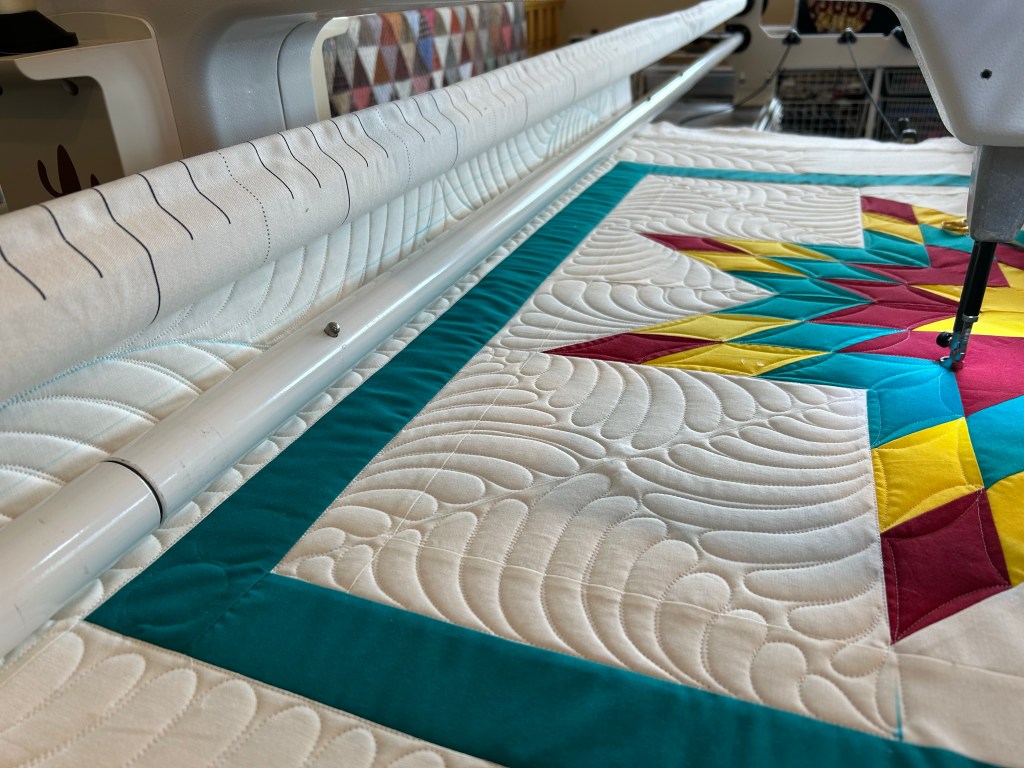
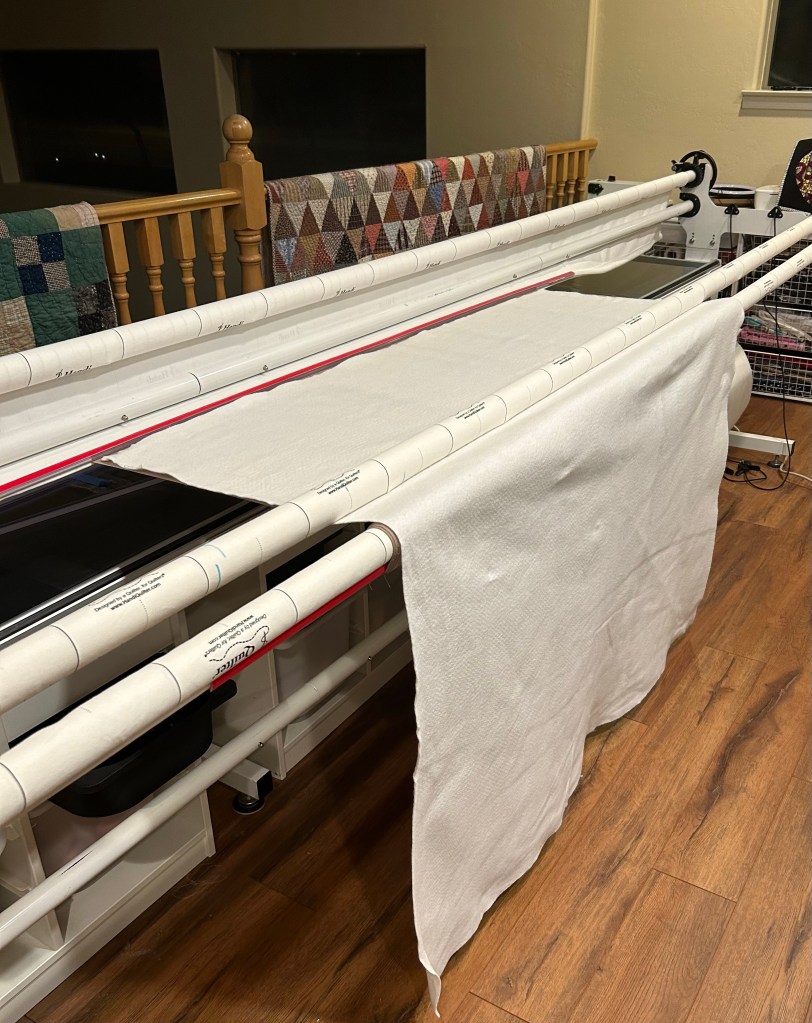
I loaded it up to quilt.

And I thought all was going well, until it wasn’t. The stop/start button on the front handles of Harry stopped working. It isn’t easy to start and stop a machine with the switch in the back when you are working at the front. Now I need to figure out how to get this fixed.

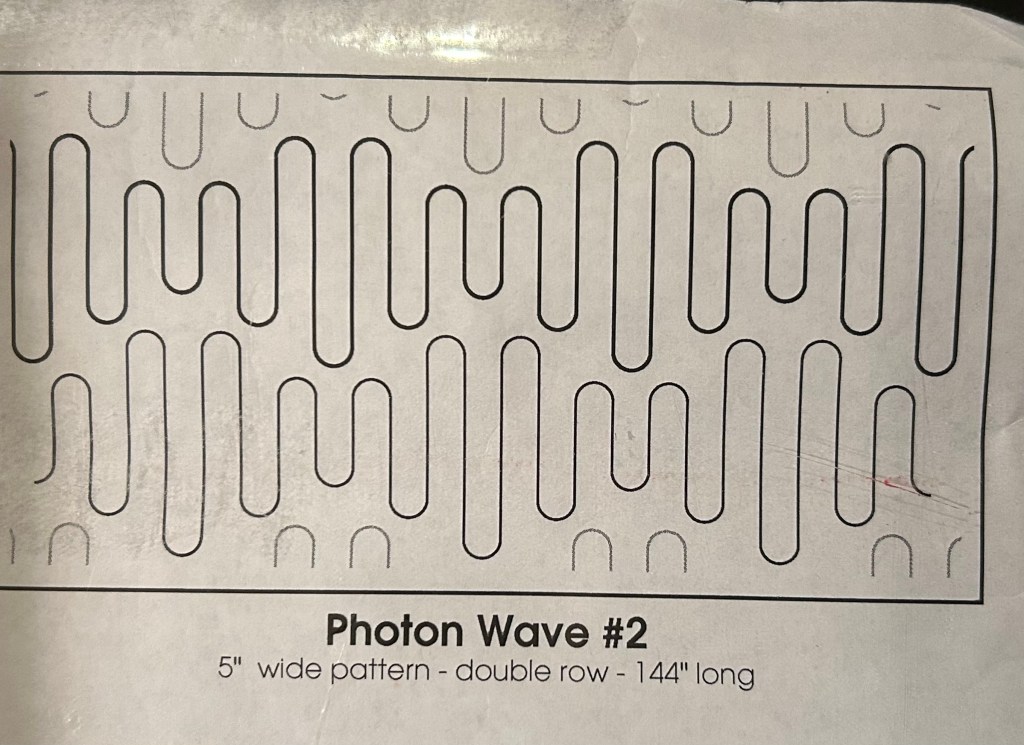
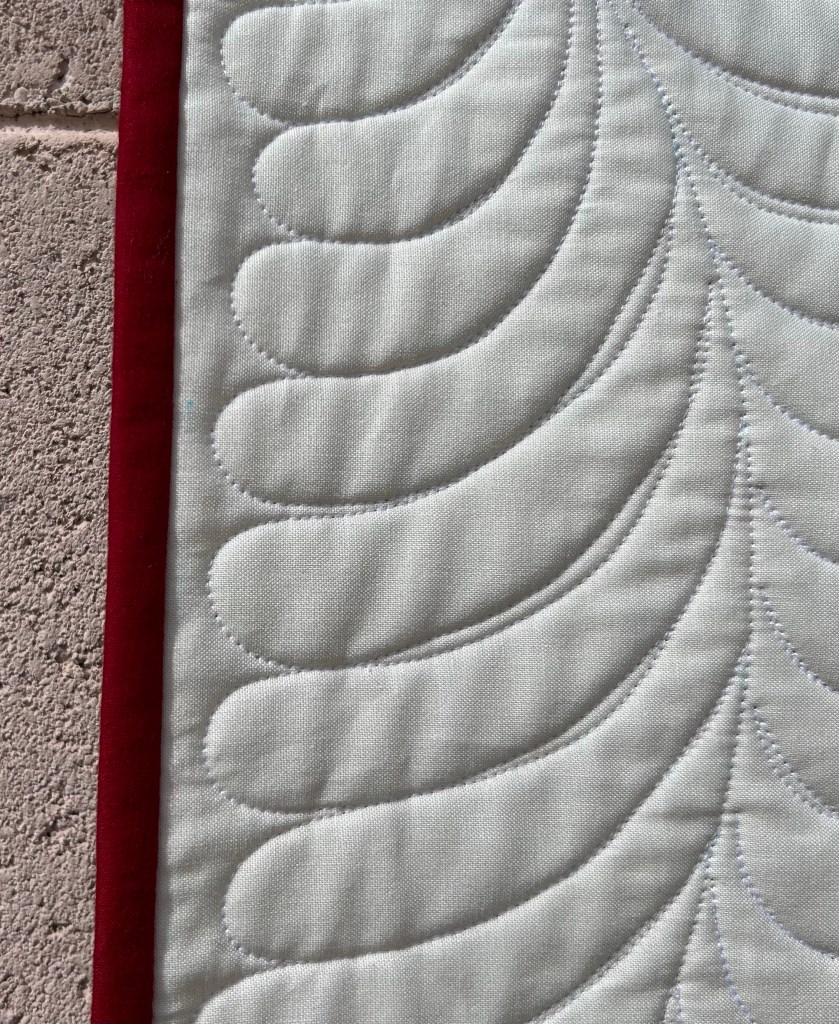
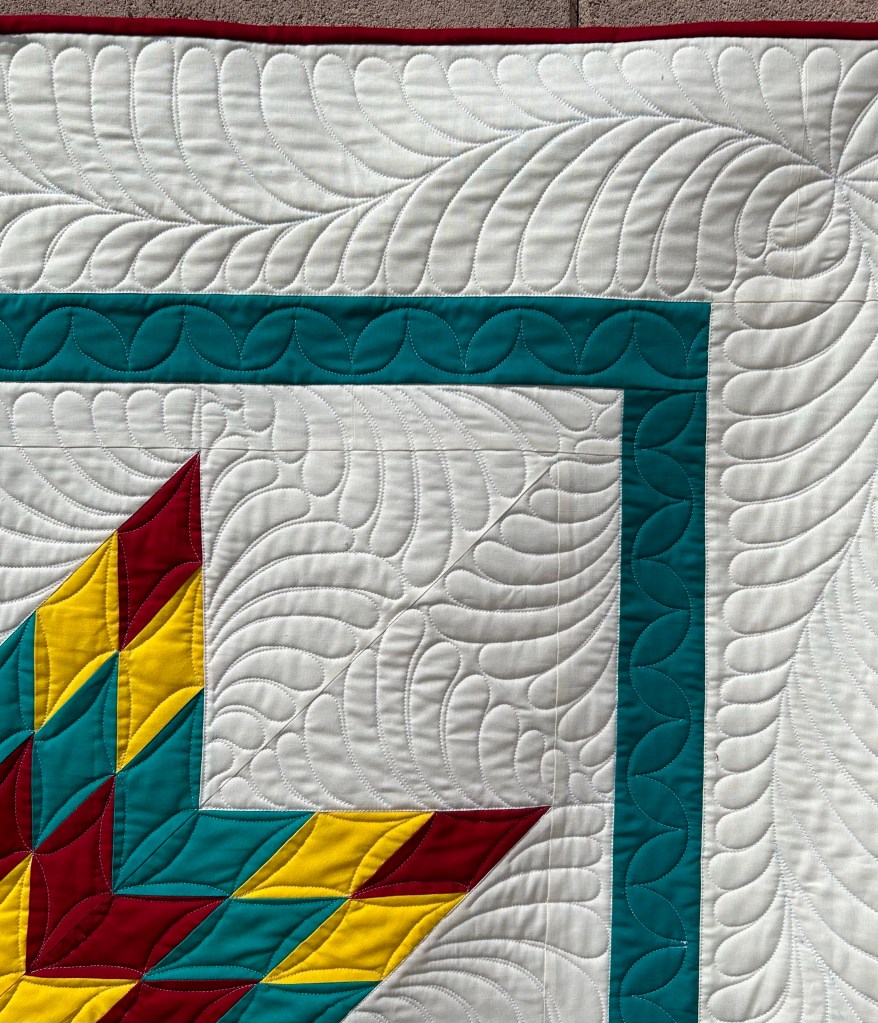
I knew this wasn’t destined to be a masterpiece, but I was a bit shocked when I took it off the frame and turned it over. 🤦🏻‍♀️ The stitches on the back were positively loathsome. Did I want to rip out all the quilting and start over?

No. No, I did not.

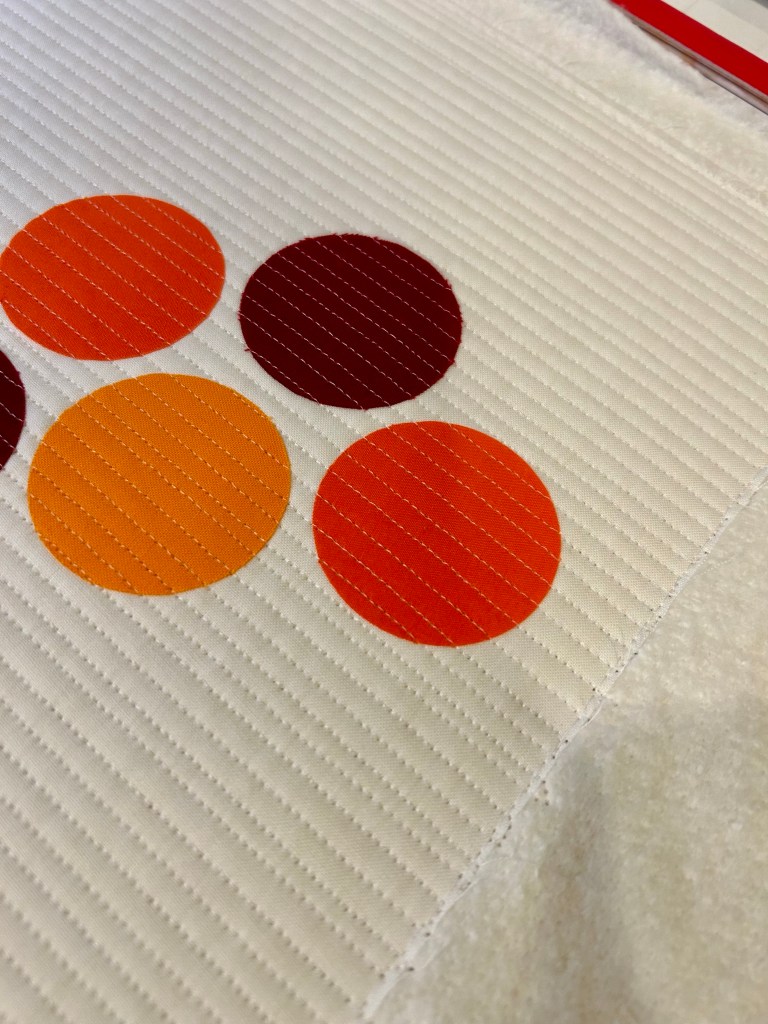
I trimmed the batting. I trimmed the backing an inch larger and brought it to the front for a self binding.

It didn’t merit the work of a full binding. Those freehand feathers are crappy too.

Want to see the back?

Forget it. Not gonna happen. Part of the problem is that I used incompatible thread in the top and bobbin. Did I mention I couldn’t find the cord for my bobbin winder? The batik backing didn’t help. When I started stitching, things looked good, so I never checked again. I know better.

Another humility quilt. At least my little black doxie isn’t complaining.

Have a great day!

Posted in Finishes 2023, Small Quilts | 5 Comments

Amish Inspired

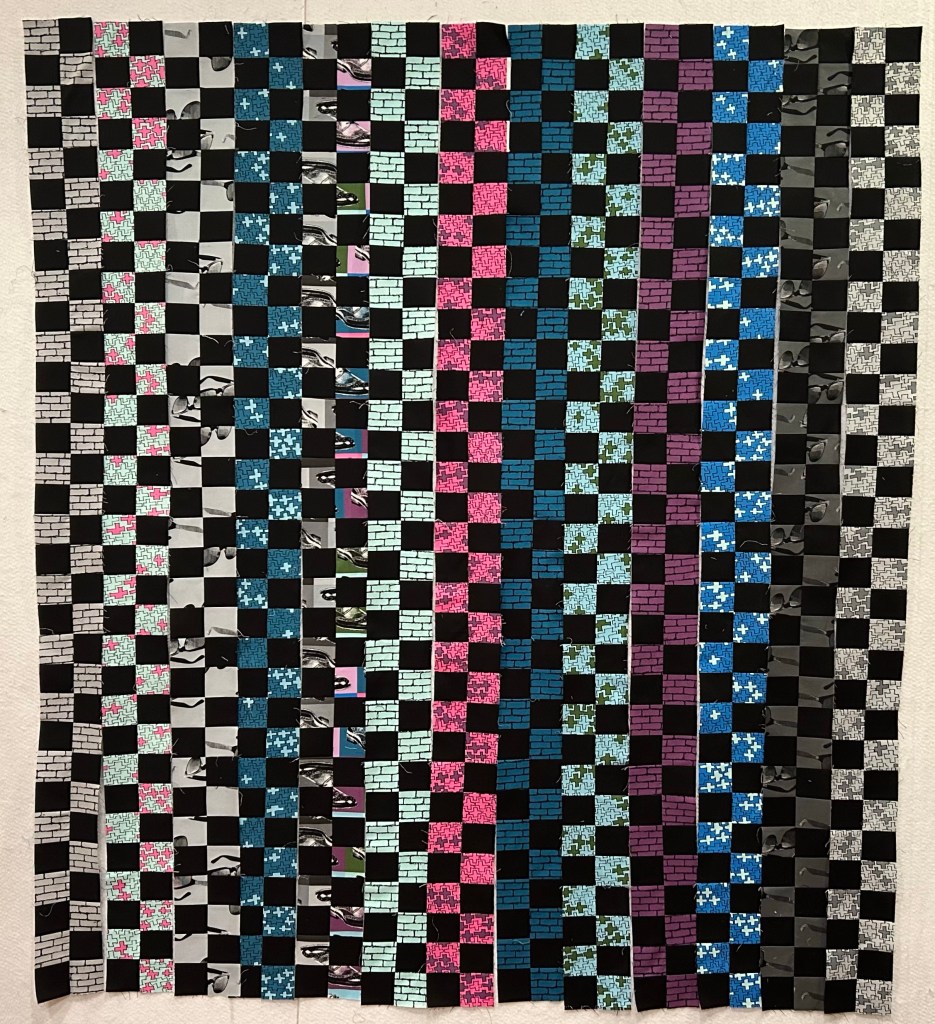
I have a lot of solids scraps to deal with and I was in the mood for a mini. So I started cutting and playing. These are cut at 2 1/2 inches.

The yellow squares didn’t make the cut. But I did try a few different layouts with the rest.

Simple quilts can be so fun!

Have a great day!
Posted in Uncategorized | 2 Comments

Sew Along with Me? ~ Tutorial

Sandi left a comment after Monday’s post, saying she like to make this with me. What a fun idea!

So today, I’m sharing a quick tutorial so you can make your own. I have one more column to add to my top, so I can show you how I did it.

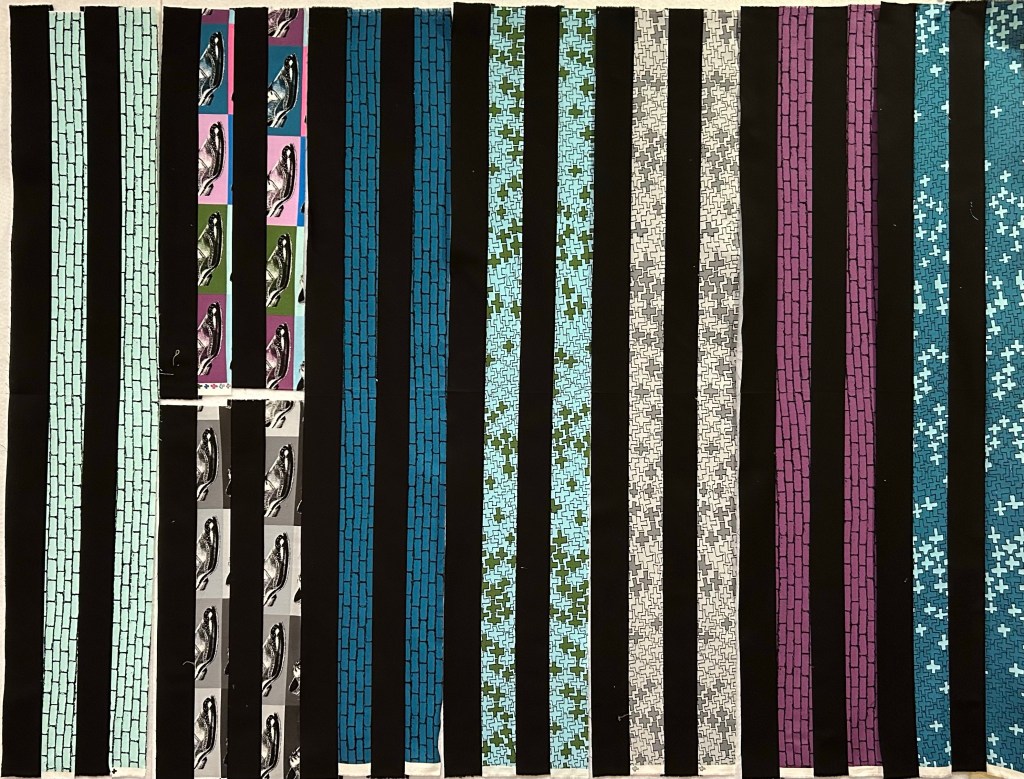
I started with a jelly roll, but I added 2 1/2” strips from my stash for a total of 52 strips, half light and half dark.

Each column requires two light and two dark strips. But they don’t have to match exactly. My jelly roll had two strips of most dark prints. But I’m at the end and don’t have matching strips left. No worries! This is what I’m using for the last column.

This is what I hate about jelly rolls. Ugh.

So I use my AccuQuilt die cutter to trim them up.

It’s messy, but more accurate.

Sew one light and one dark strip together. Press to the dark.

Fold step sets in half.

Cut on the fold.

Sew back together. Keep like strips together. Again, press toward the dark.

Fold strip sets in half again and subcut into 2 1/2” strips. I like to use my AccuQuilt die cutter for this., but you can certainly use a rotary cutter and ruler.

So easy!

Now just stitch your strip sets end to end to create two long strips with 32 pieces in each. Press toward the dark!

Ready to sew those strips together? If you consistently pressed to the dark, all your seams will nest. This is one reason why I make strip sets instead of making and sewing four patches together.

Ta daaa!

Time to add that last column.

And my top is finished…..unless I add borders. At this point, it measures 52 by 64 inches.

Will you sew along with us? I have my next jelly roll ready to go! Leave a comment letting me know if you are going to join in.

Have a great day!
This post contains affiliate links.

Posted in Jelly Roll Sew Along, Uncategorized | 8 Comments

Kaffe Hexies

I haven’t forgotten these. I have procrastinated greatly, but finally got the rows together.

Then I got stopped again because I ran out of that yellow fabric. That necessitated a change in layout.

I needed to straighten the ends of the rows a different way. So I lopped off the end of each row.

And added it back at the beginning.

And this is what I have now. All rows are sewn together. It is 80” by 90”.

I’m not sure where to go from here. I want it to end up a generous queen size. I don’t have any appropriate fabric here for borders and I don’t feel like shopping. So I guess this one will do closet time.

Have a great day!

Posted in Hexagons, Uncategorized | 1 Comment

A Jelly Roll Plan

I’ve had this jelly roll for quite a while. It seems my fabric needs to age a bit before I use it. But I’ve come up with a plan. Well, at least the start of a plan.

I did have to cut some extra neutral strips as there weren’t enough lights in the roll.

This is my favorite print.

And here is a start.

Have a great day!
Posted in Uncategorized | 1 Comment

Sorting Stash

I picked up some classrooms storage units on Facebook Marketplace to store my AccuQuilt dies. of course that meant another reshuffle in the sewing room. It always gets worse before it gets better.

I think these will work out well.

I decided I had to go through and straighten the stash. It’s a big job that I’ve been putting off.

But I’m thrilled now that it is done!

No lore bins and piles on the countertops!

Can you believe this is all neutrals? I have more than I thought.

When all was said and done, I ended up with these bins of scraps that need to be processed.

Hmmm… I think I’ll start with the solid scraps. Time to break out the die cutter!

Speaking of dies and cutters, check out these current deals from AccuQuilt !

Have a nice day!

This post contains affiliate links.

Posted in Uncategorized | 3 Comments

Pin Board

Remember when I said I wanted a pin board for this wall?

This is what I ordered. I bought six packs of six tiles each.

They are self adhesive, but the reviews regarding removing them from the walls was mixed. So I bought this 3M foam tape to use instead. It’s supposed to be easier to remove. I wiped the wall down with rubbing alcohol before starting and let it dry.

Then I used a level and pencil to mark plumb lines. This shows the back of a tile after adding the 3M tape.

Then you just stick them up. Each tile is just shy of 12 inches. I waited several days before trying to hang anything.

I really need 9 more tiles. Ugh. Actually, I’d like to cover the wall down to the floor, but that isn’t in the budget.

Anyway, here it is with quilts pinned to it. Nothing has fallen down yet! I wanted this as a place to easily hang and change out smaller quilts. I guess I need to make even smaller quilts.

I put some smaller pieces at the top of my design wall, since I can’t reach that high anyway.

This was not an inexpensive option. I do like how it looks. I may even recover my design walls with something in a similar color.

Note: fabric will not stick to this without pins. It could be used as a design wall, but every piece would need to be pinned to the wall.

It will make a nice background for photography of small pieces. But I have to move my tables and use a step ladder to change quilts. So it isn’t that handy. It does look nice and it is supposed to deaden sound.

Your mileage may vary.

Have a great day!

Posted in Uncategorized | 4 Comments

Finish It Up Friday ~ Granny Squares

It’s done! I loved making this. 9 large blocks and I was done!

All over feathers worked well for the quilting.

Polka dots for the back.

That fabulous binding fabric.

And a difficult to photograph quilt. 🥴

I think this last picture shows the colors best.

Have a nice day!

Posted in Baby Quilts, Finishes 2023, Uncategorized | 5 Comments

Leader/Ender Update

Remember my not so great leader/ender idea?

It just wasn’t working. But I came across an idea that I traced to Viridian’s Blog. It required cutting a bunch of white squares, but I was still able to use the aqua ones that I cut.

I used this die.

Here is a single block.

With four, you can begin to see that pattern emerge. Such a clever block!

I think I’m on the right track now.

Have a great day!

Posted in Uncategorized | 2 Comments

Slow Stitching Wednesday

I’m a firm believer in making extra binding. And if you find a perfectly binding fabric, just cut it ALL up and then you’ll have it ready to go!

I wouldn’t have initially thought of using this for the Granny Square quilt, but it turned out to be the perfect finishing touch.

And any day that is warm enough to stitch in the backyard? Well, that’s a very good day indeed!

Have a great day!

Posted in Uncategorized | 2 Comments