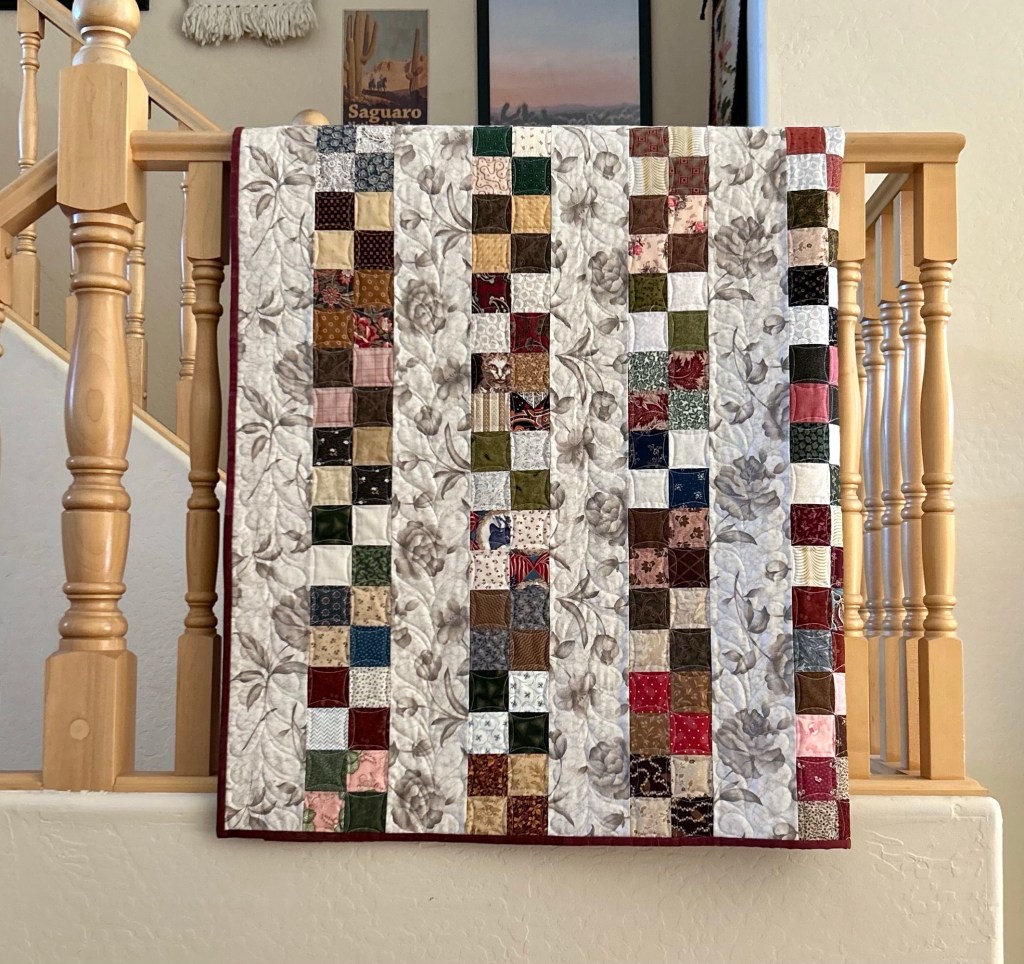
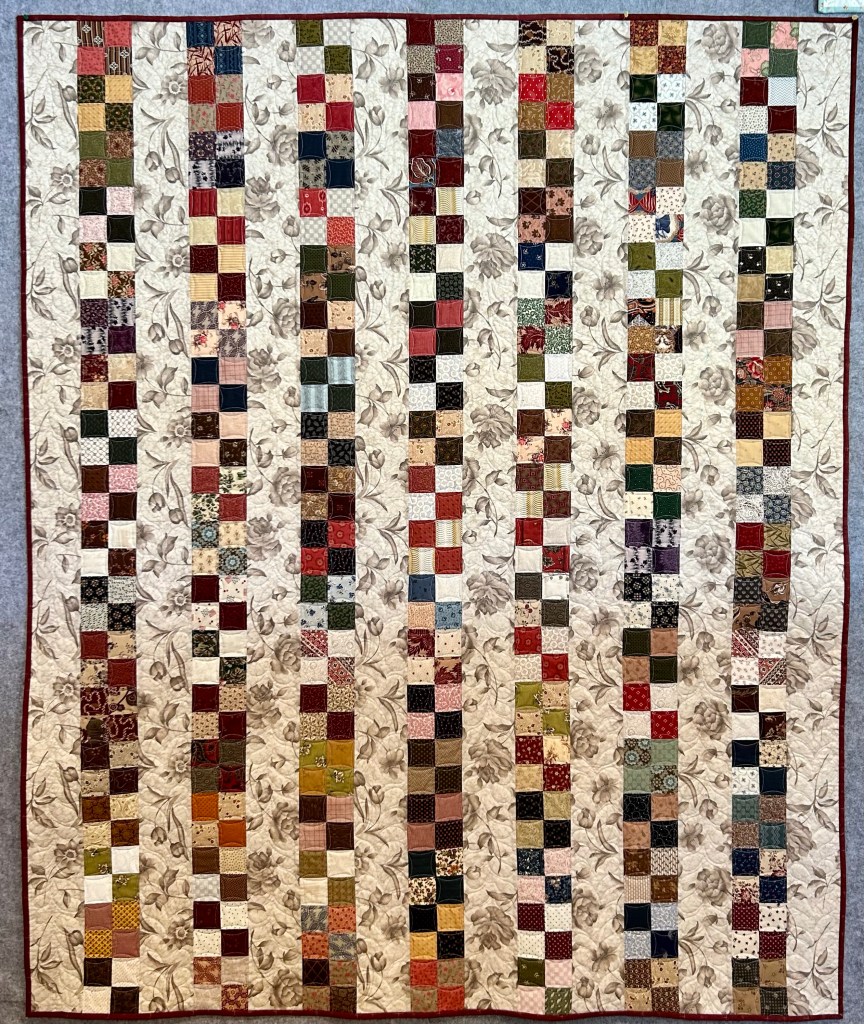
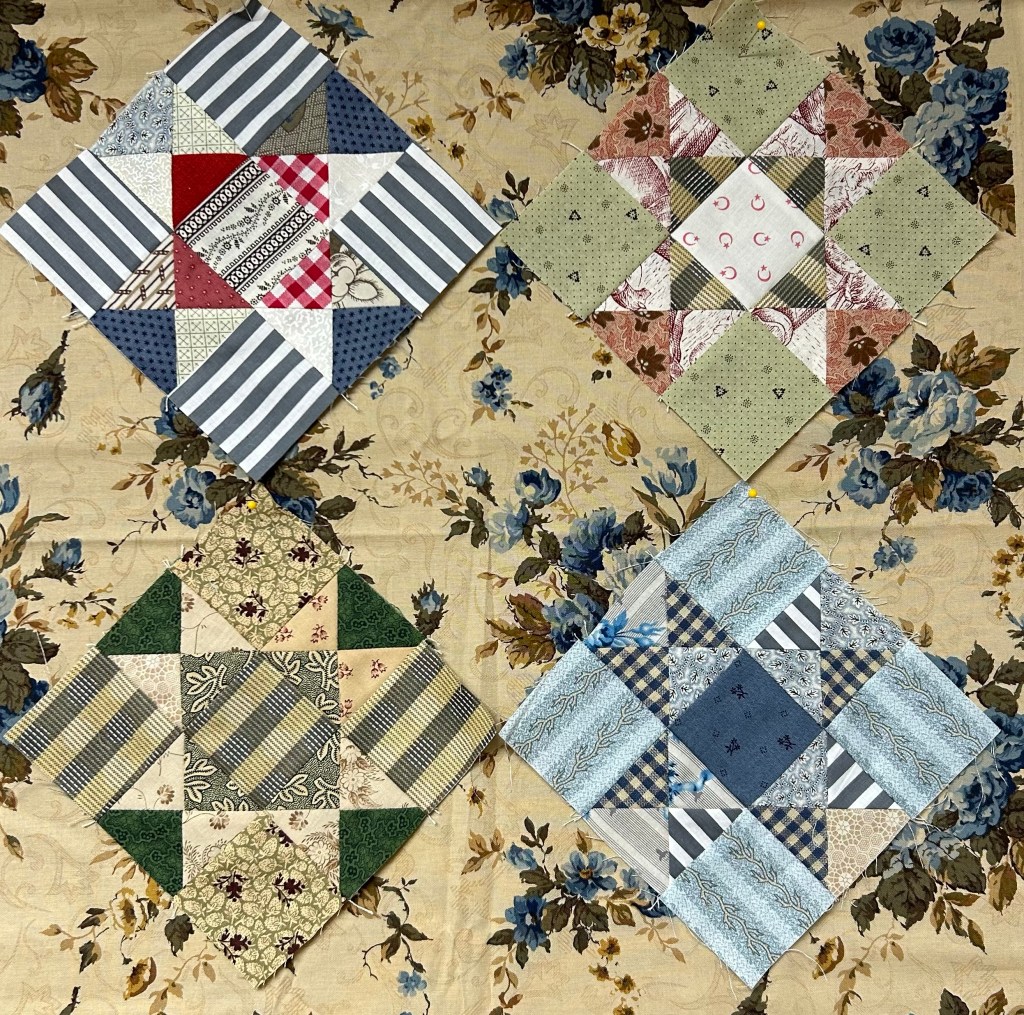
I started making these four patches as leader/enders before leaving AZ last spring. I made a few more in August when I was there, and finally finished on my most recent trip.
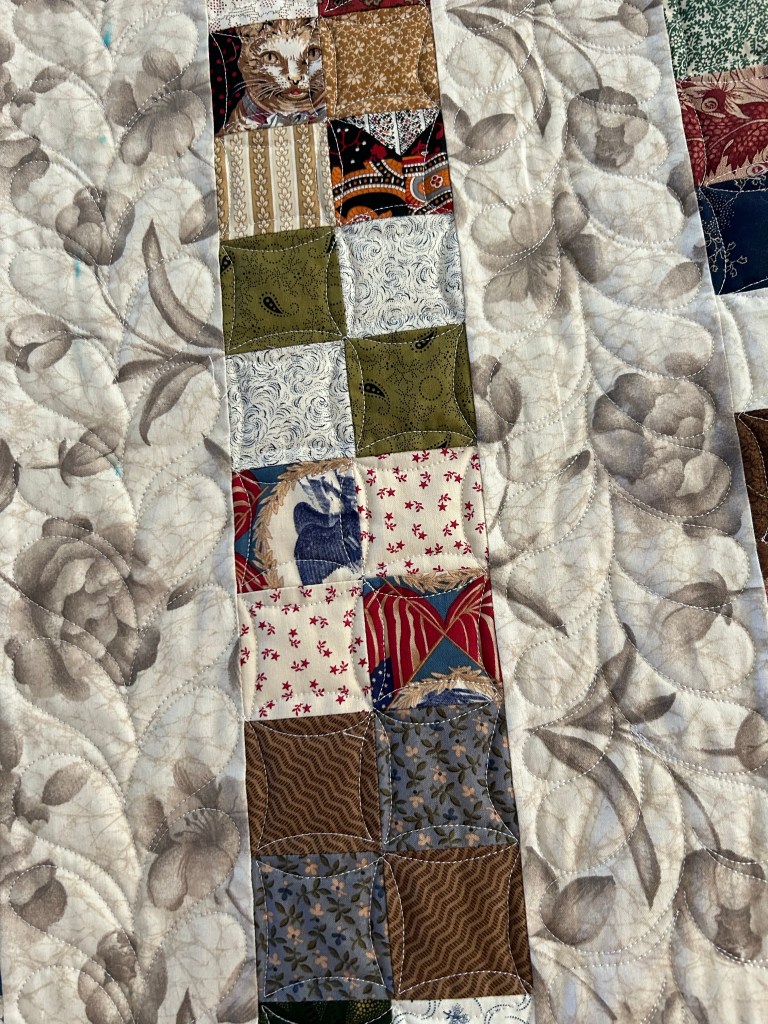
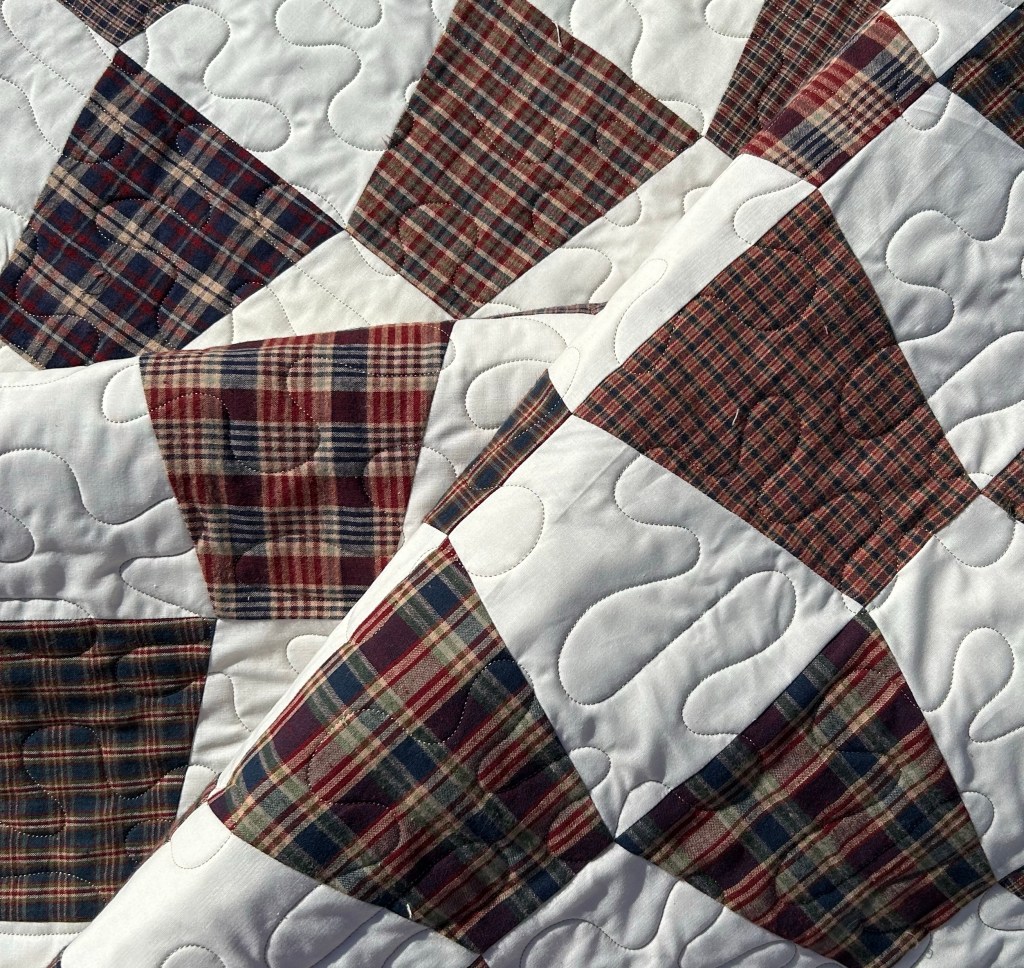
I love the result! Except for that slightly creepy cat face shown below. It was NOT fussy cut! It was a scrap from a repro cheater print.
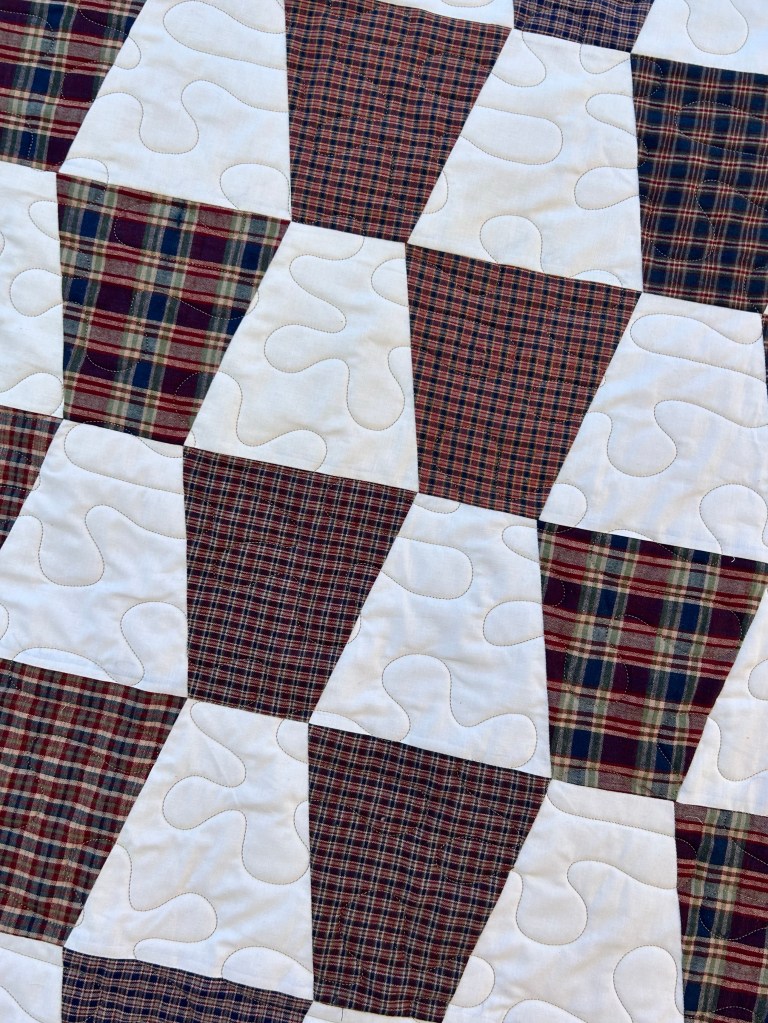
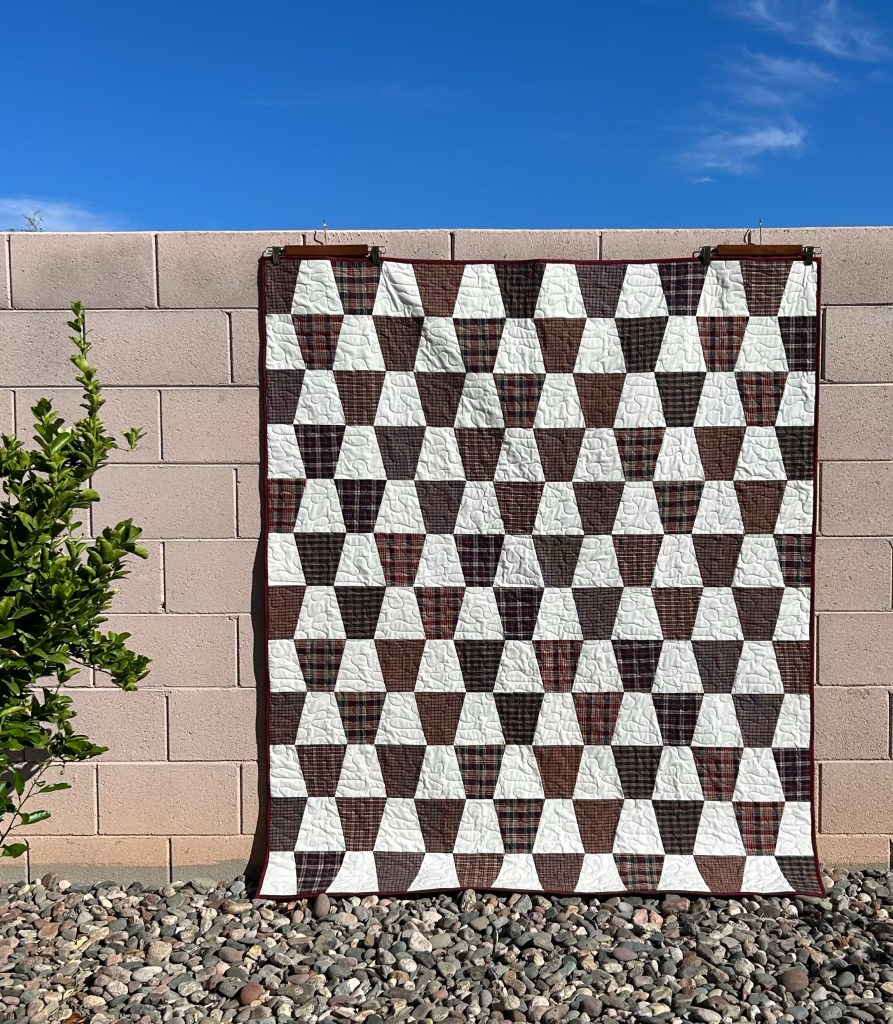
I quilted freehand feathers in the light strips, but it hardly shows. The backing is a sheet from Magnolia. It was wonderful to work with.
Willy, the quilt inspector, approves.
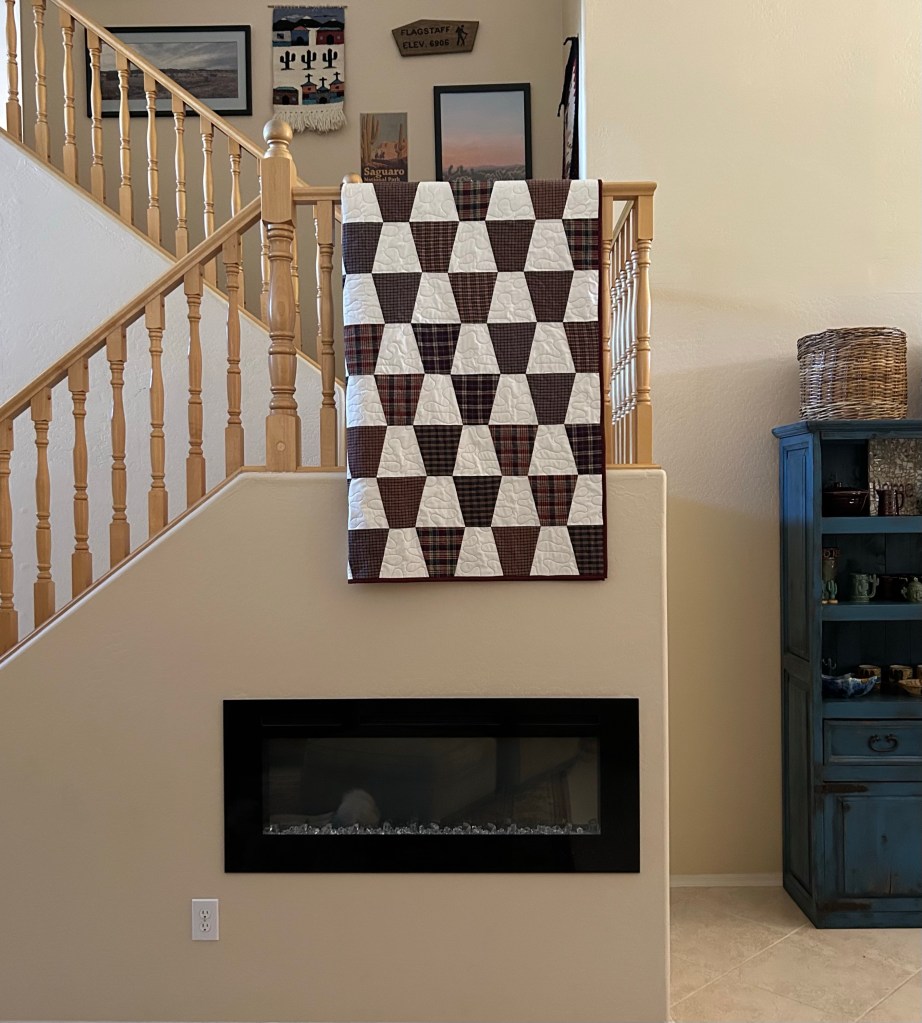
The photo below has an unfortunate shadow. The four patches finish at four inches and the quilt finished at 60 by 72 inches.
I love a good stripy quilt and a good scrappy quilt, so this ticks all the boxes for me.
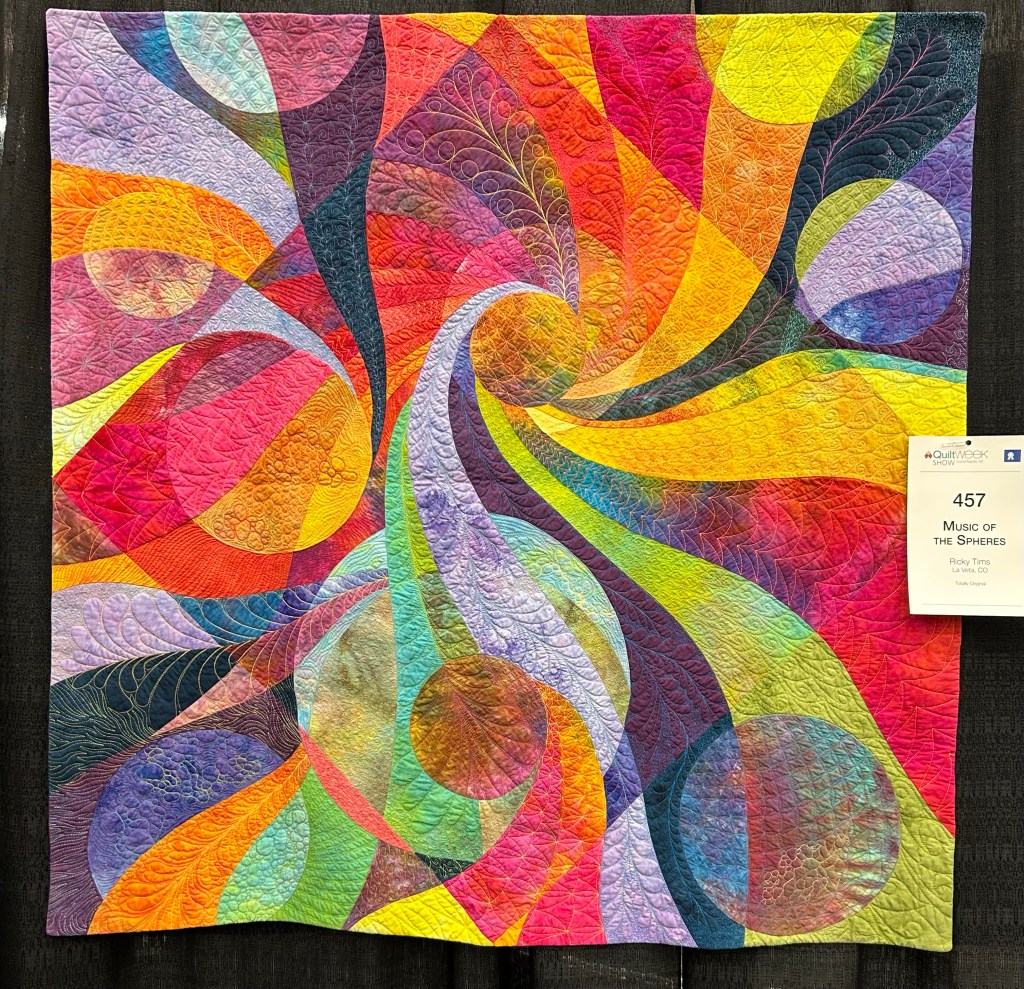
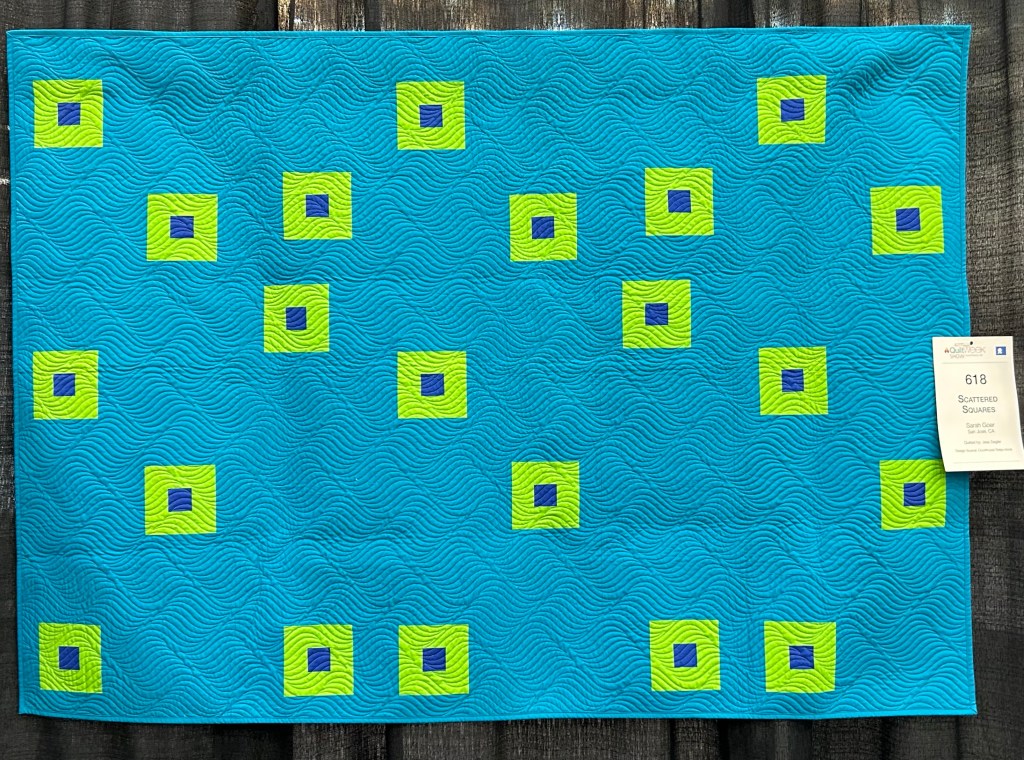
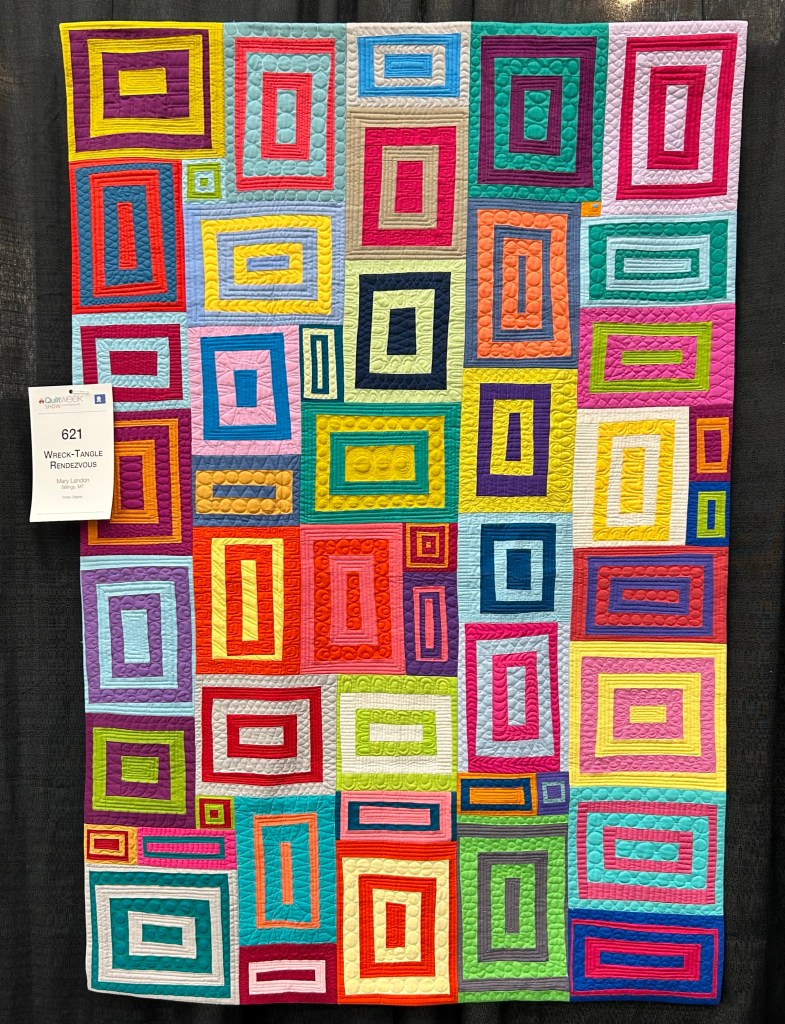
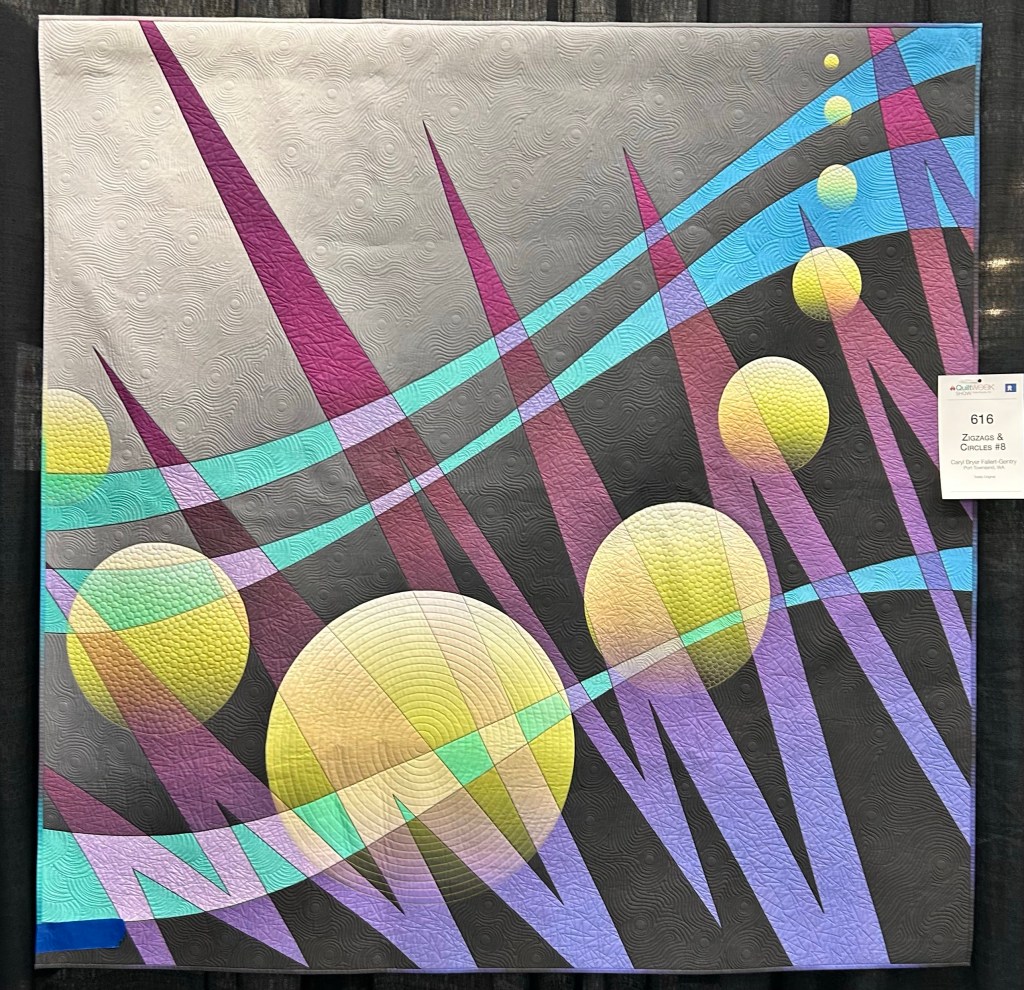
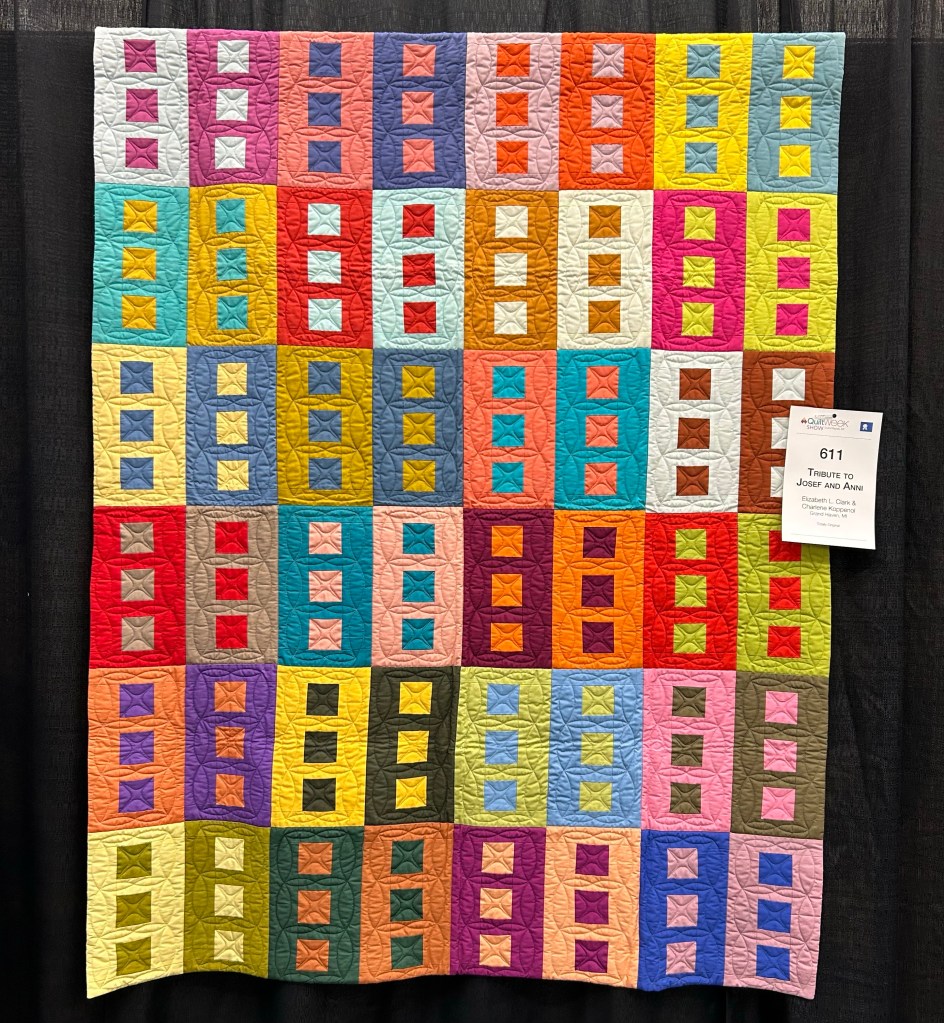
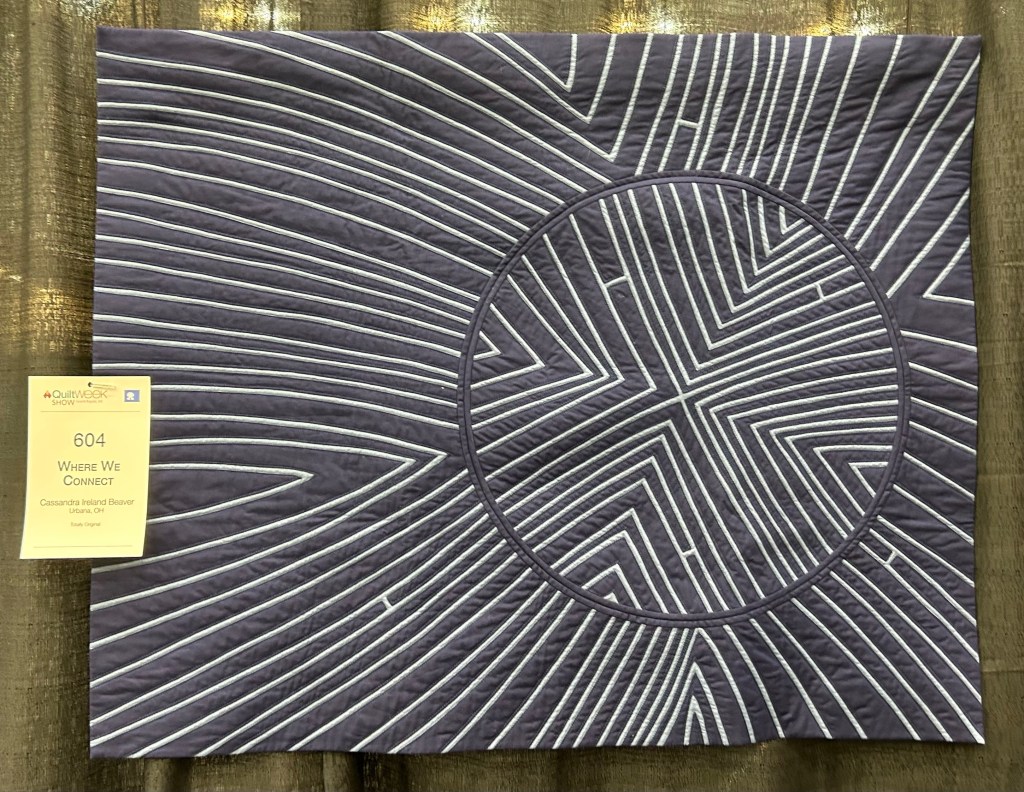
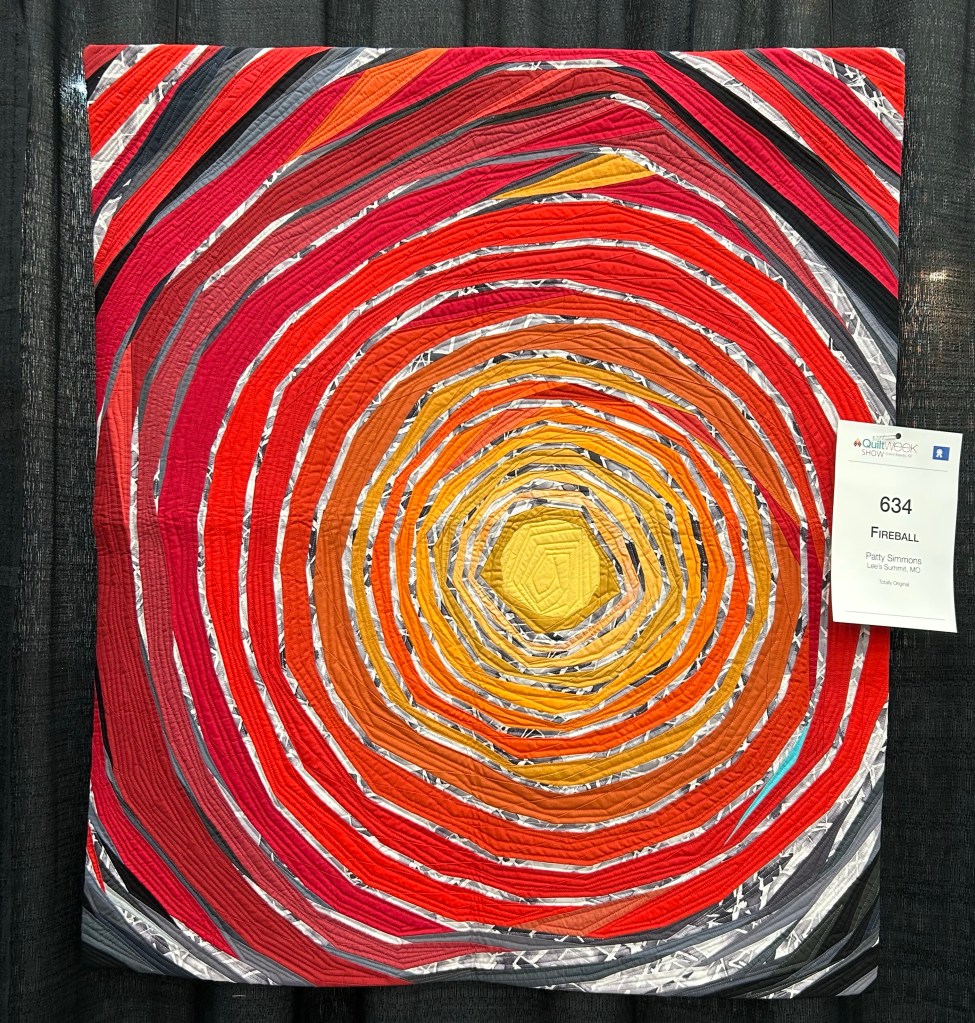
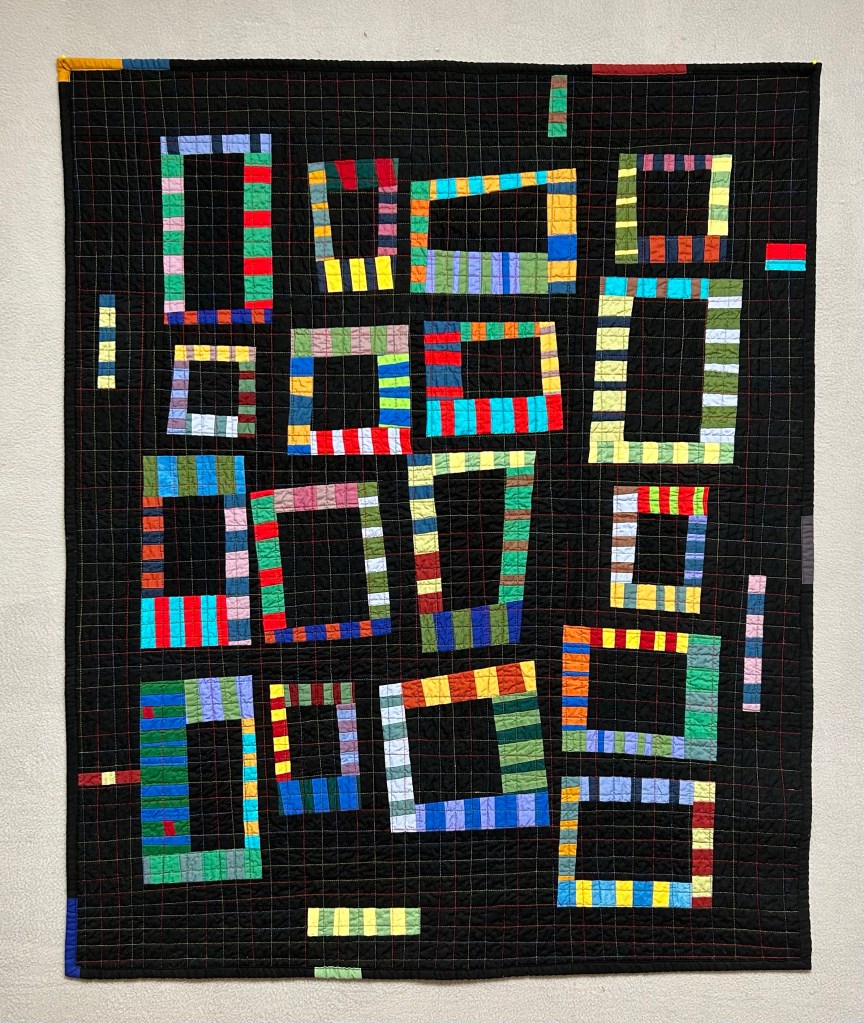
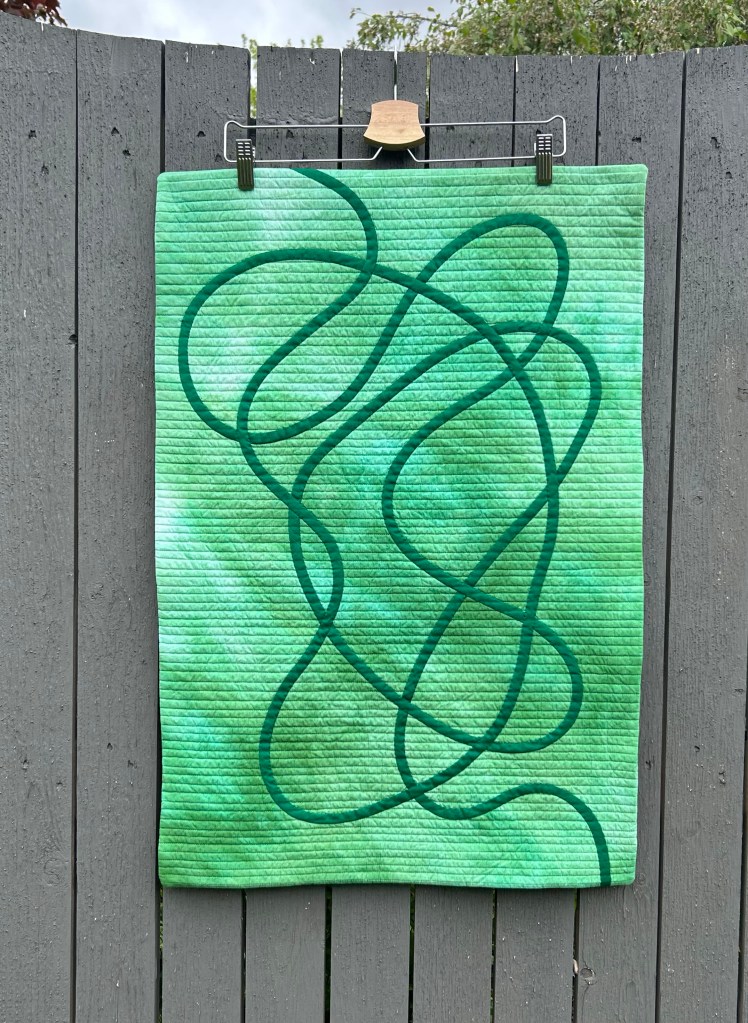
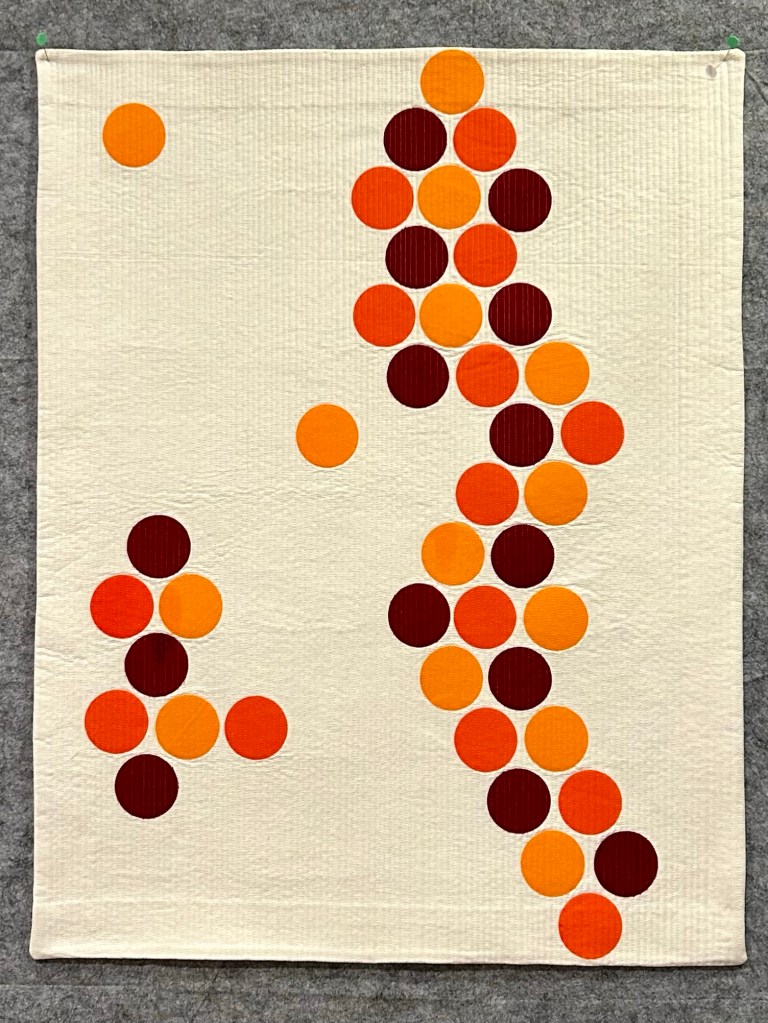
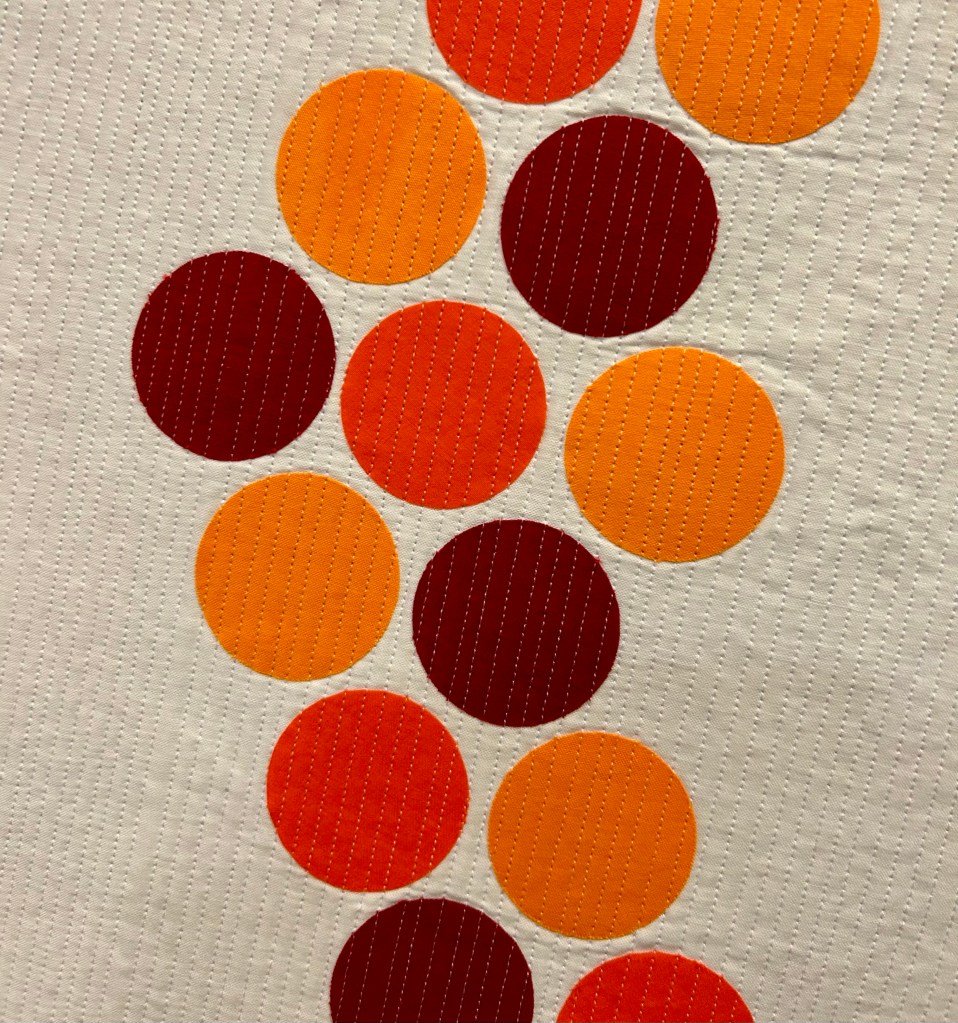
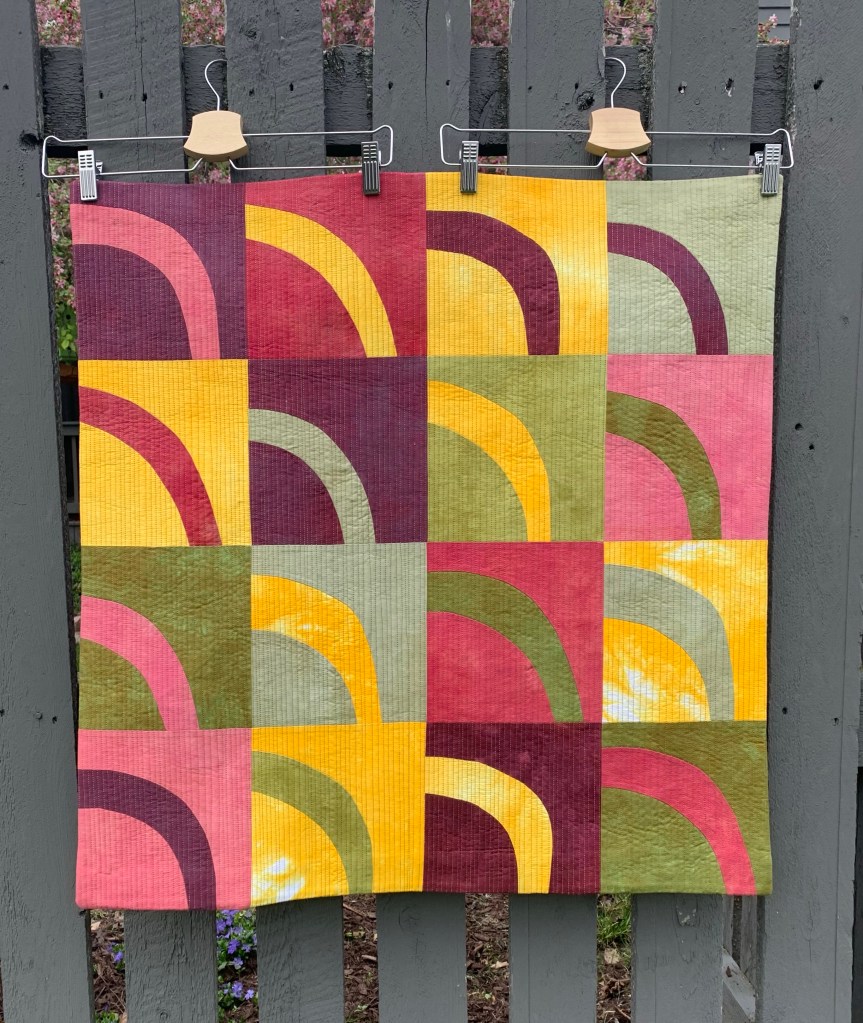
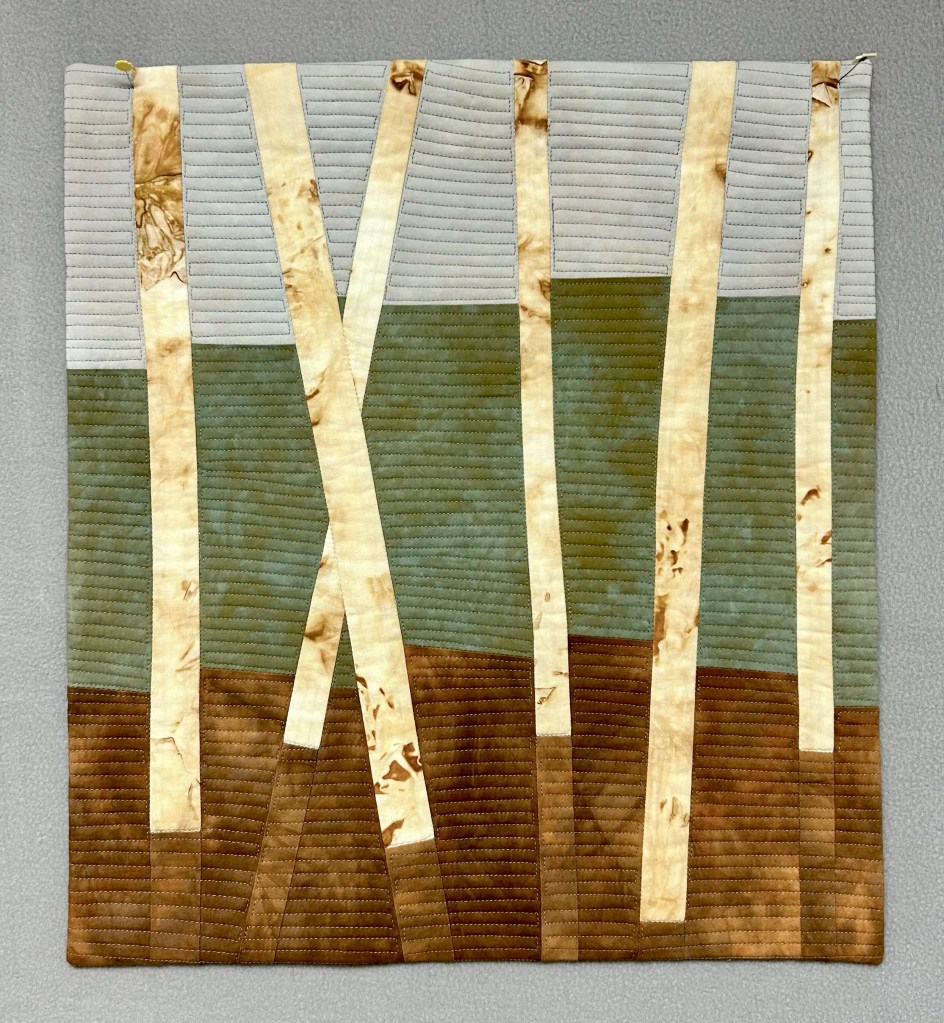
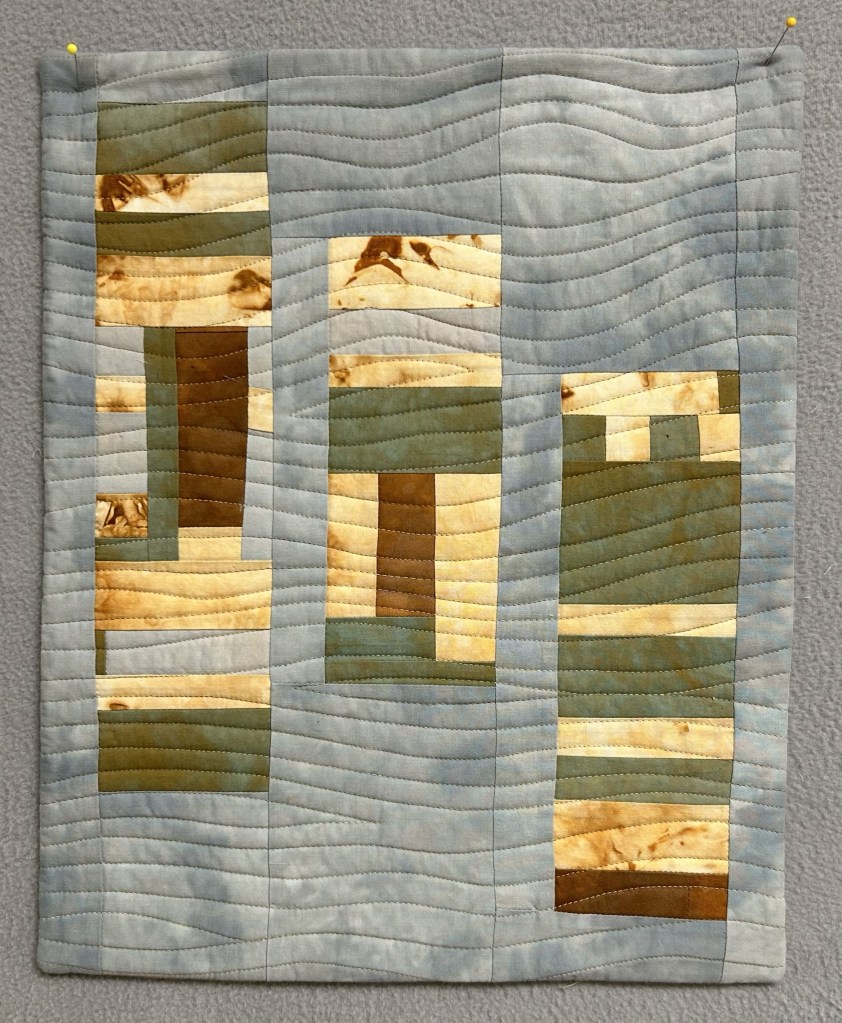
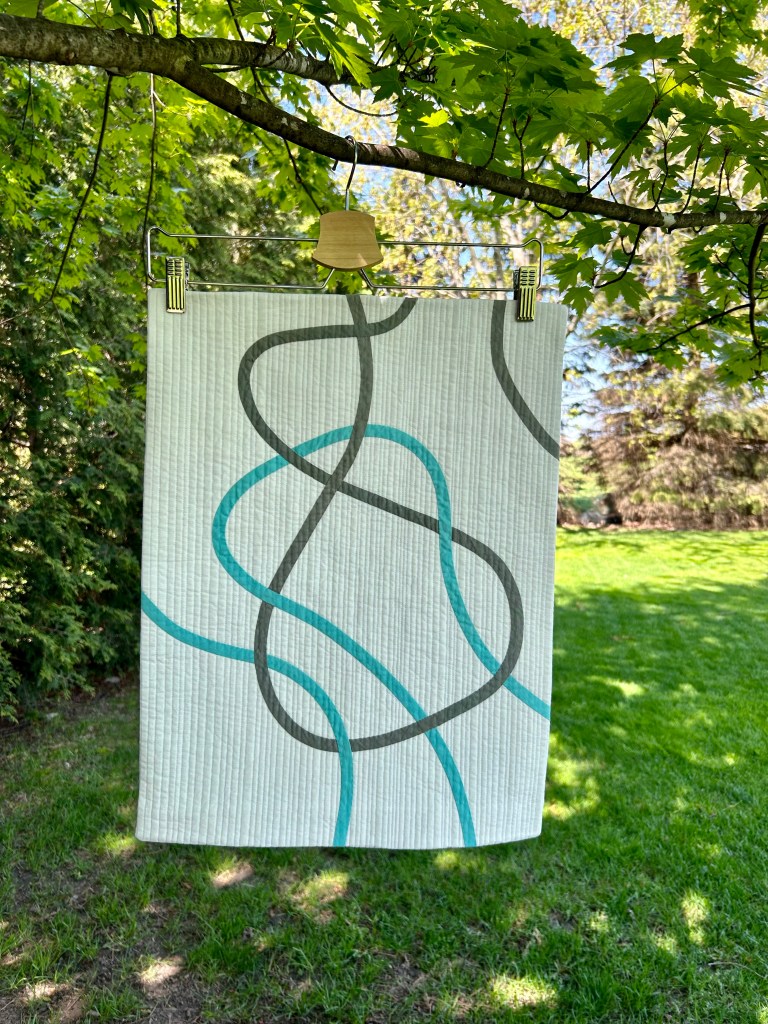
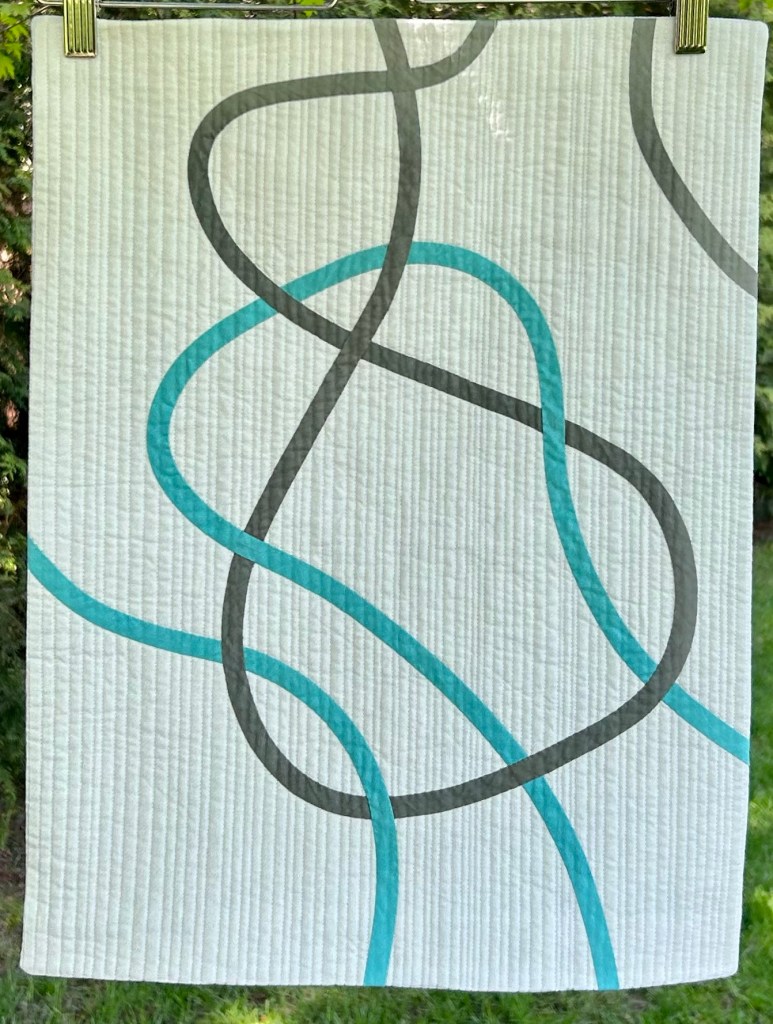
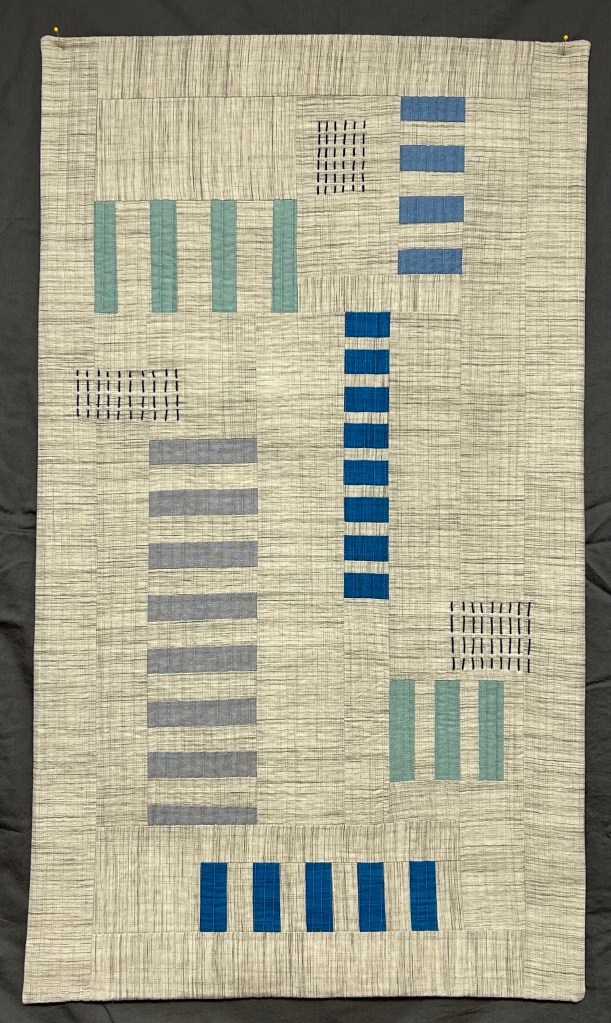
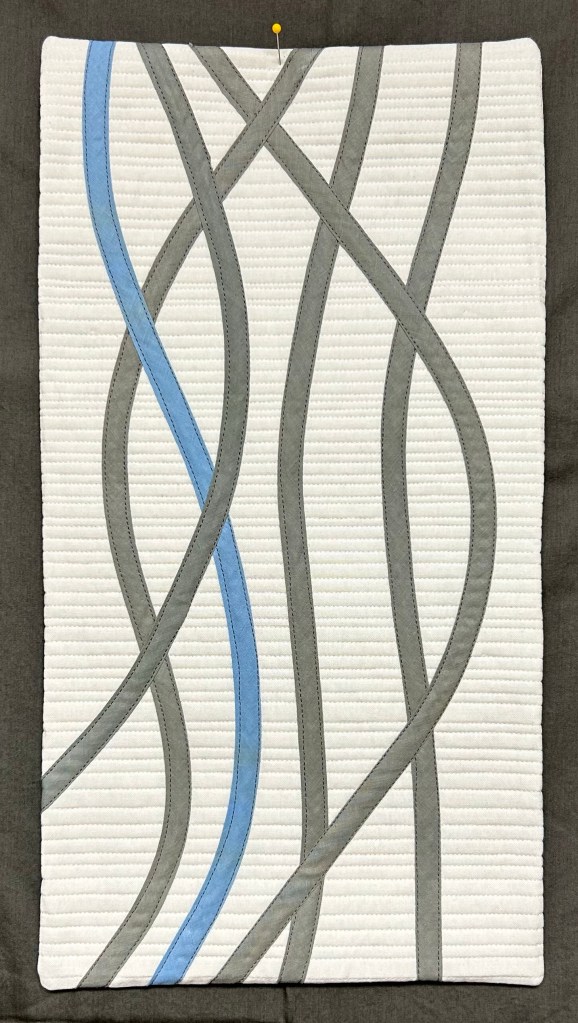
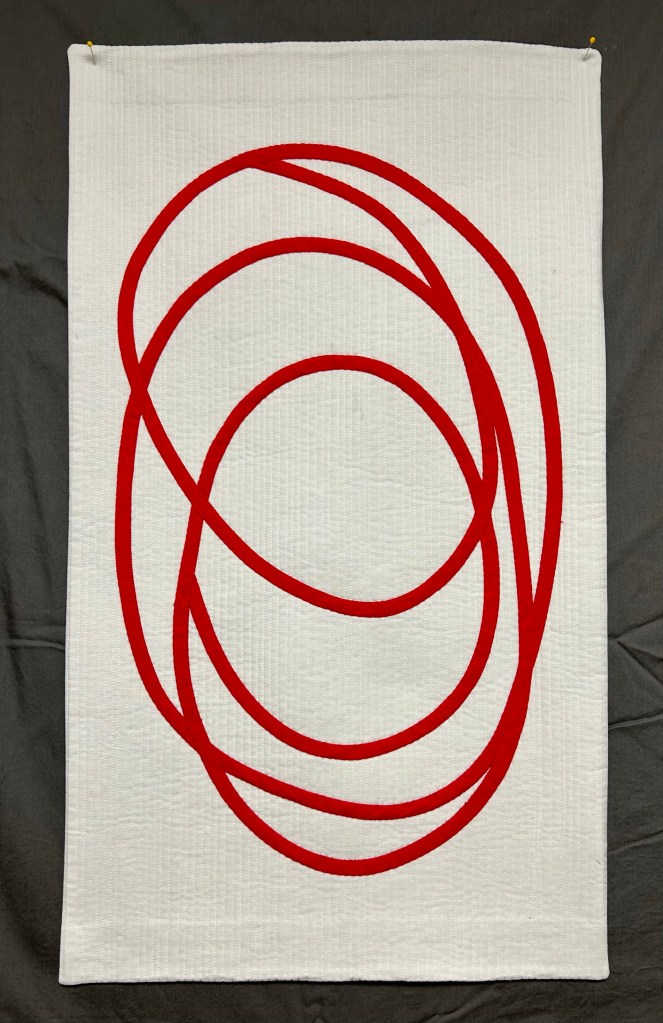
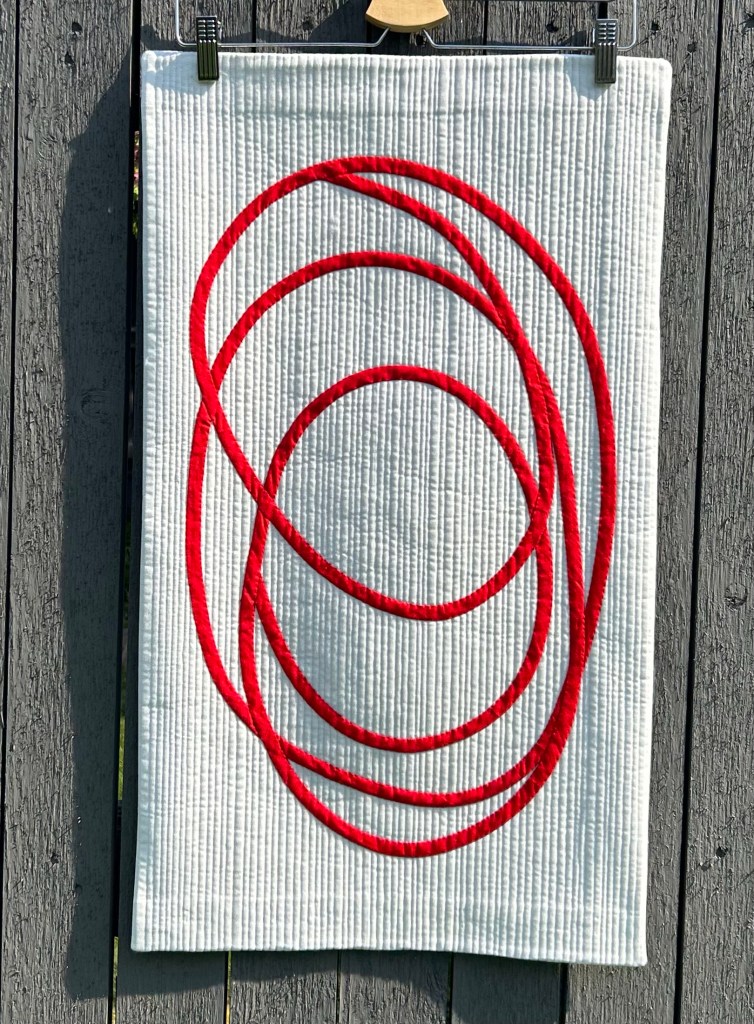
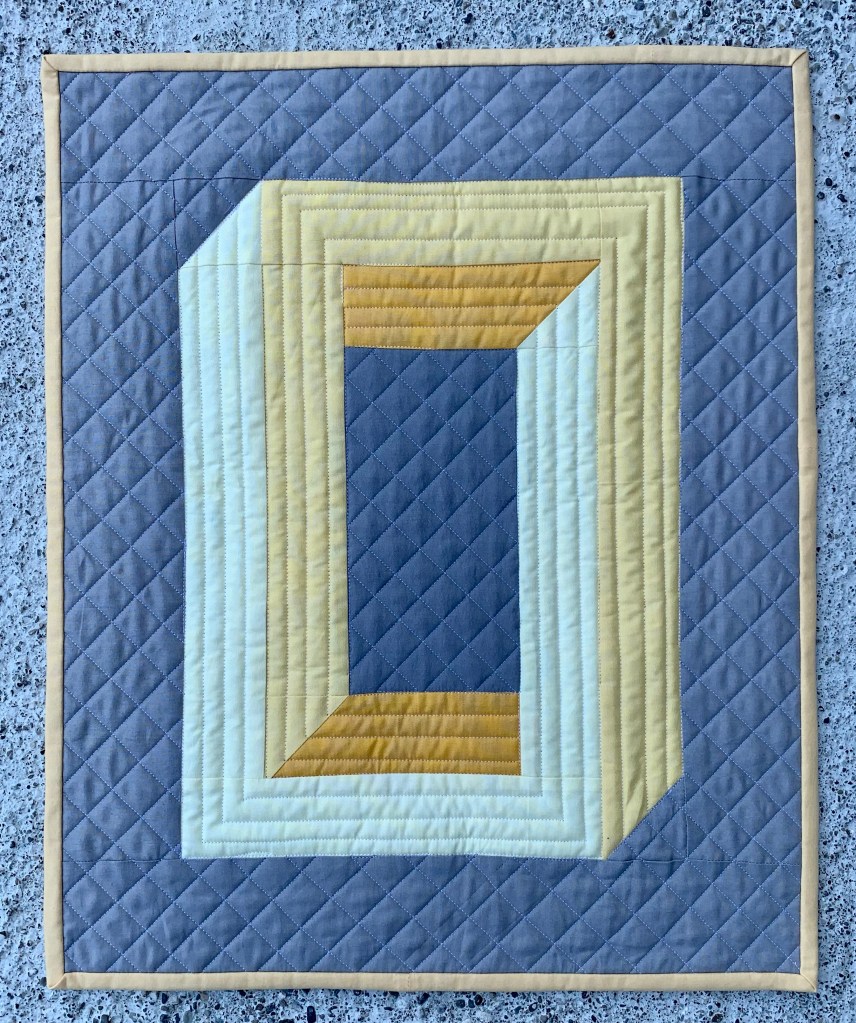
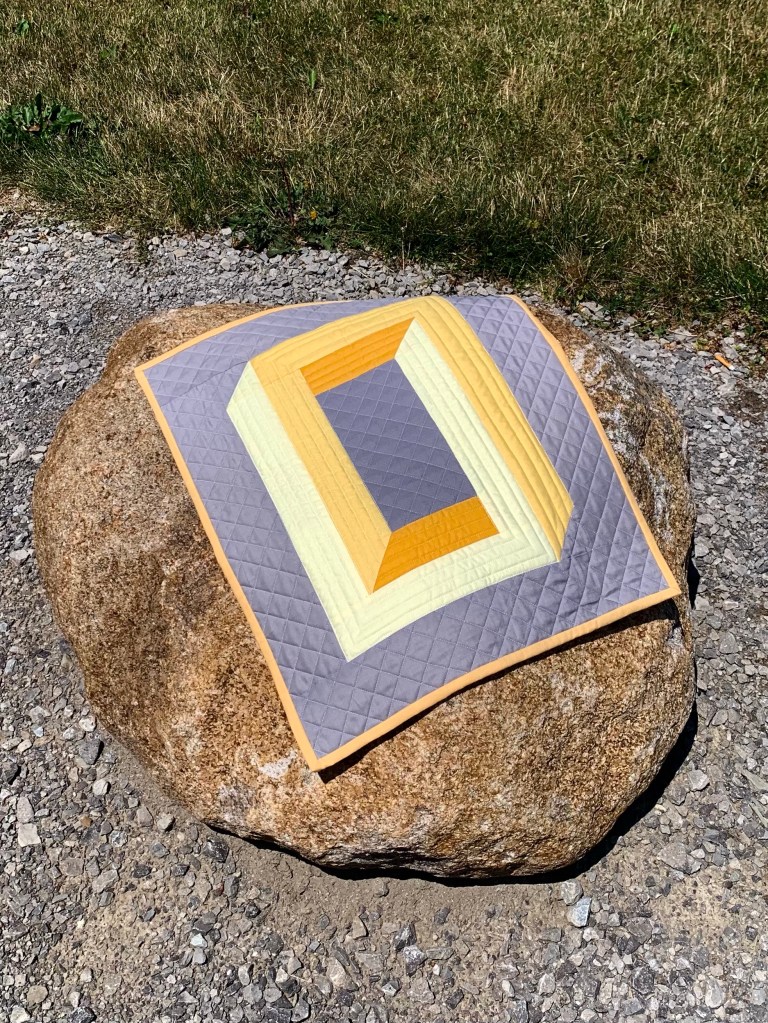
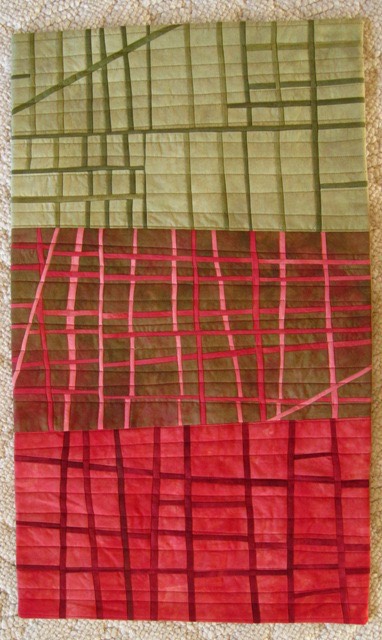
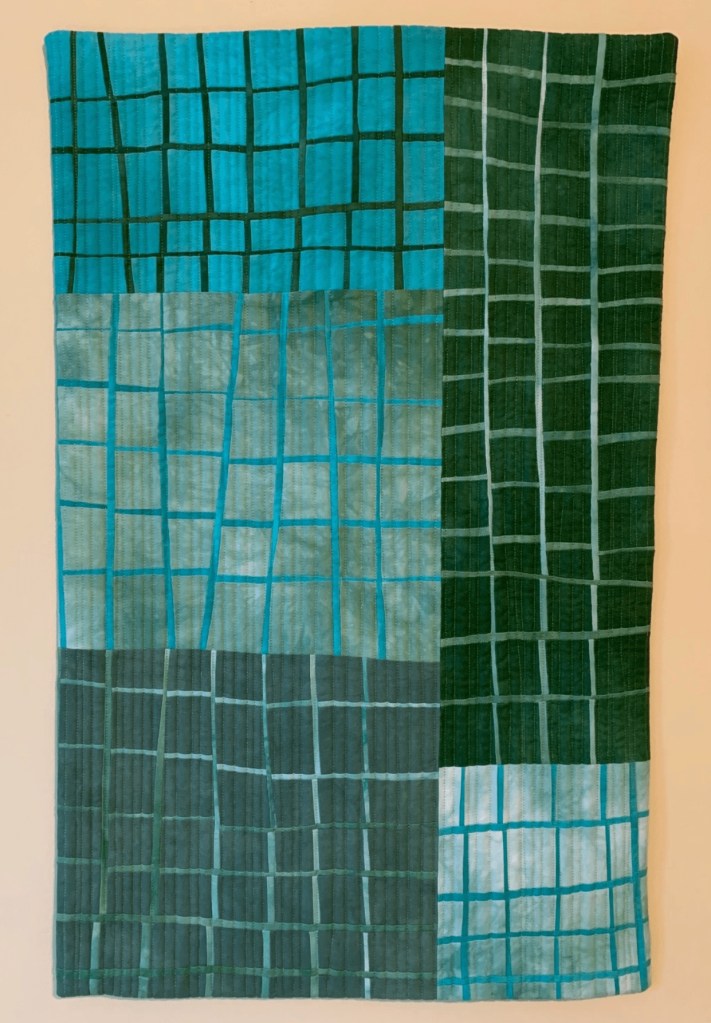
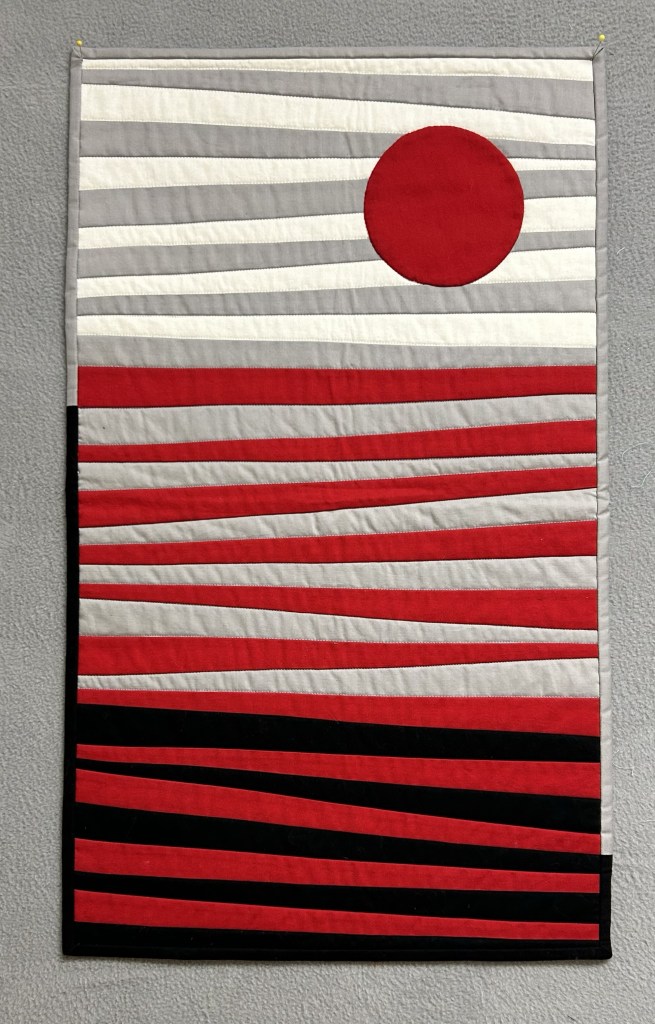
In the spirit of downsizing, I’ve decided to offer up some of my art quilts for sale here. Each piece has a sleeve for hanging. I take PayPal only and the prices below INCLUDE shipping within the US. No sales outside of the US. Please email me at sew4given@aol.com if you are interested in purchasing any of these and please include the item number, title, and your PayPal email so I can send an invoice. Thanks for looking!
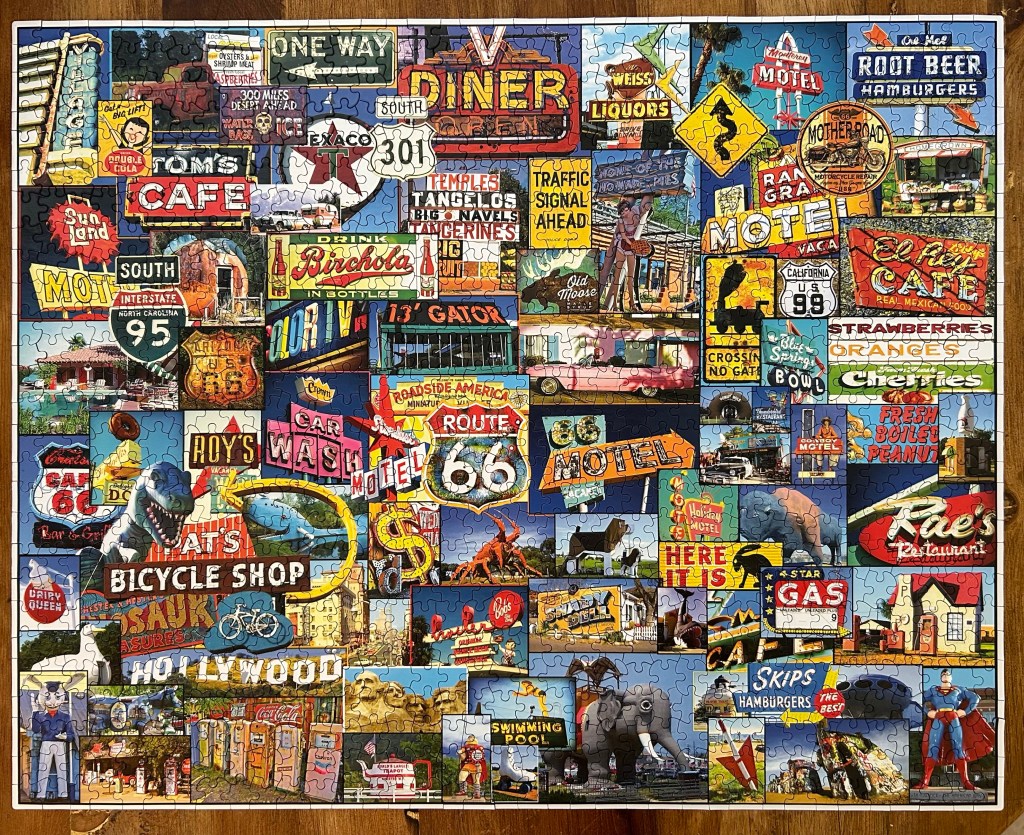
I mentioned yesterday that I just returned from Arizona. Being sick most of the time meant few adventures. I did complete a few puzzles.
And a quick trip to Goodwill afforded six yards of this lovely IKEA fabric. I used some of this for a log cabin quilt several years ago. Click to here see it.
It was sad not seeing Jack, but most of our backyard cacti are doing well.
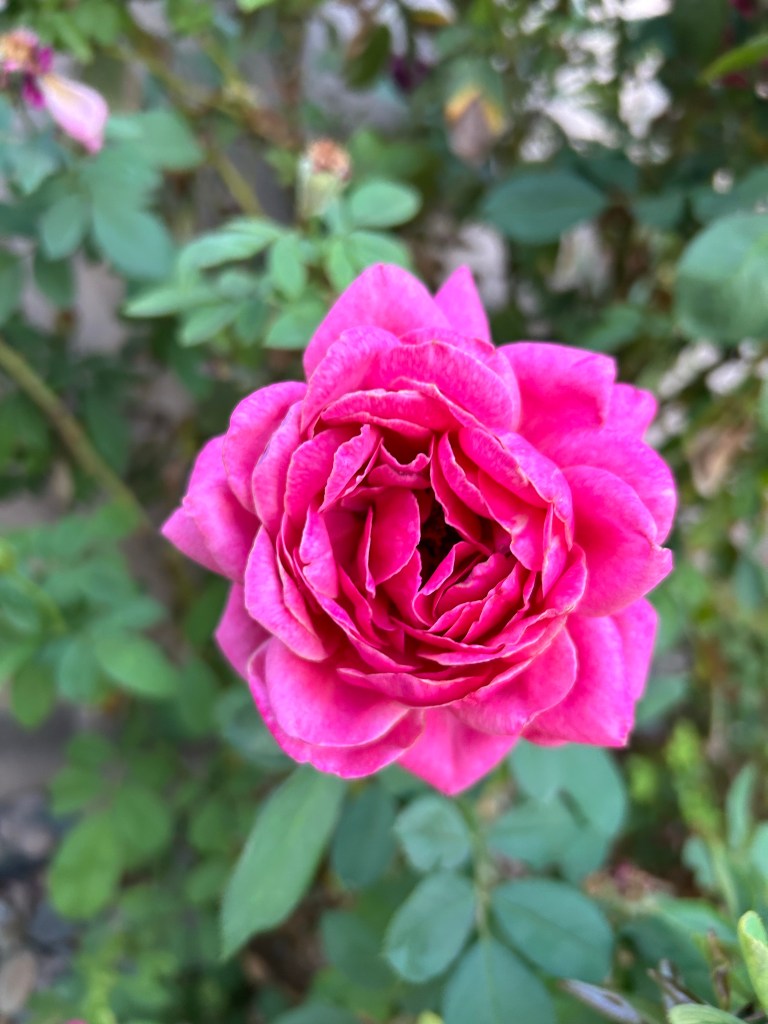
And this sweet bloom welcomed me.
I greatly enjoyed my own backyard on this trip. Being sick, I spent a lot of time there. The sky is always amazing.
Willy was my travel buddy.
He did such a great job, that I treated him to his first pup patty from In and Out Burger.
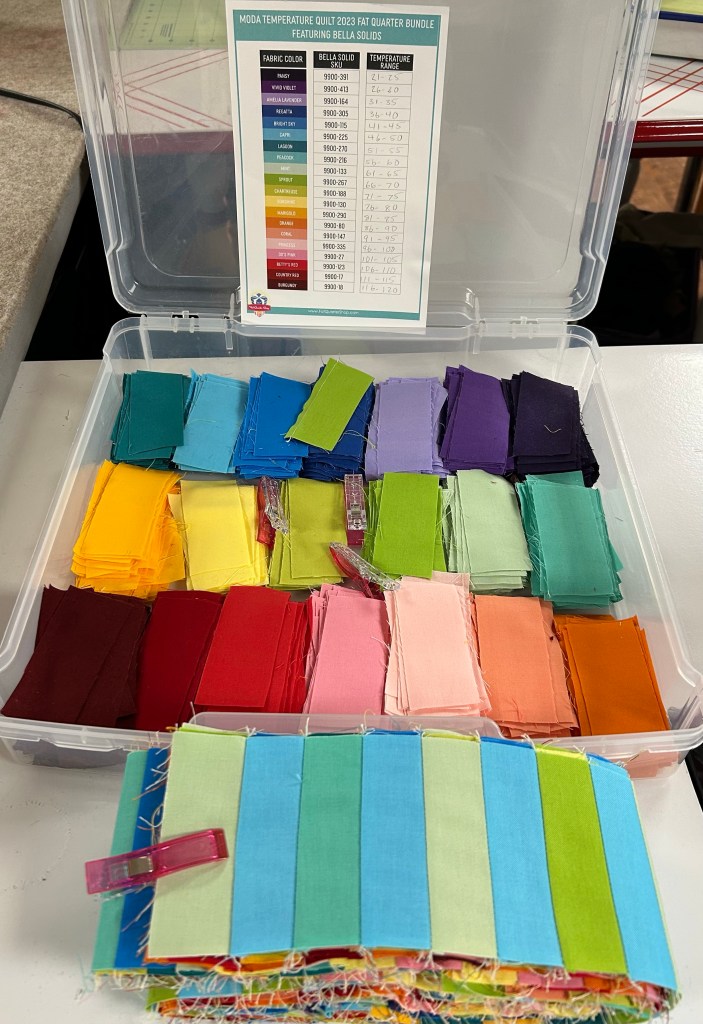
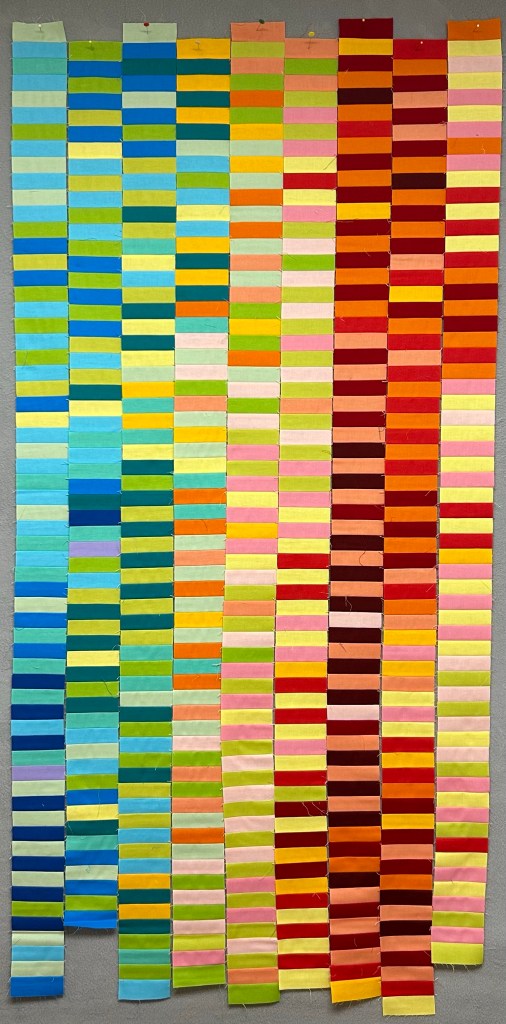
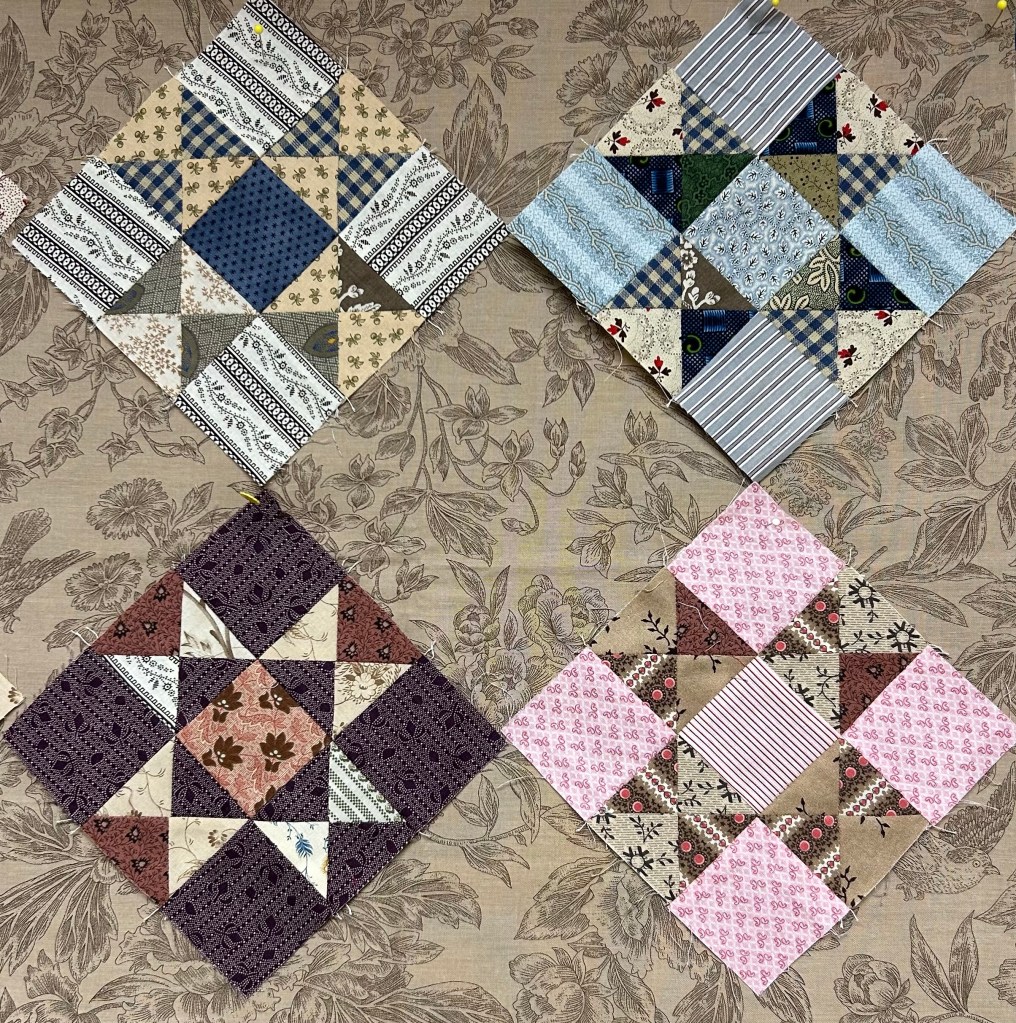
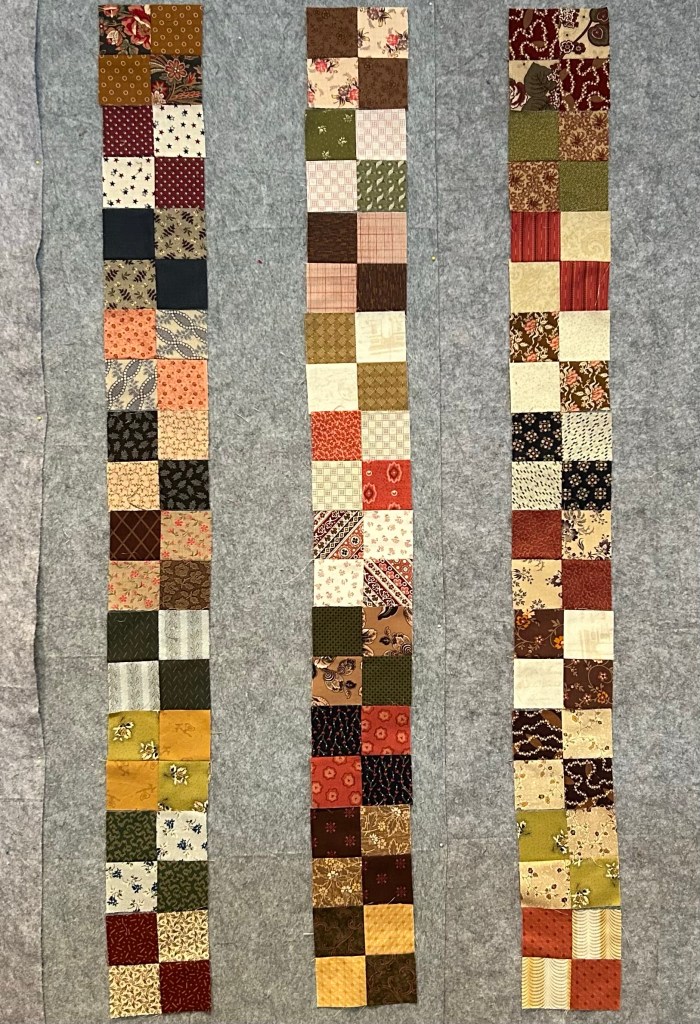
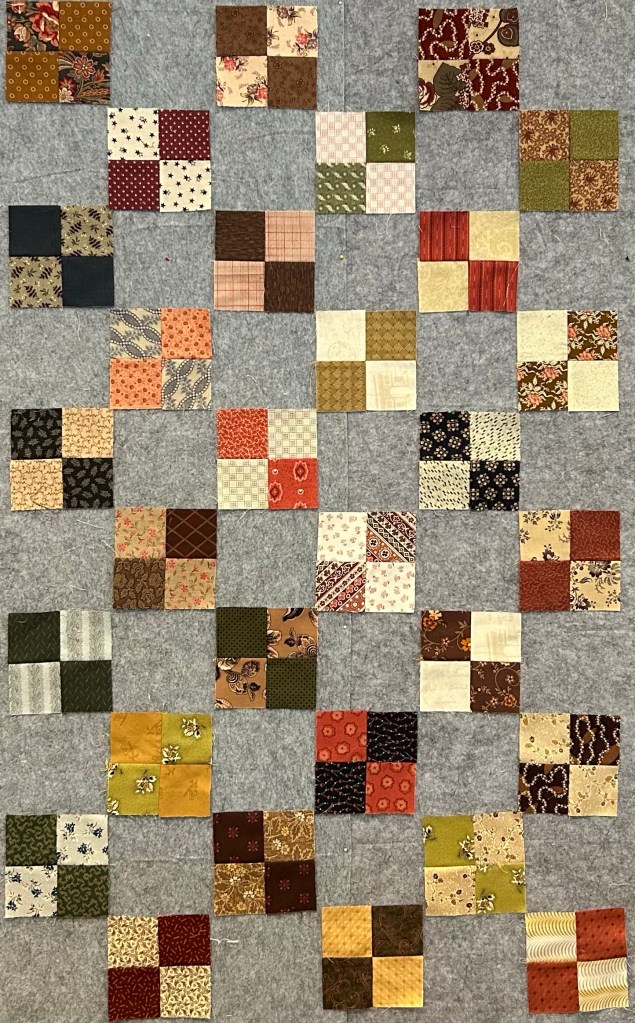
Have you noticed a theme here lately? I found some more four patches that were made as leaders/ enders. These are feeling more interesting to me than the other set right now.
They finish at 4 inches. I have 120 done. I still like the idea of a stripy setting.