
I’m often asked how I do crosshatch quilting on the long arm. It isn’t hard, just time consuming. It does require a ruler base and a straight edge ruler designed for use with a long arm. A rotary cutting ruler should NOT be used. I start by making a grid quilting diagonally as far as I can comfortably. I usually start at the top left. When I’ve gone as far as I can, I take a 90 degree turn and head back to the upper right.

I zig zag back and forth across the top until I’m done. I found stop there, but if I want a tighter grid, I’ll go back and do the same thing only this time I’m adding lines in between.

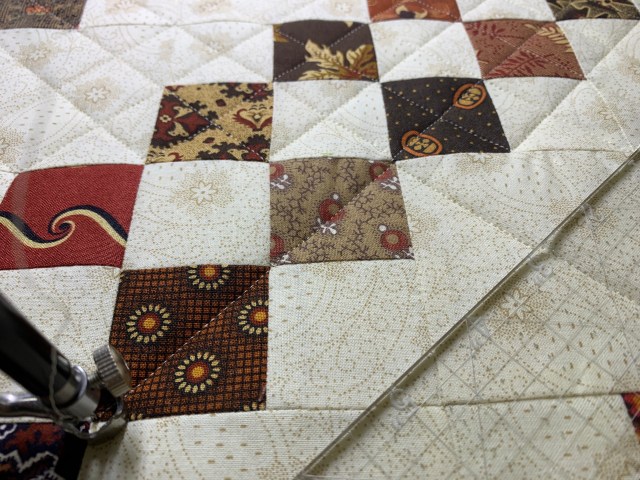
I could do the right grid from the beginning, but I think this gives more even tension. Here is the first row done.

You can see here where I made my turns. Time to advance the quilt.

Now I’m repeating the process.

The only thing different is that I need to match up my corners with the quilting on the previous section. This can be a little tricky.

You can see here that I didn’t hit it exactly. Because it is a diagonal grid, your eye will read it as straight.
Here I have the first pass done and you can see that I will repeat it for the in between lines.

Time to bind!

Have a great day!


Which company made your background fabric? Beautiful colors! Cindy Nelson
Sent from my iPhone
>
I like the look of cross-hatch. Since I quilt on a regular sewing machine, I mark all of my diagonal lines with a quilter’s pencil.