
Hubby is out if town on business this weekend and I have been getting as much sewing time in as possible! I have also done other things but I guess I am making up for time away from the sewing room earlier in the month.
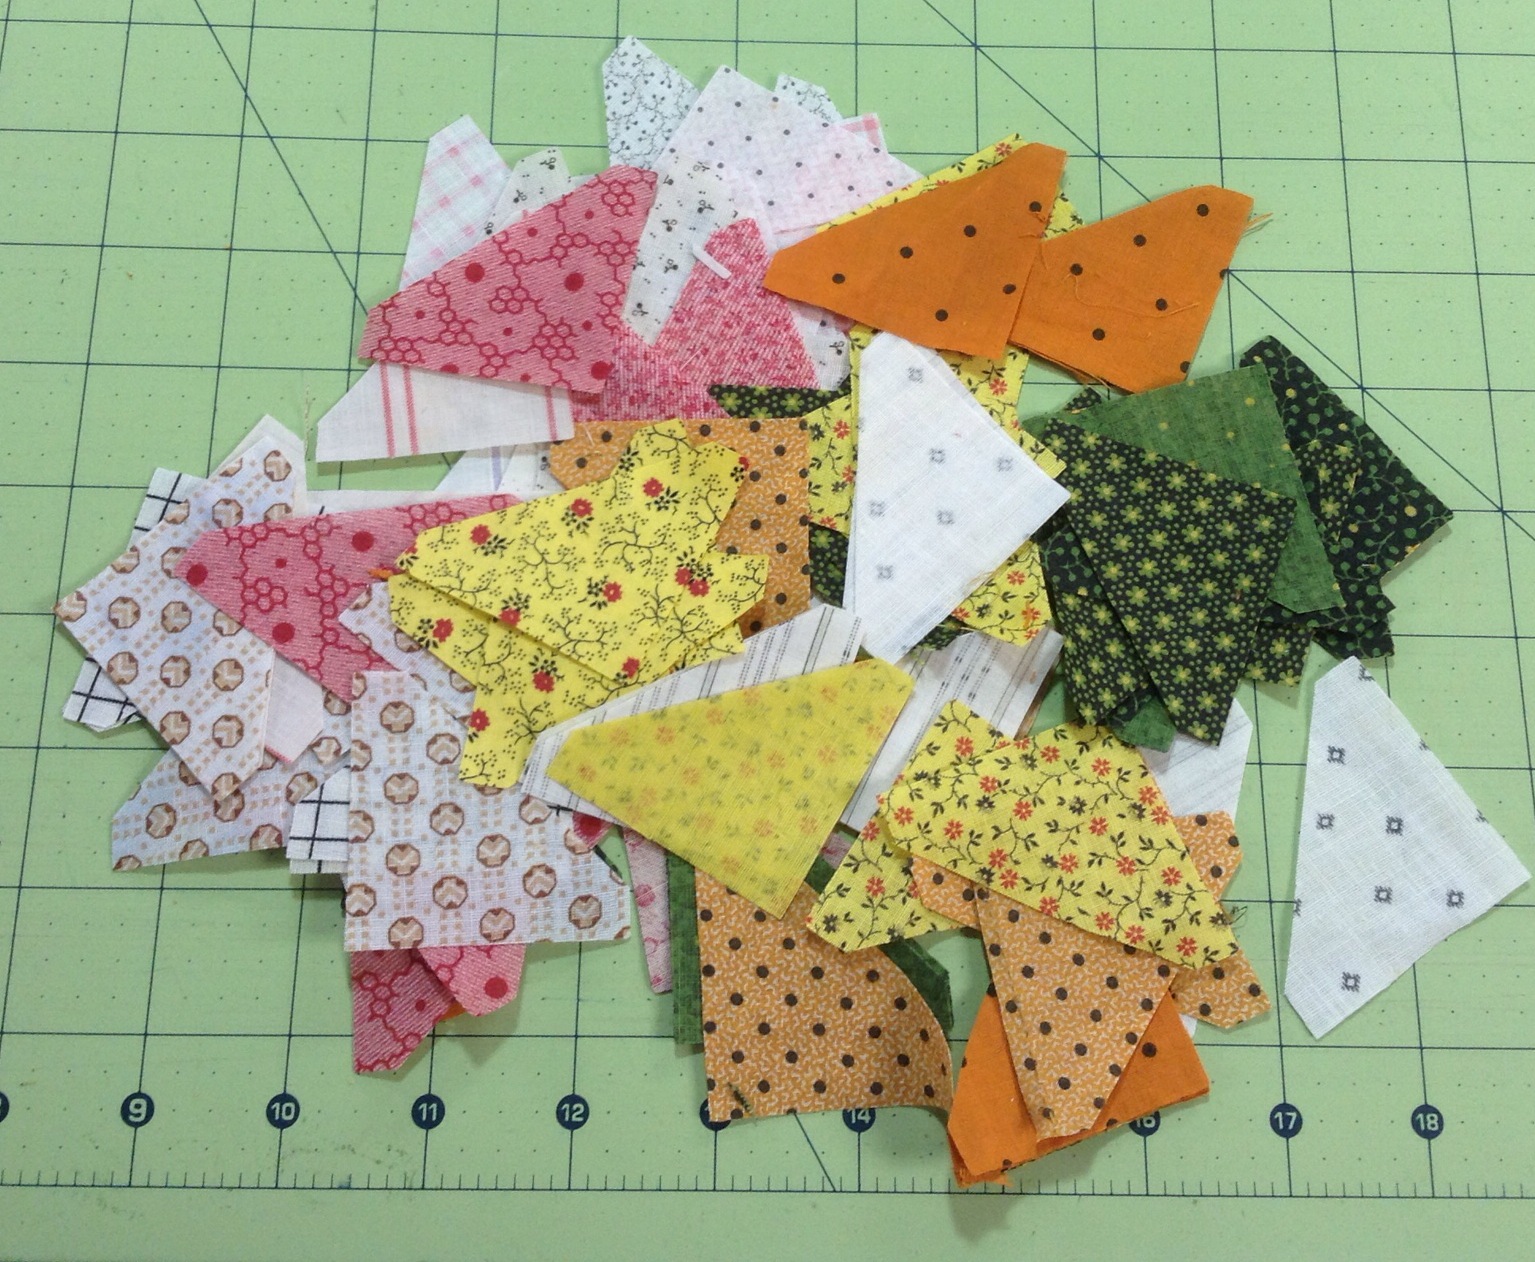
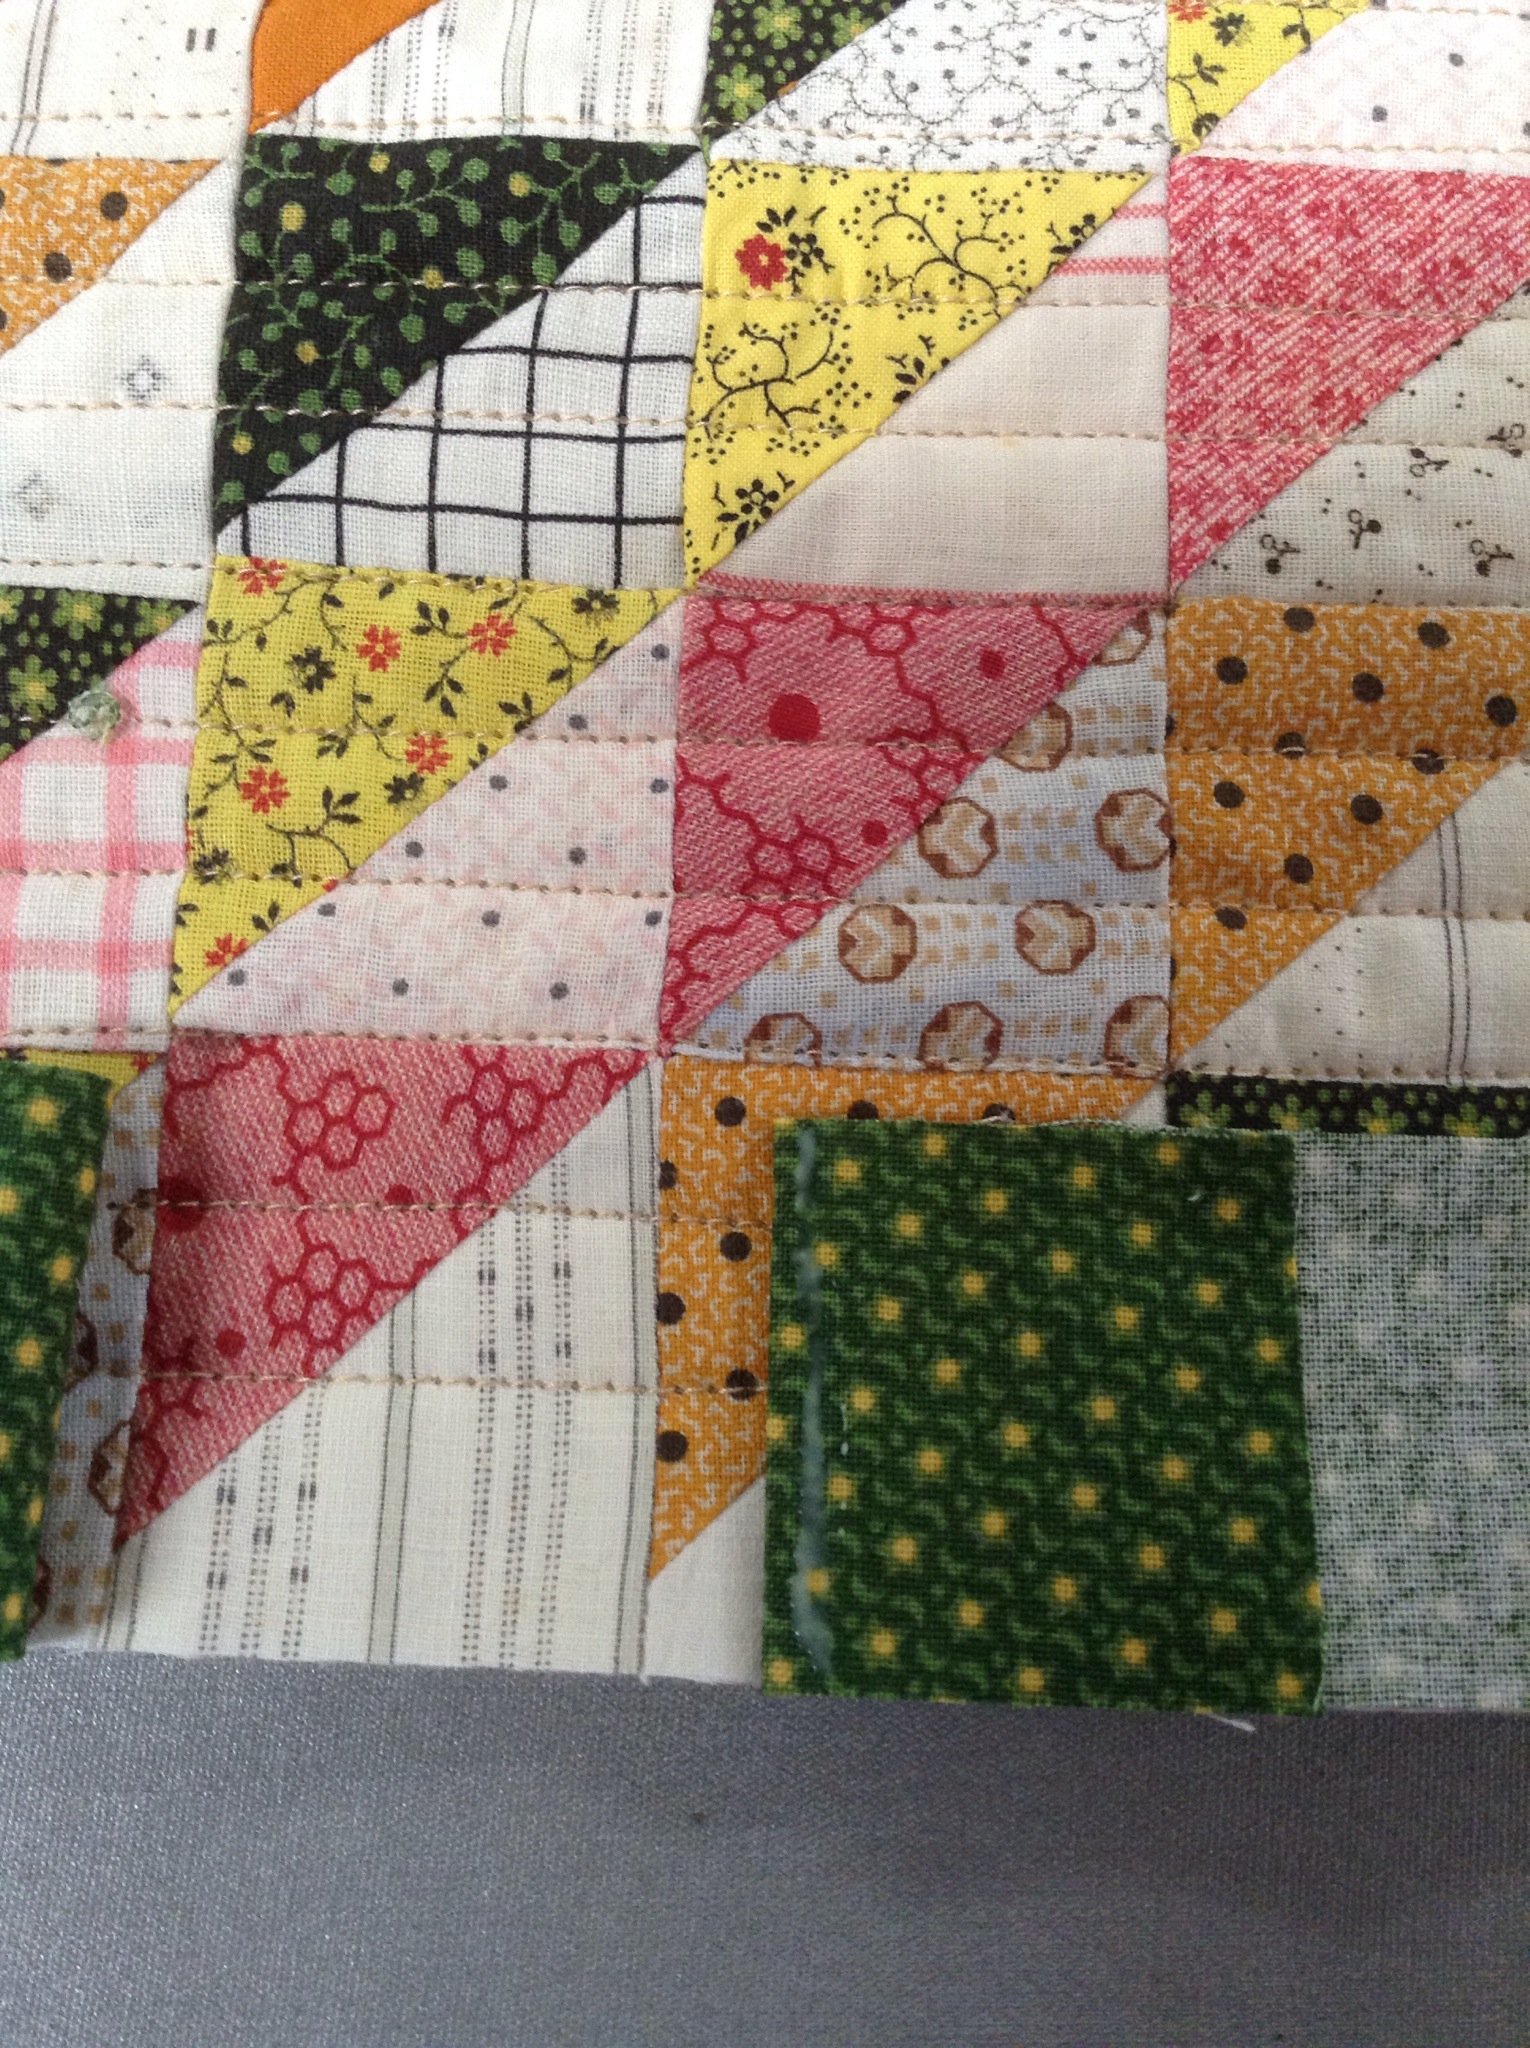
I have been on a bit of a mini kick lately as there has been lots of inspiration coming from Kathie’s blog, Inspired by Antique Quilts. Recently she showed small vintage doll quilt top made of HSTs. It used double pinks and chrome yellow. I remembered that I had a bit of vintage chrome yellow fabric and as a reward for finishing the QOV, I started cutting triangles.
I finished piecing my little top late Friday night and quilted it early Saturday. I watched a Sharon Schamber video showing how she does binding and thought I would try bits of her method on this quilt. It requires the use of Elmer’s School Glue. She fashioned a new tip for the bottle but I found this bottle (purchased at a beauty supply store for under a dollar) in my cupboards:
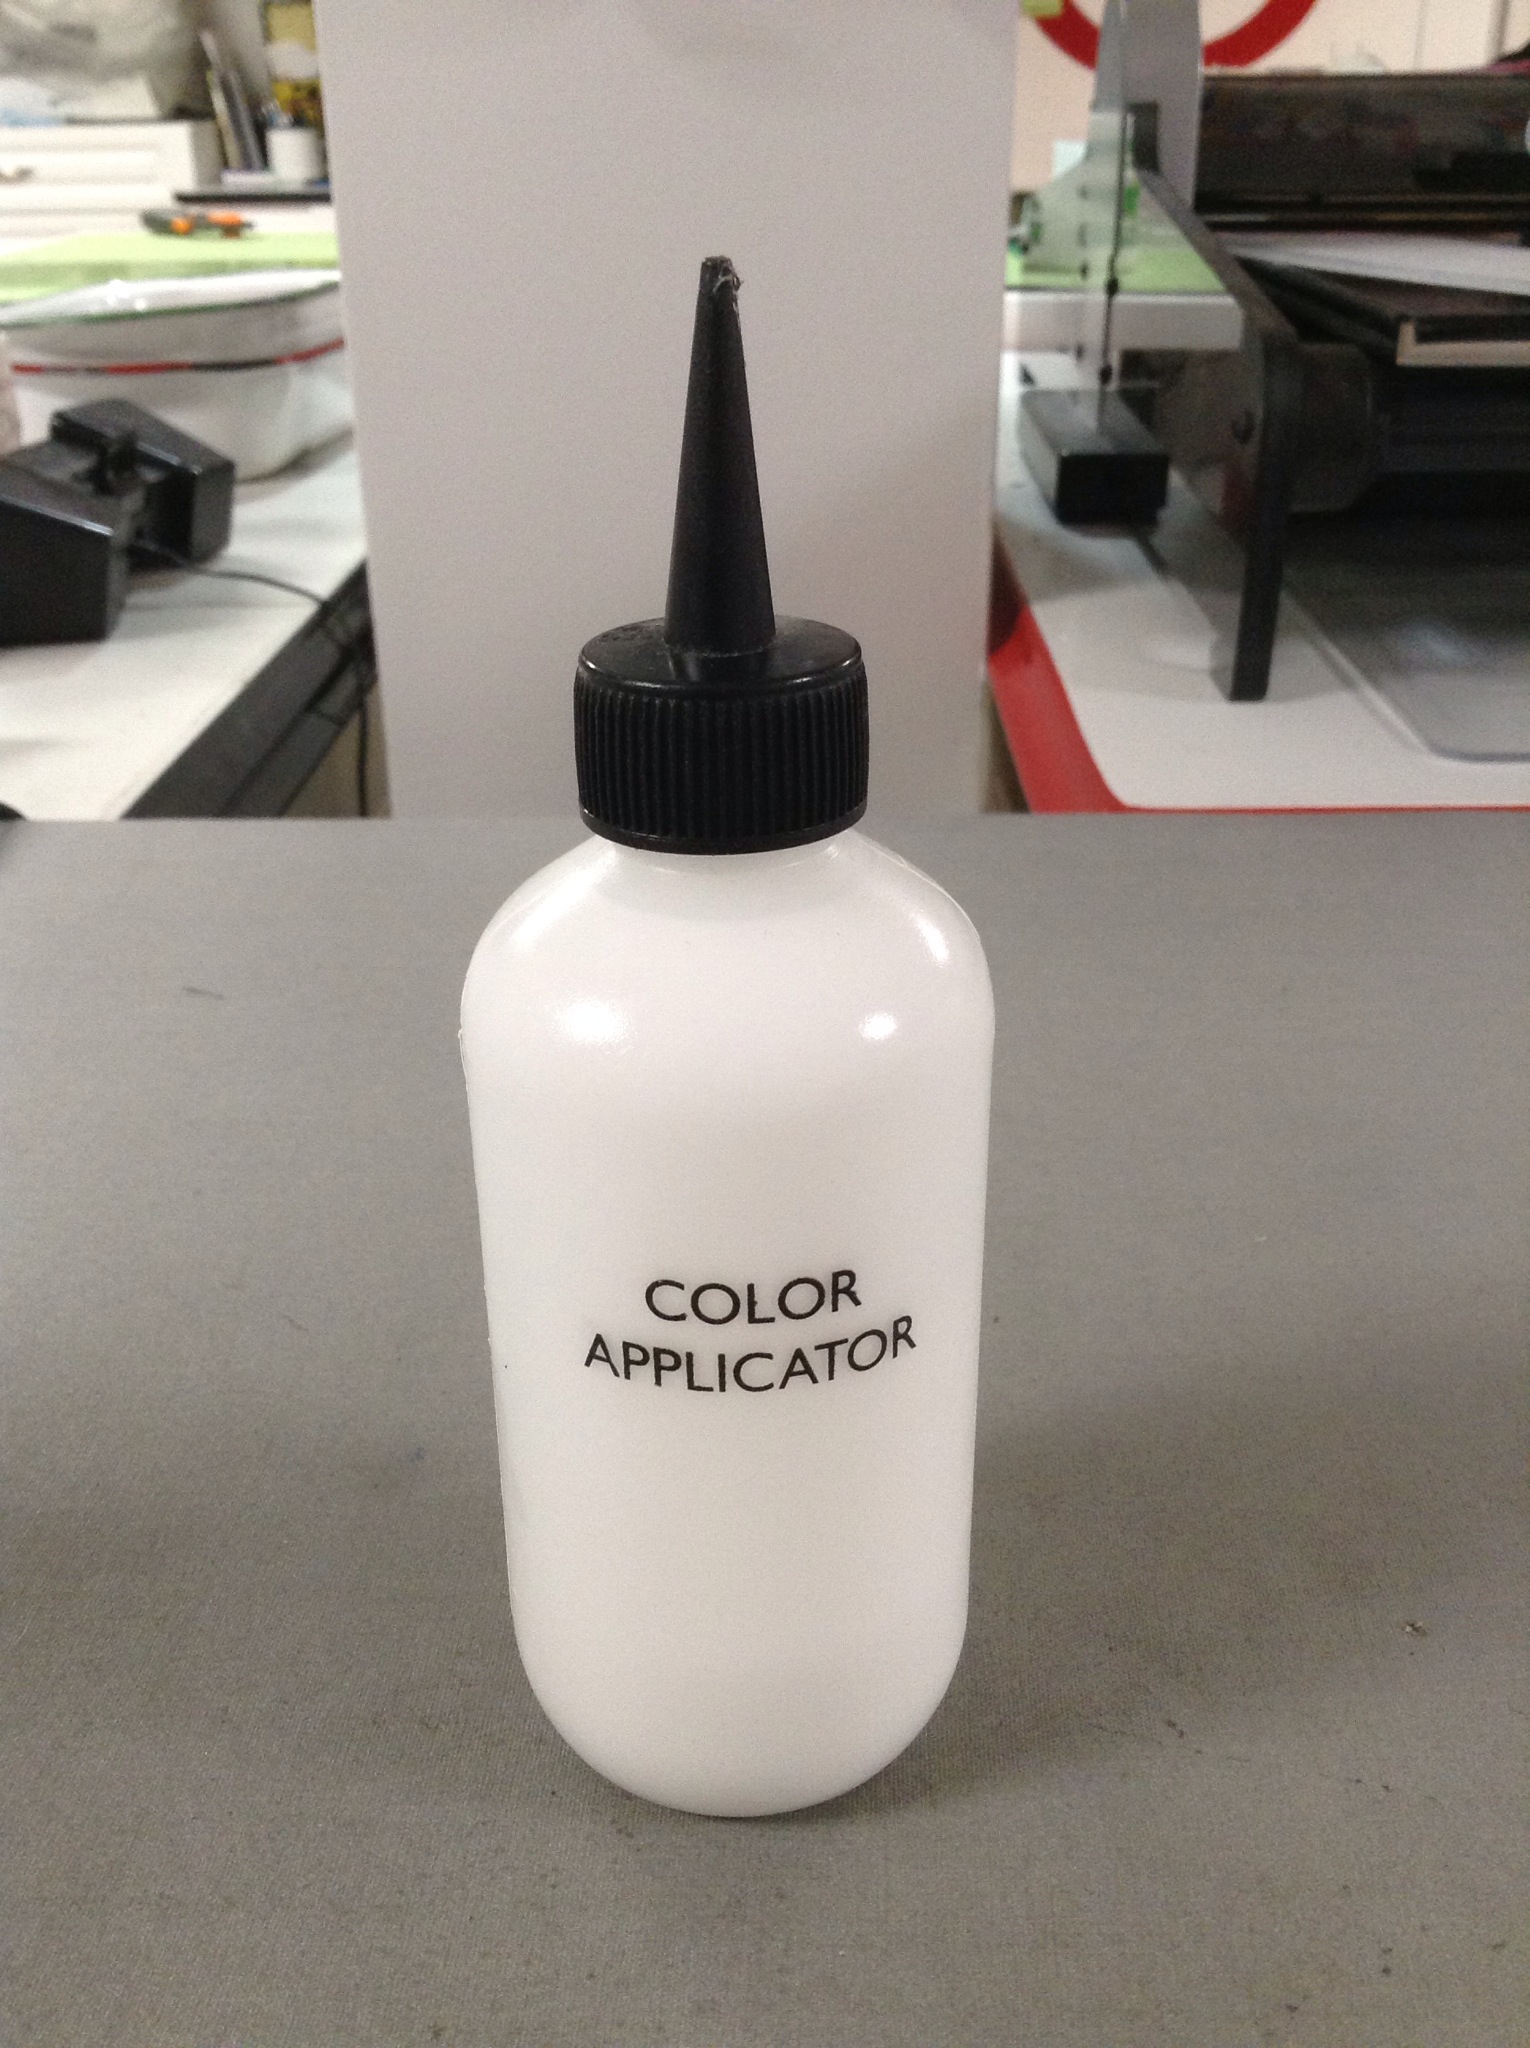
I bought this bottle with a hand fabric dyeing technique in mind and then never used it. It worked perfectly and was much less expensive than the fancy bottle of Roxanne’s basting glue!
And yes, I realize there are those horrified by the use of glue and those who love it. School glue washes out completely. I have rarely used this method but it comes in handy at times.
The portion of Sharon’s technique I used was how she sews the ends of the binding together. She sews her ends together on the bias but the idea is the same. I would have had to cut another binding strip if I did that on this little quilt and you know that wasn’t going to happen! Ha!
Anyway, I hope I can explain this because it worked really well.
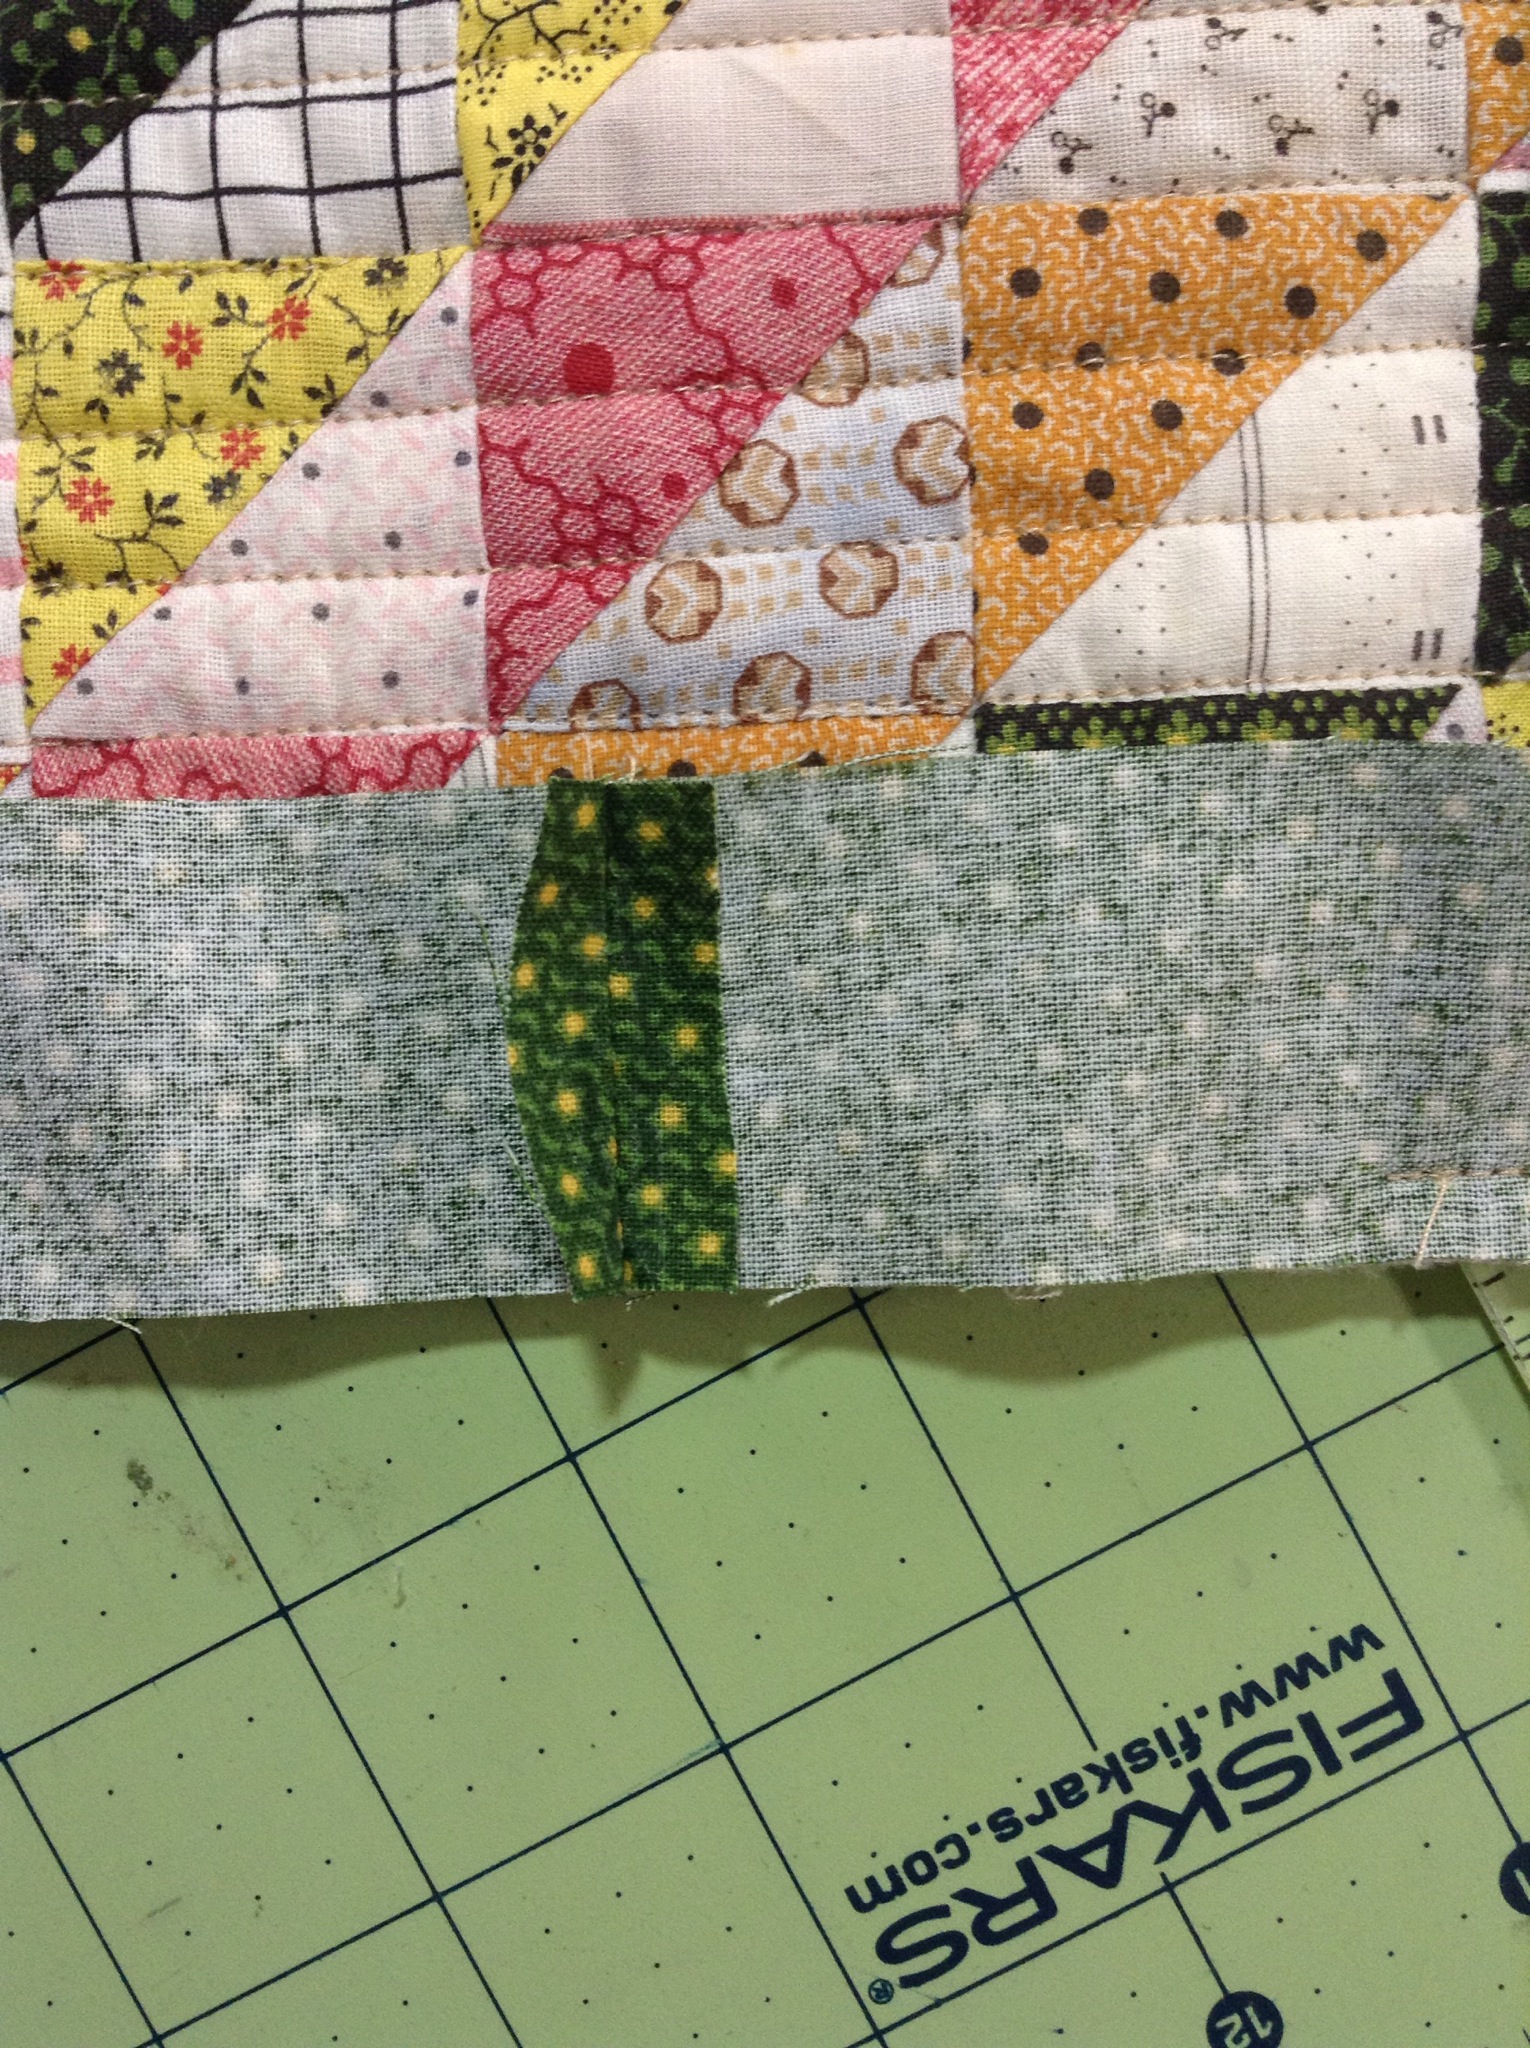
First, when I got close to the end, I folded one end back and pressed as in the photo above. I placed a tiny bit of glue along this fold and then placed the other end of the strip down over top and set the glue by pressing with the iron.

Next I stitched the ends together on the crease formed when I folded the first piece back.
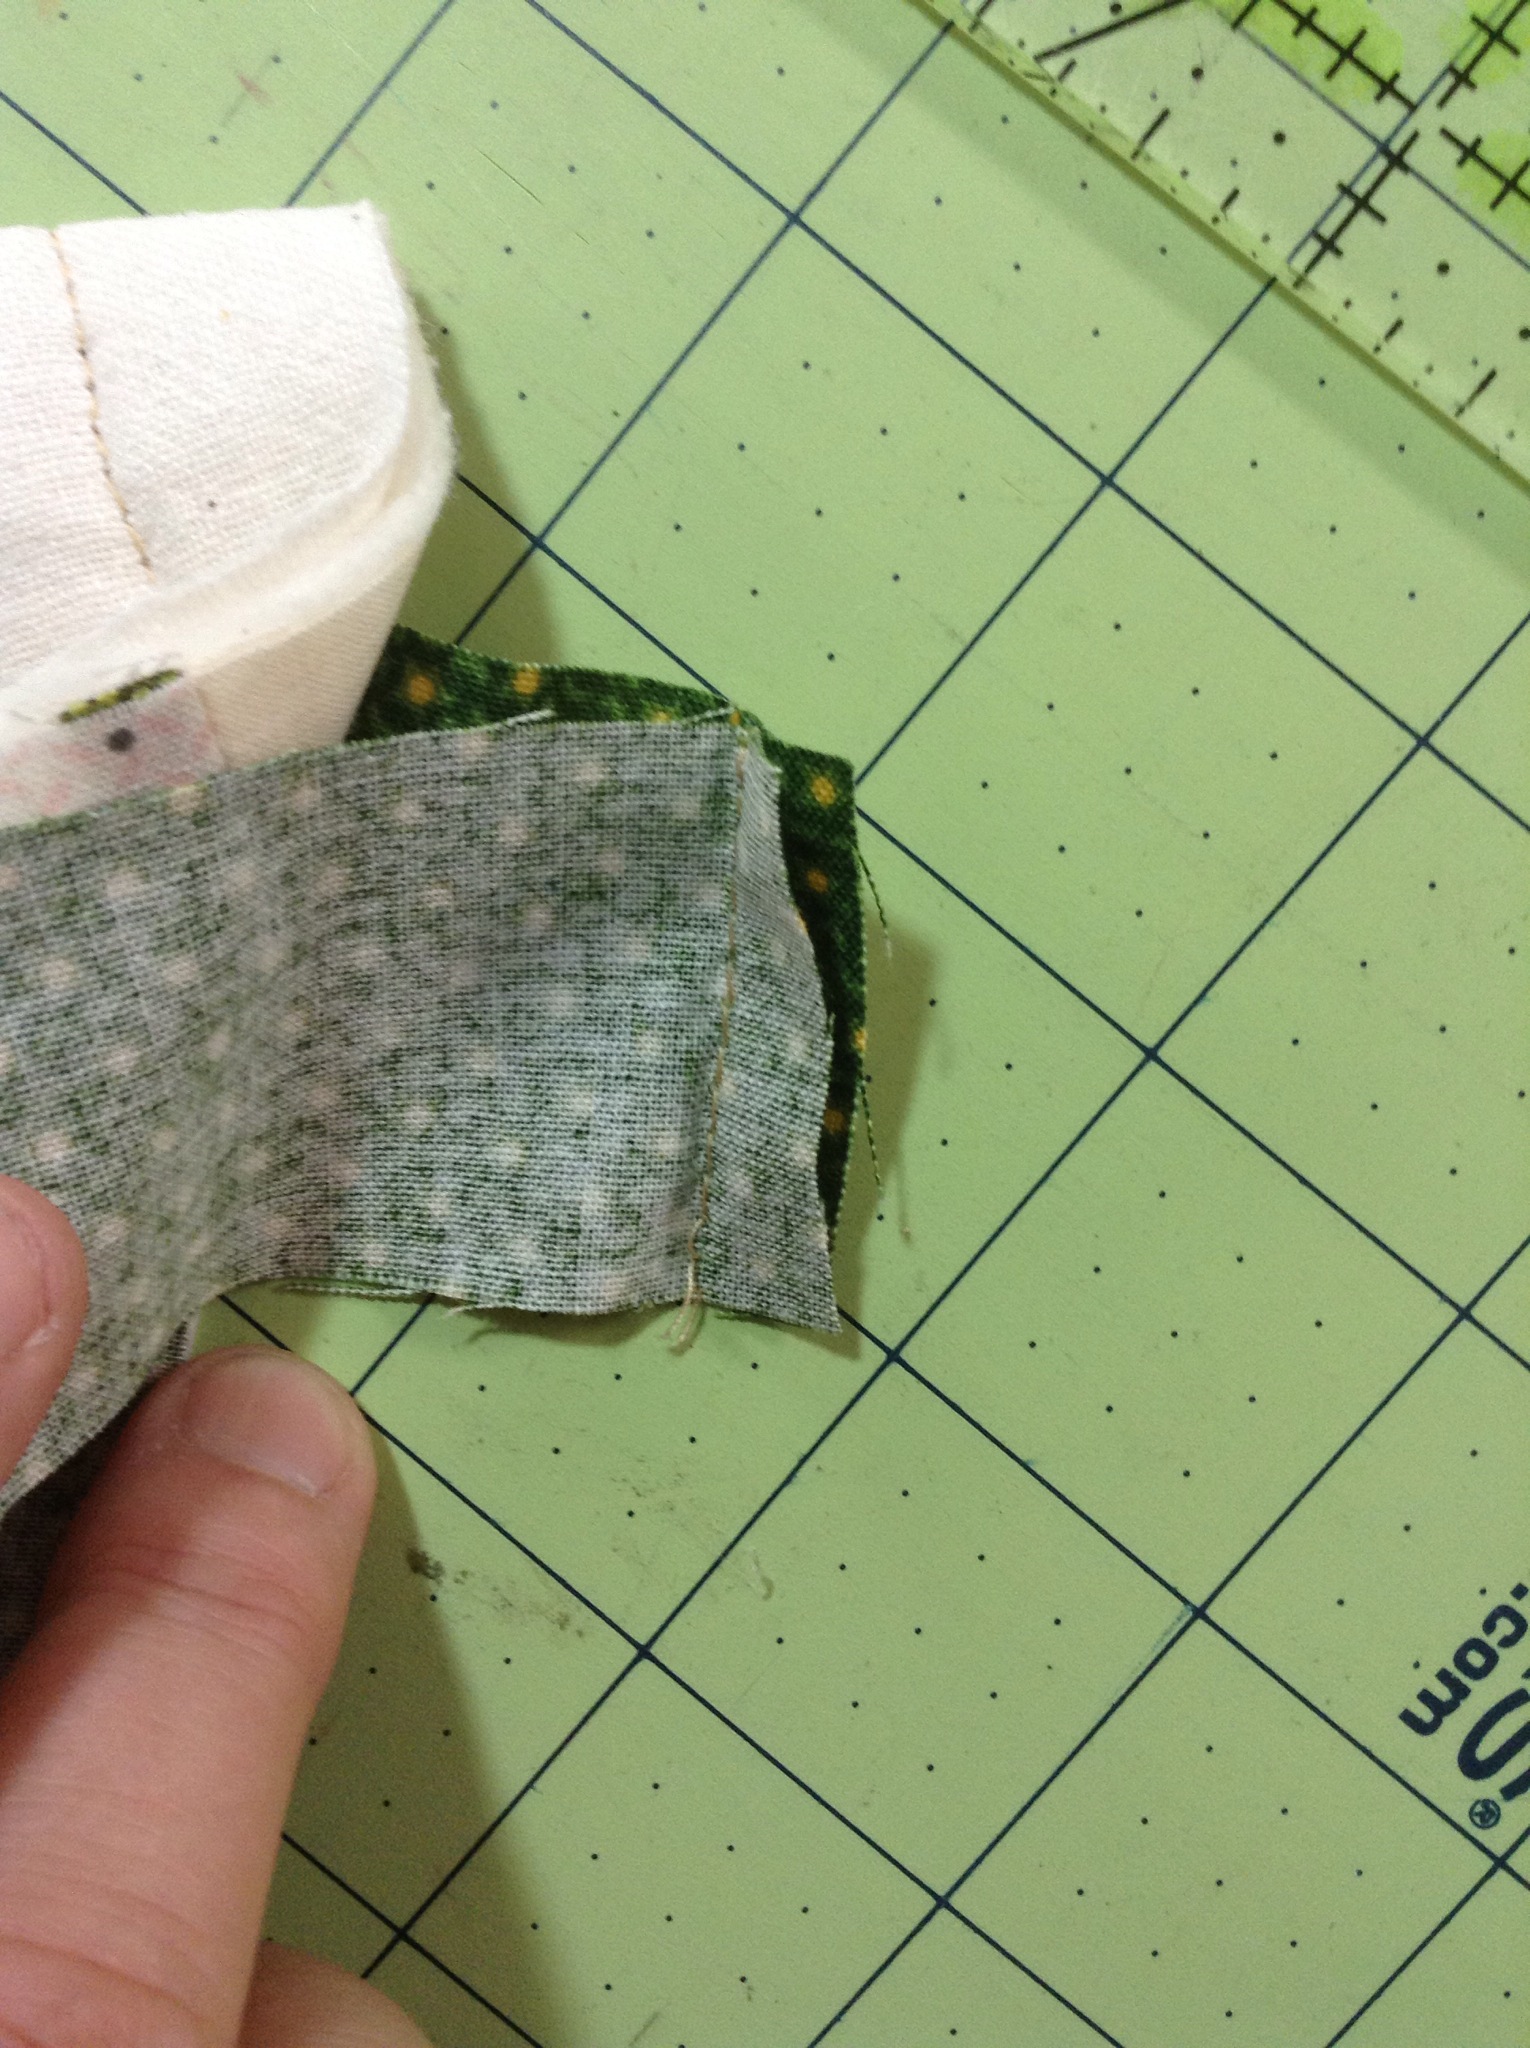
I gently pulled these two ends apart to release the glue and pressed the seam open. I finished sewing the binding to the quilt at the machine.
Because this is a small quilt, I decided to use a single fold binding. So the next thing I did was press the edges of the binding under on the back side to prepare for hand stitching.
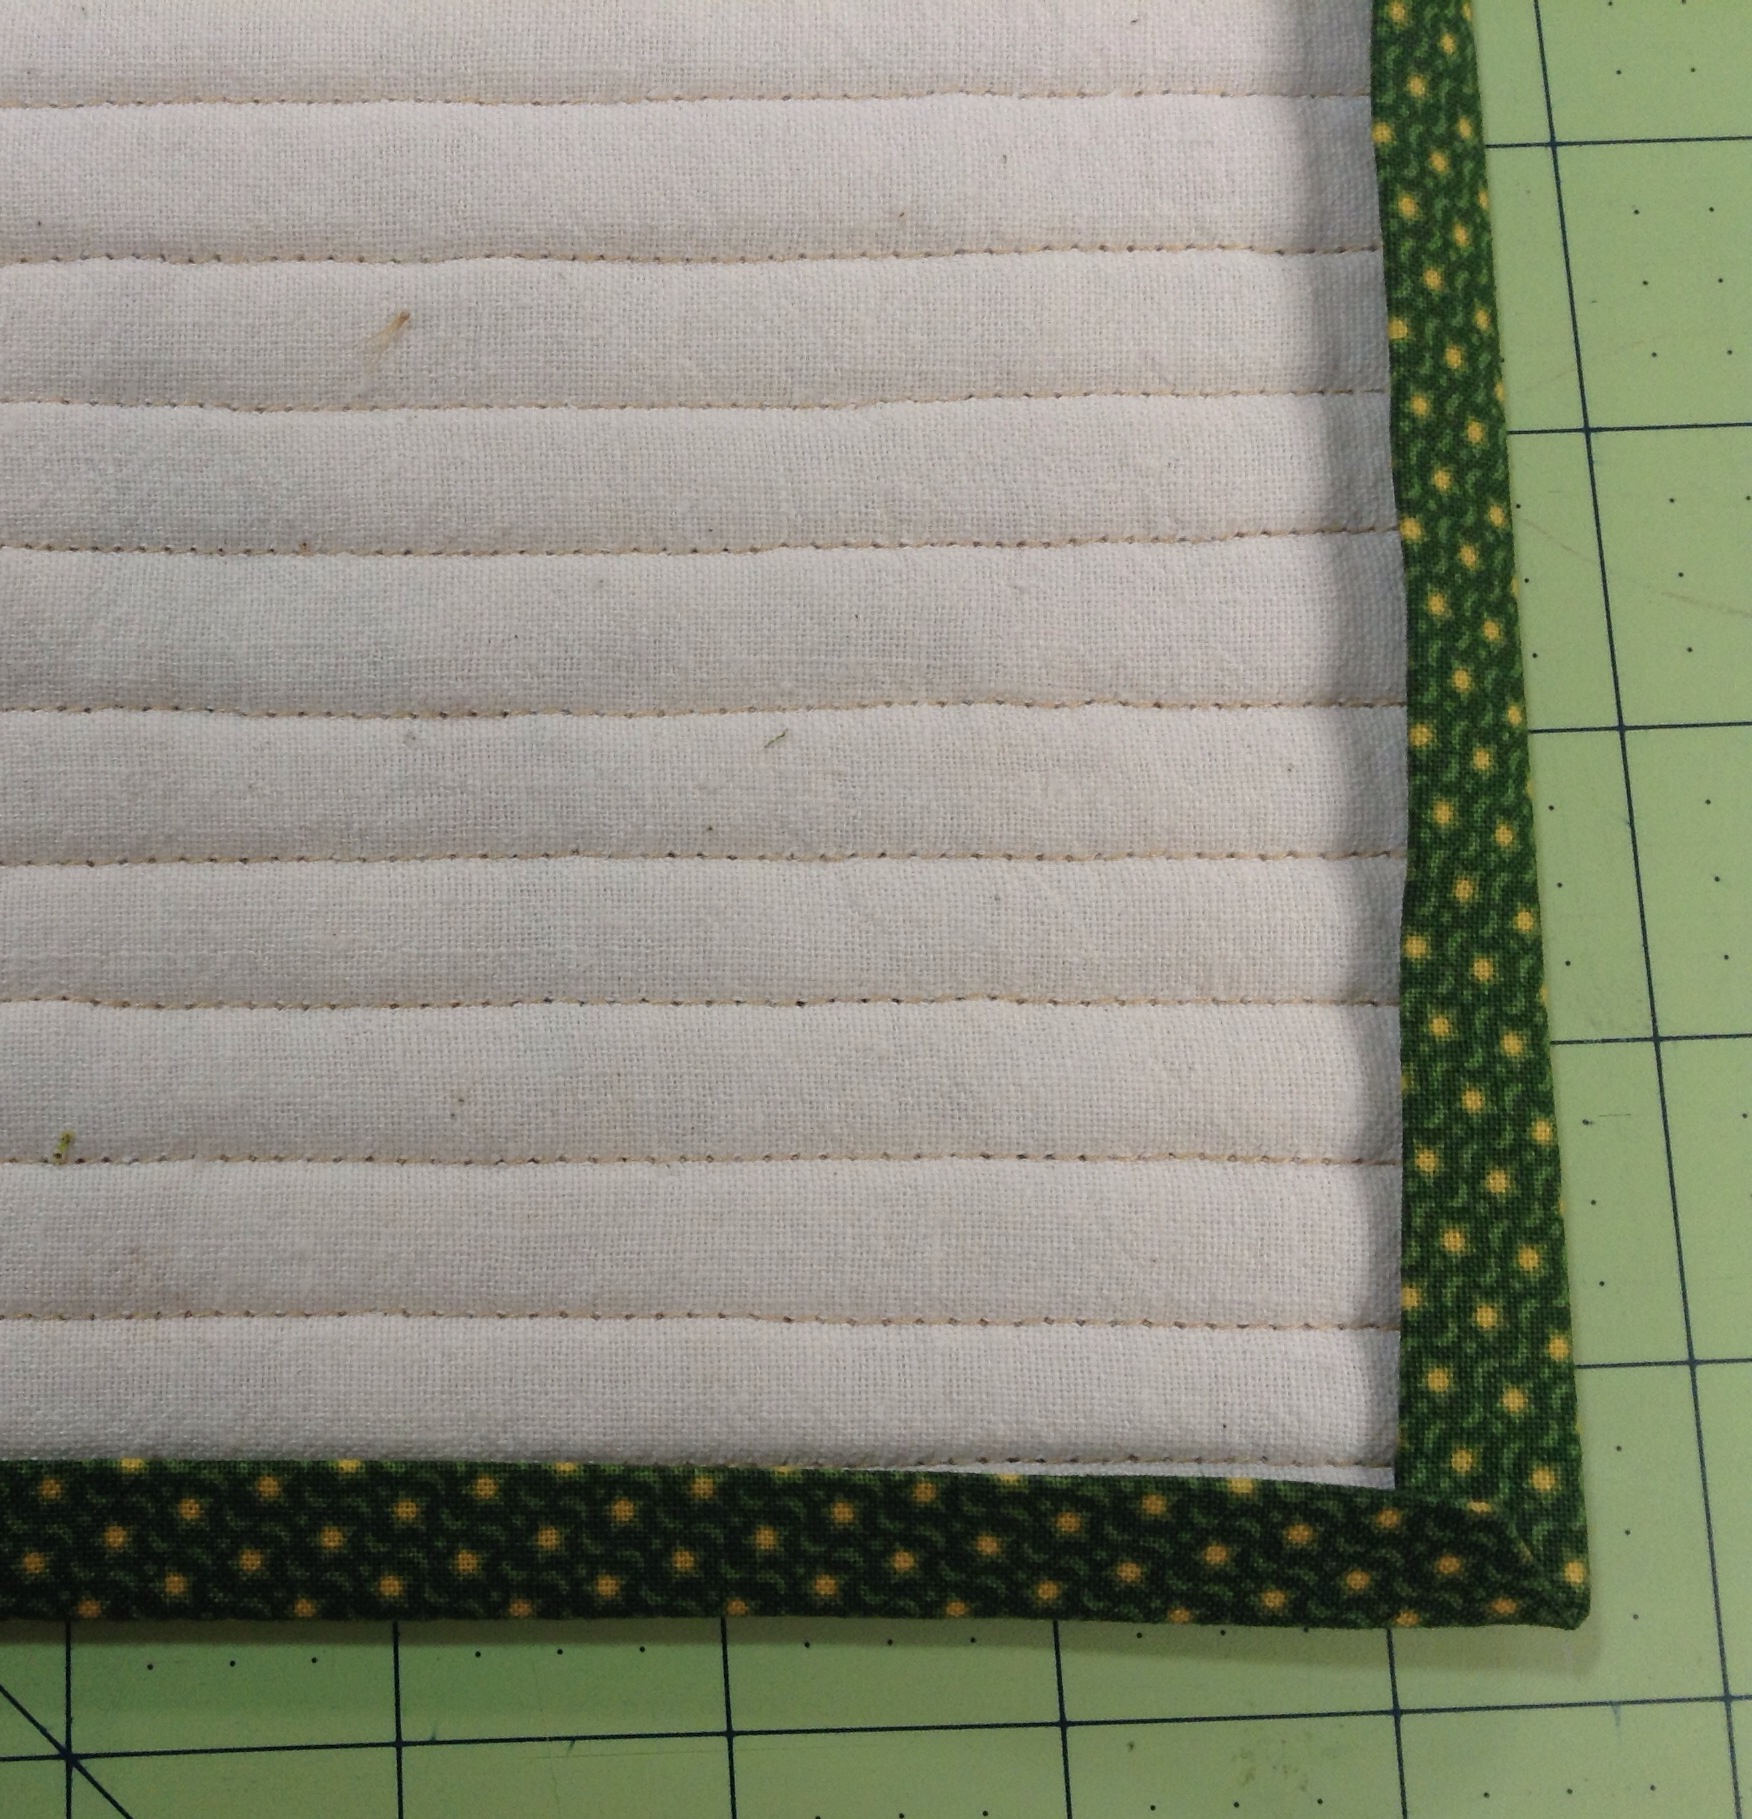
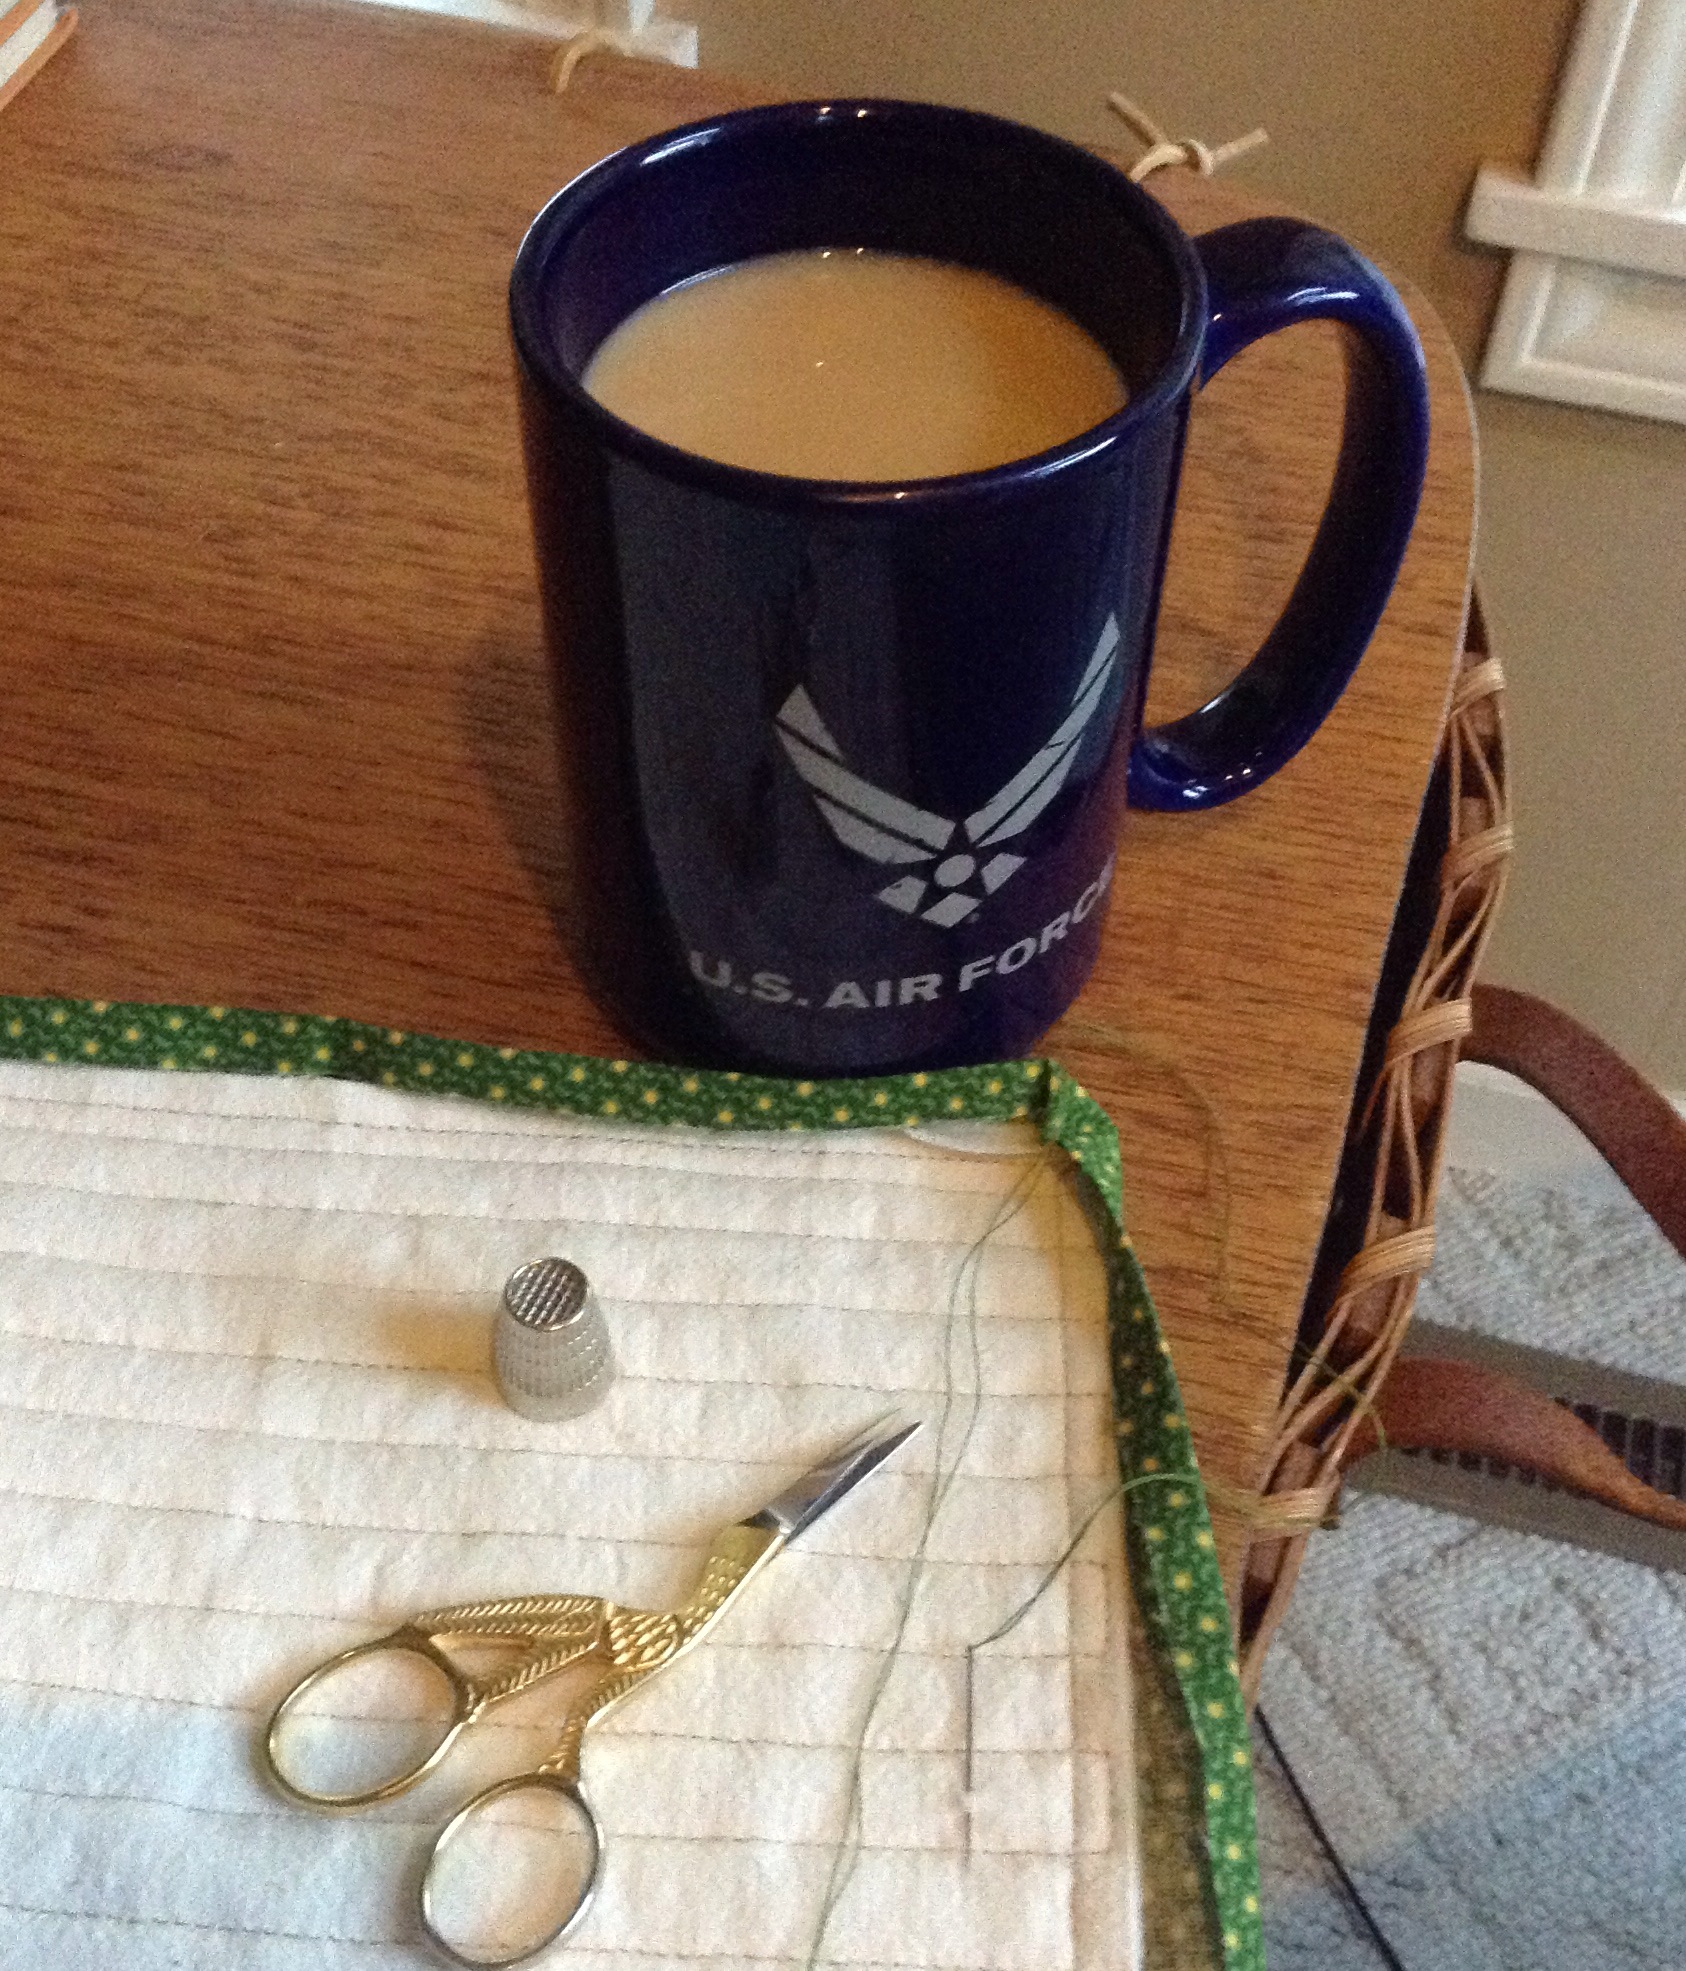
And this is what I am doing this morning!
Linking up with Kathy’s Quilts for Slow Stitching Sunday.


Your hst’s are wonderful! I’m still skittish about using glue but I know I’ll take the plunge someday. I keep hearing positive things about it.:)
So cute! Sounds like you had a perfect weekend of sewing. Hope you enjoyed your slow stitching.
I can’t wait to see that cute little quilt totally finished. I definitely understood your explanation. Enjoy your binding stitching.
What an adorable little quilt…and interesting to use some glue along the way.
That’s a new one to me. Thanks for sharing.
xo
Debbie
===^..^===
hmmm never tried that but I am willing to give it a go! I love the way the single fold binding looks
have to tell you I love the way you quilted it. can I see the whole quilt???
doesn’t it just make you smile!
Kathie
Sounds like the perfect Sunday morning to me!! ENjoy!