Singer Book Bank

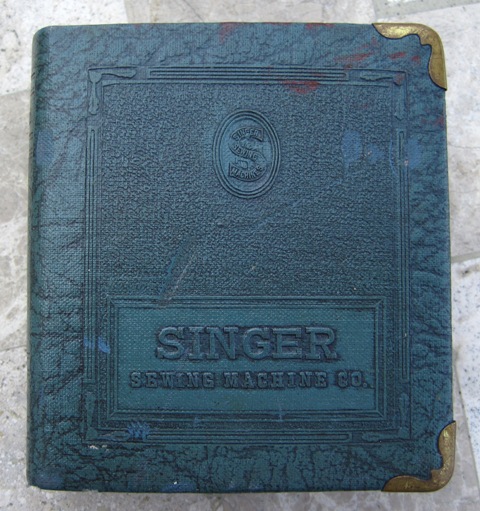
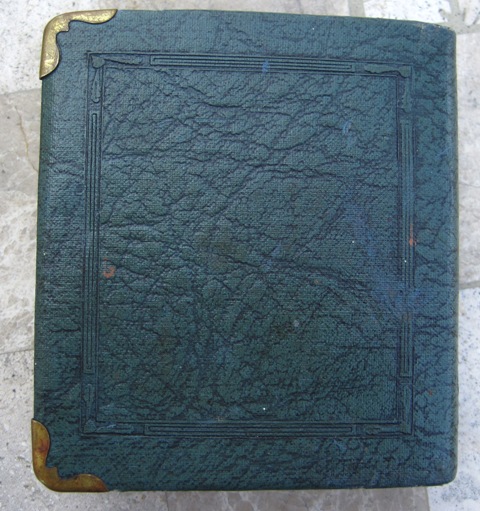
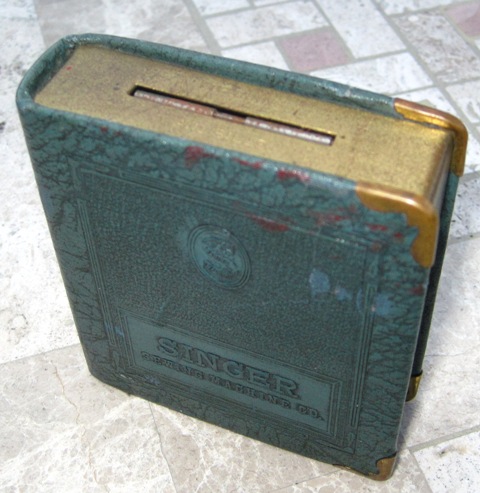
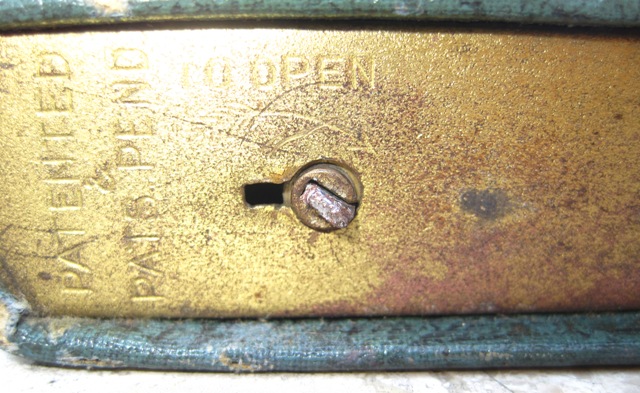
I have collected vintage Singer Sewing Machine Company items for YEARS. Last weekend, my DH spotted a Singer book shaped bank at the antique fest. I have always wanted one of these but had never seen one in person.

I am pretty excited about this little find! The only real issue here is that apparently, the key broke off at some point. I can grasp the end of it with a needle nose pliers but it won’t turn far enough to remove what is left of the key. Any great ideas out there?

Until next time…

Posted in Sewing Machines, Thrifting, Vintage Singer Sewing Stuff | 2 Comments

New Machine….

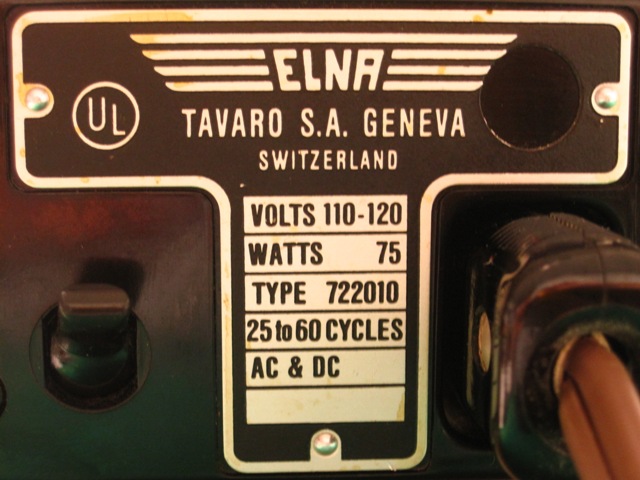
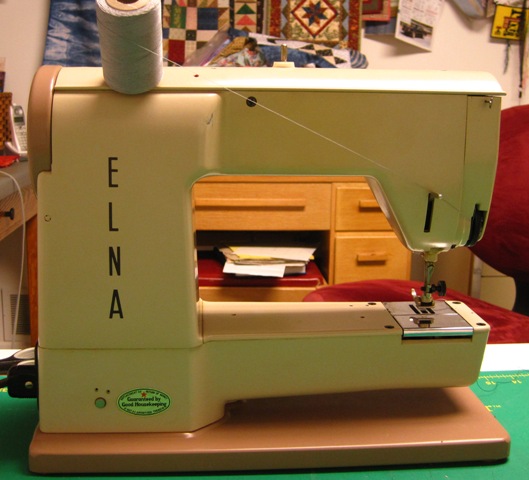
Well, new to me! I am not sure how old this one actually is. I am normally a Singer girl but this little Elna caught my eye last weekend at a local antique fest and the price was right. I brought her home and she sews well.

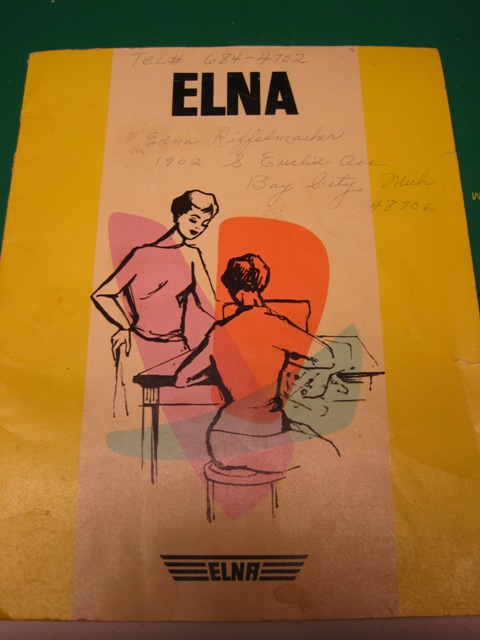
According to the manual, she is an Elna Plana. She does a straight stitch and zig zag. She only came with one bobbin and the case was missing but I figured I could get $20 worth of fun out of this.

If anyone knows anything about this model, I would appreciate hearing about it. As I mentioned, I know quite a bit about Singers but not much of anything about Elnas.

Until next time…

Posted in Sewing Machines, Thrifting | 2 Comments

What happened here?

I am not a complete newbie at fabric dyeing. In fact, I have dyed a couple hundred yards and for the most part, have been successful. So what went wrong this week?

A while back I needed muslin for some craft things and had a 50% off coupon for JoAnn’s. I grabbed a bolt of muslin but when I got it home realized it was “Dyer’s Cloth.” Cool, I thought. They said at JoAnn’s that it had no finishes or perma press added and was ready to go. So I ripped some pieces and used it off the bolt. I think this may have been my mistake.

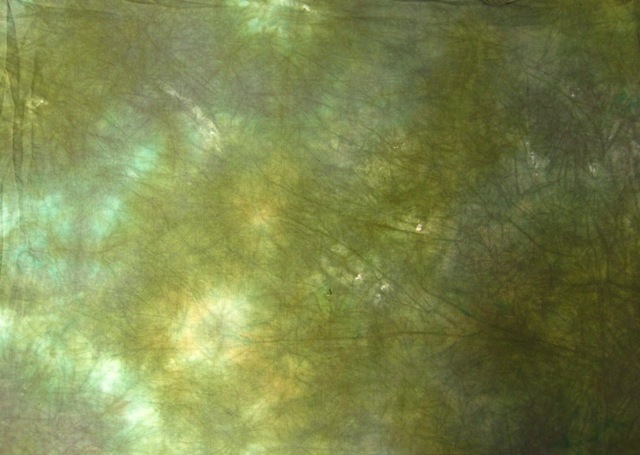
This is one piece of fabric:

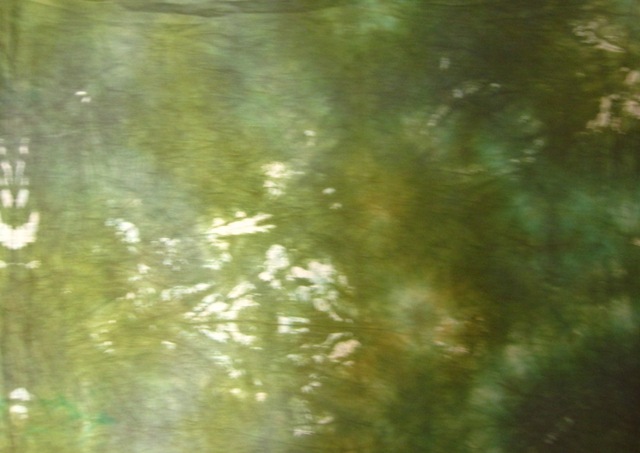
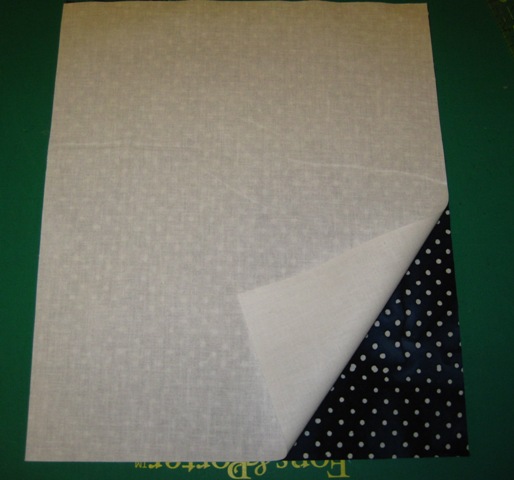
Not too bad,eh? I kid you not, what follows is the reverse side of this SAME piece:

Sorry for the blur, here is a closeup:

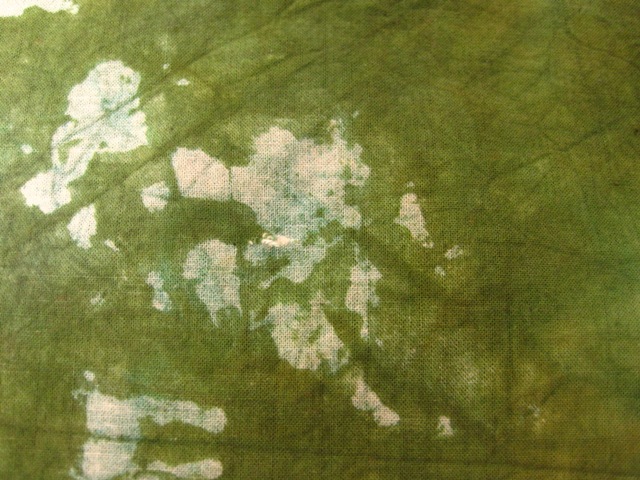
What are those white areas????? Someone please help me out here! I find it so strange that they show on one side of the fabric but not the other. I have this on nearly EVERY piece of this dyer’s cloth that I used. No, I did not pre-wash it. I think I should have. Does this prove it does indeed have a finish of some sort on it?

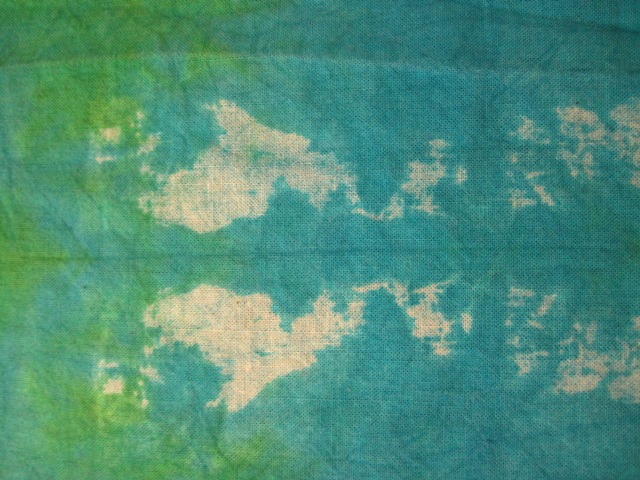
Here is a closeup from another piece:

I dyed some other pieces the same day using the same dyes and soda ash. No white splotches. I had thought perhaps the soda ash was not completely dissolved but since the non-dyers cloth pieces turned out fine it must be something to do with this cloth.

So if anyone knows, please tell me! Also, for all you wise dyers out there, now what? Do you think overdying with a weak dye solution will help?

Until next time….

Posted in Hand Dyed Fabric, Mistakes | 6 Comments

A finish!

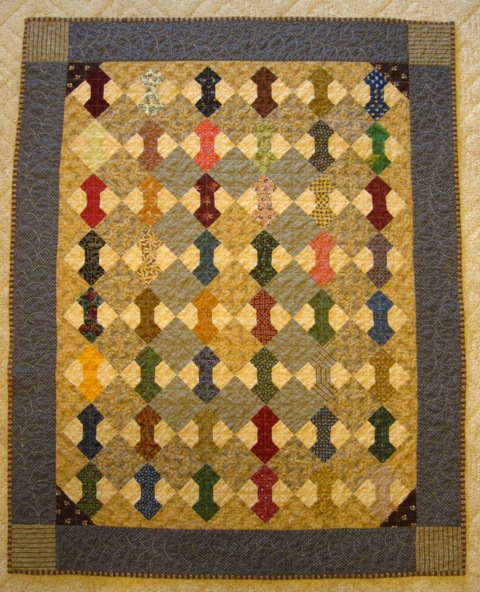
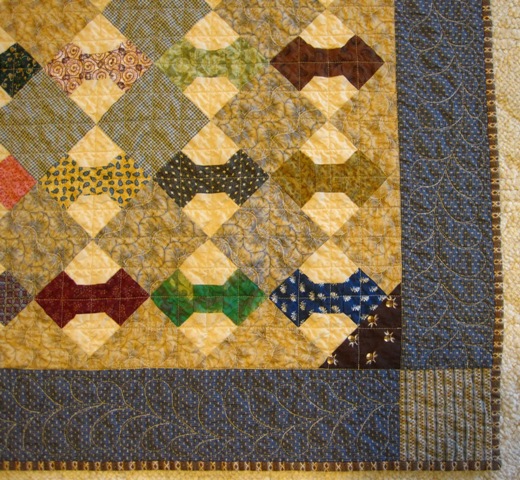
A while back I mentioned that I had handpieced a bunch of 4 inch Bowtie blocks and finally put them together. After that, the top languished in my sewing room because I was too lazy to go further. Yesterday, I had a hard talk with myself and said “DO IT NOW!” So, I did. I pieced the back, cut the batting, basted, and quilted. I even got the binding done.

Granted this is not a huge quilt (approx 45″ by 50something”), but still. I washed it this morning and though I hated it in the middle of quilting, I have decided I do like it after all. I don’t know why I always hate my pieces when they are about 70% done. I usually like them again when they are finished. Thankfully!

So here are the pics:

It may look a bit washed out and faded in the pictures but this is actually pretty accurate colorwise. Most of the fabrics are Civil War repros.  I drew the spine for the feather borders but then stitched the feathers themselves without marking. I am pretty pleased with how that turned out since I am SO out of practice with free motion work.

It feels good to finish something :).

Until next time….

Posted in Civil War Repro Quilts, Free Motion Quilting, Hand piecing, Traditional Quilts, Uncategorized | 3 Comments

Another finish!

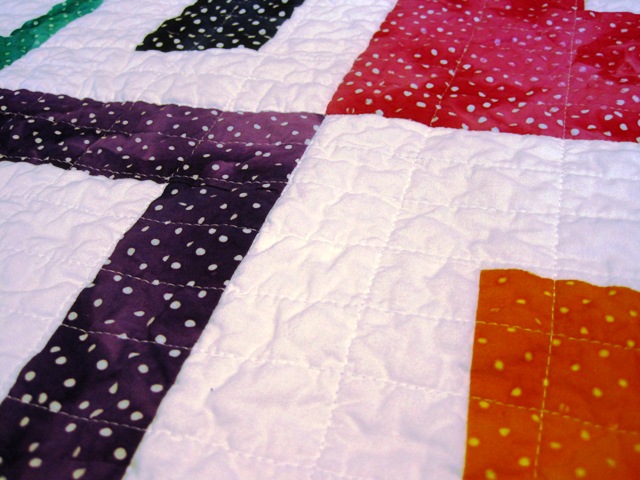
Last night I finished this baby quilt from the previous tutorial. I used a wonky grid for the machine quilting. Overall, I am pleased. I hope the baby to come will like it too!

This was simple, fun, and fast. It is definitely a pattern I would repeat, especially since it would be impossible to make two that are identical!

Until next time….

Posted in Baby Quilts, Beginner Quilts, Tutorials | 1 Comment

Baby Quilt Tutorial

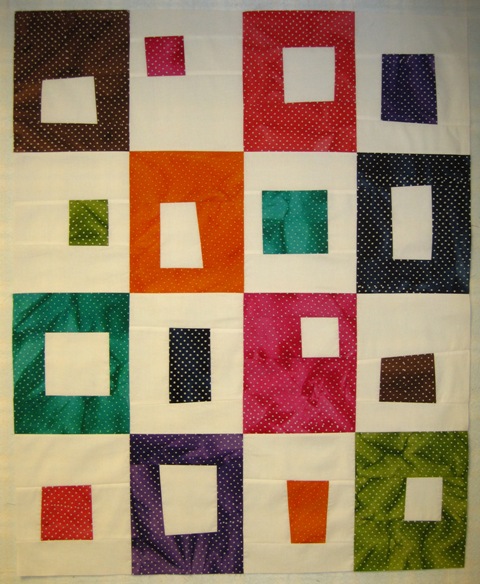
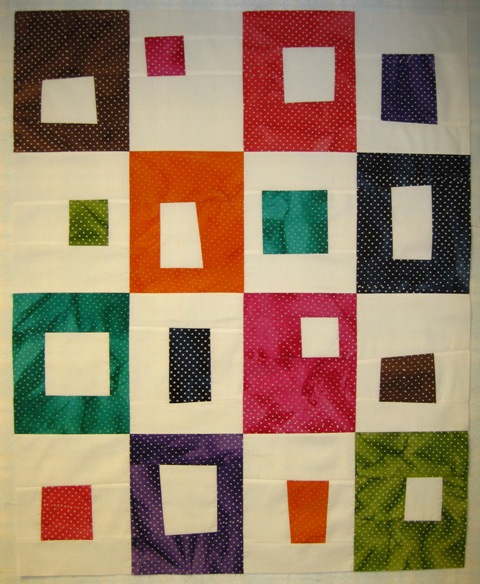
I have several friends and family members adding to their families this year so I have baby quilts to make! Here is an easy one and I decided to take pics as I went in case someone would like to make one like it. This is a great beginner quilt. Here is a pic of the finished top:

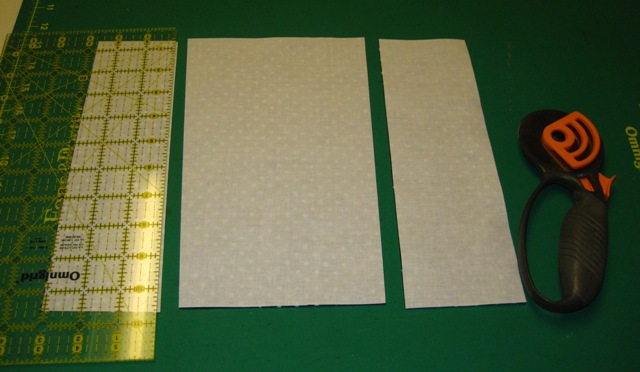
First cut 8 rectangles 10″ x 12″ of a solid white. Then cut 8 rectangles of a contrasting fabric. I used batick polka dots. Layer one white and one batik rectangle like this:

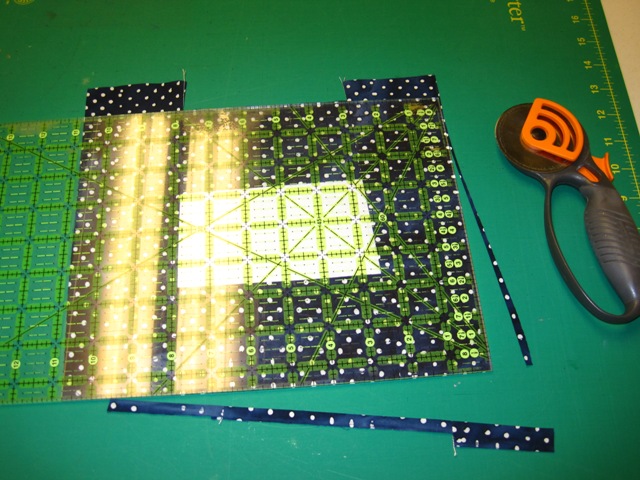
Then make two random cuts across the width of the block with your rotary cutter and ruler. I like to use my 6″ x 12″ ruler for this.

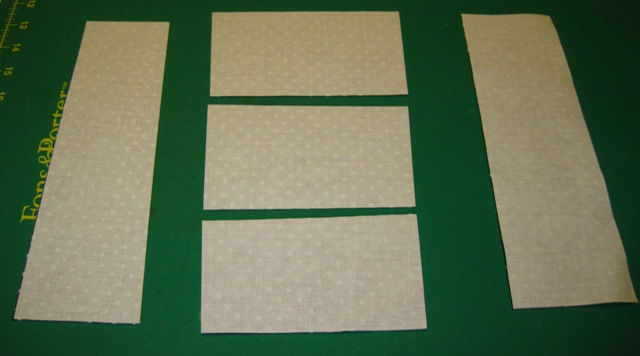
Make two more cuts across the middle section only.

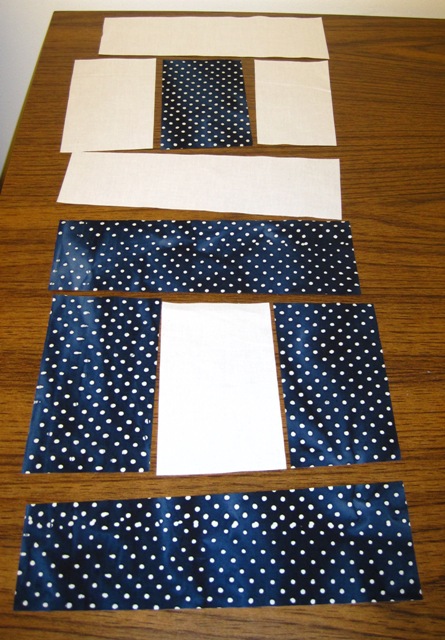
Your block pieces for two blocks are all cut! That was easy :). Now swap out the middle pieces of fabric and lay out your pieces in order like this:

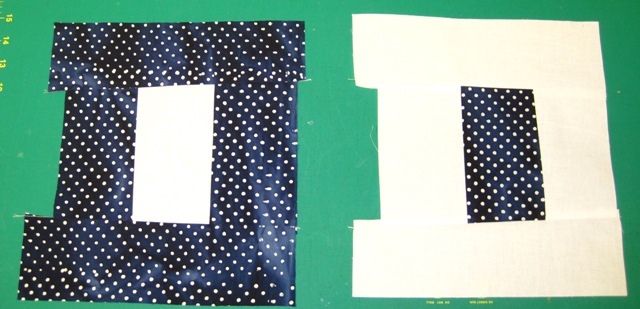
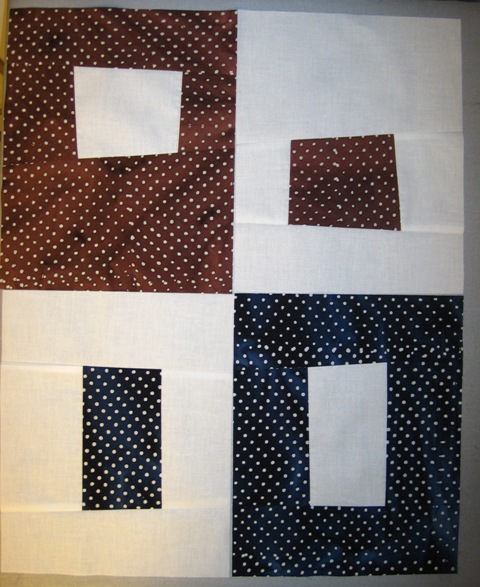
Time to start sewing! Stitch the side bits to the center piece and then add the top and bottom strips. I like to work on two blocks at a time. This is what they will look like when you are done so don’t worry that they are uneven now:

Time to trim them up! I use my big ruler and trim them to 8 1/2″ x 10 1/2″.

Here are a couple sets all trimmed up:

Once your block sets are all done, throw them up on the design wall and play until you are happy with the arrangement. Then it is a matter of sewing your blocks into rows and sewing the rows together. You could add a border but I am leaving mine without. It measures 32 1/2″ by 40 1/2″. Here is another look at the finished top:

That’s all there is to it! Tomorrow, I quilt.

I hope you enjoyed this little tutorial. If you have any suggestions for improvement, please let me know! I realize many could figure this out by looking but I was hoping to make a beginner friendly project that anyone qould be successful at.

Until next time…..

Posted in Baby Quilts, Beginner Quilts, Tutorials | 4 Comments

Some thrifty finds!

To those who know me, it is no secret that I LOVE LOVE LOVE thrift shops! I am normally not a shopper but a thrift shop or tag sale provides for me the thrill of finding the ultimate treasure :). 

This past week,  I hit the jackpot! First, I found 6 feedsacks for $1.00 each! I got so excited I forgot to take pics. Silly me. Here are a few other treasures:
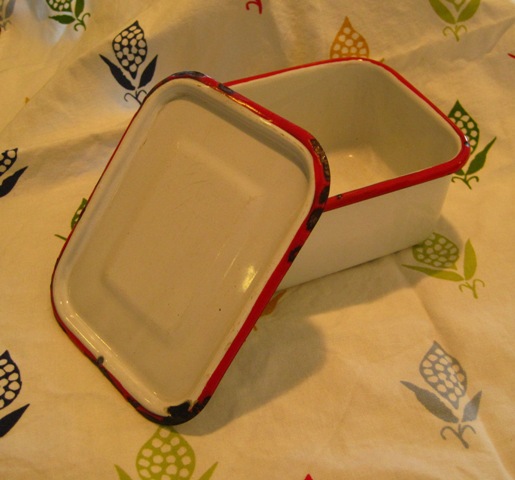
I found this little enamelware refrigerator dish for $2. Admittedly, it is not in the best shape but I love it and will put it to use in the sewing room.
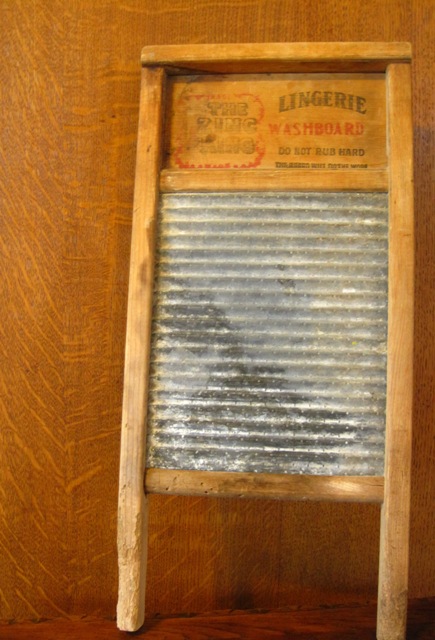
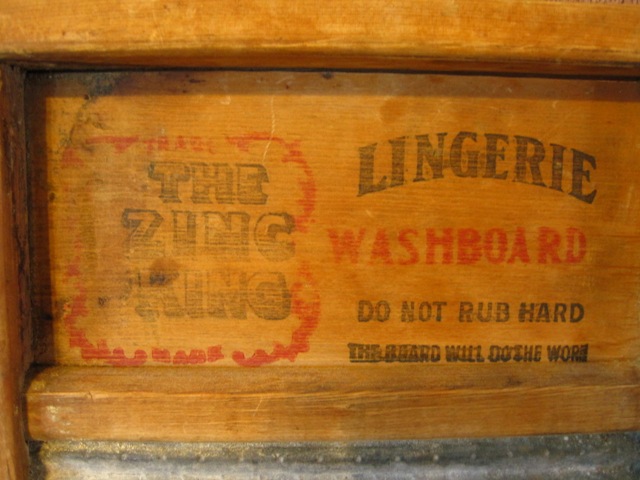
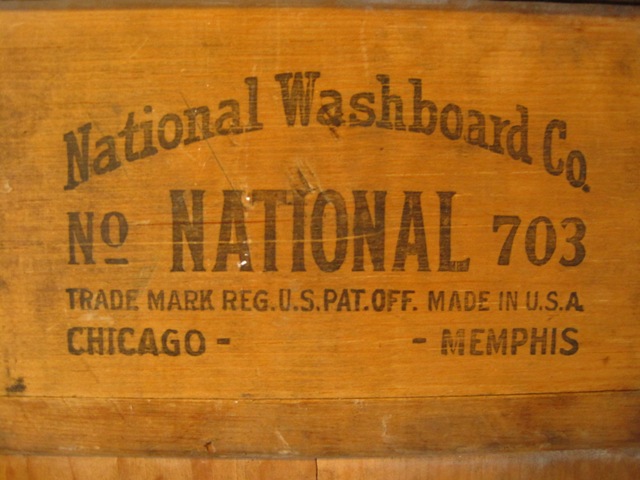
I also found this wash board for $5. I always wanted one and this is a great small size to hang in my laundry room. It is called the “Zing King!”
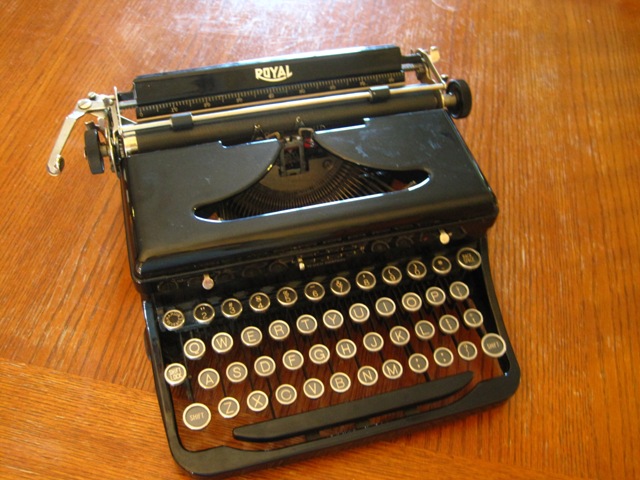
I foind this cool 1934 Royal Touch Control typewriter in nearly perfect condition for my daughter for $15!
I found some other great vintage sewing stuff and 5 needlepoint pieces that I also forgot to take pics of.

But here is the best piece of all. The treasure of the week, month, year…..maybe more! Are you ready? Here is a peek:
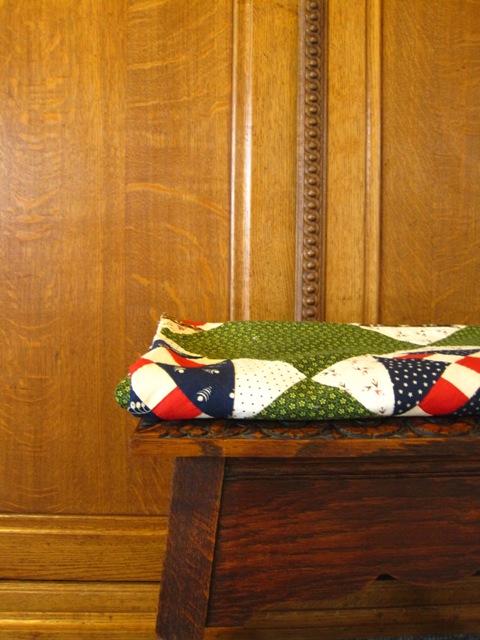
I saw even less of this when I bought it. It was folded to the inside and wrapped in MASKING tape! Yikes! I saw enough of it to know I had to have it but really didn’t have any idea what I had until I got it to the car and freed it from its sticky prison. Here are a few more peeks:
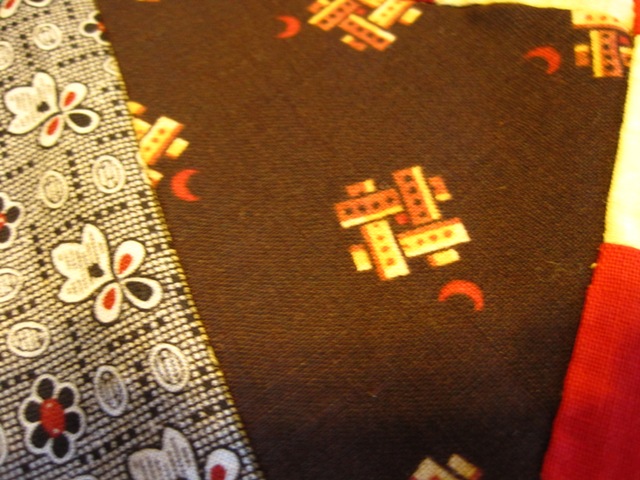
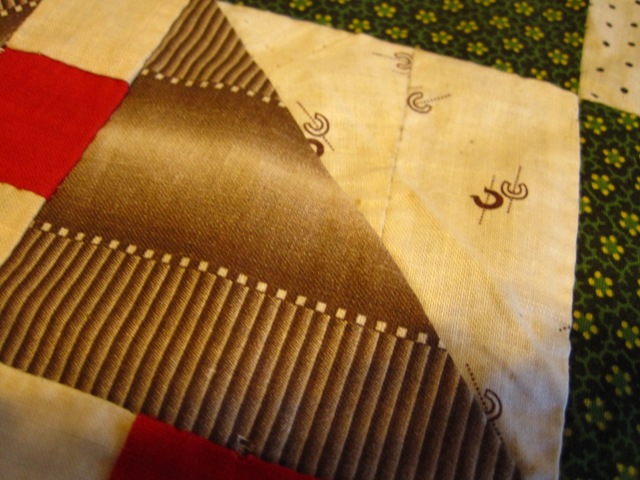
Don’t you love those horseshoes?
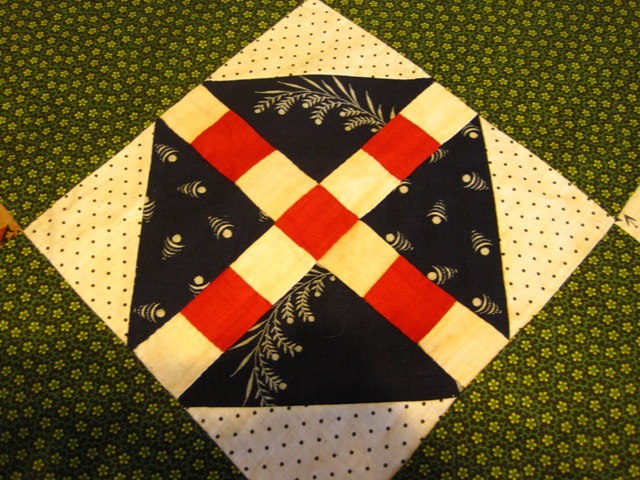
This quilt top is entirely hand stitched. Here is a look at the stitching:
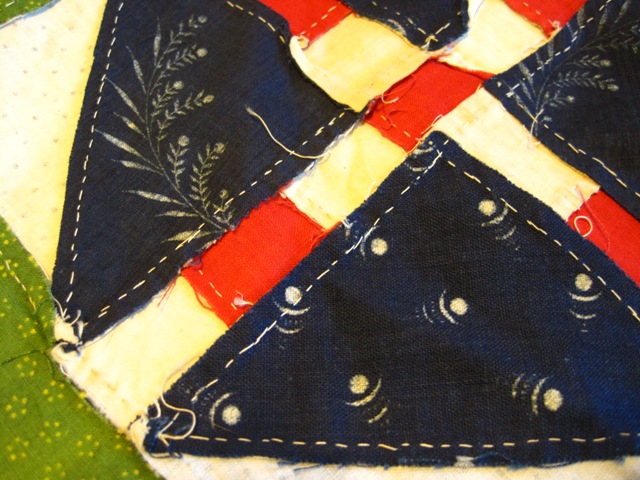
Now, do you want to see the whole thing in all it’s gorgeous loveliness??? Here you go:
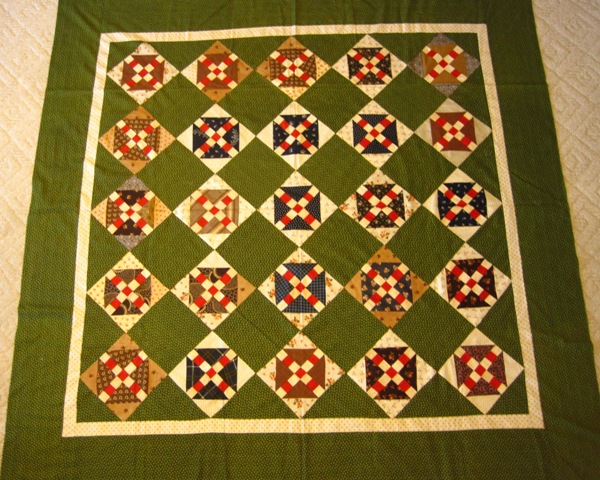
Is this not breathtaking? I had to pinch myself when I found it in with the kitchen towels, wrapped in masking tape with “fabric” written on it. The condition is excellent. I am guessing it dates to the late 1800s.  It measures 72″ x 72″ and except for a few slight ripples in the border, it lays very flat.

Sorry for the pic quality. I am still working on how best to take pics of these. I have folded and refolded this beauty and still cannot believe I own it. So sad that it was unvalued by others but it has a good home here now! I may have to get back into handquilting…..

Hope your travels lead you to treasure as well! Until next time….
Posted in Hand piecing, Thrifting, Traditional, Traditional Quilts, Vintage Fabrics, Vintage Quilts | 3 Comments

Time

Lord, make me to know my end, and what is the extent of my days, let me know how transient I am. Behold, You have made my days as a handbreadth and my lifetime is as nothing in Your sight. Surely every man at his best is a mere breath. 

And now Lord, for what do I wait? My hope is in You.  Psalm 39:4-5,7

Posted in Photography | Leave a comment

Pressing Hexagons

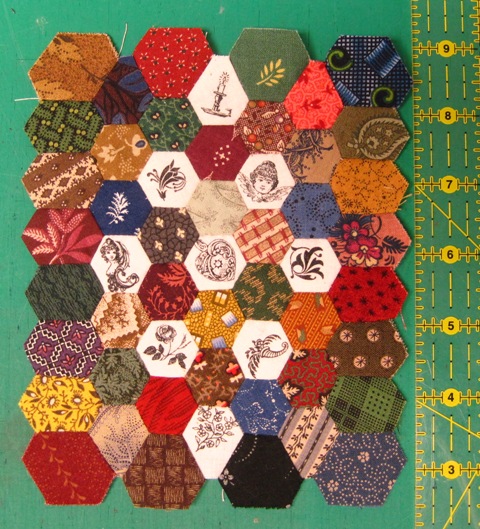
A couple posts back, I showed you a tiny hexagon piece I hand pieced in the car during a trip. I thought you may be interested in how I press the backs. I do not use English paper piecing with my hexagon pieces, I mark the seams and hand piece as any other block. However, when it comes to pressing, I am pretty fussy with these. I ‘twirl the seams to reduce bulk at intersections. This is especially important when working with really tiny pieces! Here is the front again to remind you of what I was working on:

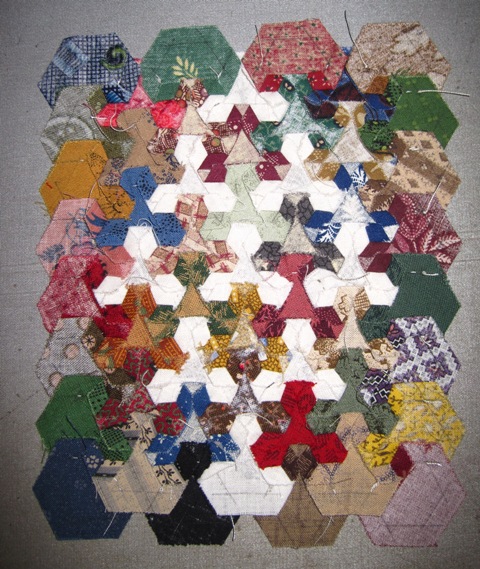
And here is what the back looks like:

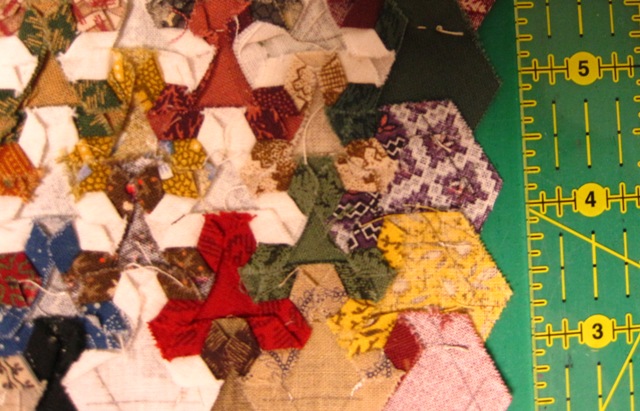
In the photo above, you can see my marked seam lines. Here is a close up:

Can you see how the twirled intersections form a tiny tumbling block? I finger press as I piece and press with the iron when it is convenient. In other words, this got pressed when I arrived and the hotel and already had more than 30 pieces in it by then. It is a bit fiddly but I feel the results are worth it. The top ends up very nice and even without any bumps.

Until next time….

Posted in Civil War Repro Quilts, Hand piecing, Hexagons, Traditional | Leave a comment

The loot…..
During our trip to Wisconsin last week, my DH stopped at a few quilt shops. I couldn’t figure out why he was so slow to get on the road and then found out it was because he planned it such that we would arrive in Grayling, Michigan just in time for the Ice House Quilt Shop to open!  He was generous as always :).

First 22 FQs of Judy Rothermel’s 12 Oaks Civil War Repros:

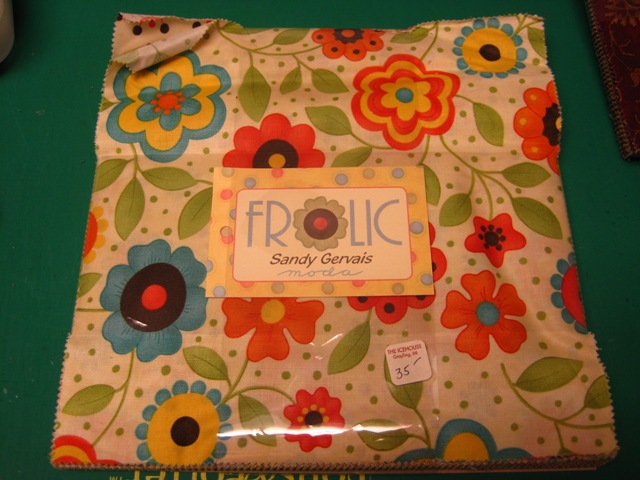
Next a layer cake of Frolic by Sandy Gervais for Moda:

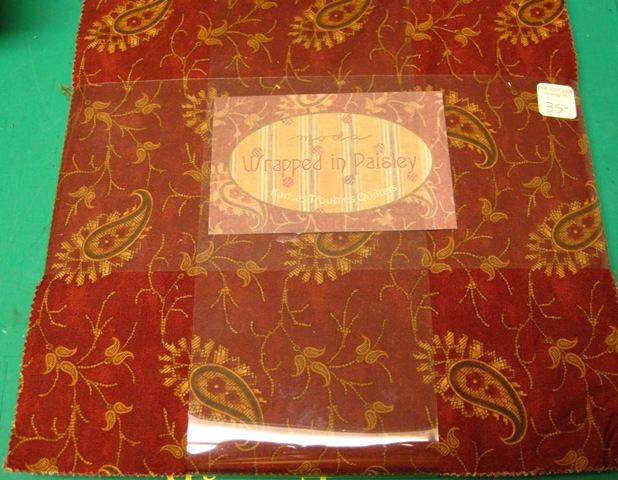
Finally, a Wrapped in Paisly layer cake:

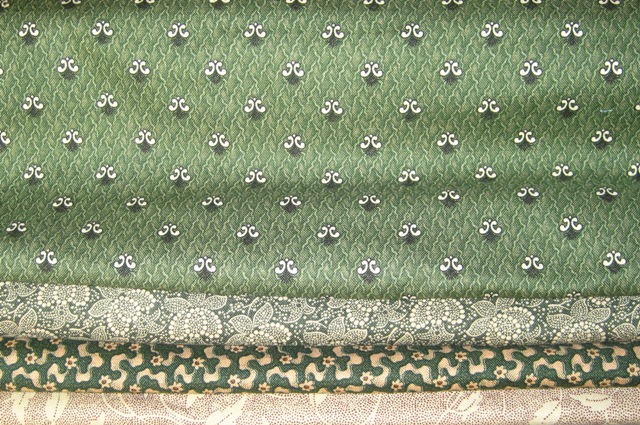
I have never, ever spent this much money on fabric at one time. Ever. But he was not quite done. In the UP, we stopped in Norway, Michigan at Jeri’s Quilt Patch. There I got the set of half yard pieces of Judy Rothermel Civil War repros:

He is the best! Since we got home, I have been going through books and blogs trying to decide what I want to do with these lovelies. I am sure I will come up with something!

Until next time…

Posted in Civil War Repro Quilts, Traditional, Uncategorized | Leave a comment