
Move been putting off this project. See how crooked the printing is?
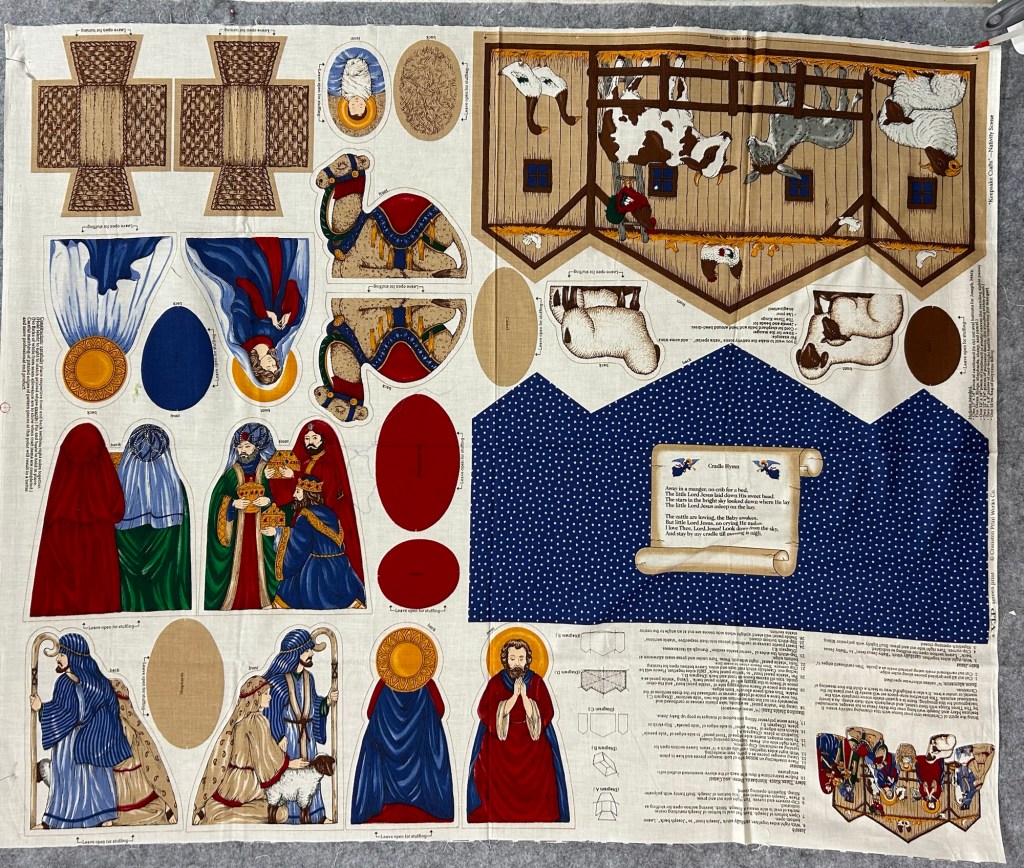
Ugh. I set myself a goal of finishing this today.
These bits need to be cut with scissors.

Then you sew the front to the back then add the bottom. You also have to put a bit of cardboard cut to size and some weight to make them stand up. I used a flat rock in the bottom of each one.
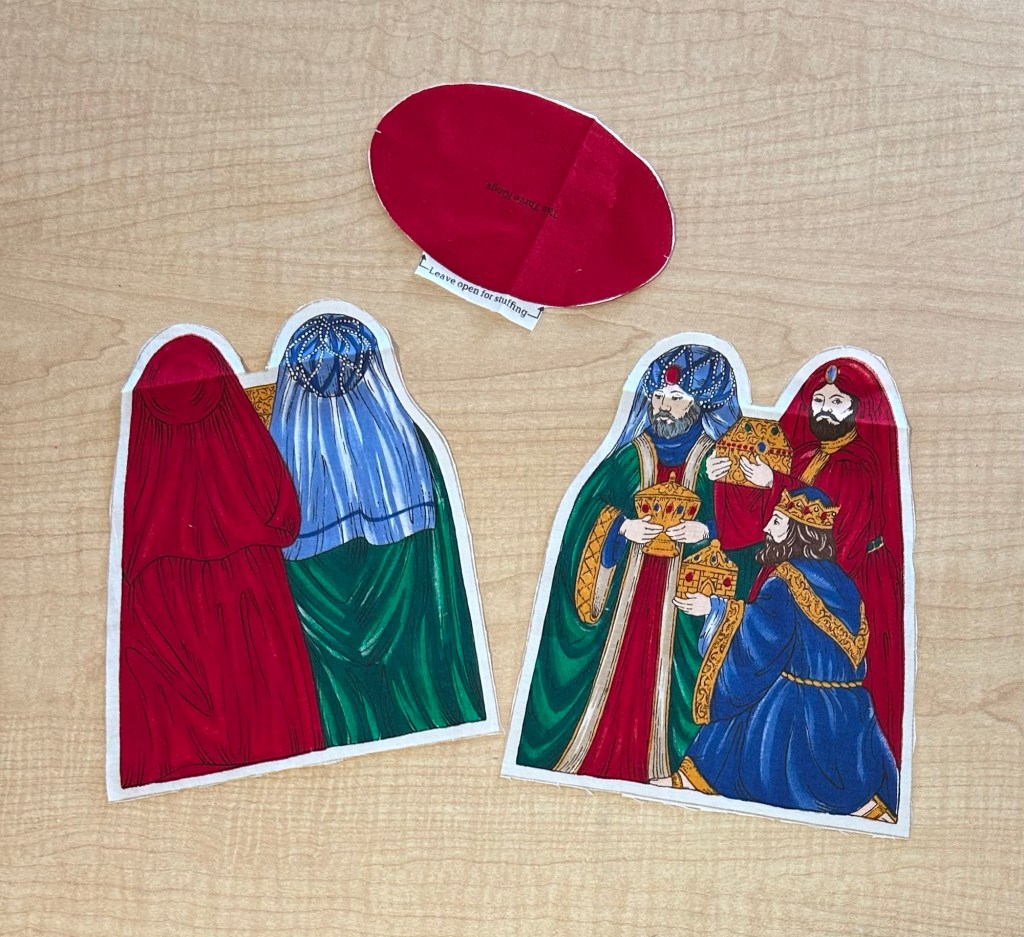
But they helped me out a lot by letting me know what side of this piece is the front and which is the back.

I never would have known. 😆
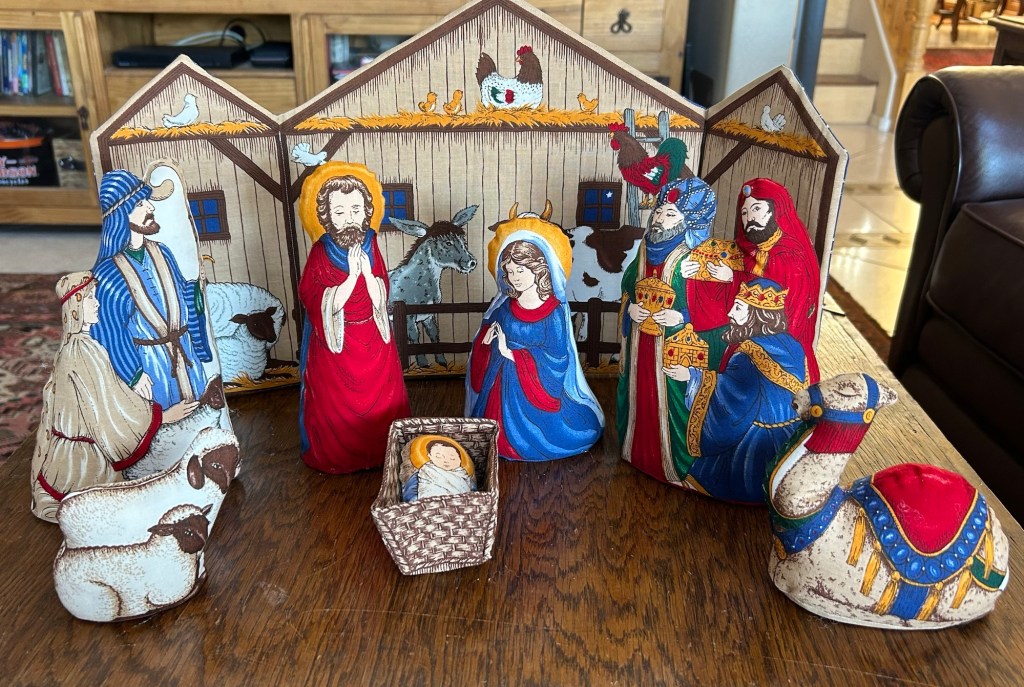
Happily, I met my goal!
Have a great day!


Your finish brought back memories from 31 years ago. My dear MIL gifted us a rustic wooden Nativity set with pieces between 8 and 10 inches tall made out of 2X4 when our son was a year old. “He can’t destroy it” was her reasoning. Sonny Boy loved the Nativity set and carried around pieces of it for a day or two until we caught him banging the pieces against the windows and TV and throwing them. I happened to be in JoAnn’s and found the same fabric Nativity you just finished, bought it and finished it in just a few days. I did not put any weight in the bottoms and they sat up pretty well and never broke anything when thrown or banged. We used it for years and I passed it down to Big Sister when her little boy was a year old. We refer to the wooden set as the “Lethal Weapon Nativity” and it came into use when Sonny Boy was much older. And just to add more fun, it even has a piece of wire coat hanger with sharp ends bent into the shape of a shepherd’s crook.
Thanks for the tip. I am waiting for mine to arrive and will be doing this my DD family for next year.
lovely piece. It looks like a vip cranston print. I really miss that line of fabric.
That is adorable! Hugs,
well worth the extra work….