
Can you see my repair? It sticks out like a sore thumb.

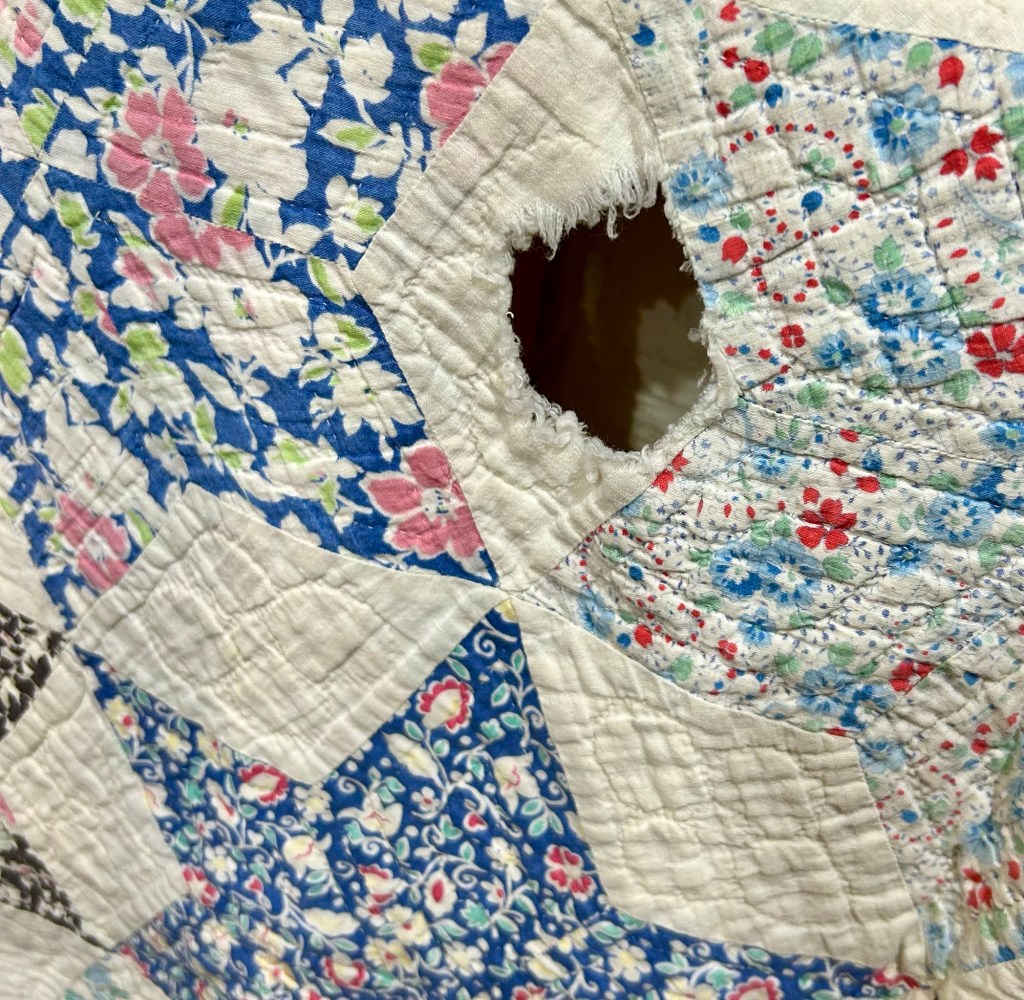
This is a reminder of what it looked like to begin with.
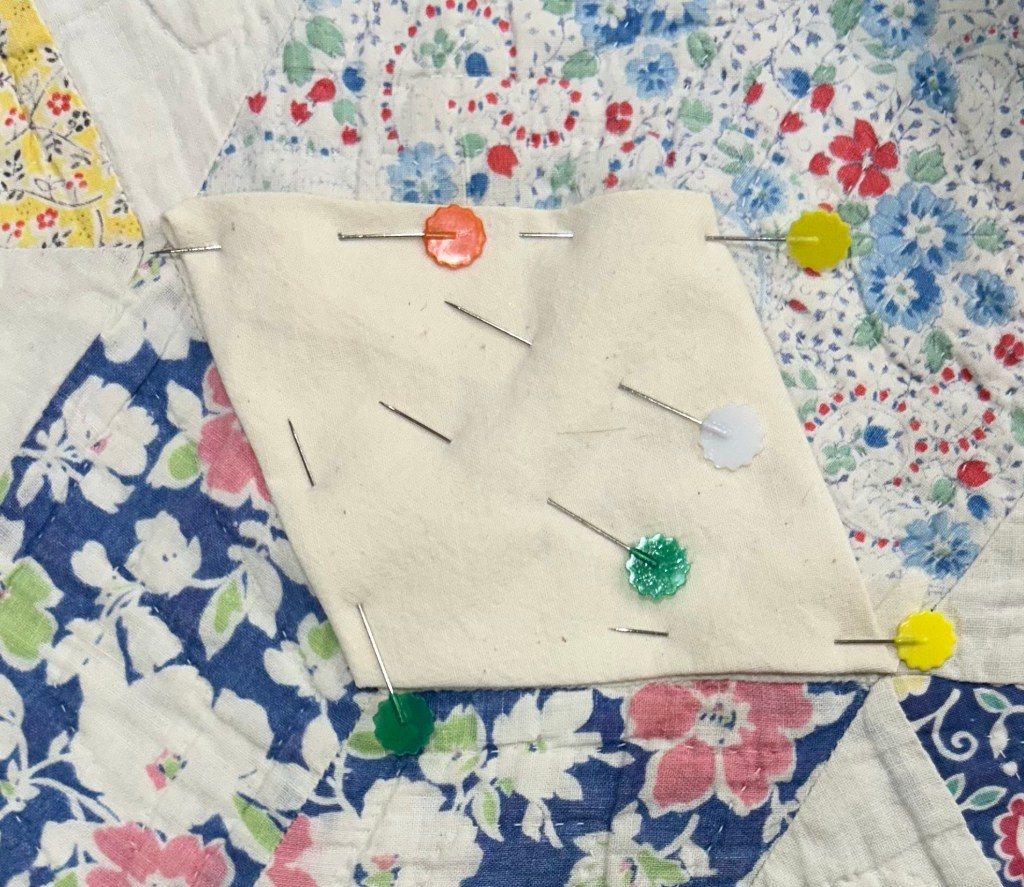
I started by appliquéing a piece of fabric on the back. I can’t find my bin of feed sacks, so this older muslin had to do.


This is what it looked like from the front.

I tucked in a piece of cotton batting.

And appliquéd this piece over the top.
The next step was to try to replicate the quilting.

My stitches aren’t near as fine as the original, but I had many more layers to go through.
It’s far from perfect and clearly visible, but now it’s part of the quilt’s story.

Have a great day!


Love what you did! It looks great. I had to look hard to find it on the finished picture. I have a couple of repairs to do, too. Since it went all the way through, there was no way for the patch not to be visible on the back, but that’s ok.
I agree…remarkable. And inspiring. I’ll remember this.
Kate, I had to look back and forth from your progress pictures to even find the diamond you were talking about. It was only then that I could detect a slight color difference. Nobody is ever going to notice that. You did a FANTASTIC job! You are your own worst critic and you just tell the perfectionist side of you to hush up.
You did a great job on repairing the quilt! Hugs,
You did a remarkable job, and I had to look hard to find it on the initial (zoomed out) photo. Thanks for sharing your technique, as we’re all asked to do these repairs from time to time.
Kary
You did a remarkable job.