
I mentioned last week, that I was really pleased with my machine binding for a change. You all know I’ve struggled with that. So I thought I’d share what I did this time as it may work for you.
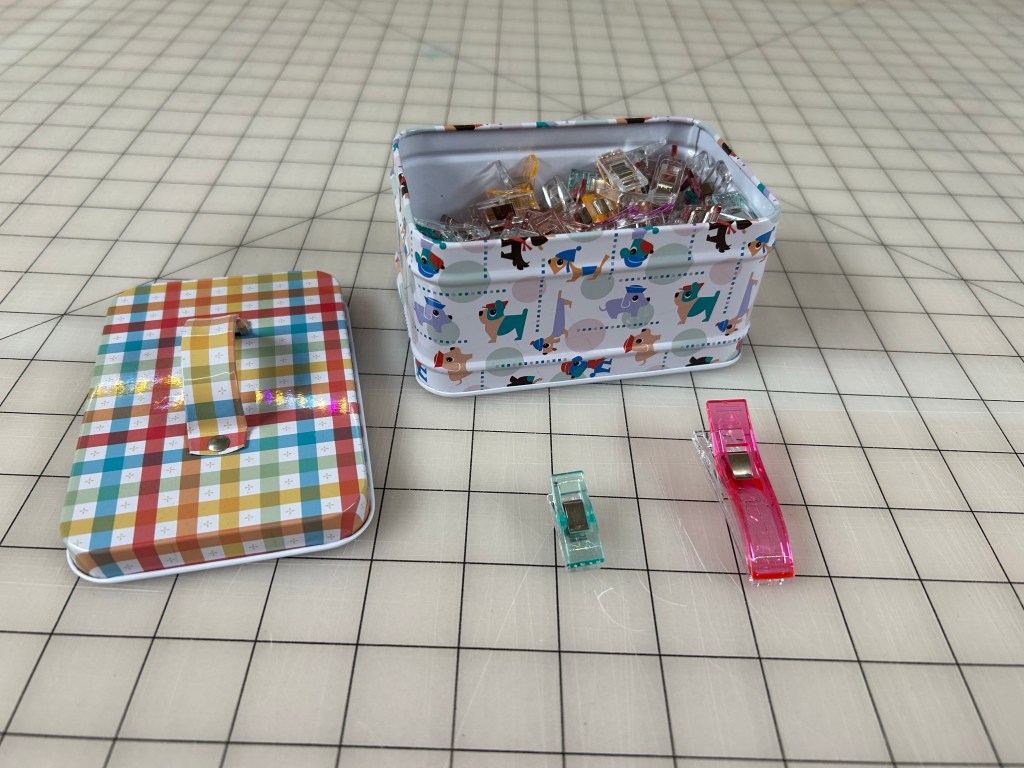
I bought this box of clips a couple years ago on Amazon.
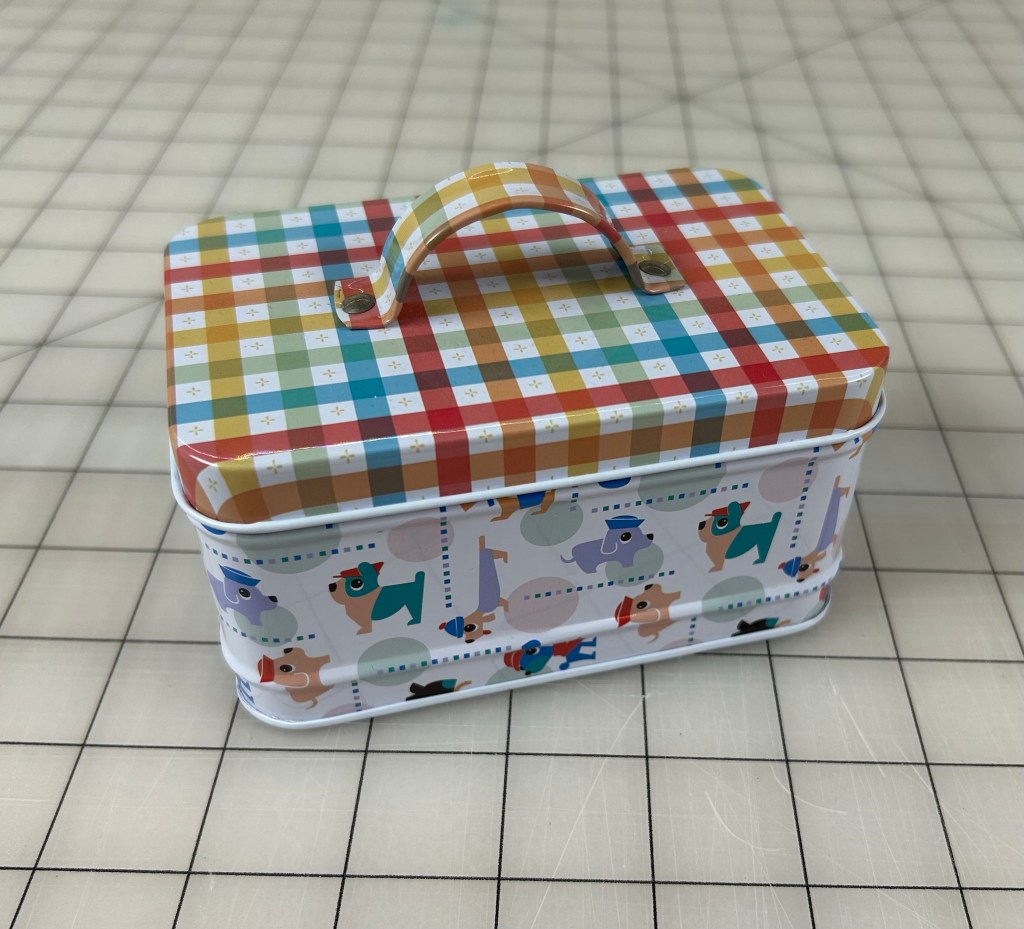
It came with 100 clips. 8 were big, the rest small. They came in the cute tin. I’m not going to lie, a few were broken. But they were cheap.
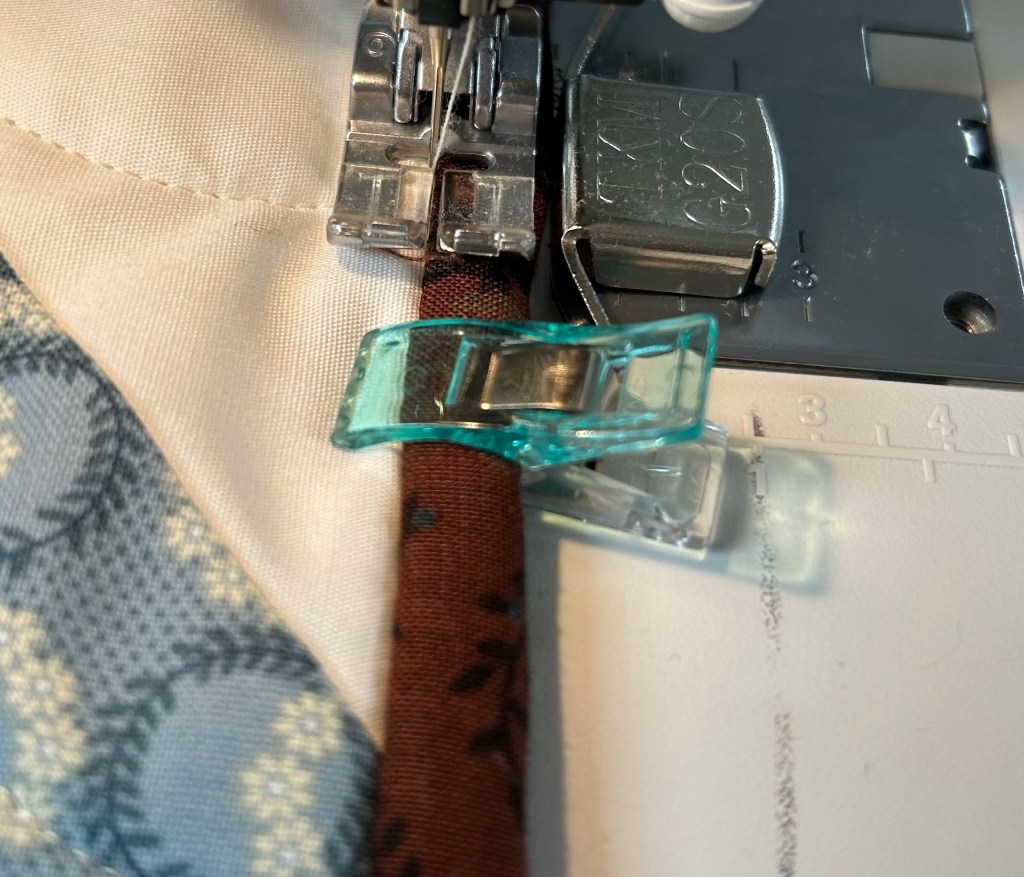
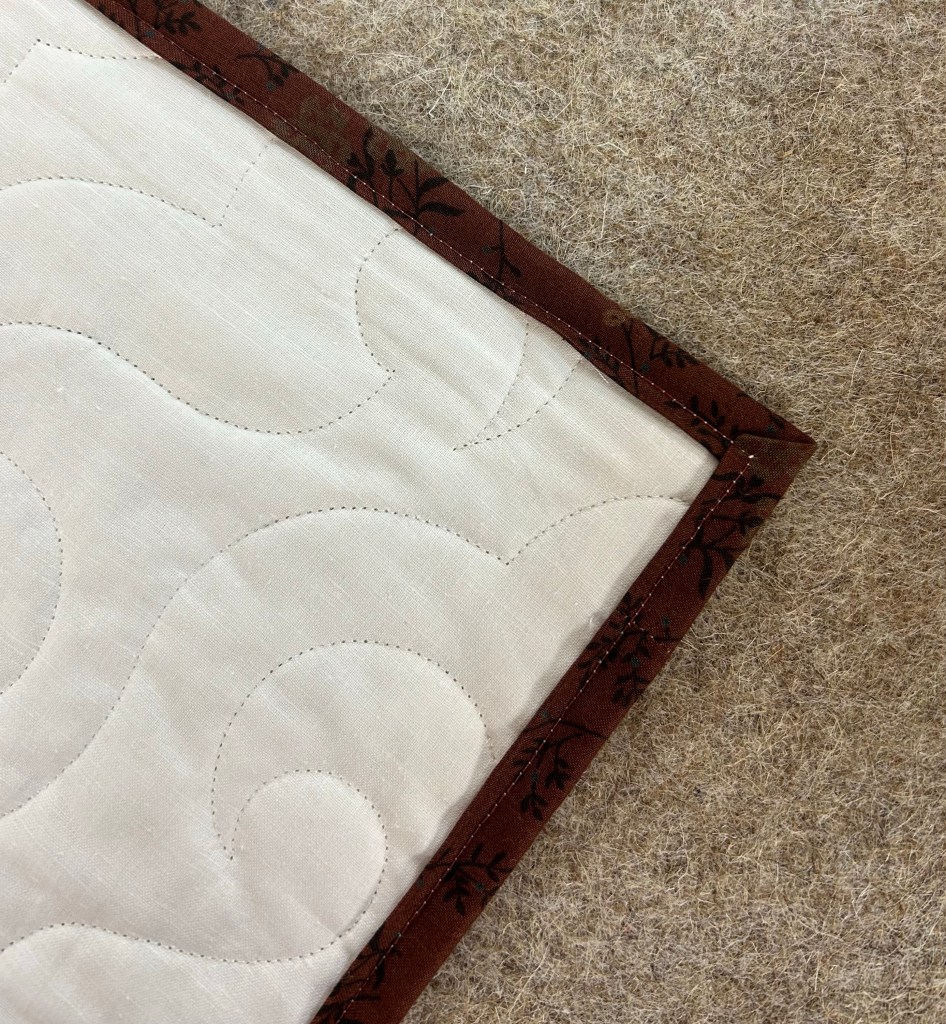
This is probably not earthshaking to anyone but me. But after machine stitching the binding to the front of the quilt, I pulled to the back and placed clips to hold it in place. I have never been one to pin or clip bindings as I usually stitch the back by hand. I have used glue before, and that worked well, check out that post here.
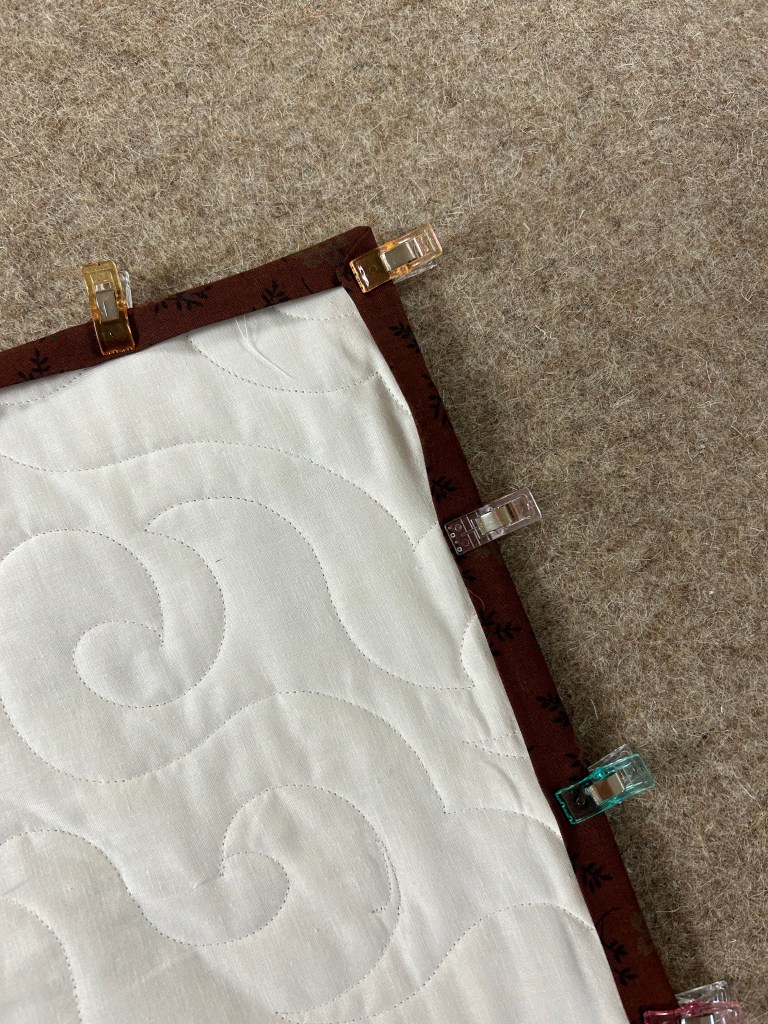
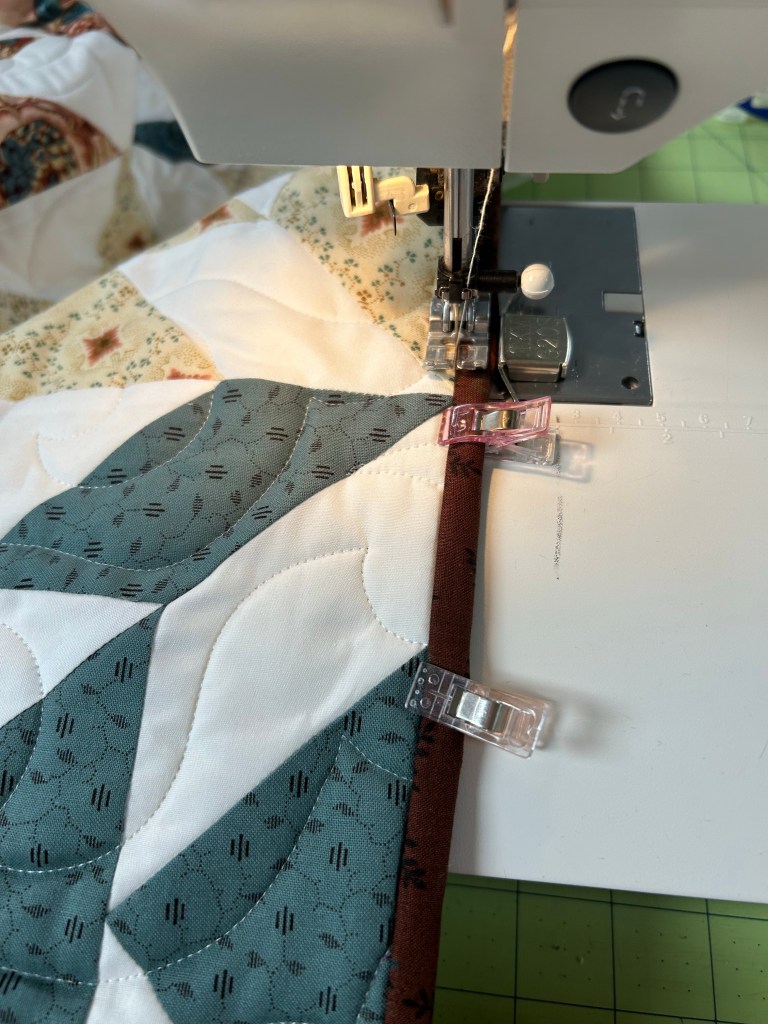
I had enough clips to go all the way around the edge of the quilt this way. Then stitch in the ditch from the right side.
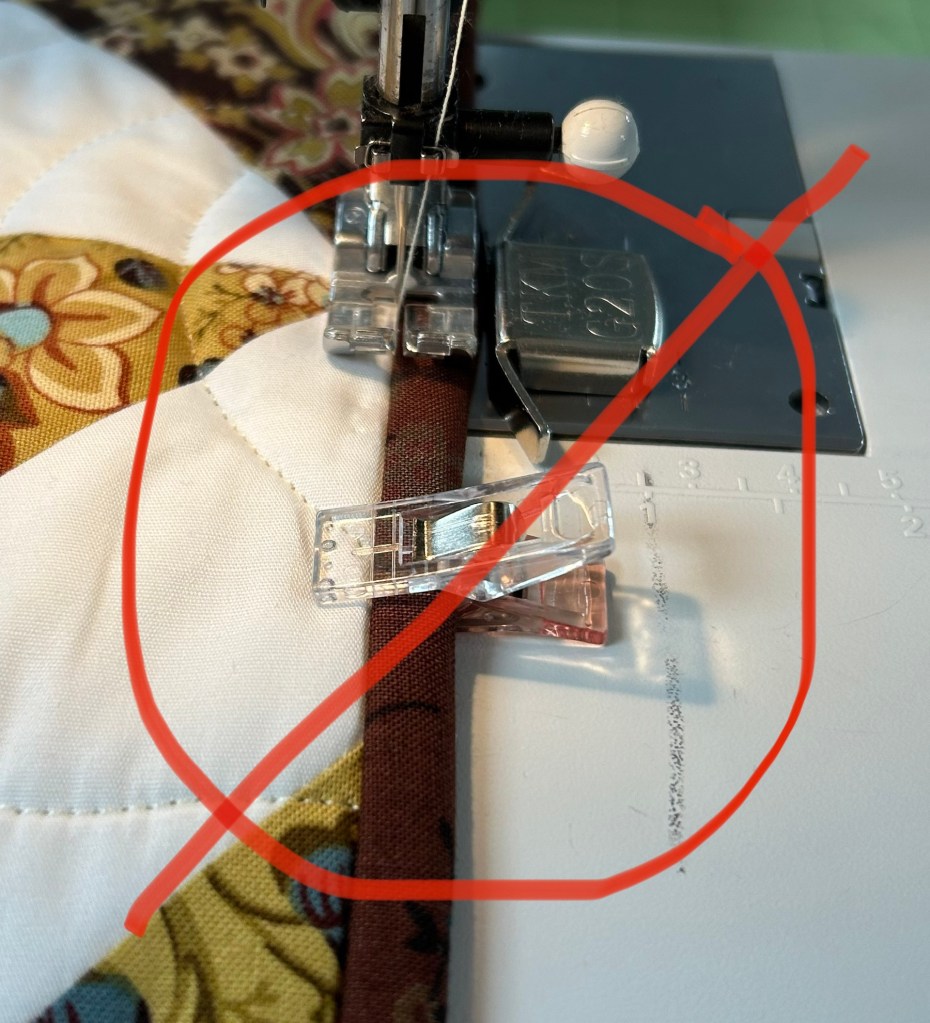
Here’s a tip I learned by doing it wrong. See the shape of the clip? The colored side should be up and the clear side down. Duh!
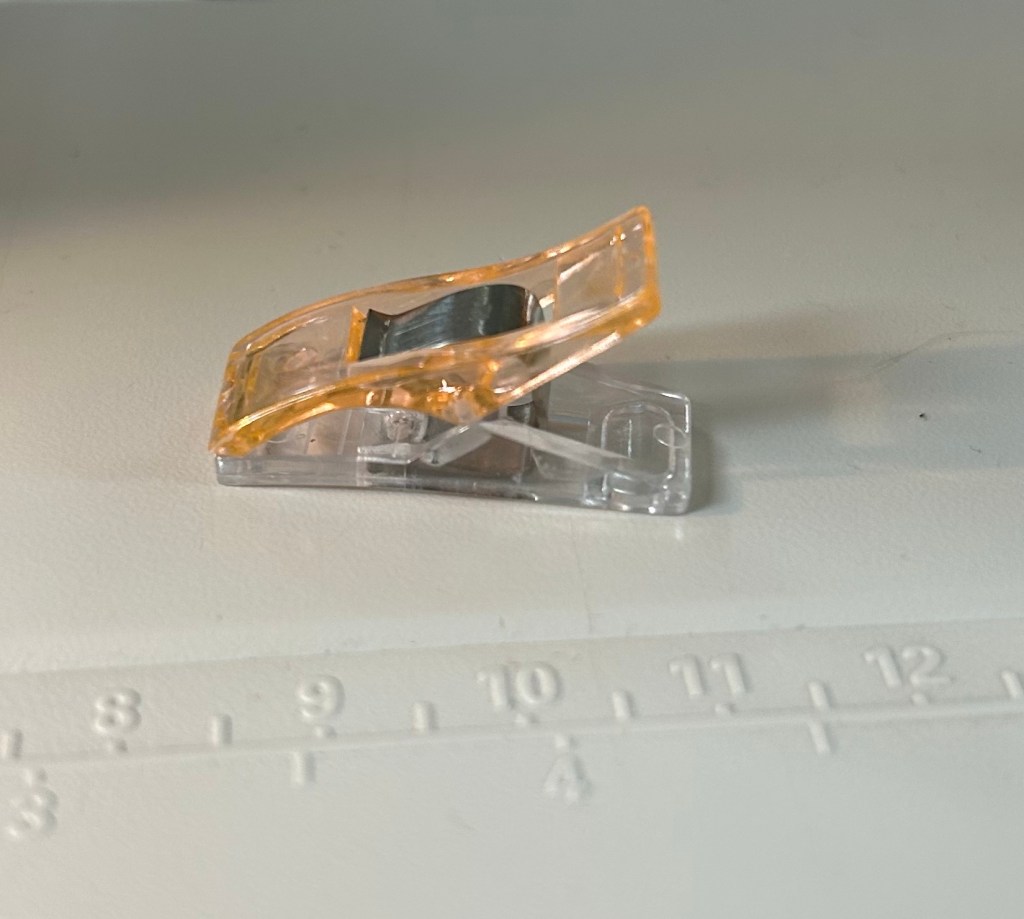
Like this.
NOT like this. Probably obvious to all of you, but I can be a bit slow at times!
Also, make sure you have enough table space to support the quilt. It gets even heavier with all those clips.

I had a few stitching wobbles onto the binding.
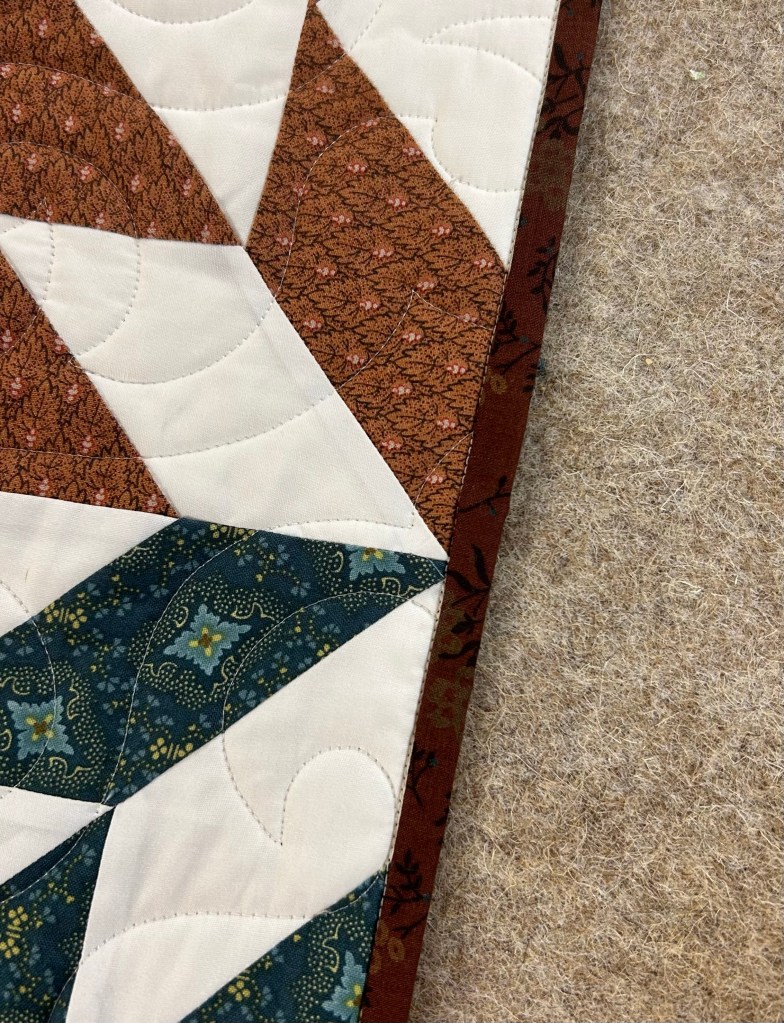
But I didn’t have any places on the back where I missed, so that’s a win!
Hope this helps someone else. Have a great day!


Machine binding is my “go to” but I haven’t tried it this way yet. I may give this a shot next time. I usually stitch it to the back and fold to the front to stitch down.
Yes, the clips are great! Does your machine have a serpentine stitch? I use that for sewing binding and it catches the fabric really well. (I also found that cutting the binding 2″ is better than 2.25″.)
Wonder clips like this are great and just wait till your family discovers them, they will visit every room in your house!