
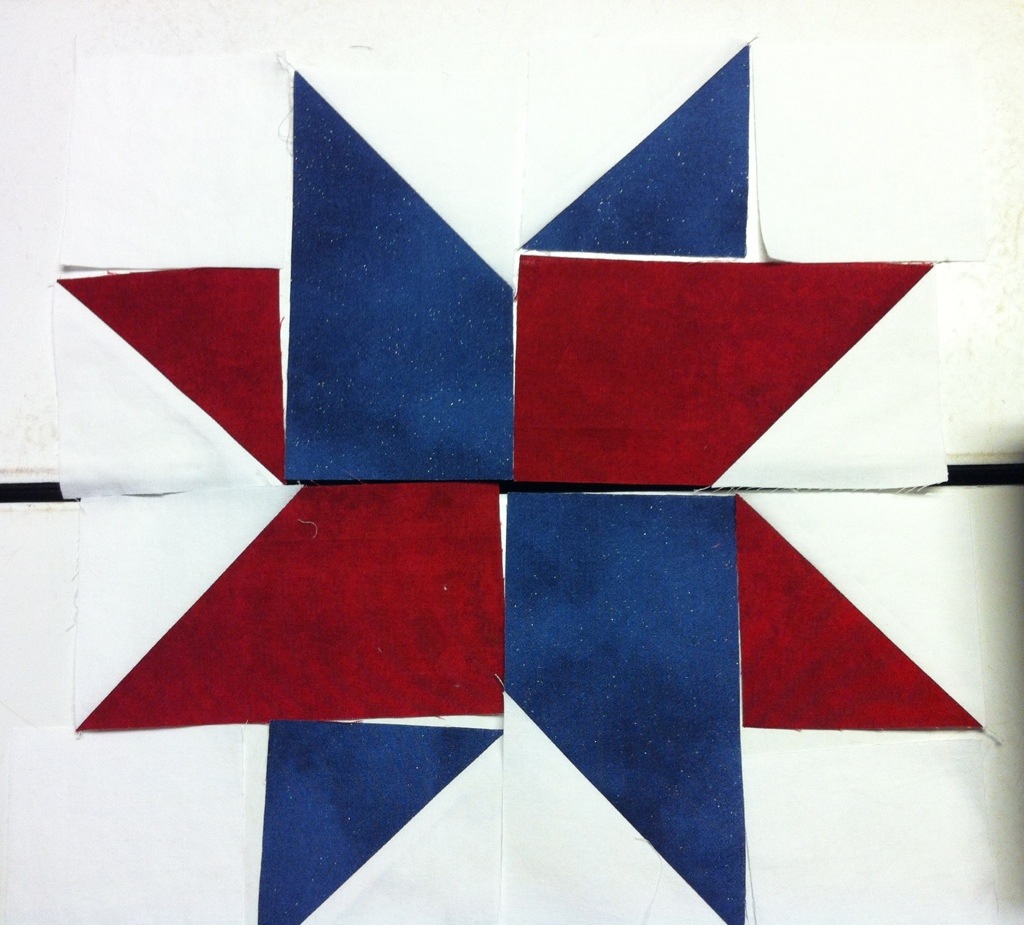
A while back, I posted a picture on the Yahoo Accuquilt group of the woven star block that I made for the Quilt of Valor block swap. Gwen asked how this block was made so I decided to create a tutorial.
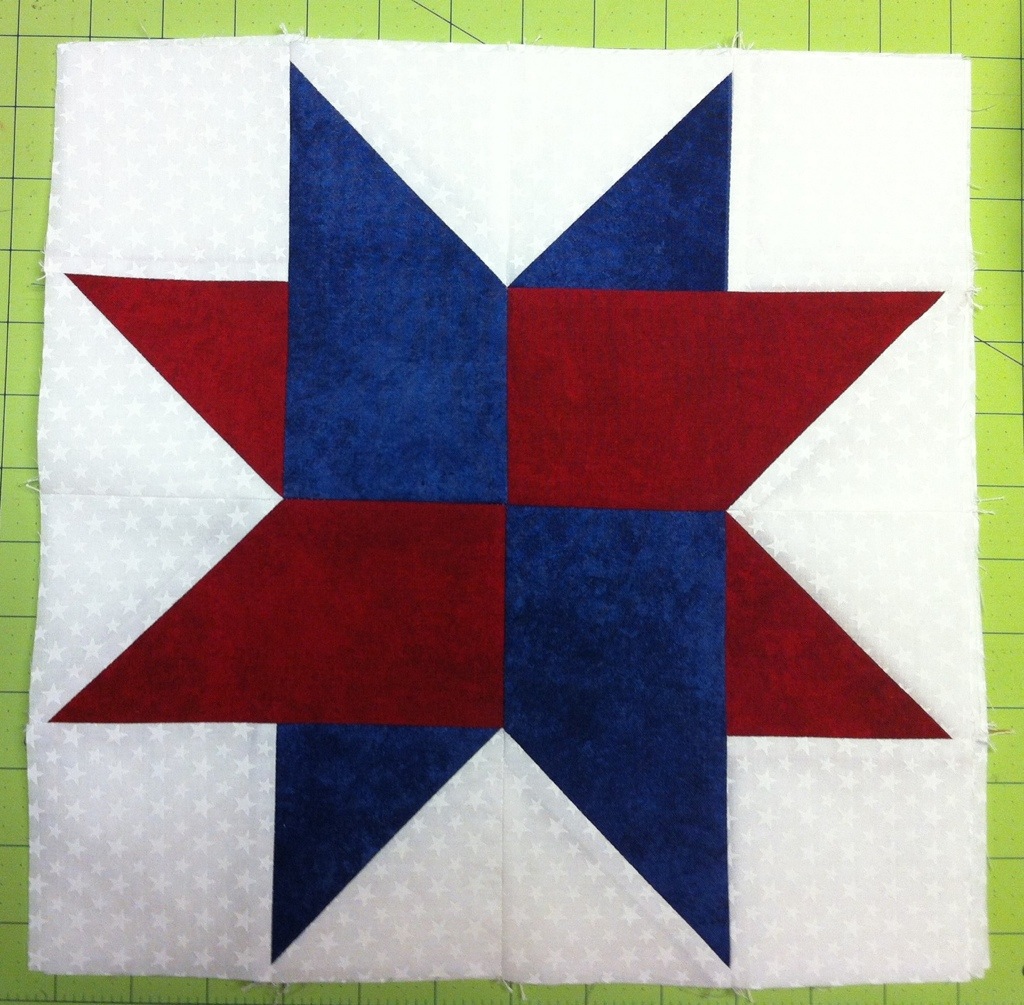
Here is one of the blocks I made for the swap:
Here are the dies I used for my studio cutter:
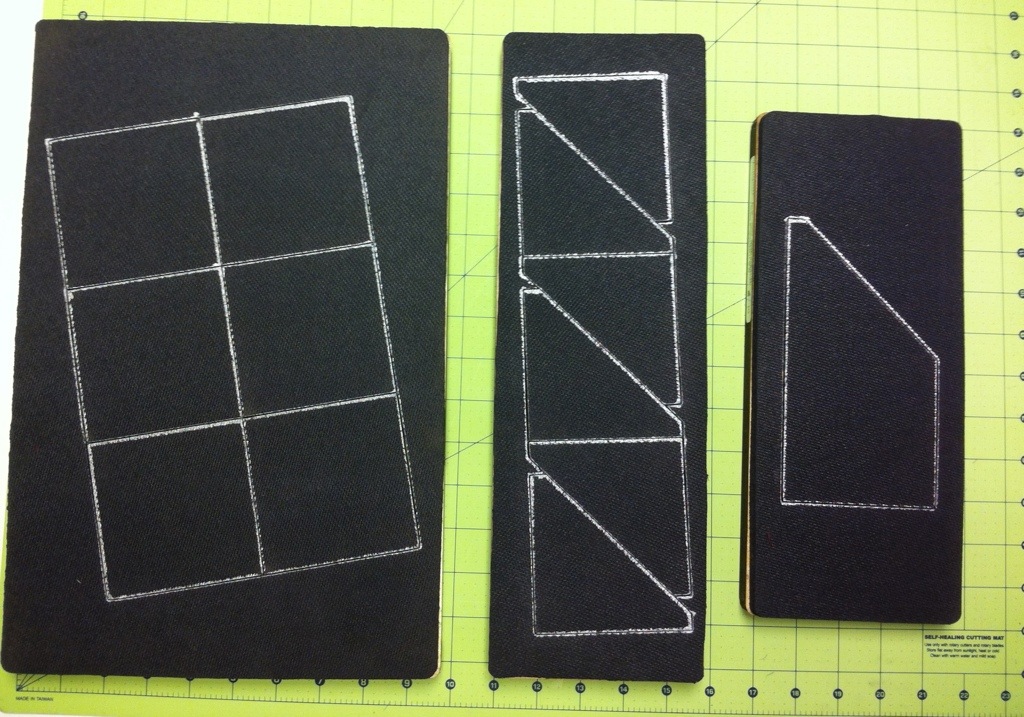
I have used a silver Sharpie Marker to outline the blades of my dies (this idea came from Ebony Love at Lovebug Studios). I used the 3″ finished square, 3″ finished half square triangle, and the chisel die which finishes at 3″ by 6″. The block will finish at 12″.
First I will cut two blue and two red chisels. It is very important that all four pieces lay right side up on the die. We do not want mirror images. This shows the die and pieces with the extra fabric removed.

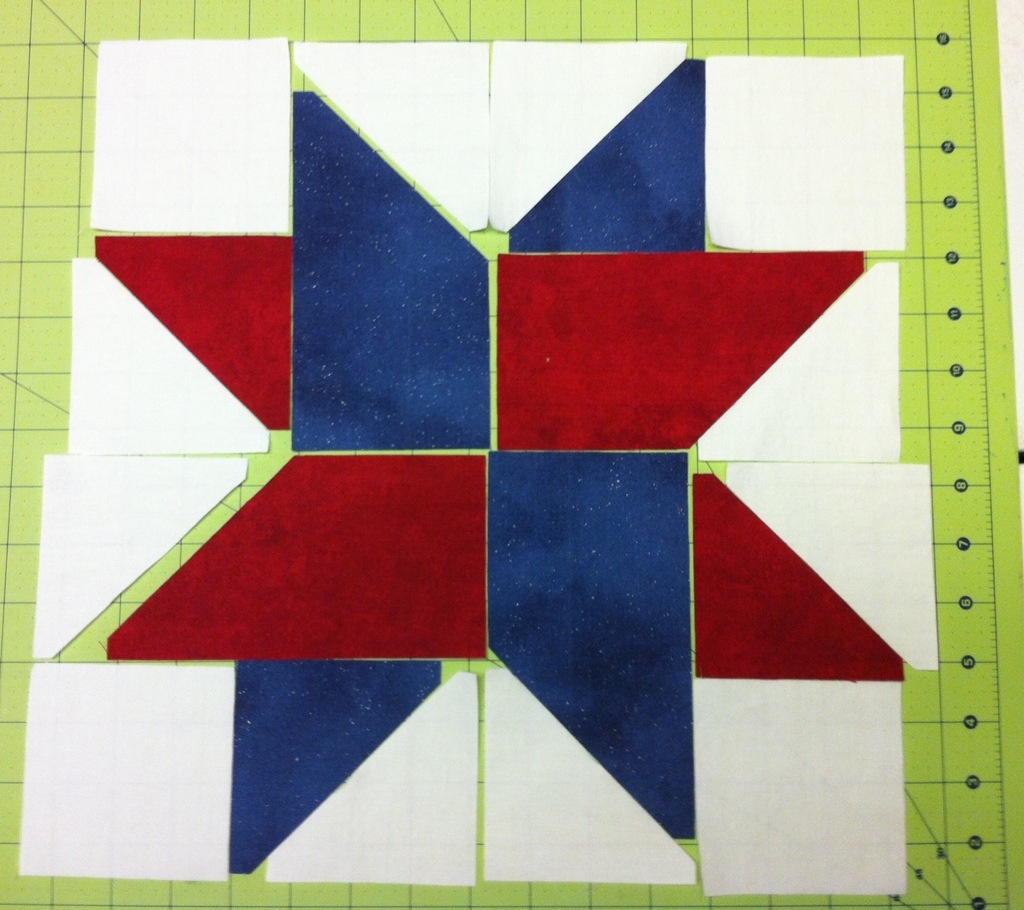
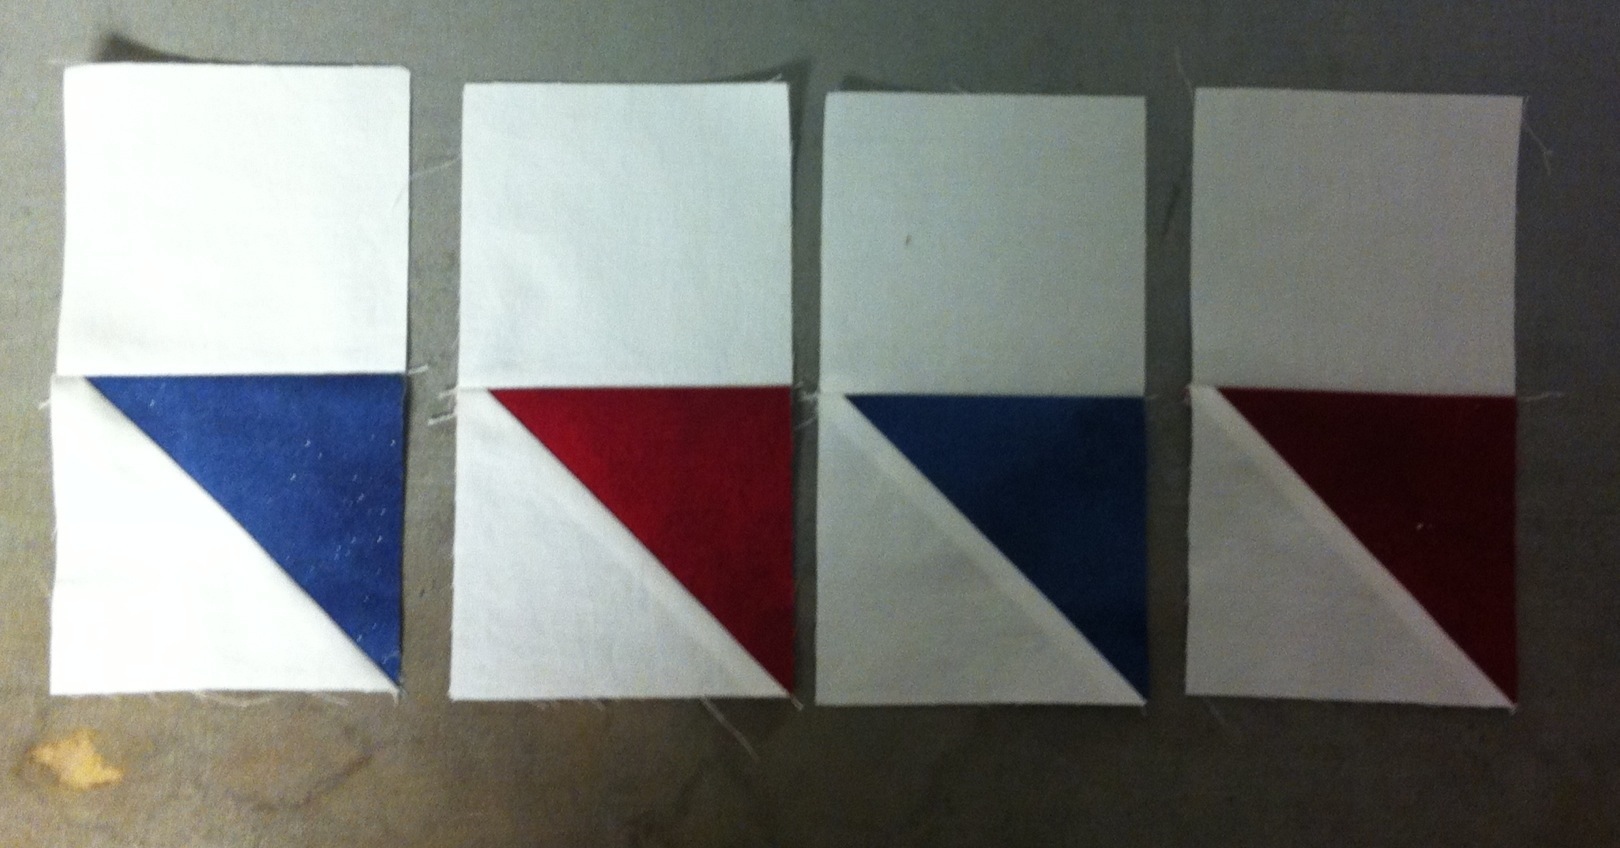
I will also need two blue HSTs, two red HSTs, 8 white HSTs, and 4 white squares. This pic shows all pieces laid out.
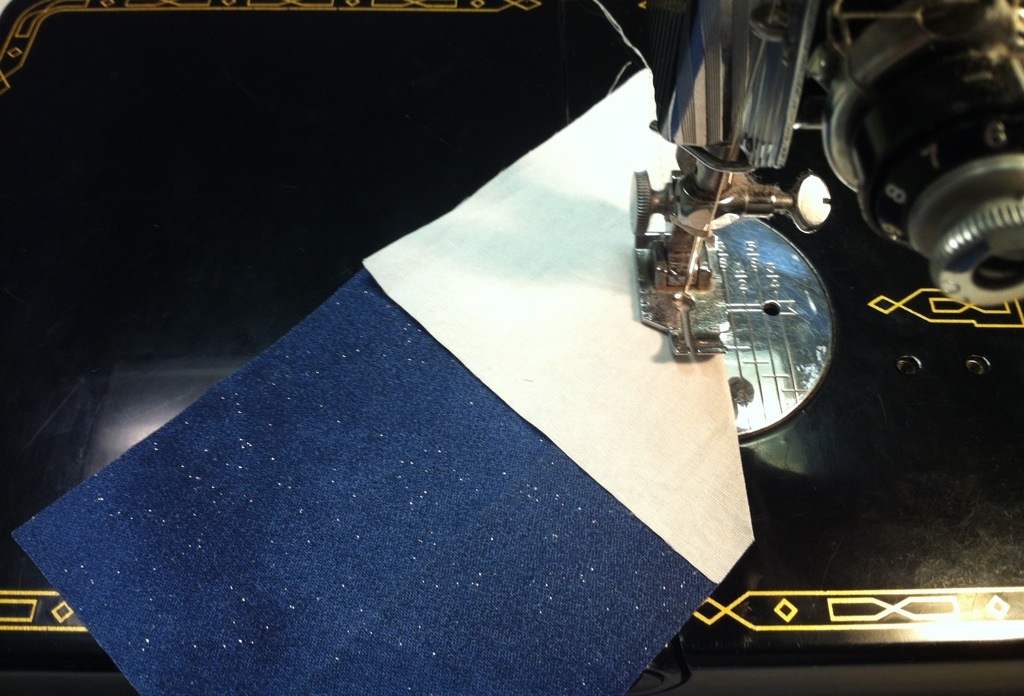
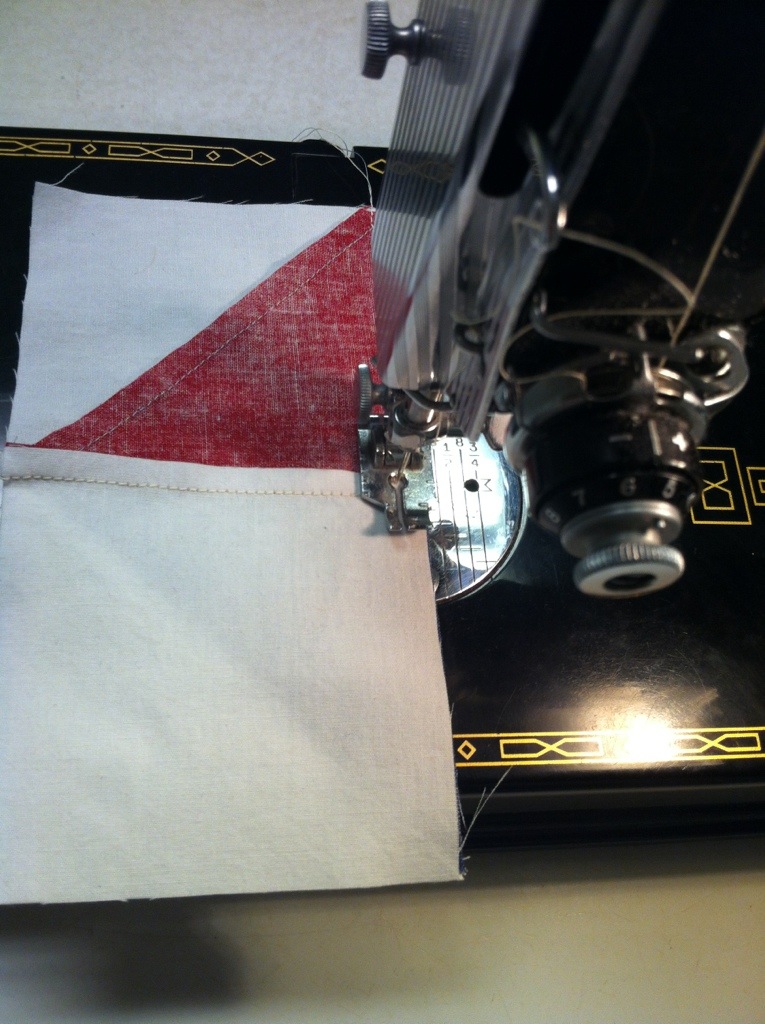
Next I will add the white triangles to the chisel pieces.

I like to start sewing at the tip.
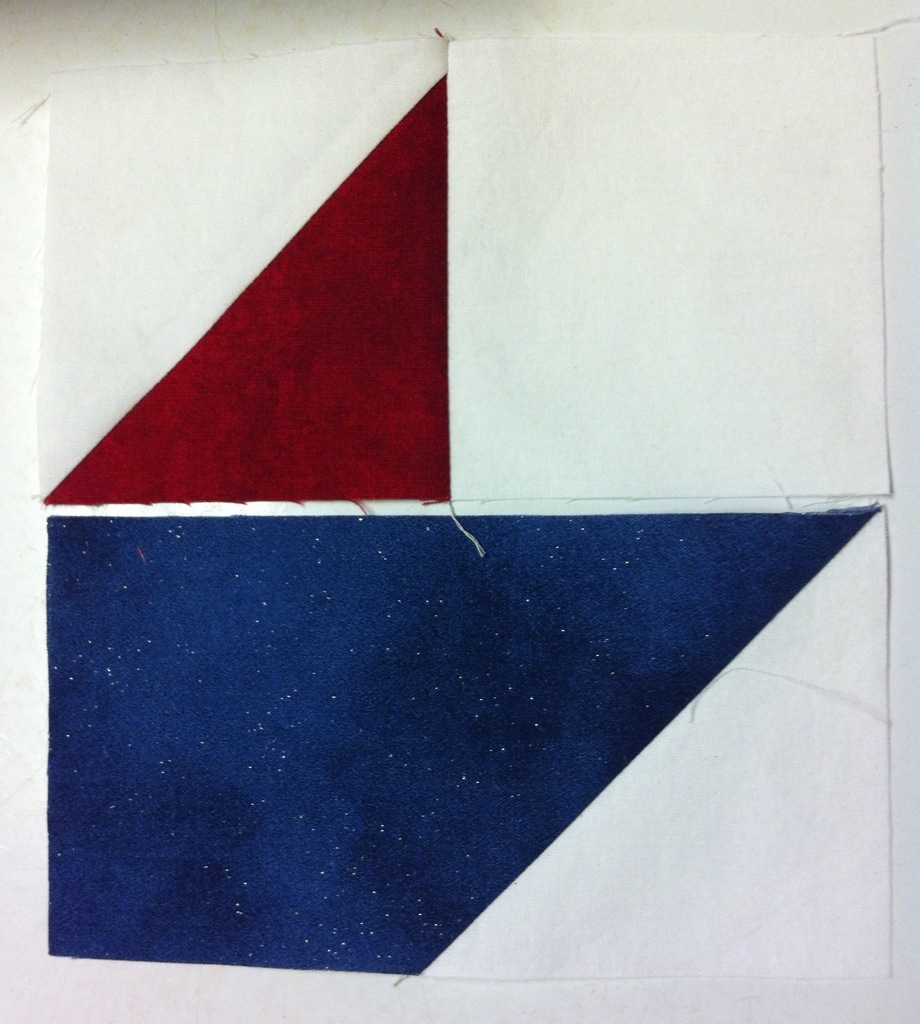
Sew the remaining white triangles to the bye and red HSTs. Press the seams of the chisels towards the chisel piece. Press the HST seams towards the white triangles. Now lay out you pieces.
Anytime you are making a block and get confused, remember this: When in doubt, lay it out! It prevents lots of mistakes. Ask me how I know.
Next sew the white squares to the HSTs like this:
Here are the pieces laid out once more:

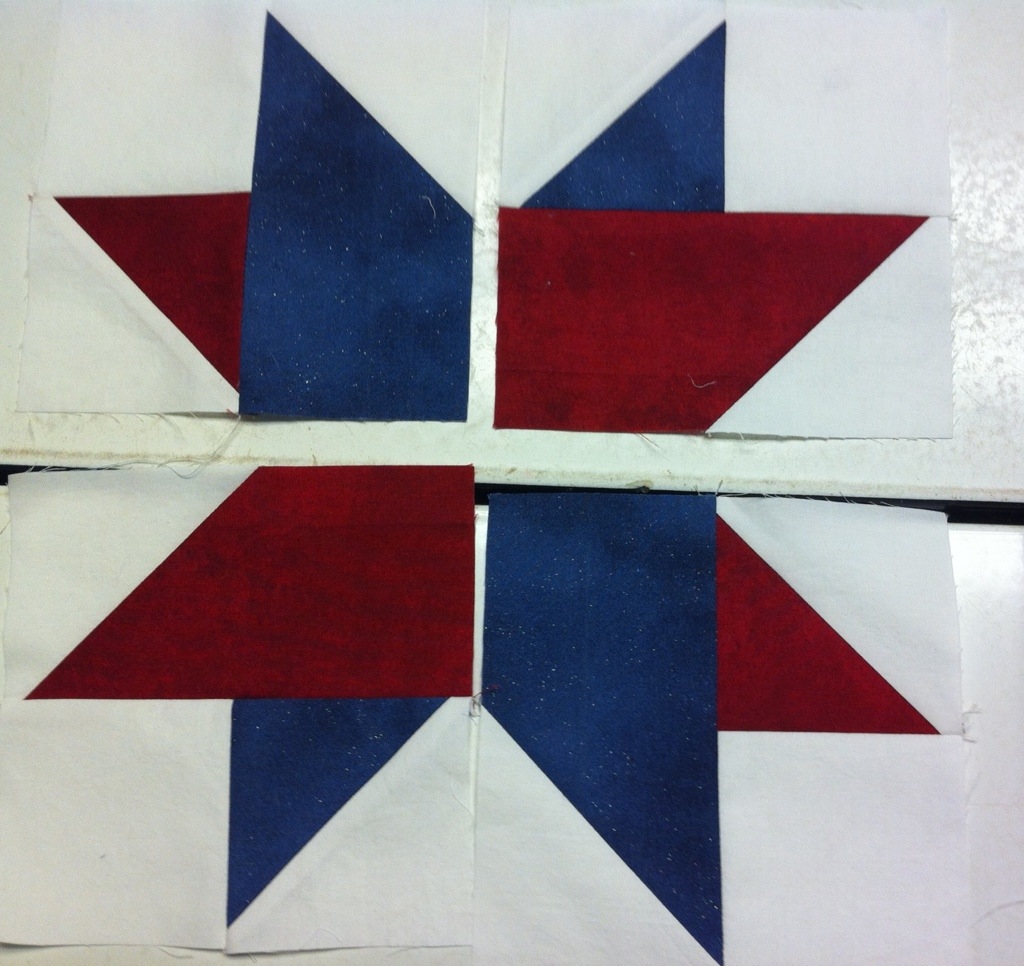
Now sew the chisels to the HST bits.
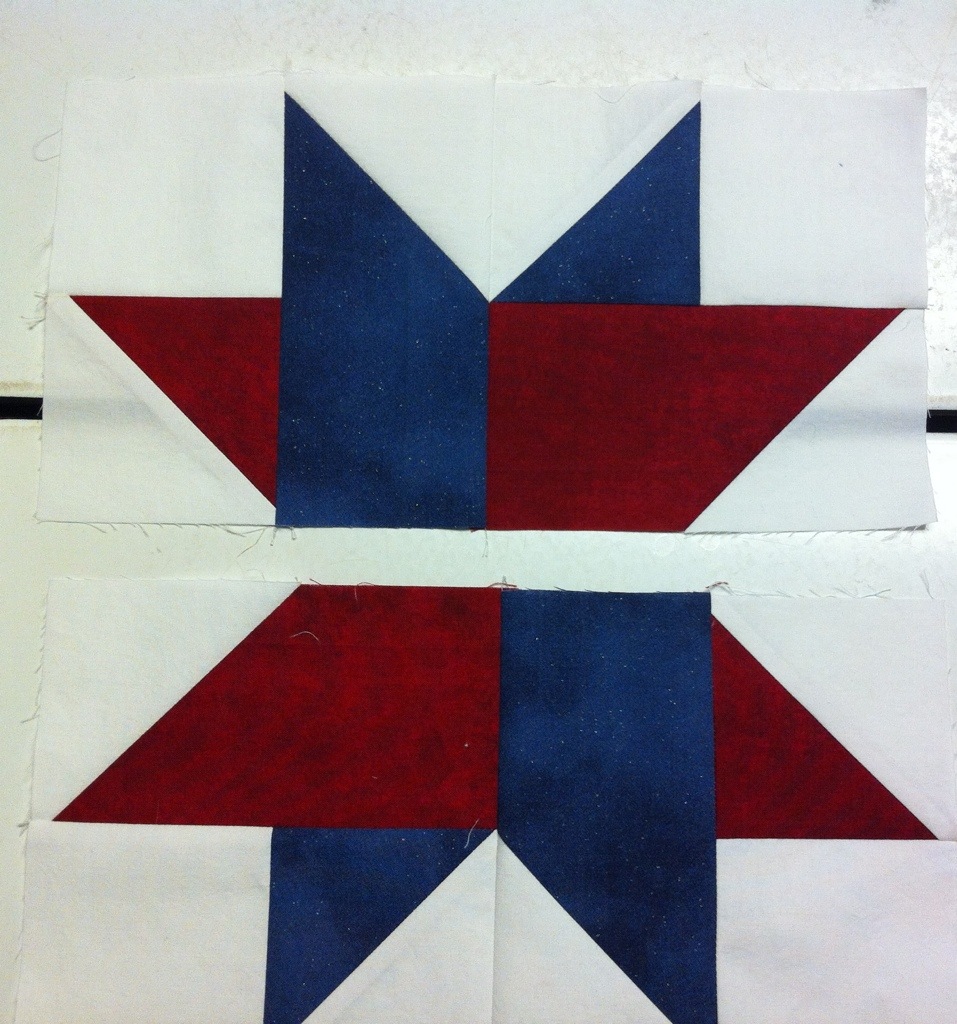
Now just sew the rest together like a 4 patch.
One se left. You are almost there!
All done!
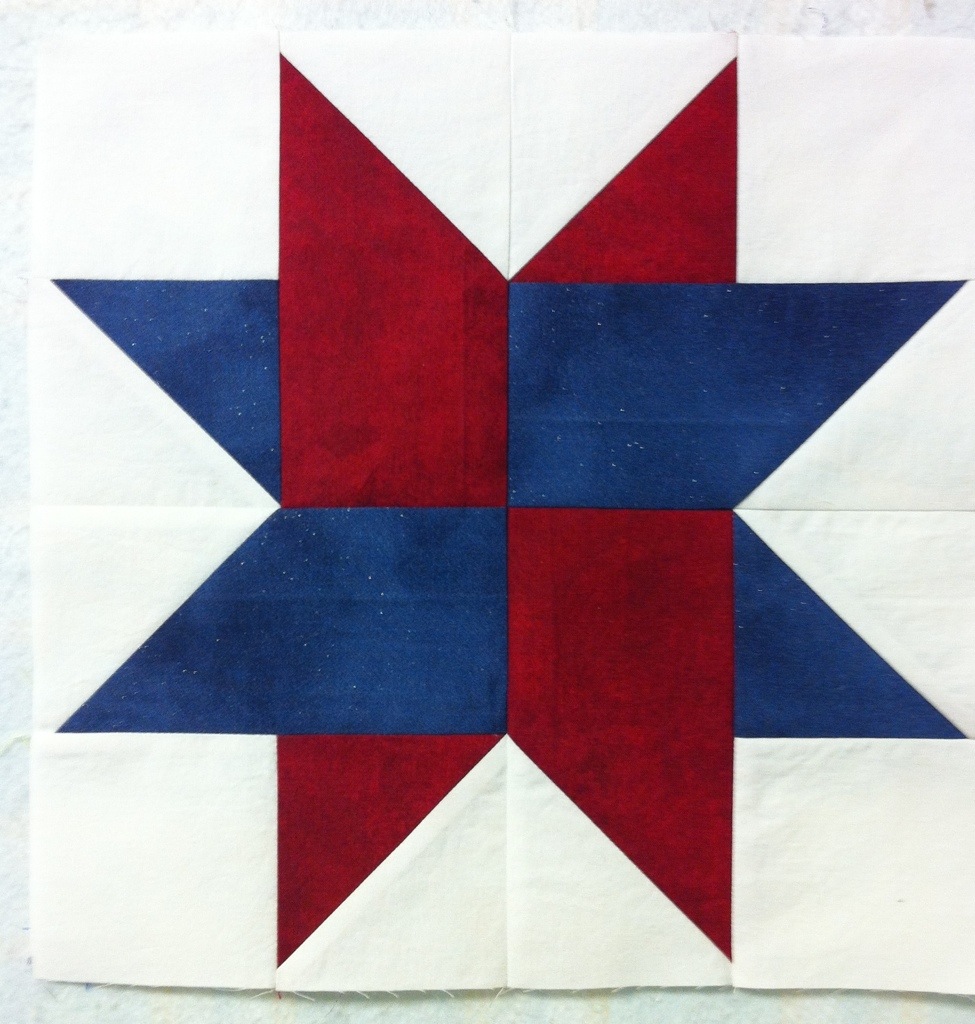
Now that wasn’t so hard!
Hope someone finds this helpful. Now I have another block for my QOV sampler.
Until next time….


Very nicely done. Clearly written and easy to understand. Thank you.
Thanks…. I would of mirror imaged the chisels.
Gwen