
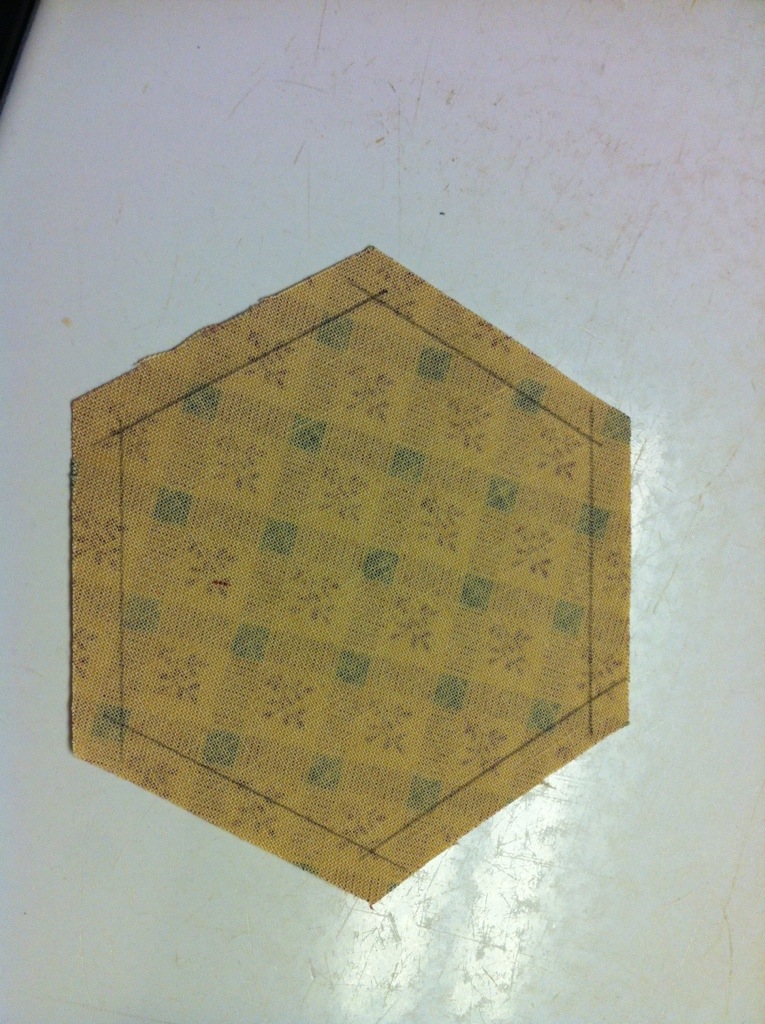
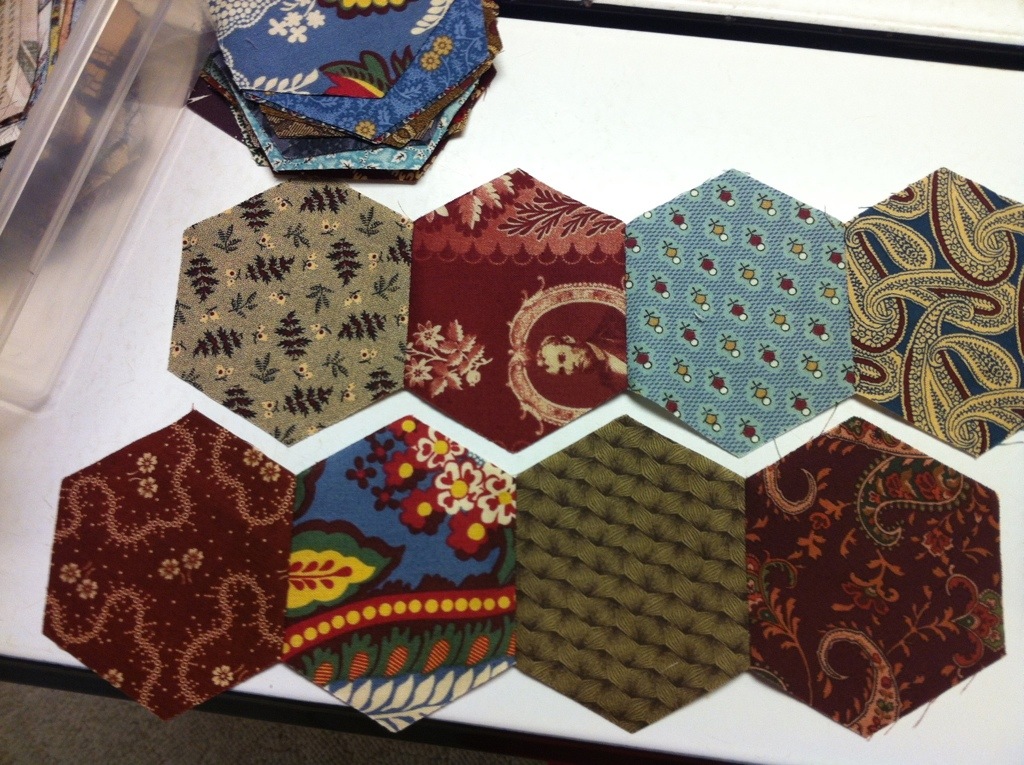
I thought since I was working on this quilt anyway, that I would create a tutorial on machine piecing hexagons. I have already shown that I cut my hexagons and then mark the seams with a pencil like this:
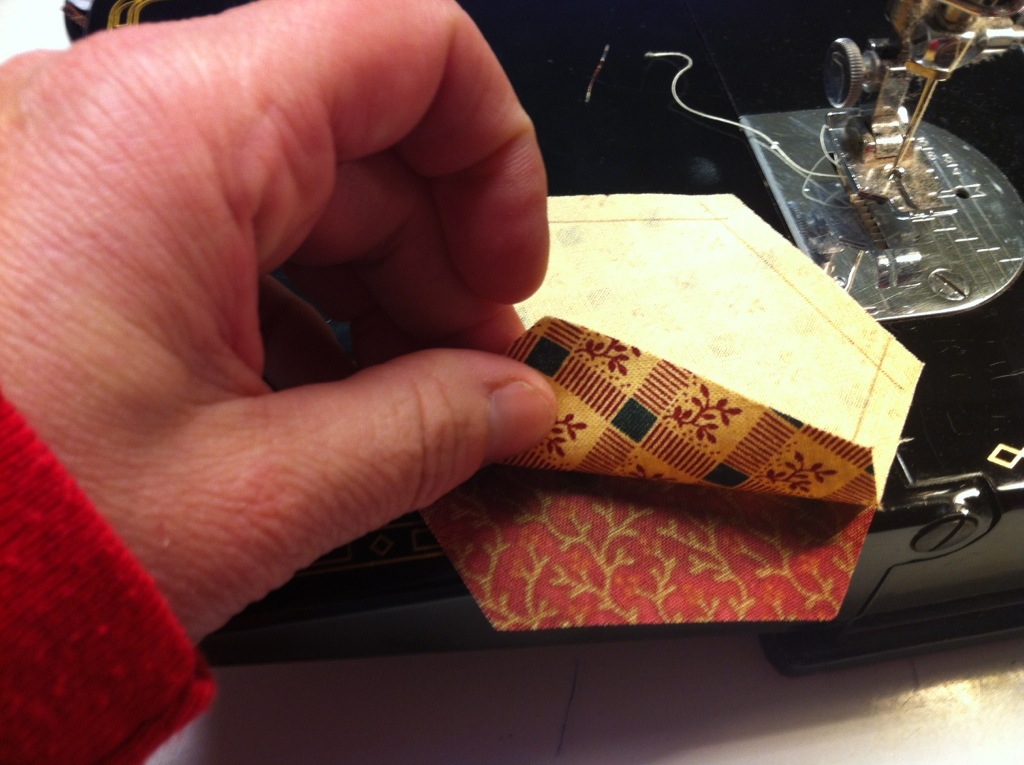
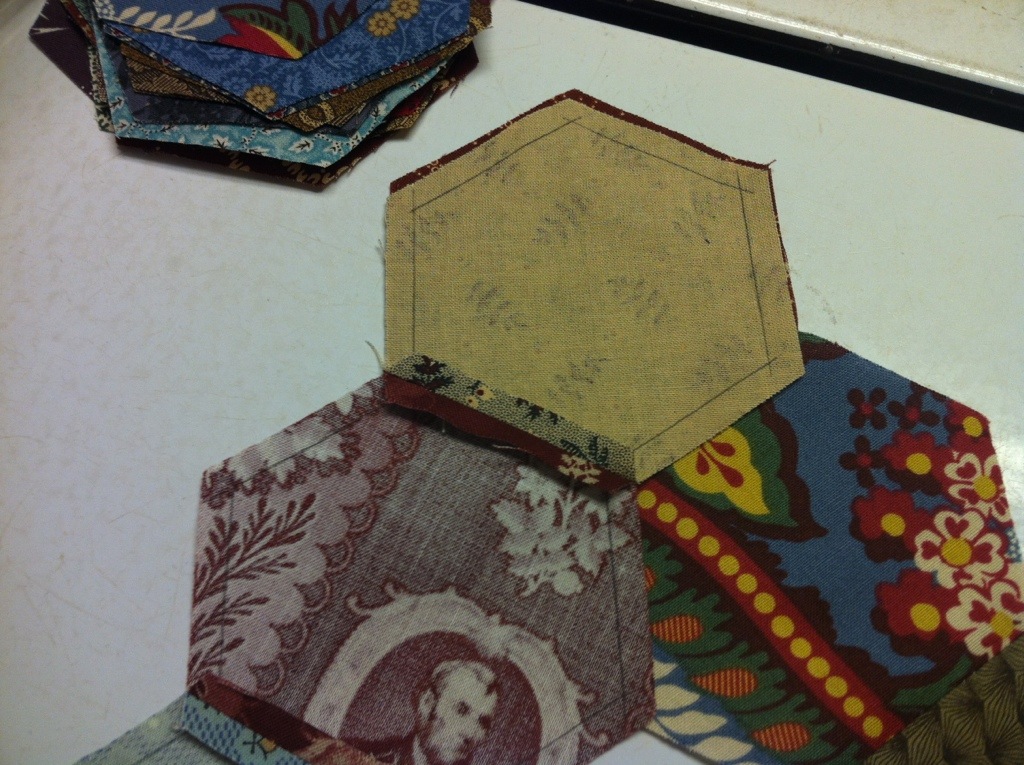
When I am ready to sew, I lay two hexagons right side together lie this:
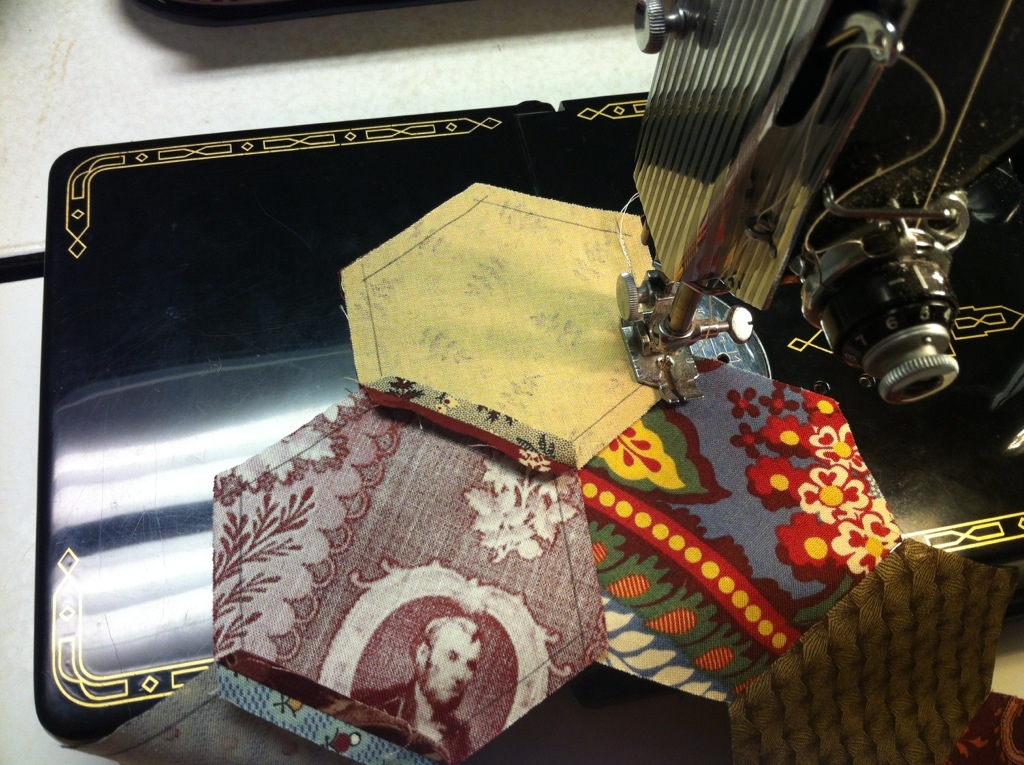
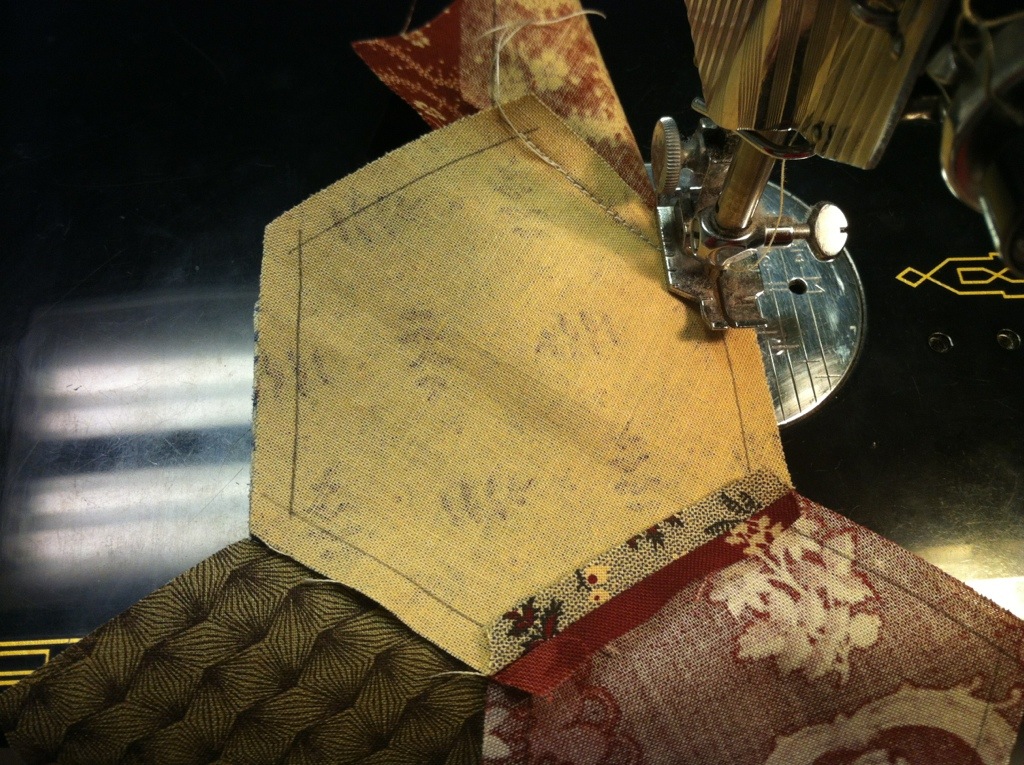
I start stitching a bit forward of the corner and backstitch into it.
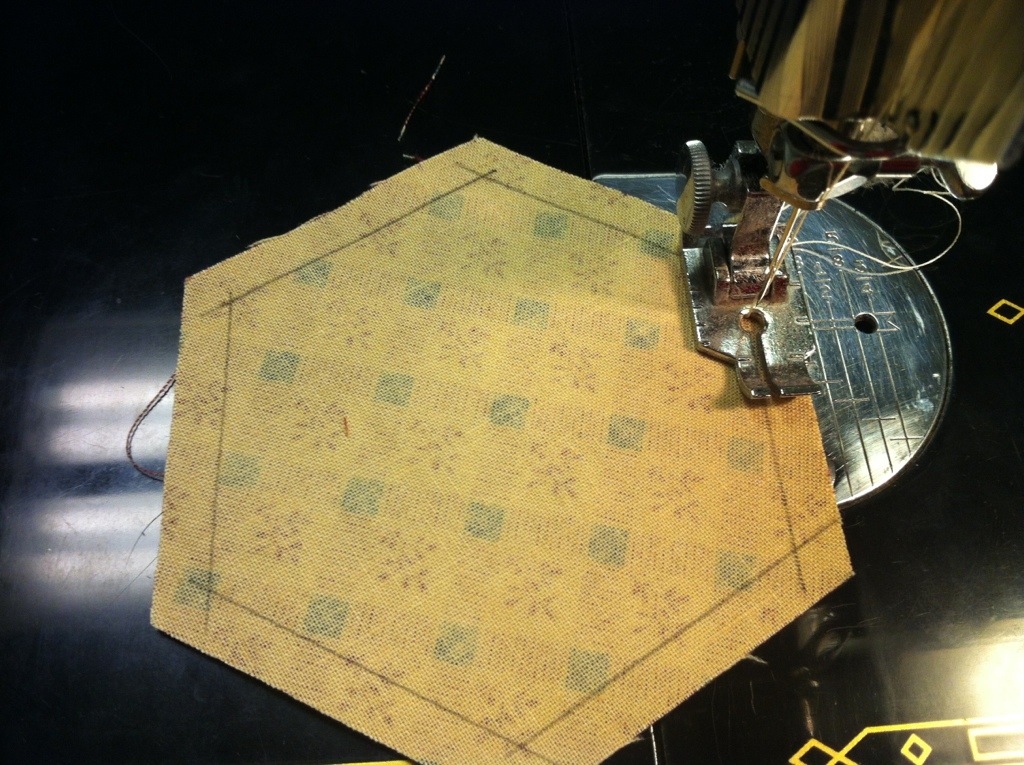
When I get to the next corner, I backstitch again. This keeps the seam allowances free just like in hand piecing. Then I pull the piece out and start the next one without cutting the threads in between.
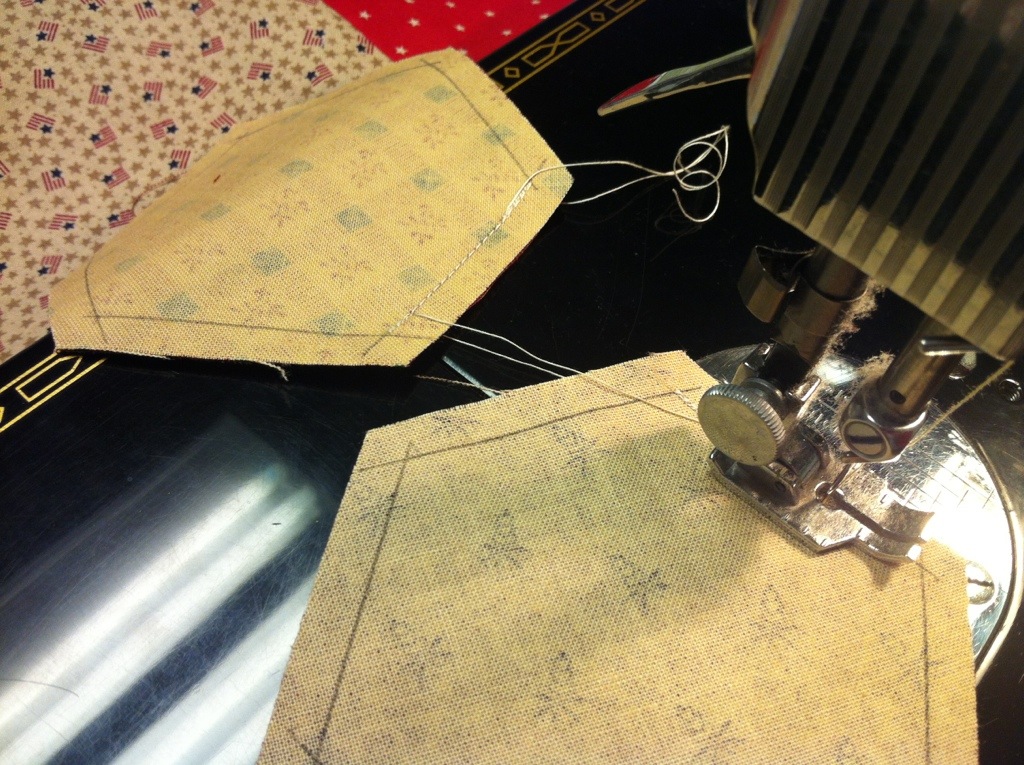
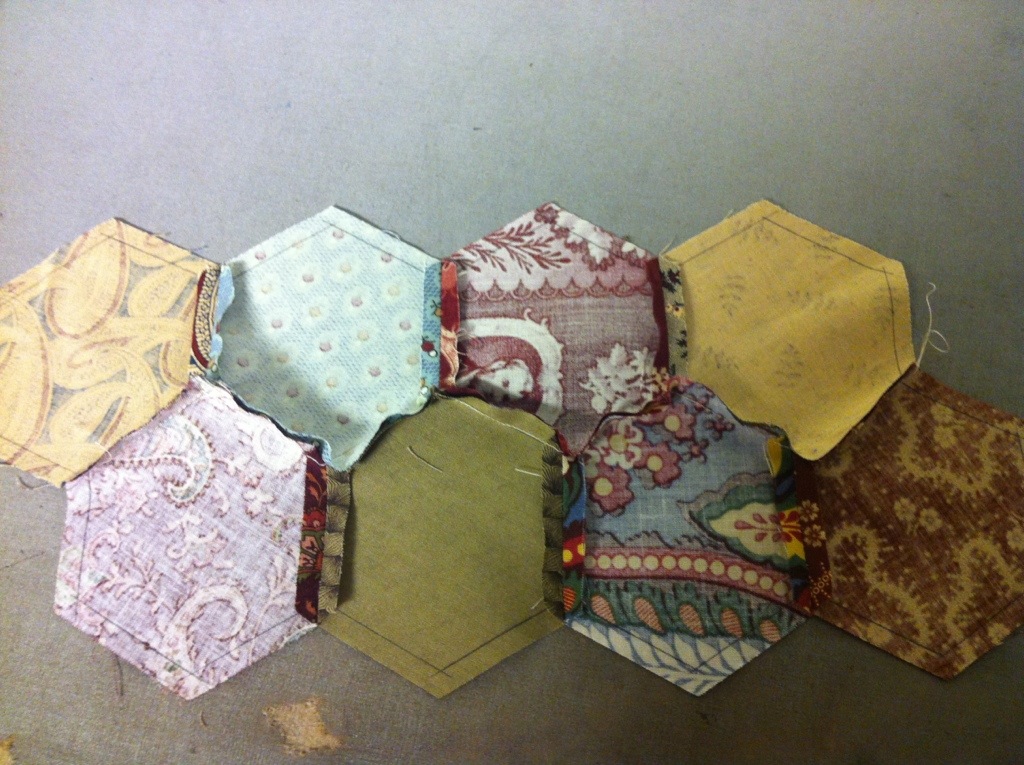
I sew two together then the twos into fours etc. When I get a full row, I press the seams open. For the purposes of this tutorial, I only pieced into chains of four hexagons. Normally, I would piece a chain the full width of the quilt. You can see below how two rows fit together.
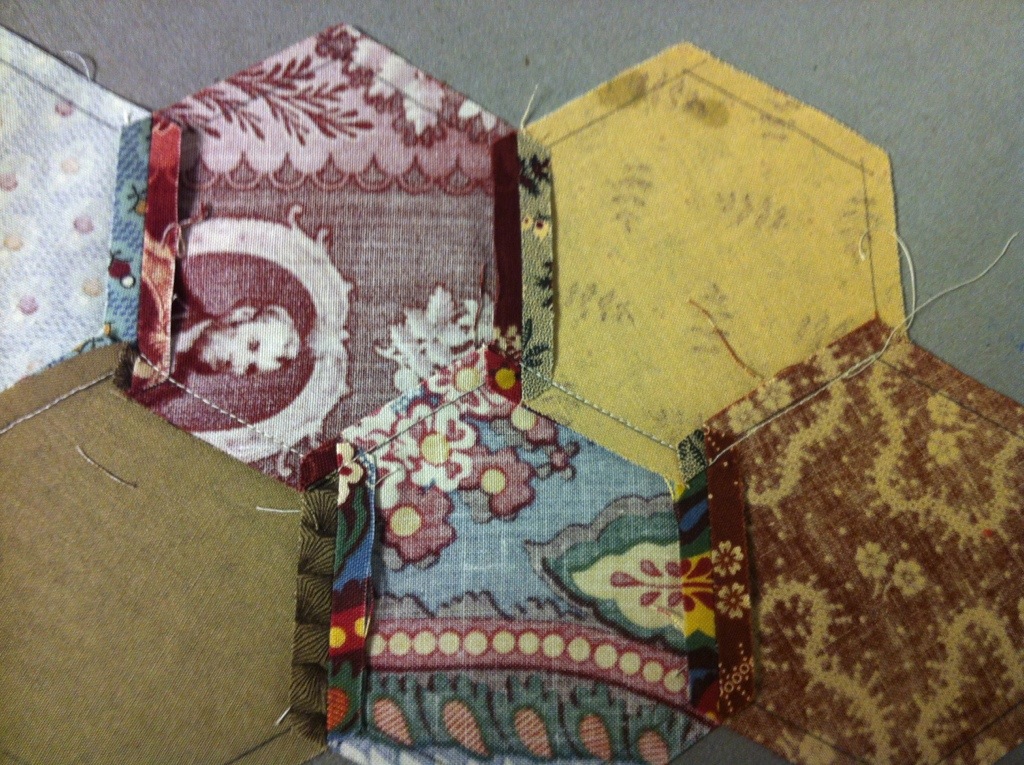
The tricky part is putting right sides together to sew the rows together. Then they look all weird like this:
You just have to focus on one little seam at a time. It will work! Just start the first segment just like you did when you put twos together. Backstitch into the corner and then move ahead.
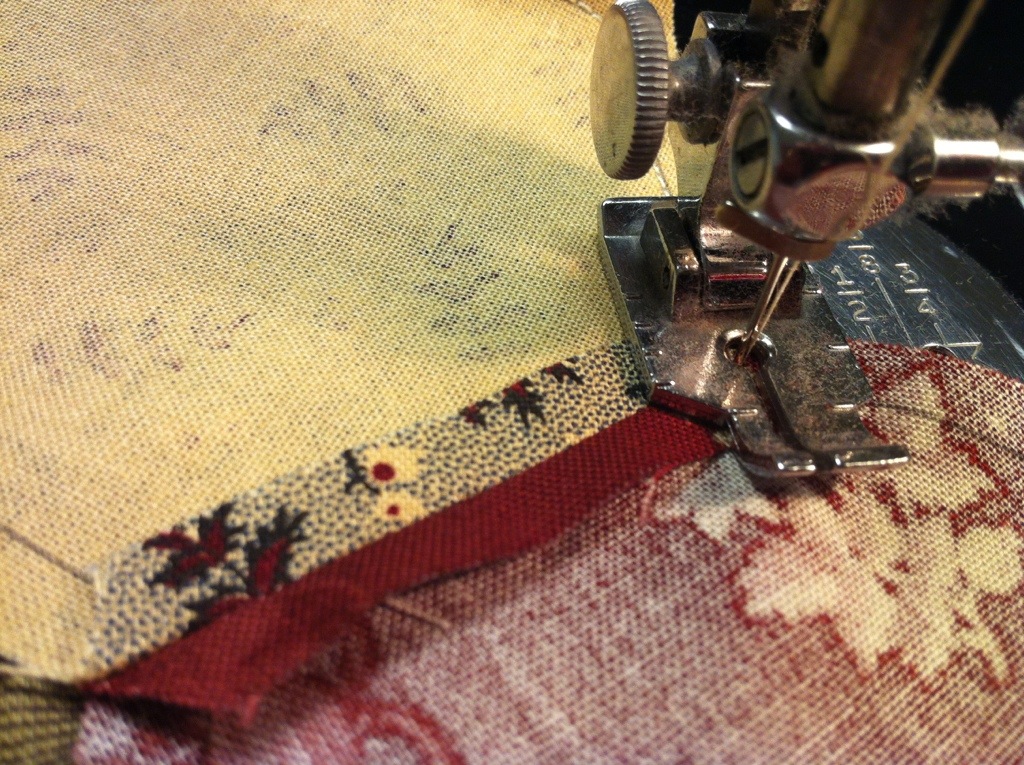
Stop when you get to the corner, drop the needle, and lift the presser foot.
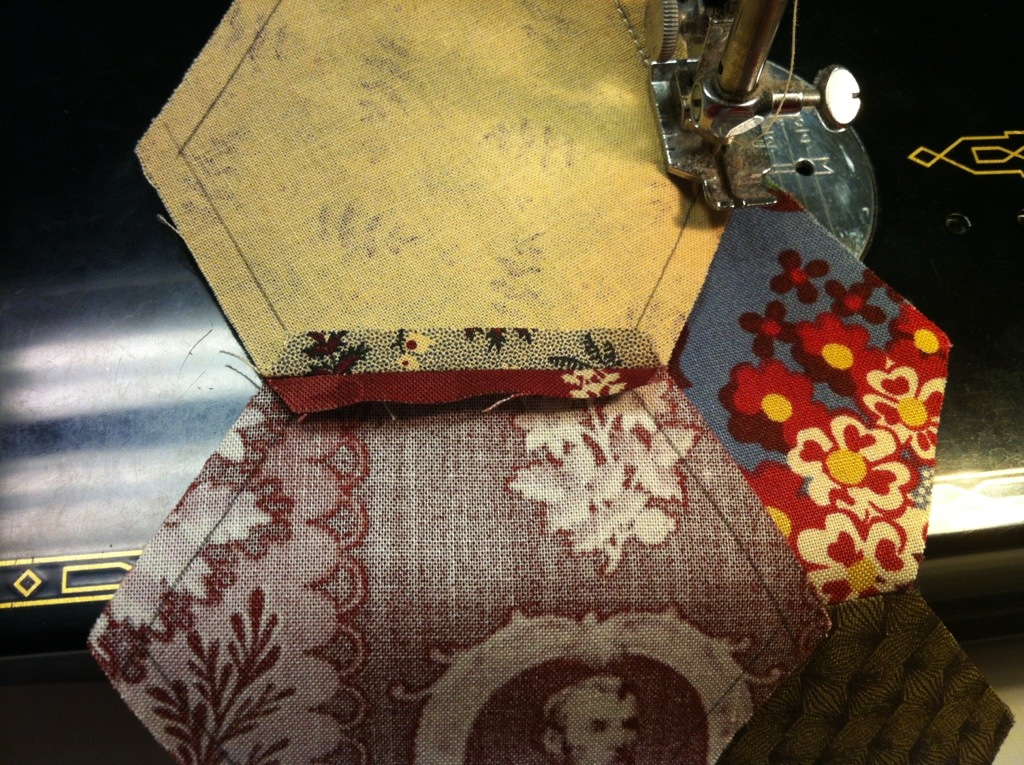
Now take the top piece and move it to the right and the bottom piece gets moved to the left to line up the next segment of the seam.
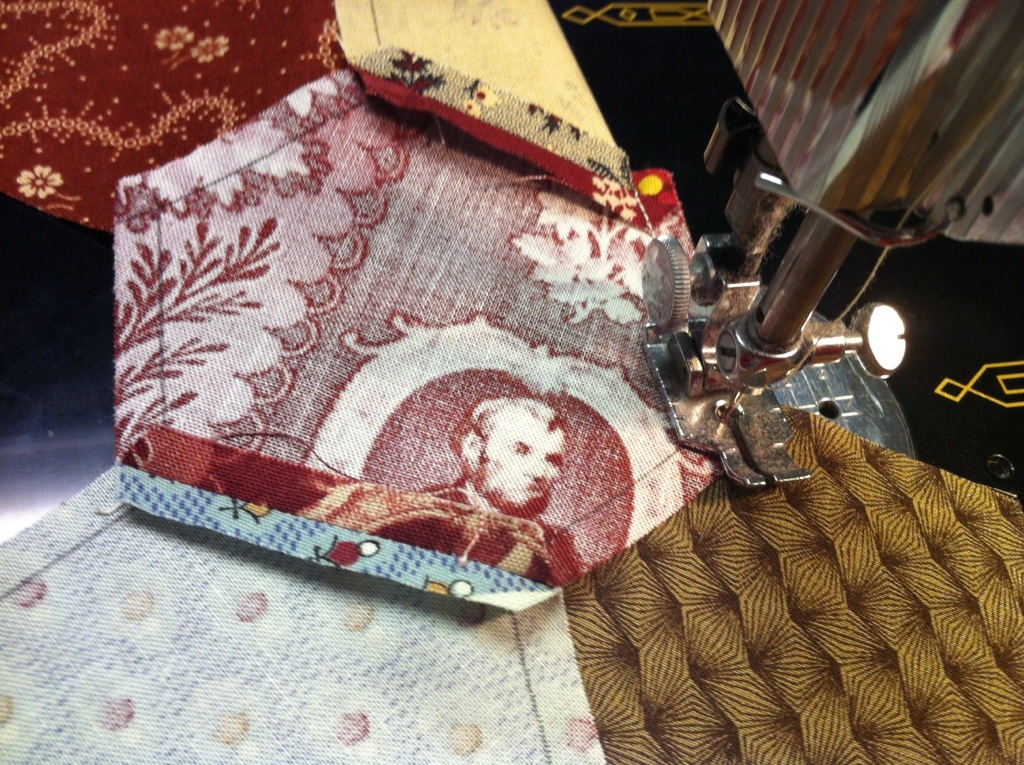
Again, stop when you get to the corner. This time, it will be in the middle where you pressed the seam open. You could pin but I don’t.

Now bring the top to the left and the bottom to the right to line up the next part.
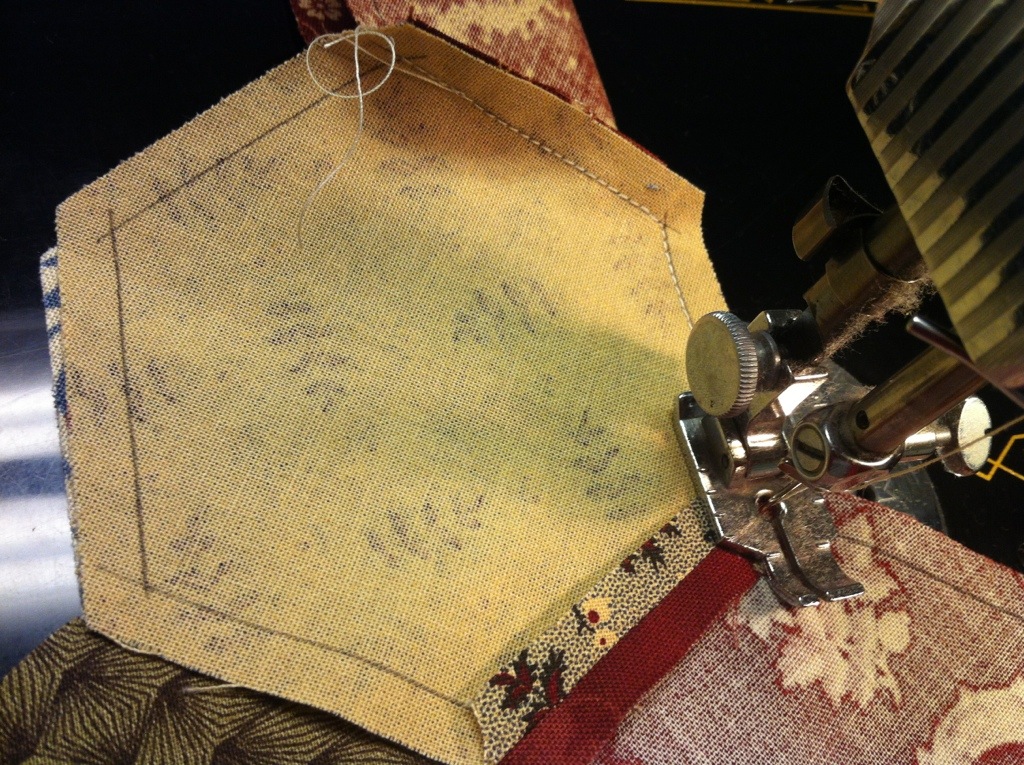
Keep zigzagging back and forth and backstitch at the corner when you get to the end. When you turn your piece over, it should look like this:
This is how I press my rows.
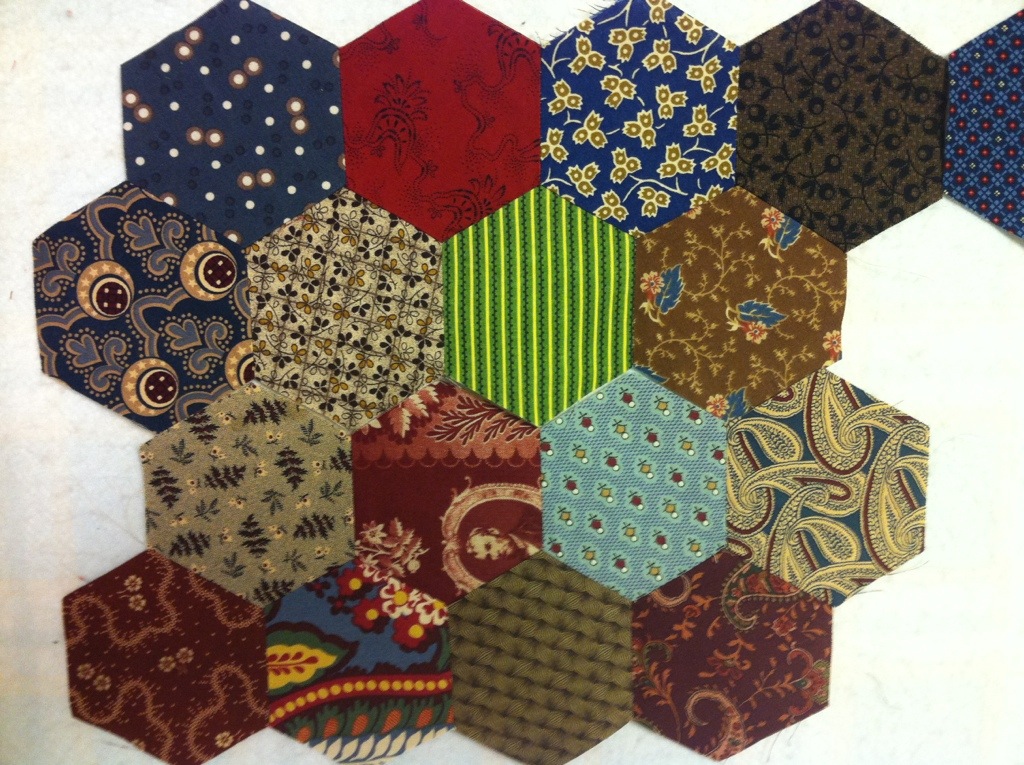
And this is what the front looks like:
I do use a smaller stitch length when I piece this way. It takes a bit of practice but it is easier than you think and fun besides! If you have any questions, please ask! It is easy to overlook things when creating a tutorial. You will be helping me out if you let me know what is not clear. If you give this a try, drop me a line and let me know what you think.
Now, I am off to church.
Until next time….


Pingback: WIP Wednesday | KatyQuilts
Pingback: Spectacular Saturday and Slow Stitching Sunday | KatyQuilts
I want to thank you for the great tutorial. I only knew how to put hexies together by hand. This seems much faster and that means faster results. I need to go cut some Hexies. Thanks again for sharing with us all.
This weekend I tried piecing hexagons on my machine and really wish I had seen your tute beforehand. It would have been so helpful! I can’t wait to try your method the next time around. Thank you for sharing how to piece hexies and have them be pretty, front AND back 🙂
Pingback: Design Wall Monday | KatyQuilts
For an interesting no-mark method of sewing hexies by machine, check out http://youtu.be/RzonVtKF1vA. I came across this video the other day. It’s an interesting method. I’ve done both machine and hand-pieced hexie quilts.